
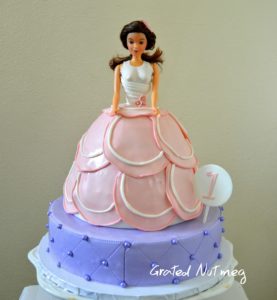
How to Make Princess Doll Cakes

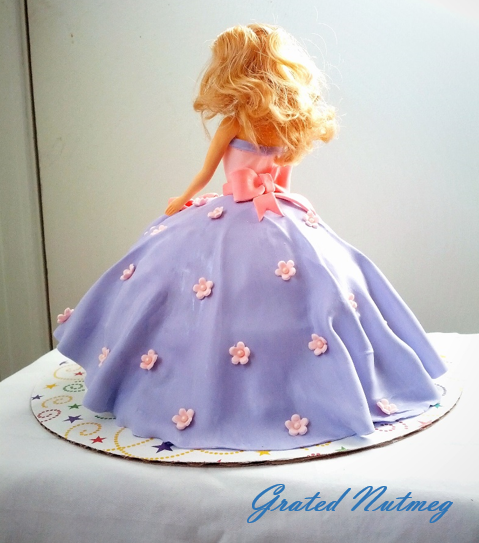
Princess doll cakes are a favorite of girls as every girl wants to be a princess, even if its just for a day. These cakes are quite impressionable, do not take a lot of time and effort to make, and come out perfect every single time. With a few tools and basic know-hows, you can create princess doll cakes for yourself and clients. Below is a tutorial on how I make my own princess doll cakes.
You can find a catalog of my princess cakes here along with various views of them.

THE BAKING PAN
Type of Pan:
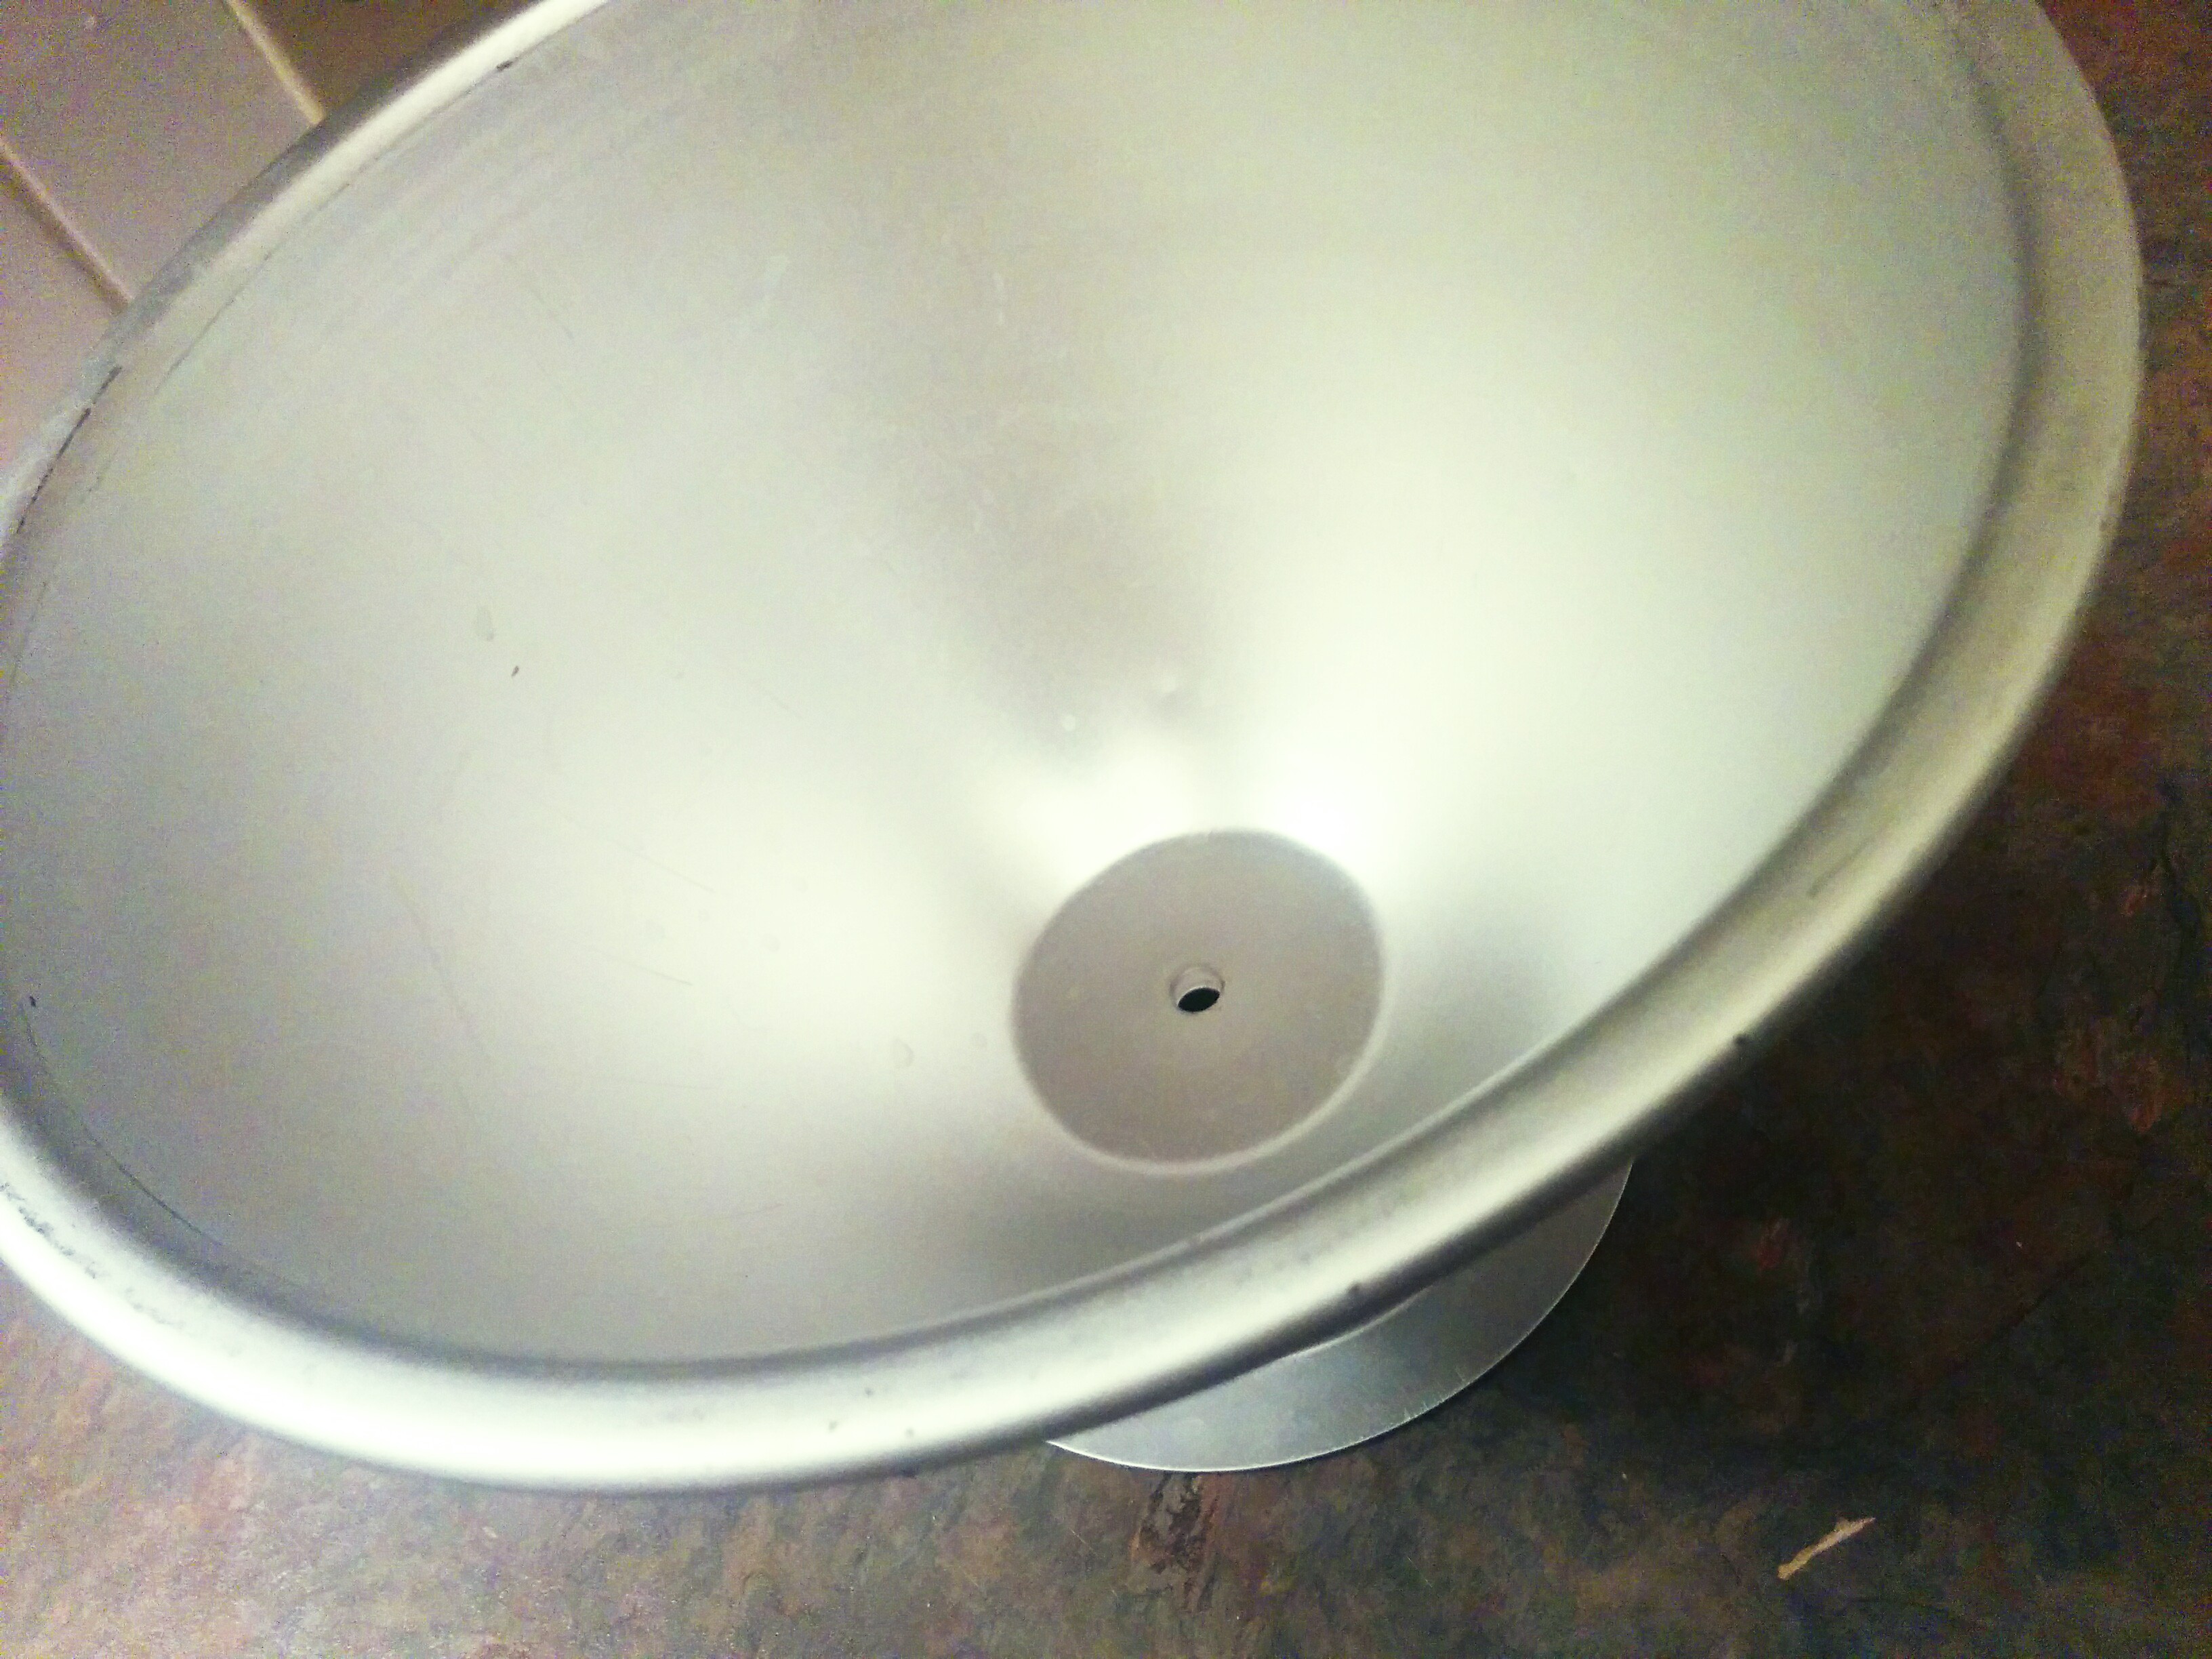
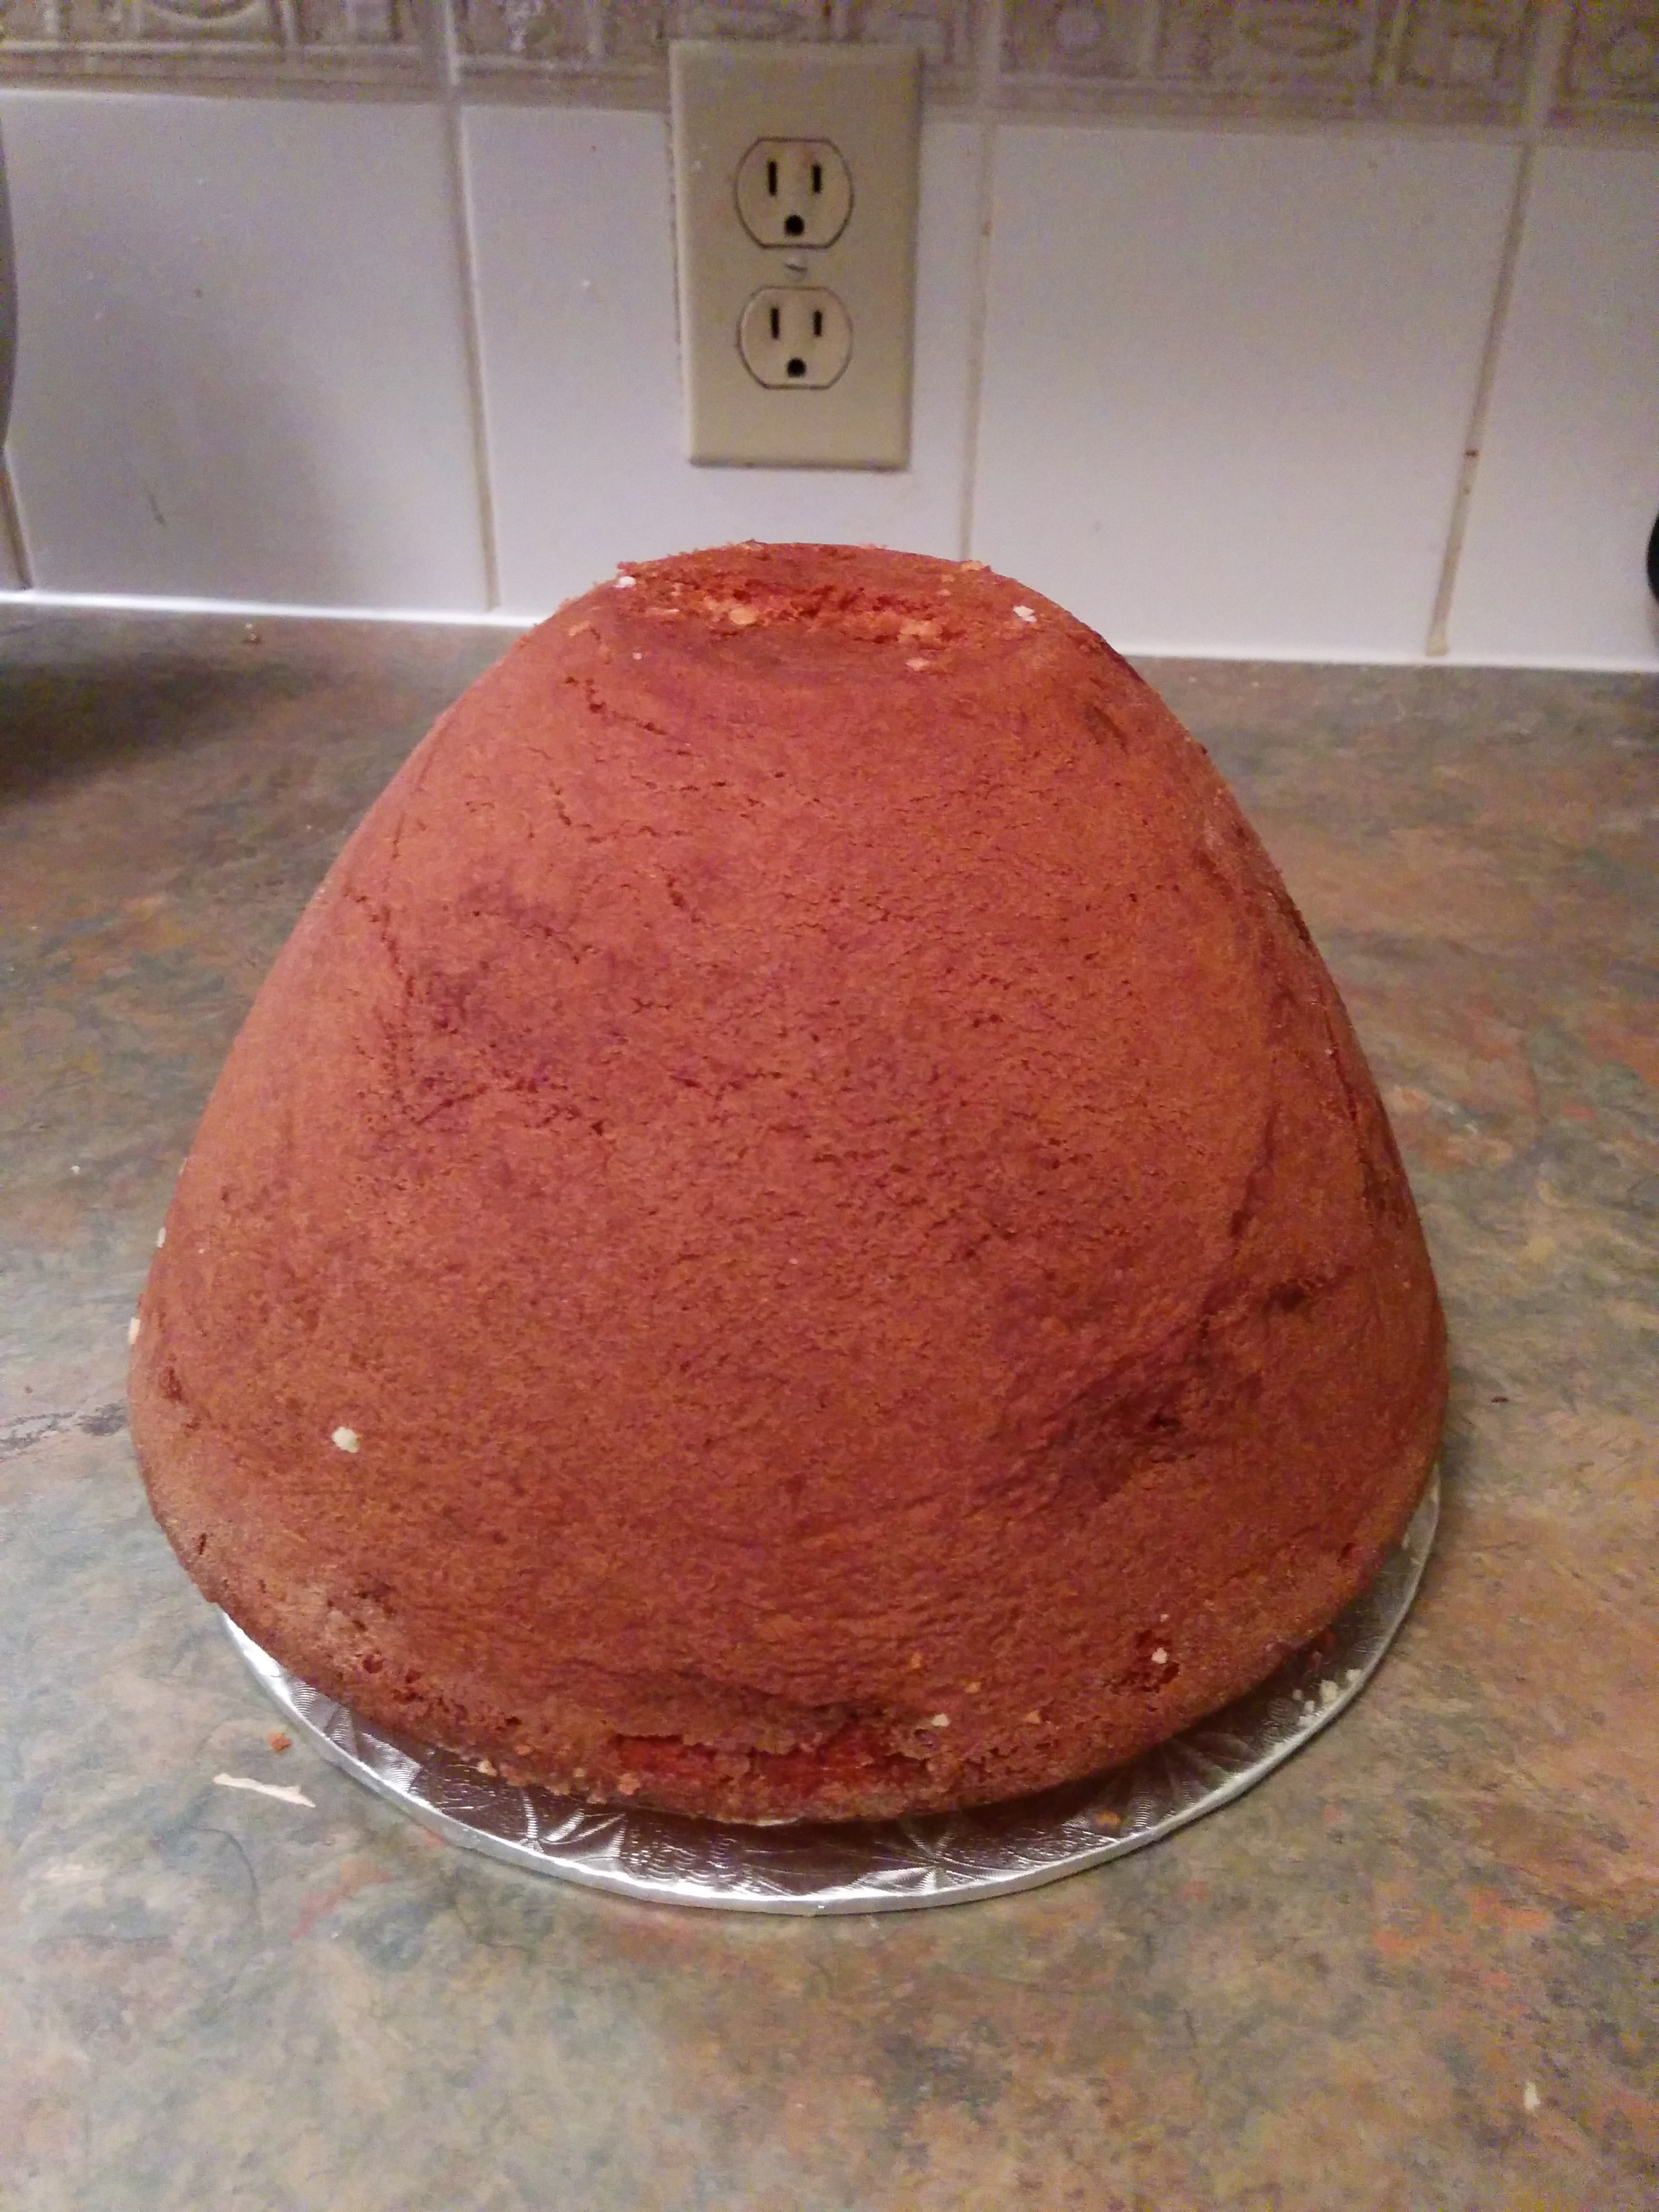
There are two parts to a princess cake. Both parts are demarcated at the waist. The actual cake part starts from the waist downwards. Technically, any type of baking pan can be used to make princess cakes. All you need to do is carve the cake during frosting. This however leads to a lot of waste and unless you are very skilled at carving cakes, the ball part of the gown might not look flattering. I always make use of Wilton’s Wonder Mold Pans to bake princess cakes. This pan comes already shaped like a ball gown which saves you the stress of carving your cake.
Preparing the Pan:
Due to the shape of the pan, it is important to prepare it properly so the cake releases easily from the pan. To do this, grease inside the pan with shortening (Crisco). Wilton specifically advises against the use of butter for greasing this pan. Next, put some flour in the greased pan and rotate the pan so he flour coats the shortening. Finally, place the pan in the fridge so the coating hardens. This can be done just before you start mixing the cake batter. It will be ready for use by the time the batter is ready to be baked.

THE DOLL
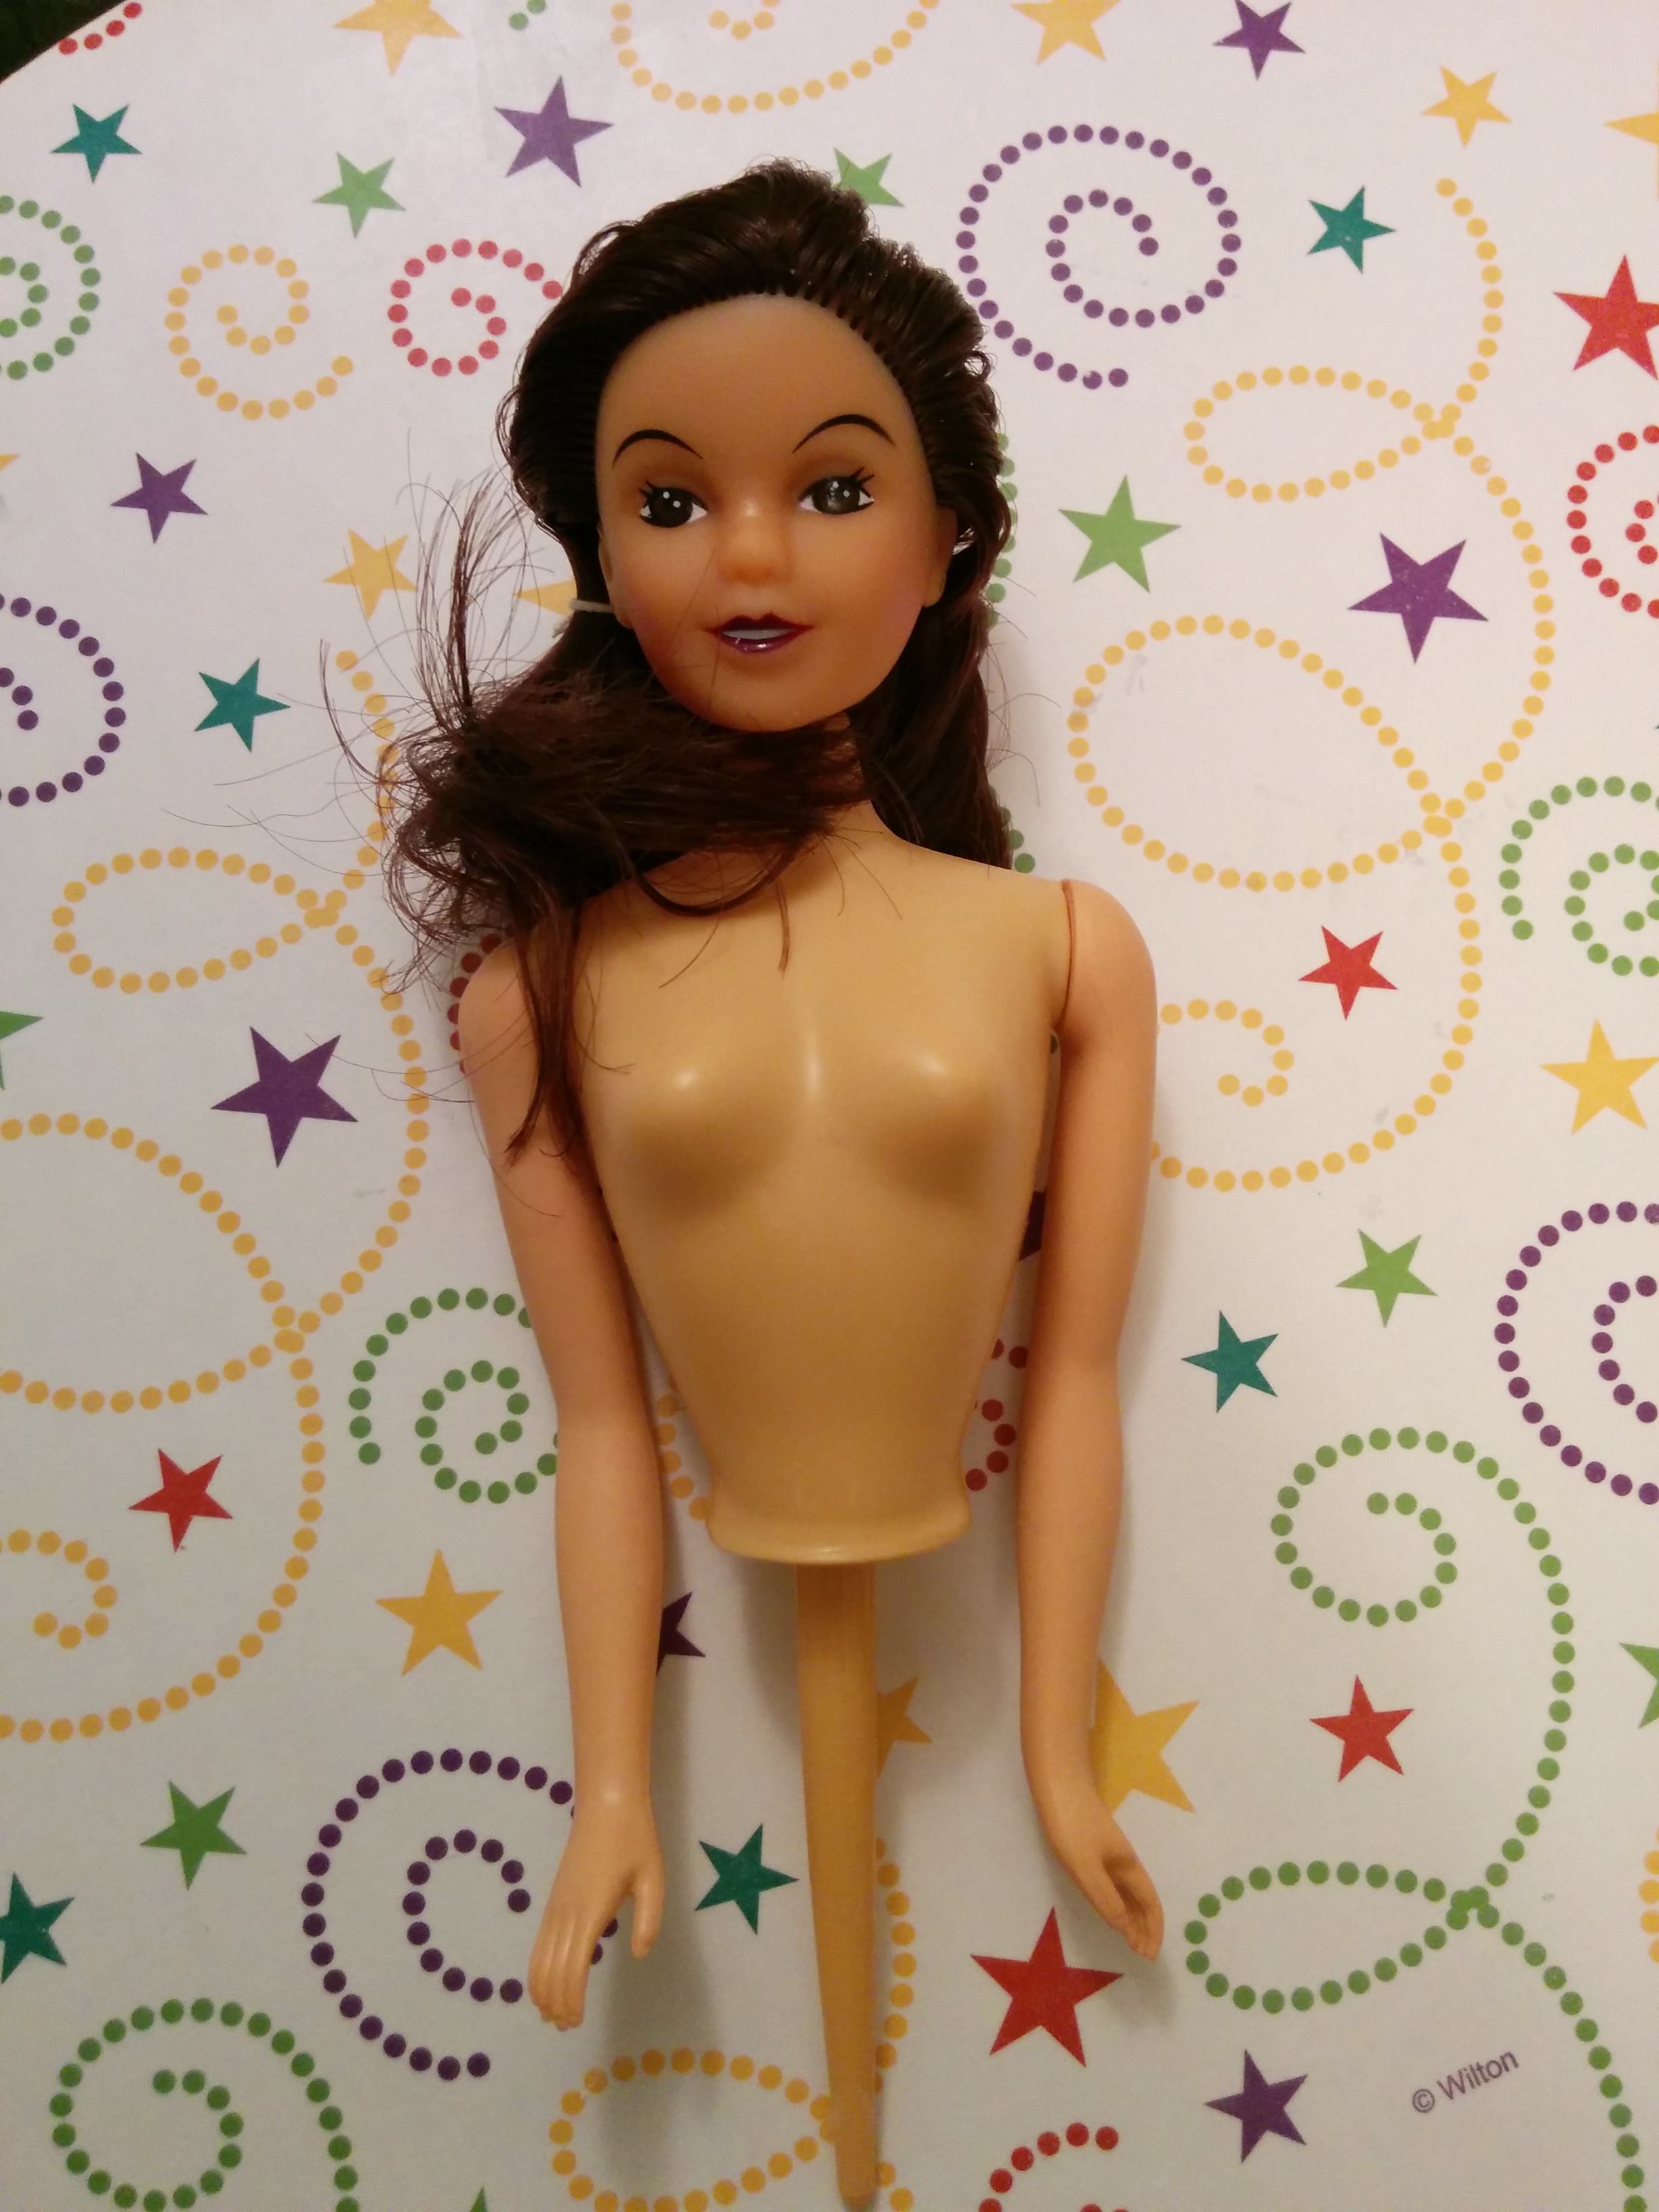
Again, you can use any type or doll you like. I however use Wilton doll picks which come in various hair colors and races. If using a regular doll with legs, wrap the legs together with a tape and cover the wrapped legs with cling film before inserting it into your cake. It also means that you have to create a hole in your cake if using a regular doll. A tip for using the Wilton doll picks is to make the hair of the doll before inserting it into the cake. This will prevent the fondant from cracking or the doll coming off the cake due to excessive pulling or tugging.

THE CAKE BATTER
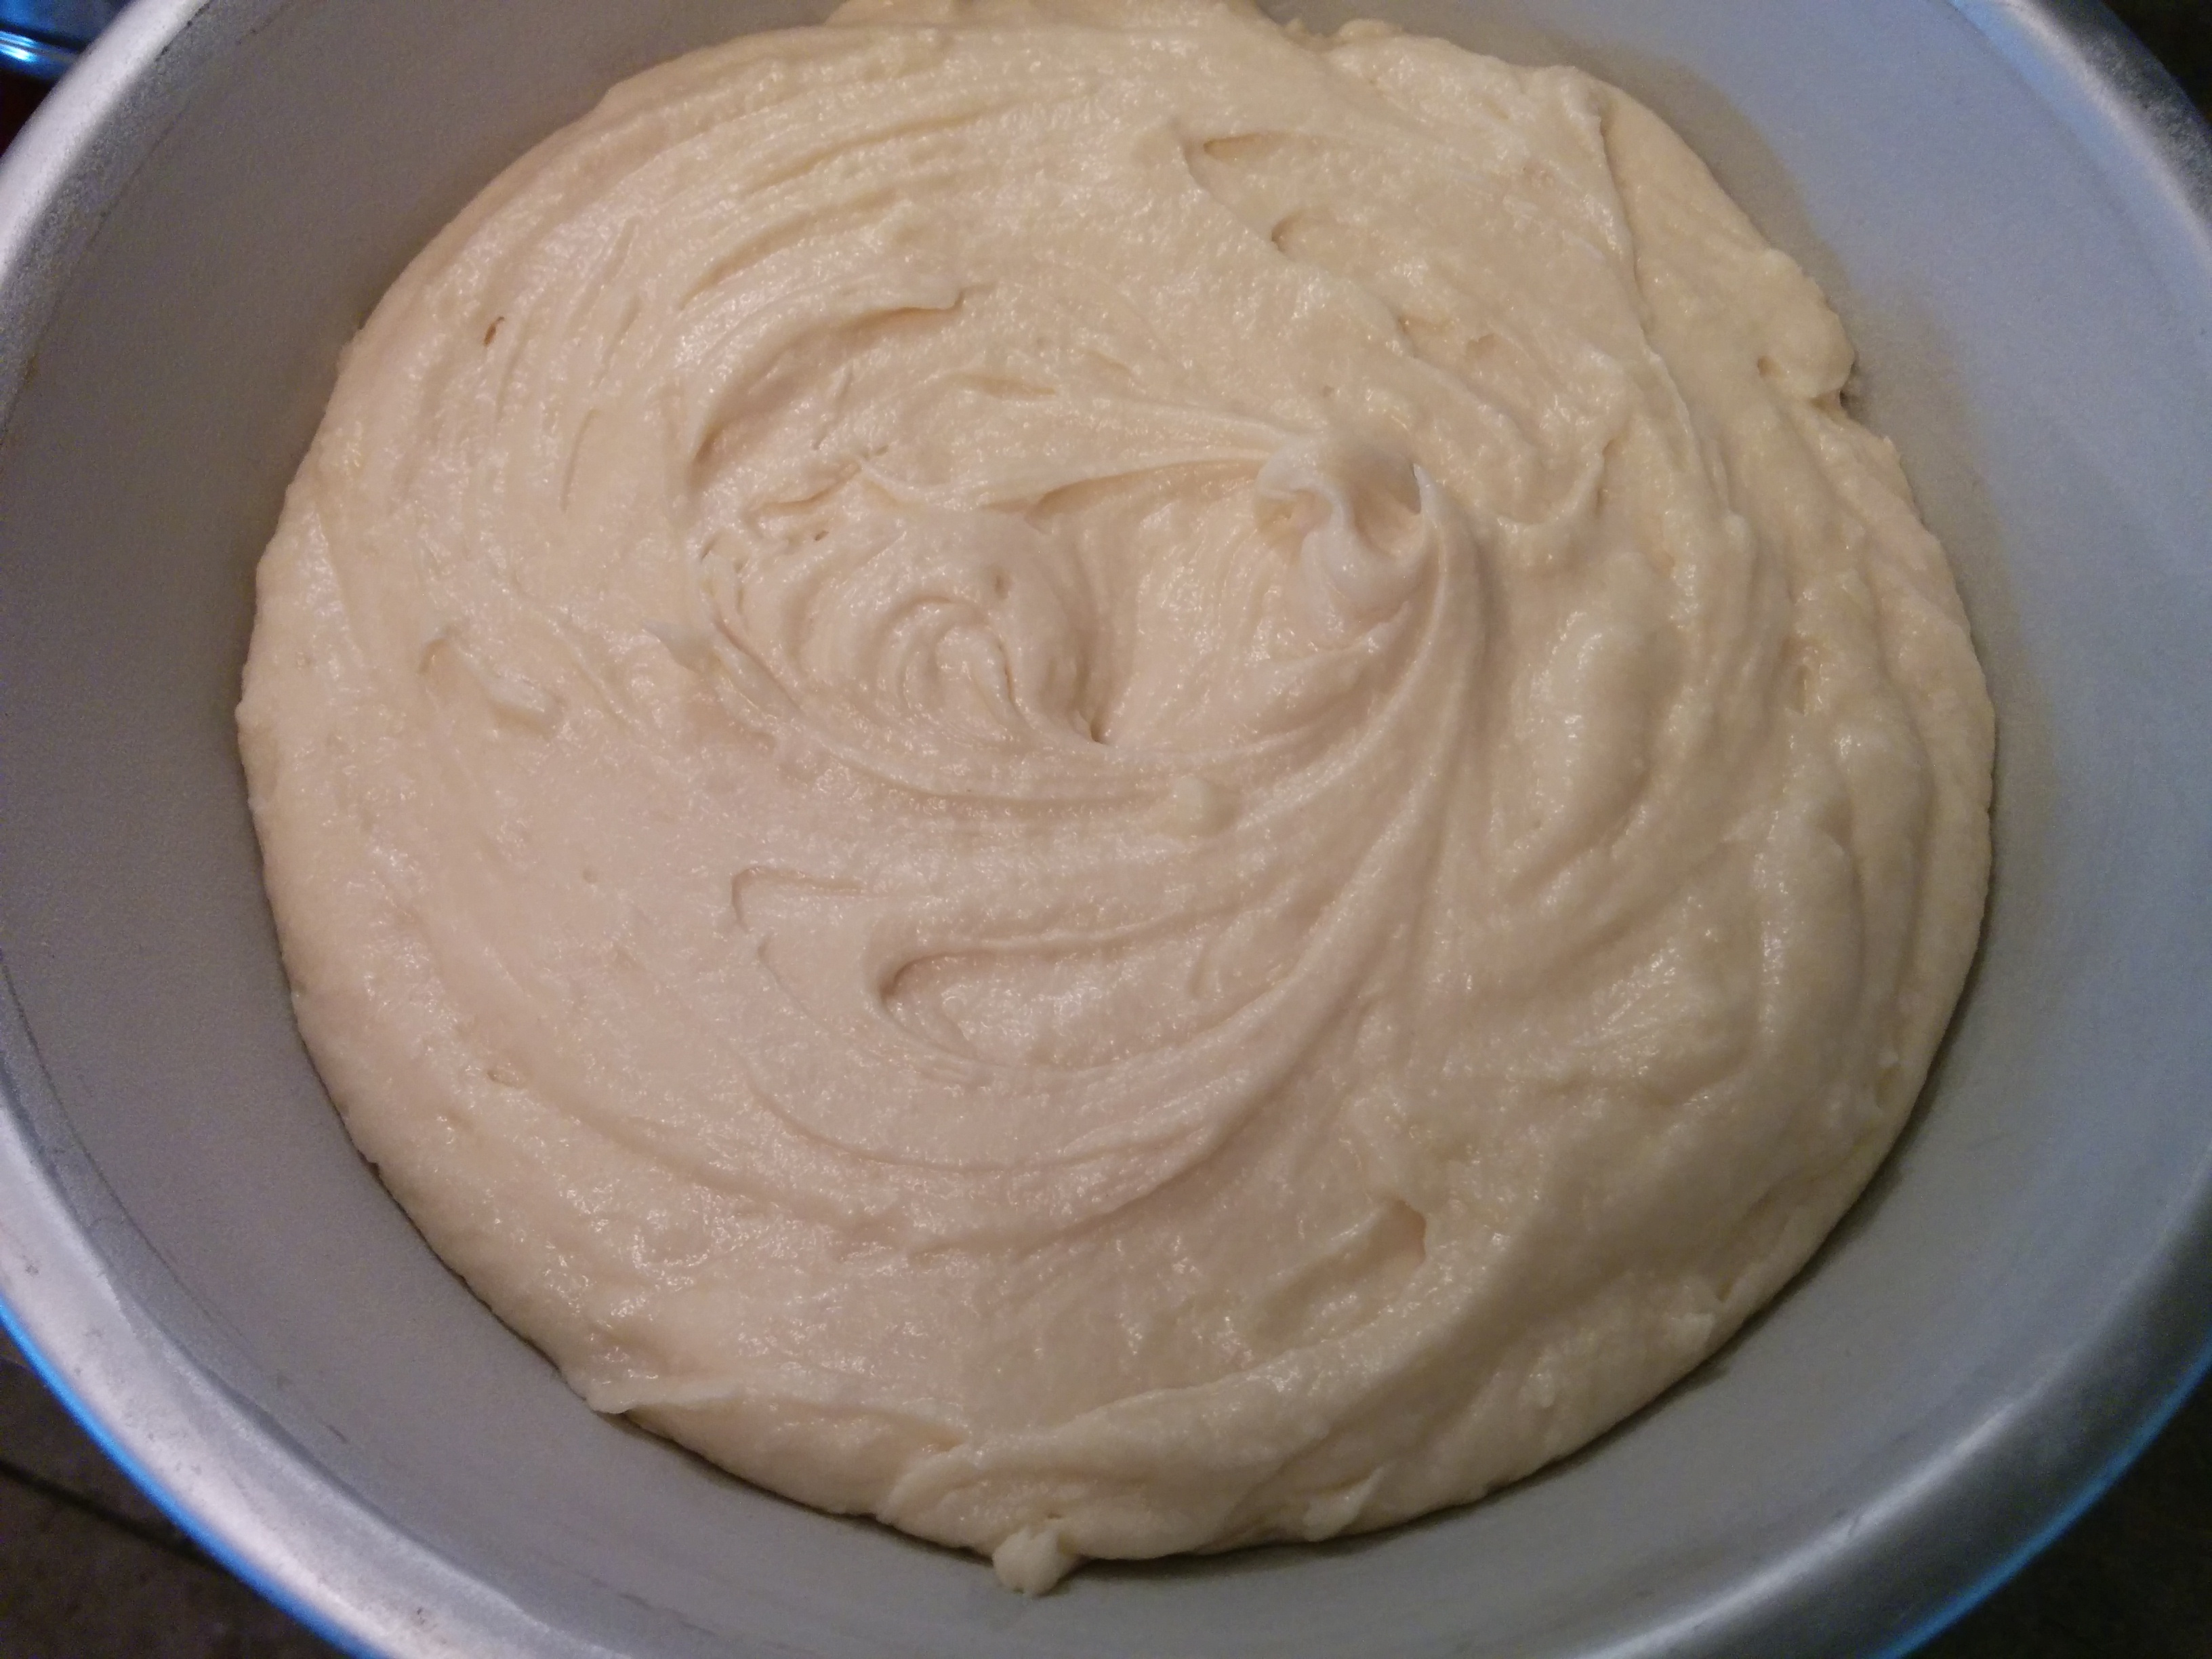
Any type of cake can be used to make princess cakes. I have used pound cakes, red velvet cakes, carrot cakes, sponge cakes, chocolate cakes etc. The choice is yours. In terms of quantity of batter, you want the batter to fill about 3/4 of the pan. My Nigerian cake, French vanilla sponge cake and chocolate butter cake recipes will fill the pan well. If using my red velvet cake recipe, you want to triple the recipe. Double my pound cake recipe for this cake.
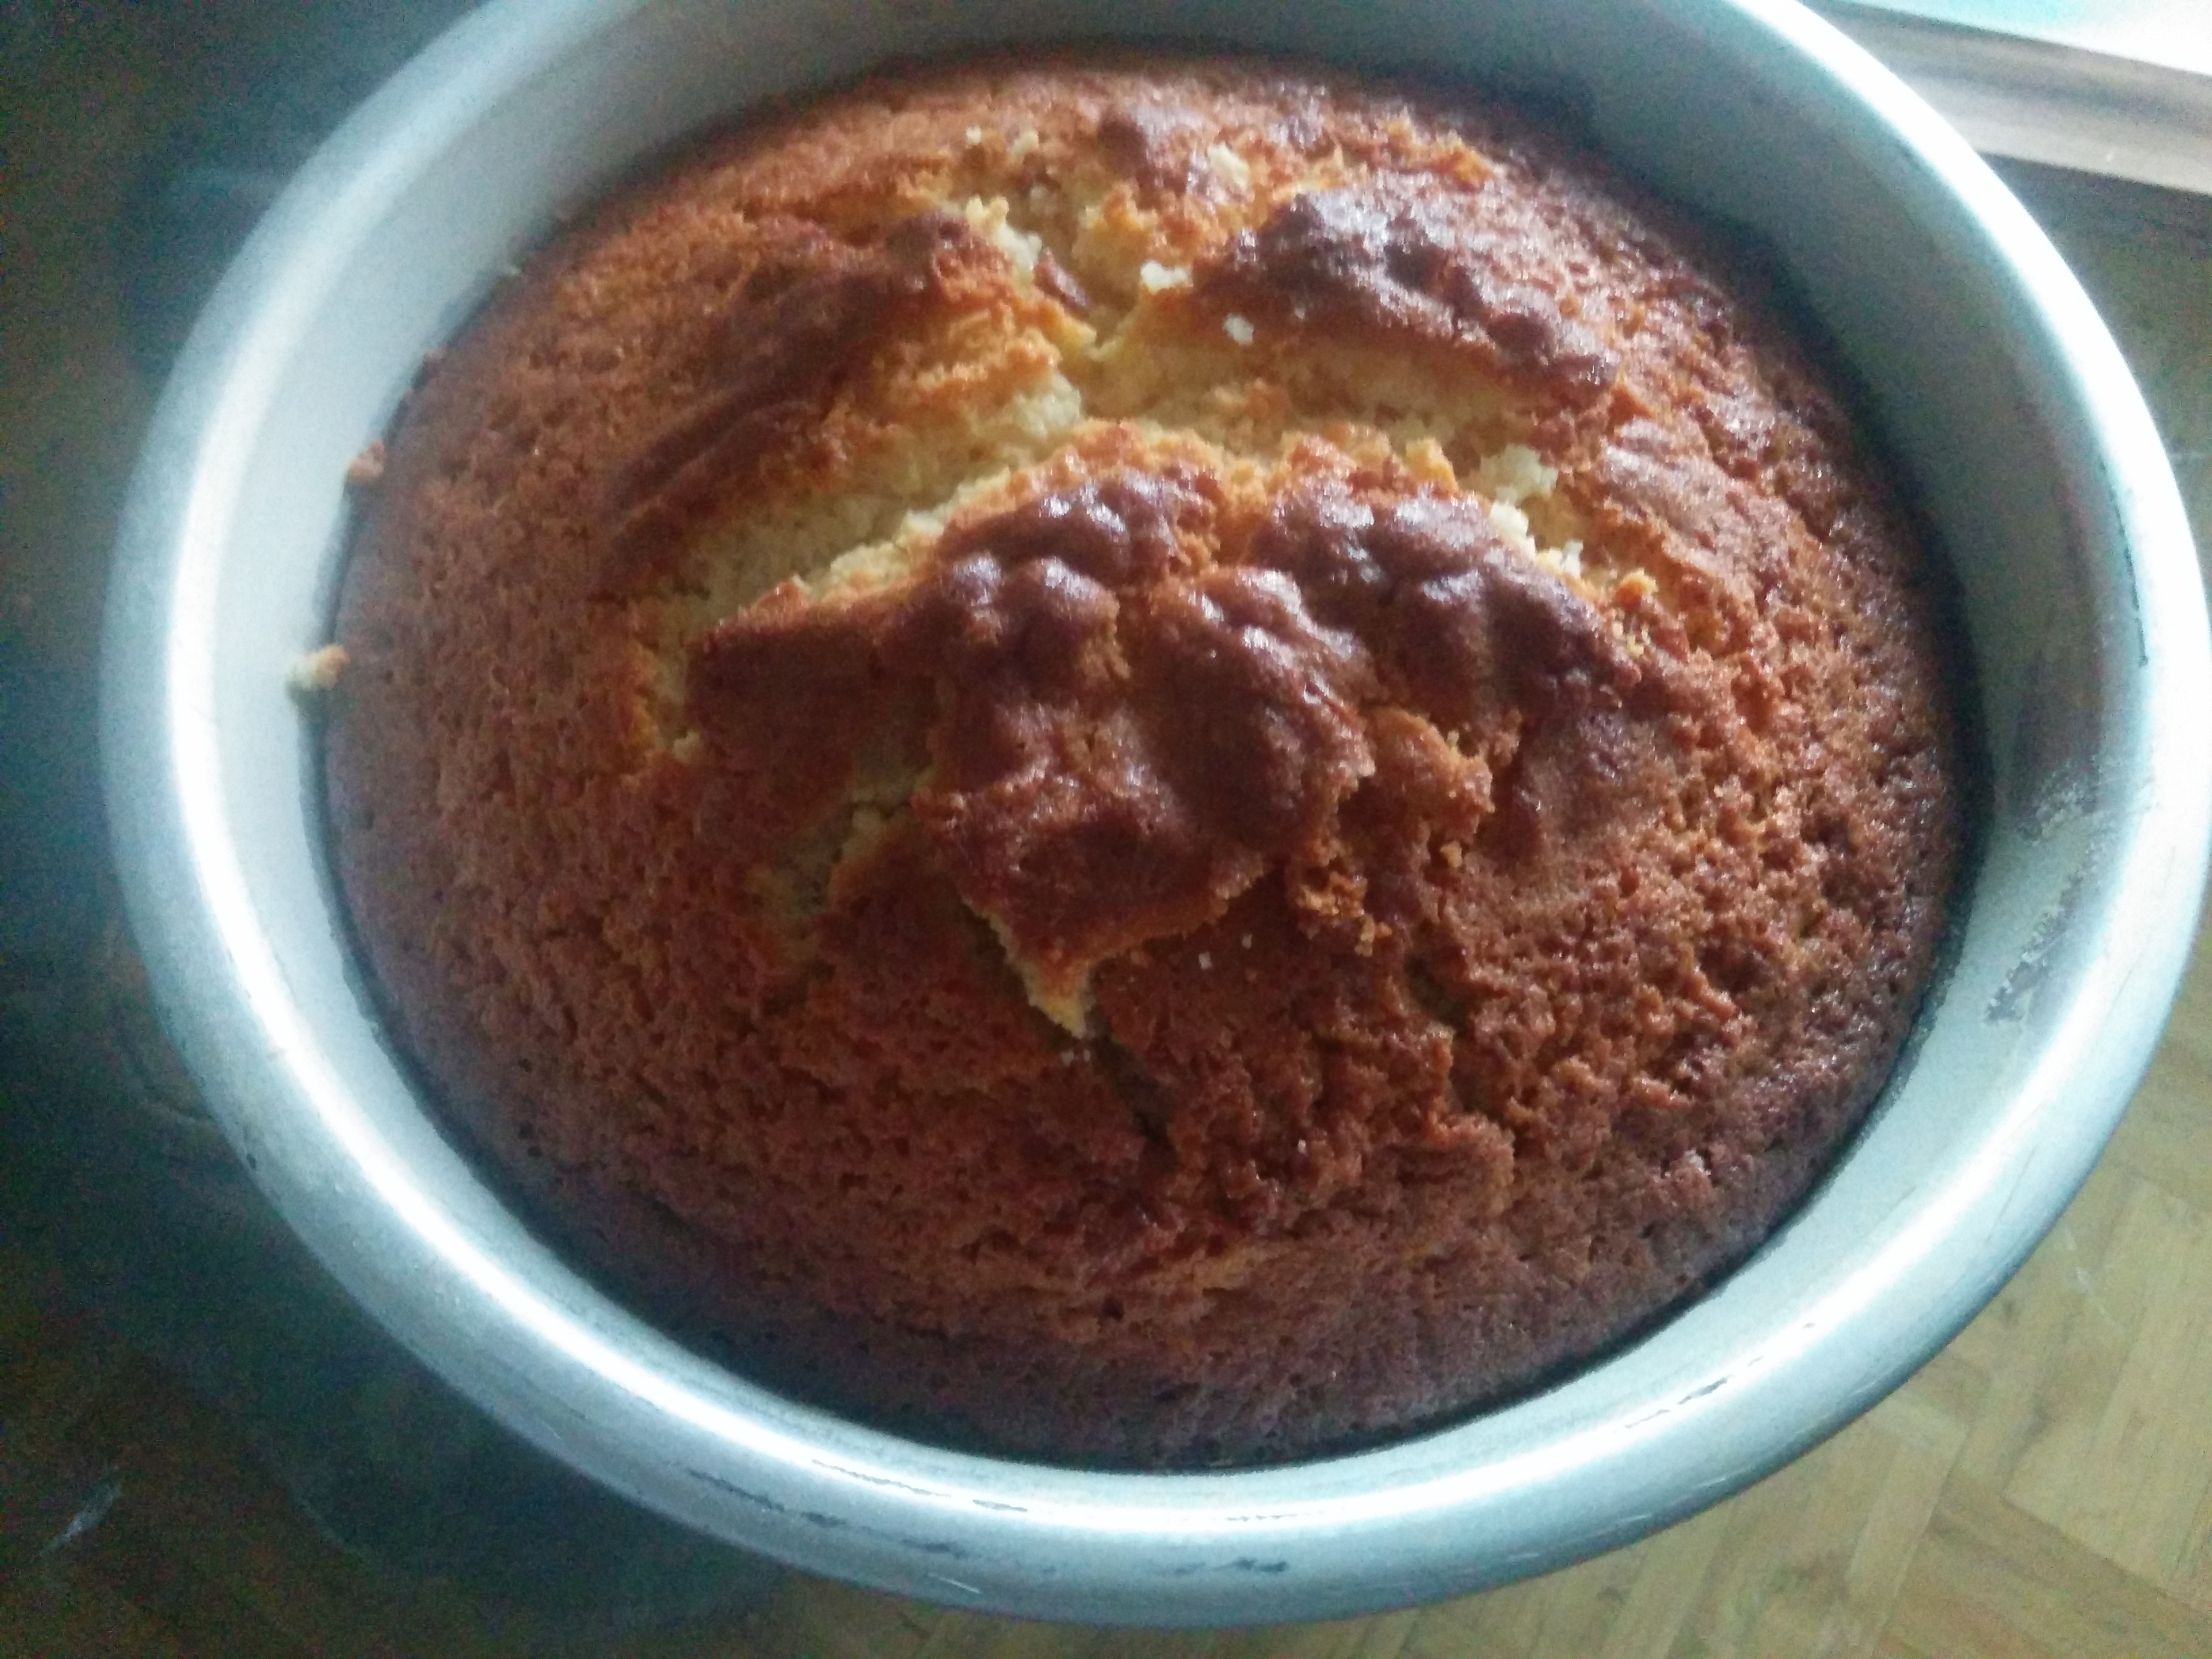
BAKING AND COOLING CAKE
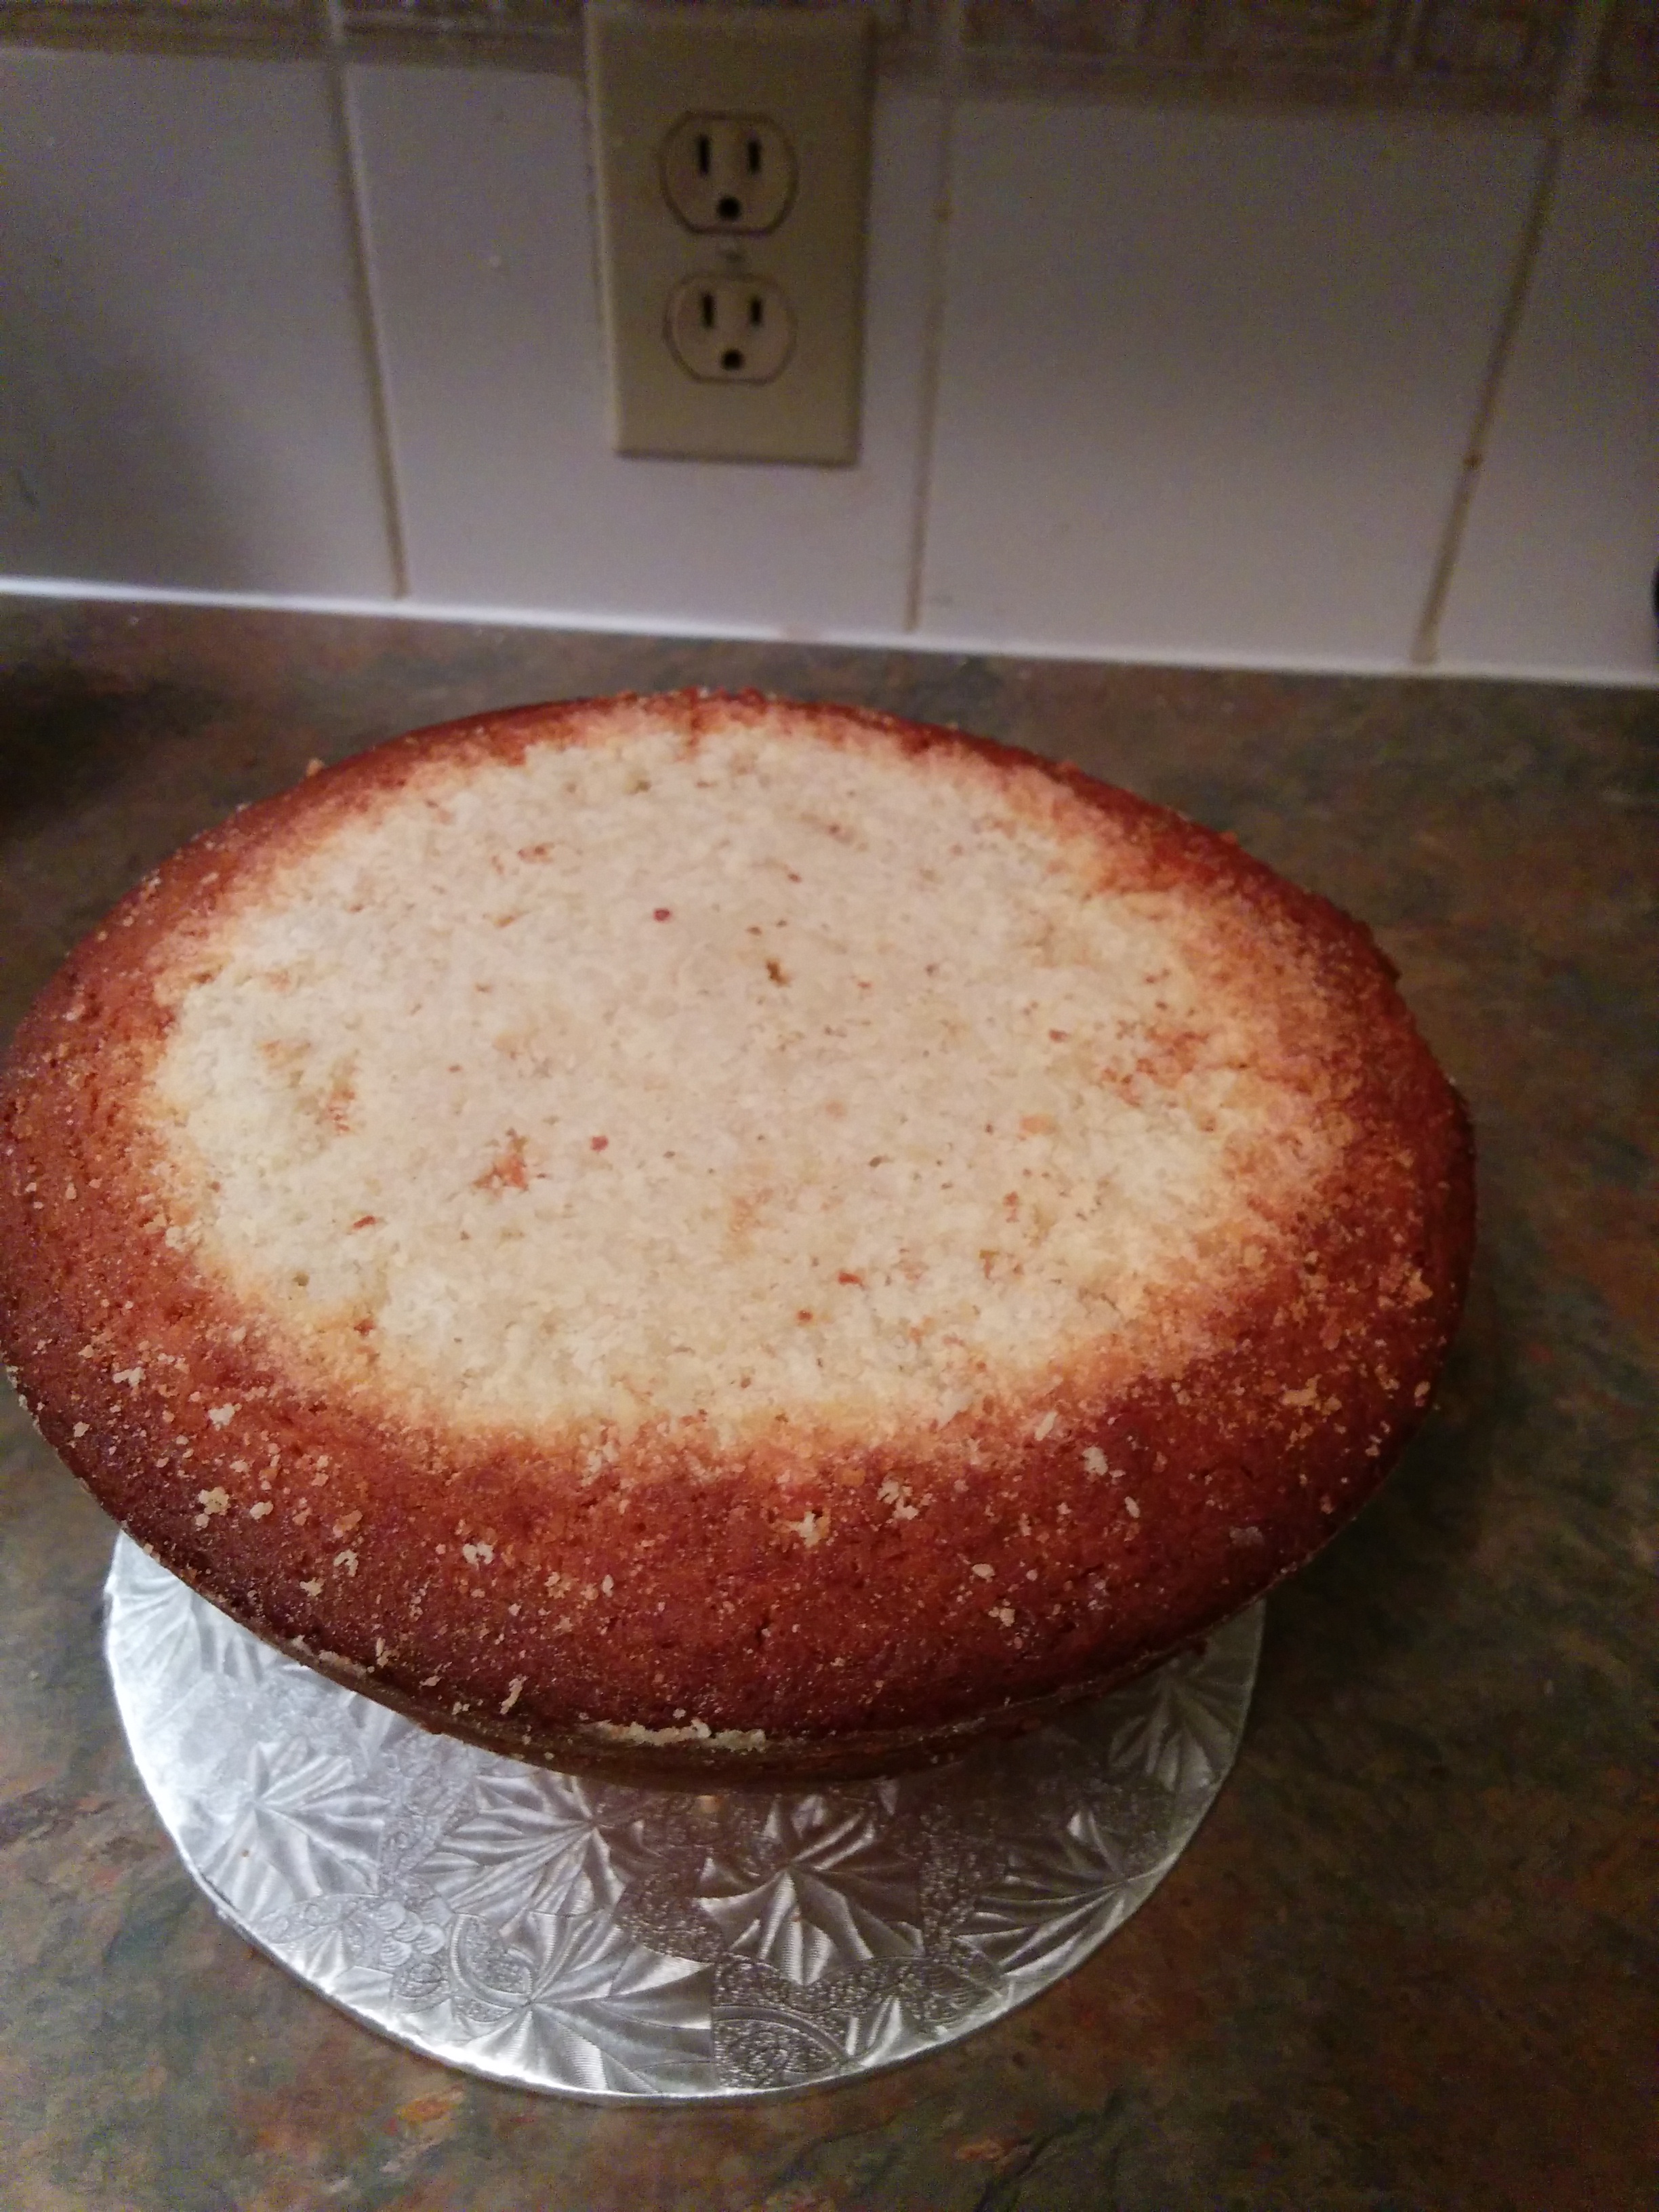
Bake the cake at the usual temperature you cake your cakes (usually 350 degrees). This cake however takes longer time to bake than most other cakes. Use a wooden skewer to check for readiness every 10 minutes after the normal baking time for the type of cake you are baking. If the top of the cake is getting too brown, you can cover the top with foil paper. The top will however be leveled, so this step might not be necessary. Ensure your cake is properly baked or it will collapse in the middle when cooling. After baking, allow the cake to cool completely in the pan before taking it out. If your cake sticks to the pan (which would happen if the pan is not properly prepared), simply run a knife around the sides of the cake to release it. Chill your cake in the fridge upside down after taking it out of the pan. You might need to level the top of the cake before chilling it.
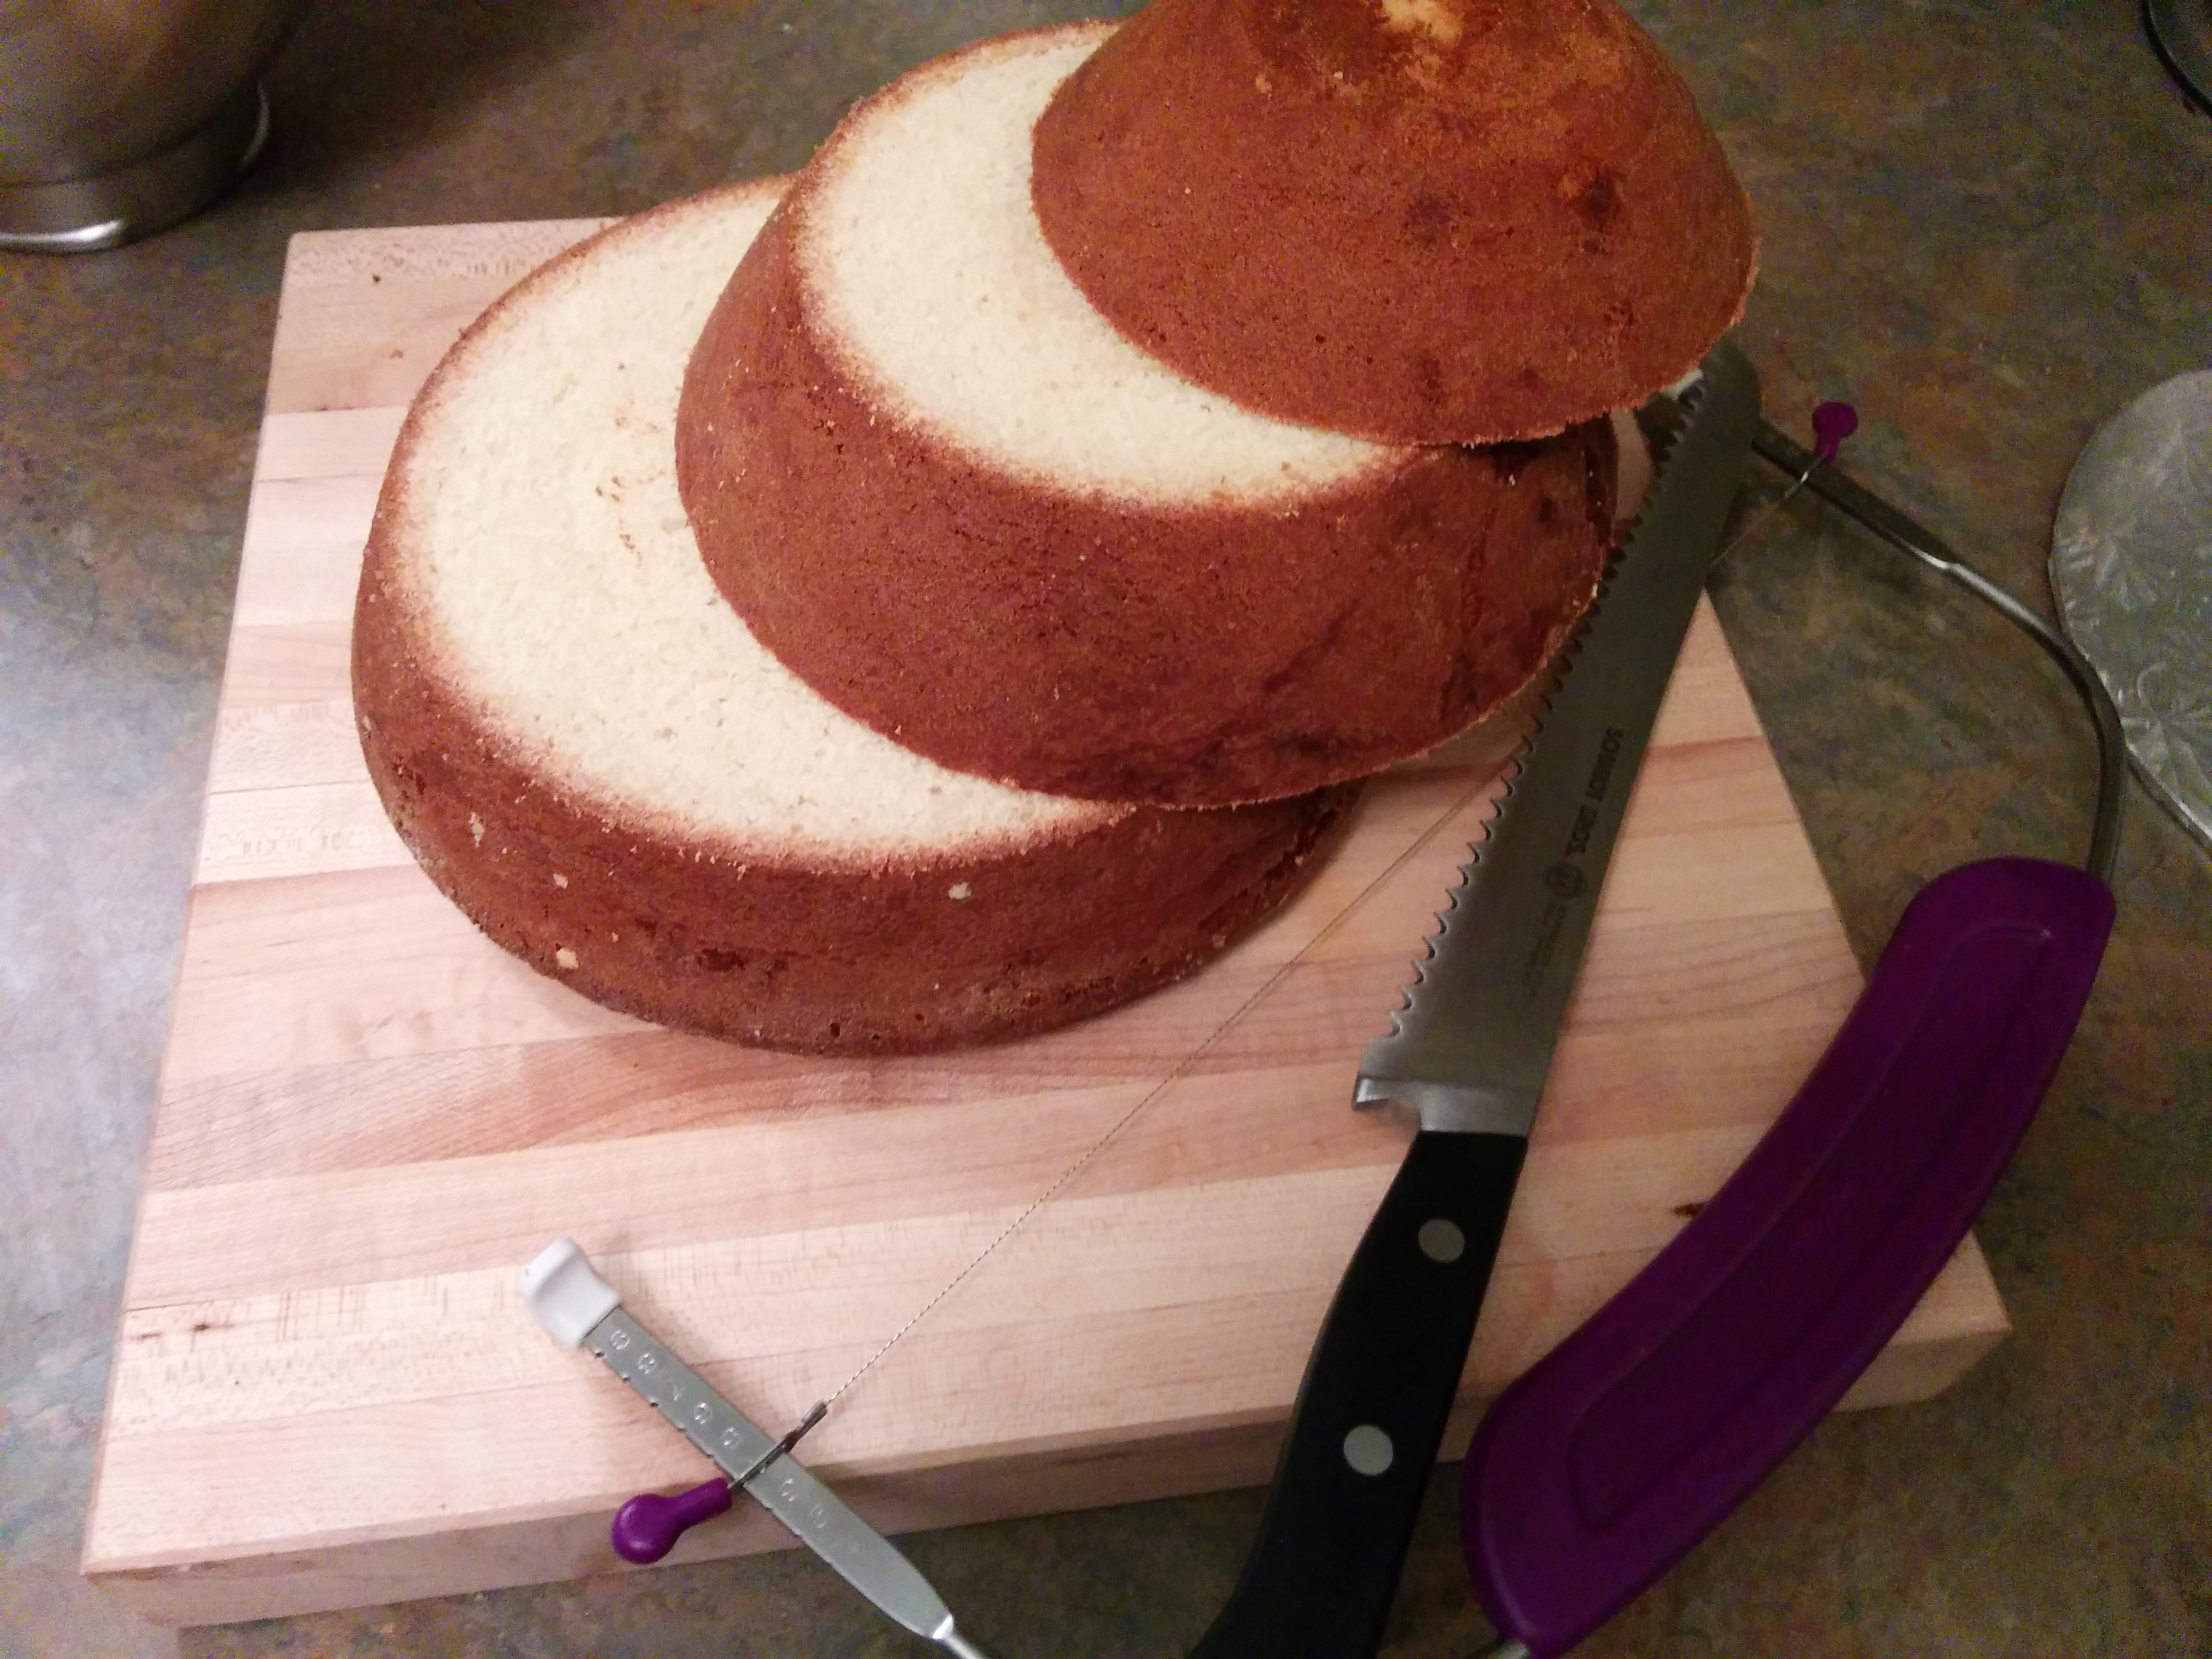
LEVELING AND FROSTING
After your cake has chilled sufficiently, level, torte and frost it like you would any other cake. You can check out my tutorials on how to level and torte cakes (here) and how to frost cakes (here). I usually divide this cake into 3 layers when I torte it. Chill the cake after frosting. Before decorating the cake, place it on the cake board it will be displayed on. This is one cake you do not want to transfer after decorating.

DESIGNING
Now that we are done with the preliminary, yet very important preparation stages, its time for the main designing job.
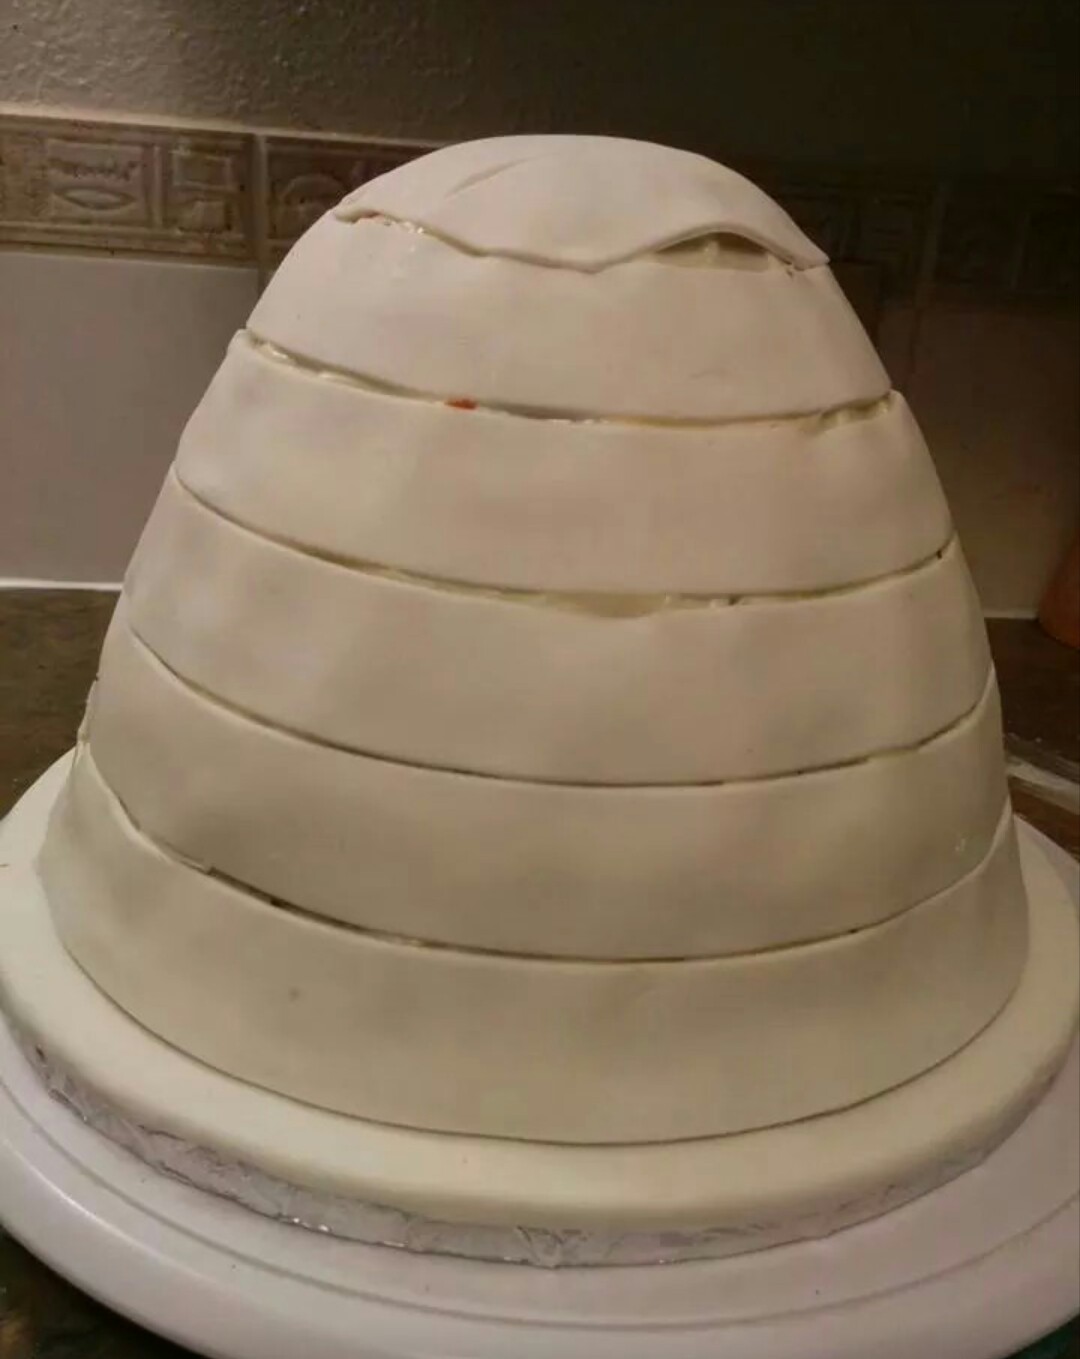
(1) Sealing
First, seal the cake with strips of fondant. Though this step is not essential, it is however very useful. (1) It seals in the frosting, ensuring that you have a neat finished product. (2) It seals the base of the cake. It is unattractive to see parts of the cake under the gown. (3) It makes the color of the fondant appear sharper. This is especially so when you are working with white fondant or chocolate frosting. You don’t want any darkness from the cake coming through in the design.
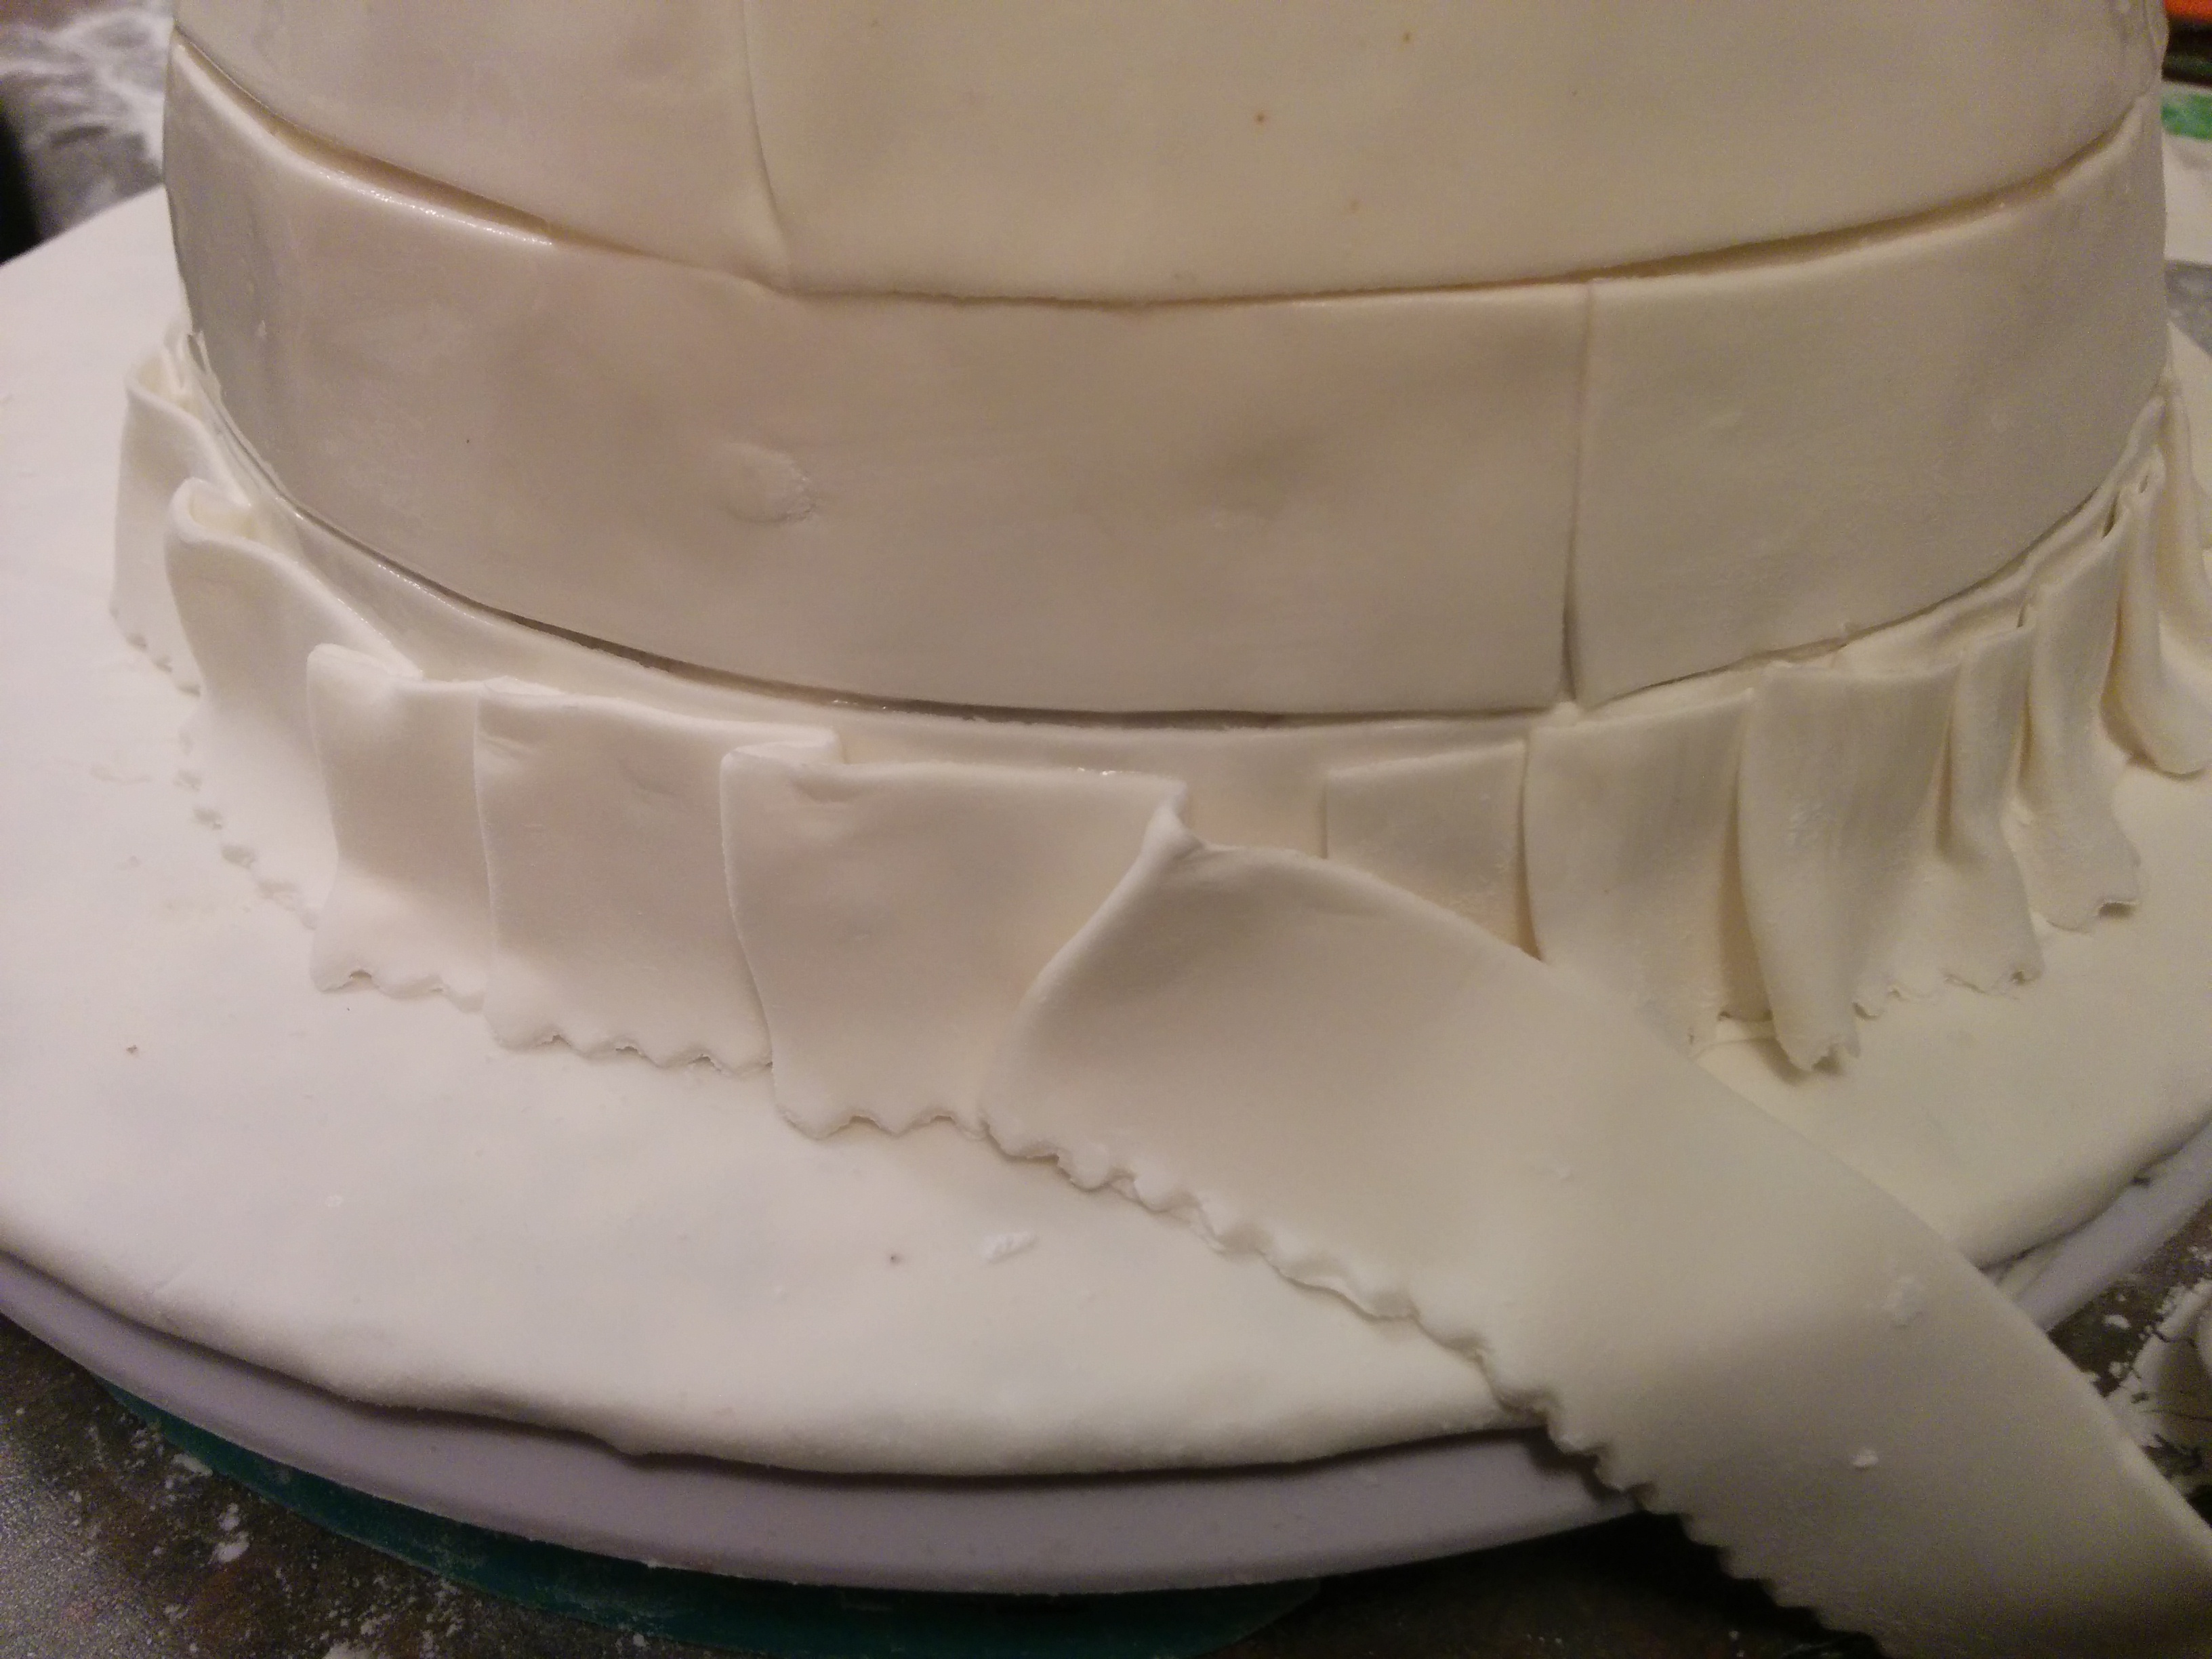
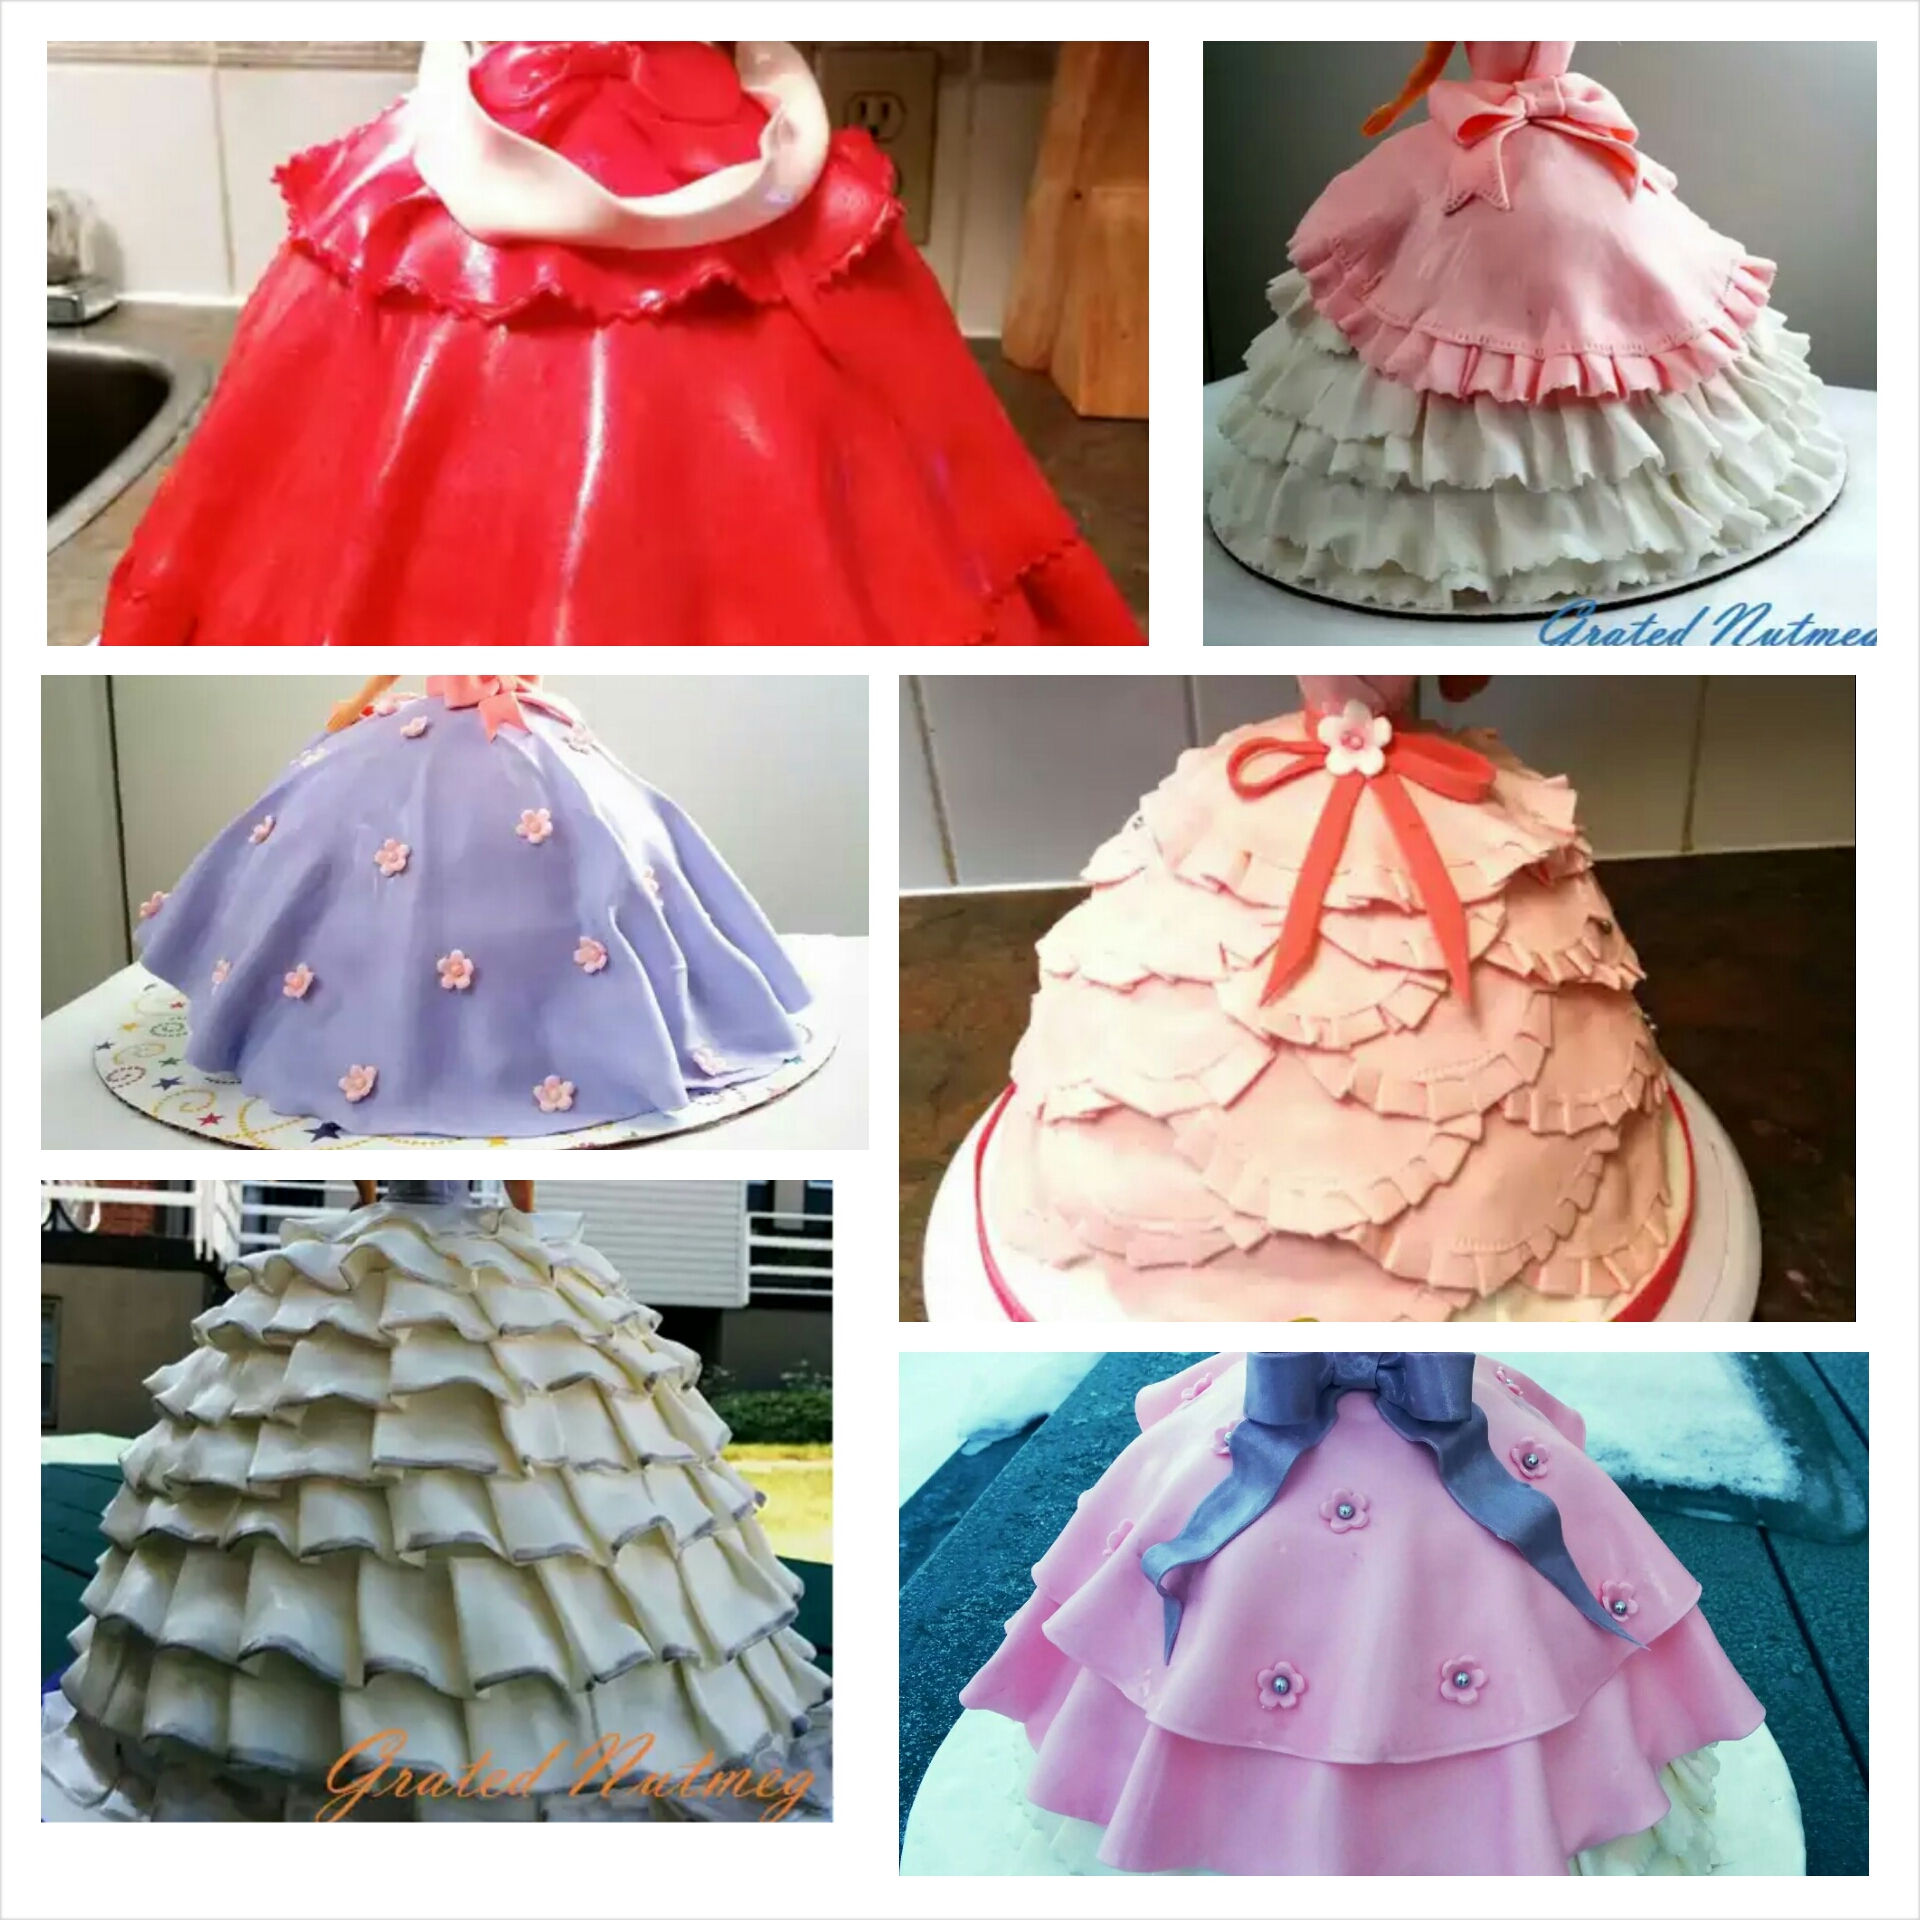
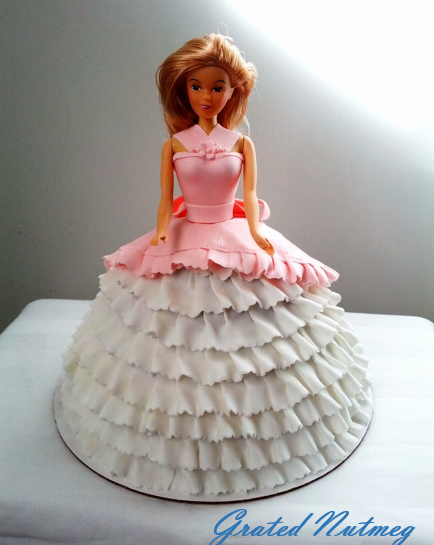
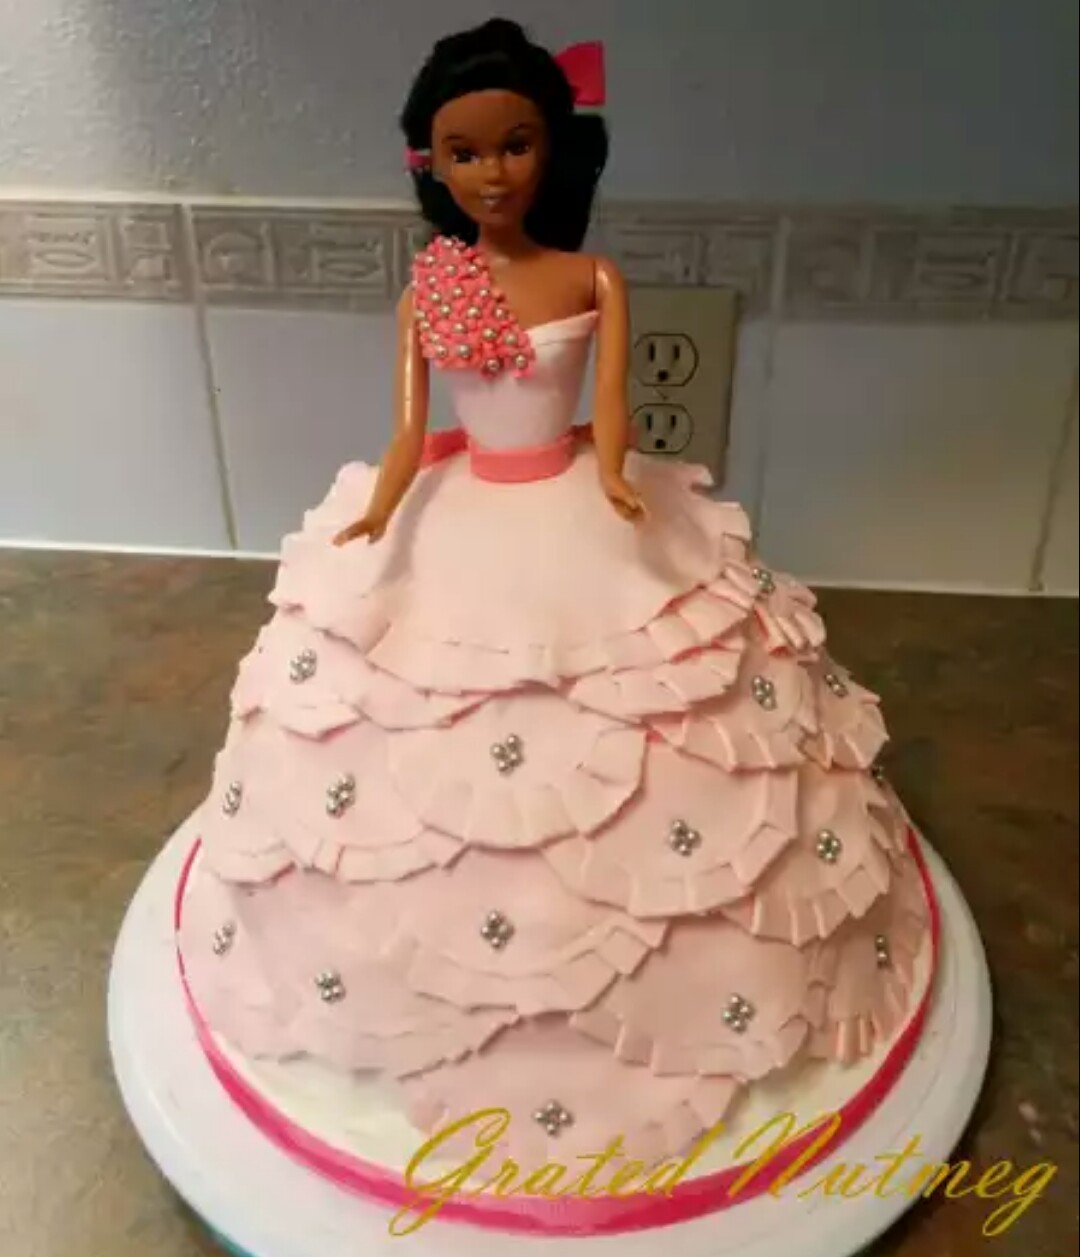
(2) Ruffles.
After sealing, it is time to make your ruffles. This is done by cutting out strips of fondant about 1 inch in thickness and sticking them to the cake in rows, folding and pleating as you go along. When one strip finishes, just get another and continue until you have gone round the cake. Brush the cake with some water before applying the ruffles. In order to achieve the best folds, make sure your fondant is rolled thin, soft and not dry. Dried fondant will crack during the process and not fold as well. The number of rows you make and how you place them will depend on the design you want to achieve.
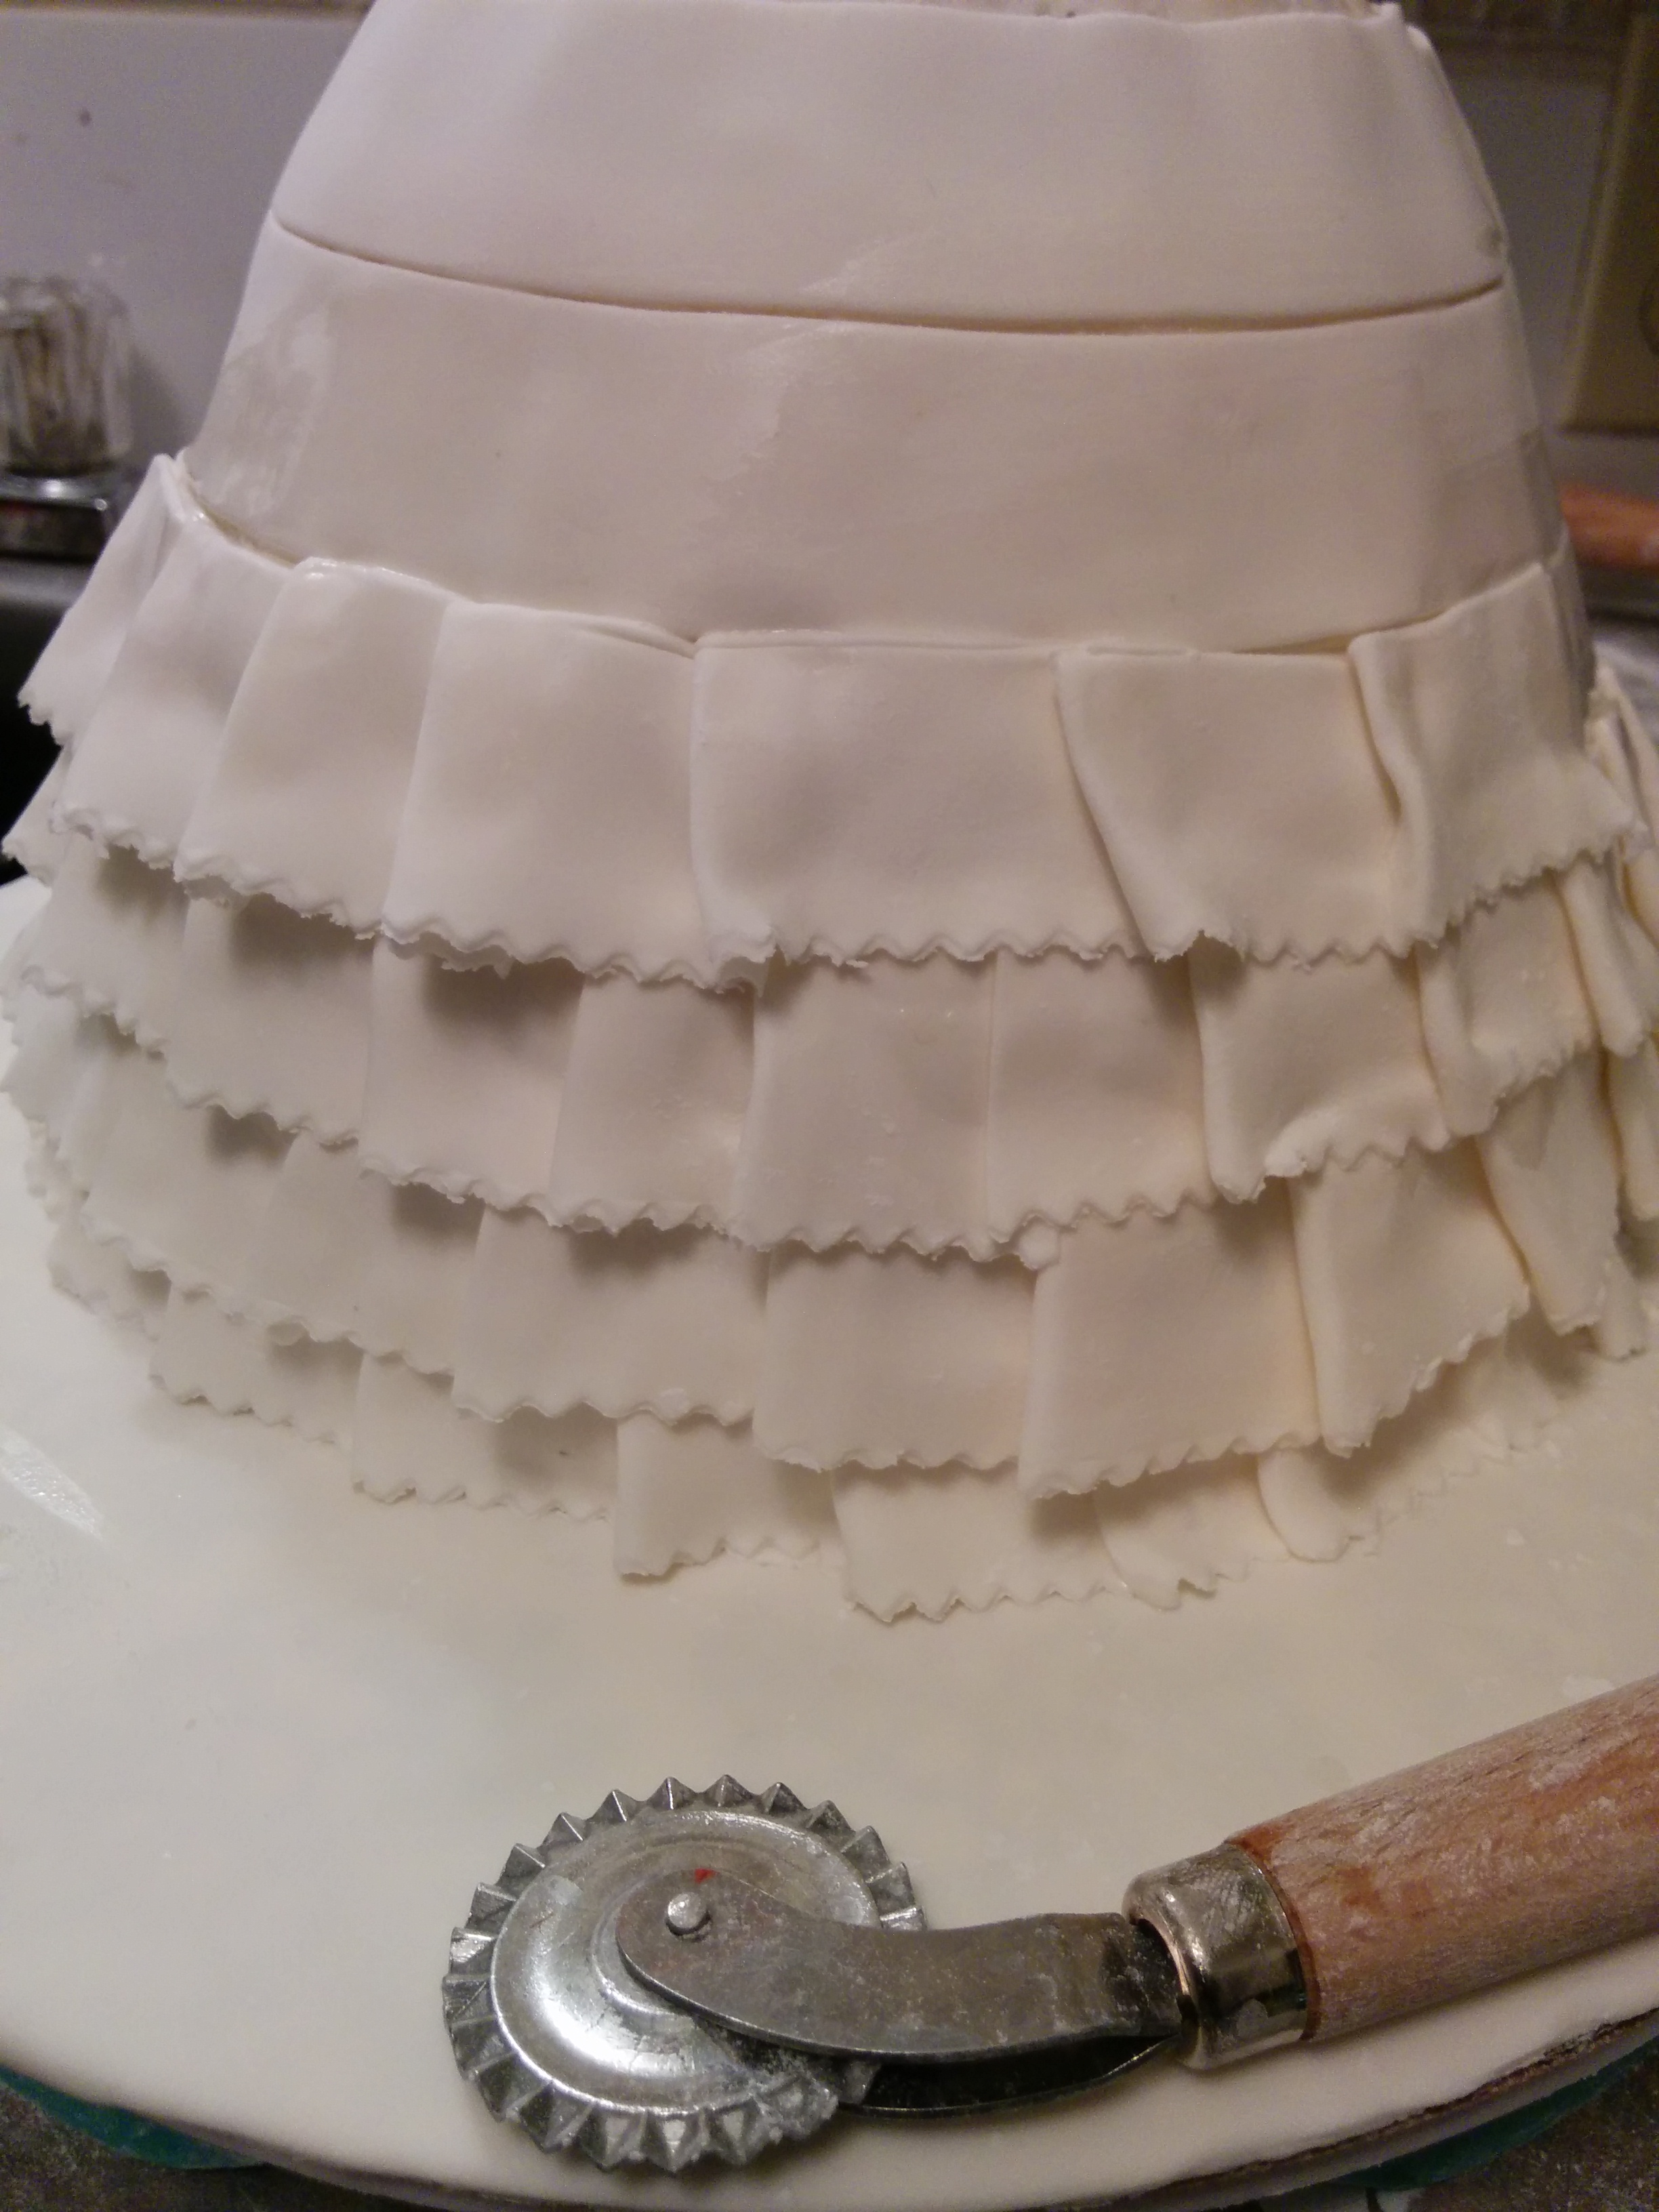
(a) If the ball of the gown is going to be made entirely of ruffles, you want the ruffles to go all the way to the top of the gown and completely around the gown.
(b) If the ruffles are only going to show at the bottom of the gown, a few rows of ruffles around the base of the gown should do.

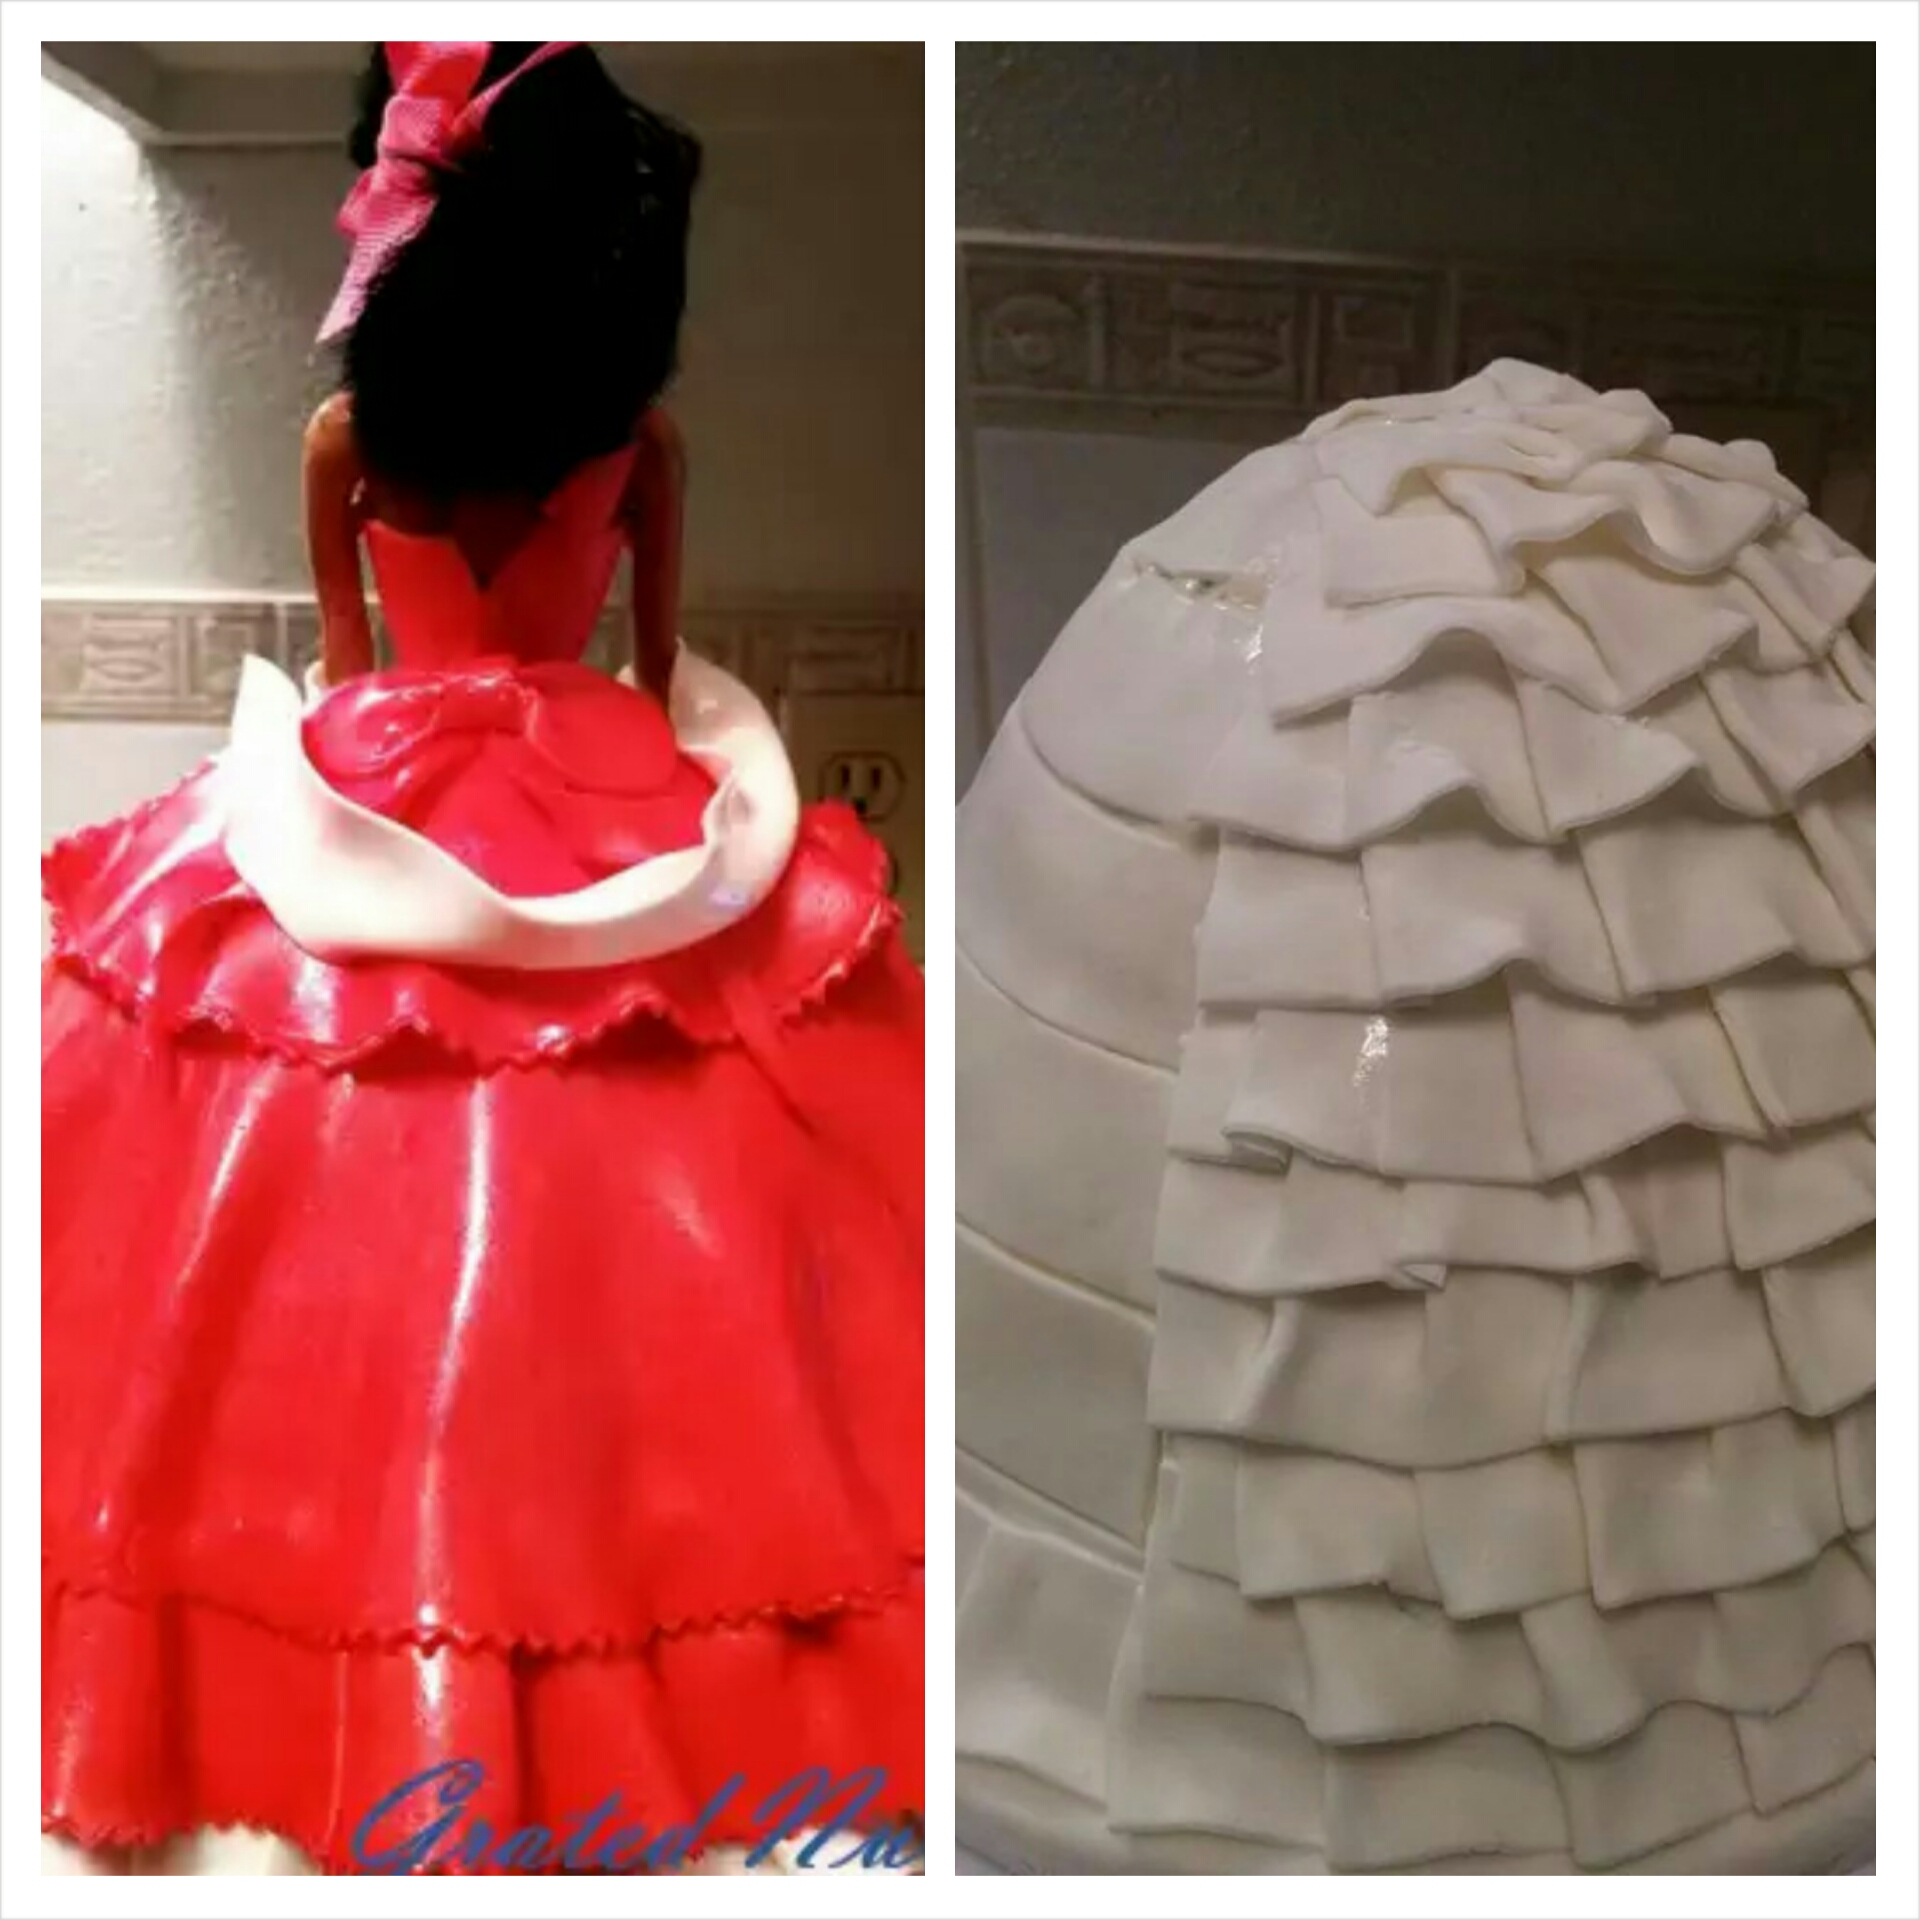
(c) If the back of the gown is going to be covered entirely with draped fondant, make a couple of ruffles around the base of the gown and go half way with the other rows of ruffles.
Though I am yet to make a princess cake without ruffles, it is also possible to go that route. That is going to be my next princess cake project.
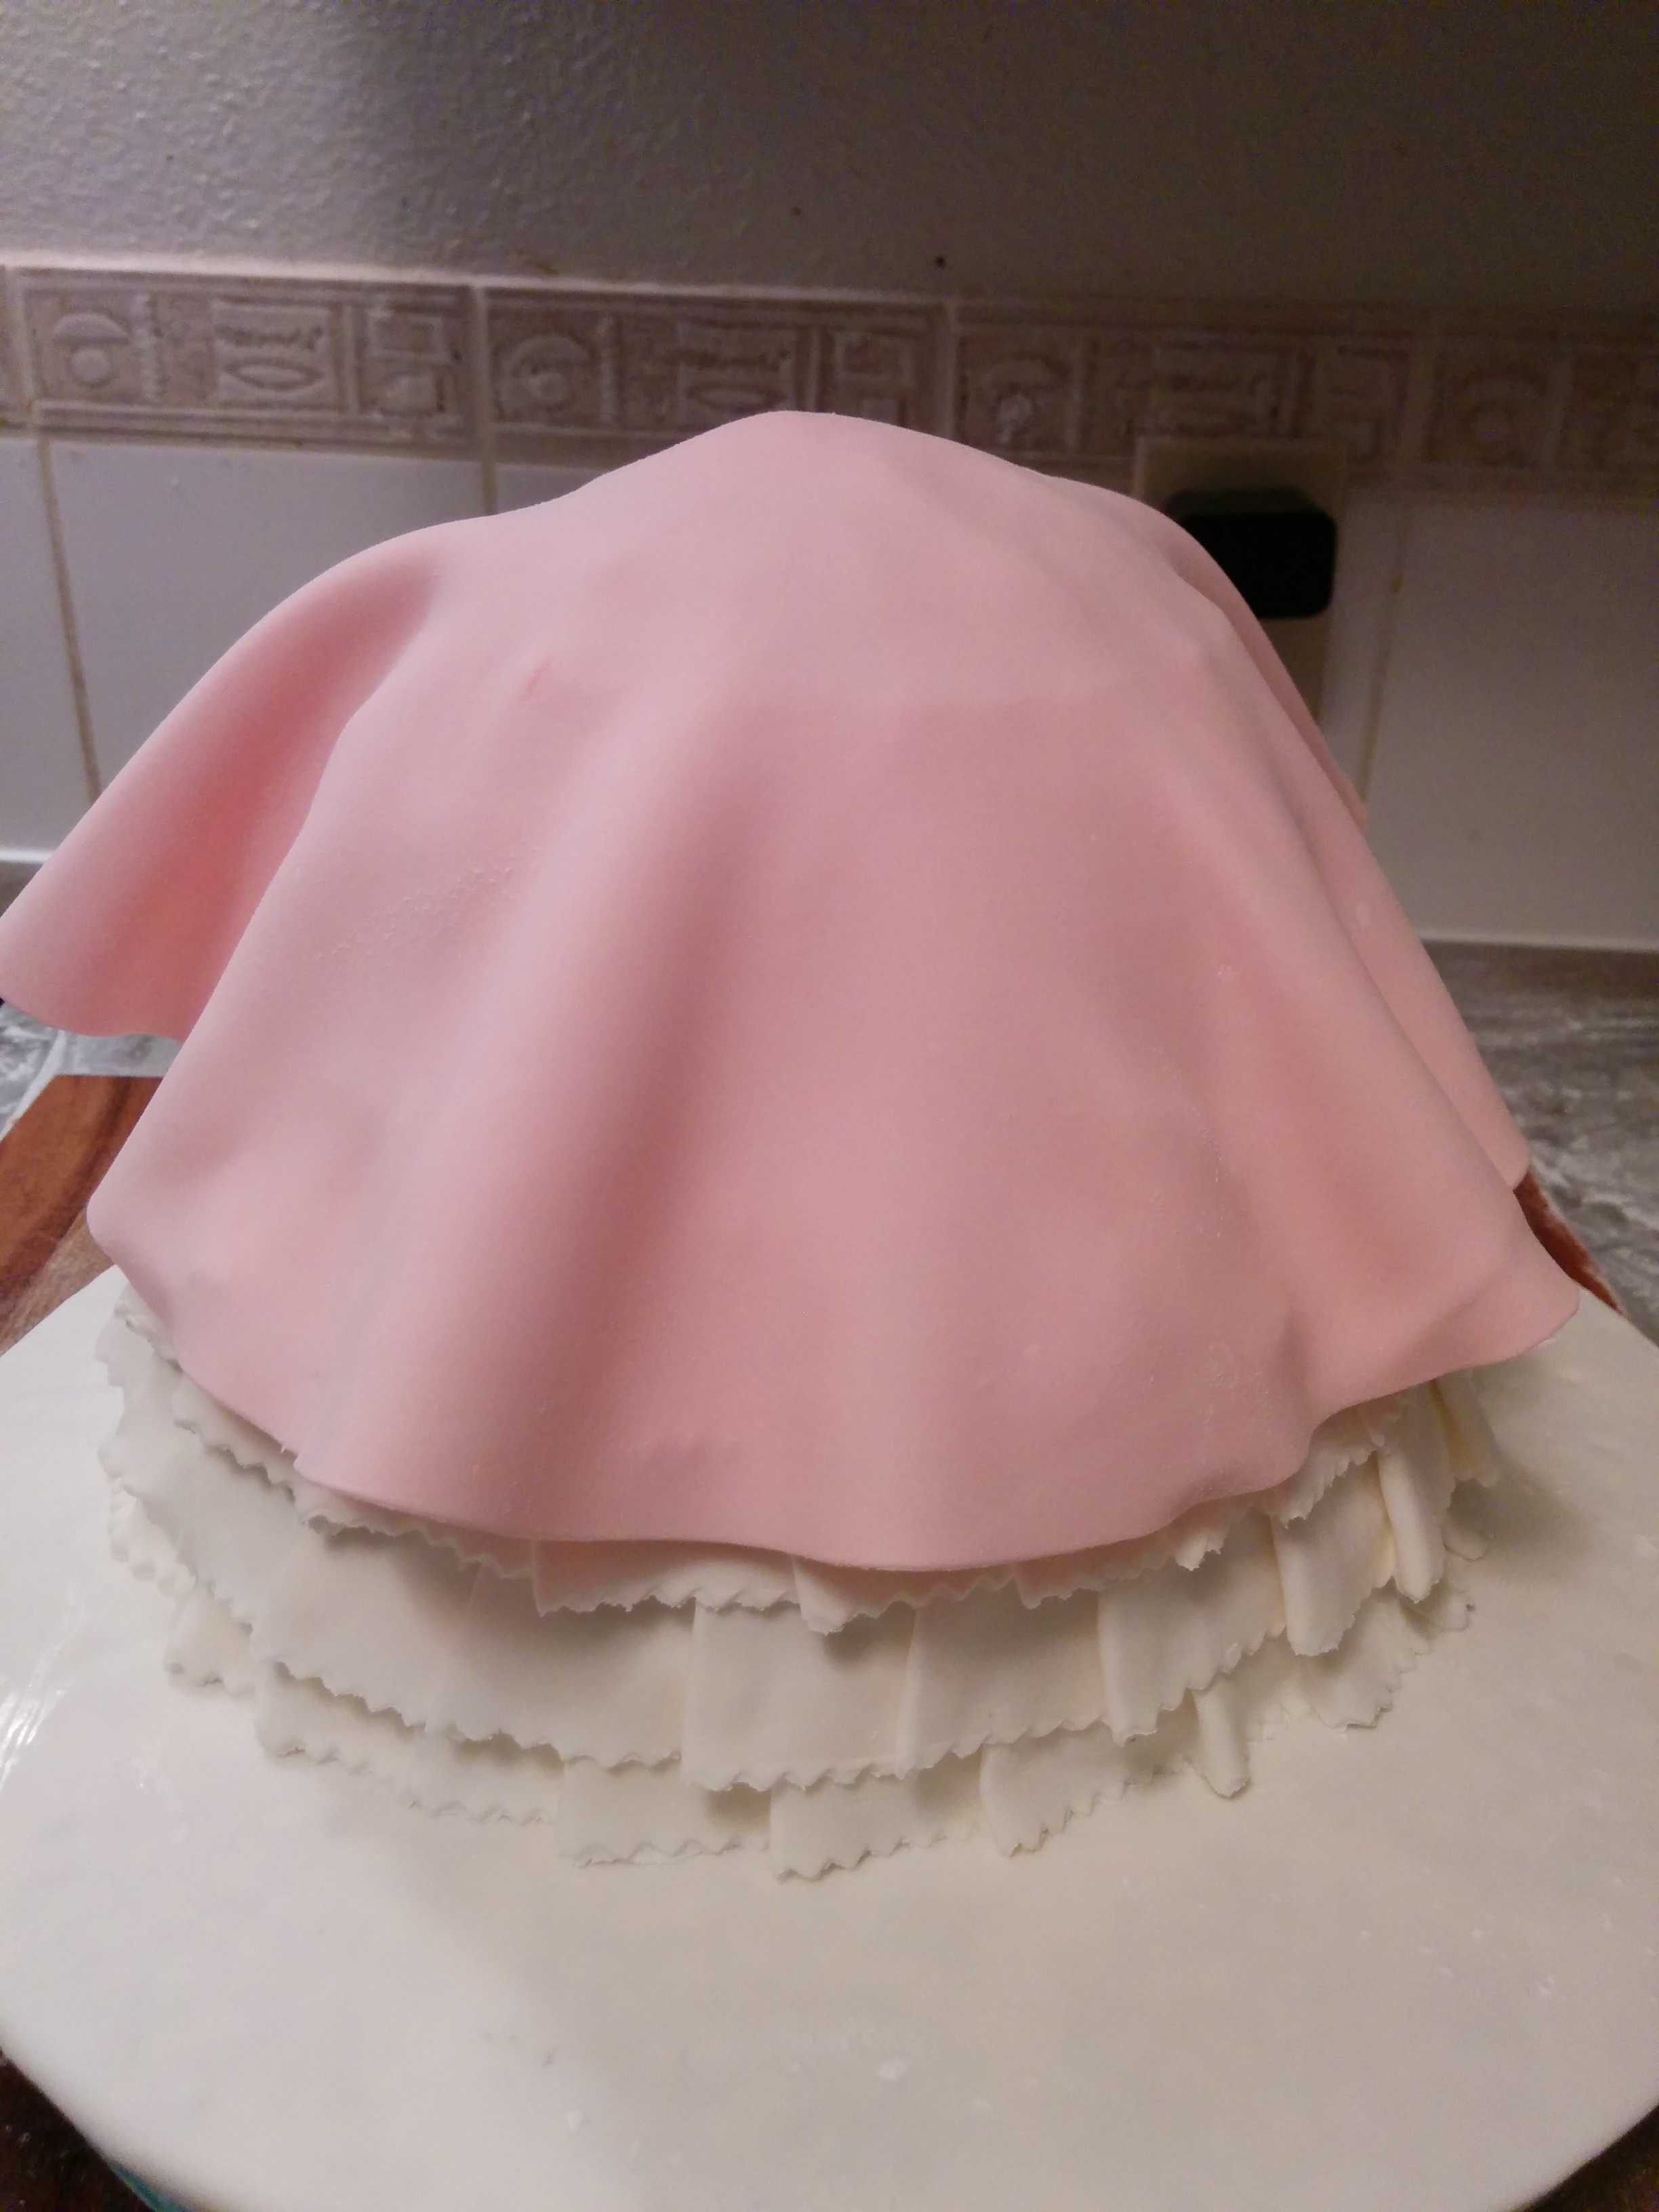
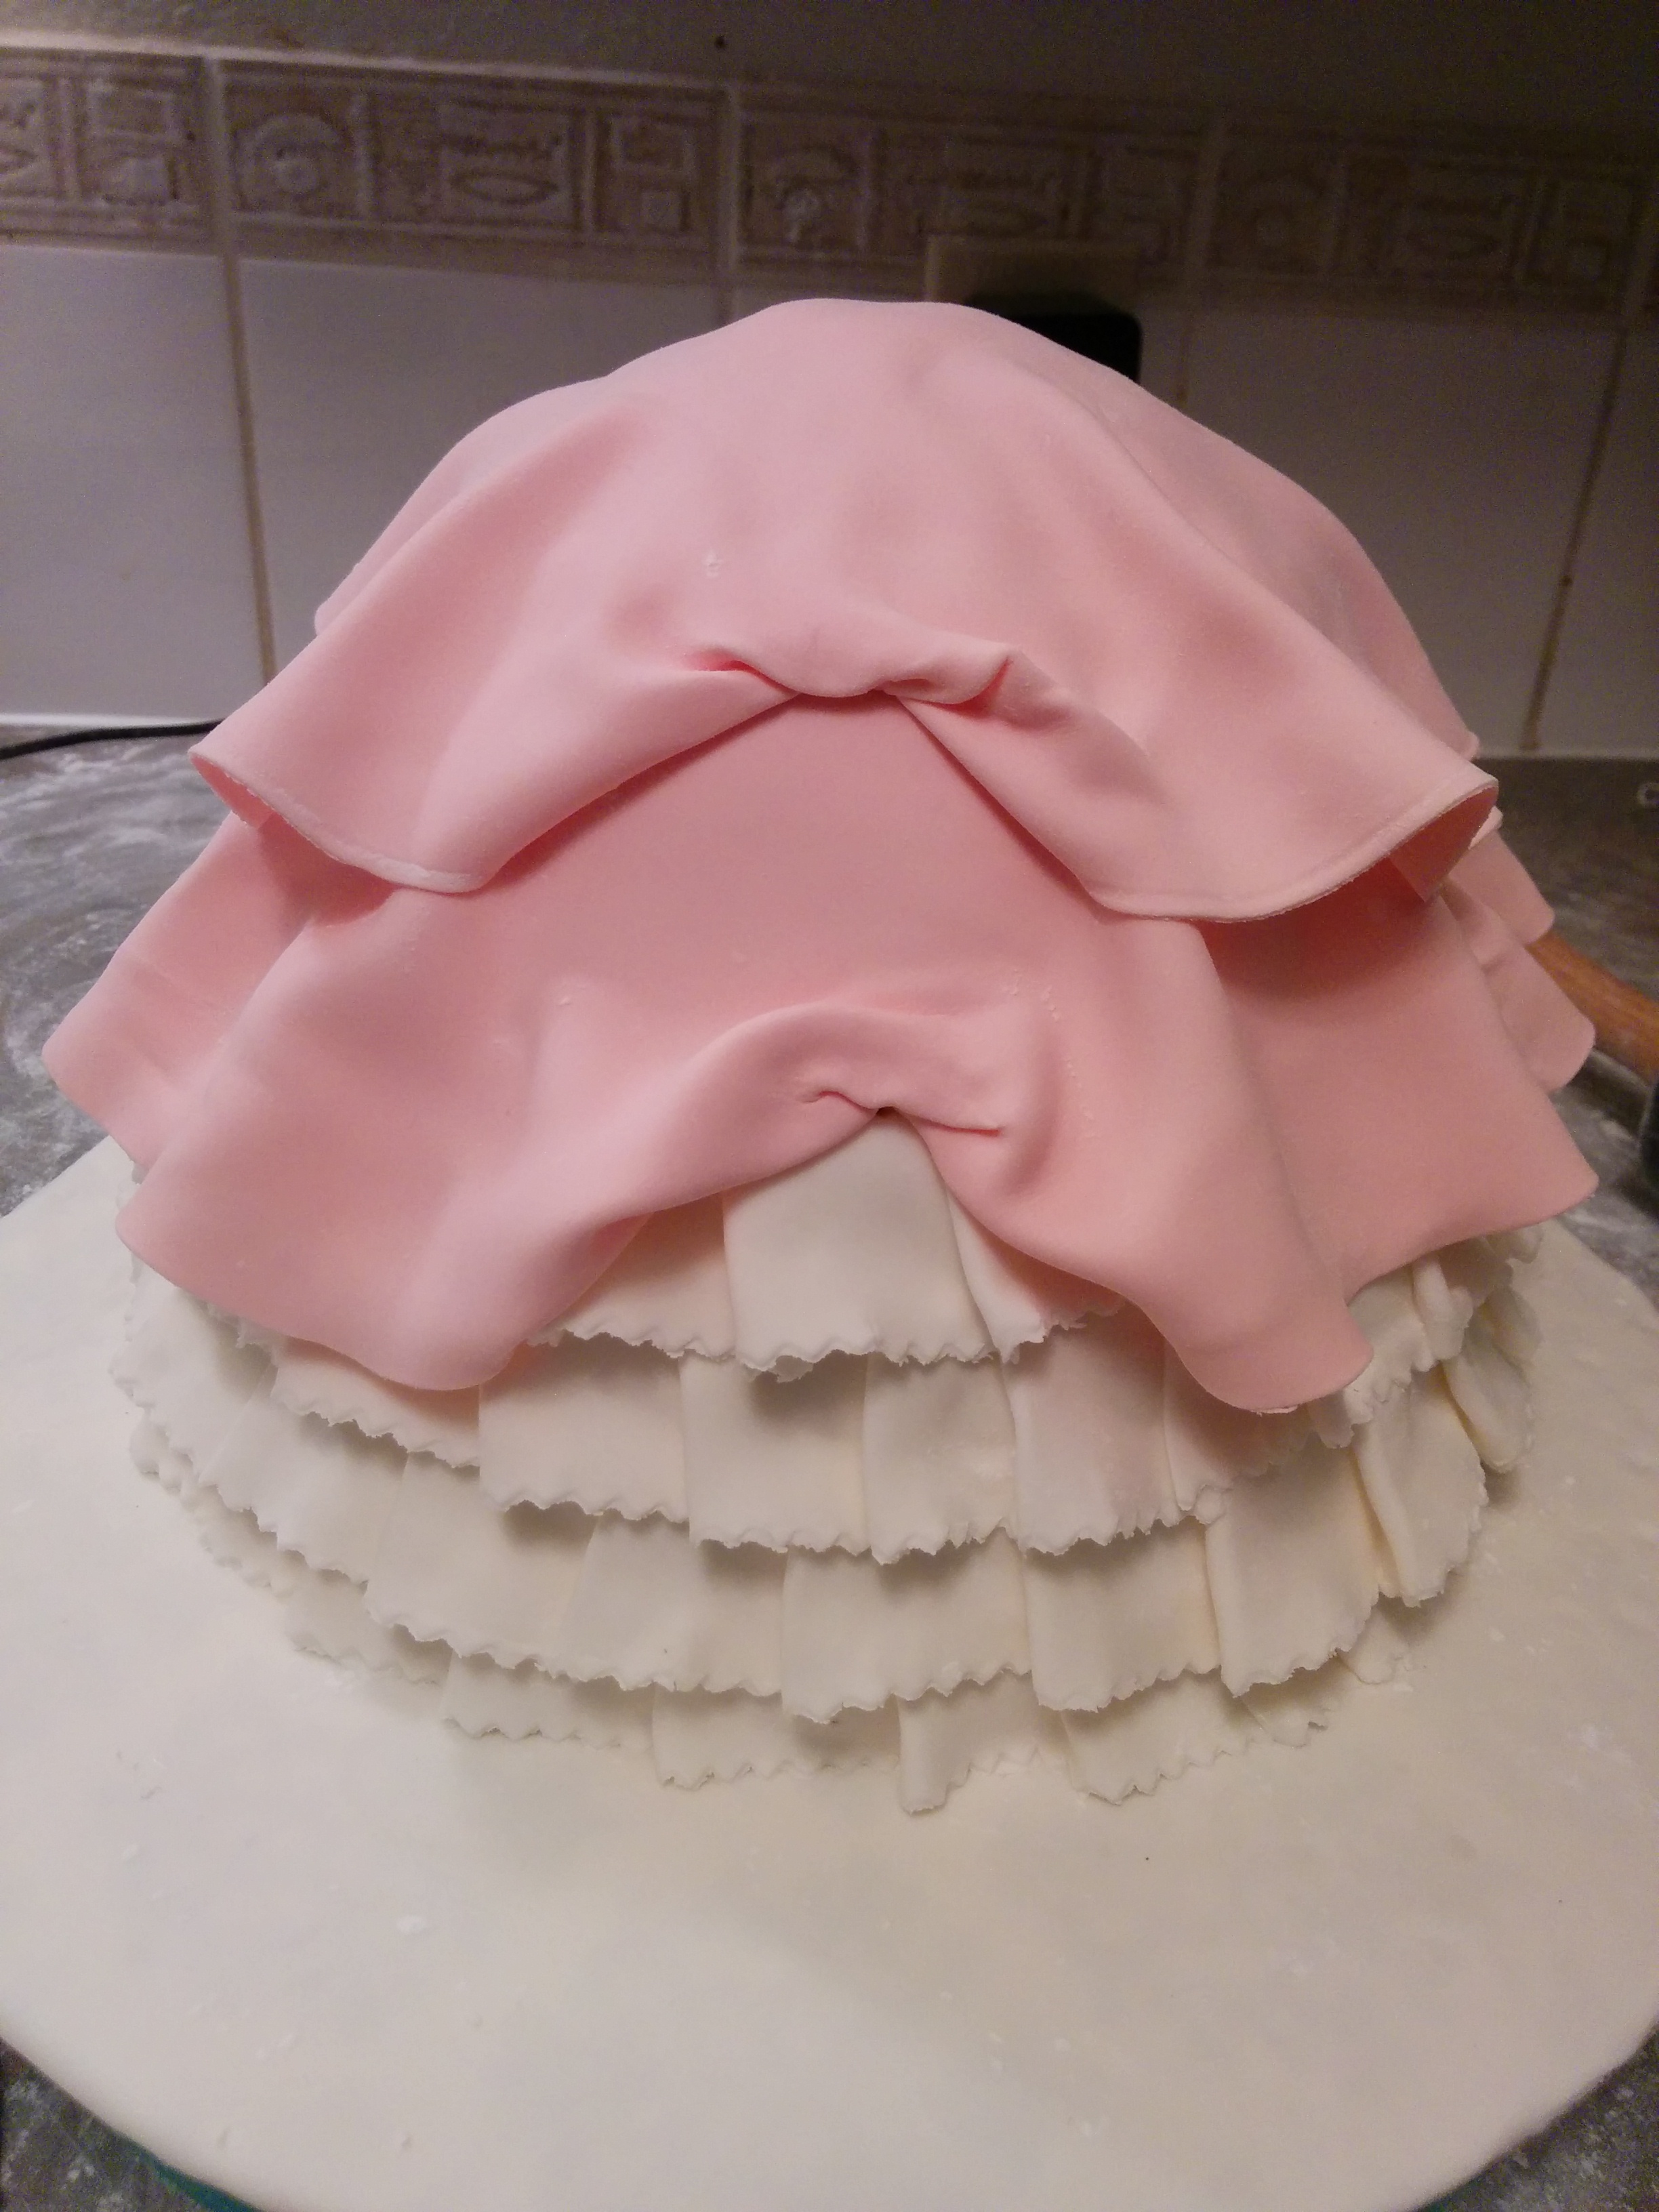
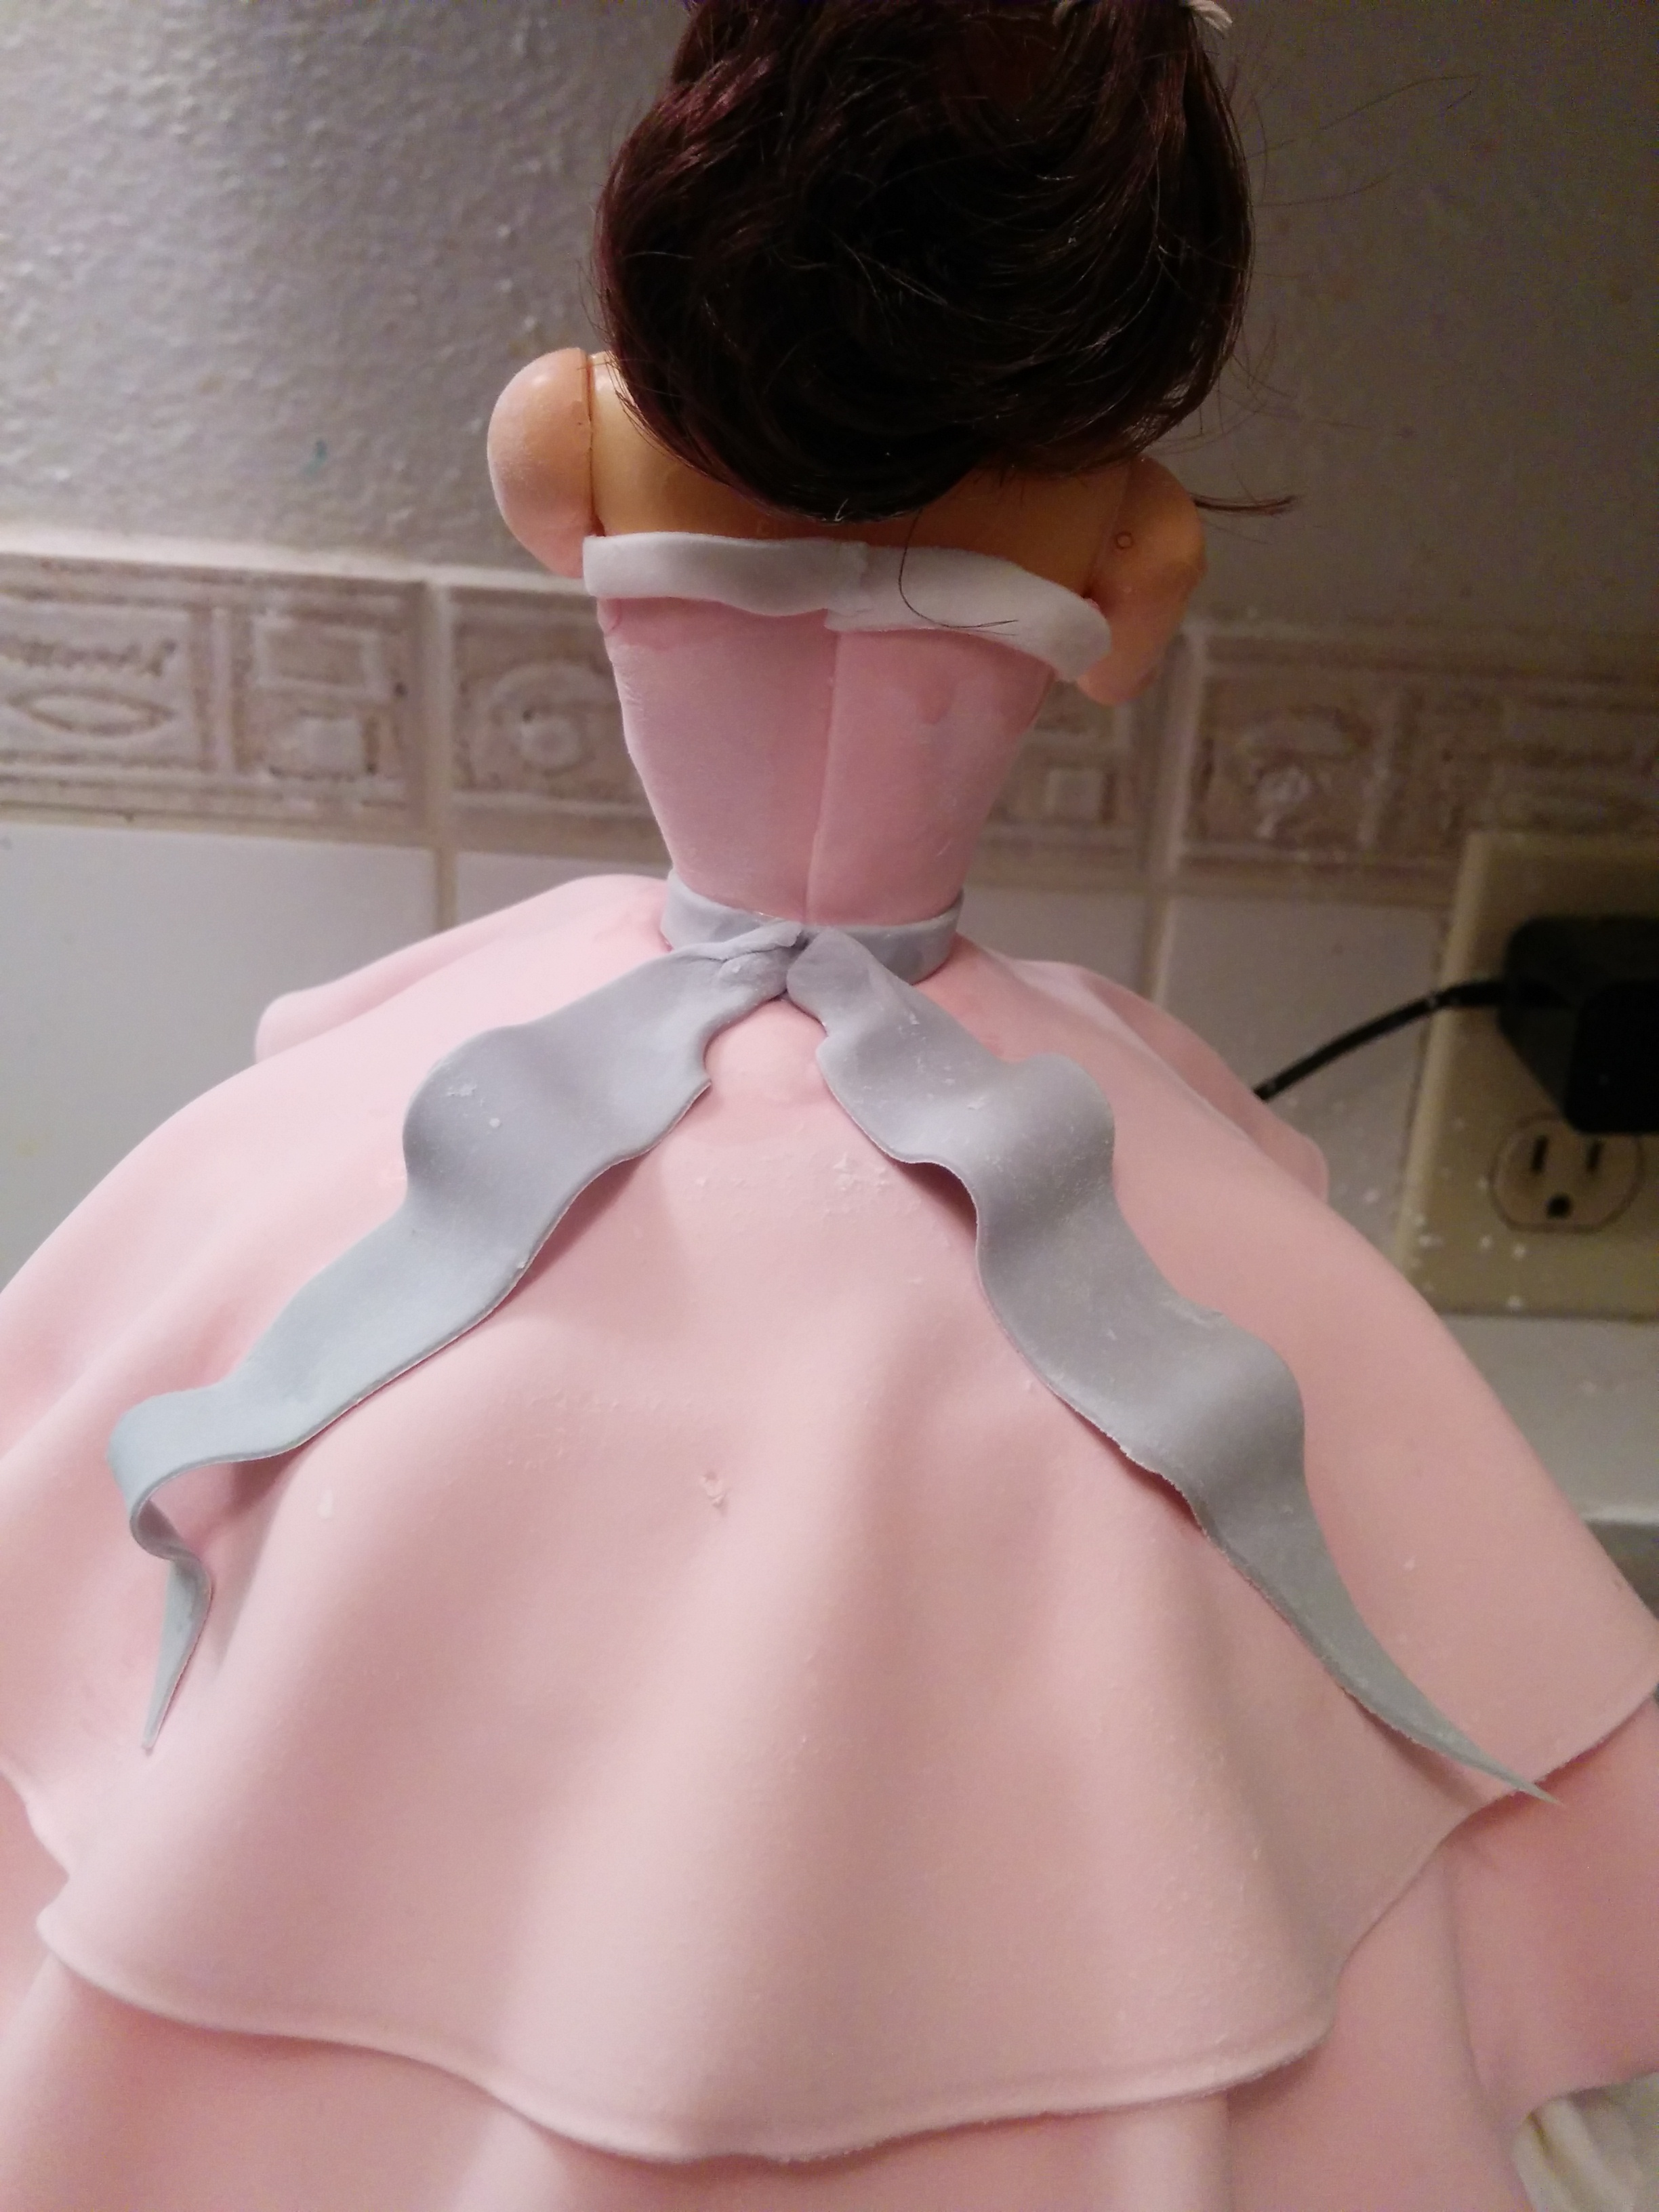
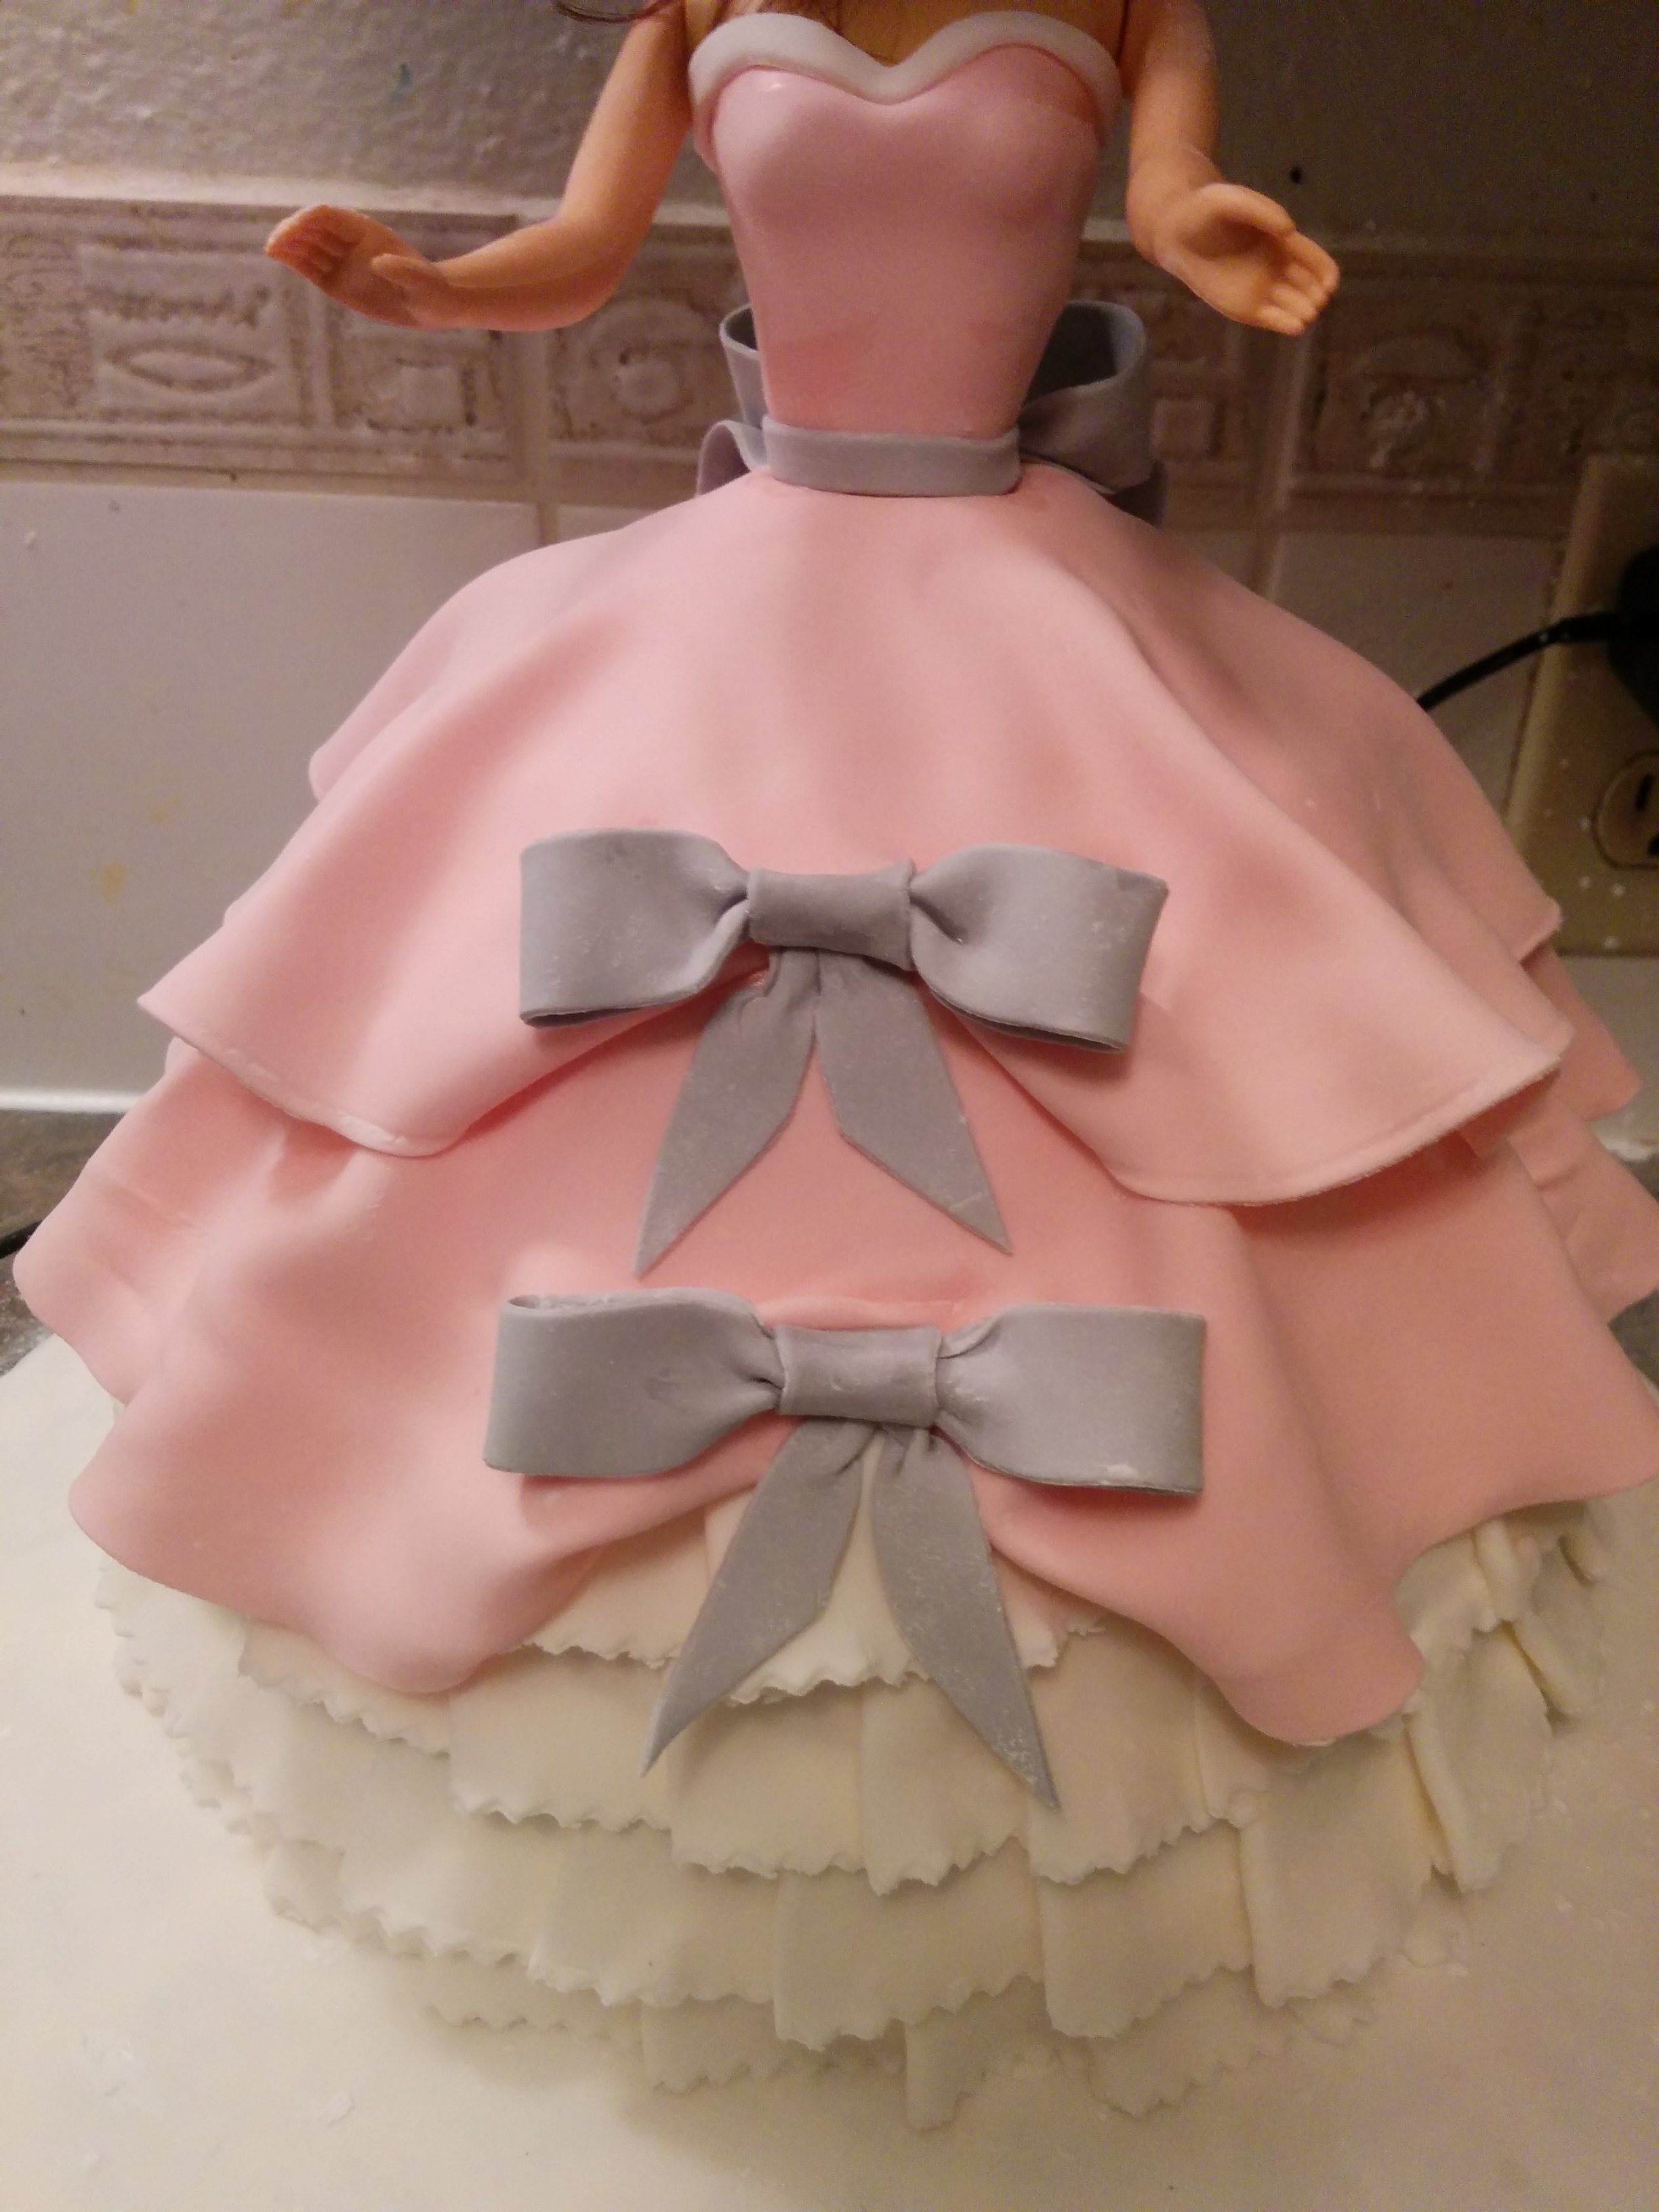
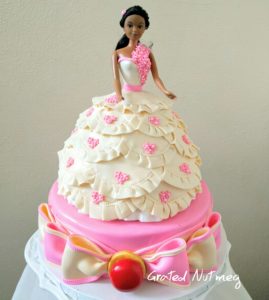
(3) Draping the gown.
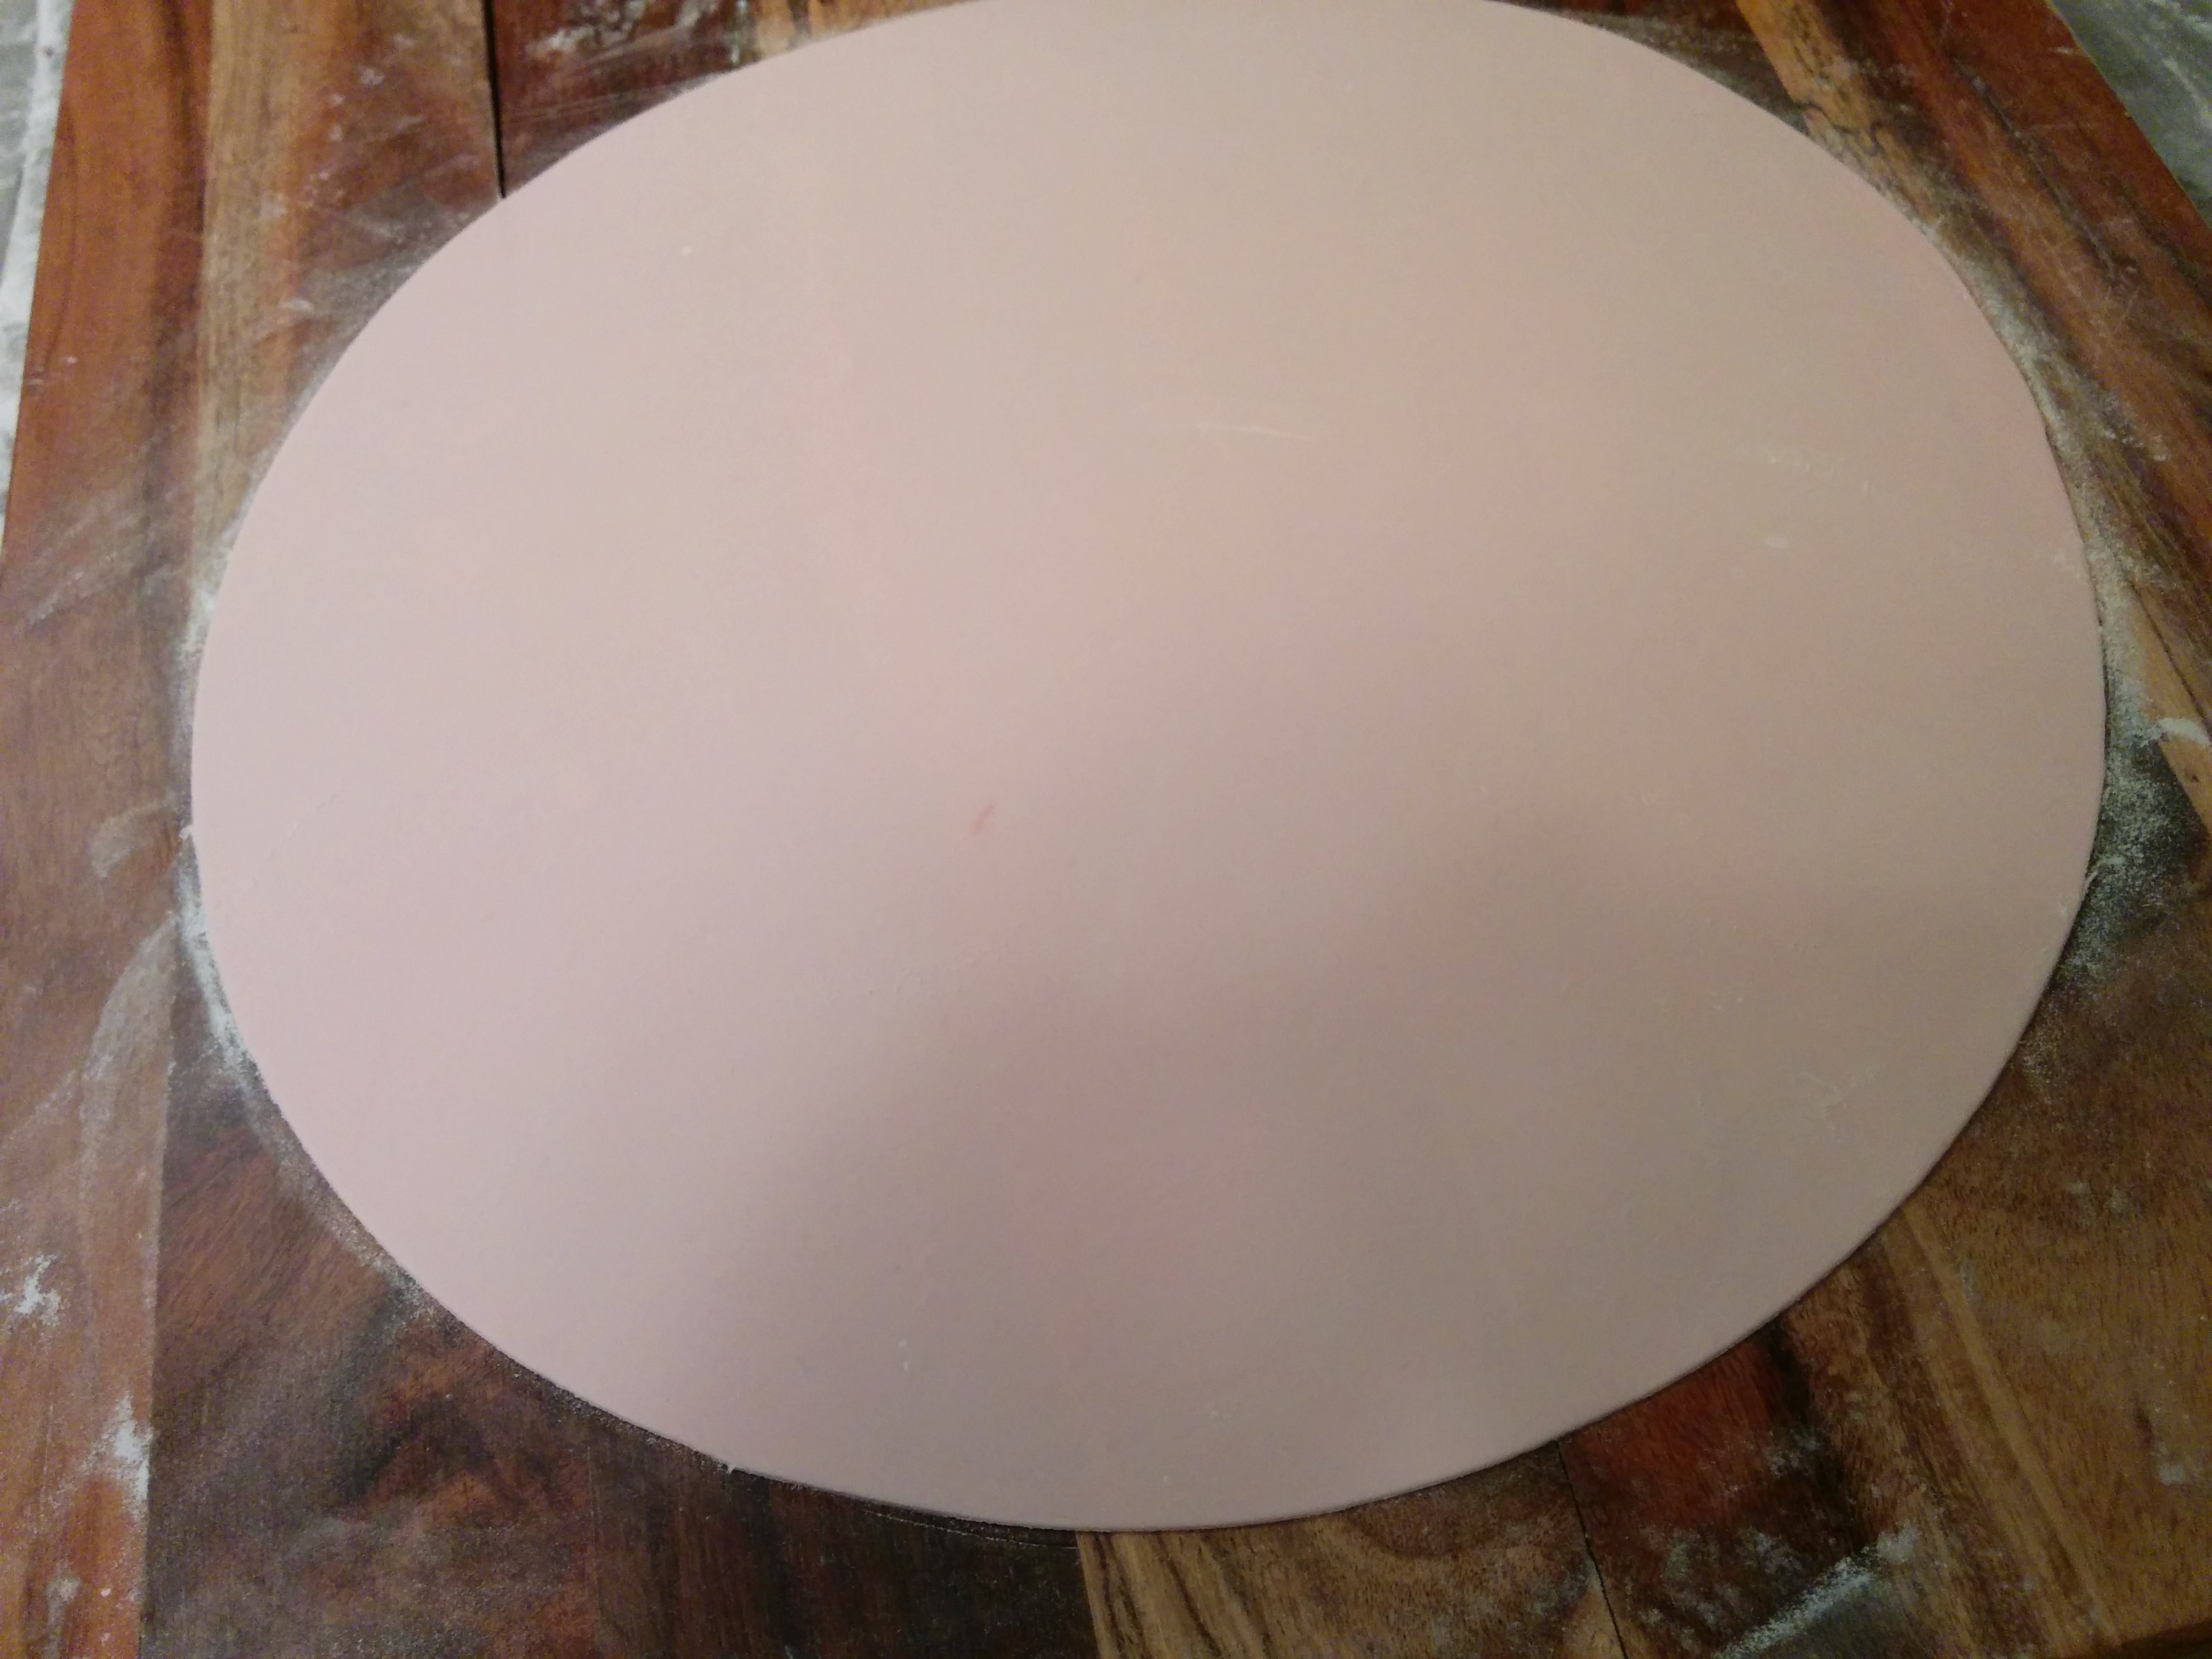
(a) There are several ways of doing this. The first method is by cutting out a circle big enough to cover the portion of the gown you want to drape. You will have to measure the cake accurately in order to ensure that the circle is big enough. Another benefit the ruffles serve is that if it so happens that the circle is not big enough, the ruffles will be there to cover the exposed part of the cake. To drape, simply place the circle over the gown and use your fingers to adjust it and make gathers and pleats. You can drape the gown with more than one circle to create several layers of clothing.
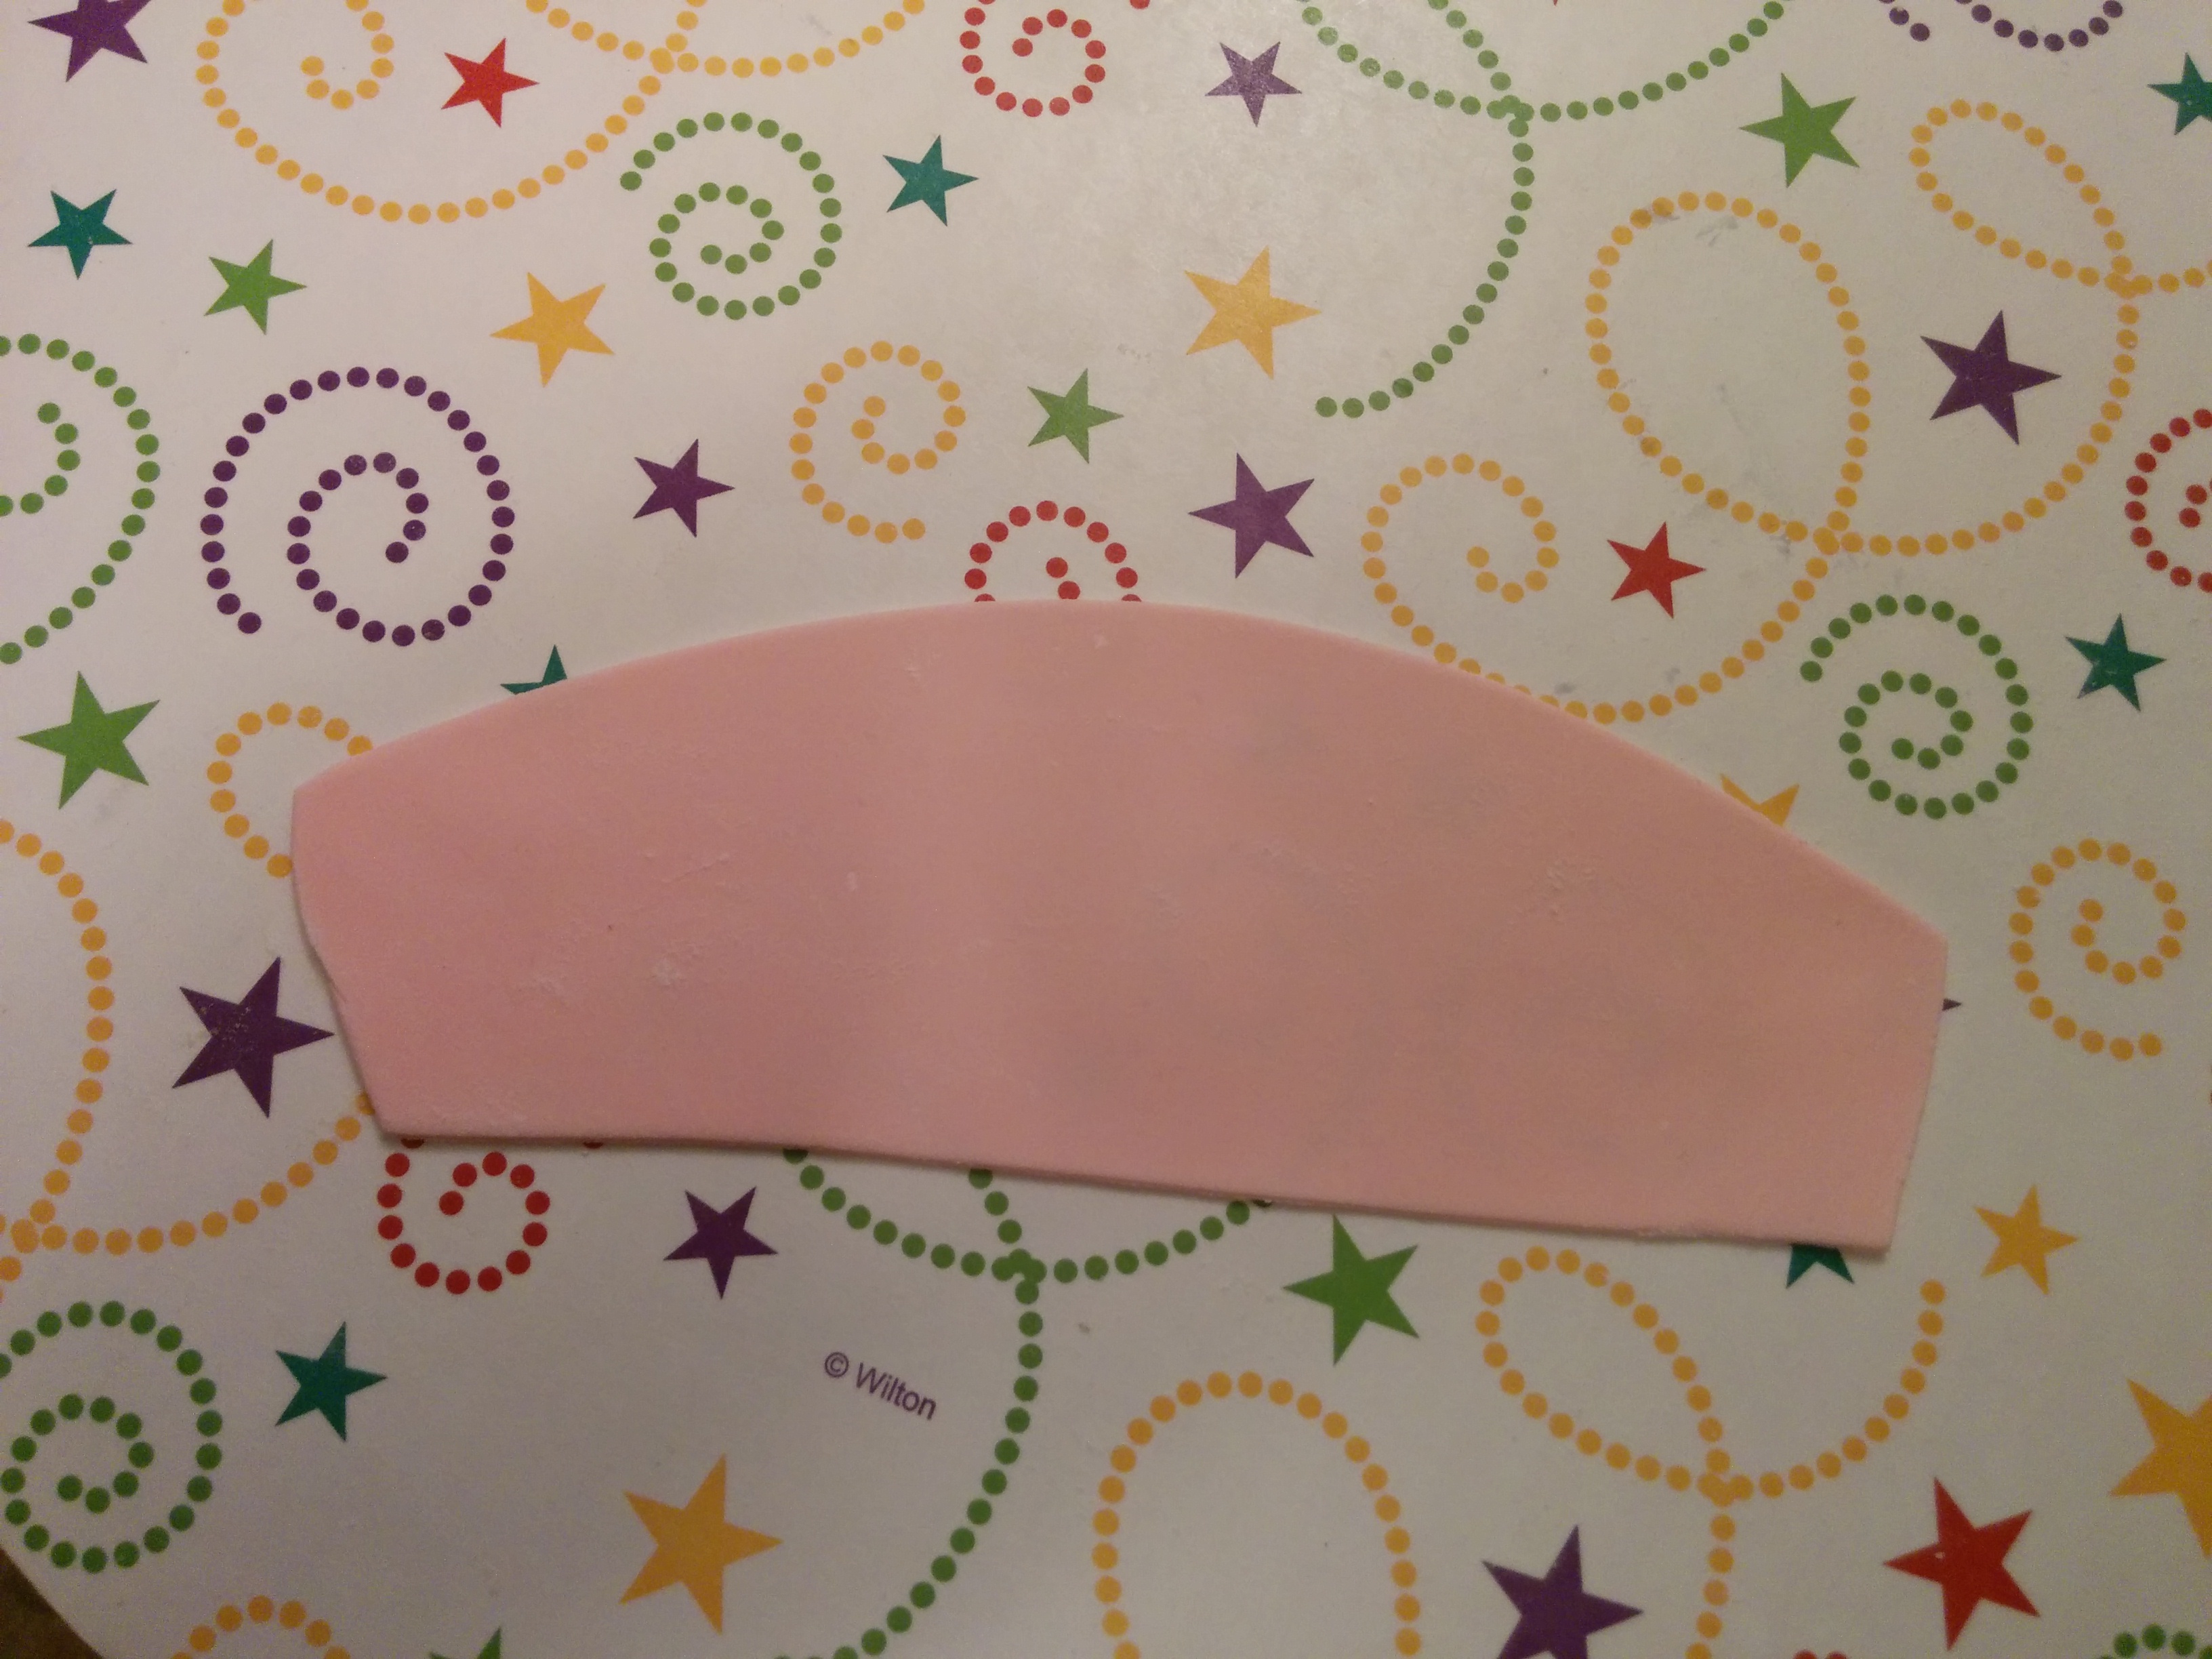
(b) A second option is to cut out semi-circles and drape only the back of the gown.
(c) A third option is to lift a portion of the gown up after draping it. Use a toothpick to hold the lifter portion(s) up while the fondant dries. The toothpick hole can be covered with a bow later on.
(d) A forth option is to cut our semi circles, make ruffles around them and stick them to the cake. These are just a few ideas, there are several other options opened to you.

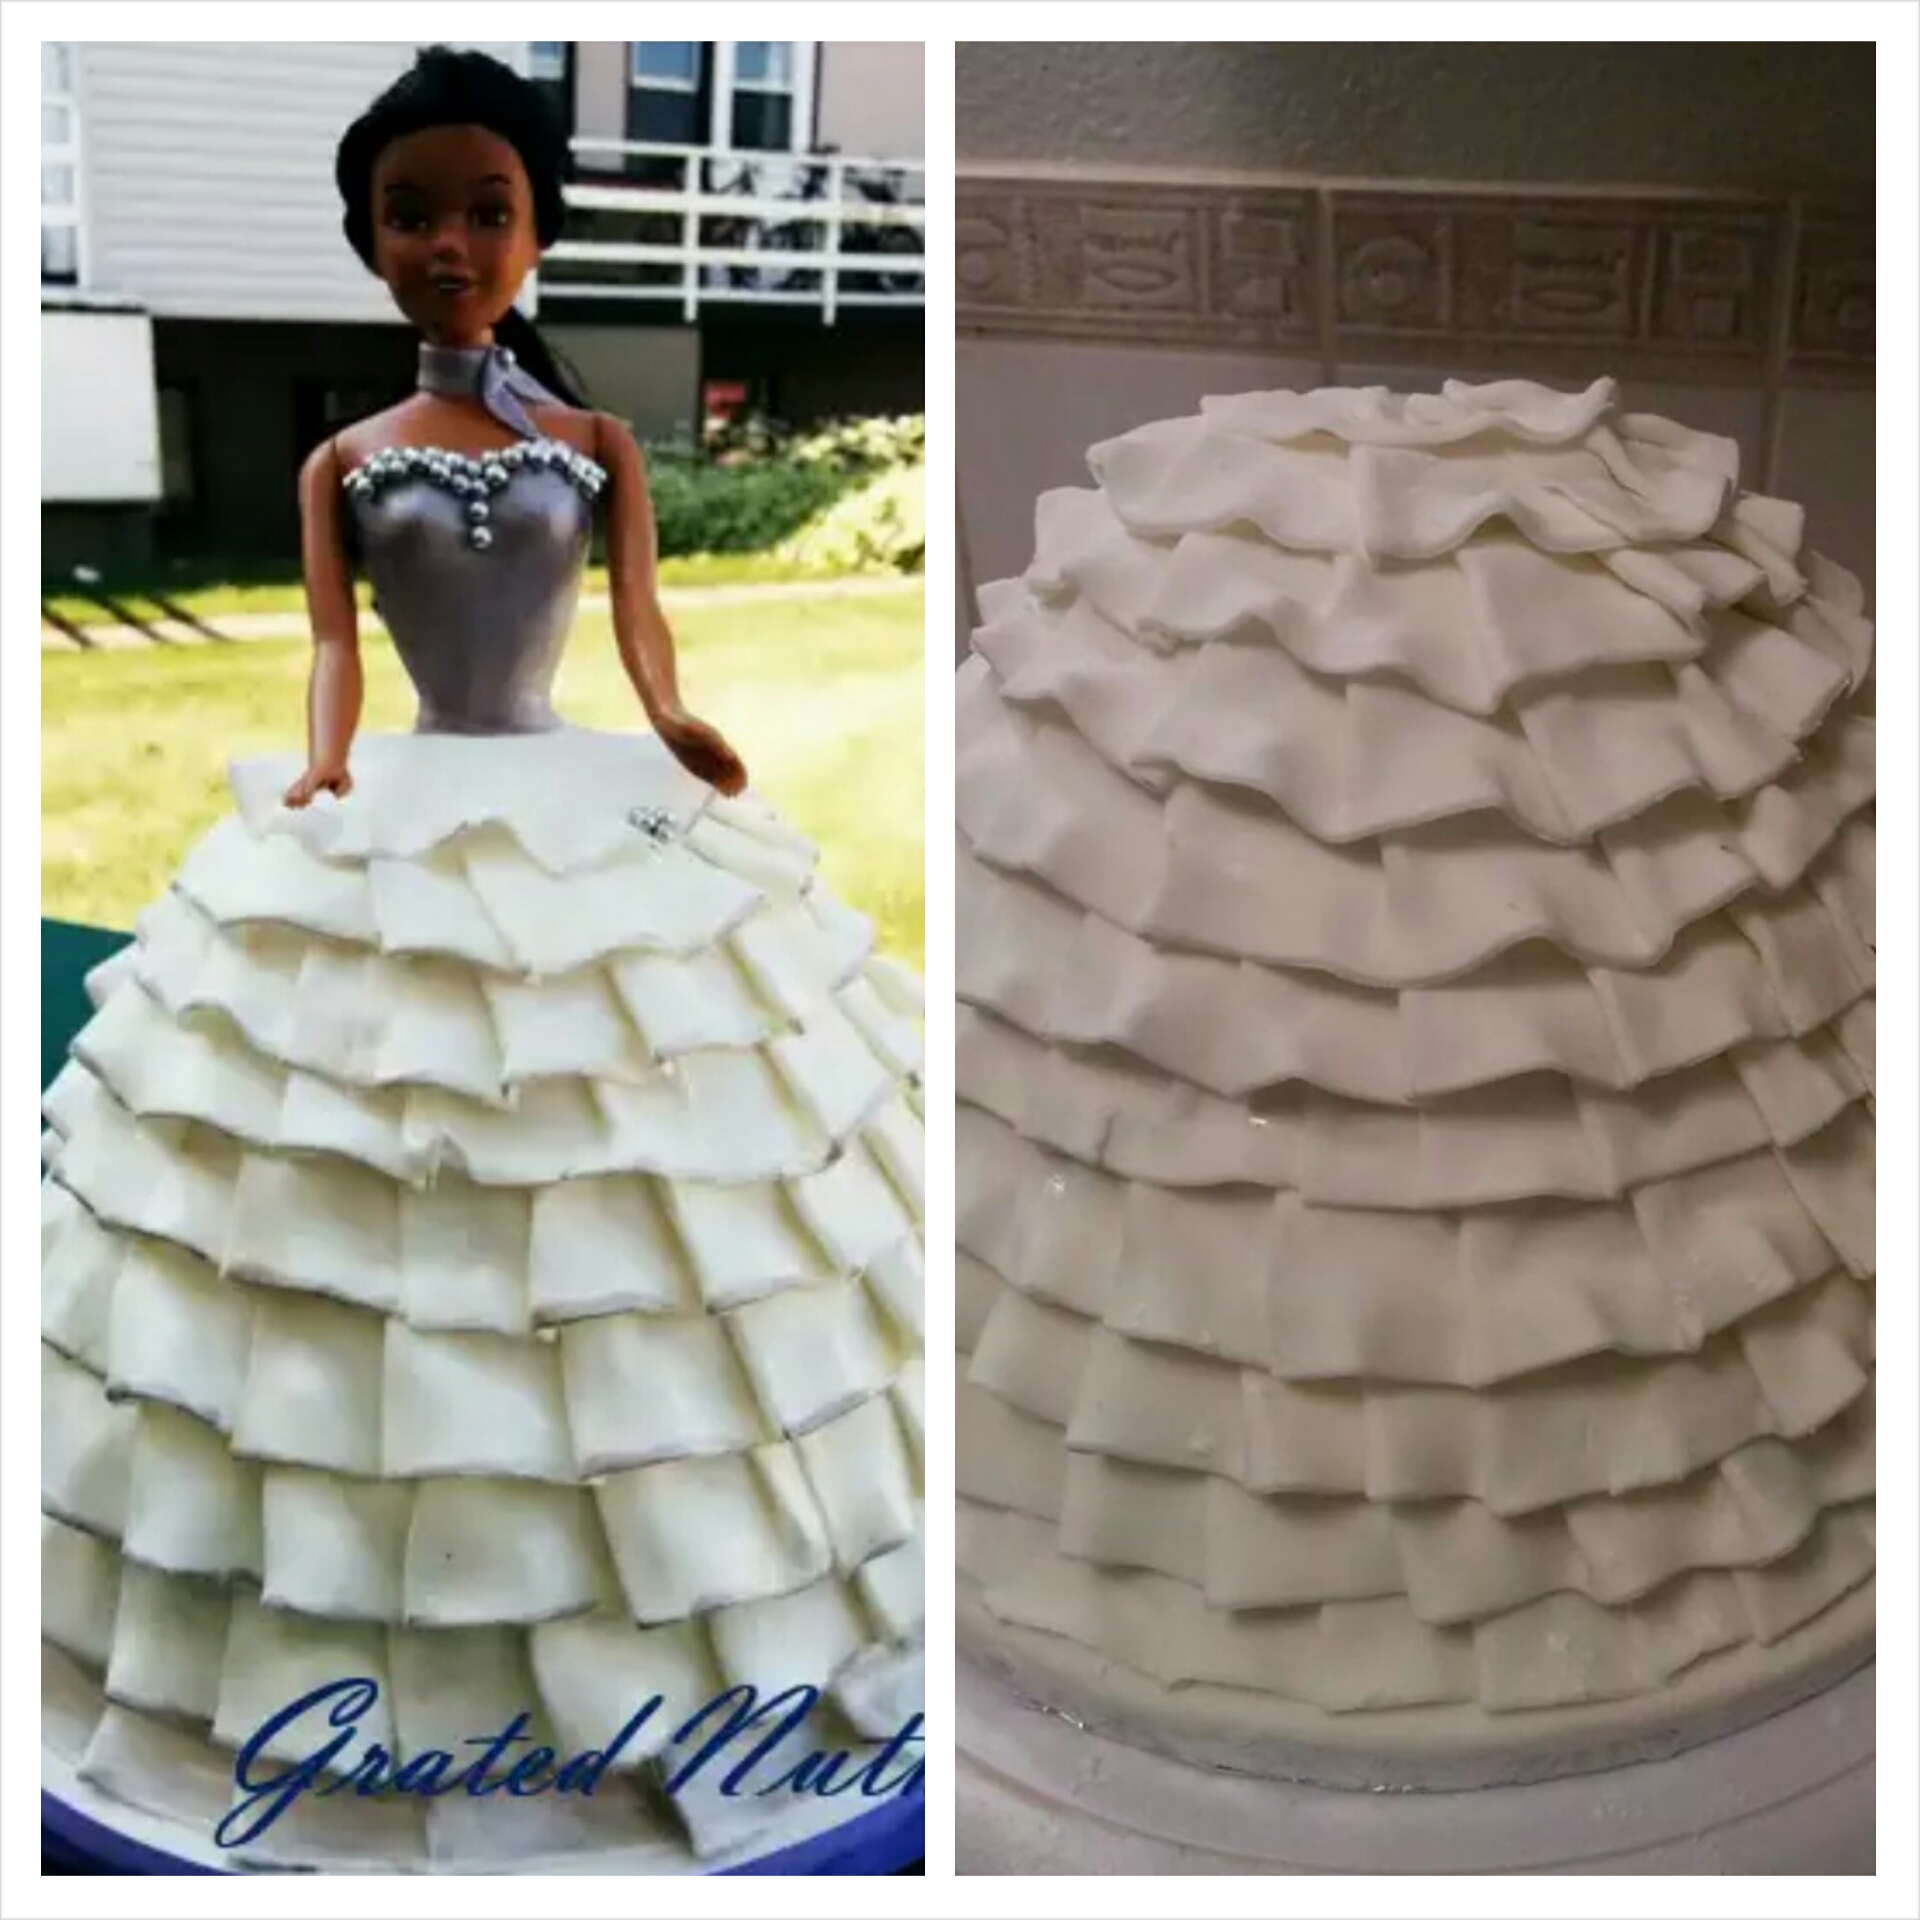
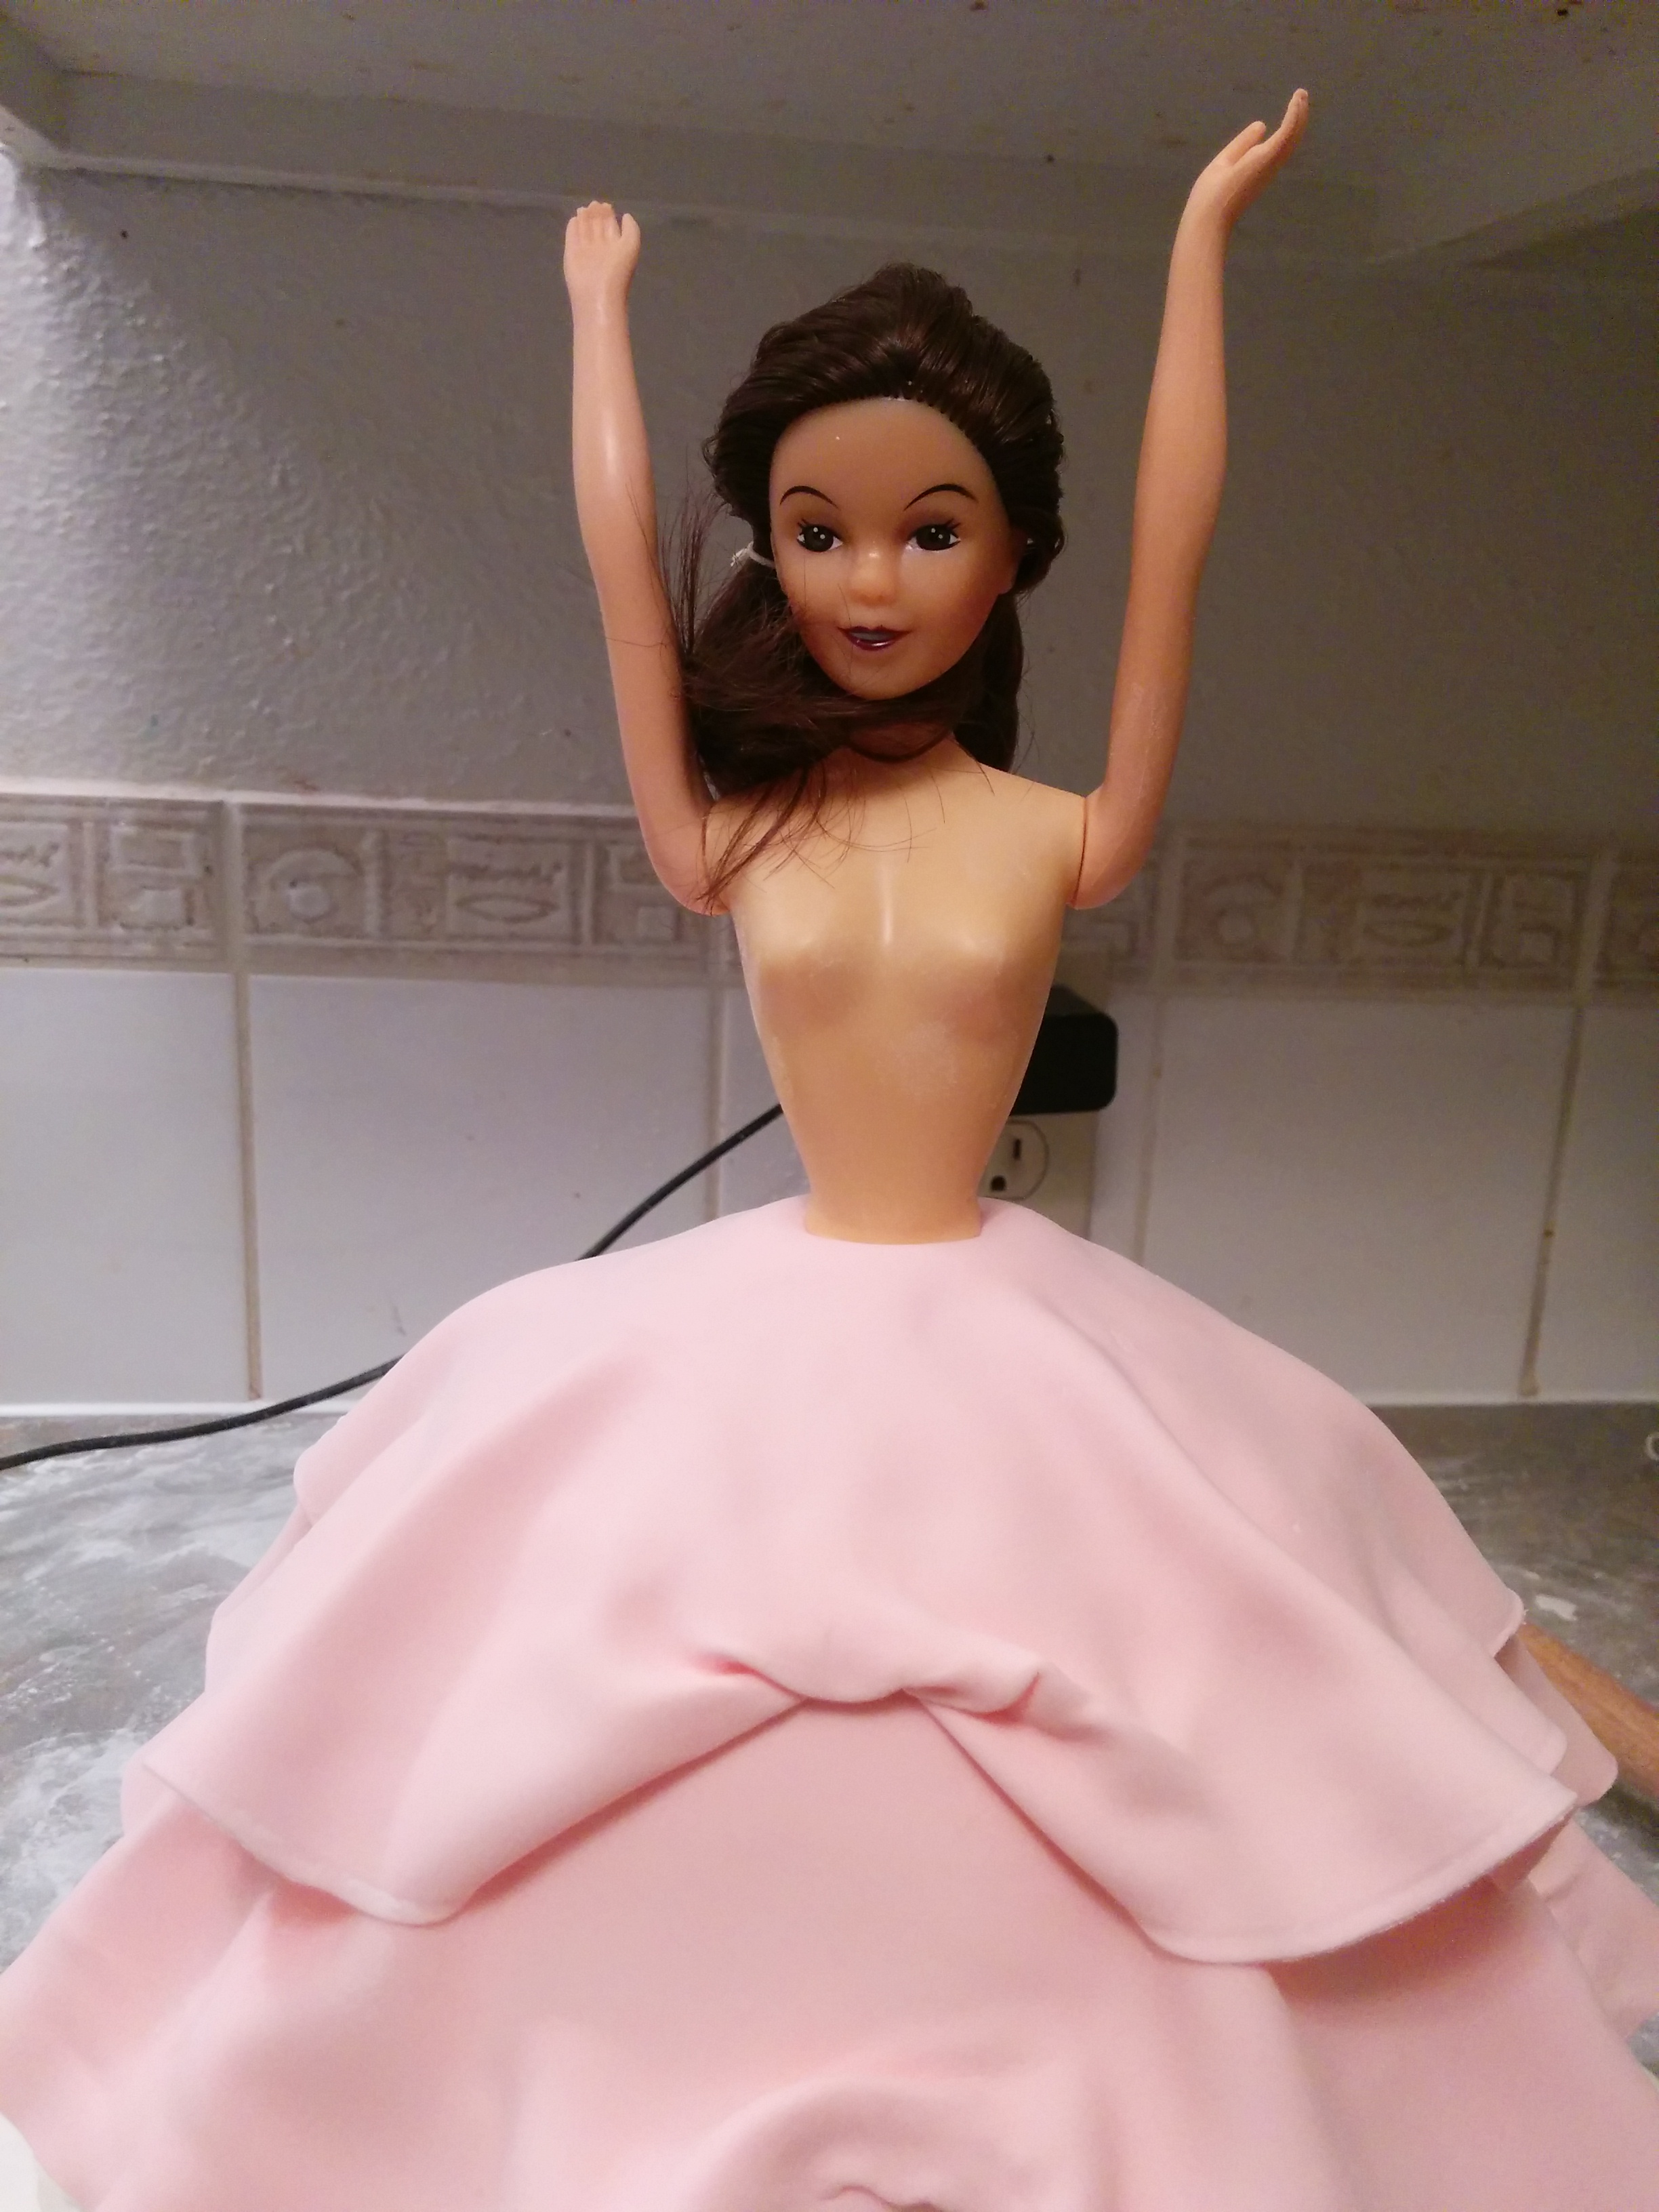
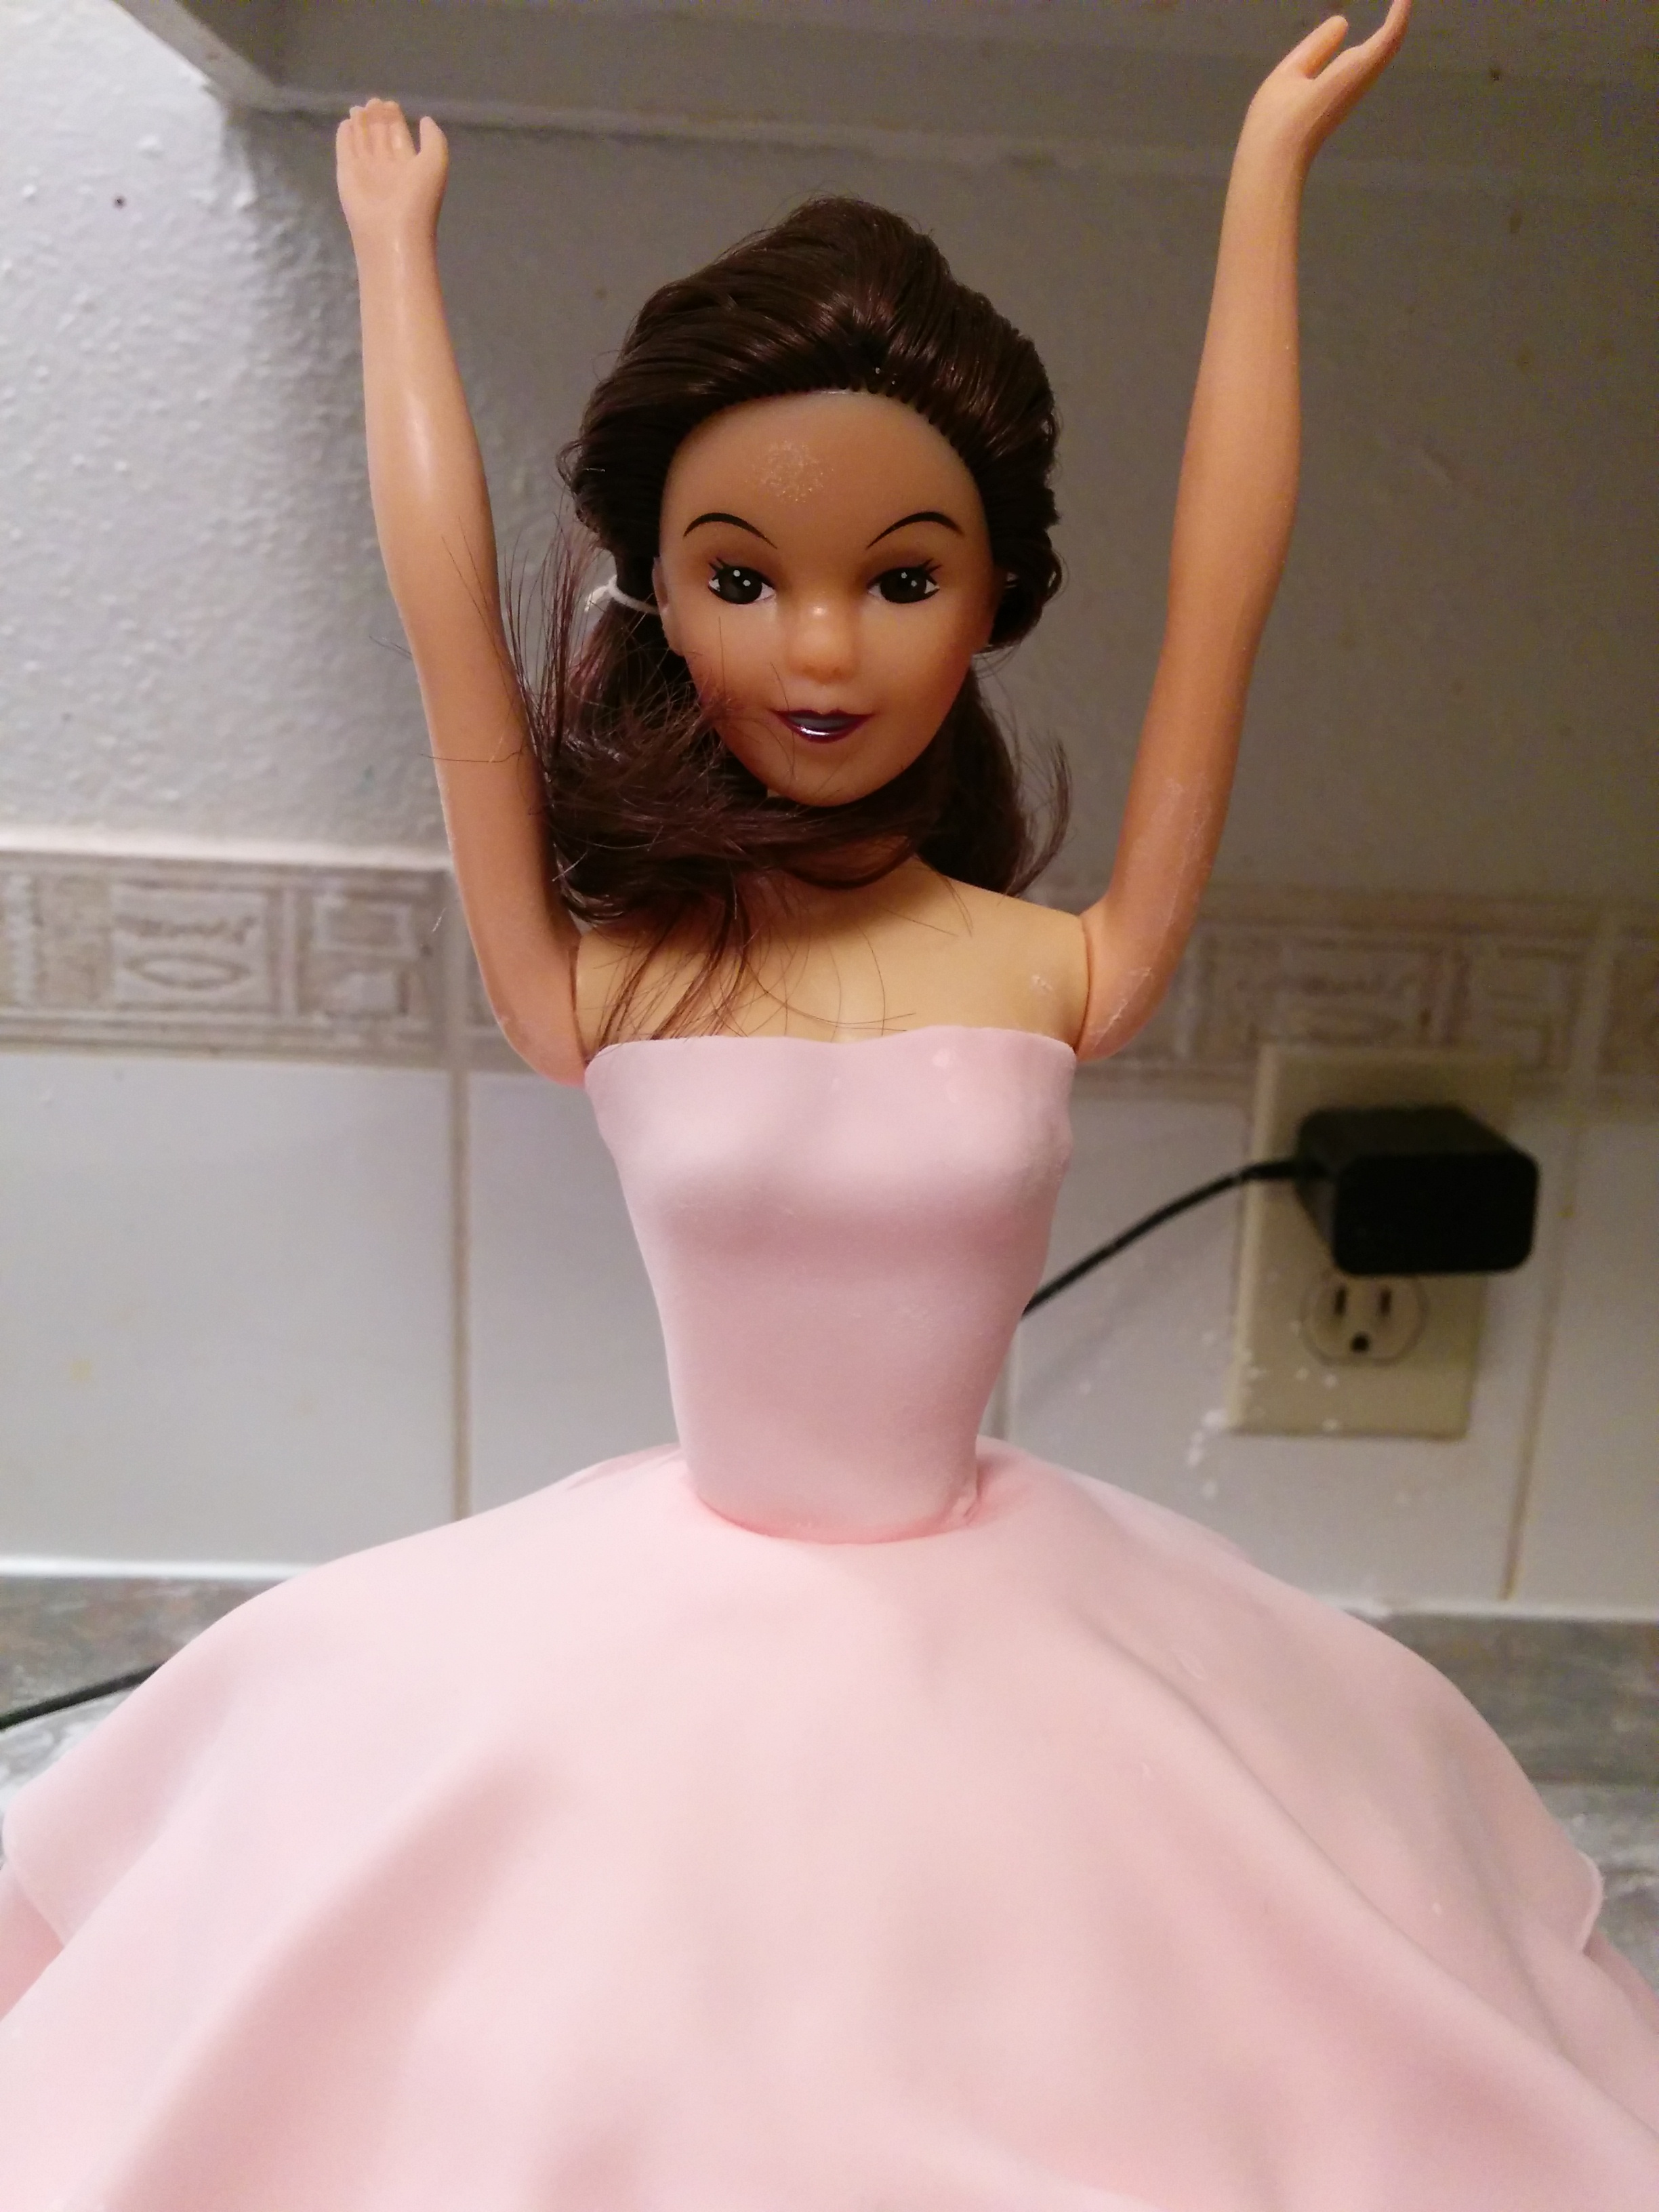
(4) Placing the Doll
When you are done with the basic structure of the gown, insert the doll into the cake with her hands lifted up. This gives you room to make the bodice of the gown.
(5) Making the Bodice
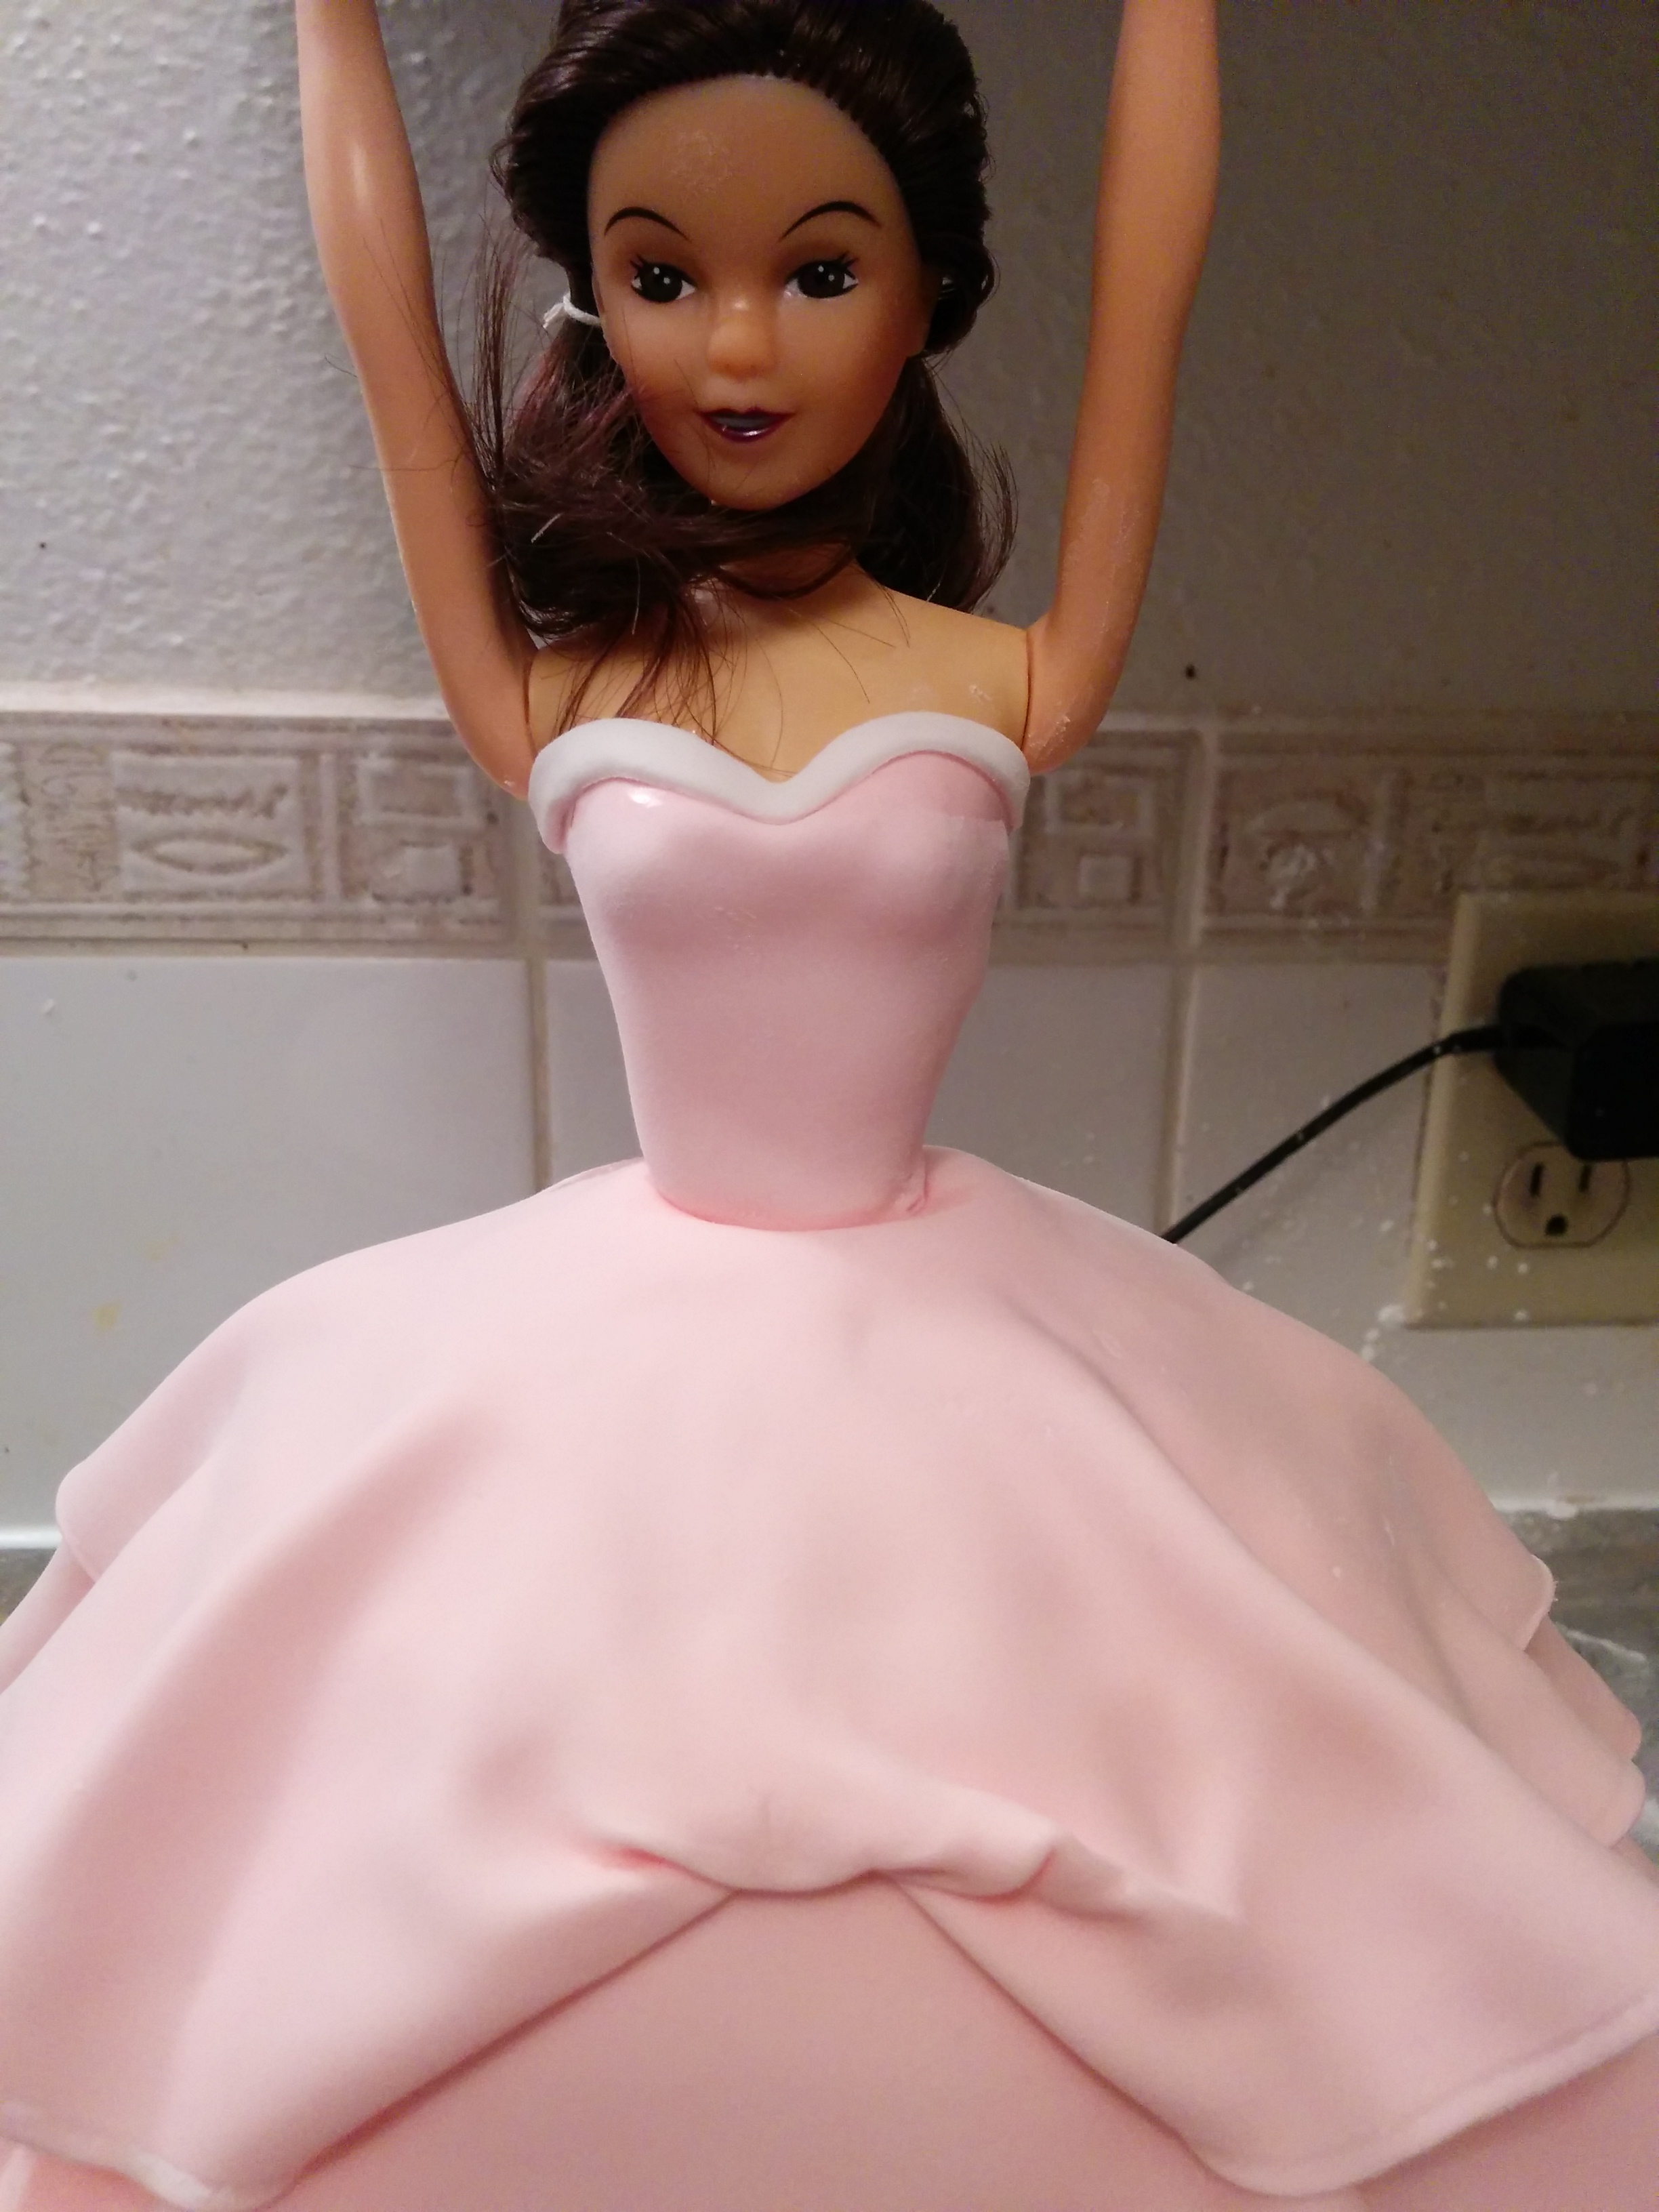
(a) To make a basic bodice, cut out a strip of fondant the length of the top part of the gown and wrap the doll with it. This is a continuous process of adjusting and cutting until it fits perfectly. The bodice will take on the shape of the doll. To give the top a heart shape, simply use any tool to indent the top of the gown. The gown should be stuck together at the back of the dress with some water. The back seem can be covered with the hair if it isn’t too tidy.
(b) I almost always put a thin strip of fondant at the top of the bodice to cover any unevenness there.
(c) You can choose to leave the bodice bare or design it any way you want to.

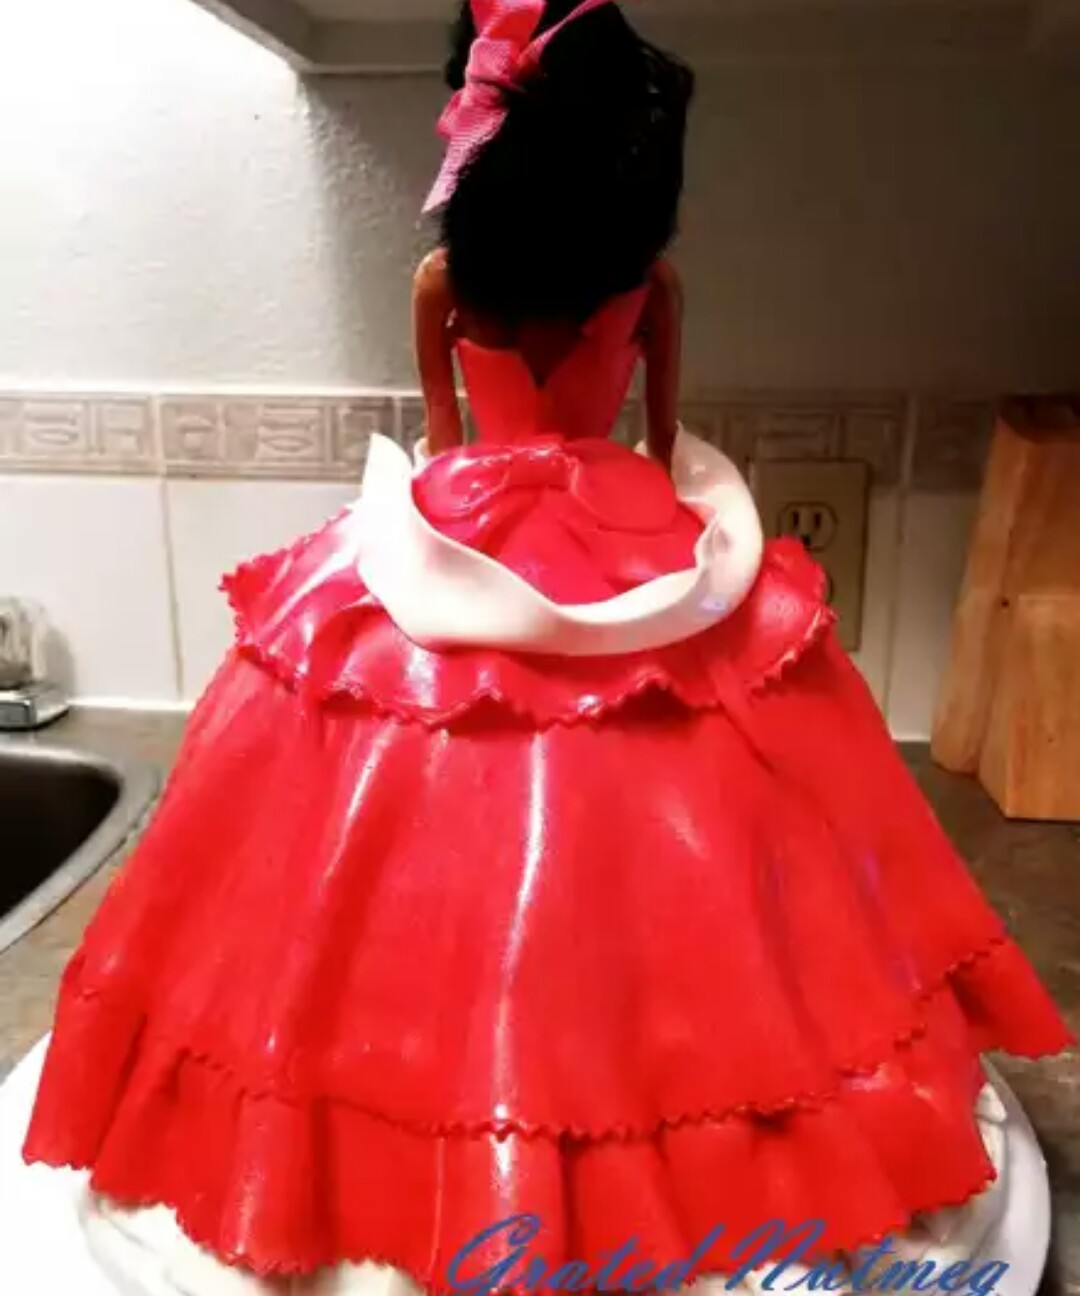
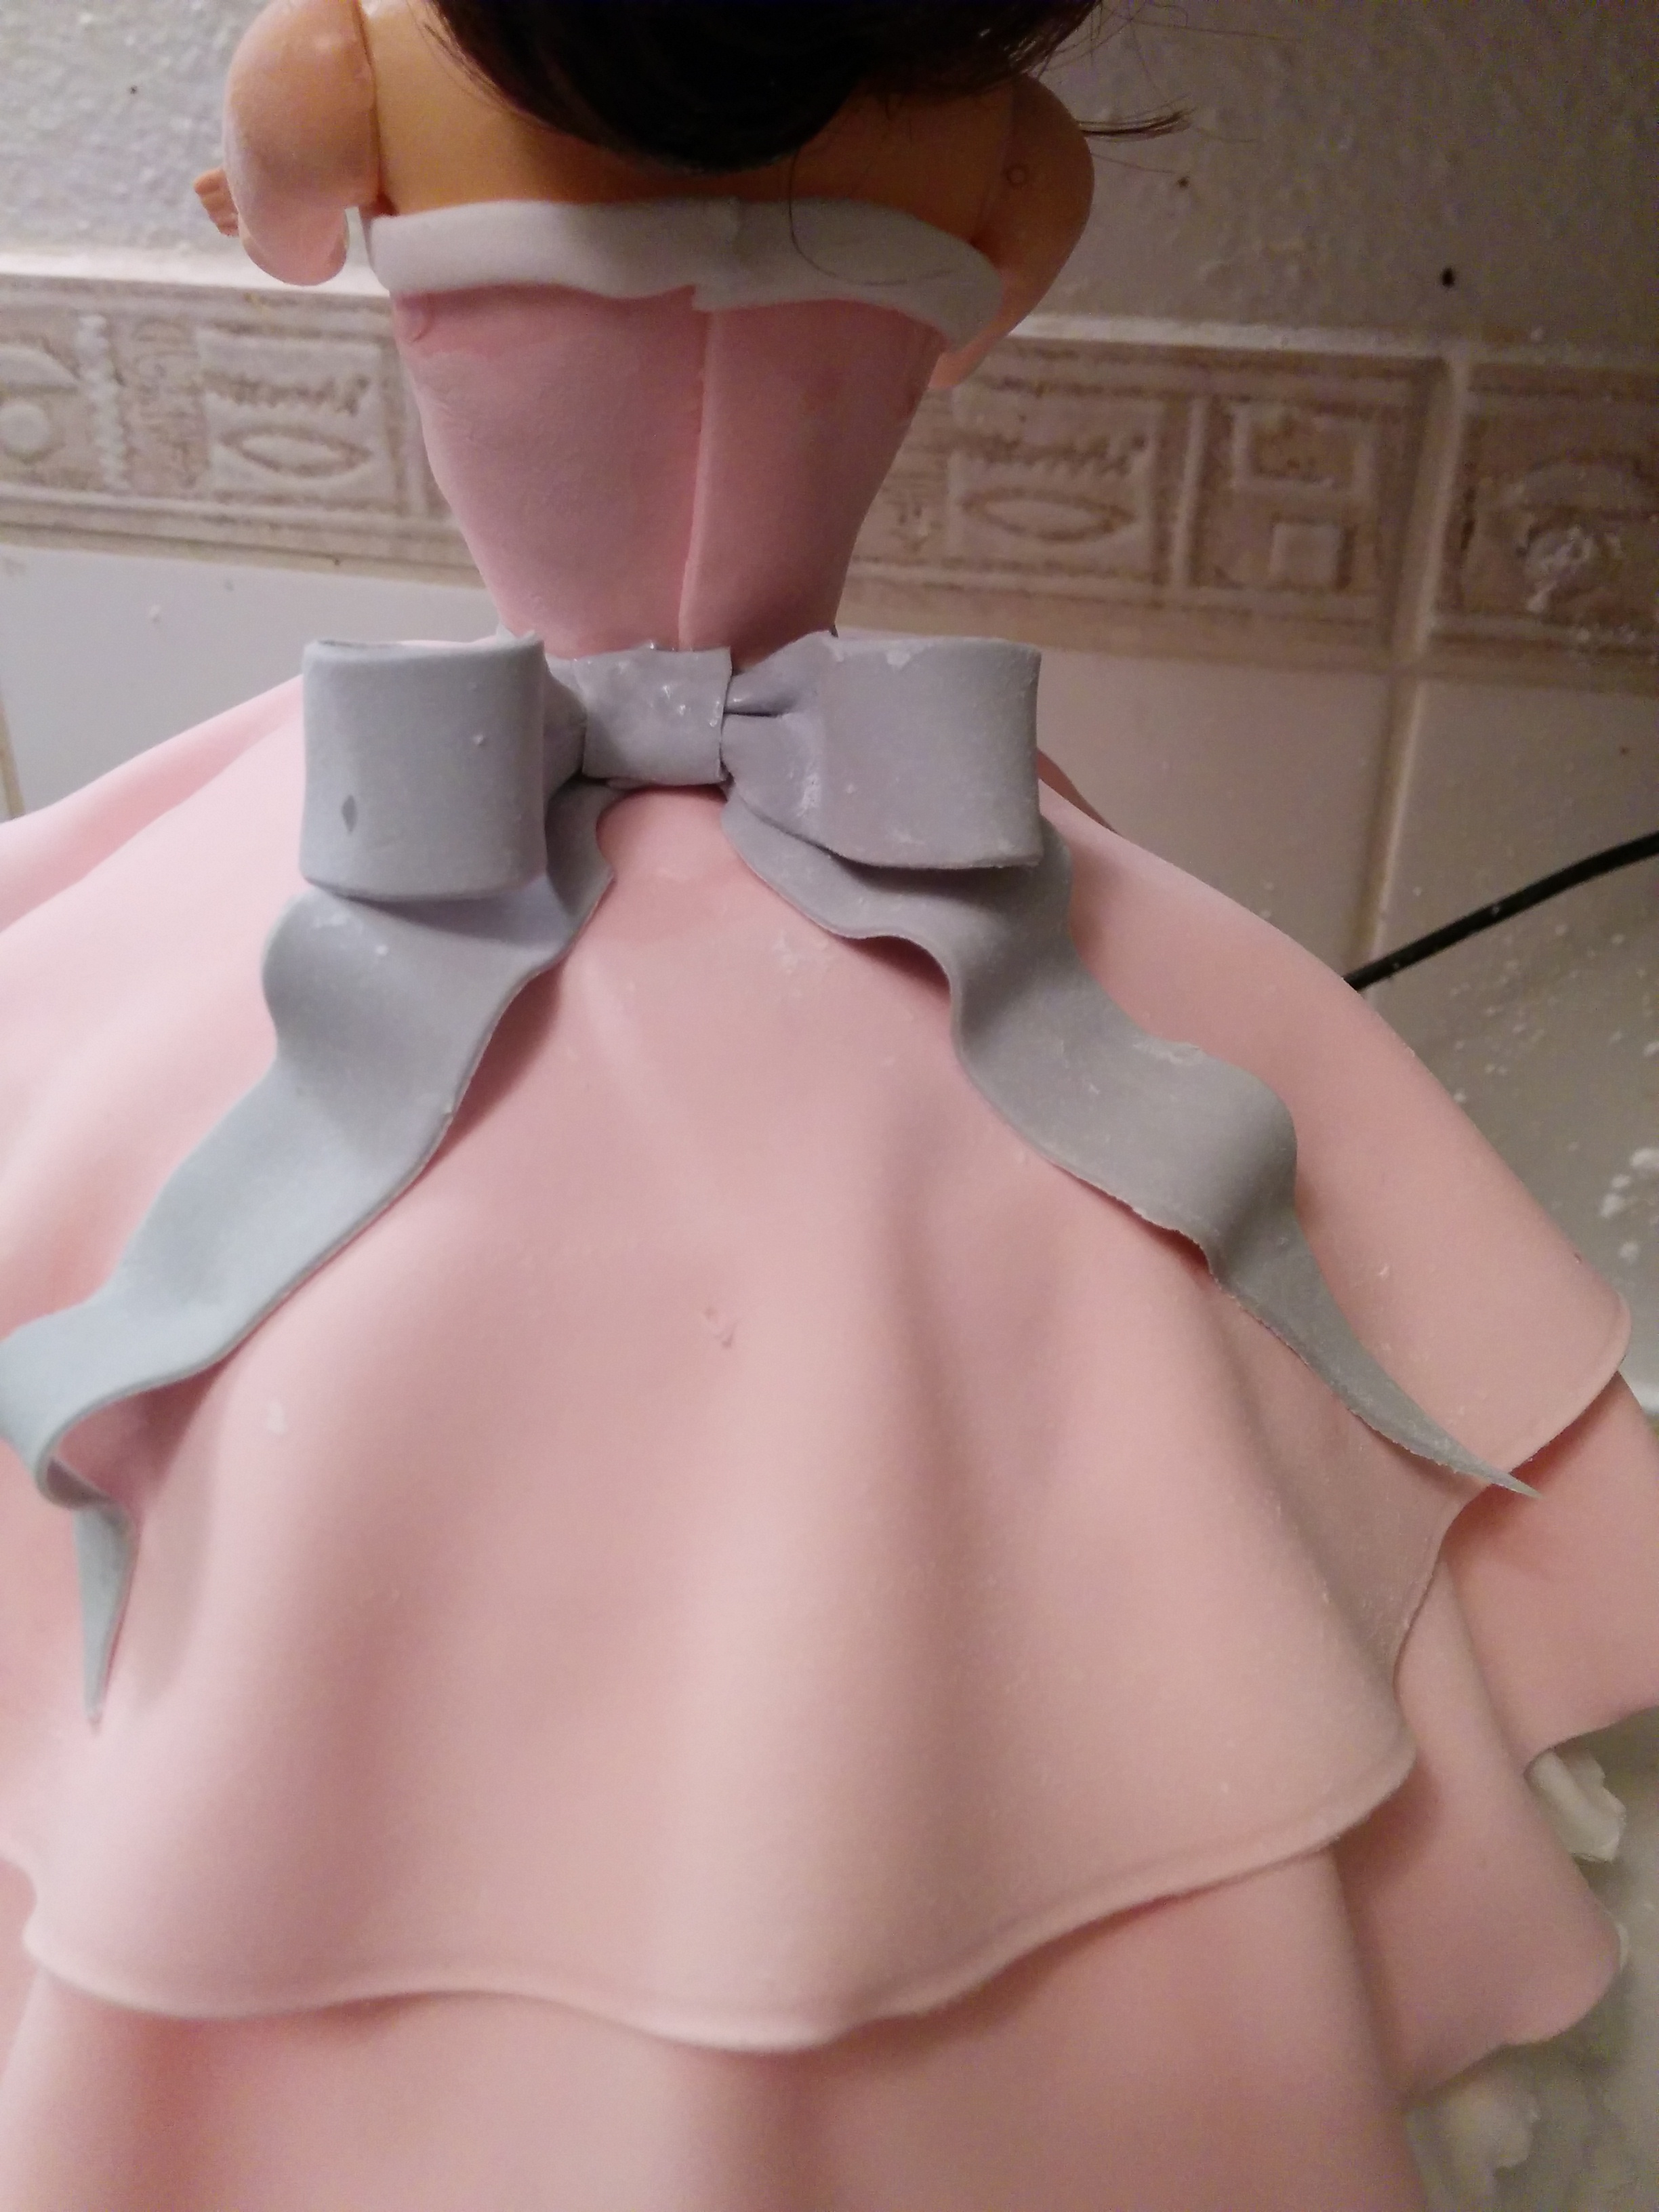
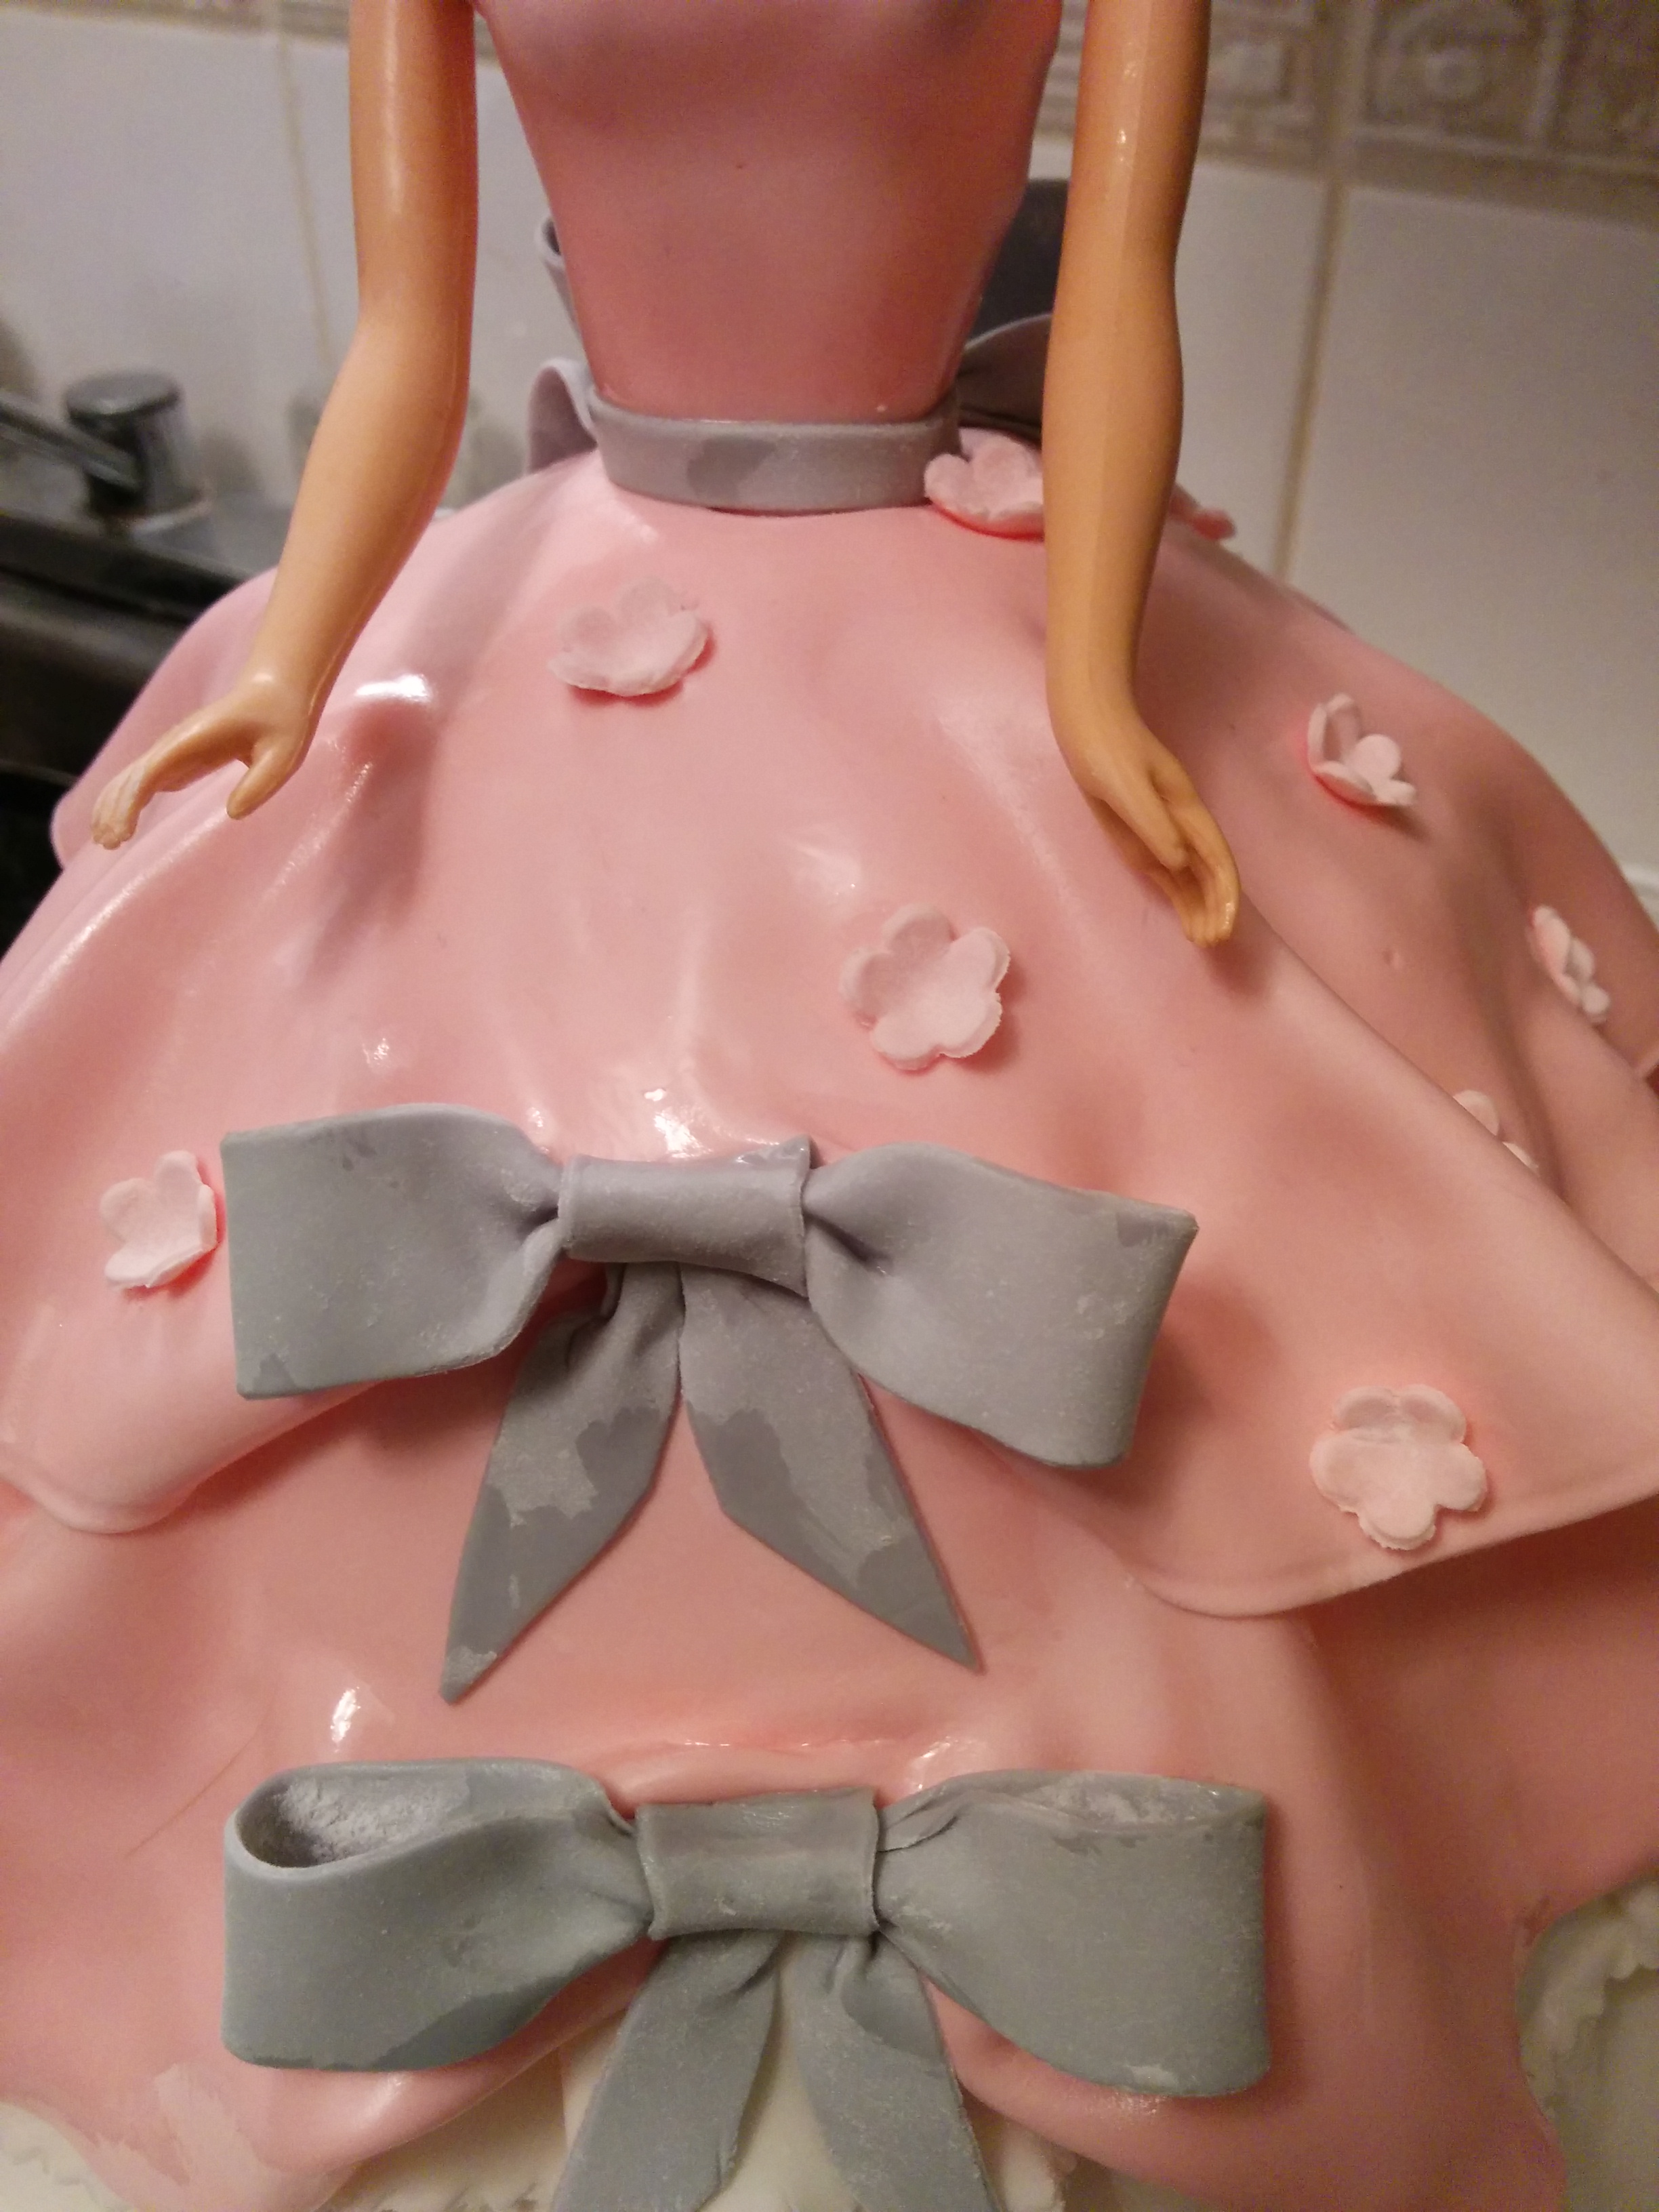
(6) Waist Band and Bow
(a) It is possible to leave the waist of the princess bare. You must however ensure that the seem at the waist is very neat.

(b) Bands and bows are often used to conceal the seam between the bodice and the ball part of the gown. They also have decorative purposes. Wrap the waist with a band and place a bow at the back of the gown. You can make a simple bow or an elaborate bow (click here for bow tutorial).
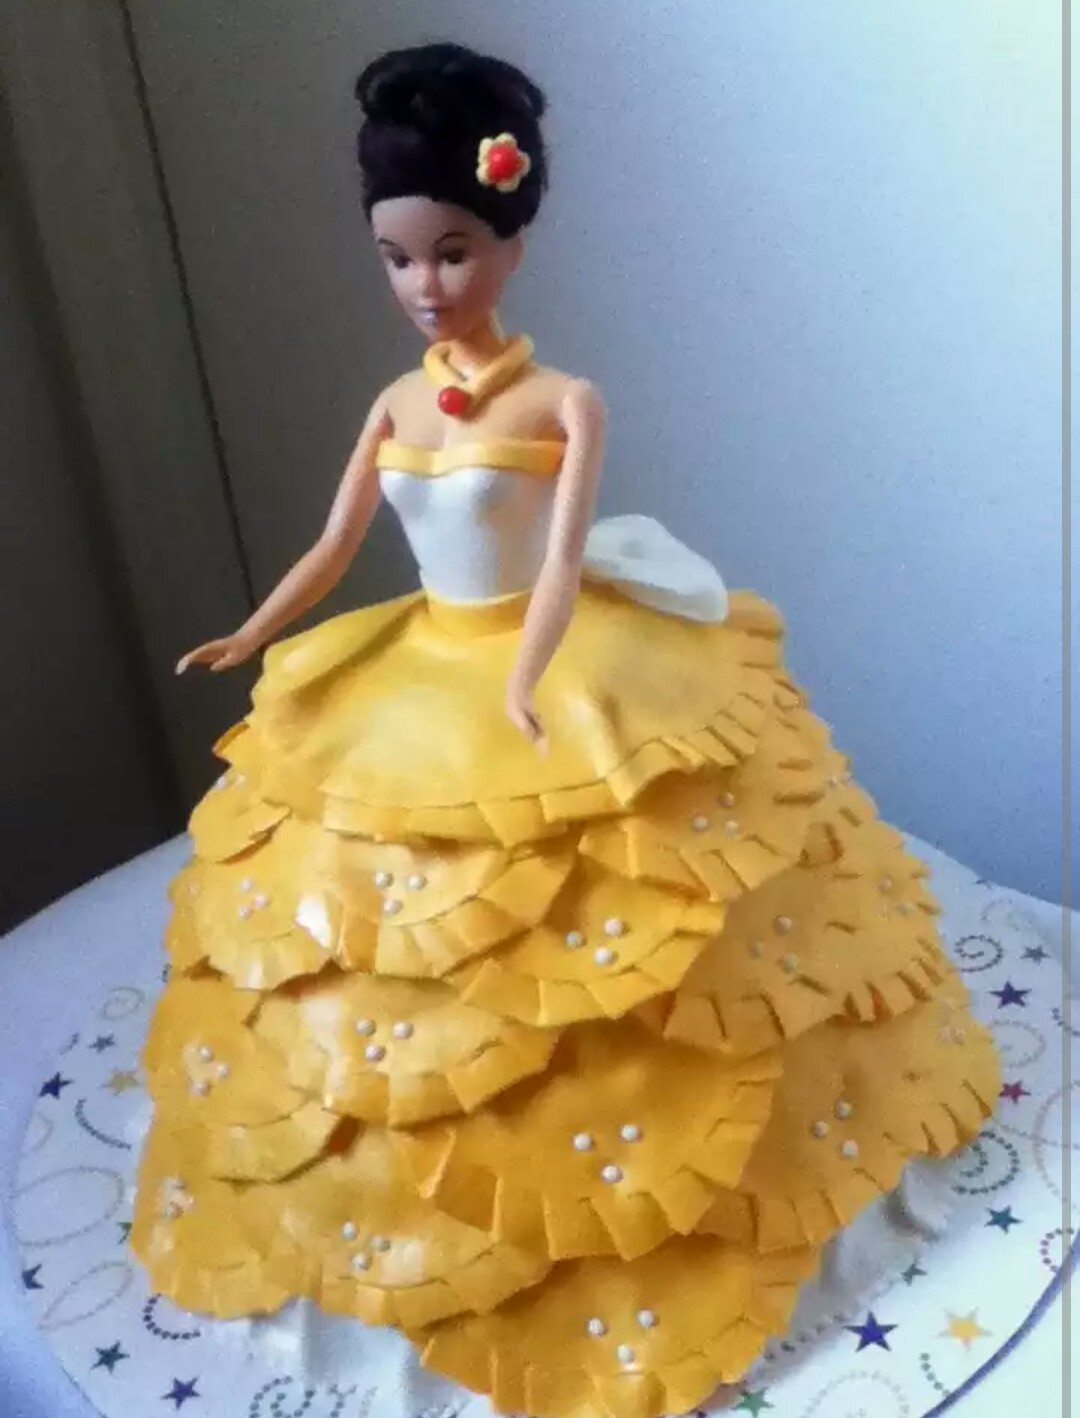
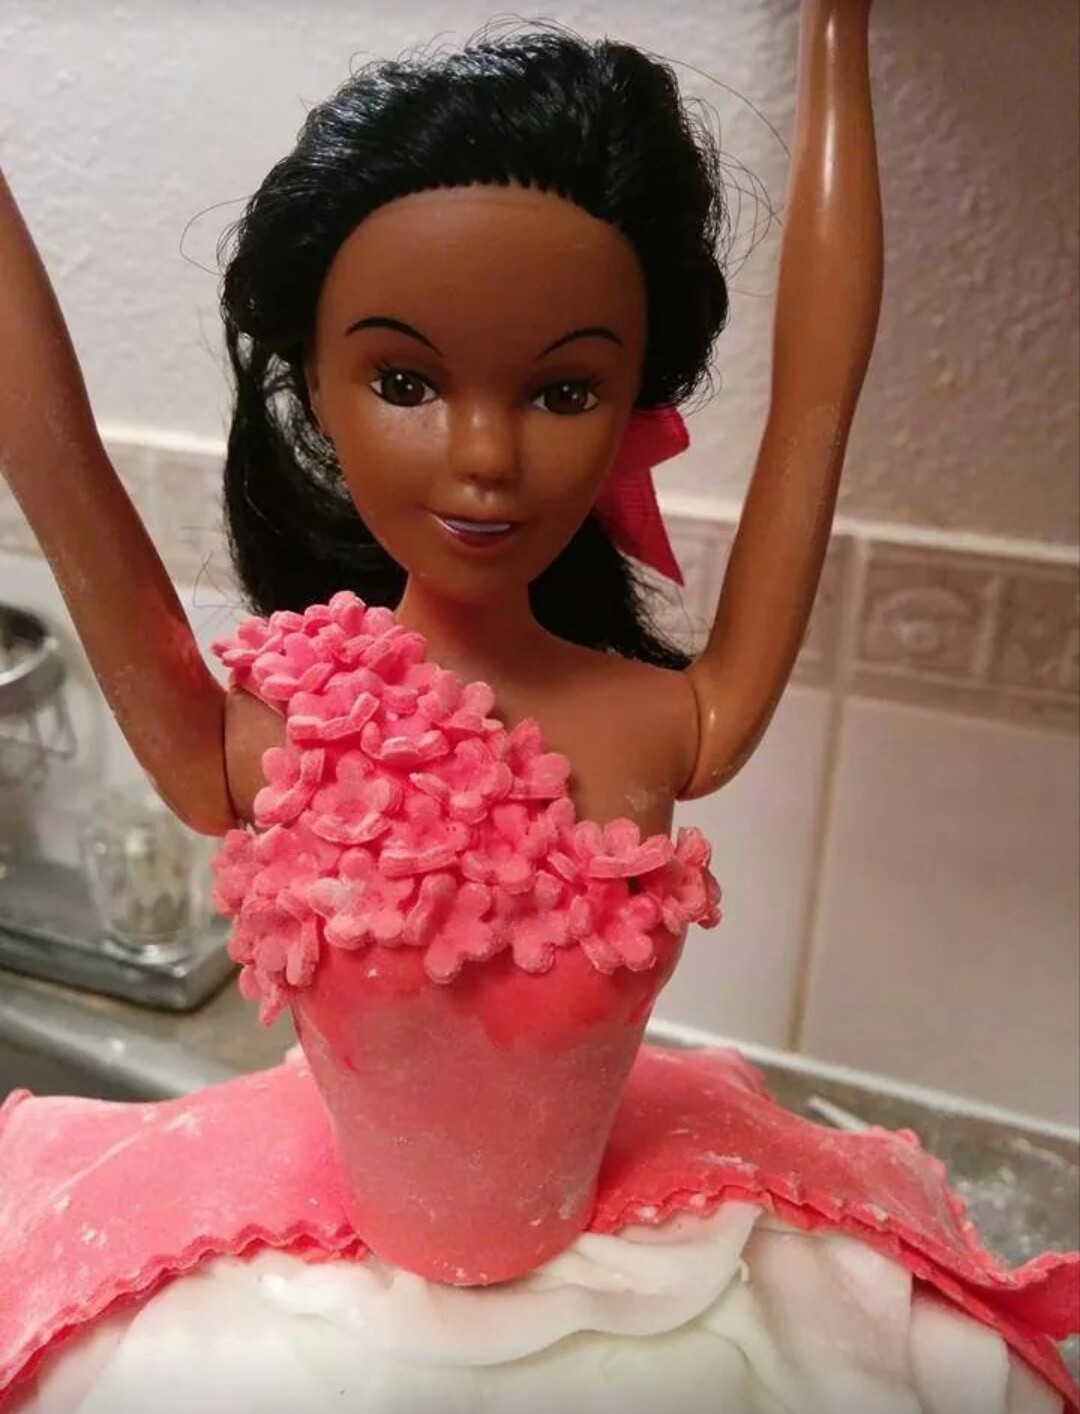
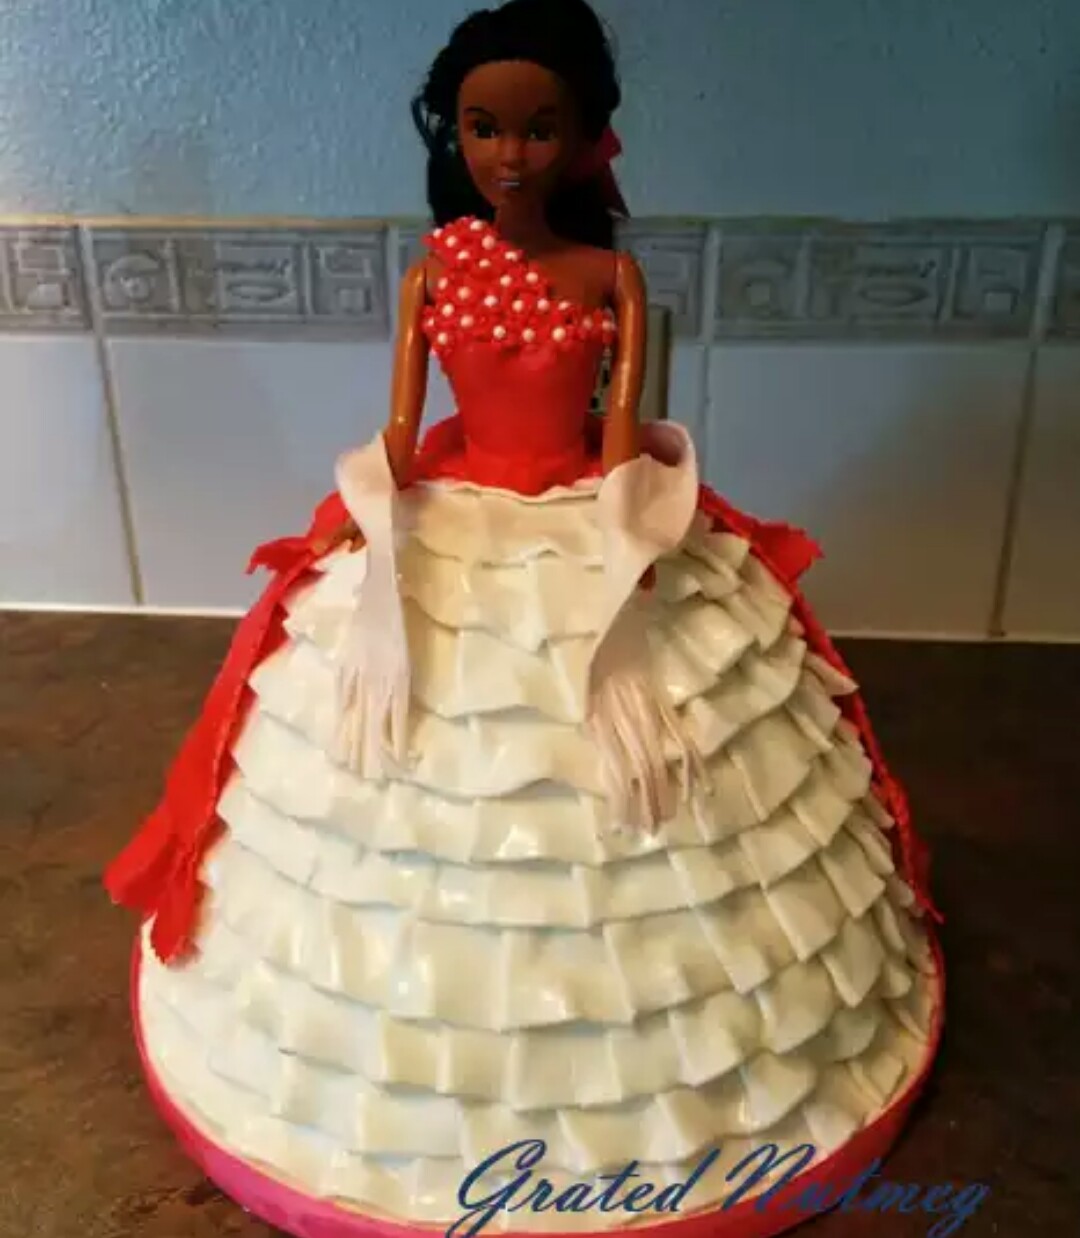
(7) Decorating
(a) The basic structure of the cake is now completed. You have a blank canvas on which to make any designs you want to. Designs can be made with sugar pearls, fondant or any other medium you choose to use.
(b) The cake can also be left bare. Sometimes, less is more.
(8) Finishing
Allow the fondant to dry before finishing. For the white part of the gown, mix white pearl dust with vodka and brush to make it look glossy. For the other parts of the gown, brush with vodka.
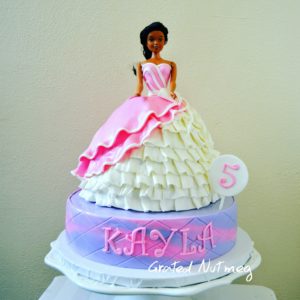
(9) Making More Tiers
If you want larger cakes, these princess cakes can be stacked on other round cakes to create multi-tiered cakes.
That’s how I make princess cakes. You feedback is welcomed and appreciated as usual.
Terry Adido is passionate about showing people how easy it is to recreate restaurant quality meals in the comfort of their kitchens. With a style of cooking he refers to as Afro-European Fusion, his meals are influenced greatly by French and Italian Cuisine with a West African twist. If you love good food, you are in for the ride of your life.
Thank you so much Terry,God will keep blessing you!
Thanks Susan.
Thank you and God bless you
You are welcome Yetunde.
Thanks a million for always taking time to explain in details.God bless you.
Will try my hands on this to surprise a princess whose birthday is coming up in 3 weeks time.
That surprise will be awesome!
Thank you Terry,
I have been wondering how to do this.
You made it simple.
Thanks once again.
You are welcome Chinyere.
Thanks terry u alwaz make tinz easy for us.hv askd u before if u hv a school u teach people bt no response cus i would love to come and learn more from you.
Thanks Chinyere. No I do not have a training school.
Now I av other methods to try out…thanks Terry for taking time out to do this.
You are welcome Olabanke.
Thanks, I will try this.
You are welcome
I want to be like u when I grow up..lol u r truely a blessing.God bless u plenty
Thanks Maris
Hi Terry, i must confess that your blog is highly educative. to think that just like me, you did not attend a cake school? good job and God bless. You sound like a Nigerian?
Thanks Mimi. How do Nigerians “sound” over the keyboard and mouse? lol. I am originally from Nigeria.
Terry tnx so much,i pray i perfect like u wit time.
Thanks. Practice makes perfect.
You are too much,may God bless u more n more
Thanks Buki.
You are too much terry,may God bless u more n more n uplift u in more knowledge n wisdom
Thanks Buki.
Mr Terry U are a cake wizard, You just saved me from cracking my brains so hard, because i wanna make princess barbie cake this weekend. Thanks plenty and may God Bless u more
I’m glad I could help Valeria
Mr. Terry Gud bless you! You one in a million.
Thanks Seun (my namesake 🙂 )
You’re very good at teaching. Well done & thanks a lot
Thanks Chinonso.
Simply put…”u are God sent” U are a blessing to us. Thnks
Thanks Regina.
Thanks for alwaysimpacting your knowledge. Your blog is alaways a place for me to visit anytime I have issues with cake. God bless you, will be glad if u can share tutorial on laptop cakes
Thanks Taiwo. If I happen to make one again, I will try to document the process.
Oga Terry, I’m blessed to knw Grated Nutmeg. May u continue to grow from wisdom to wisdom n unlimited inspirtions on ur passion for cake making IJNA. Tnx, u keep impacting me wt loads of knowledge on various ways of achieving best cakes n designs. God bless u more for me. Tnx!
Thanks
Thank you soooo much for this tutorial, my daughter is very grateful to you also
You are welcome. My regards to your daughter.
I stumbled upon your site some days ago, since then I’ve been hookd to the site. Thanks a million for what you’re doing, its really helping making people like me a better baker. God will continue to bless n enpower u more n more. U’re really a blessing, keep it up.
Thanks Adetutu. It is great having you here.
sir should i add cmc to fondant before making ruffles? thanks
If you want to. I didn’t.
sir, what cream can we put on barbie’s hair?
Why would you wanna put cream on the hair?
Gud job terry! Pls can I pipe Swiss meringue buttercream to make raffles on the princess cake instead of using fondants? Waiting for your response
If you are good with pipping, yes.
Thanks in every language under the sun terry
Thanks Vera.
Hi Terry, I wanted to bake this for the very first time. So, I bought the wilton mold kit but discovered a third part which you didn’t make use of in your baking. Kindly guide me on how to seal up the hole beneath the mold so my batter doesn’t leak out
Hi Cisca, the third part of the mold is the tube in the middle which helps with the distribution of hot air and ensures that the cake is baked from the middle of the pan as well as the outside. There is a nut and bolt which is screwed to the bottom of the pan to secure the pan to the base. The tube is then placed over the nut. The pan comes with directions on how to assemble it together. Whether or not you make use of the middle tube, the hole at the base of the pan is always sealed with the nut and bolt.
Oh! I see! Mine is not complete then. It came without a screw. That made me confused because the tube couldn’t stand by itself. I will have to return it then. Thanks for the info. God bless you
Hi Terry,
Beautiful work. You really inspire me and may the Lord bless the works of your hand.
Edna
Thanks Edna.
Could u please share the recipe of making fondant.
I use only marshmallow fondant.
Hmmmmmmmmm Thank you so Much Terry. You have a heart of Gold. This tutorial is amazing.so detailed and elaborate. I have learnt so much for free. Thank you sir
You are welcome Becky.
weldon bro! what a good heart.
Thanks Ify.