
Fondant Bow Tutorial
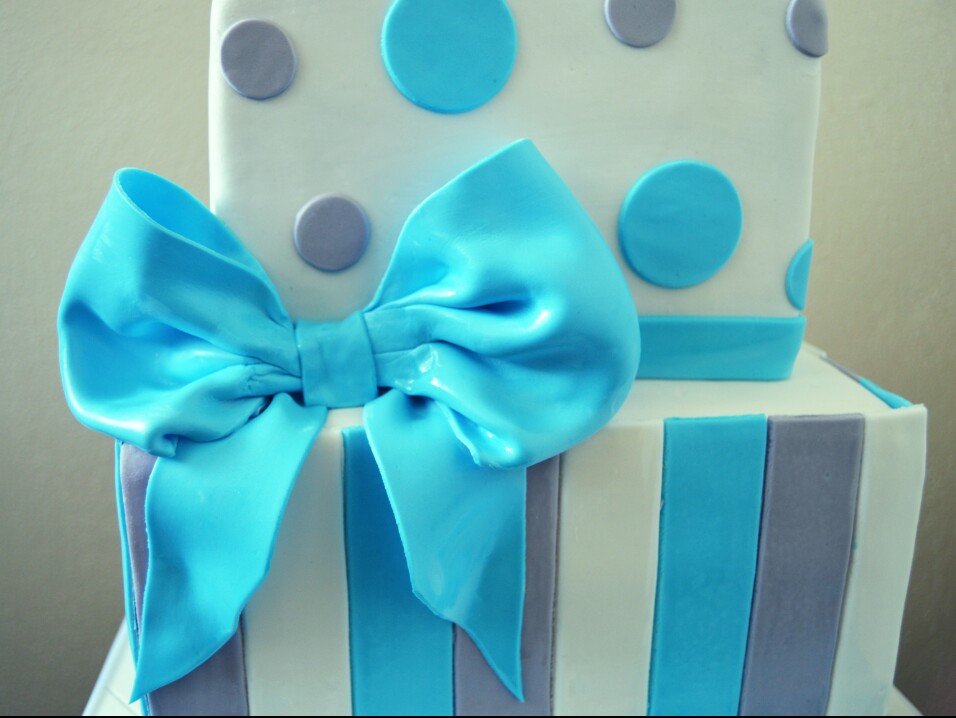
This is a tutorial on how to make bows out of fondant. There are different ways of making bows. This tutorial shows you one such way. The bows here are voluminous and stand out and can be reproduced following a few basic steps.

TOOLS:
(1) Rolling Pin
(2) Pizza Cutter (See Note 1)
(3) Paper Towels/Tissue Paper
(4) Ruler
(5) Paint Brush for applying fondant.
(6) You will also need fondant and some water.
NOTES:
(1) I always use a pizza cutter when cutting fondant as it does not drag and pull on the fondant. Knifes will pull on fondant when cutting which will leave tears and rough edges. Investing in a pizza cutter is essential if you are going to get involved in cake decorating. Nothing beats a clean cut!
PROCEDURE
NOTE: You have to work really fast. If the fondant gets dry before the process is completed, it will lead to cracks in the bow.
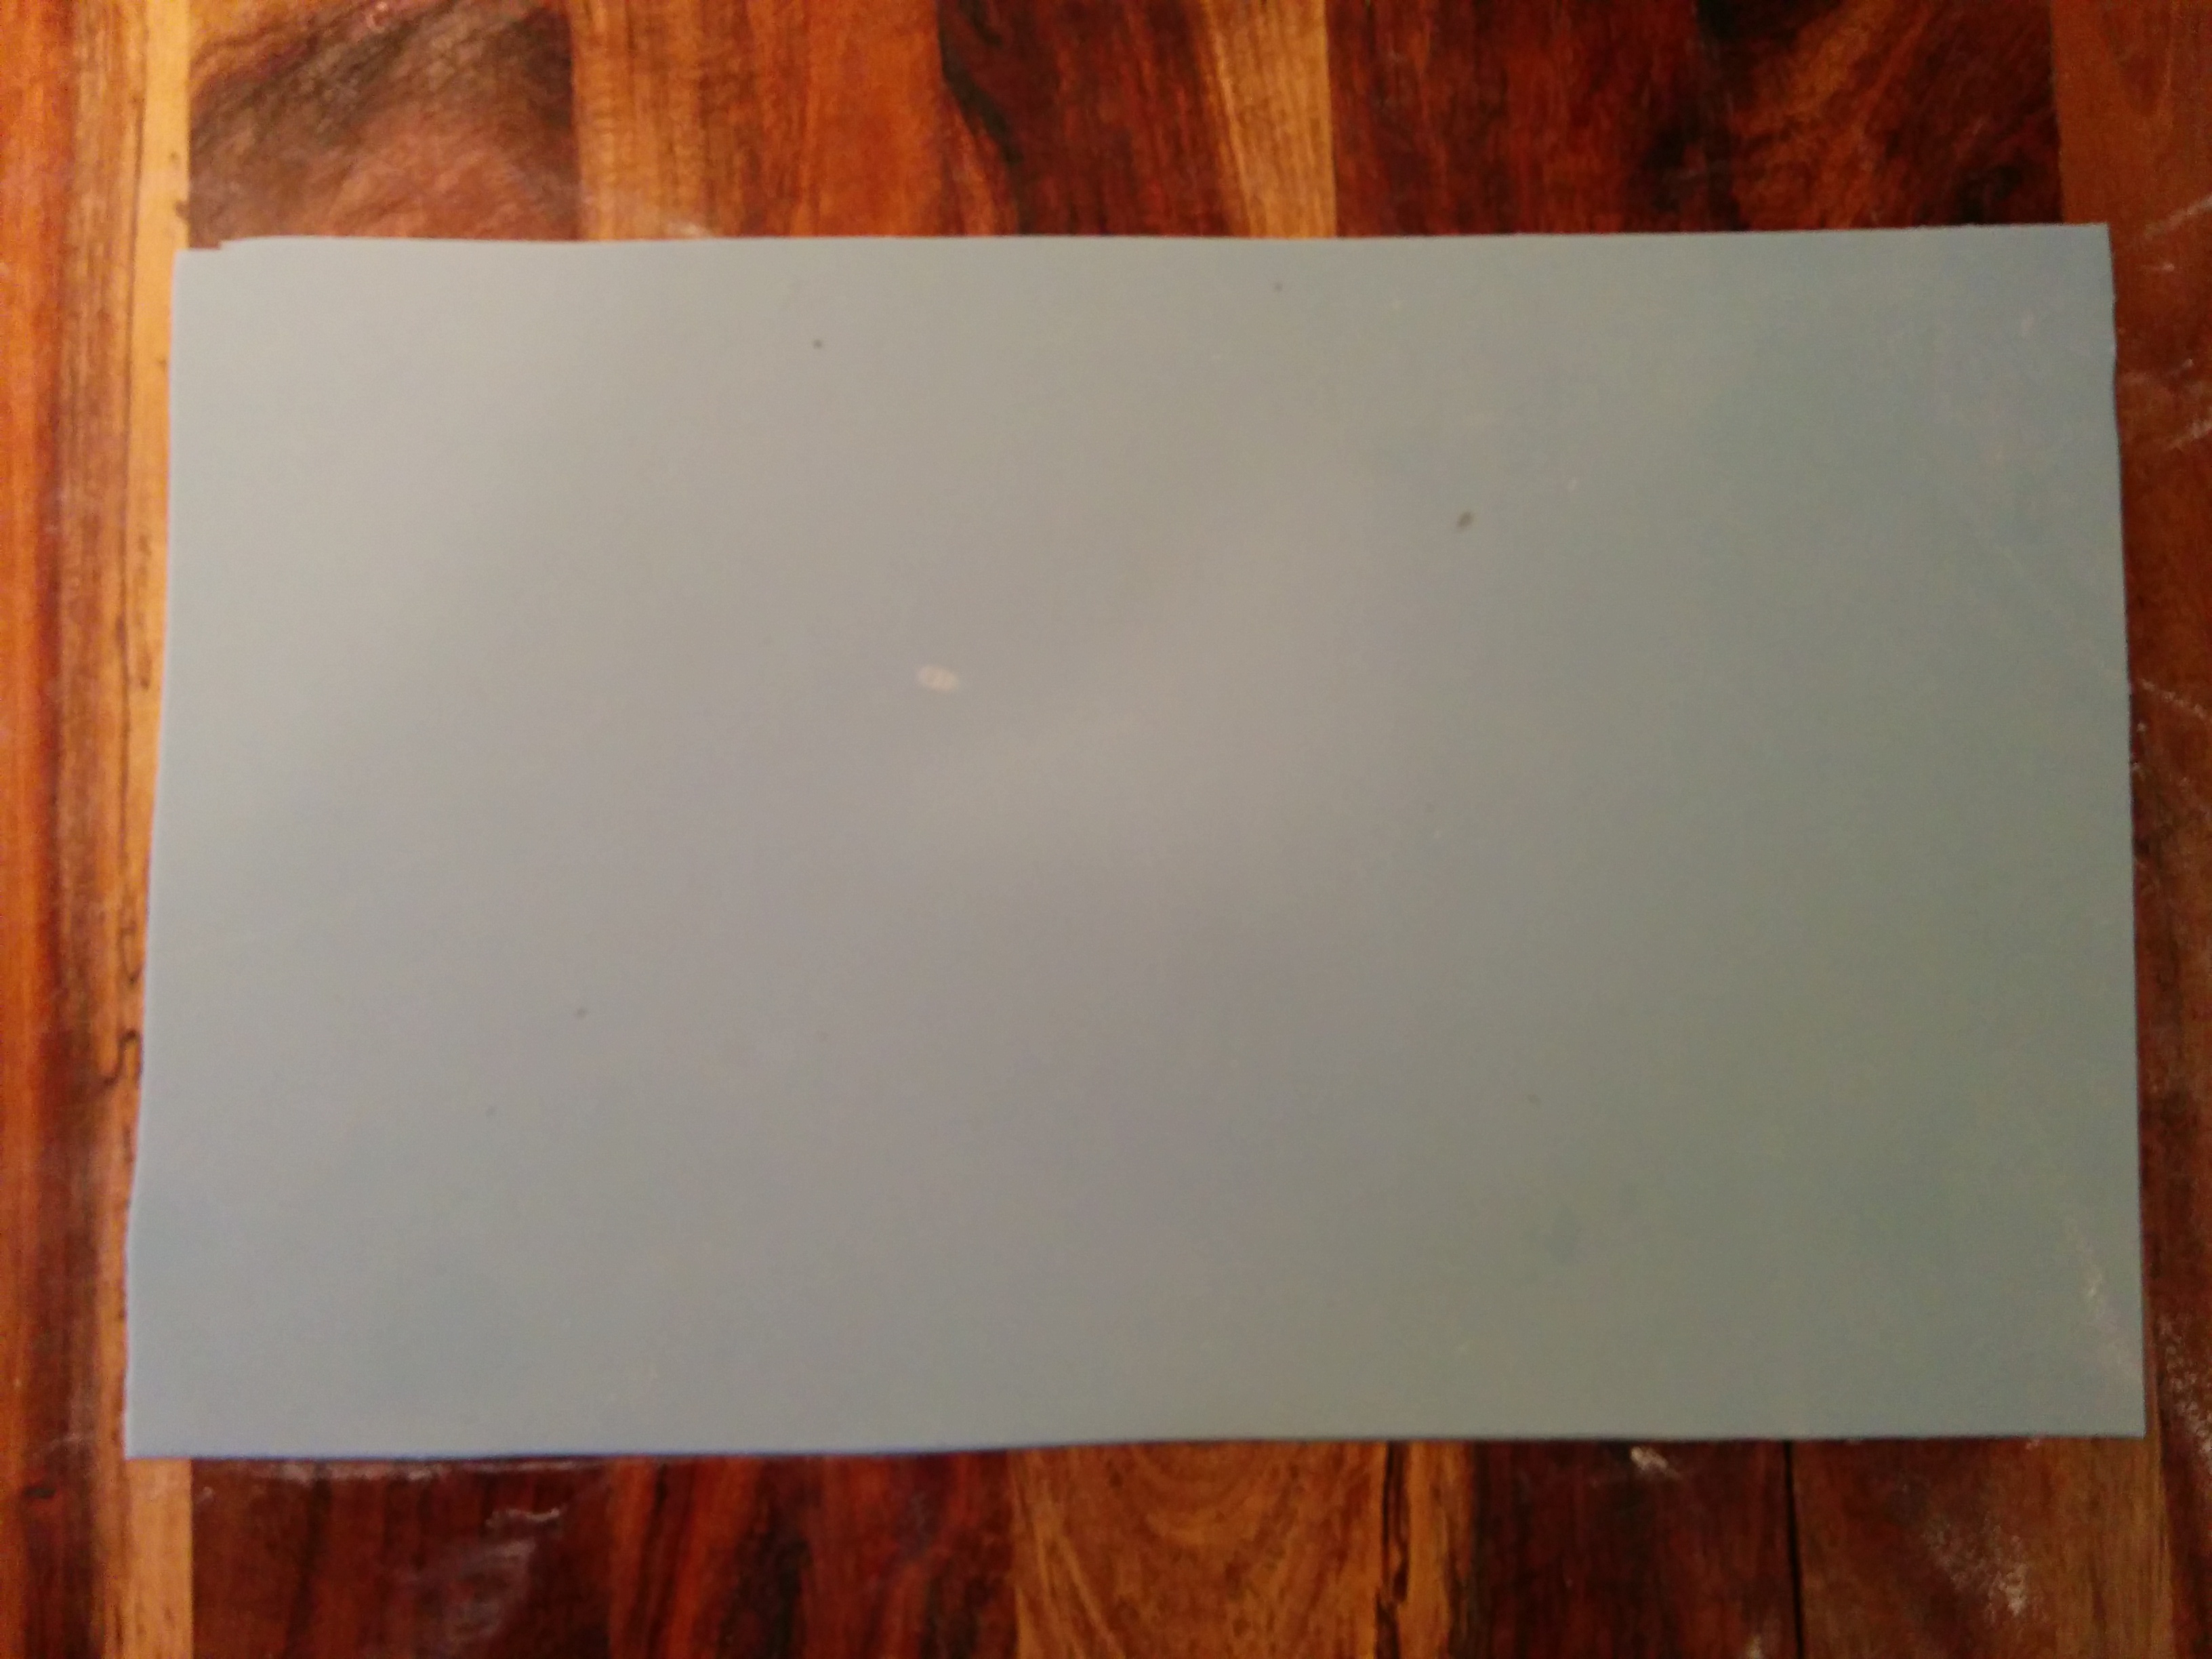
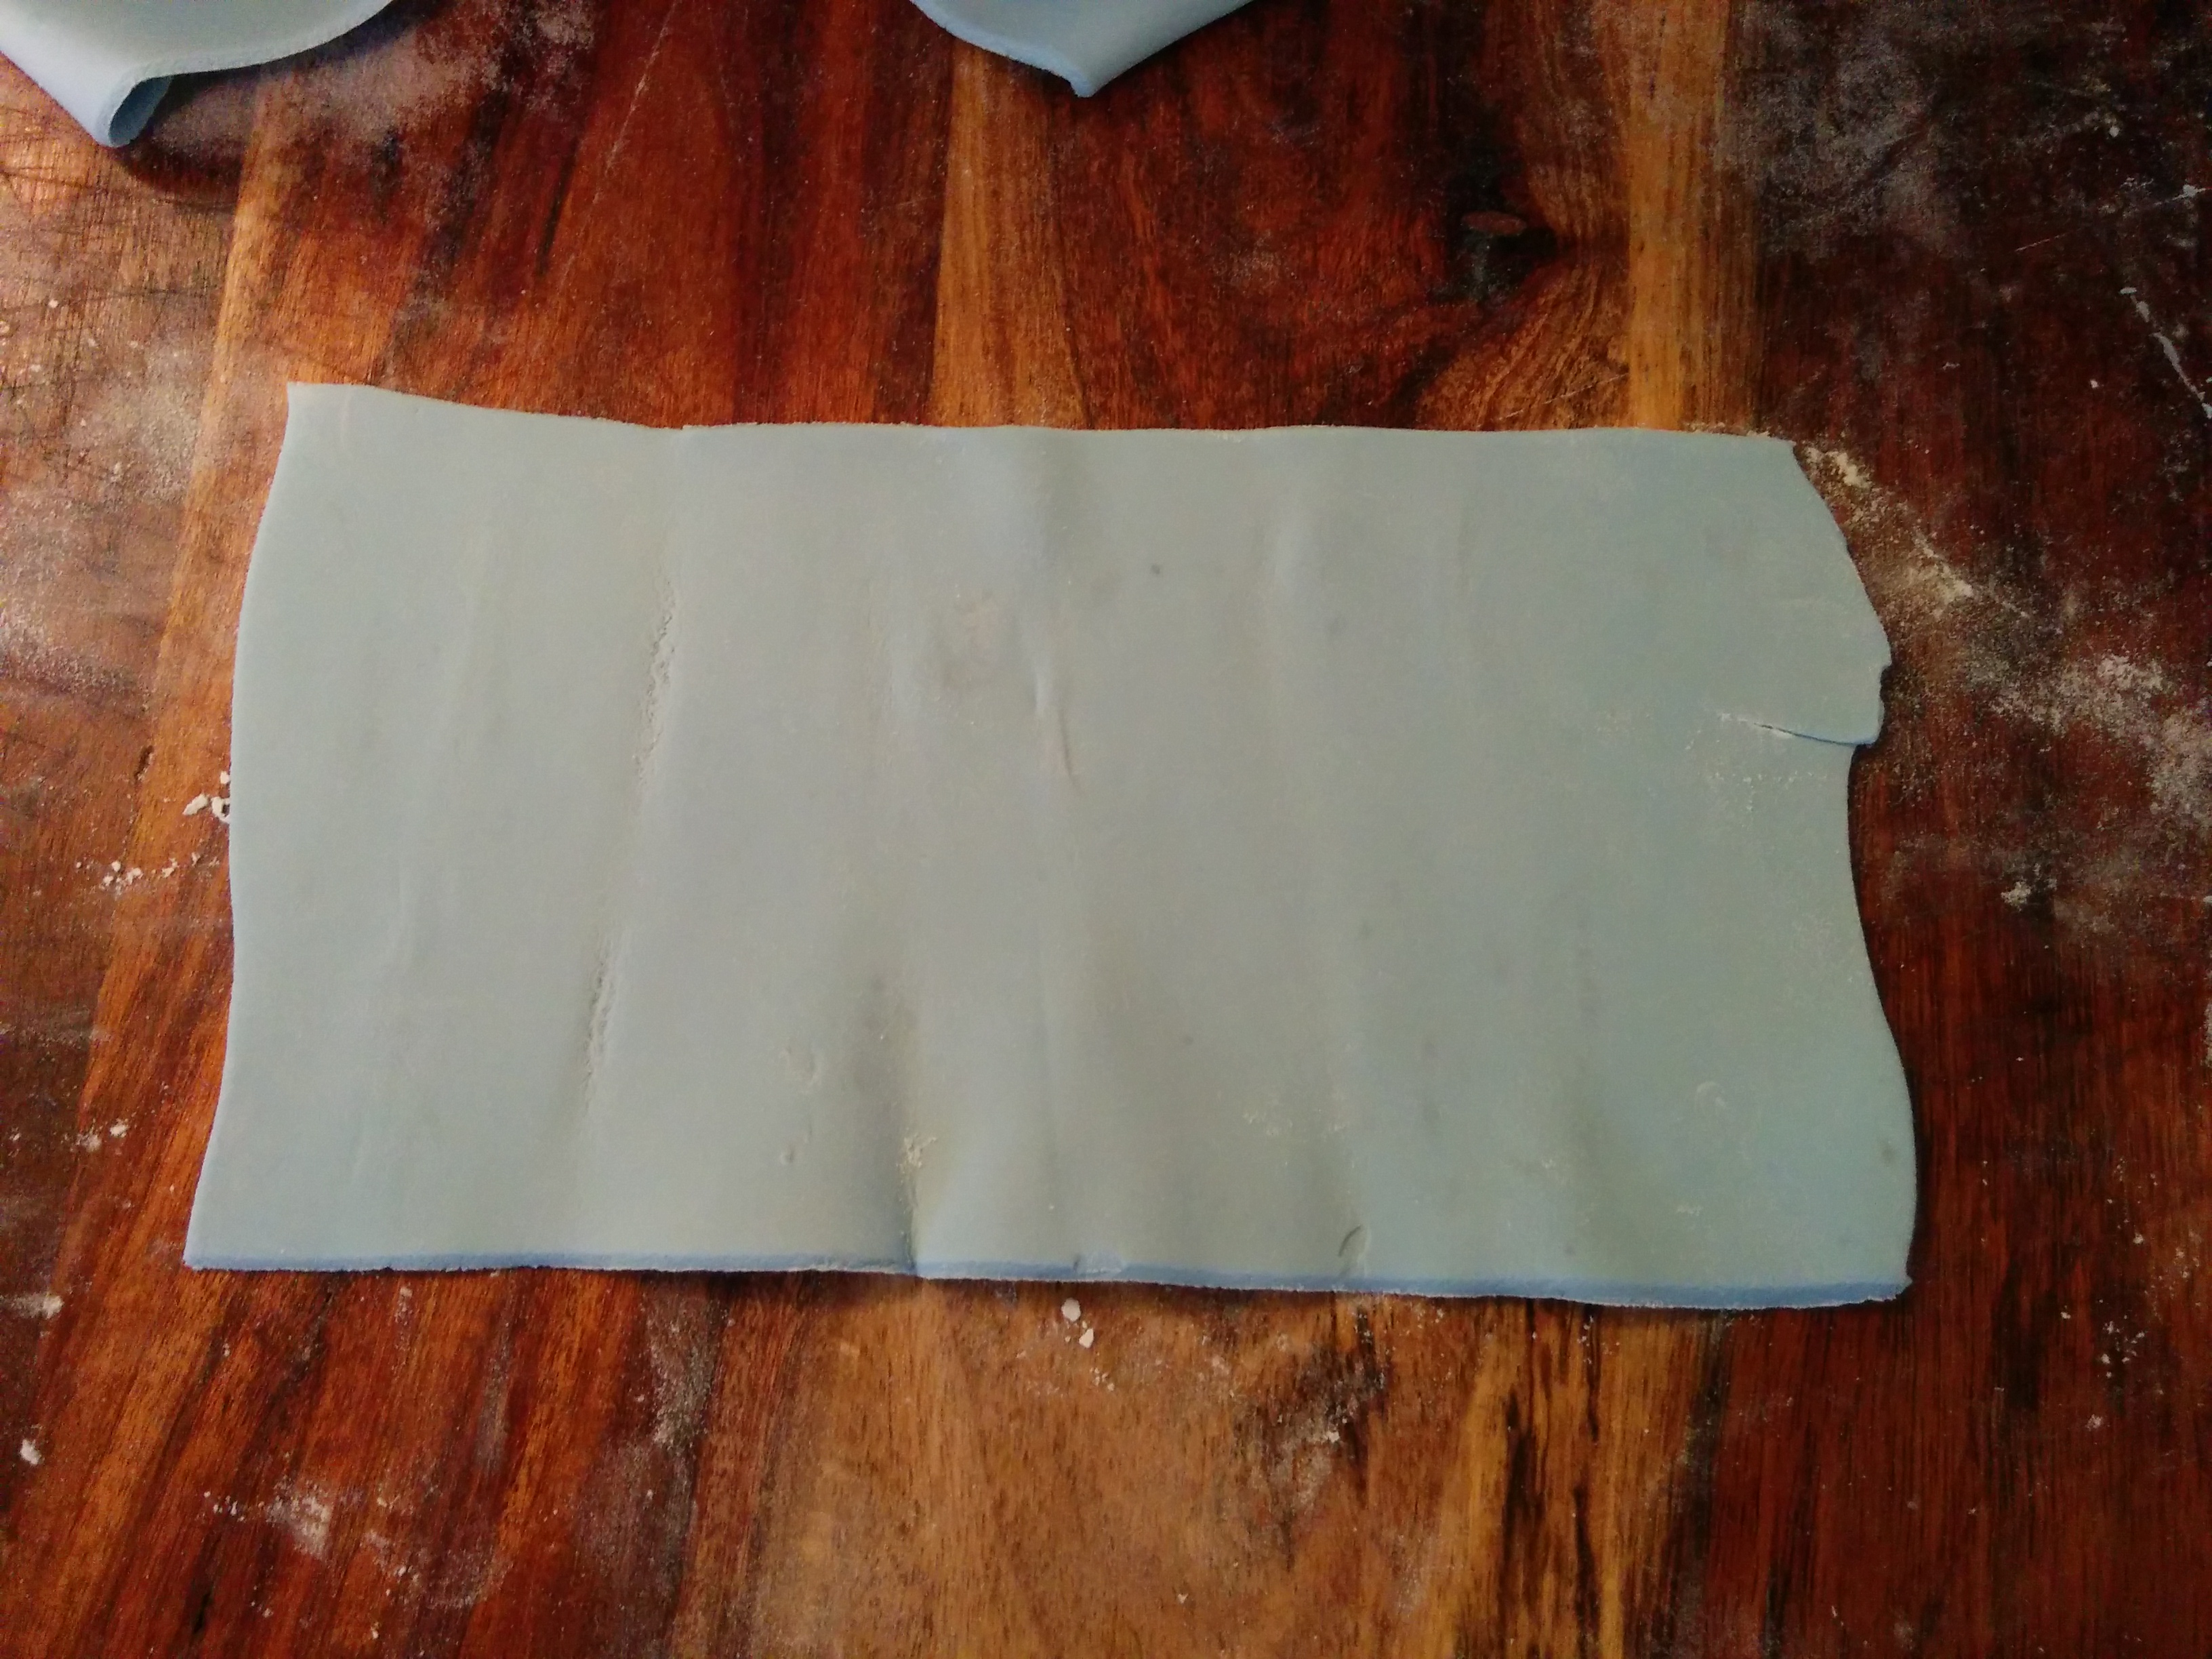
(1) Roll out your fondant and cut out a rectangle which measures 30 x 20 centimeters. If you want to make smaller bows, reduce the size of the rectangle accordingly. Ensure that the ratio of the lengths are maintained.
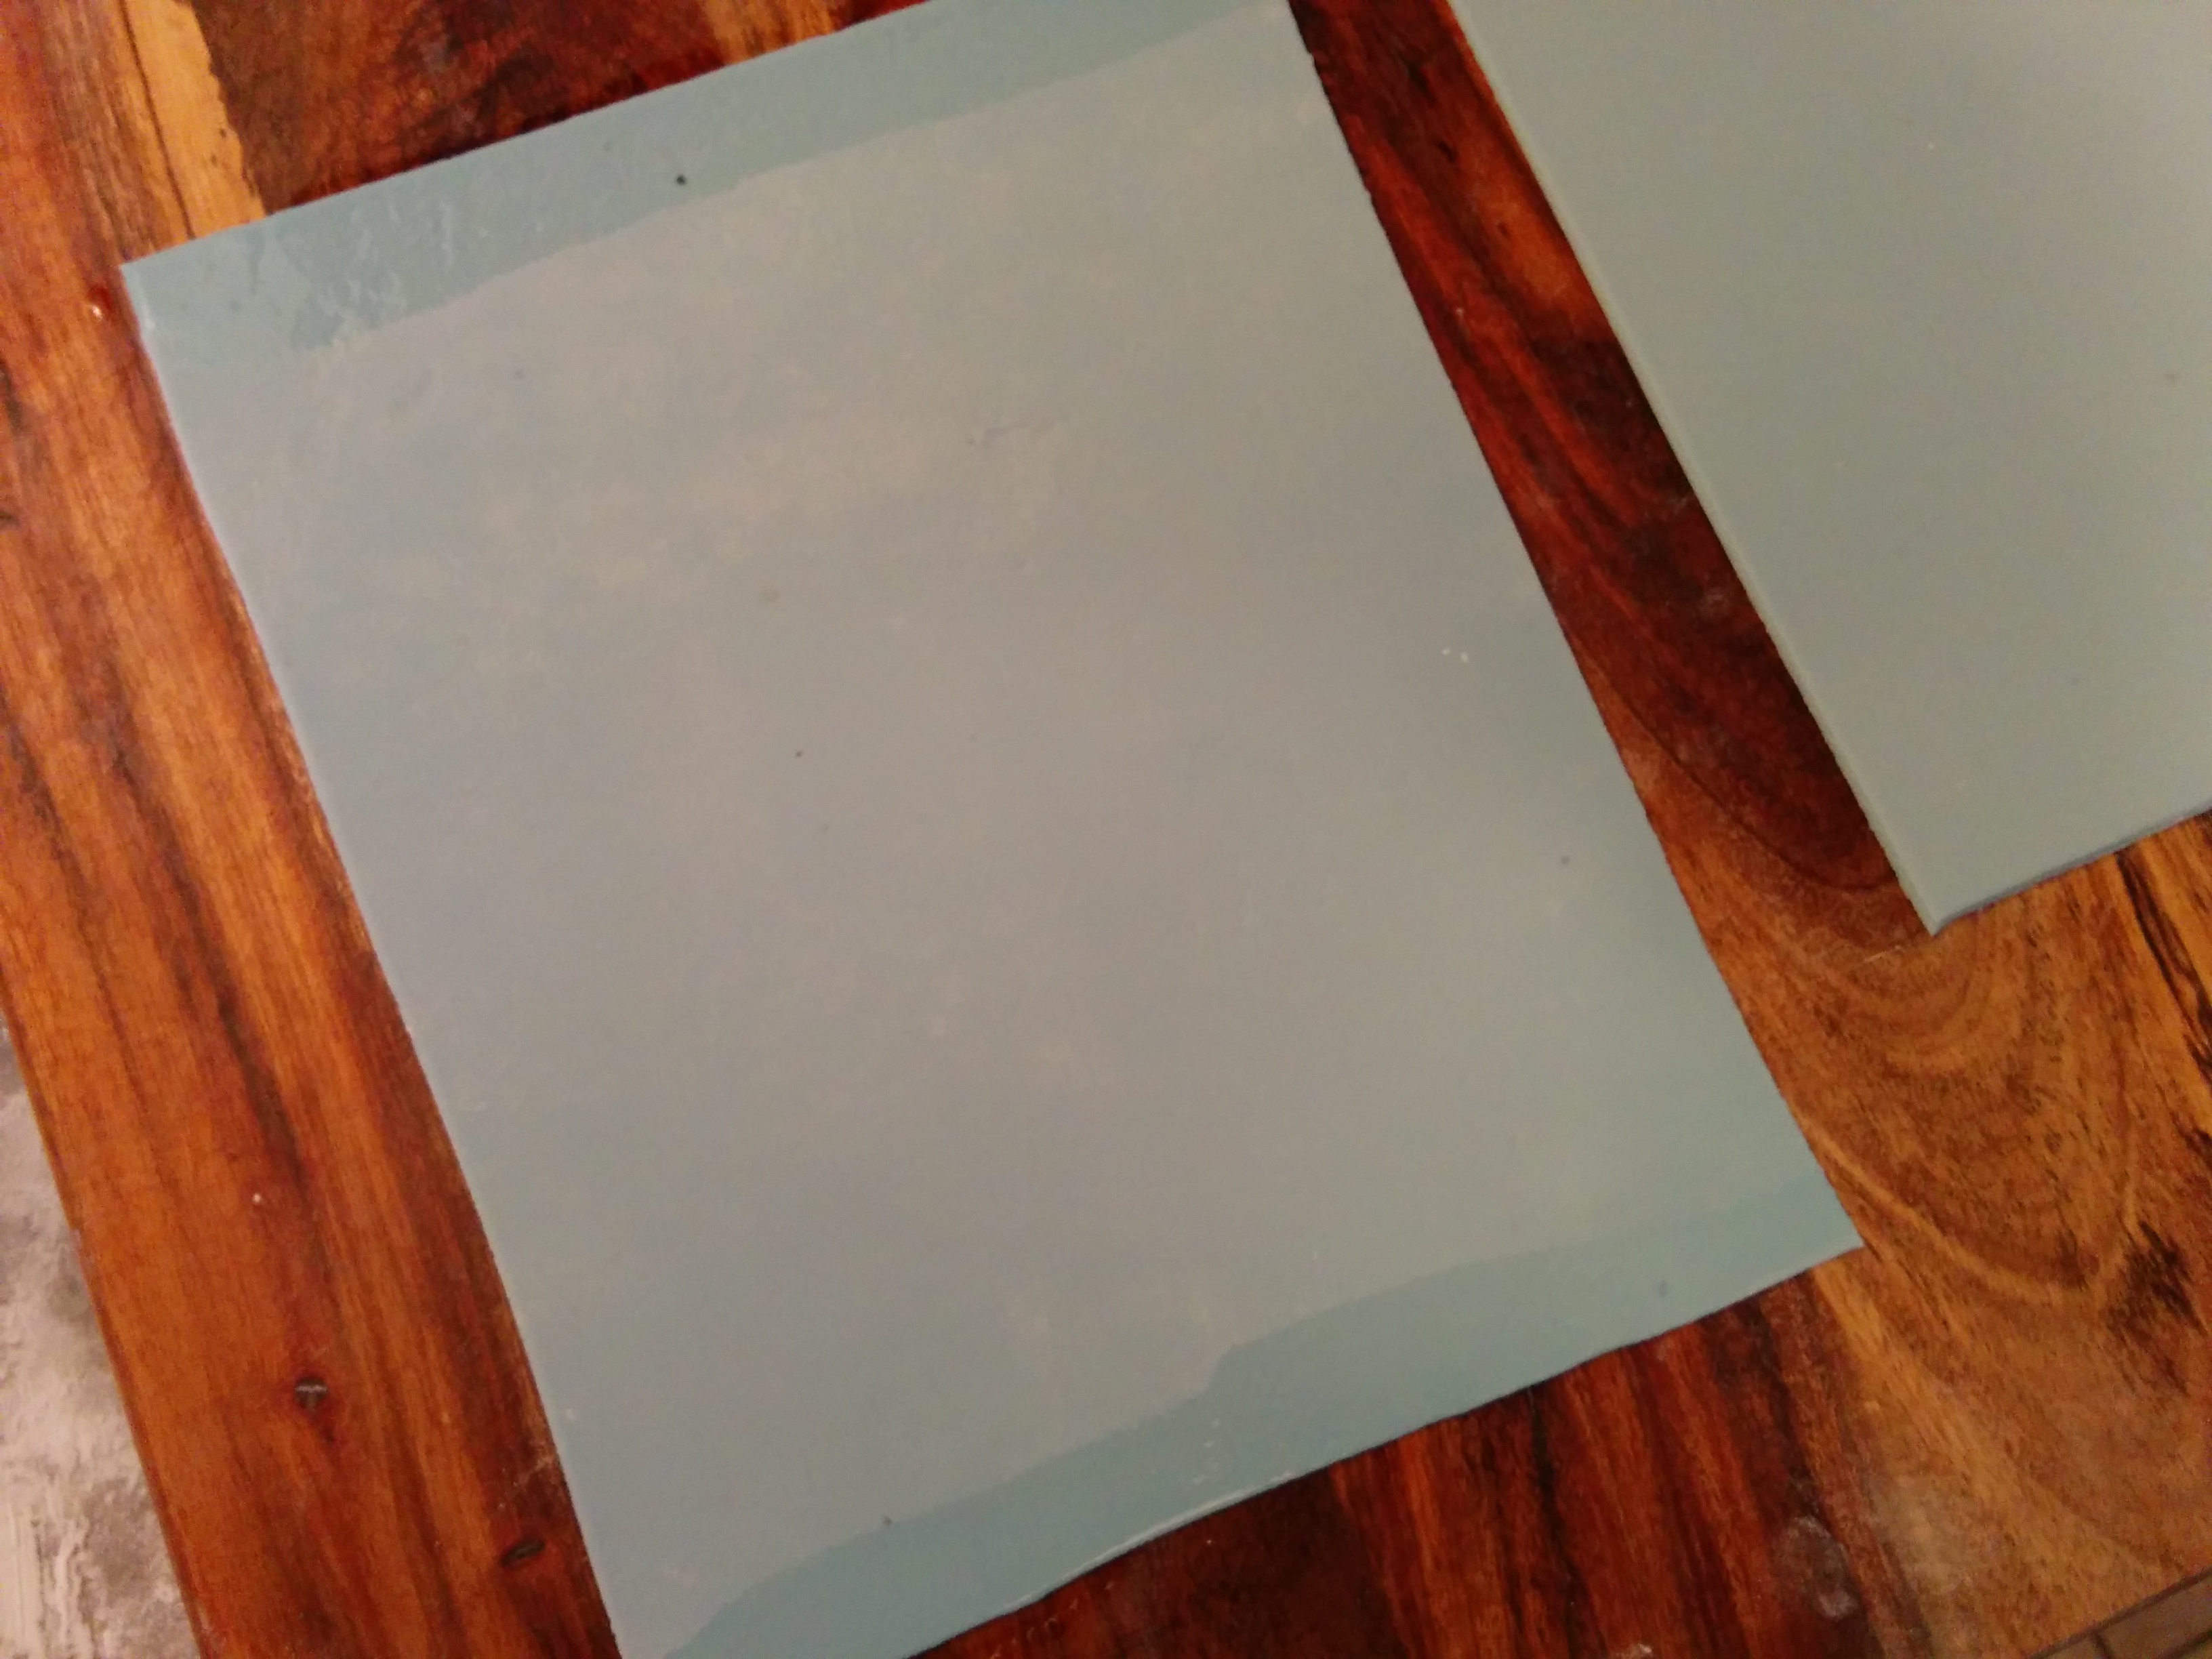
(2) Divide the rectangle in the middle into two equal parts of 15 x 20 centimeters each.

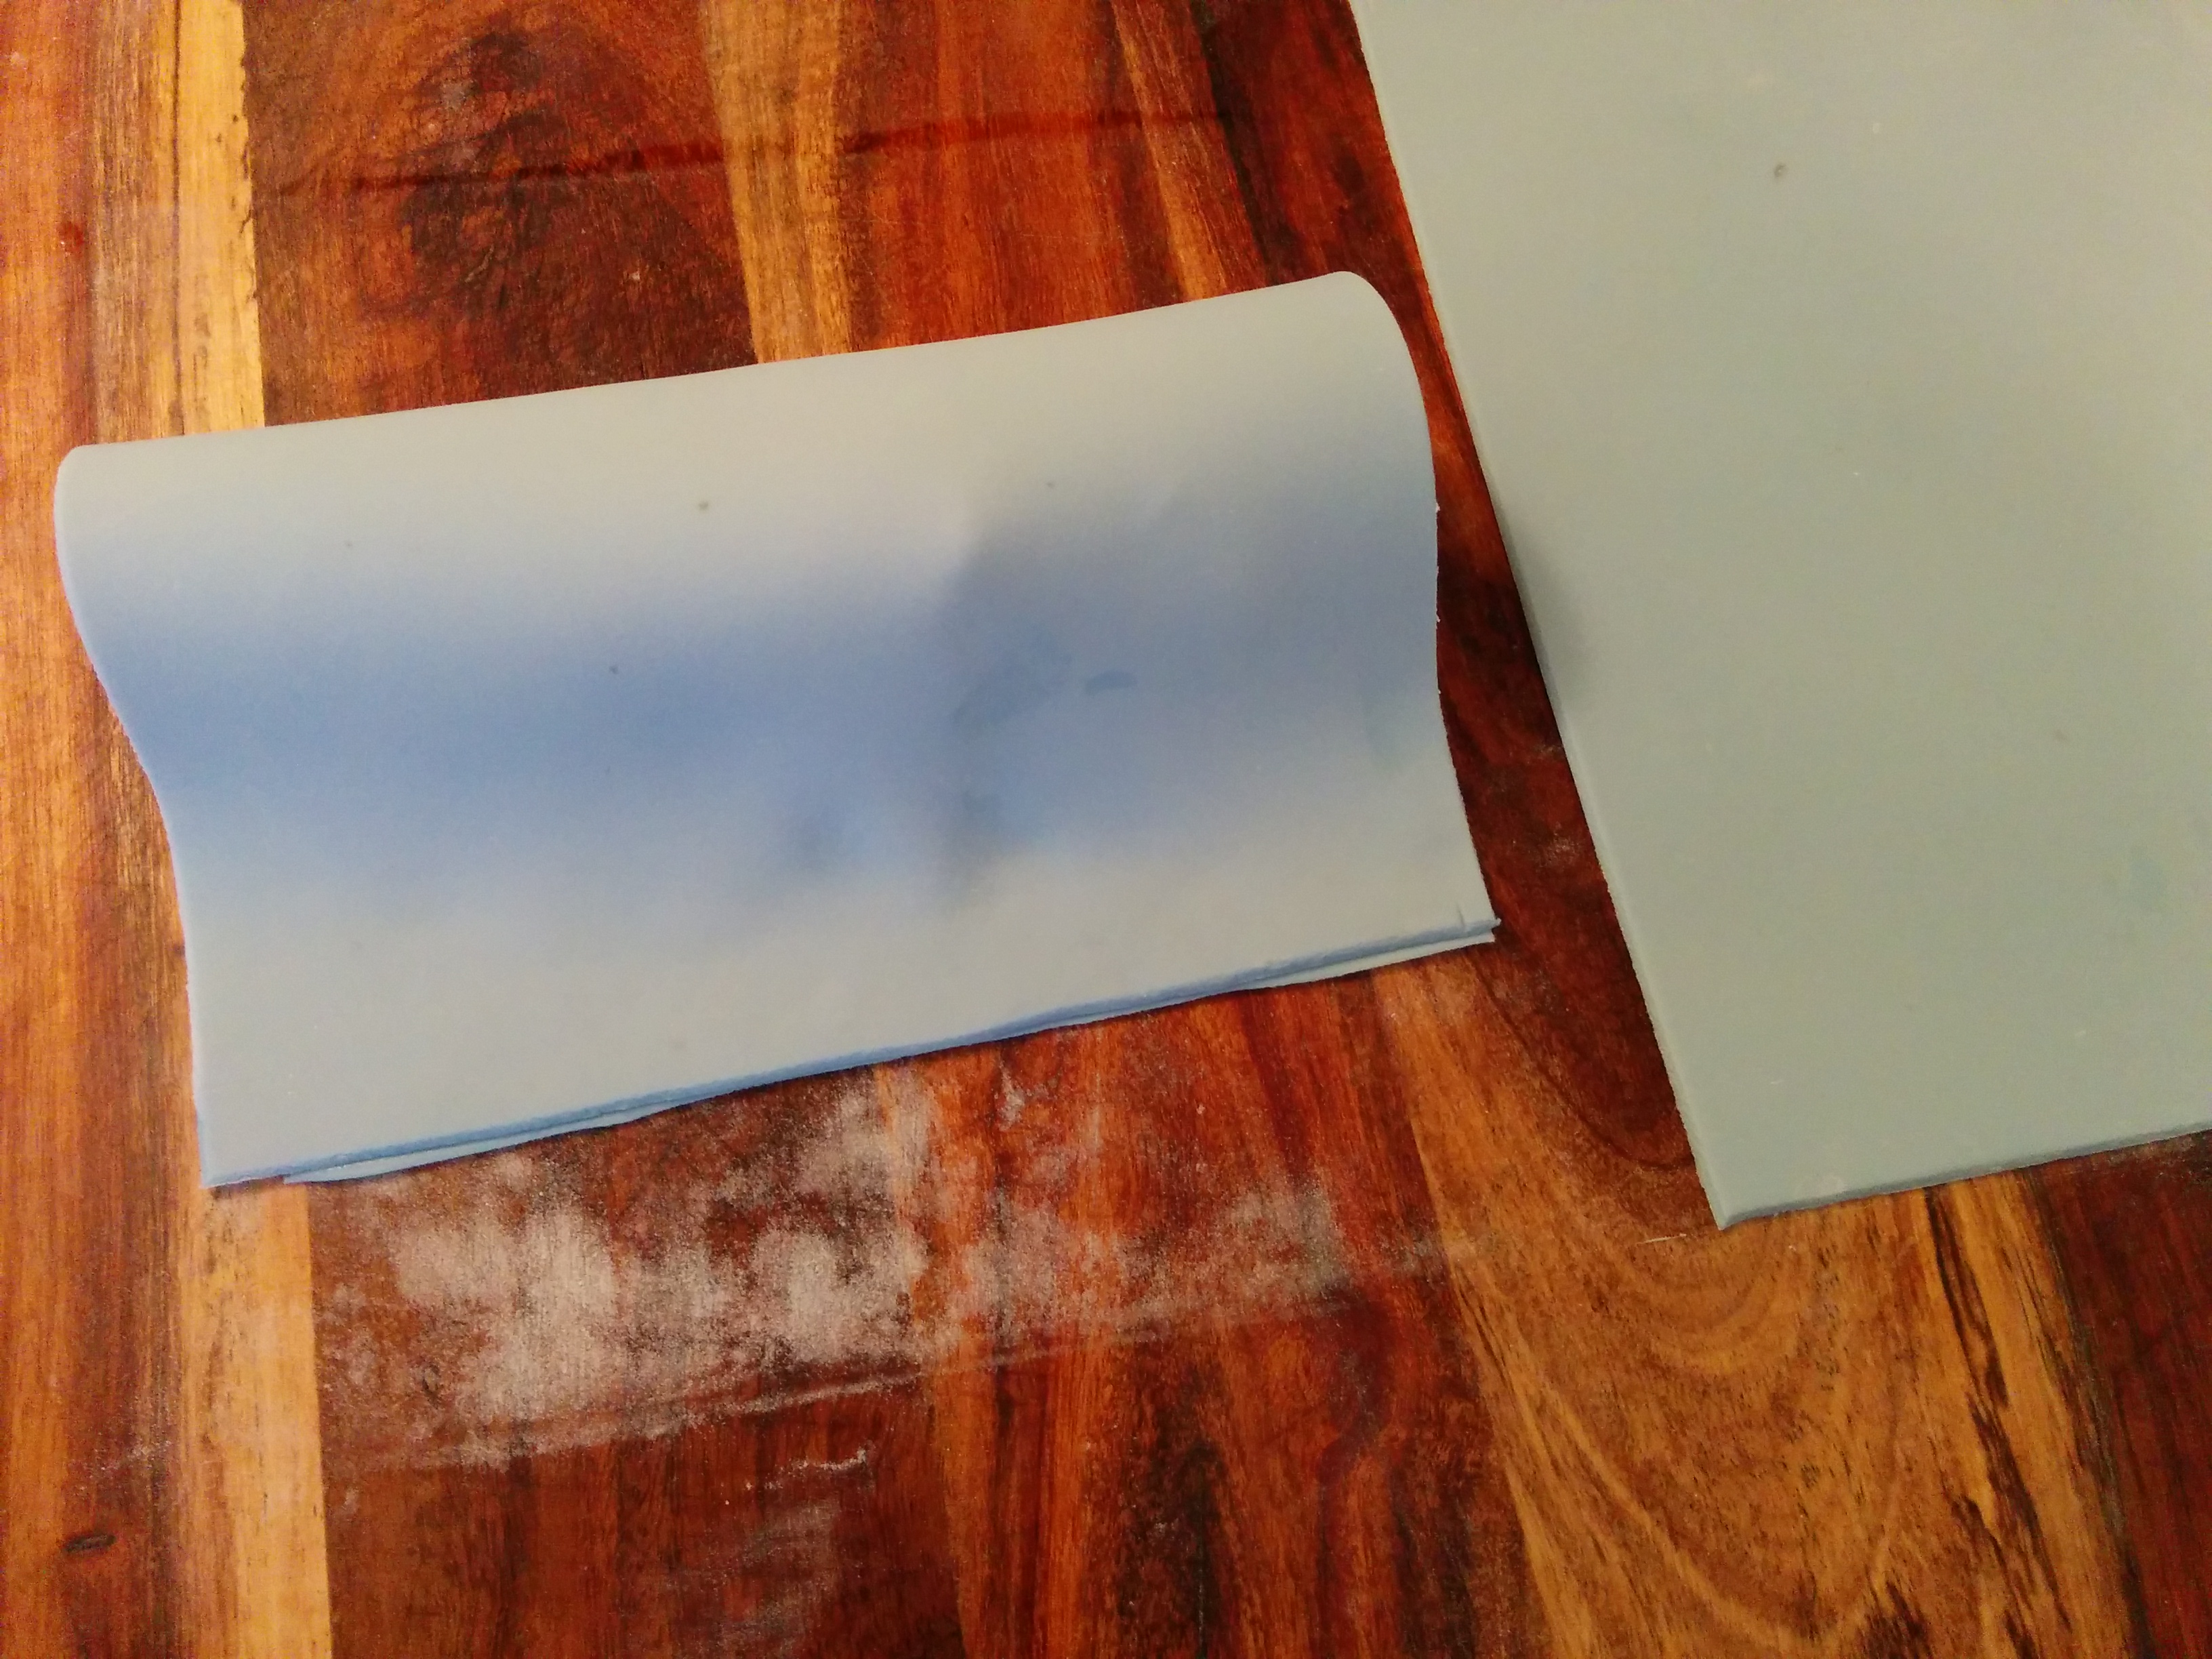
(3) Working with one portion at a time, apply a little bit of water on a 15 cm side.
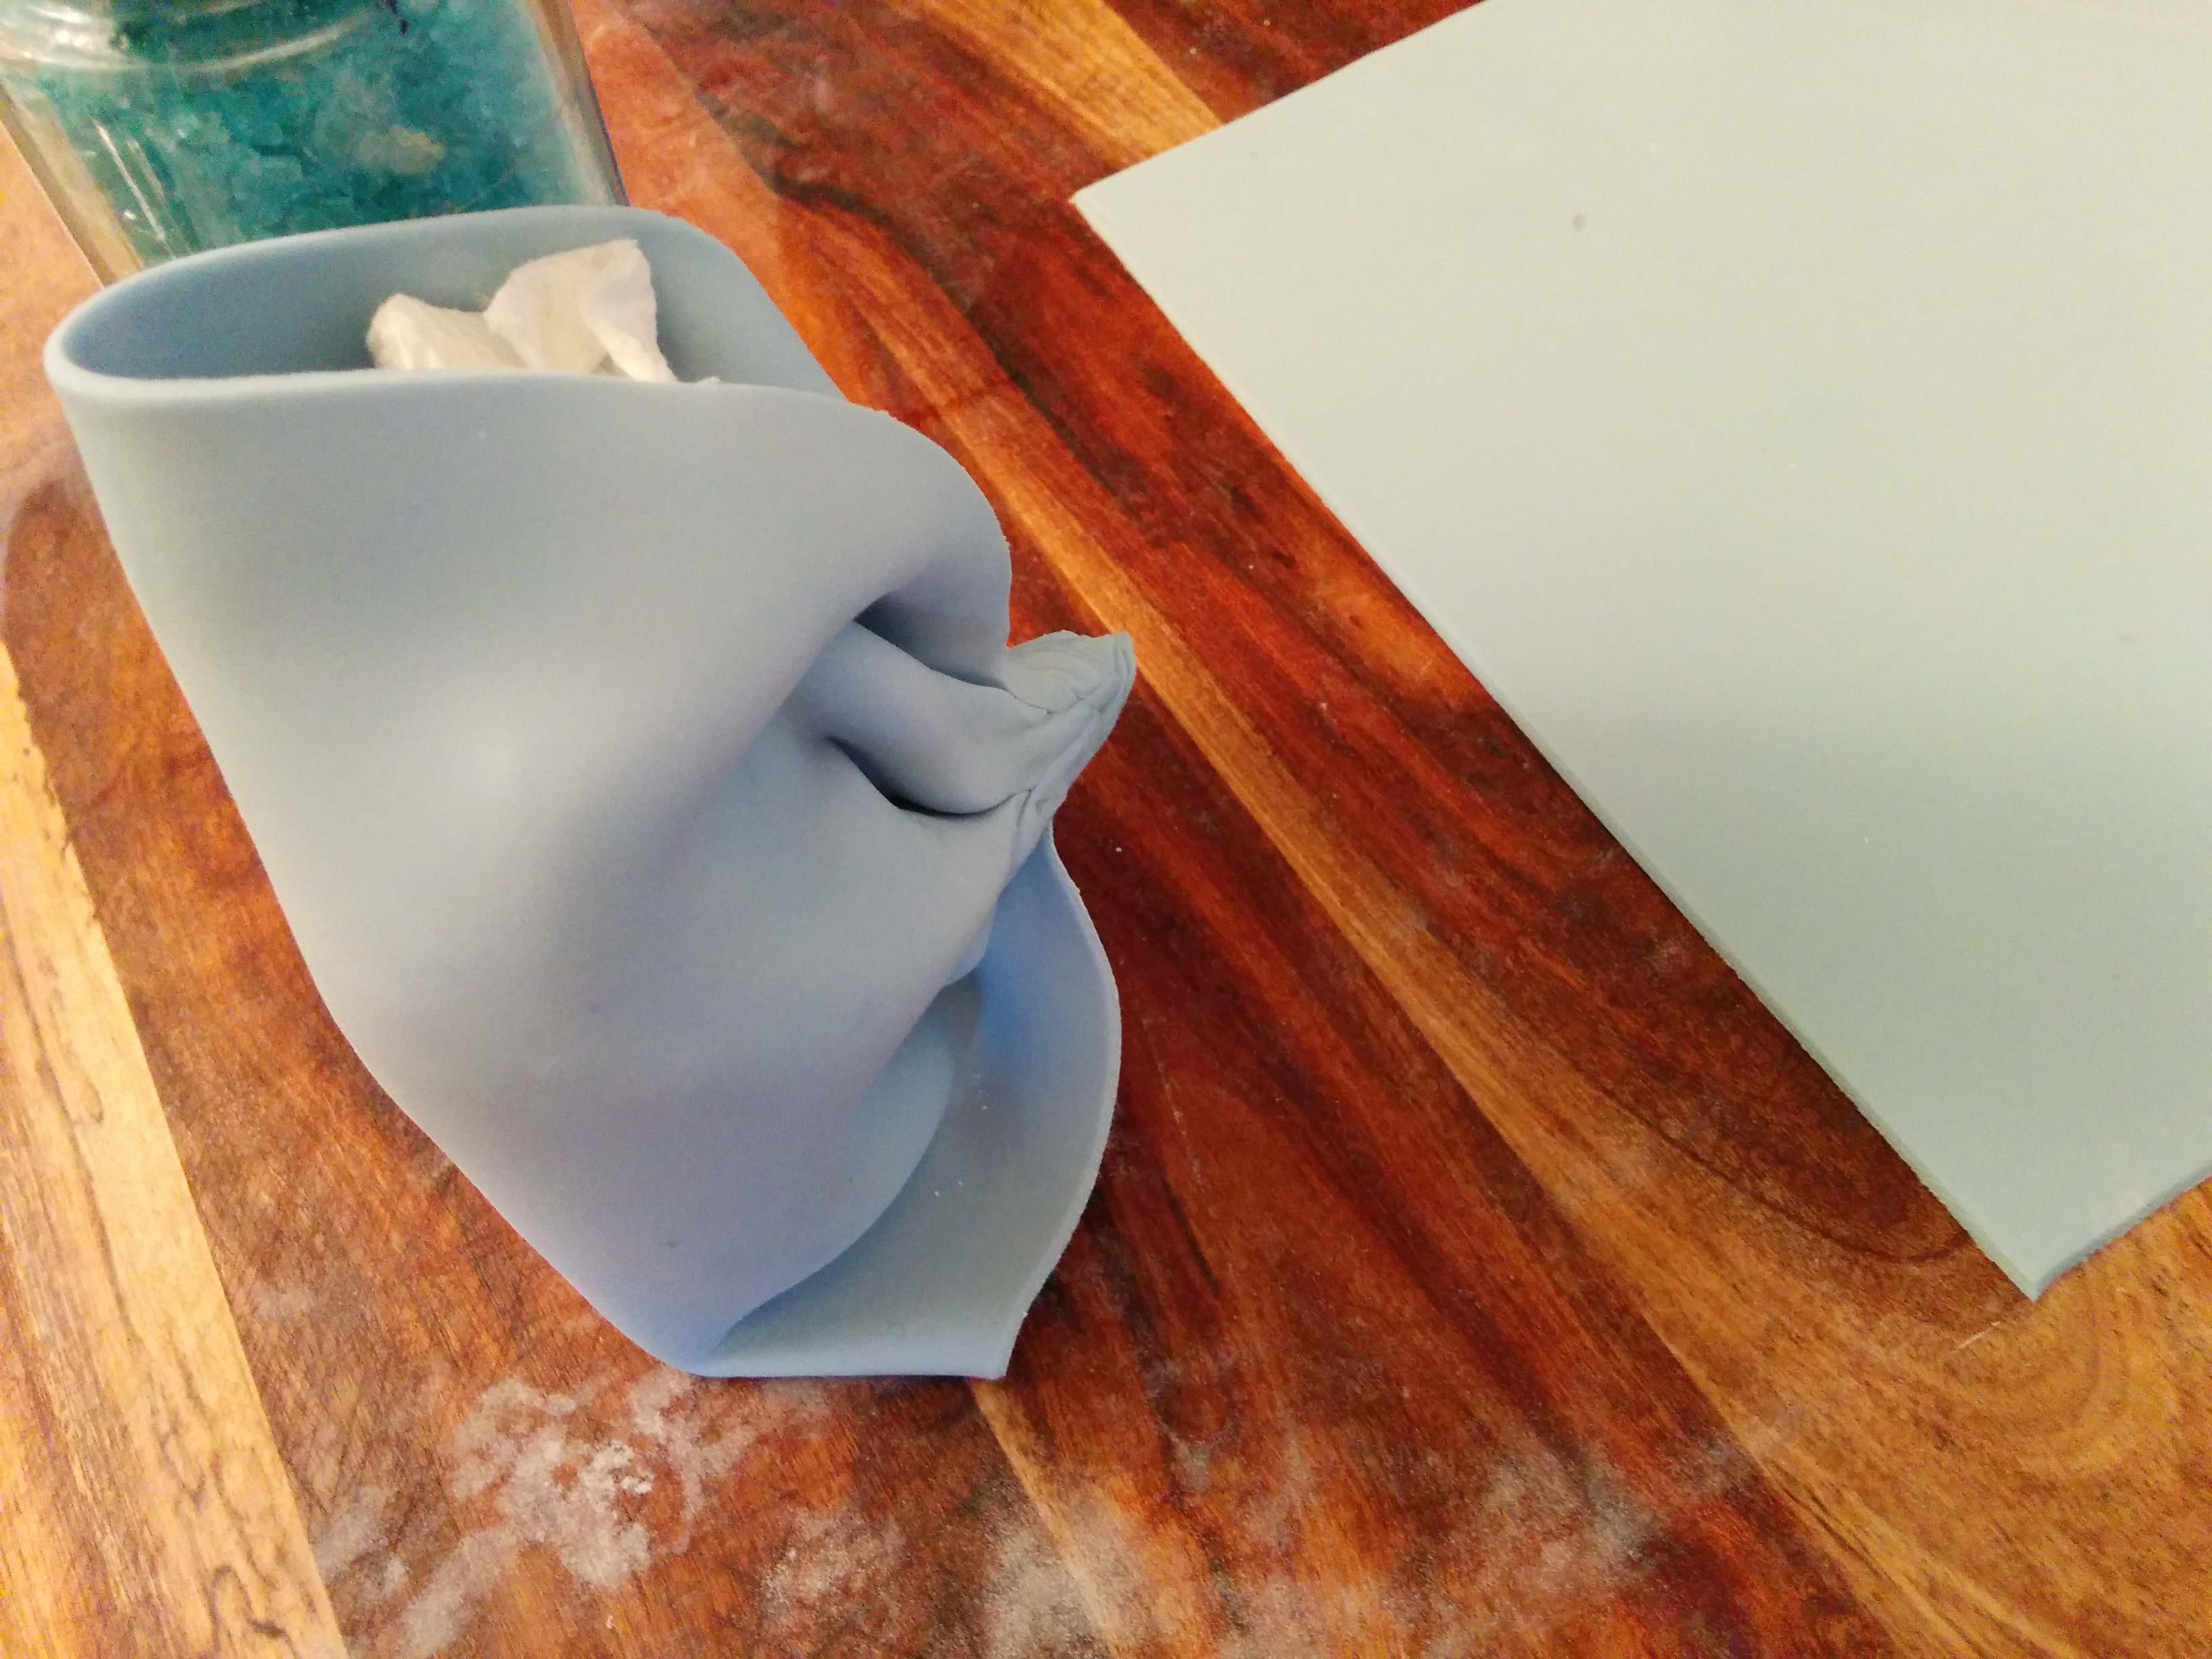
(4) Scrounge up some tissue paper or paper towel and place in the middle of the rectangle. This is what is going to give the bow volume. It will be removed after the bow dries.

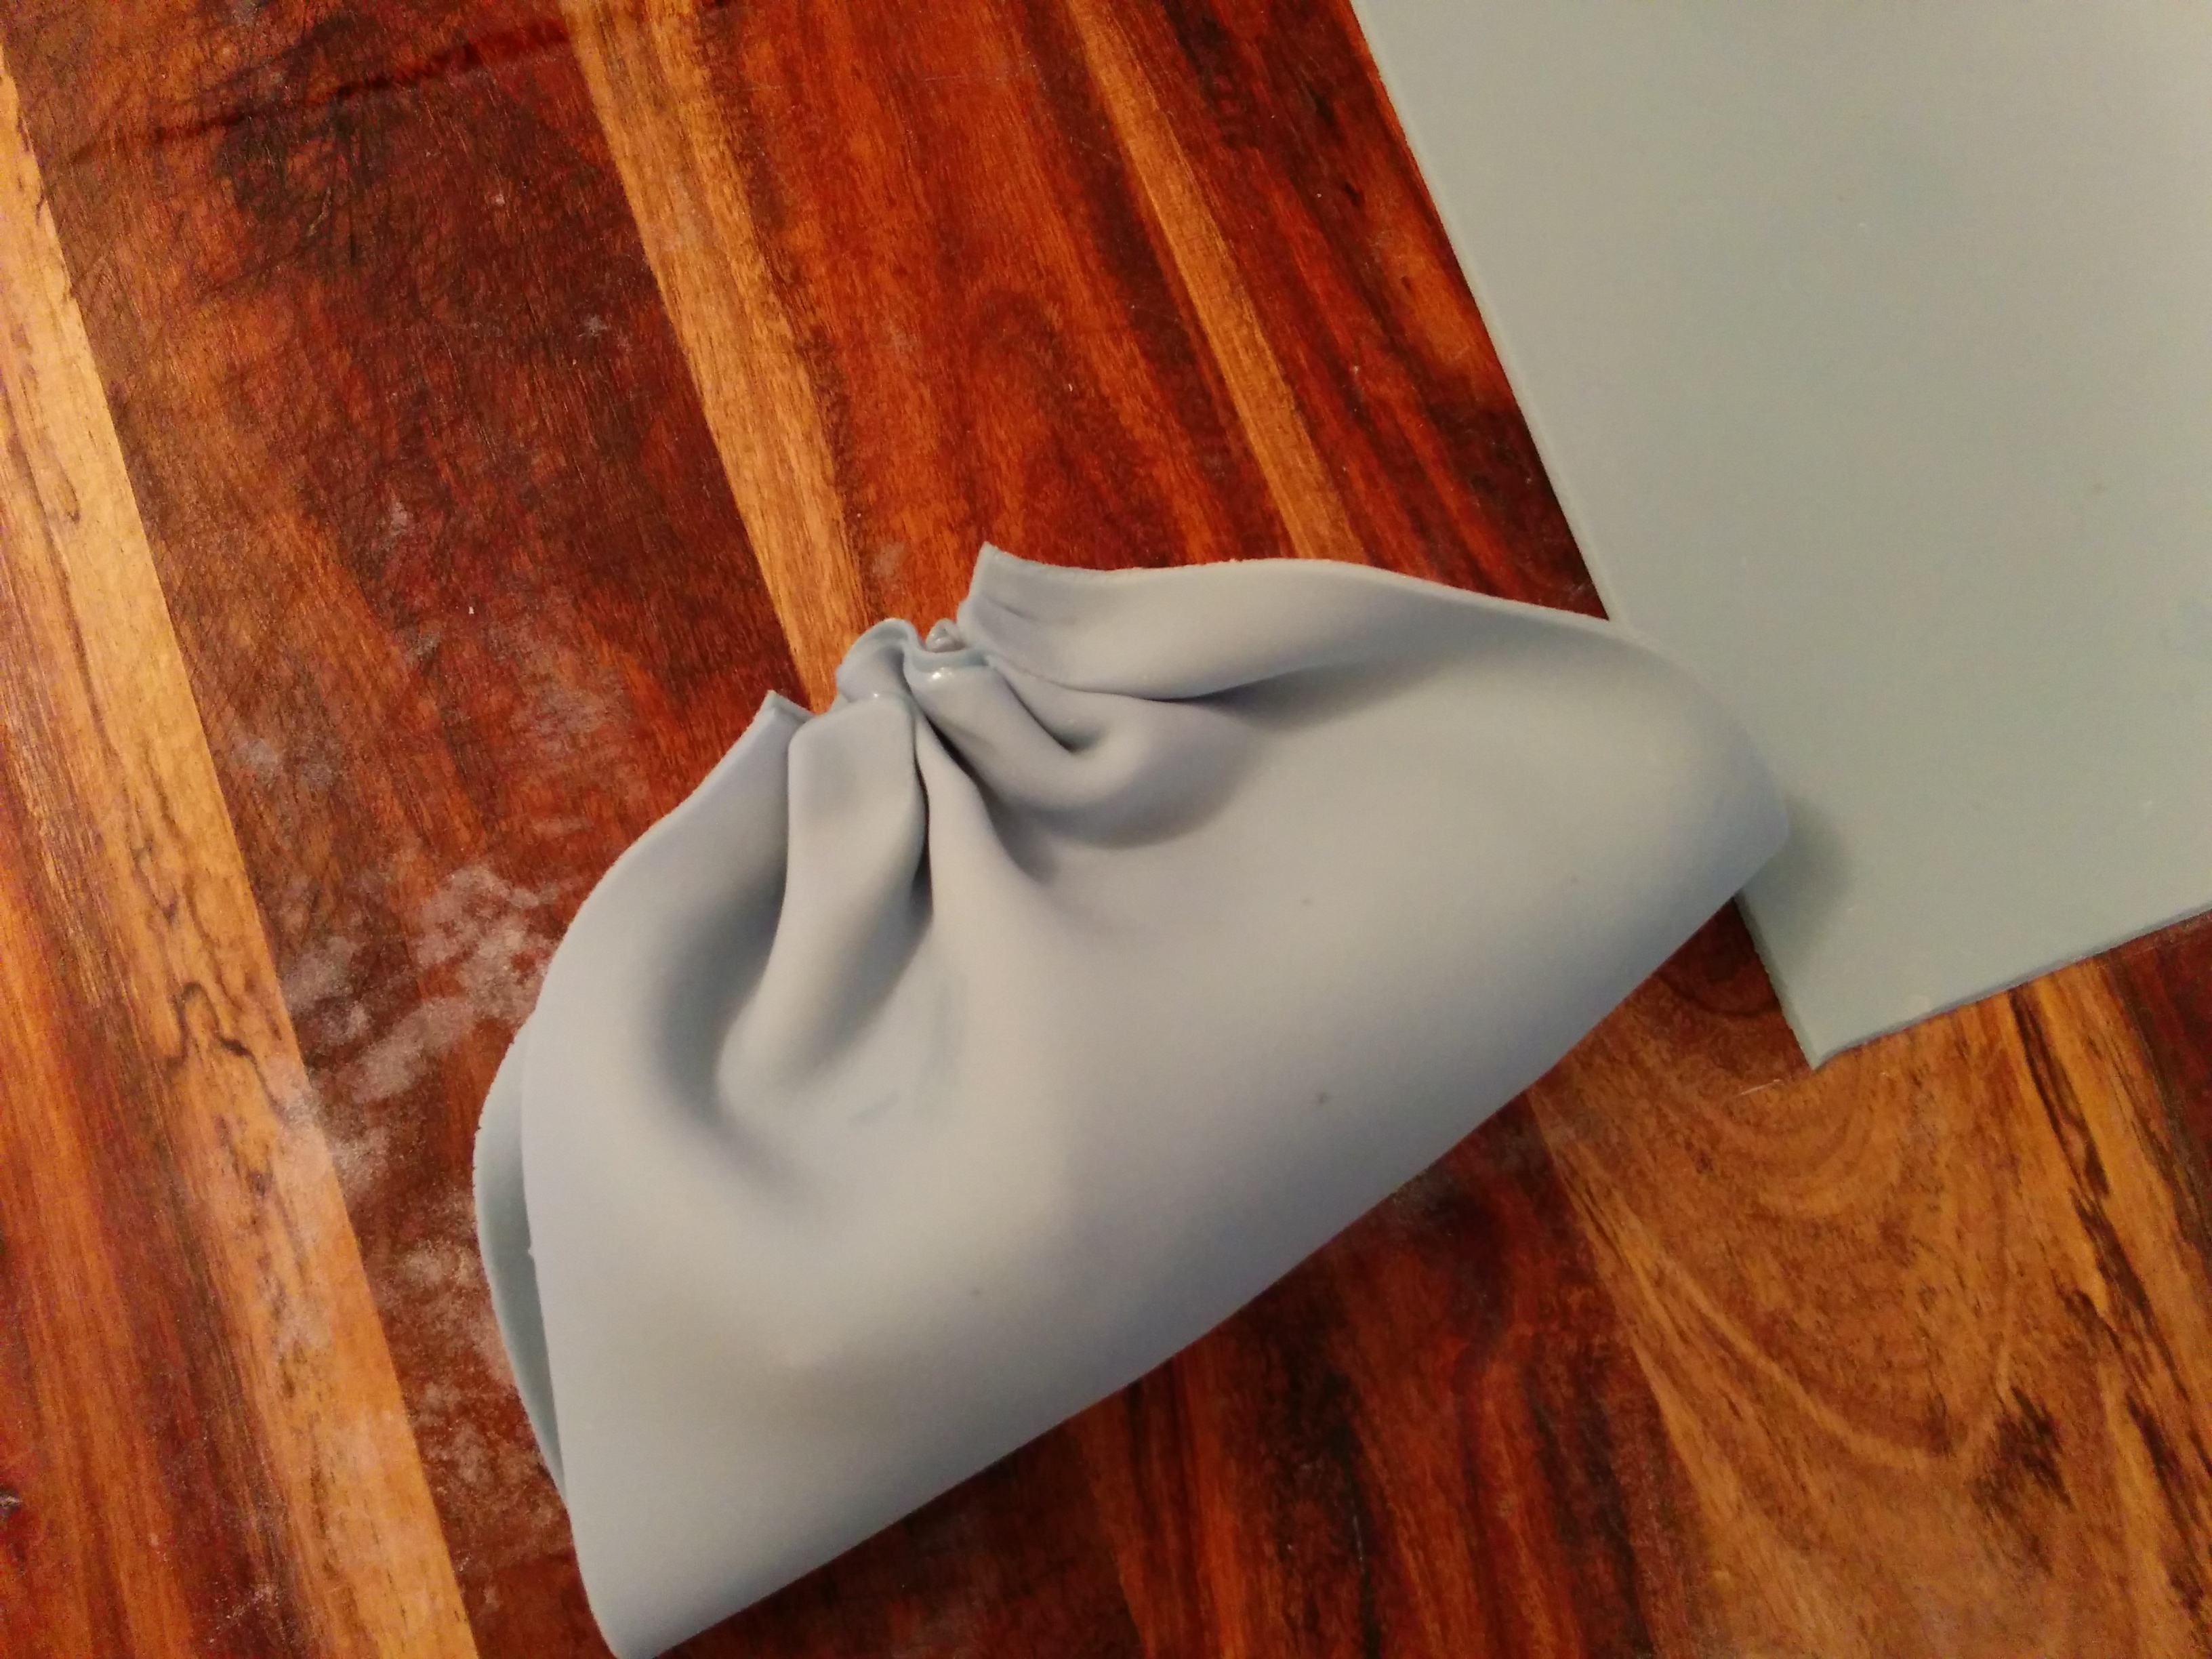
(5) Fold the rectangle to join the two 15 cm sides together and encase the tissue paper.
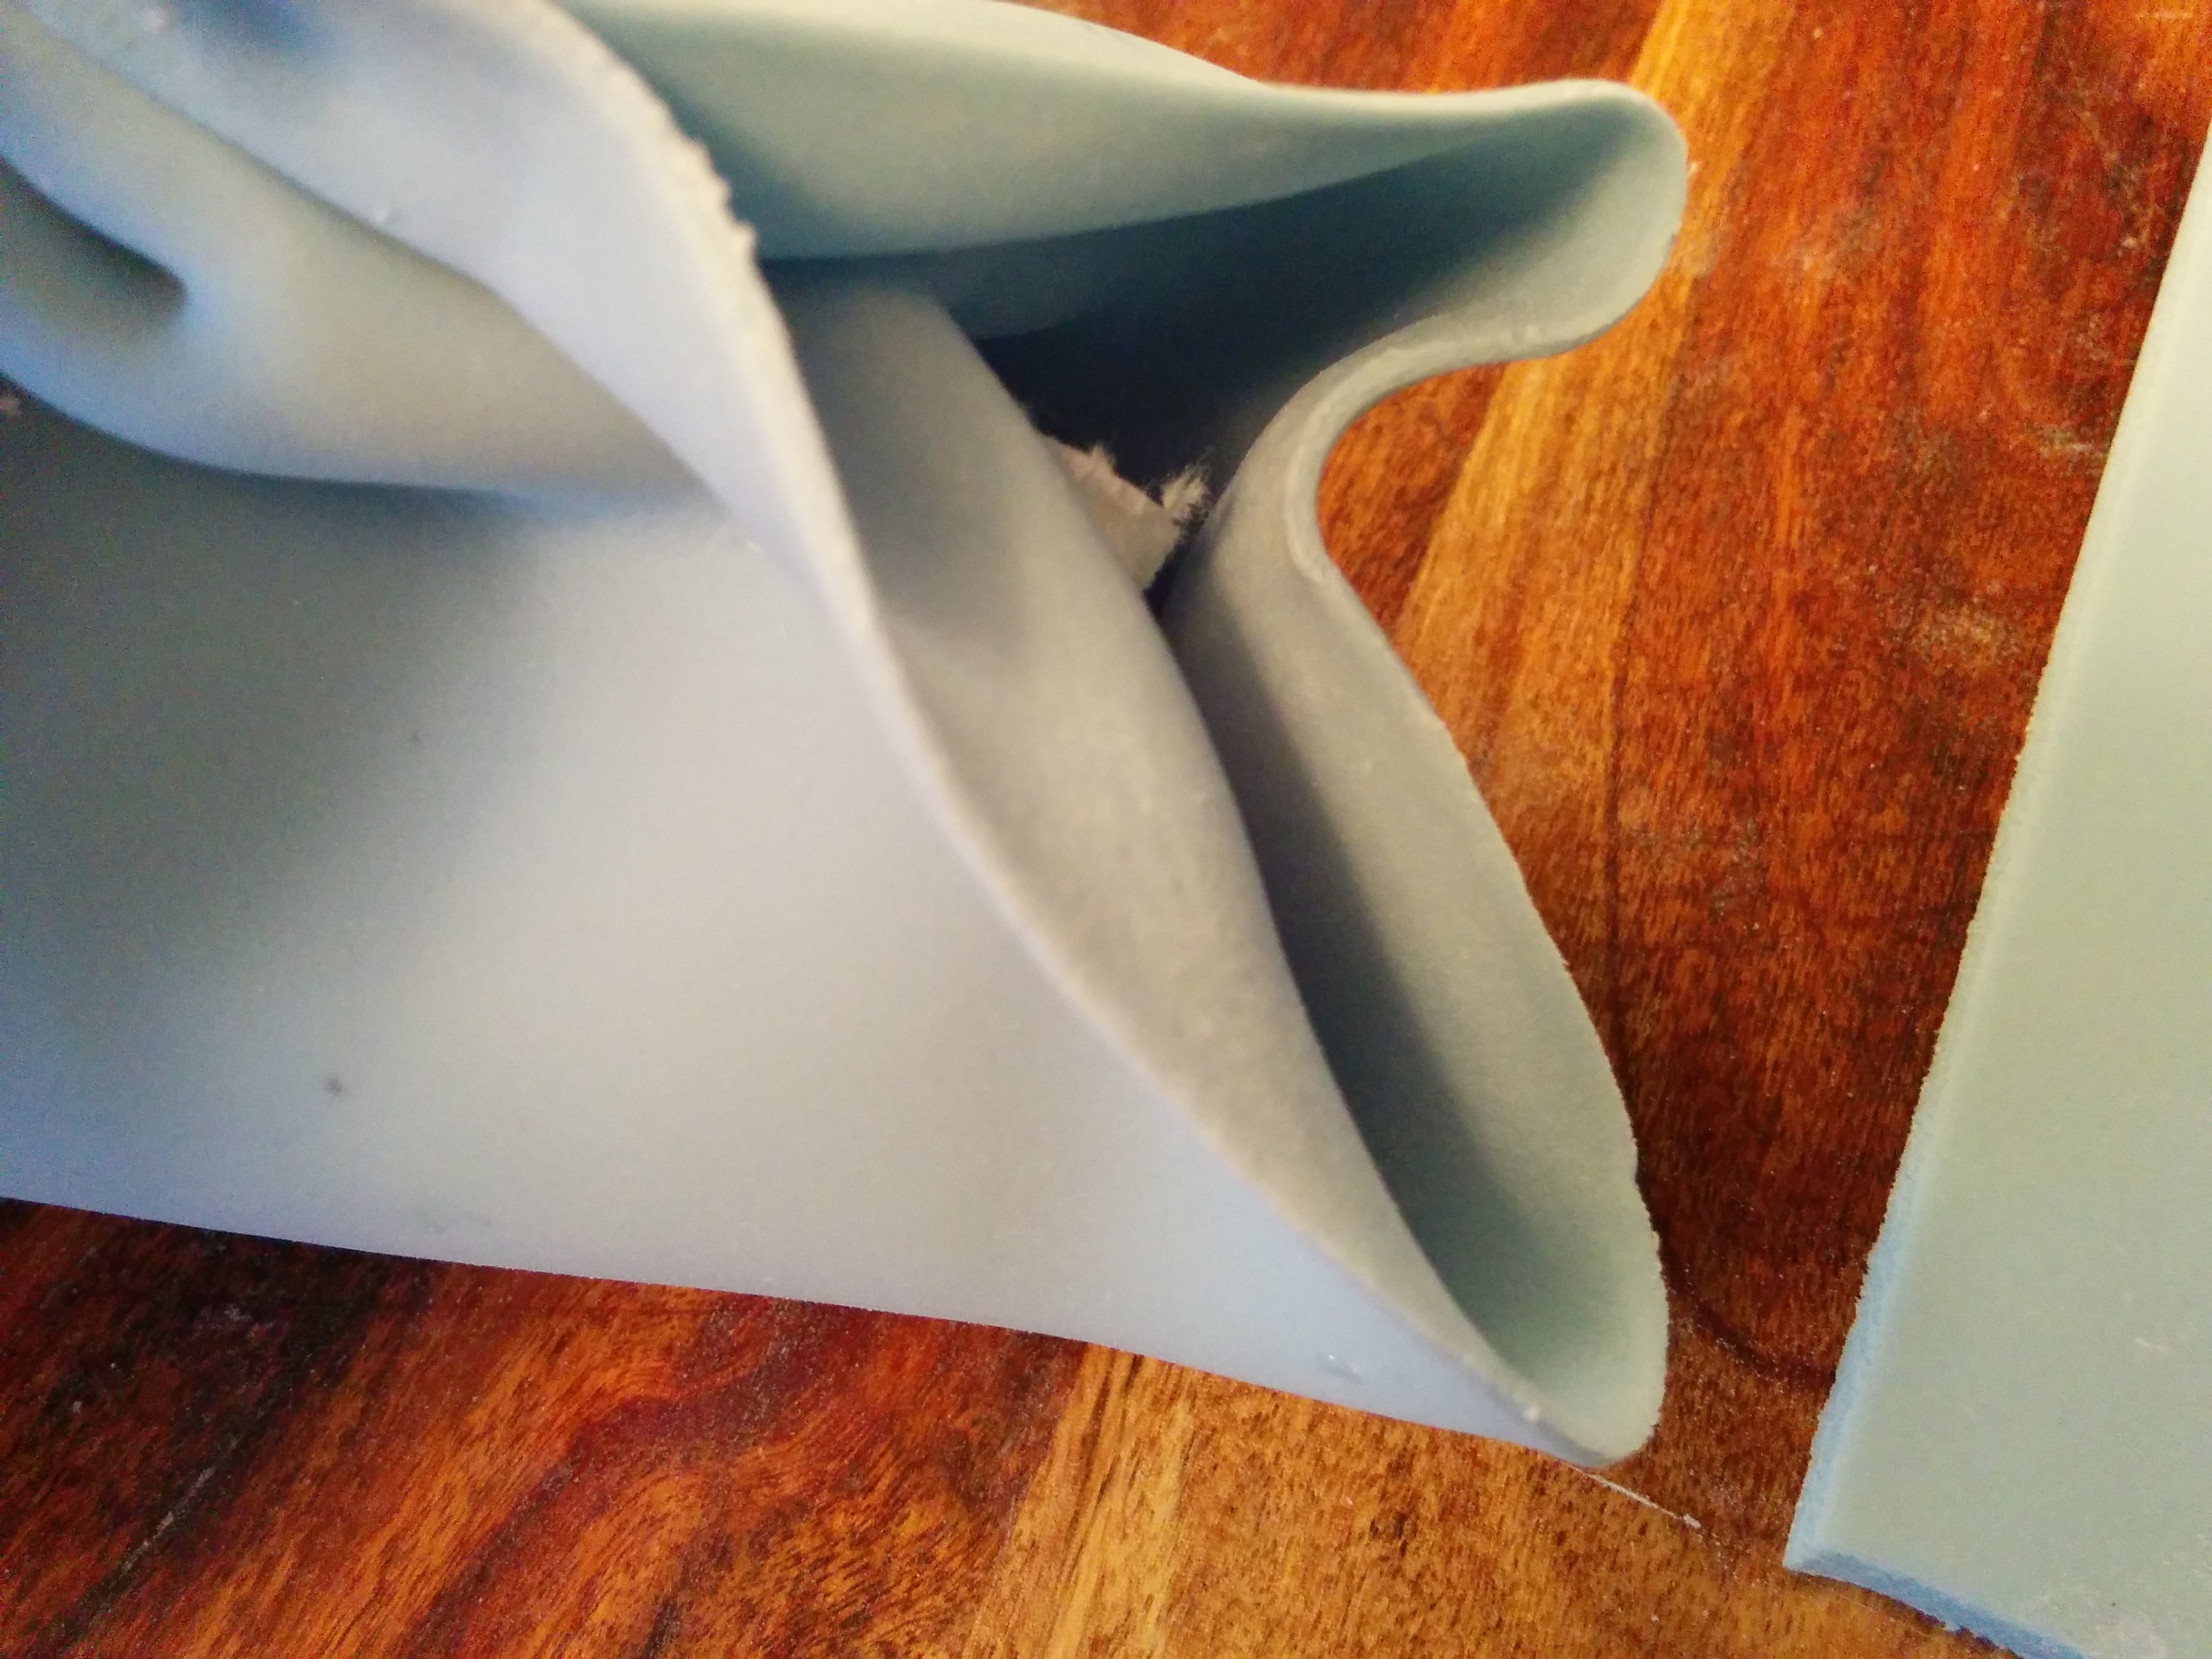
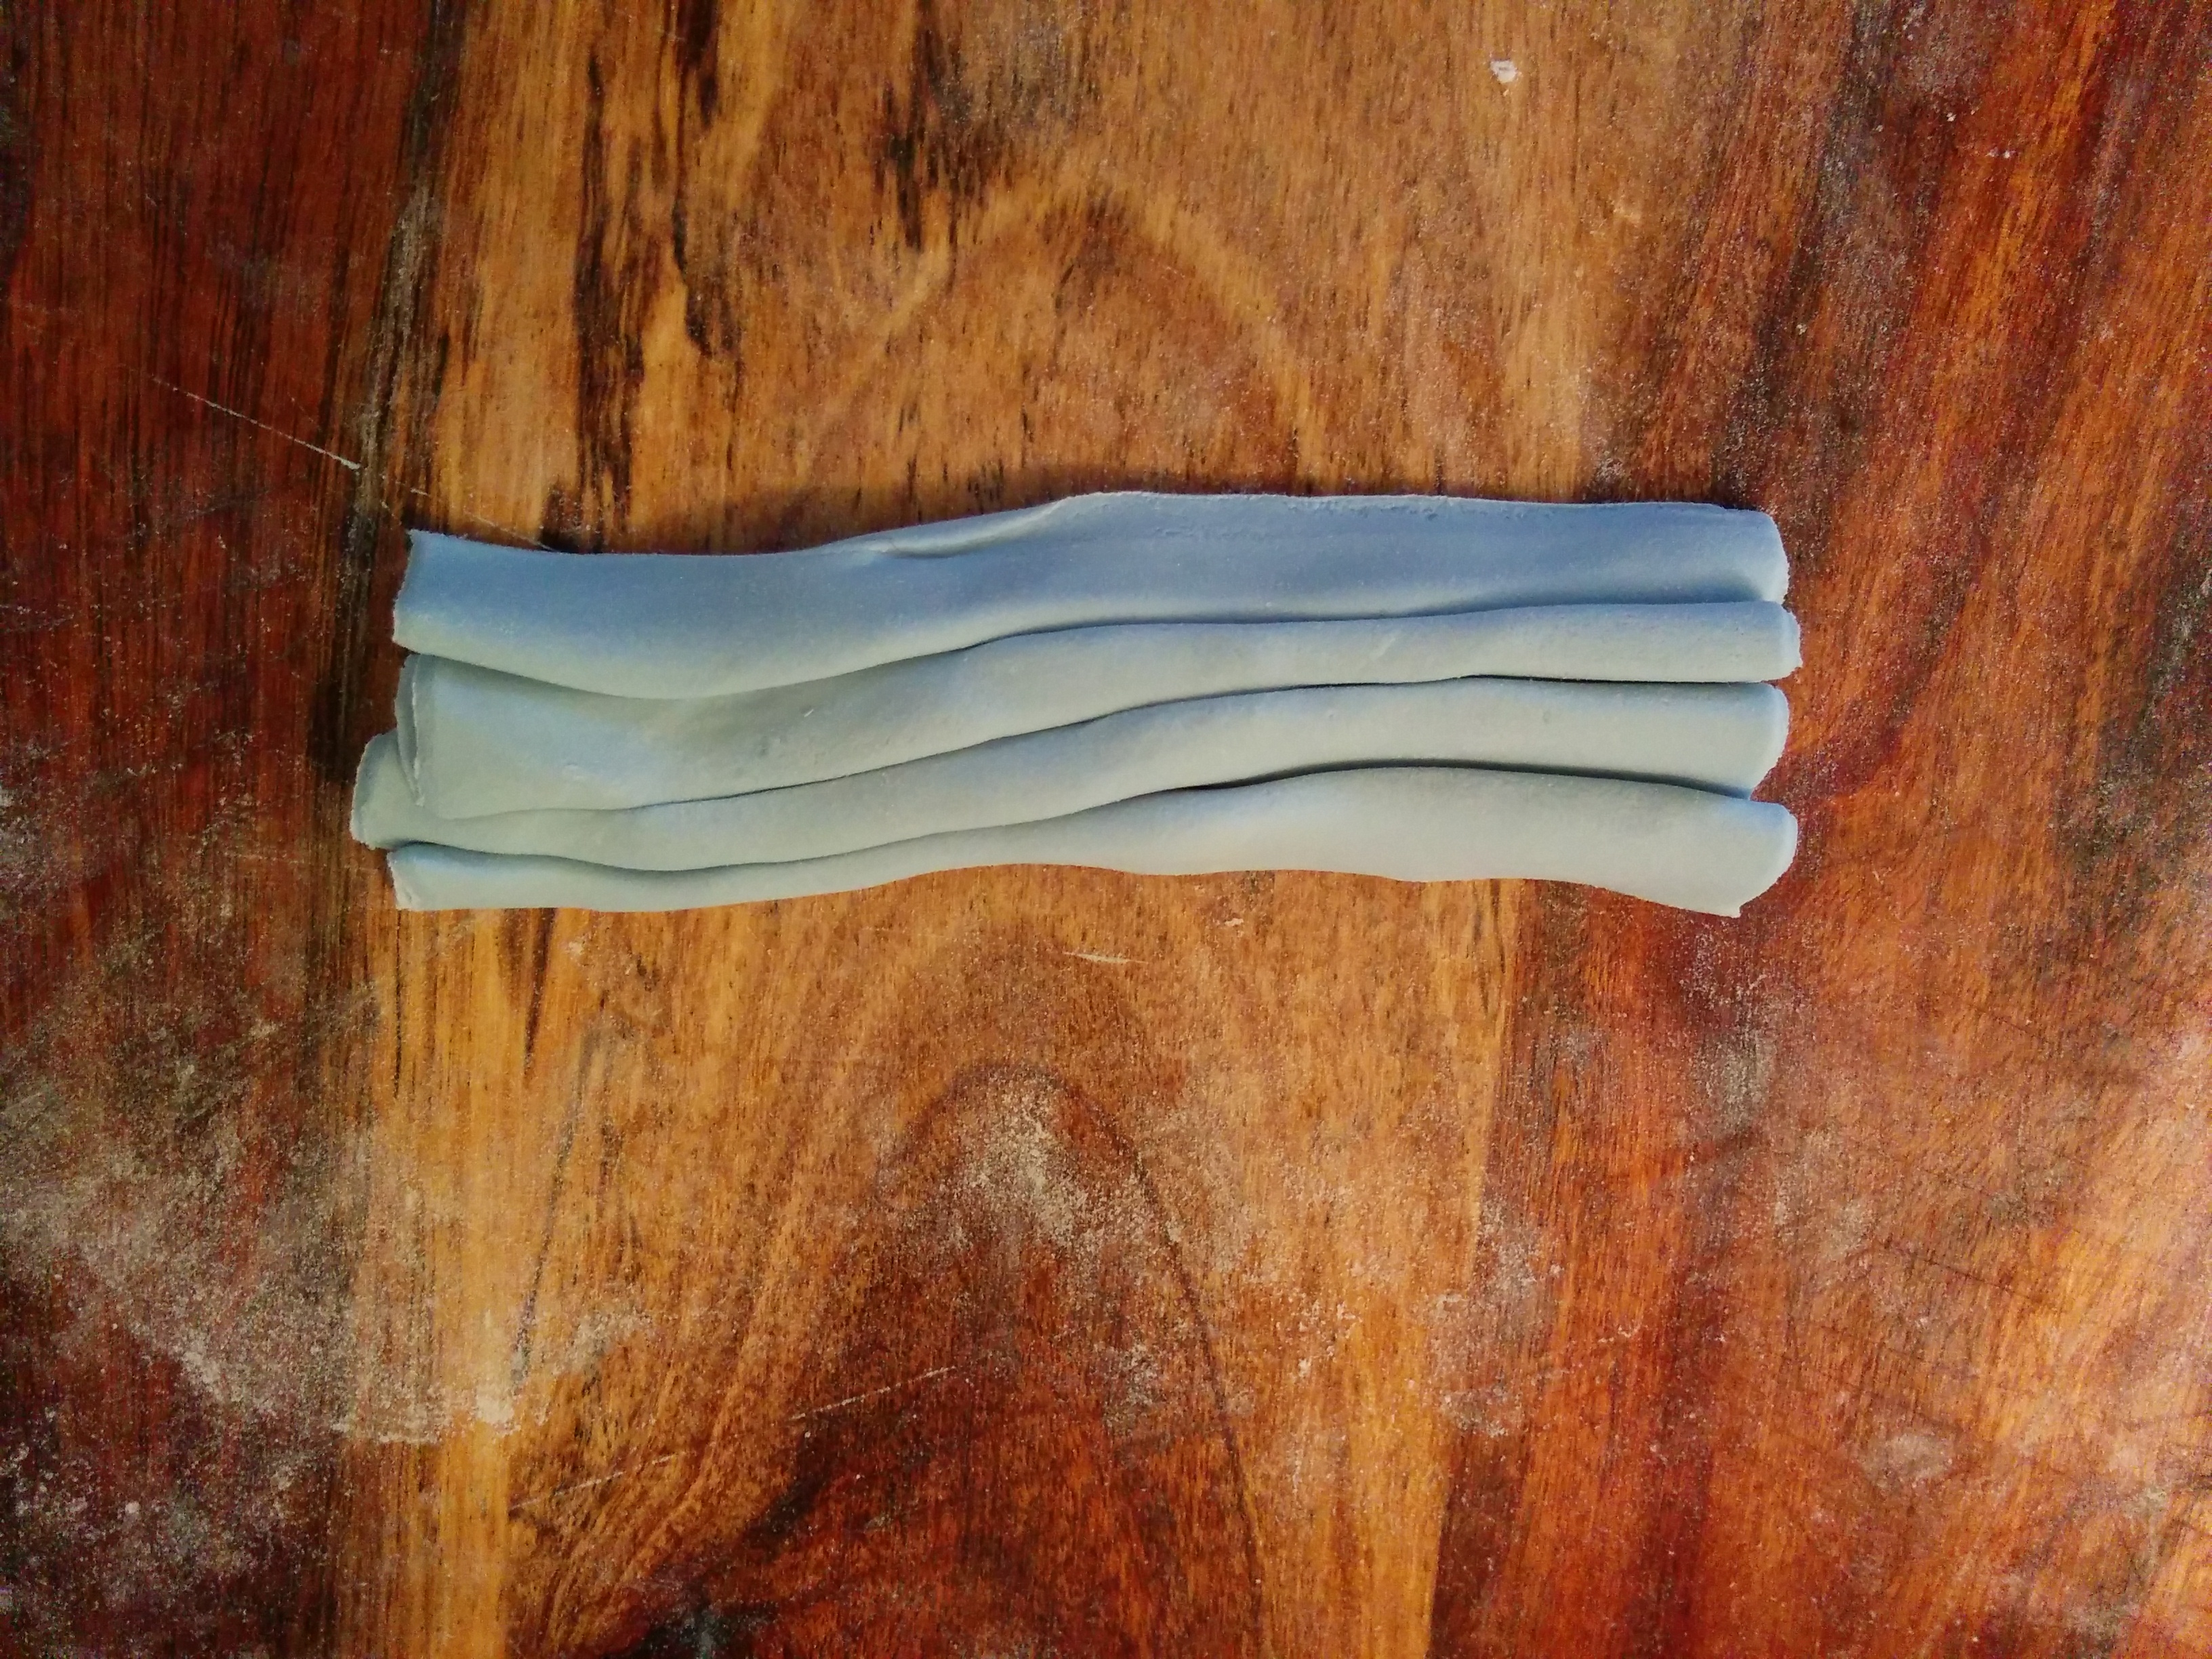
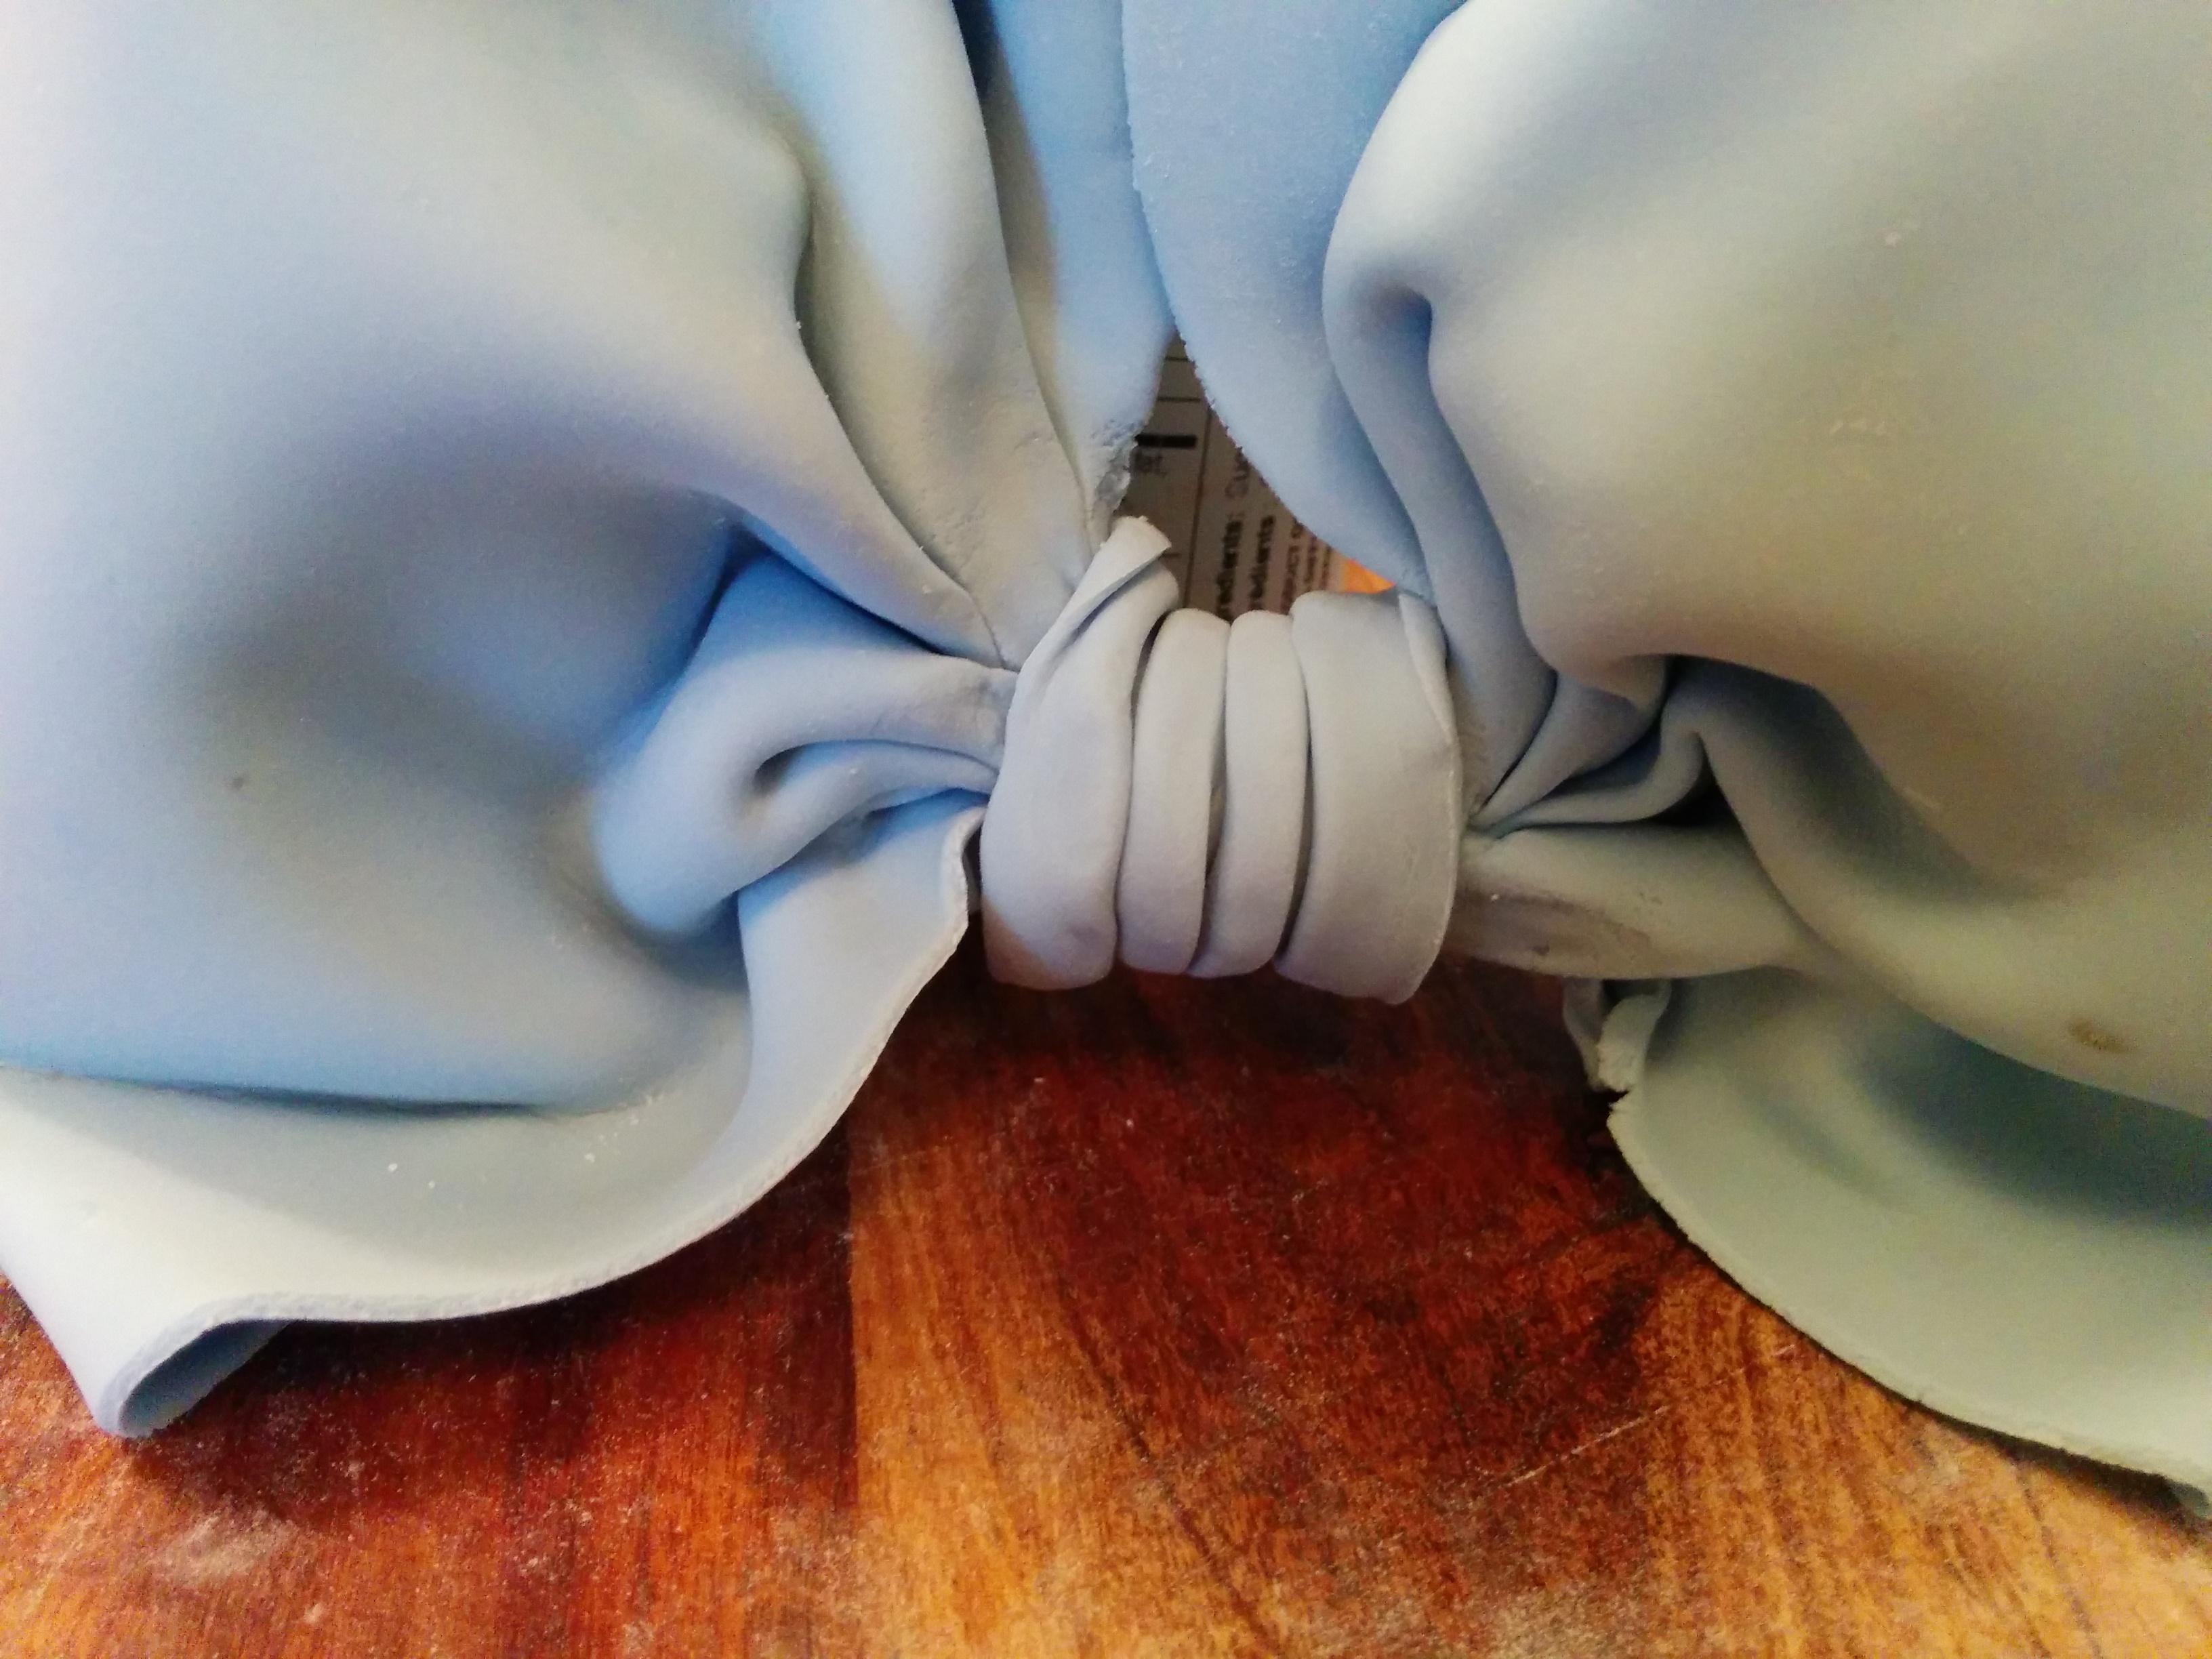
(6) Gather the joined side together to make folds, pleats and gathers. This will be the tucked in part of the bow.
(7) Tuck in one end of the bow so the bow can stand upright. You can use some support like a glass container behind the bow to keep it standing upright. Be sure to open the top of the bow properly as this is where you will remove the tissue paper from when the bow dries.
(8) Repeat the above process with the second rectangle to form the second bow.

(9) Roll out some more fondant into a rectangle of any size. Let your judgement guide you. Fold the rectangle to make pleats and wrap around the tucked in parts of the bows using some water to make the bowknot.
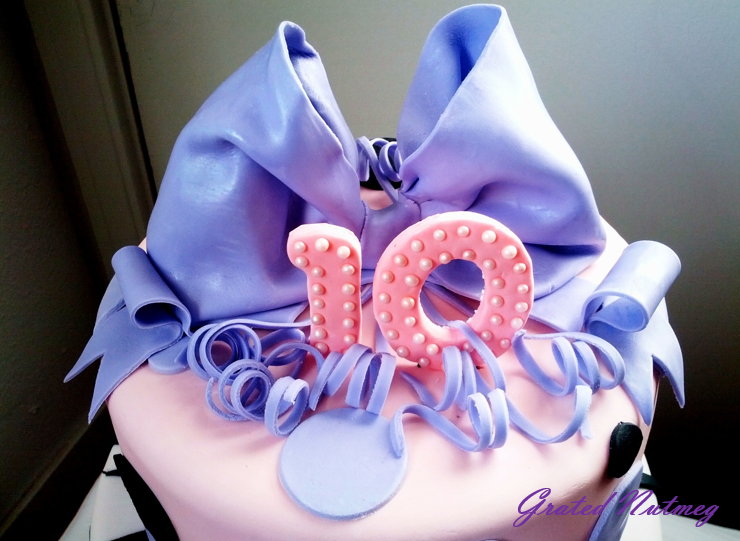
(10) Fondant brooches/buttons/pearls can also be used as bowknots in the middle of bows.

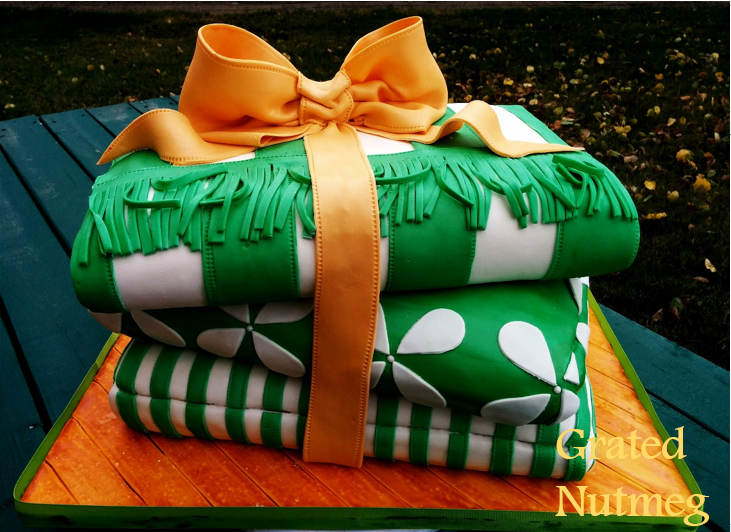
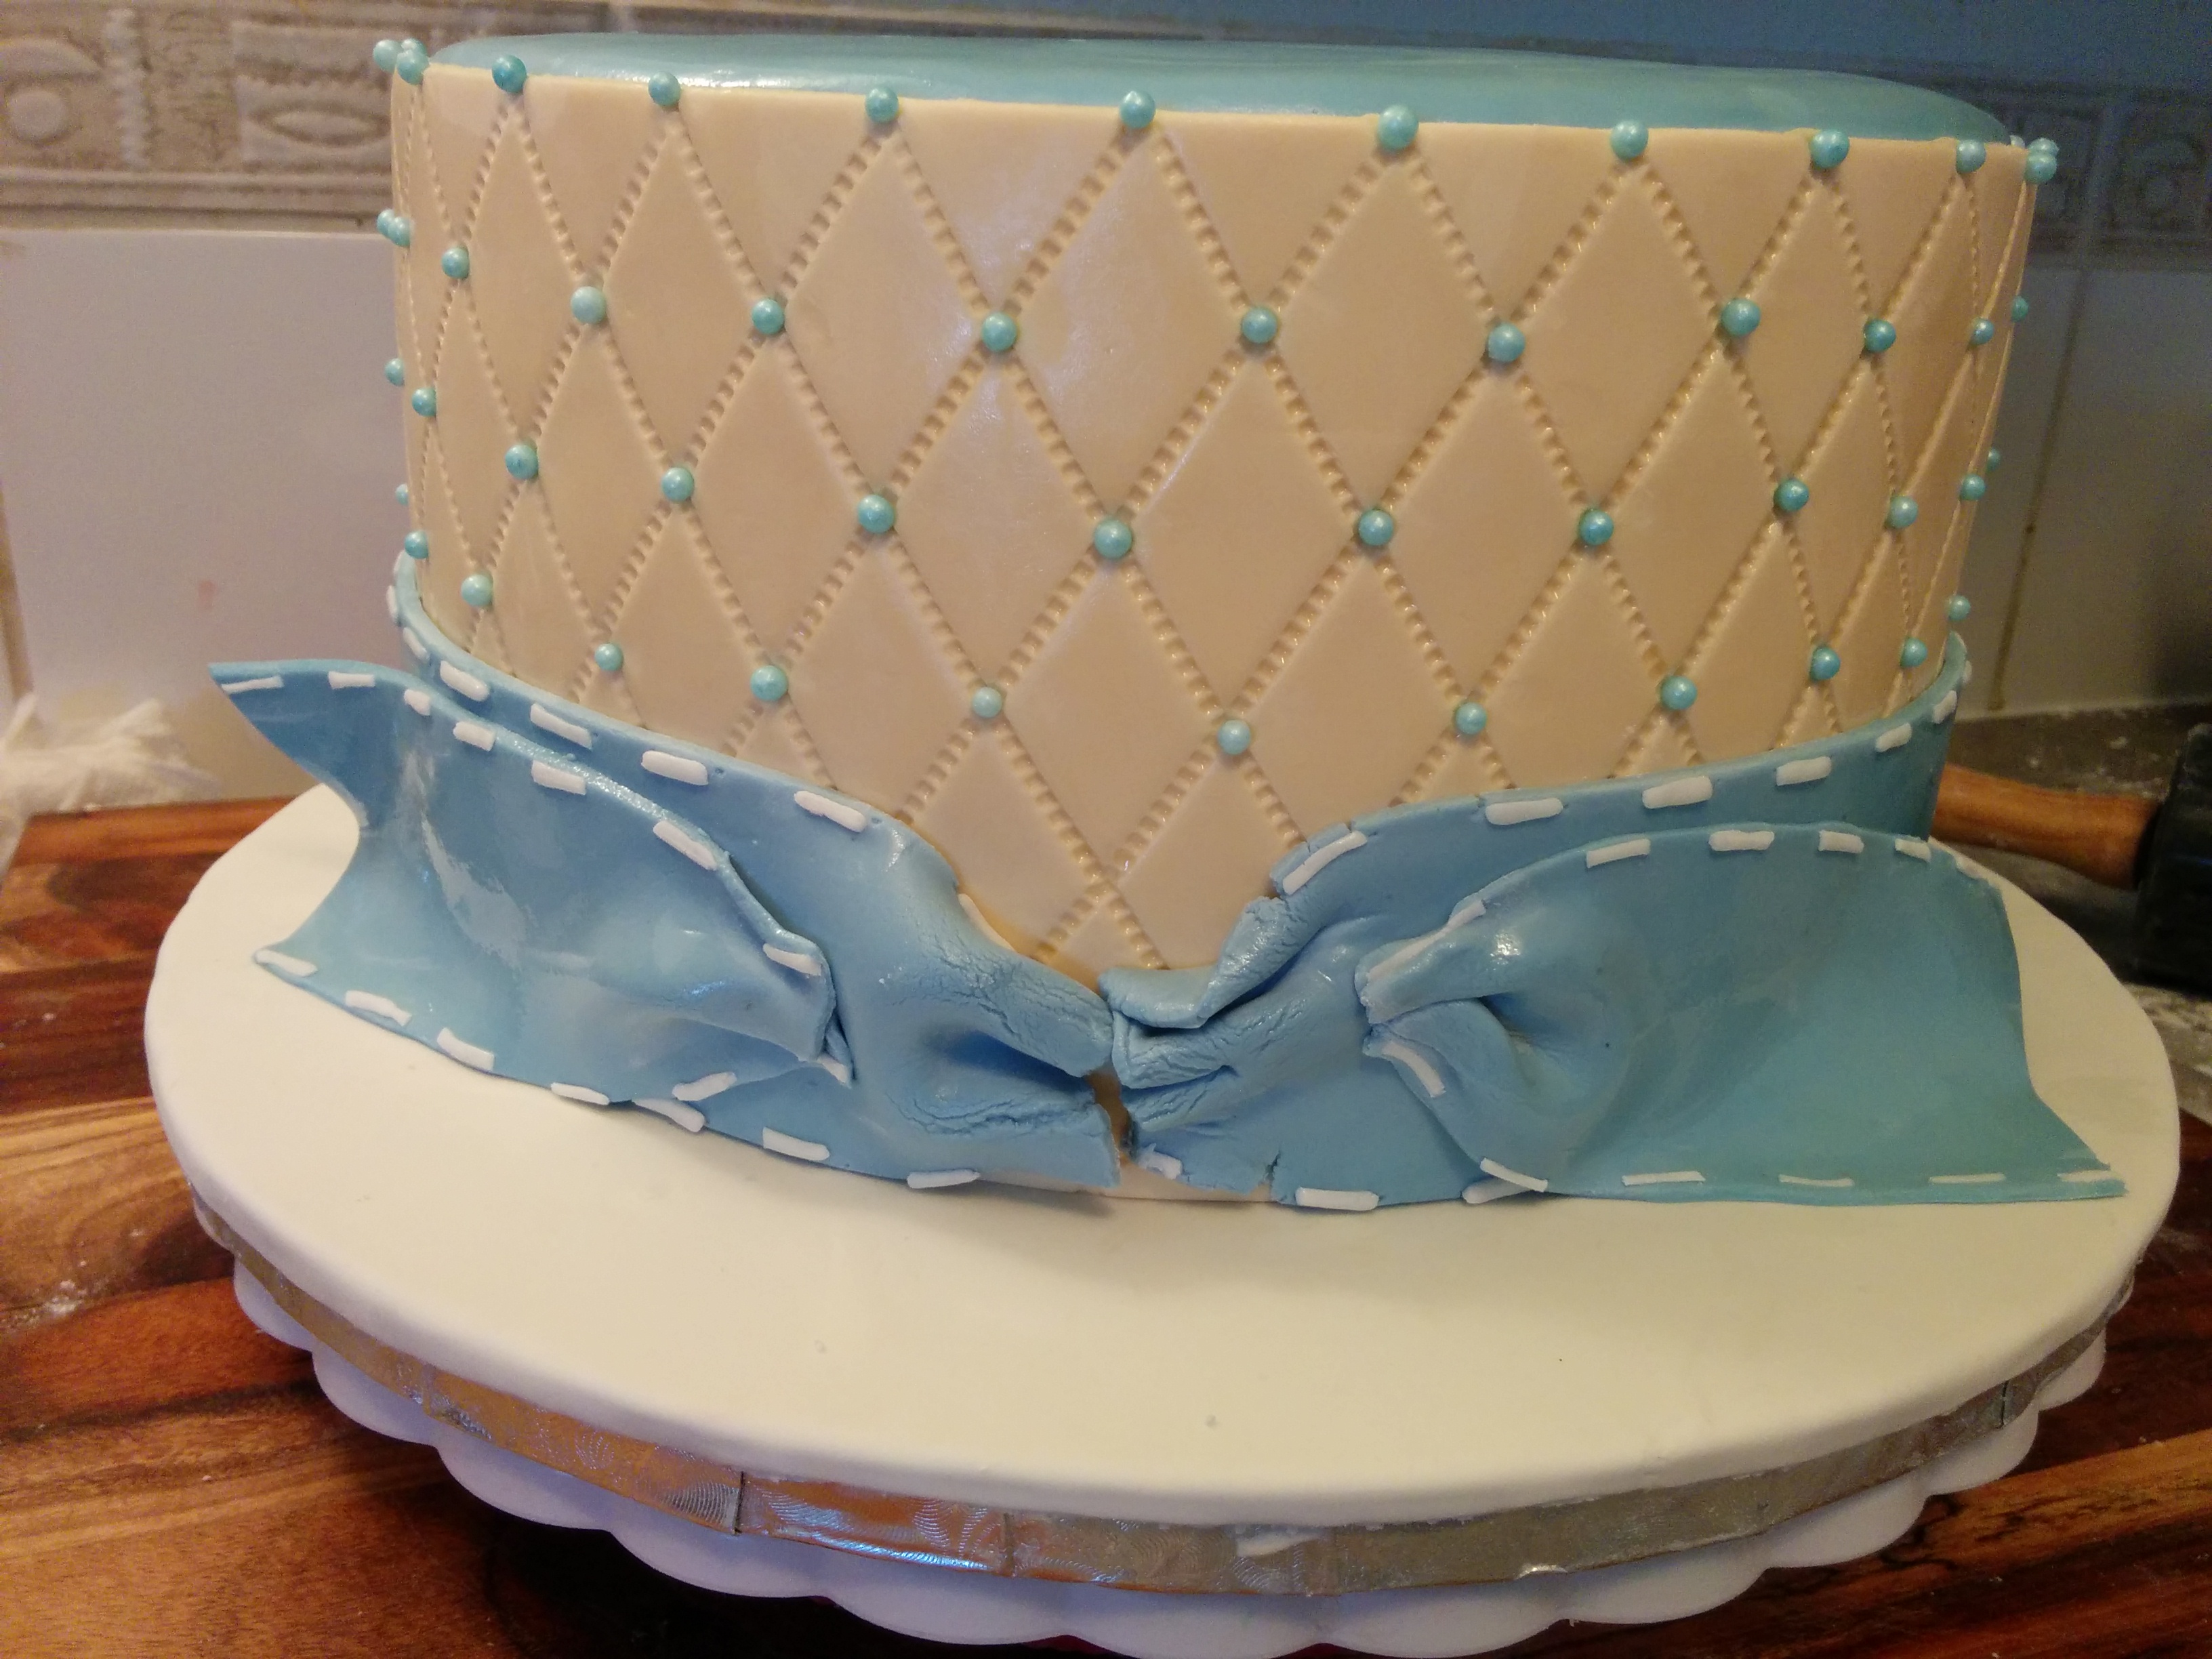
(11) The bow can be placed on the cake when it is dry or while it is still soft. I prefer placing the soft bow on the cake as it gives me the opportunity of making adjustments while placing the bow. It also makes curving the bow to follow the curve of the cake (in round cakes) possible. Be sure to place bow tails on the cake before applying the bow.

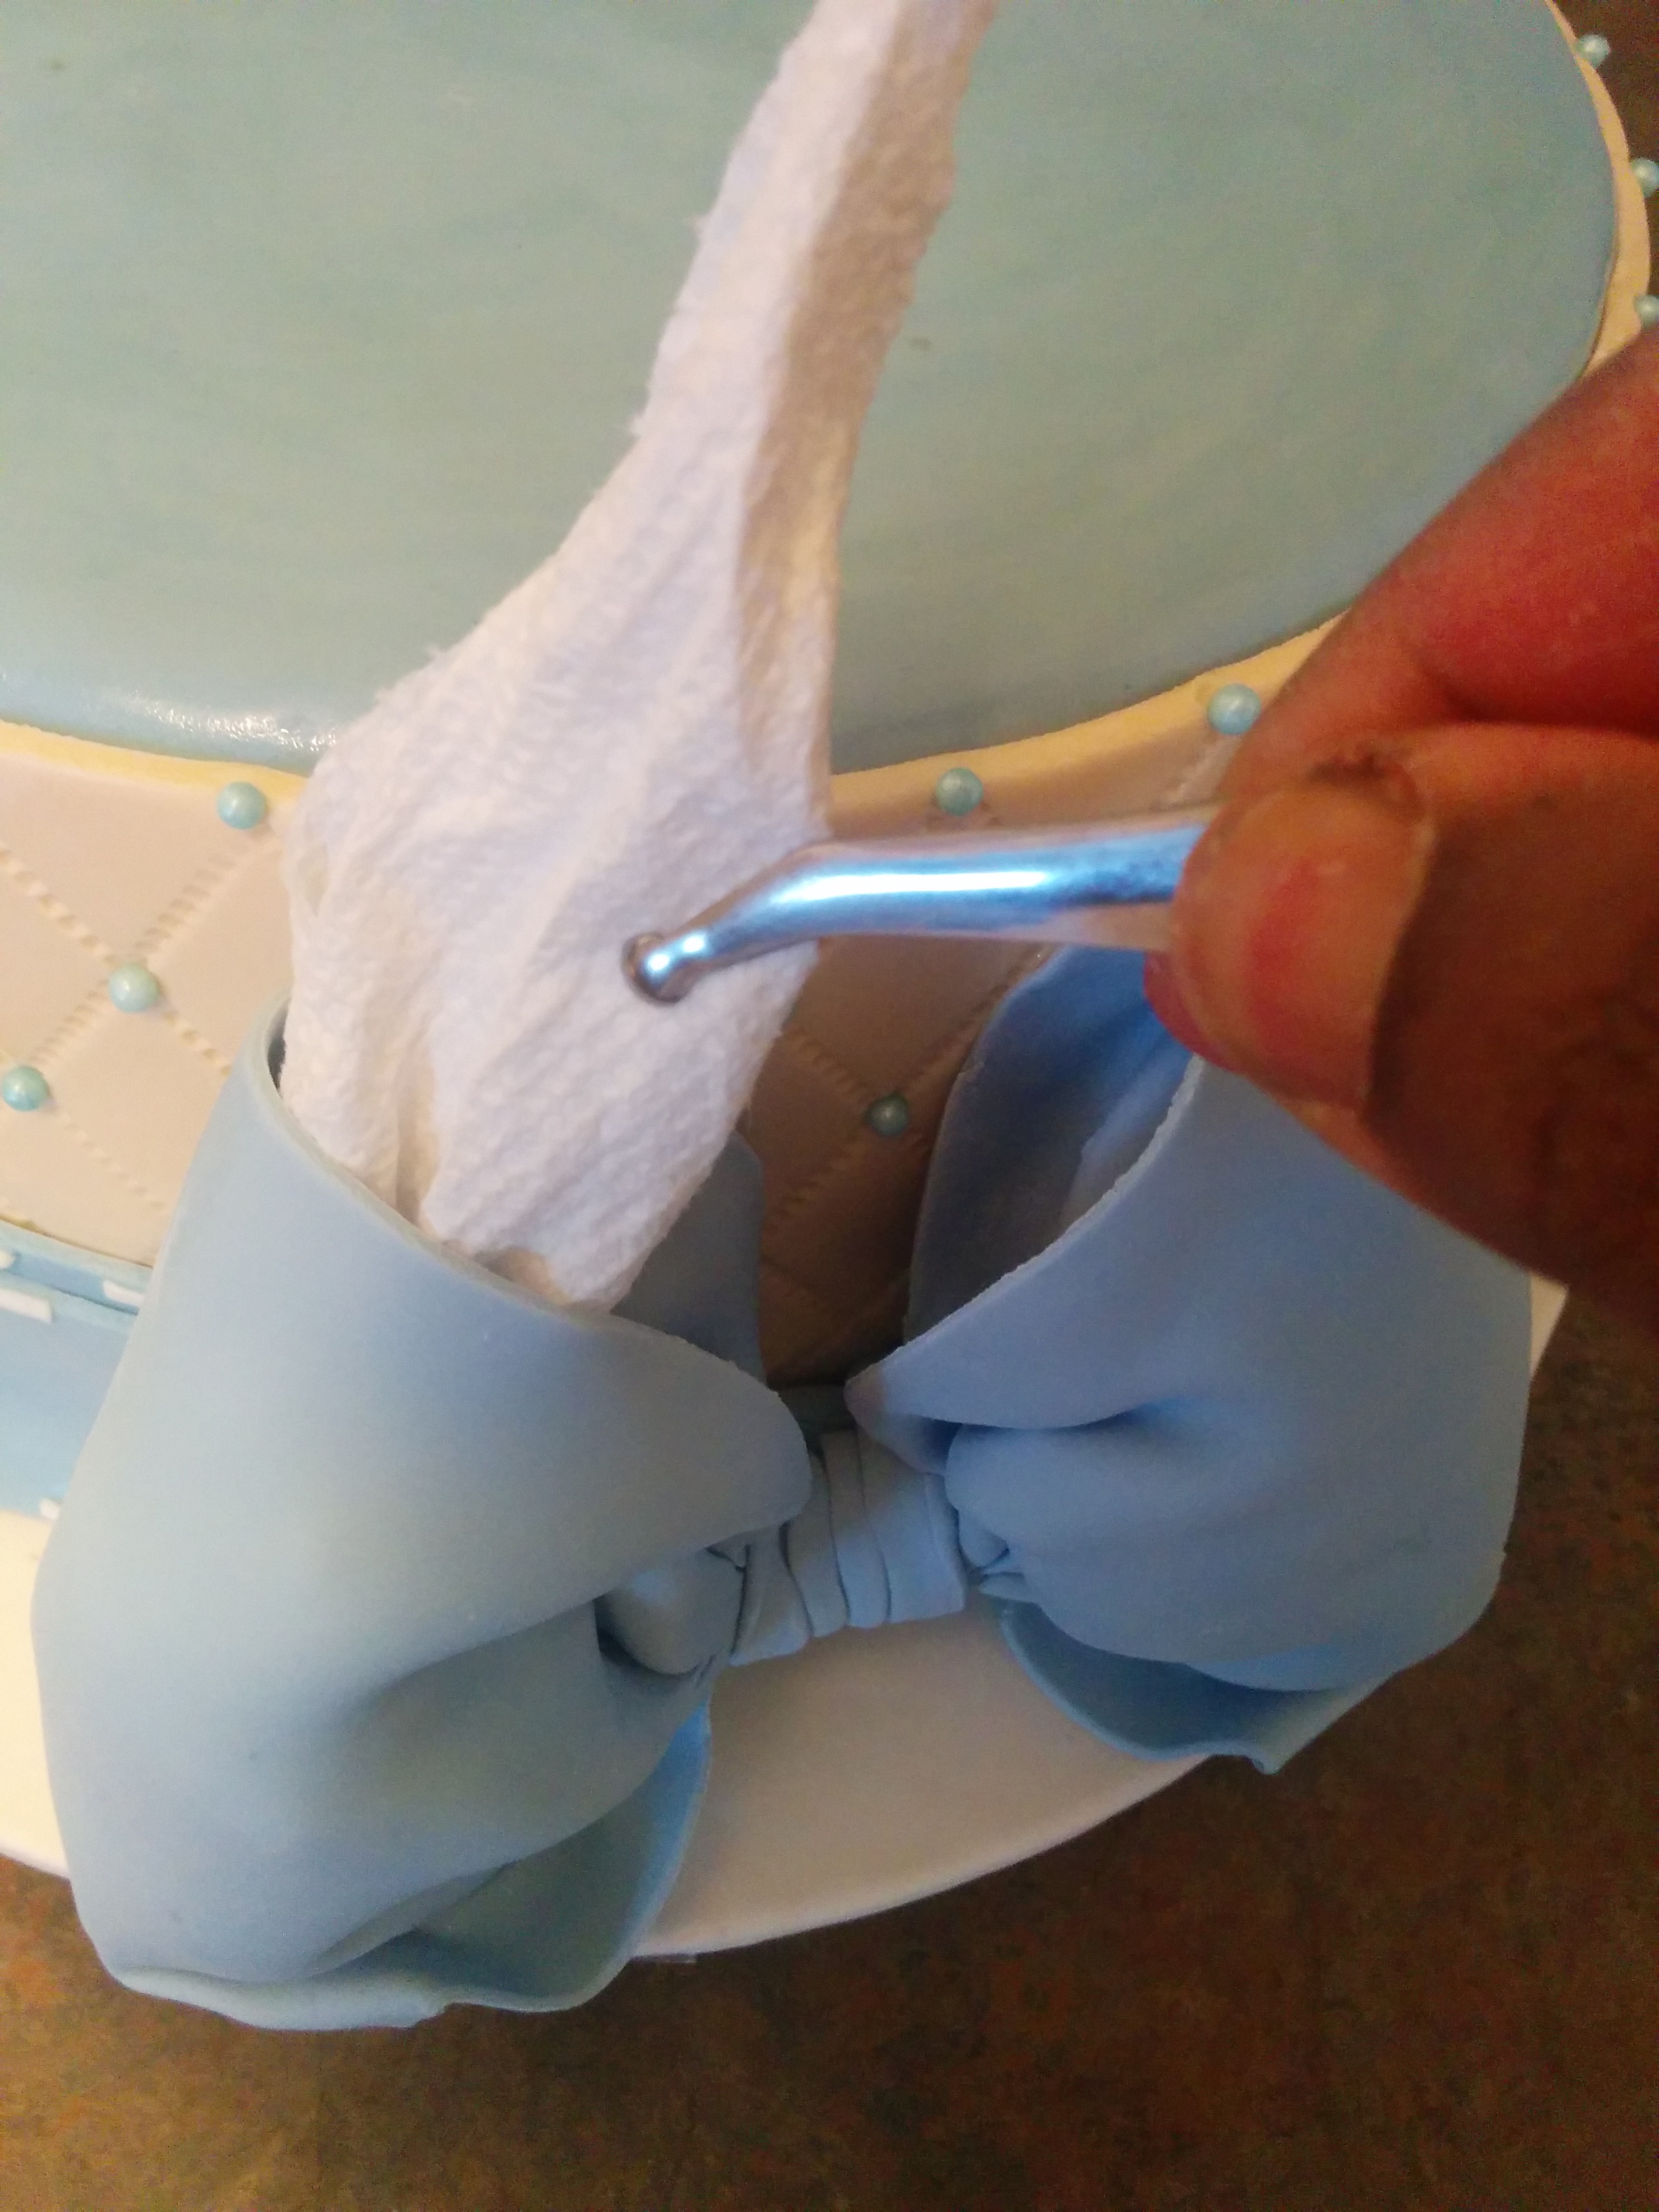
(12) When the bow has dried, take out the tissue papers. Be careful not to break the bow in the process. Brush the inside and outside of the bow with some vodka to brighten it up and remove excess icing sugar.
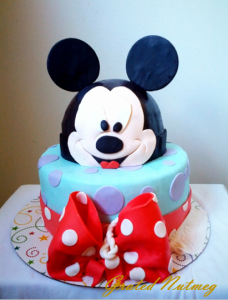
(13) You can apply polka dots to the bow after it has dried.
Terry Adido is passionate about showing people how easy it is to recreate restaurant quality meals in the comfort of their kitchens. With a style of cooking he refers to as Afro-European Fusion, his meals are influenced greatly by French and Italian Cuisine with a West African twist. If you love good food, you are in for the ride of your life.
Thank you so much. I’ve been looking out for this tutorial from you. your bows are amazing.
Thanks.
Wow…Beautiful hand craft…
Thanks Julianah.
Tnx Terry
You are welcome Jane.
Gifted hands..thanks for the tutorial
You are welcome.
Good work terry
Thanks Abiola.
AM IMPRESS SIR
Thanks.
Thanks so much for posting this. I’ve really learnt a lot from u. May you continue to increase in your sense of creativity.
Thanks Folake.
Thank. U so much 4 dis tutorial.
You are welcome.
Terry! Thank u so much. U ve bn a source of inspiration to many and ME especially. I wanna improve and know More.how do I go about it. Thanks again.
Thanks Christy. Hopefully some of my tutorials would help.
nice tutorial. u are God sent. thanks
You are welcome Azeezah.
Thk u so much,i made use of this tutorial today n twas perfect.
Pls u said fruit cake doesnt come in layers pls how can I make my fruit cakes high? Does that mean I have to bake al at once with the use of patchment paper?
Thanks so much sir, God bless you. You are too much
You are welcome Uche.