
How to Cover Cake Boards and Lots More
In this post, I will show you how to cover cake boards with fondant. I will share information on how to use less fondant to cover your cake boards, the different types of cake boards and the importance of cake boards and how to properly utilize your cake boards.

Before continuing with this post, you might be interested in other cake board posts on this website. There are two of such posts available. The first is how to give your cake board a wooden appearance which can be found here. This post also contains information on how to use the wooden technique to achieve various other designs.
The second post is how to make marbled floor cake boards. That post can be found here.
A. What Are Cake Boards?
Cake board is a generic term used to describe flat sturdy materials used to support or hold cakes. Cake boards come in different shapes and sizes. The most common shapes are circles and squares. In terms of size, they can be found in 6 inches and above. The most common sizes however start from 8 inches up to 14 inches. These sizes should not however limit your creativity as cake boards can be cut to create smaller sizes or different shapes like if for instance you want to place a cake board under a heart shaped cake.

B. Types of Cake Boards
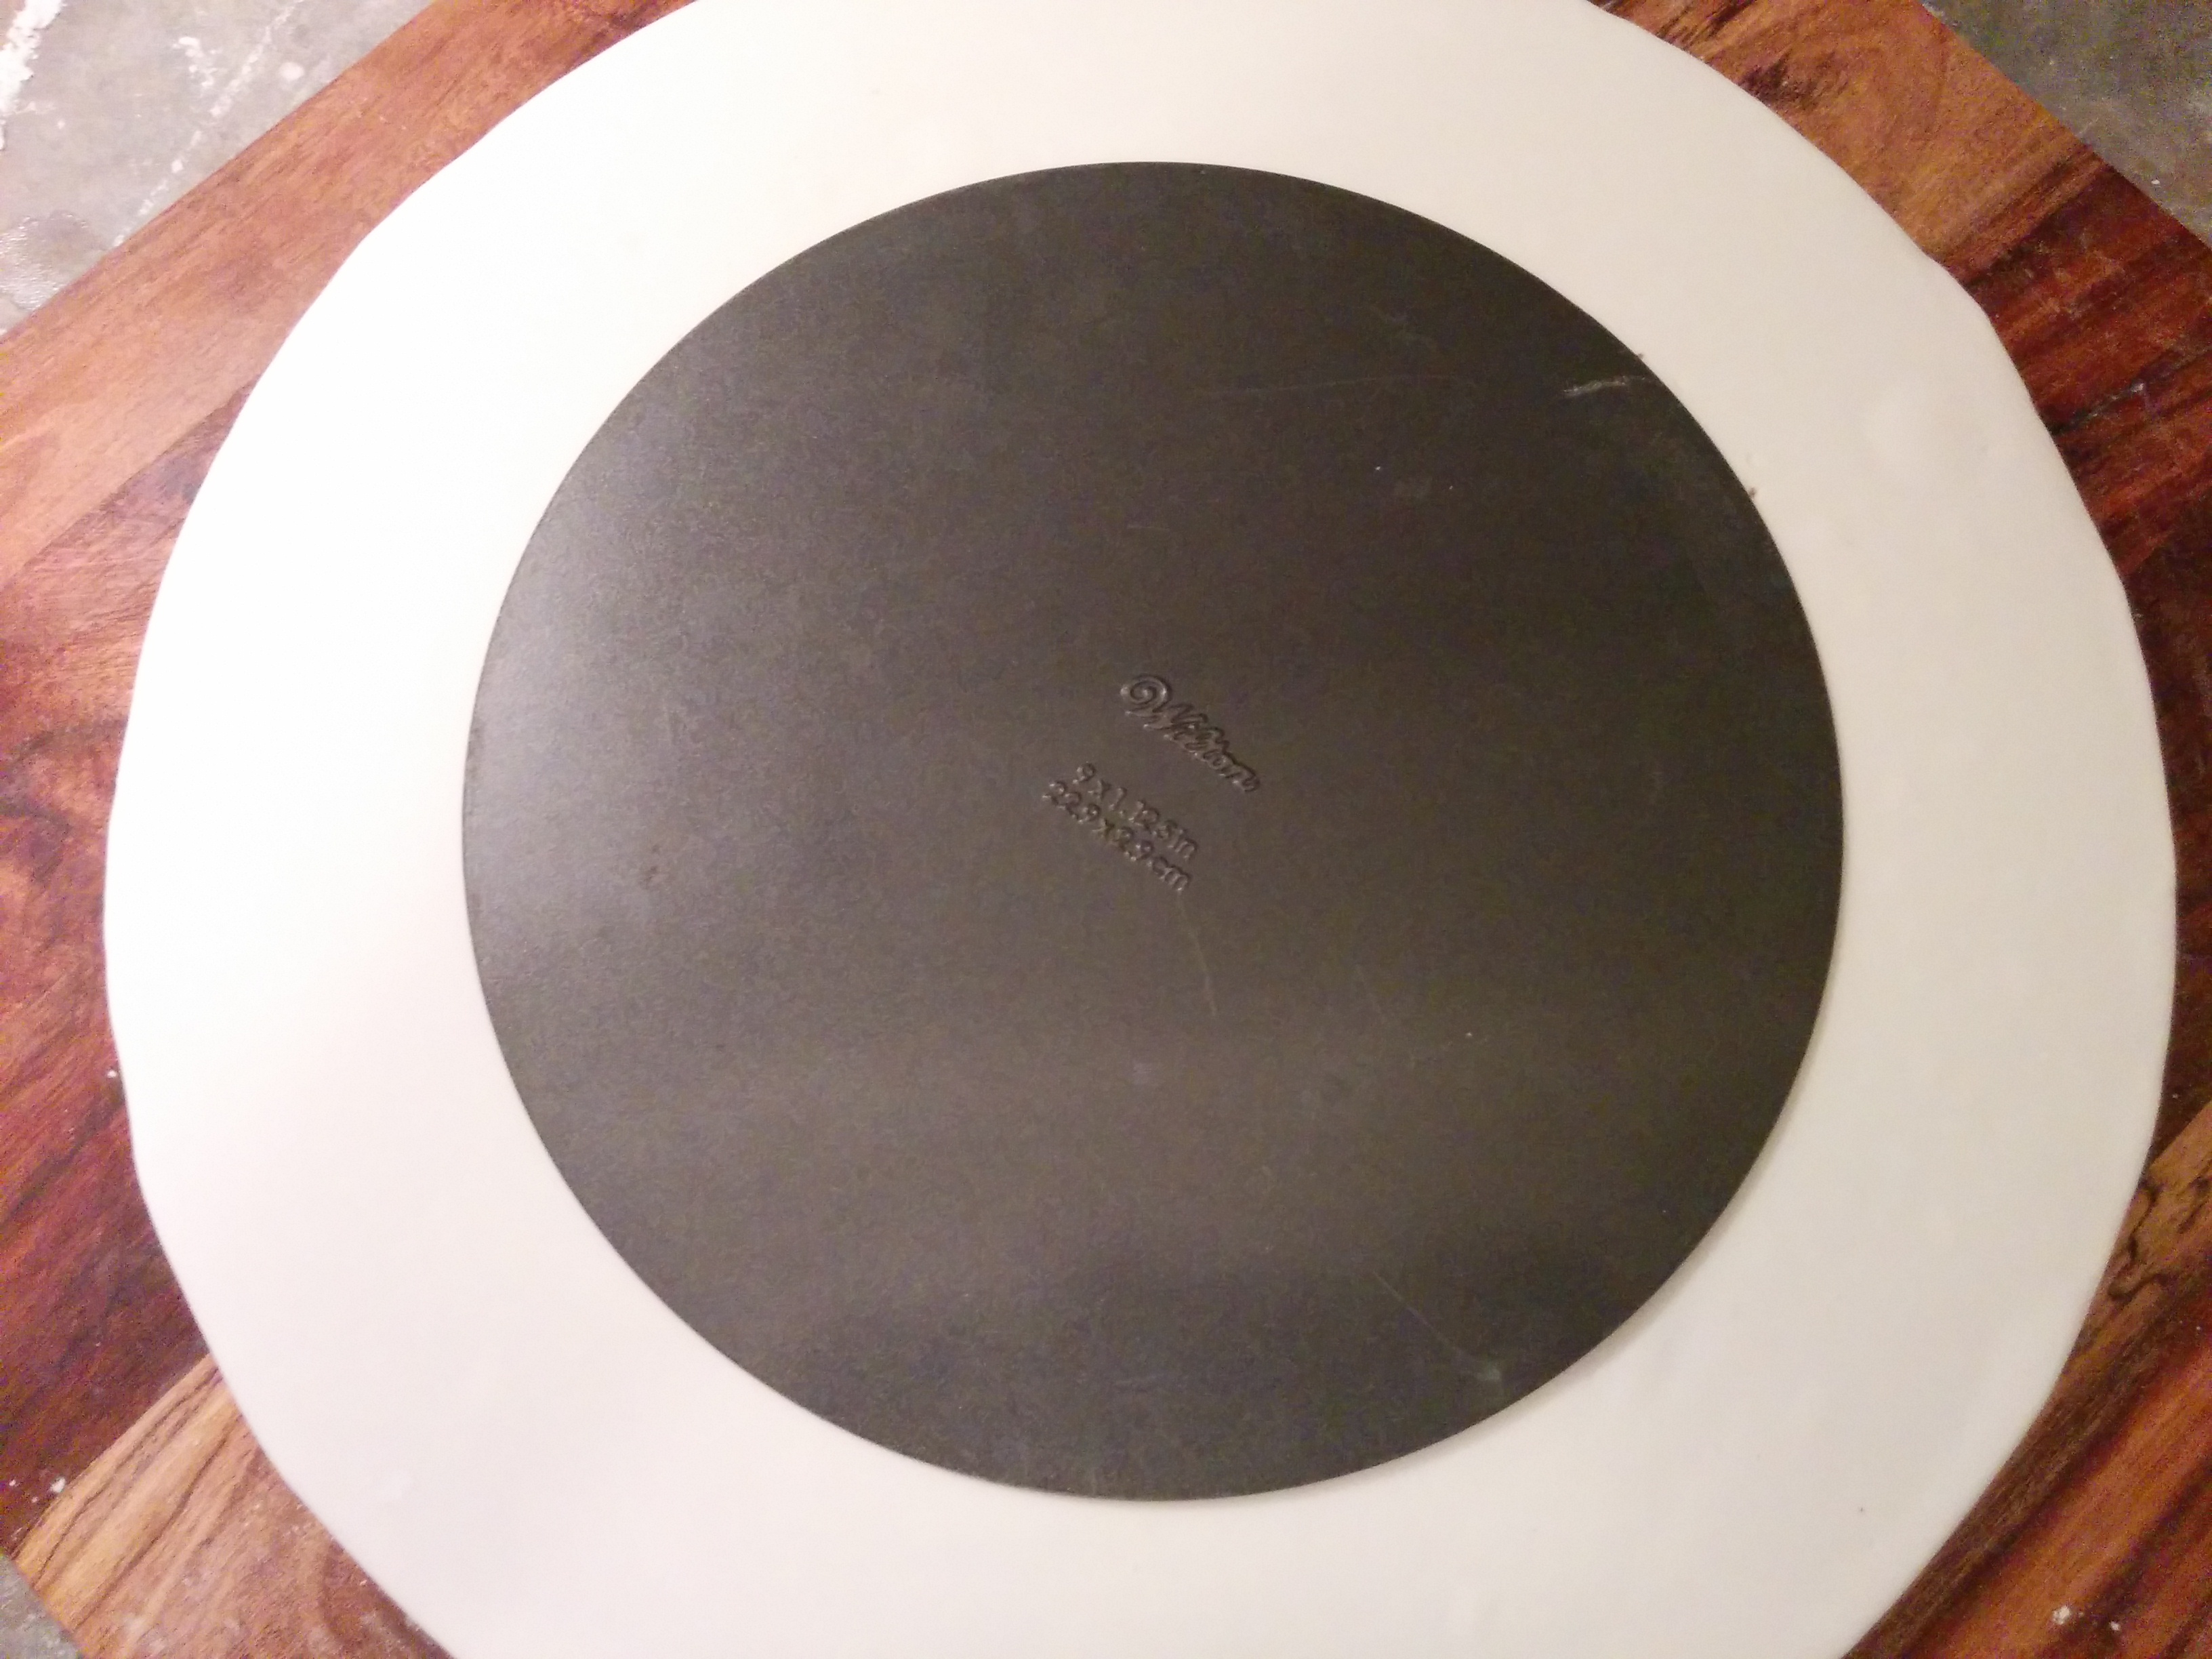
There are 2 major types of cake boards: drums and cards. Drums are thick cake boards used as the base of a cake. They are very sturdy and help show off the beauty of the cake. Cards on the other hand are thin cake boards which are placed under each tier of a cake. See it this way: cake drums are to be seen while cake cards are to remain hidden. Every cake should contain at least one cake drum and one cake card.
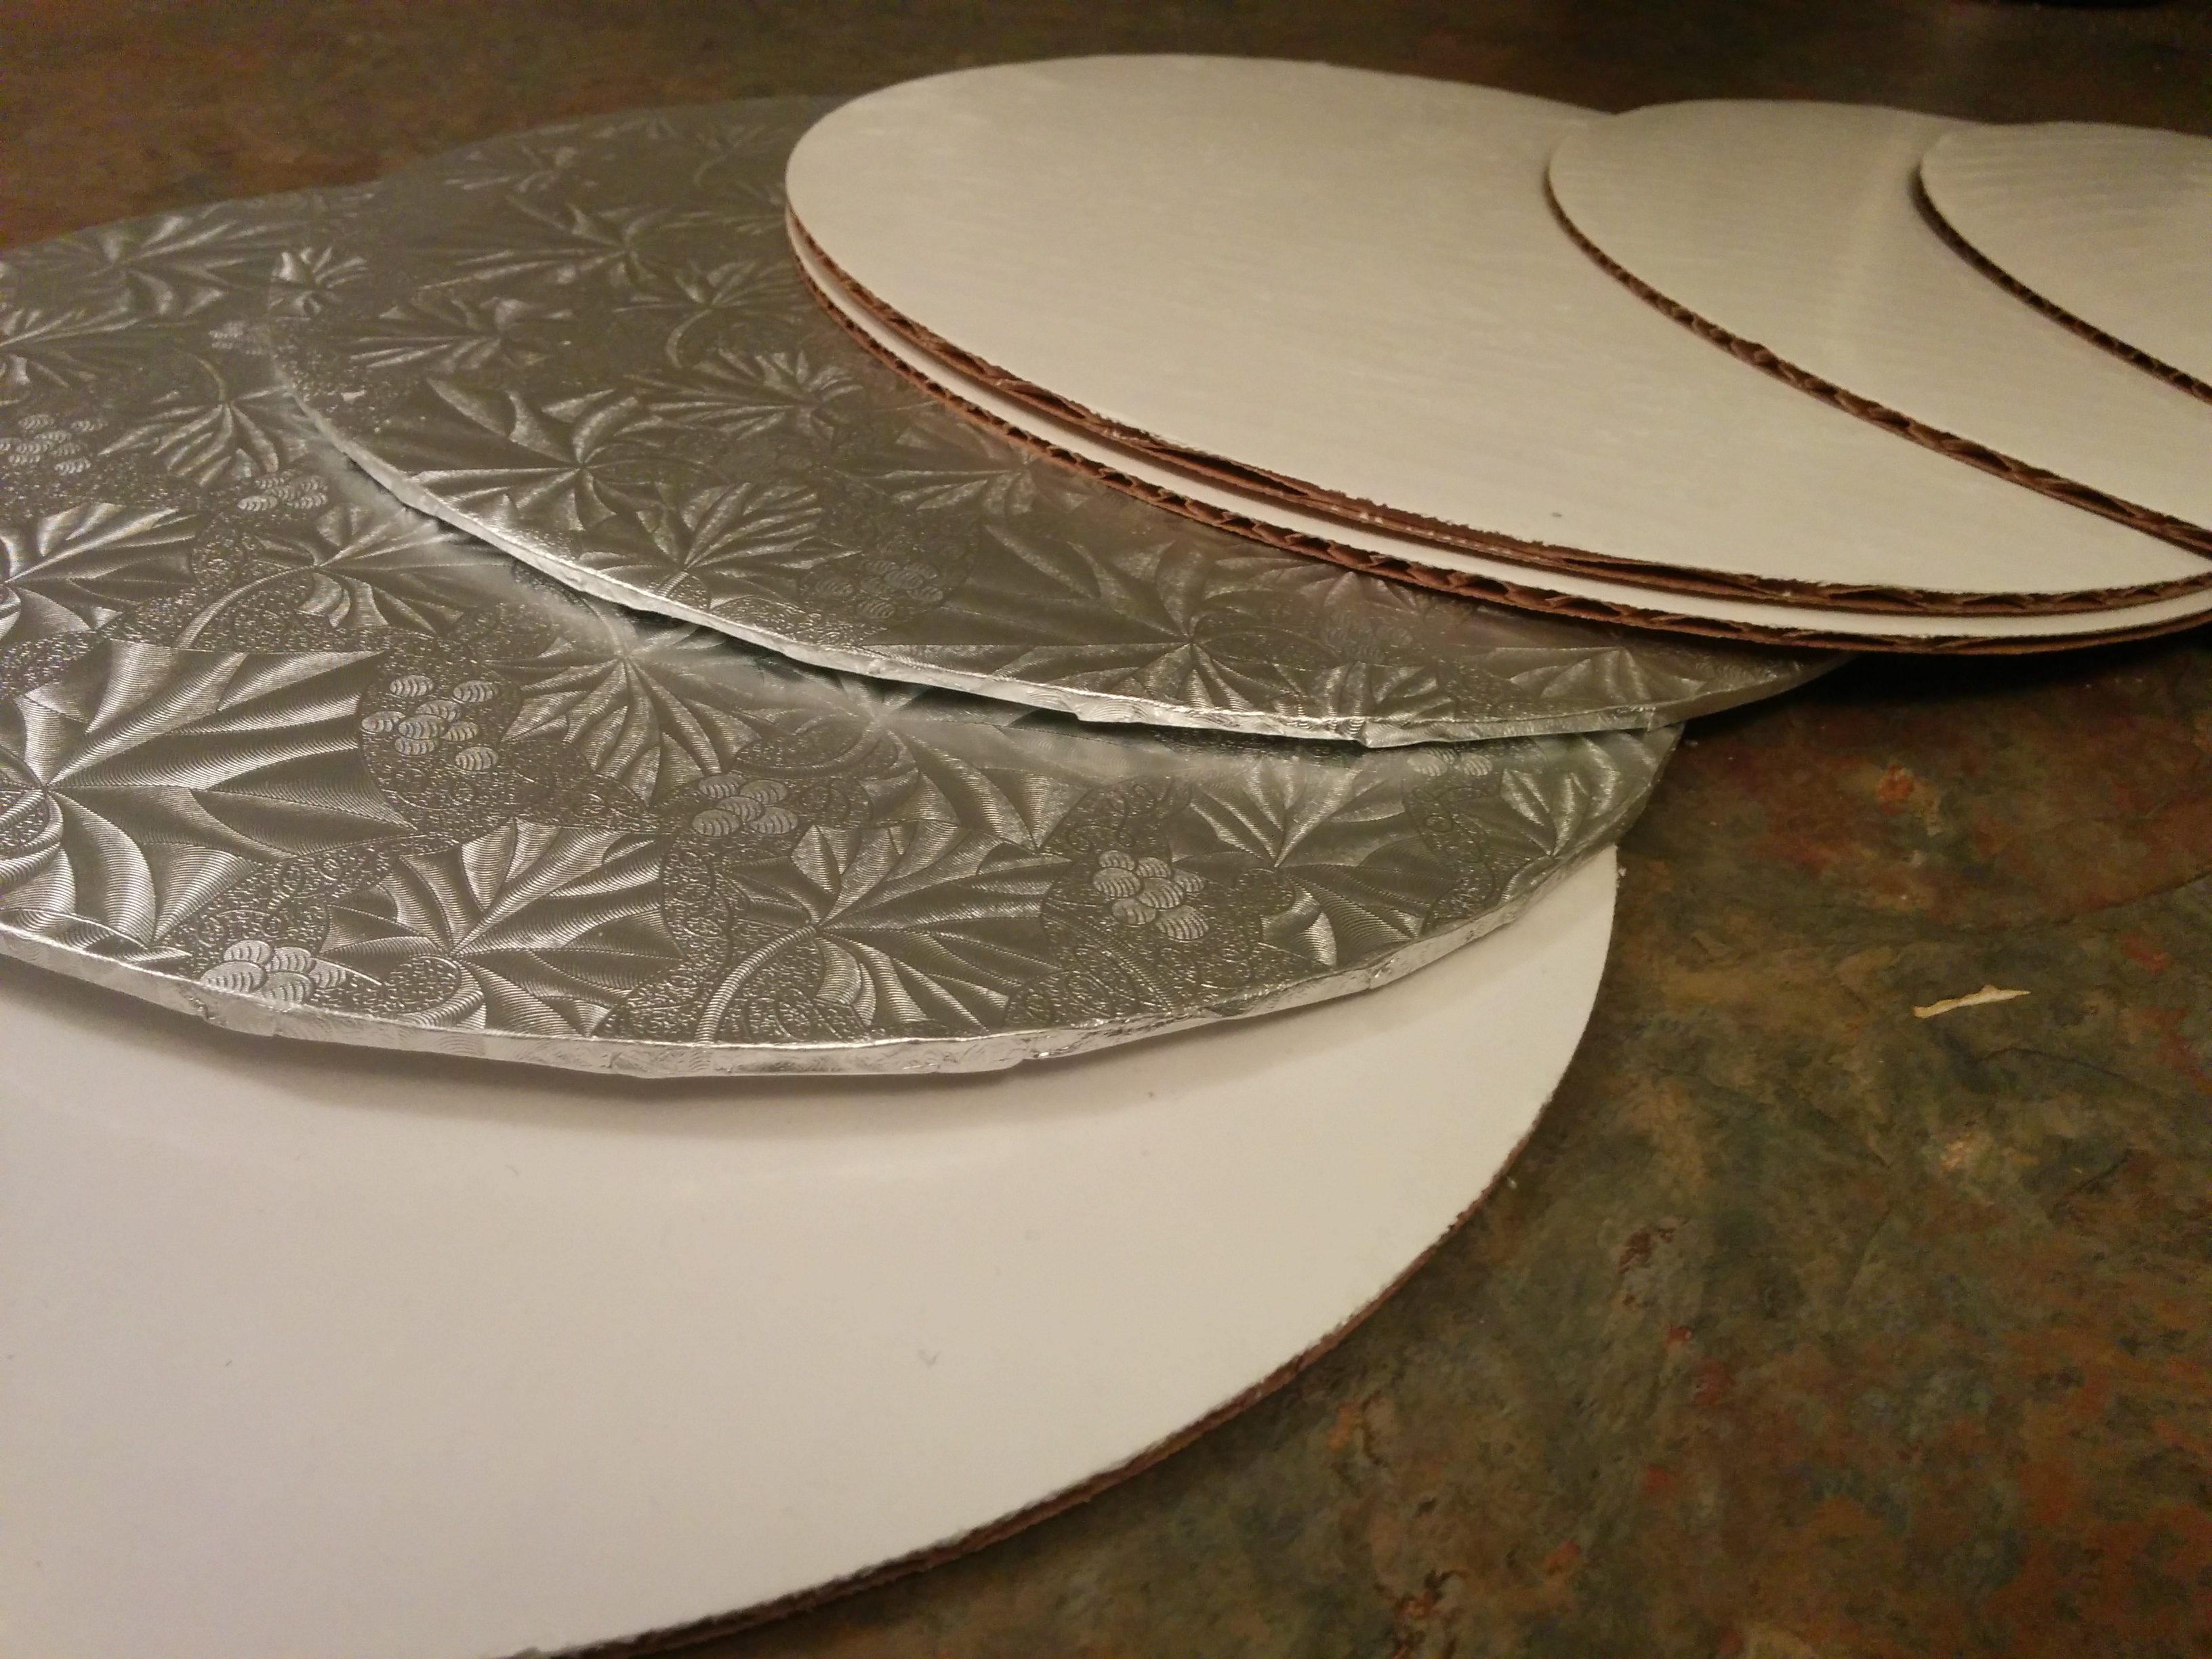
Cake Cards
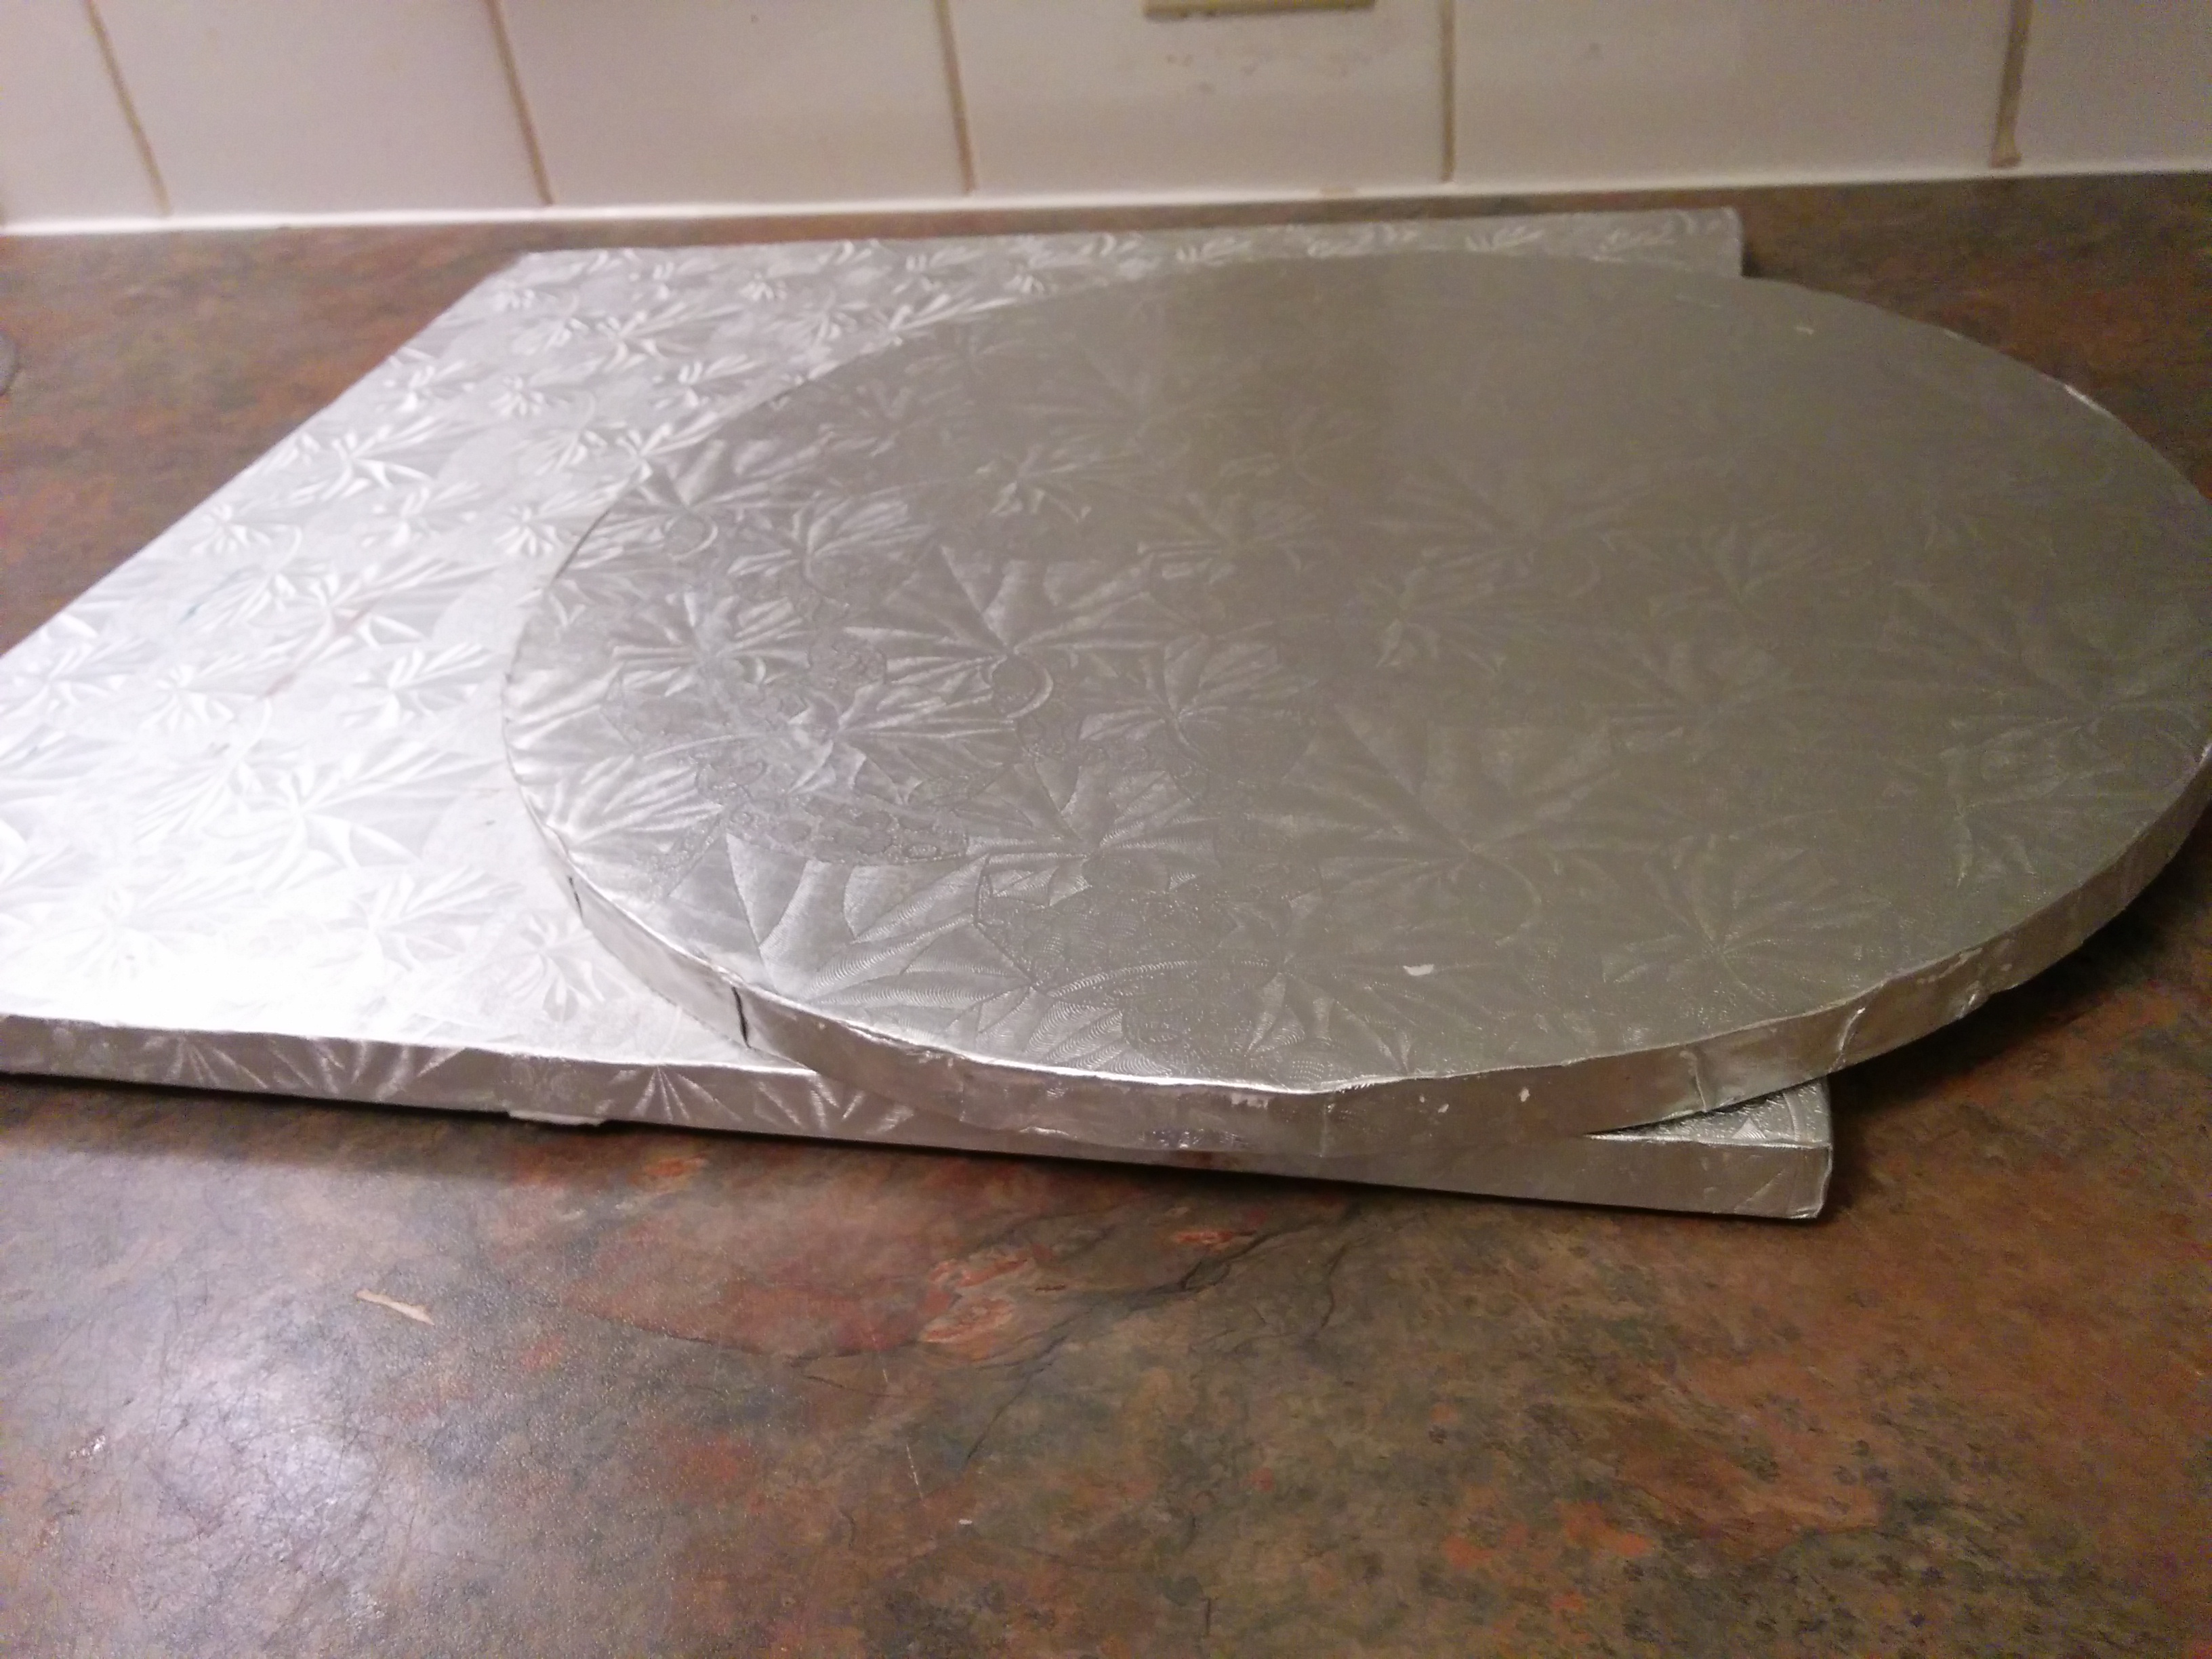
Cake Drums
C. Importance of Cake Cards
Like I stated earlier, cake cards are always placed underneath cake tiers. Cake cards should always be the same size as your cake tier. Thus, if you baked an 8 inch round cake, an 8 inch round cake card should be placed underneath the cake before frosting. You might notice that the cake might be a bit smaller than the card as cakes shrink a little bit after baking. This is fine as those few millimeter spaces are where the frosting is going to fill up when covering the cake.
There are various uses of cake cards. The first is that the provide a guide when frosting cakes. The cake card gives you a hard boundary for your frosting smoother to lean against when smoothing your frosting. This ensures that you have an even layer of frosting on your cake. It also ensures that the sides of your cakes are not bumpy or indented but straight.
Another use of cake cards is that they help with cake stacking. Each tier of a tiered cake should have a cake card underneath. This is what will rest on the dowels and he dowels will rest on in return. Stacking cakes without cake cards and dowels might make your cake implode or uneven. To read more about how to stack a cake, see the end notes here.
While cake cards can always be bought, you can save some money by making yours out of old cartons and boxes. Make sure that the edges are smooth as rough edges will affect the final outcome of your cake.
D. Importance of Cake Drums
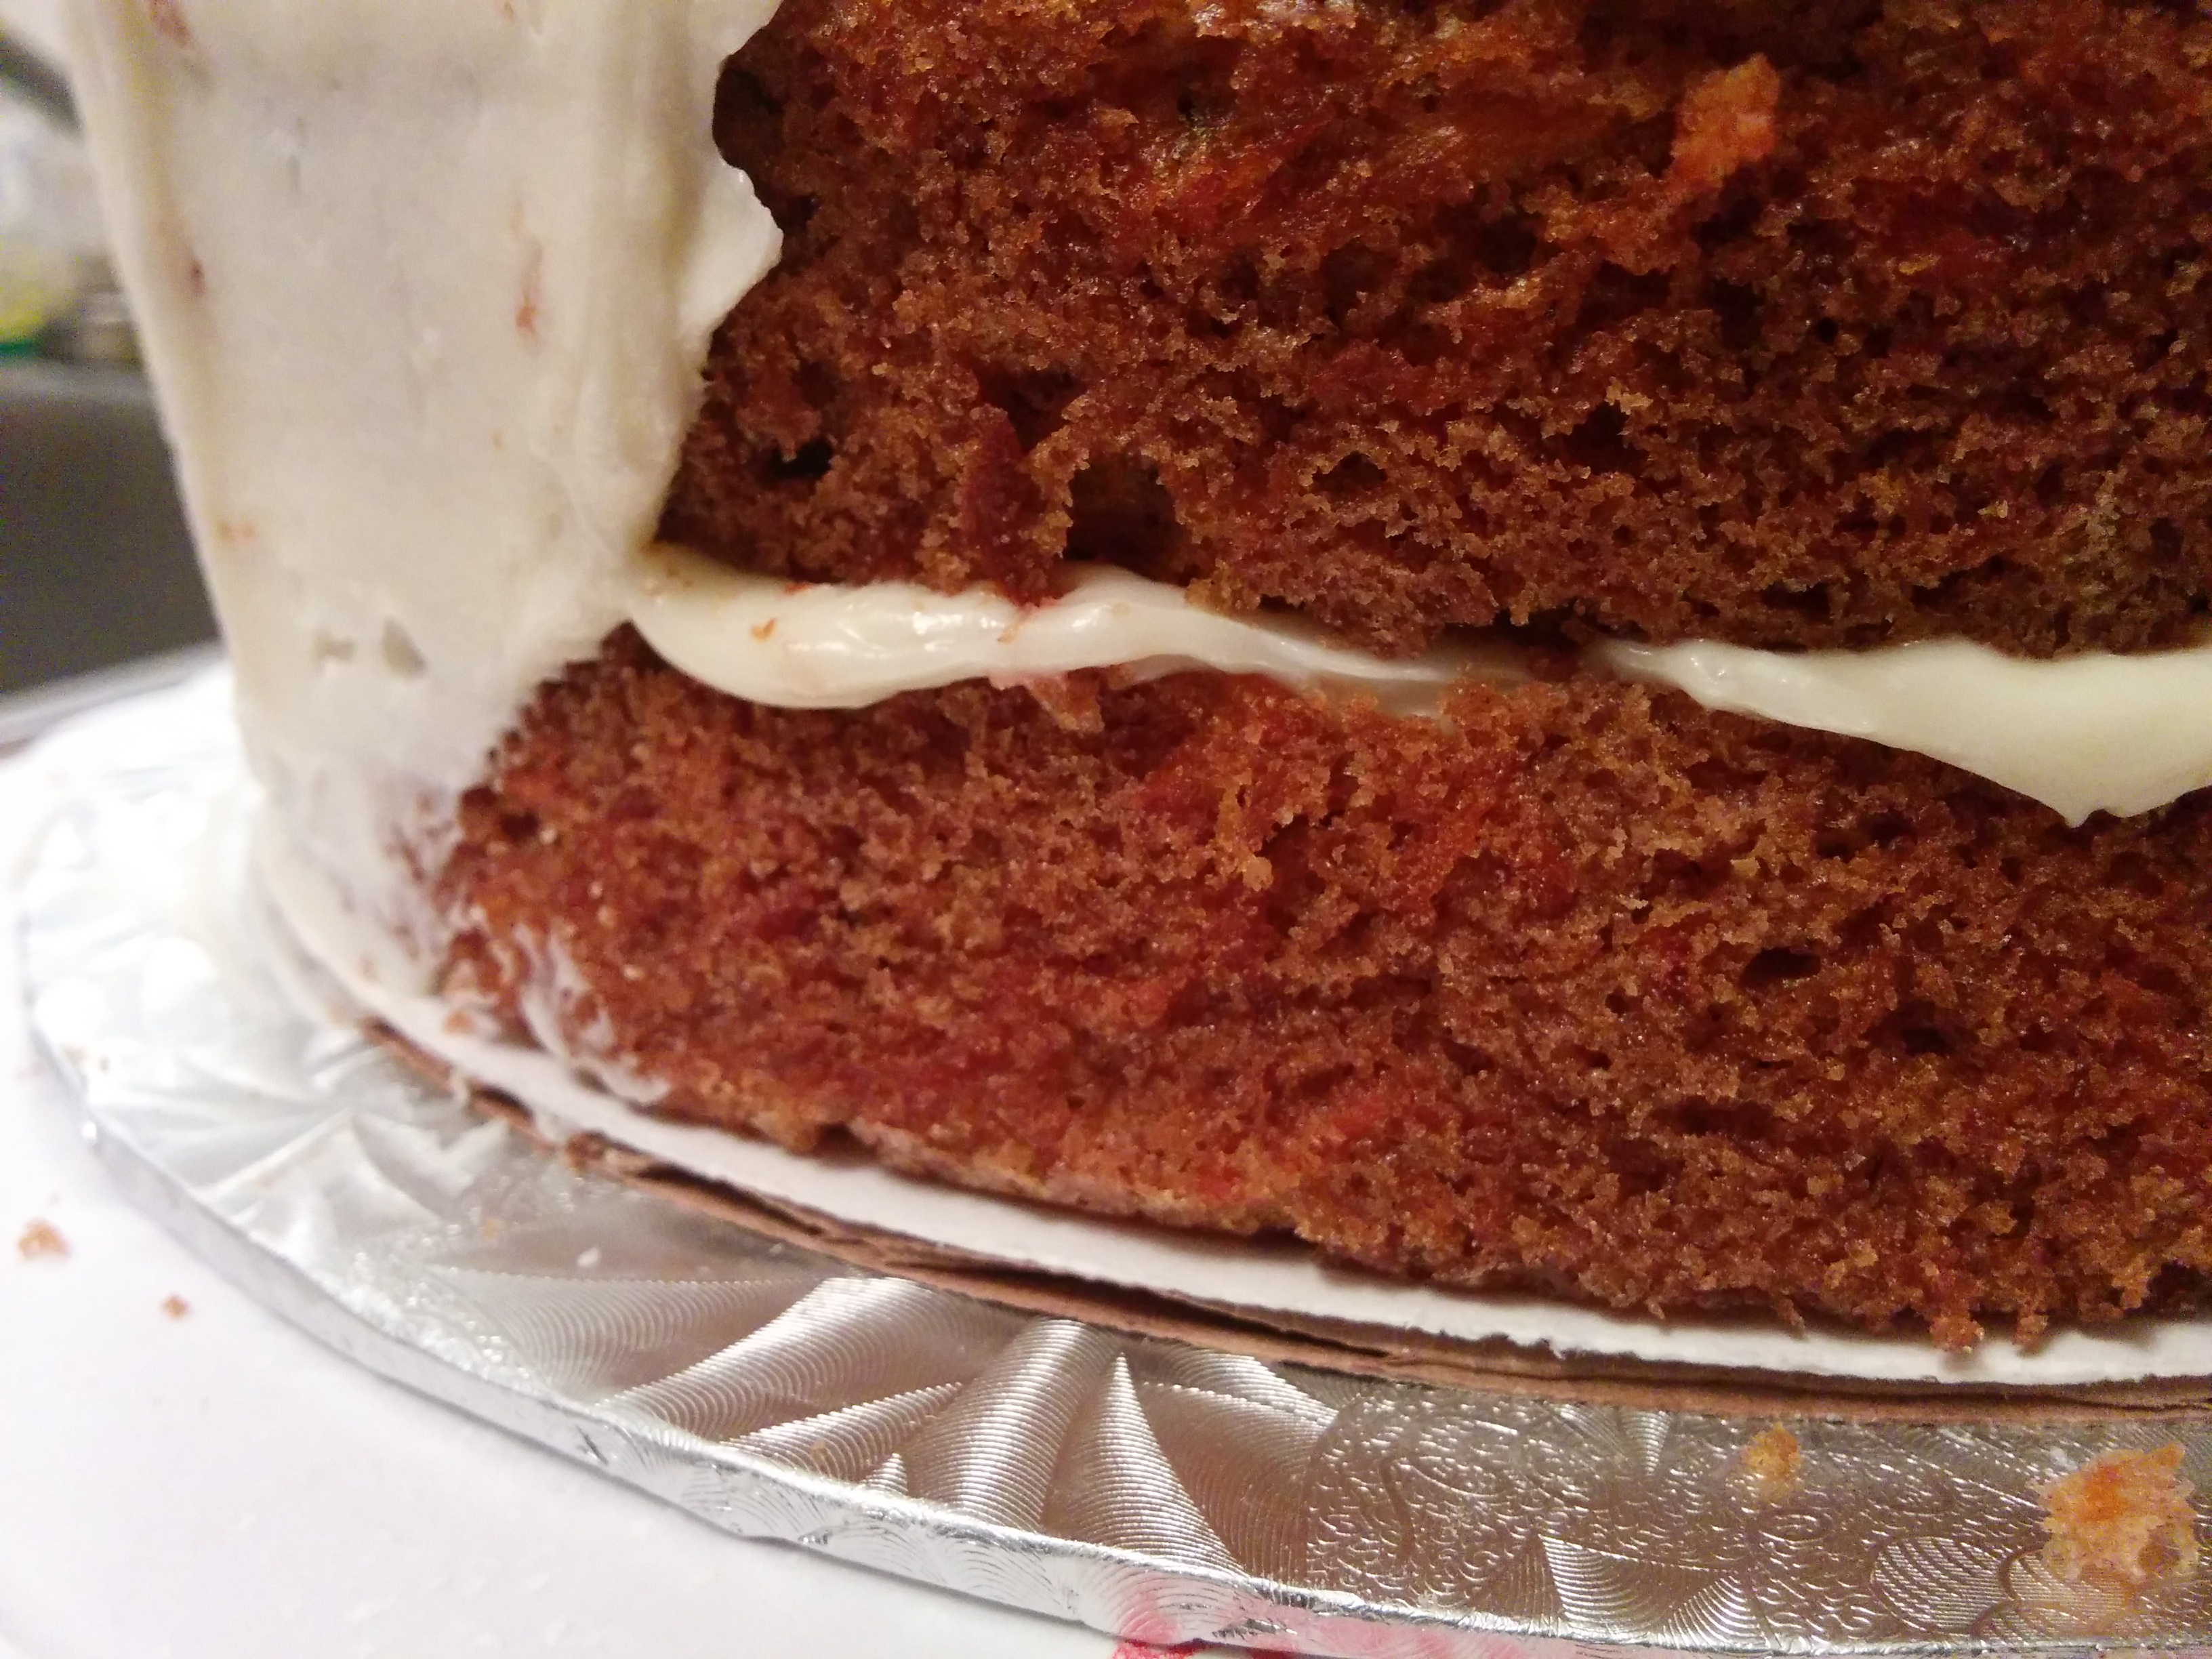
The first importance of cake drums is that they provide stability for your cakes. Cake drums provide a firm base for your cakes to rest on. Never place heavy cakes on cake cards as this will lead to the fondant folding, cracking, overlapping when the cake is picked up. This is because care cards are quite light and would fold when picked up with a heavy cake on them. This in turn will affect the fondant finishing. I guess a lot of you will be going “aha!” Now you know why the base of your cakes crack or fold after covering with fondant.
If you look closely at the base of this cake, you will see that the fondant is somewhat bulgy. That’s because I used a cake card.
The size of the cake drum you use is also very important. Cake drums should always be at least 2 inches larger than the lowest or single cake tier. Thus, if the lowest or single tier is 10 inches in diameter, your cake drum should be at least 12 inches in diameter. This will provide more stability. Do not use round cake boards for square cakes as you night not be able to get the 2 inch gap all around the cake. Square drums can however be used for round cakes.
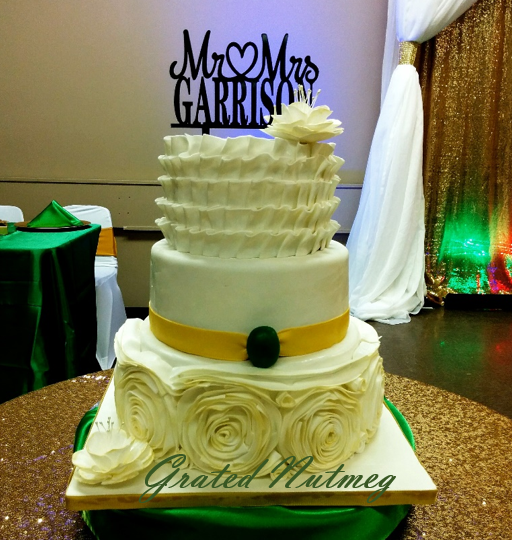
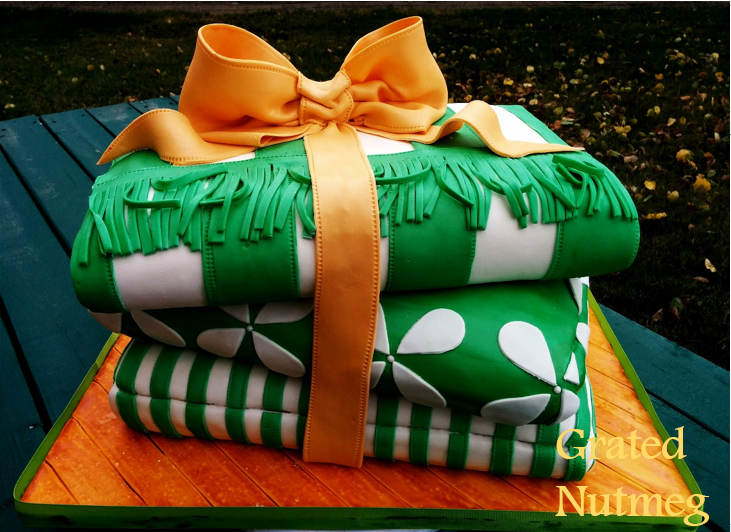
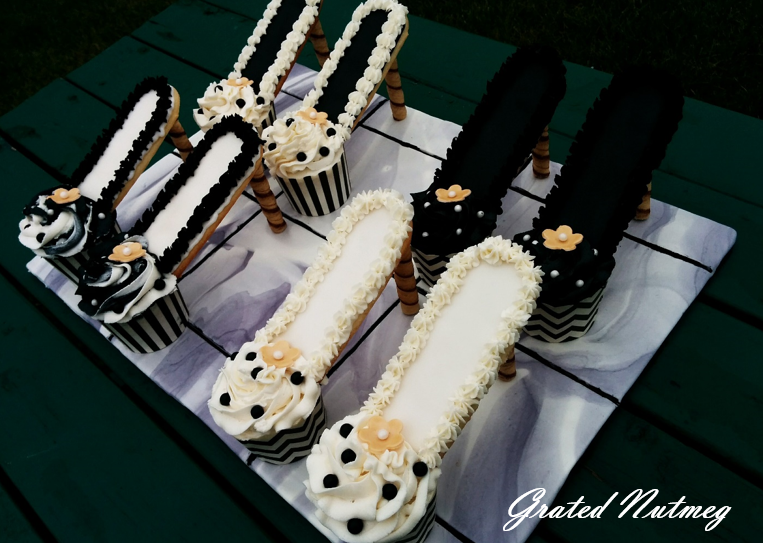
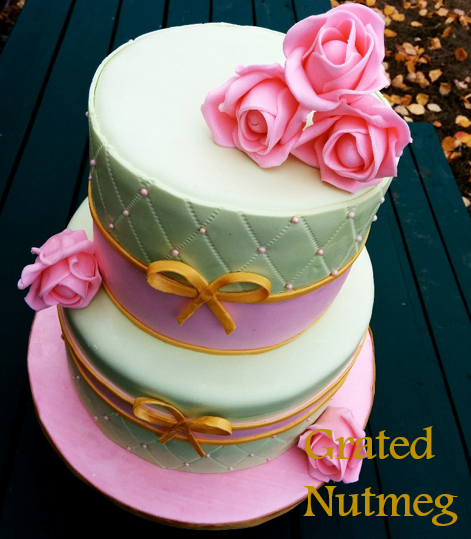
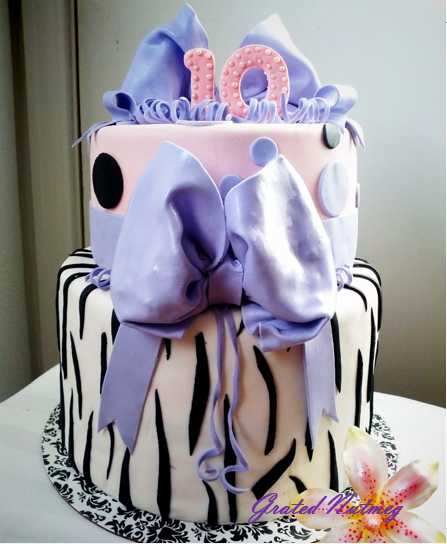
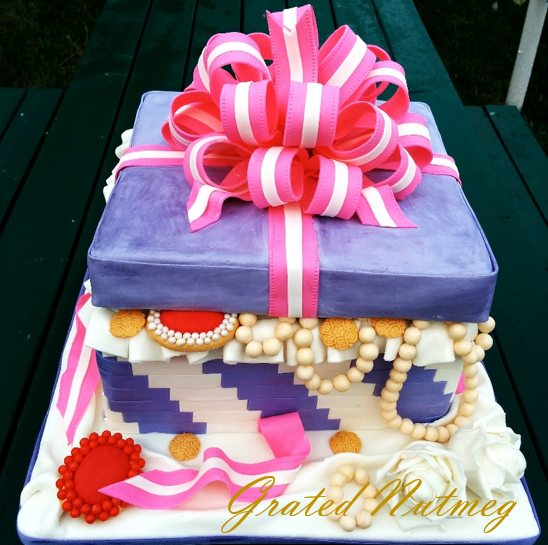
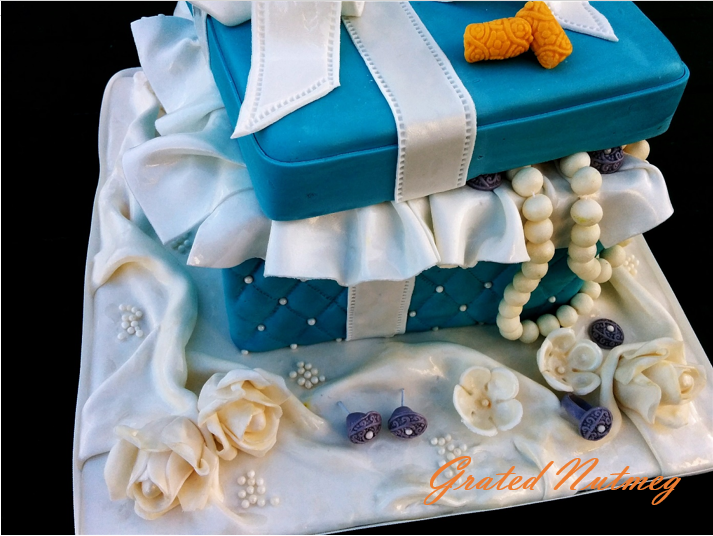
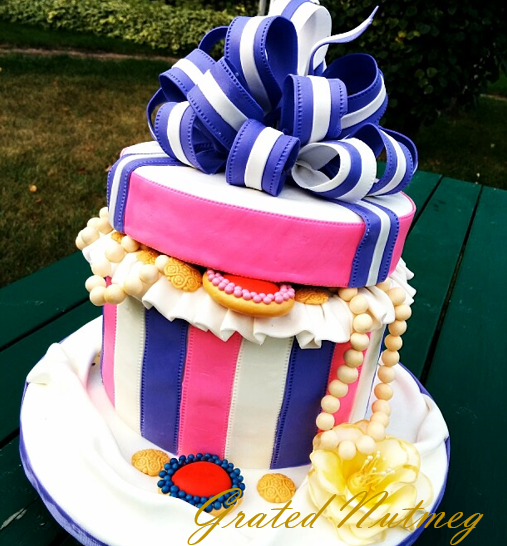
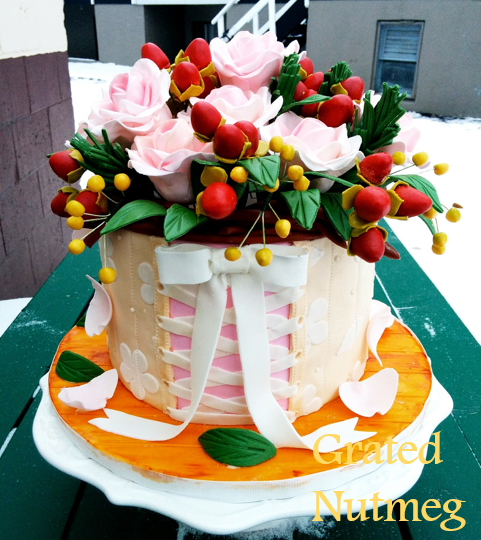
The second importance of cake drums is that they help beautify your cakes. It is not a good practice to use your cake drums without covering them with fondant. Learn how to utilize your cake drums well. Your cake drums are an extension of your cakes and beautifying them would make your cakes a lot more attractive. Below are some of my cakes in which I utilized the cakes boards to bring out the beauty of the cake.


E. How to Cover a Cake Drum with Fondant
This is a short tutorial on how to cover your cake drum with fondant.
Tools and Ingredients
(1) Fondant. I always use Marshmallow Fondant
(2) Water
(3) Color Paste
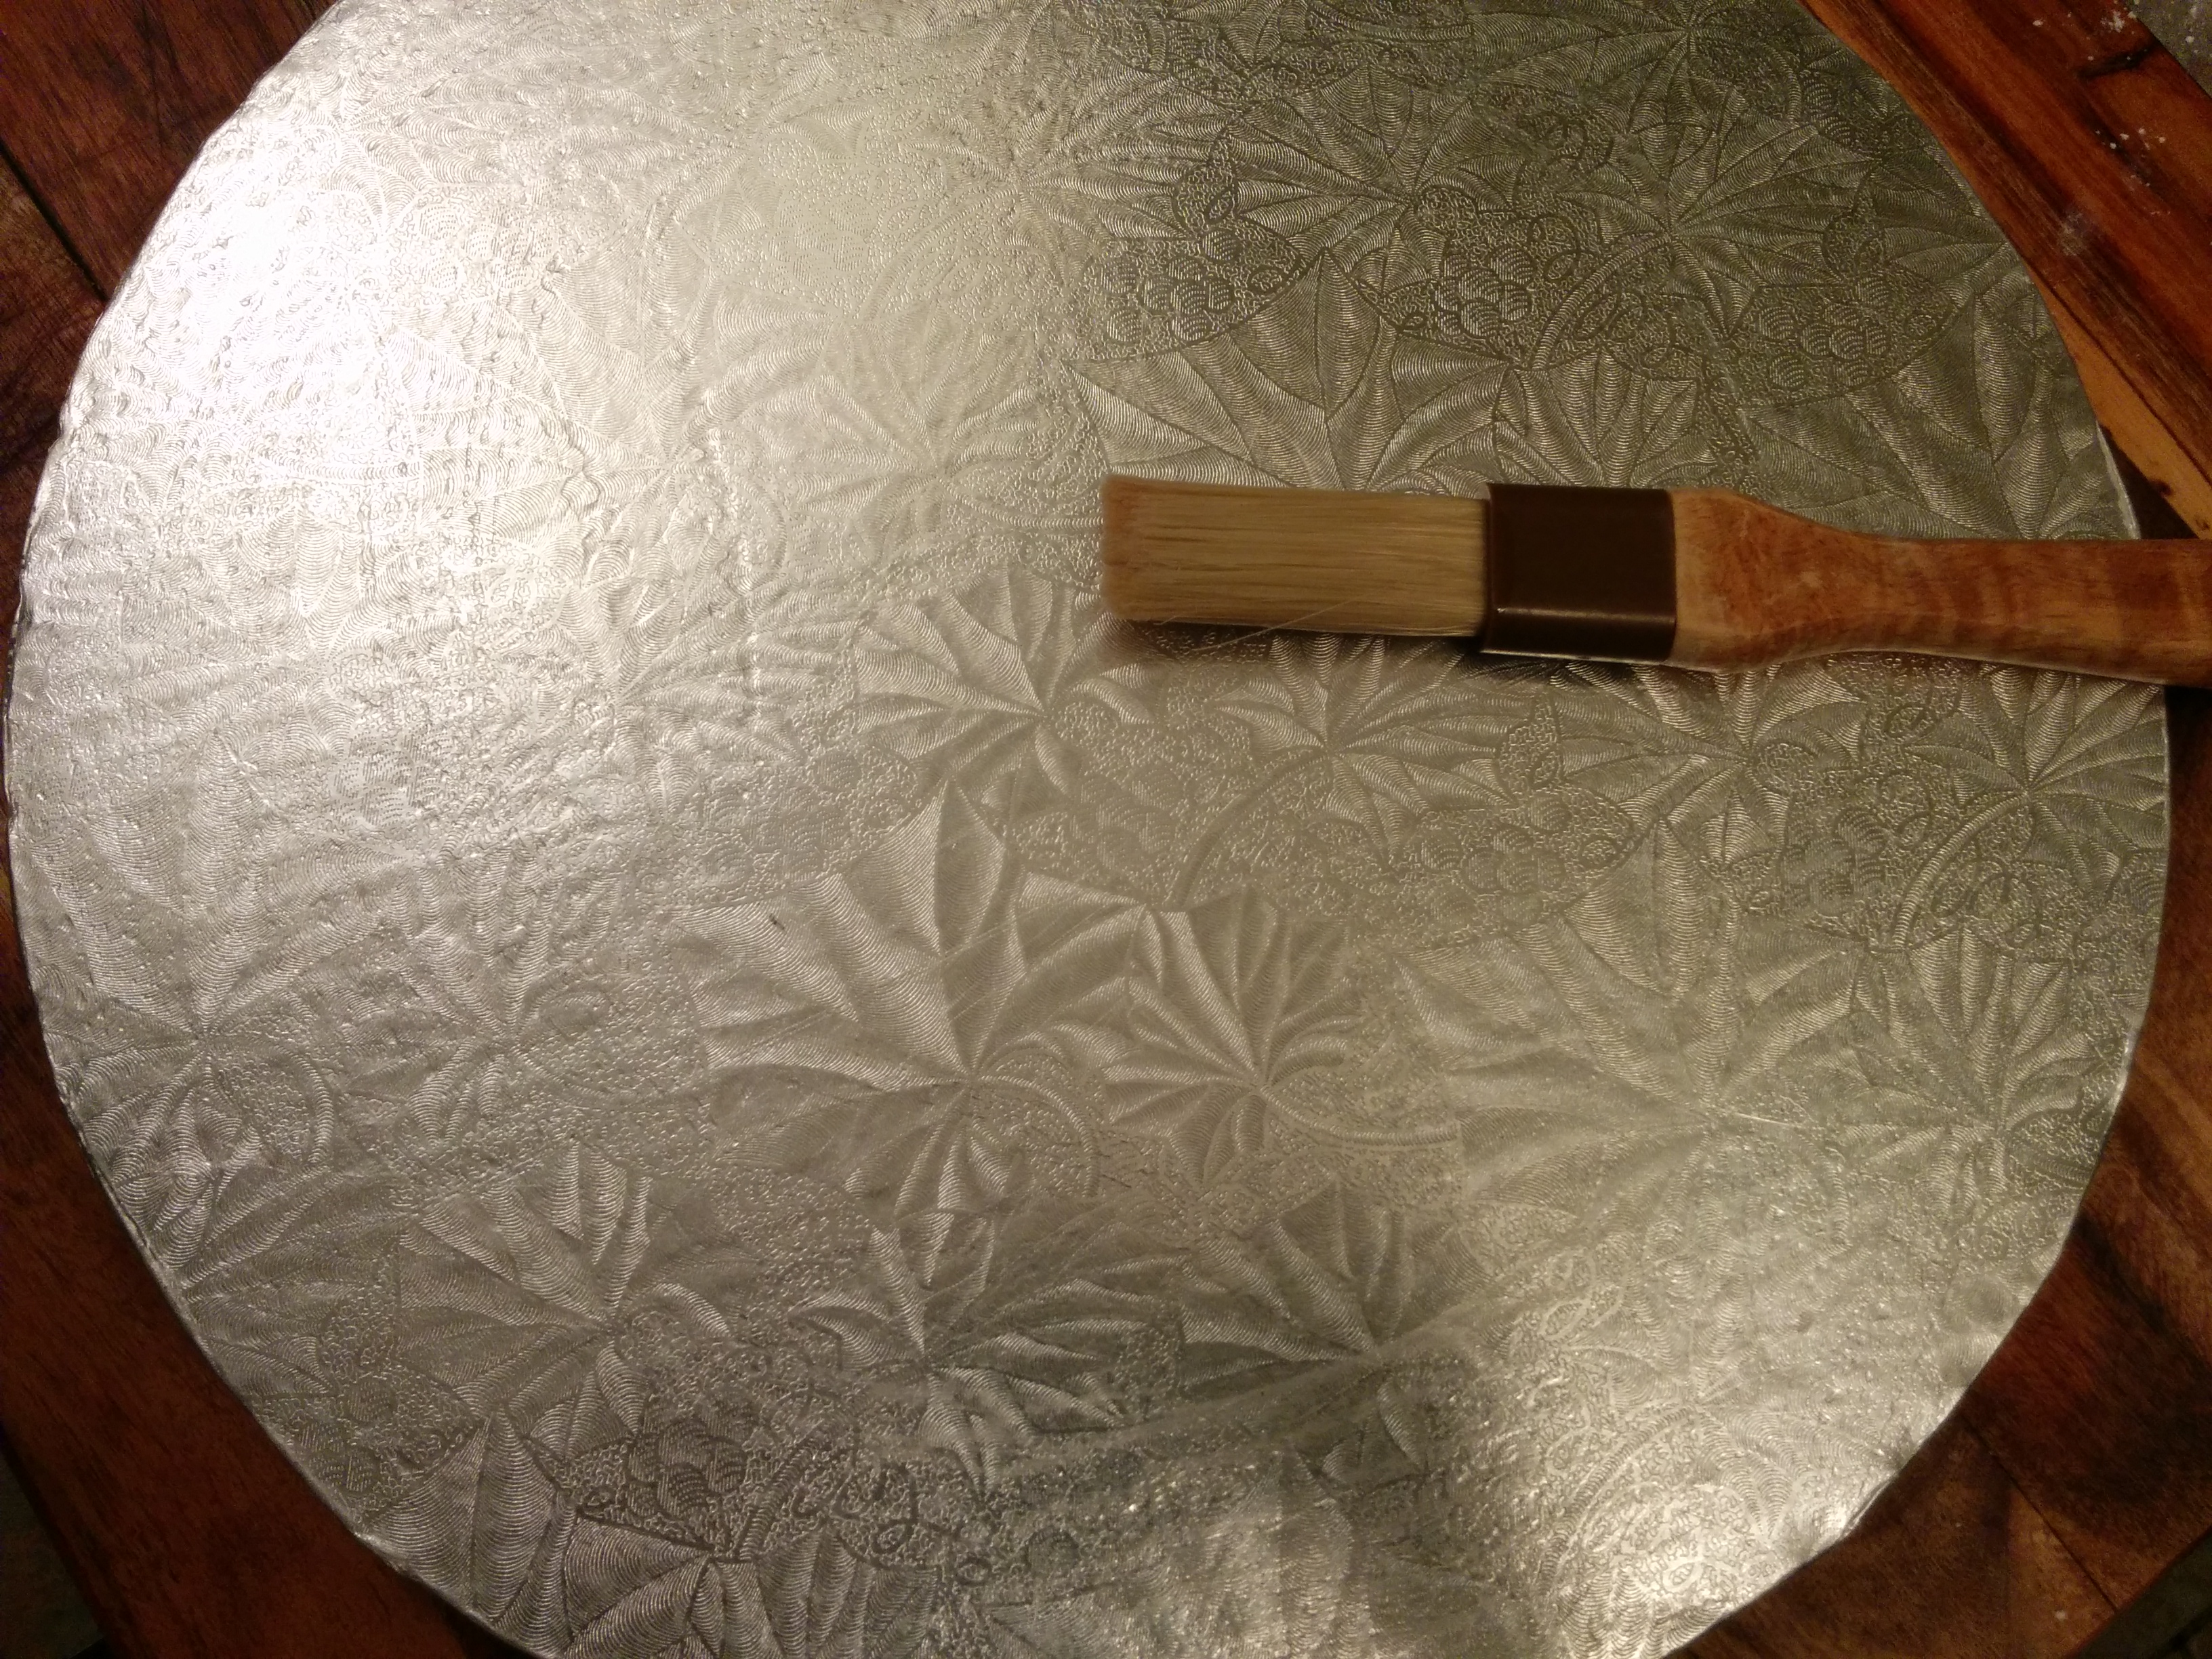
(4) Brush
(5) Rolling Pin
(6) Cake Drum
(7) Pizza cutter or any other fondant cutter
(8) Turn Table or Lazy Susan
(9) An elevating medium. This could be a a bowl, round container, etc. It should always be smaller then your cake board.
(10) Ribbons
(11) Glue
(12) Fondant smoother
Procedure
(1) Make your fondant.
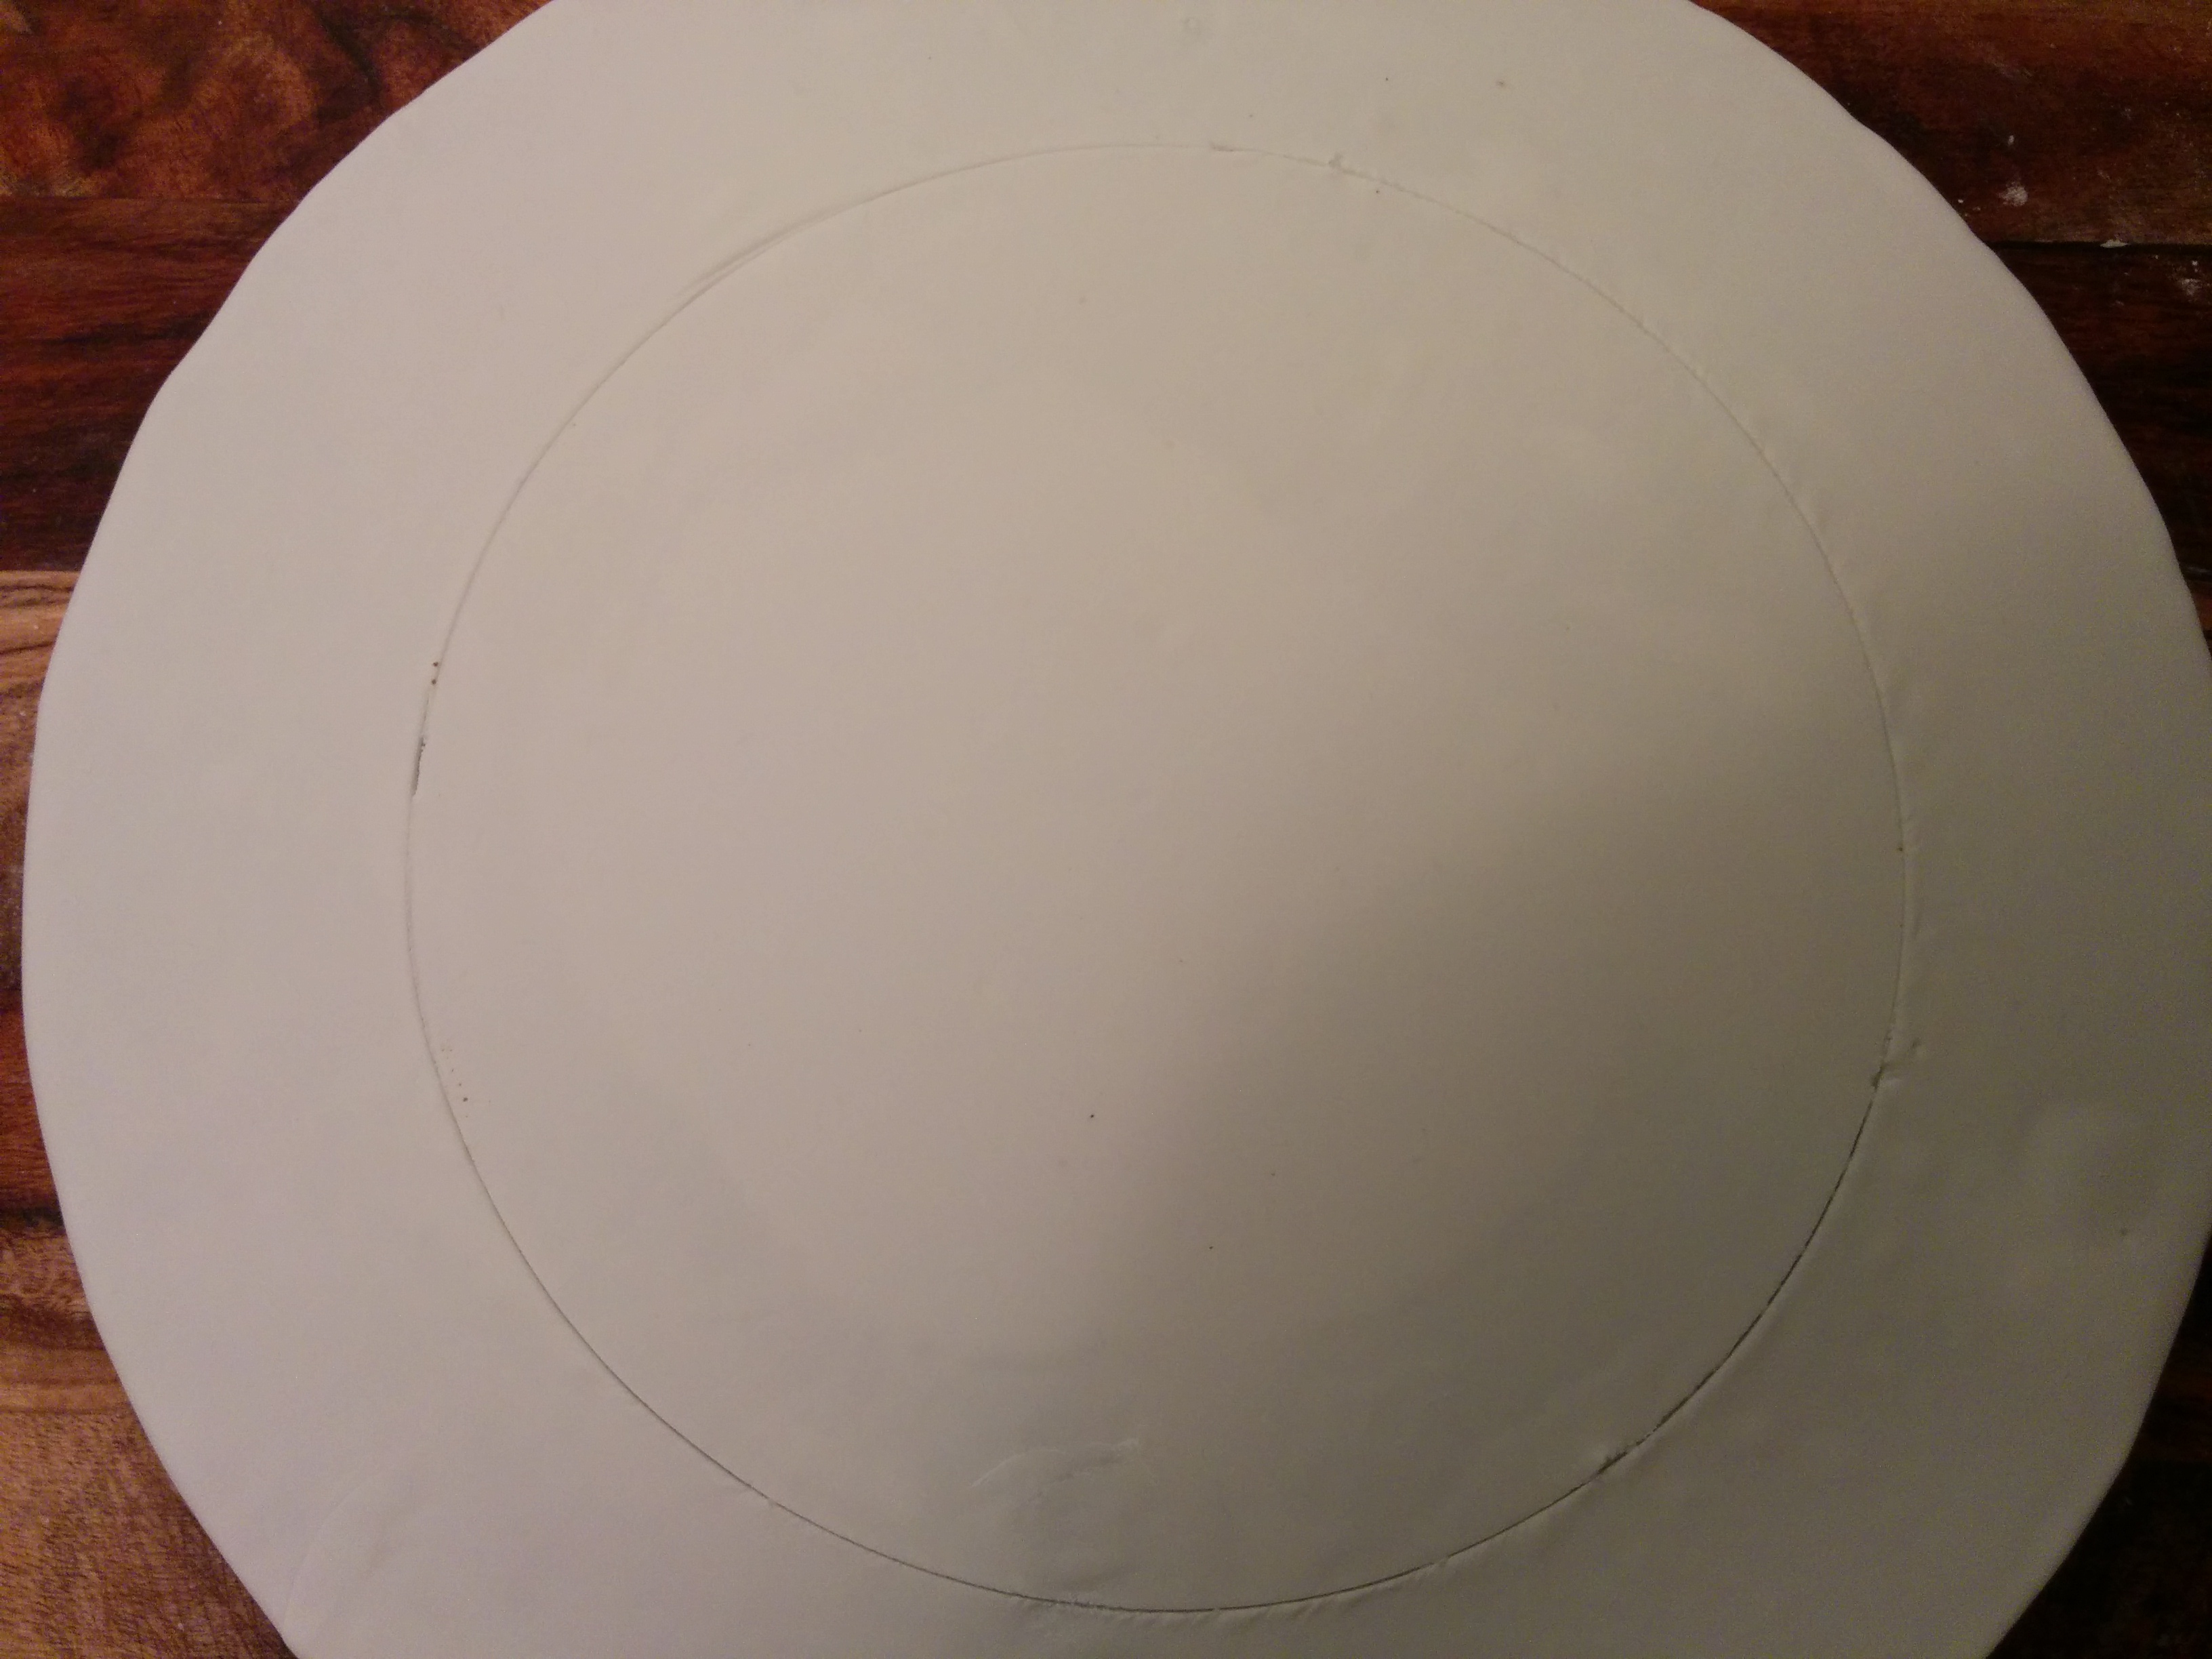
(2) Roll your fondant out. It should be larger in diameter than the cake drum. Unlike draping cakes, the fondant here would not stretch so it should be large enough to cover the drum. Roll your fondant out to be as thin as possible. This would help you use less fondant.
(3) You have the choice of covering the whole of the cake drum or only the outer edges. You would need to cover the whole of the cake drum if the cake is going to be placed on a portion of the cake drum like to a side or shifted to the back of the drum. If you are covering the entire drum, brush a little bit of water water all over the cake drum and a little bit around the sides.
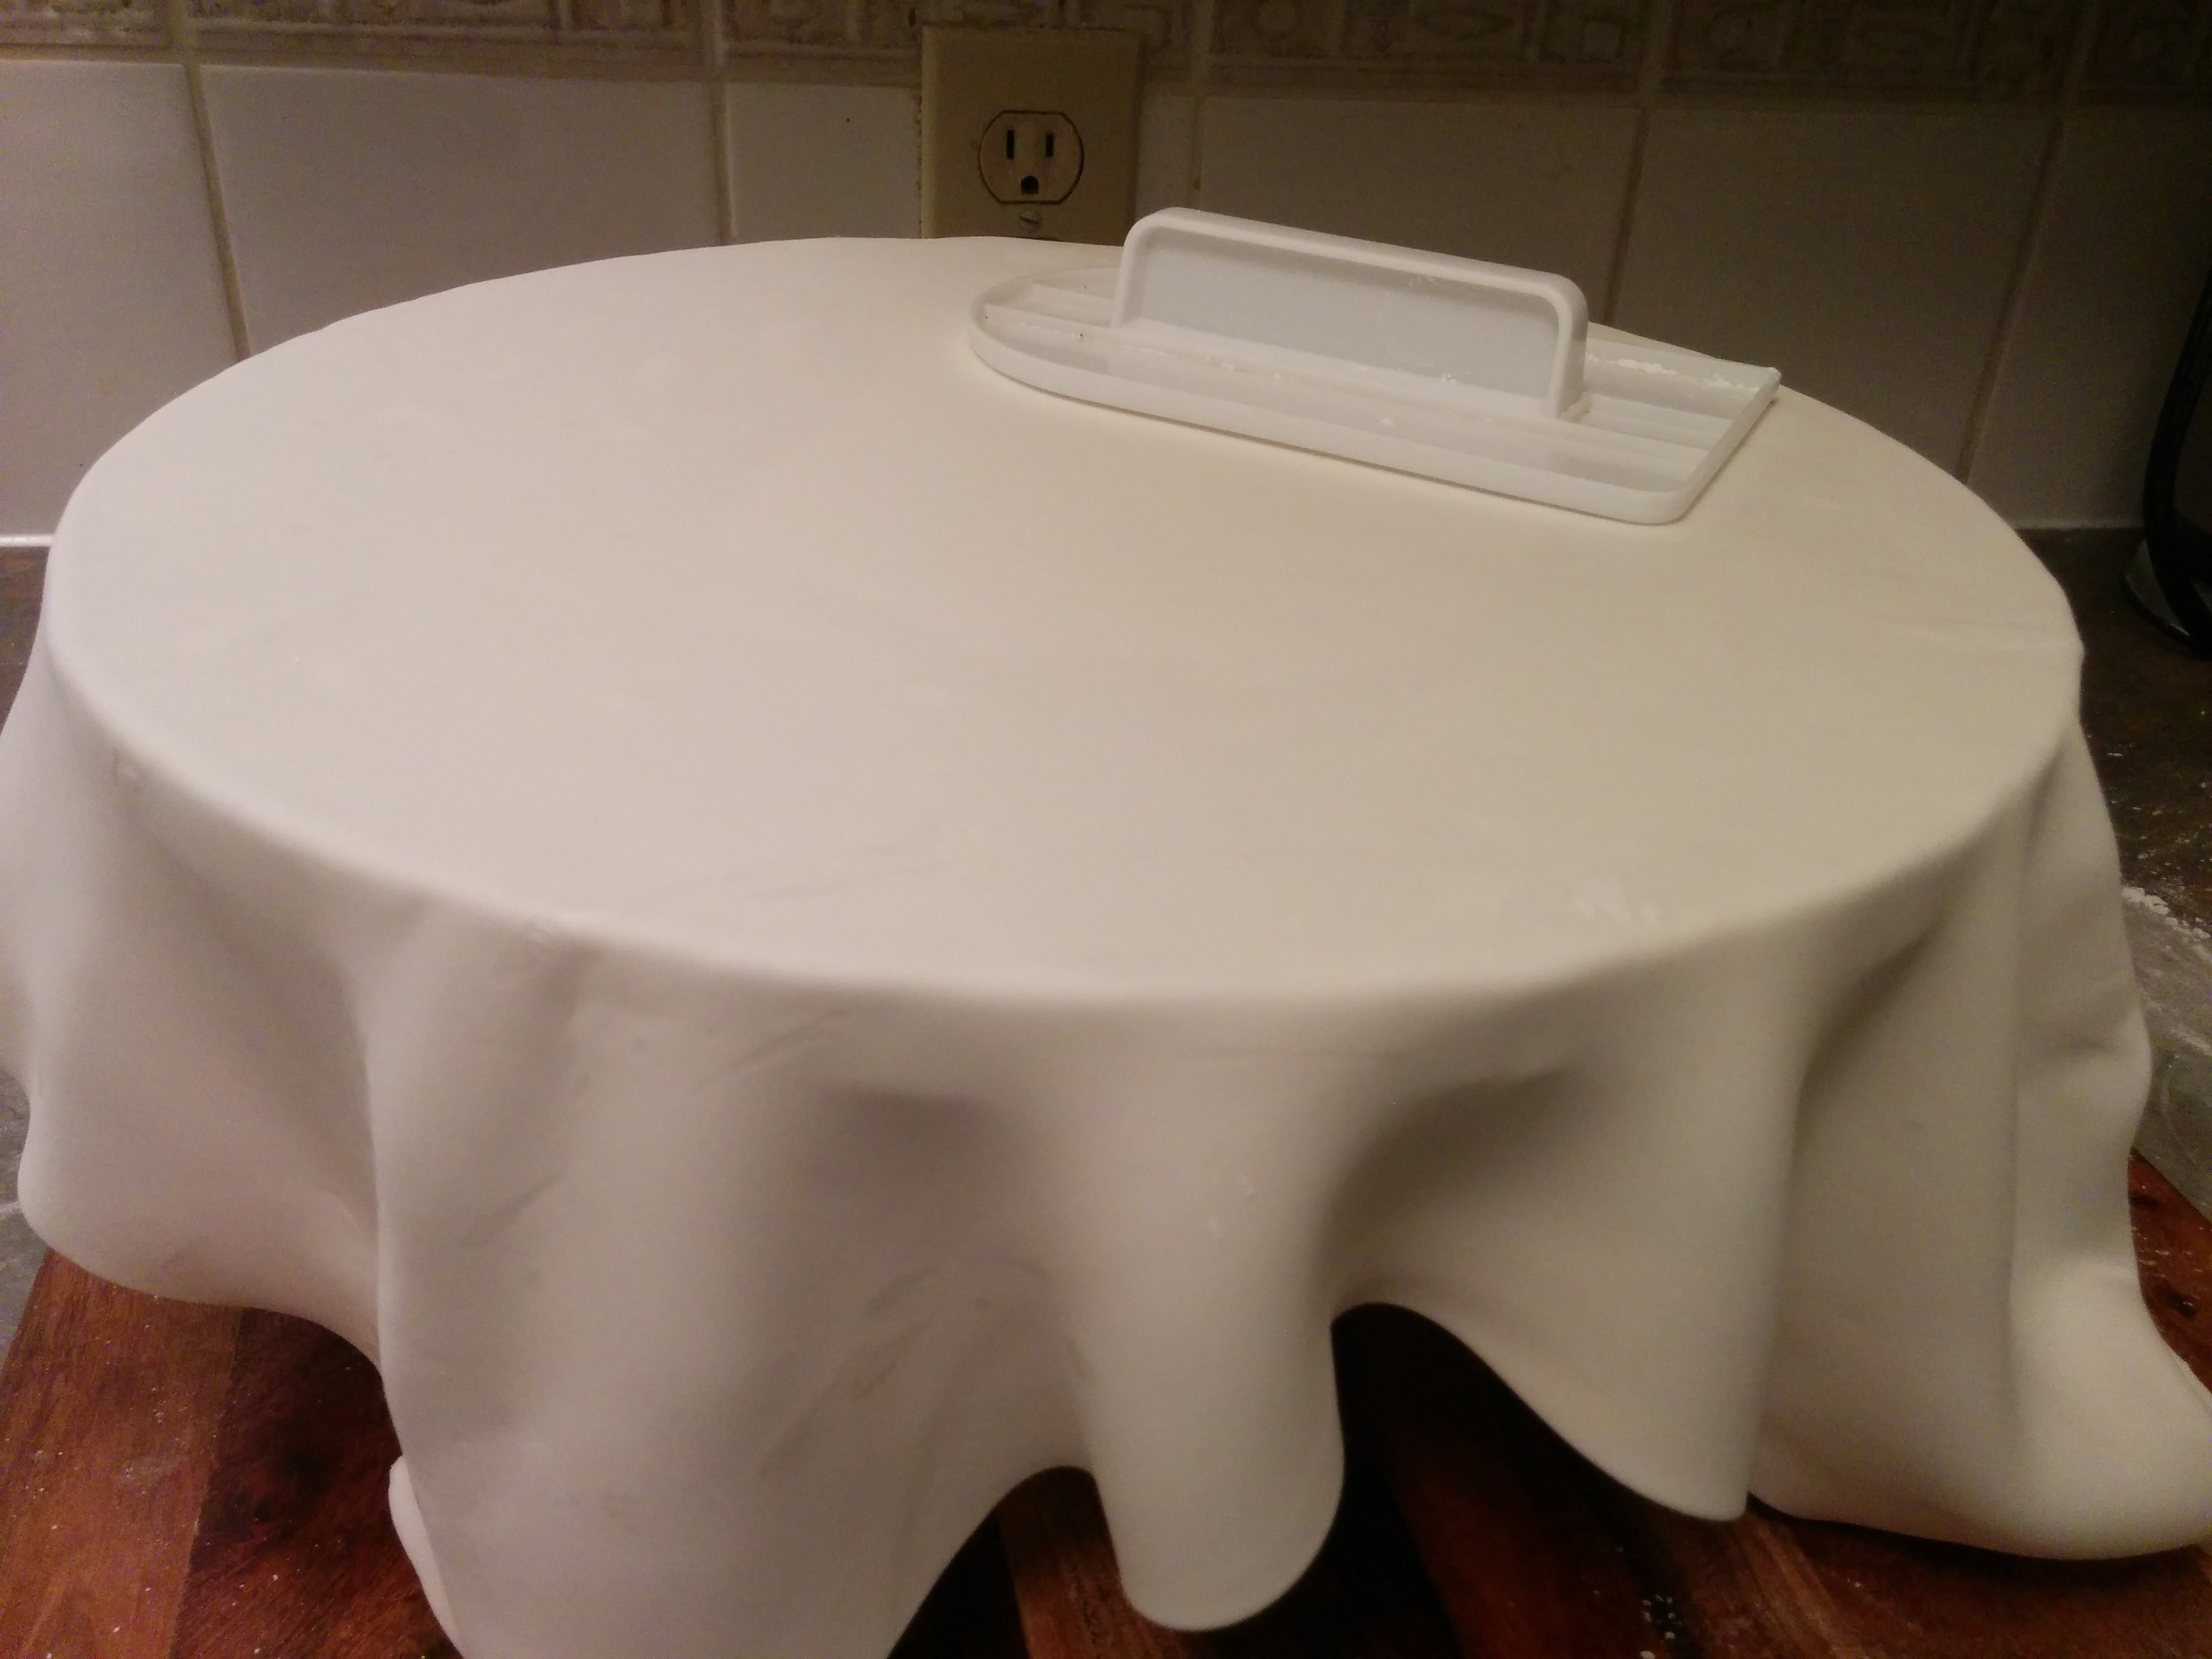
(4) Place your elevator on the turn table and place your cake drum on the elevator. Though the use of an elevator is not important, it always helps me drape properly as it allows the fondant fall to the sides. If the cake drum was directly on the turn table, it would be more difficult to drape it as the excess fondant would gather at the base of the drum as opposed to draping down the edge. It also helps when your cake drum is larger than the turn table.
(5) Drape the fondant over the cake drum. If you used a lot of icing sugar to roll out your fondant, be sure to brush off the excess icing sugar as it might create bumps underneath the cake. Allow the excess fondant to fall to the sides of the drum.
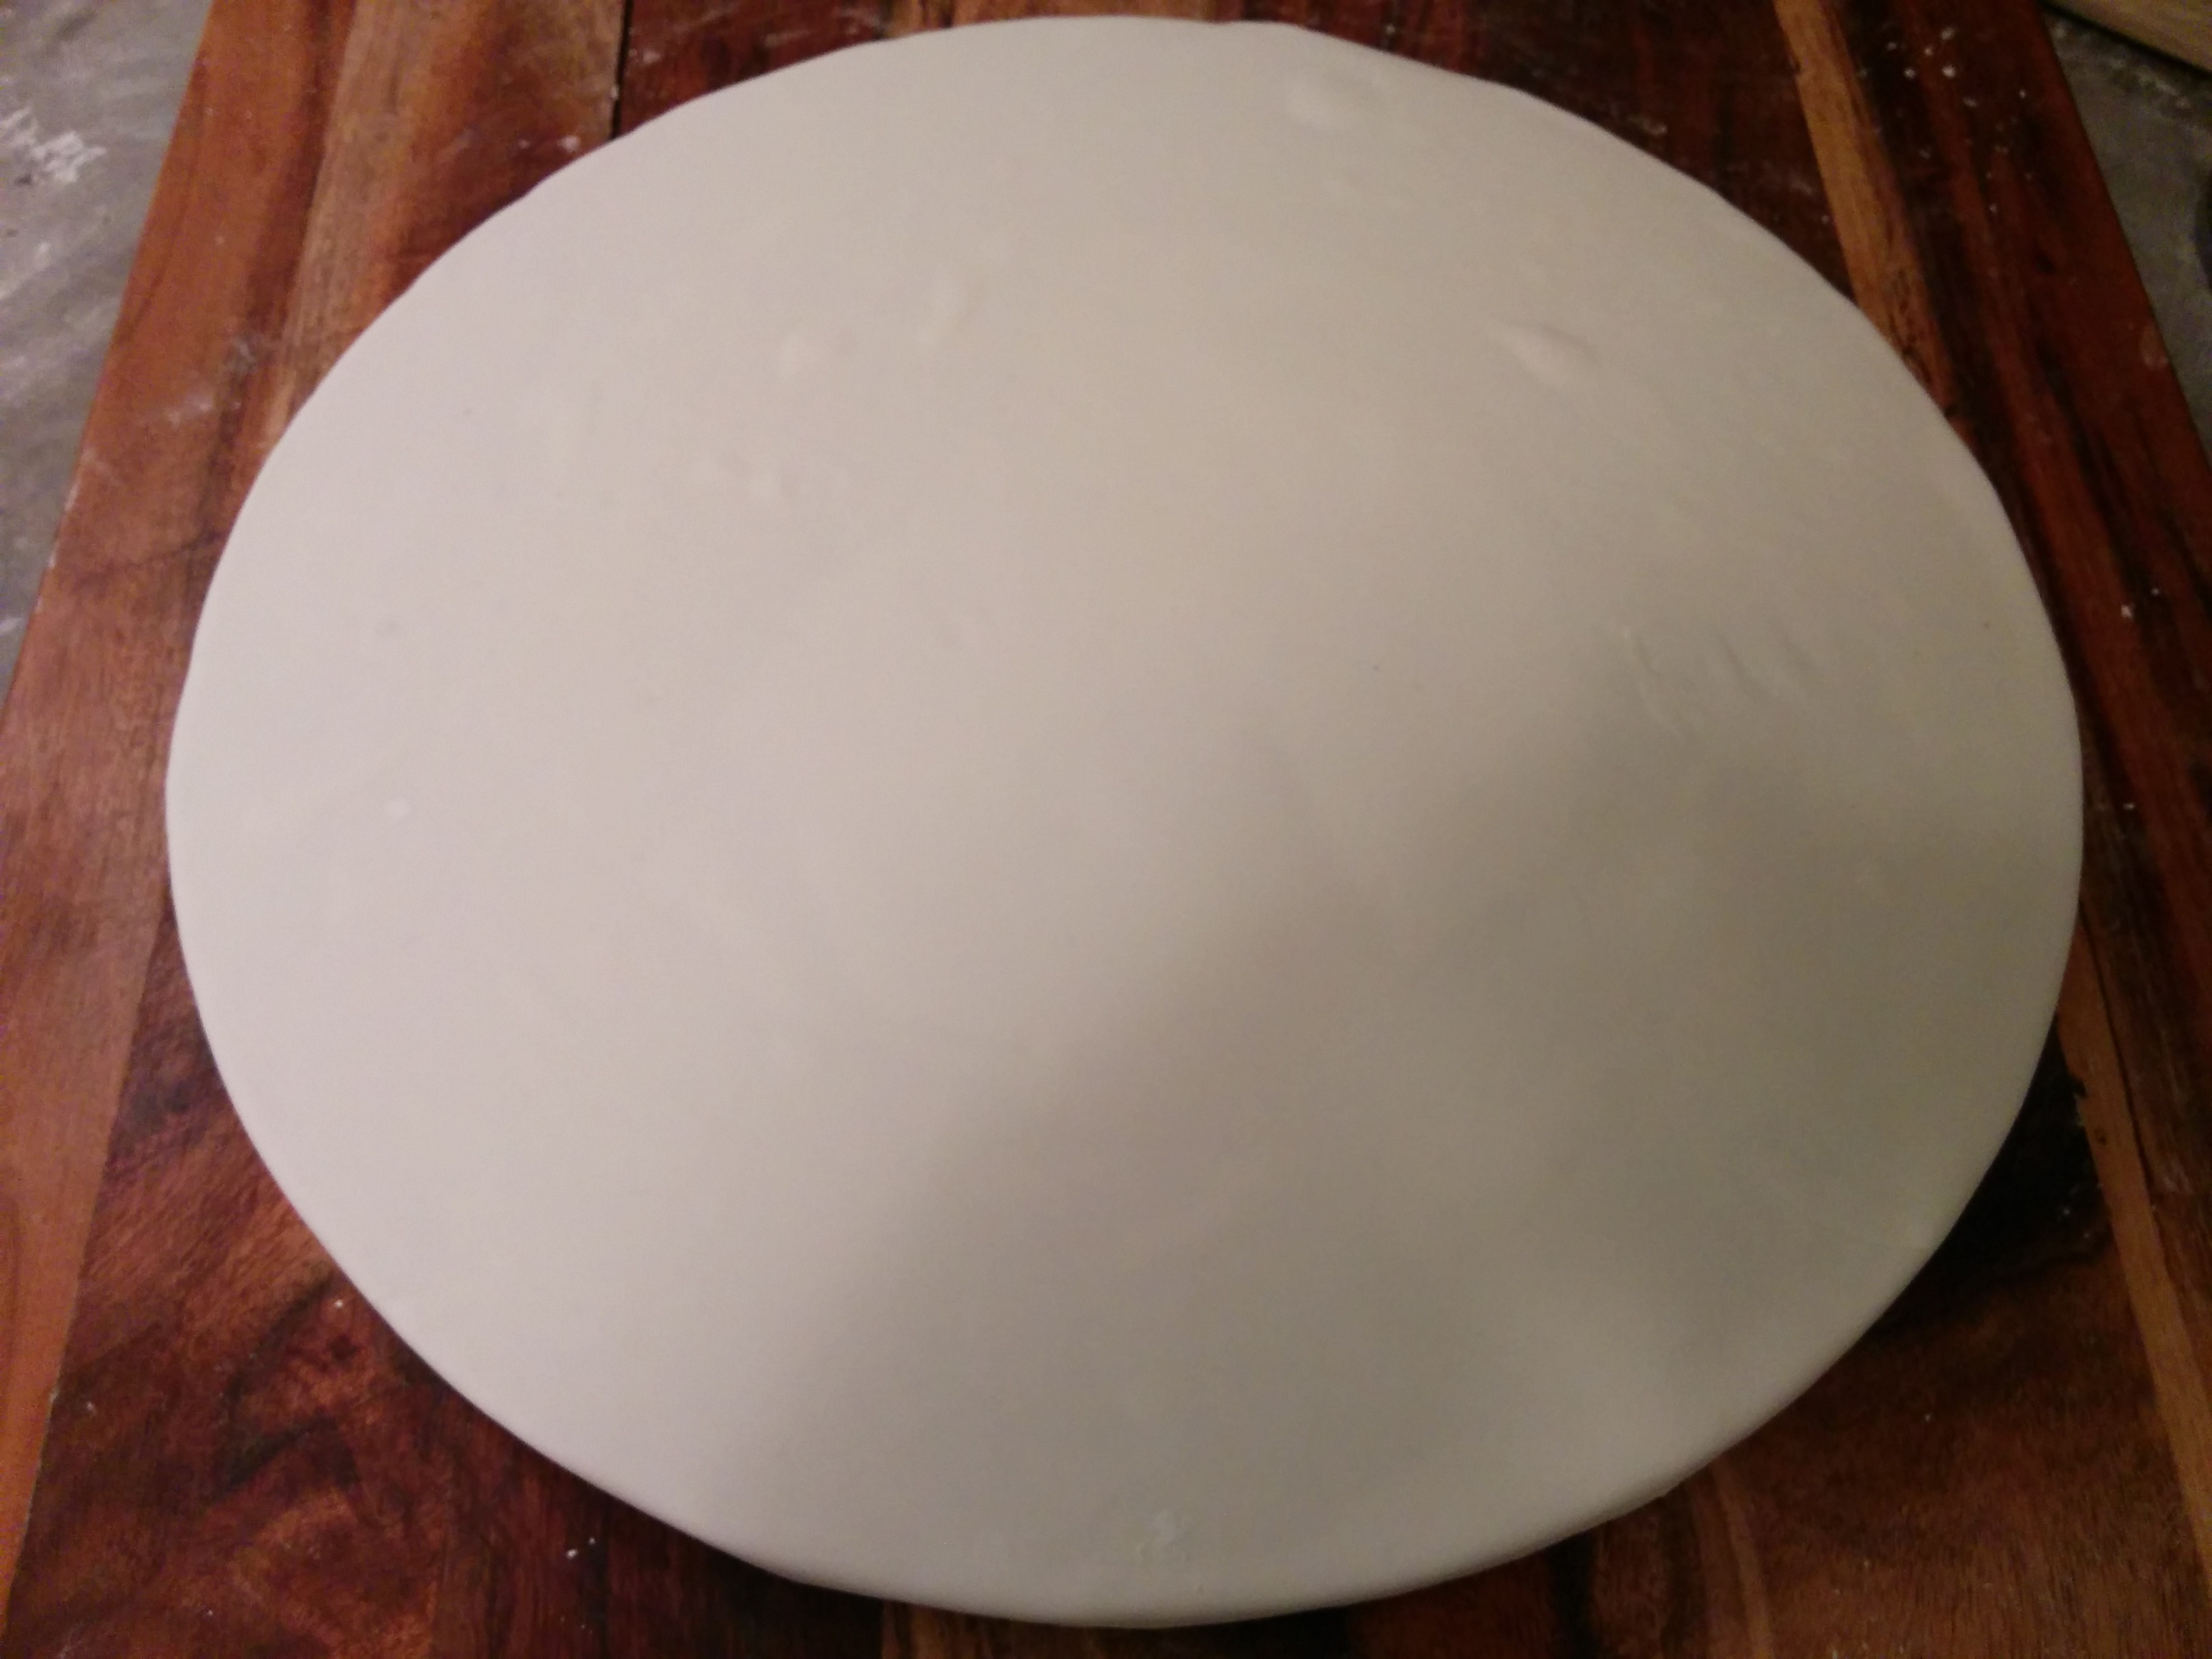
(6) Use a fondant smoother to smooth the covered surface of the drum.
(7) Use a pizza cutter to cut off excess fondant at the sides of the drum. Turn the turn table as you do this. This will make cutting off the excess fondant easier.
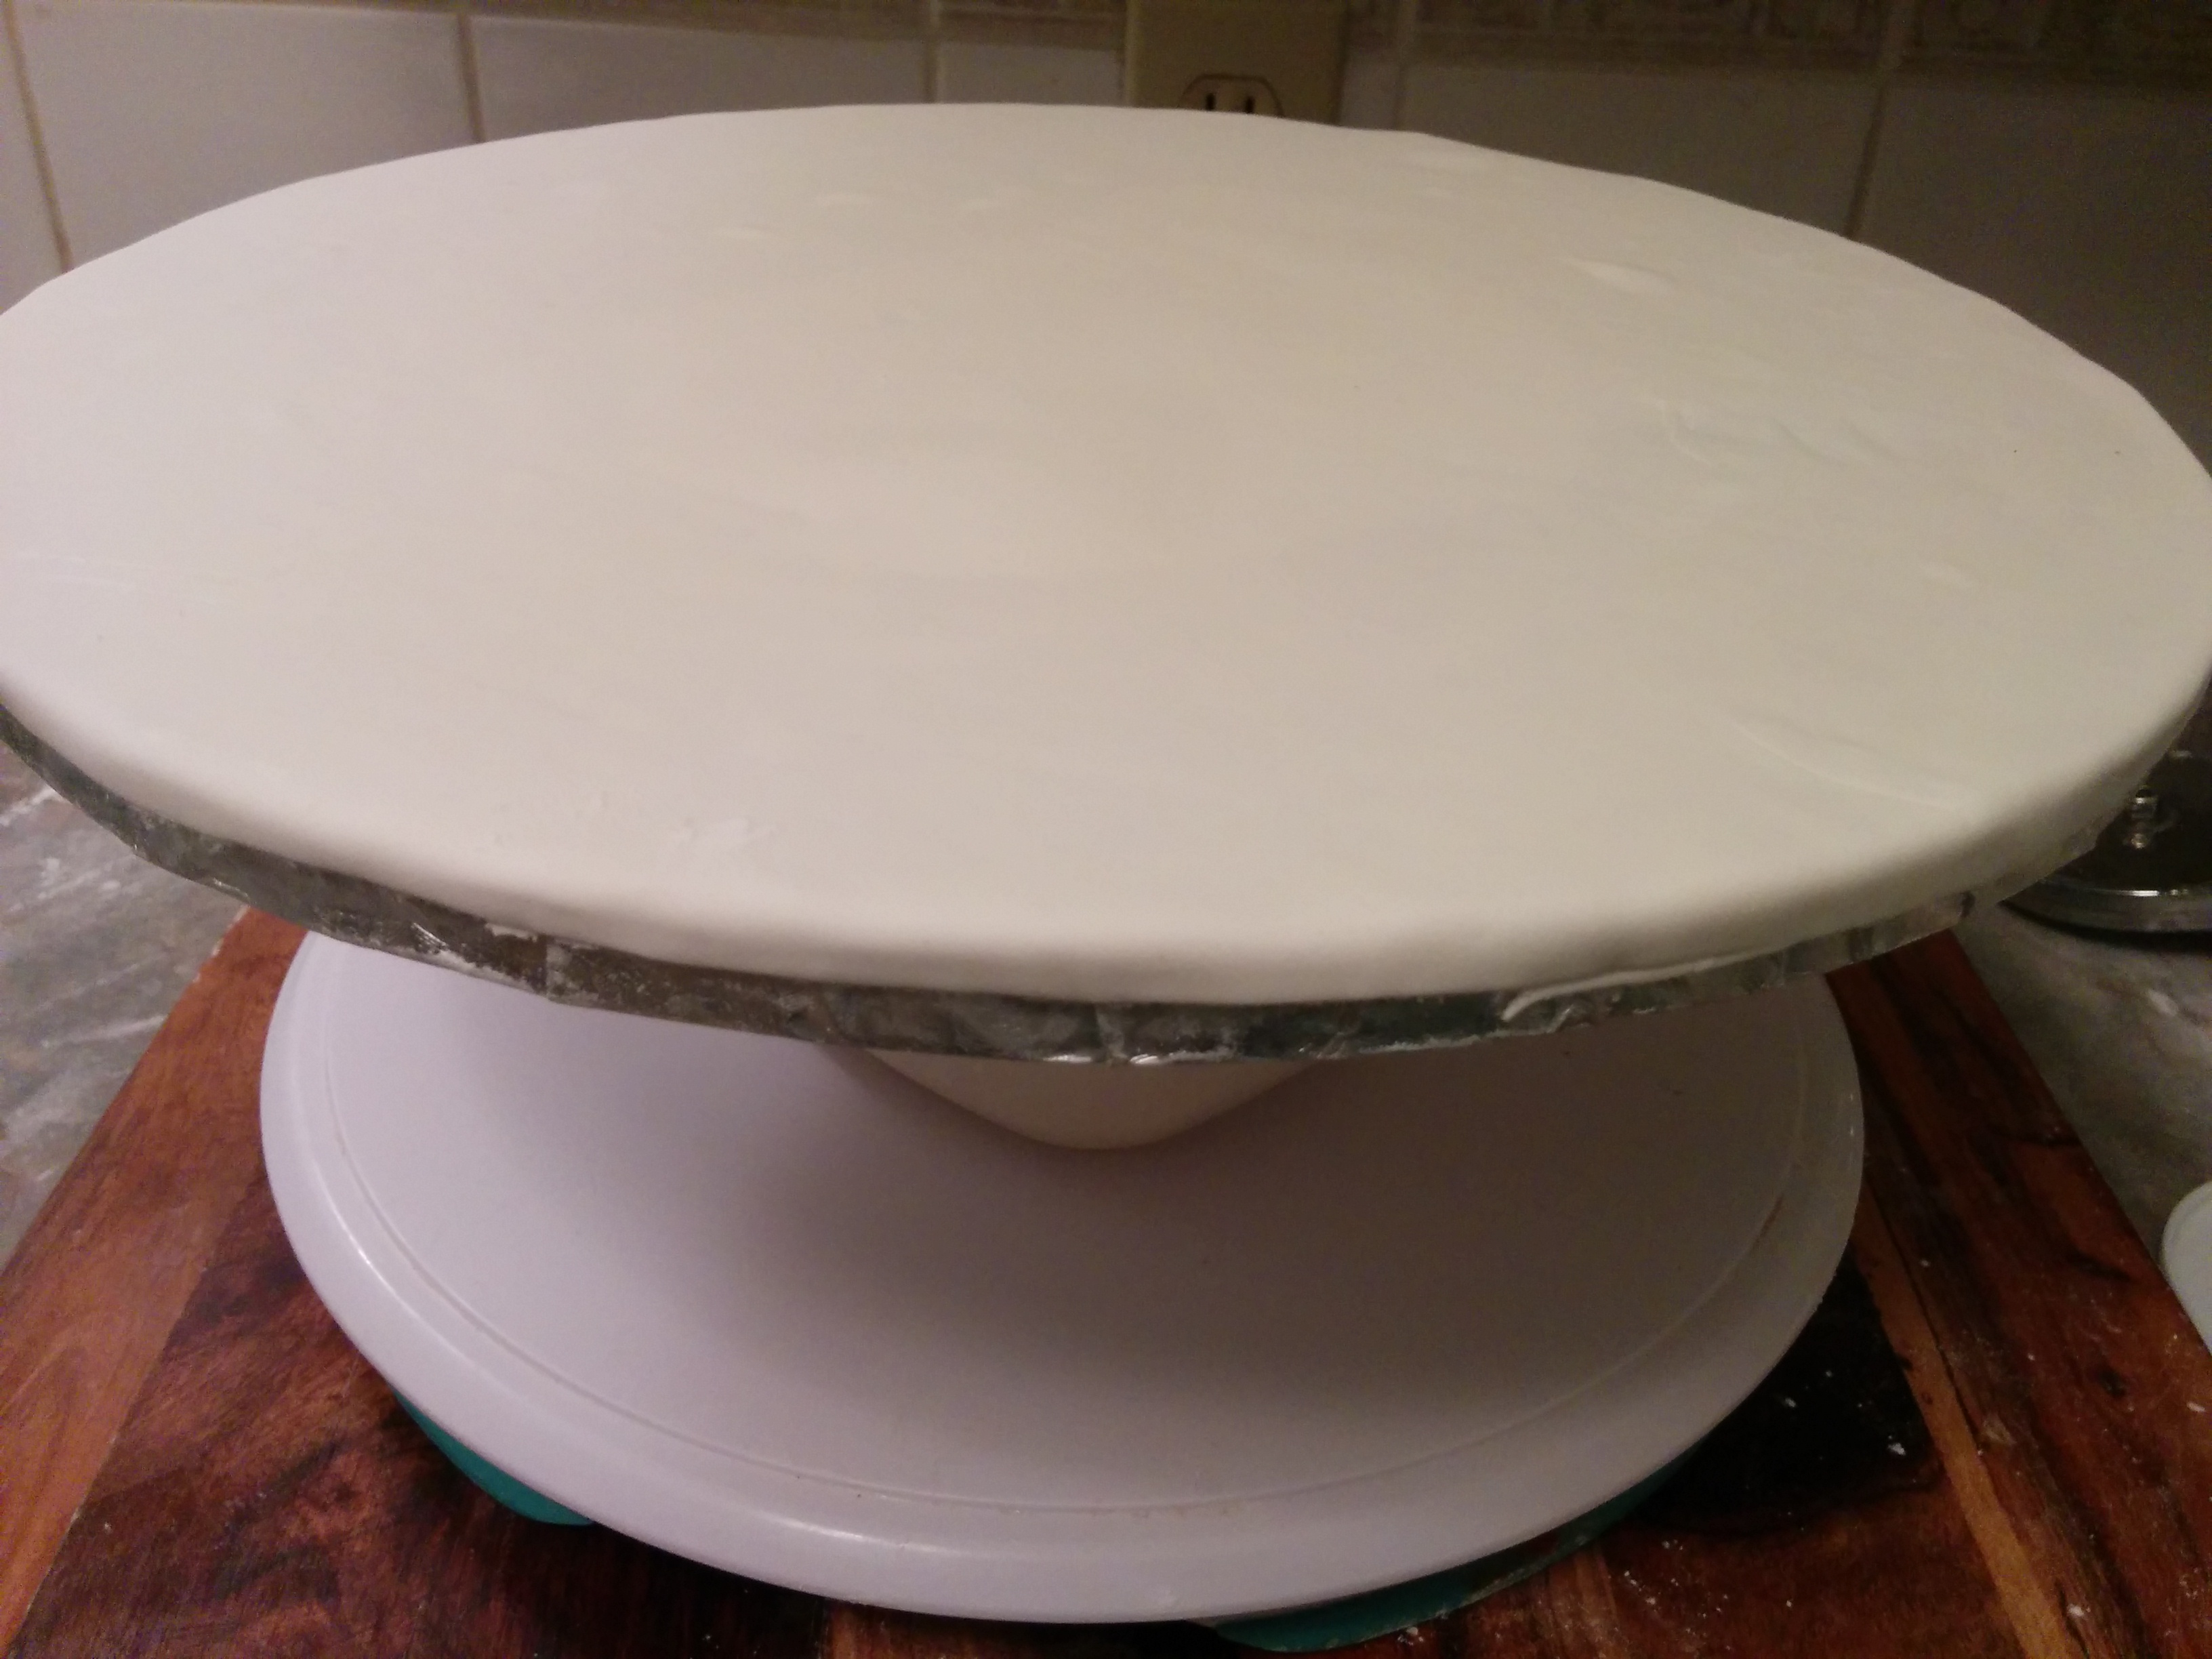
(8) Place the drum directly on the turn table or work surface and tap the sides of the drum with your fondant smoother. This will help the fondant on the sides adhere to the cake drum.
(9) If you are placing your cake in the middle of the drum, when brushing it with water, brush only the edges of the cake drum leaving the middle dry. Drape the cake drum as you would above and cut off excess fondant. Place a circle/square object at least an inch smaller than the diameter of your cake in the middle of the cake drum. For instance, if your cake is 9 inches. Use an 8 inch object. I am using an 8 inch pie pan base here because my cake is going to be 9 inches in diameter. Make sure the object is placed directly in the middle of the covered drum. Use a ruler if possible for accuracy (I do). Now cut around the object, remove it and peel off the fondant in the middle of the drum. You just saved some fondant to use for your cake or anything else.

(10) Allow your cake drum to dry before using. Do not place cakes immediately on wet fondant as you might come in contact with the fondant thus creating holes and dents. I usually cover my cake drums at least a day before using.
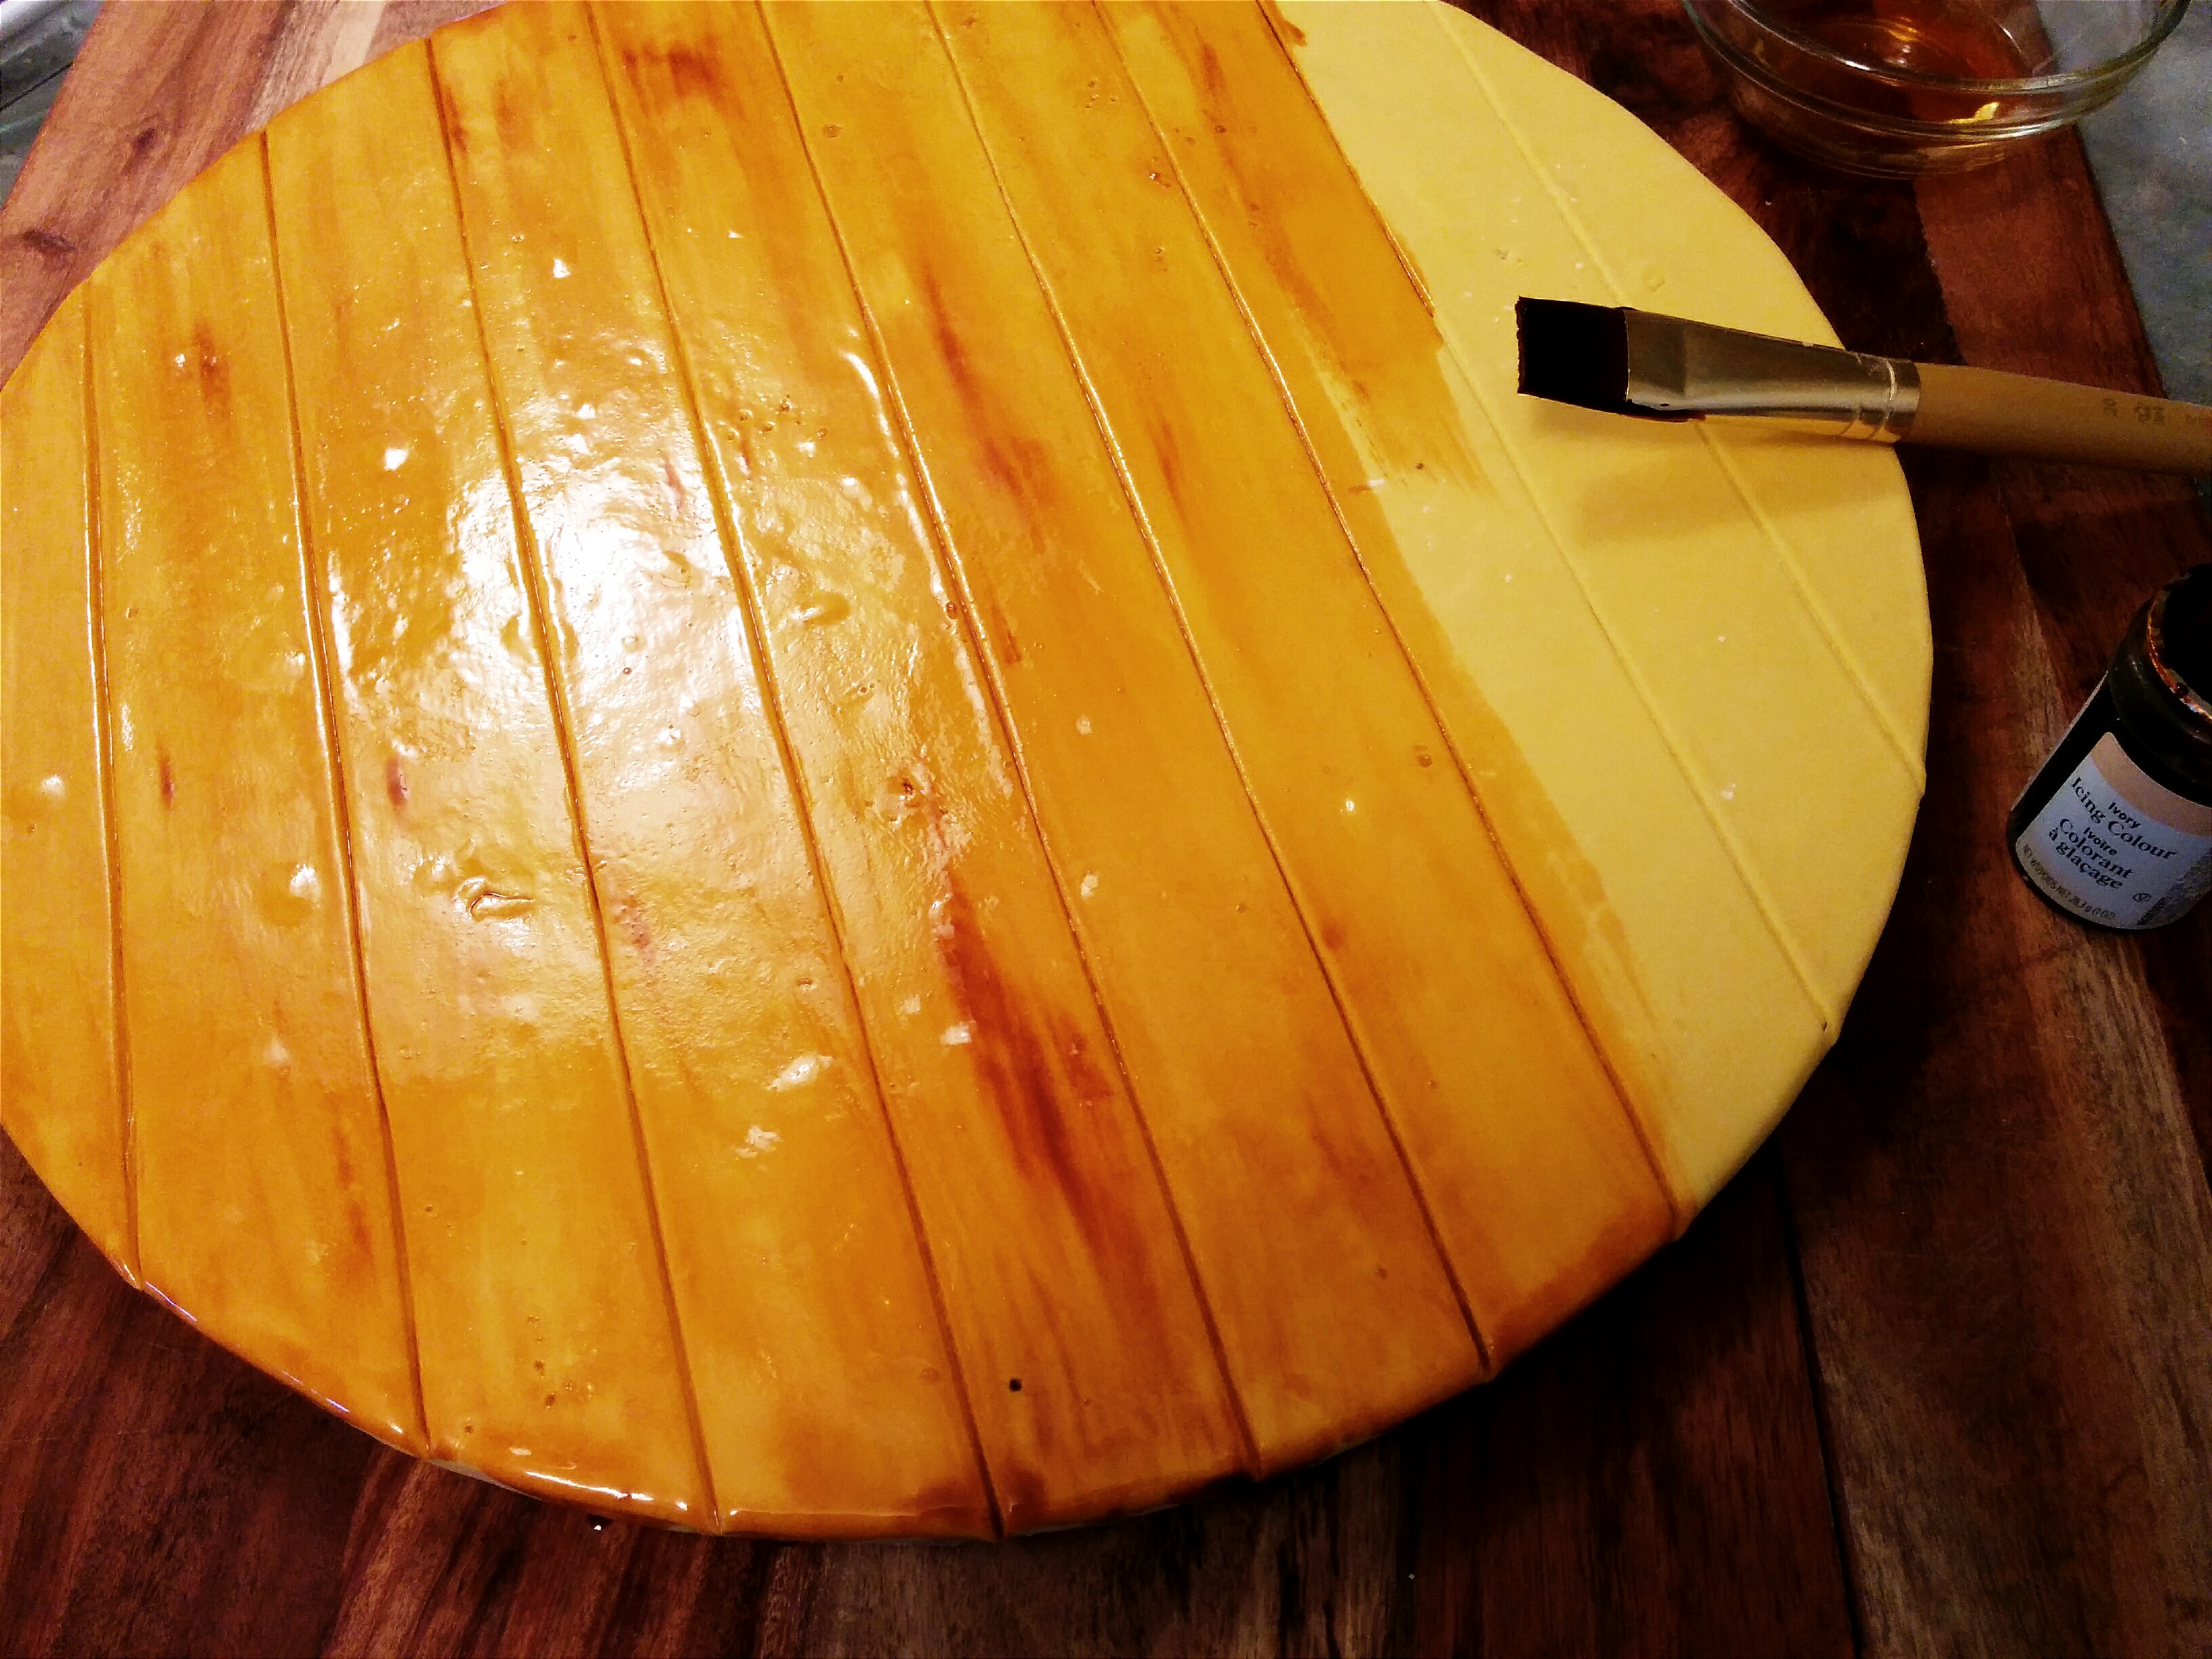
(11) You have the option of coloring your fondant before using it or painting the cake drum after covering it with fondant. The choice is yours.
(12) I usually do not apply ribbons to the edge of my cake drums until I have finished designing the cake. This is more like the cherry on the cake for me. Simply apply your gluing agent around the sides of the cake drum and place your ribbon around starting and ending at the back of the cake. Do not use cake drums without applying ribbons to the sides. The ribbons complete the look. Always use ribbons with colors similar to those you used on the cake.
(13) You might also choose to create folds while draping your drums. To find a detailed tutorial on how I drape cake boards, click here.

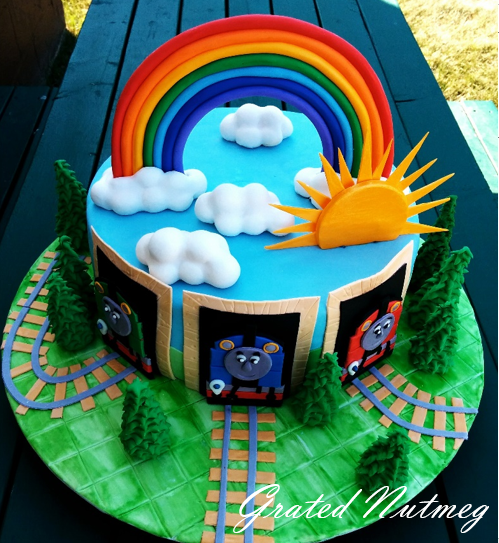
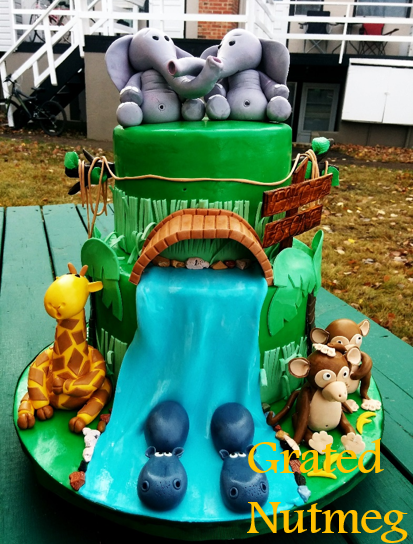
(14) To create a cake drum look like the one below, drape cake drum with fondant. Use a stitching wheel and a ruler to create squares on the drum. Paint cake drum with green color paste. Place cake on drum. Decorate drum with trees (Tutorial here) and train tracks.
Quick Fixes:
(1) Fondant tears when draping cake drum. Simply bring the edges of the tear together and patch hole. You might not need to start all over again. Besides, the cake might cover the torn portion when it is placed on the cake board.
(2) Air bubbles appear on covered cake board. Use a needle or toothpick to prick air bubbles.
(3) Some water got on the fondant, thus making smoothing impossible. Dust some icing sugar on top of the covered cake drum. This will soak up the water and provide the friction you need to smooth out the fondant on the drum.
(4) Folds appear while draping cake drum. Simply lift the edge of the fondant and stretch out just as you would do while draping a cake.
Terry Adido is passionate about showing people how easy it is to recreate restaurant quality meals in the comfort of their kitchens. With a style of cooking he refers to as Afro-European Fusion, his meals are influenced greatly by French and Italian Cuisine with a West African twist. If you love good food, you are in for the ride of your life.
Thanks Terry. What do you use to glue your ribbon to the edge of your cake drum
I use normal glue.
Tnx Terry,for this helpful post.
You are welcome.
My God!!! You’re a Genius!!!! So much work goes into these, but much beauty comes out of them! Thanks for sharing Terry!
Thanks Julianah.
Wow! You are blessed. I wish you could teach me in person.I attended one horrible baking school with nothing to show for it. I bake once in a while, the cake comes out nice but I’ve not been able to get a fondant right. I suck at butter cream icing as well. I don’t want to give up on baking just yet because of people like you but I must say I AM FRUSTRATED!!!!
Hi. You just have to keep practicing. Practice makes perfect. I did not attend any baking school. All the best.
Nice and Luvly work Terry!really got a lot from here,as I was reading tru it was as if I was working it out already,thanks so much for sharing this, God bless d work of ur hands more.
Thanks a lot.
honestly am going crazy with your works. Weldon terry. but am having a problem of where to get marshmallow fondant here in Ibadan, Nigeria.
Thanks. Sorry I know little about the Nigerian market.
At terry,fenks so much for sharing ur knowledge freely, God will increase u in wisdom, Abiola,u can get MMF vrm foodco or shoprite in ibadan
Thanks Bolu and thanks for the hint on where to find MM.
Very beautiful works!
Thanks
You are too much boss! Big thanks.
Thanks Eloho.
Thank you terry I really appreciate you. God bless
Thanks Abiola
U seem to make every tutorial so easy that other cake makers make it look’ God bless u terry’ hope to be as good as u someday and even better. Keep the good work on.
Thanks Moji. We all will keep getting better by the day.
Terry, you have just encouraged me the more by saying you did not attend a baking school.
To tell you the truth, you have been a great inspiration to me.
I will keep on practising, because sometimes I get discouraged when my work don’t turn out fine.
But now, I know I CAN.
Thank you.
You are welcome. Yeah, we really do not need to waste money on training. You can get all you need online these days.
I have been teaching myself for sometime now and my cake always turns out perfect. U r really gud @ wot u do. And d way u encourage other…really awesome. You r d best. Your tutorials… always detailed. Am glad I found your blog and I know I will learn a lot from u. U r blessed!
Thanks a lot Susan. I’m happy to have you here at Grated Nutmeg.
nice work, am also a baker but anytime i c ur work am always happy and it encourage me dat i need to be more creative.. more grace
Thanks Fatima. We get better by the day.
I lack words to appreciate u Oga Terry. U’re a wonderful instrument n inspiration. Tnx for willingly training ppl like me on ur blog. God will continue to reward ur kind heart bcos freely u’re giving excellent detailed techniques. God will continue to increase u all round IJNA. I’m truly blessed here by ur perfect training. Tnx sir.
Thanks.
Thanks alot Terry,I really do enjoy all your toturials on cakes and others becouse for sure one will learn 2 or more things. Thanks for sharing your knowledge with us.
You are welcome Fatima.
Dear Terry,I’ve been on ur blog for 3days now,I know I’m hooked already.Thank u for wot u’re doing,God bless u.I’m so inspired by wot u do,u’re touching lives.I learnt all I knw as a baker online,but I’ve never come across anyone dat doesn’t hold back on details and thorough info like u.I’m going to make cake cards myself cos where I live,I only get to see only cake boards.
Thanks Bunmi. Glad to have you here. I love sharing.
U d bomb,God bless u real good, u have been a blessing I appreciate it.
Thanks Susan. You are welcome.
dear, terry, forthe cake board that is completely covered in fondant, do i have to brush the centre with a little water to stick thecake on the board to avoid slipping off?
Not water. Use melted chocolate, royal icing, icing sugar mixed with water to form a paste, butter cream (though butter cream does not hold as well.)
Terry u are the best. u demystify all the mysterious effect some teachers create around cake baking and decorating. God bless u big time.
You are welcome.
i love this tutorial lawyer turn baker love it.
Still a lawyer who loves to bake. Thanks Atinuke.
Tnx alot Terry. I’ve been learning how to bake myself bt coming across ur blog has made baking much easier. Tnx nd God bless you
You are welcome Cynthia.
I am so happy cos i have learnt lots of things from u.u are quite inspiring.I want u to be my mentor if u wouldn’t mind.Lots of tnks.
hanks Akpos. You can always ask questions here and I’d try my best to respond as soon as I see them.
What is cake card, what’s thr difference between it and cake board, how do I do my own cake card
Hi. The post answers your question. Please read it.
Hi TErry, Wow! YOU ARE A TEACHER, This so helpful.you are a blessing to so many people out there including me, with you and your blog tutors… Baking will be a sweet ride. ThanK YoU. Am going make my own cake drum and cake card this weekend.
You are welcome Bibii. Thanks
Terry, you are the best! Your willingness to share what you know with others is indeed very uncommon. You tell it all, even to the minutest details. God bless you for being so unselfish. Your creativity inspires me that i can always do it better.
Thanks Ife. I glad I am able to help.
God bless you my mentor. You are more than encouraging I must state it clear. I attempted a shirt cake and it came out very beautiful. All was with the help of your teachings. May the good Lord continue to crown your efforts and inspire you the more bcos you are more than blessing to many of us. Pls sir i want to ask what is used in making the flowers that doesnt brake and they stay longer? Thanks sir.
Thanks. I use regular marshmallow fondant.
Beautiful stuff! Thanks for the encouragement on covering boards!
You are welcome Erin.
i love Your intellect sir.
Thanks Aminat.
You are the best Sir…Cant thank u enough… M baking my 1st cake soon
You are welcome. I am gonna look forward to that. Do send me pictures please.
Pls, is it possible to quilt a cake board? Secondly, can I use gumpaste instead of fondant to make flowers? I can’t thank u enough for the tutorials. Many thanks
(1) Yes it is. (2) Yes you can.
Wow Terry, just wow! I’m blown away! You give so much of yourself without holding back anything. I’m so glad I found you. I literally live on your website these days. You dymestify some of the things that appear hard to figure out in baking. May God bless you greatly and reward your efforts.
Thanks Joy.
Everything always sounds silly when you are unsure but?
You have your fruit cake covered in marzipan and fondant . How do you physically pick the cake up and place it on top of the next tier without damaging or squashing the side or edges of your cake then putting it on top of a tier without spoiling that? Thank you
PS Do I ice and marzipan the cake without a board and just use the thin board to put on the tier?
Hi Anne. The cakes are chilled before stacking. This helps ensure that they keep shape during handling. To stack, I use a cake shovel to lift and guide the cake with my other hand to the top of the tier. Sometimes, I wear gloves and lift the tier by the sides. The bottom tier will not get damaged as long its its properly doweled.
Hi, a quick question: when you remove the center part of the fondant (where the cake goes), do you find that the cake sags because of the gap between the board and the fondant? For example, if the fondant is rolled to 5mm, there’ll be a 5mm “space” between the board and where the cake sits… is that ok or do you suggest rolling the fondant thinner? Thanks
Hi Sam. The fondant should be rolled out as thin as possible. There is no reason for the fondant to be 5 mm thick. That’s a waste of fondant. And no, I have not experienced tilting.