
The Making of a Dancehall Cake

This is a tutorial on how I made this Dancehall Cake. To see more views of this cake and know the types of sponges and frosting used, click on this link. During the course of this tutorial I will be directing you to some other tutorials on the website. I will also be showing you how I covered an error in the design of this cake.
THE PROCESS:
(1) There are certain things that need to be made before hand. These are the headphones, microphone and silhouettes. I have links below to tutorials on how to make these elements of the design.
i. Fondant Headphones Tutorial. Link here.
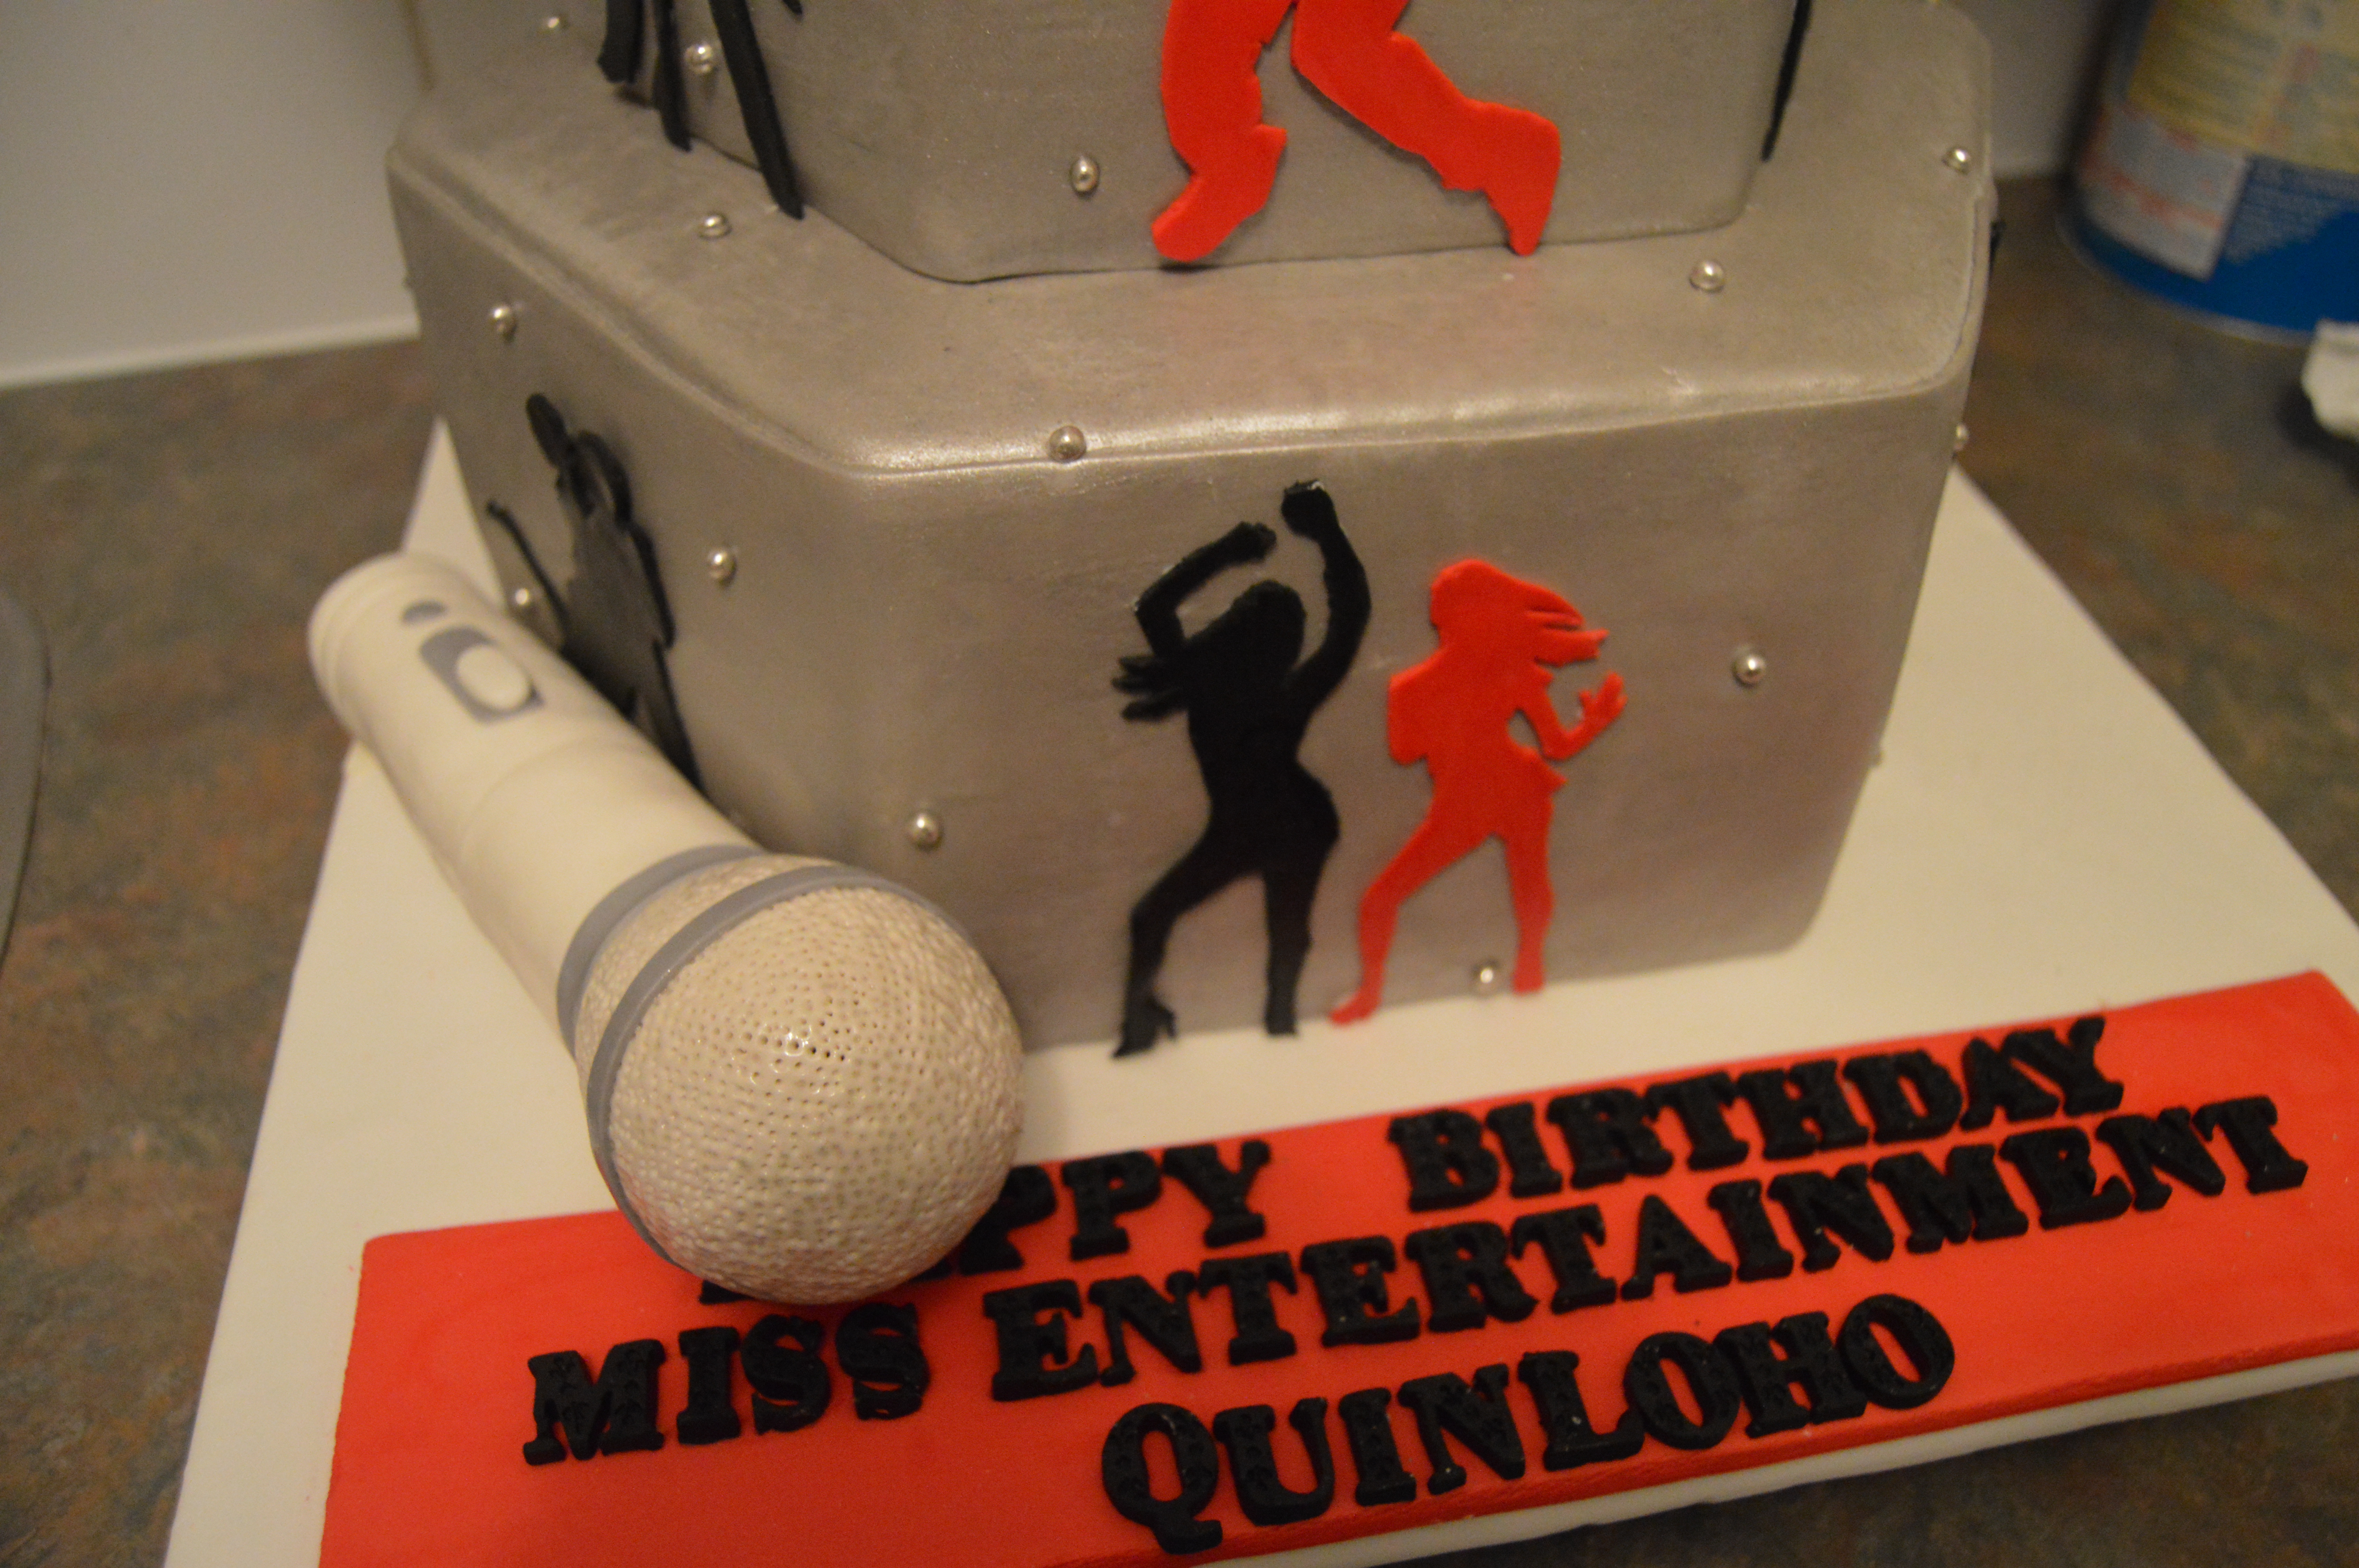
ii. Fondant Microphone Tutorial. Link here.
iii. Fondant Silhouettes. Link here.

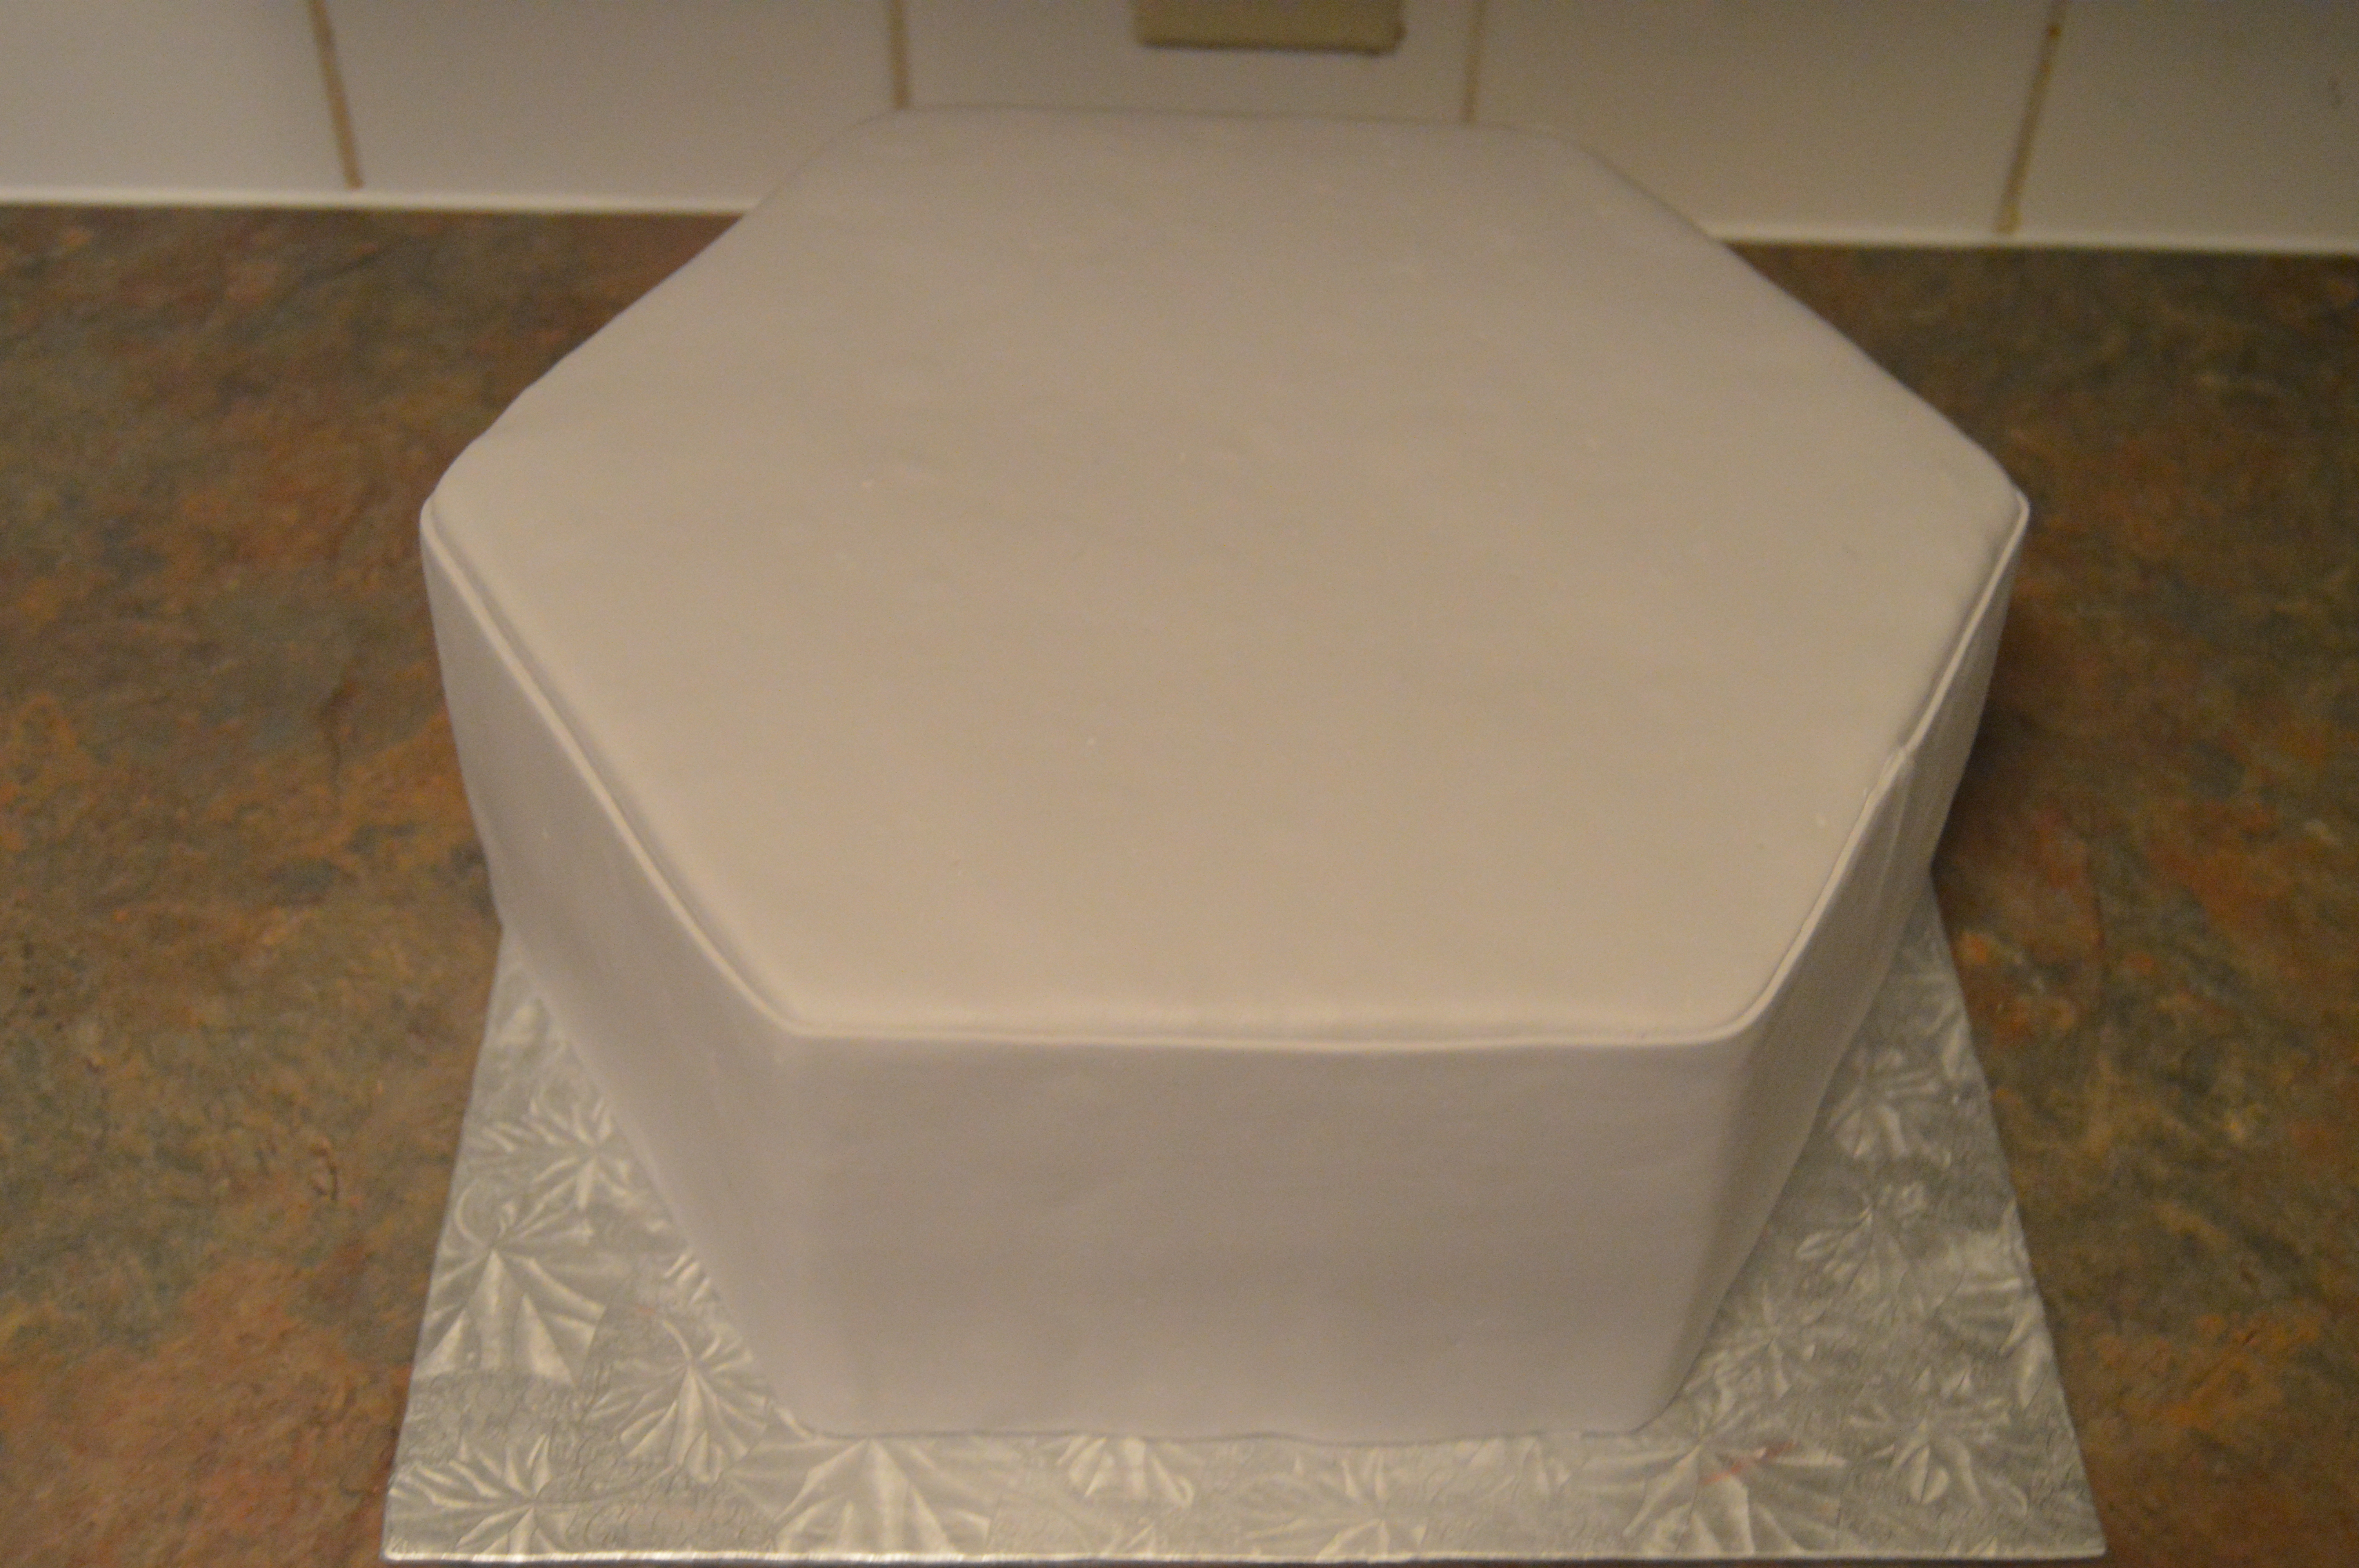
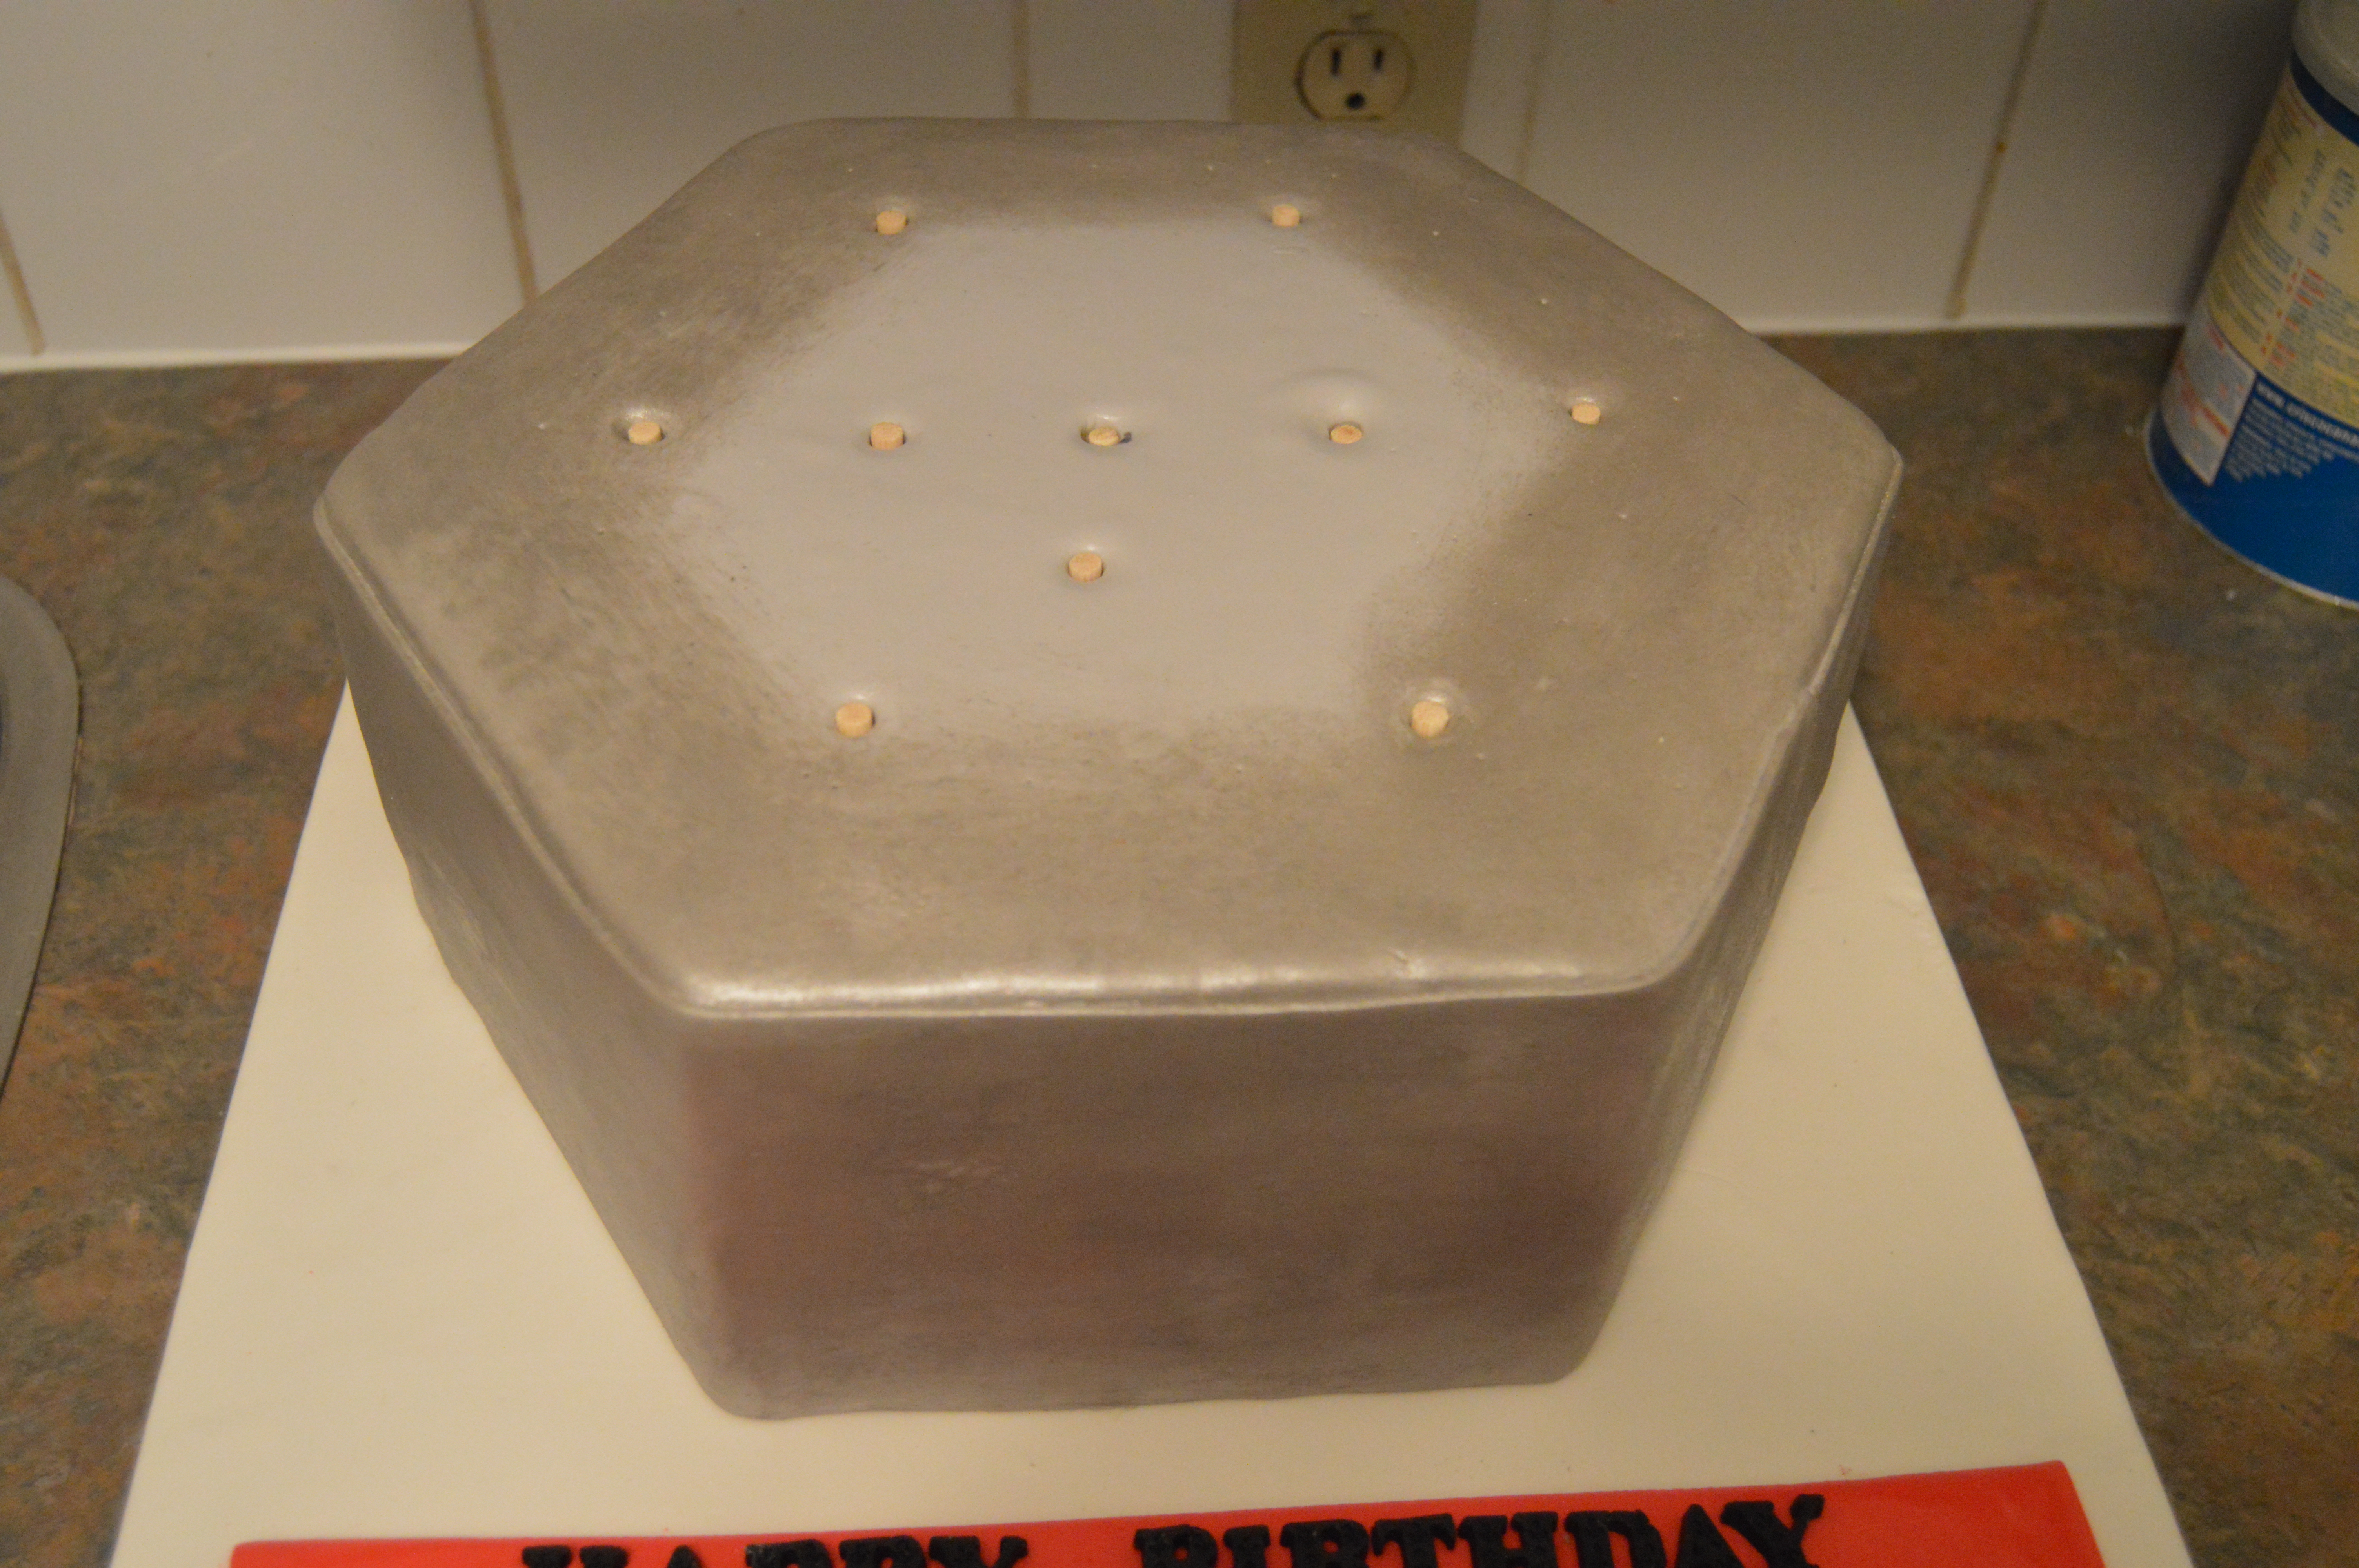
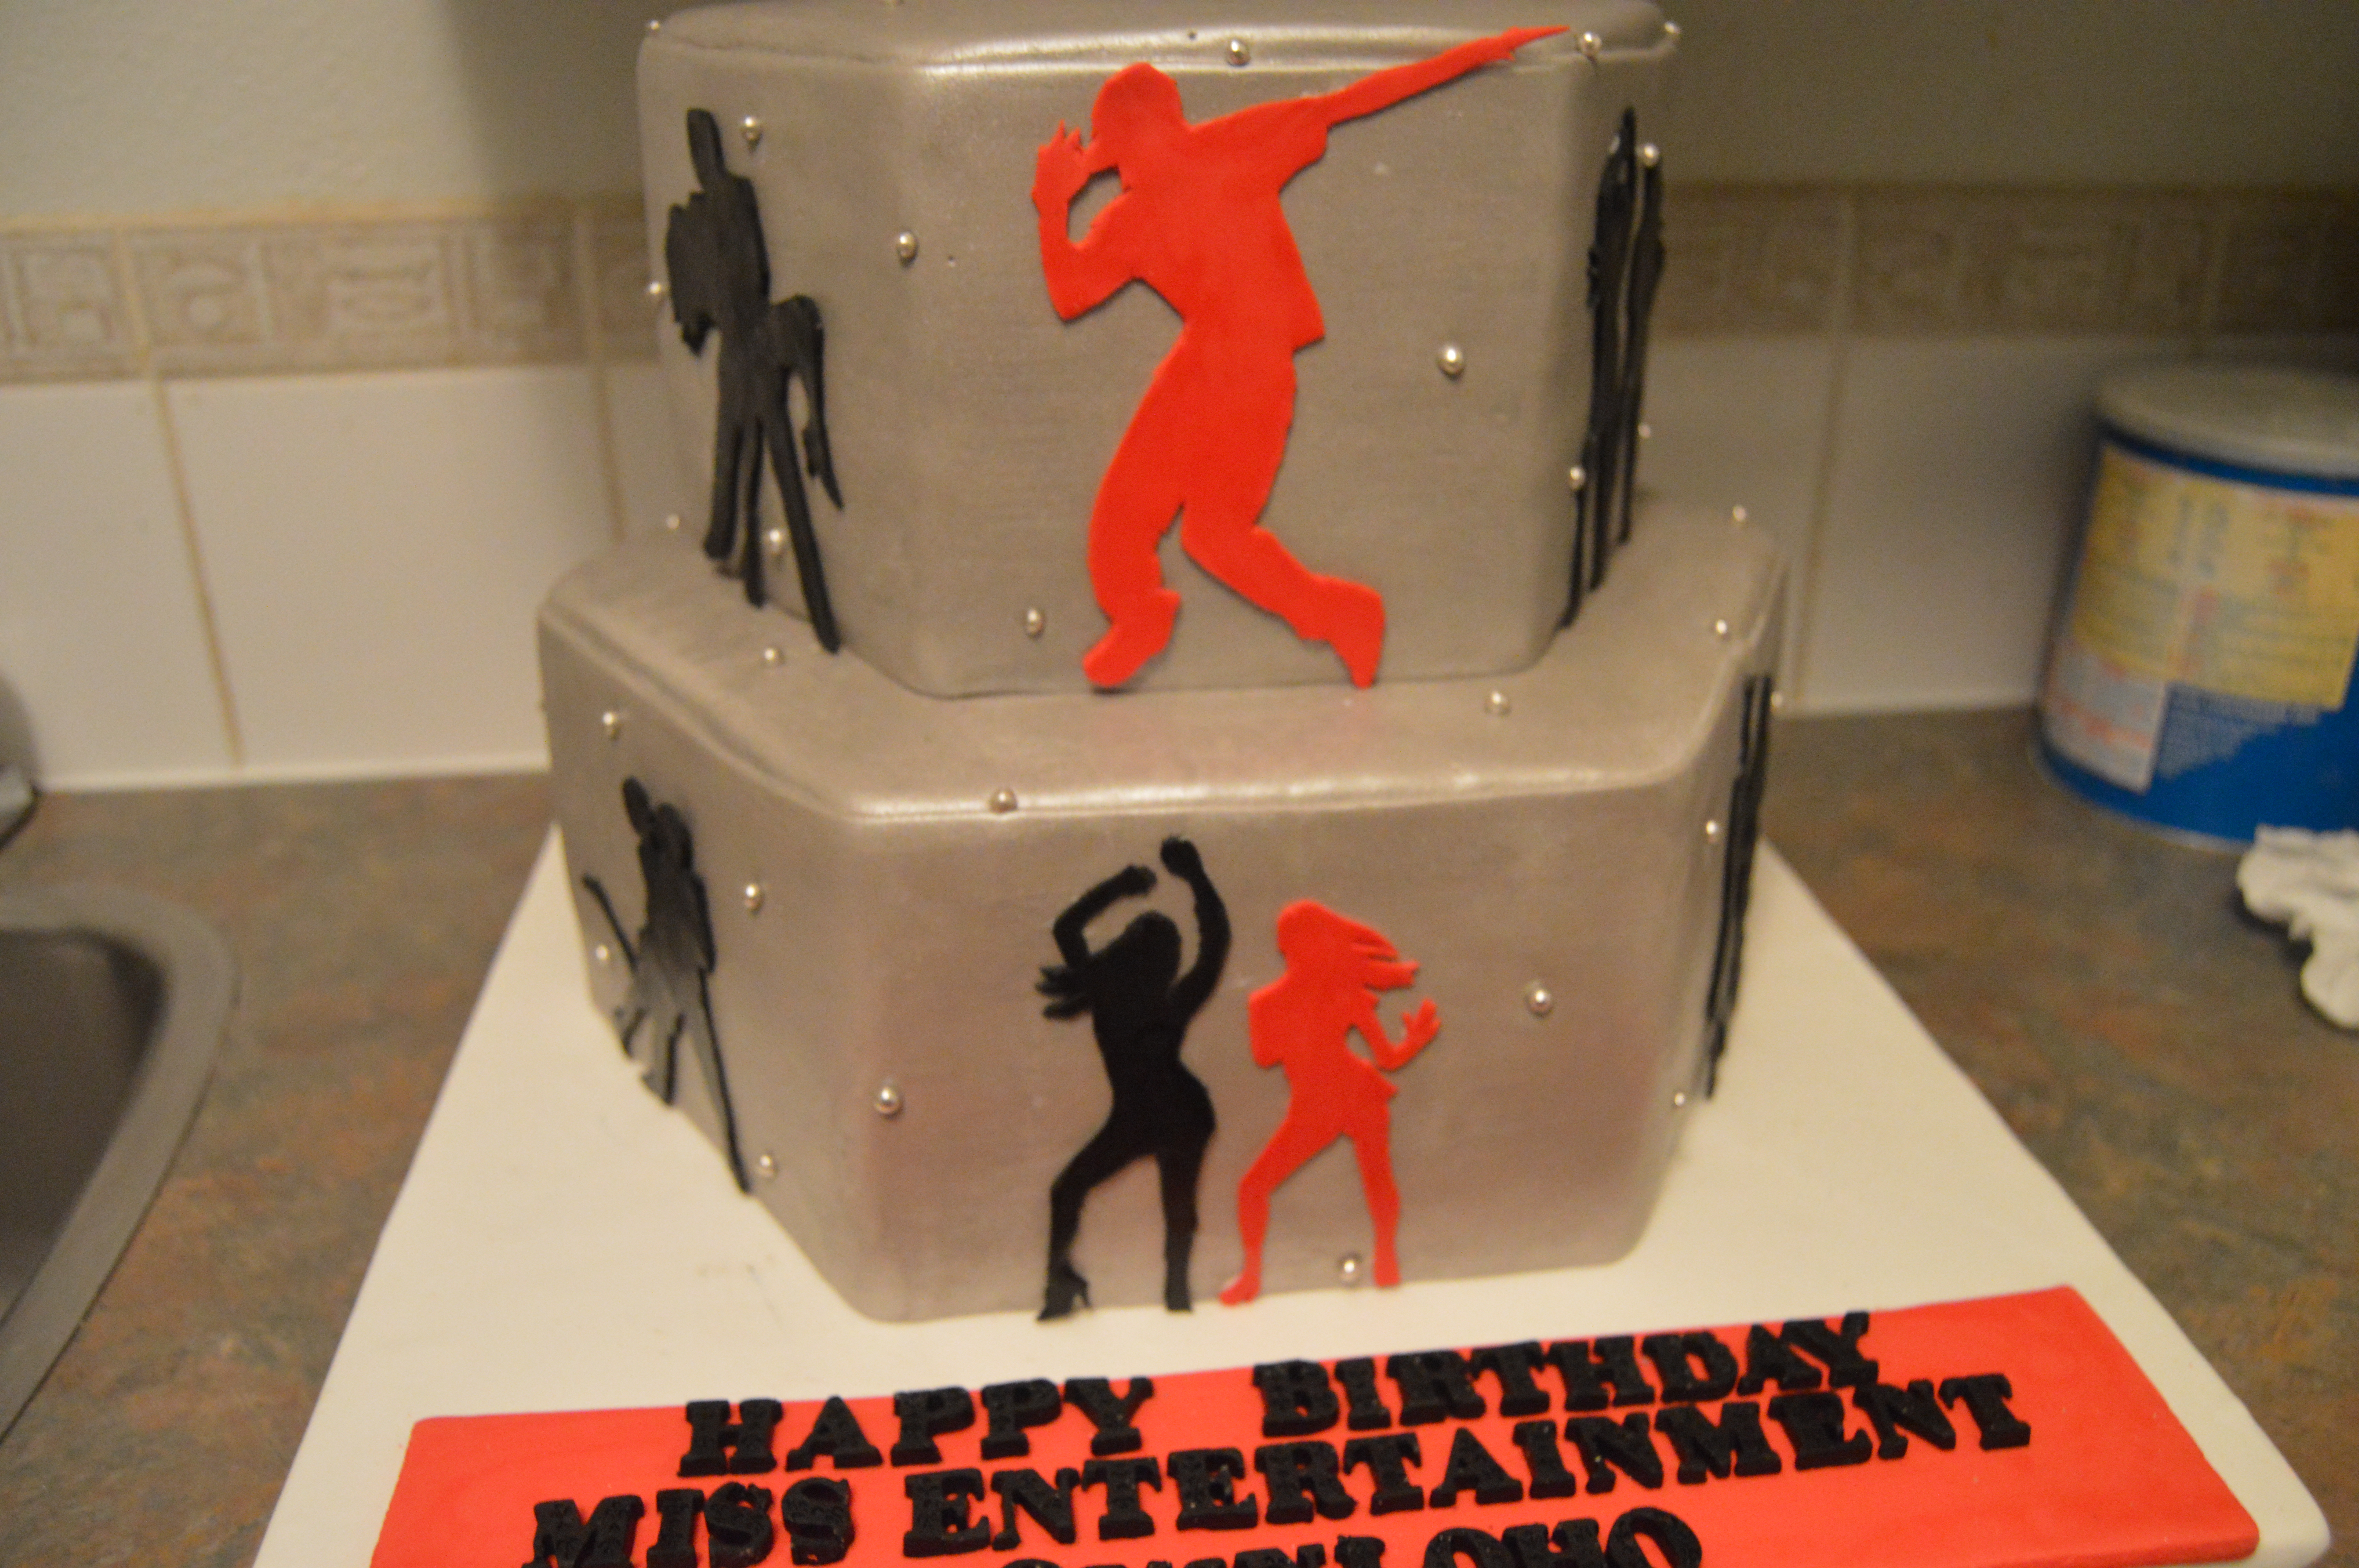
(2) Bake your sponges in hexagon shaped pans. I used an 8 inch pan for the top layer and a 10 inch pan for the bottom layer. The sponges can also be baked in square pans and carved (would lead to a lot of “waste” though).
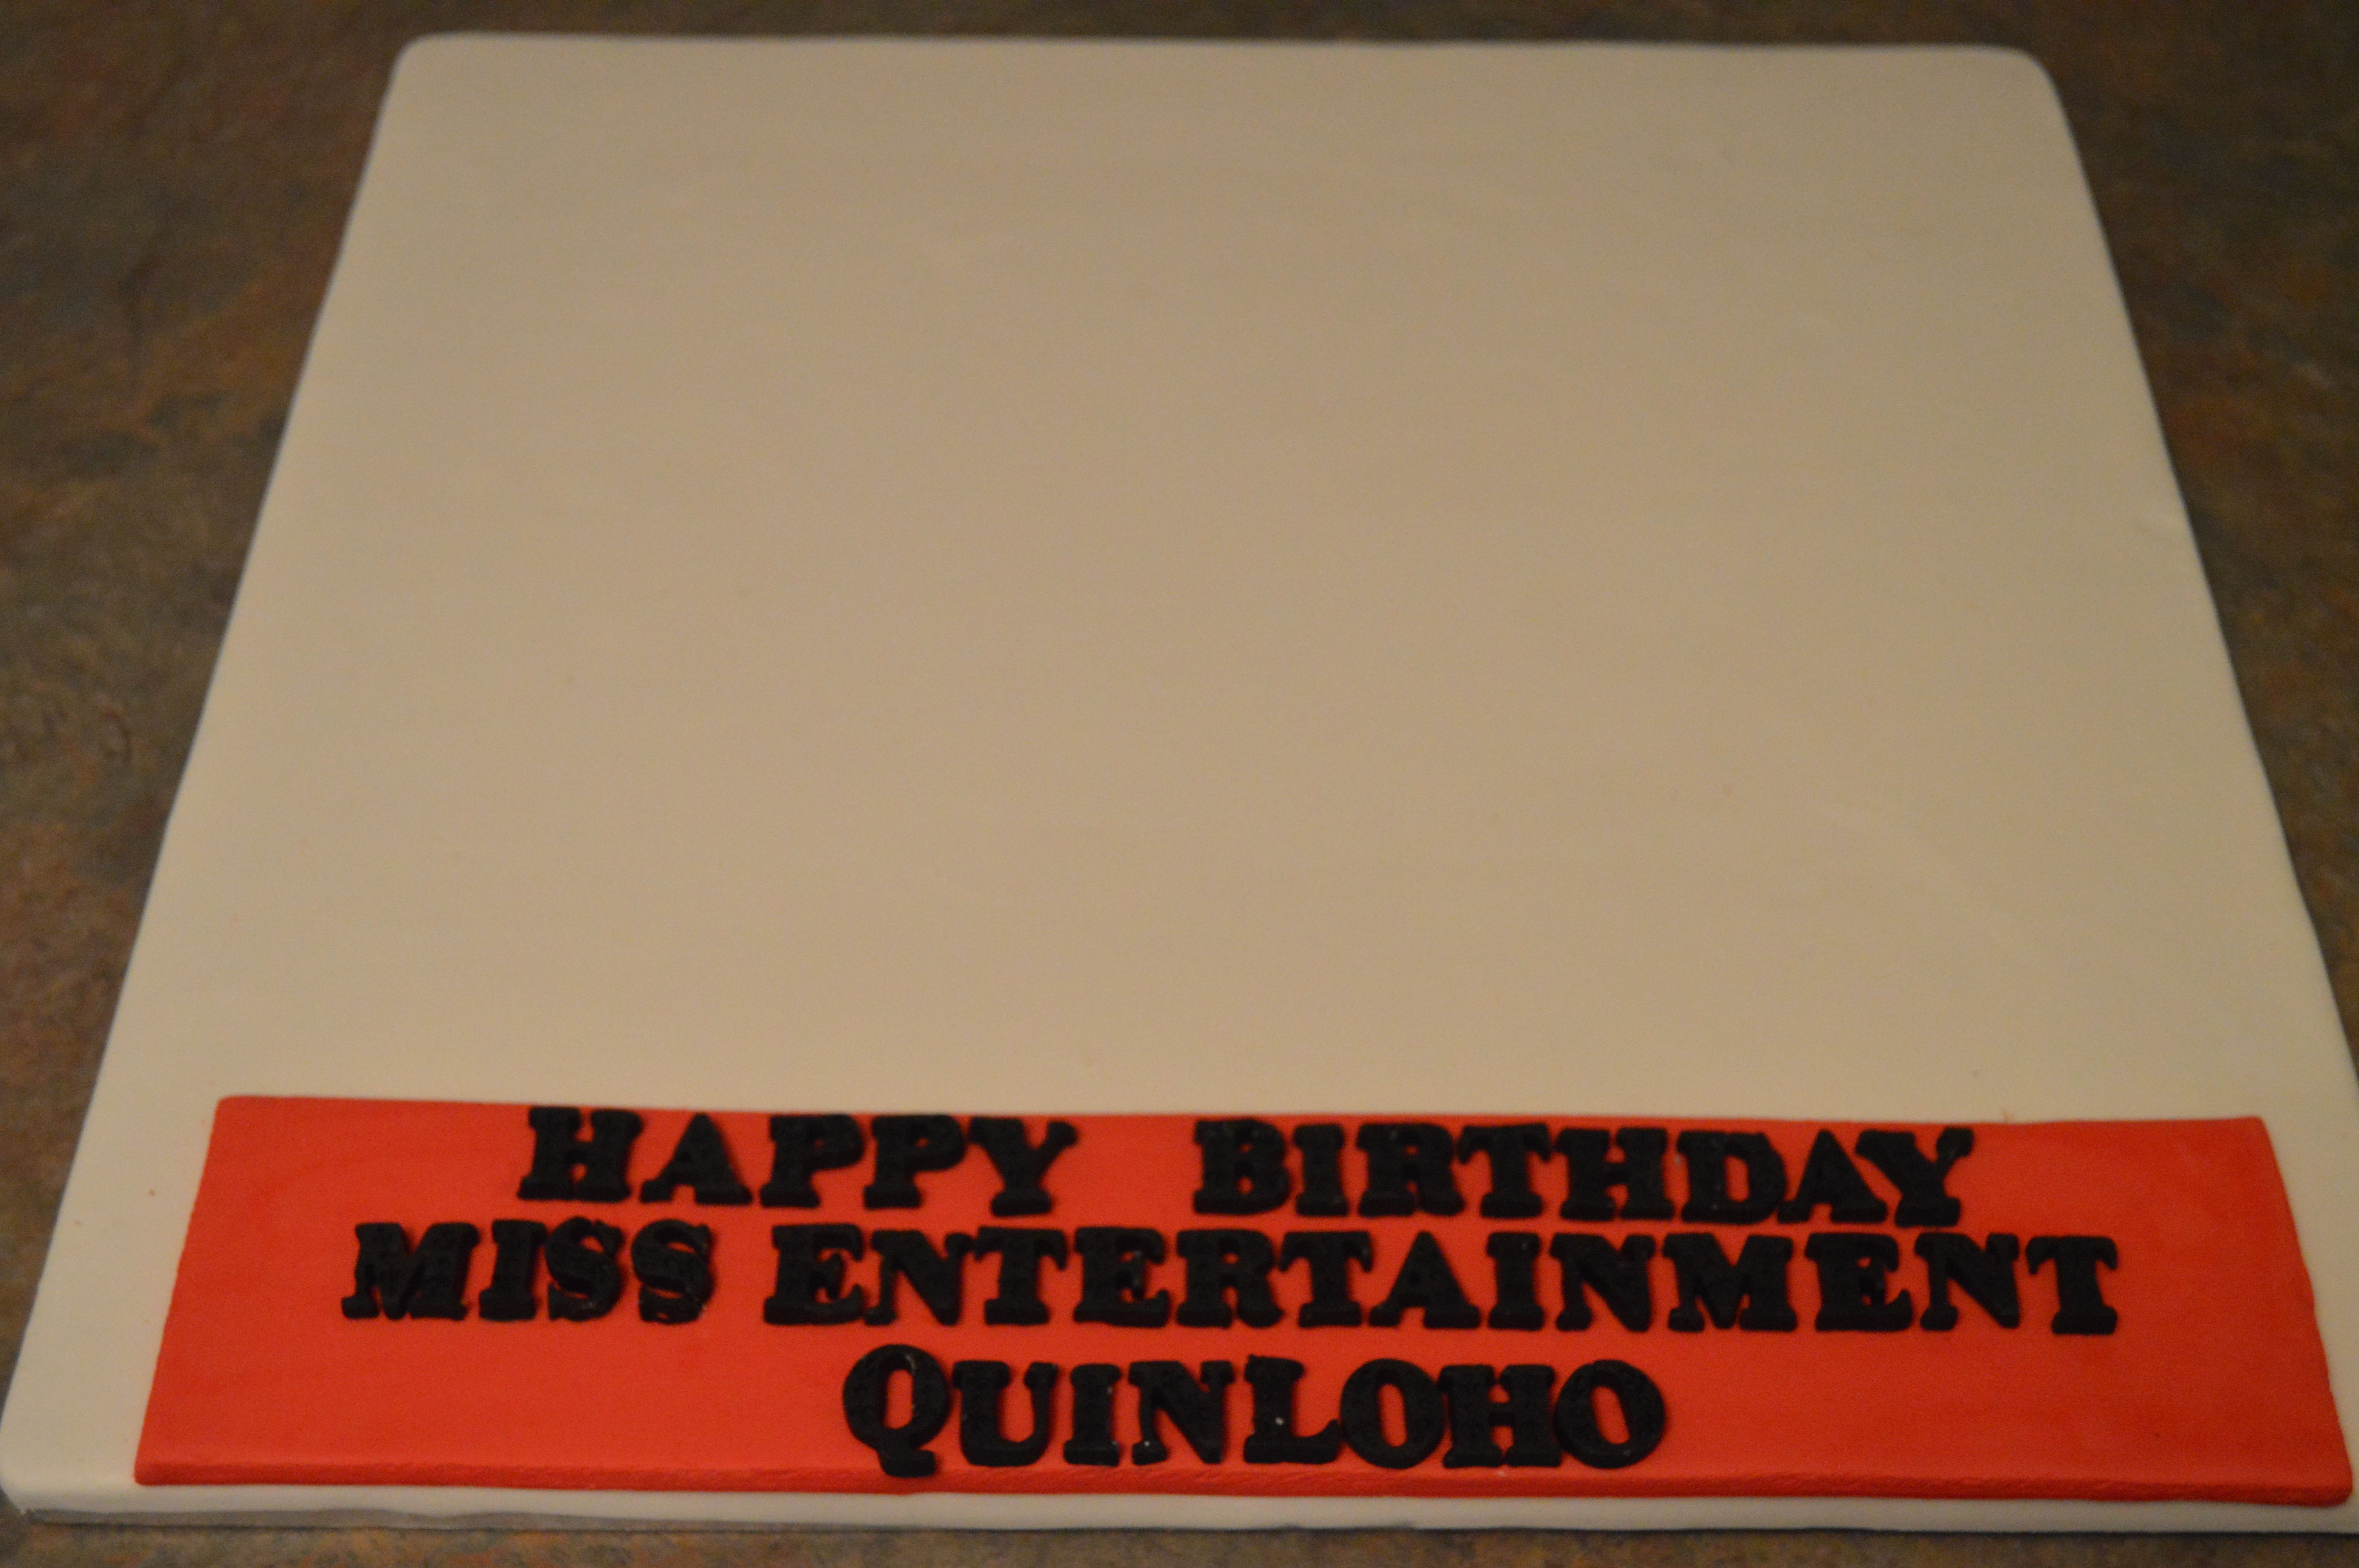
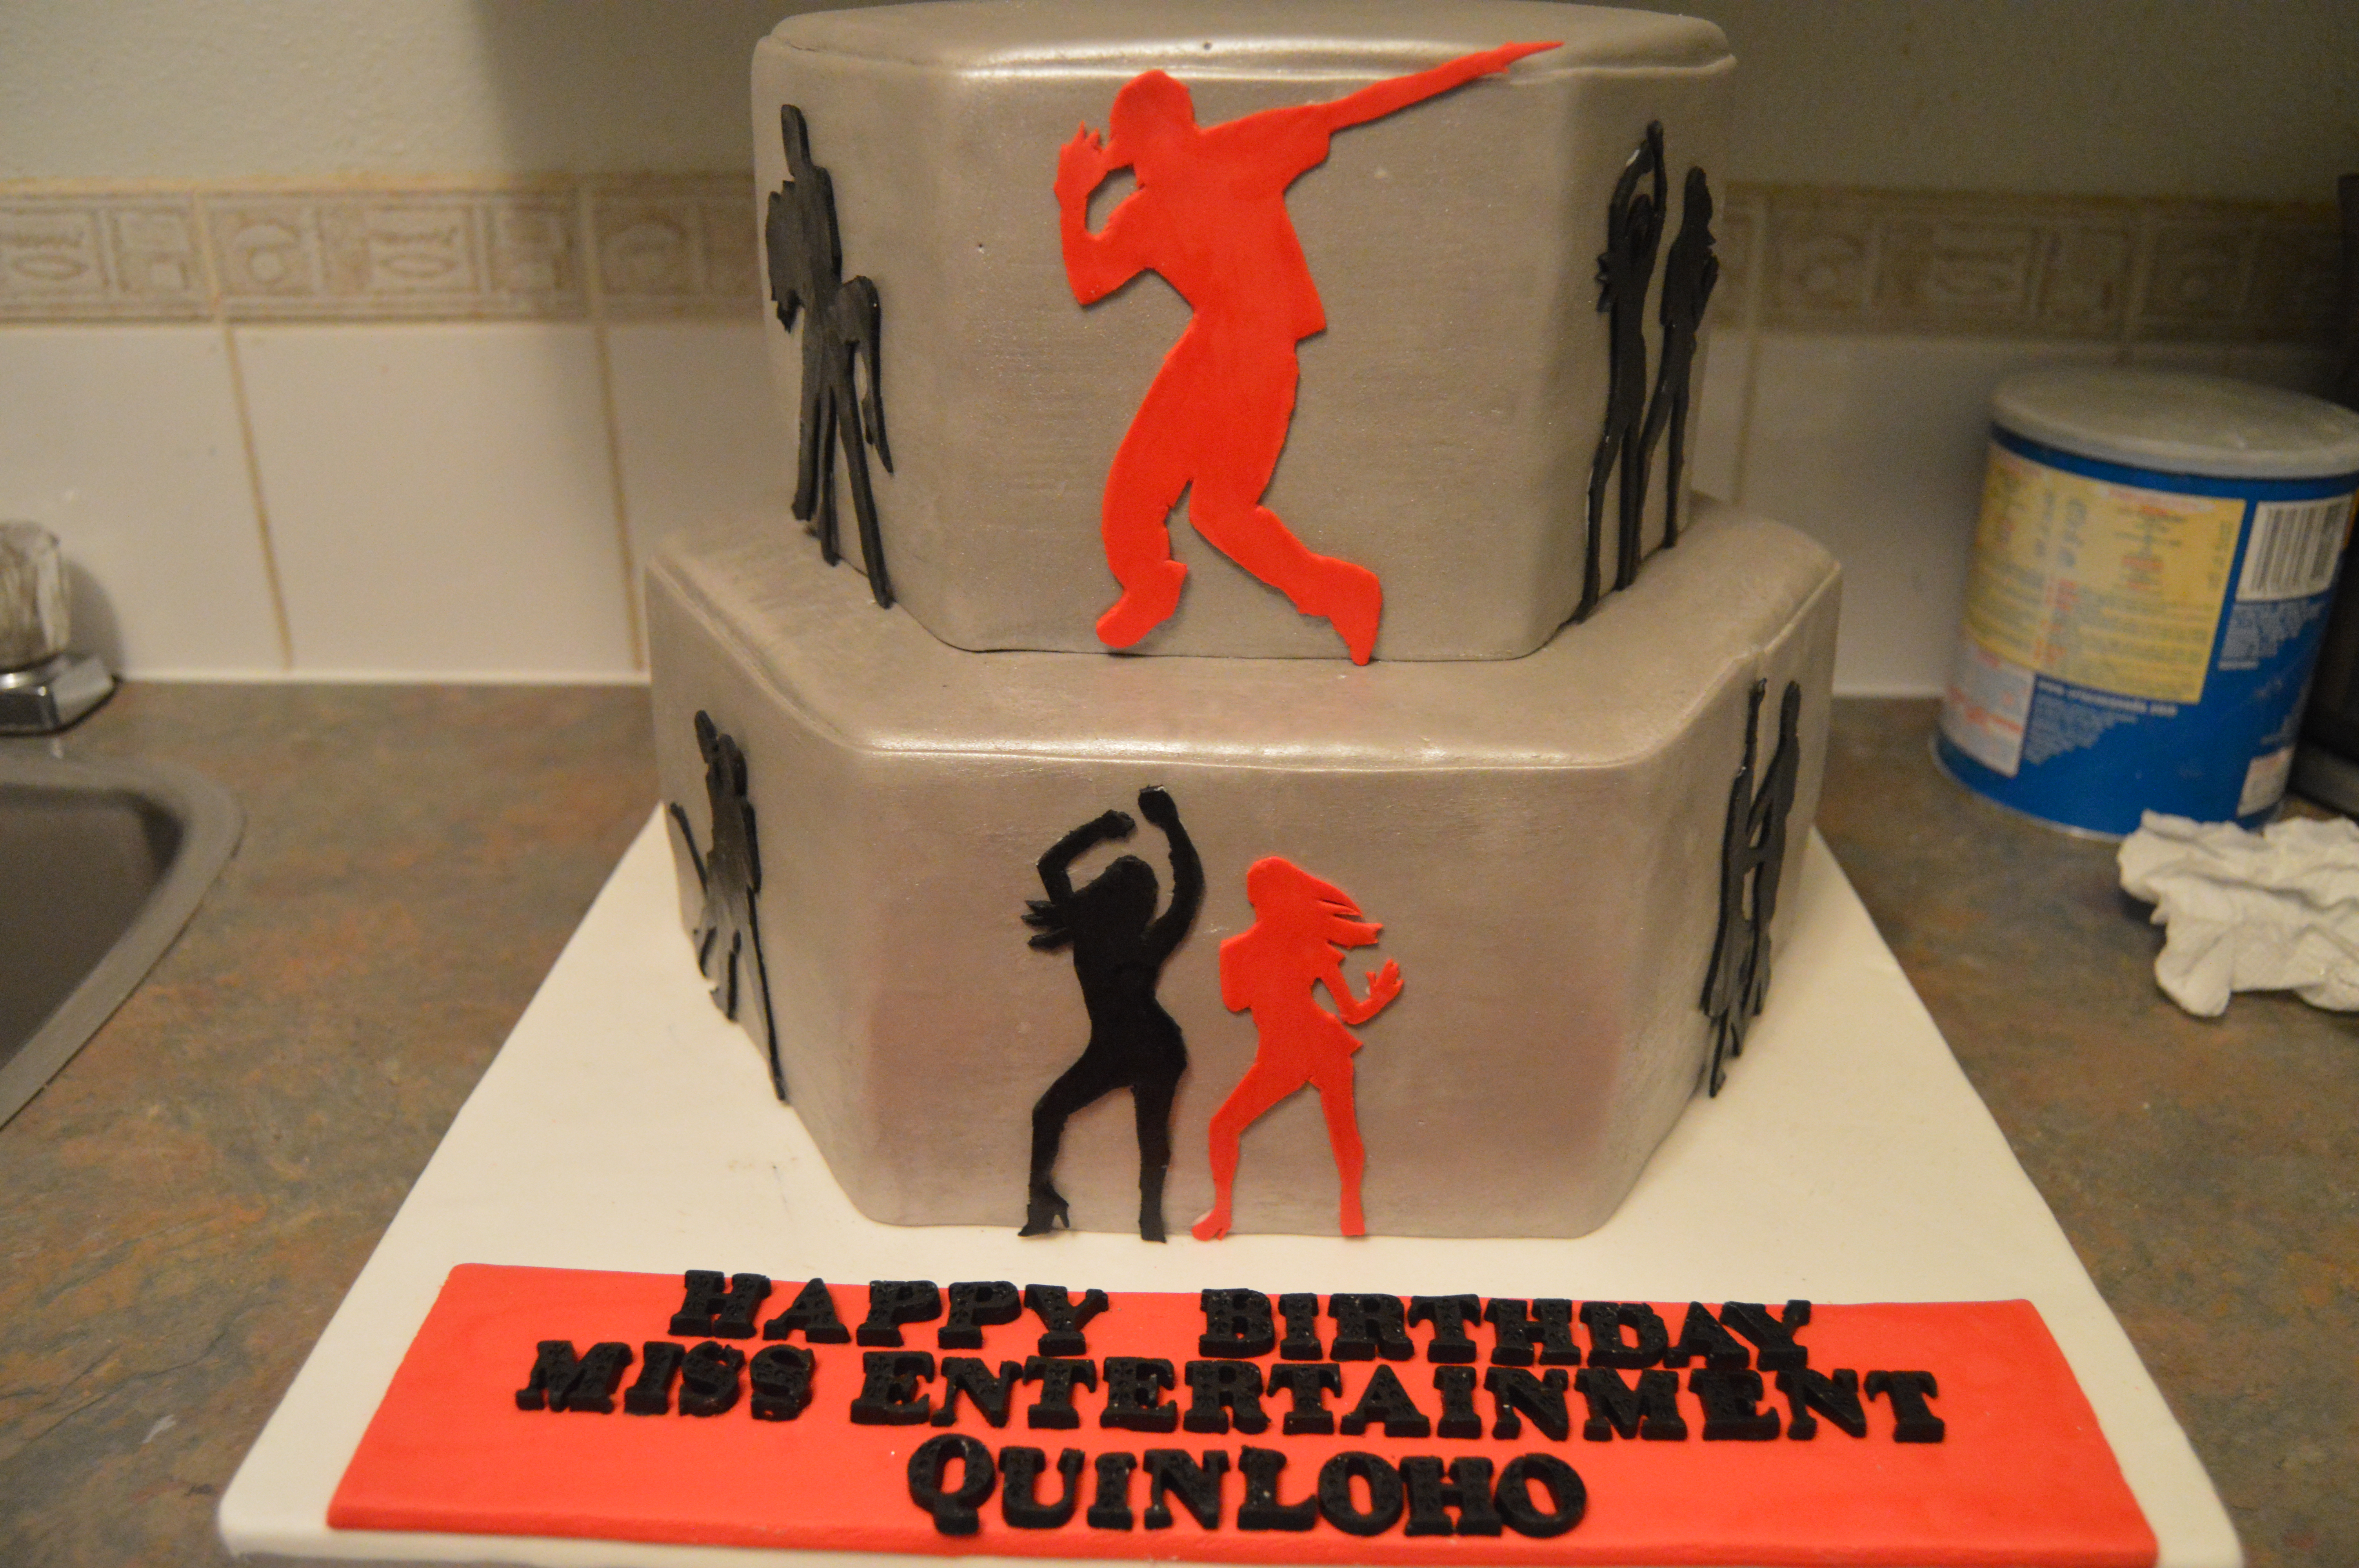
(3) Cover your cake board in white fondant. Make a message plaque with red fondant and write your message on it. I used a letter mould for the message. A detailed tutorial on how I cover my cake boards can be found here.
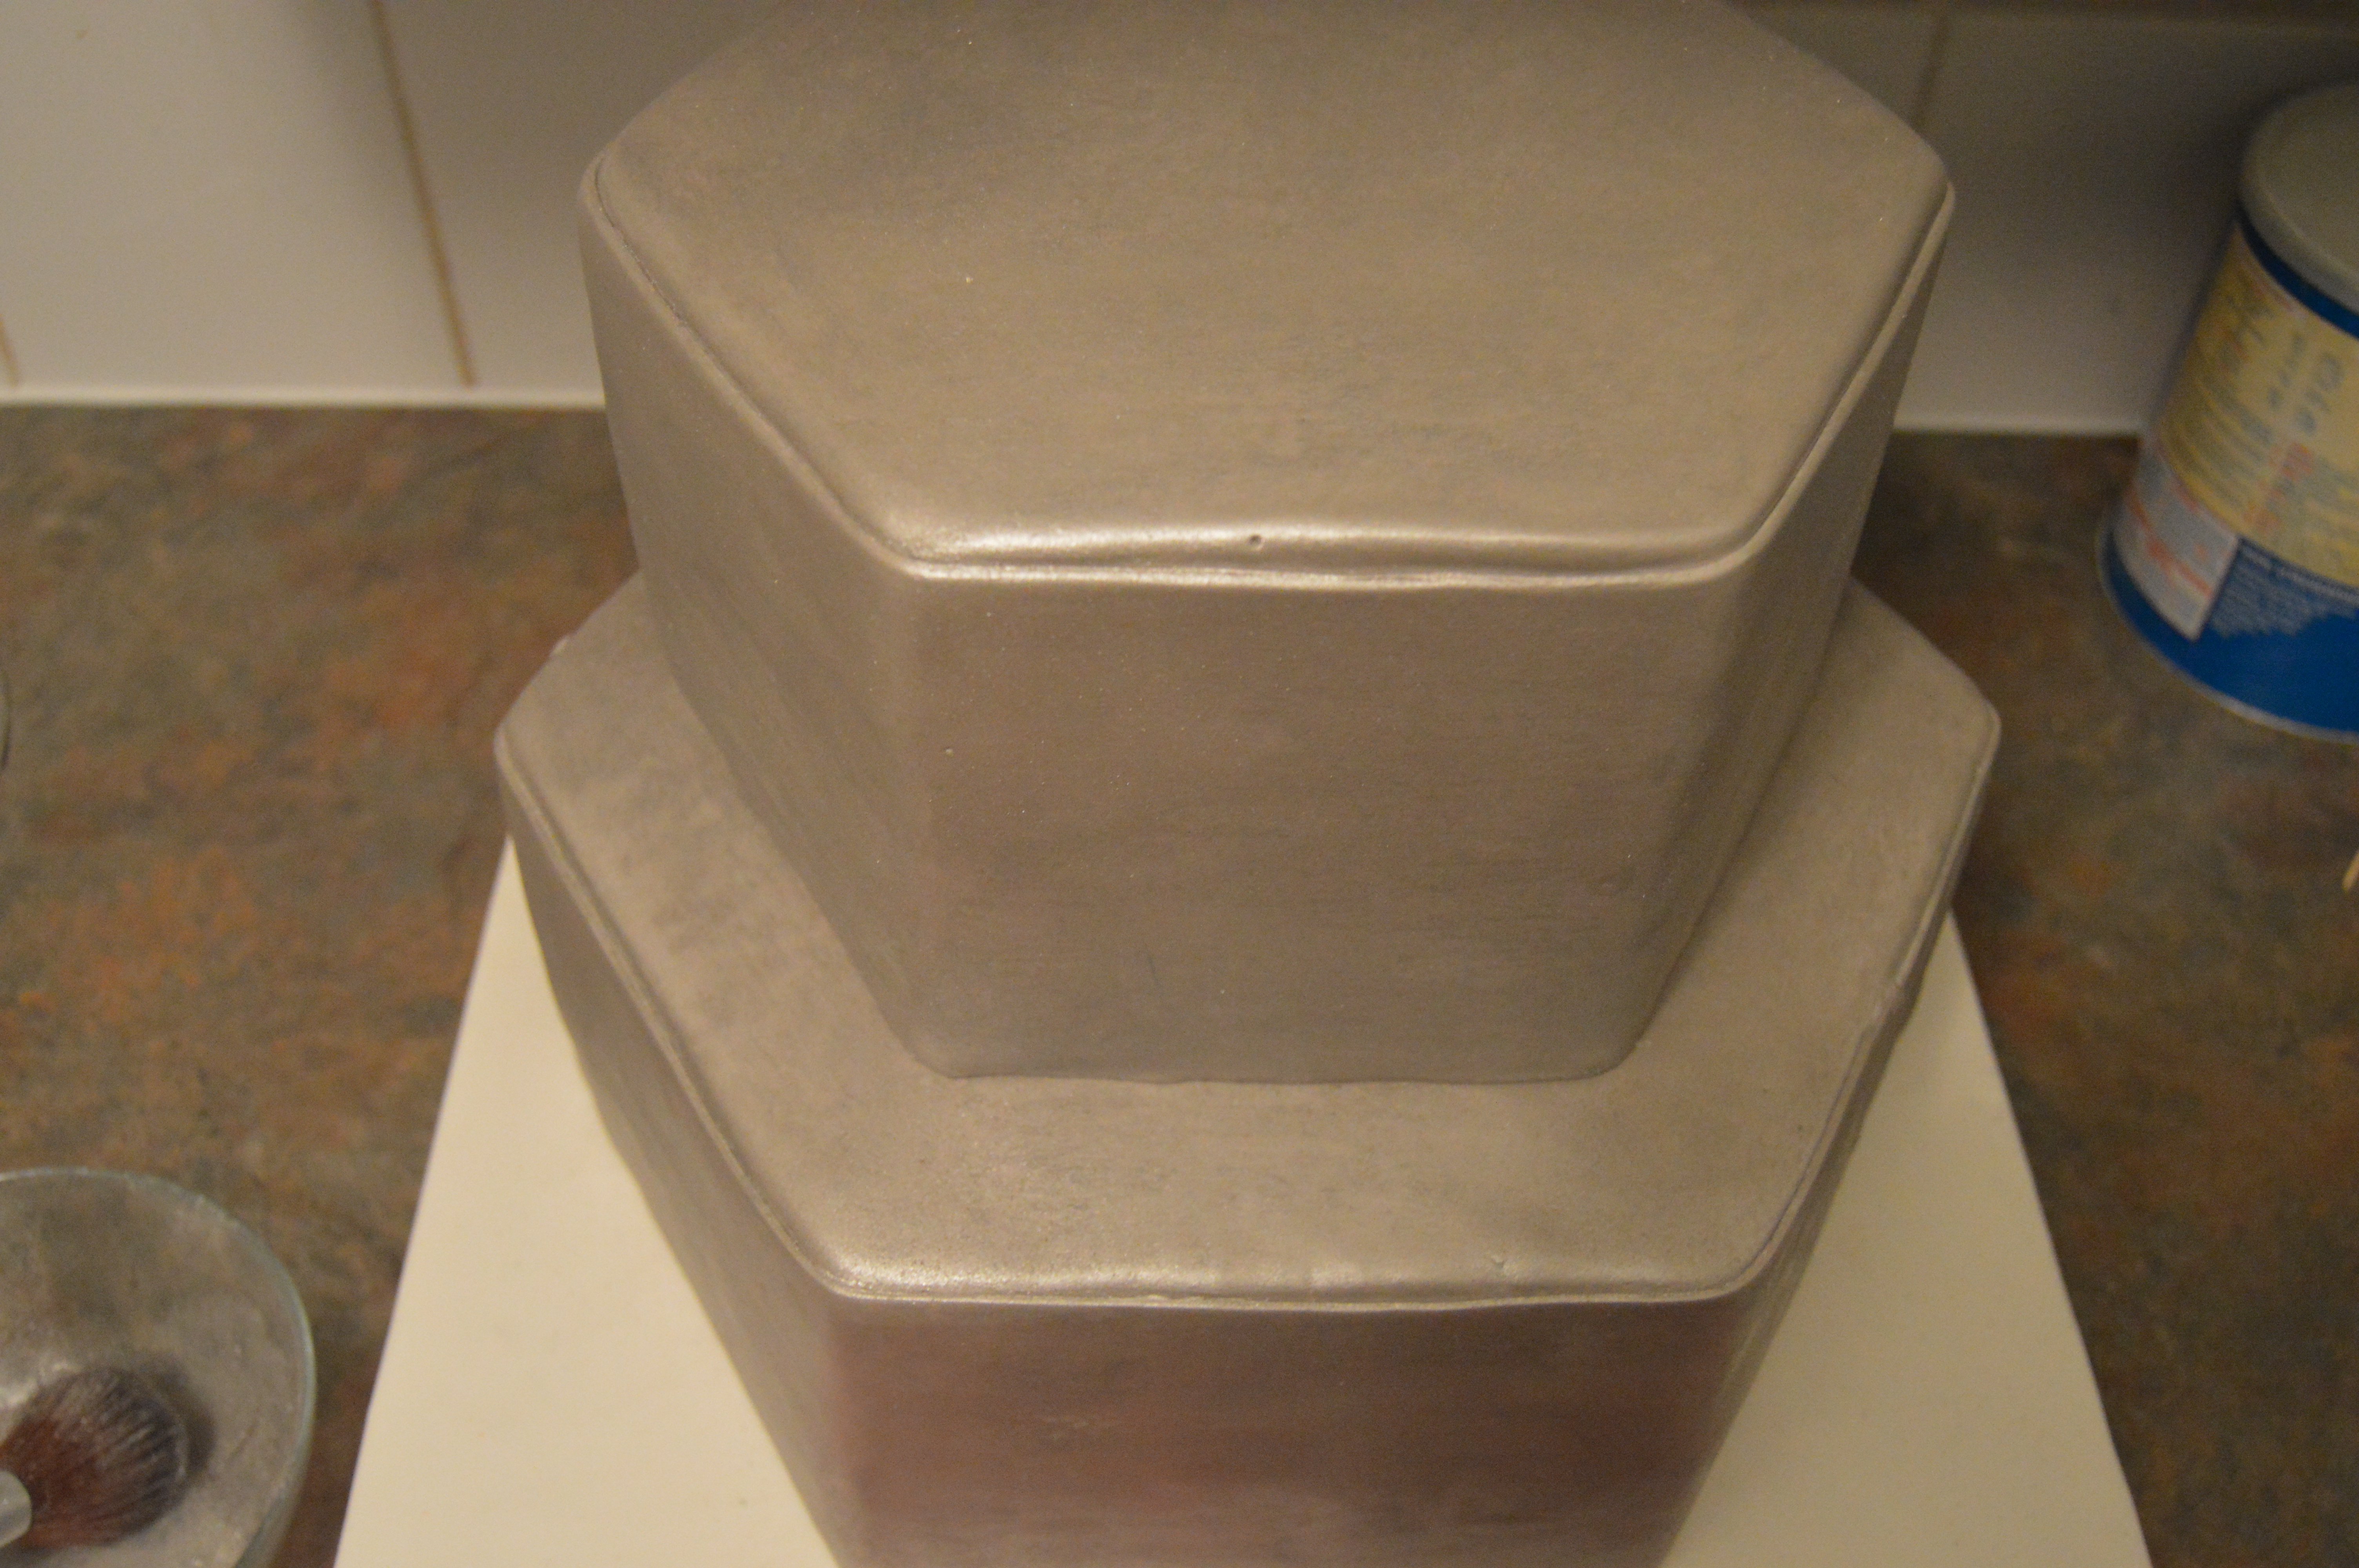
(4) Next, drape both cakes with grey fondant. For sharper edges, I wrapped the layers with another layer of grey soft fondant panels. This step is however not necessary. While cutting my panels, I made an error in judgement with the height. You can thus notice the seams on the cakes. I will show you how I dealt with this error below.
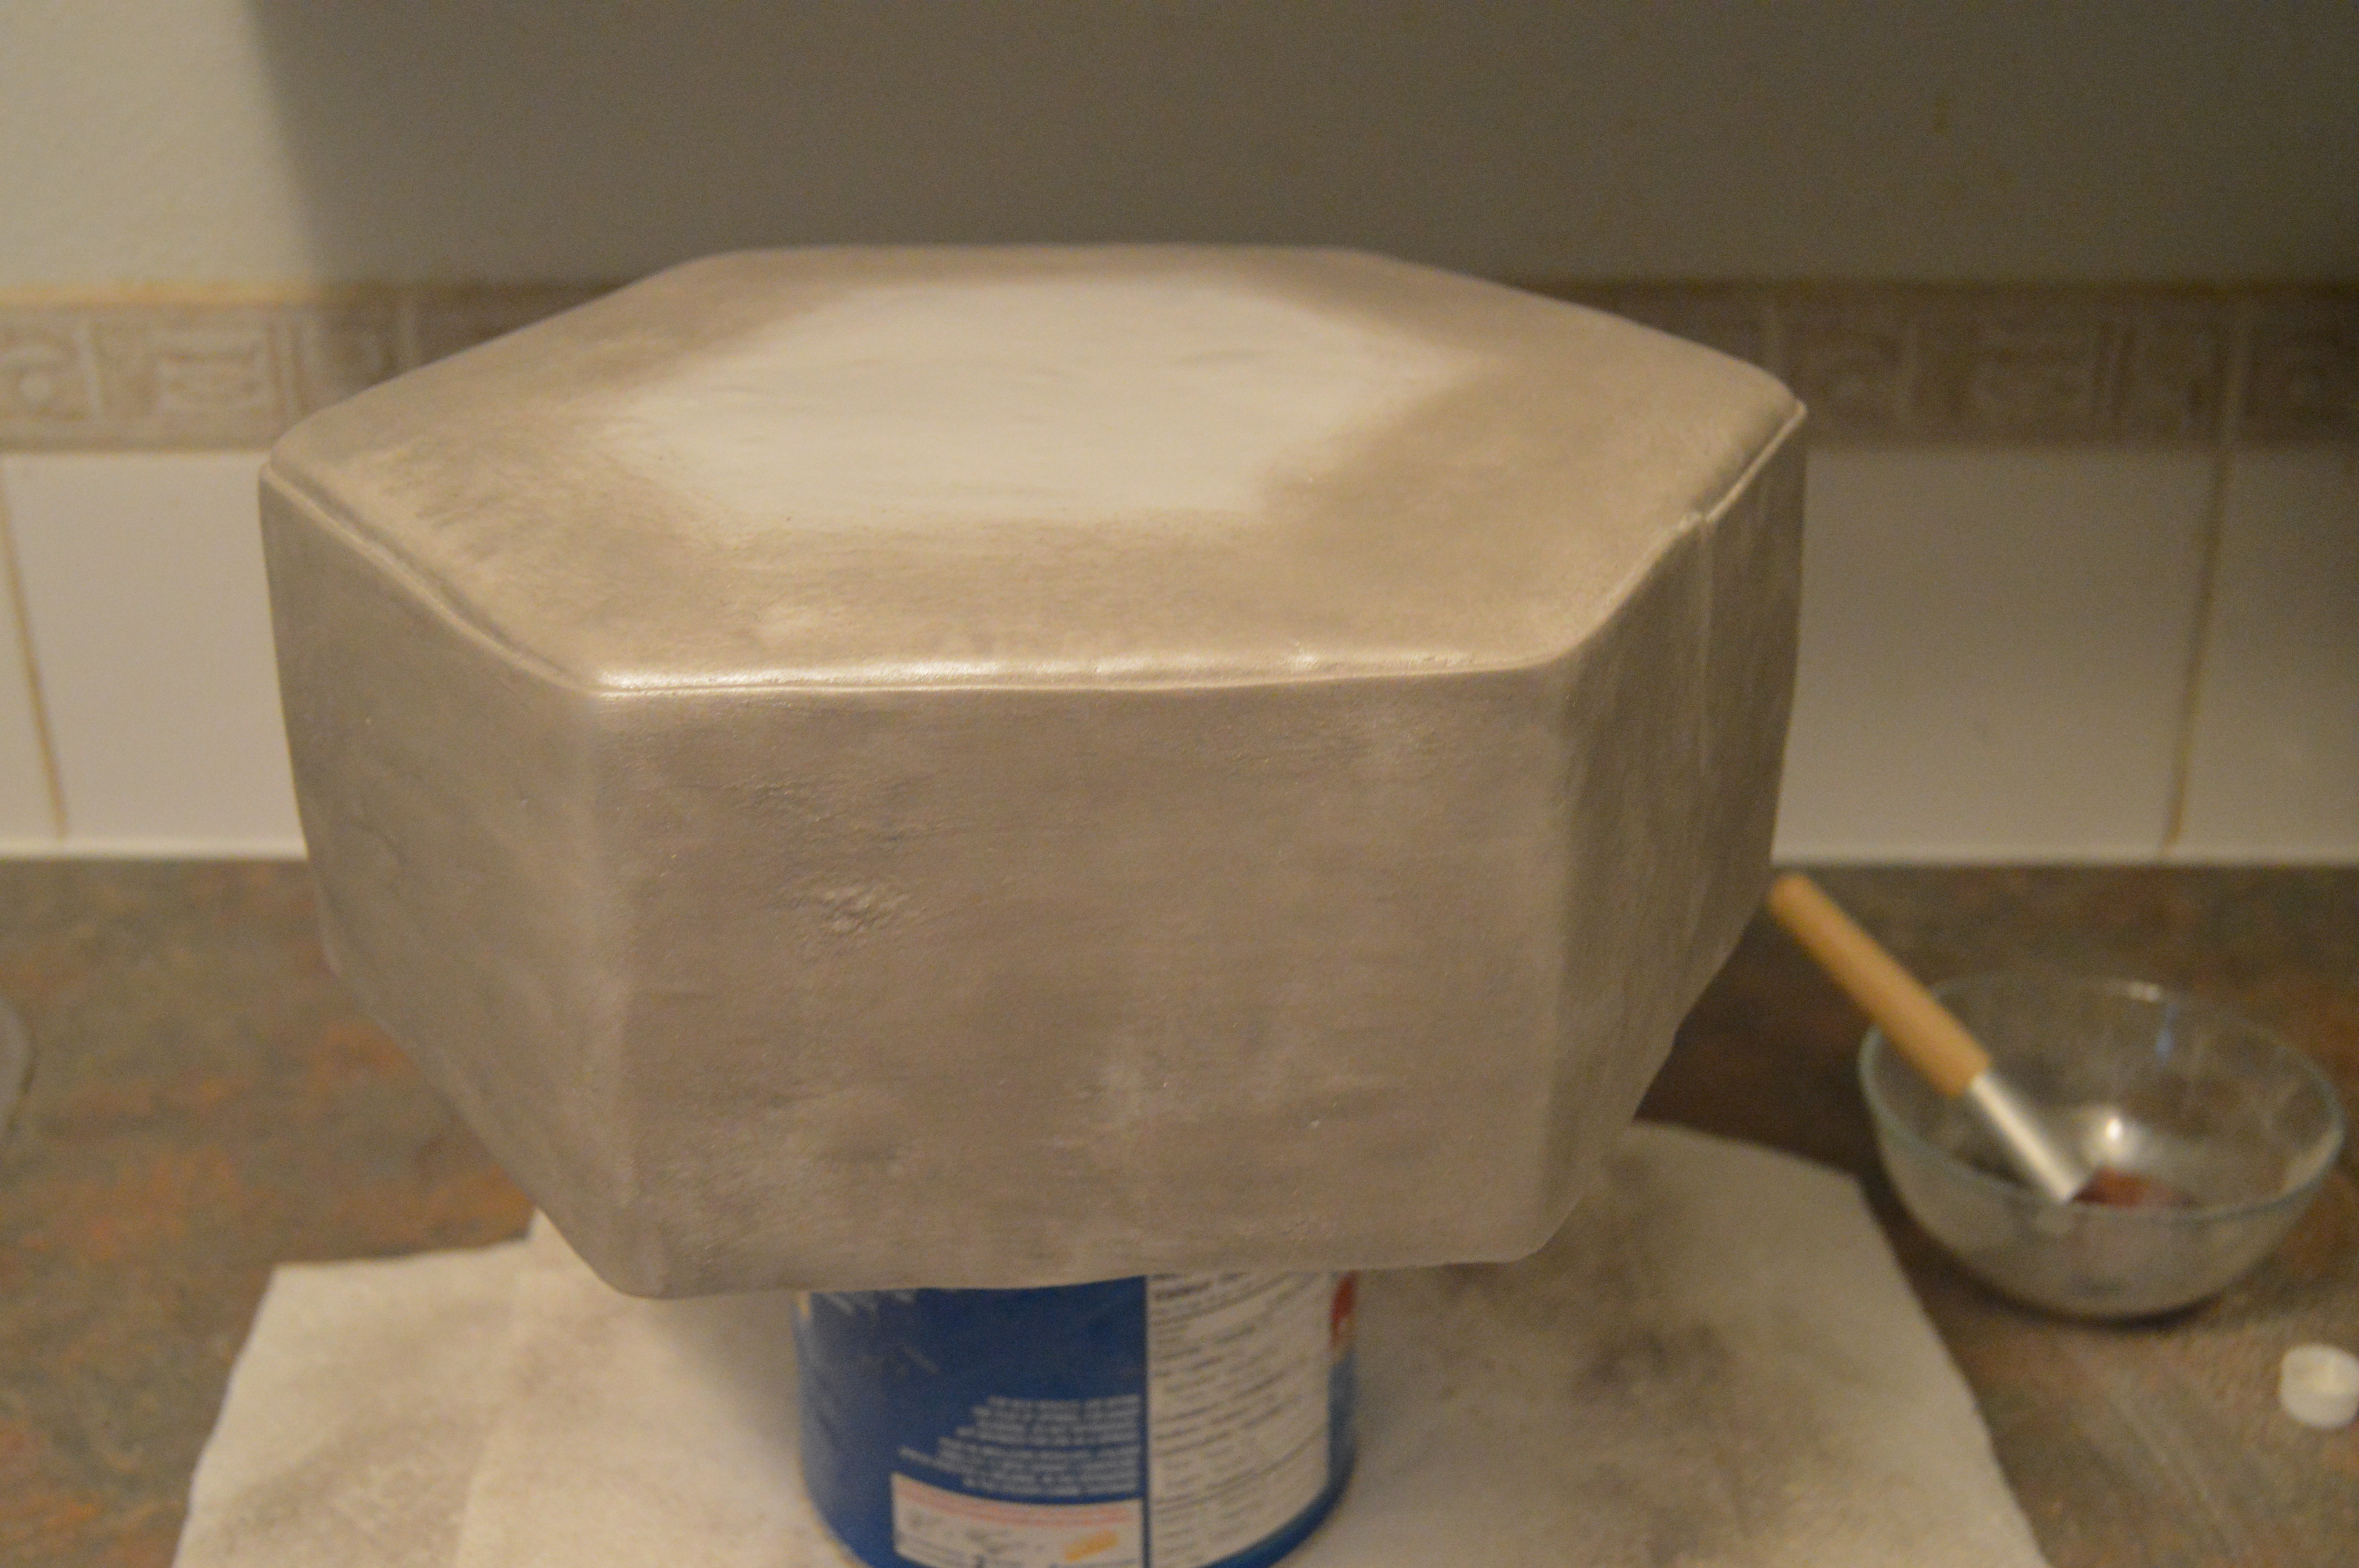
(5) Next, brush both layers with silver luster dust to give the cake a metallic look. I have a detailed tutorial here on how I brush my cakes with luster dust.
(6) Next, place the bottom tier on your prepared cake board. Place dowels in the bottom tier and stack the top tier on it. A detailed tutorial on how to dowel and stack cakes can be found here.
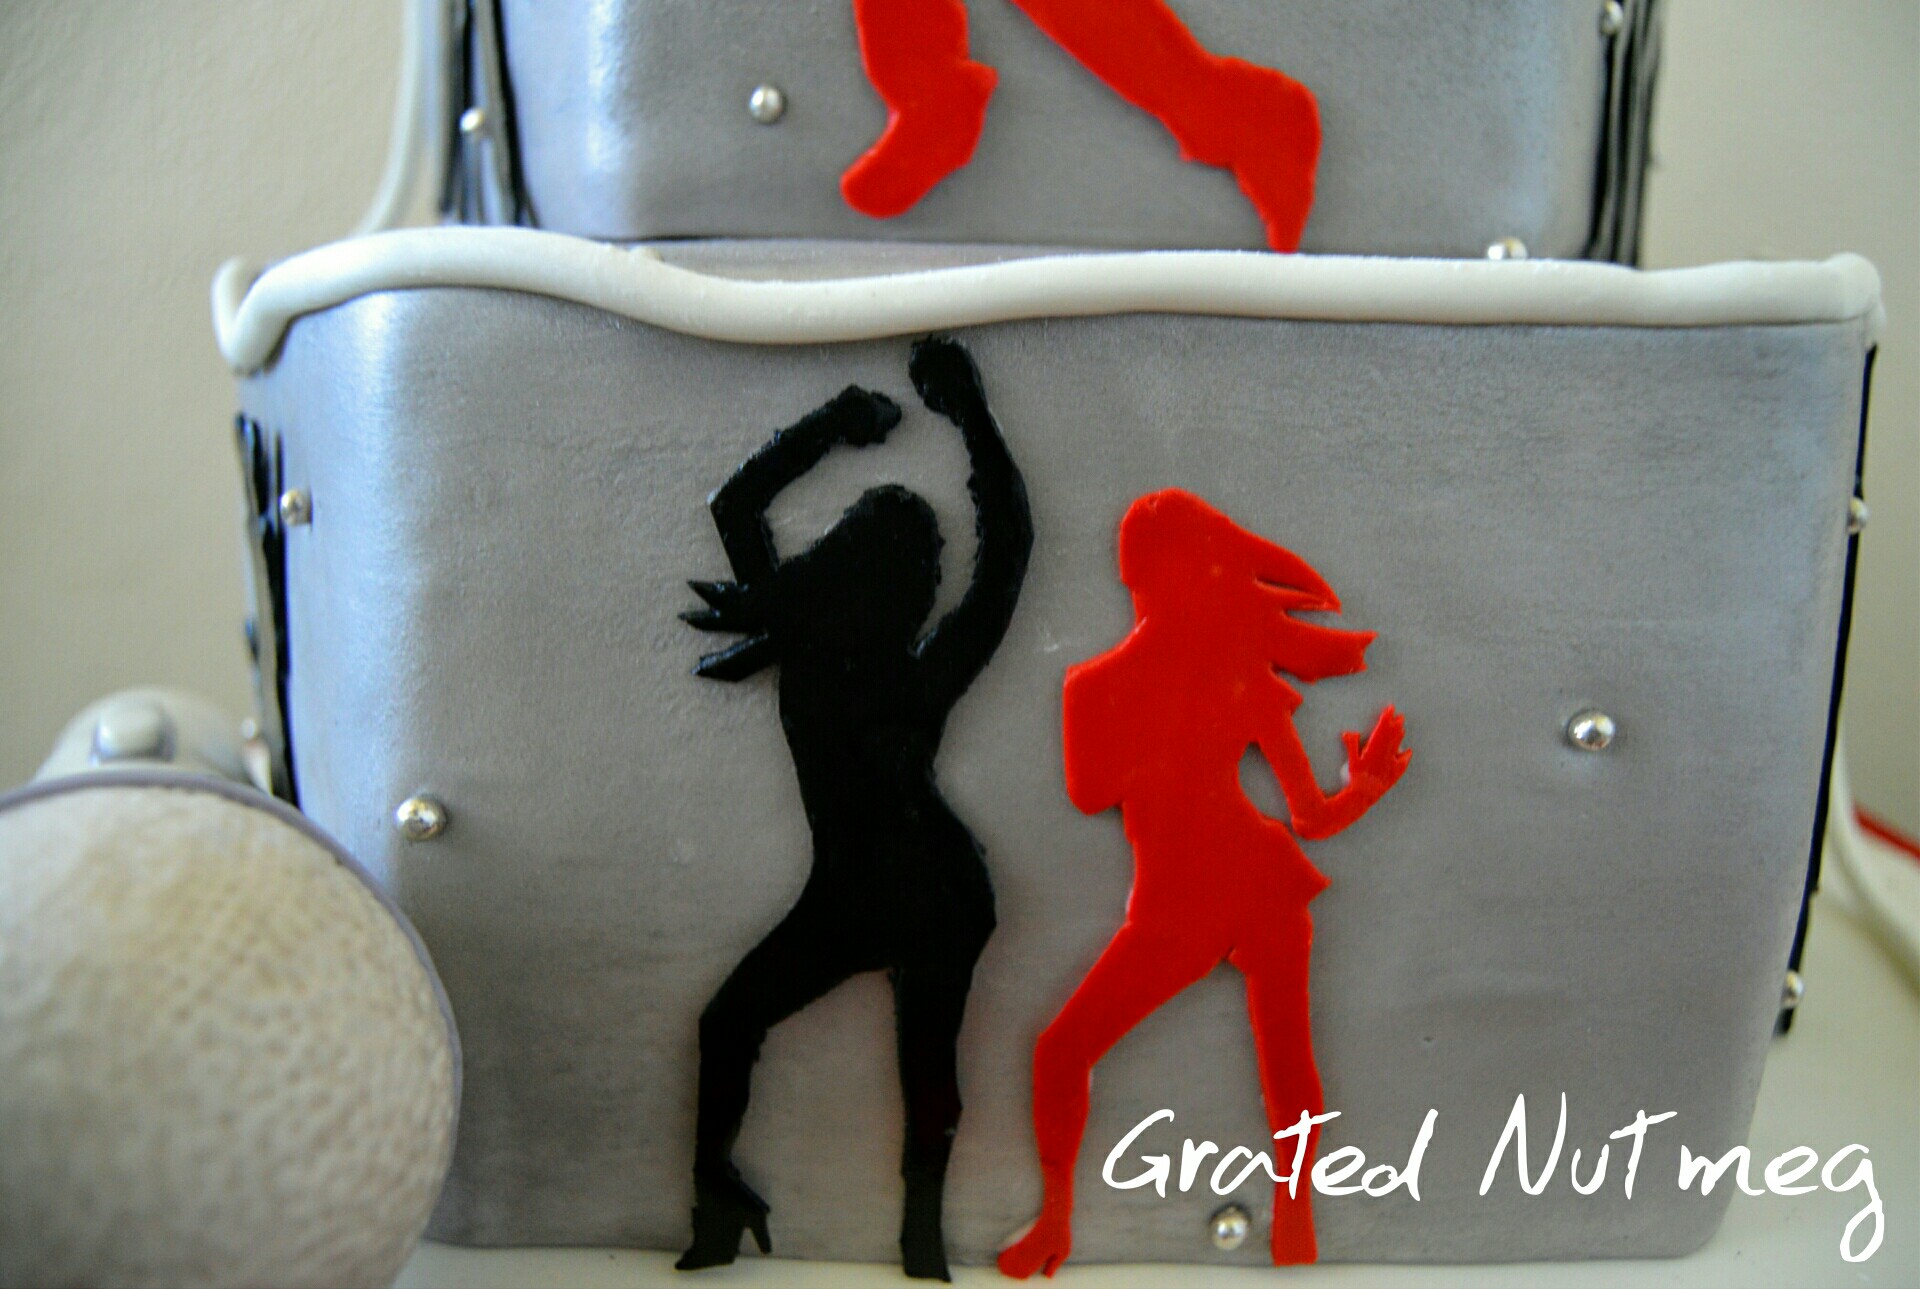
(7) Next, stick the fondant silhouettes on the body of the cake. I used melted white chocolate as my gluing agent here.
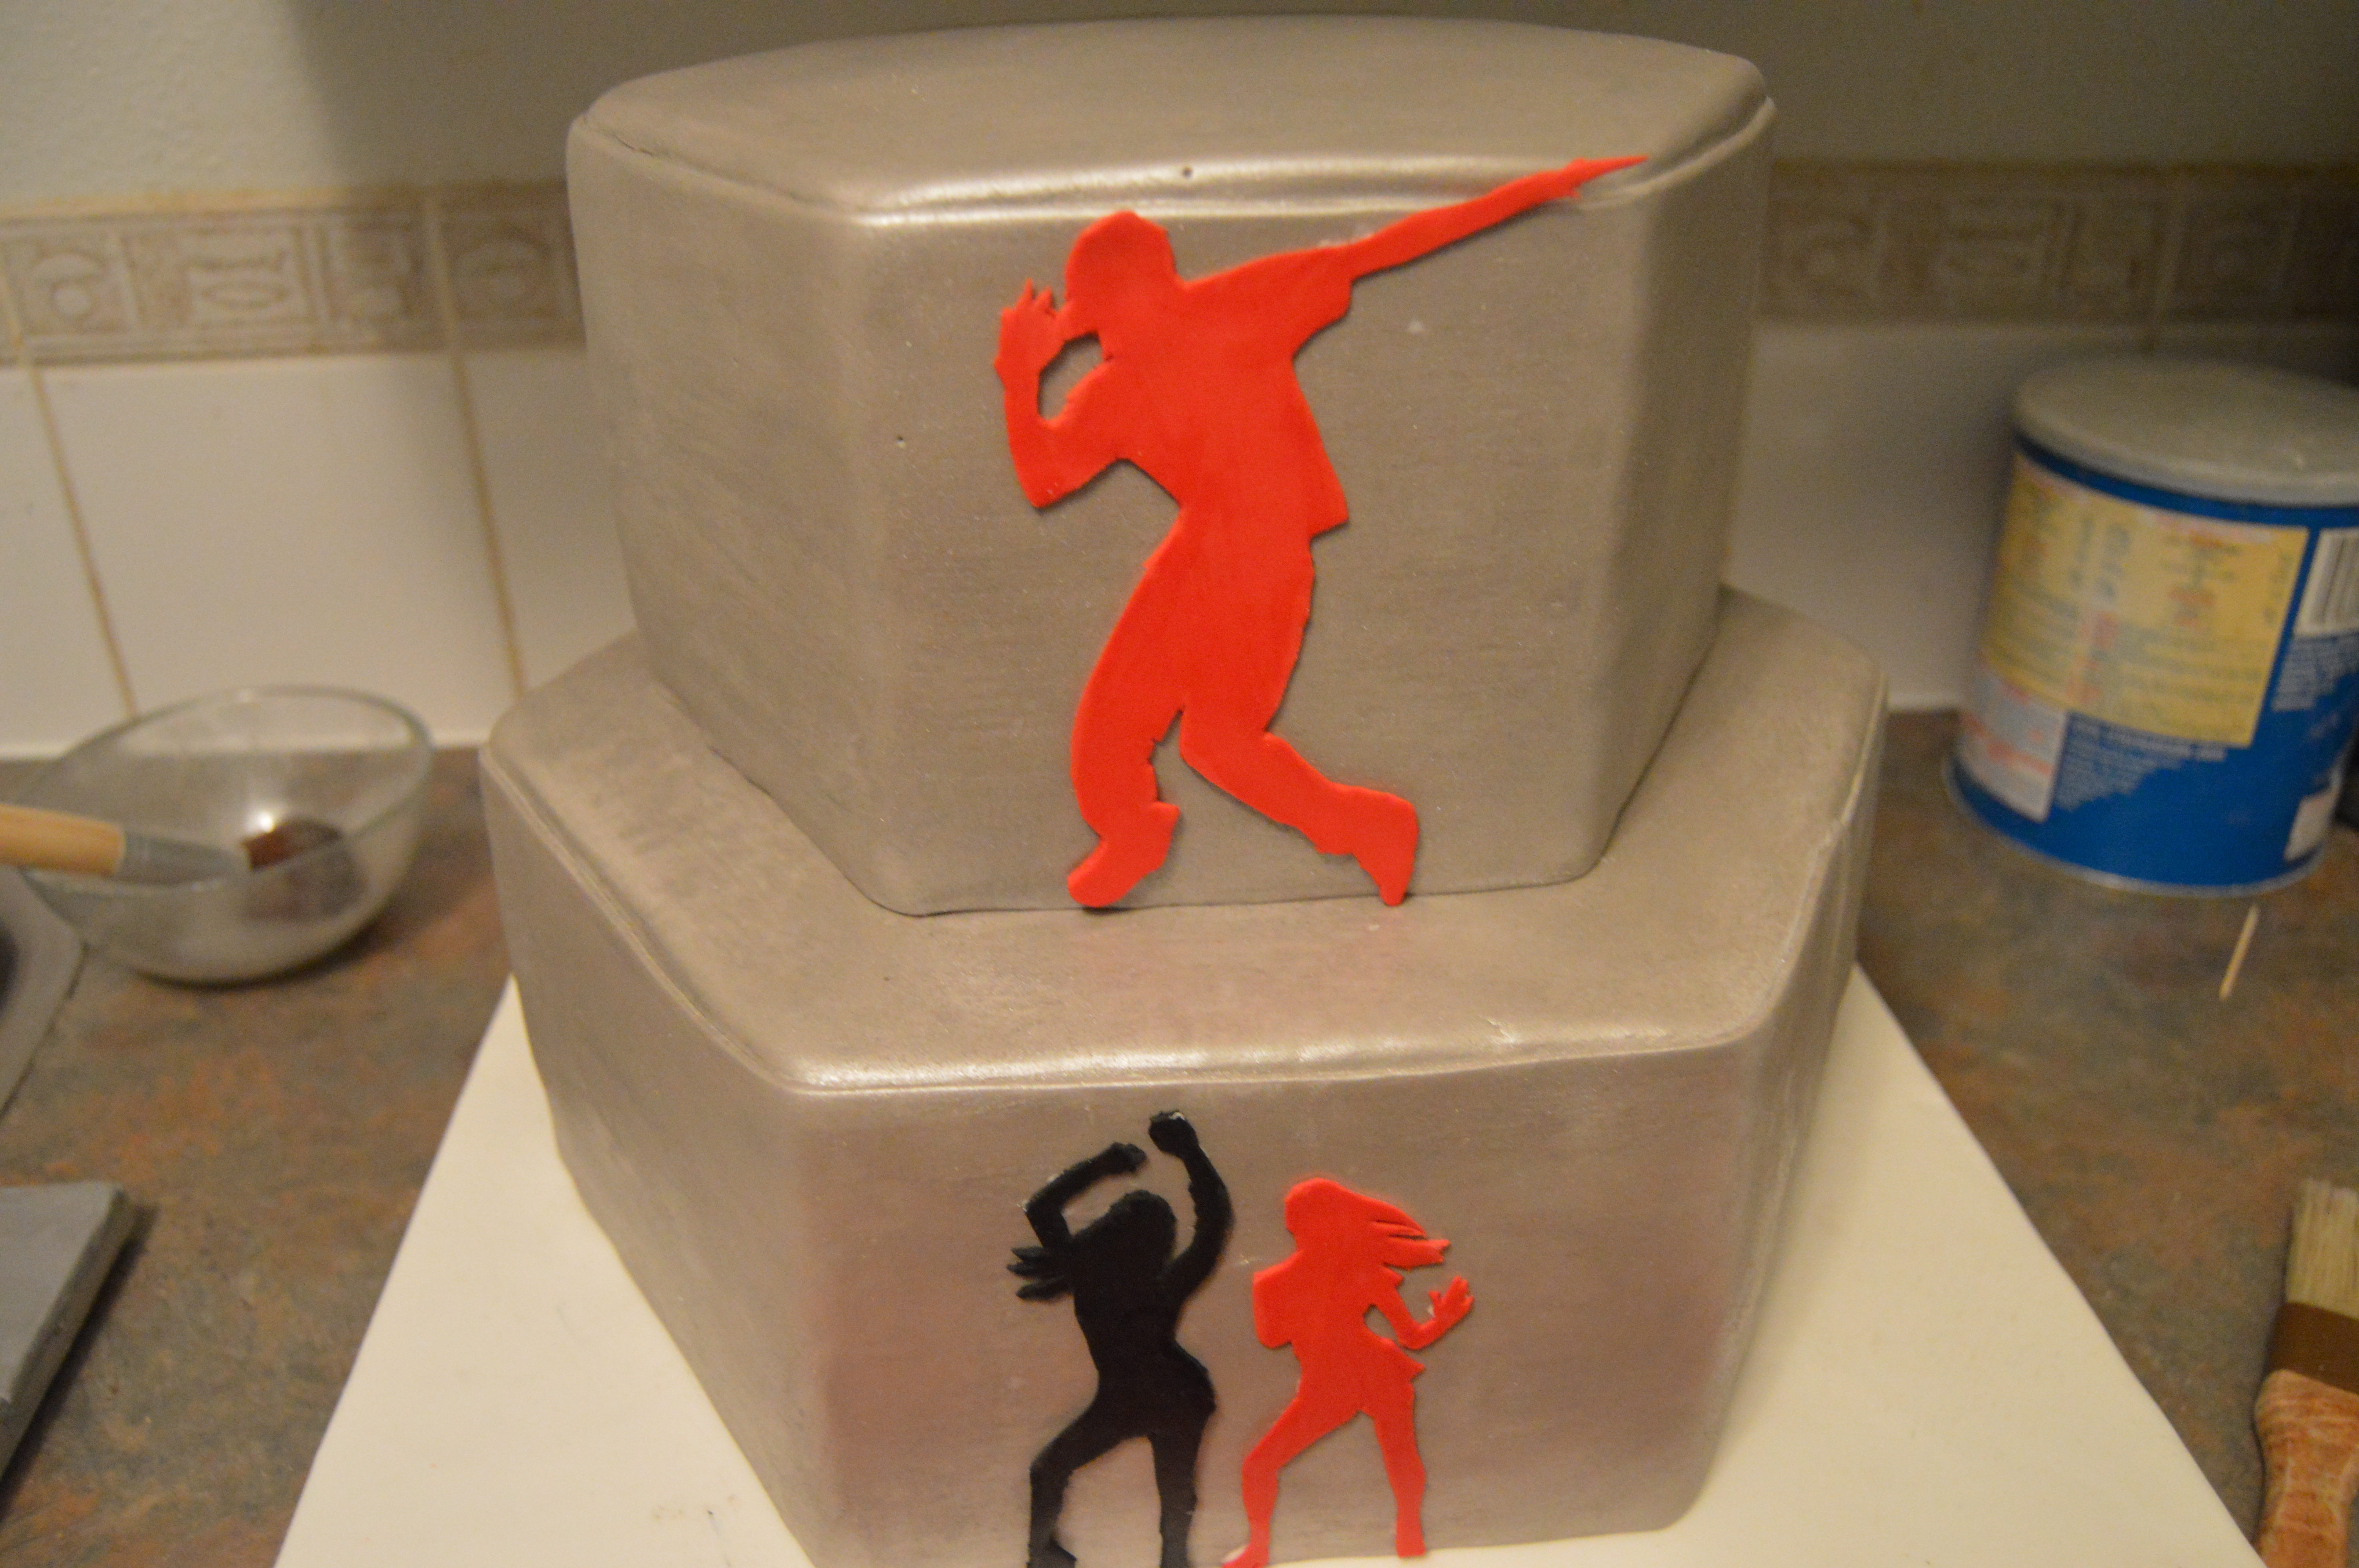
(8) Next, place silver sugar pearls randomly on the body of the cake for extra sparkle.
(9) Next, place the headphones on the top layer and glue the microphone to the cake board with melted white chocolate.
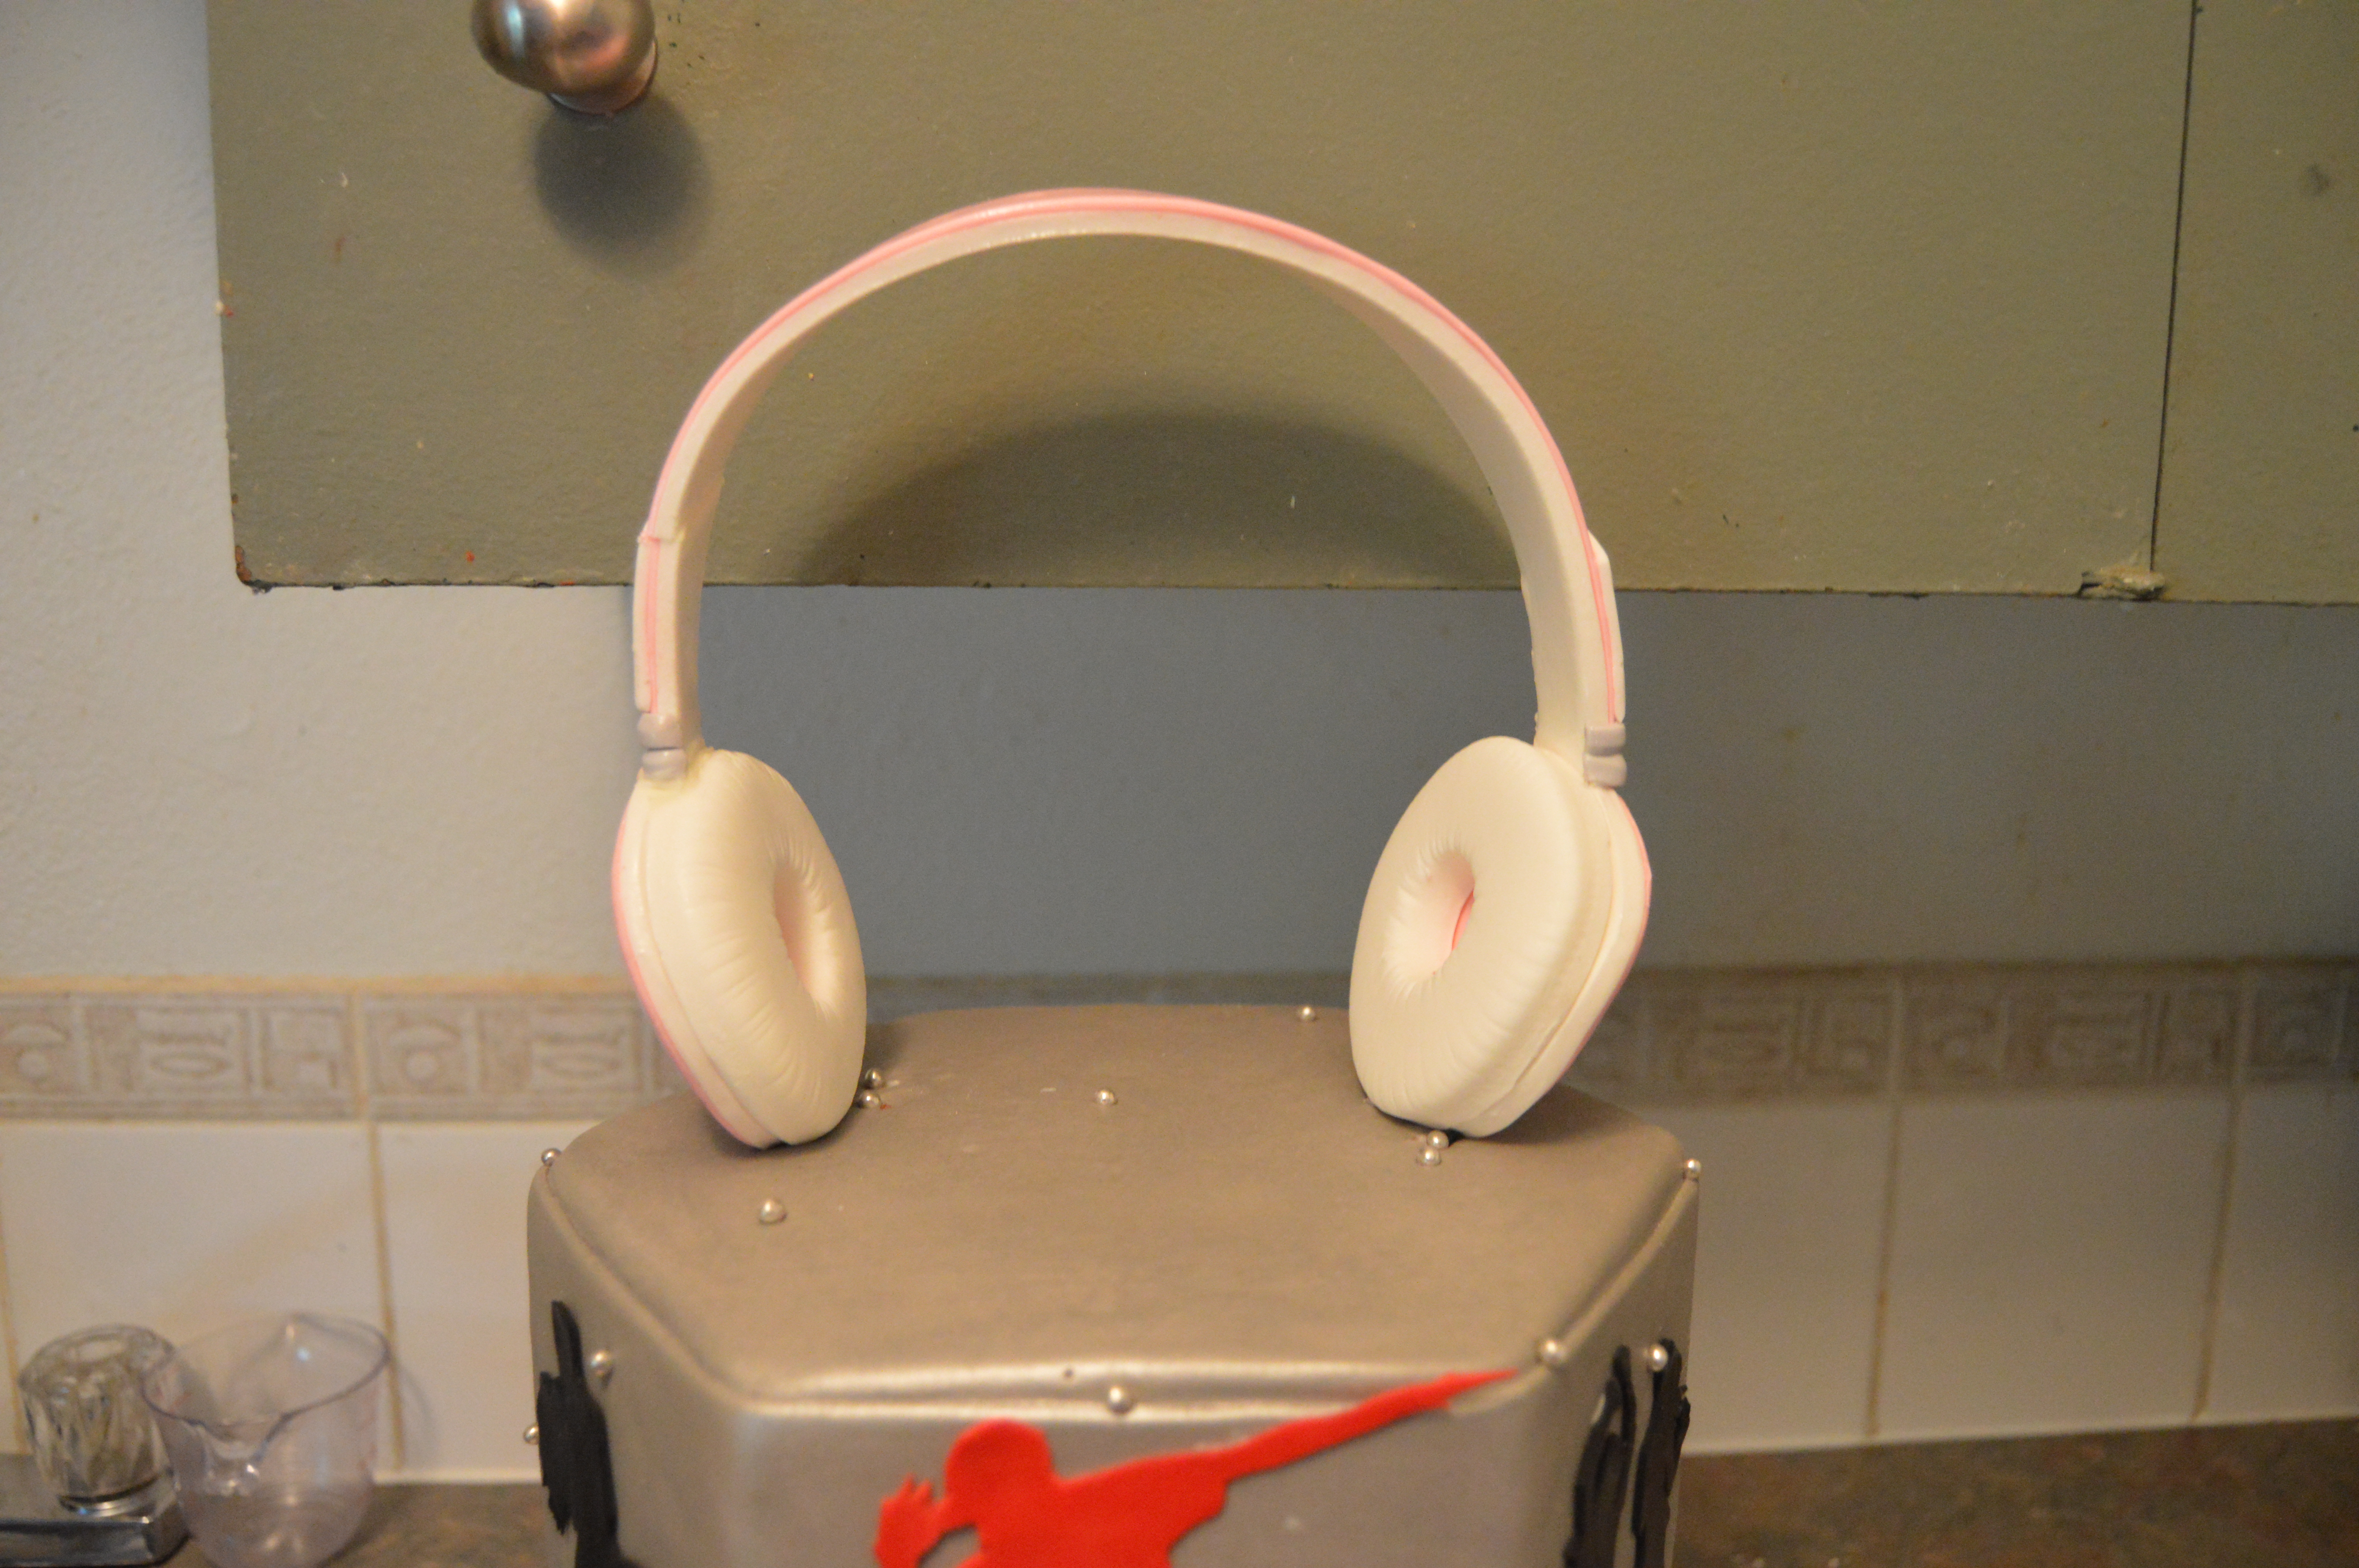
(10) Now to cover the error I made earlier, I decided to make a cord for the headphones using white fondant and used it to cover the exposed seams on the layers. Problem fixed. That’s all there is to it. Happy caking!
Terry Adido is passionate about showing people how easy it is to recreate restaurant quality meals in the comfort of their kitchens. With a style of cooking he refers to as Afro-European Fusion, his meals are influenced greatly by French and Italian Cuisine with a West African twist. If you love good food, you are in for the ride of your life.
Terry thanks for sharing, you make every thing look easy, I want to be like u when I growup lol
Thanks Rukky. This particular cake is actually quite easy.
Awesome! Fnx for d tutorial.please I Need an Idea oN how to make a weddiNg dress to be layed on a round cake,Its for bridal shower.thaNk u
You are welcome. I do not have a tutorial on that but it sounds easy. You just cut out the shape of a wedding dress on white fondant. You can make ruffles on the bottom part and simply lay the fondant on your prepared cake. I hope this helps.
Thanks Terry. Really creative.
Thanks Clin.
I love how you were able to fix the error in a creative way. Thanks for sharing your knowledge in cake decorating techniques.
You are welcome Barbara.