
How to Cover Cakes using Fondant Panels

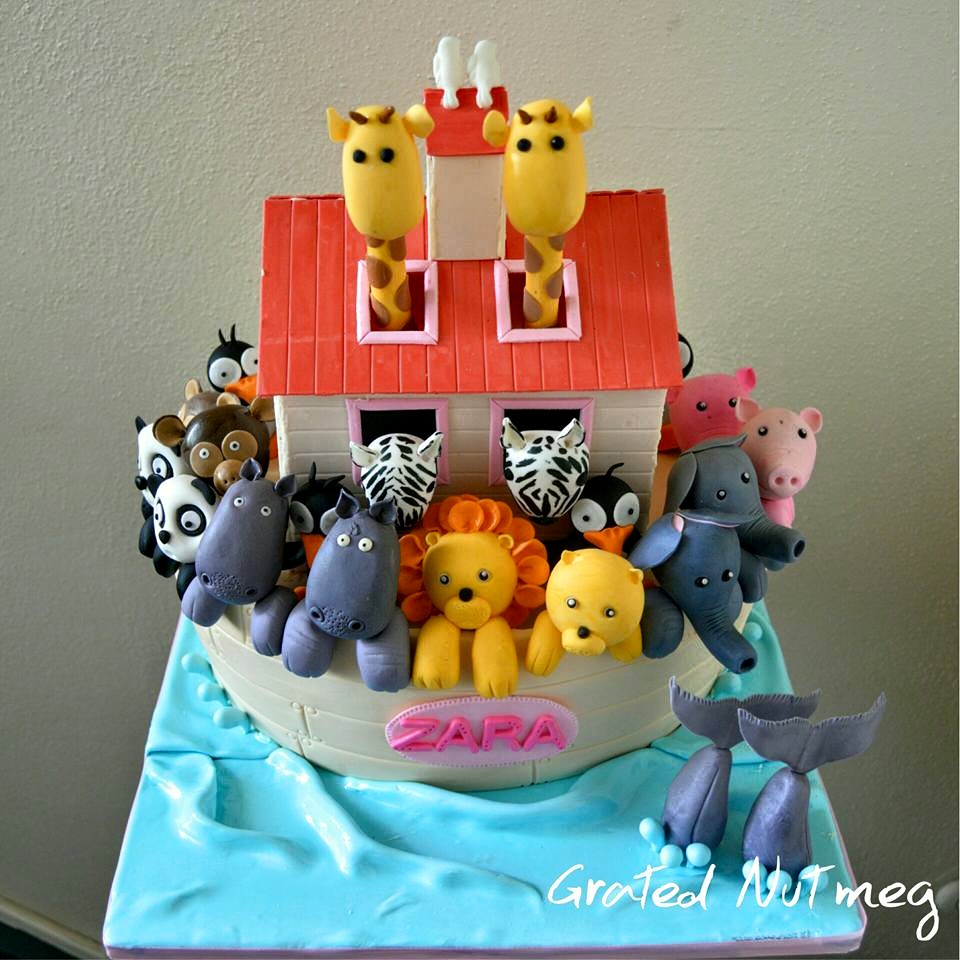
Paneling is a technique used to cover cakes with fondant slabs as opposed to draping the cake with fondant. There are two methods of paneling: soft fondant paneling and dry fondant paneling. These two methods of paneling can be combined in the same cake. In the Noah’s ark cake below for instance, the top tier was done using the dry paneling method while the bottom tier was done using the soft paneling method.
A. SOFT FONDANT PANELING
Soft fondant paneling involves placing a piece of soft fondant on top of the cake and wrapping the sides of the cake with another piece of fondant. Soft fondant paneling can be executed on cakes of various shapes and sizes: round, square, etc. The advantage of soft paneling is that it gives sharp edges to the cake. It is also a clever way of hiding imperfections which might have occurred during fondant draping. My method of wrapping a cake with diamond patterned fondant is an example of soft paneling method.

The process of soft paneling is very straightforward. The first thing you do is cover the top of the cake with fondant the same size as the top. Next, measure another piece of fondant which is the same height and circumference as the cake and wrap the sides of the cake with it. In every case of paneling, two important tools you need are a sharp fondant cutter (preferably a pizza wheel as it does not drag the fondant) and a ruler or measuring tape. Cake measuring tapes are useful when covering round cakes. Just as with fondant draping, a little bit of water should be brushed on the cake before applying the fondant. Below are a few cakes in which the soft paneling method was used.

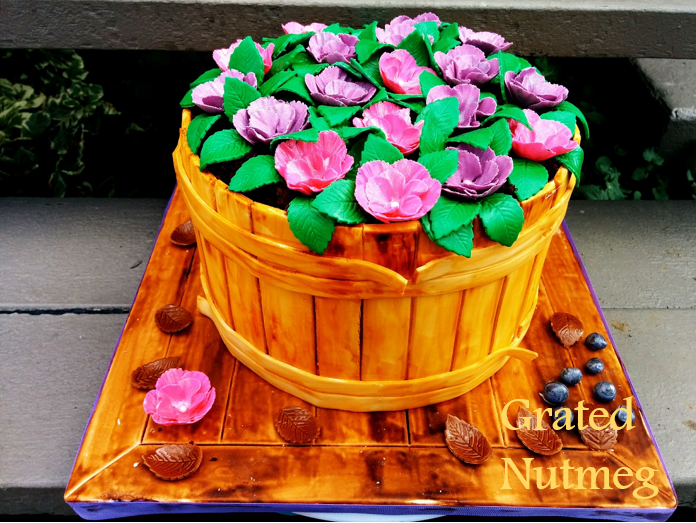
ii. Wooden Flowerpot Cake. Tutorial here.
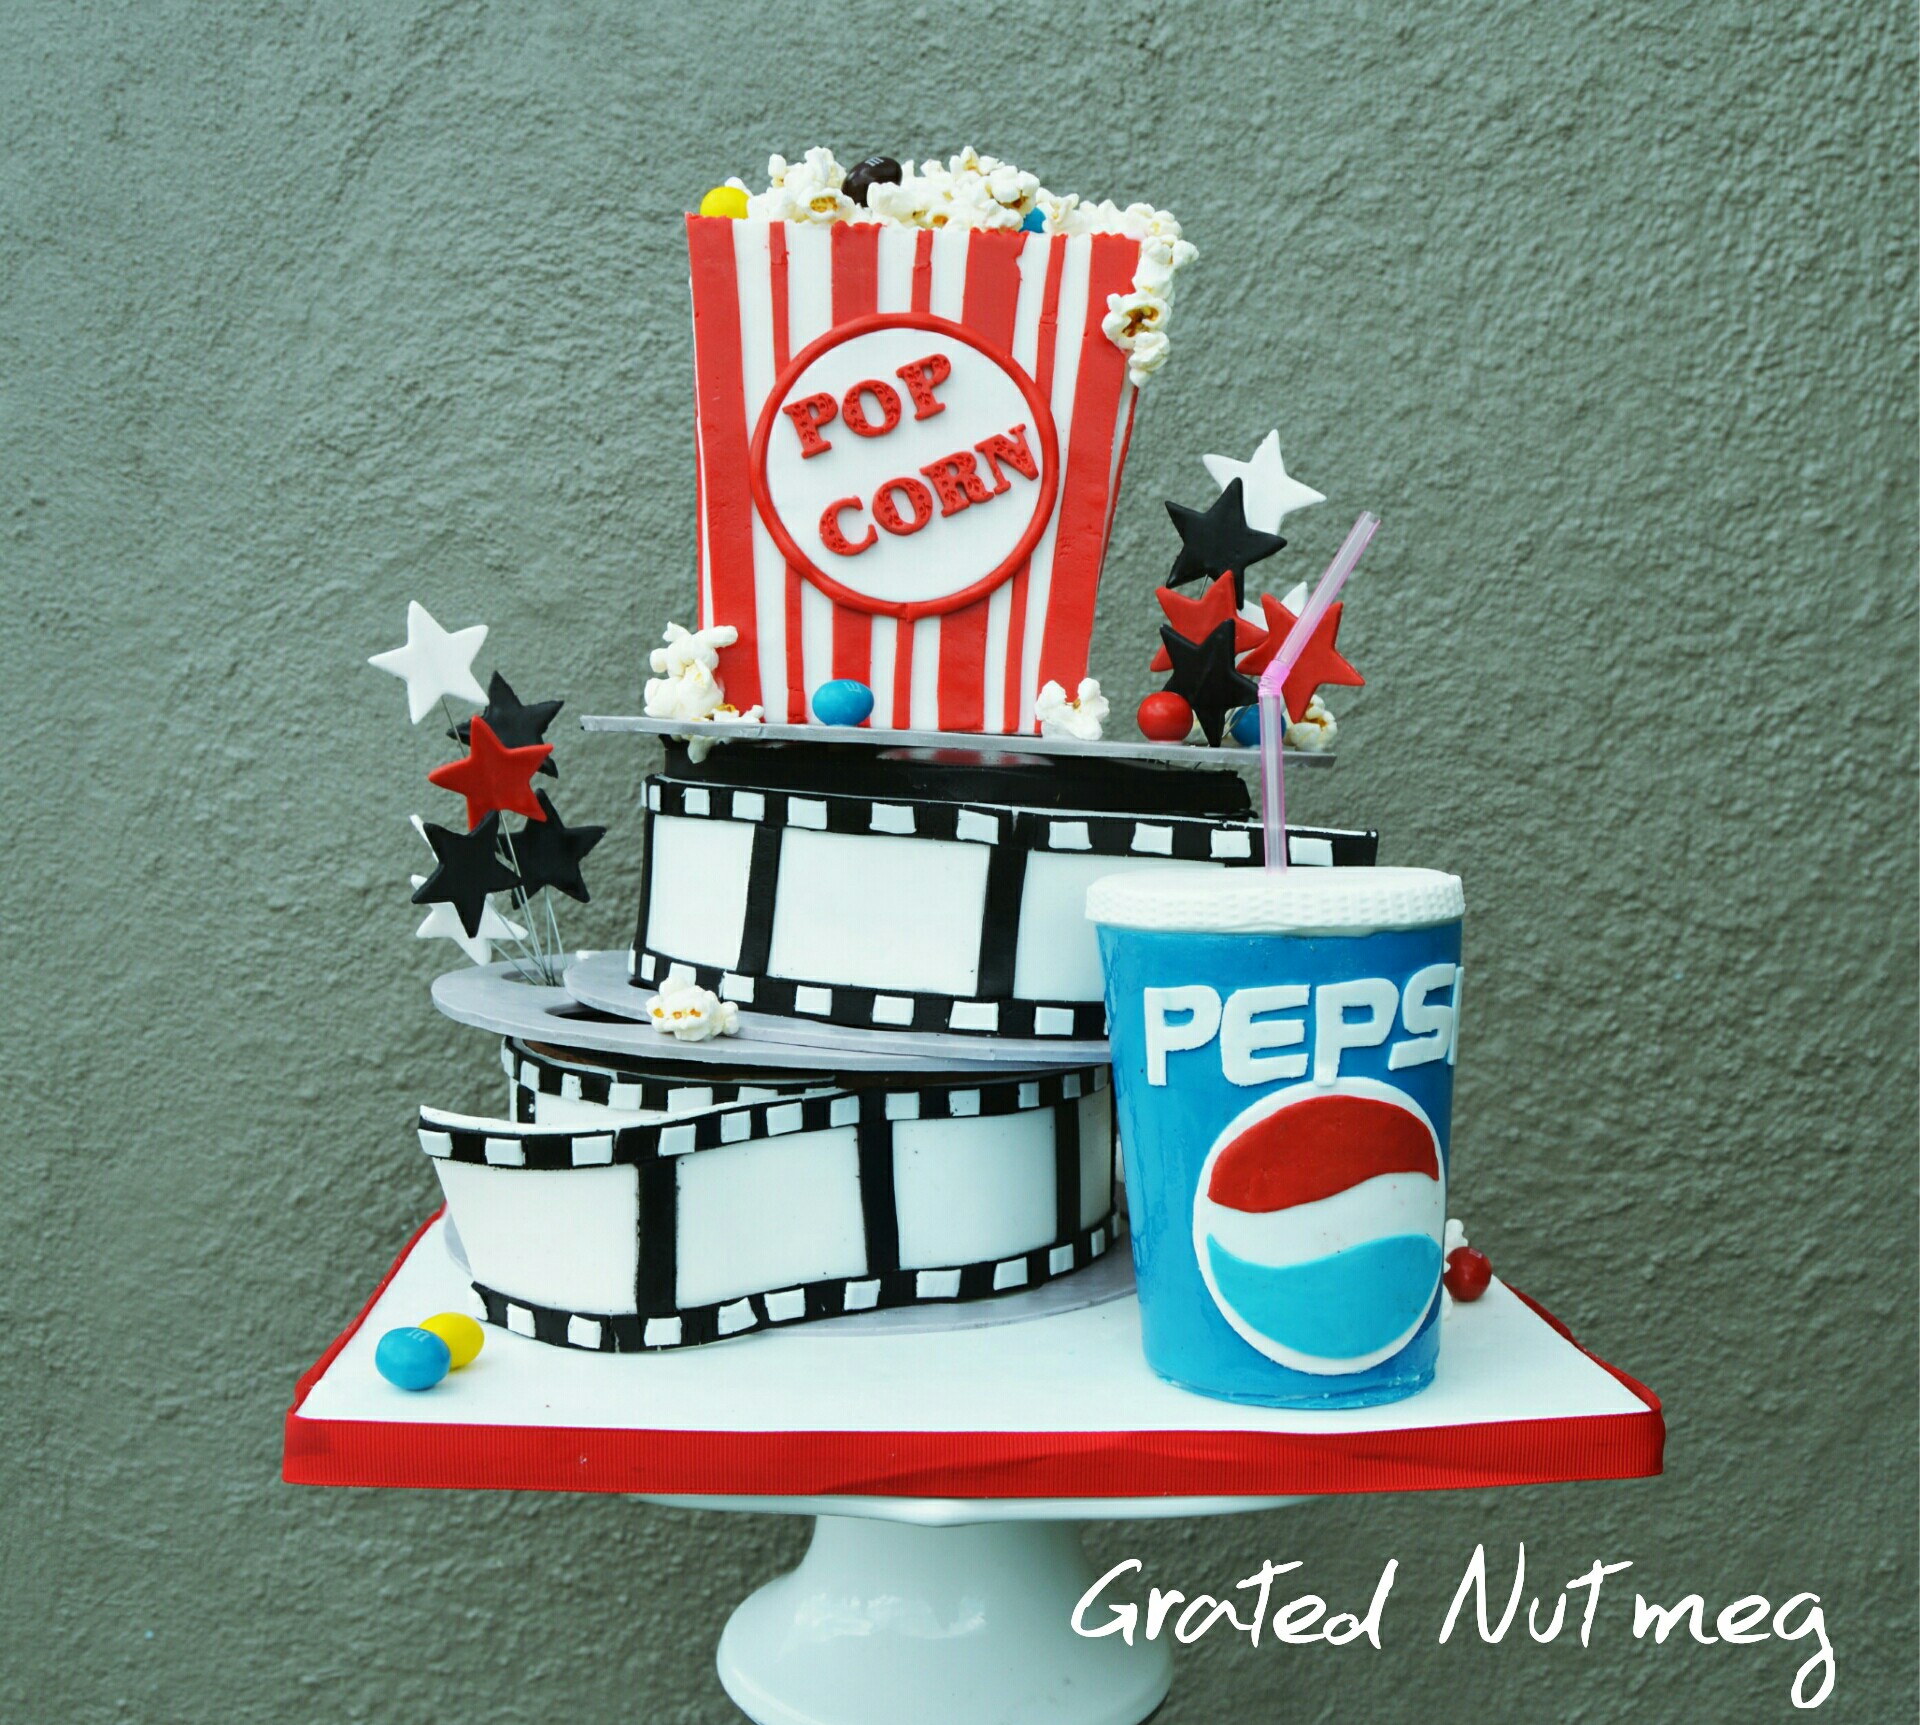
iii. Cinema Reel Cake. Tutorial here.
iv. Nigerian Luggage Cake. Tutorial here.

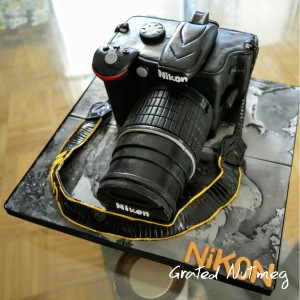
v. Nikon Camera Cake. Tutorial here.
vi. Shoe Box Cake. Tutorial here.

B. PANELING THE TOP OF CAKES
It is possible to use fondant panels for only the top of the cake. This is an effective way of incorporating elaborate designs and cutouts to your cake design. It also gives you the opportunity of making elements of the cake before hand thus making your design work on the final day less stressful. With this method of paneling, you make the top of the cake before hand and leave it to dry. After covering the cake with fondant, you simply place the pre-made panel topper on the cake. If using this method, the size of the length and width of the panel should be about 5 mm bigger than the size of the length and width of the cake. This will make room for the increase in size of the cake after frosting and a layer of fondant has been applied to it.
I have a few tutorials on the website on how I made some of my paneled toppers:
i. Go Diego Go! Cake Topper. Tutorial here.

ii. Avatar: the Last Airbender Cake Topper. Tutorial here.

iii. Spiderman Cake Topper. Tutorial here.

iv. Ever After High Diary Cake Topper. Tutorial here.

C. DRY FONDANT PANELING
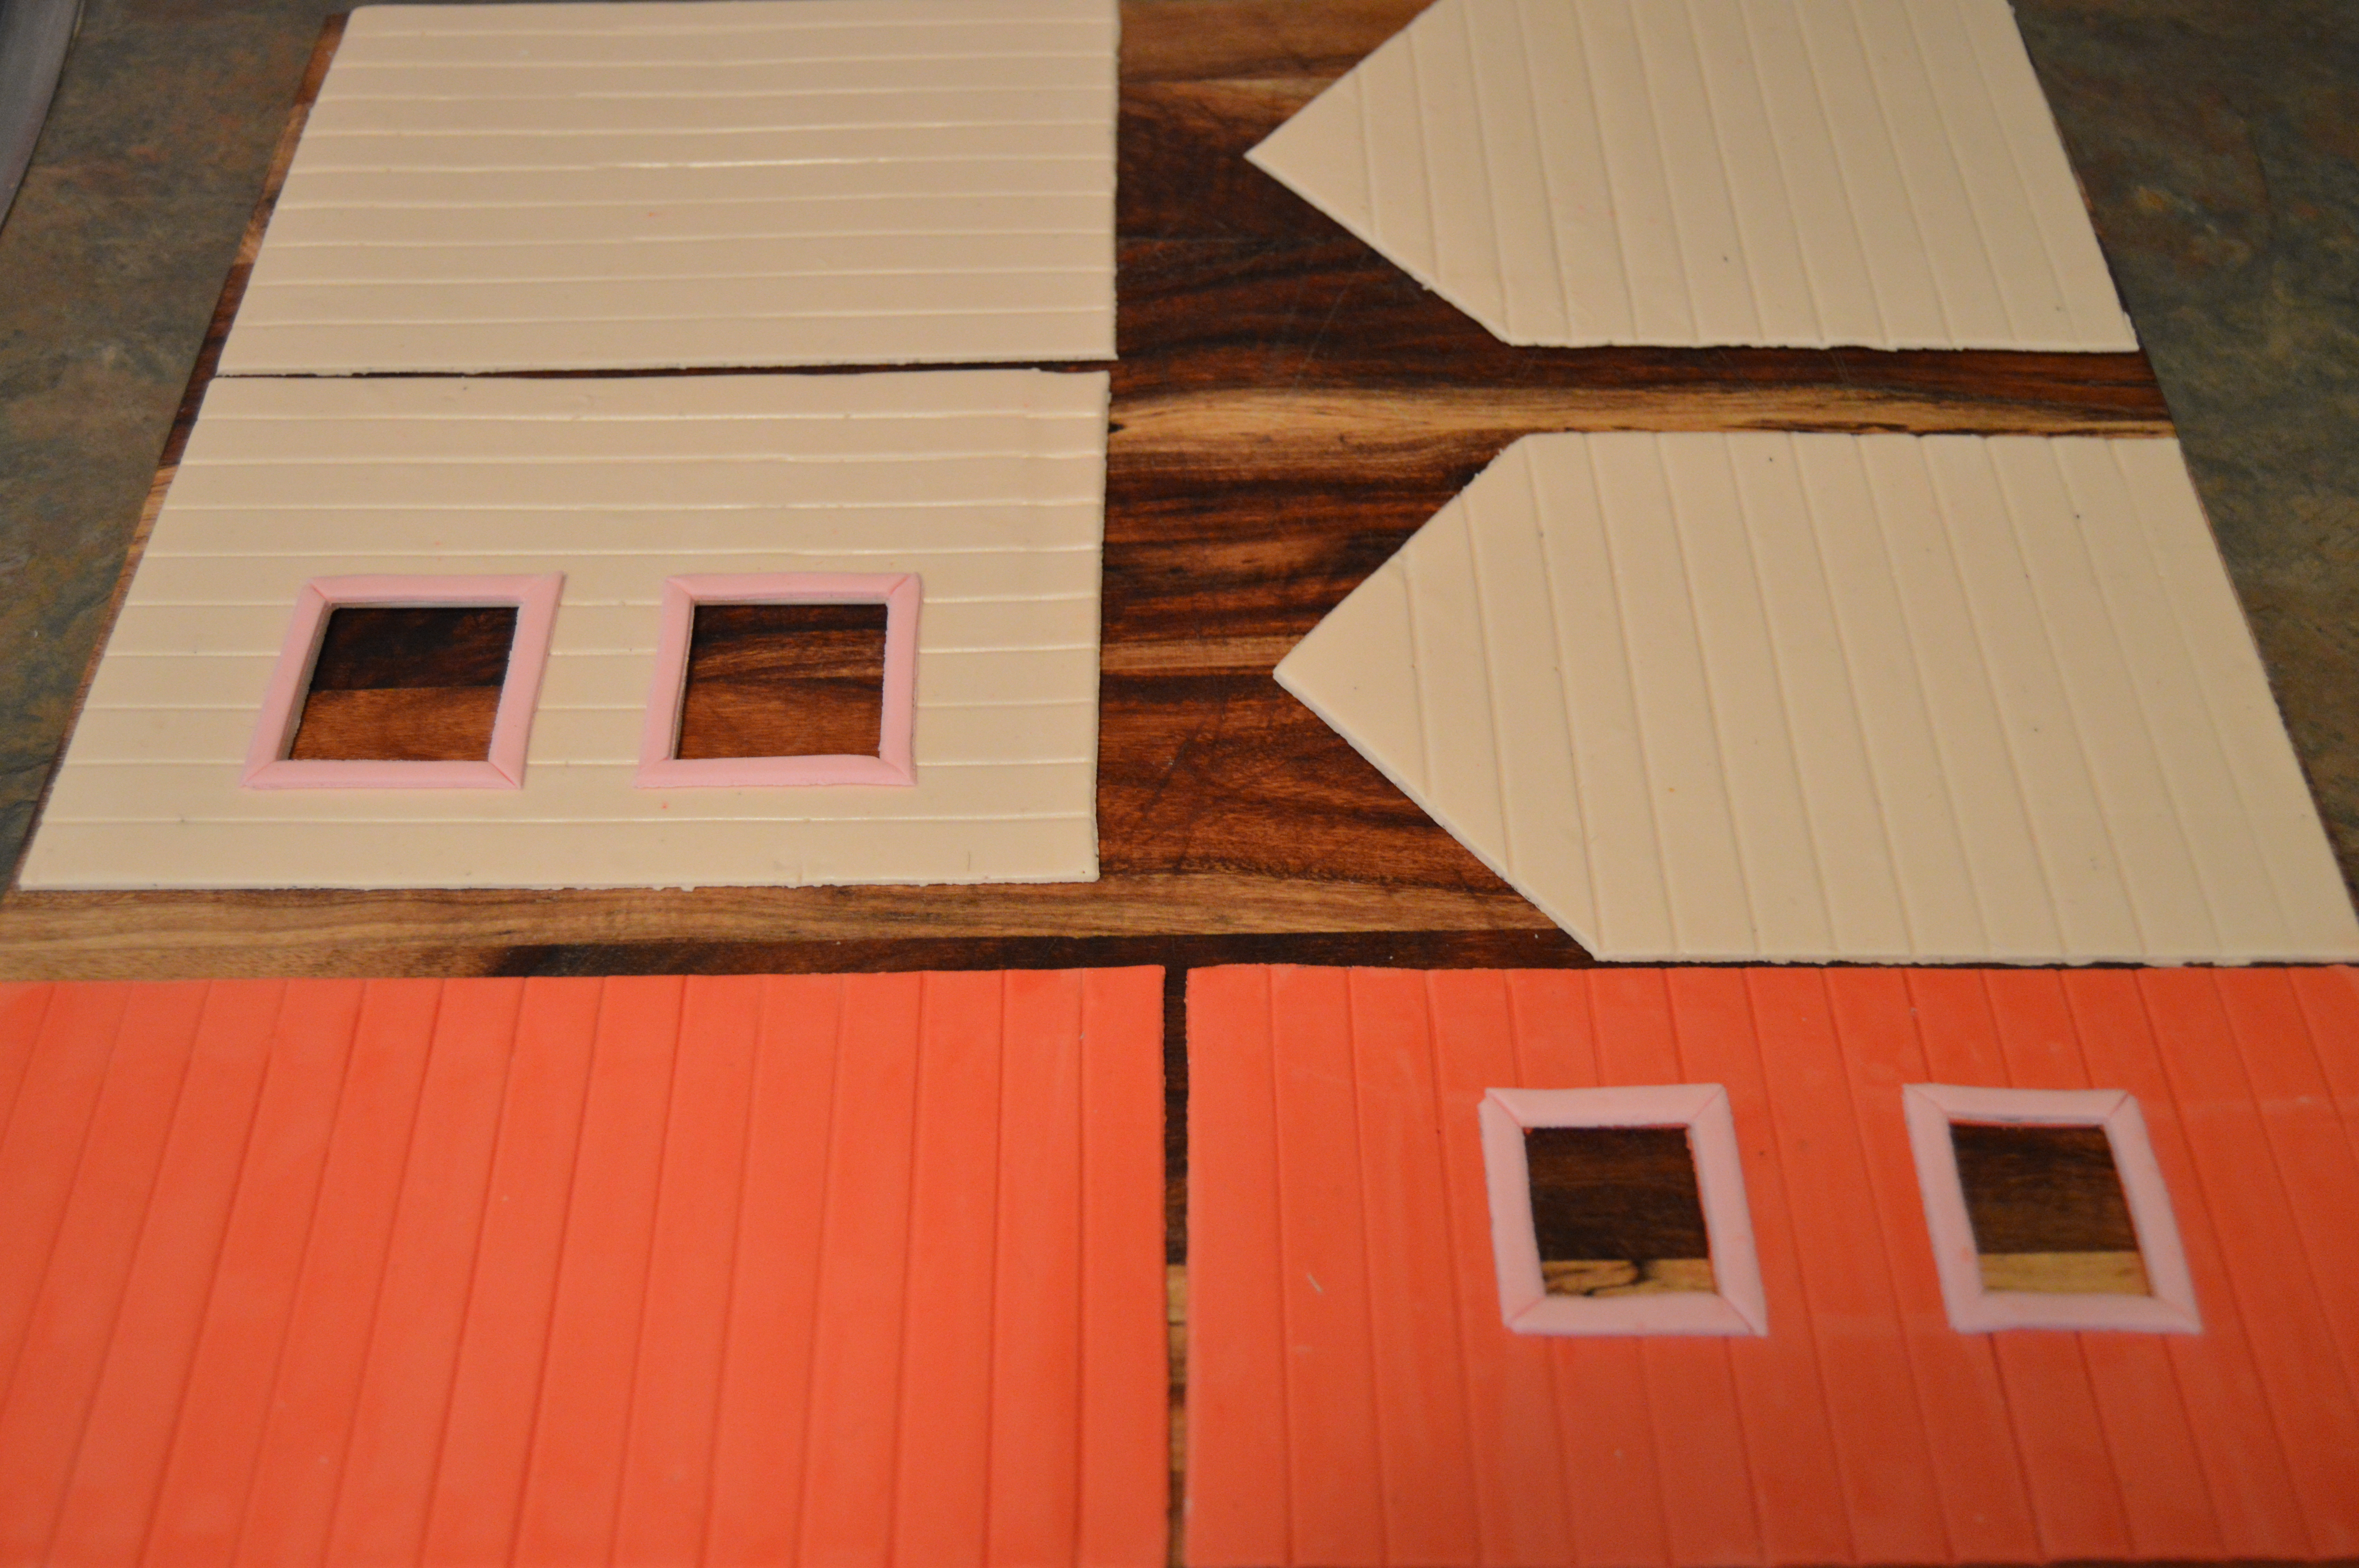
As the name implies, dry fondant paneling is the method in which the sides of cakes are covered with dry fondant panels. The dry paneling method is used for cakes with sharp angles like boxes or cubes. It involves making the fondant panels ahead of time, leaving them to dry and then sticking them to the sides of the frosted cake. The dry fondant panels could be stuck directly on the frosting or you could drape the cake with a layer of fondant before placing the panels.

Below are a few tips for successful dry fondant paneling:
i. The panels need to be made ahead of time. Depending on the weather conditions of where you live, they should be made at least 2 days or up to a week before placing them on the cake. The fondant panels need to be very dry before using. I have heard of cake decorators placing the panels in the fridge to hasten the drying process, I am yet to try this method and so cannot comment on its efficacy.
ii. Before cutting the panels, you must have an idea of the measurement of your cake tier, especially the sides and height of the cake. There will be no room to readjust the size of the fondant panels after they have dried. Also, if the panels are not big enough, you will have uncovered cake showing. Foresight is needed when dry paneling.
iii. The panels should always be bigger than the cake tier. This is because the cake will be frosted thus increasing its size and the fondant panels will shrink a bit when dry. When cutting the panels, increase the size of the sides by 5 mm. For example, if you want to cover a cake with sides measuring 8″ x 5″, the size of each panel should be 8″, 5 mm x 5″, 5 mm. If you measure the panels the same size as the cake, the panels will not be big enough to cover the cake.
iv. Avoid using very soft fondant when creating your panels. I usually make my fondant the day before and keep them wrapped so they dry out a bit and become firm before cutting. Using very soft fondant might be a frustrating experience and increases the likelihood of the fondant losing shape.
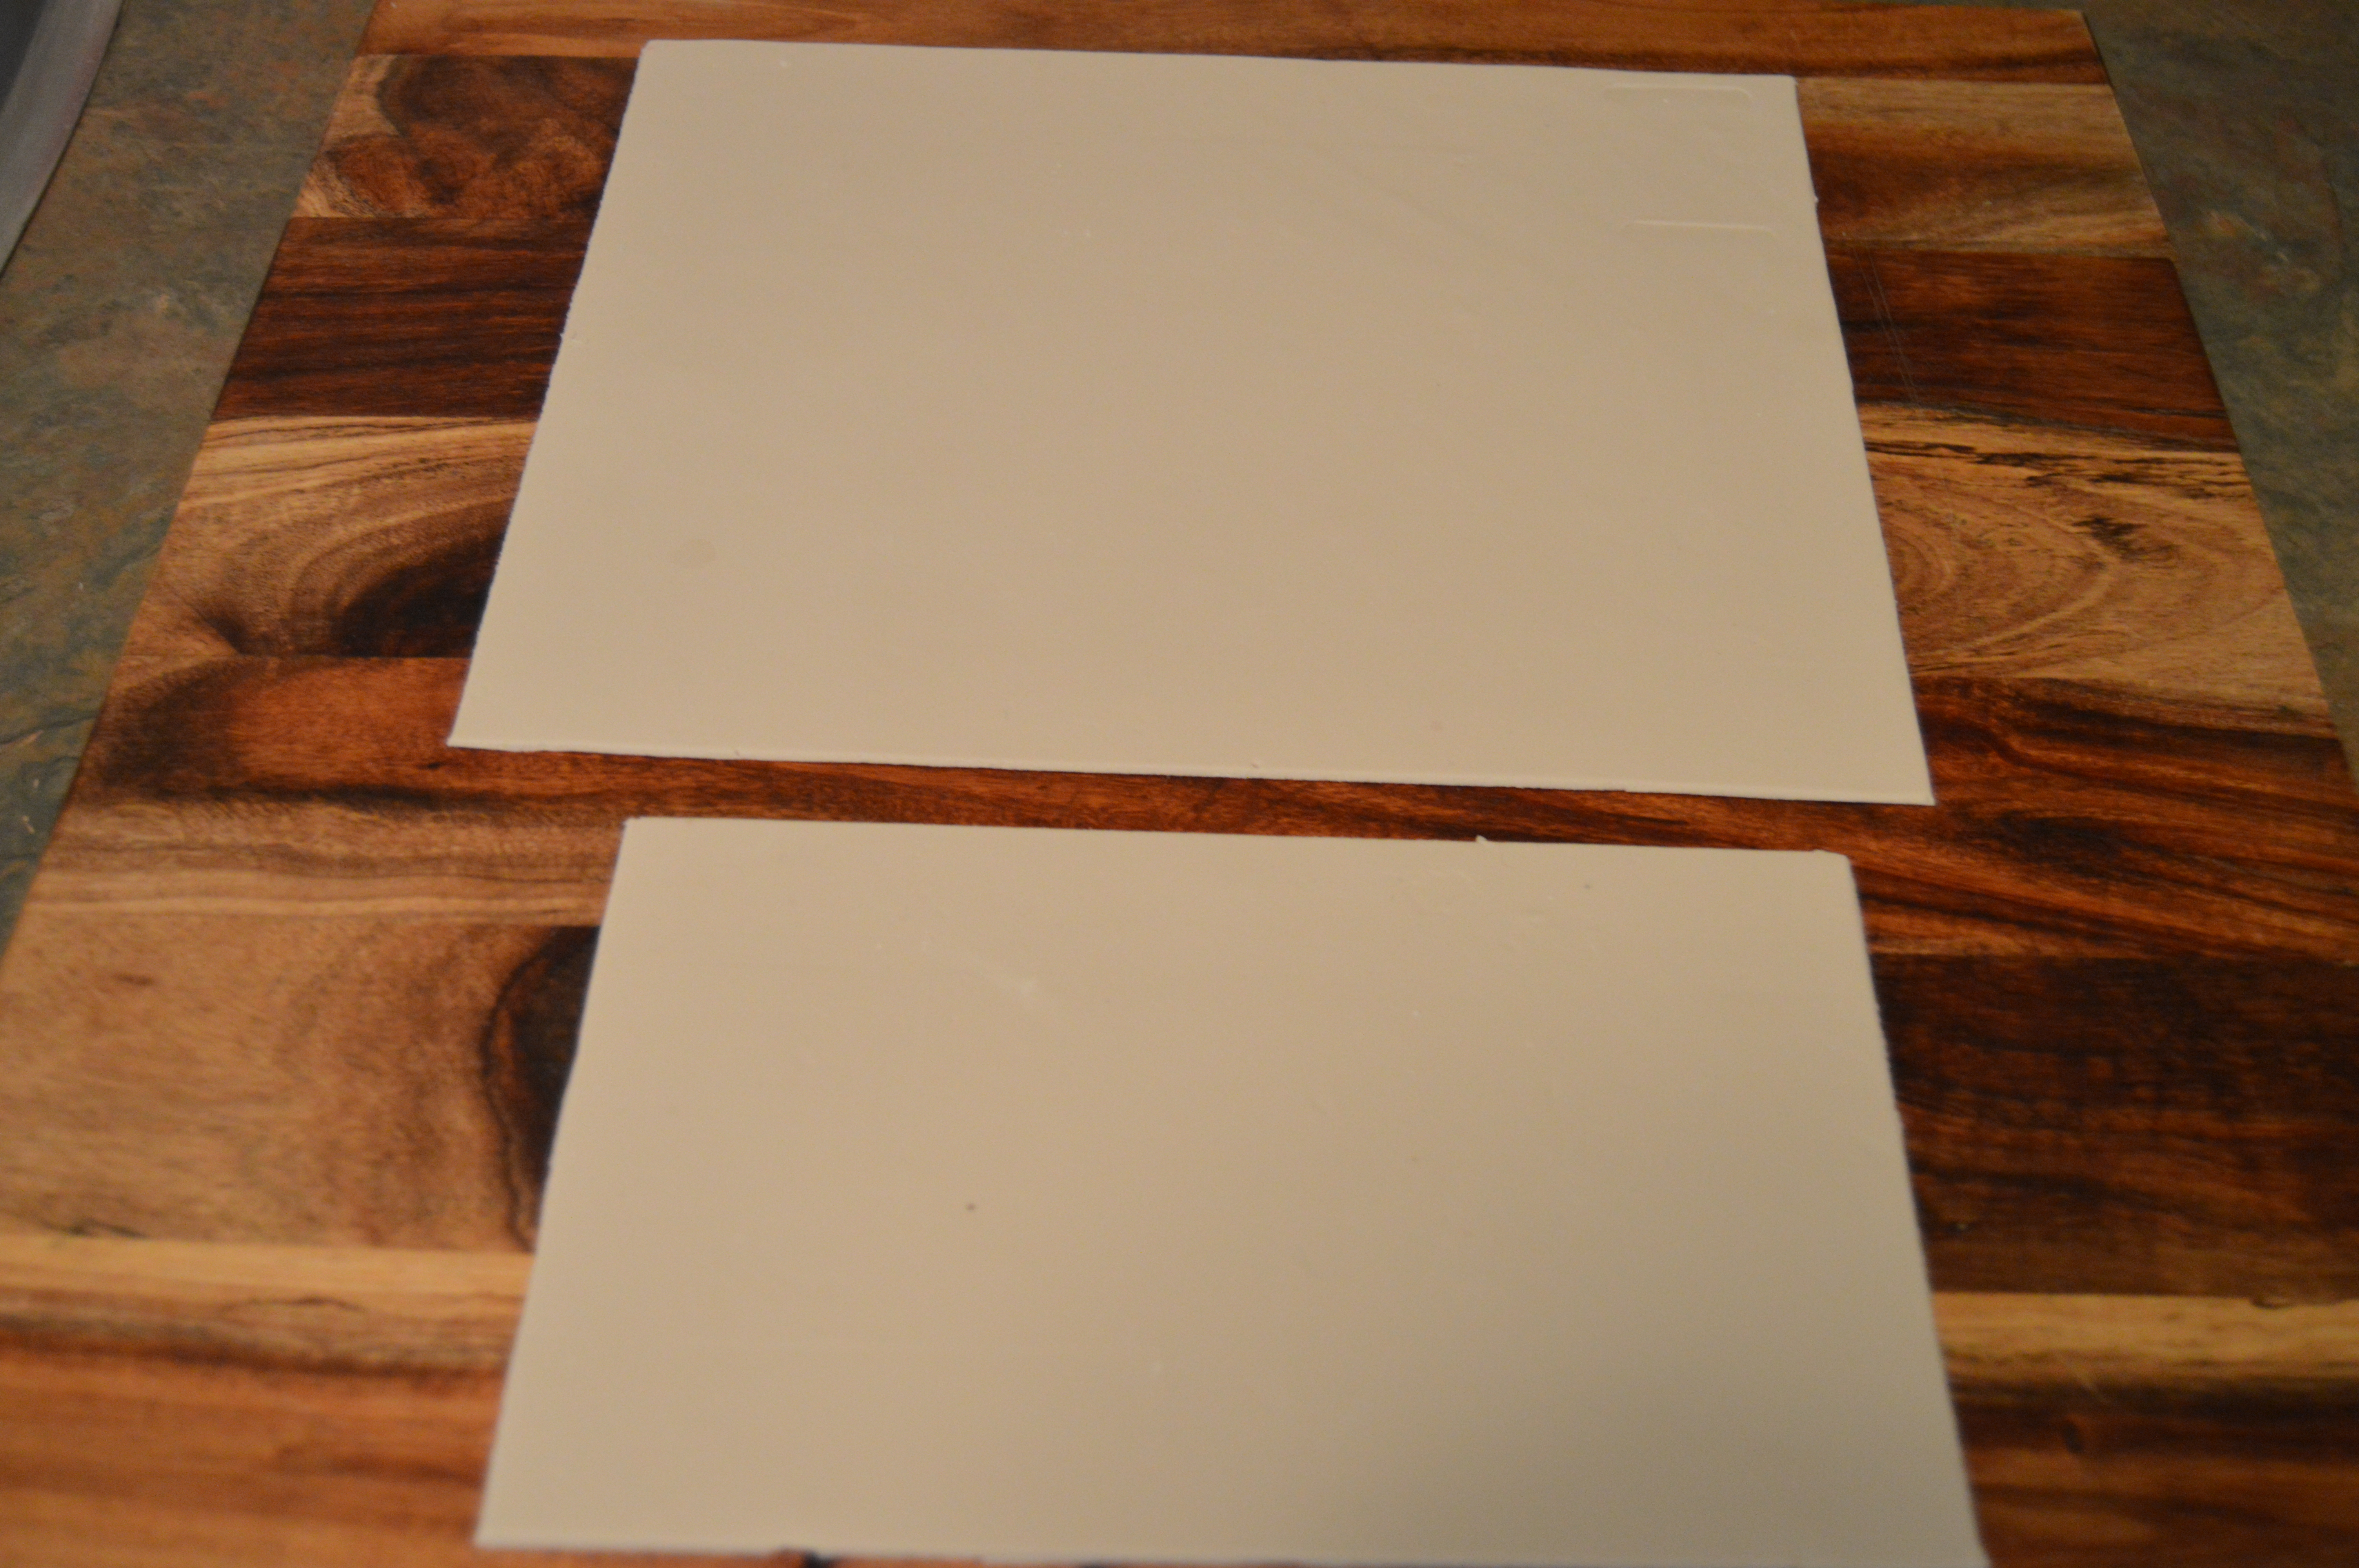
v. Always cut your panels on the drying surface. Transferring the panels to the drying surface after cutting them will make them loose shape. What I do is roll out the fondant to a size bigger than the panel I intend to make and transfer the rolled out fondant to a large cake board or wooden board dusted lightly with icing sugar and leave it for about 30 minutes to dry out a bit. The icing sugar will prevent the fondant from sticking to the cake board. Drying out will make cutting the fondant easier, it will give you sharp edges and prevent the fondant from dragging during cutting. Using a pizza cutter and a ruler, I use the angles of the cake board as a guide (so the angles are accurate) and cut out the panel. I then remove the excess fondant leaving the panel on the cake board to dry. After 24 hours, I run a flat icing spatula underneath the panels just to make sure they are not sticking to the cake board. I repeat this every 24 hours until the panels are dry.
vi. When frosting your cake, make judicious use of your cake cards. Cake cards are placed underneath cake tiers for structure and also to achieve straight sides during frosting (Read more about the use of cake cards here). Make sure that your cake cards are exactly the size of the cake you are covering. Using the example in item iii above, if you are covering an 8″ square cake, the sides of the cake card should be exactly 8″.
vii. Do not apply a lot of frosting to the outside of the cake. Applying a lot of frosting to the outside of the cake will not only increase the size of the cake and might displace the panels when the cake comes to room temperature. Use the cake card underneath the cake tier as a guide when frosting your cake. The frosting should be contained within the cake card. Make sure your sides are as straight and smooth as possible after frosting. Use a knife to cut off bulges on the sides of the cake. Your edges and angles should be sharp.
viii. When applying the dry fondant panels to the cake, I brush the sides of the cake with a little bit of water or vodka and apply the panels one at a time. I brush melted white chocolate to the edge of each panel so it sticks to the next panel, thus providing a very strong structure.
Below are some cakes in which the dry fondant paneling method was used.
i. Elsa’s Castle Cake. Tutorial here.

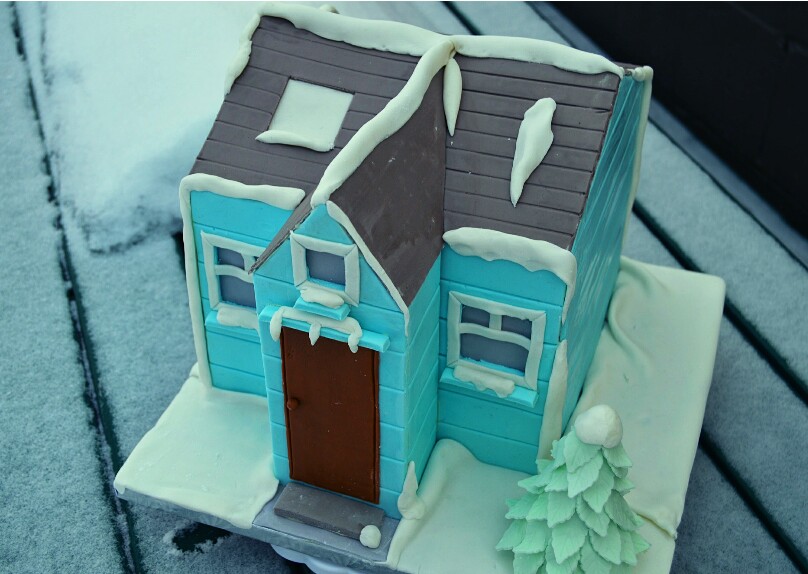
ii. Winter House Cake. Tutorial here.
iii. Red Bottoms Shoes Addiction Cake. Tutorial here.
iv. Church with Domed Roof Cake. Tutorial here.

v. Noah’s Ark Cake. Tutorial here.
vi. Cream and Pink Church Building Cake. Tutorial here.
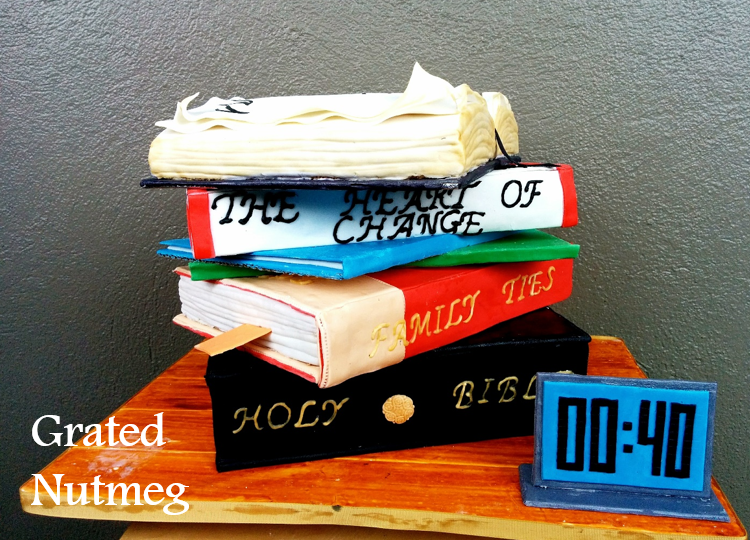
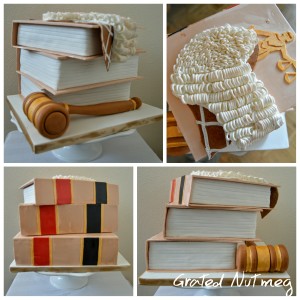
vii. Law Review Cake. Tutorial here.
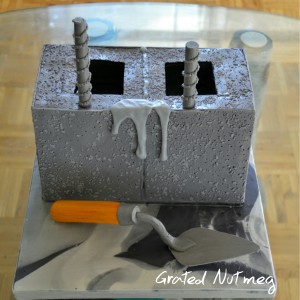
viii. Concrete Block Cake. Tutorial here.
D. THIN VERTICAL PANELS
This is another method of dry fondant paneling which I feel deserves to be treated separately. Like with dry panels, the fondant here is rolled out and left to dry for a few hours until firm enough to cut without it losing shape. A sharp blade is then used to cut the fondant into panels of about 1 – 2 inches. These panels are left to dry and used to cover the sides of cakes. The Ankara cake below was made using this method of fondant paneling. A tutorial on how this cake was made can be found here.

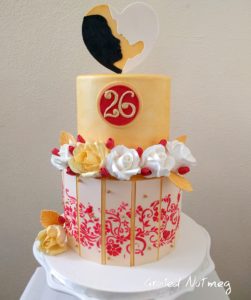
The cakes below were also made using this method of thin vertical paneling. In this case though, designs were made on the rolled out fondant using stencils and royal icing. The fondant was then divided into vertical panels when the royal icing was dry. I used royal icing here as it dries up very fast.

END NOTES:
(1) You might wonder, wont the fondant be too hard for the cake to be sliced. The answer is no. The frosting softens the fondant after it has been applied to the cake. The fondant also breaks easily under the pressure of the knife. Be sure not to make your fondant panels too thick. They should be delicate and handled with care even after applied to the cake.
(2) It is important to dry your fondant on very clean surfaces. This is why I use cake boards and wooden boards.
(3) If it happens that the panels are too small for the cake, you can find creative ways of hiding the gaps. In the Winter House cake for example, I used white fondant to act as snow and cover some gaps in the paneling.
Happy caking!
Terry Adido is passionate about showing people how easy it is to recreate restaurant quality meals in the comfort of their kitchens. With a style of cooking he refers to as Afro-European Fusion, his meals are influenced greatly by French and Italian Cuisine with a West African twist. If you love good food, you are in for the ride of your life.
Wow! Fenks ve gained a lot. But for the top panel guess I will just use water on d edges round before sealing with the size
I’m glad this post was helpful Omolere.
God bless u. Am short of words
You are welcome Comfort.
hi Terry
thanks for the tutorial. I tried the hard panelling however instead of hardening my fondant is sweating as a result of humidity. can I use gumpaste for the shopping bag tutorial. Please kindly reply. its urgent
Hi Addy, must be the humidity of where you live. Are you based in Lagos? Was your fondant very firm when you made the panels?
Thanks sir on this tutorial. i am going to try dry panelling on a 3d number cake next week. o am so excited. the feedback will be posted on facebk. bless u sir.
Looking forward to it. You are welcome.
Terry you make all this look so easy but boy,when one gets down to the real thing,its not as it looks,but thanks for making it simple
Well, easy or difficult is relative. Having said that, yeah, it does take some effort, skill and know-how to execute cake designs. I trust you will do just great.
Hi Terry, Thanks for your tutorial on panelling! where did you learn to decorate cakes? Are you self taught or did you learn somewhere? Would love to know 🙂
You are welcome. I’m self taught.
Hi pls where can I get the template for the panels
I make mine.
Wow!wow!wow!wow!wow! More grace!
Thanks Tolu.
I’m simply dazed by your skills Terry. Thank you, always.
You are welcome.
Thanks for the tutorial! Just what I needed for the reel cake! Will the movie reel panels start drooping or get soft enough to lose their shape if the cake is made a day in advance?
No they wont.
Thanks for the tutorial.pls how do I mix and make a dry fondant?
Hi. Sorry I do not have a regular fondant recipe.
Wow. Thanks for the easy to understand explanations. Thanks for also sharing your ideas with us at the uncut learning dew drops cakes organised.
You are welcome Honeymix.
Beautiful pieces of art, more grace sir
Thanks Jennifer.