
Fondant Stethoscope Tutorial
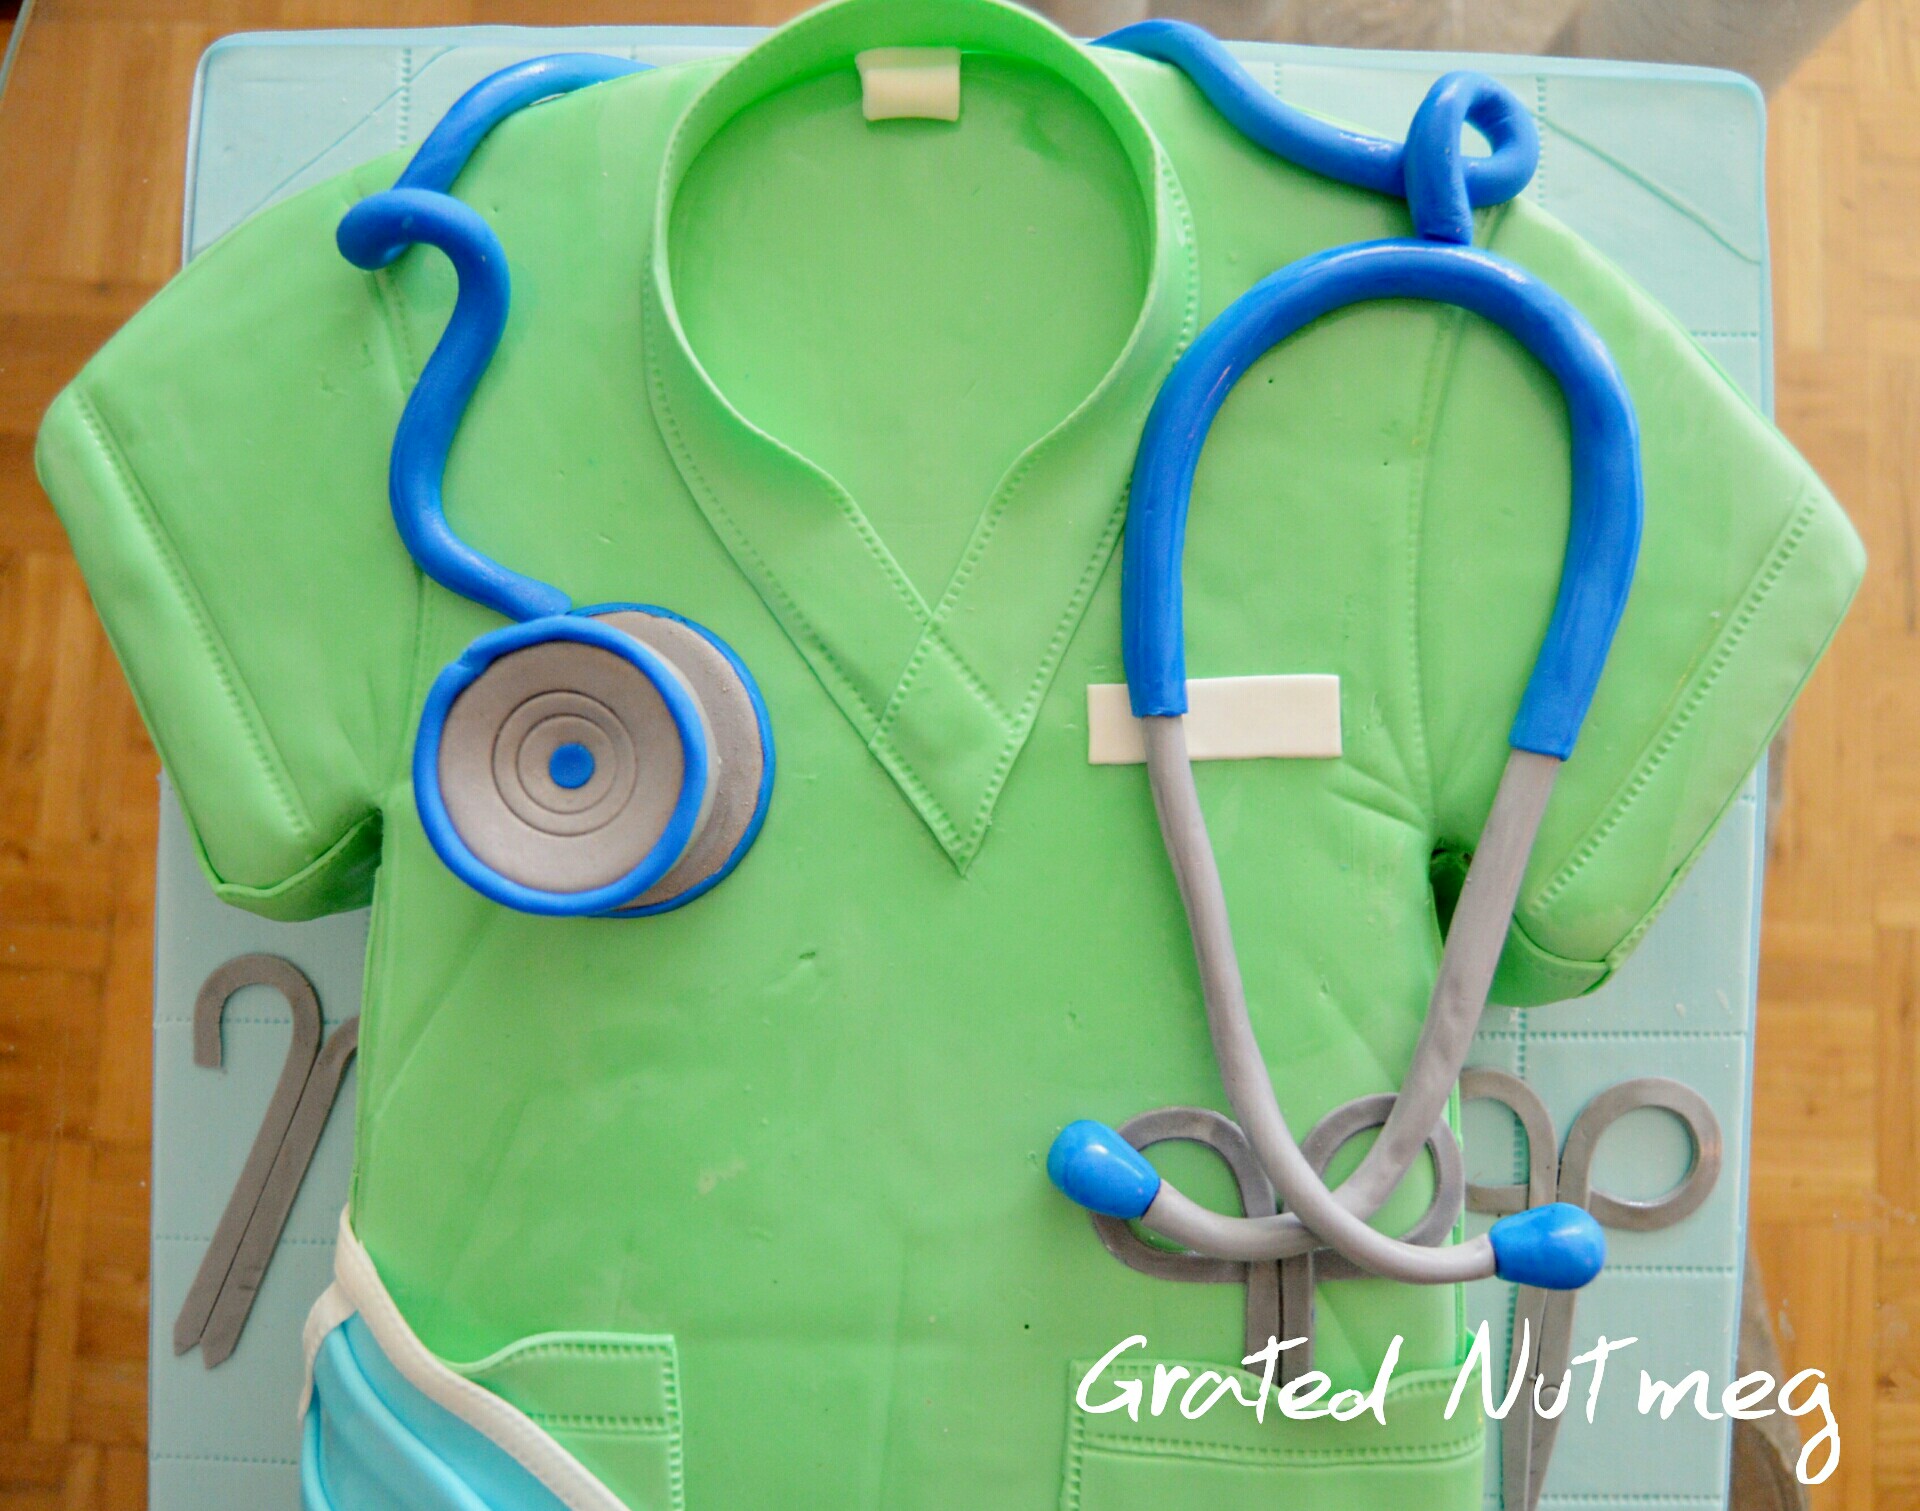

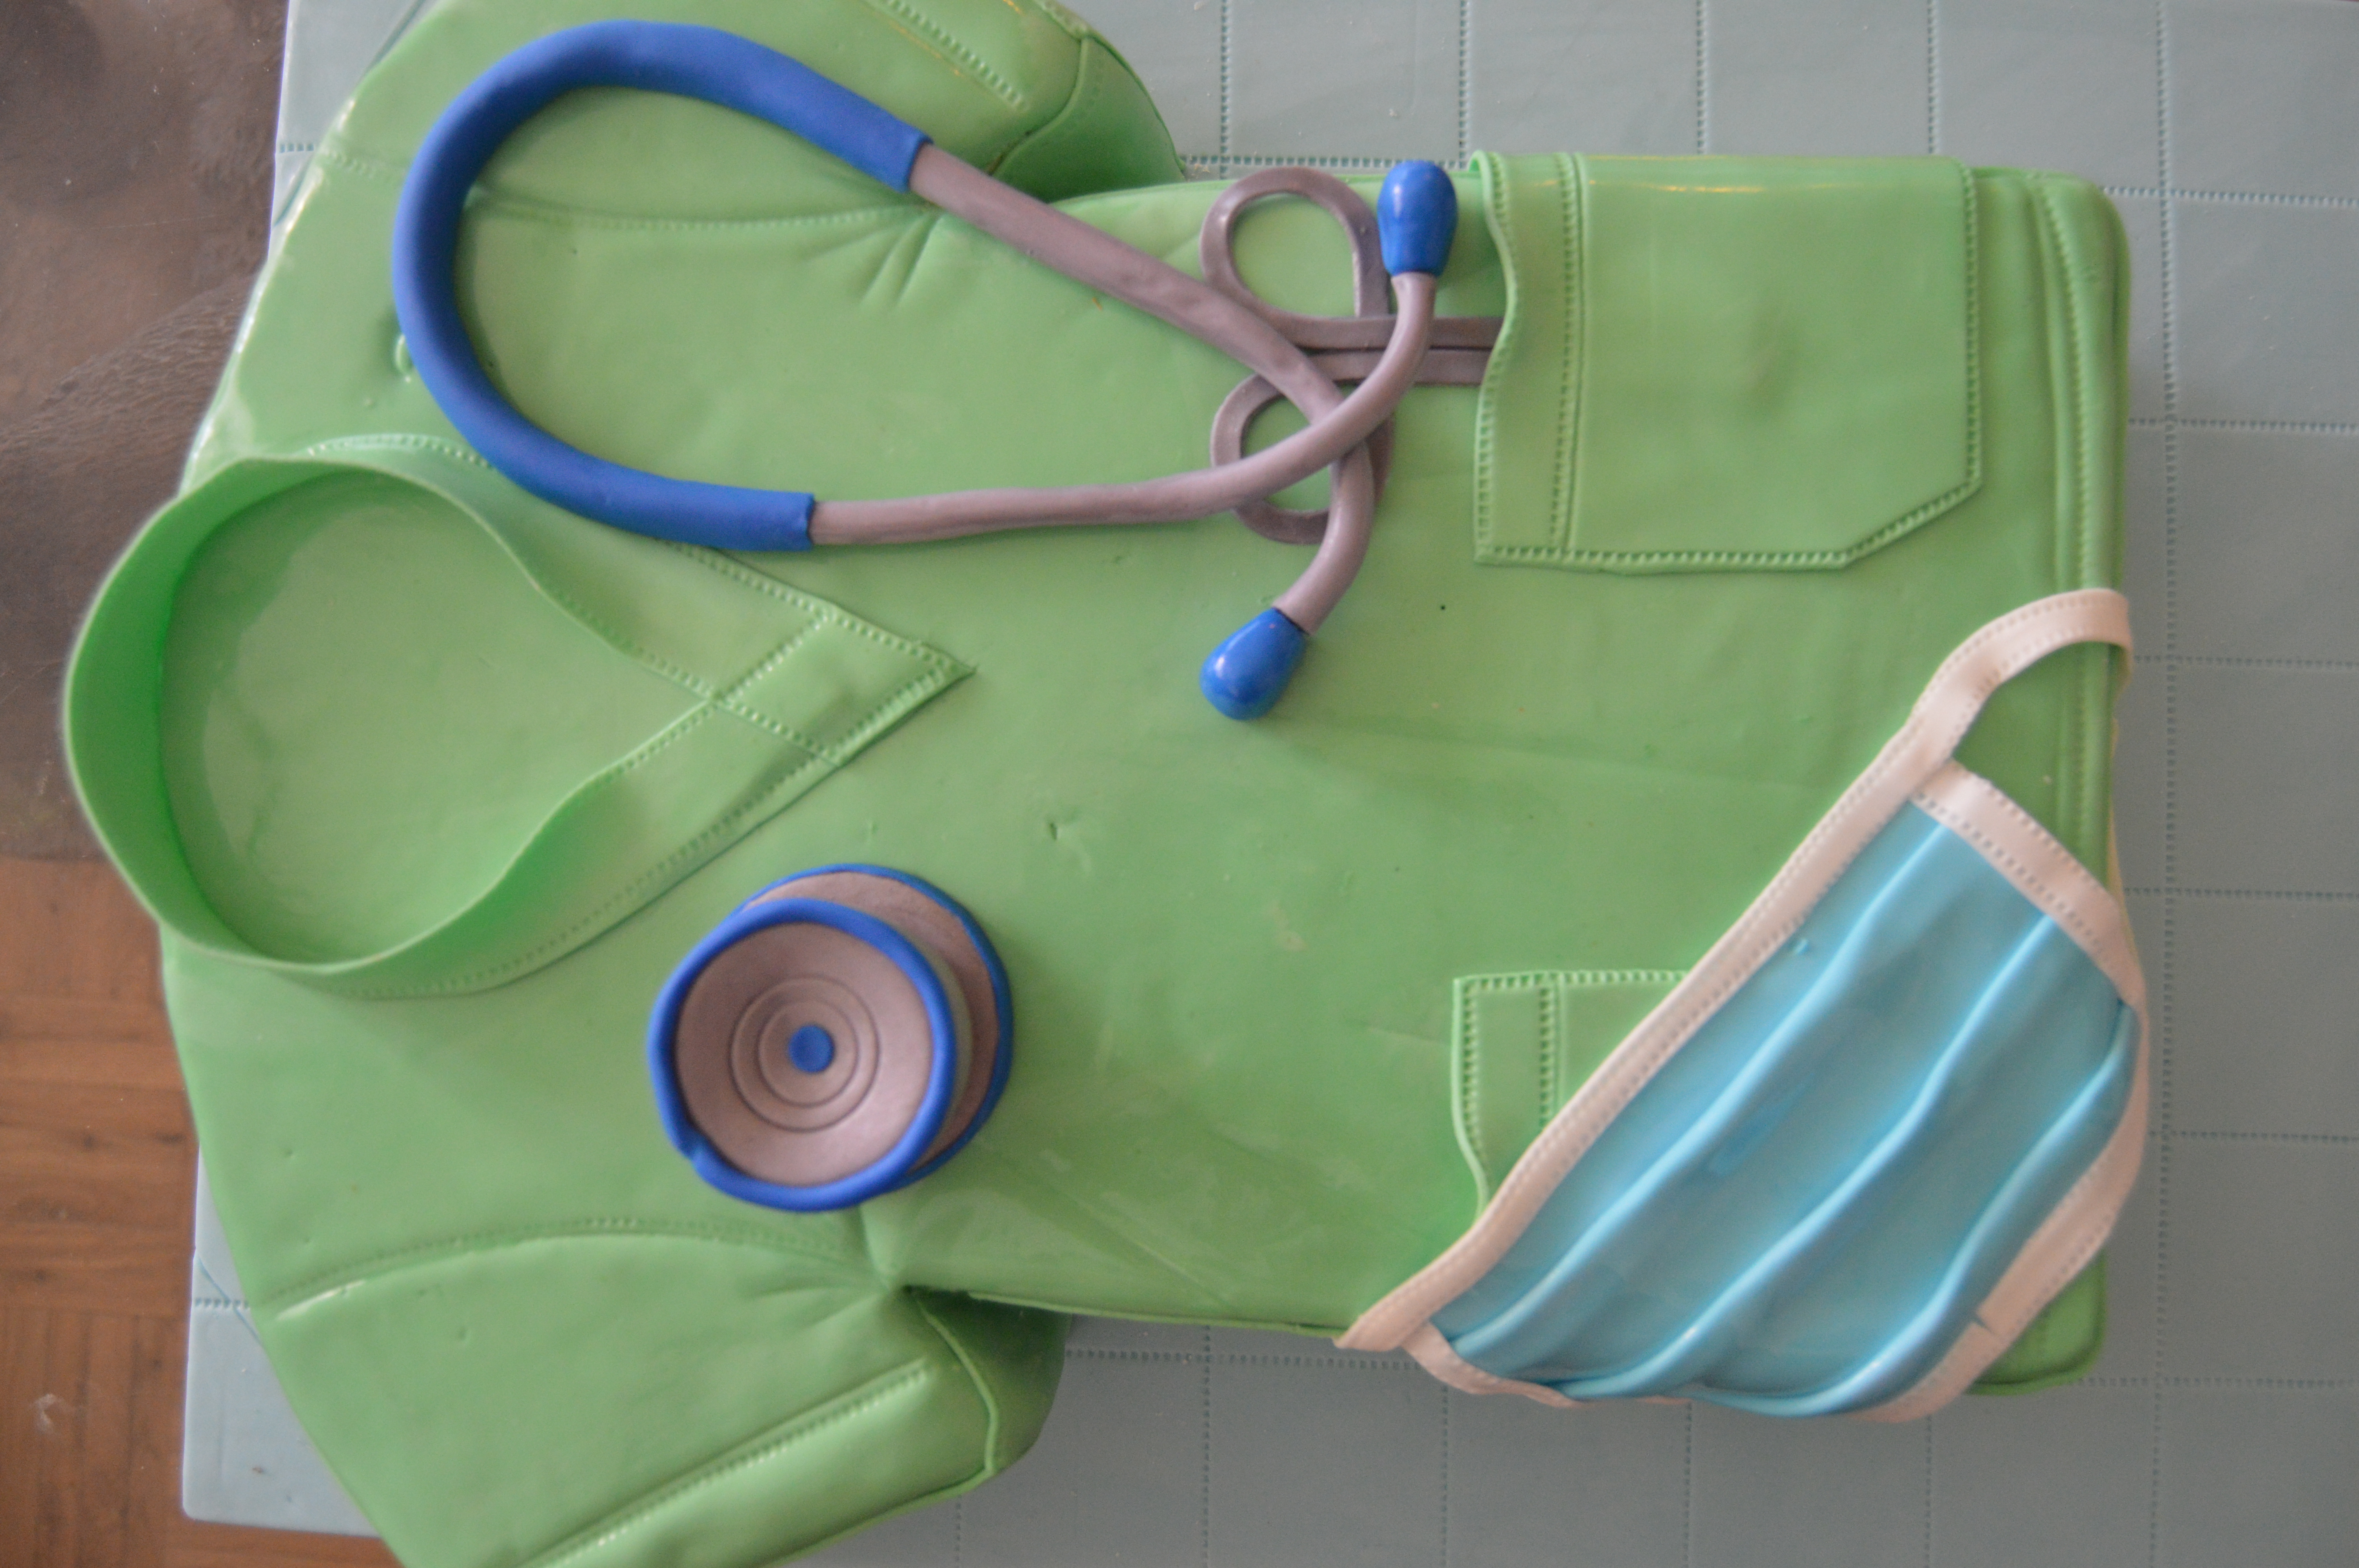
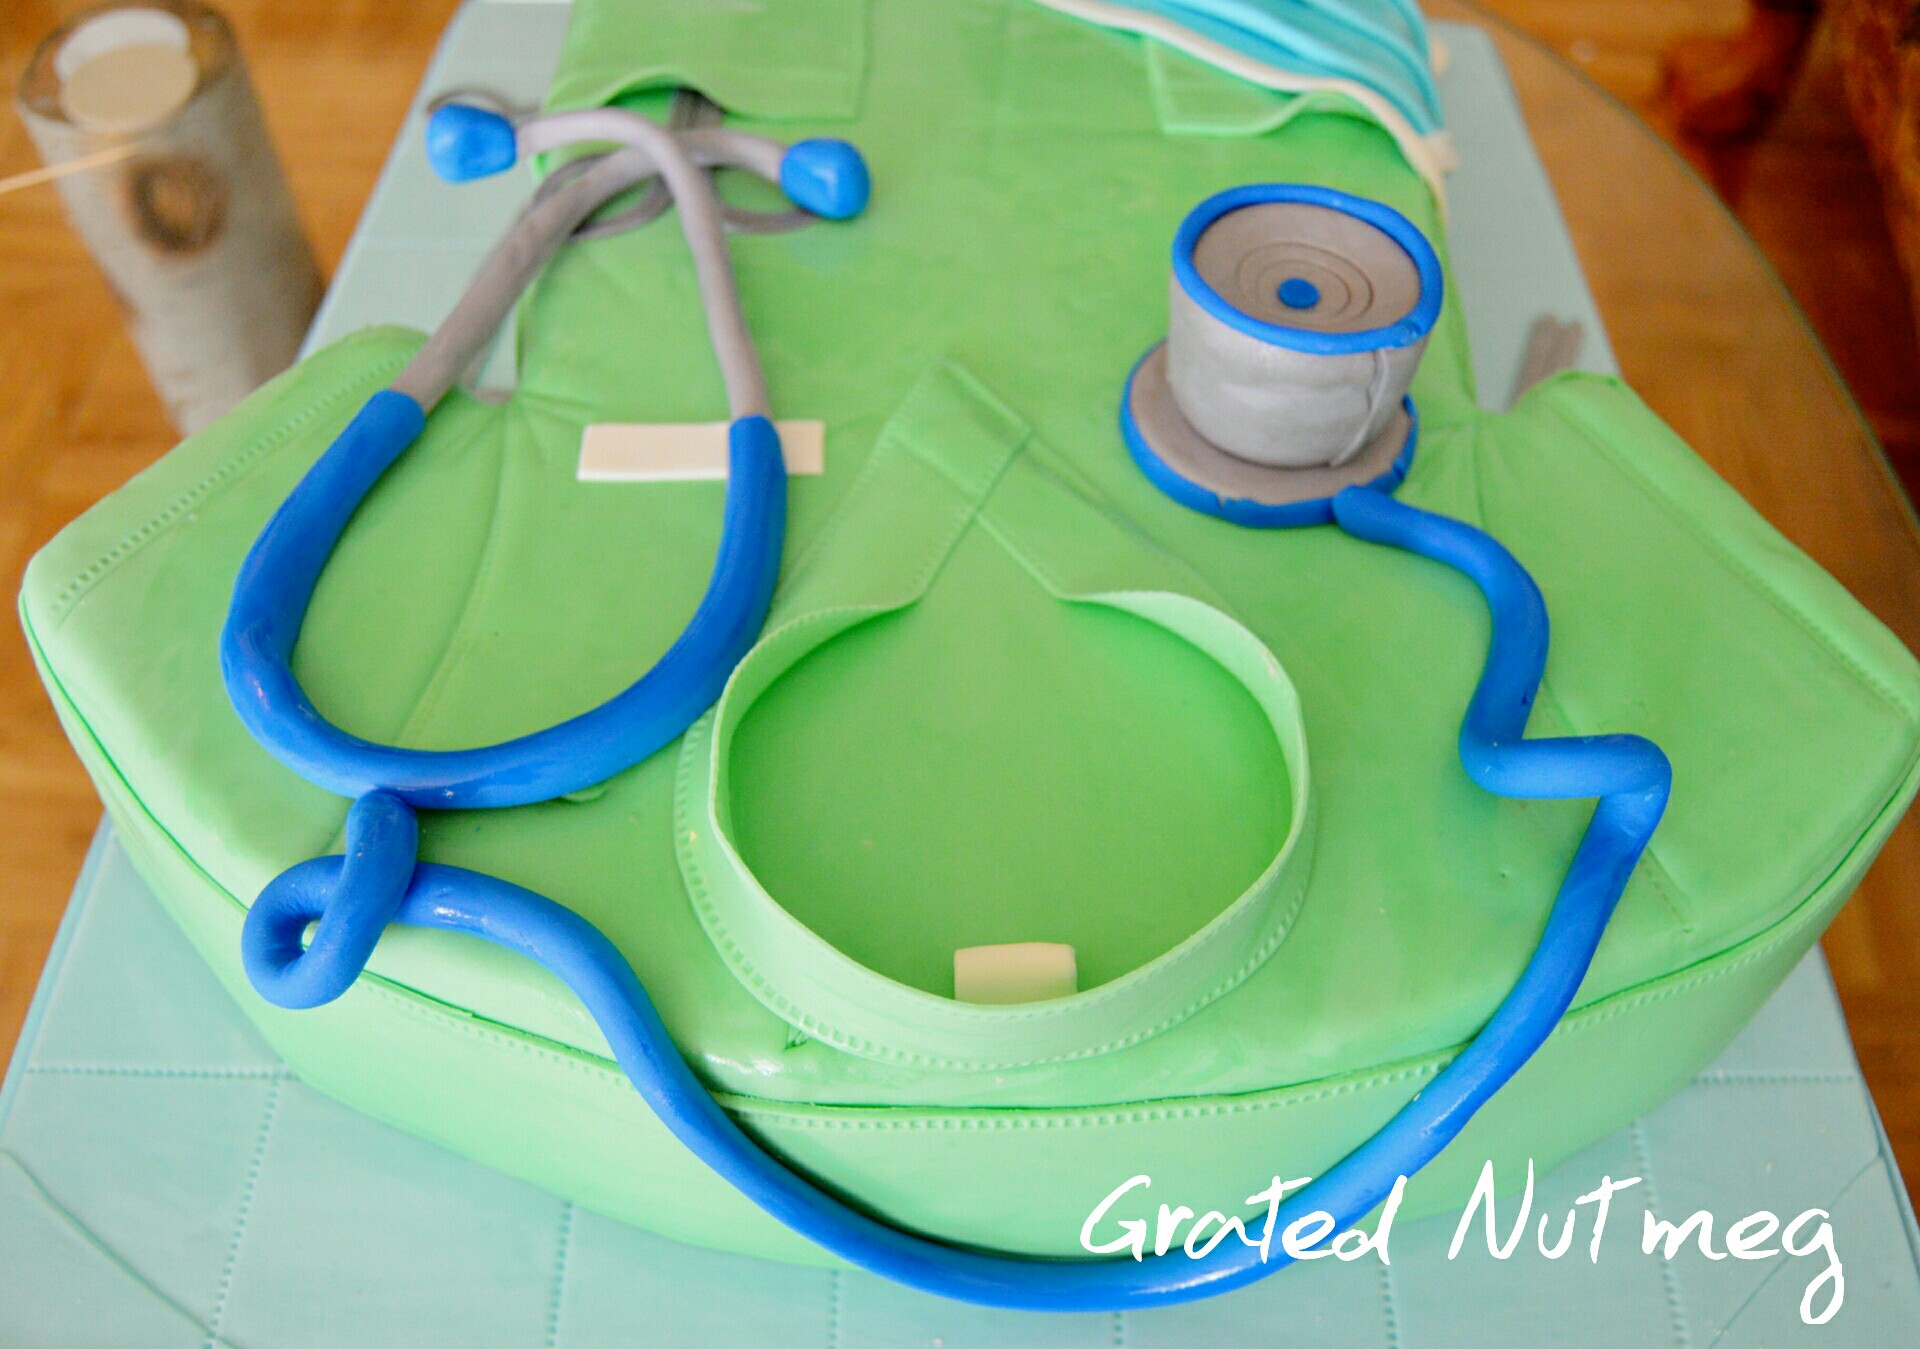
This is a tutorial on how to make a stethoscope using fondant. It is a very straightforward process and is the perfect topper to use for medical themed cakes like the Surgeon Uniform Cake above. Using this tutorial, you should be able to make various types of stethoscopes.

TOOLS:
(1) Rolling Pin
(2) Floral Wires
(3) Round Cookie Cutters
(4) Paint Brush
(5) Ruler
(6) Pizza Cutter
EDIBLE COMPONENTS:
(1) Fondant. I used Marshmallow Fondant.
(2) Color Pastes
(3) Silver Luster Dust
(4) Water
(5) Vodka
(6) Melted White Chocolate
PROCEDURE:
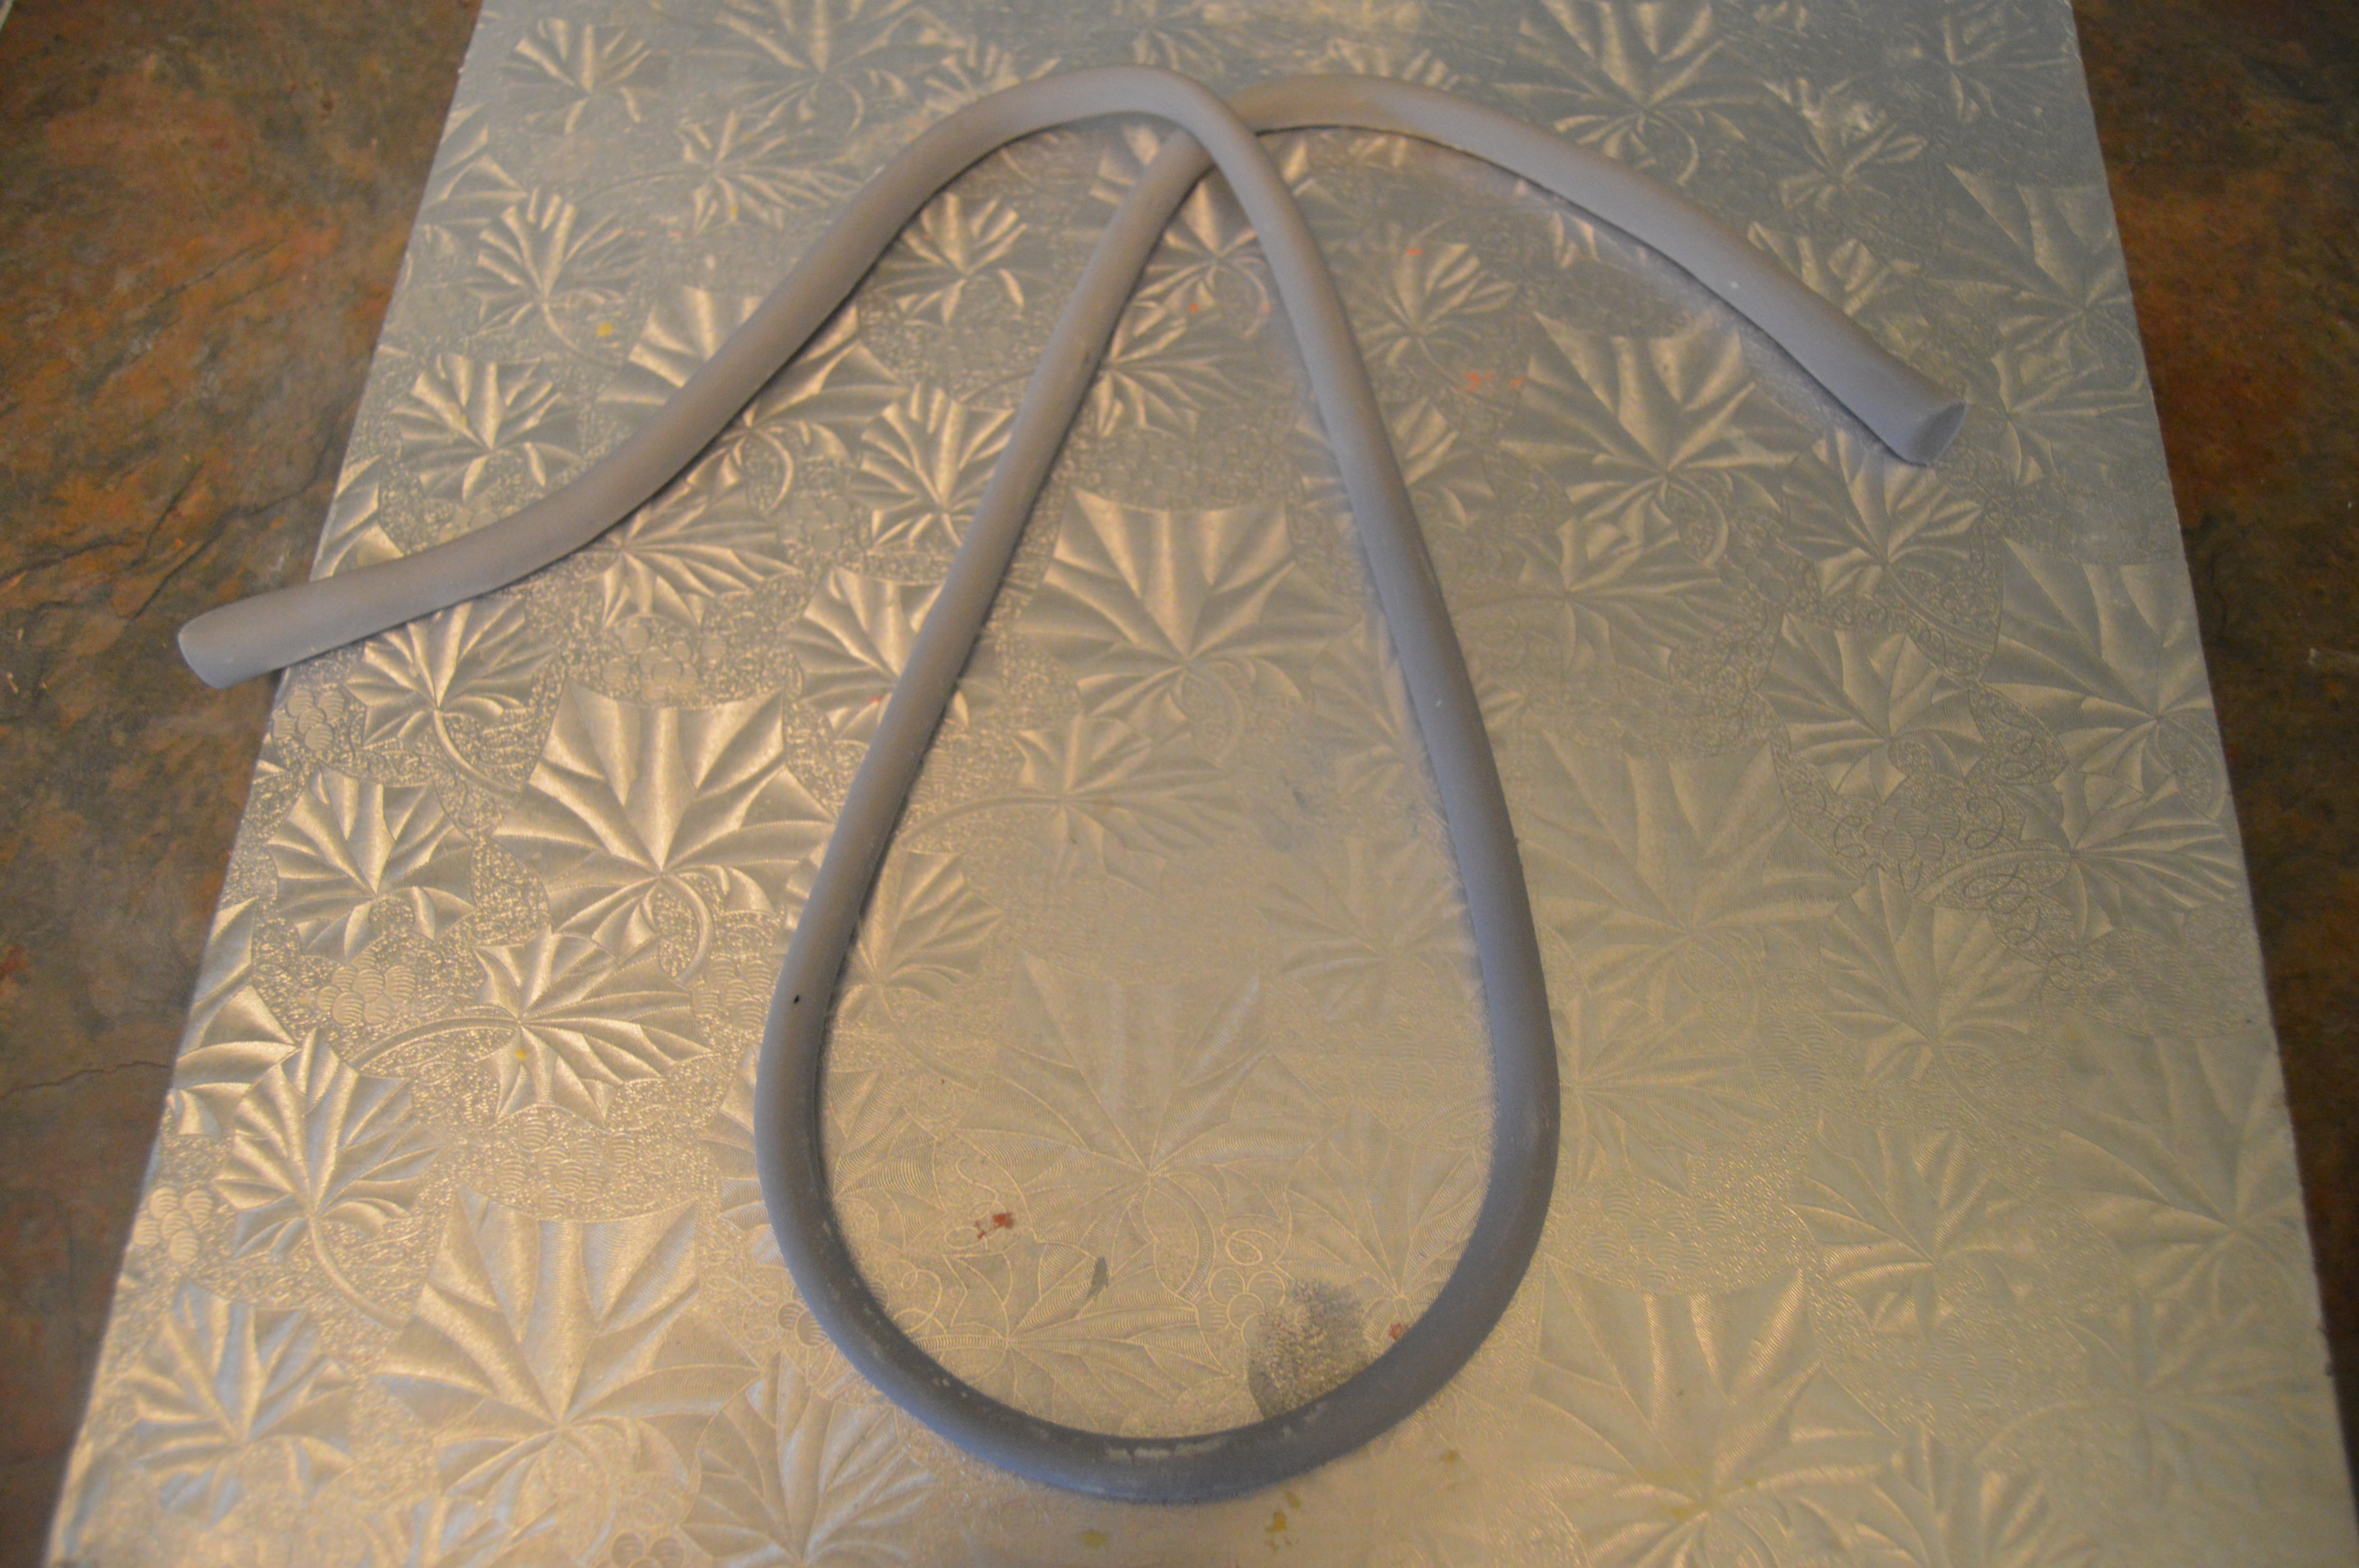
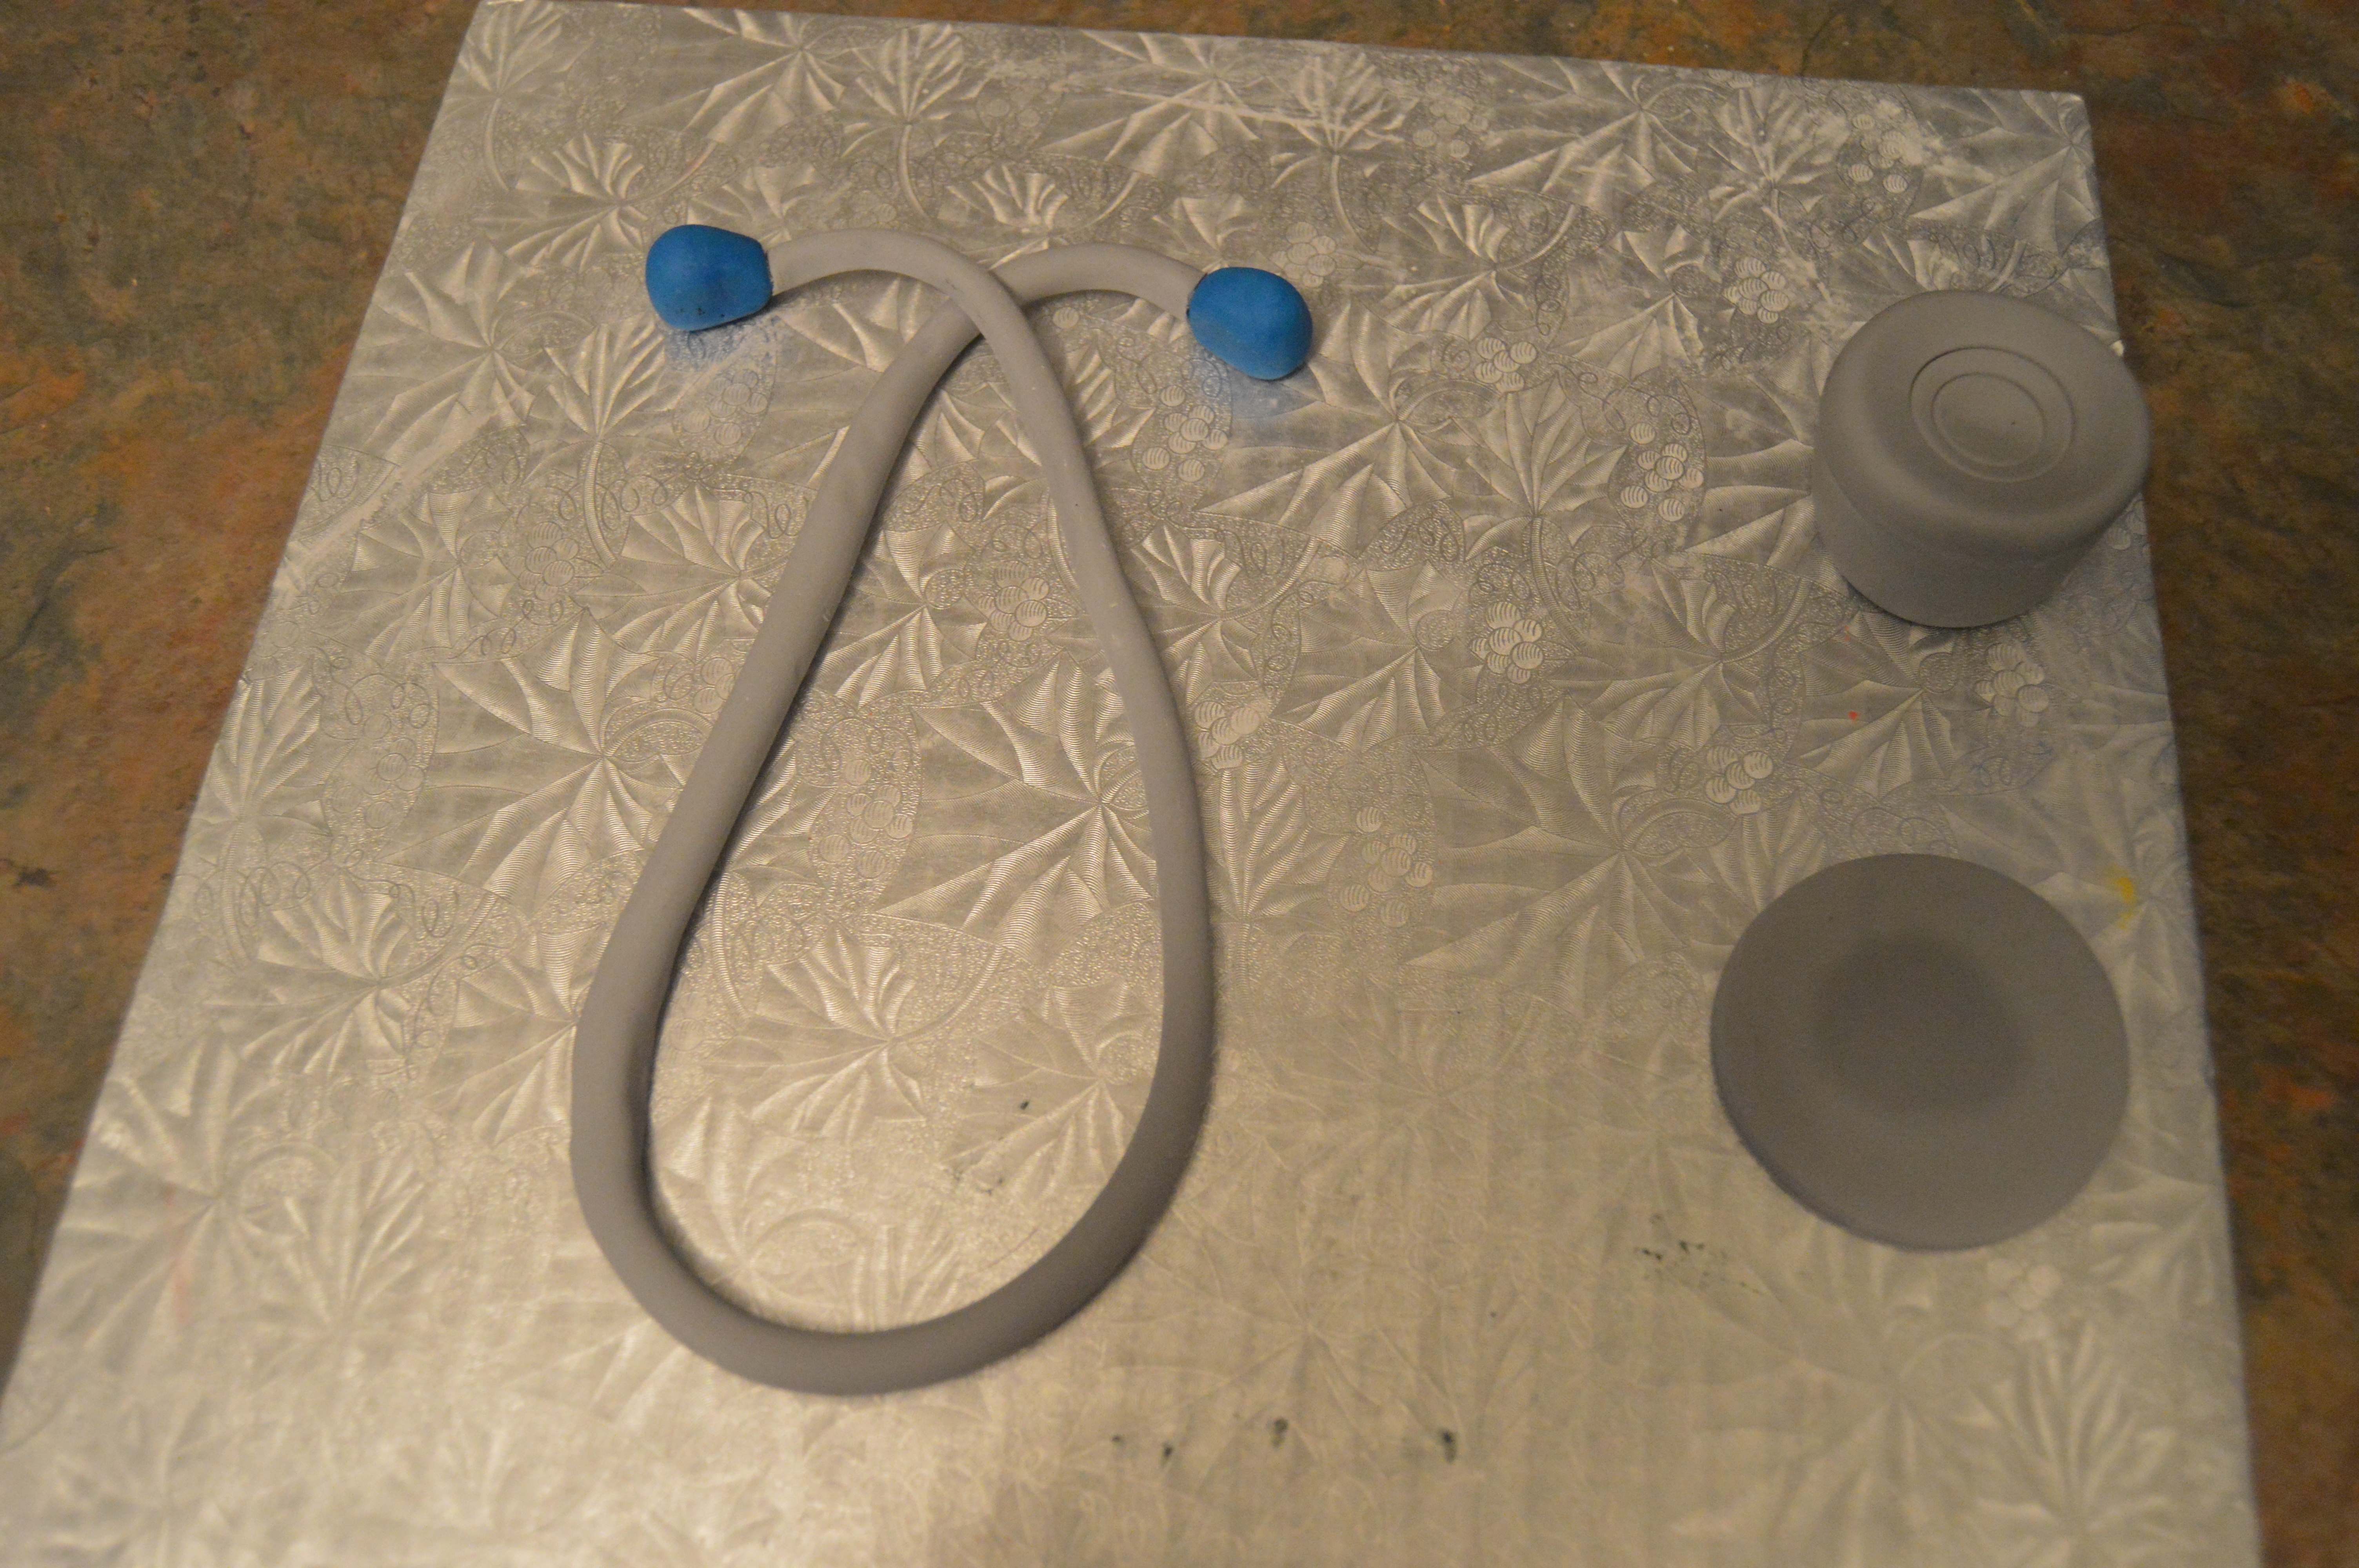
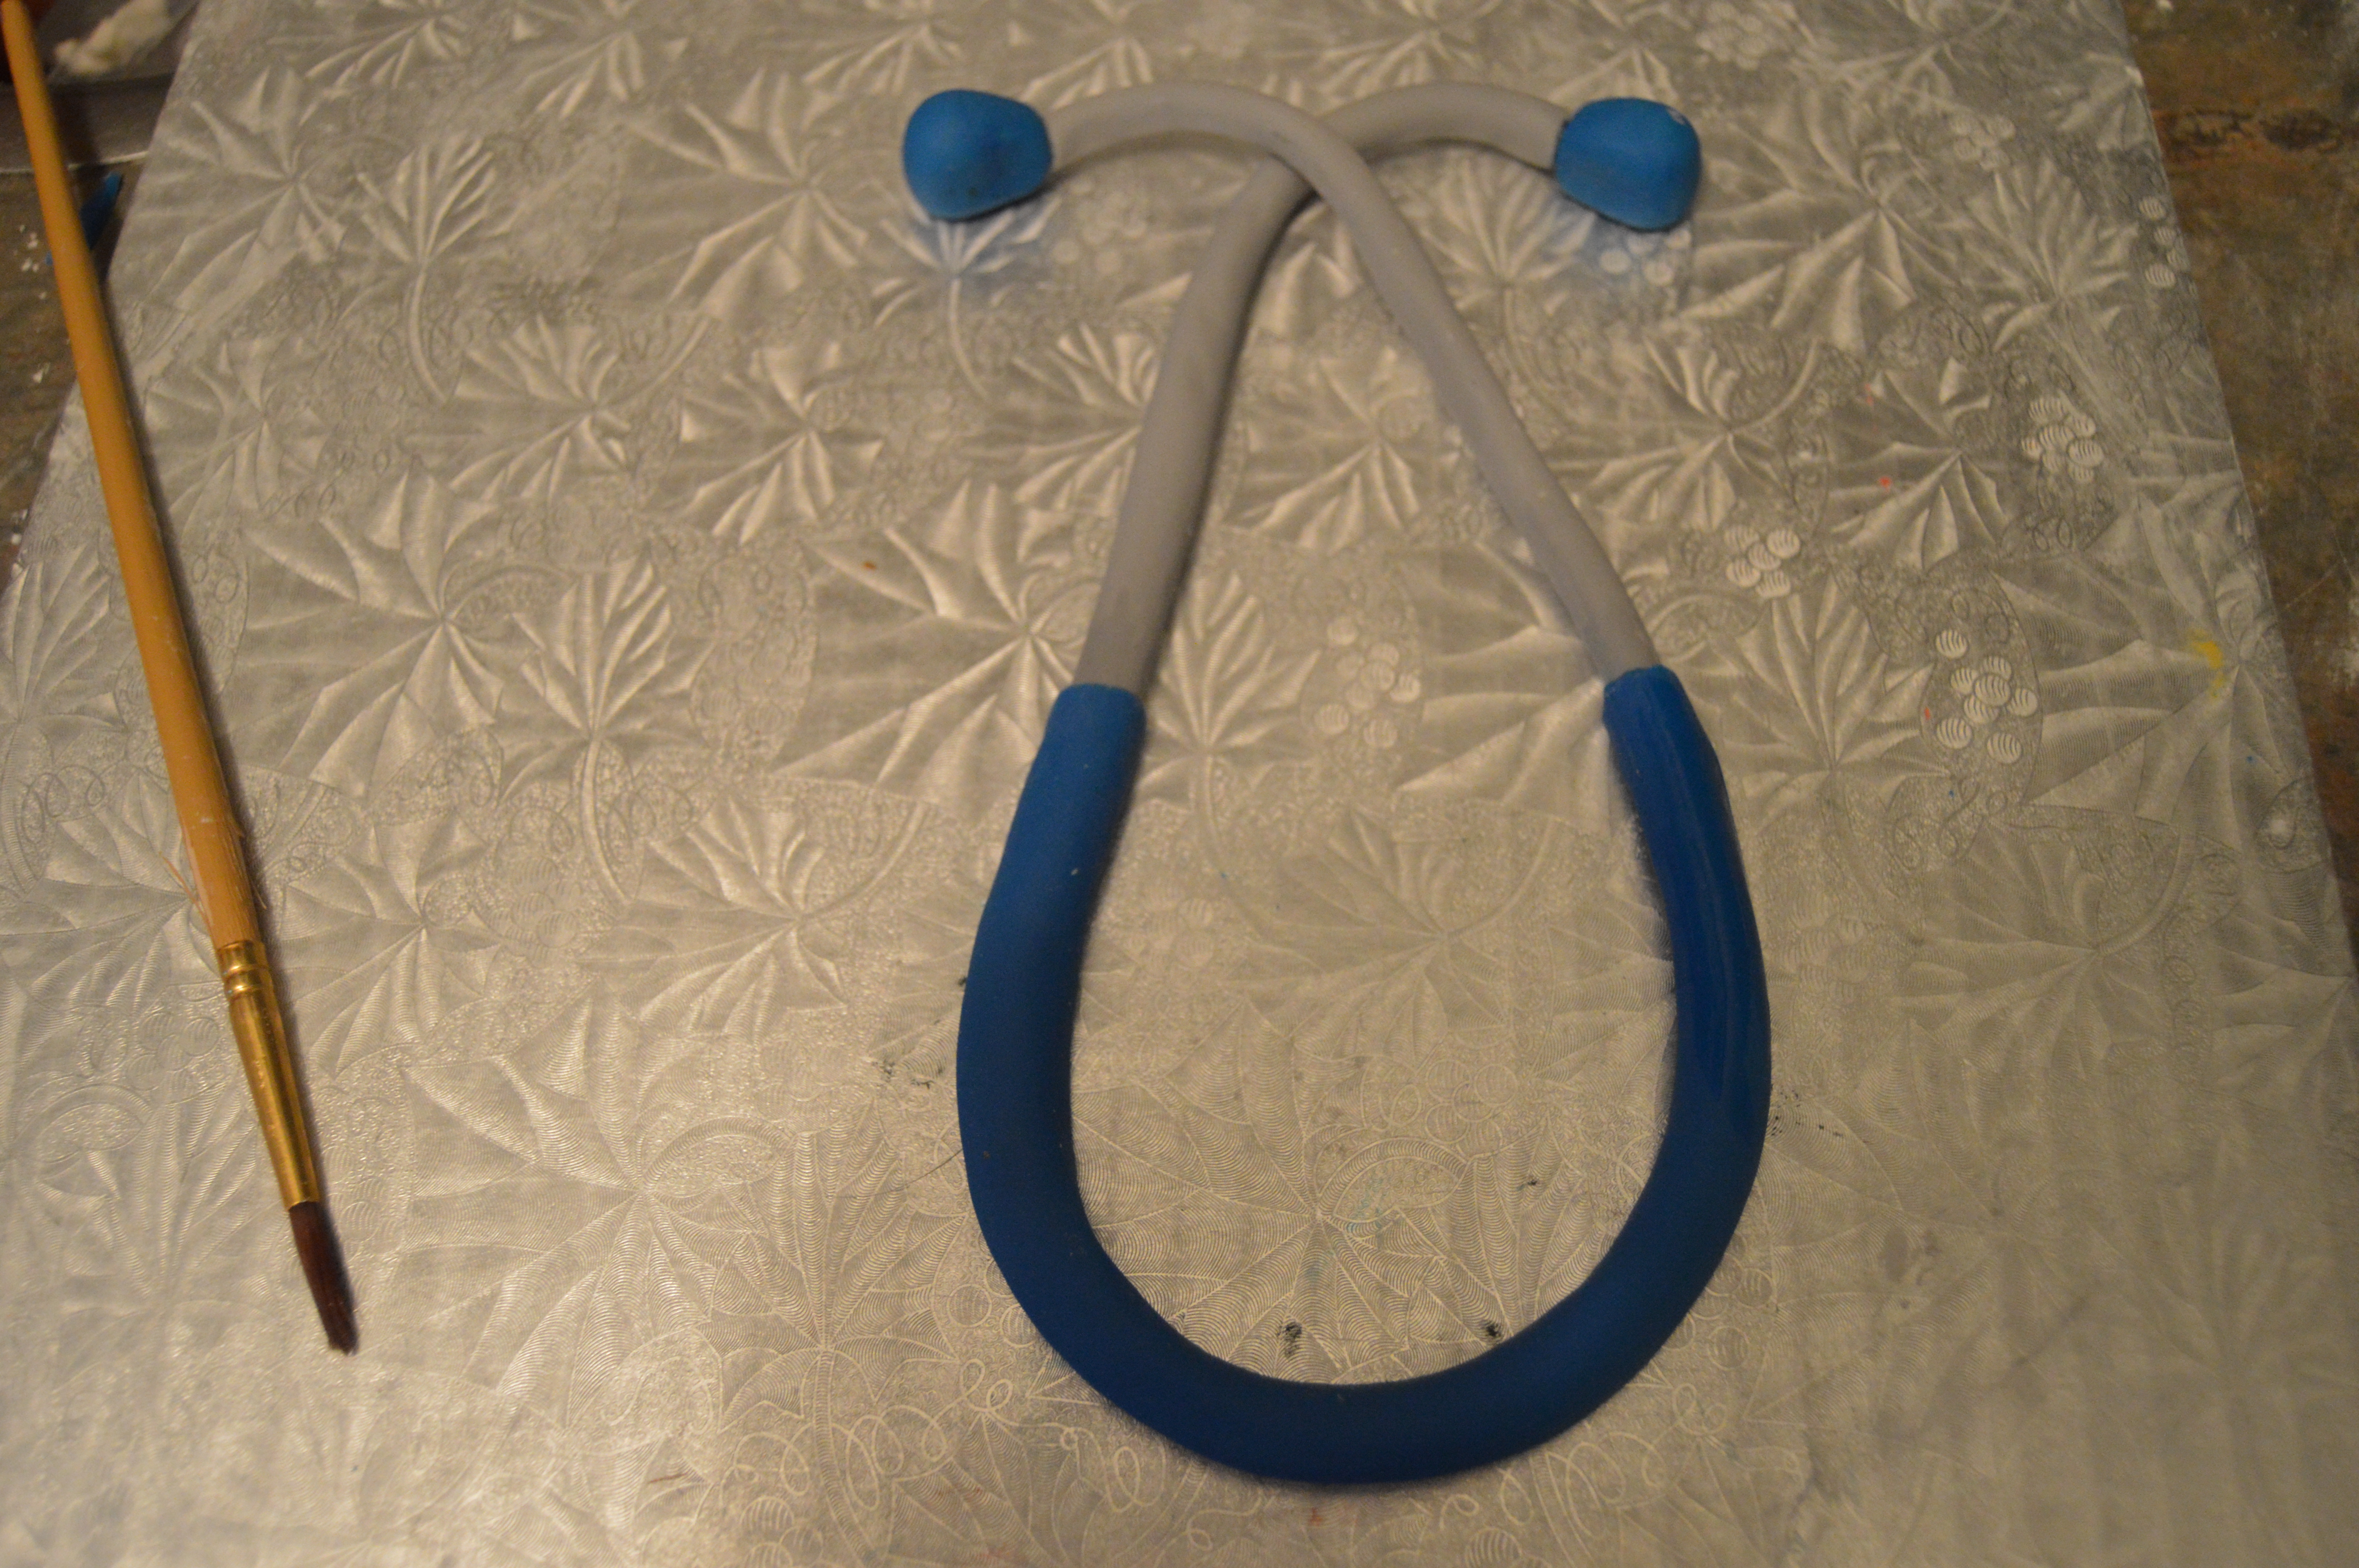
(1) First, make the binaural. Color fondant grey and roll it into a long tube of even thickness.
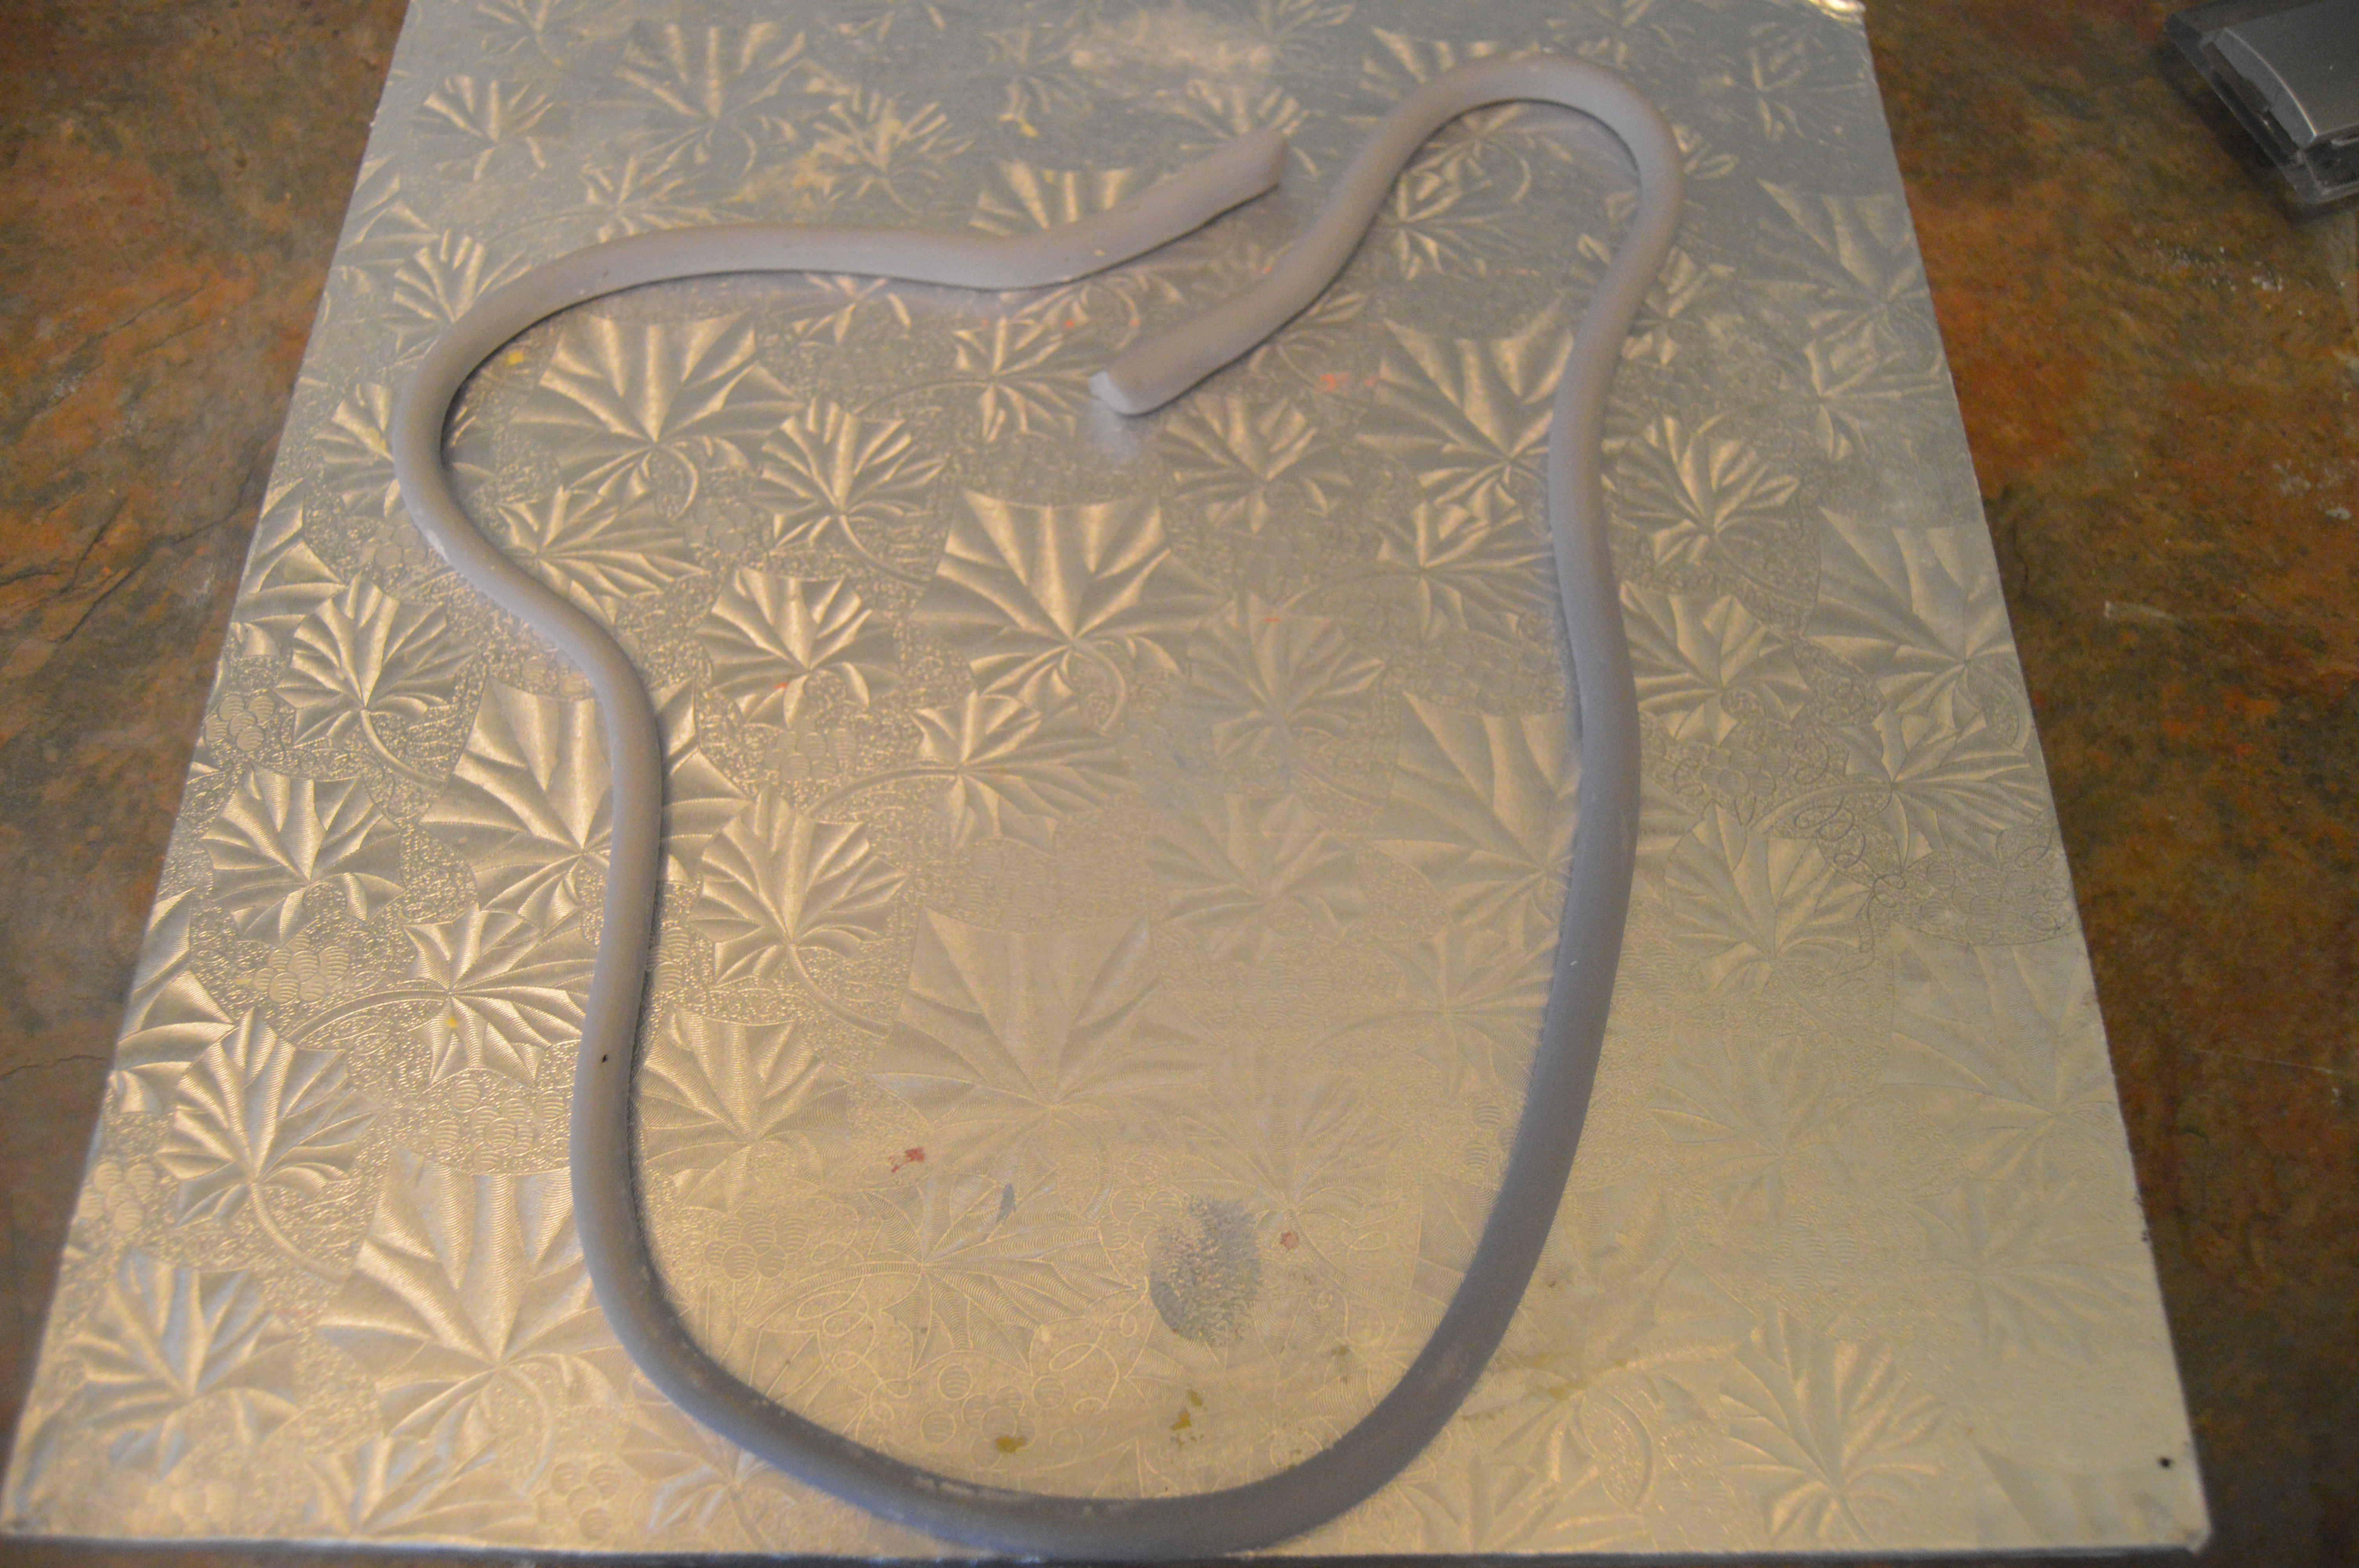
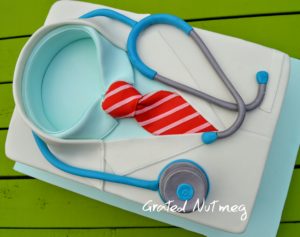
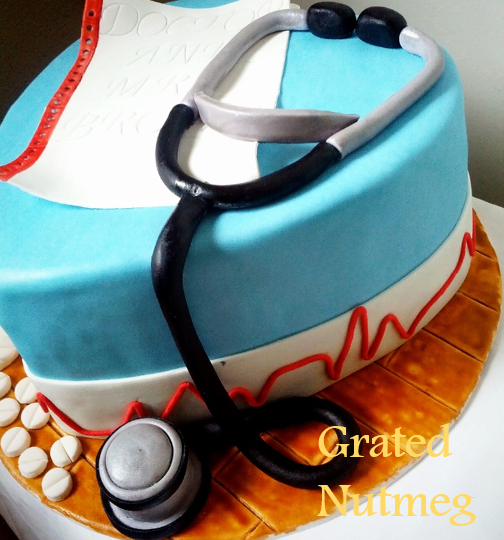
(2) Next, shape the tube into the desired shape. Use a ruler and a large round cookie cutter to get accurate curves and straights. I had to redo it later on as this was too big for the cake I was making. Proportion is everything. If you want to make a stethoscope with a binaural spring like the one on the Medical Heart Cake, make the spring now. The binaural need not cross at the top. They can be straight like the one on the Doc McStuffins Cake.

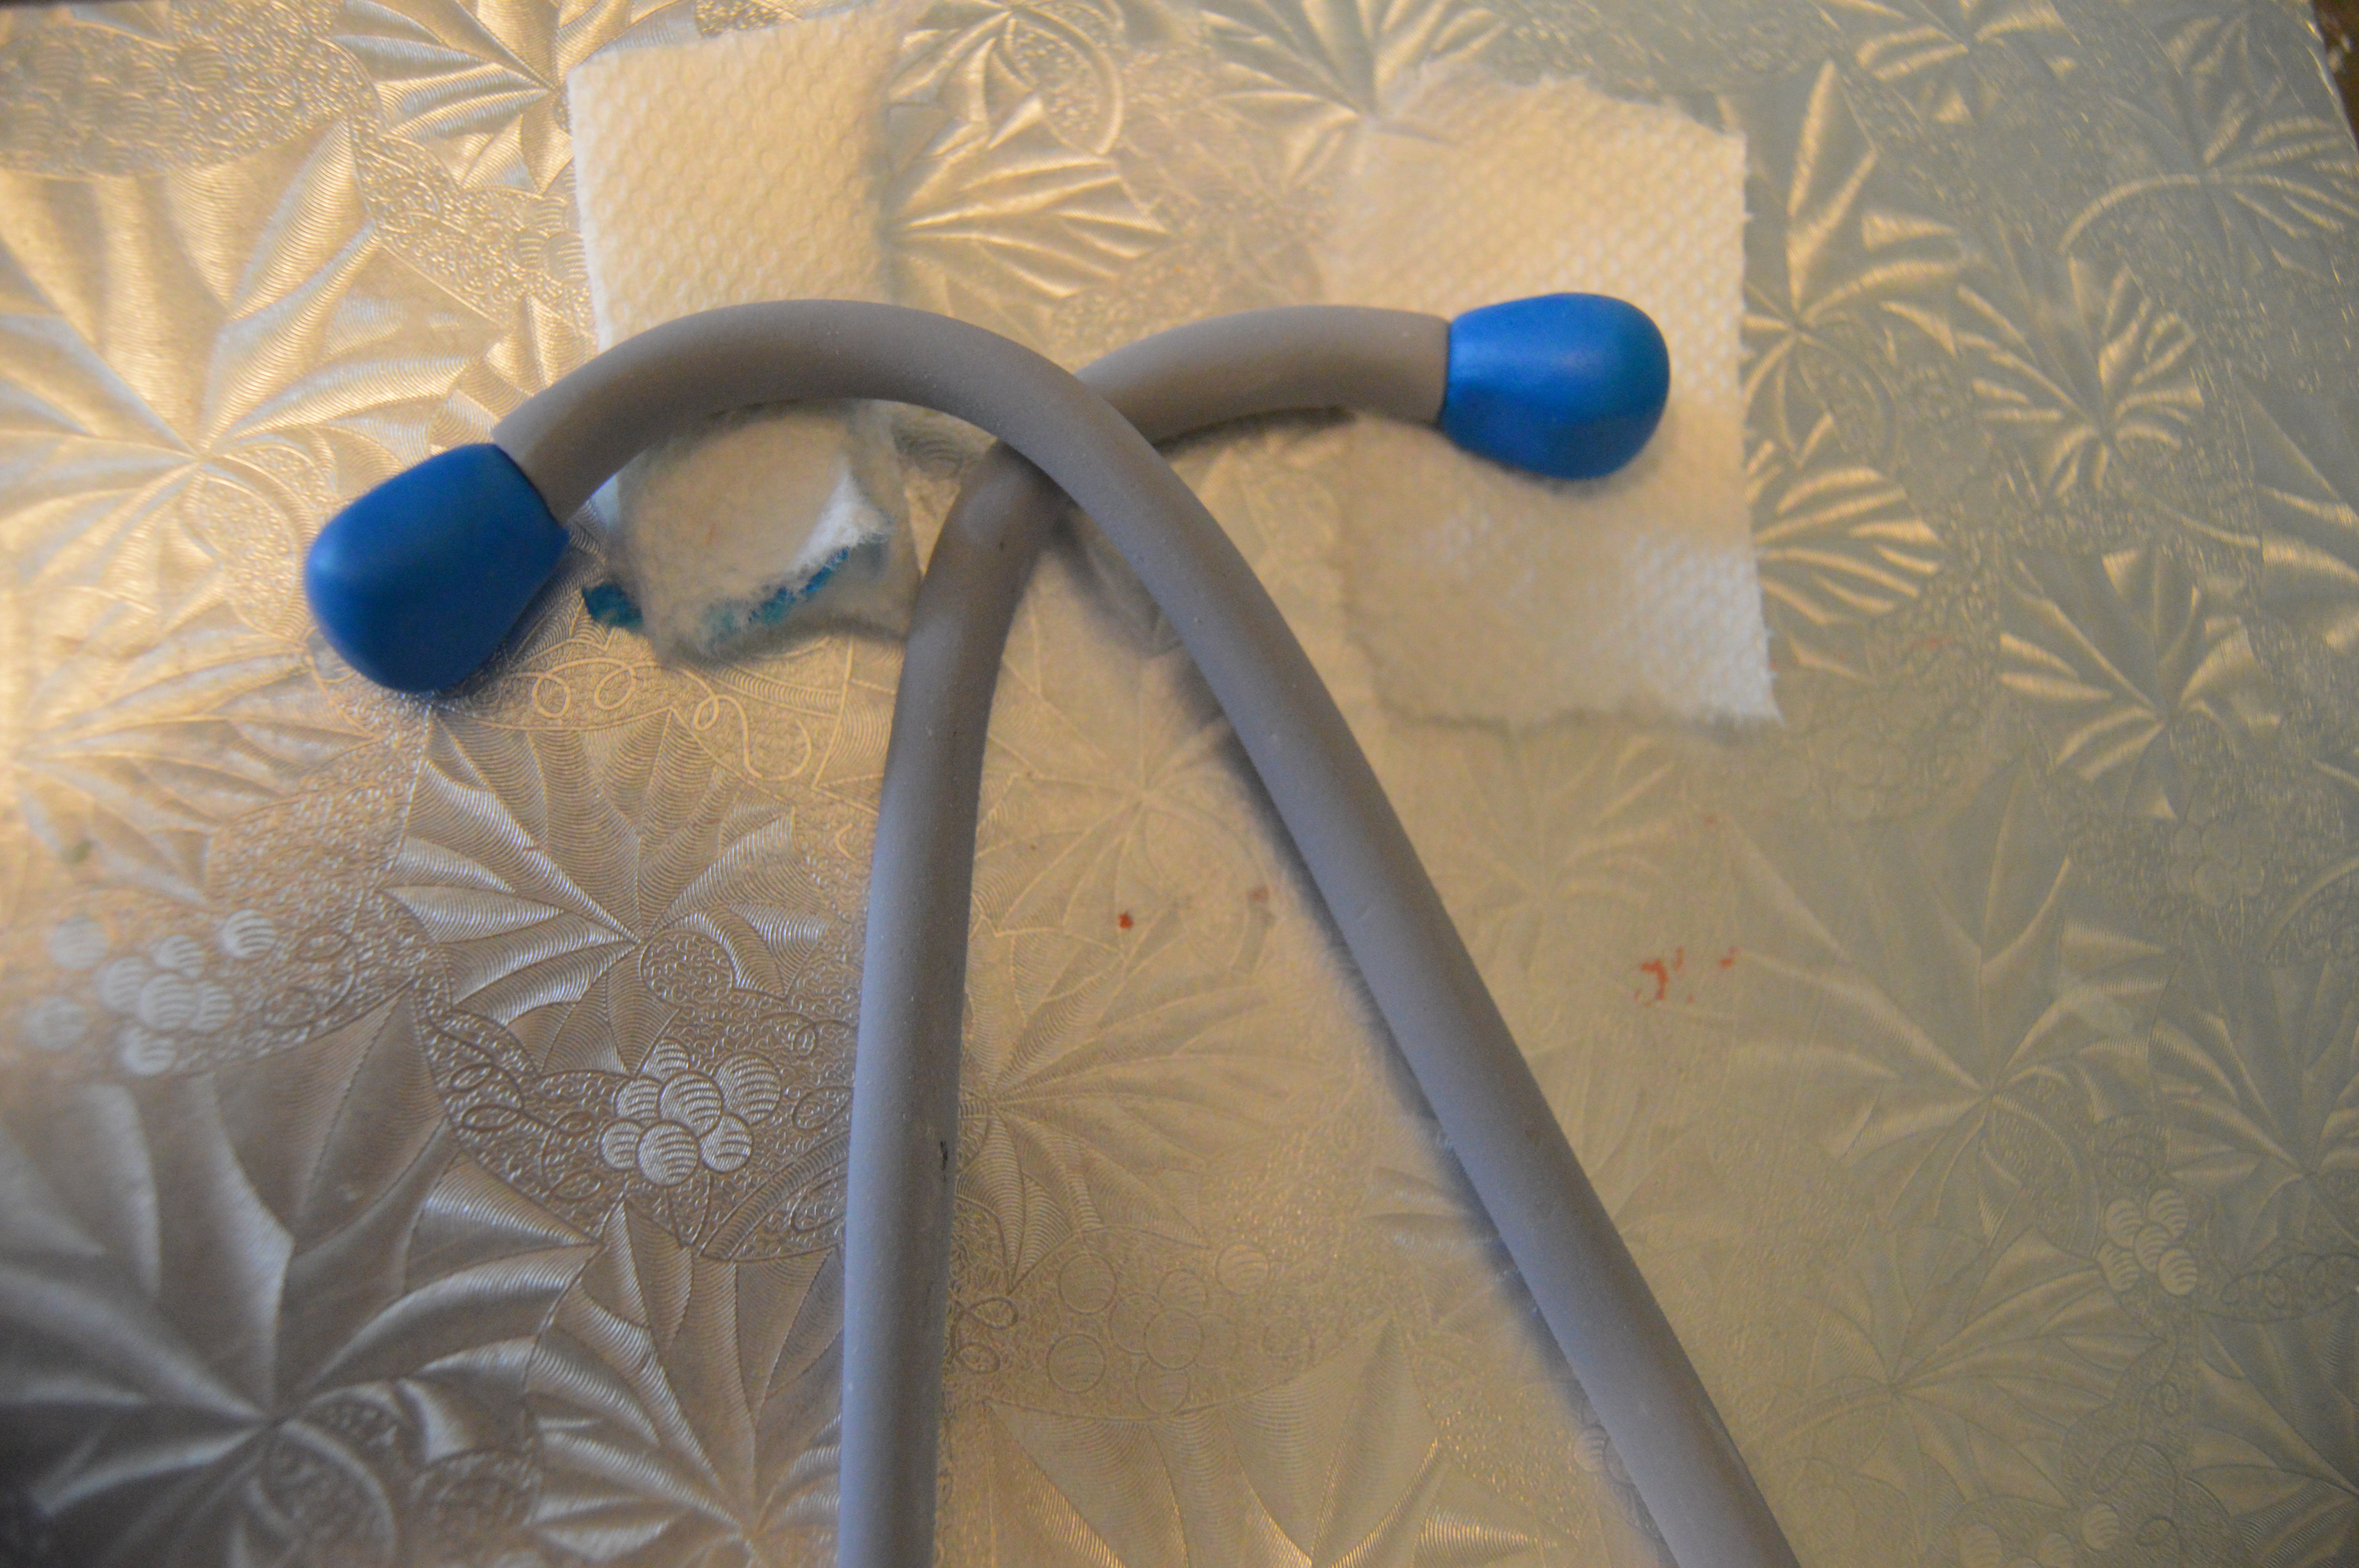
(3) Next, make the ear tips. Shape dark blue fondant into ear buds. Insert floral wires into them and insert them into the tips of the binaural. Leave these to dry. Place folded paper towels underneath the top part of the binaural so it does not collapse while drying. I left it overnight. If the stethoscope will be resting entirely on the cake, the whole thing can be built on the cake.
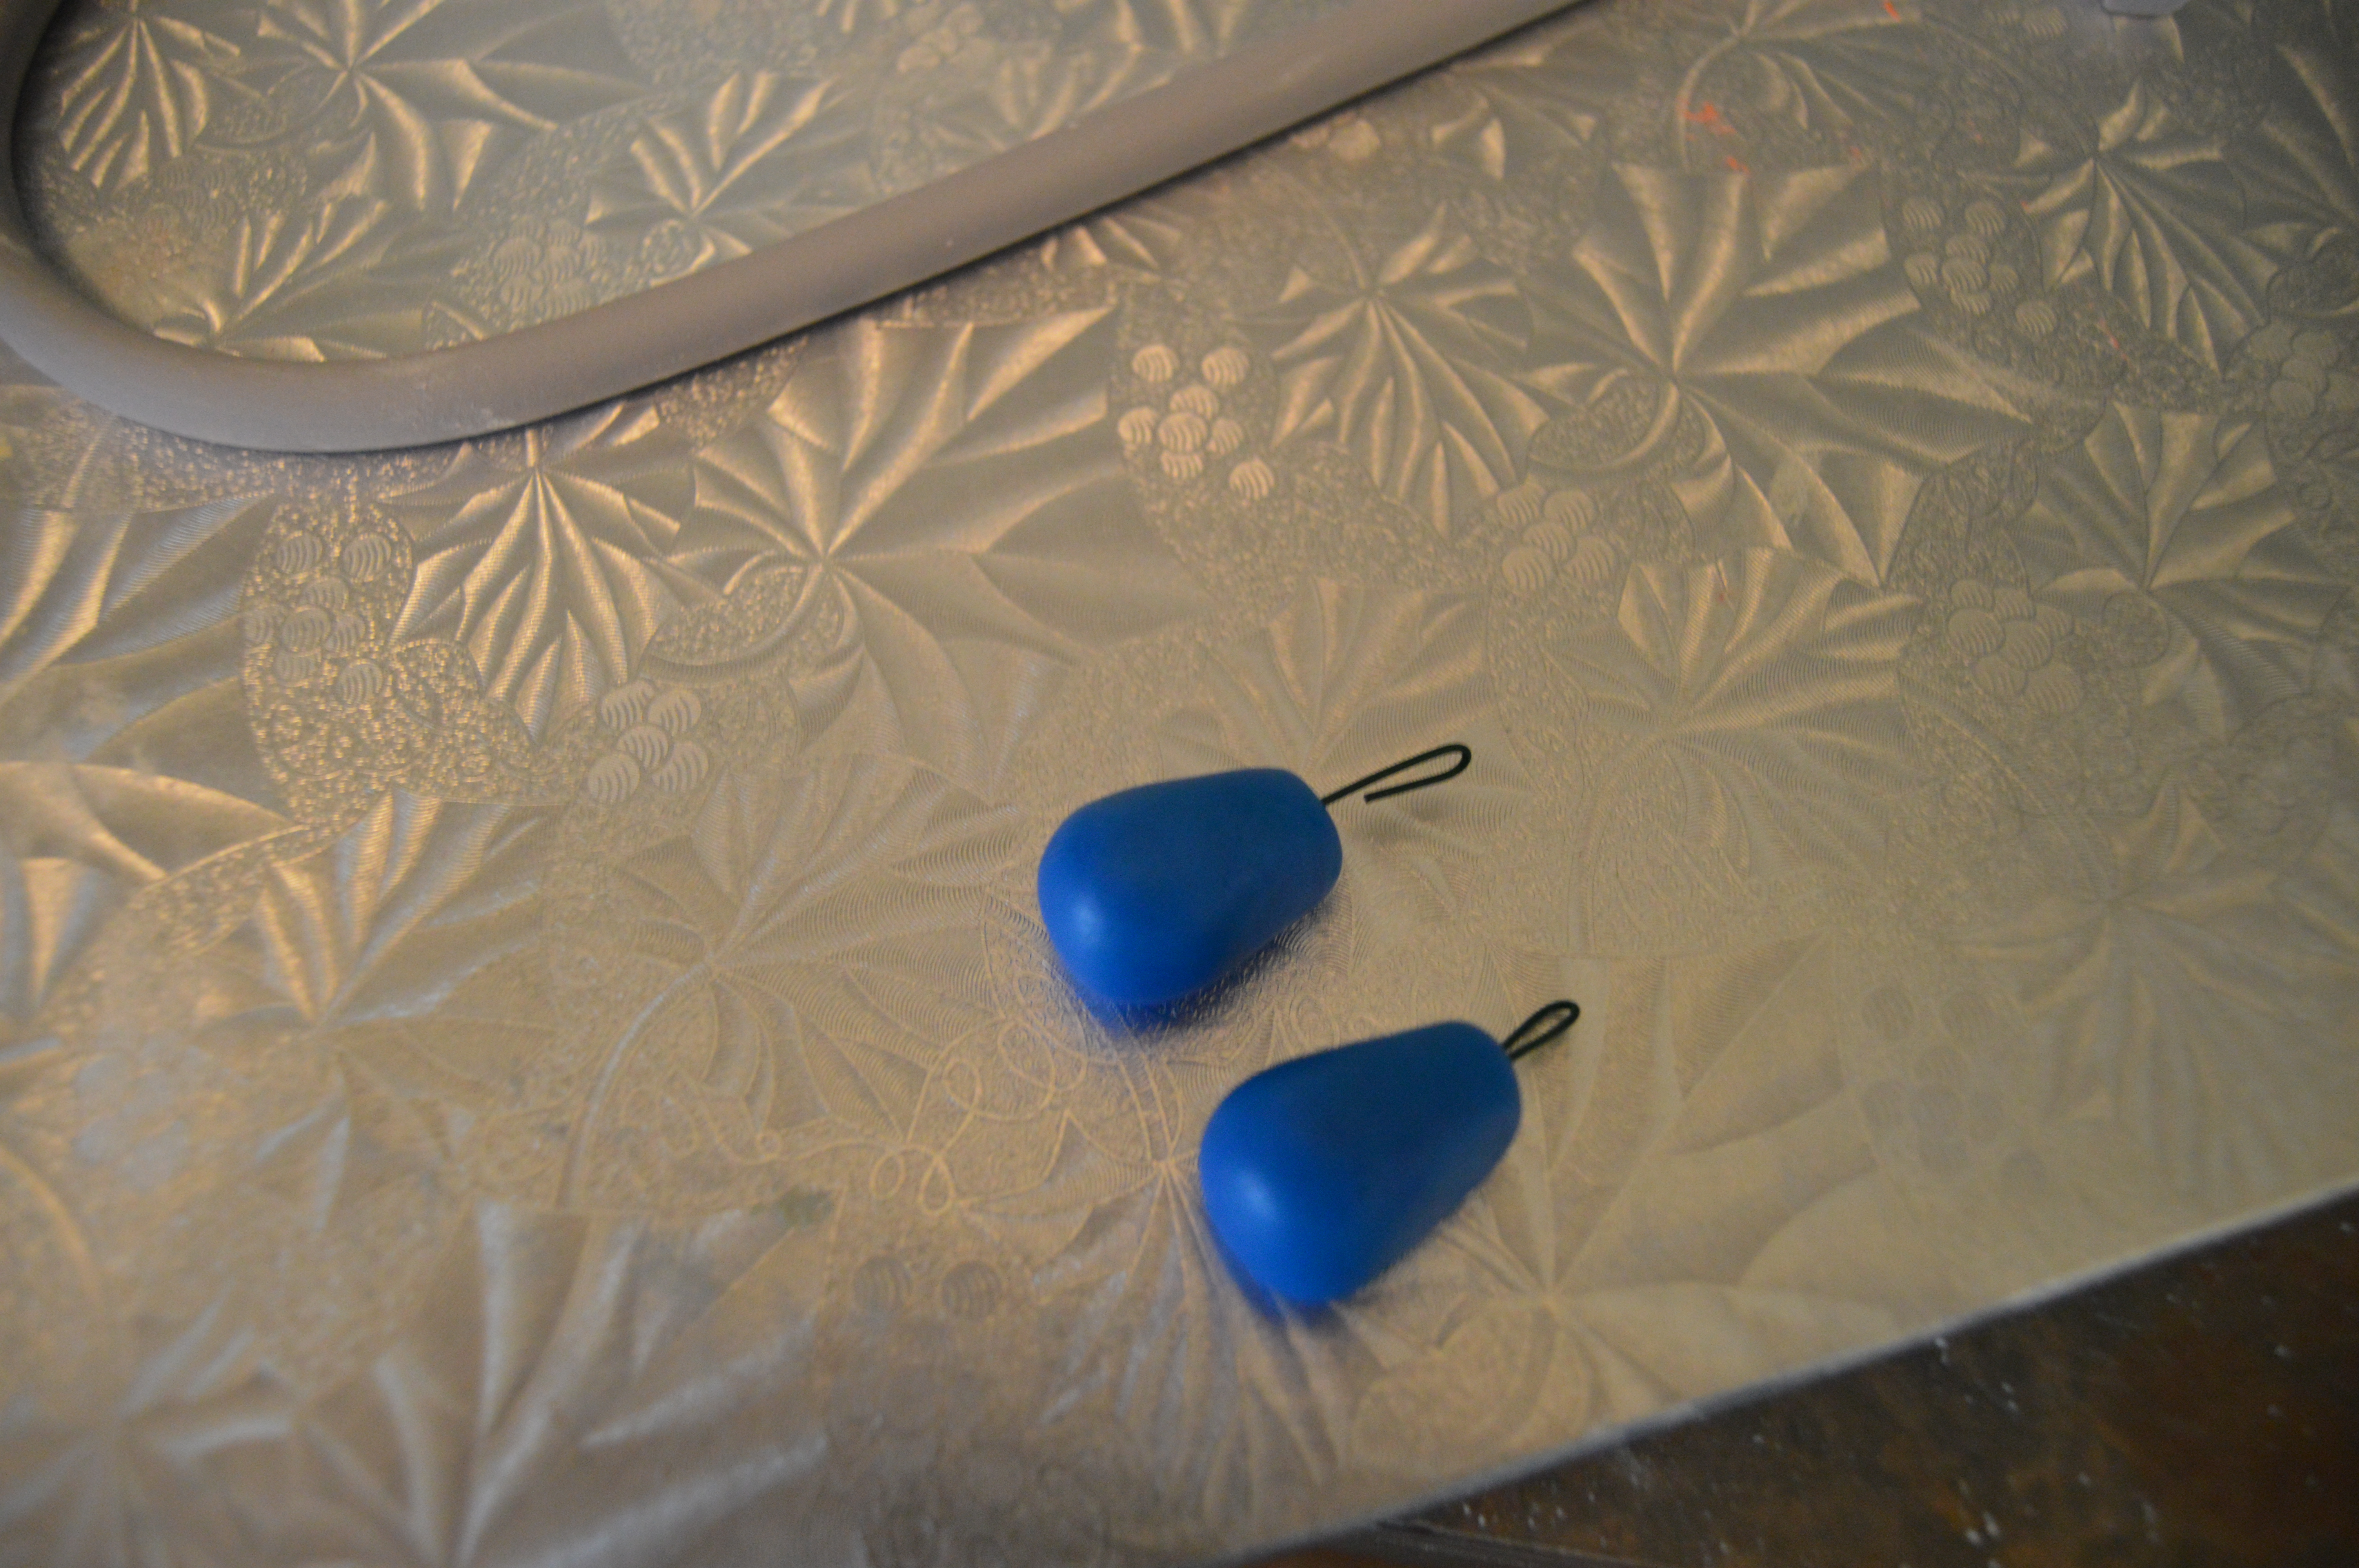
Note: Save the rest of the dark blue fondant as it will be used later on.
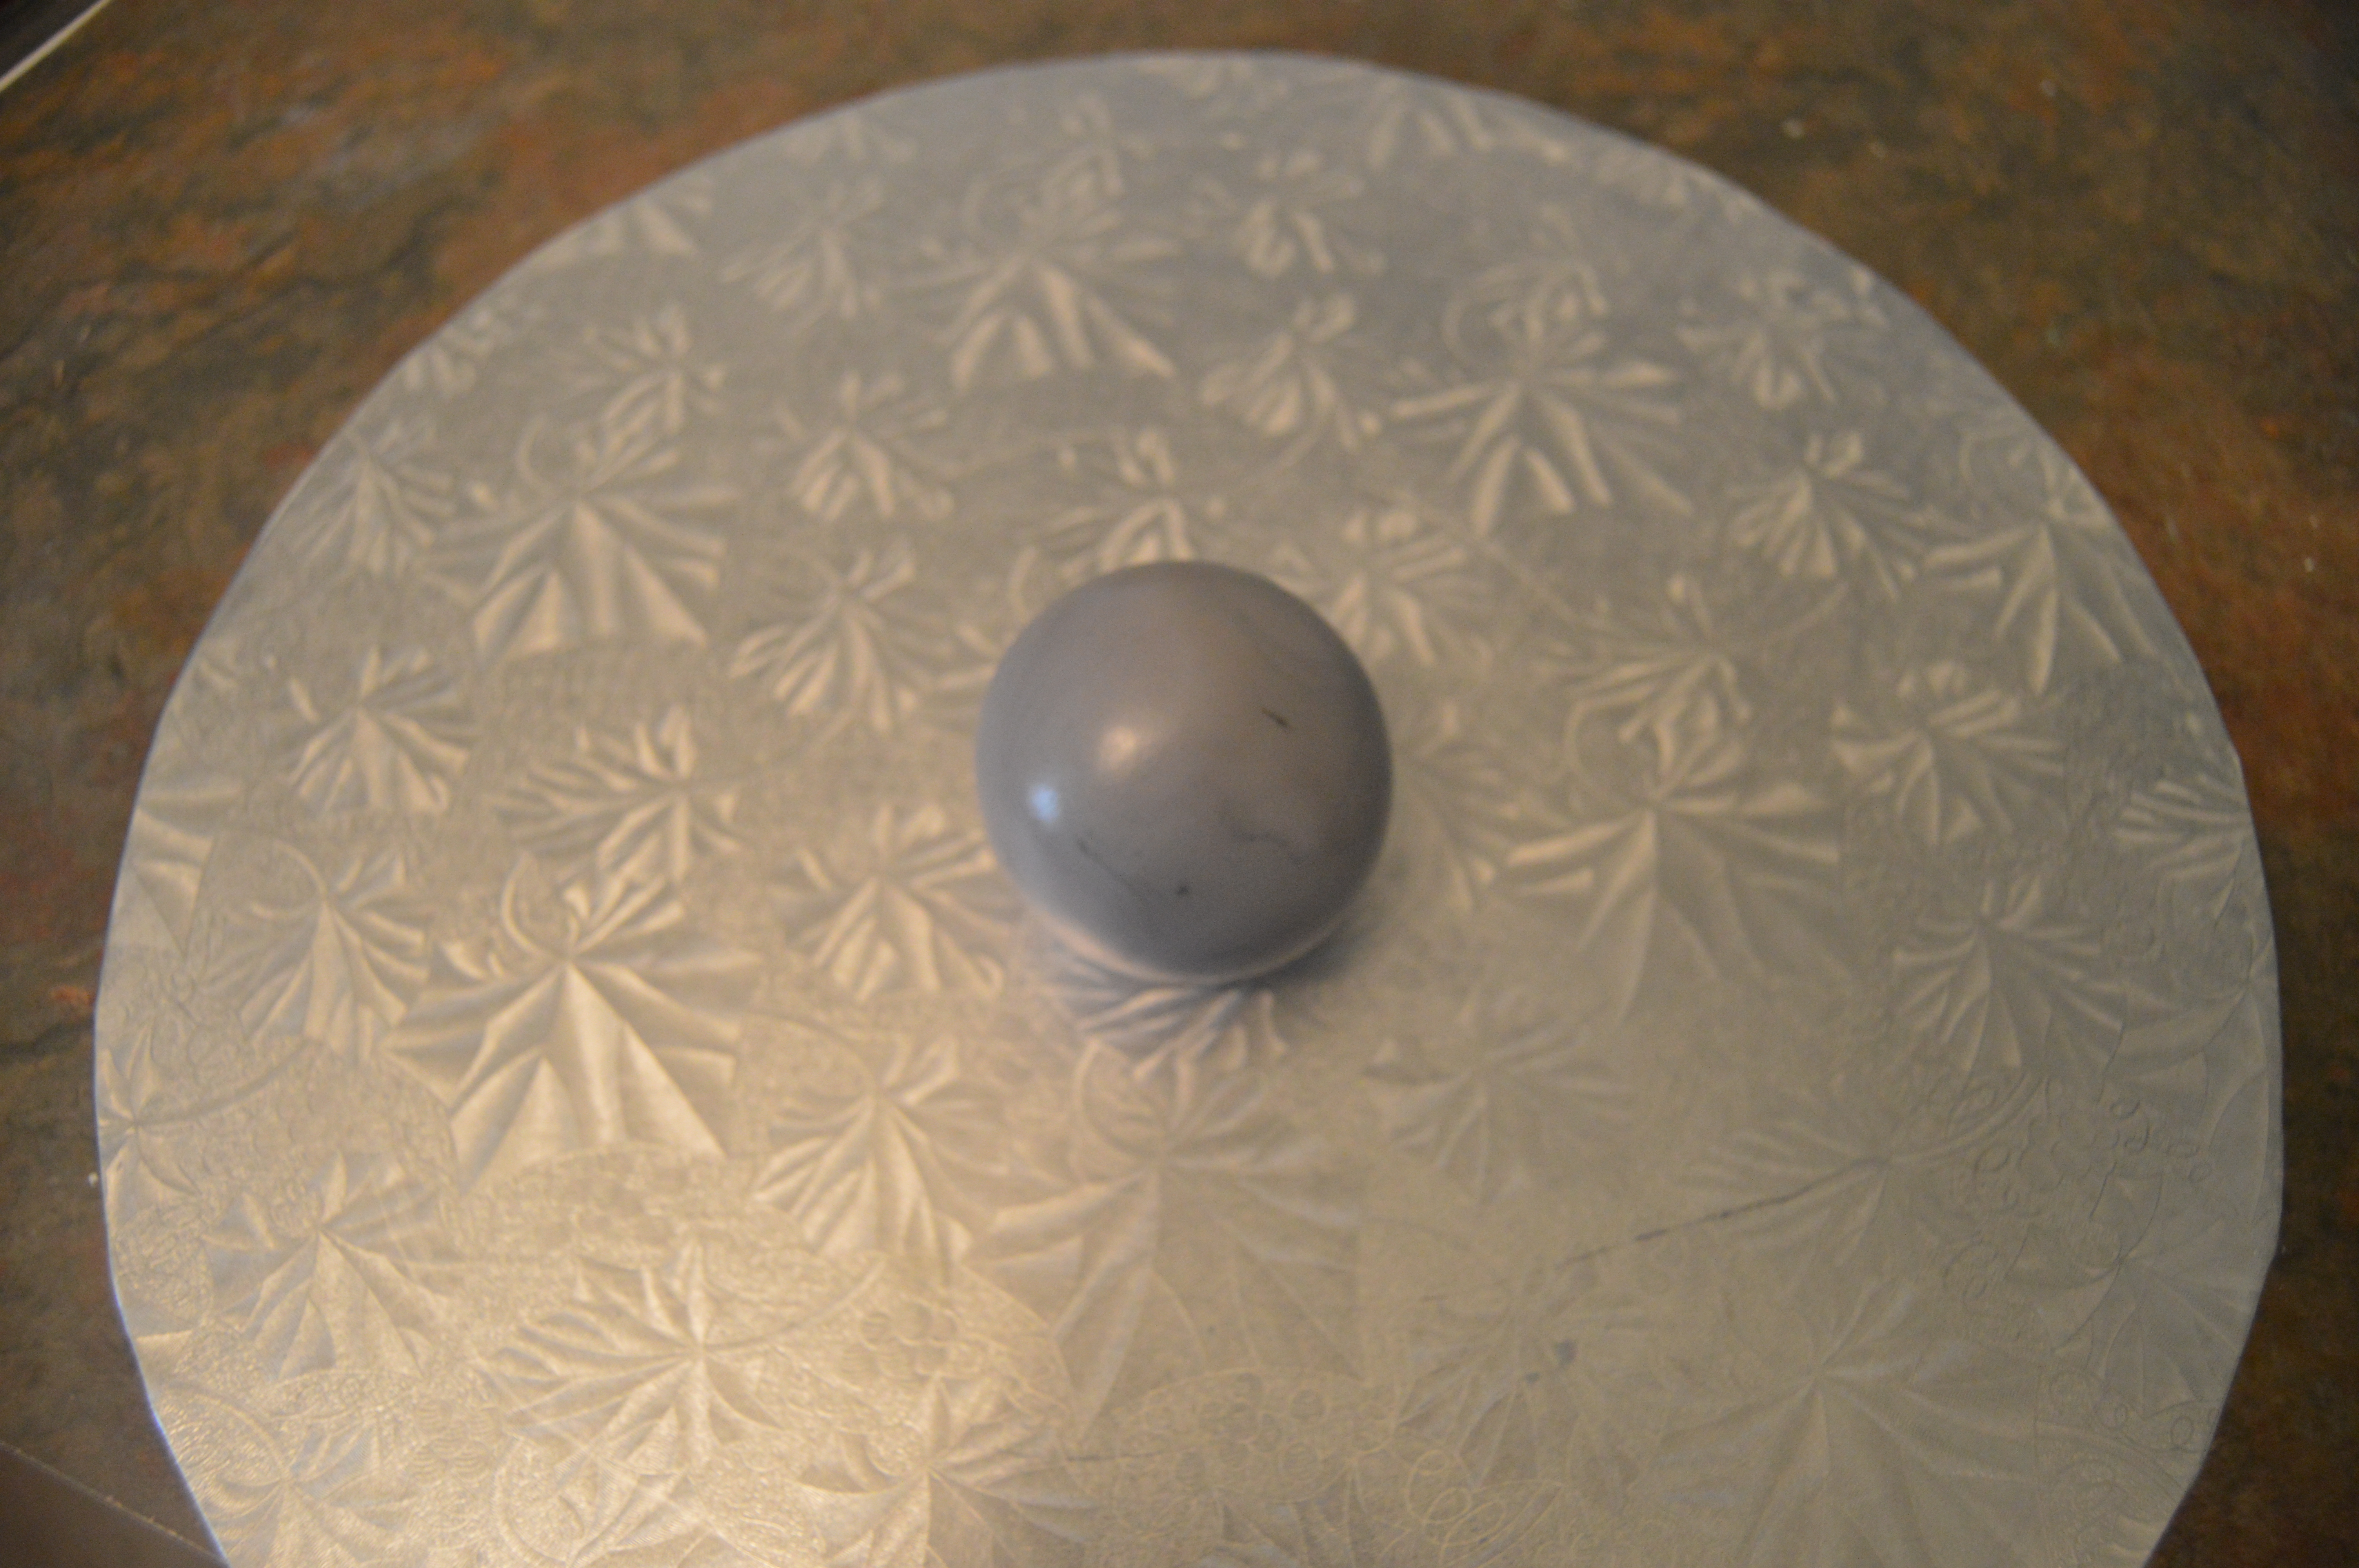
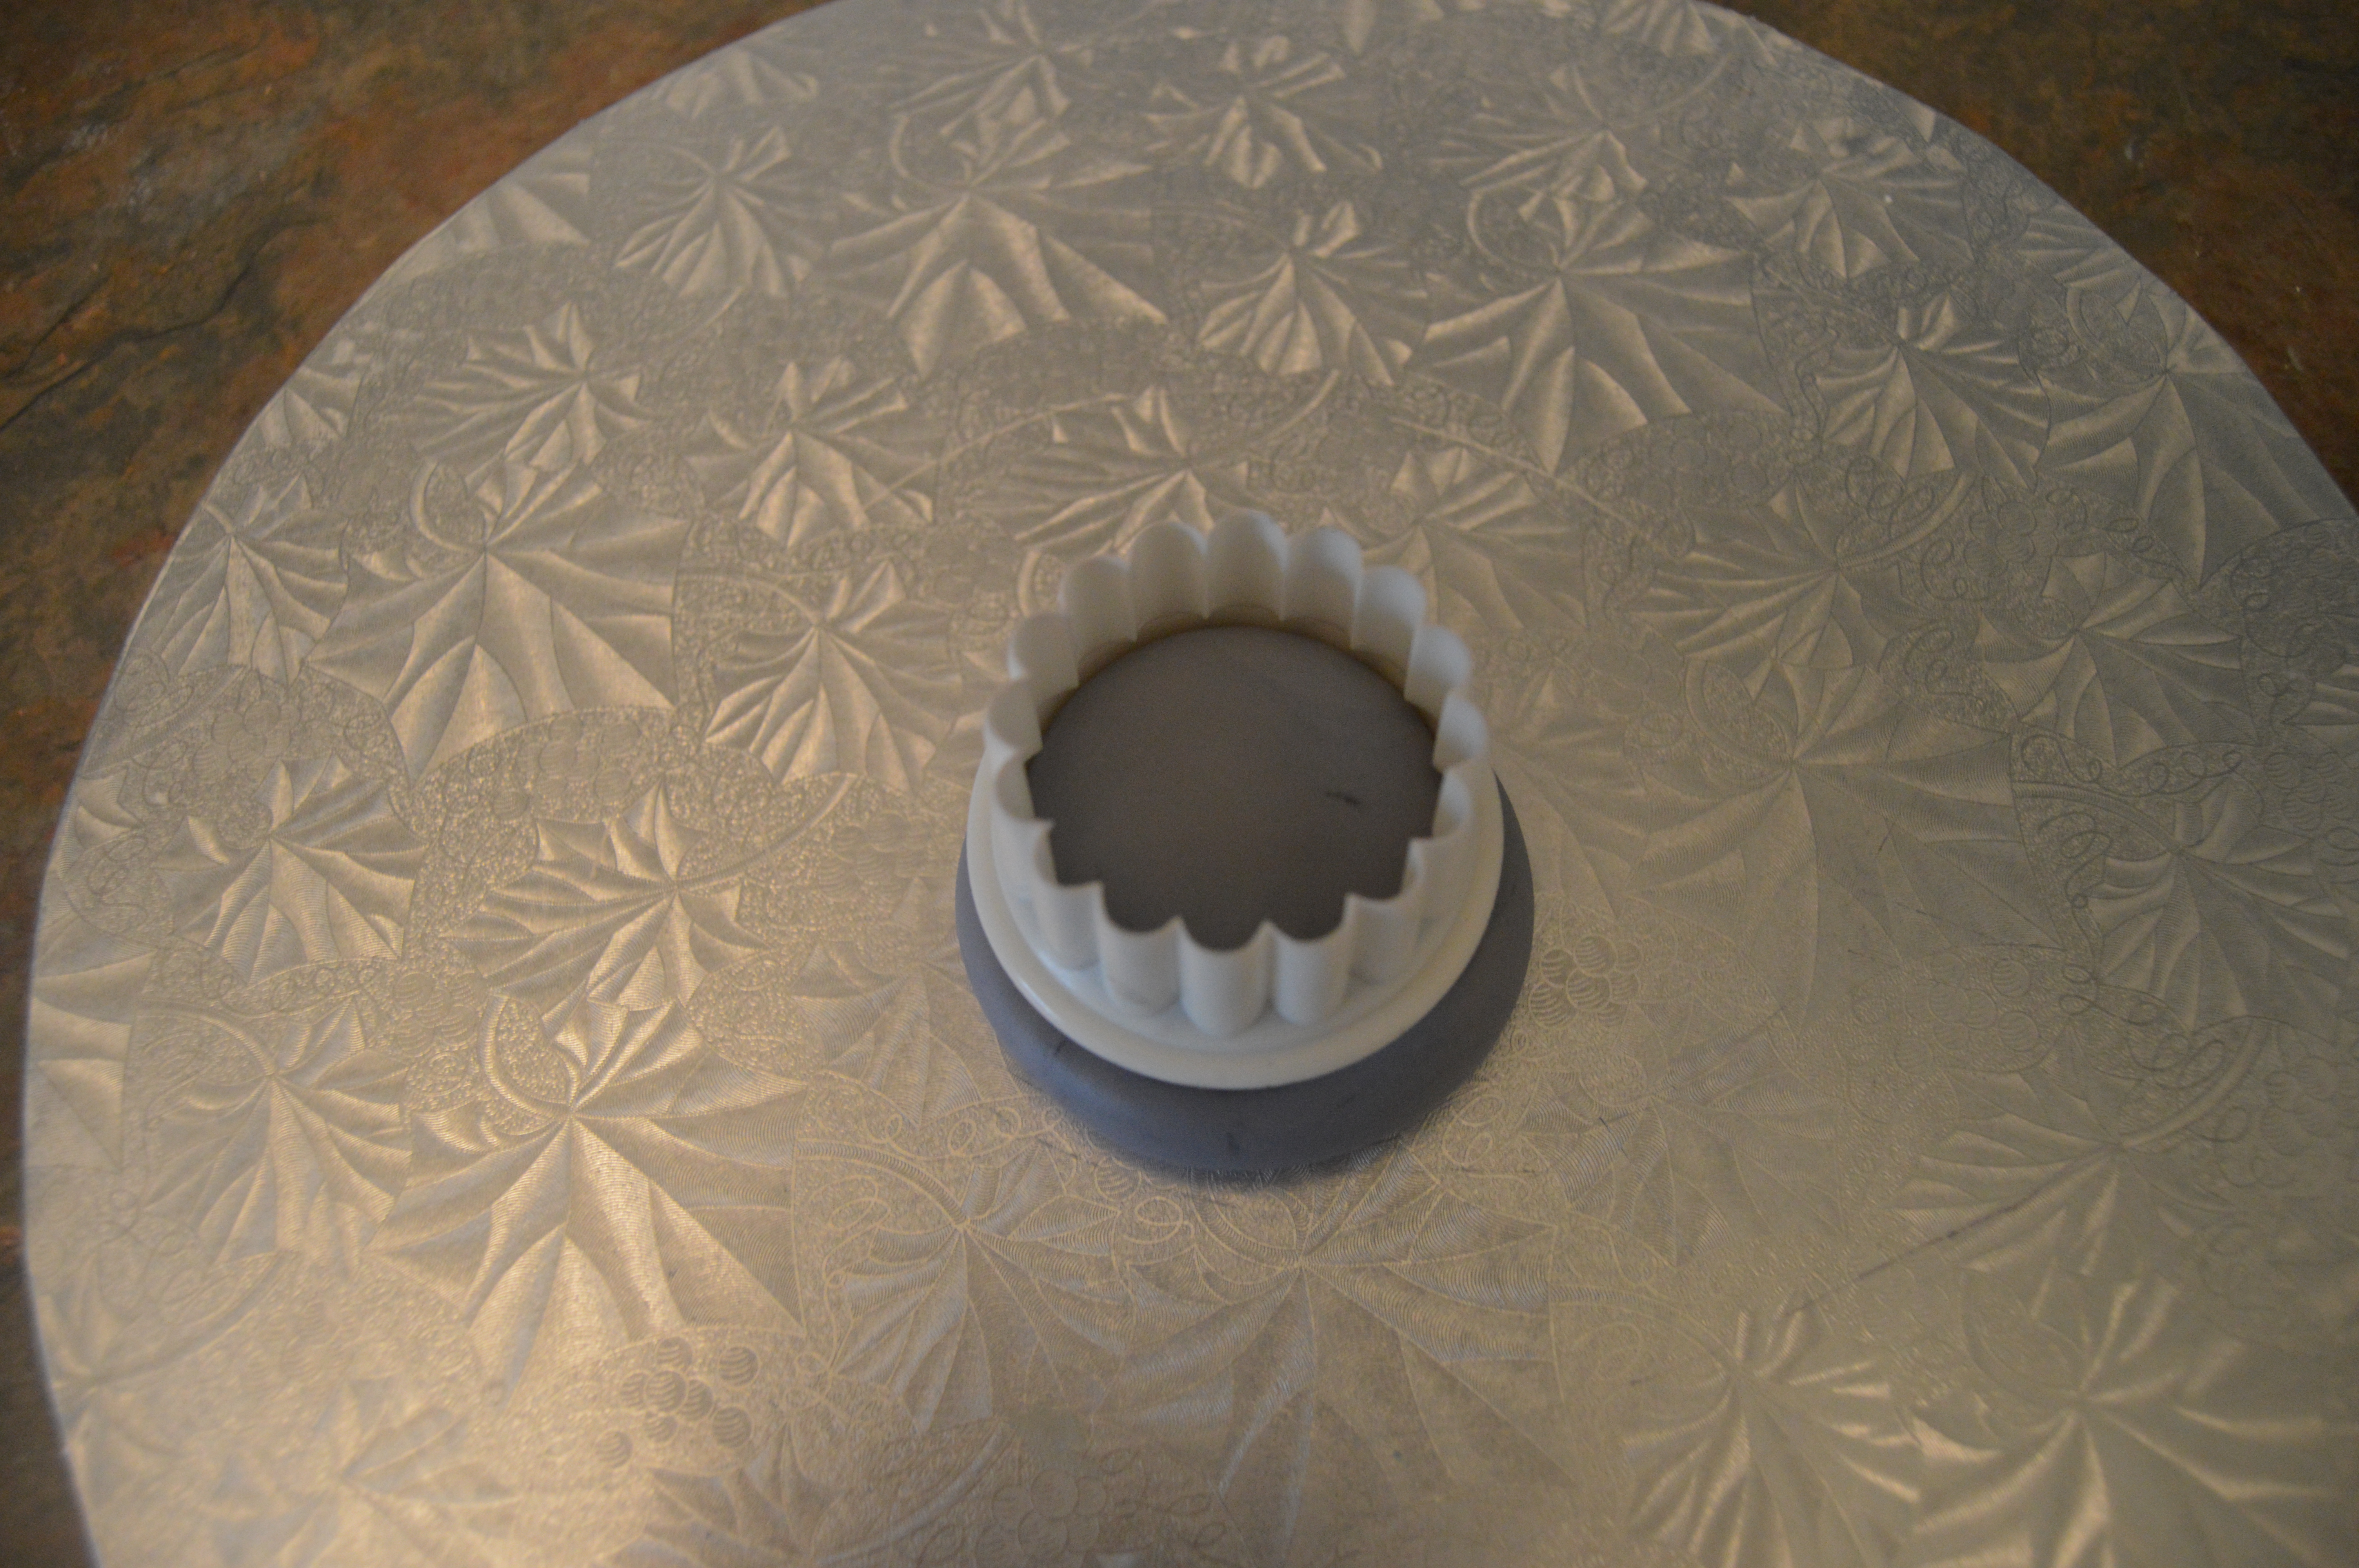
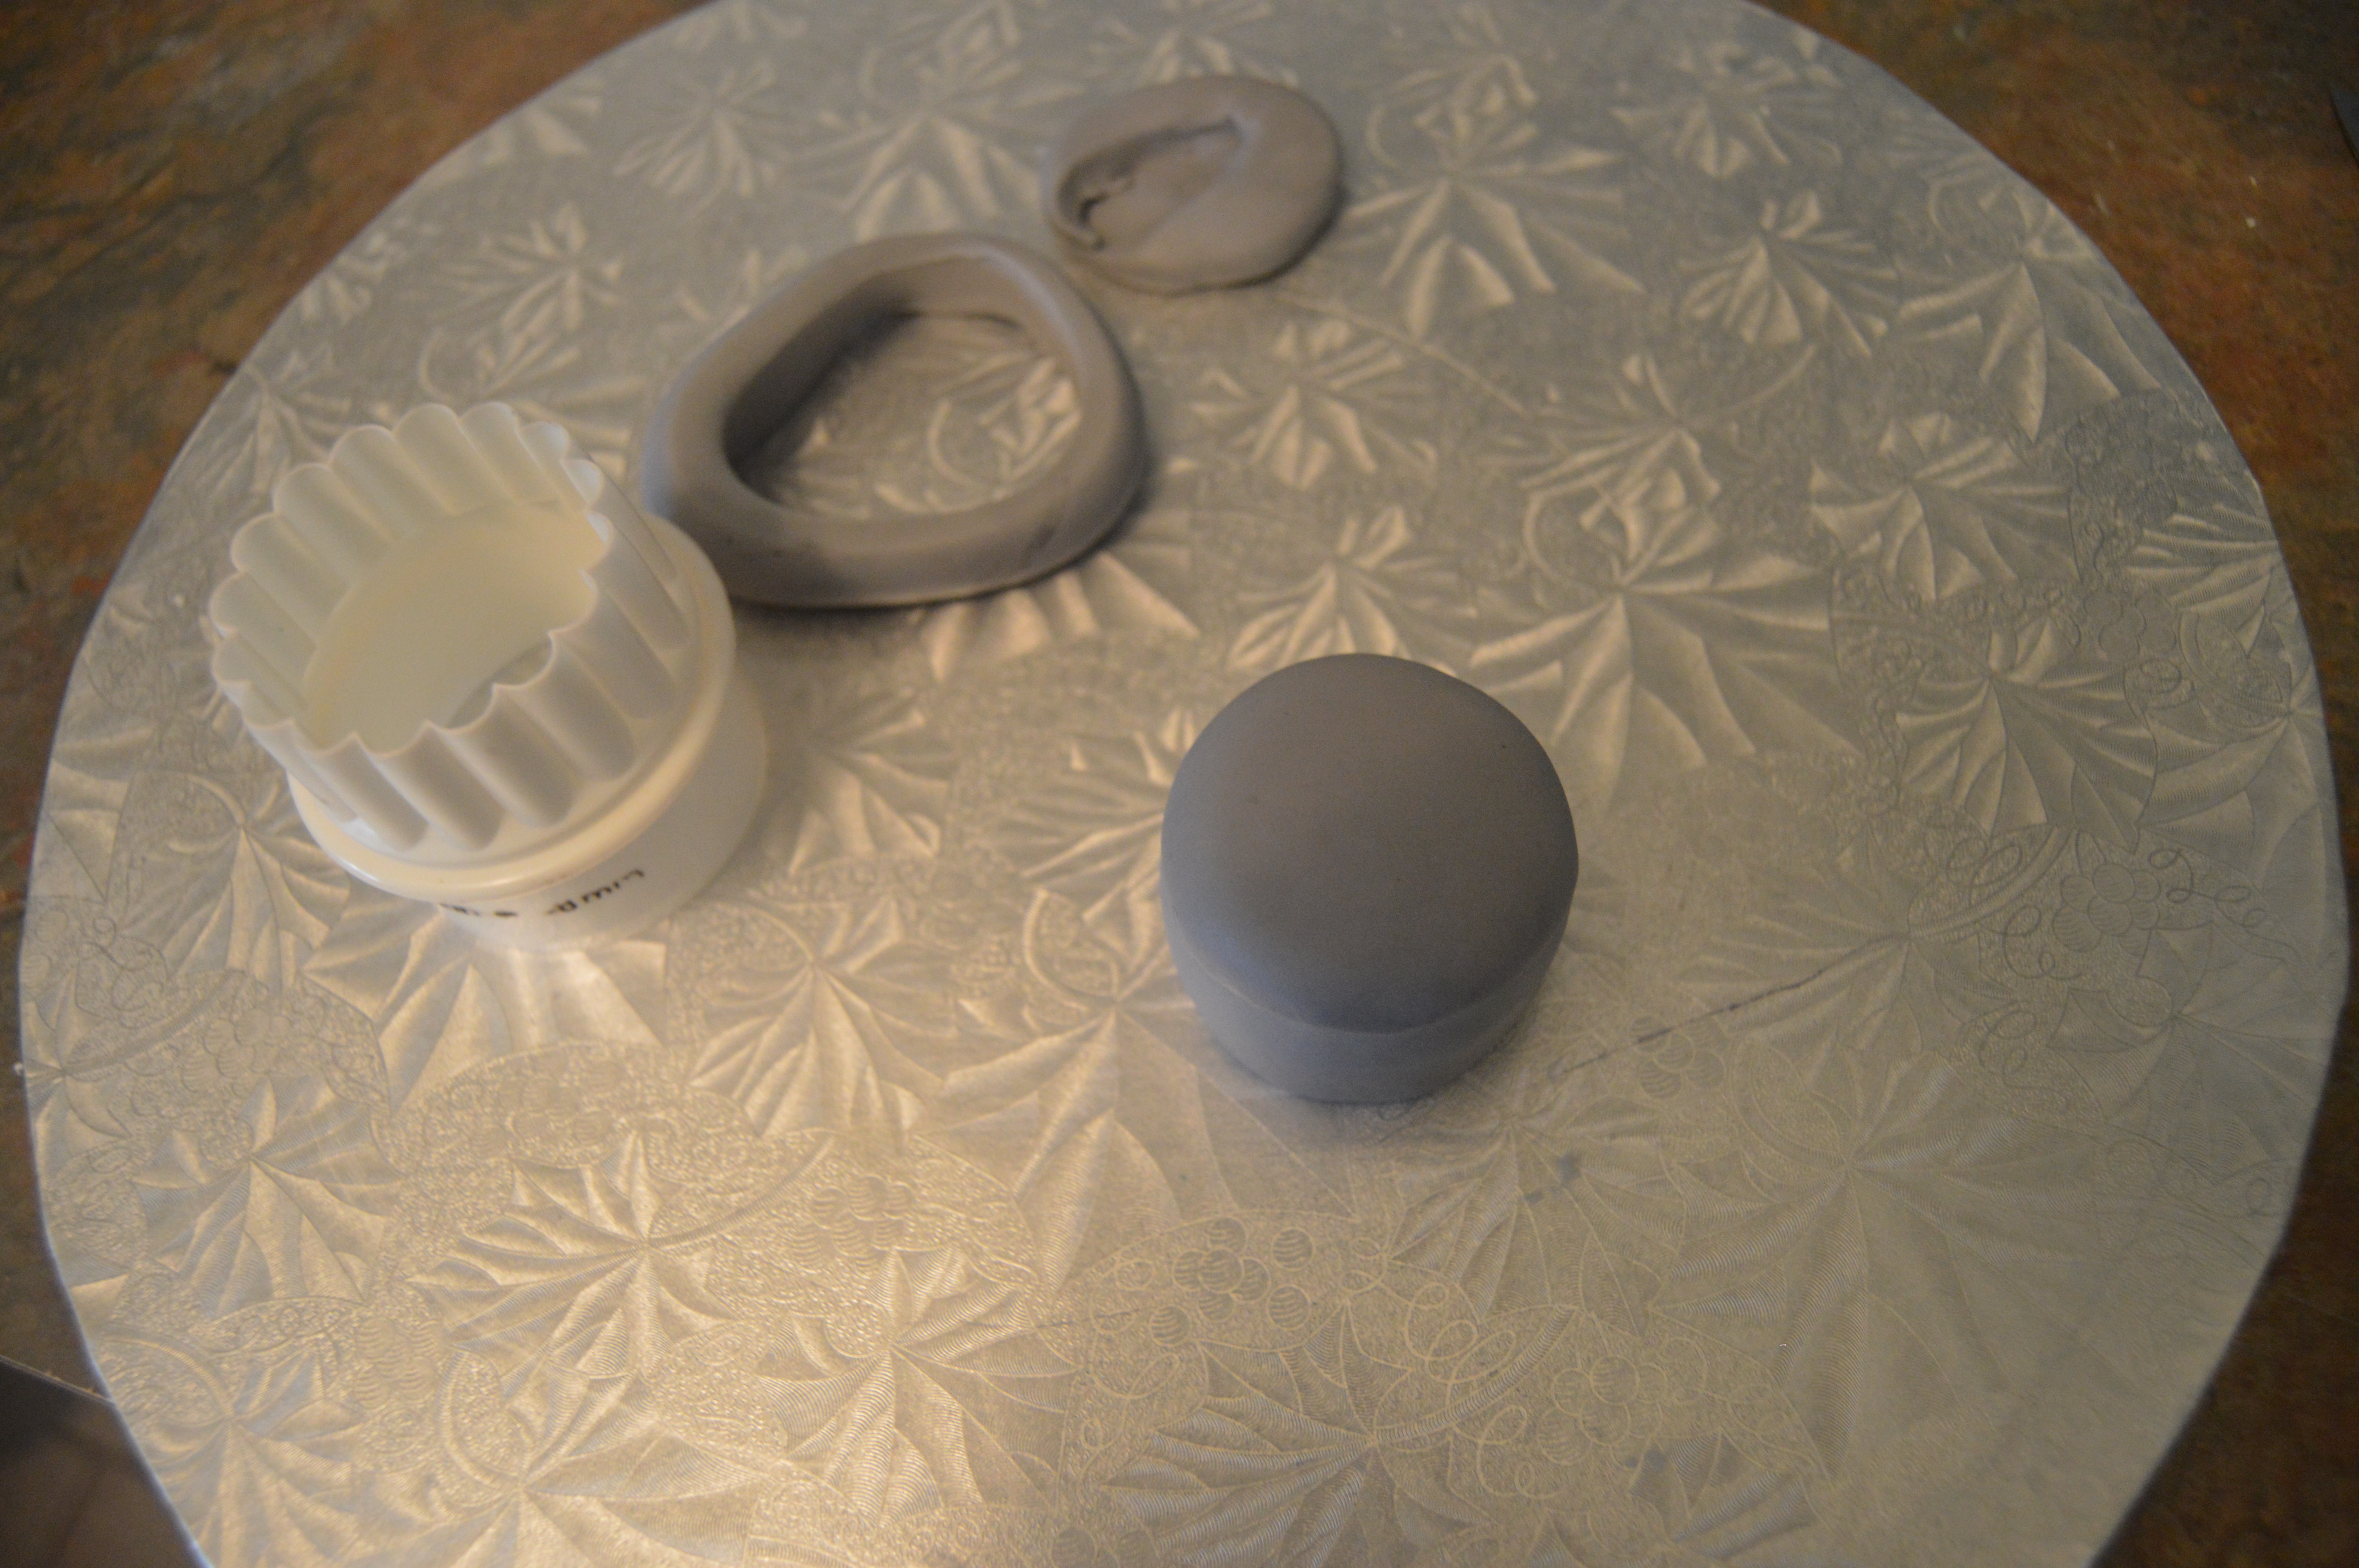
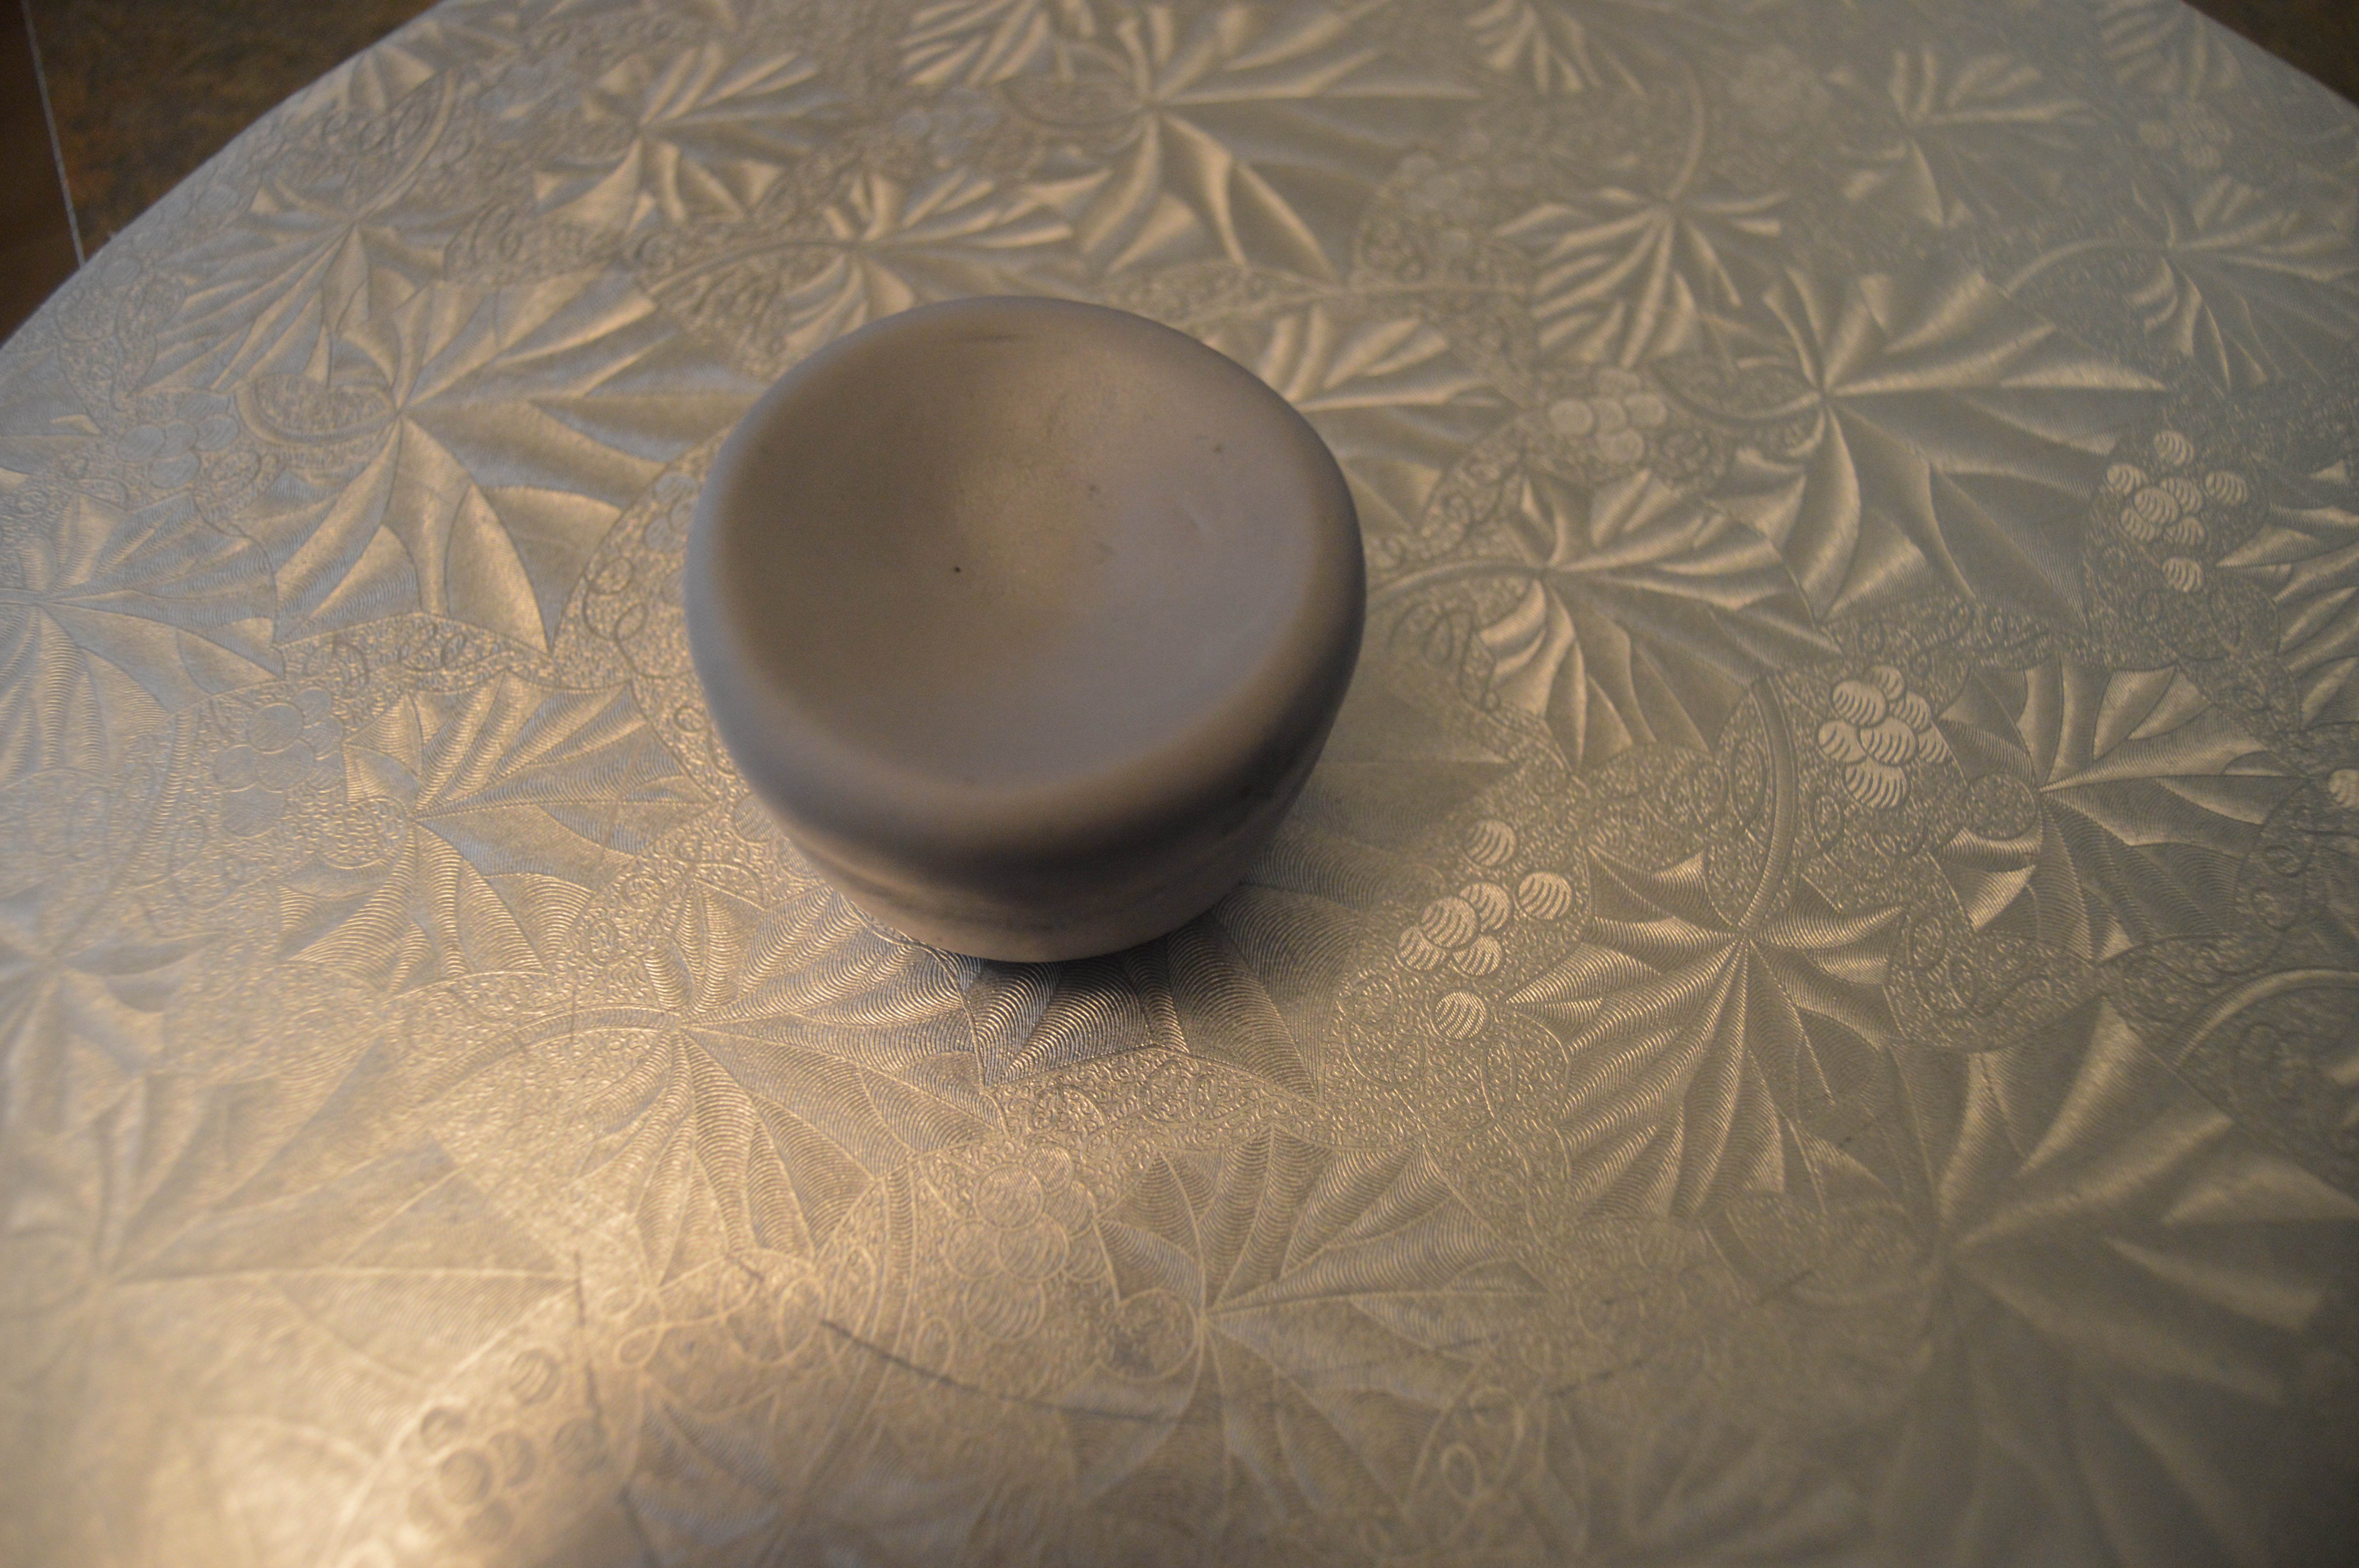
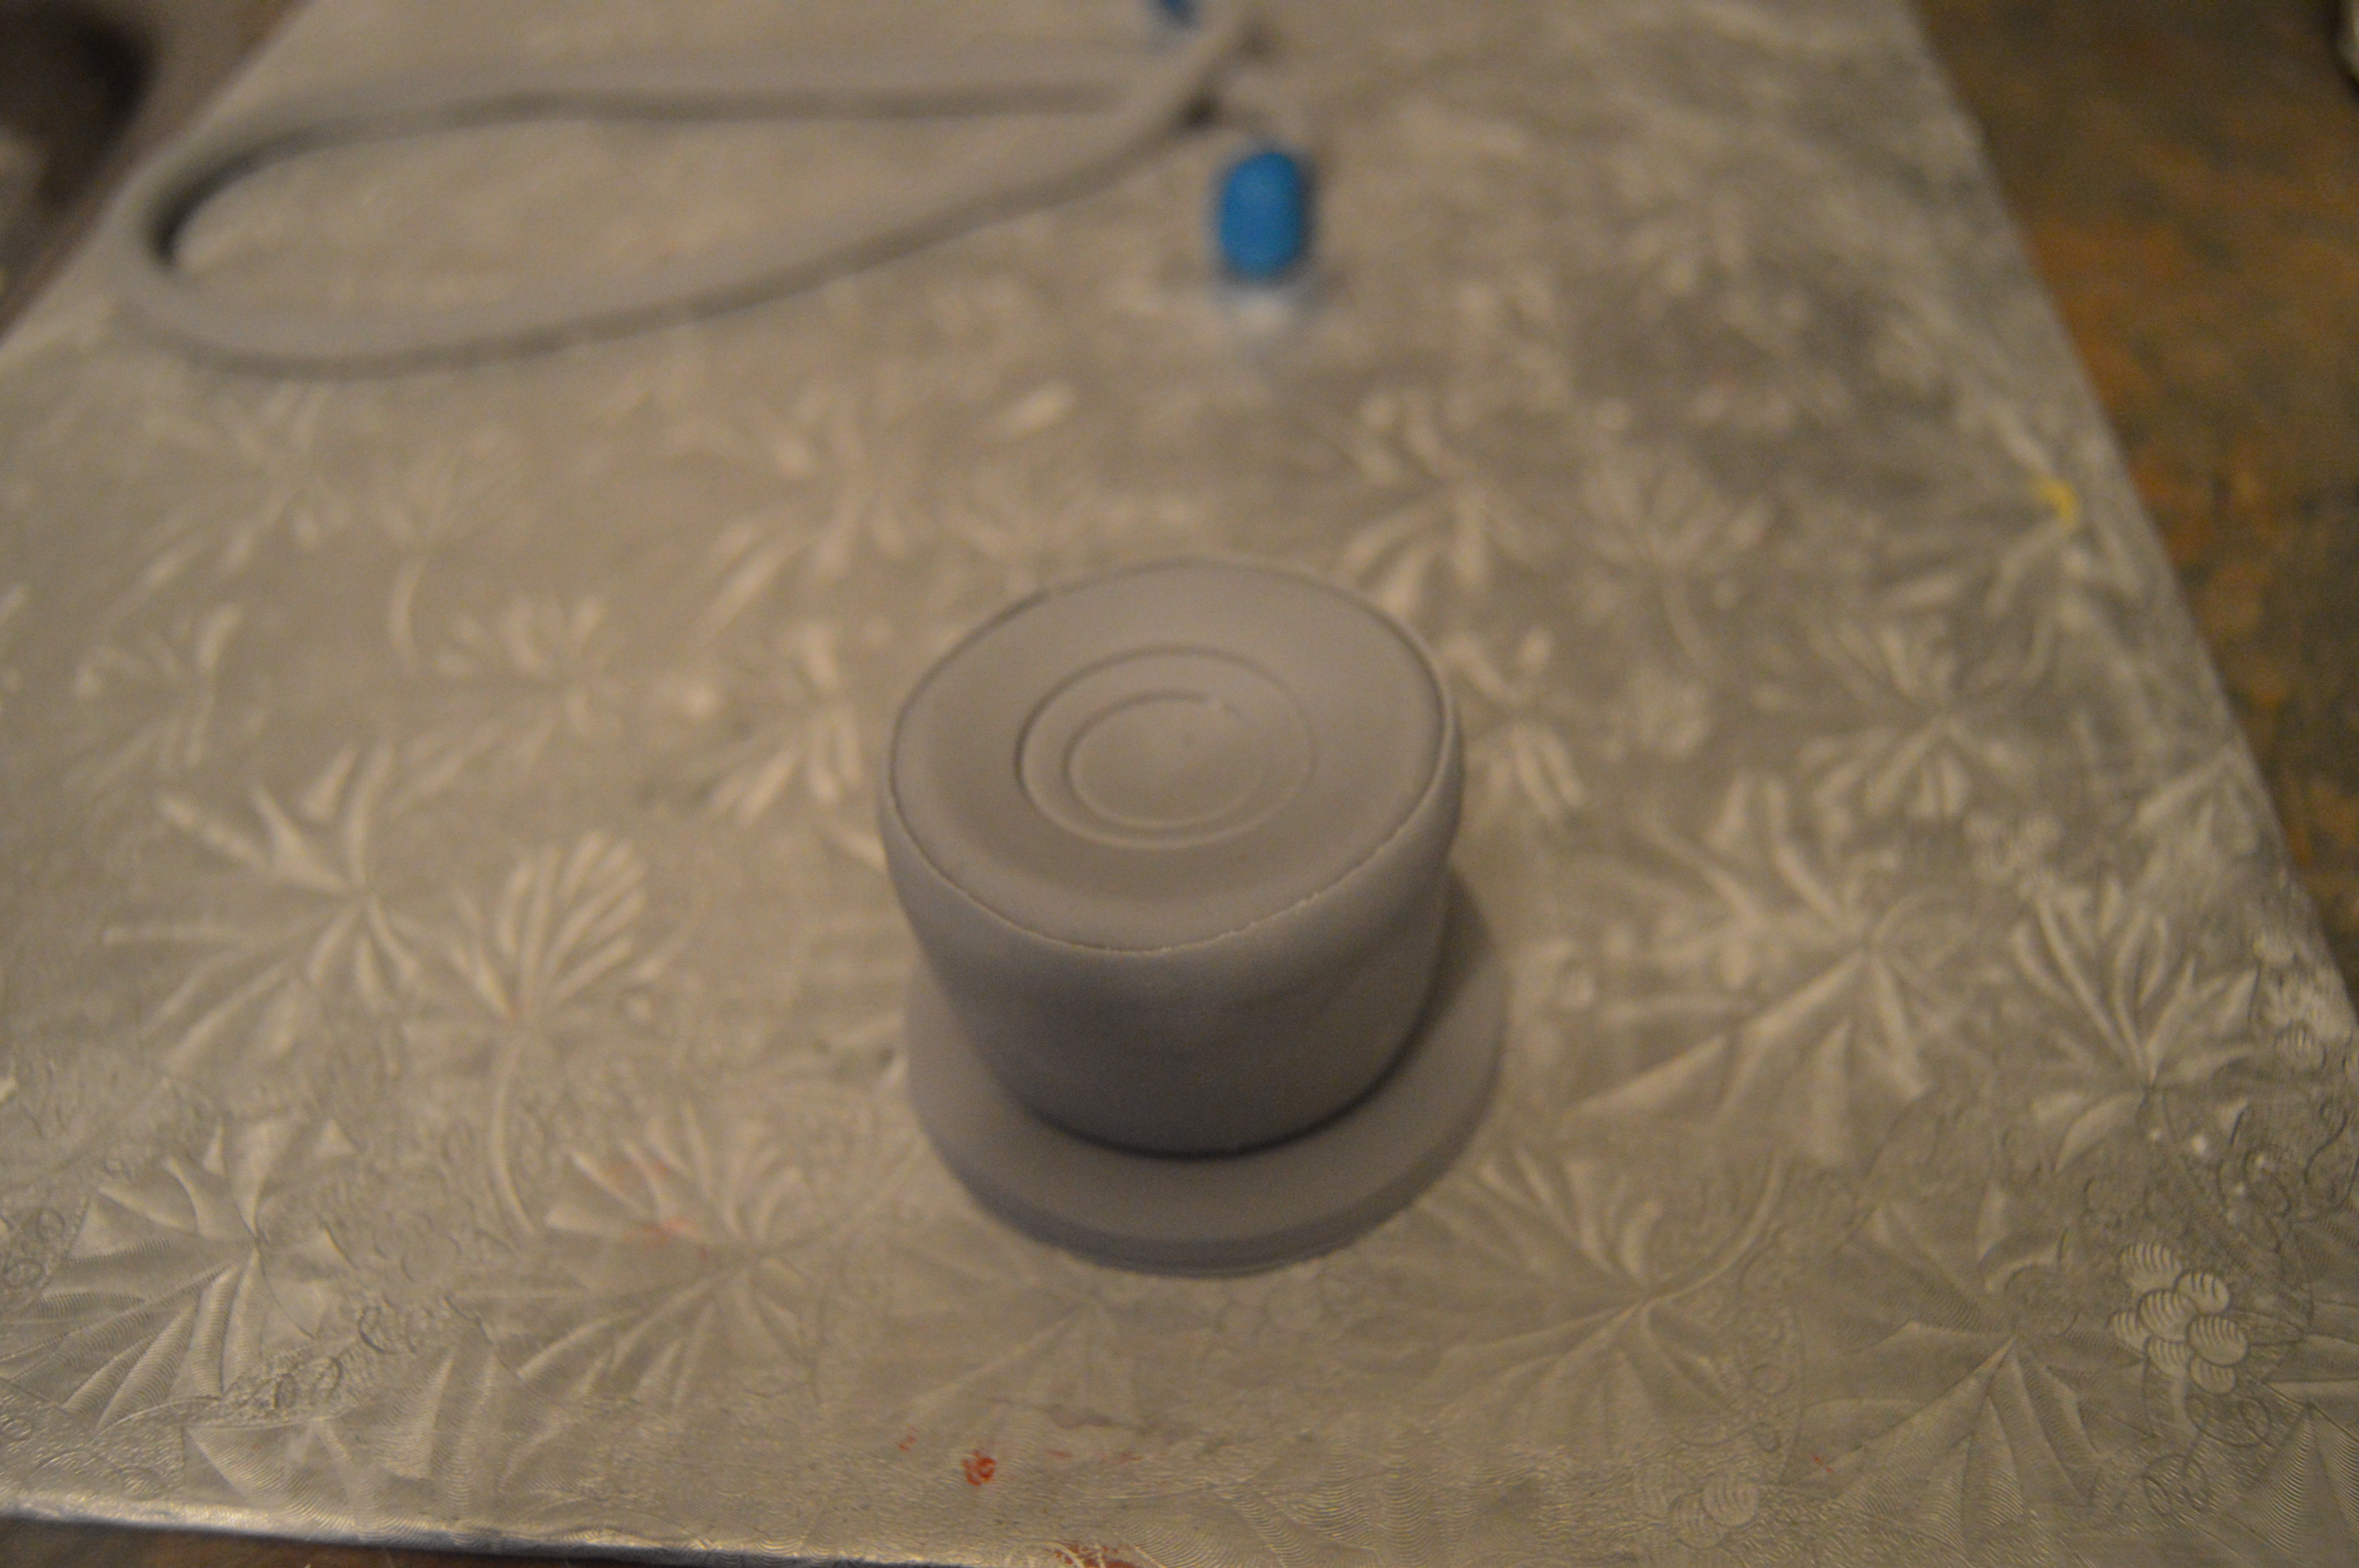
(4) Next, make the bell and drum. To make the bell, shape grey fondant into a smooth ball. use a 1 inch round cutter to cut through it. Continue shaping with your hands until you arrive at the desired shape. The top should be broader than the bottom and should have a depression in the middle. Use a larger round cutter to cut out the drum. Leave these to dry along with the binaural.
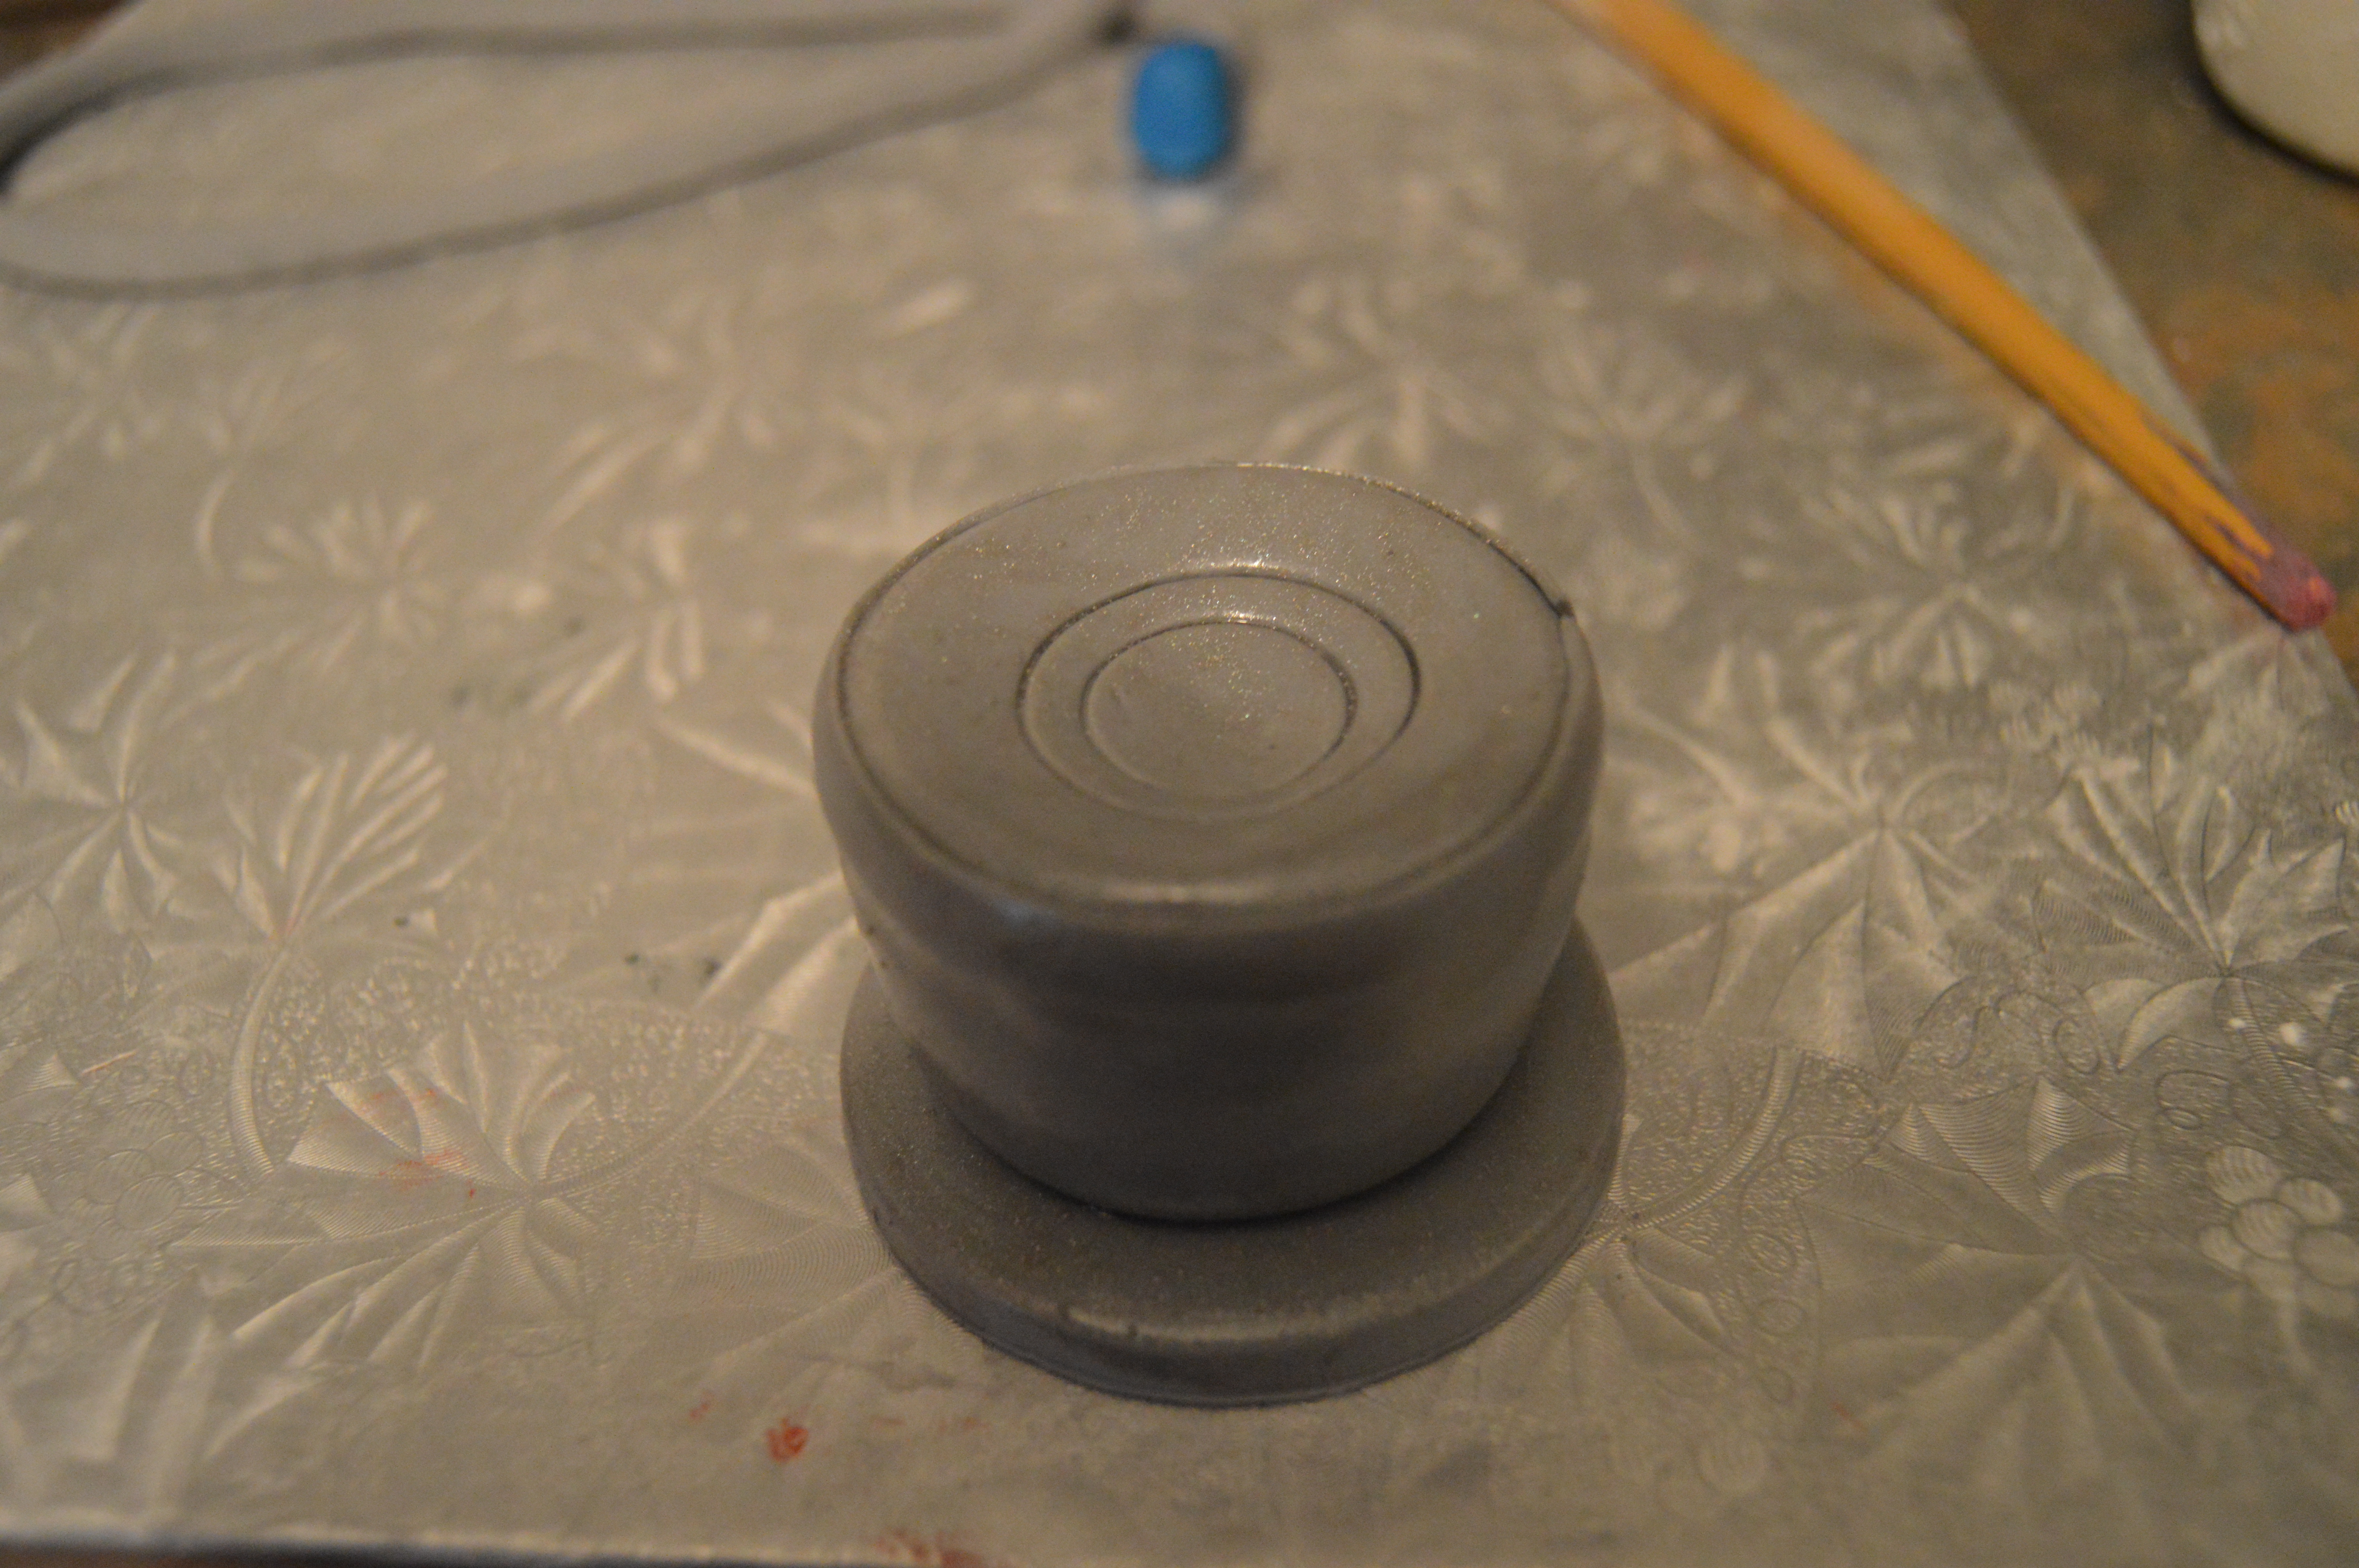
(5) Next, roll out a thing sheet of grey fondant and wrap the bell with it. This will give it a smooth surface. Stick the drum to the bell with melted white chocolate (or any gluing medium you usually use). Mix vodka with silver luster dust and brush the drum and bell with it.
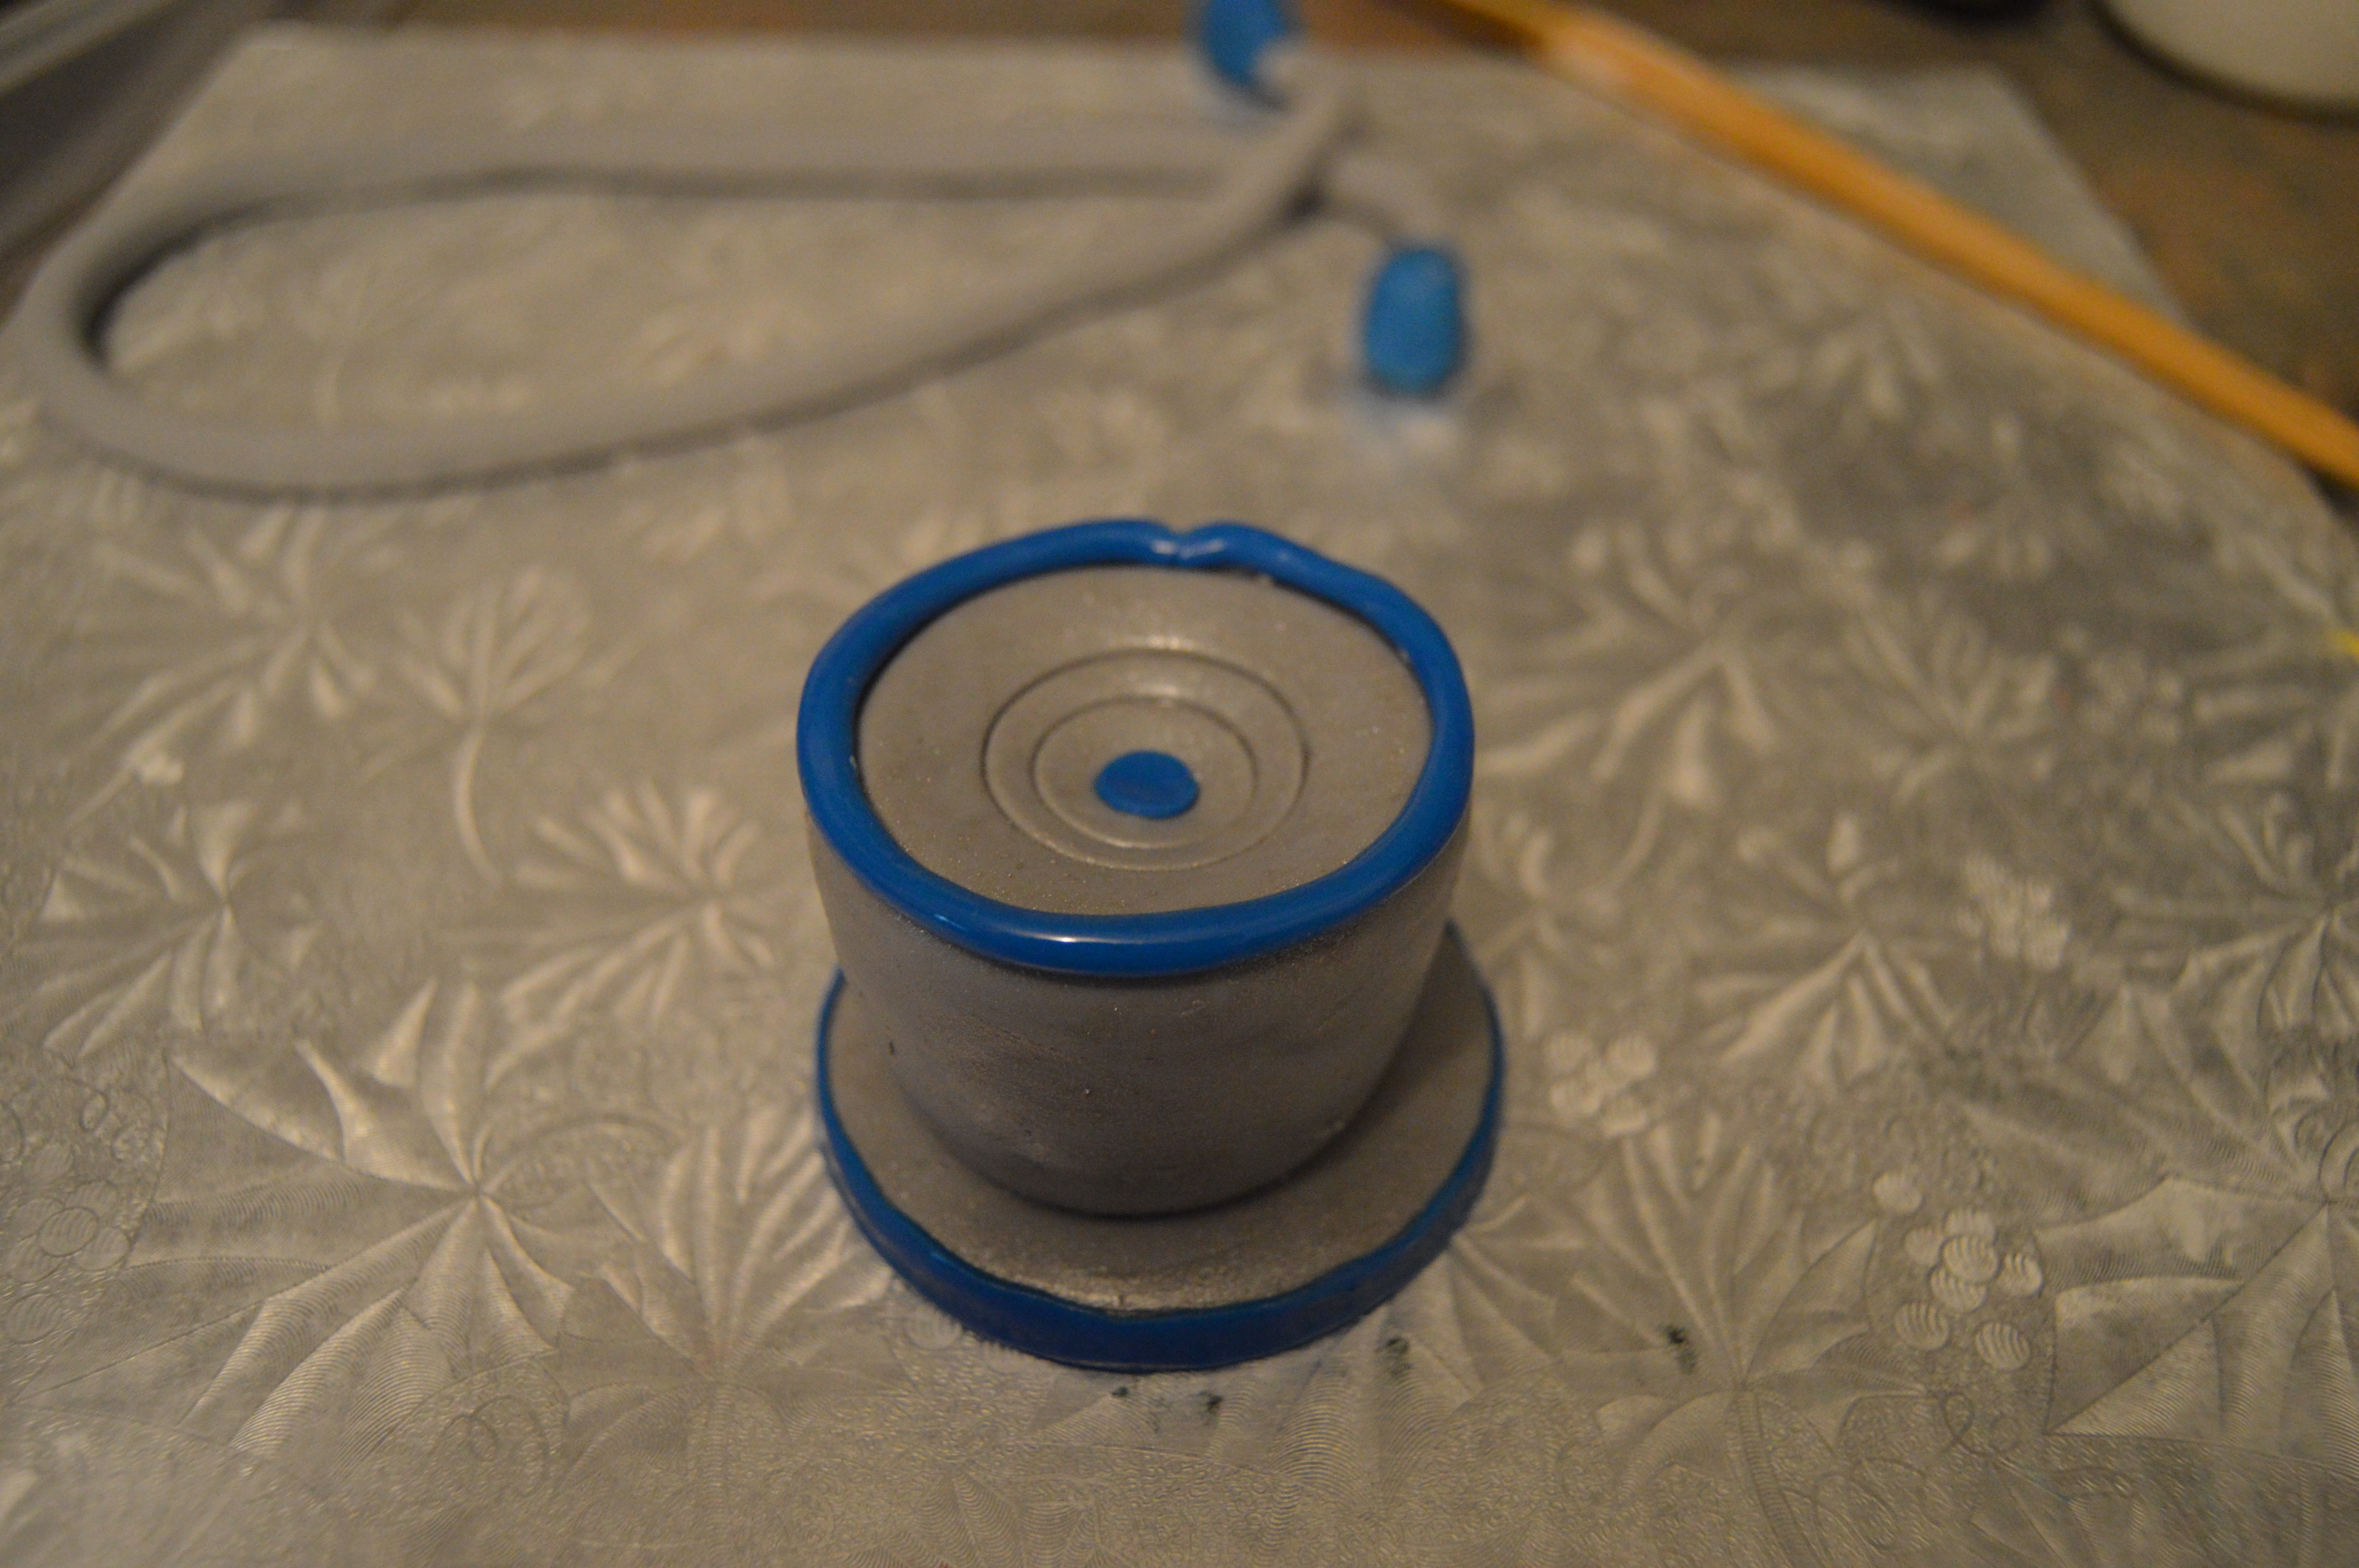
(6) Next, roll some of the dark blue fondant into a thin layer. Brush the loop part of the binaural with vodka and wrap it with the blue fondant. Also wrap the sides of the drum with blue fondant and place a small round piece of blue fondant in the middle of the bell. Roll some blue fondant into a thin cord and place it around the top edge of the bell.
(7) The next stage will be done on the cake itself. Place the binaural and the drum on the cake. Roll out the tubing using the dark blue fondant and connect the parts together. That’s all there is to it!
Terry Adido is passionate about showing people how easy it is to recreate restaurant quality meals in the comfort of their kitchens. With a style of cooking he refers to as Afro-European Fusion, his meals are influenced greatly by French and Italian Cuisine with a West African twist. If you love good food, you are in for the ride of your life.
Nice job!
Thanks Latoier.
Good job. Thanks Terry
Thanks Miracle.
Thanks for ur great work.
Thanks Amara.
terry wat is d substiute for marshmallow fondant
Hi. You can use any type of fondant, pastilage, gum paste or modeling chocolate of your choice.
terry pls ow did u make d hand of d shirt
Hi. My tutorial on how I make Jersey Cakes which can be found here would answer that question.
Wonderful work as always.
Thank you very much for the tutorial. This is really appreciated.
Thanks a lot Ifai. I’m glad you found the tutorial helpful.
Great! Very helpful. God bless Terry.
You are welcome Grace.
Great tutorial! Thanks for sharing.
You are welcome Naedia.
Thanks, a very great job
Thanks Frances.
Thanks for this tutorial Terry
You are welcome Opeyemi.