
Fondant Prescription Bottle and Pills Tutorial

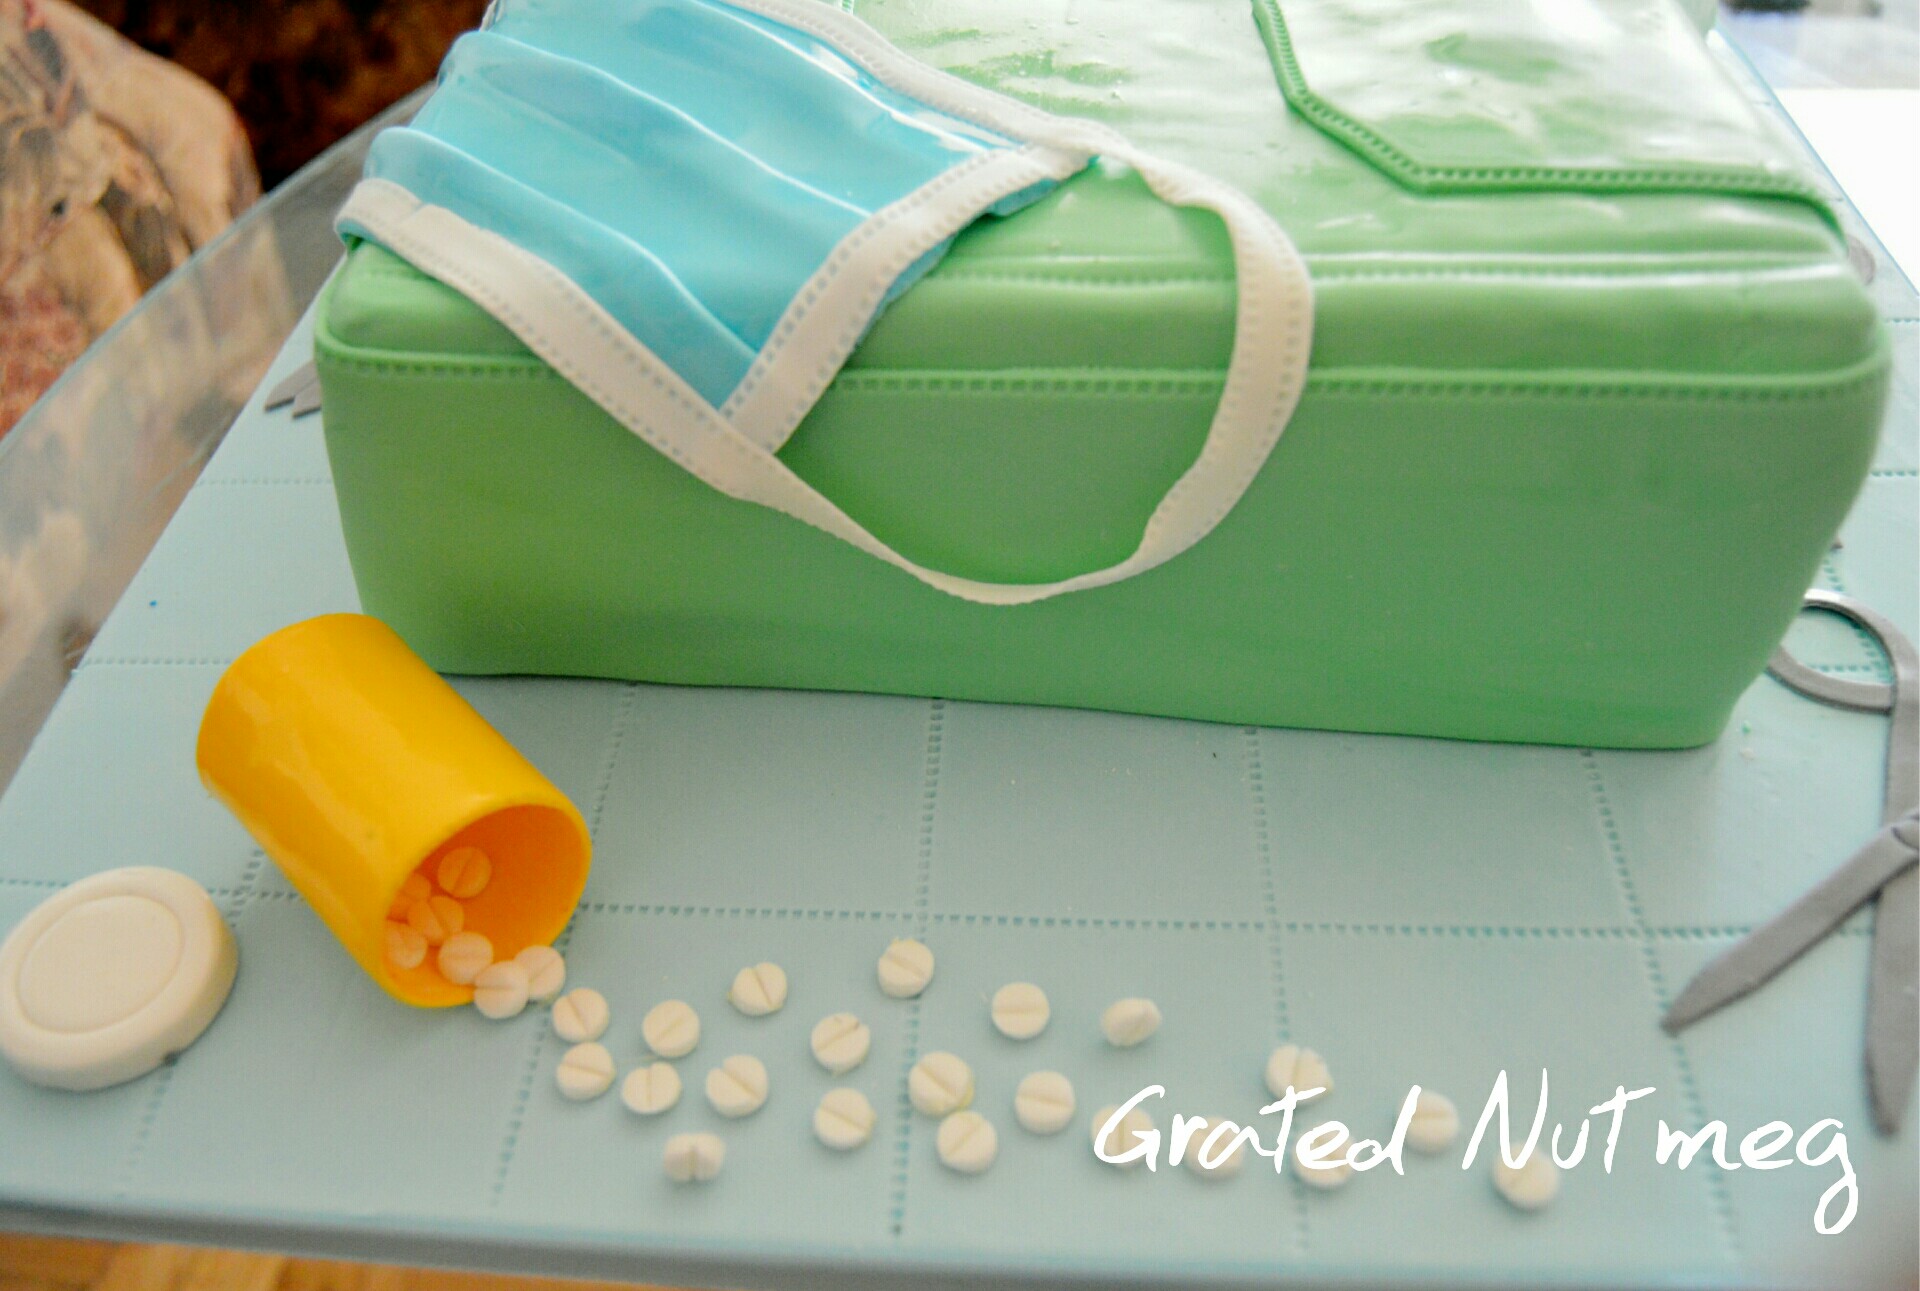
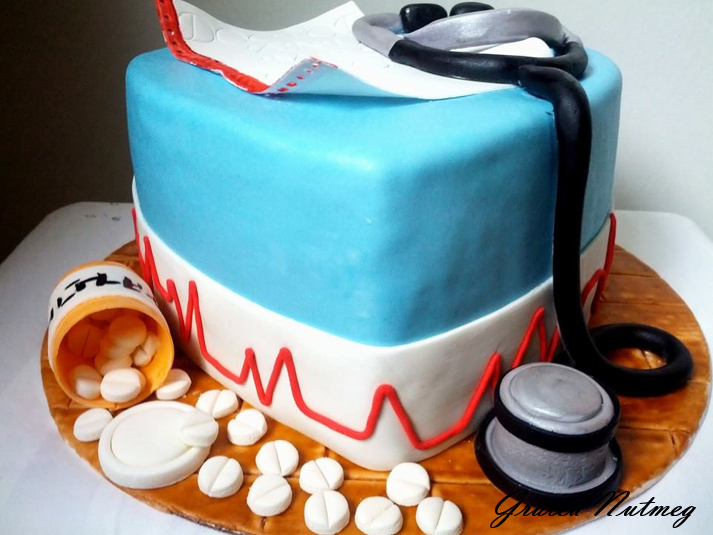
This tutorial shows you how to make a prescription bottle and pills out of fondant. This is a great accompaniment for medical themed cakes like my Surgeon Uniform Cake and Medical Heart Cake.
TOOLS:
(1) Rolling Pin
(2) A Round Container
(3) Pizza Cutter
(4) Round Cookie Cutters
(5) Pipping Tip with Round Opening
(6) Fondant Wheel/Embosser
(7) Cling Film
EDIBLE COMPONENTS:
(1) Fondant. I used Marshmallow Fondant
(2) Color Pastes
(3) Vodka
(4) Corn Syrup
(5) Water
(6) Melted White Chocolate

PROCEDURE
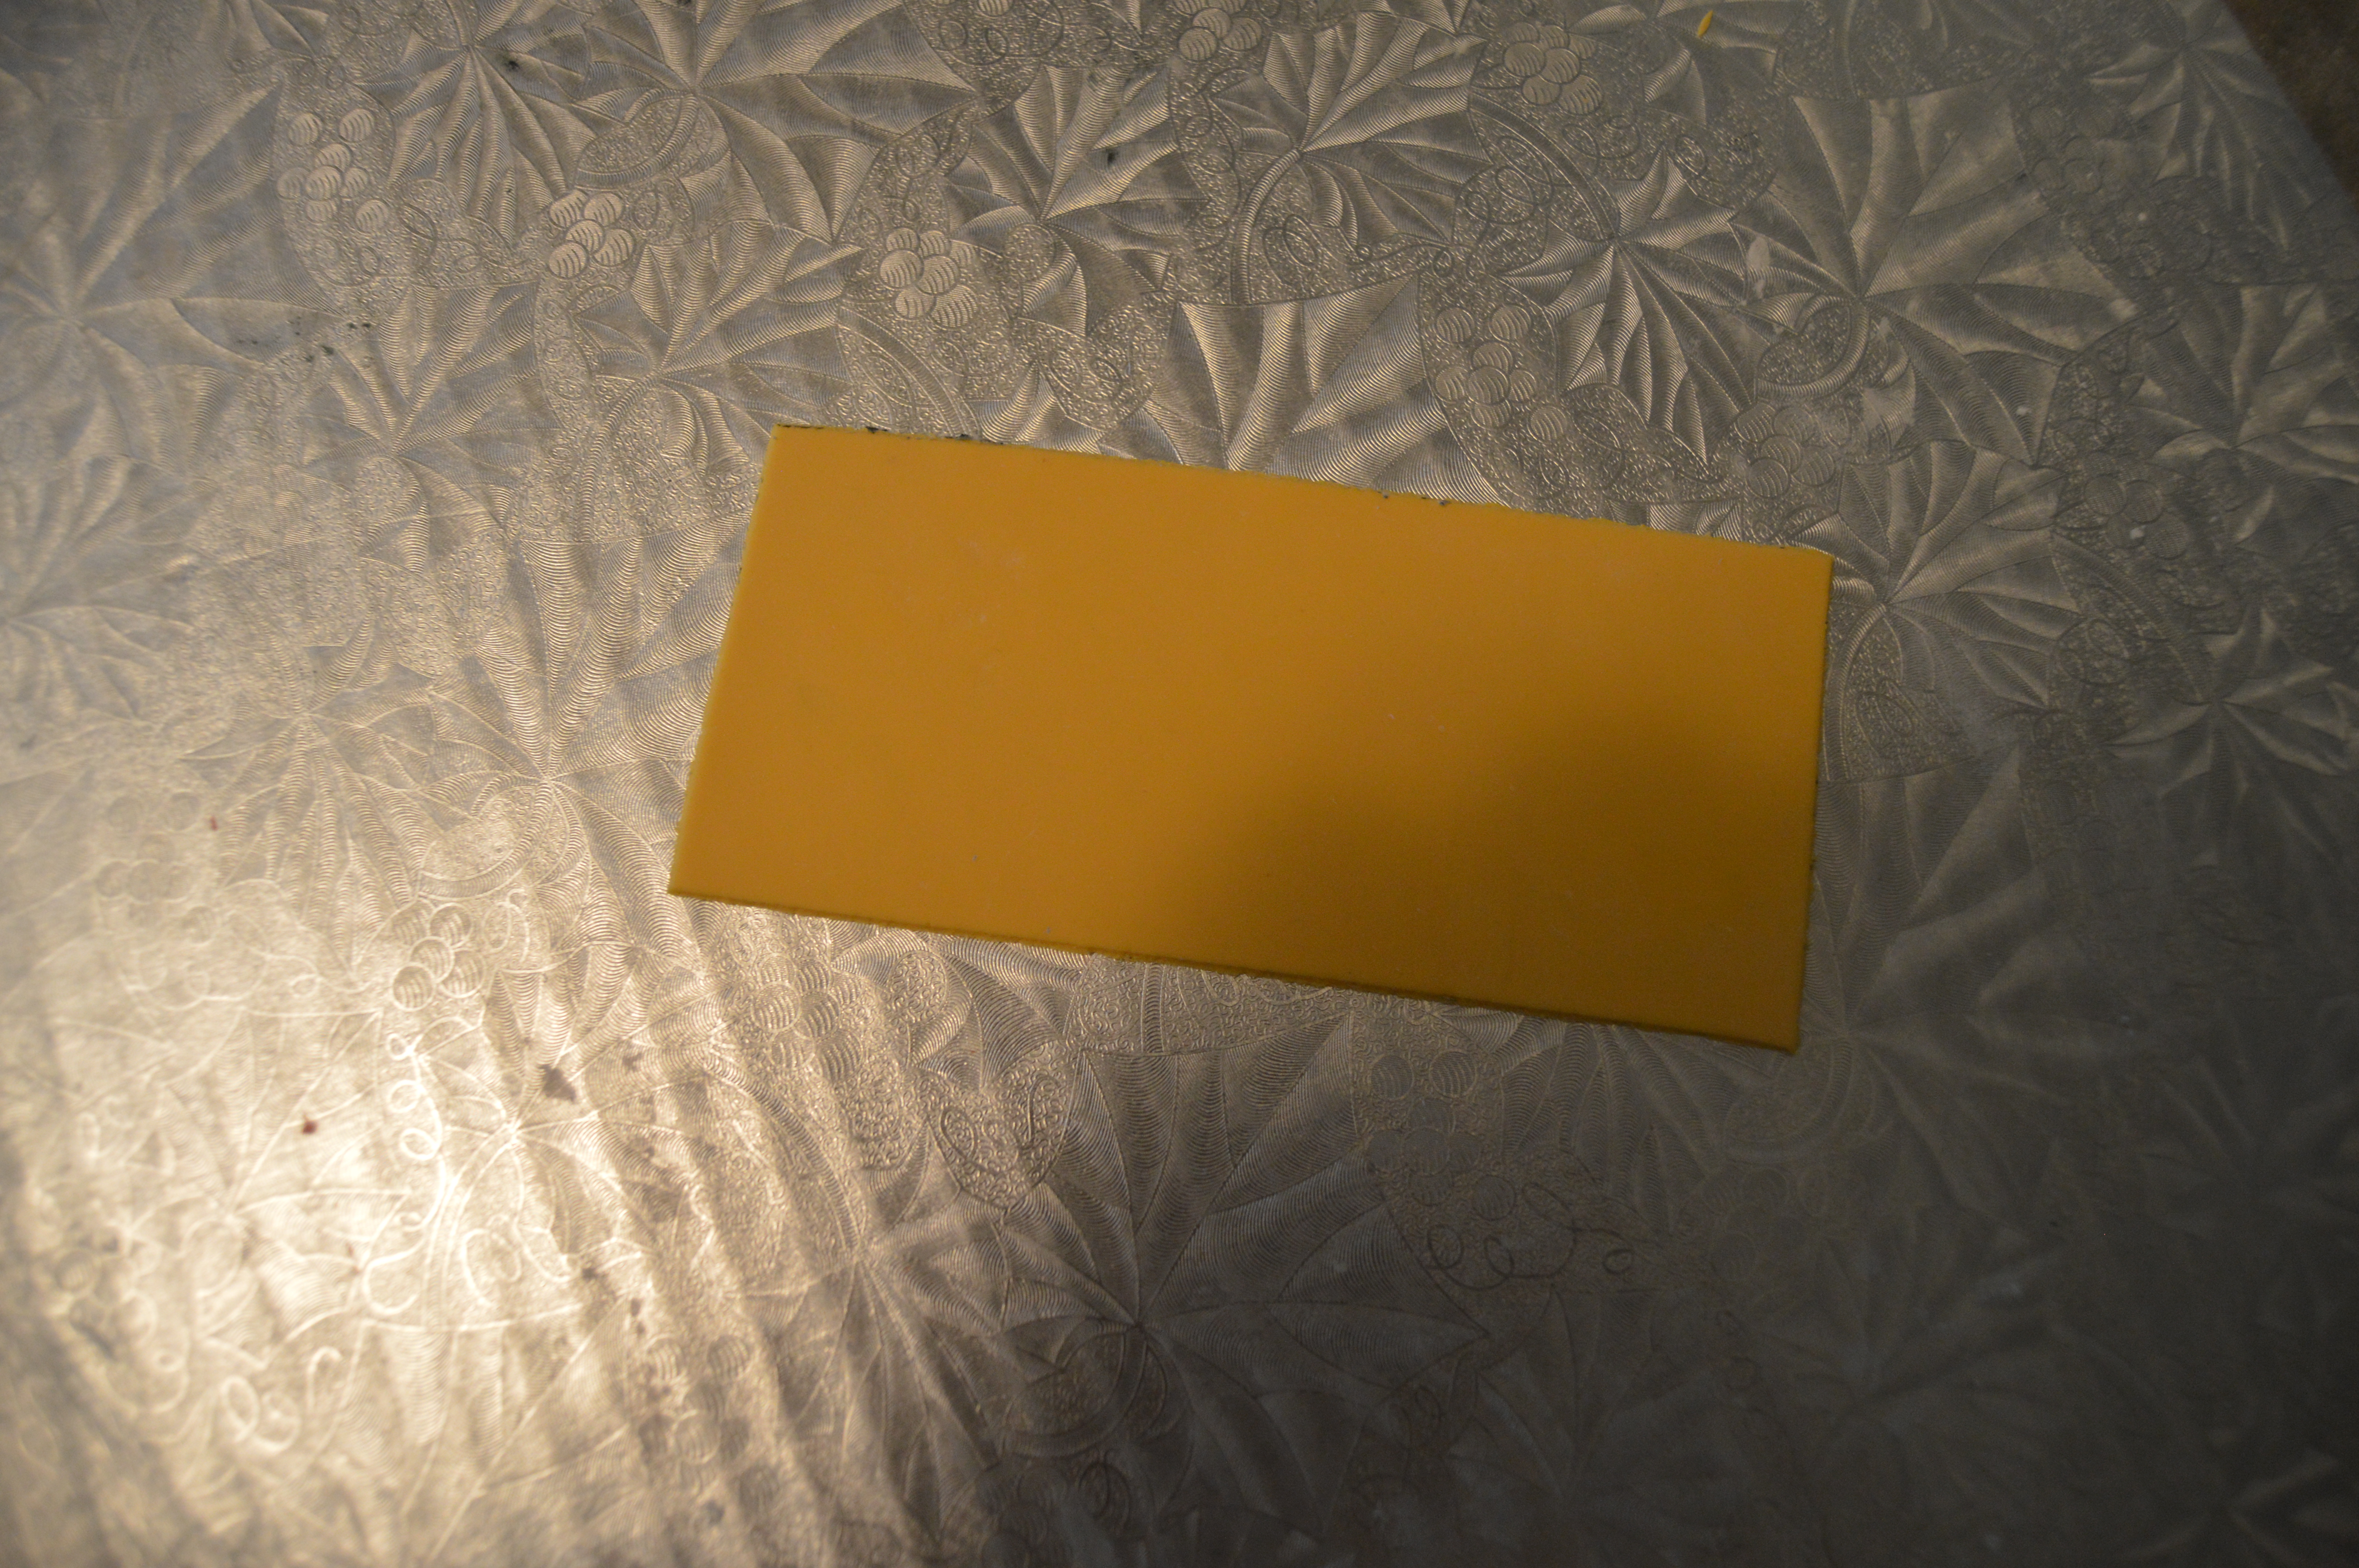
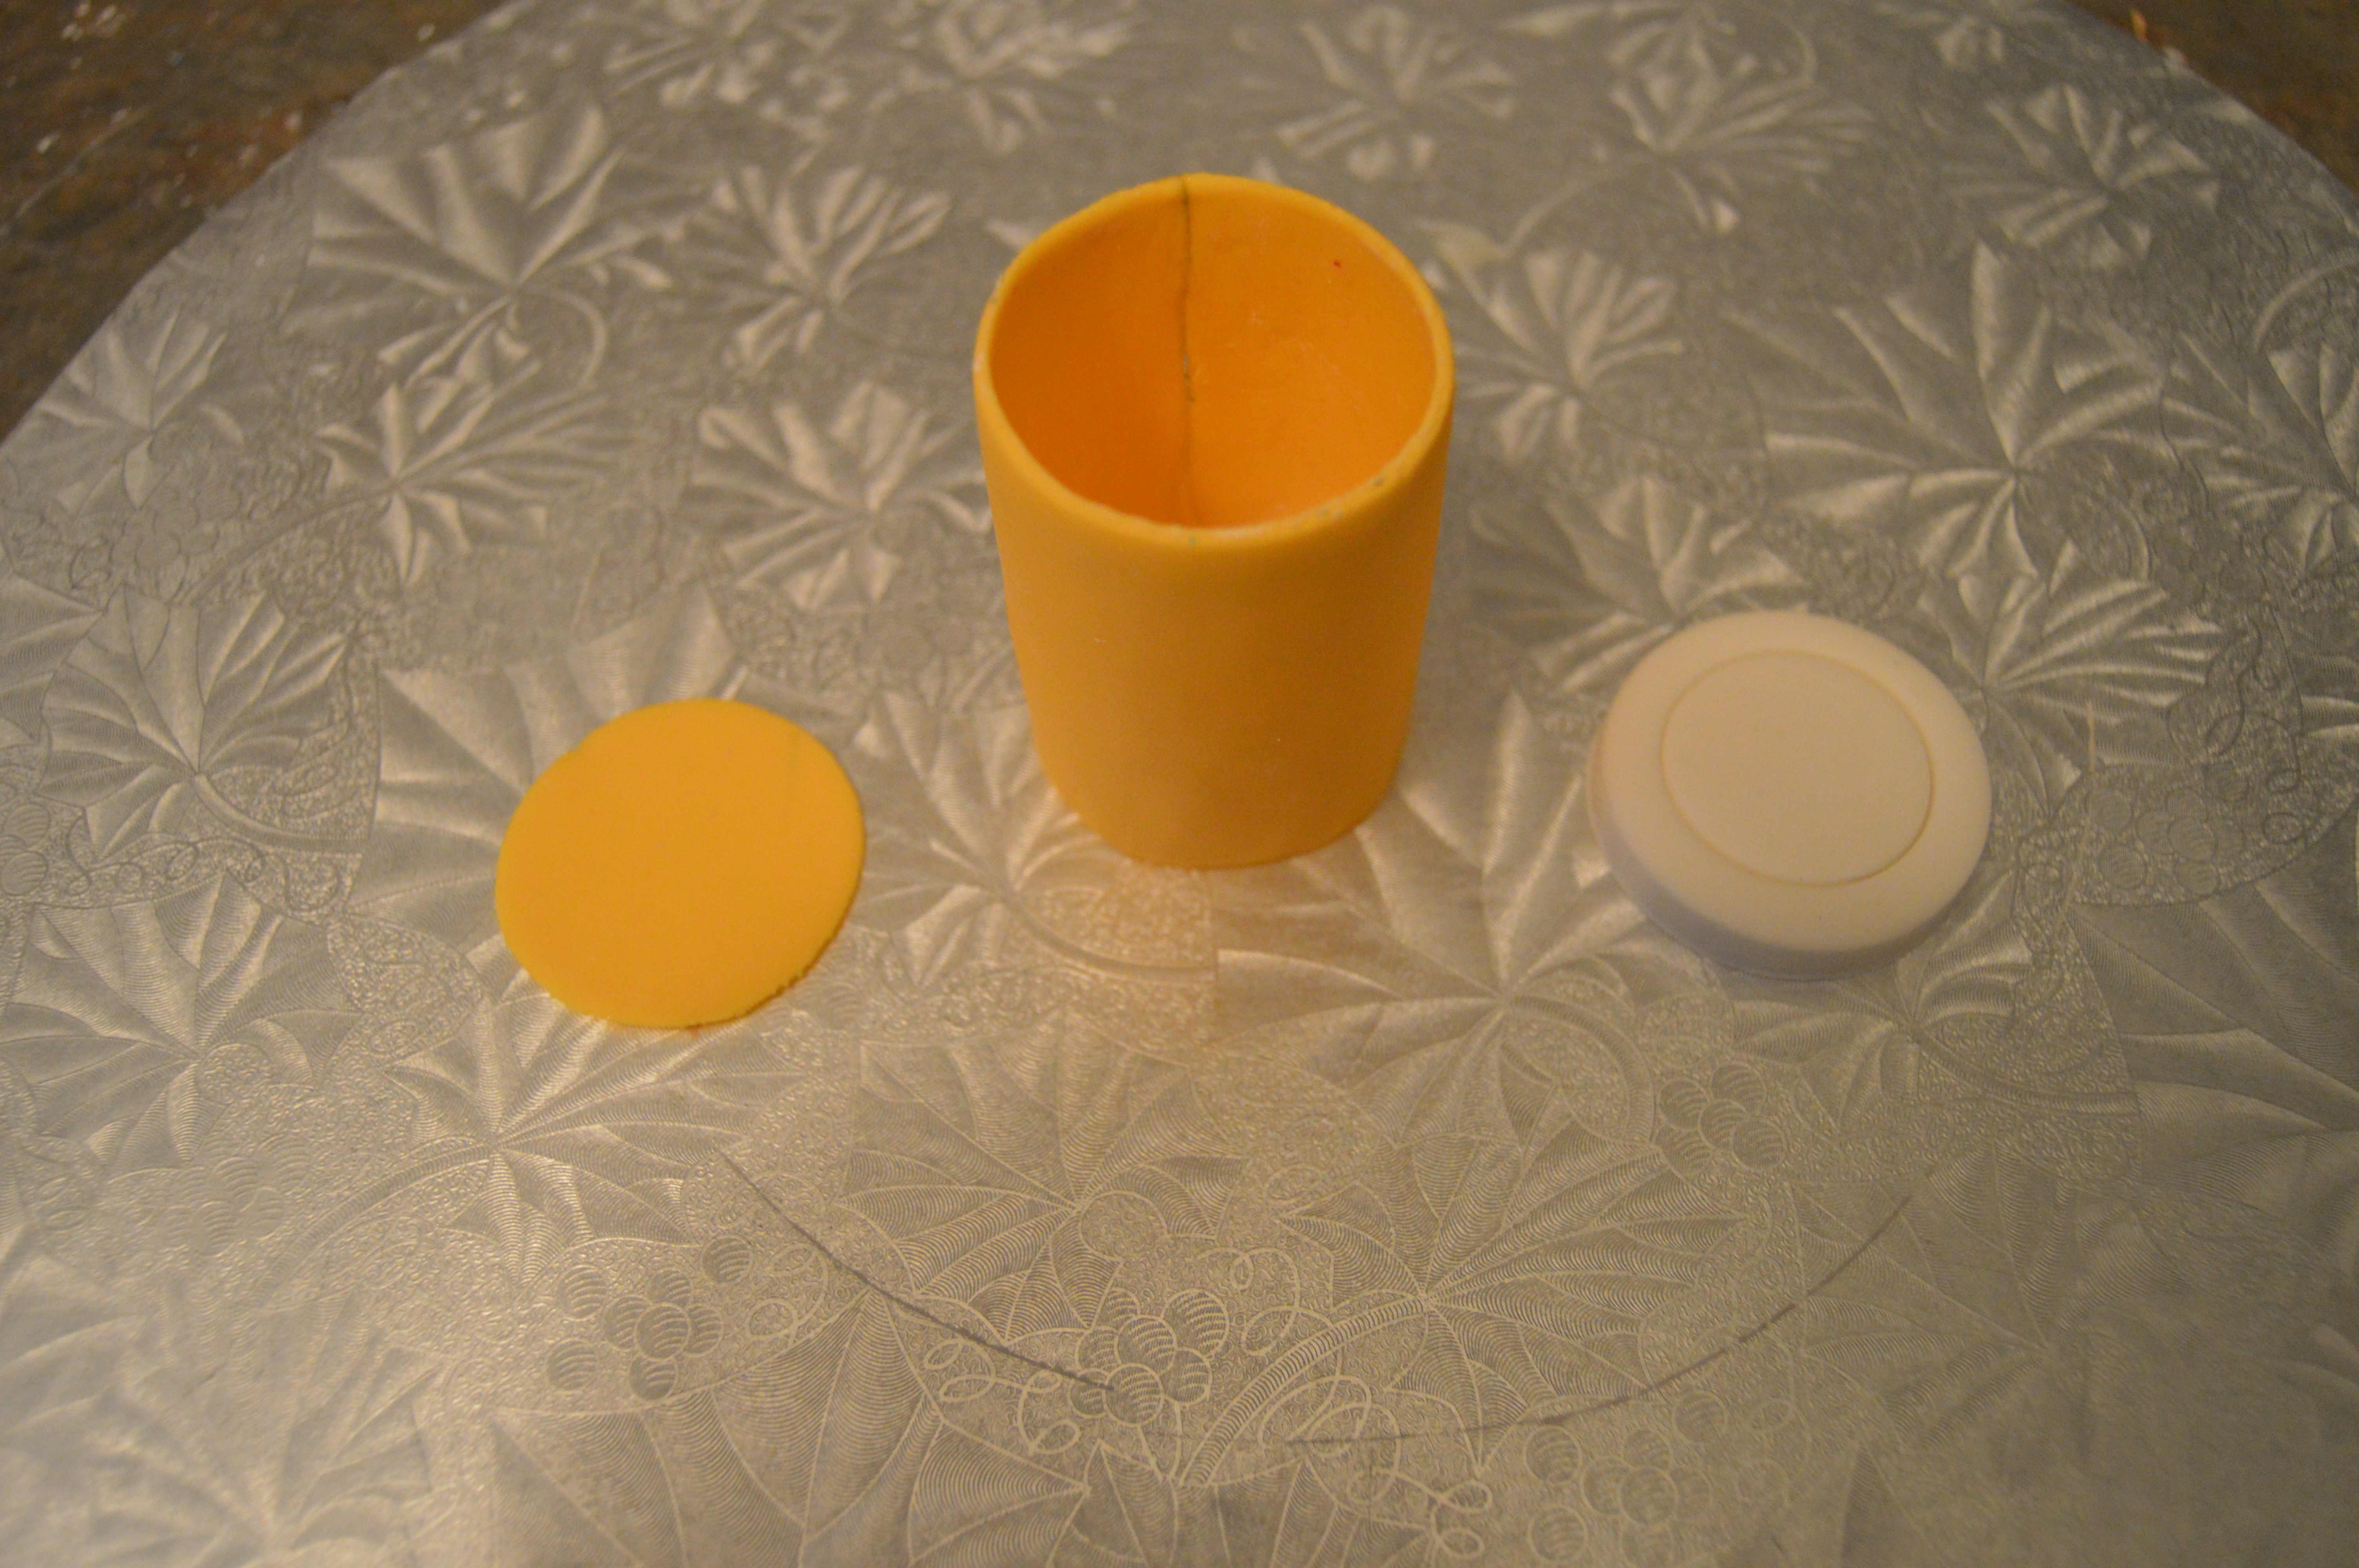
(1) Color fondant yellow and roll it out into a thin sheet. Cut the sheet into a rectangle the length and height of the container you will be wrapping it around.
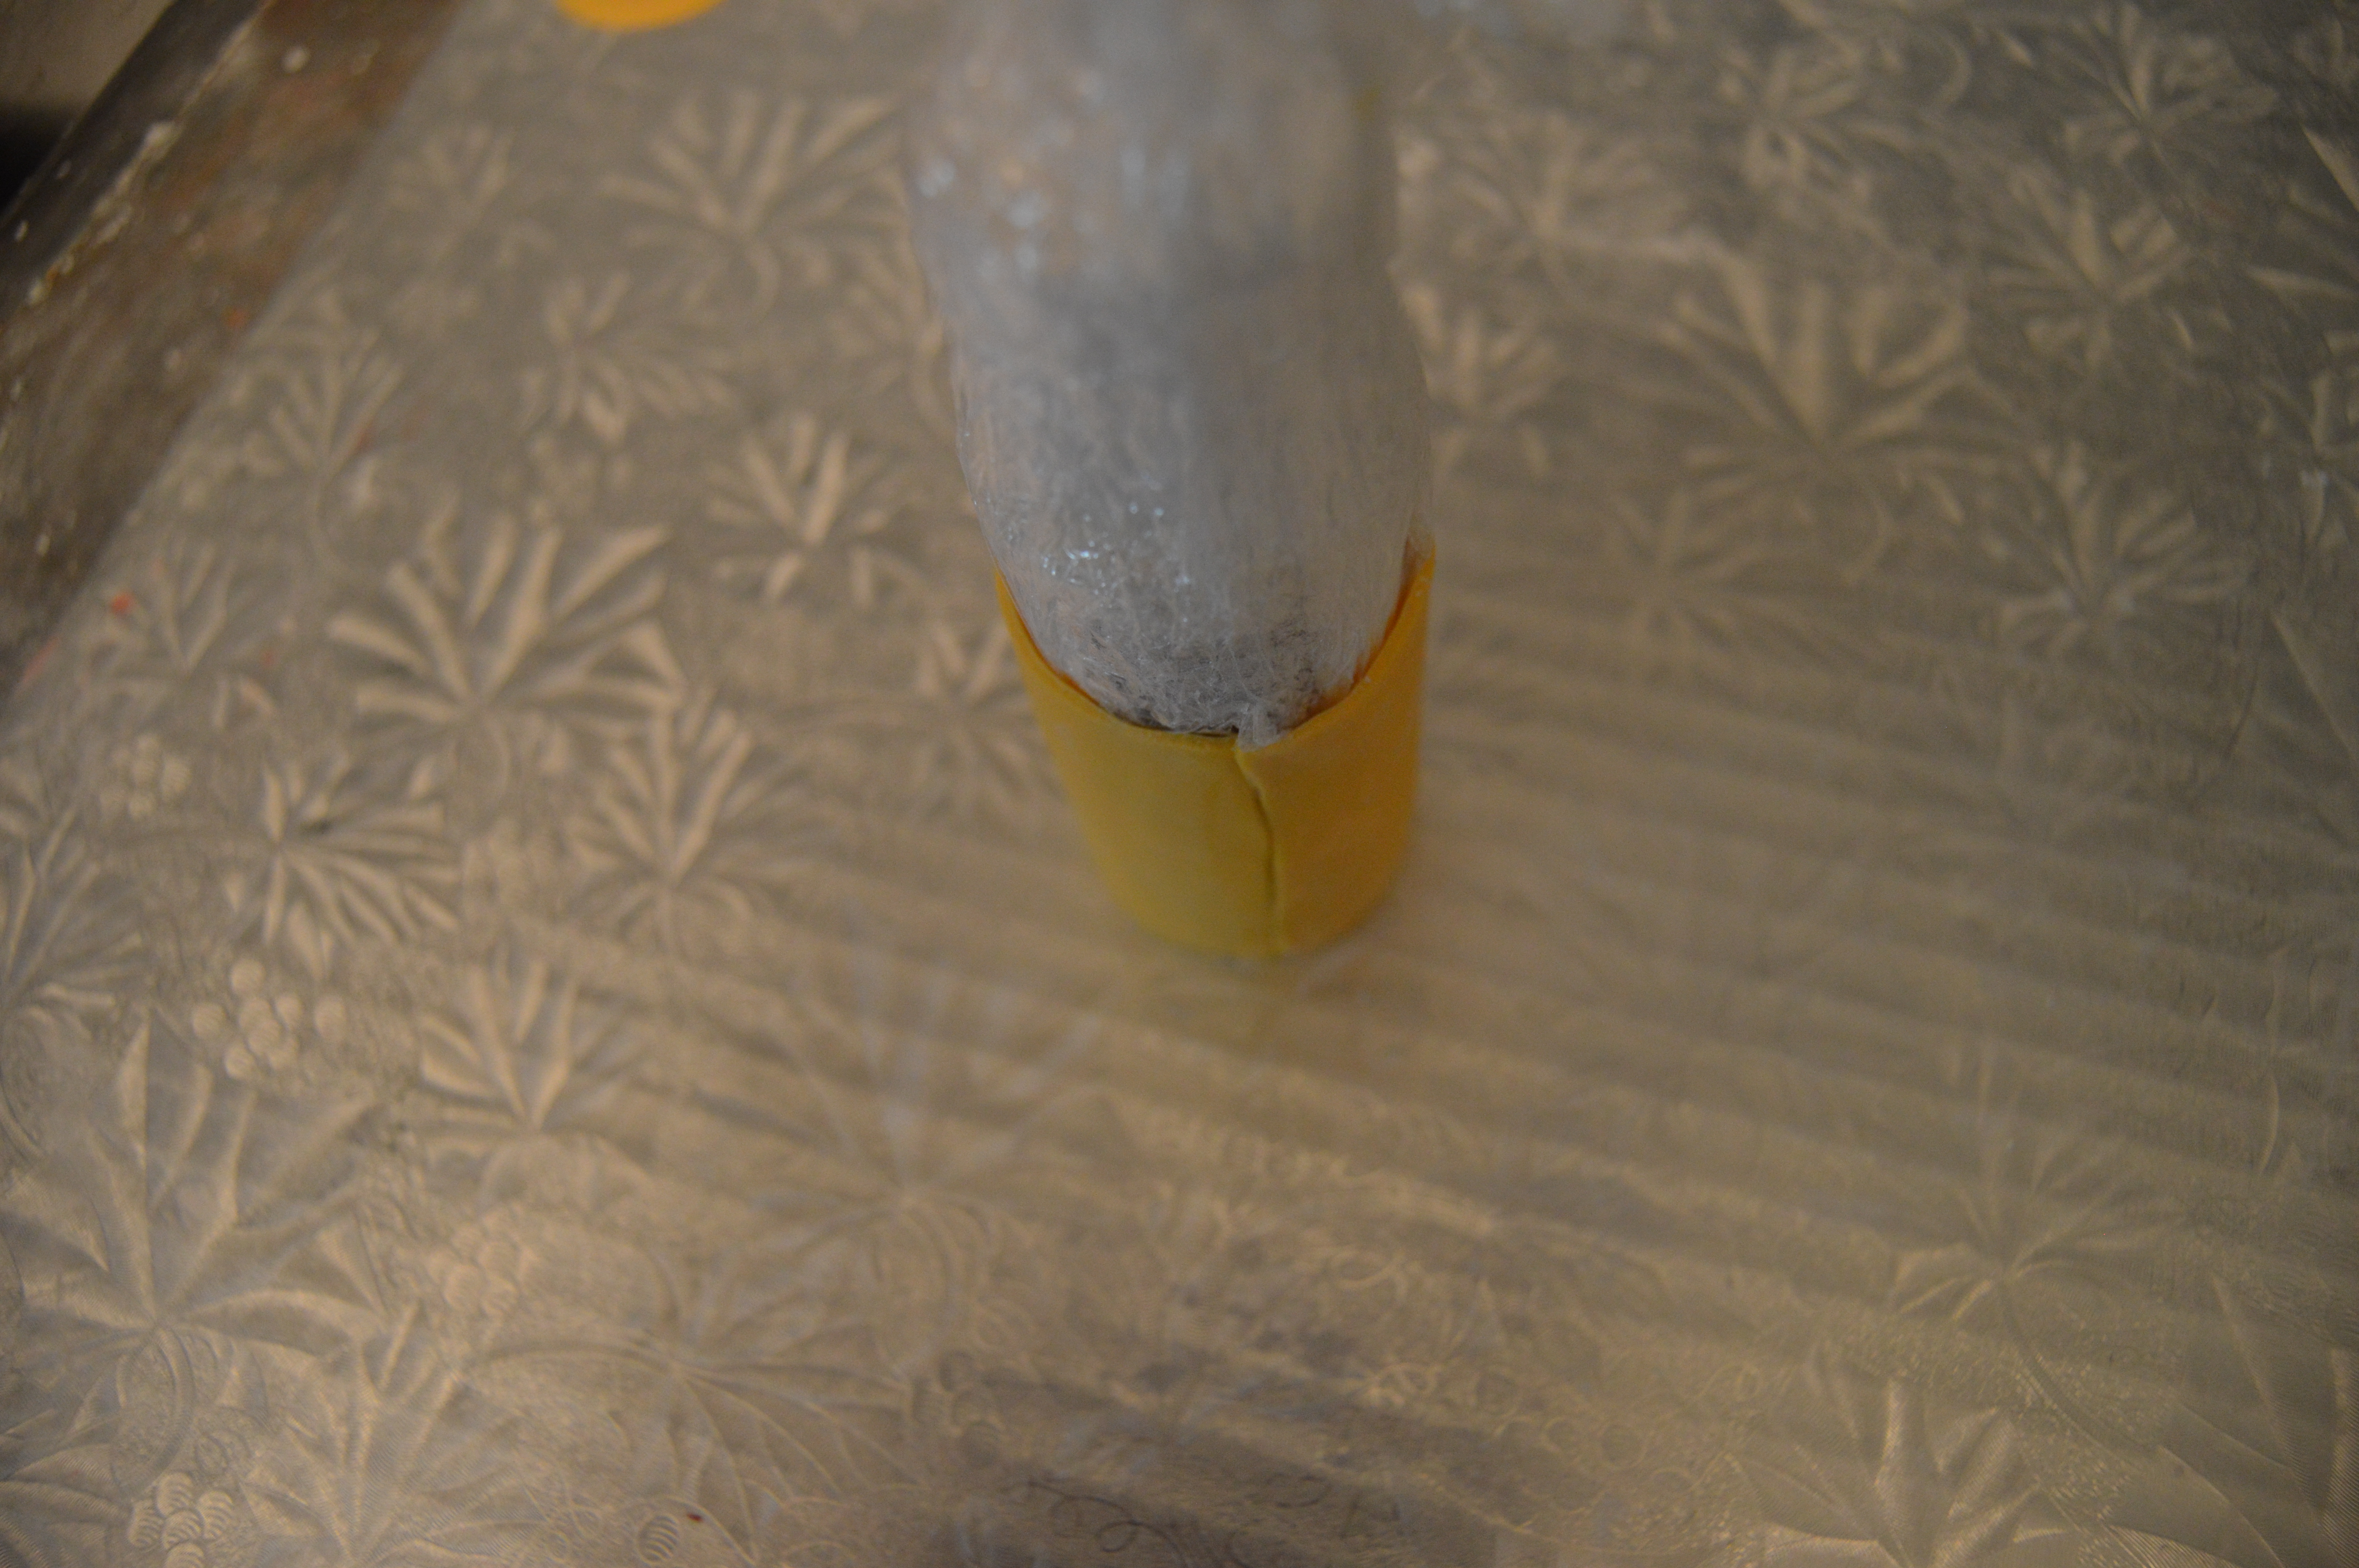
(2) Cover the container with cling film and wrap the fondant sheet around it. Stick the ends together with a little bit of water.
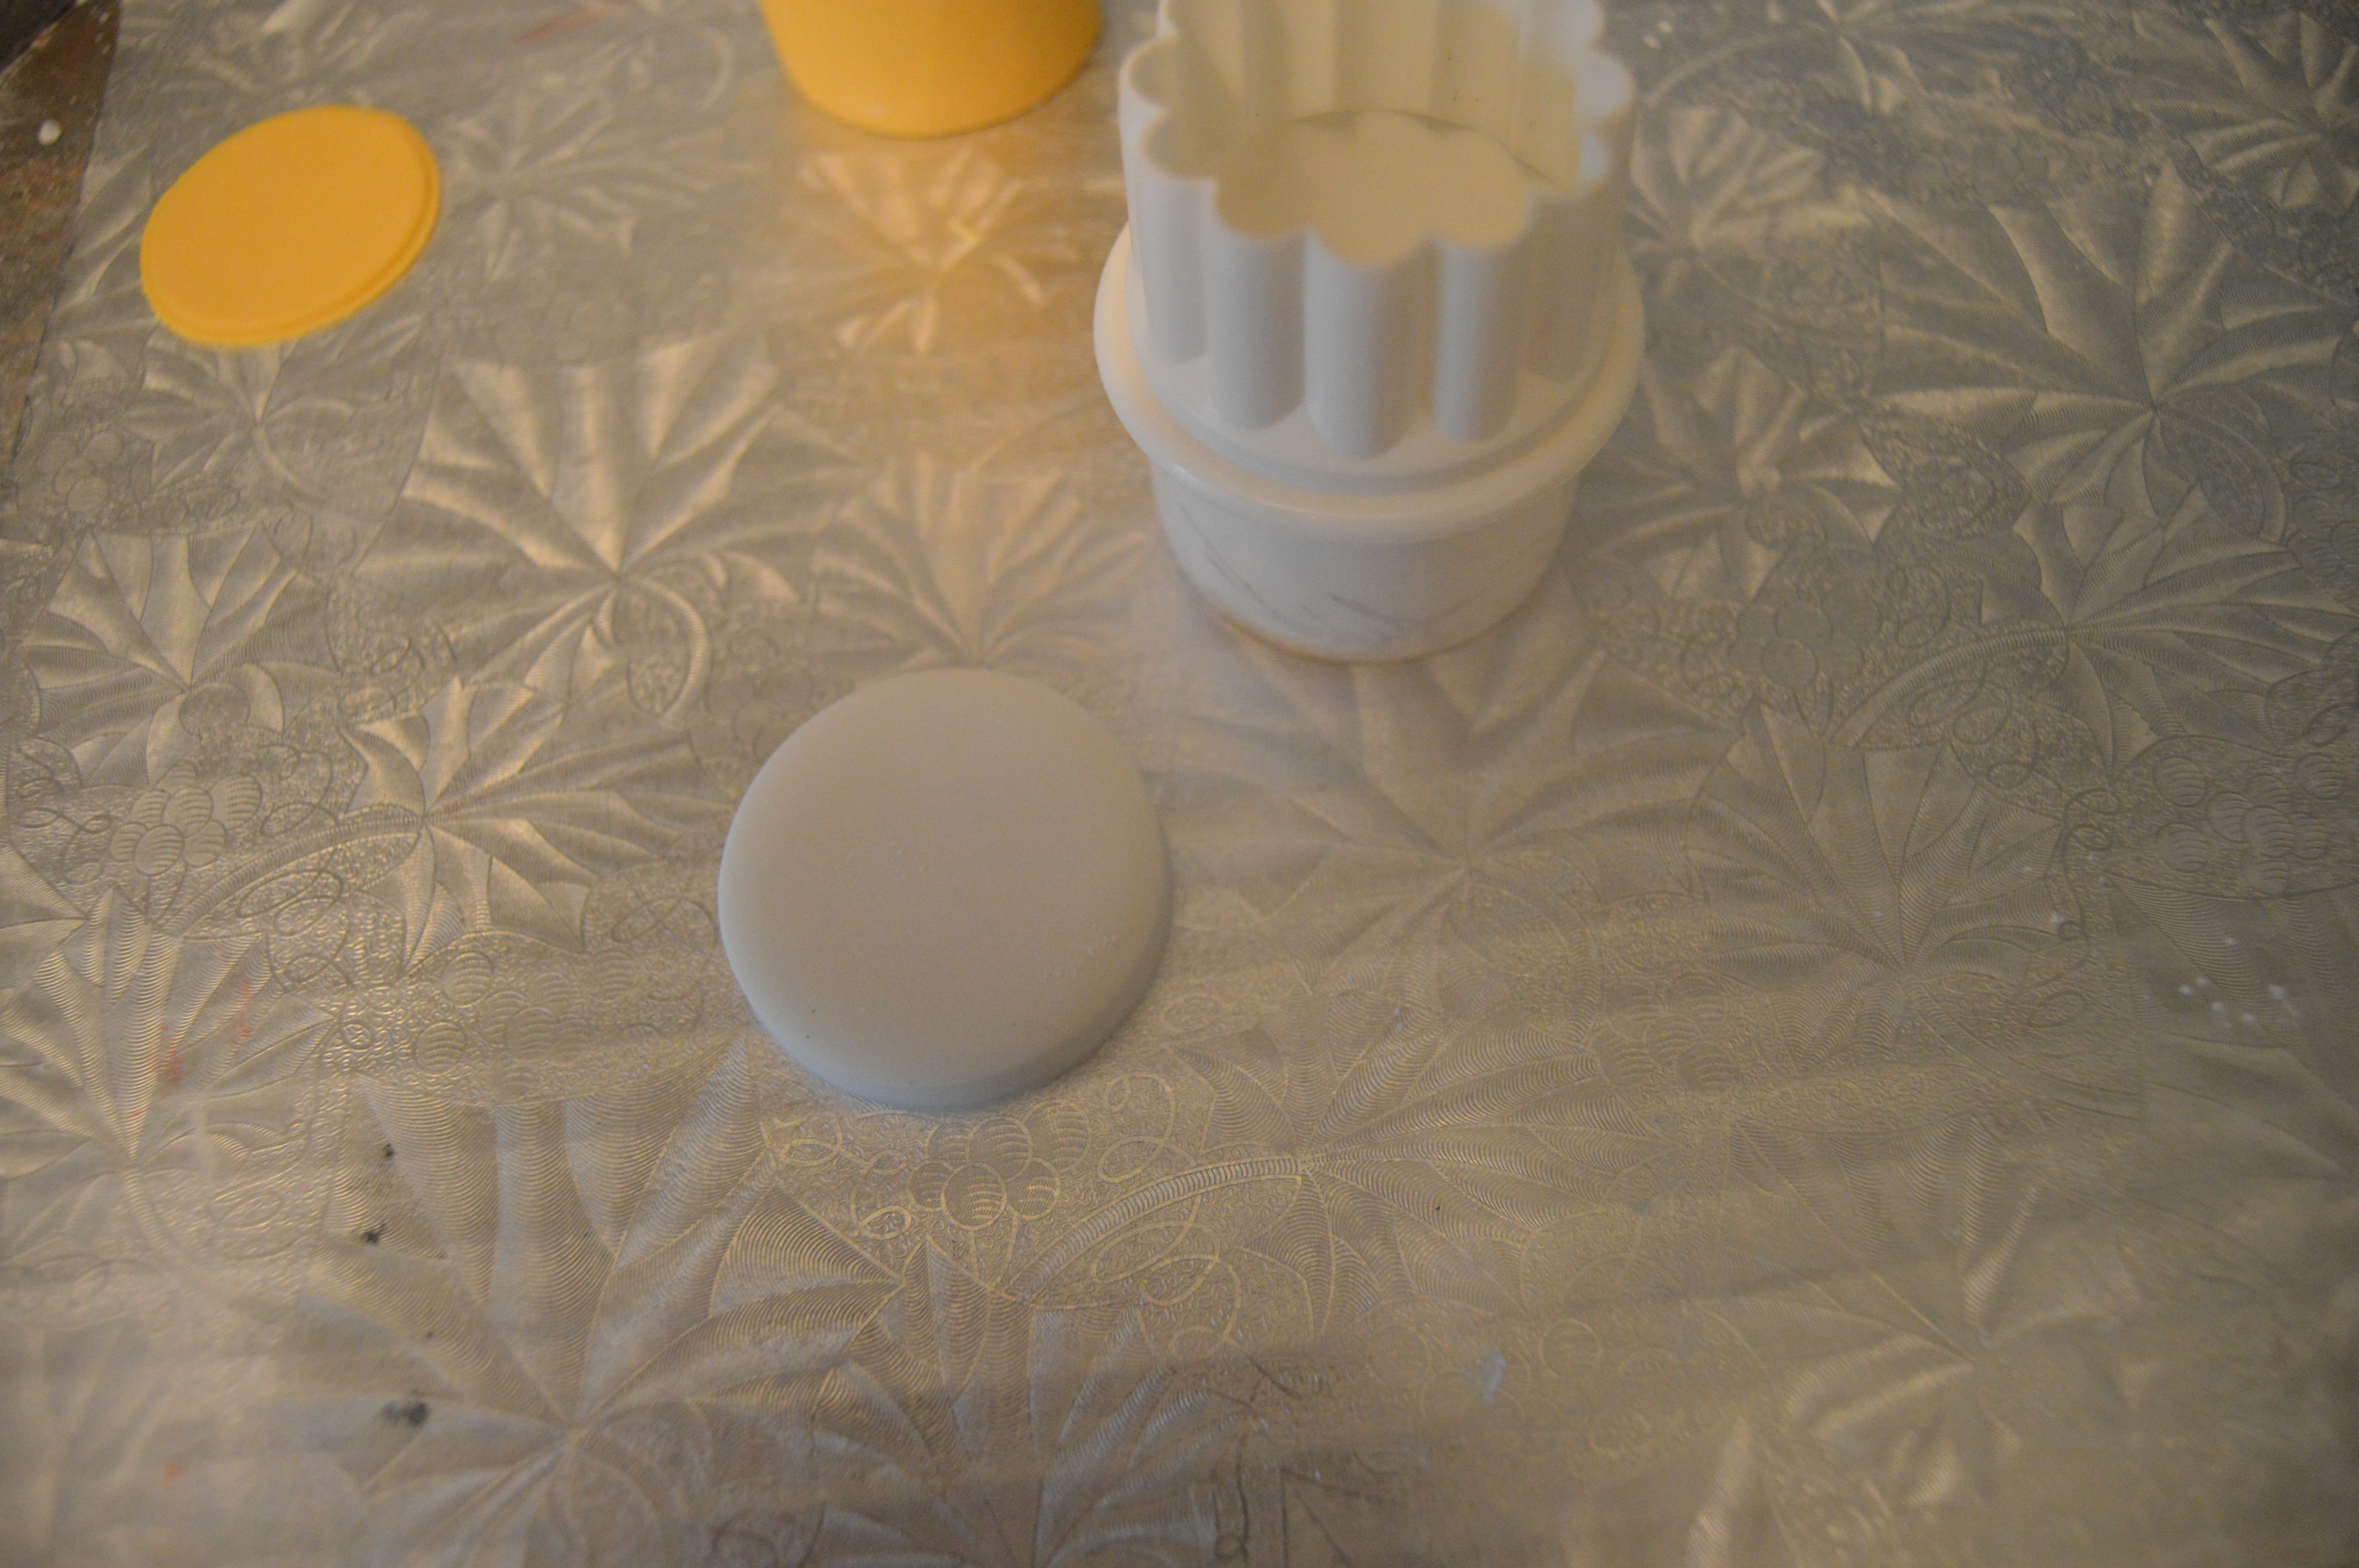
(3) Use your cutter to cut the base of the prescription bottle.
(4) Roll out thick white fondant and cut it into a circle using a larger cutter. This will be the lid.
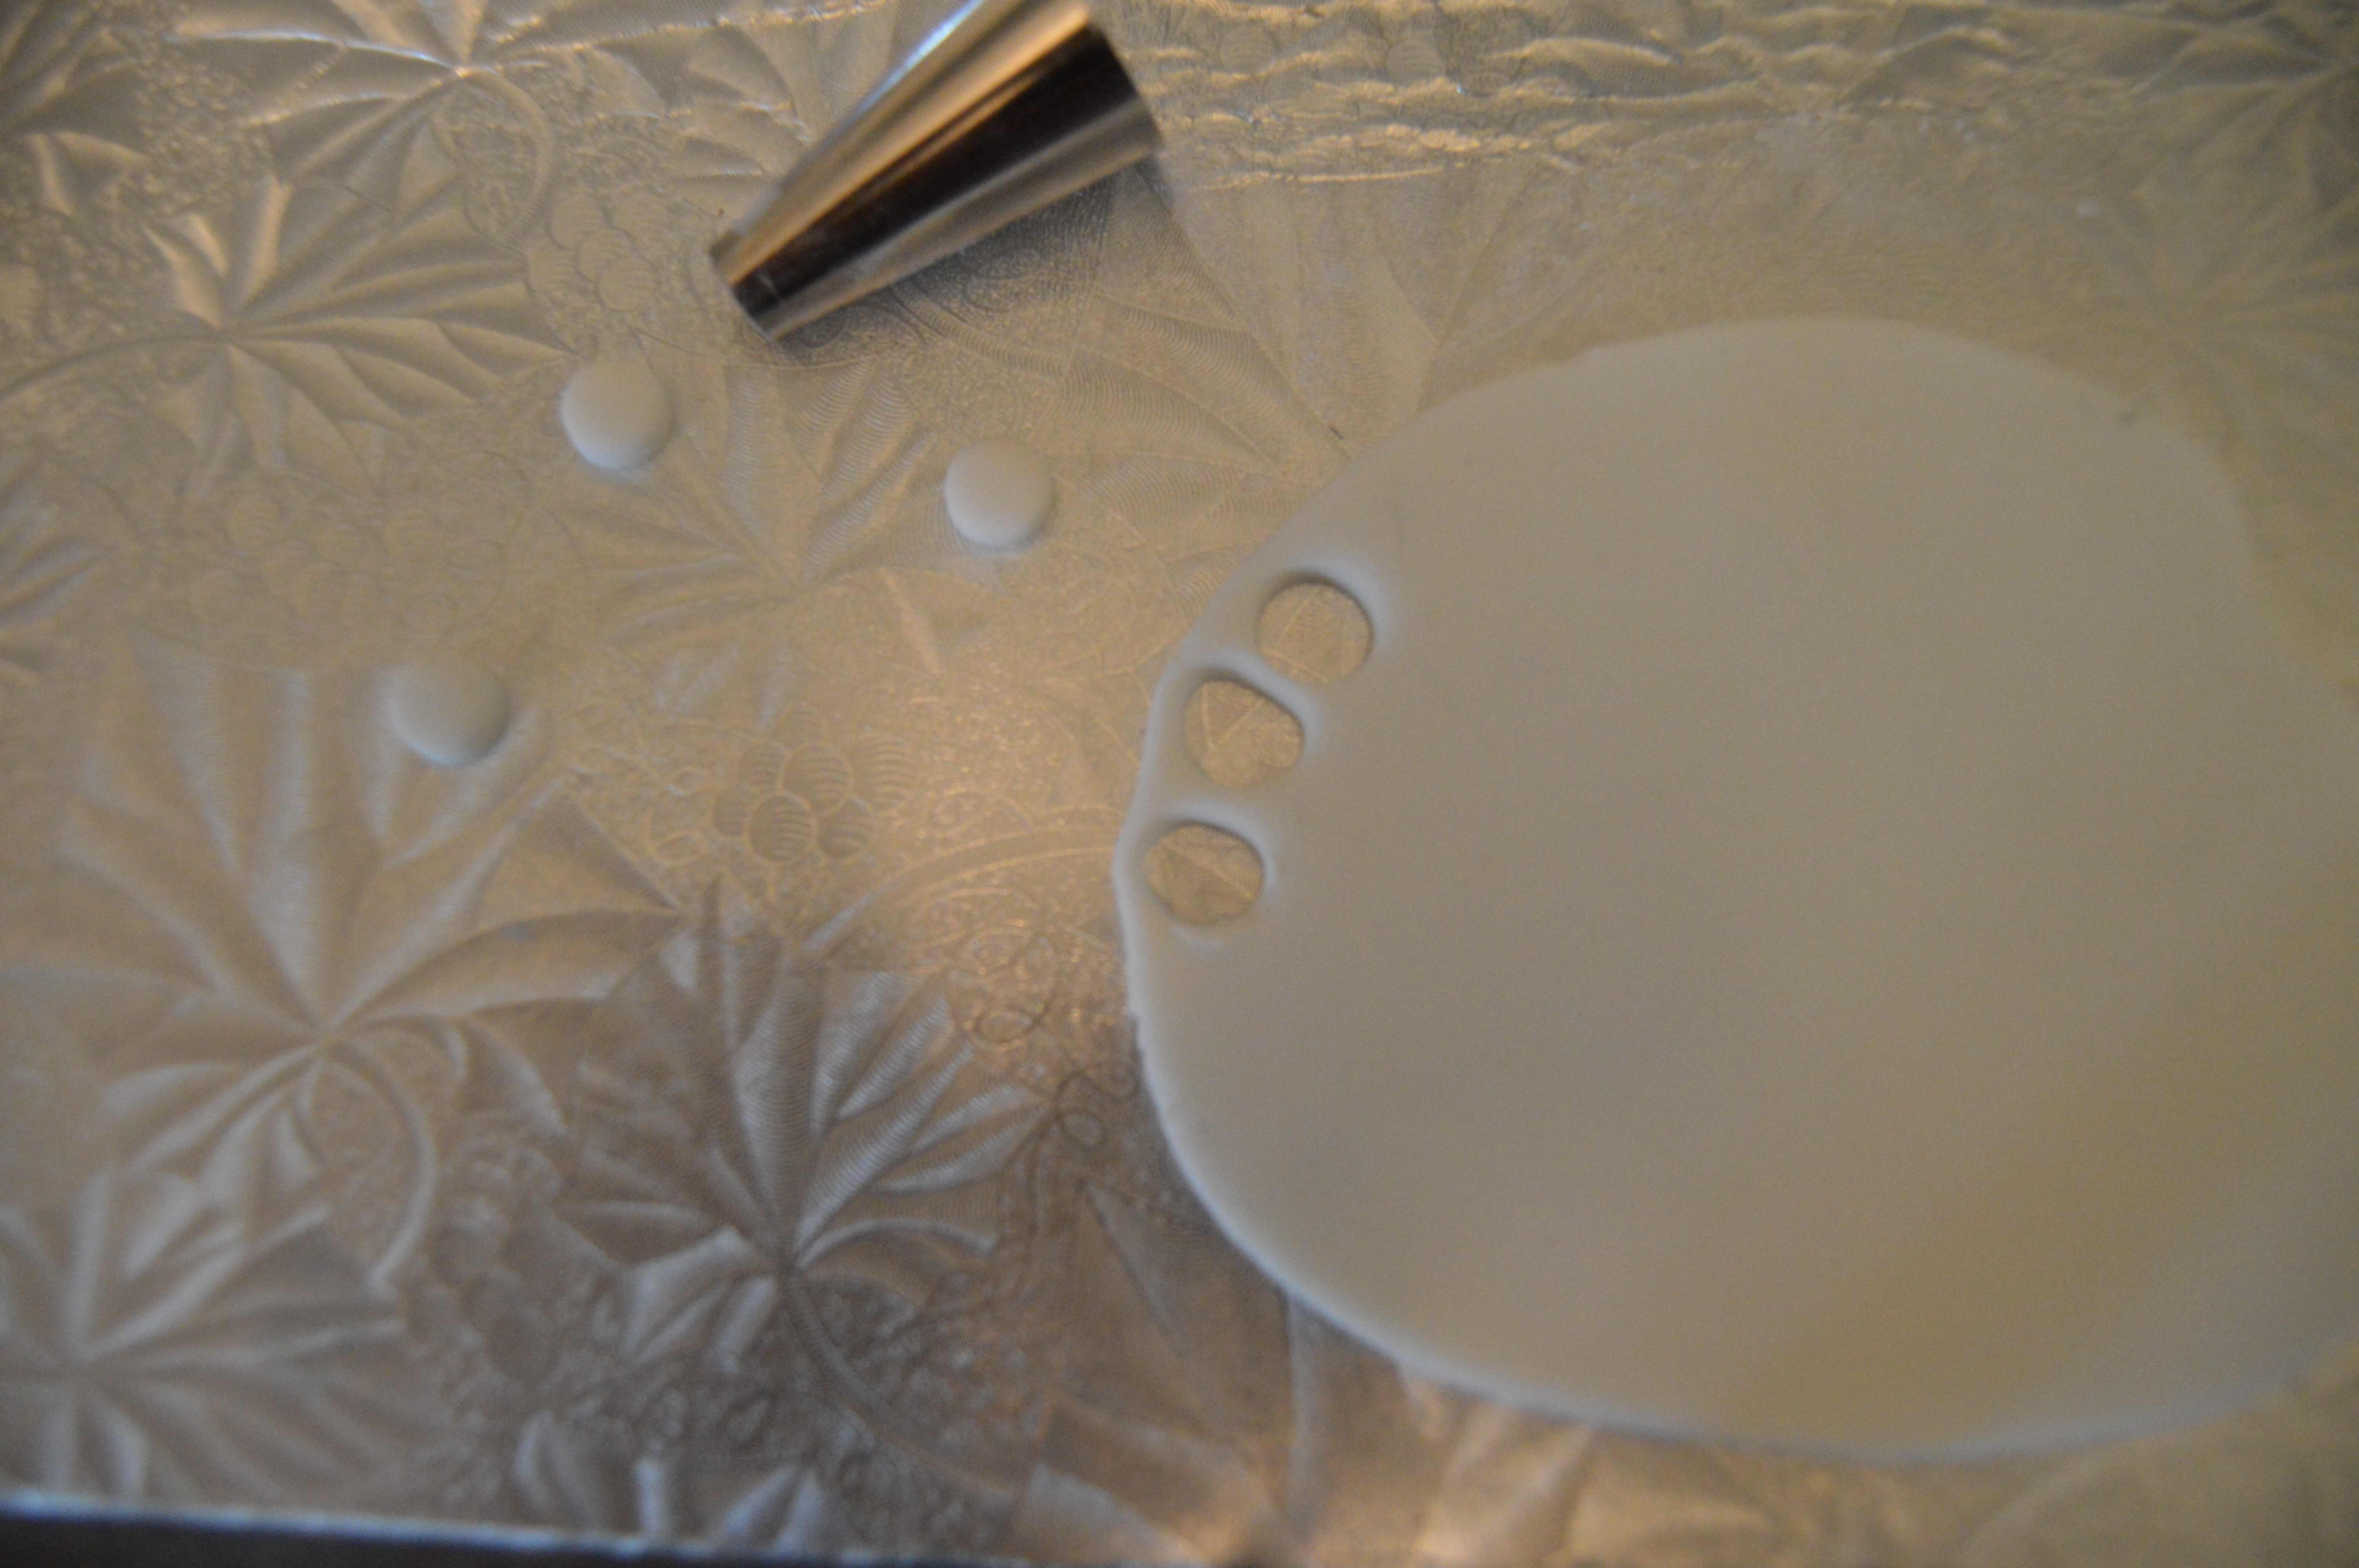
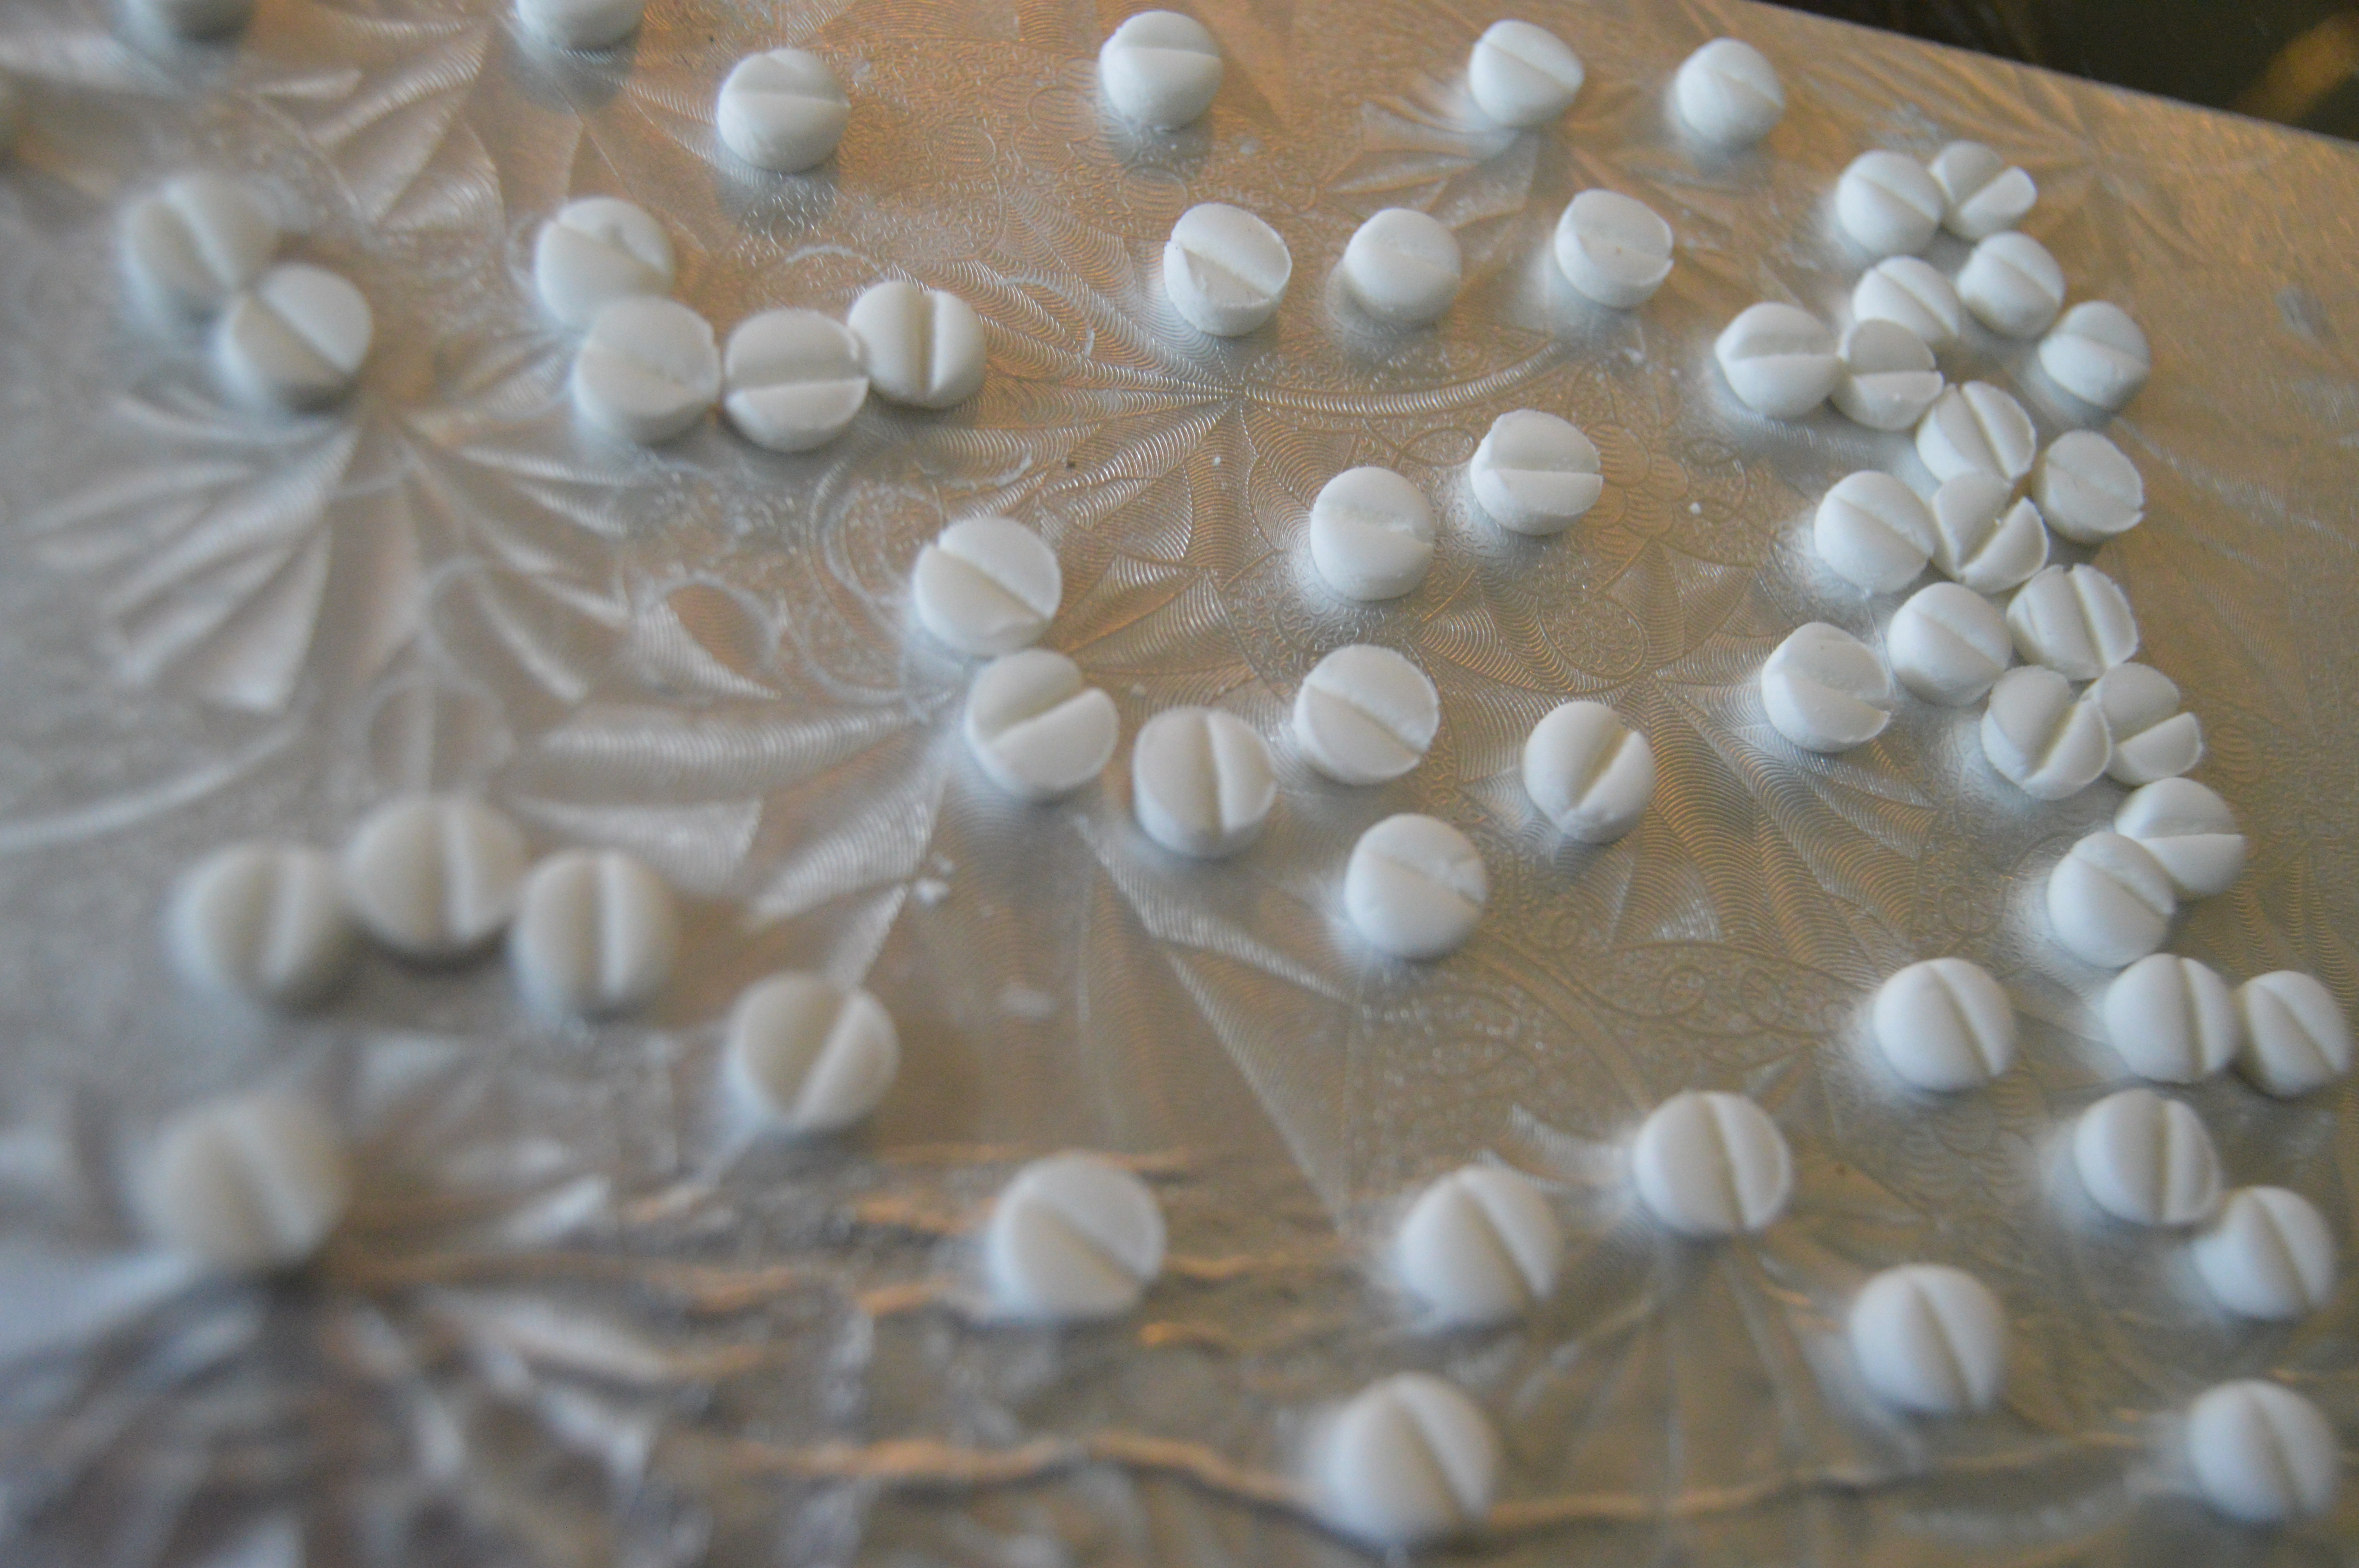
(5) Next, make the pills. Roll out white fondant and cut out small circles using the tip of a pipping tip. Use the fondant wheel to make grooves in the middle of each circle. Leave all of these to dry overnight.
(6) The next day, remove the container from the middle of the yellow tube.
(7) Melt some white chocolate and stick some of the pills to the base and inside one side of the prescription bottle (The side with the seam).
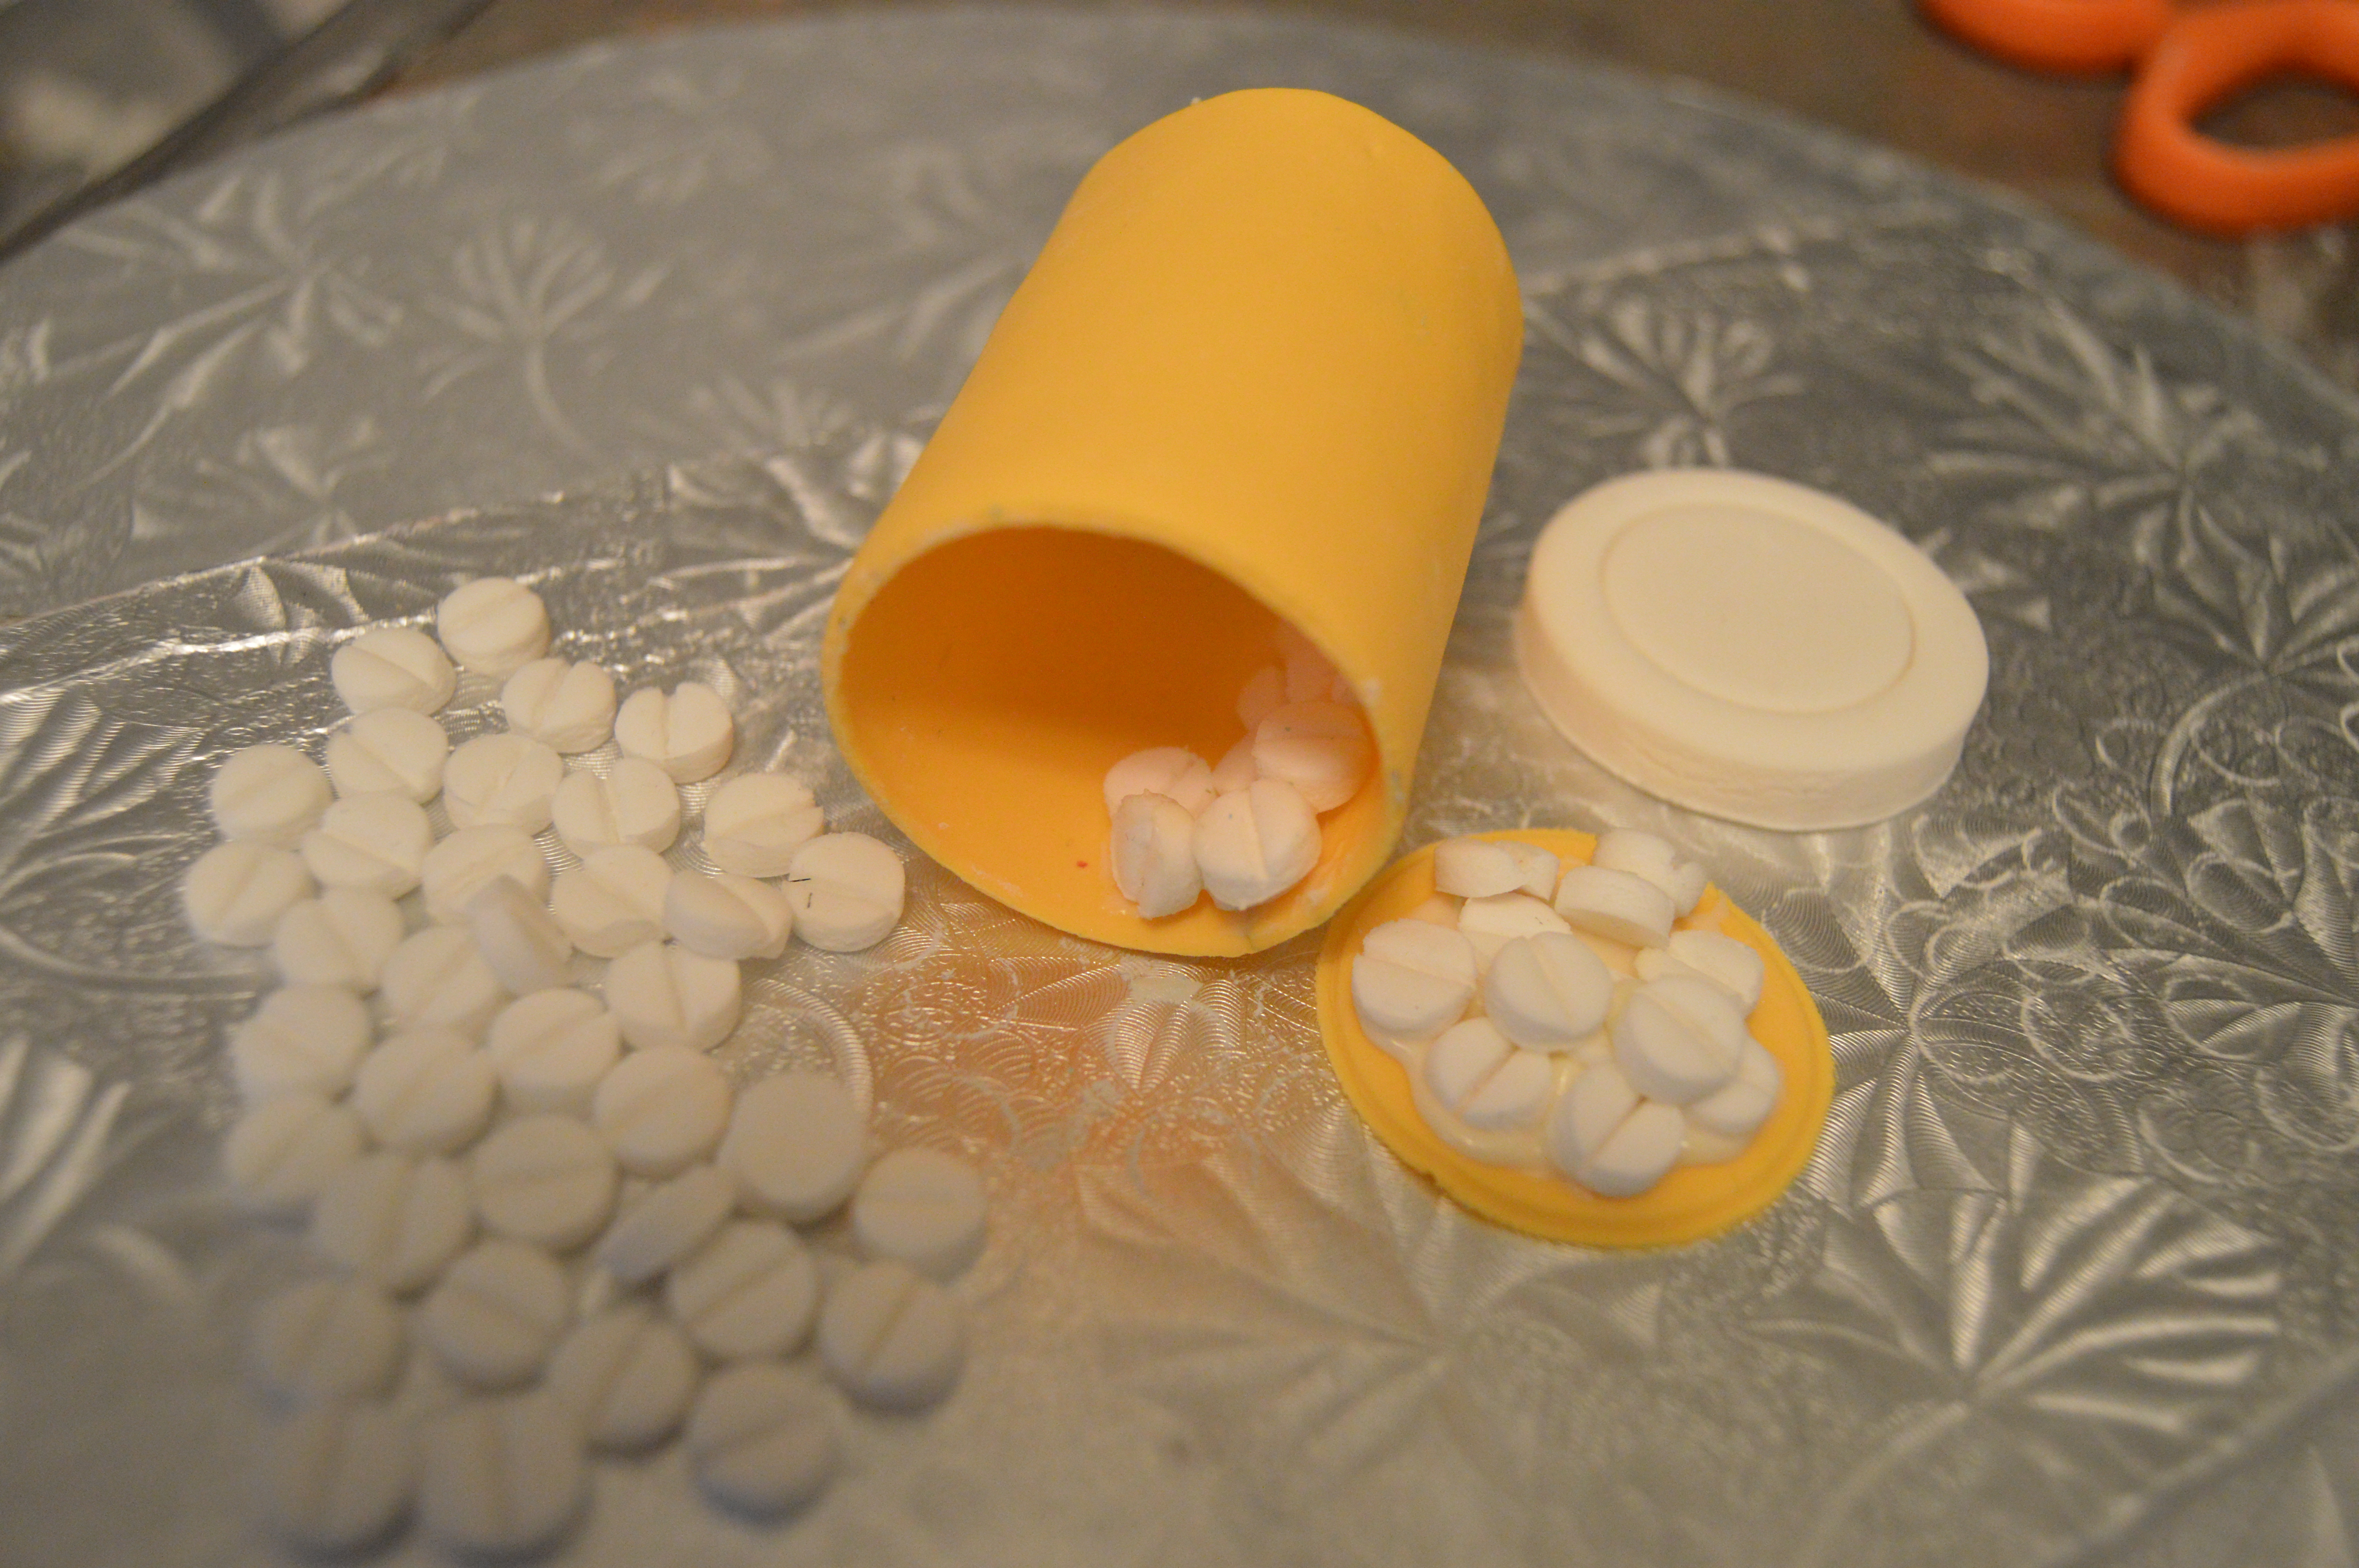
(8) Stick the base to the tube using melted white chocolate to make the prescription bottle. Mix equal parts of water and vodka and brush the exterior of the bottle to make it glossy. Leave these to dry for some hours.

(9) After you have designed your cake, spread some melted white chocolate outside the side of the bottle with the pills and stick this to the cake drum along with the cap.
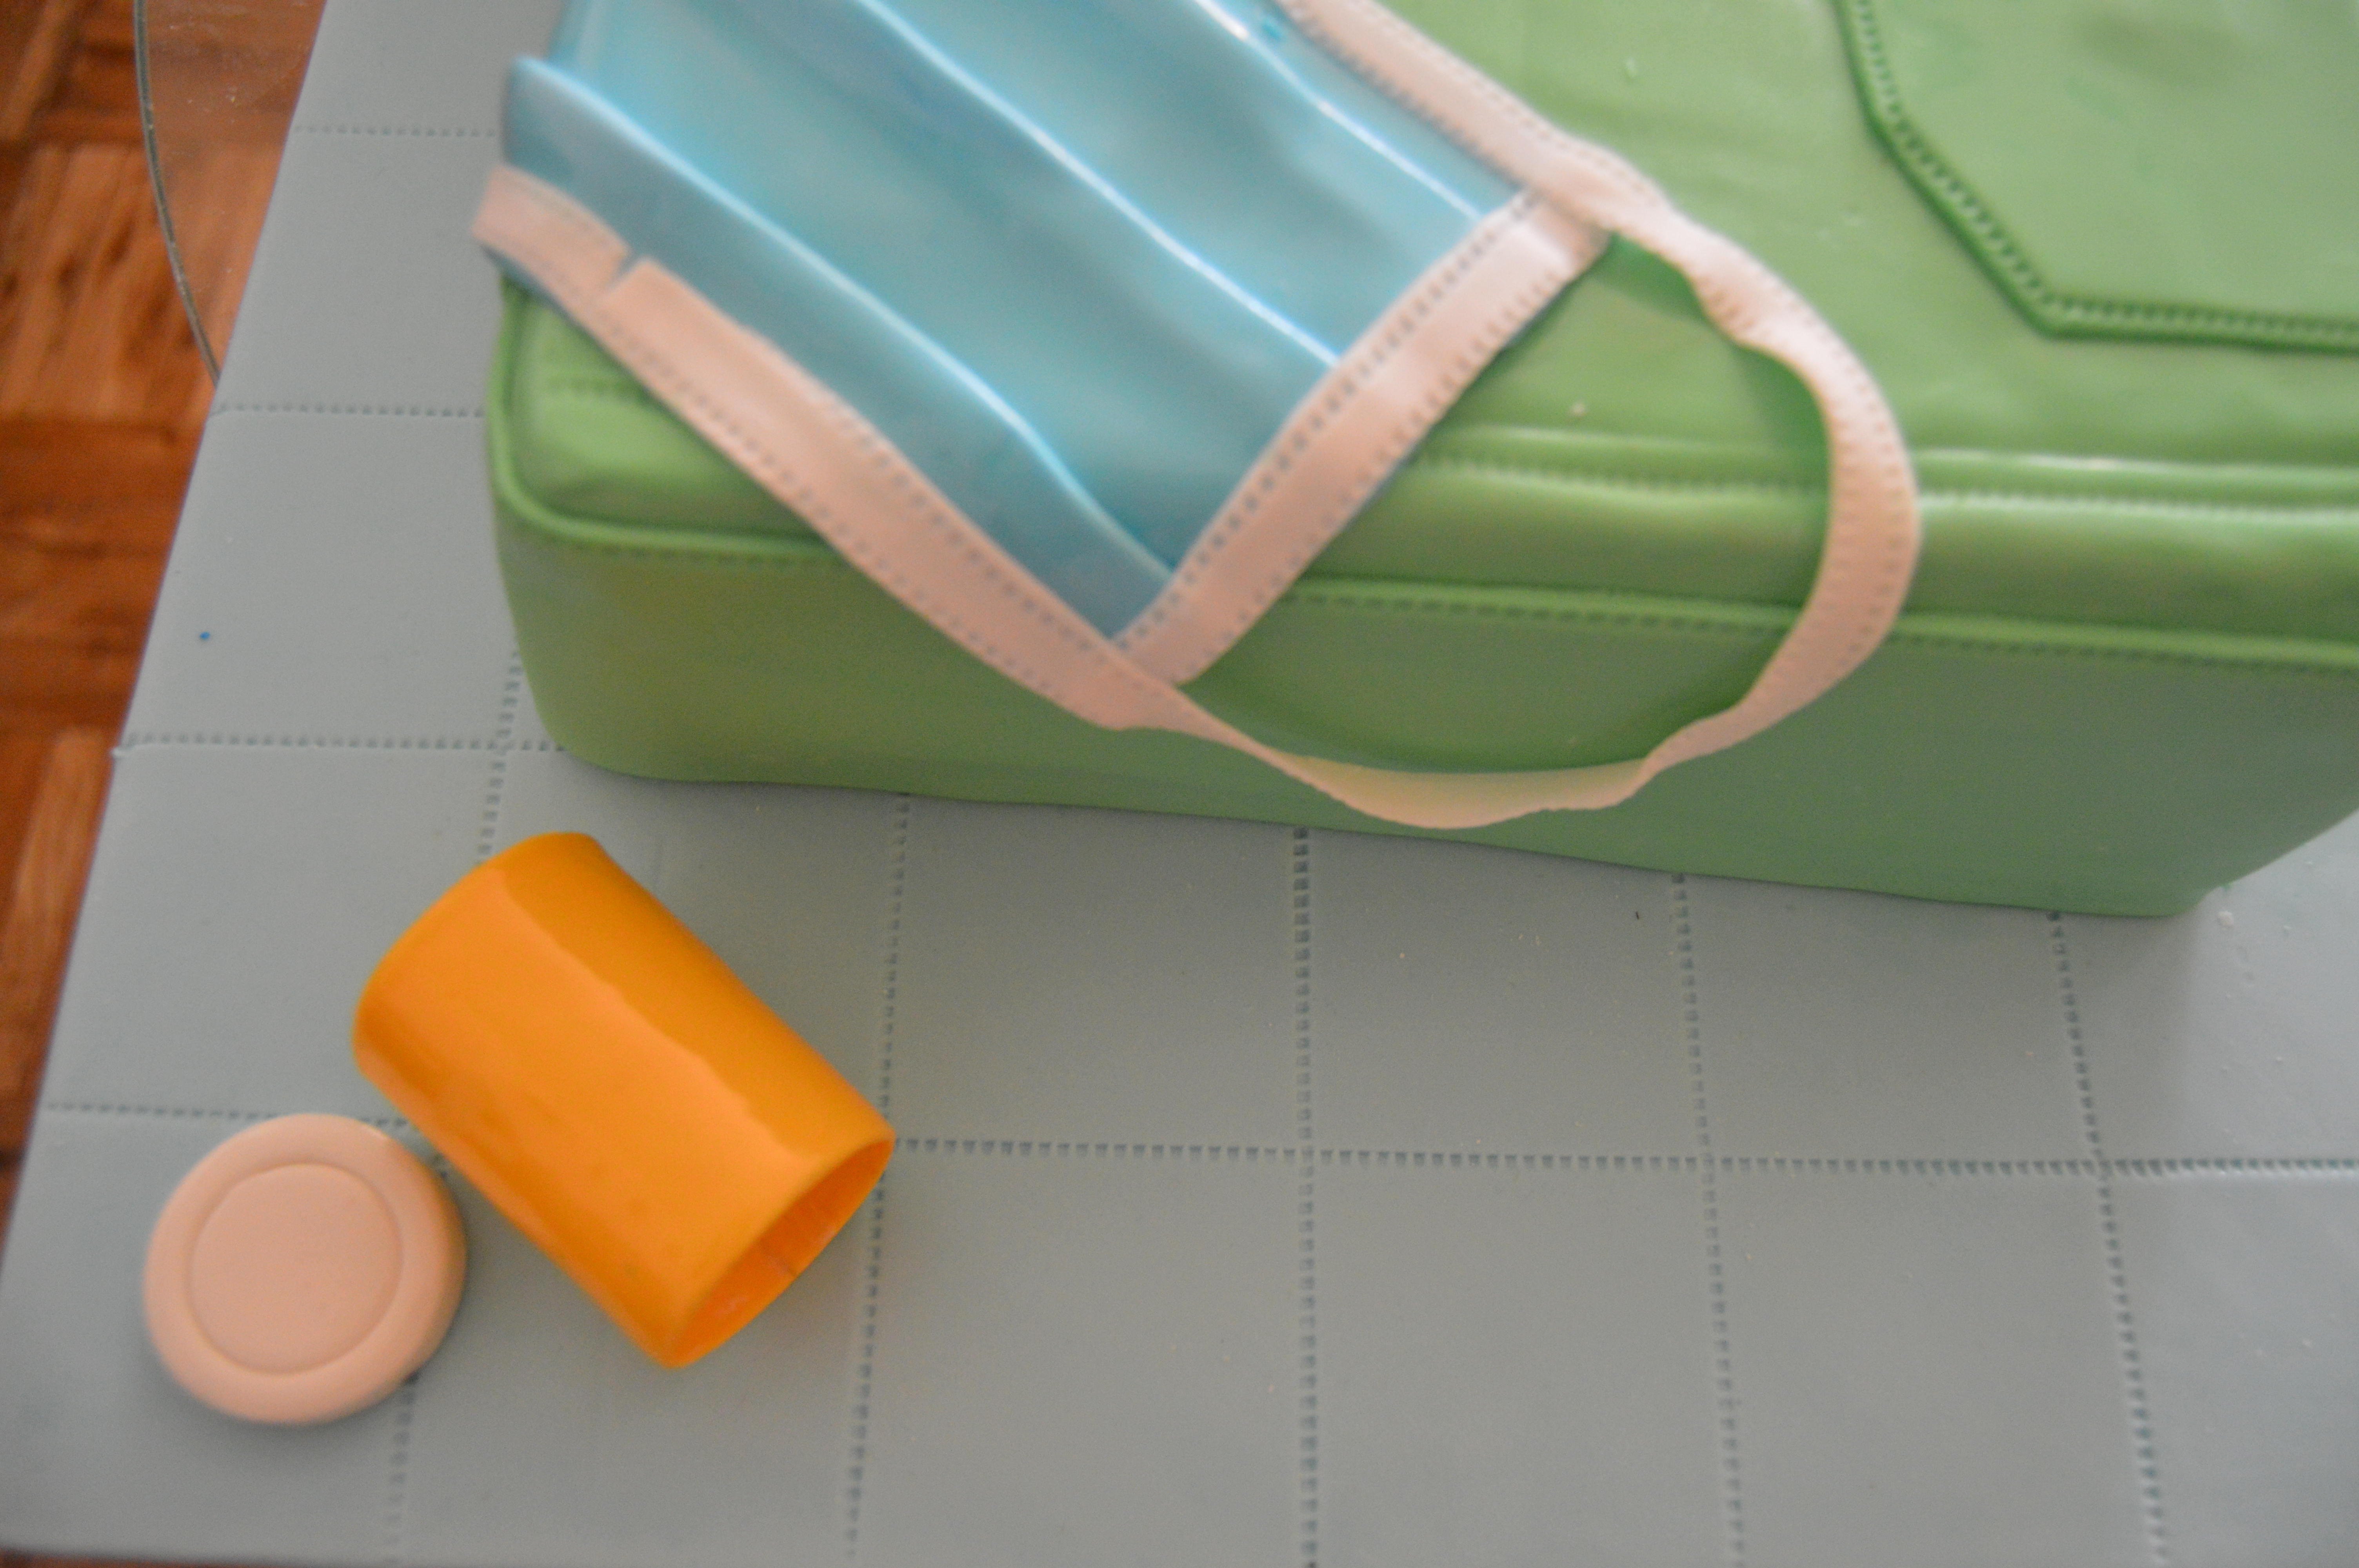
(10) Finally, stick the remaining pills on the cake drum.

Terry Adido is passionate about showing people how easy it is to recreate restaurant quality meals in the comfort of their kitchens. With a style of cooking he refers to as Afro-European Fusion, his meals are influenced greatly by French and Italian Cuisine with a West African twist. If you love good food, you are in for the ride of your life.
Terry you are awesome loving to share your talent with others . Your cakes are magnificient . I pray and believe you will be an inspiration to many . I am into cake designing but my fondant is still lacking . I am convinced your tutorials will be of great help . God bless you .
You are welcome Christiana. We all get better with each passing cake. Thank’s for sharing.
Hi, the cake you have created is amazing. I have made a pill bottle this evening, this will be my first cake I have made. I will be using a round cake tin rather than cutting a shirt which seems much more suitable for advance bakers. This is by far the best website I have seen which shows the best presented cake and the method used to make a surgeon cake.
Instead of using alcohol what can be used to make fondant shiny and how long does the shine last?.
The pill bottle looks like it will collapse so as you have suggested I have used cling film but also kept the bottle inside of the fondant and placed it in the oven. Hopefully the it has hardened overnight.
Love this website.
Thanks Anna for your feedback. Aside from Vodka, you can steam cakes, brush with shortening, or a mixture of vodka and corn syrup. Simply brushing the fondant with a bit of water would add some gloss to the cake.
God bless u for the tutorial.
Thanks Vera.
I just found your page and your tutorials are easy to follow. Great work. Thanks much.
Welcome on-board Judy