
The Making of a Fashionista Cake
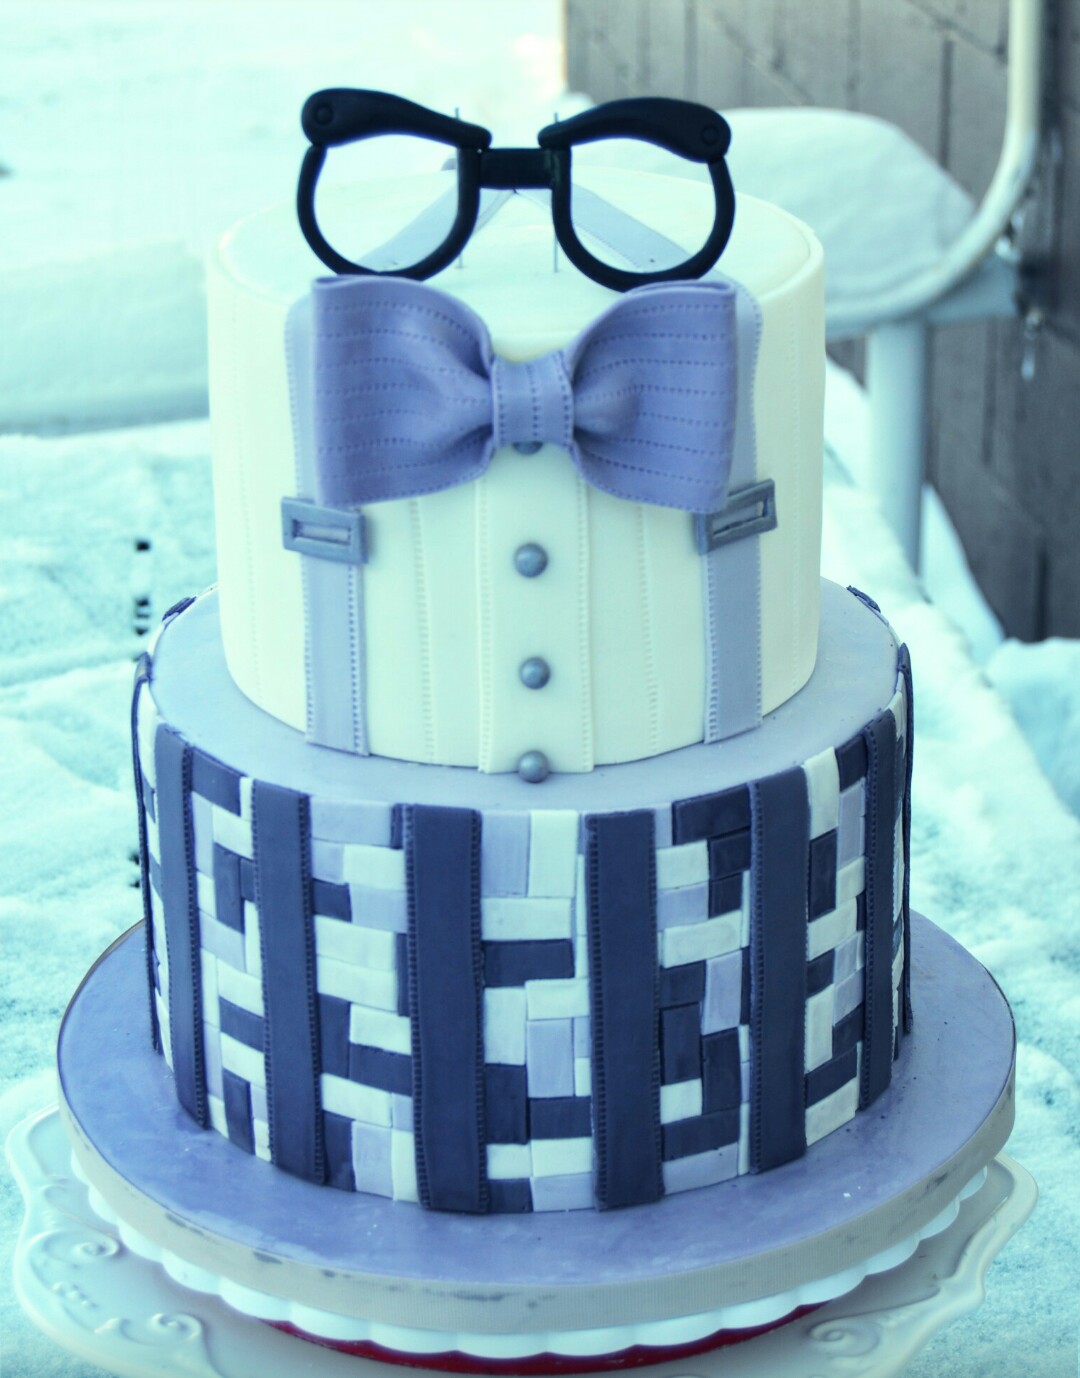
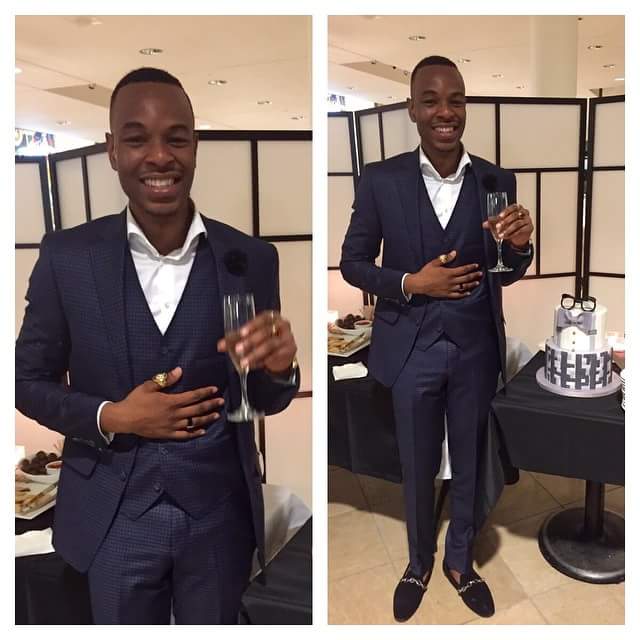
This cake was made for the birthday of a very fashionable guy. I wanted to make a cake which would capture his personality. The idea of the cake is a shirt on a pair of paints. You can read more about this cake here. Below is a step by step demonstration of how this cake was made.
THE PROCESS:
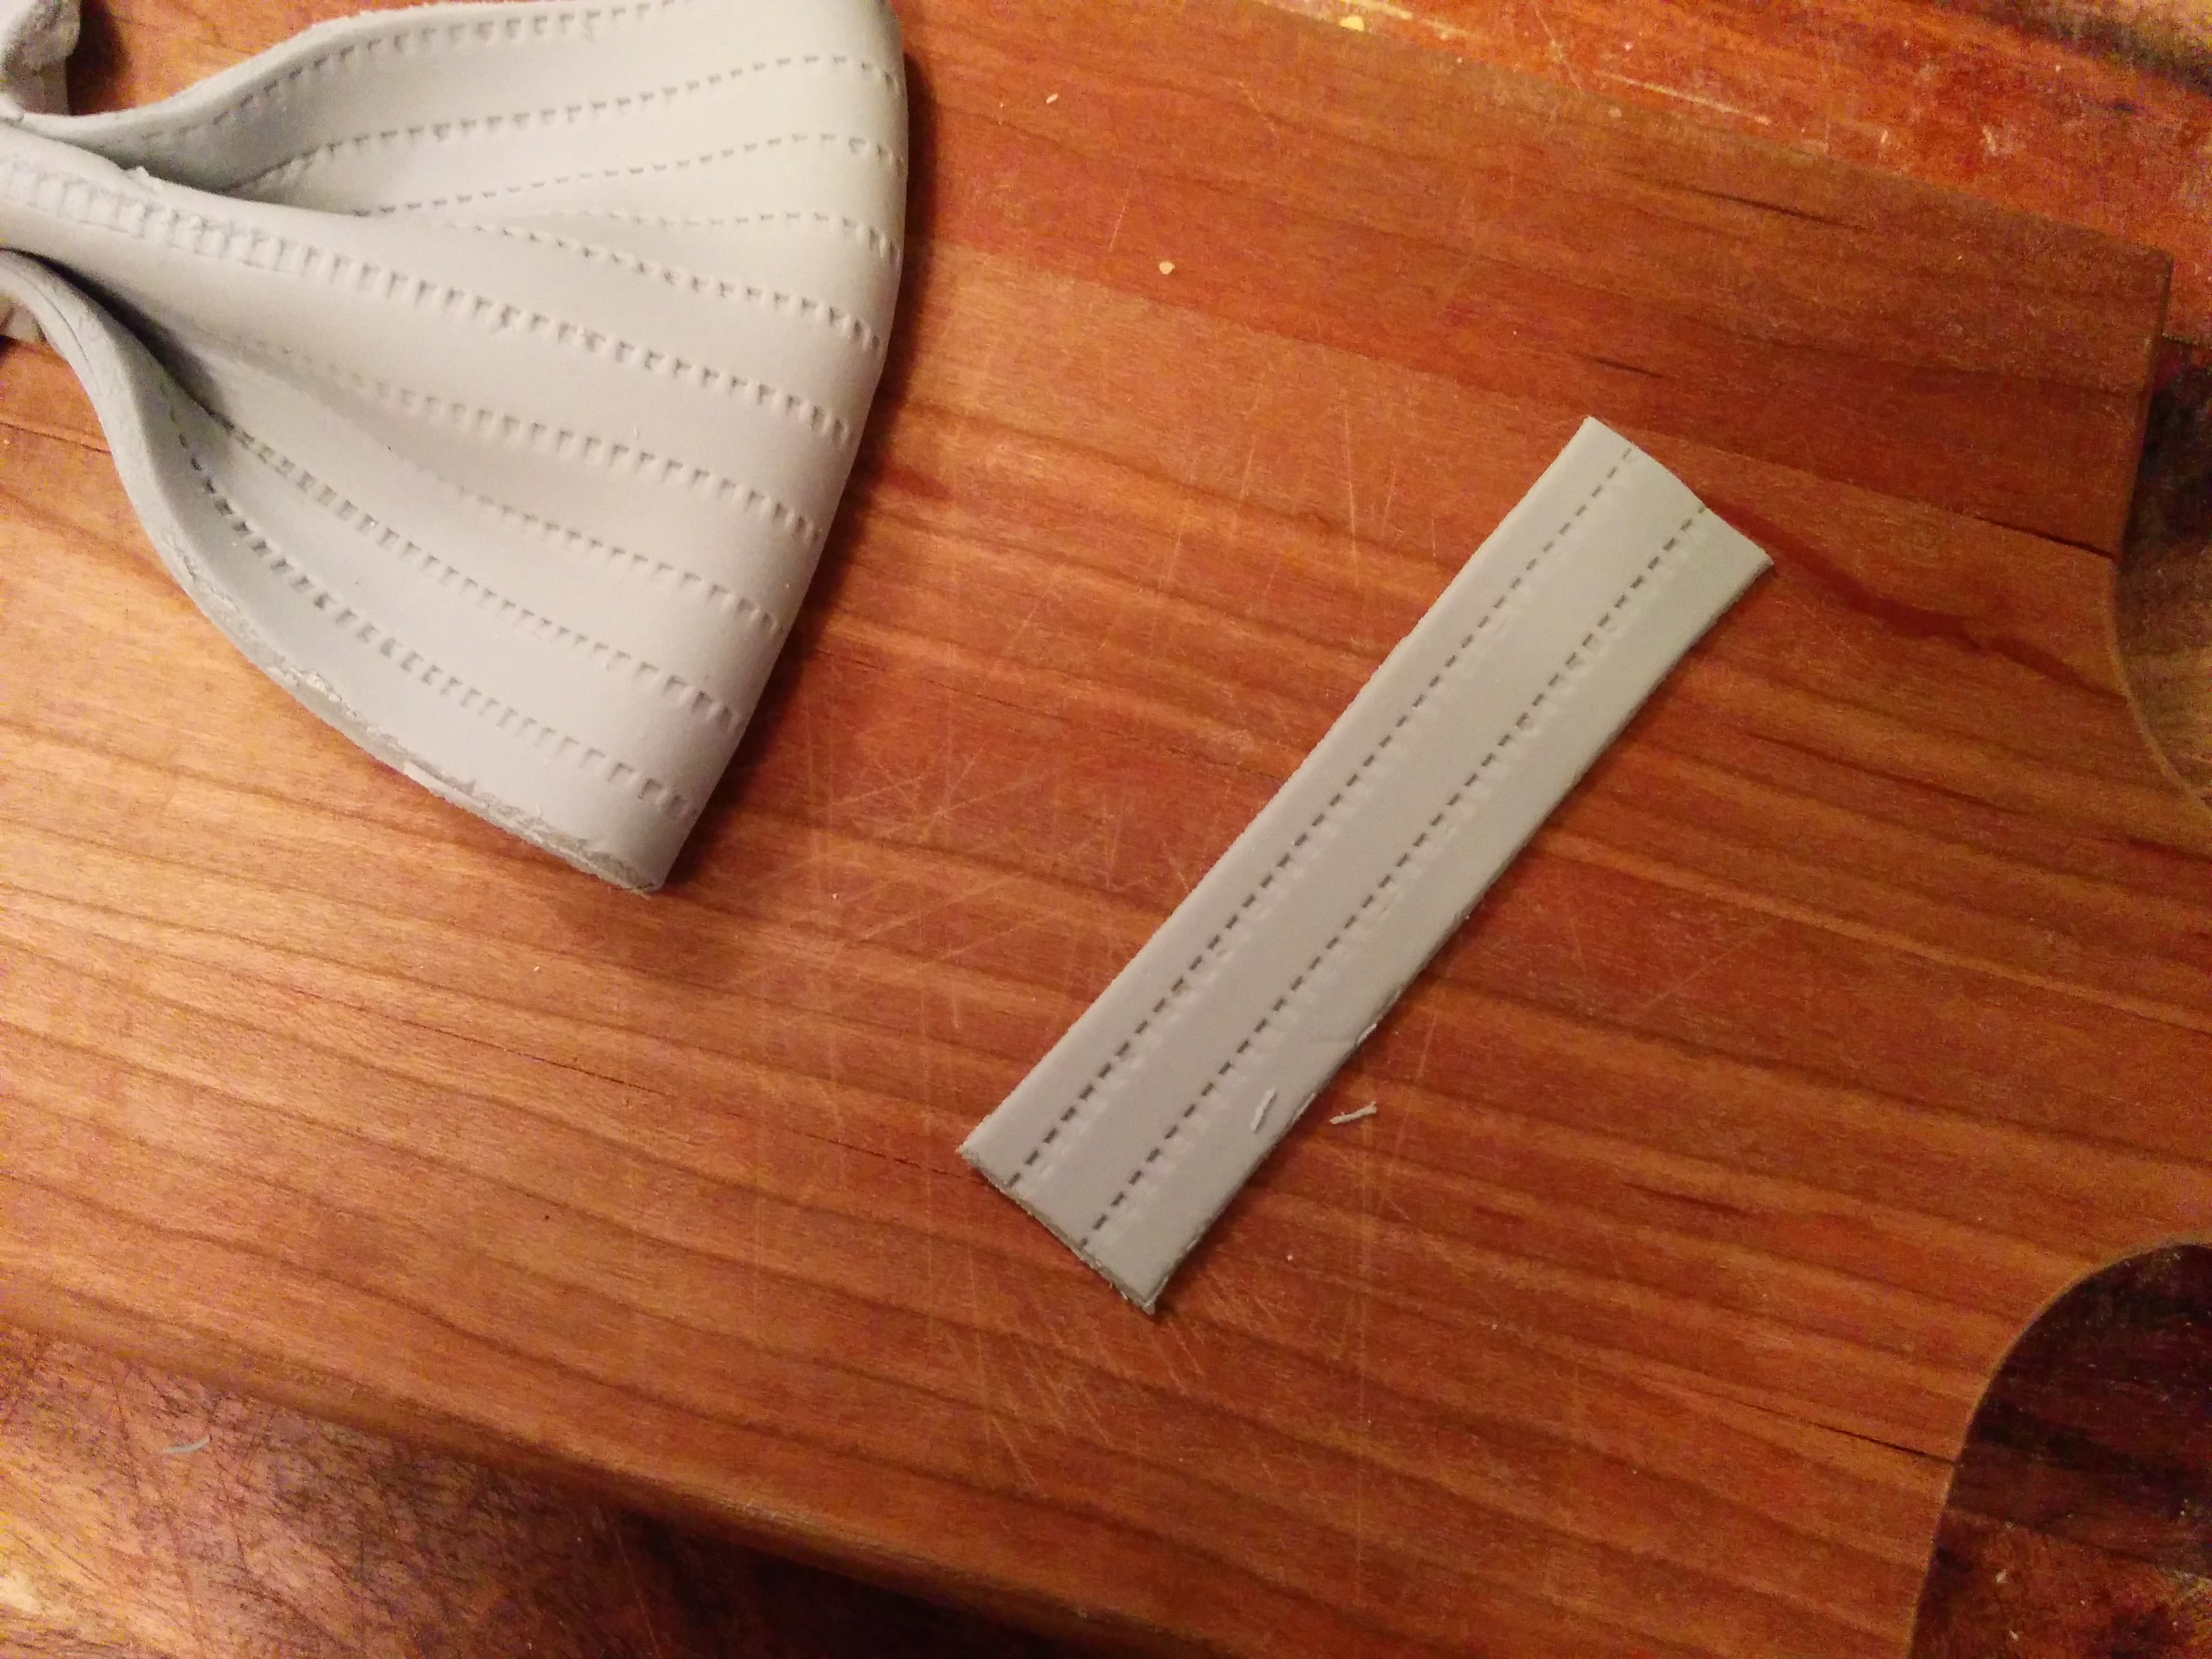
(1) First, I made the bow tie and eyeglasses a few days before I made the cake so they had time to dry. You can find a tutorial for the bow tie here and and a tutorial for the eyeglasses here.
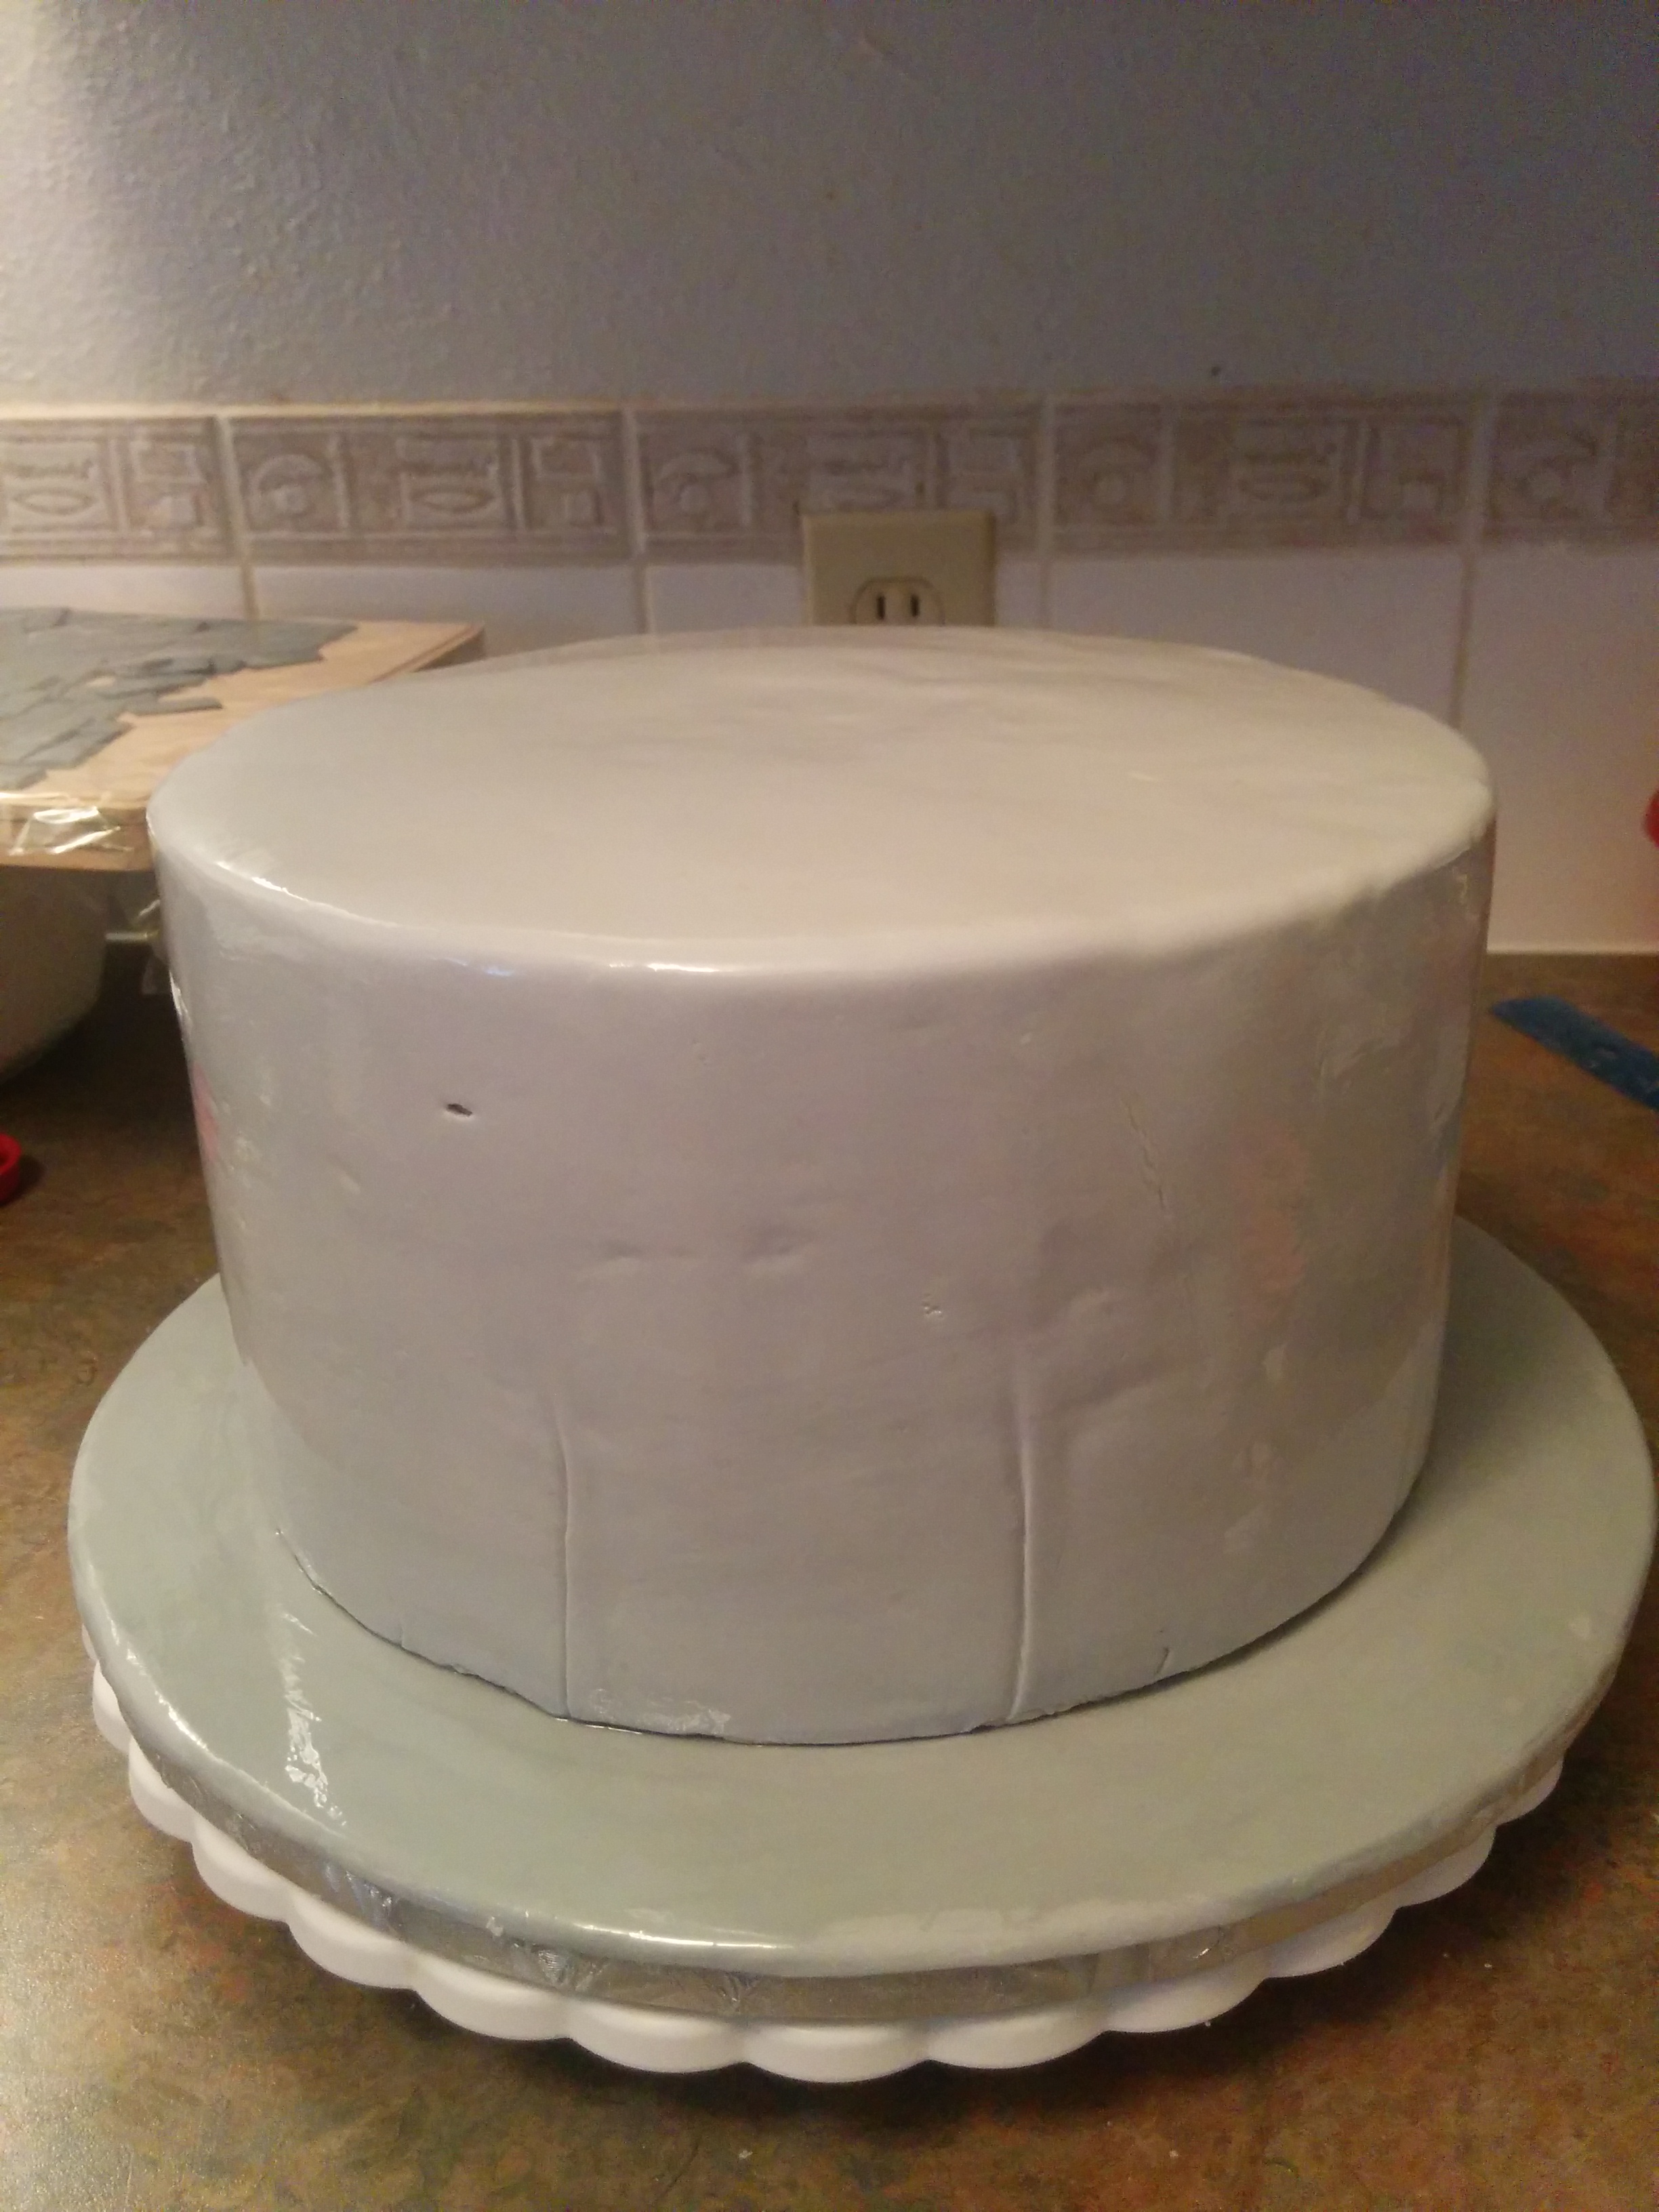
(2) Next, bake, frost and cover both cake tiers with fondant. The top tier is 7 inches and was draped in white fondant. The bottom tier is 9 inches and was draped with light grey fondant. Both tiers are about 4 inches high each. The cake board was also covered with the same light grey fondant as the bottom tier. You can read more about how I cover my cake boards here.
(3) I placed the bottom tier on the cake board.
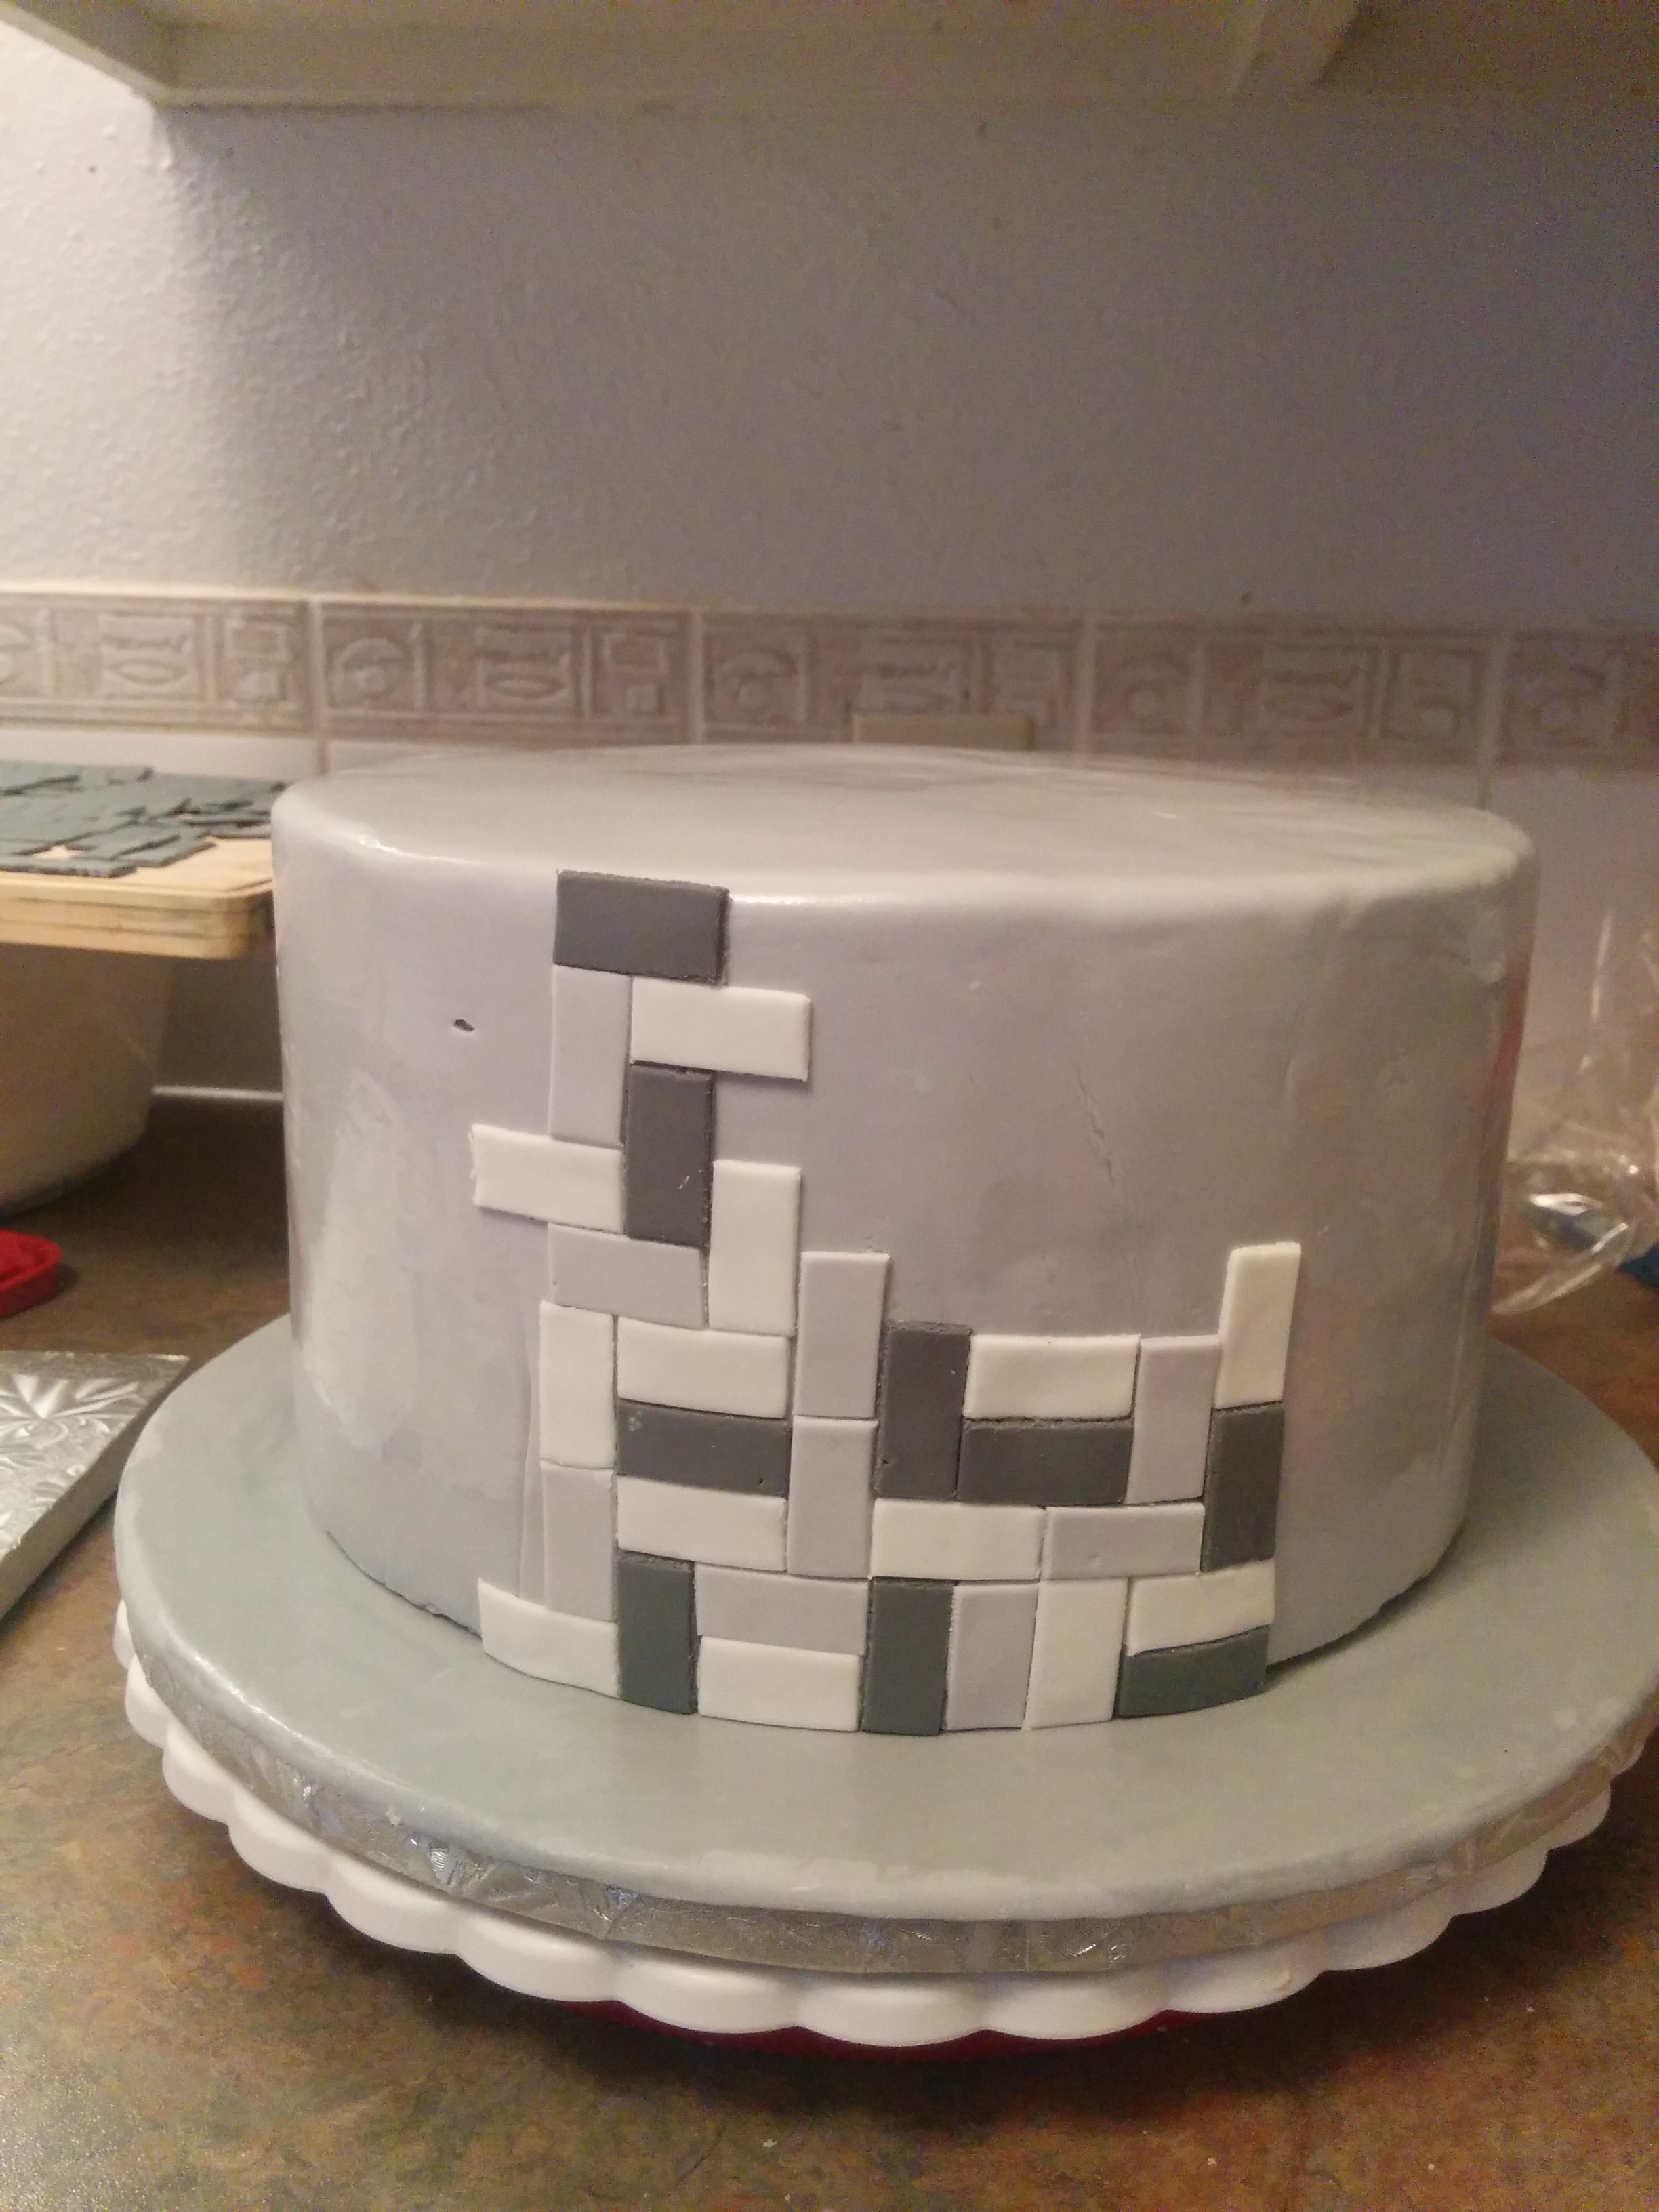
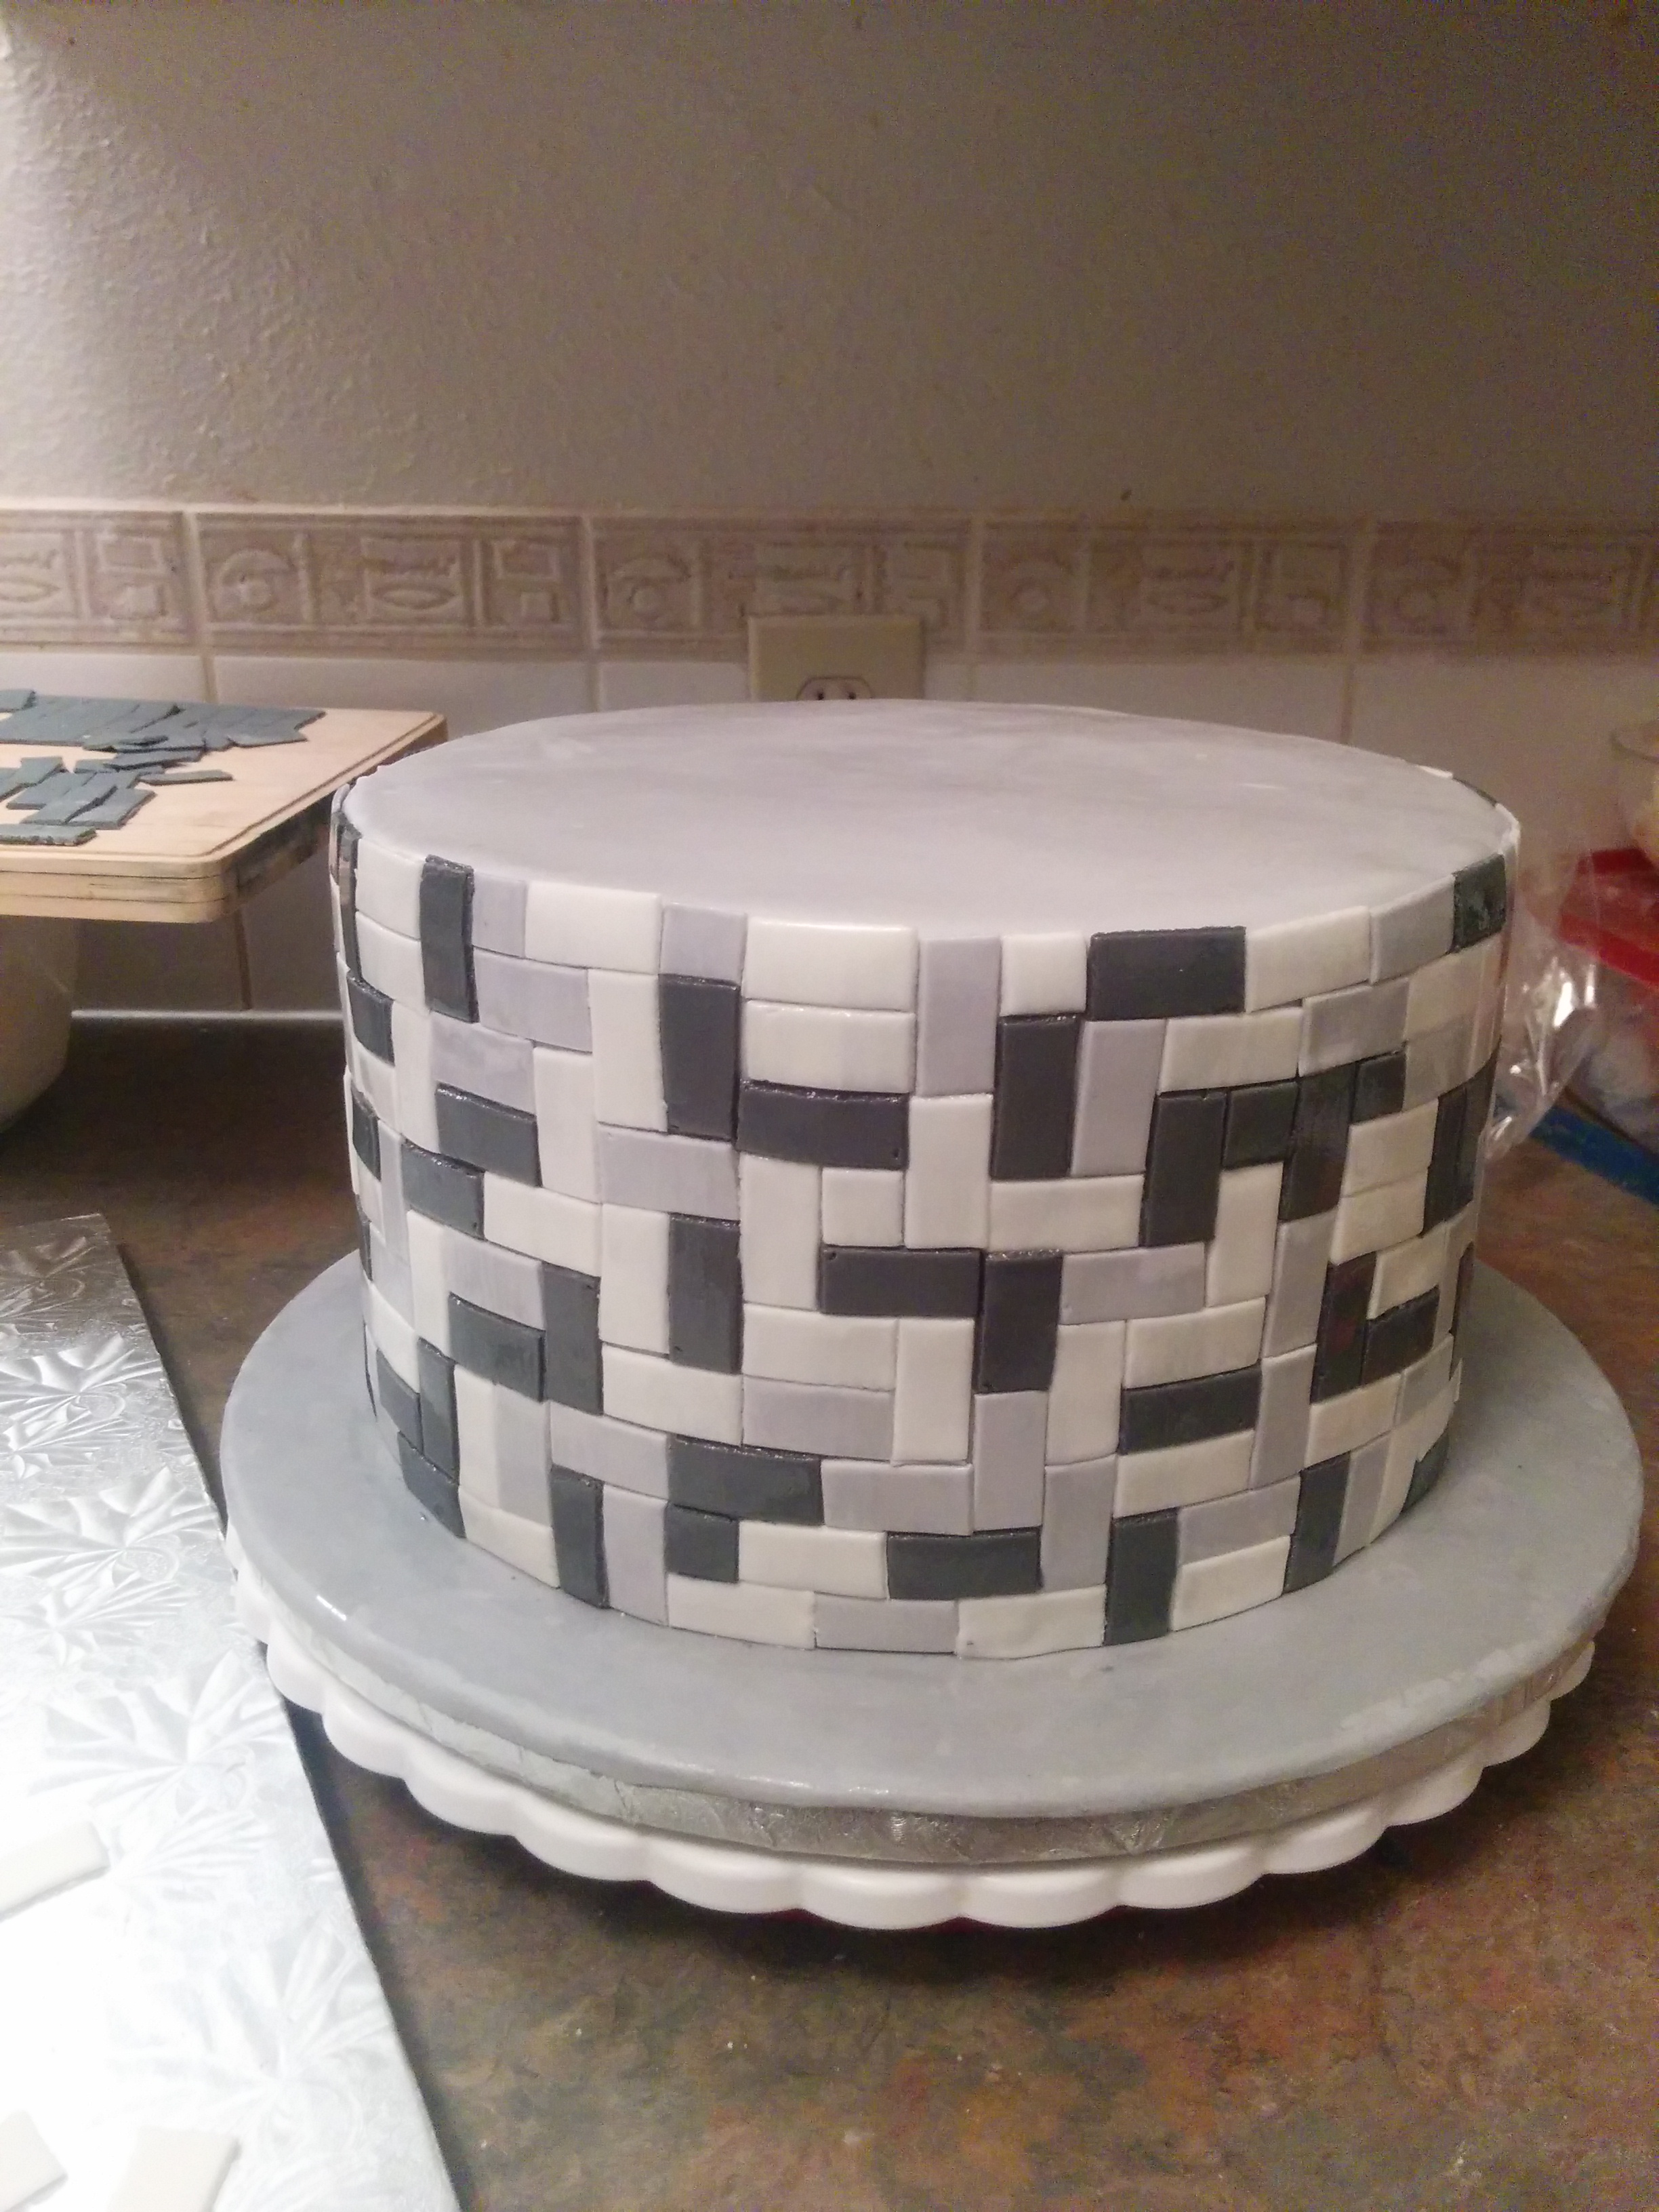
(4) Next, I got three colors of fondant (white, light grey and deep grey), rolled them out and cut them into rectangles measuring 1 inch by 1/2 inch.
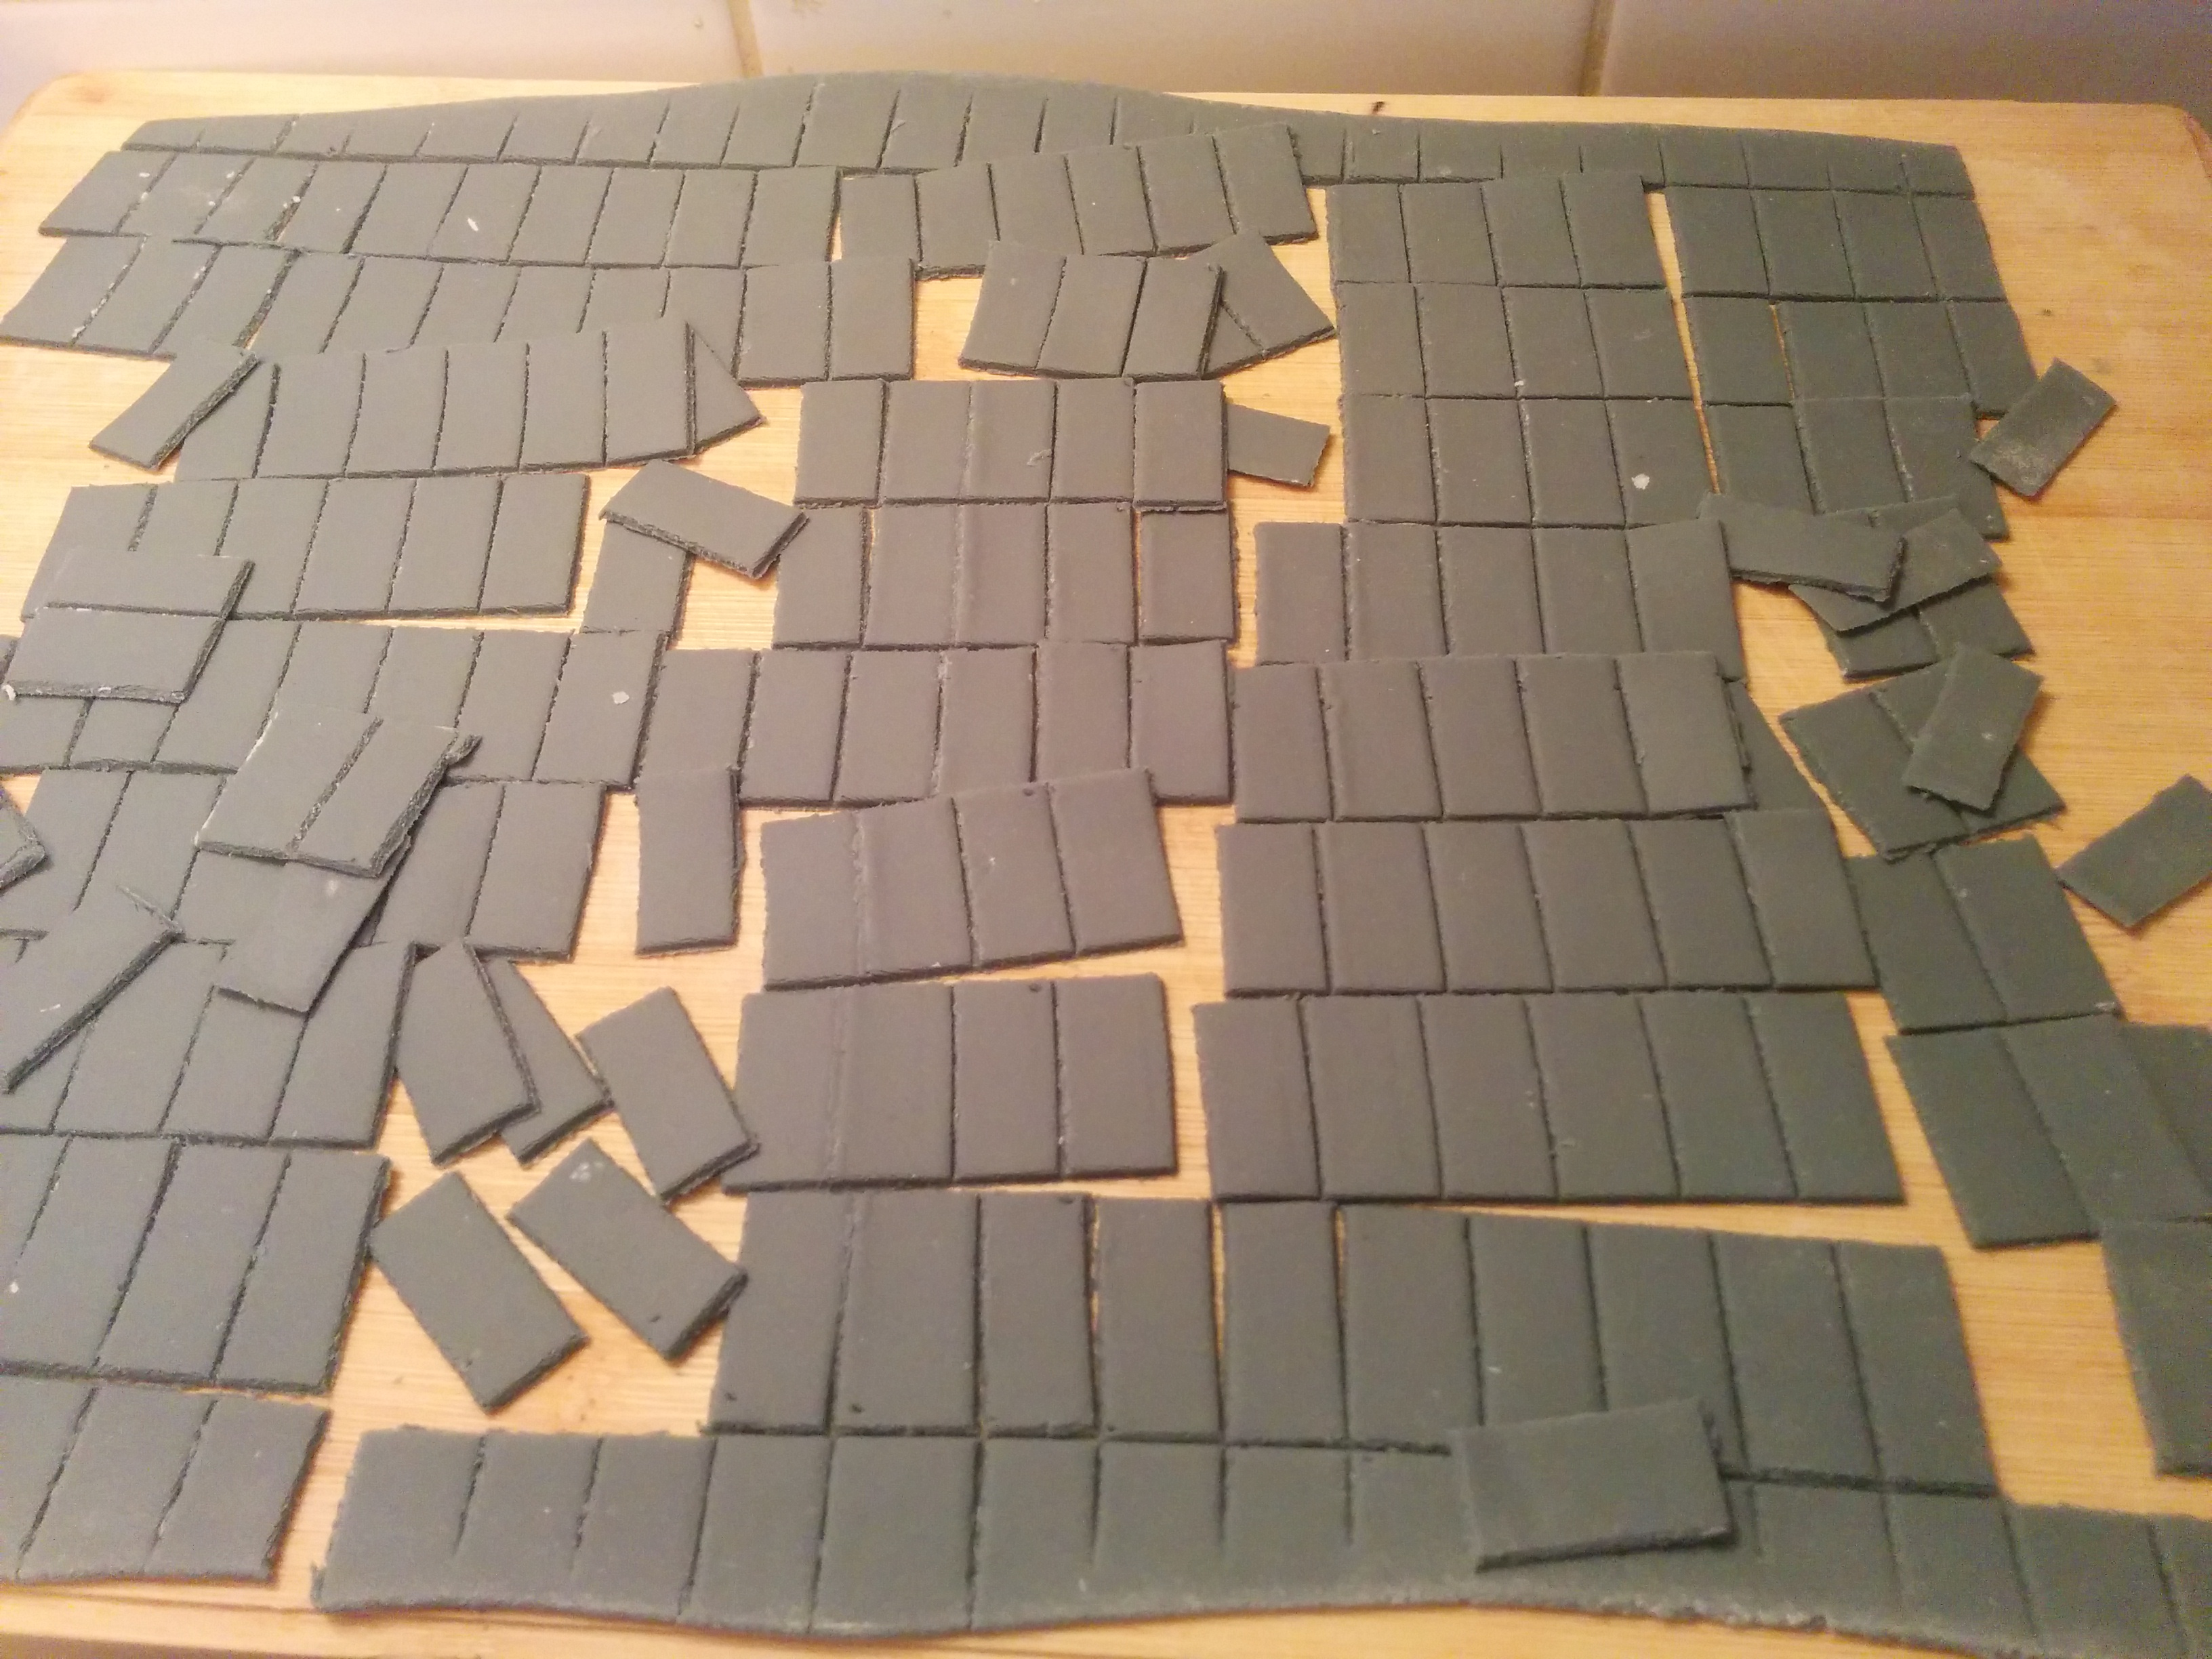
(5) Brush the bottom tier with some water or vodka and paste the rectangles on it. The rectangles should be placed horizontally and vertically in a random manner.
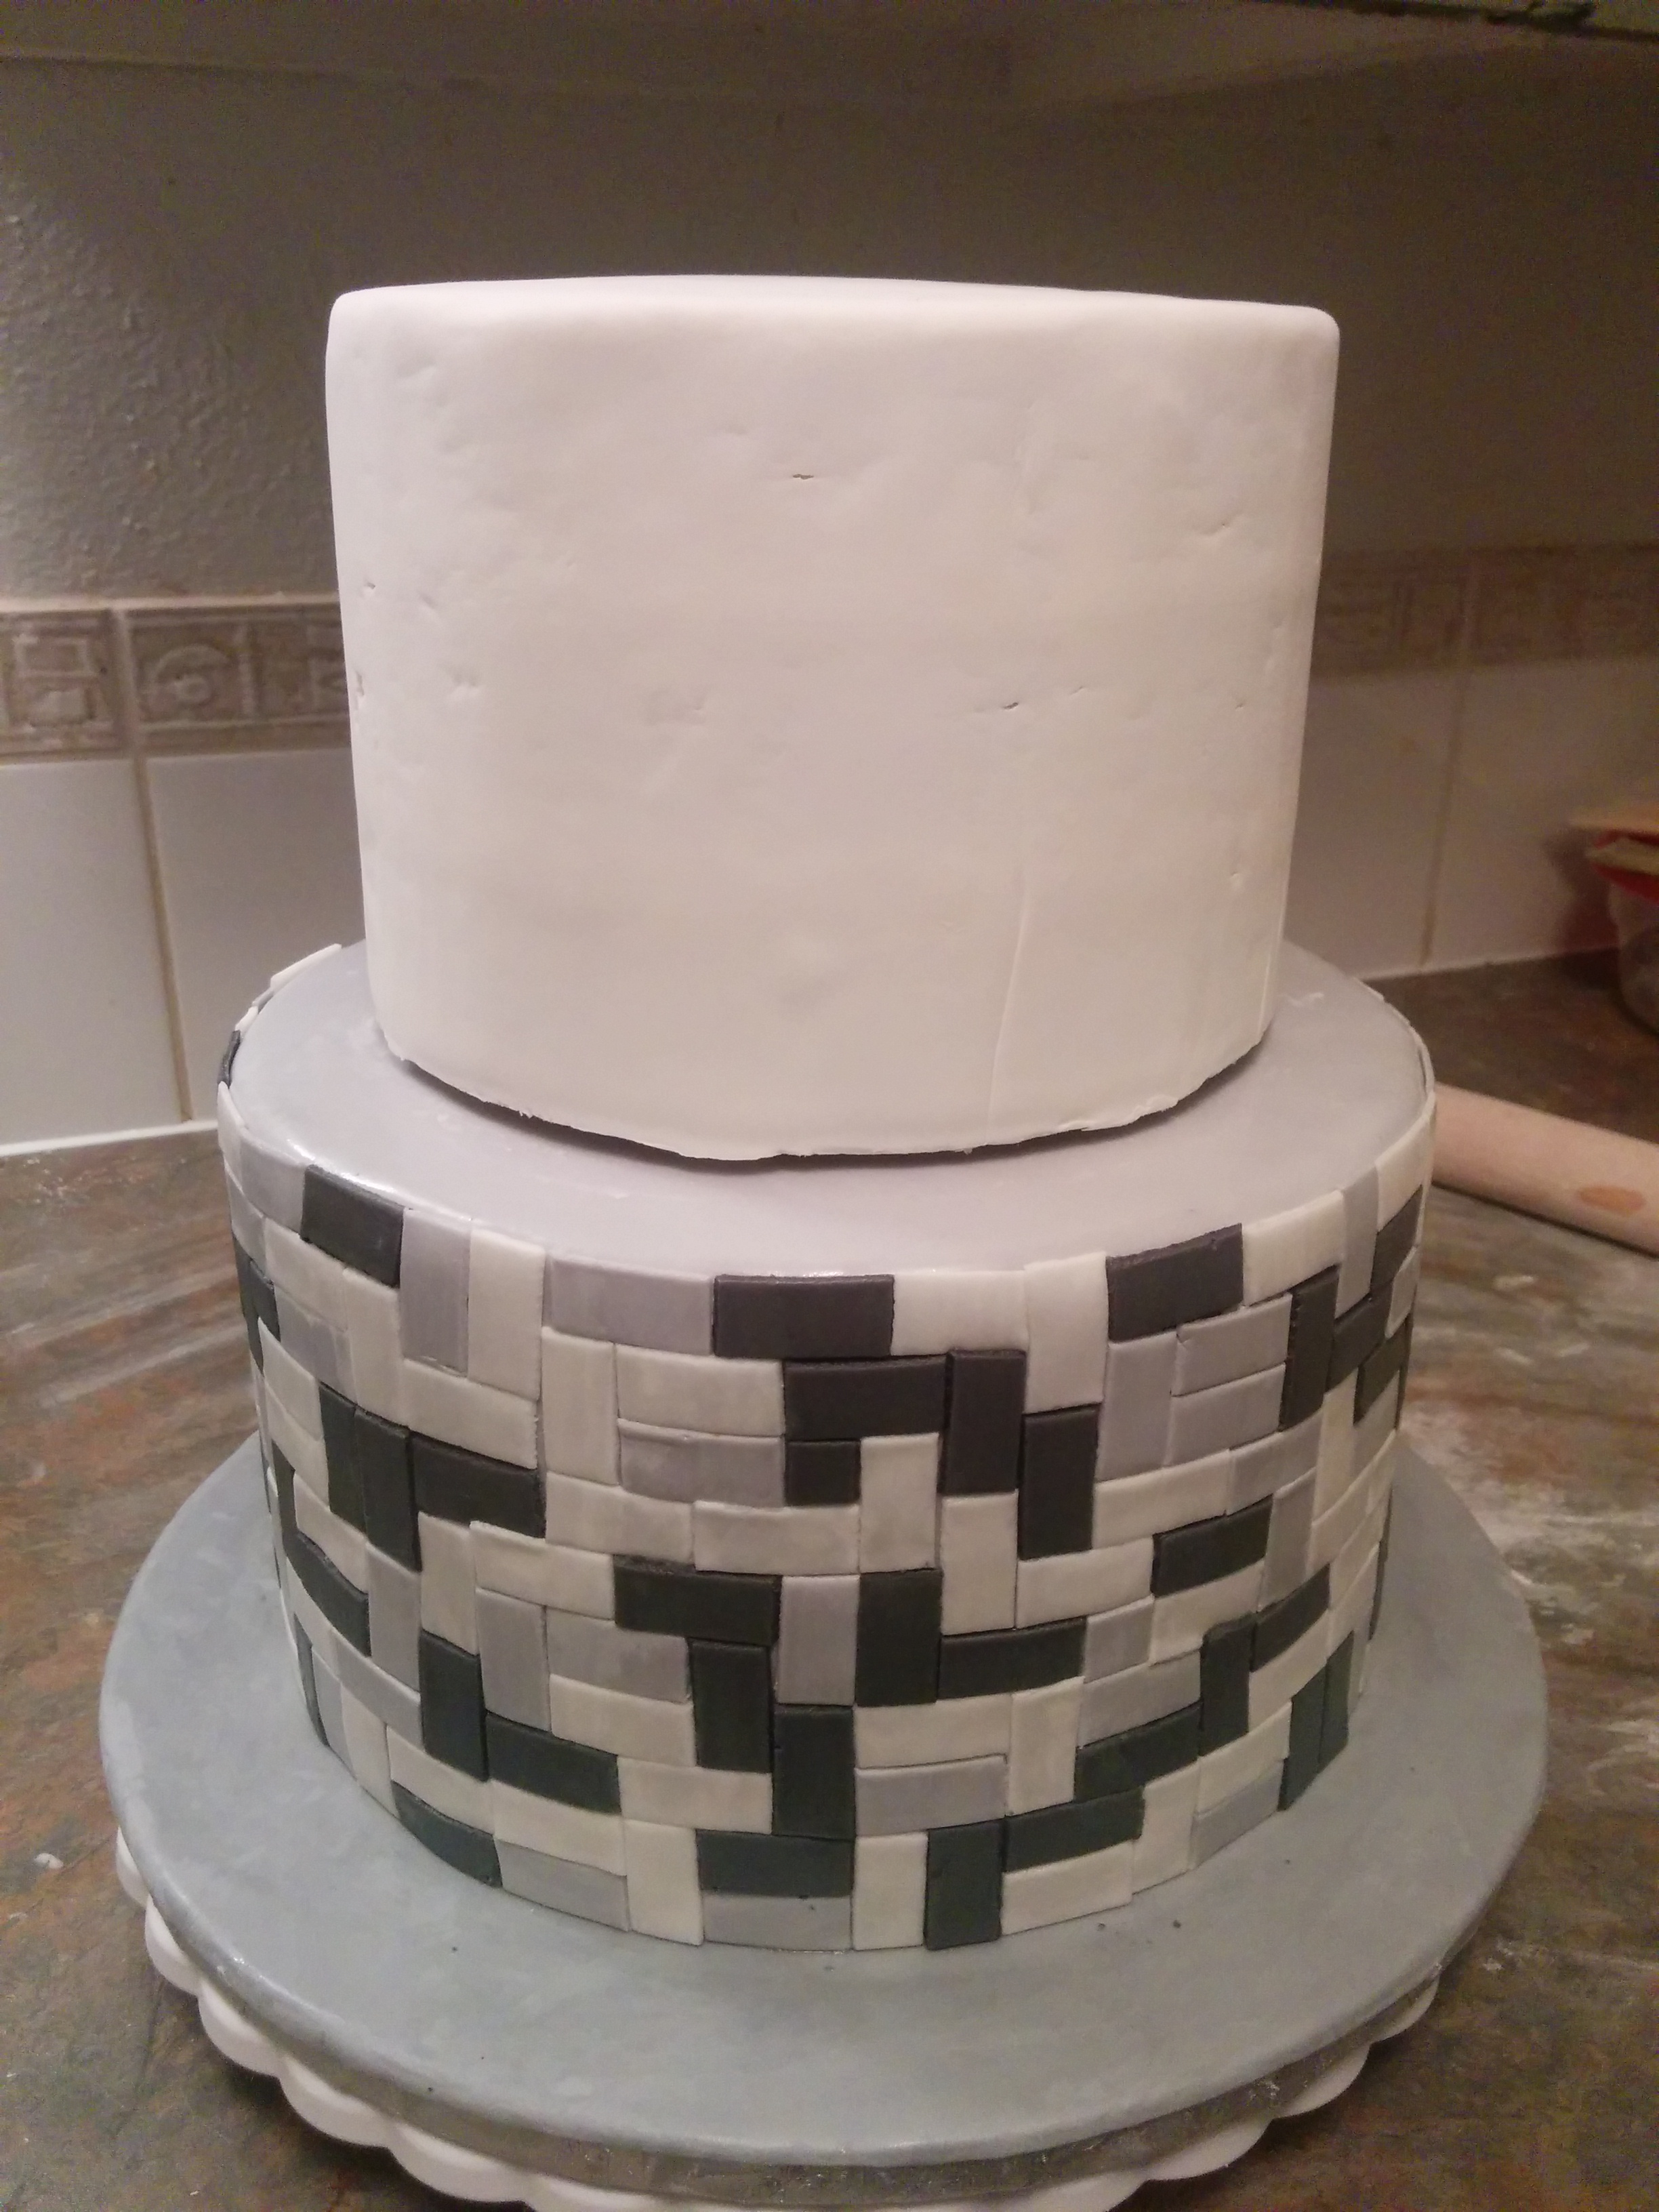
(6) Place dowels in the bottom tier, spread some melted chocolate on it and stack the top tier on it. You can read more about how to stack cakes here.
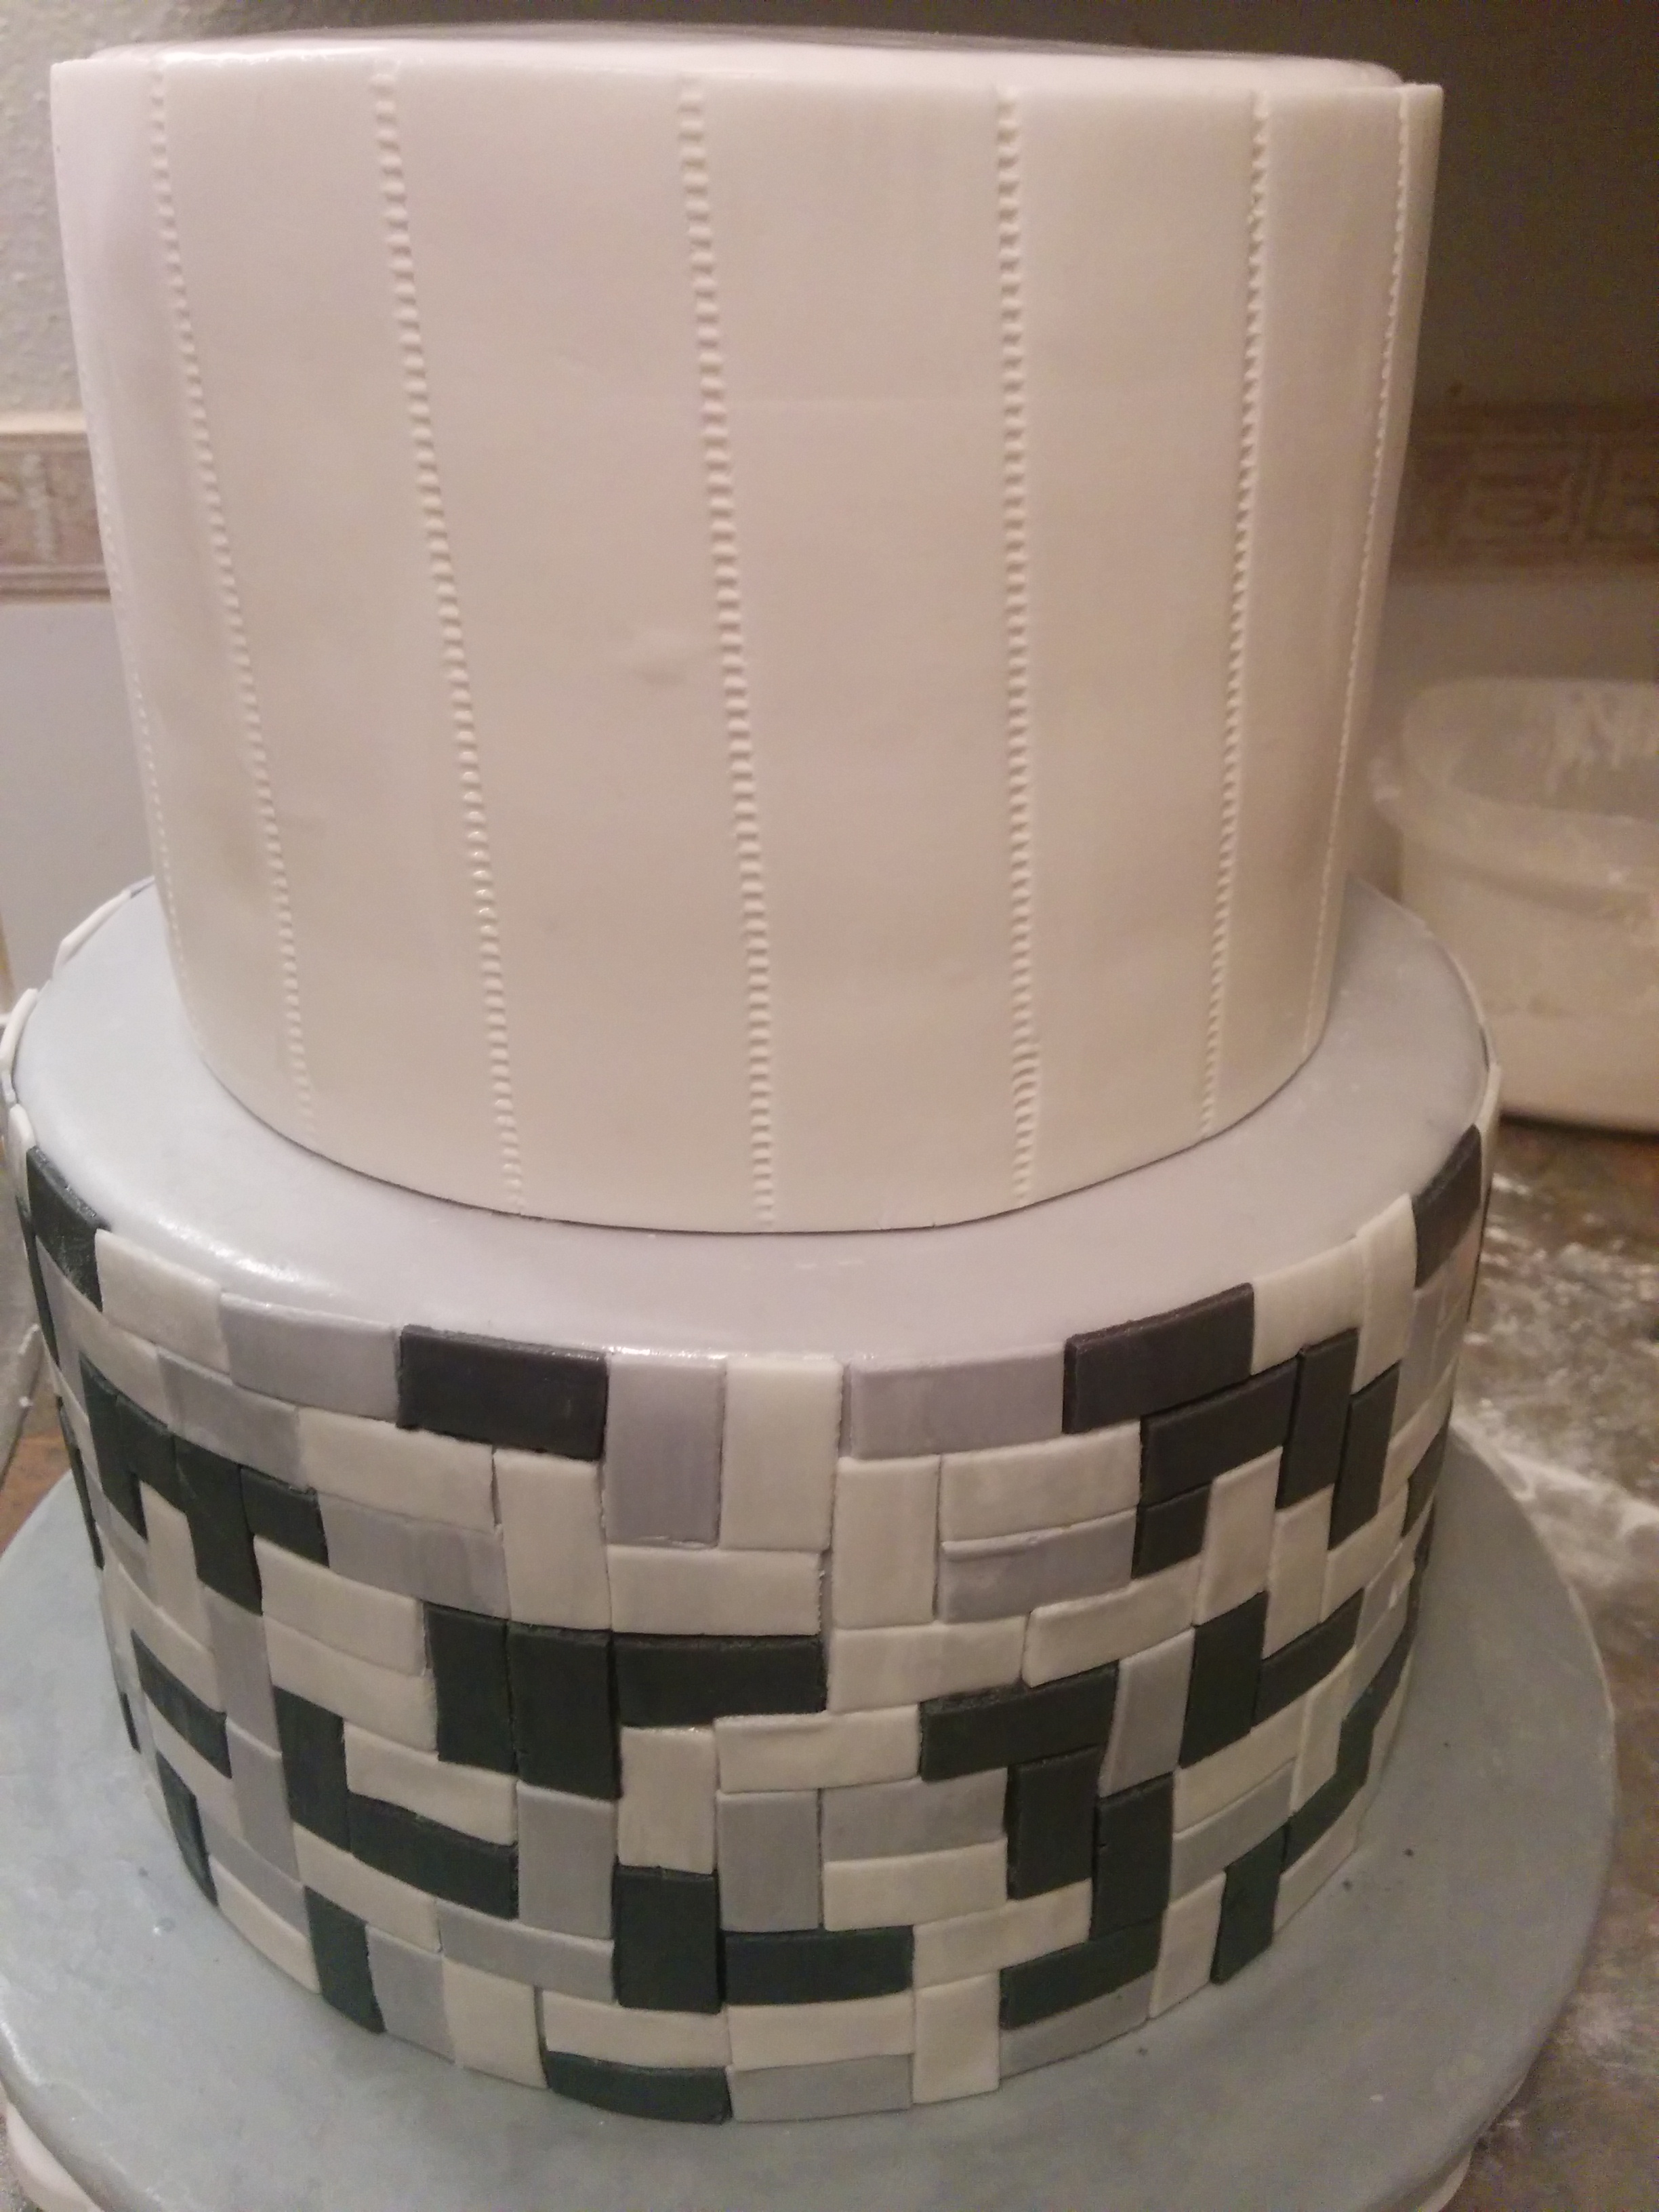
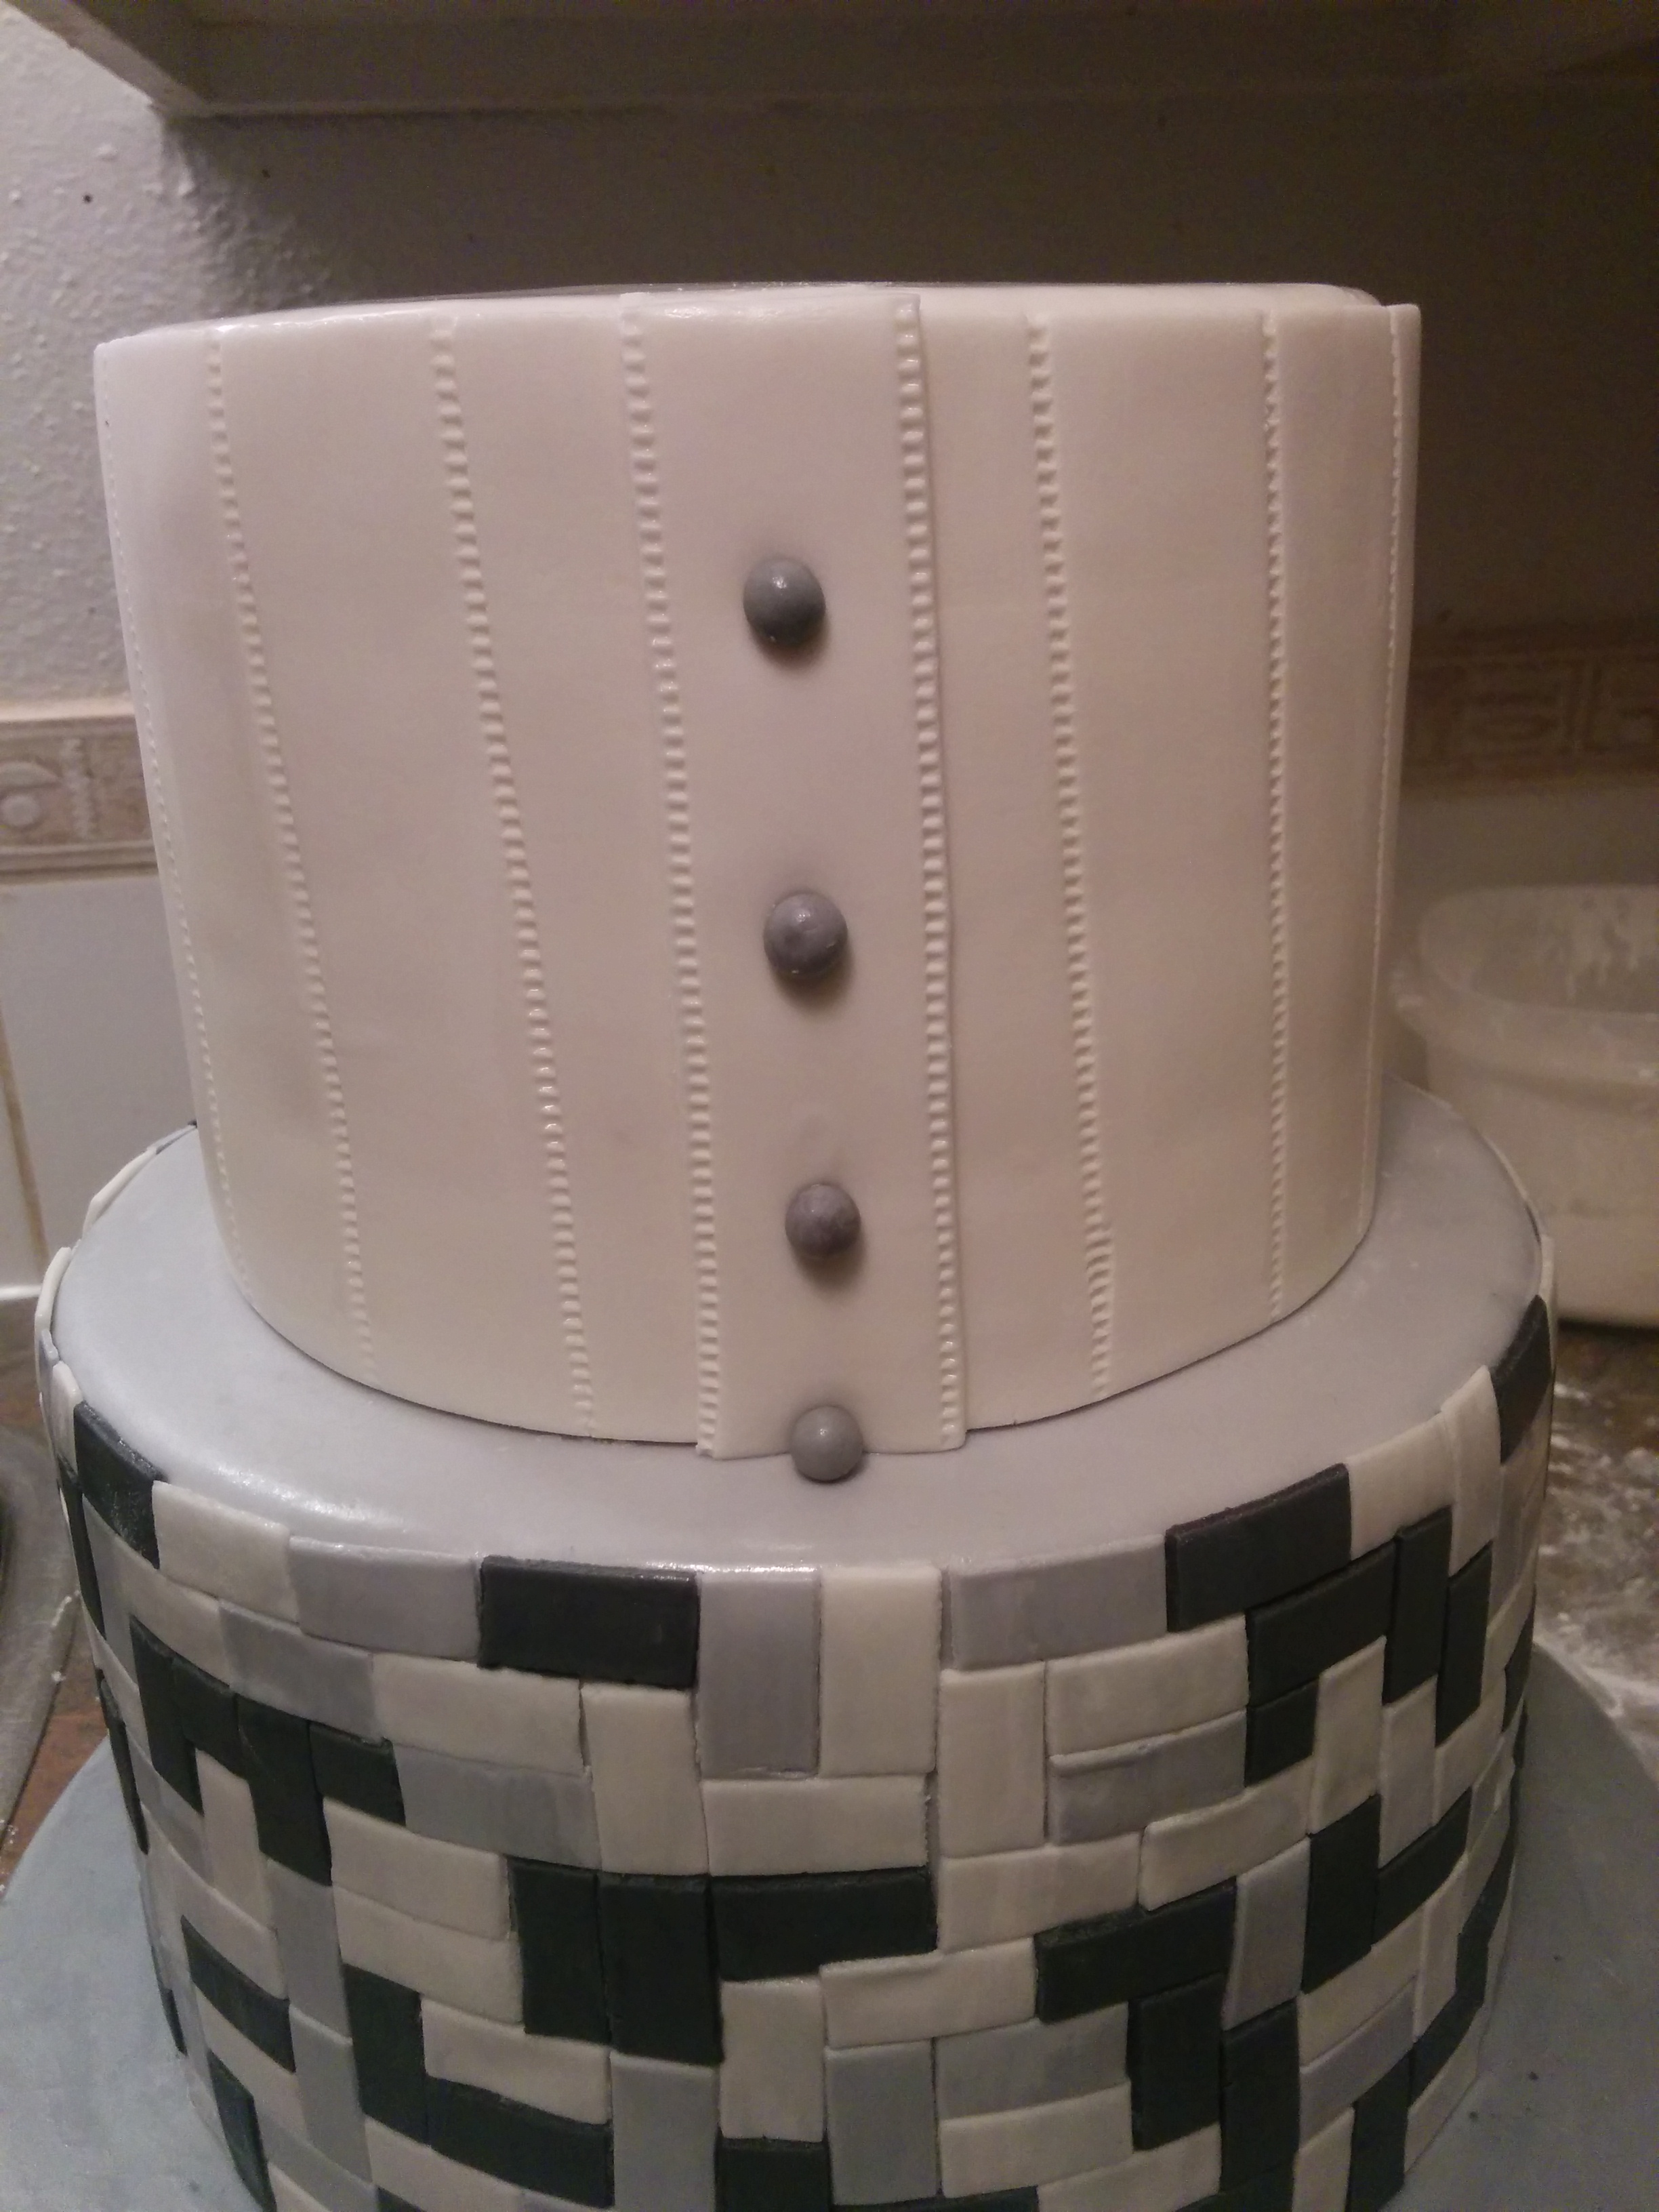
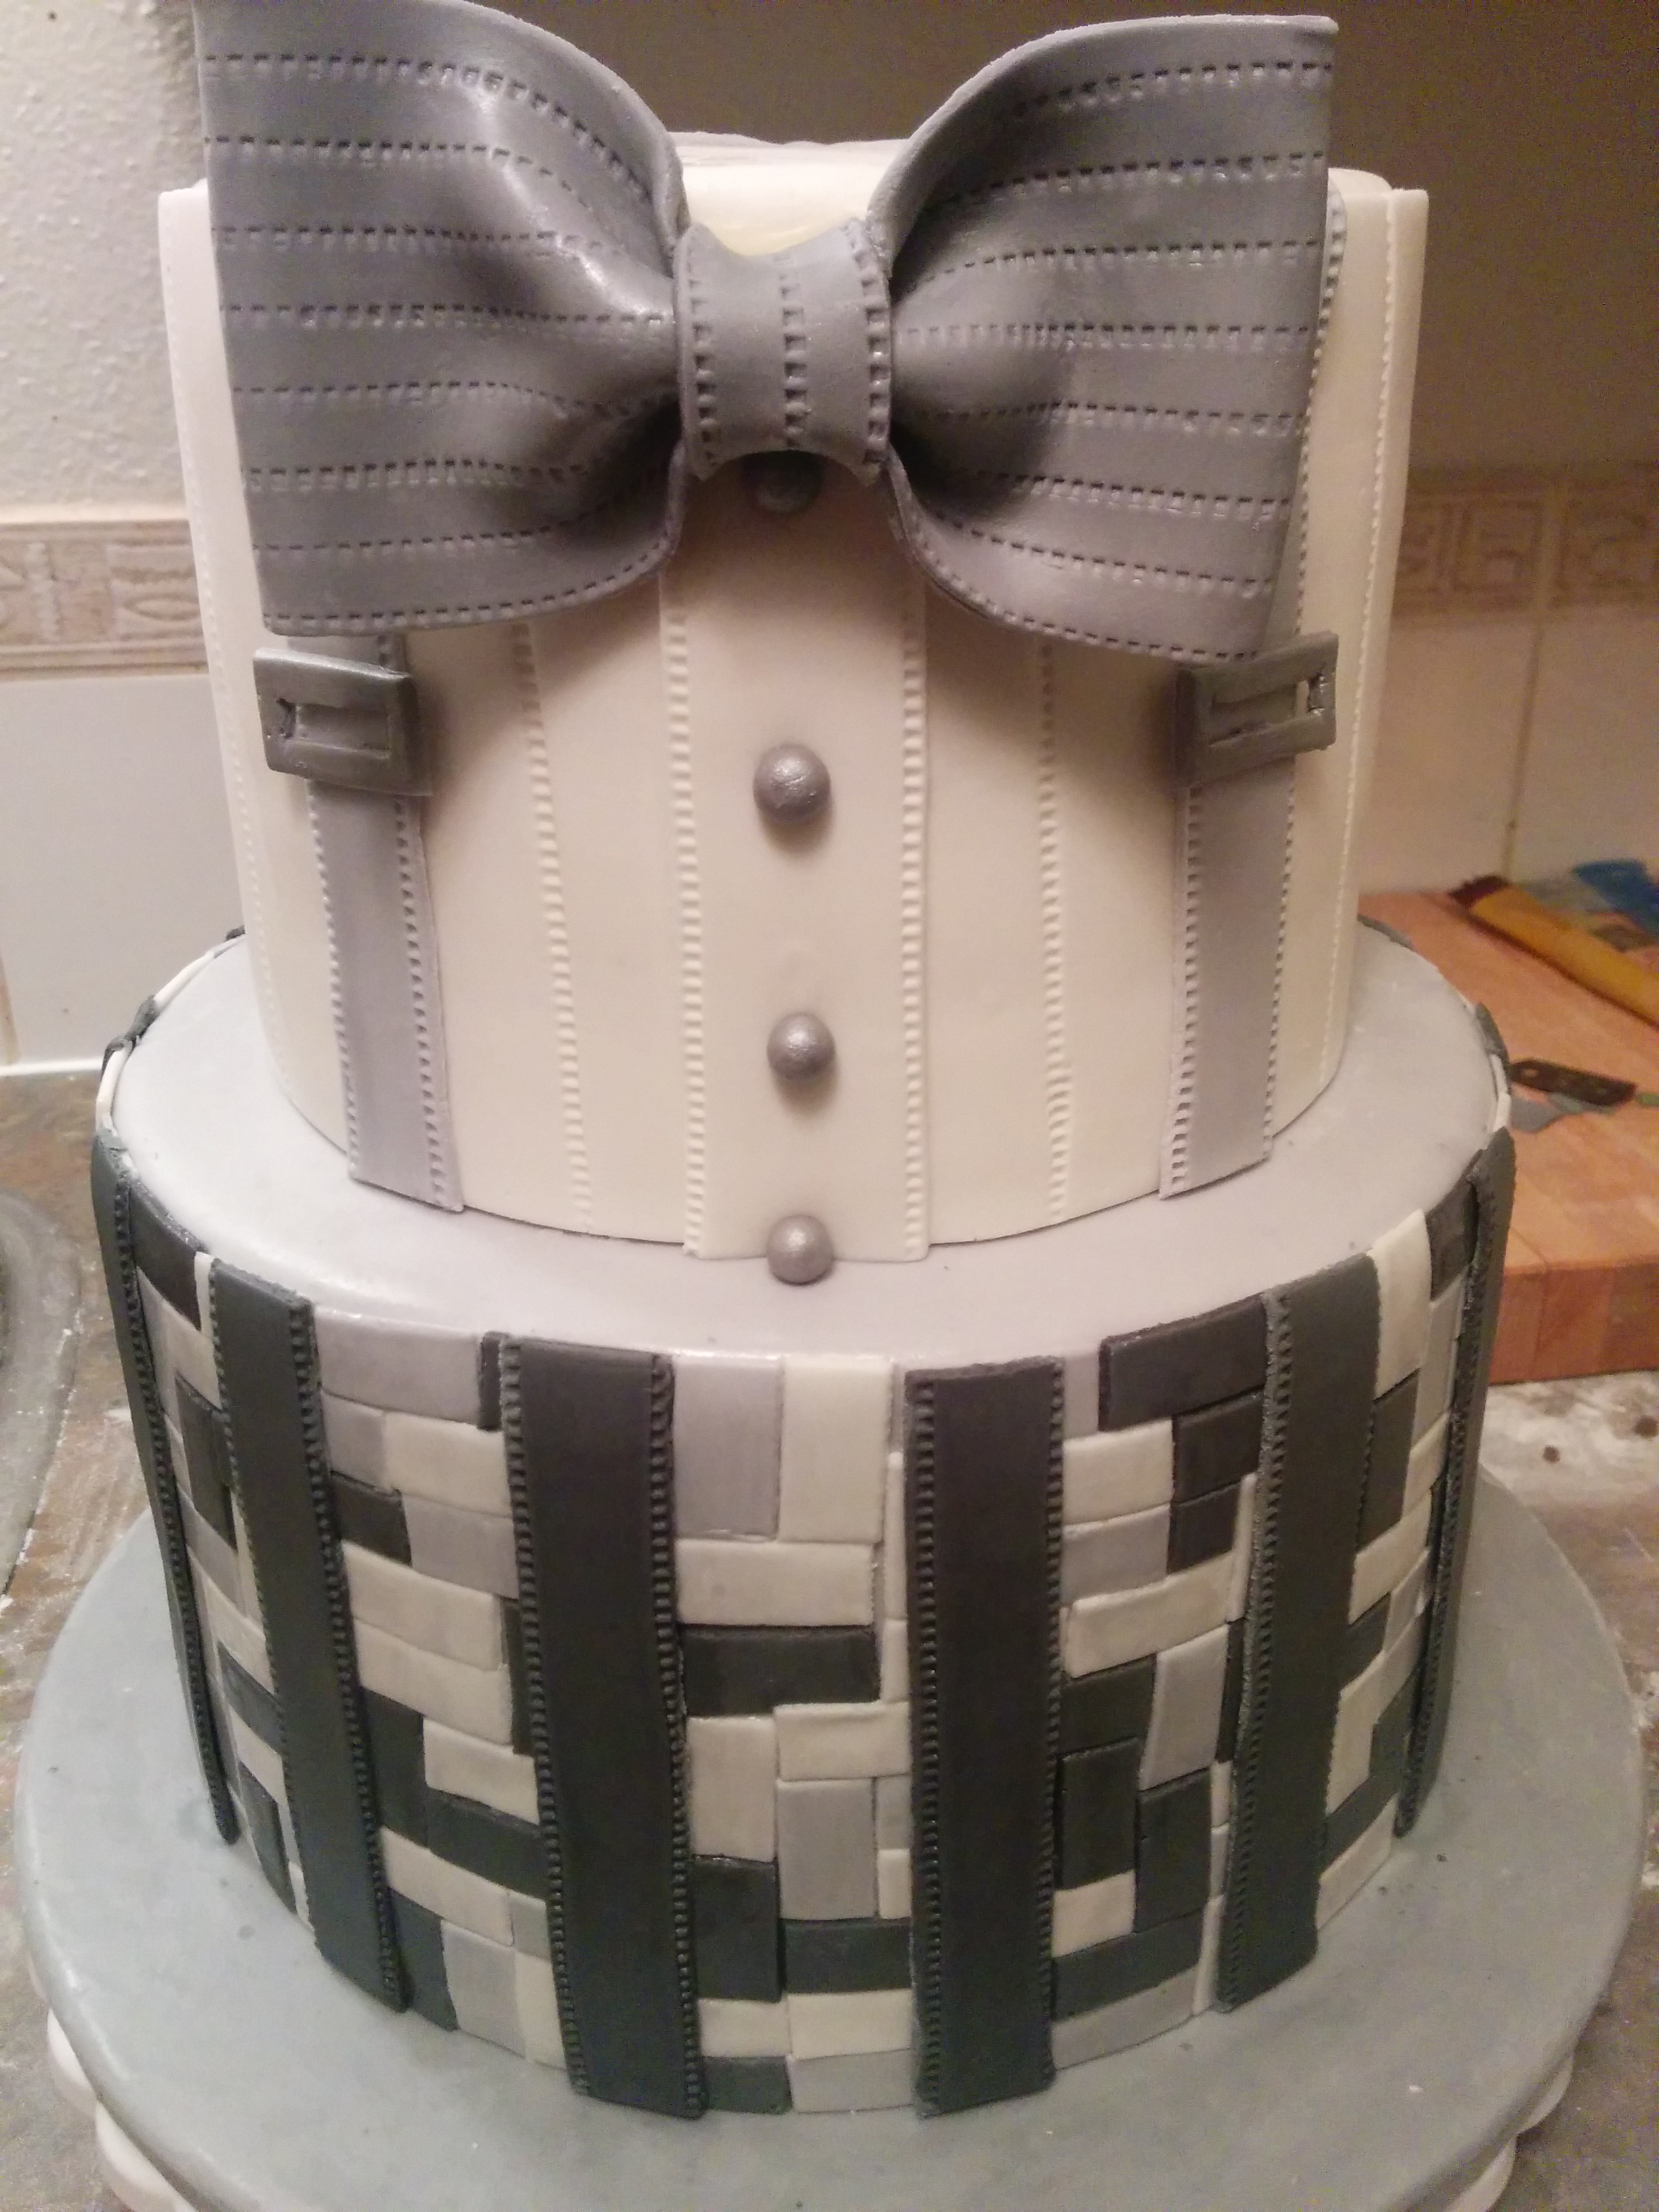
(7) Roll out some white fondant the same height as the top tier, make horizontal lines on it using a stitching wheel and wrap the top tier with it.
(8) Cut out a strip of fondant about 1 inch wide, run a stitching wheel along the edges and stick it in front of the top tier. This will serve as the shirt yoke. Next, roll some grey fondant into small smooth balls and place on the shirt yoke. These would serve as buttons. They will later be painted silver with pearl dust.
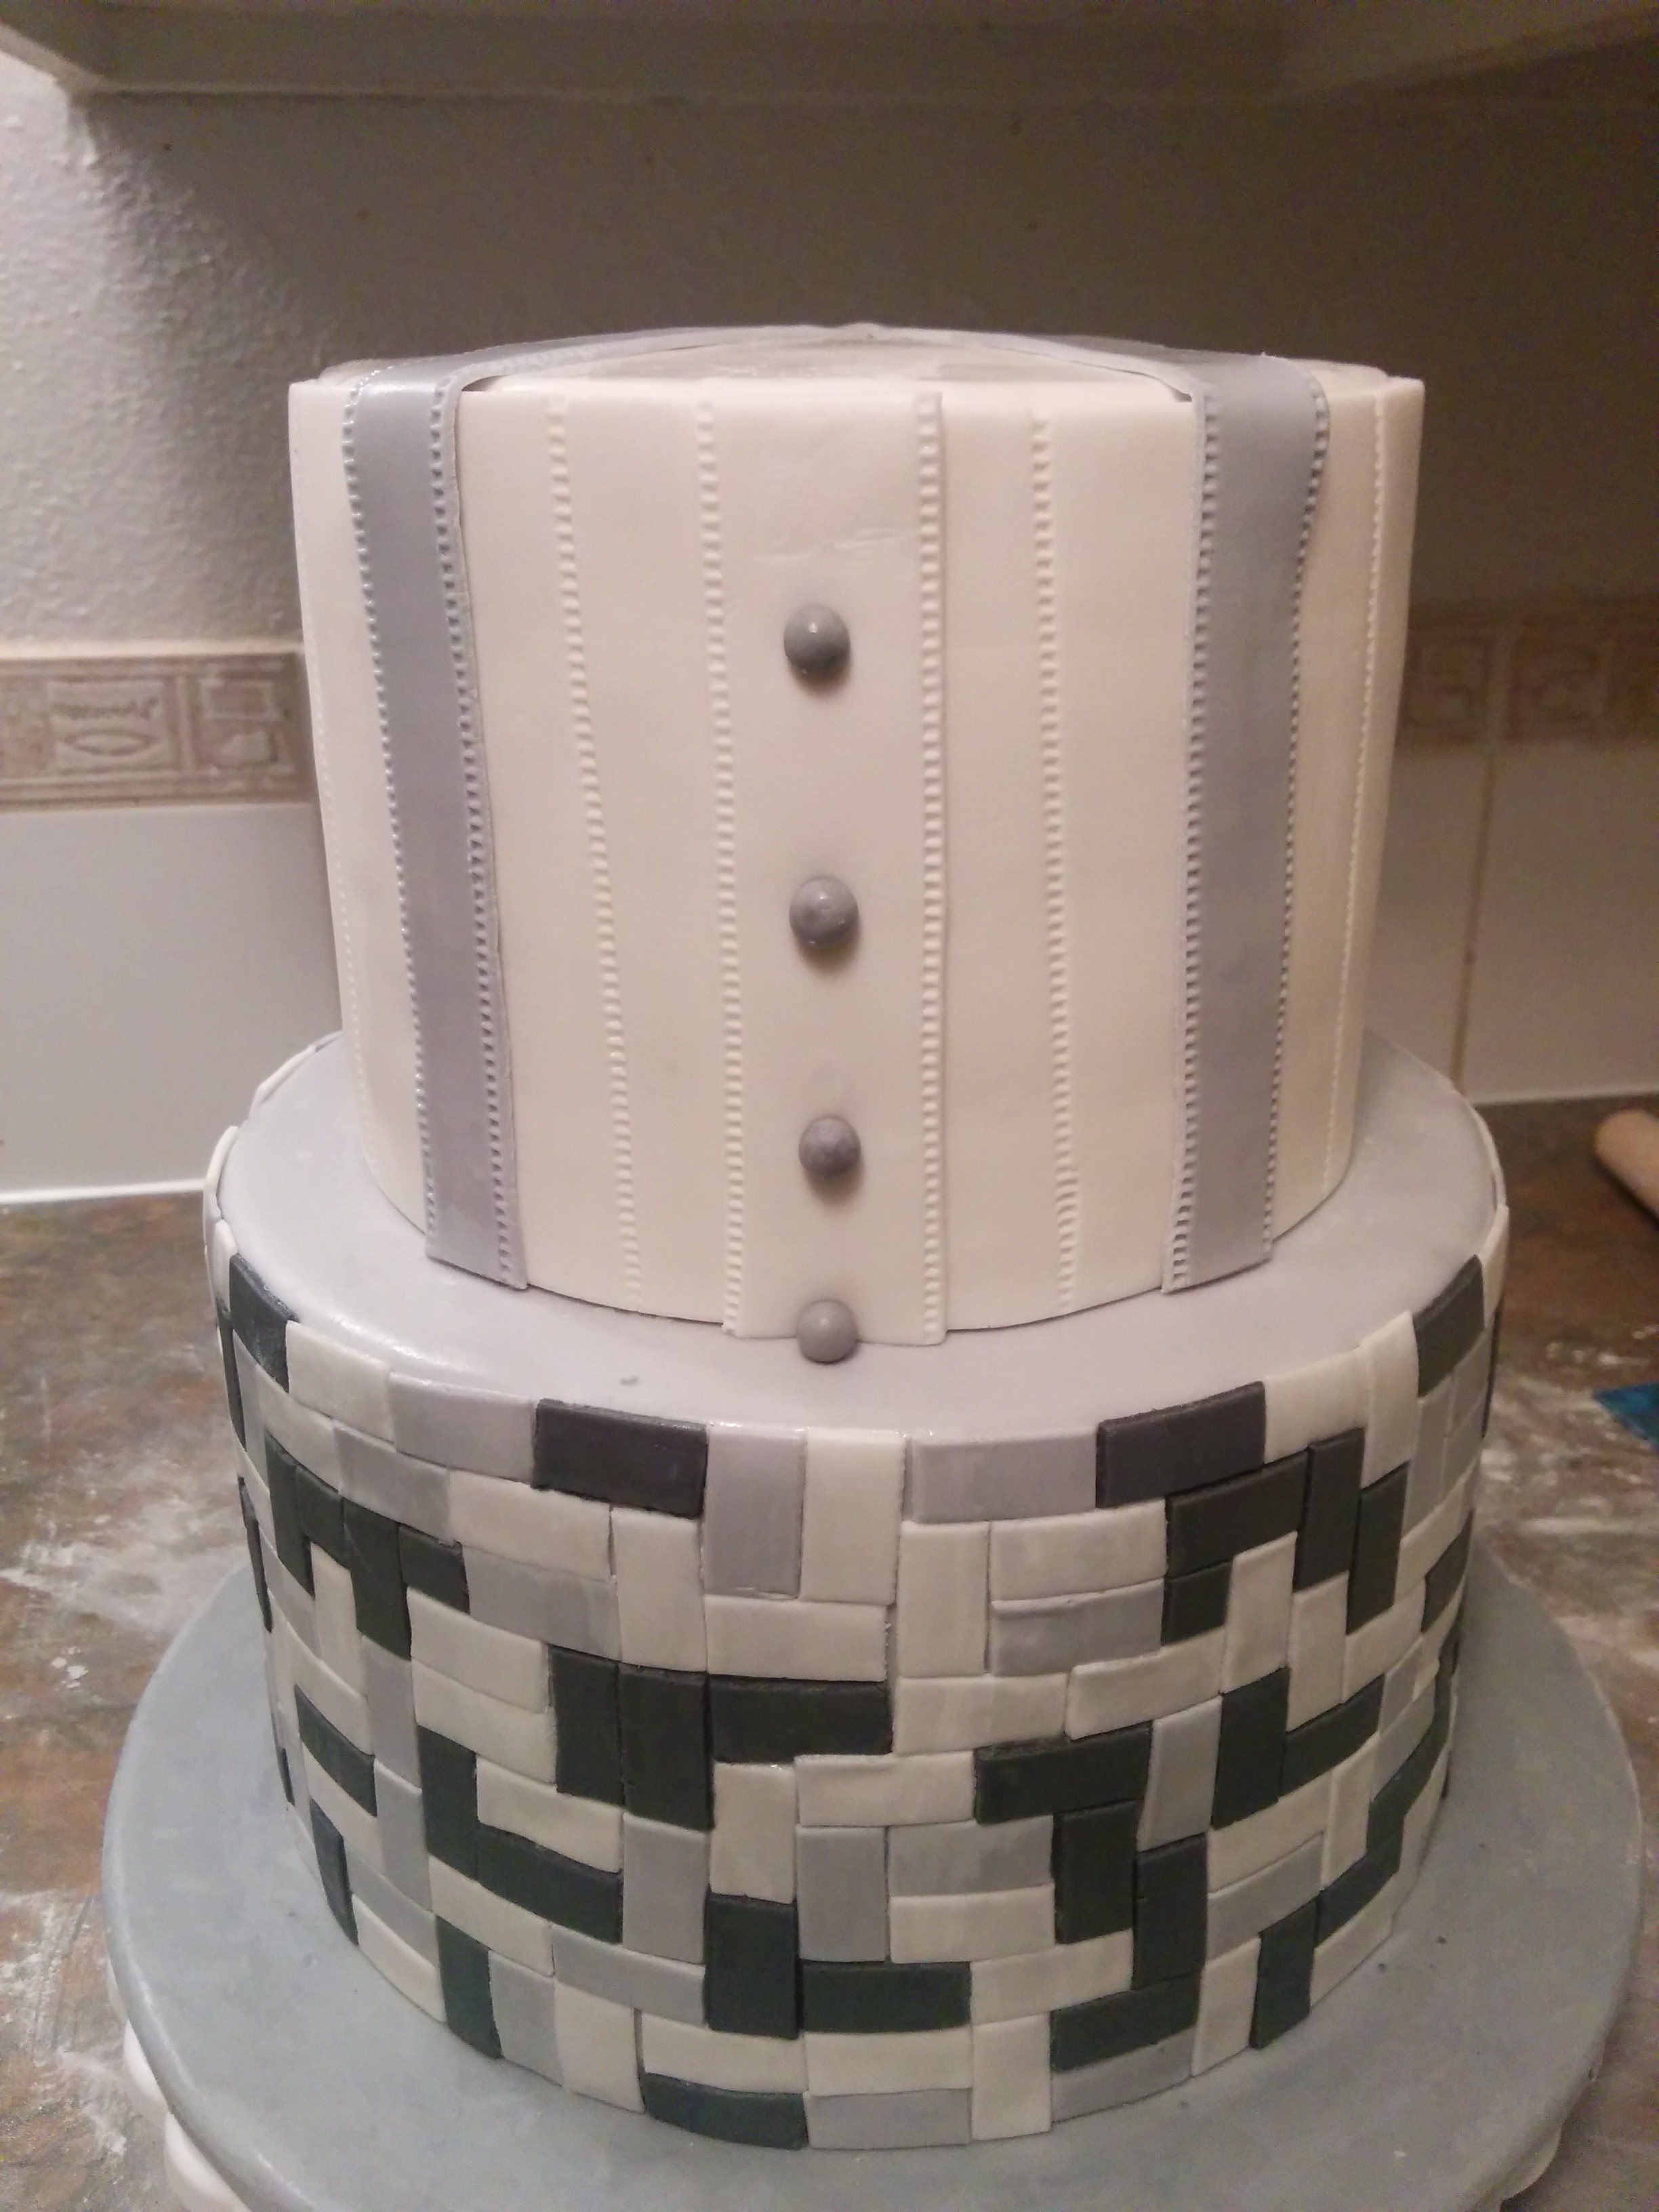
(9) Next, cut out two strips of light grey fondant, about 1 inch wide, run a stitching wheel along the edges and stick them on each side of the shirt yoke, crossing them at the back of the cake. This will serve as suspenders/braces.
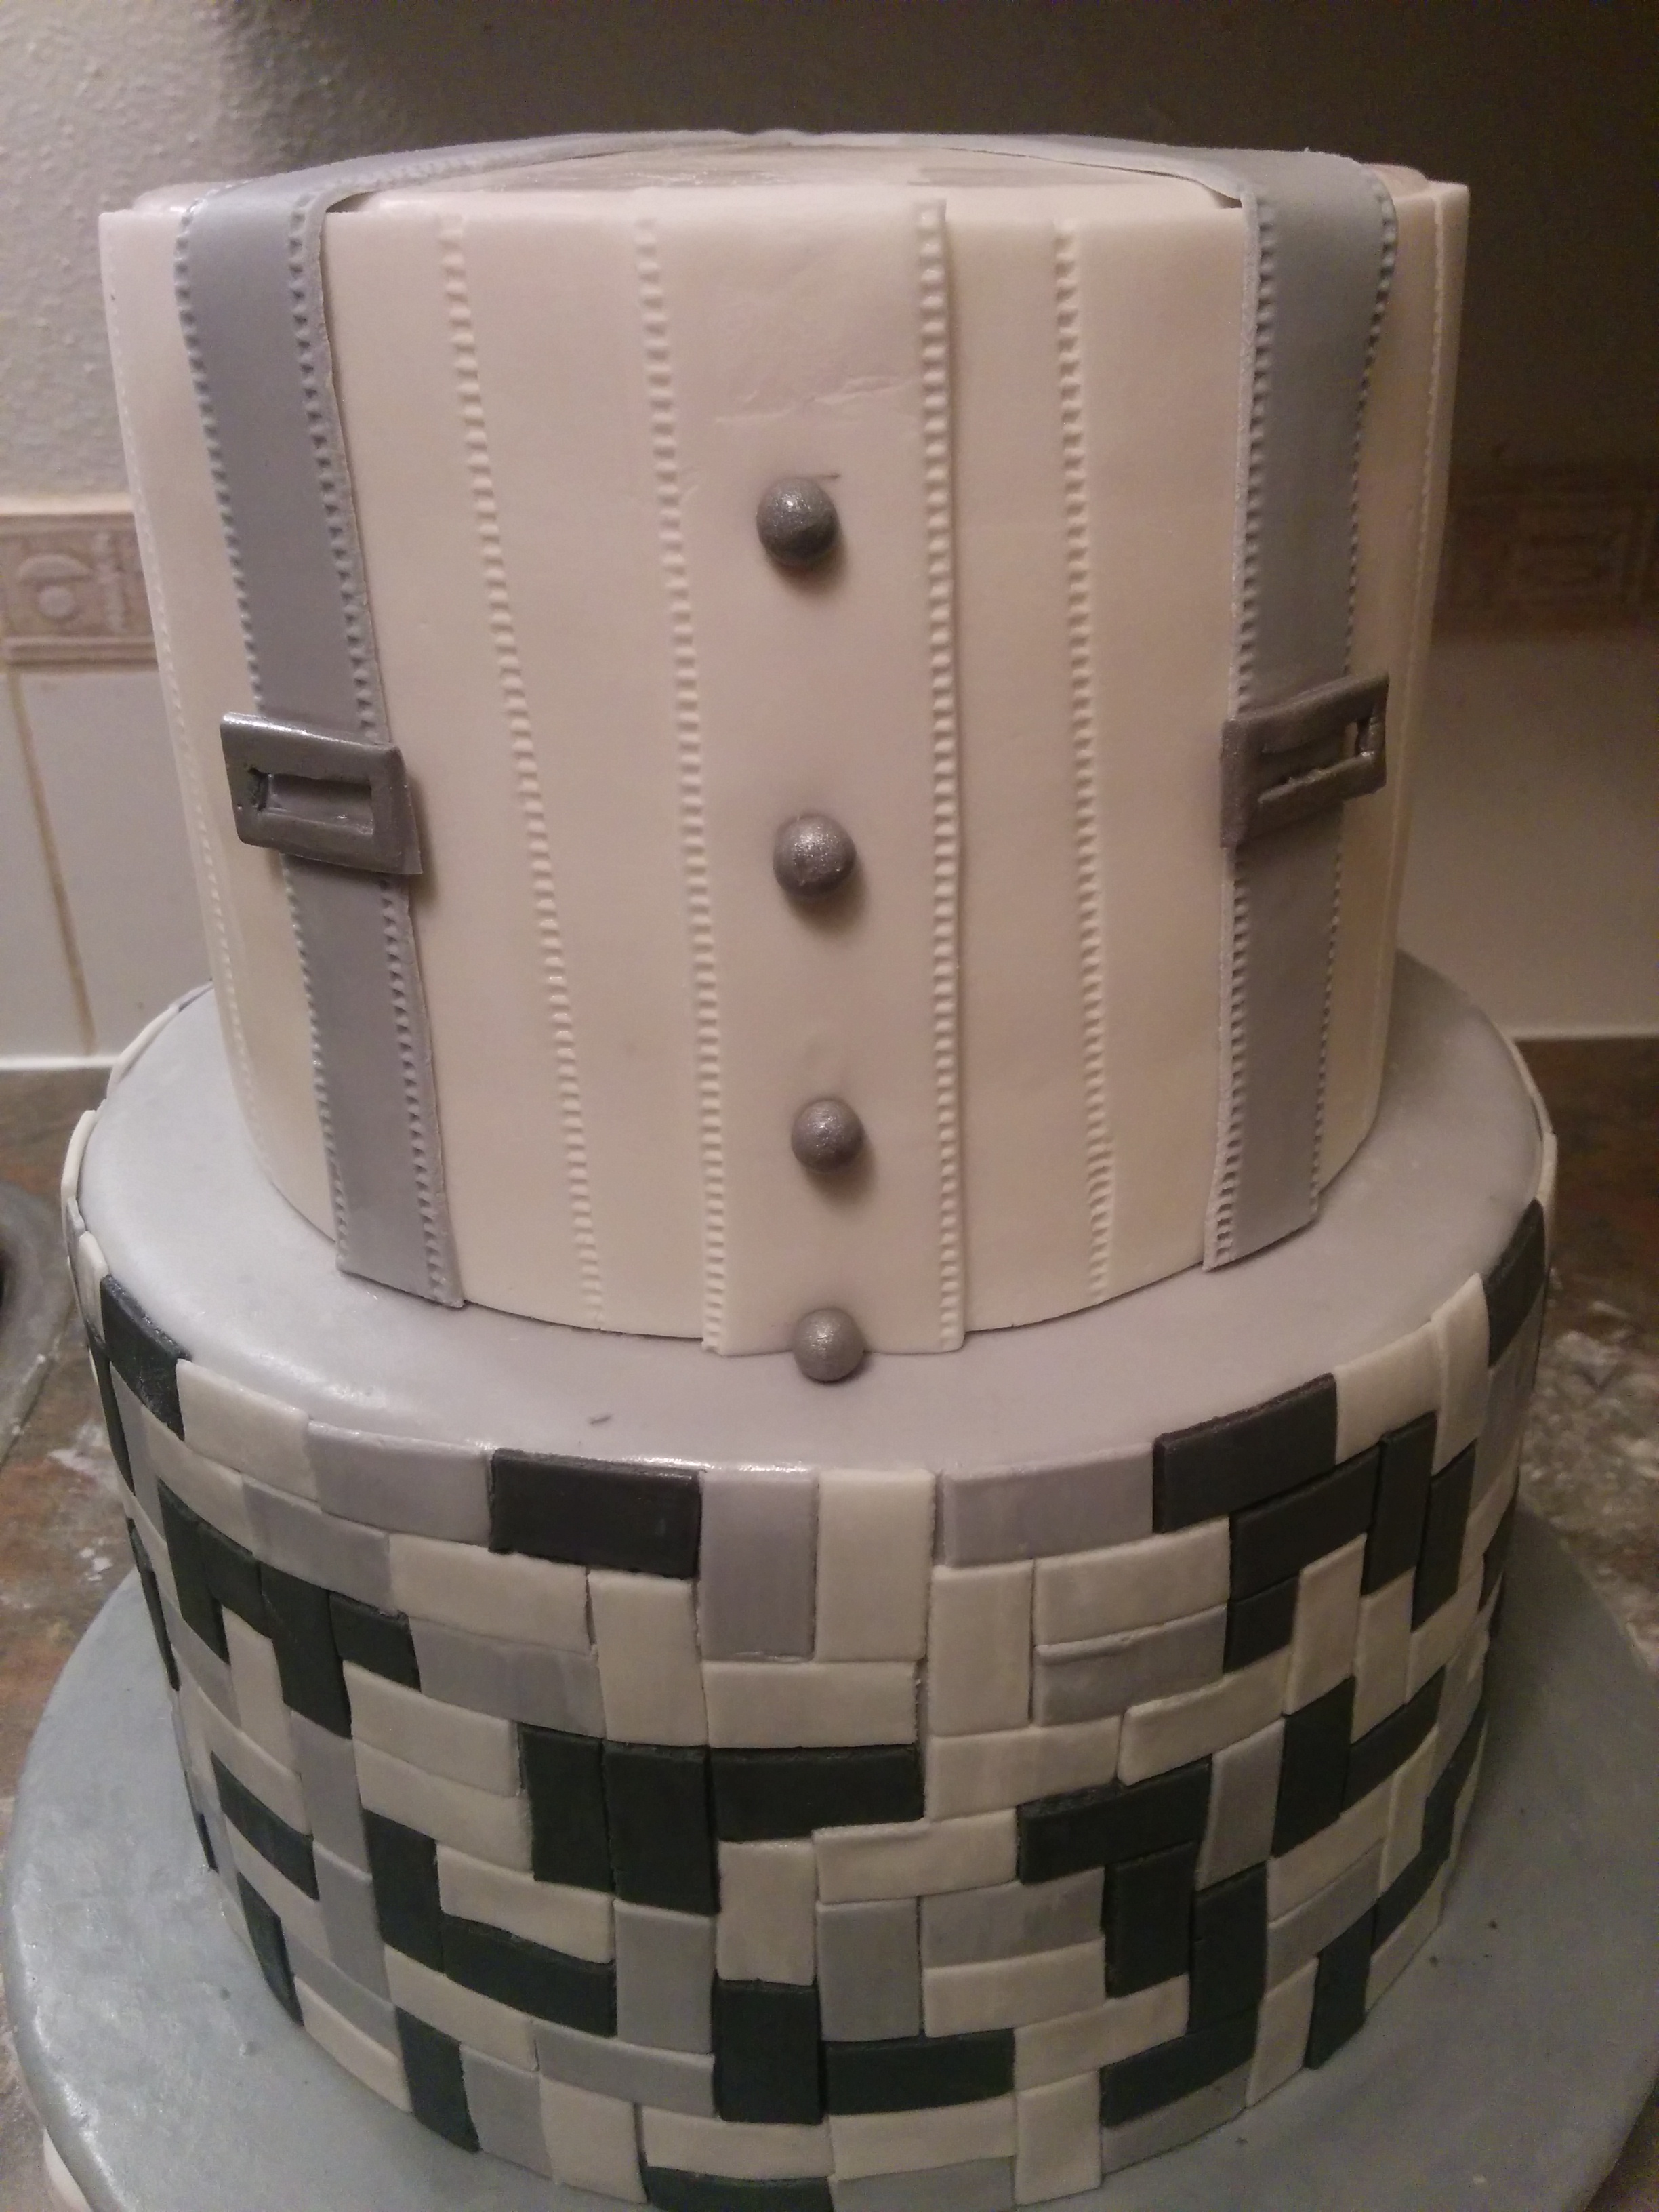
(10) Next, make some buckles for the braces out of dark grey fondant and stick them to the braces. You need a very sharp blade to cut out the hollows in the middle of the buckles. The buckles will also be painted with silver pearl dust.
(11) Next, Stick the bow tie to the top of the shirt with some melted white chocolate.
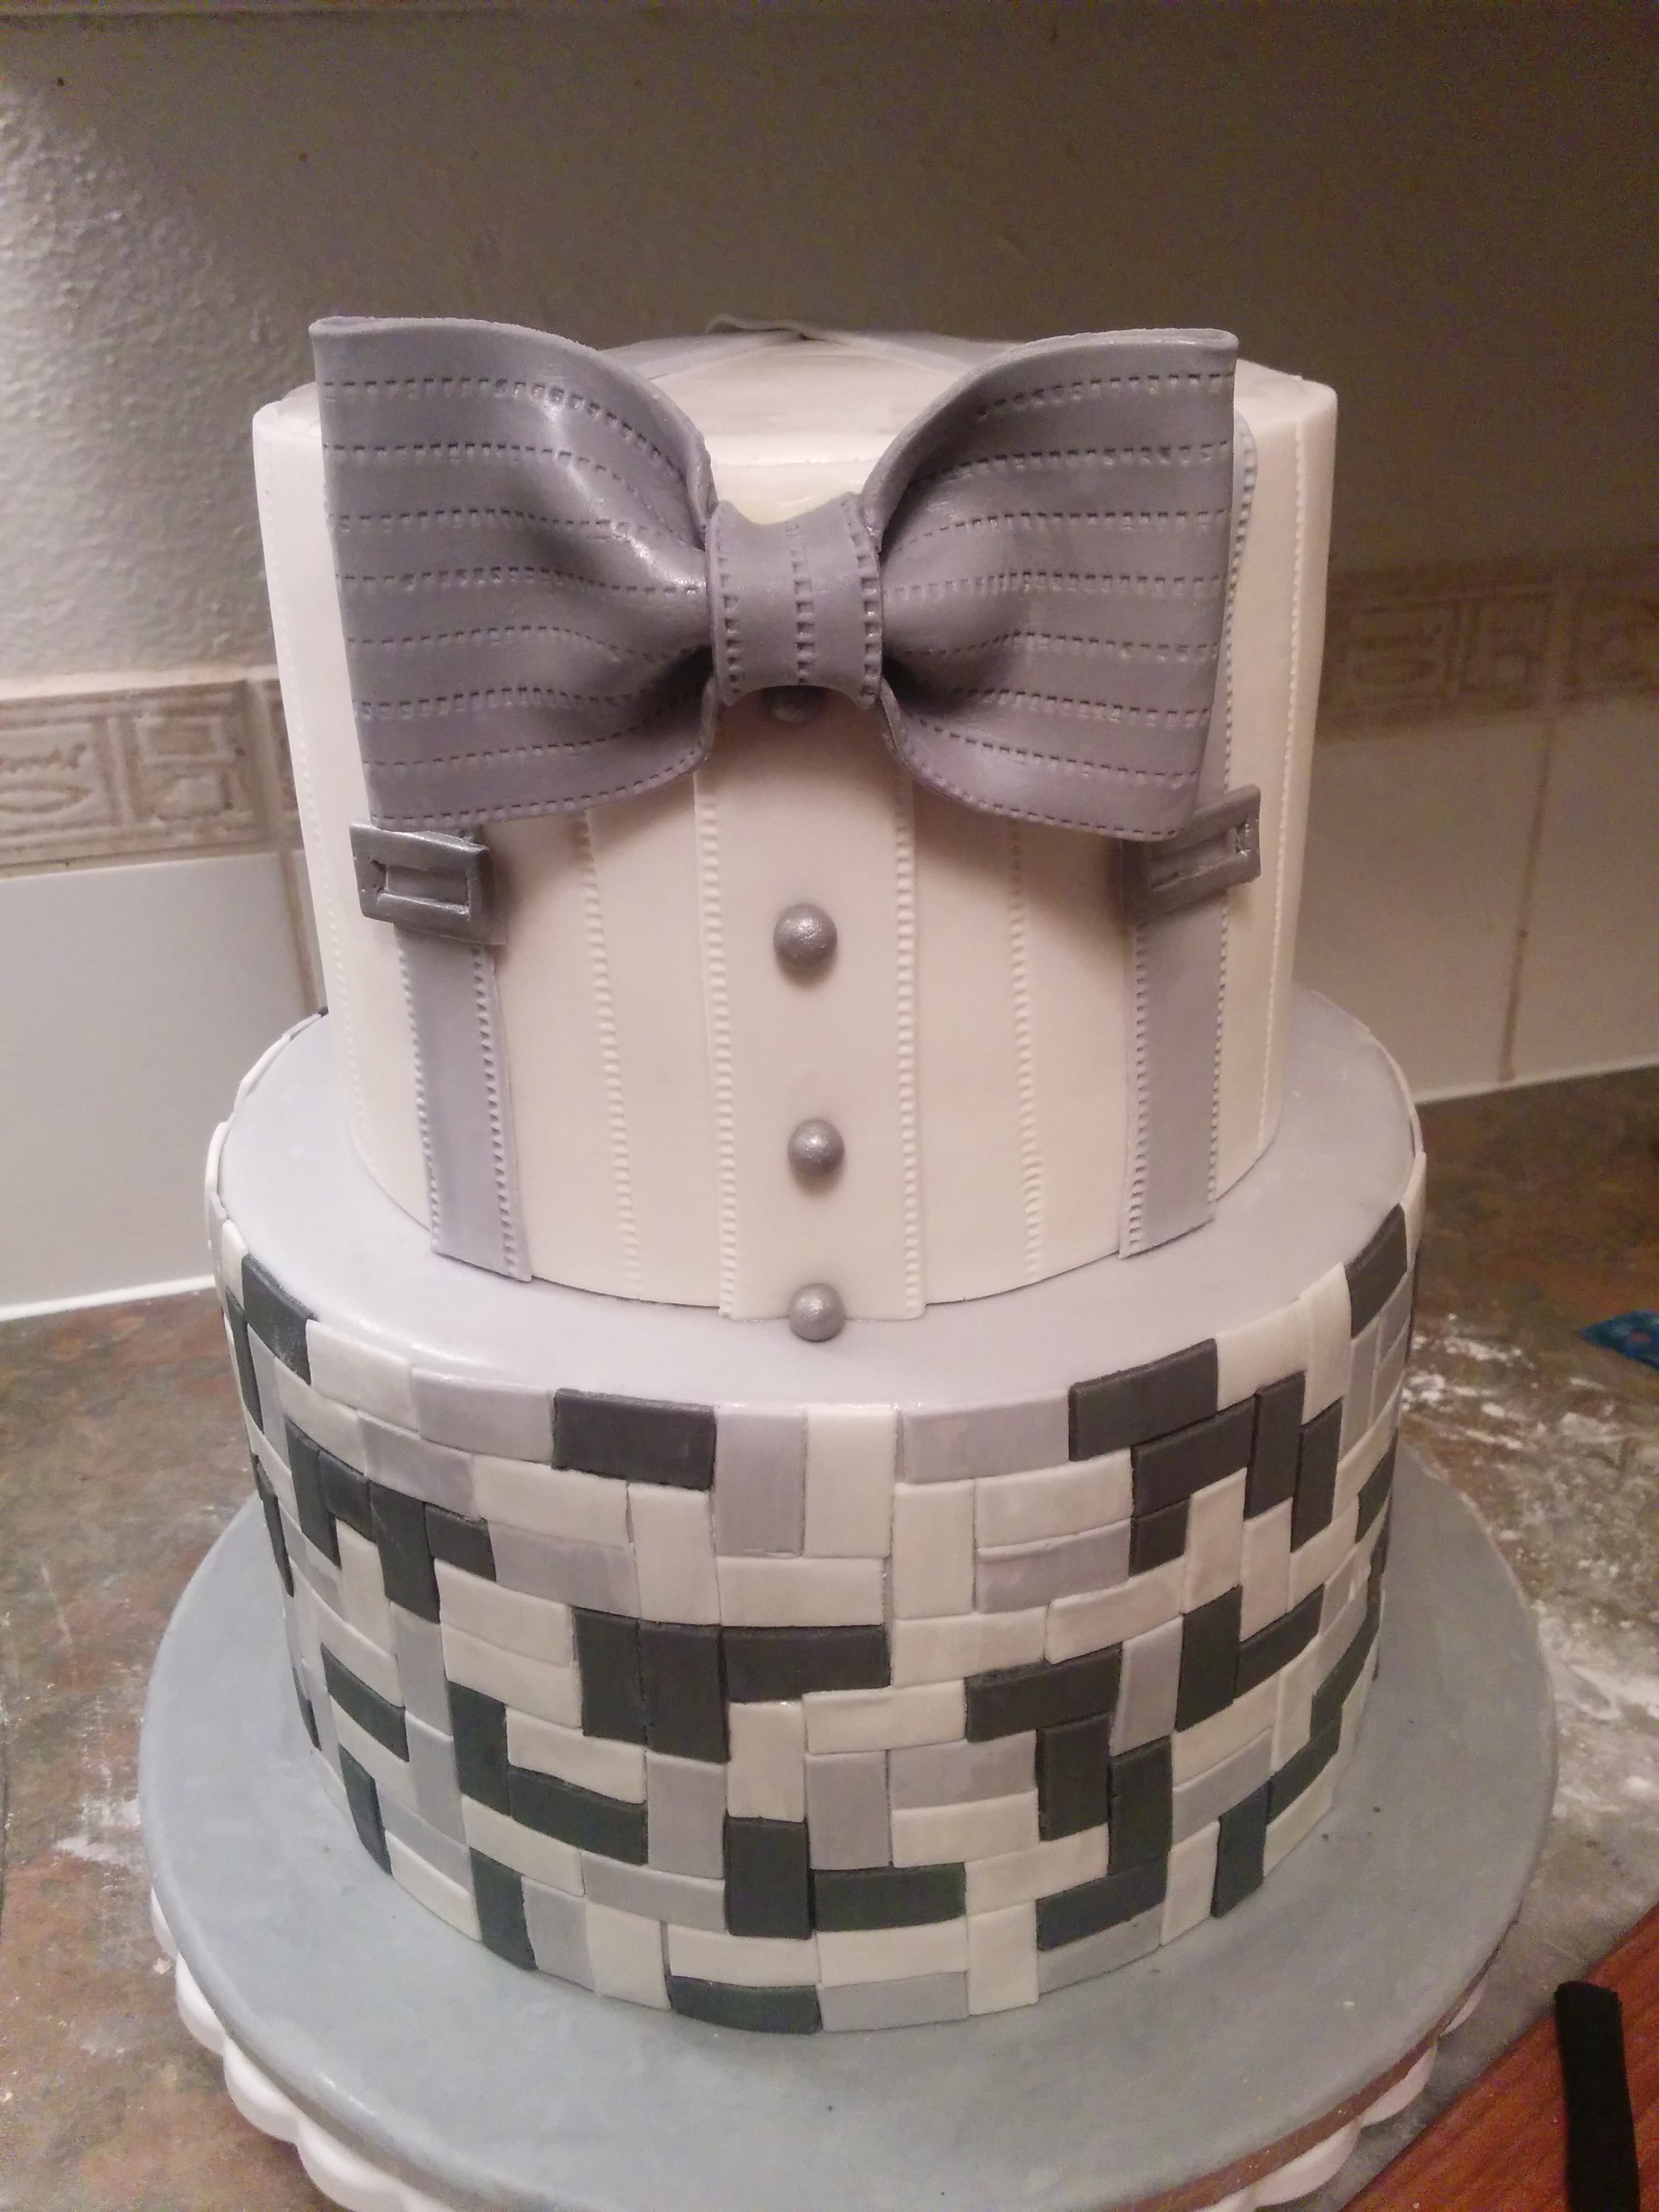
(12) Next, I felt the bottom tier looked too light and decided to darken it a bit. This was achieved by cutting out dark grey fondant strips, about 2 cm wide, running a stitching wheel along their edges and sticking them to the bottom tier.
(13) Mix some silver pearl dust with vodka and brush the buttons and brace buckles with it. Brush the rest of the cake with vodka working from the lighter colors to the darker colors. This will remove any icing sugar residue and make the cake glossy.
(13) Finally, place the eyeglasses on top of the cake. The eyeglasses were supported by 2 floral wires behind each frame. It might be better not to get up the eyeglasses until the cake has been set up at the venue. That’s how this cake was made. Happy baking!
Terry Adido is passionate about showing people how easy it is to recreate restaurant quality meals in the comfort of their kitchens. With a style of cooking he refers to as Afro-European Fusion, his meals are influenced greatly by French and Italian Cuisine with a West African twist. If you love good food, you are in for the ride of your life.
Tnx 4 d tutorial.
You are welcome.
Step by step teaching makes it easy to understand things.
Thanks so much, Terry
You are welcome Chinyere
Wow
🙂
Thanks for this, your works are great. pls can i use un process coco power to bake any cake that needs coco powder?
Thanks. Yes you can.
Please terry am an occasional baker ndit’s my niece’s 9th birthday soon nd she wants d tiara version of this cake.i really need the exact quantity for it 8inch nd 6inch so as nt to mess things up.thank you
Hi. Any of these recipes should work. Multiply them by 2 for higher sponges (if you want to)
Thanks Terry, have a great week.
You are welcome Liz
thanks for the tutorial
You are welcome.
good job welldone sir
Thanks
Thanks Terry
You are welcome.
Thank you so much.God bless u real good!
You are welcome.
Hi.thank u so mich for the awesome tutorial. Can i use water instead of Vodka?
You can. But while alcohol evaporates quickly, water could make your fondant sticky.