
The Making of a Rapunzel Cake
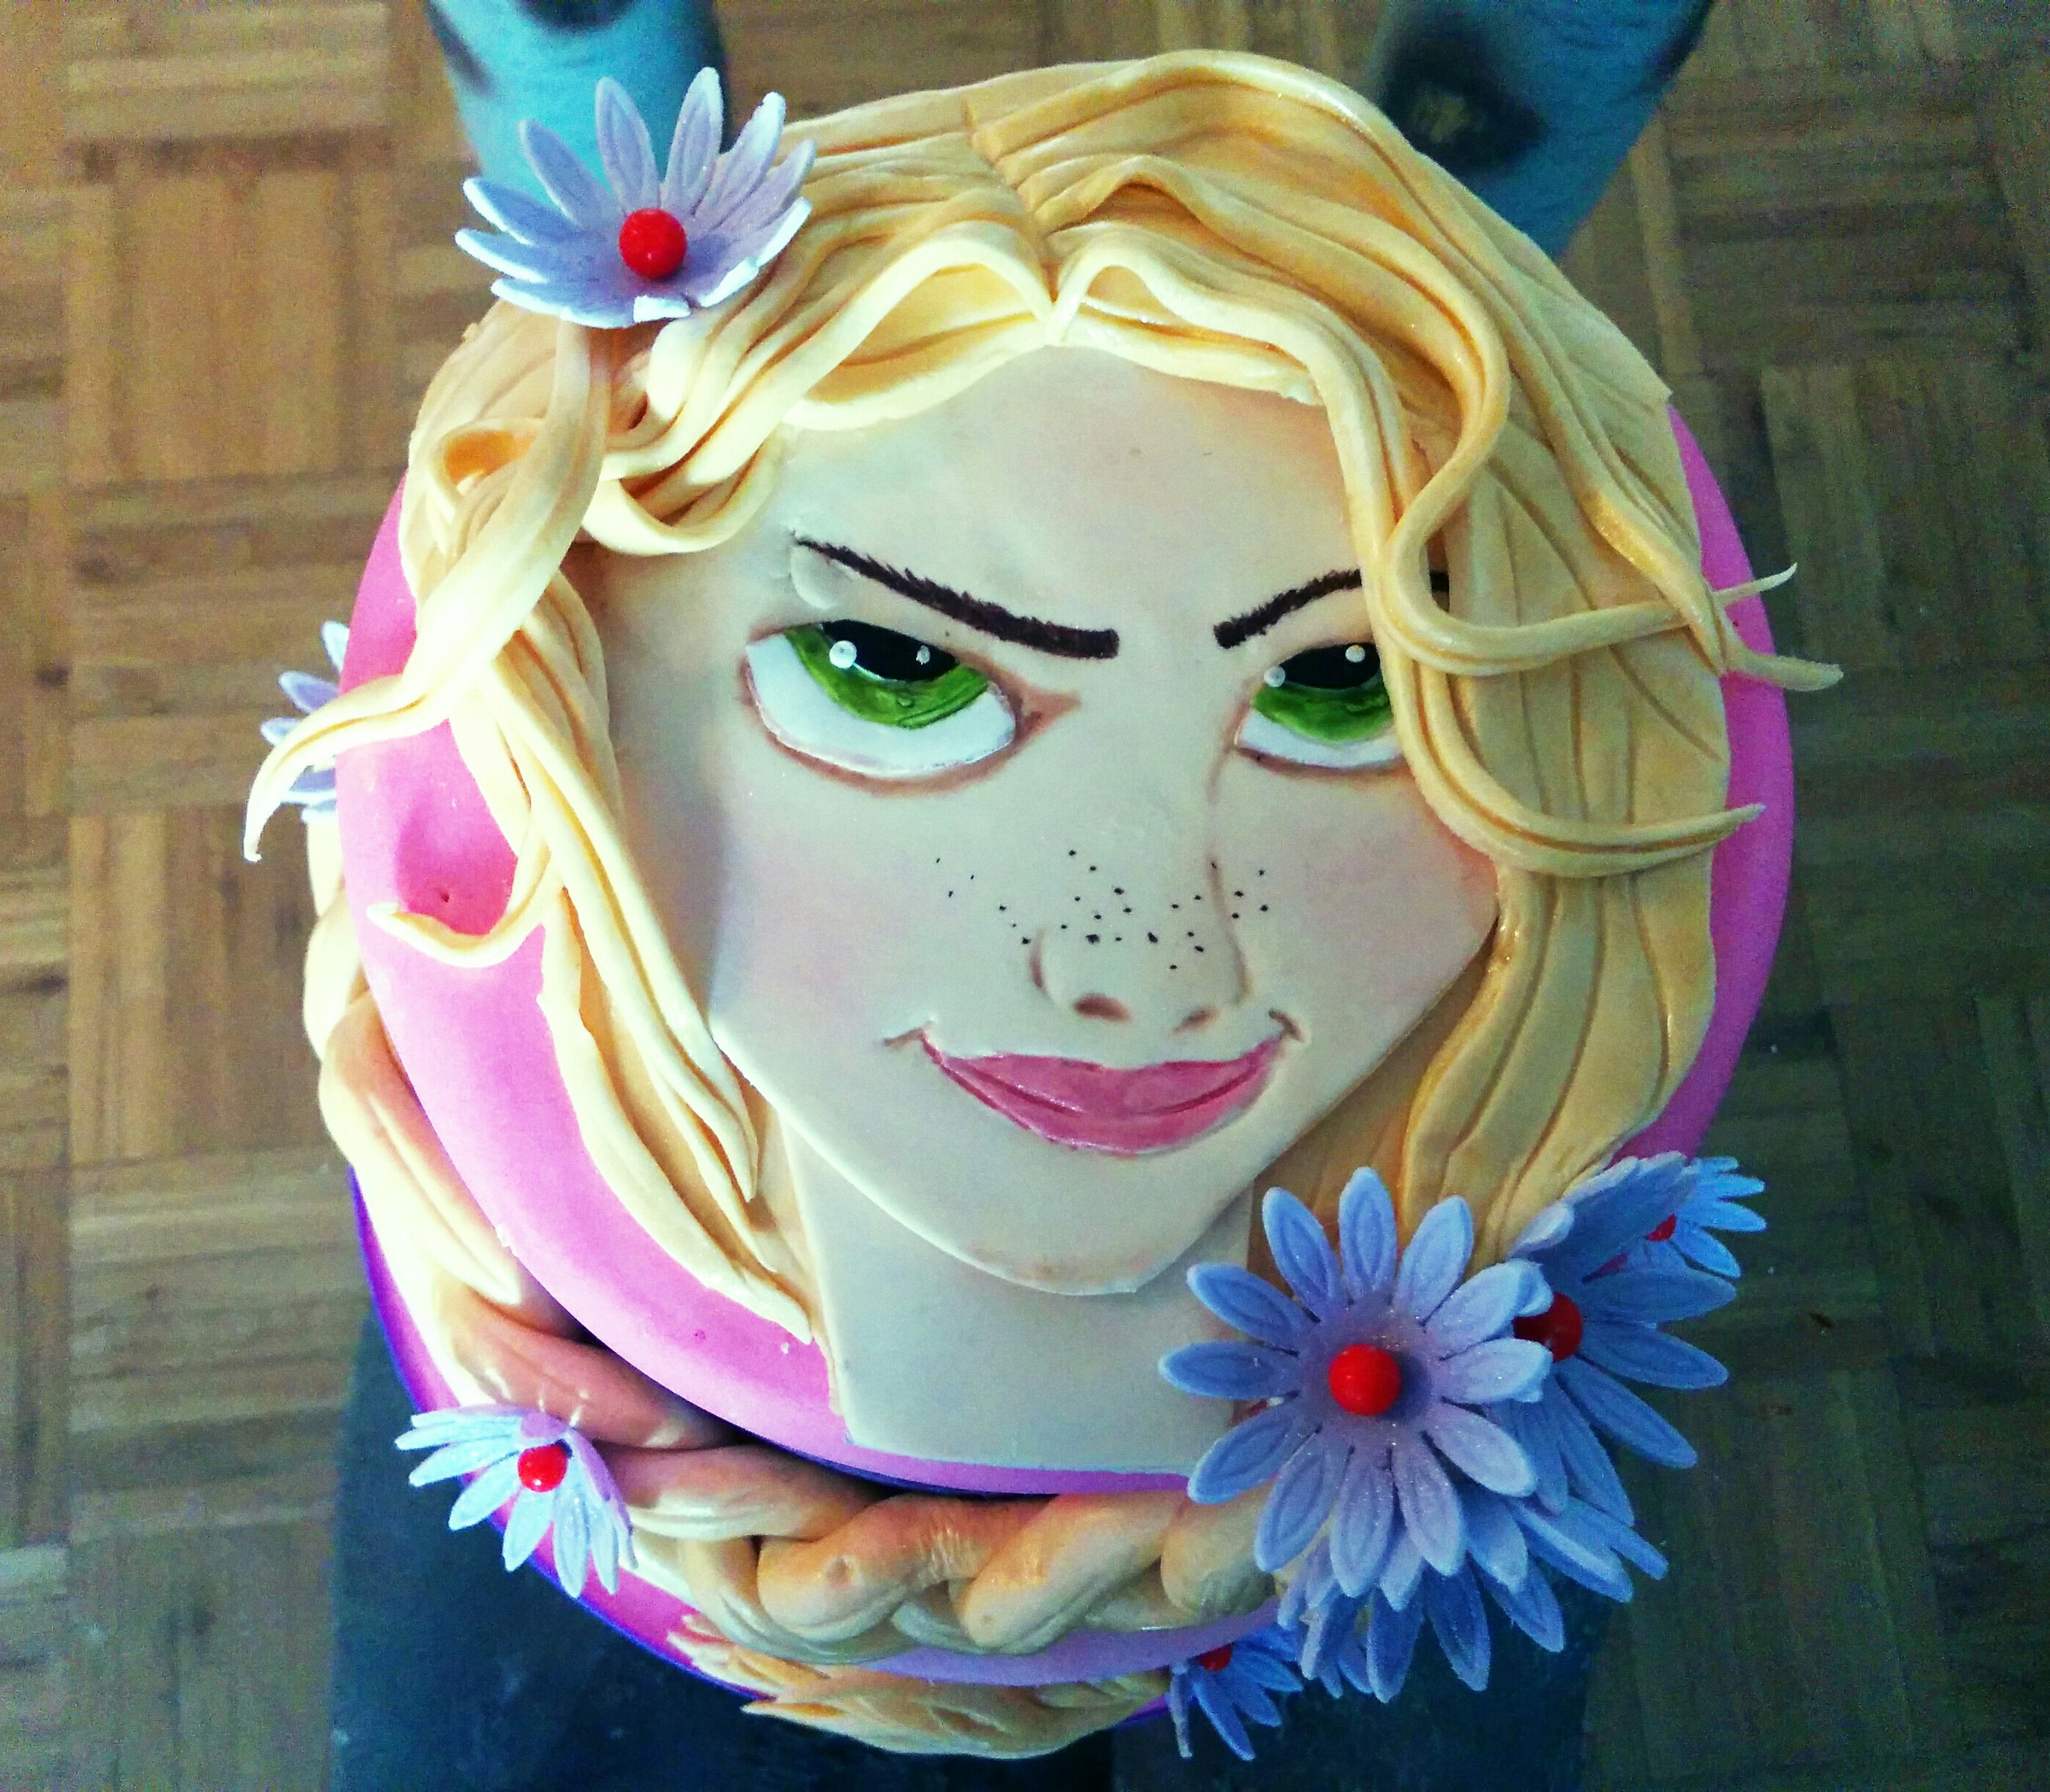
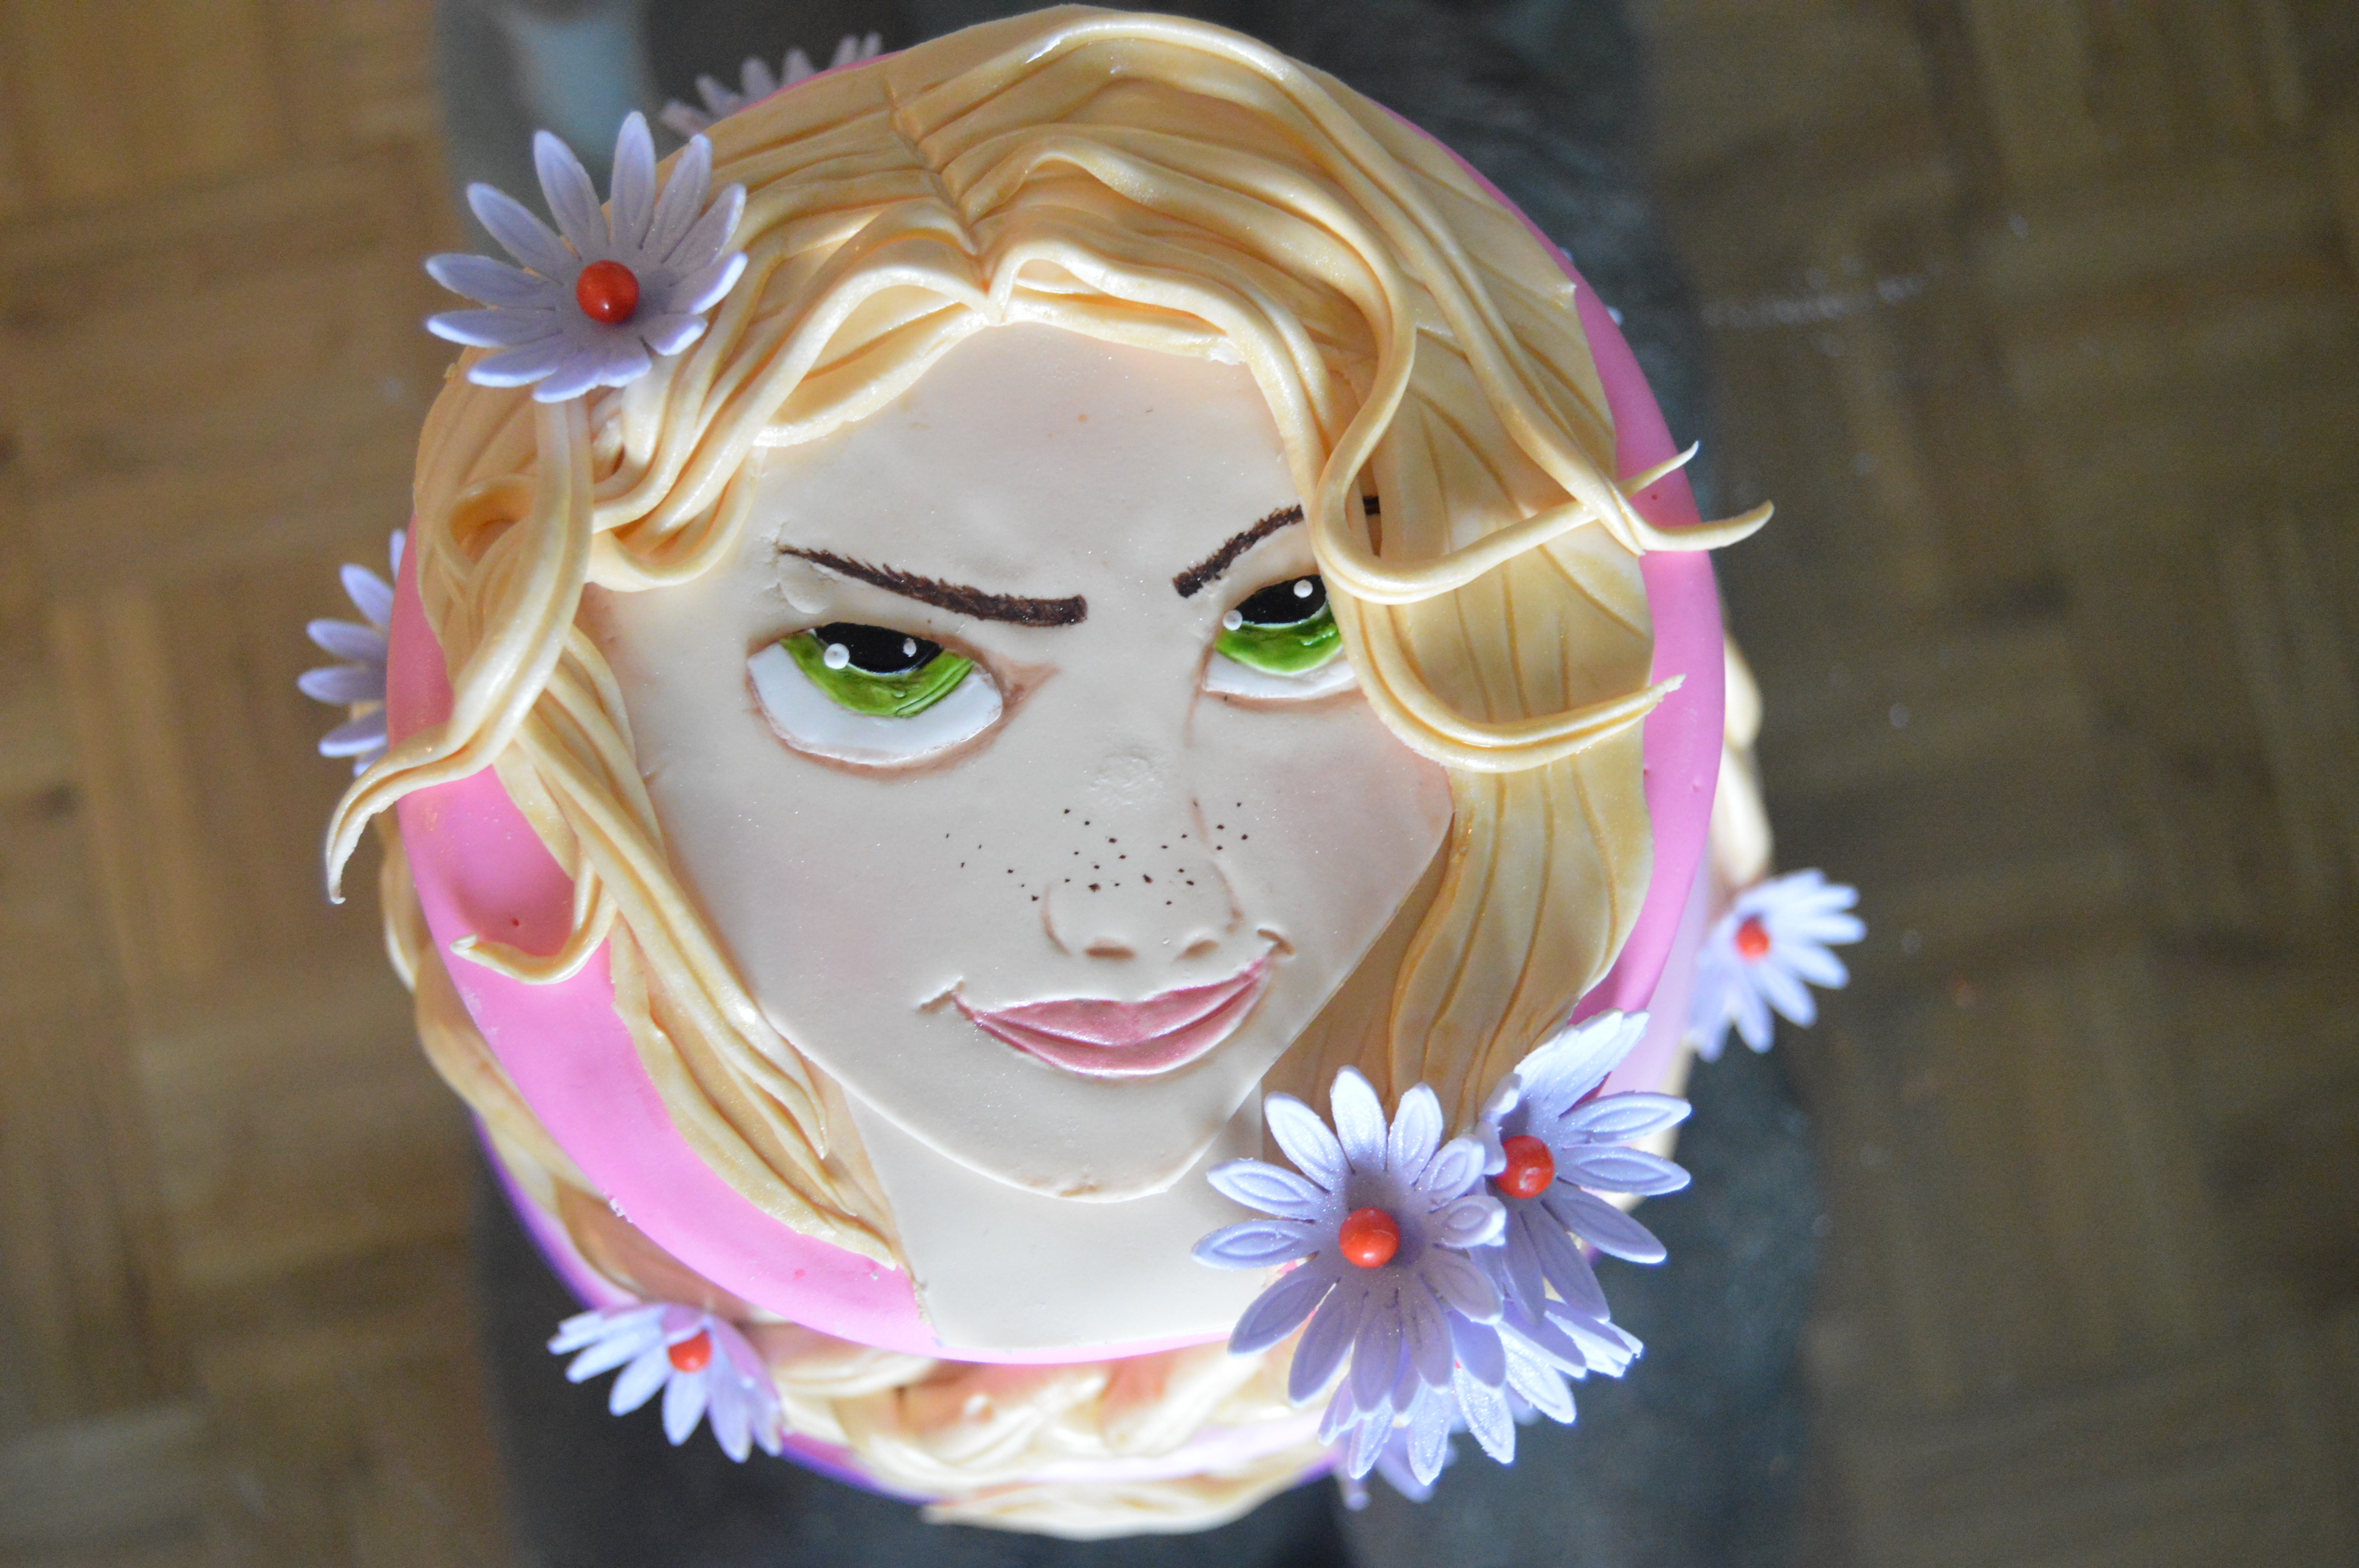
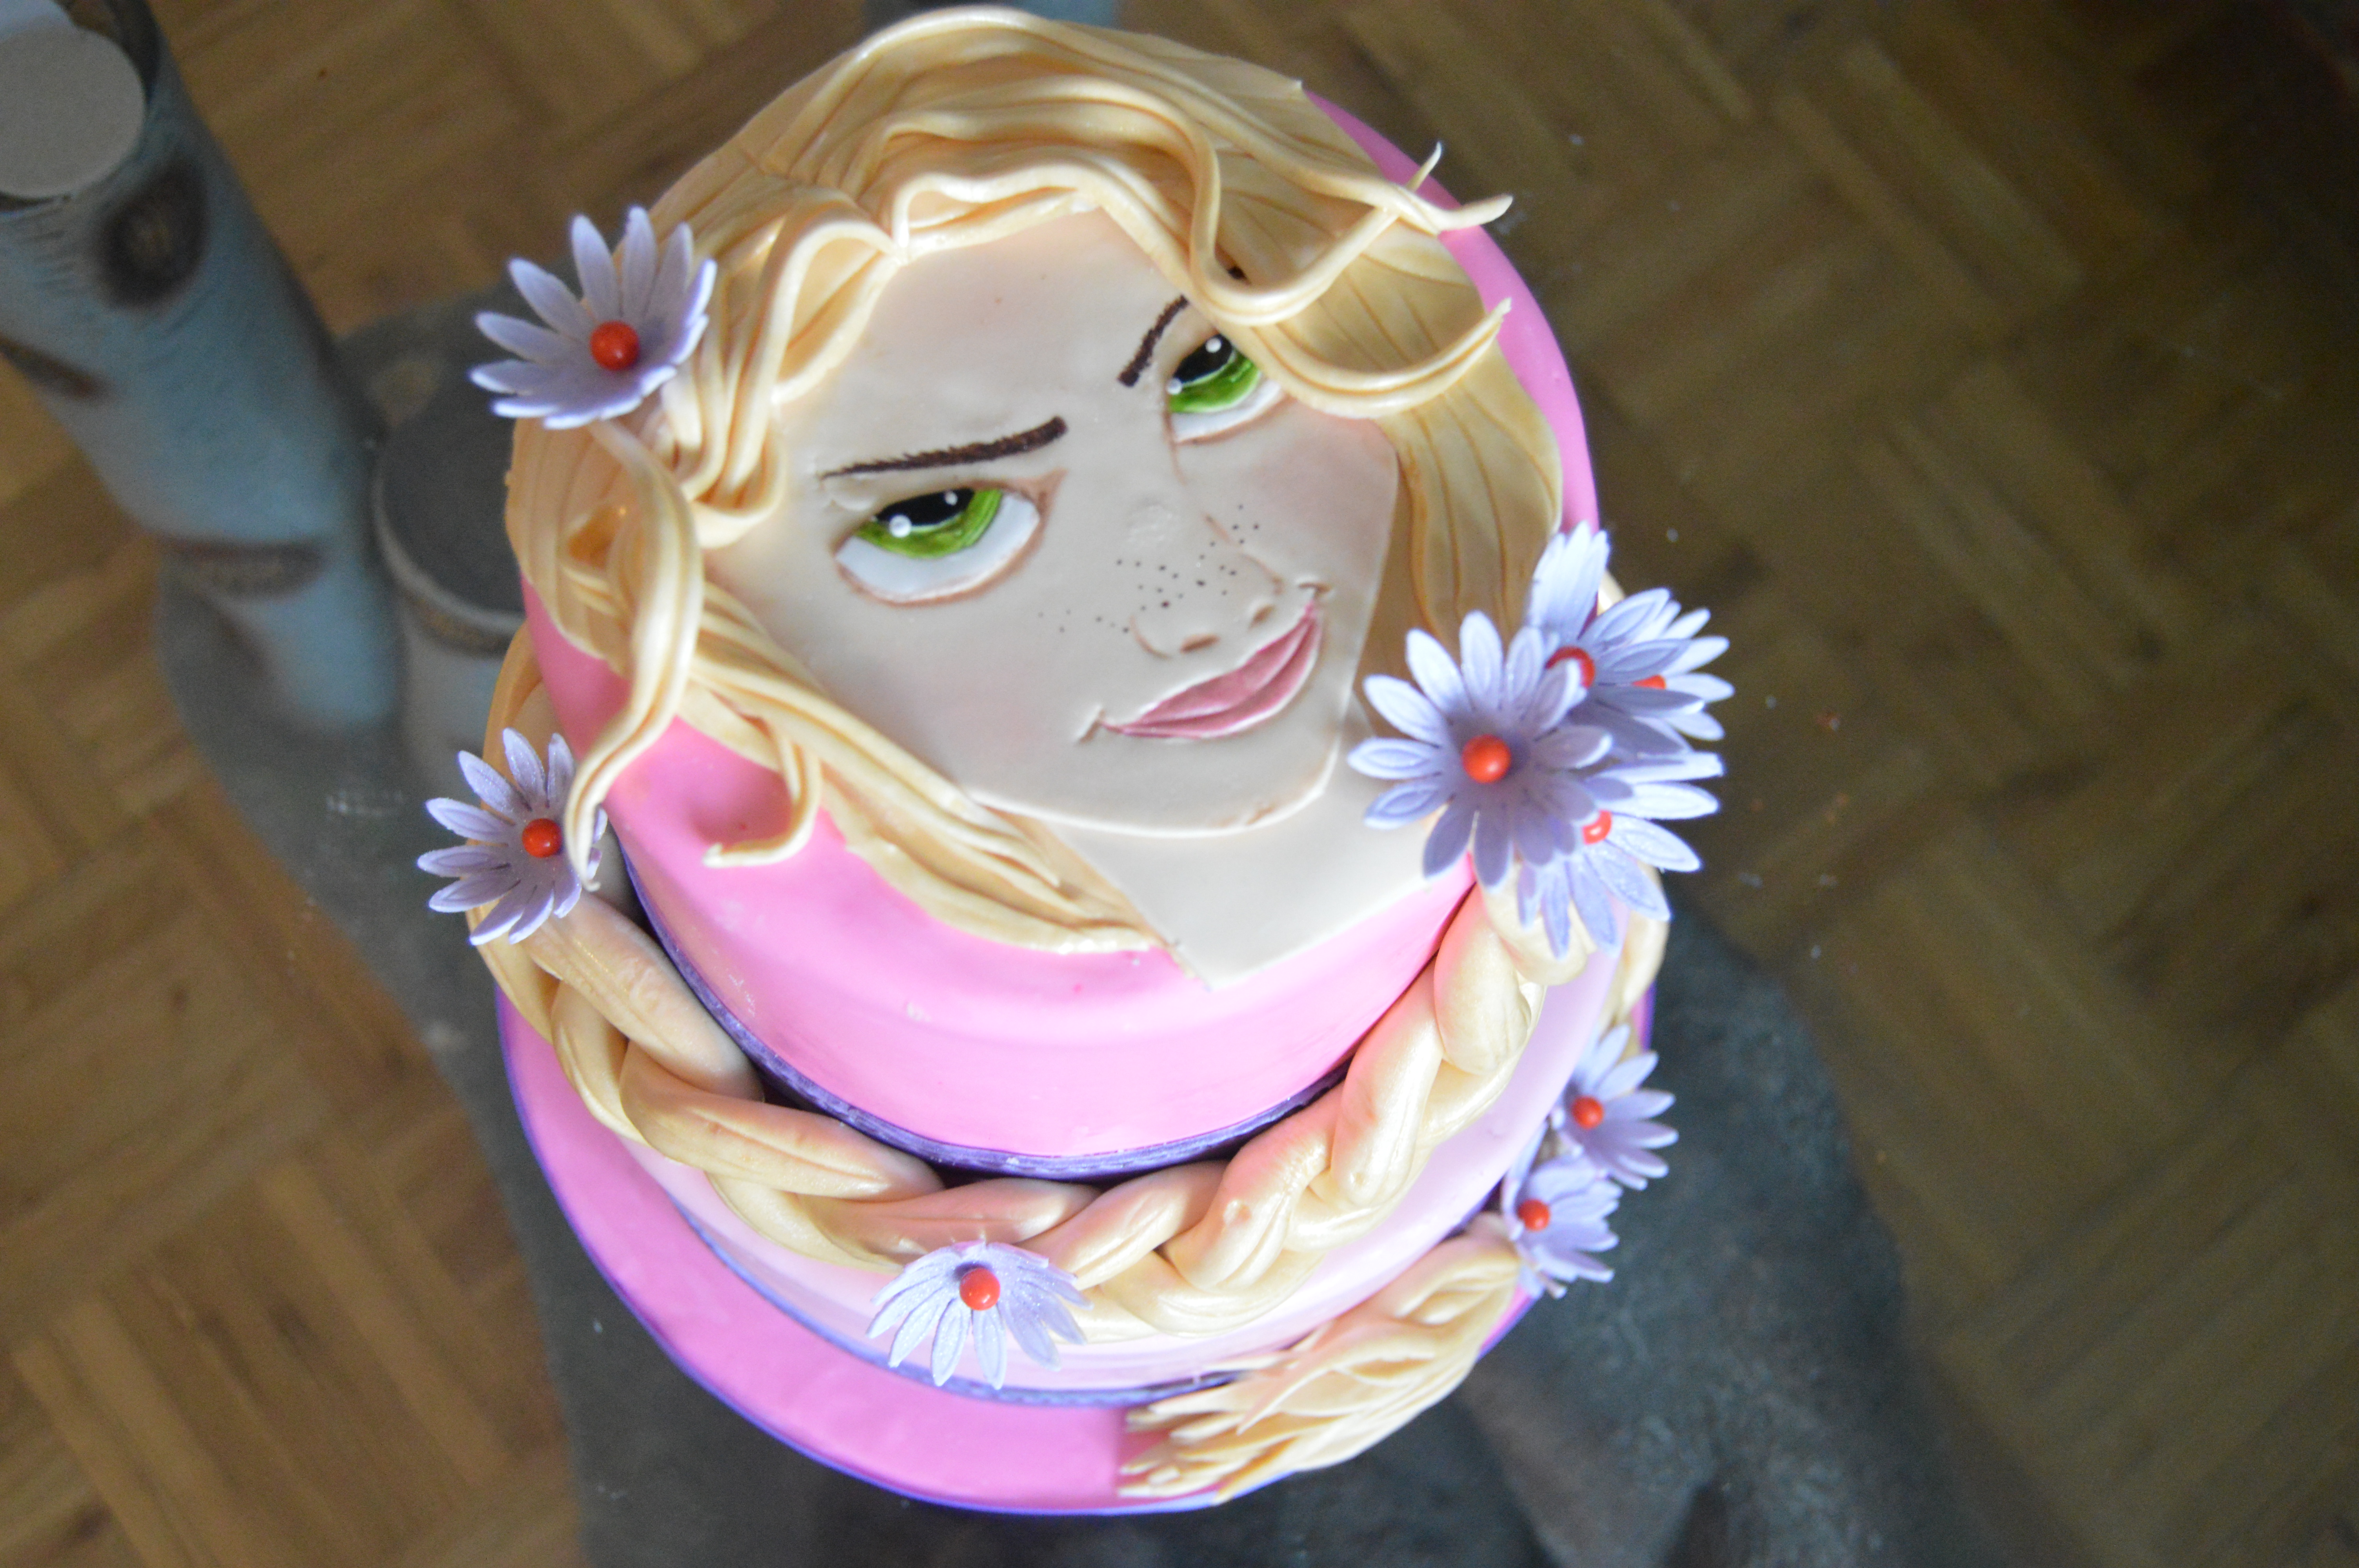
This is a two tier 7″ on 9″ Rapunzel themed cake which has a Rapunzel topper with her golden locks spiraling around the cake. To see several views of this cake, click the link here. Below, I will be showing you how I made this cake and the various techniques involved.
THE PROCESS:
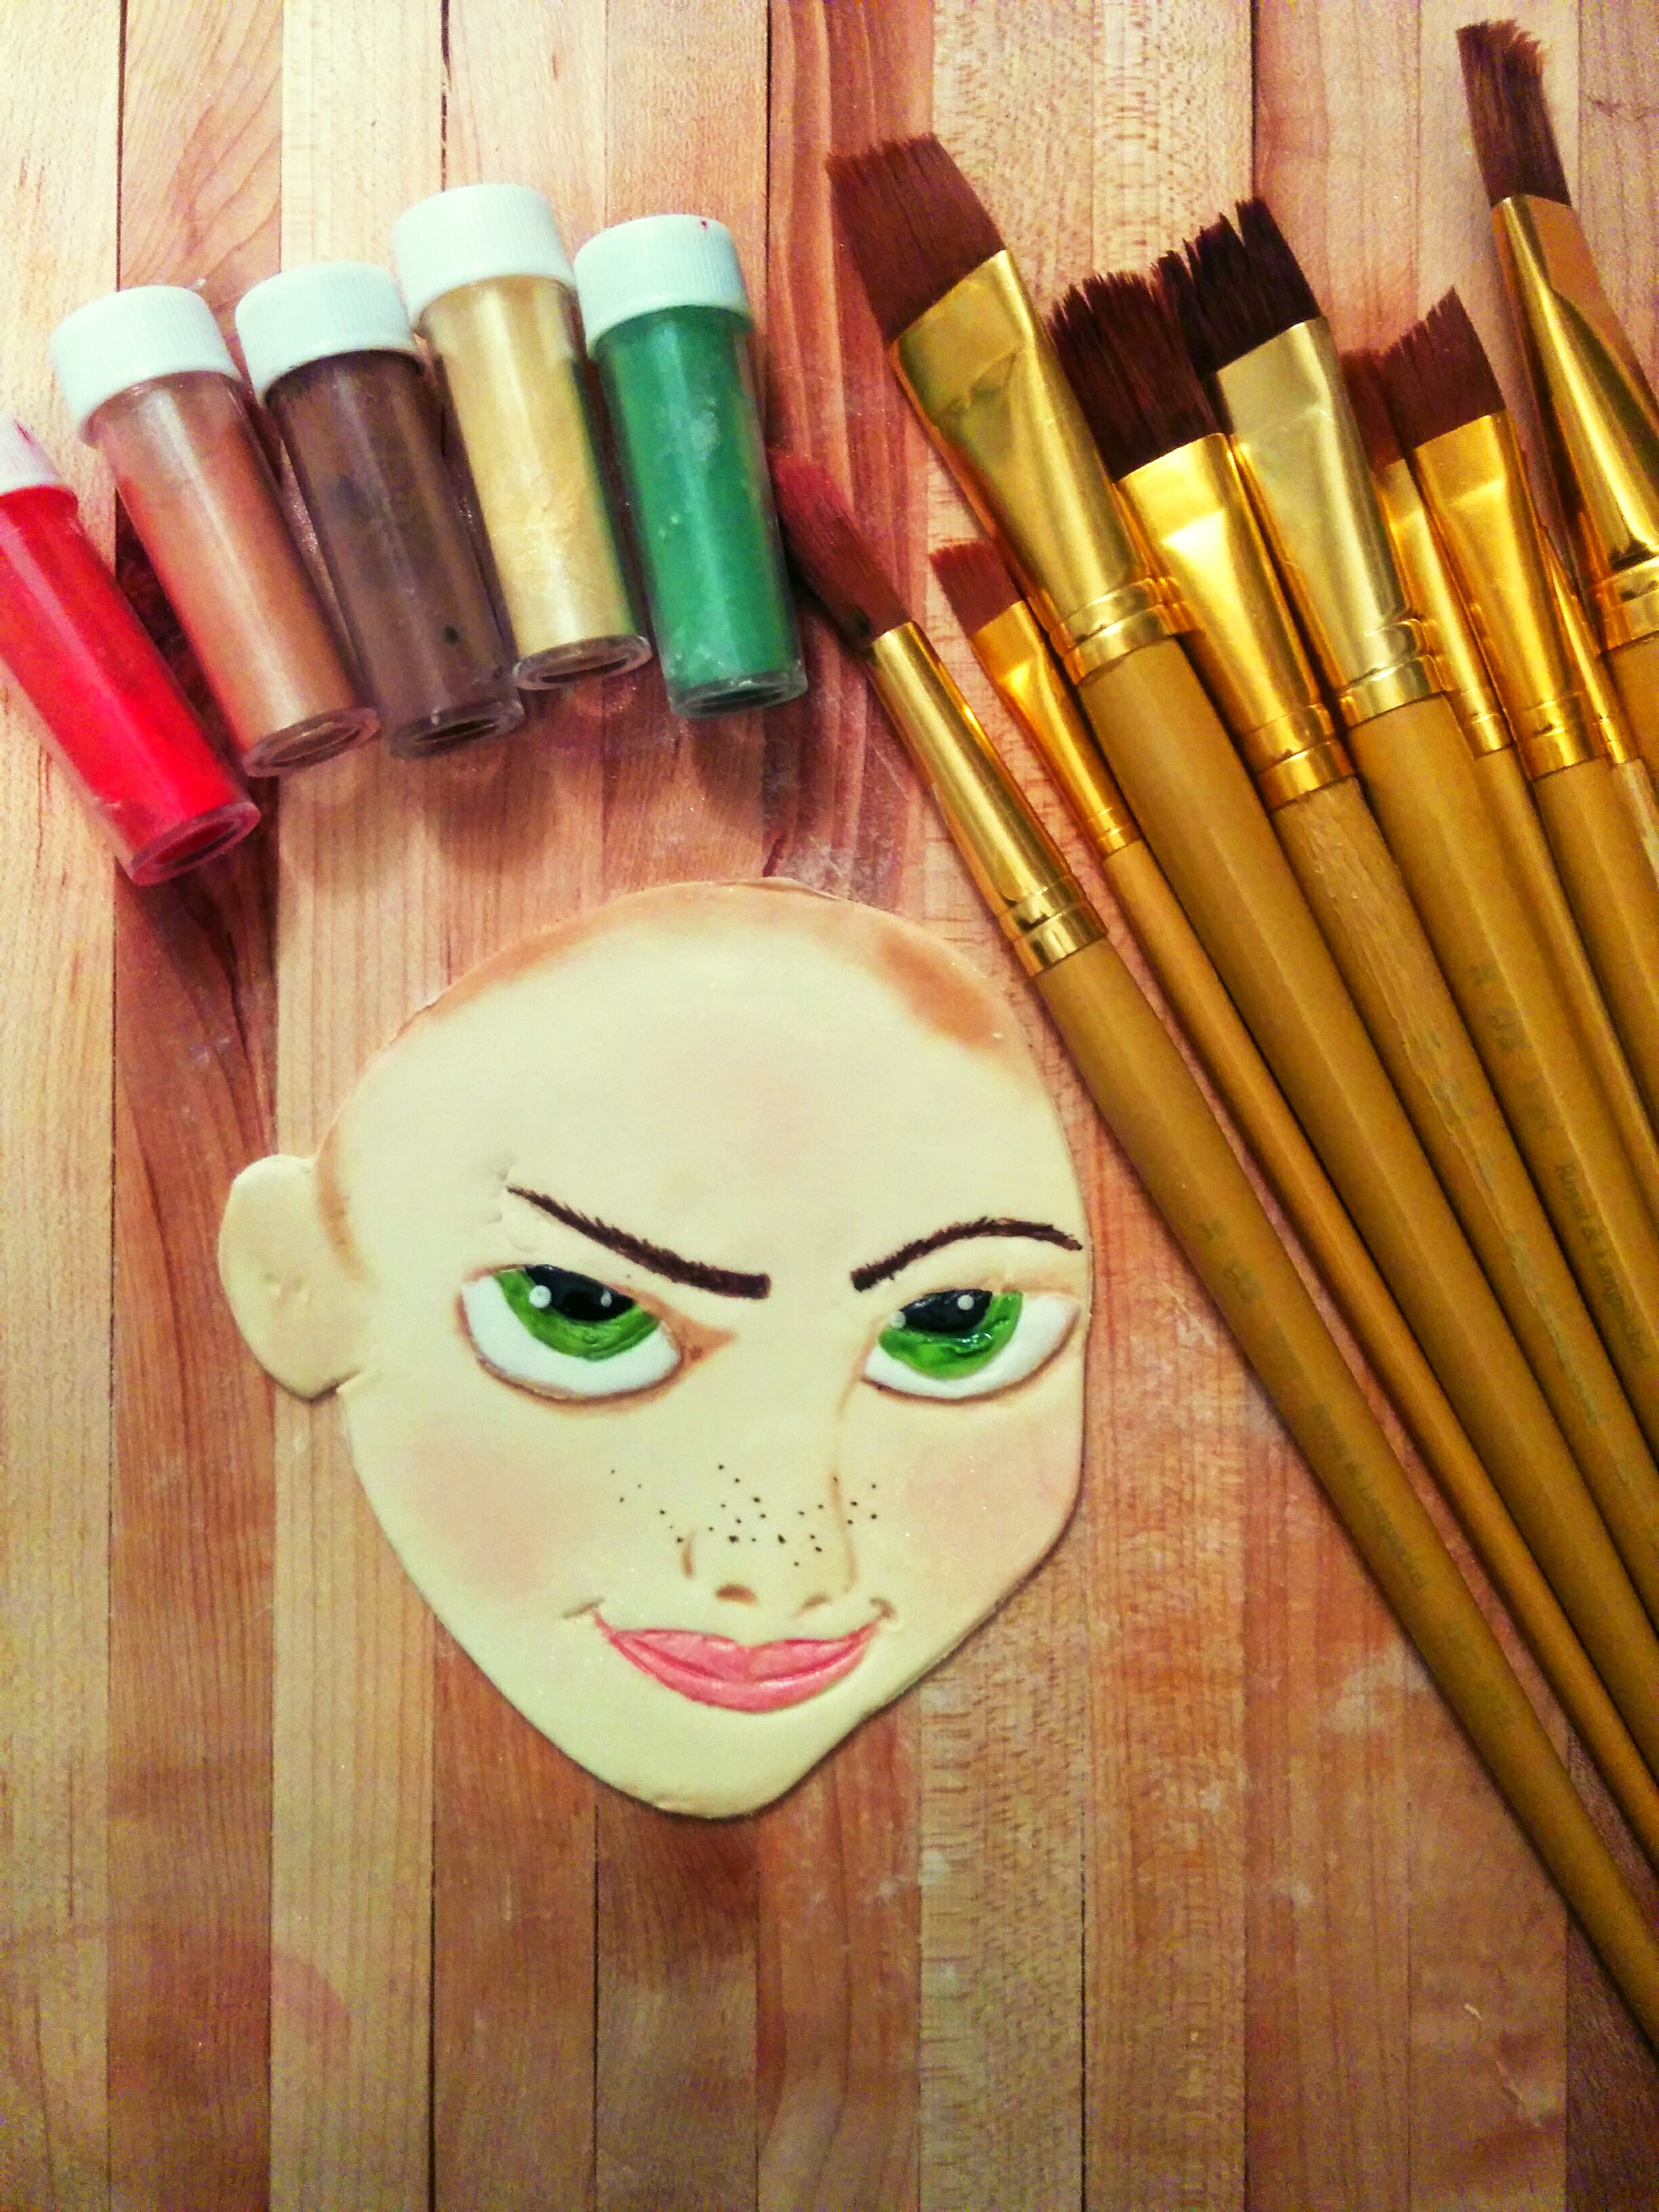
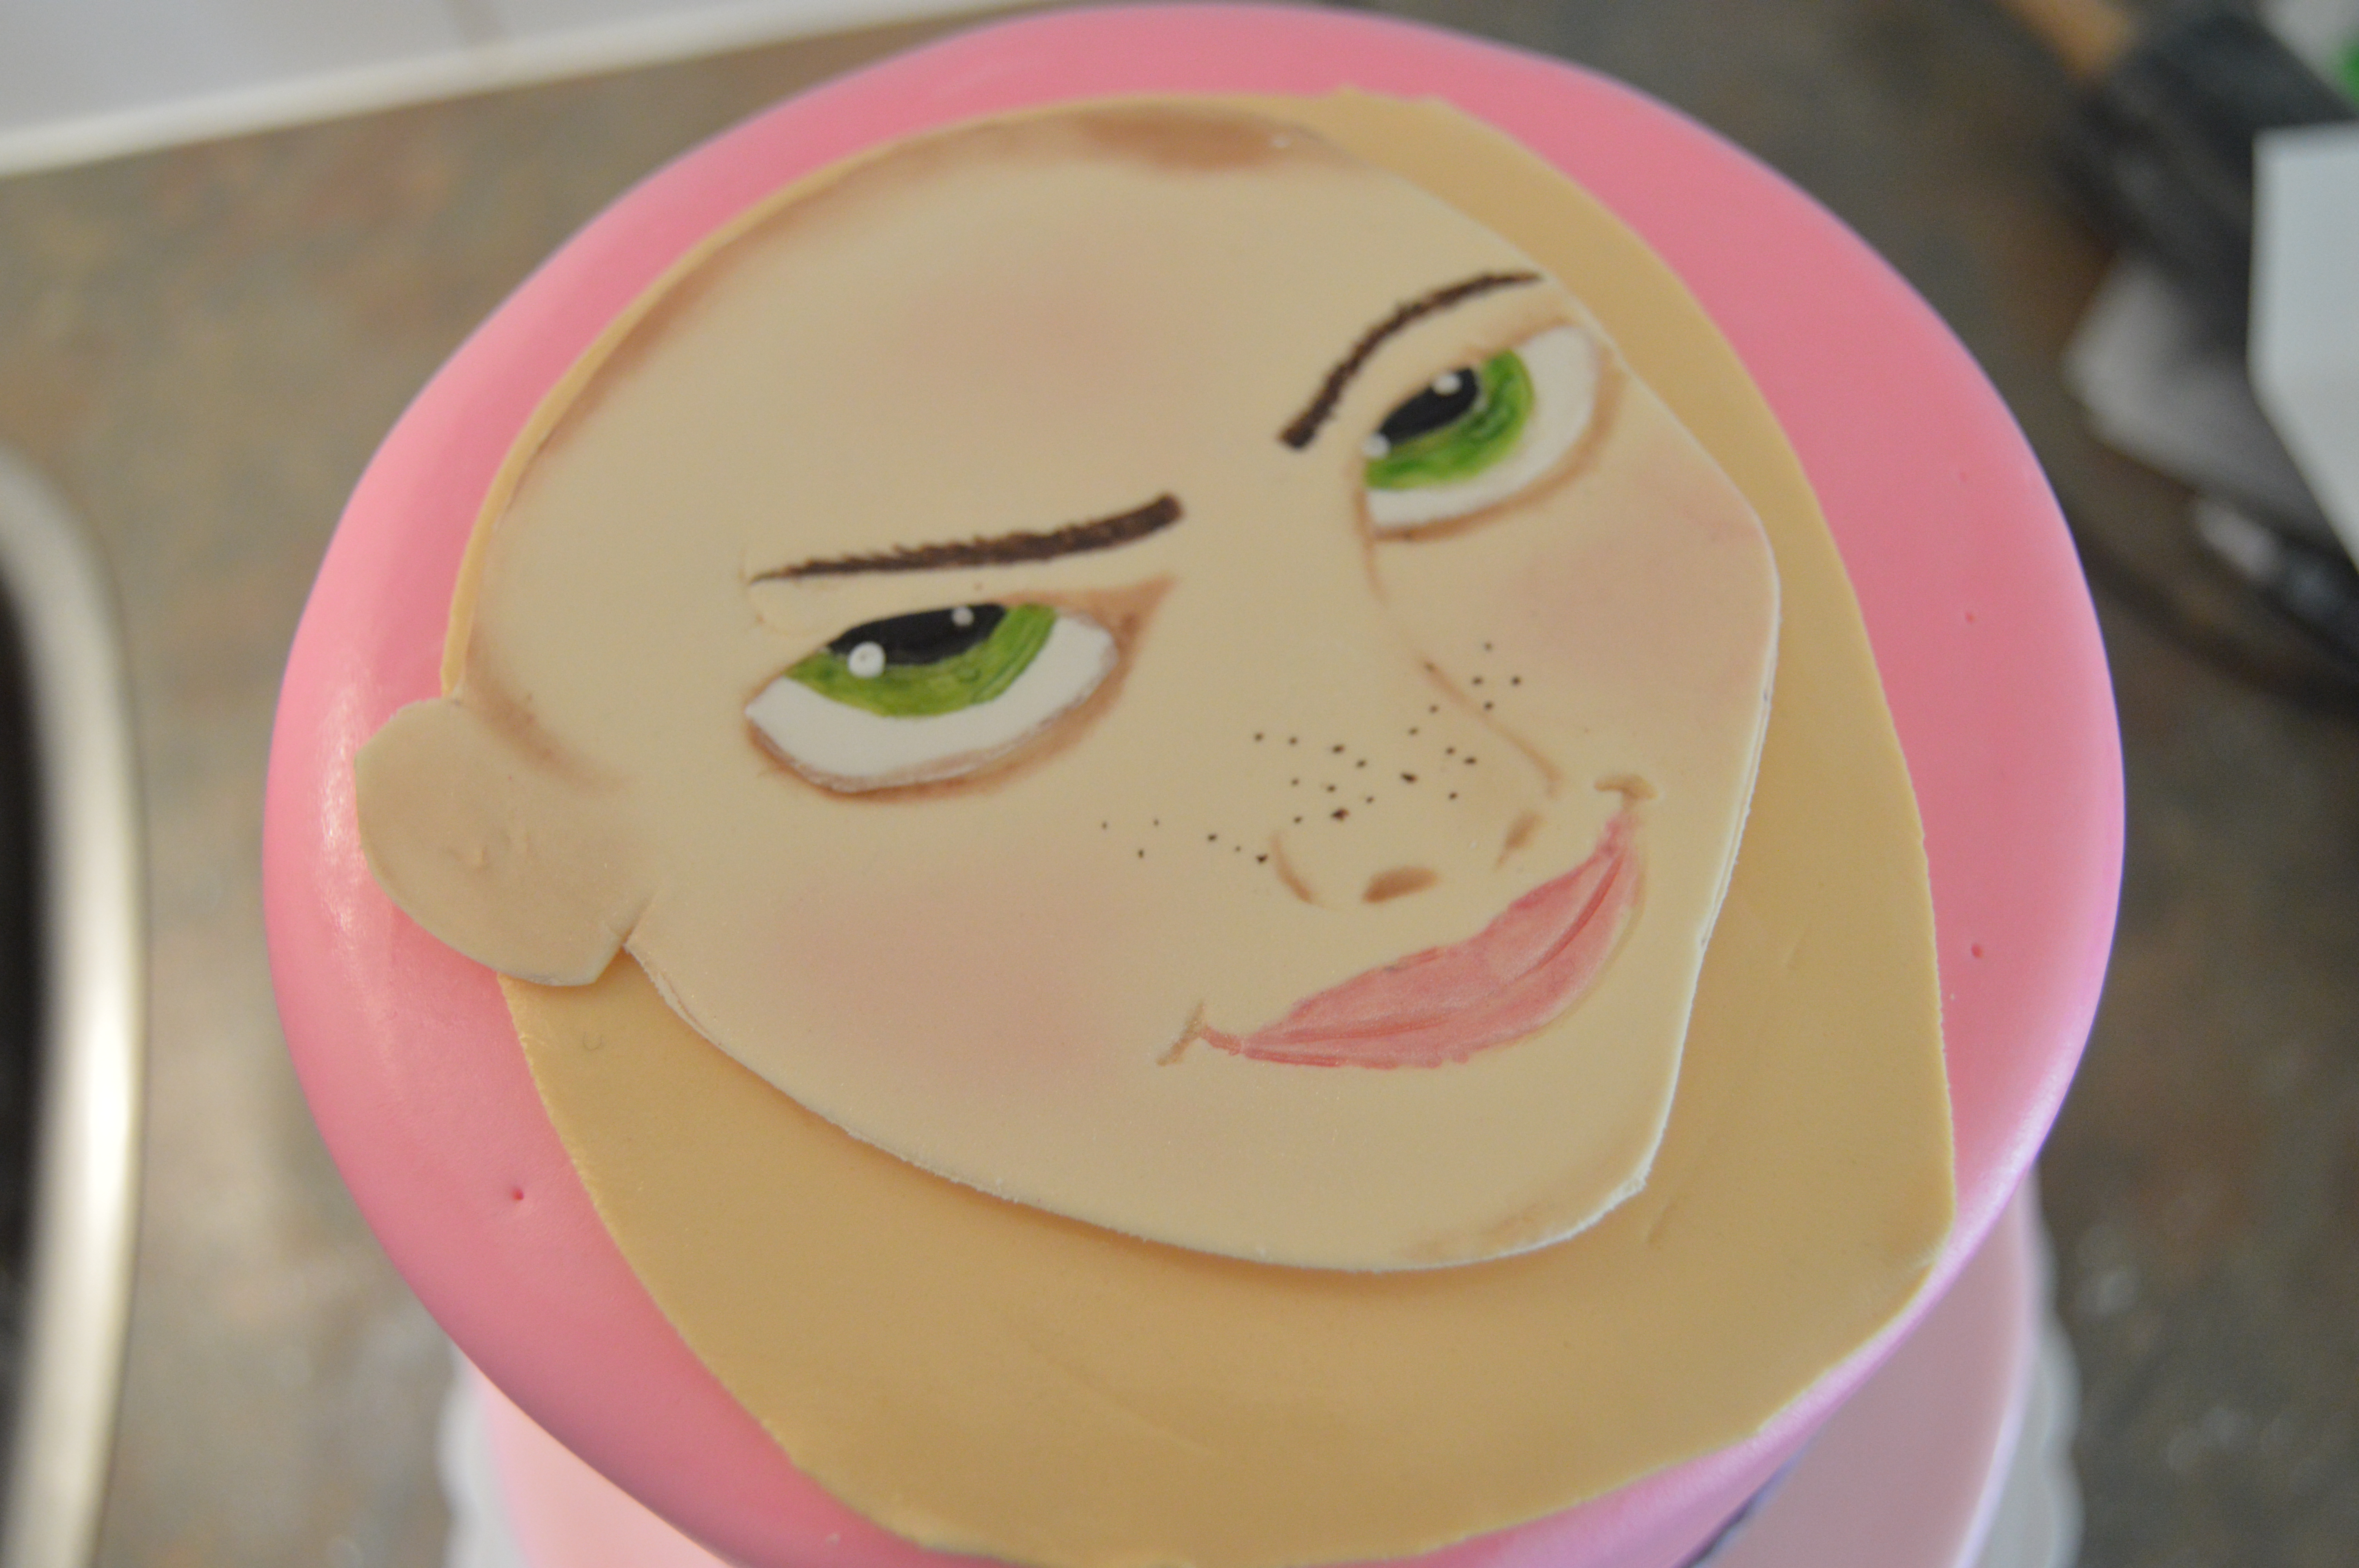
(1) The first step is to make Rapunzel’s face. The face was painted with color and pearl dust. I have a tutorial here on how this 2D face was made.
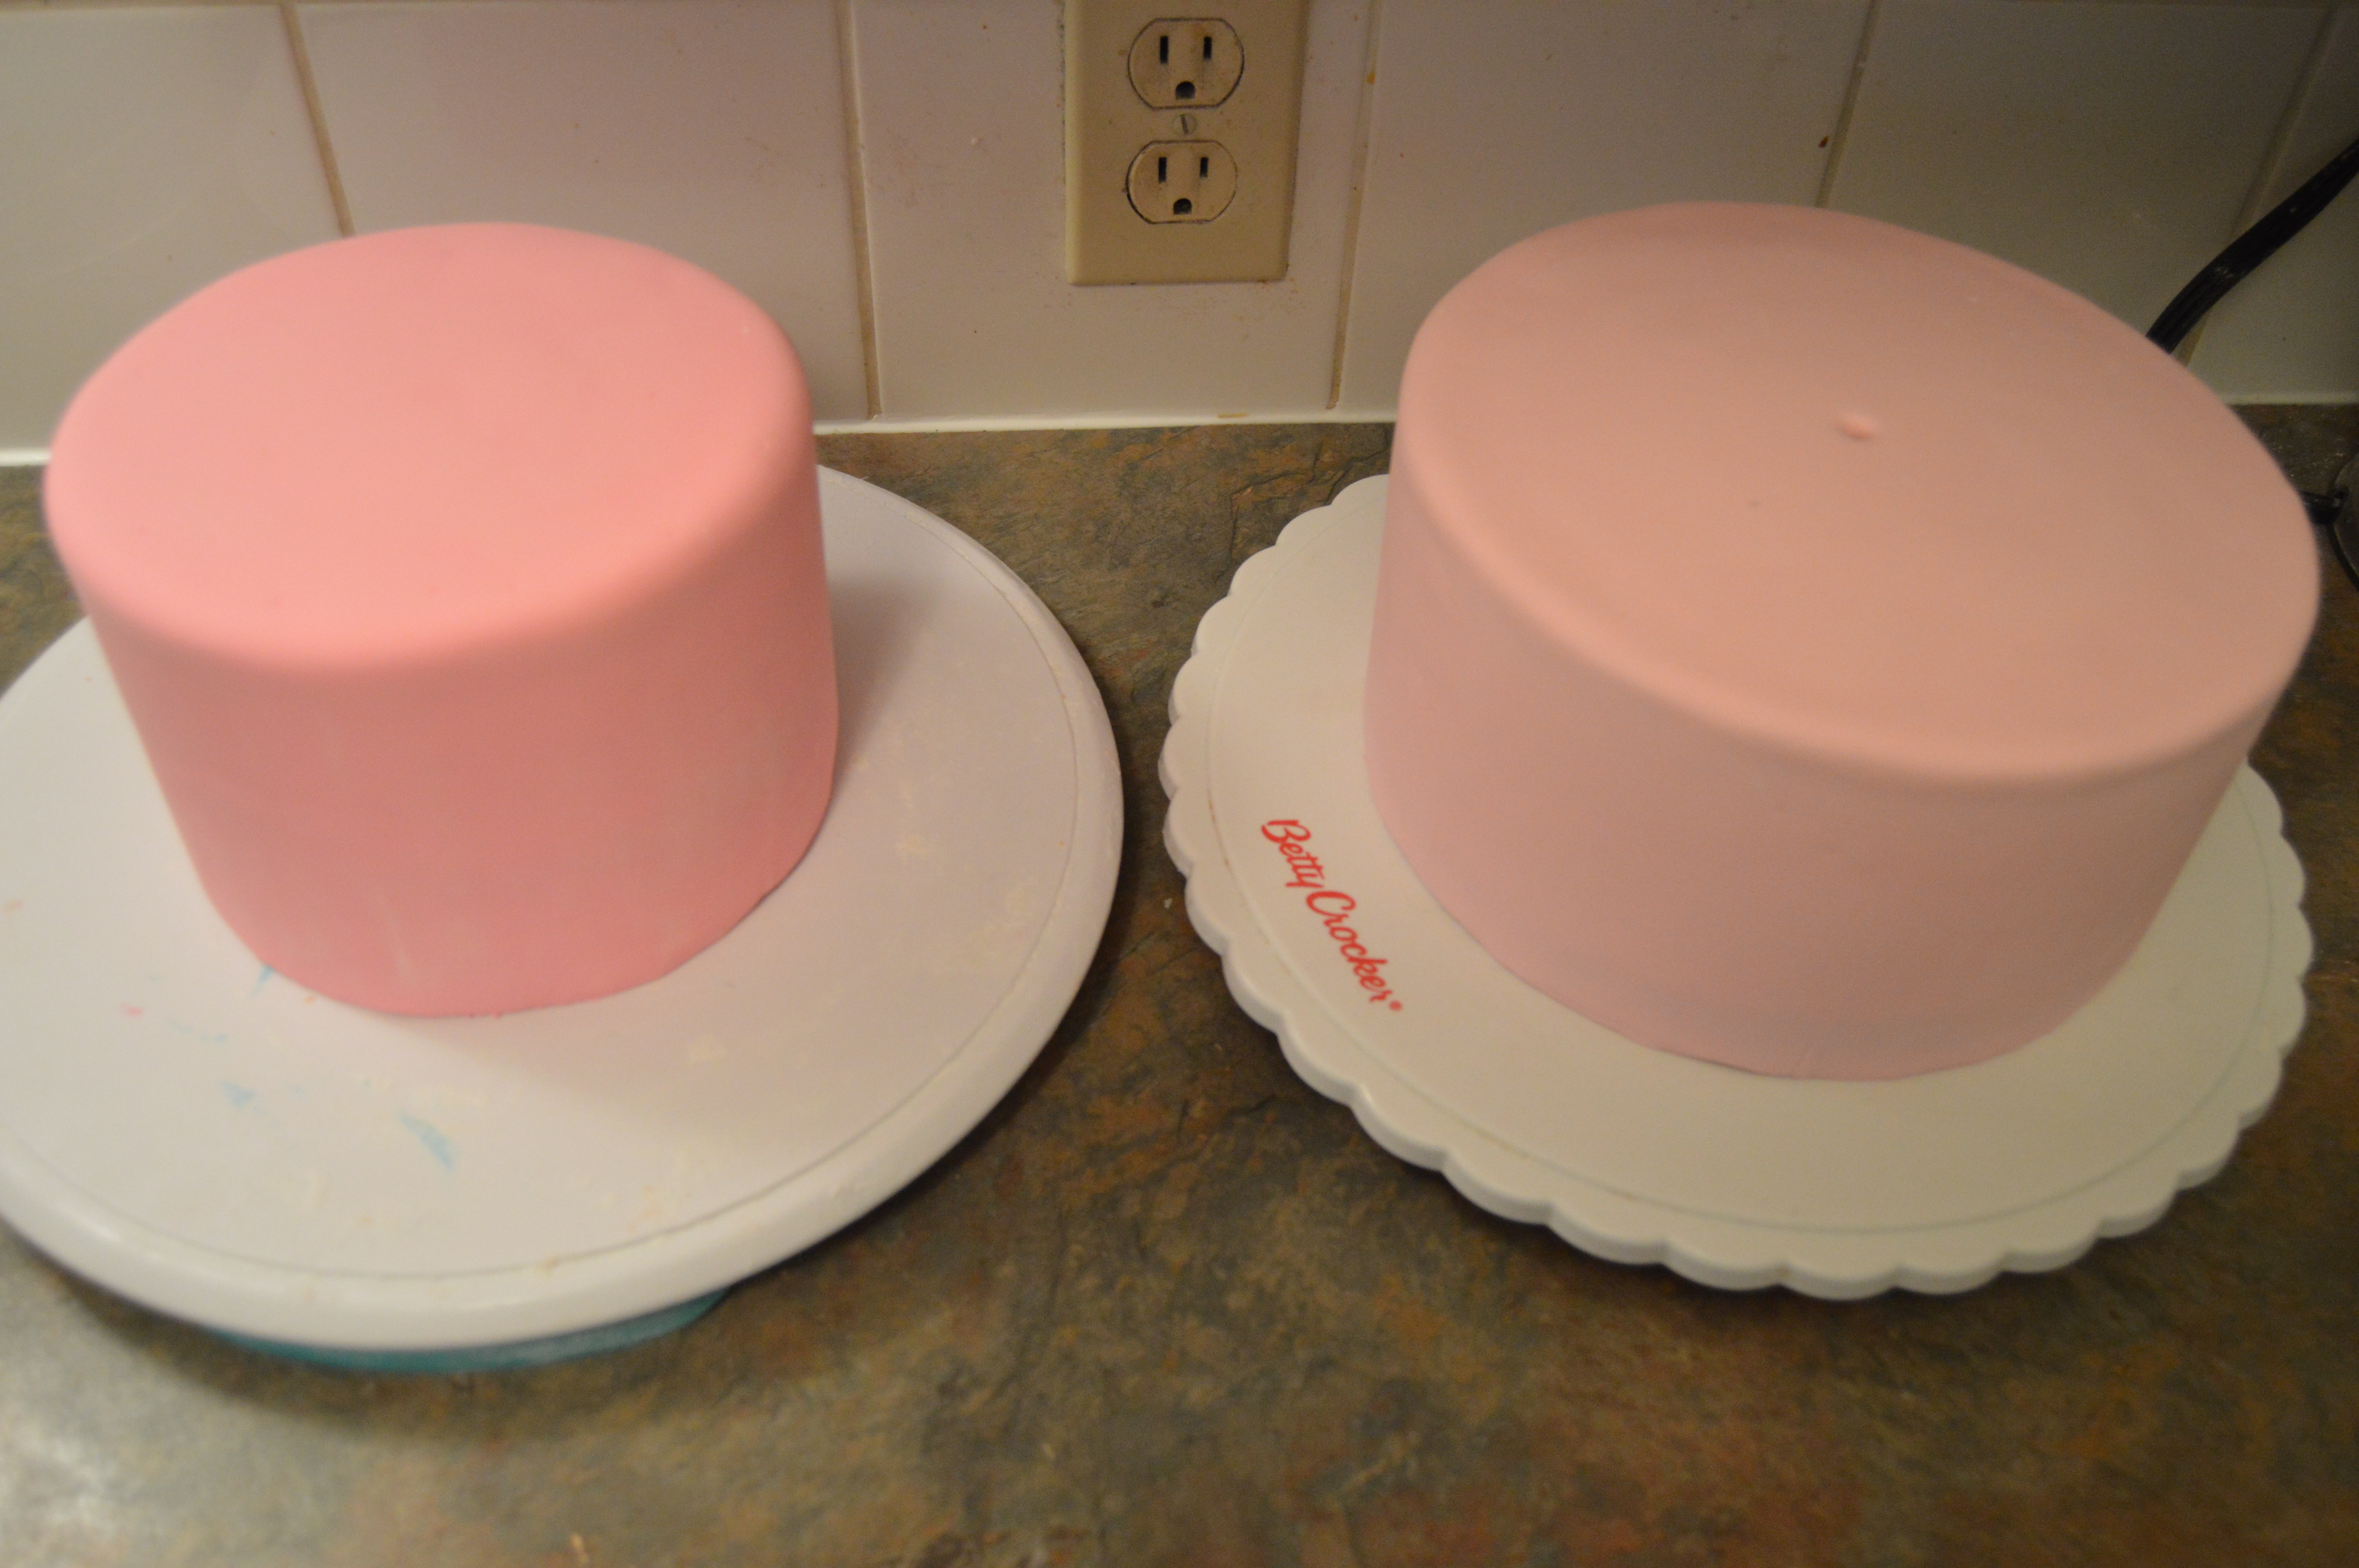
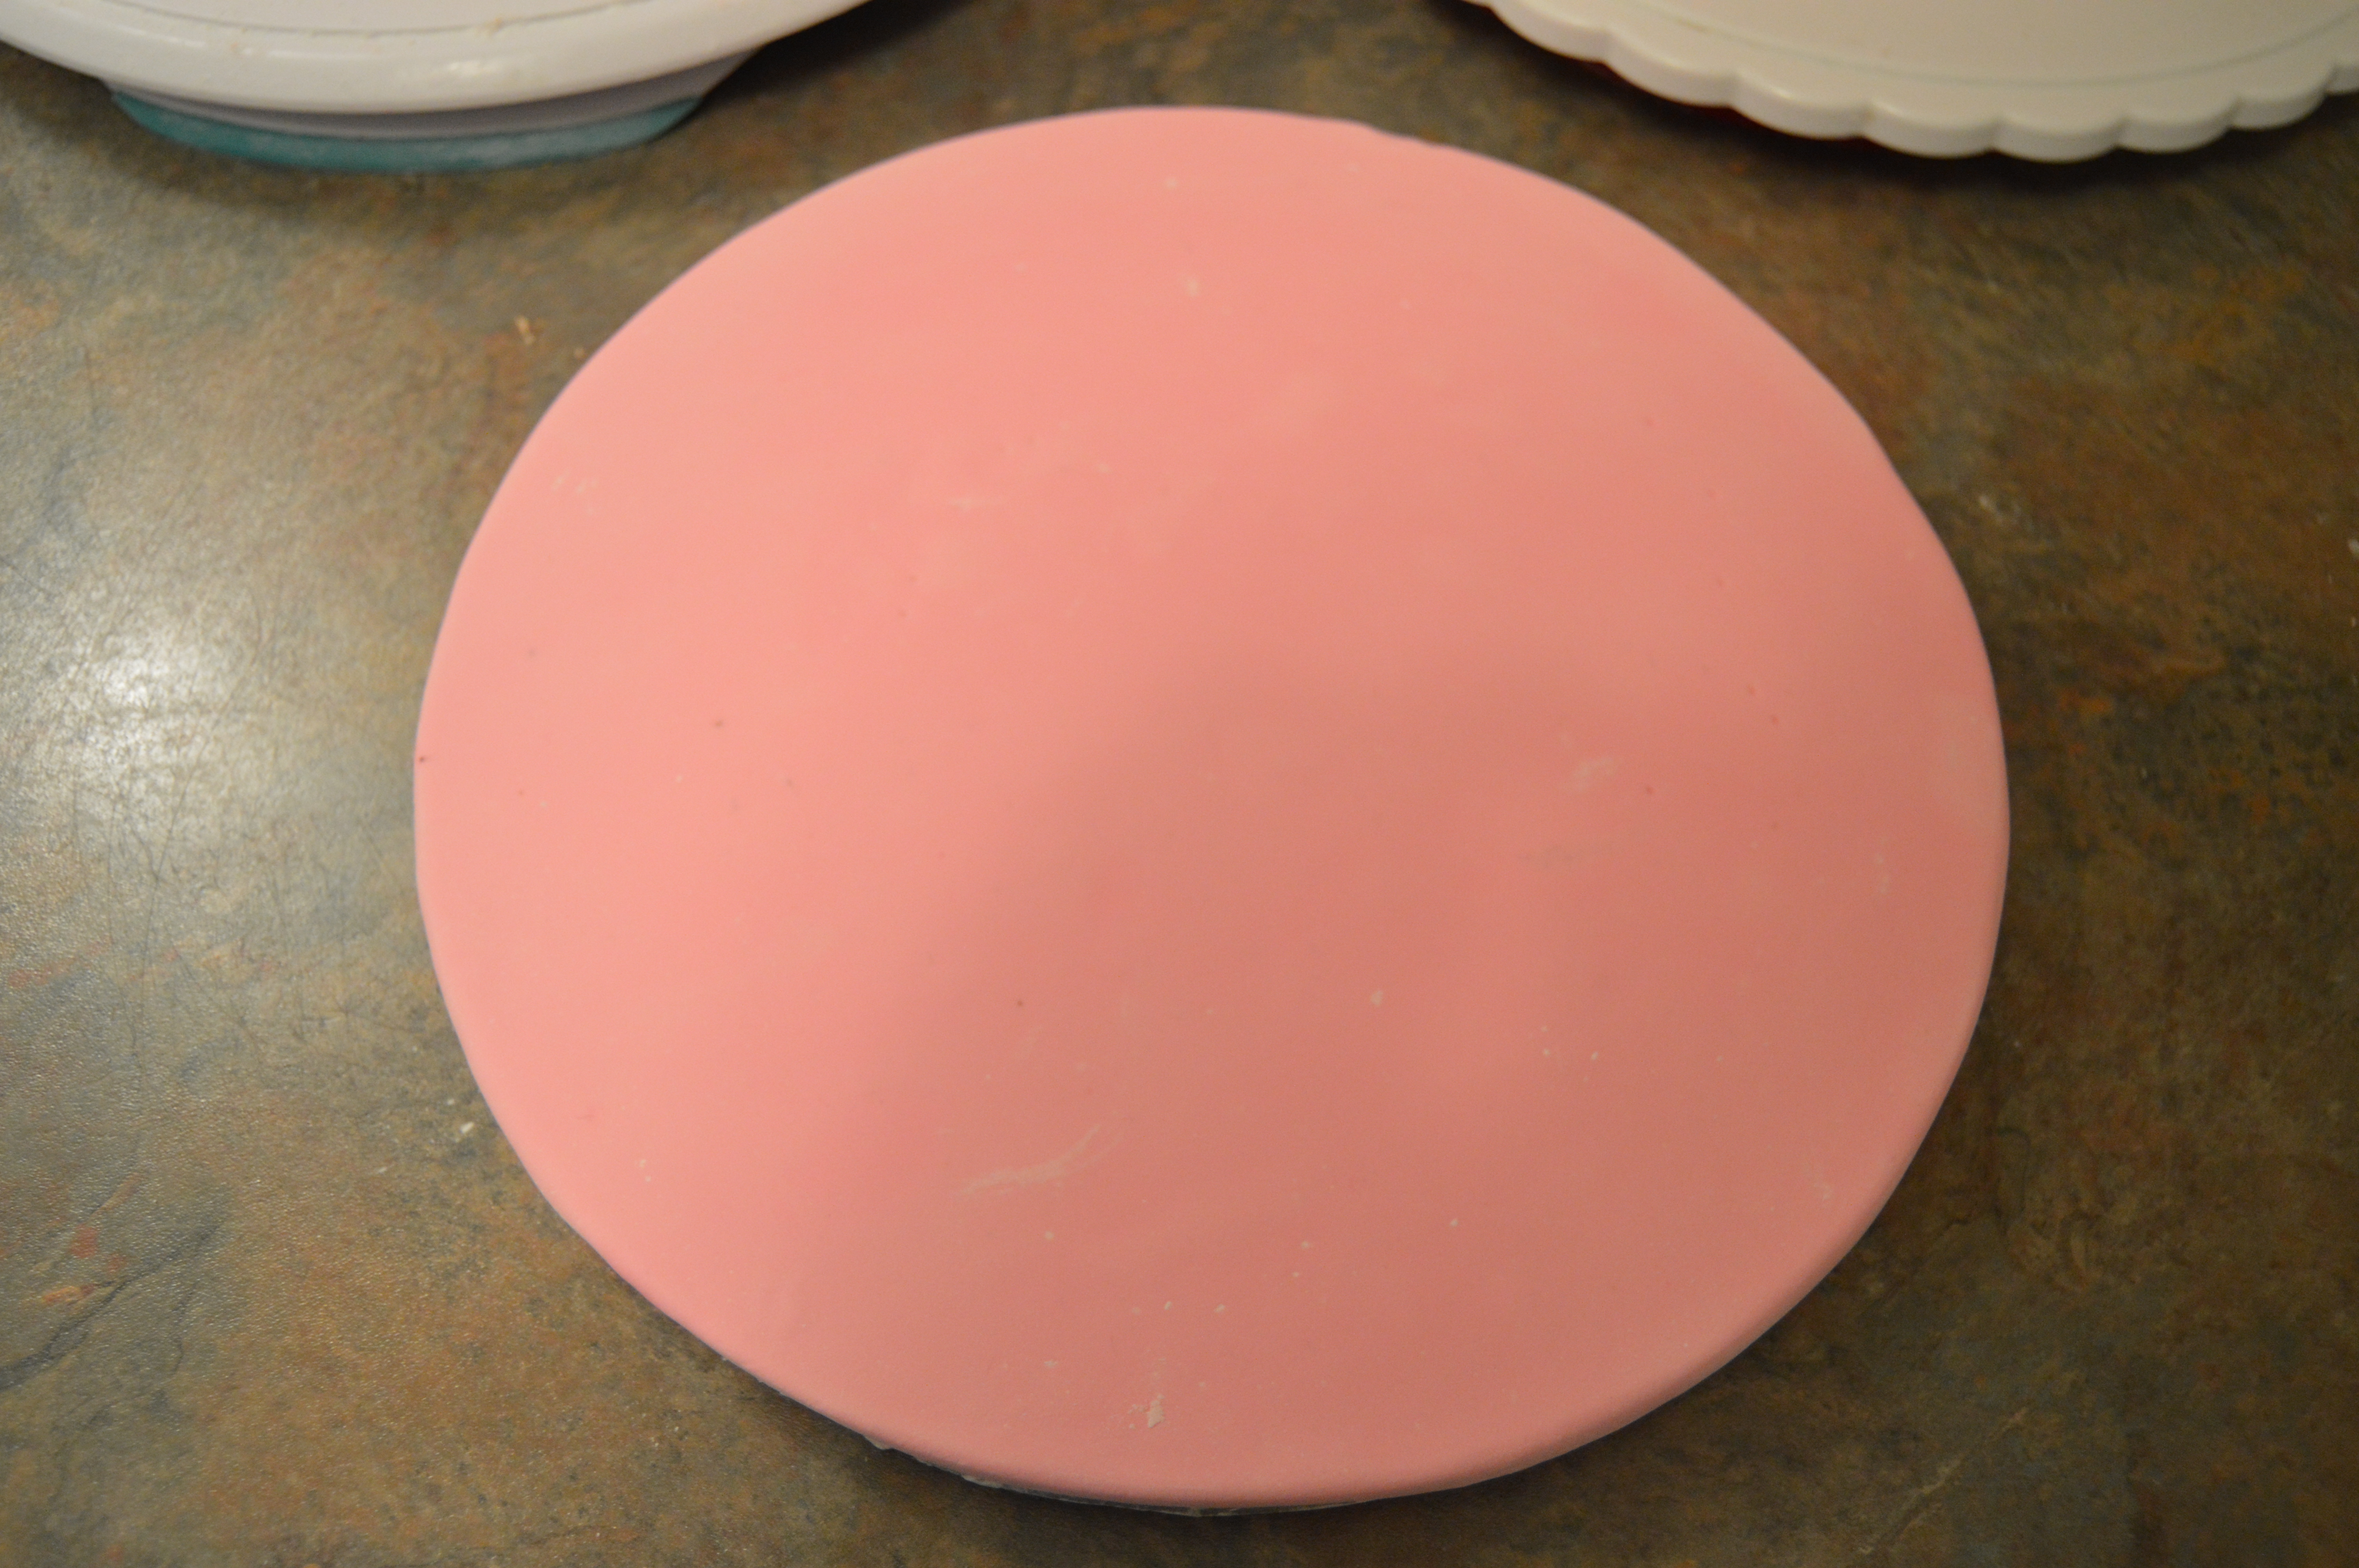
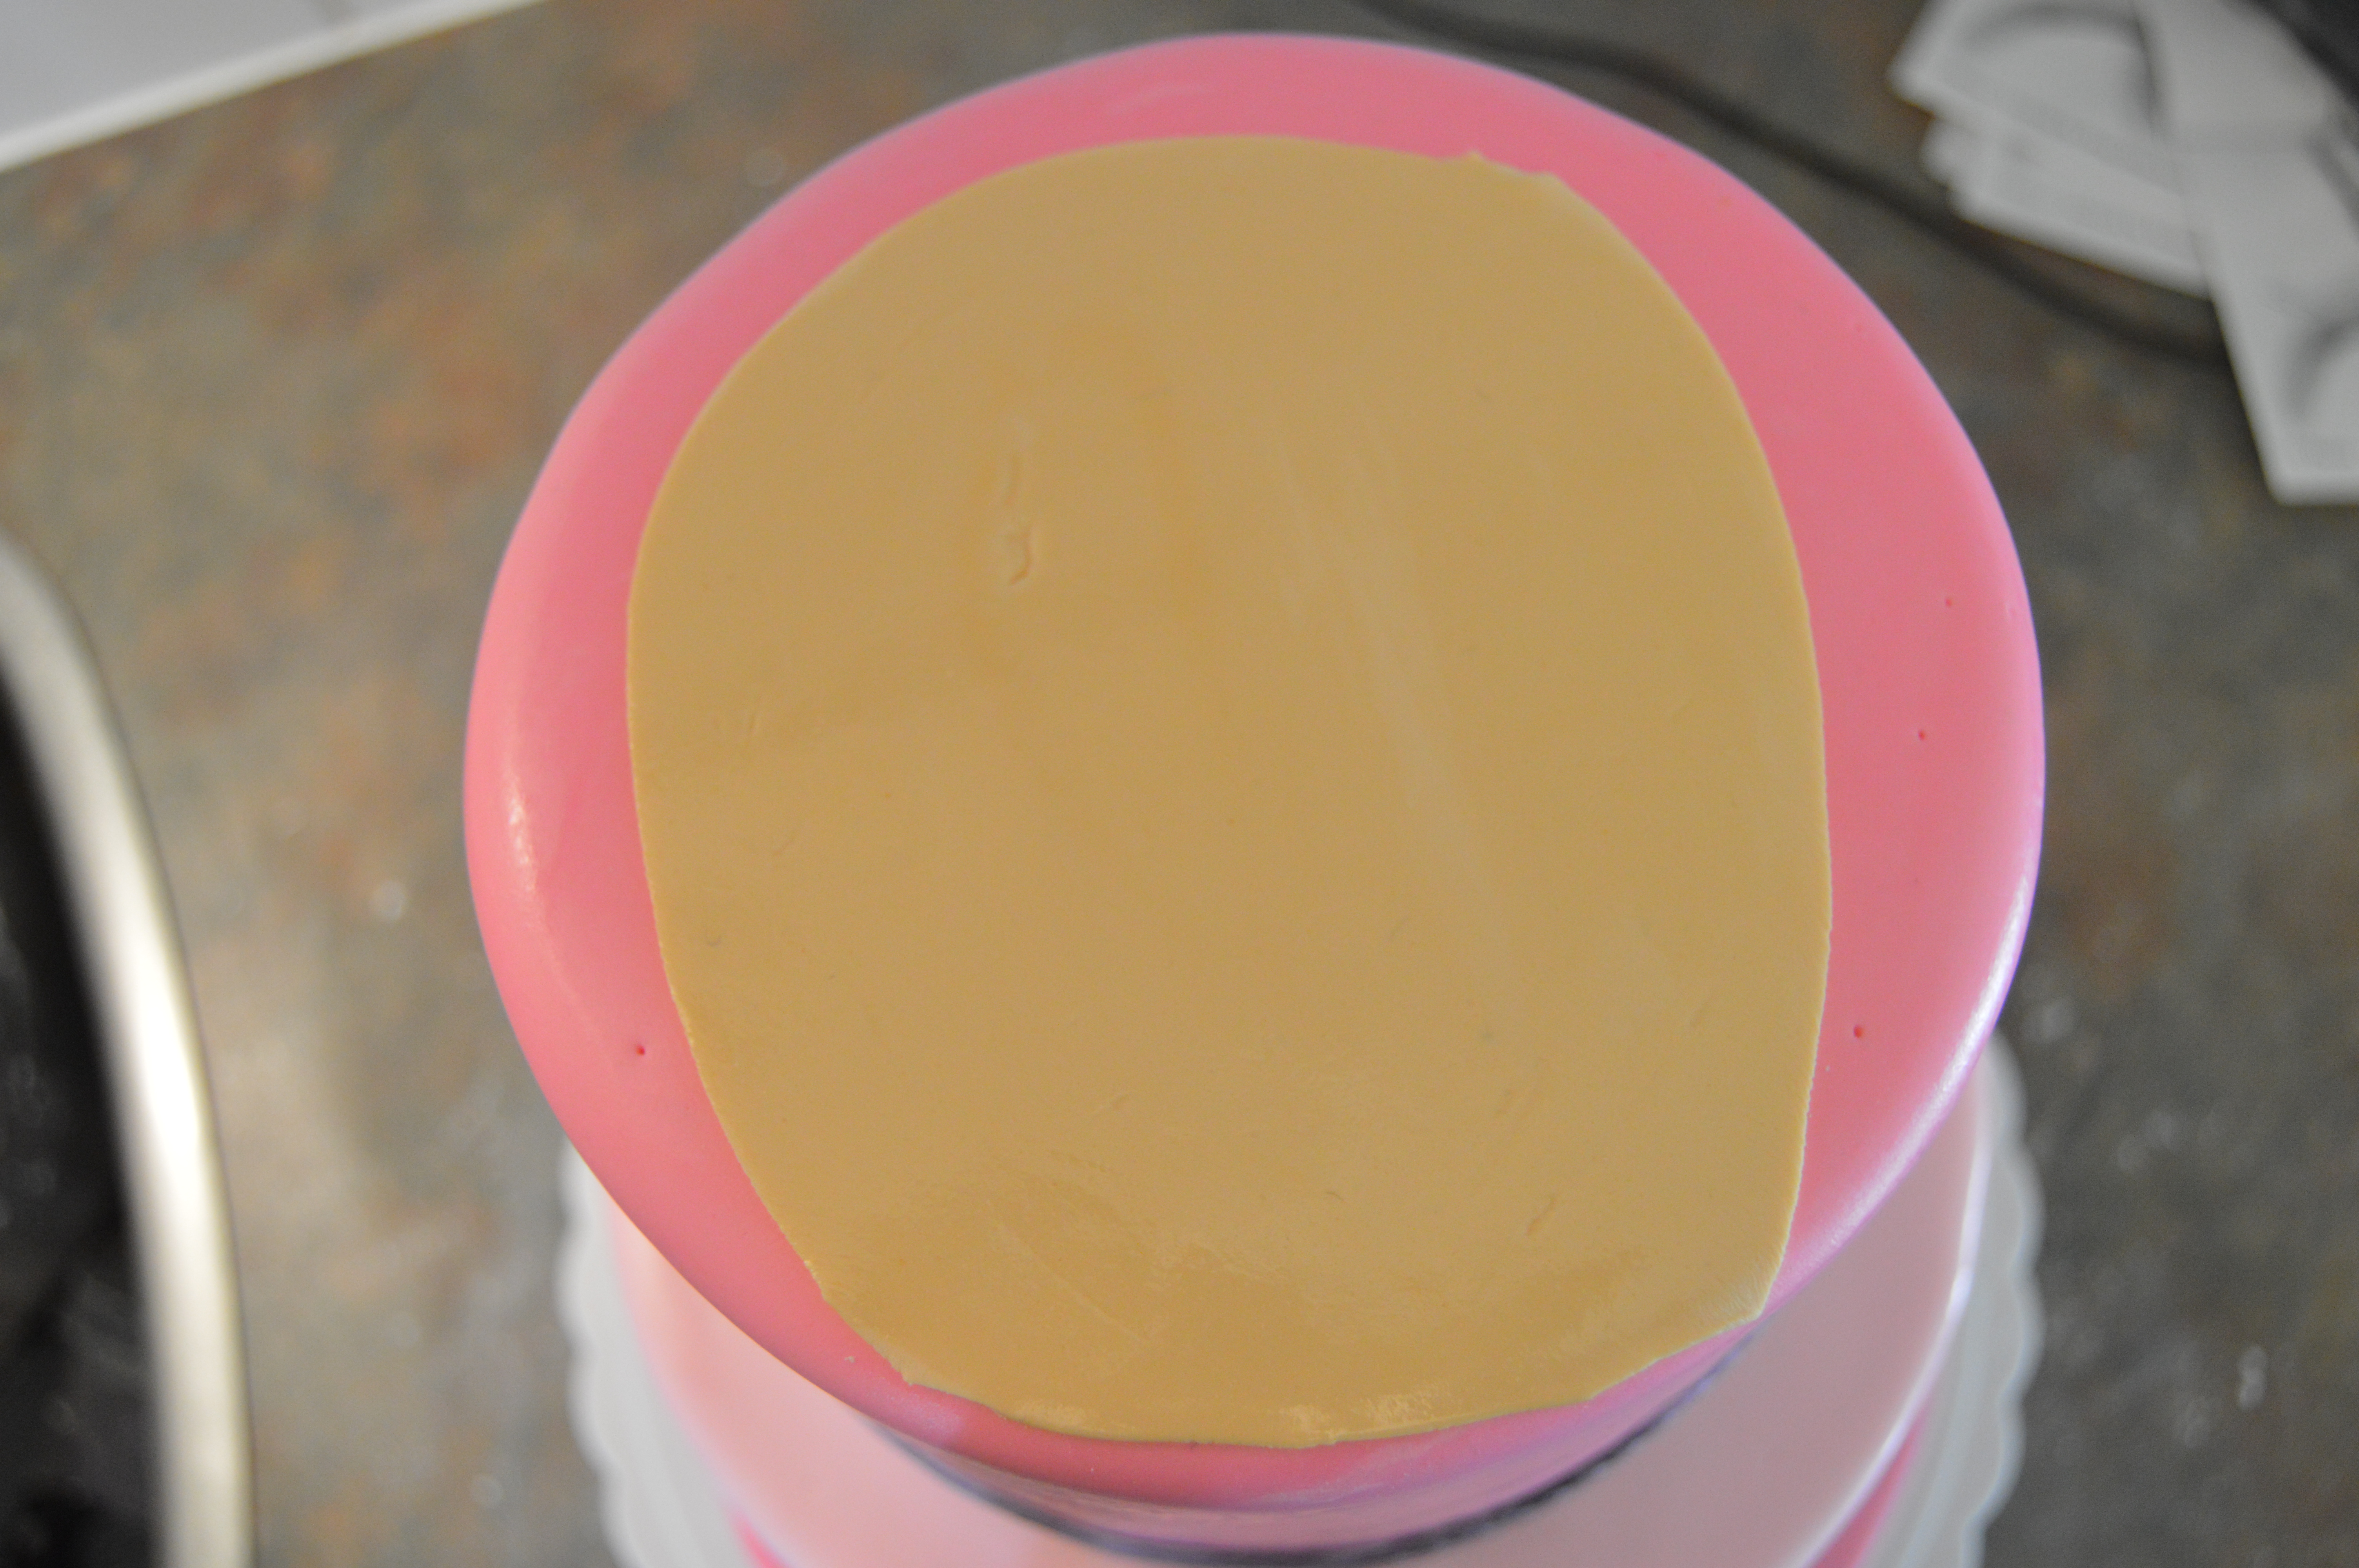
(2) Next, I covered both cake tiers with pink fondant. The top tier was draped with a darker shade of pink. The leftover fondant from the top tier was also used to cover the cake board. You can see how I cover my cake boards here.
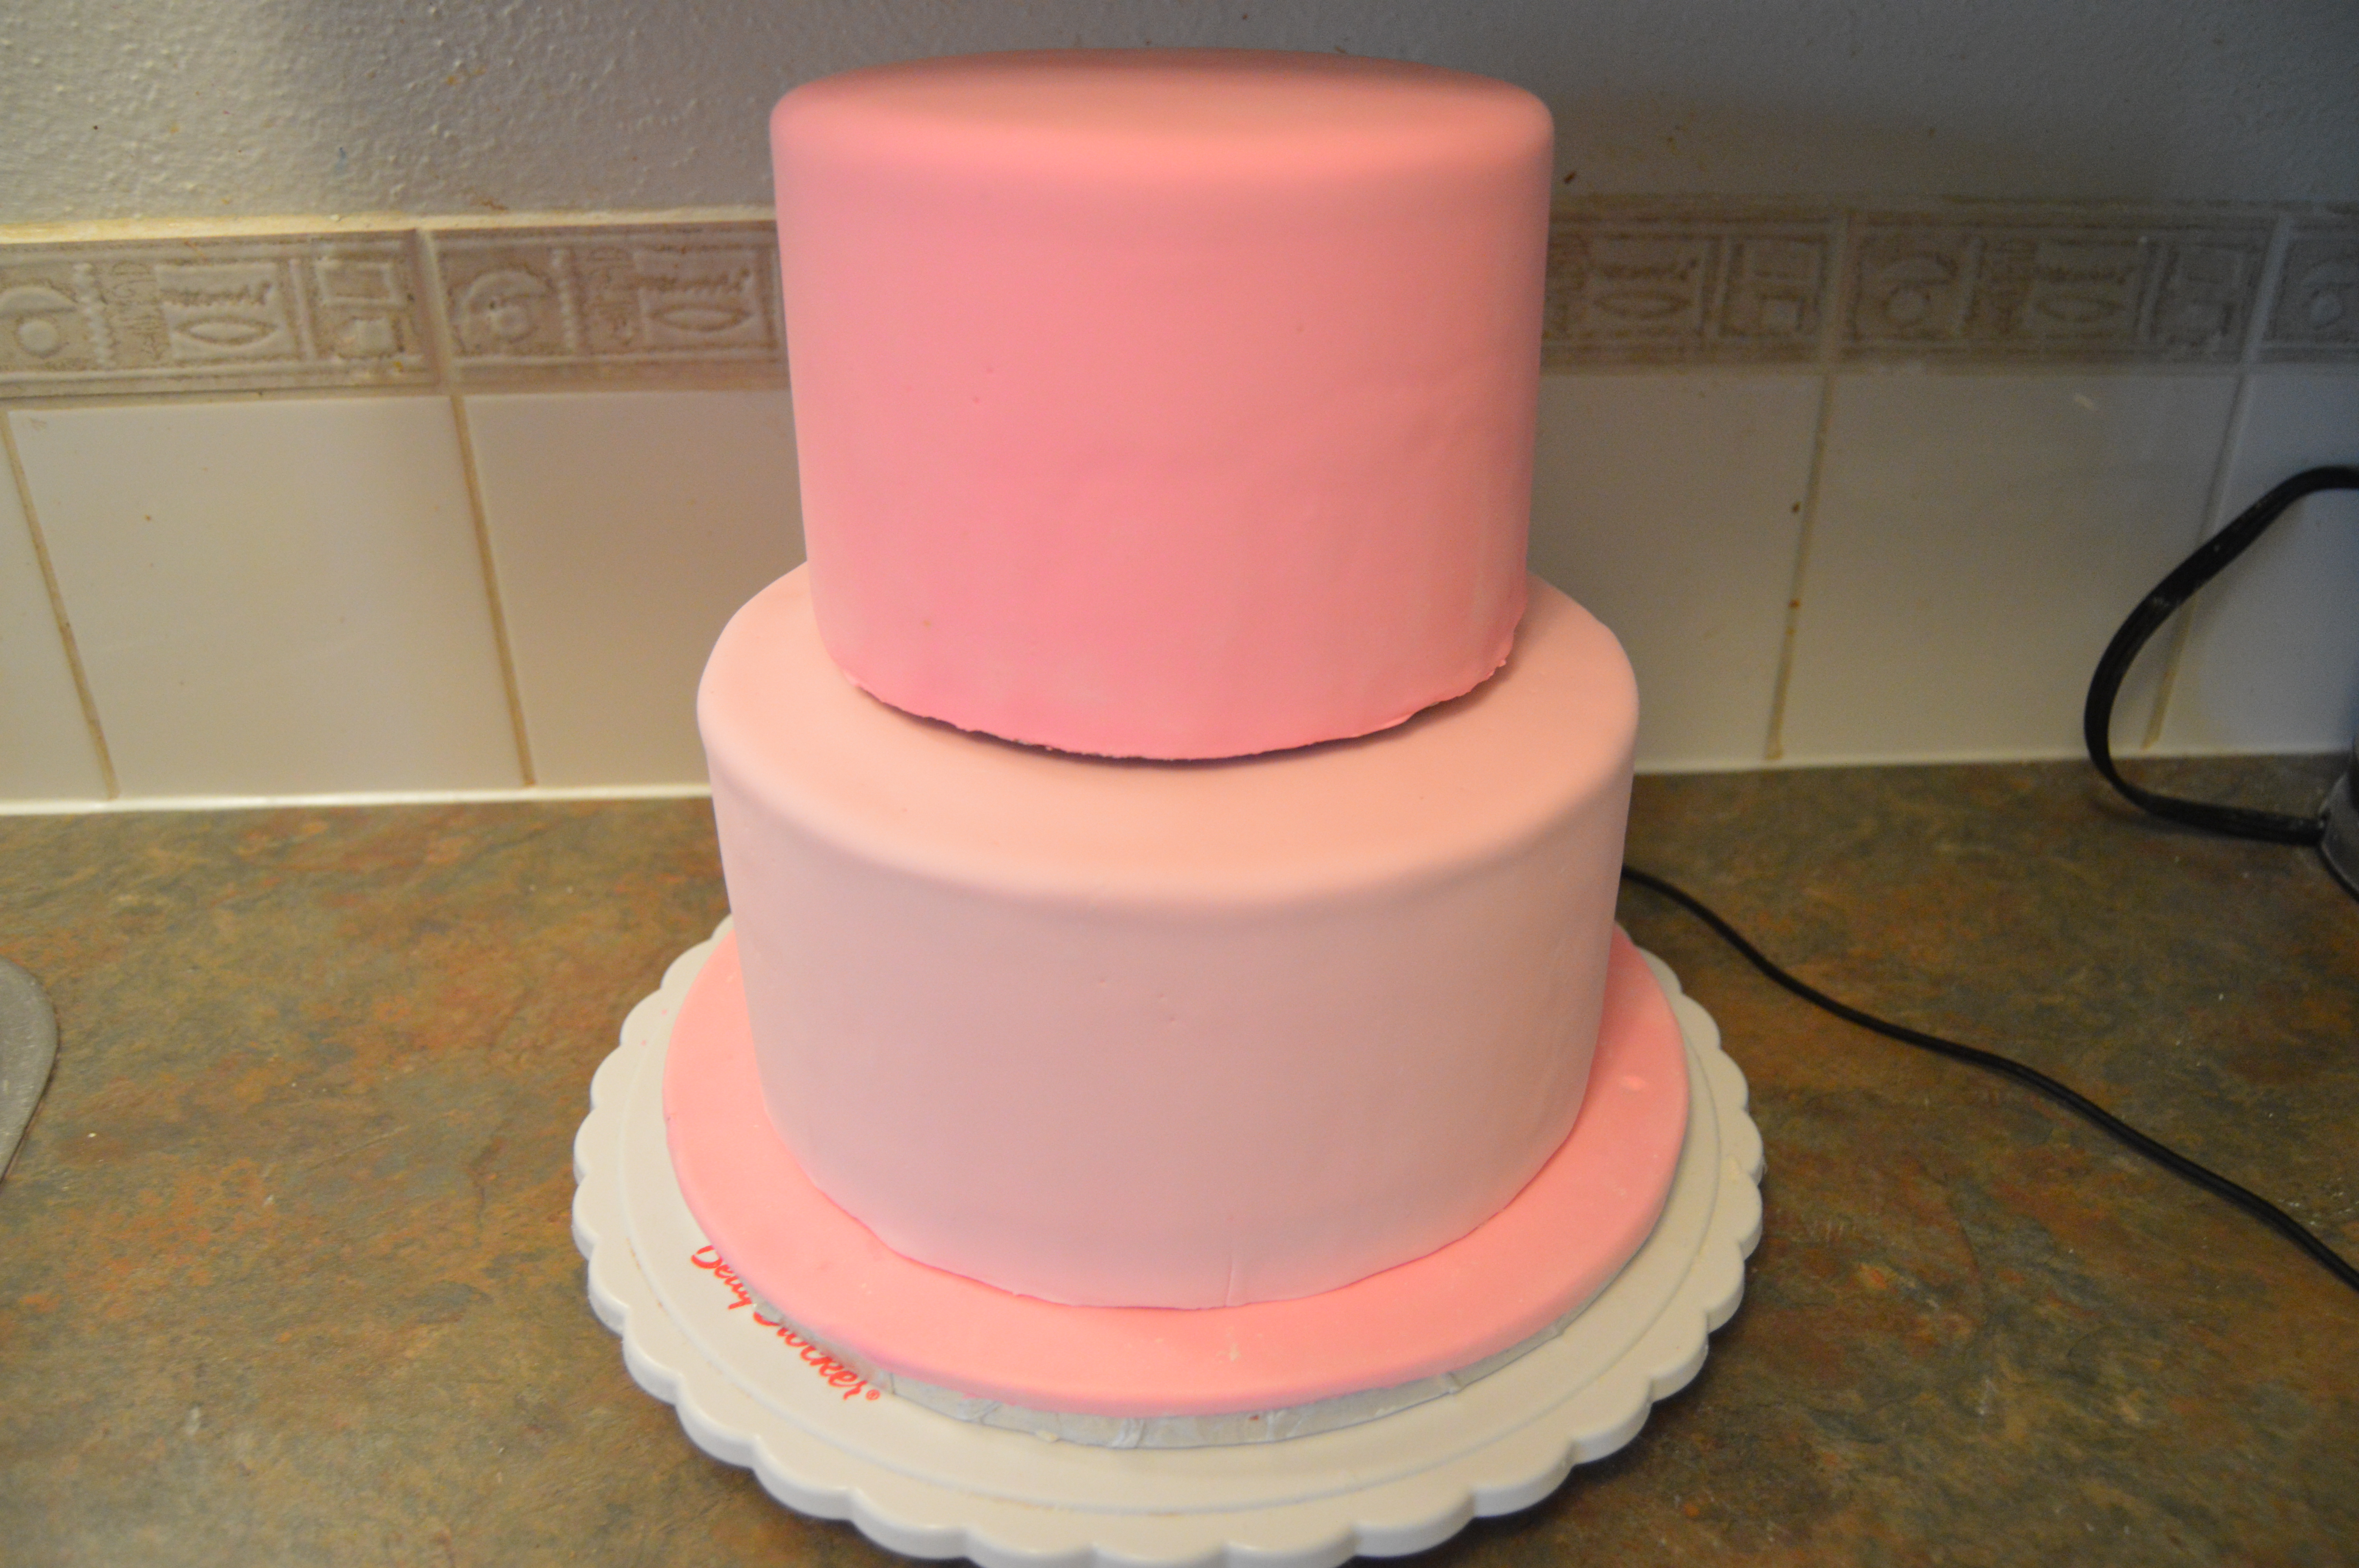
(3) Next, I stacked the cake. You can read more about how to stack cakes here.
(4) Next, I covered the base of both tiers with purple fondant which was embossed with a fondant wheel at the edges. The purple borders were painted with purple pearl dust mixed with vodka. The rest of the cake was also brushed with some vodka to make it glossy.


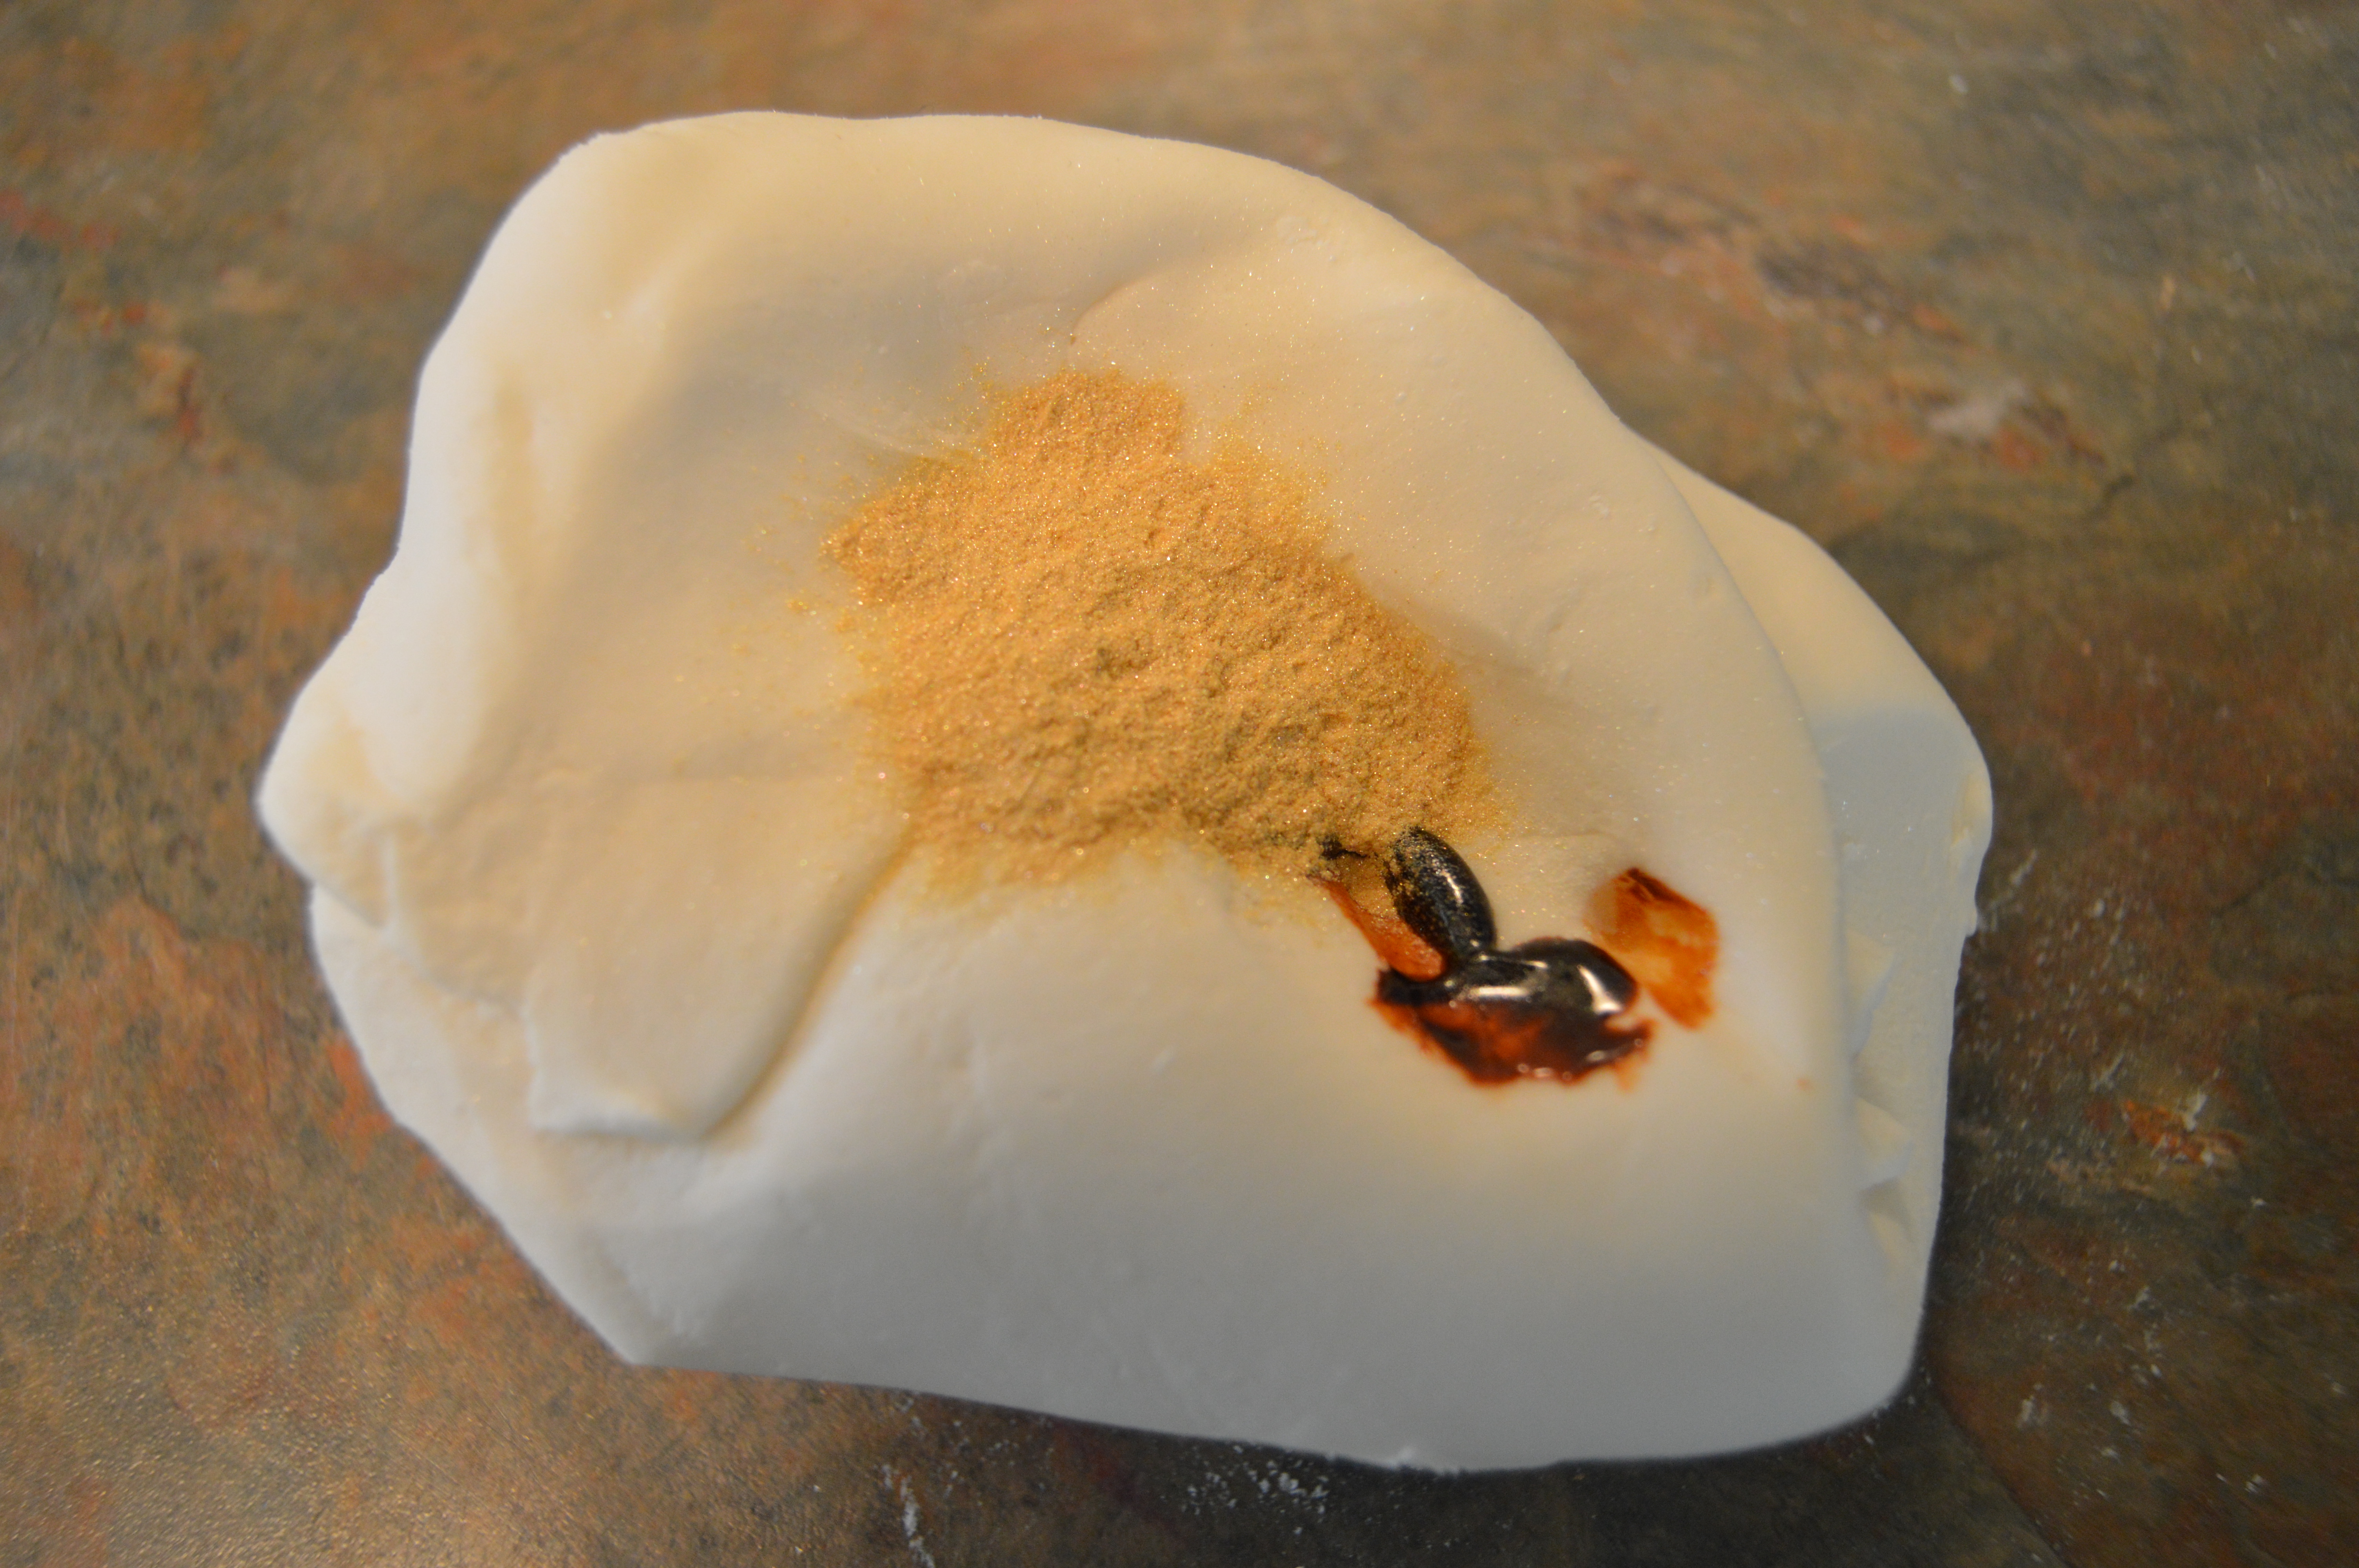
(5) With the main cake structure completed, I jumped to the topper and hair. To make the hair, I colored fondant with ivory color paste and gold pearl dust.
(6) Next, I rolled out the colored fondant, cut out a shape to represent the back of Rapunzel’s hair and stuck it to the cake using some vodka. (At this stage of the cake design, I prefer to use vodka to water as it evaporates quickly).
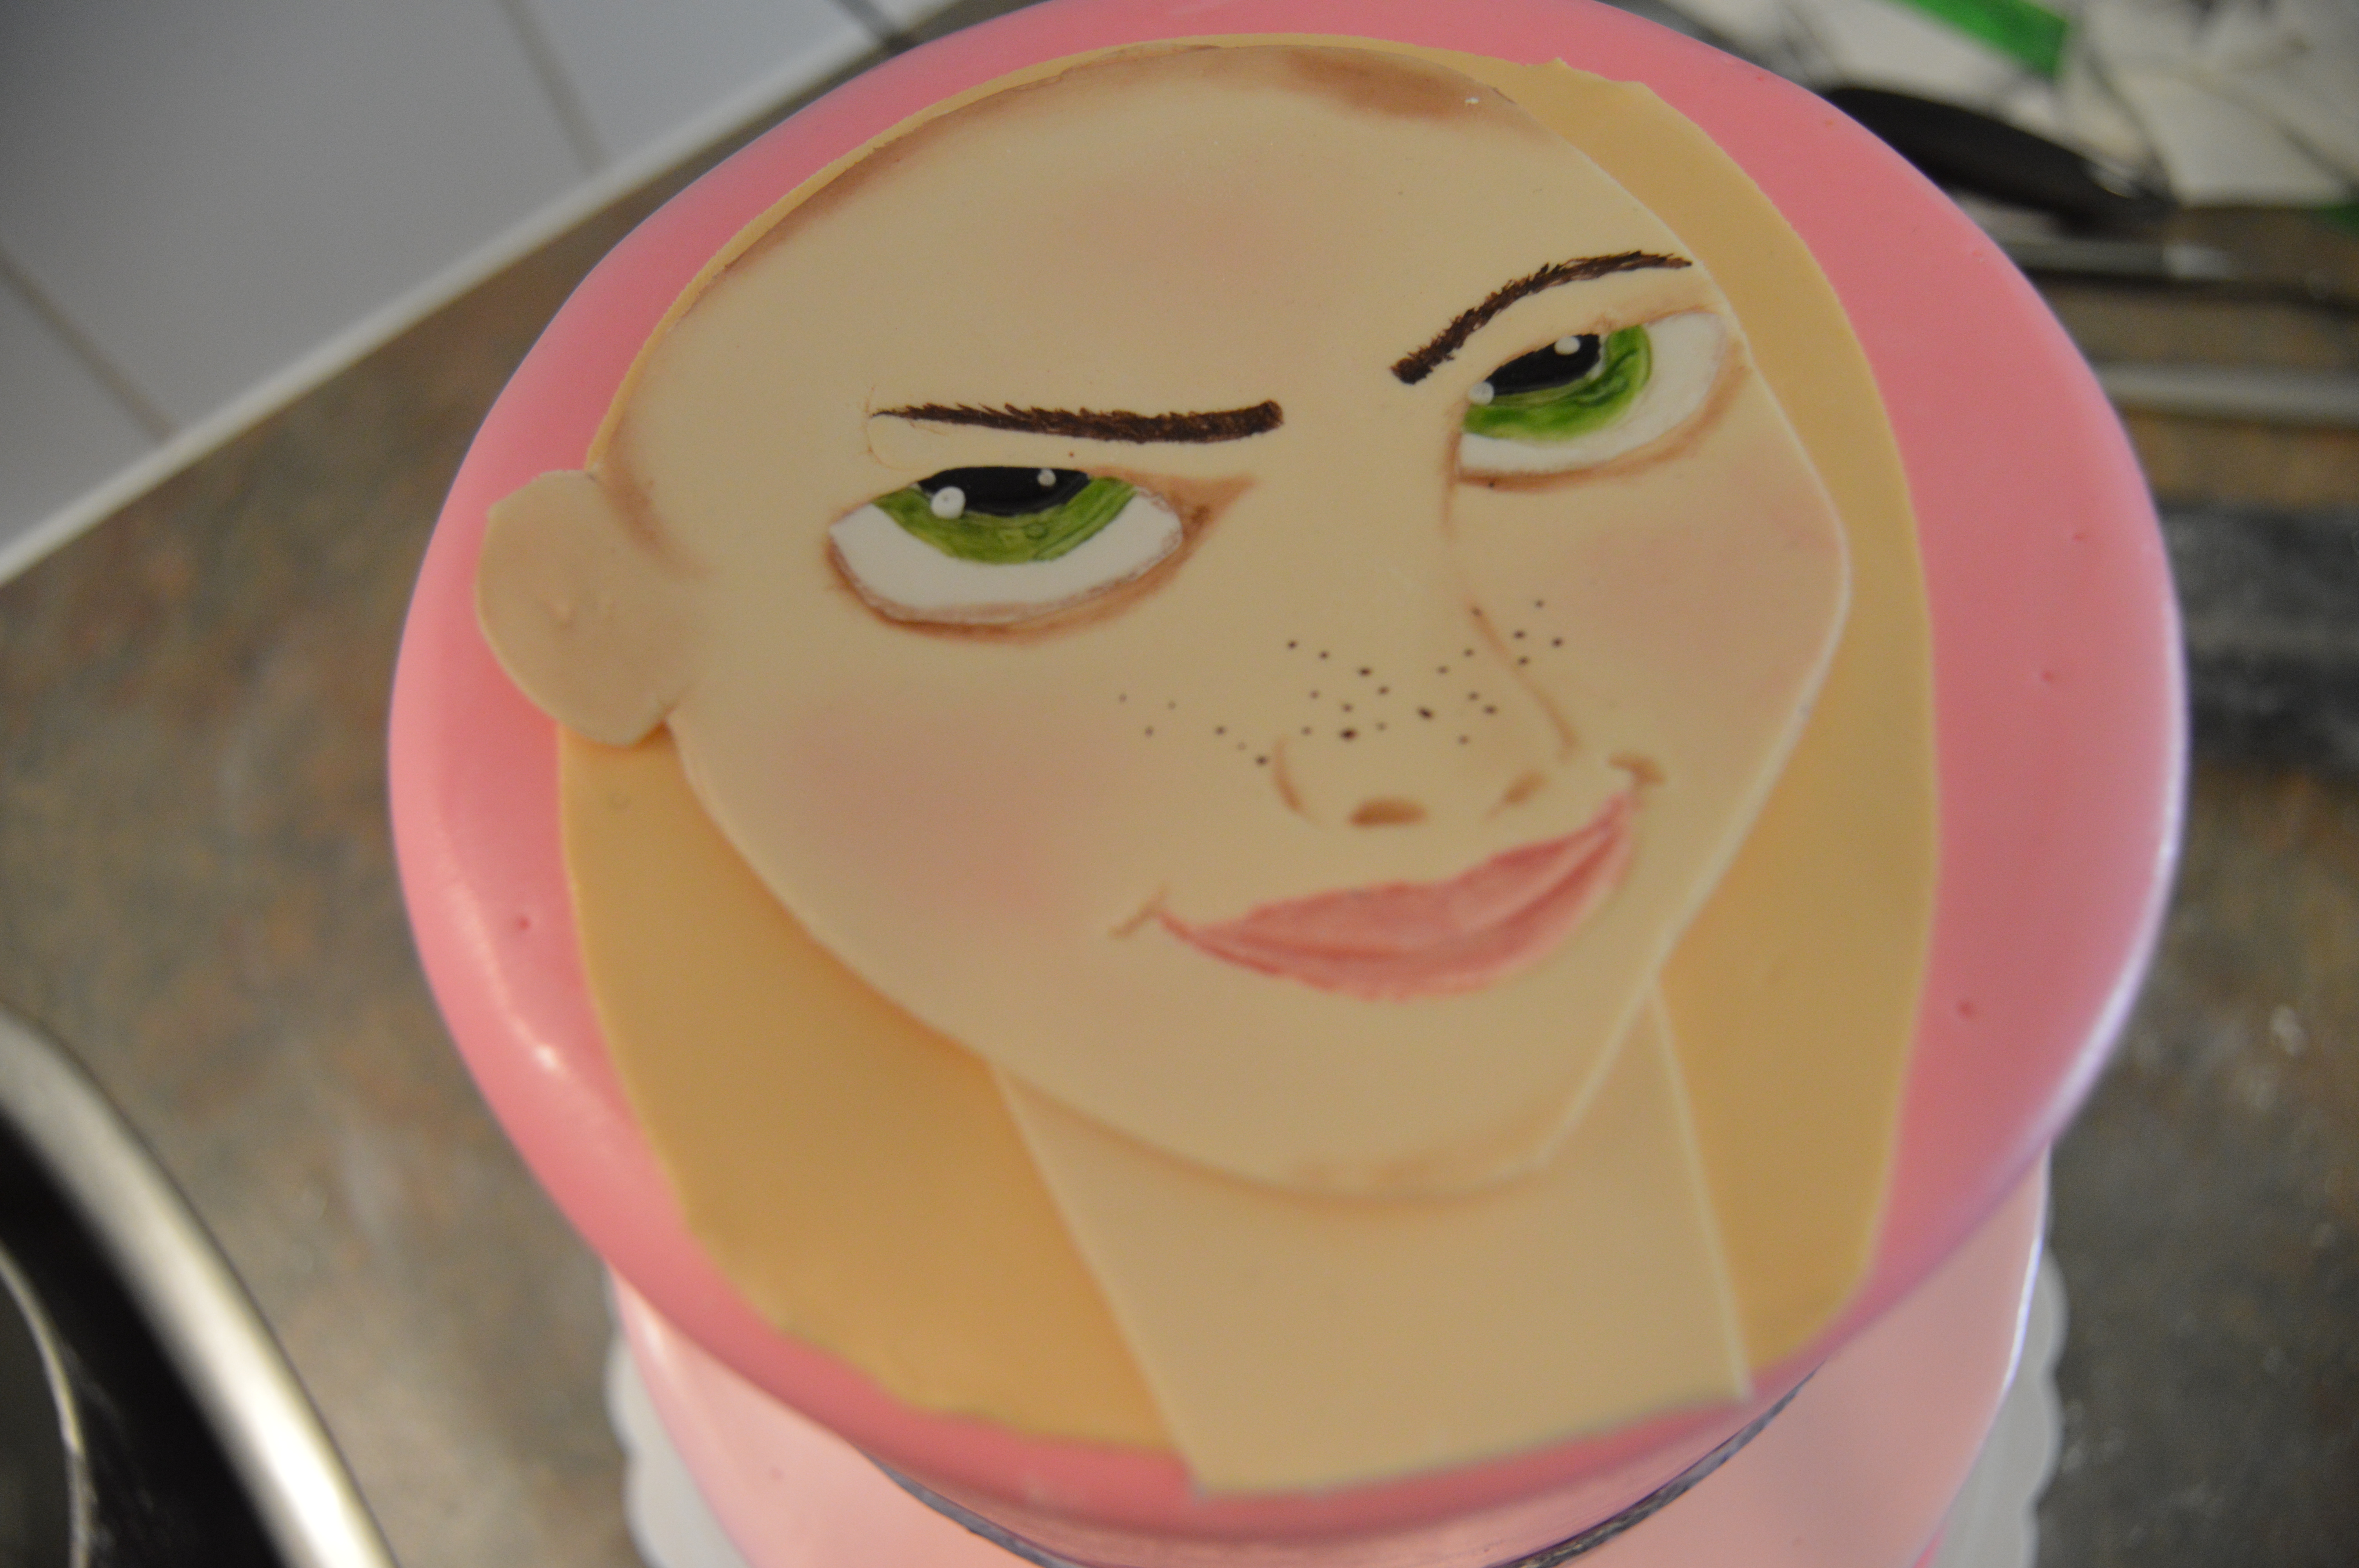
(7) Next, I stuck the painted face to the cake along with a neck the same color as the face. (TIP: Save some fondant for the neck when you are making the face).
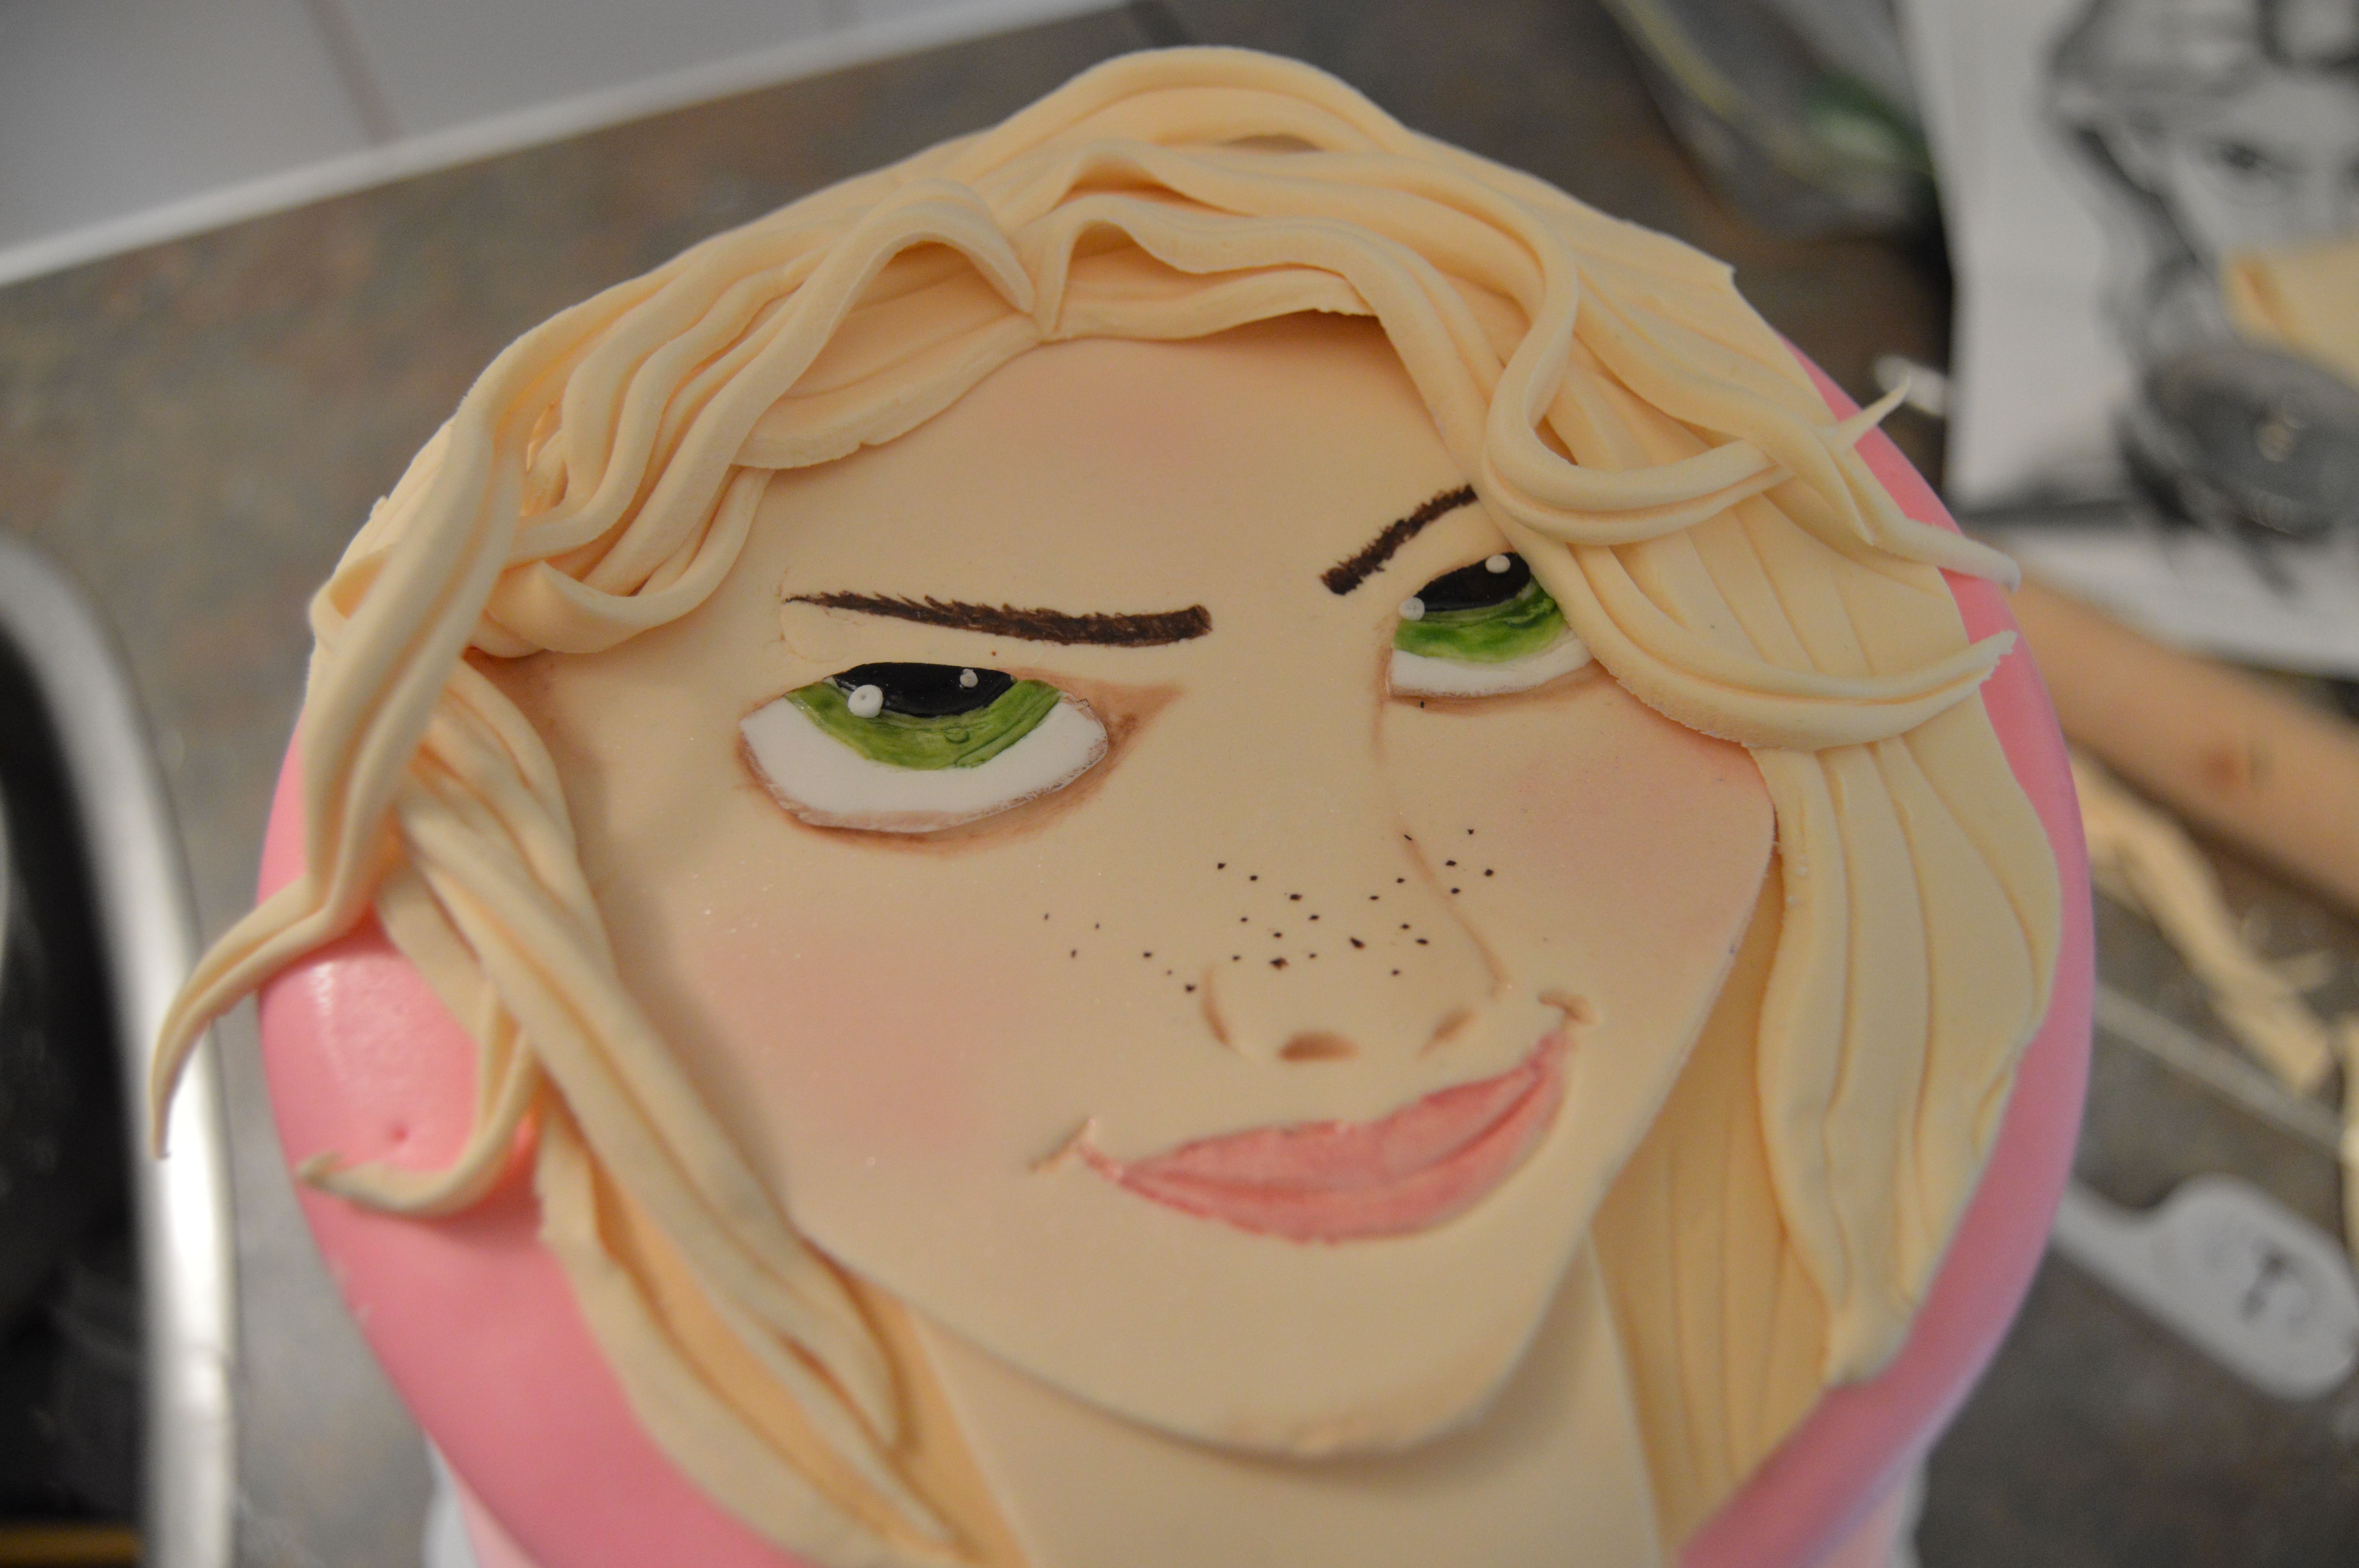
(8) Next, I made the hair in front. I attached a few strands of curly fondant to the hair in front to give it more volume. The lines on the hair were made with a fondant roller.
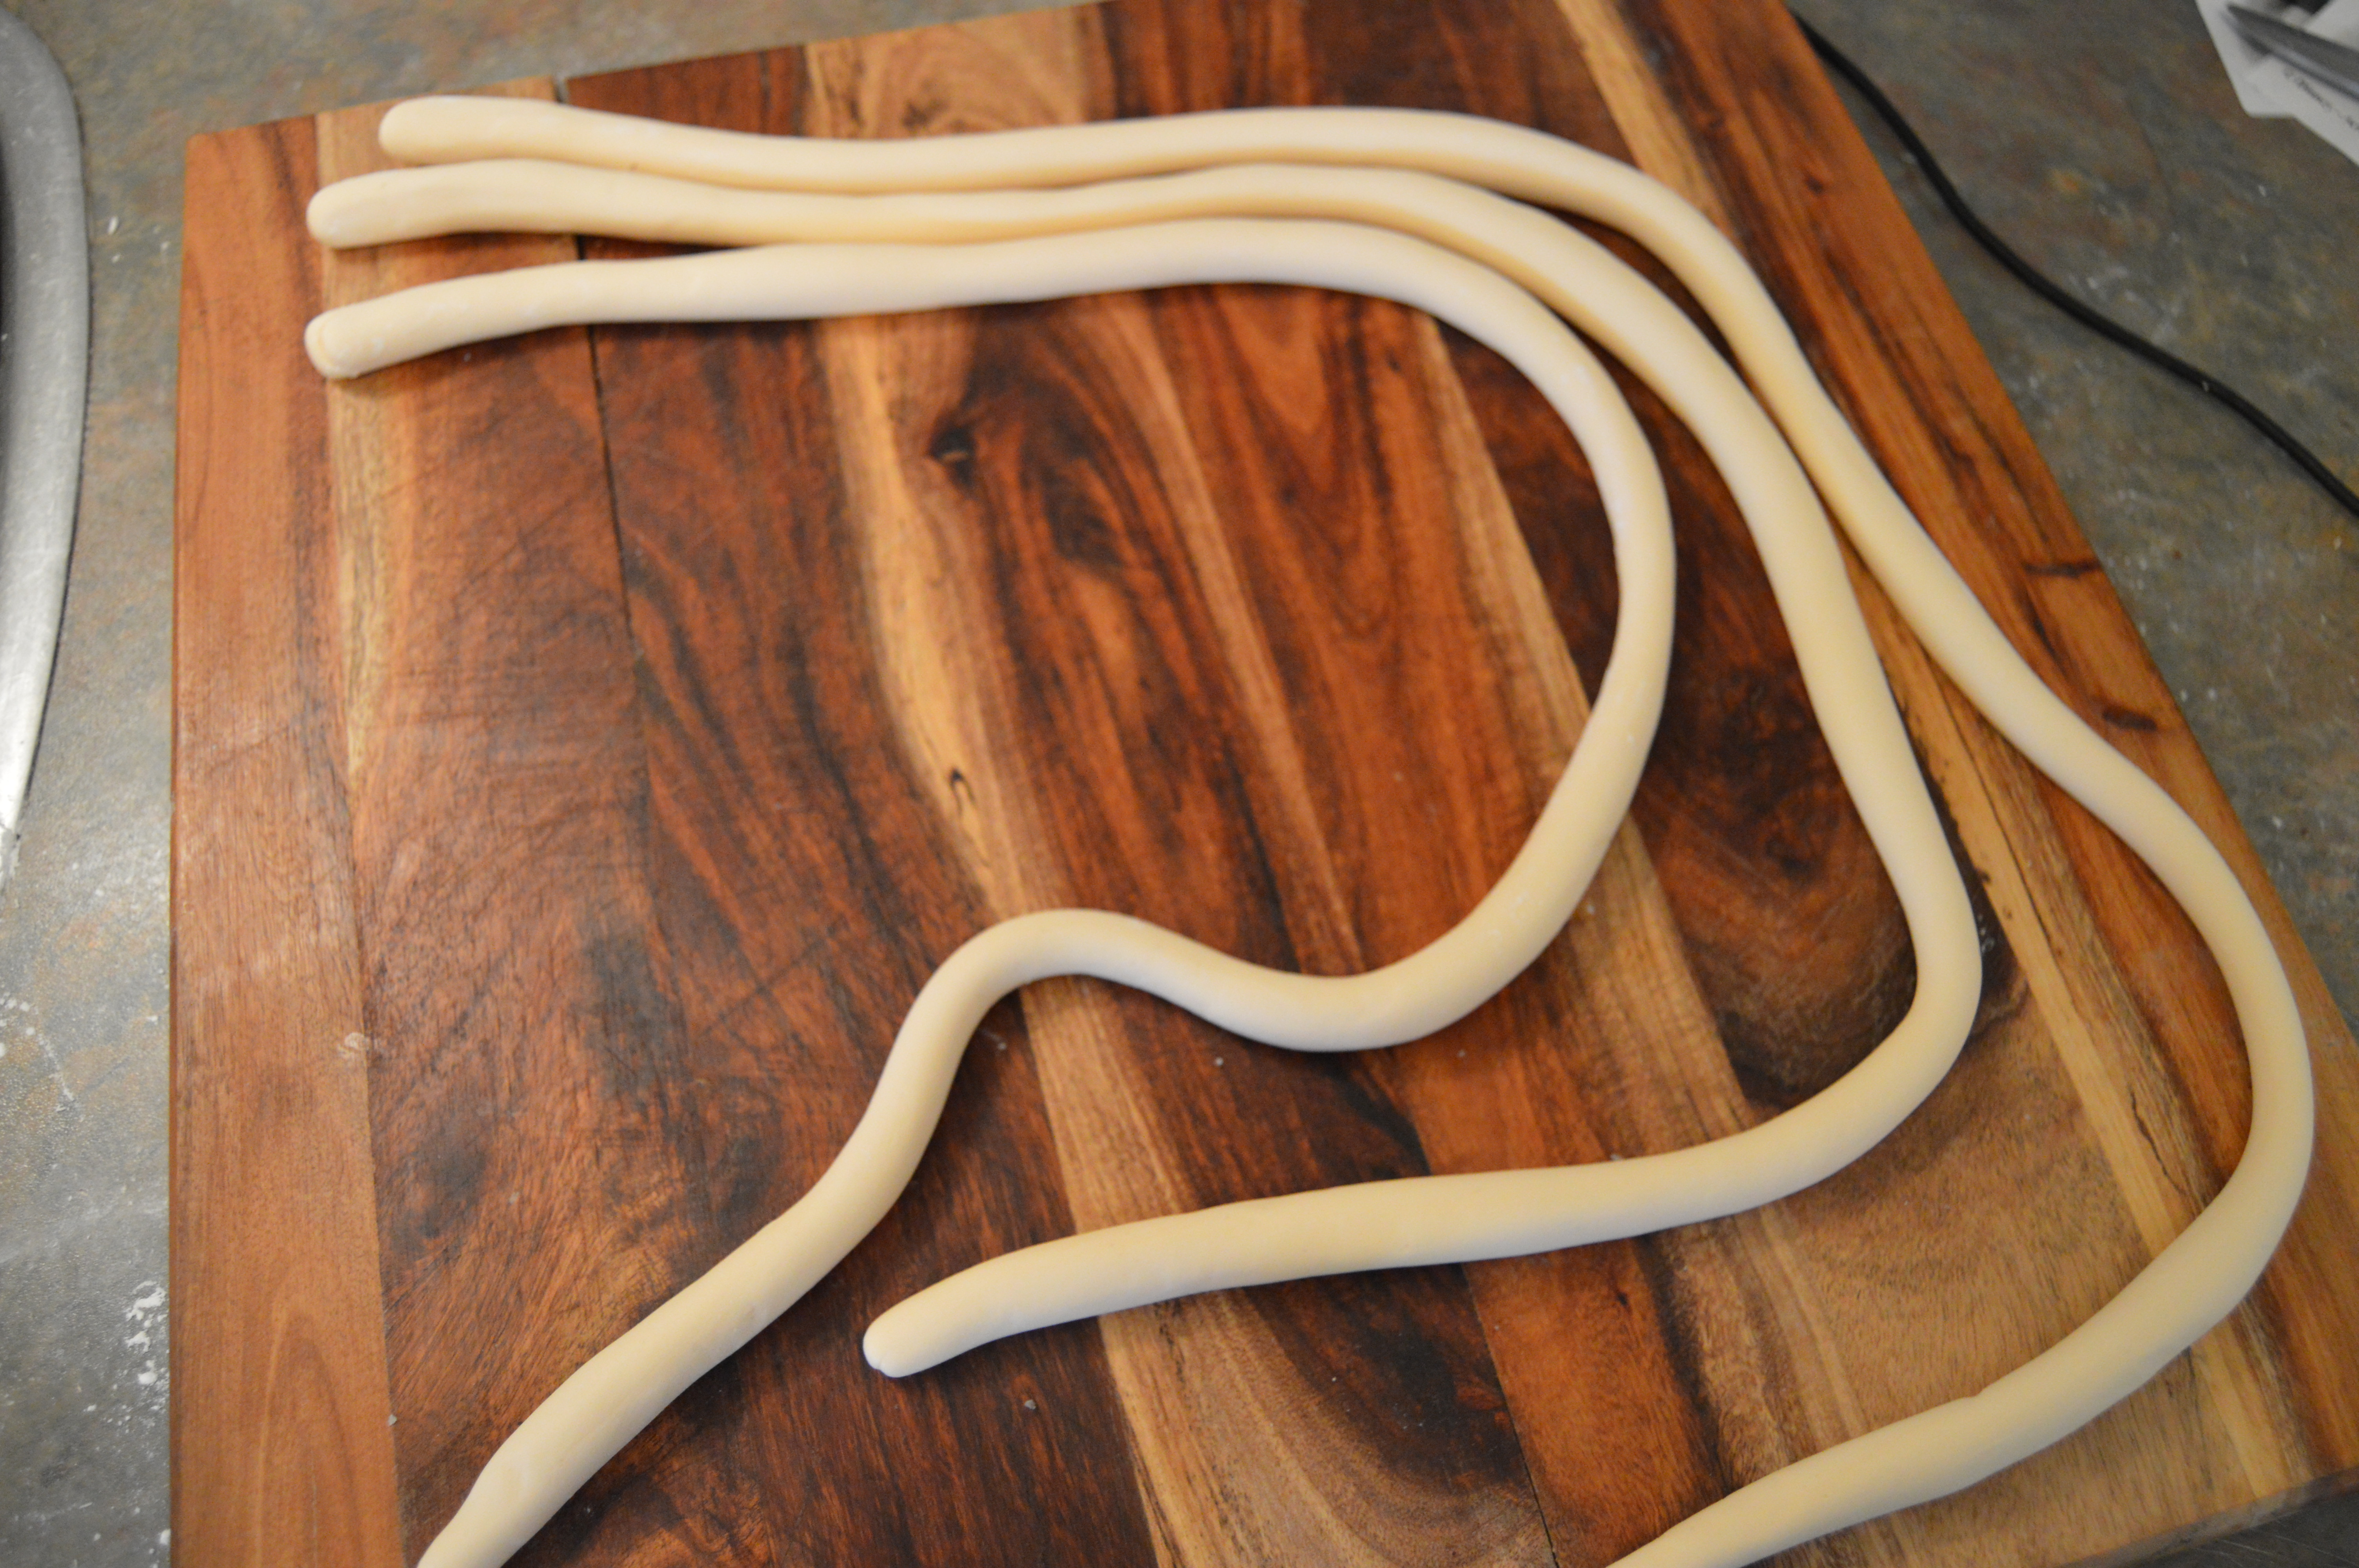
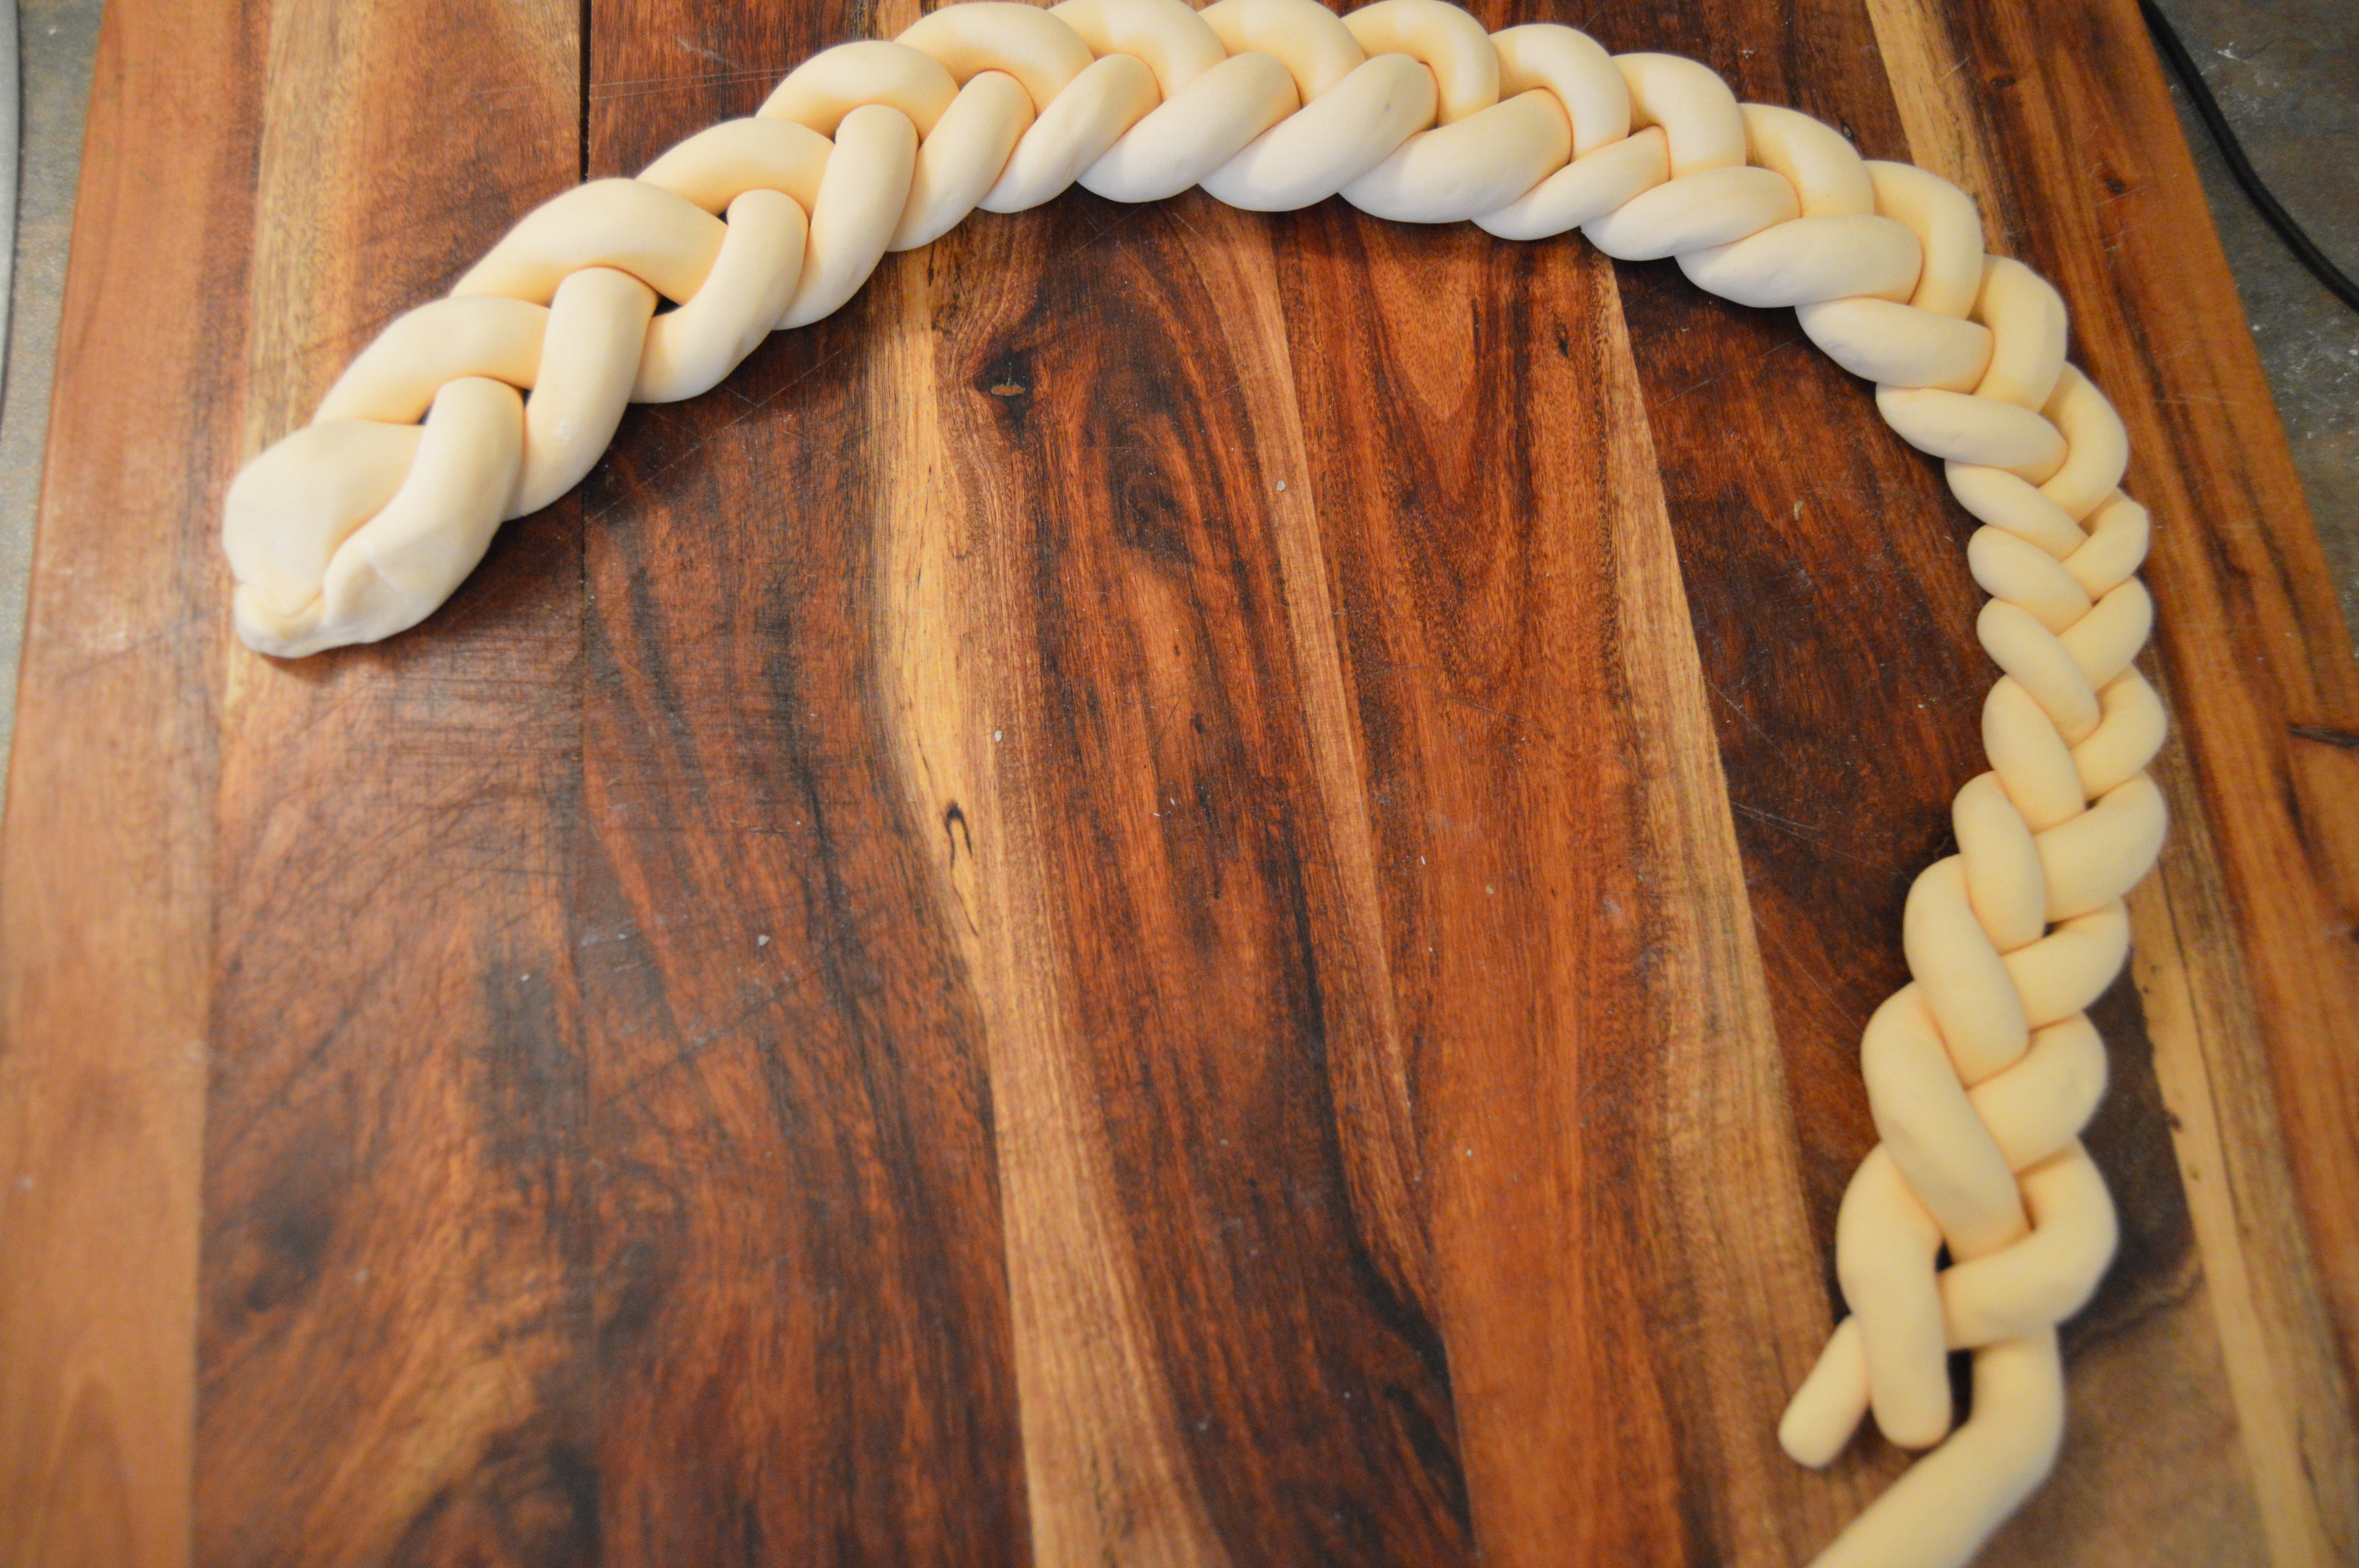
(9) Next, I made the braid. This was done by rolling 3 long strands of fondant and braiding them like you would with regular hair. They were finished with a few lines made with a fondant roller.


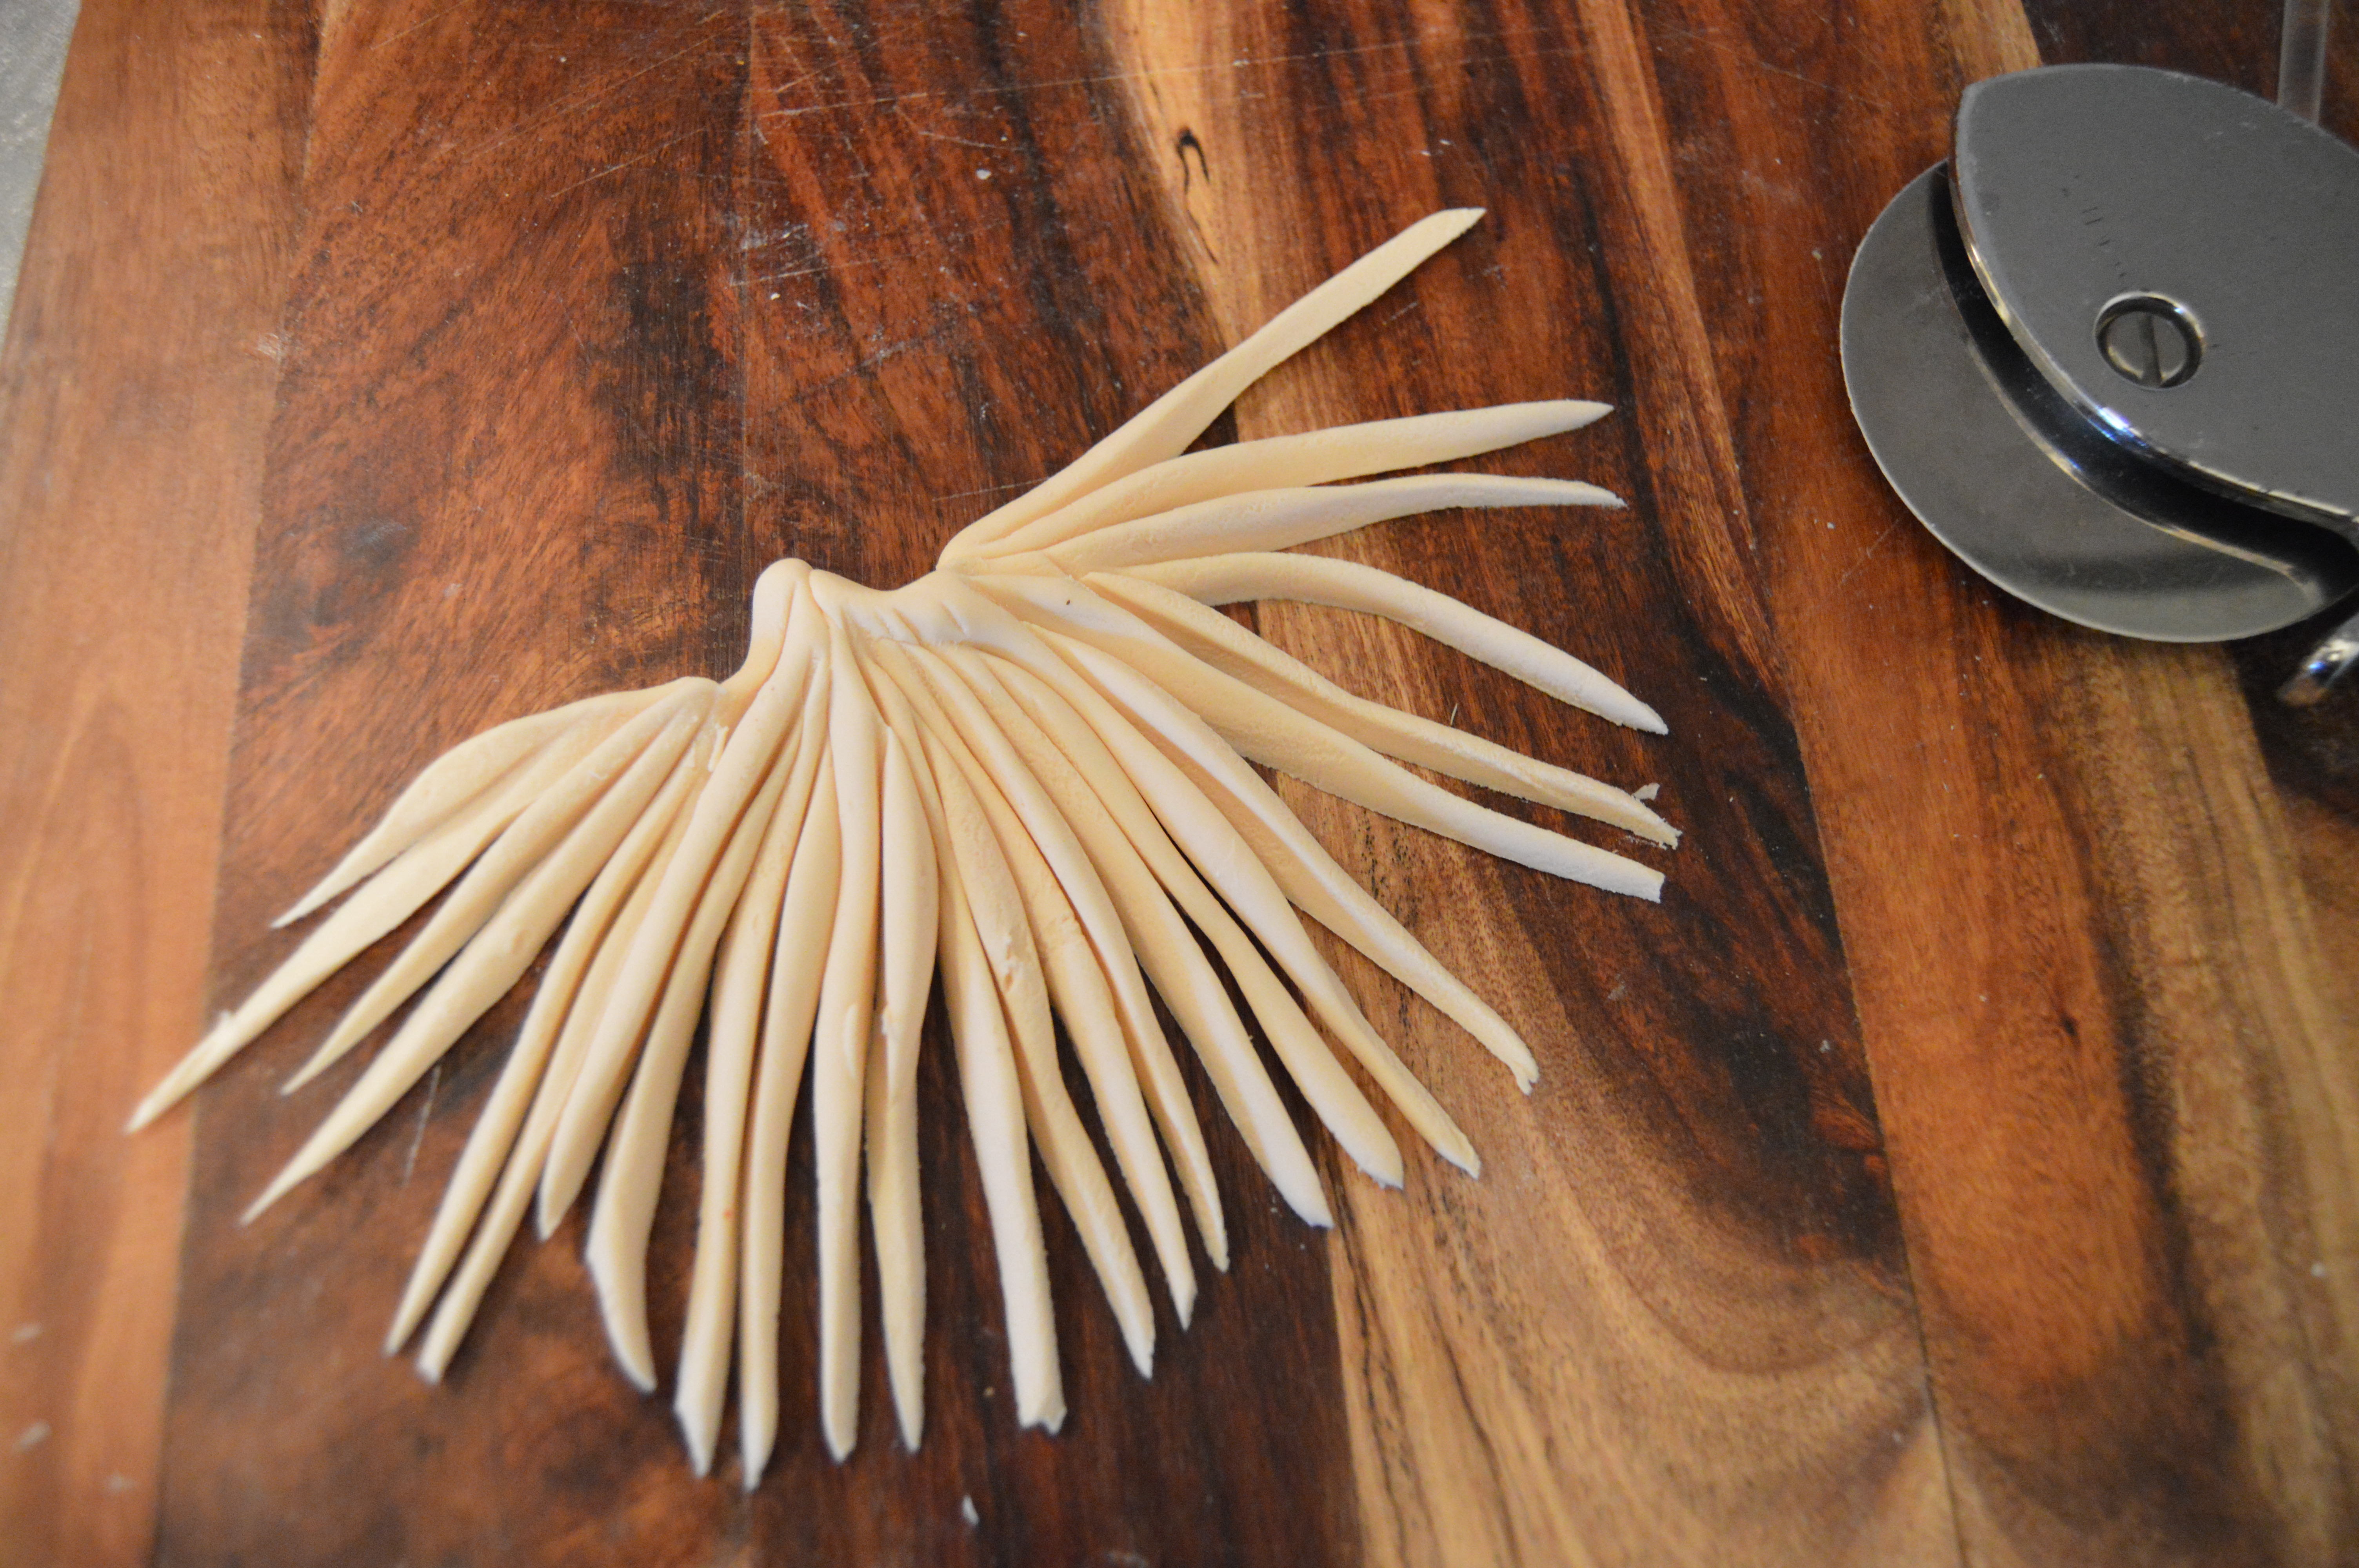
(10) The hair tail was made by slashing a bulb of fondant with a pizza cutter.
(11) The braid was pegged down to the front of the cake with a couple of floral wires and wrapped around the cake ending in the front. Take this length into consideration when making the braid. Vodka (or water) can be used to stick the hair to the cake at the various points of contact. The hair tail was also placed at the end of the braid.

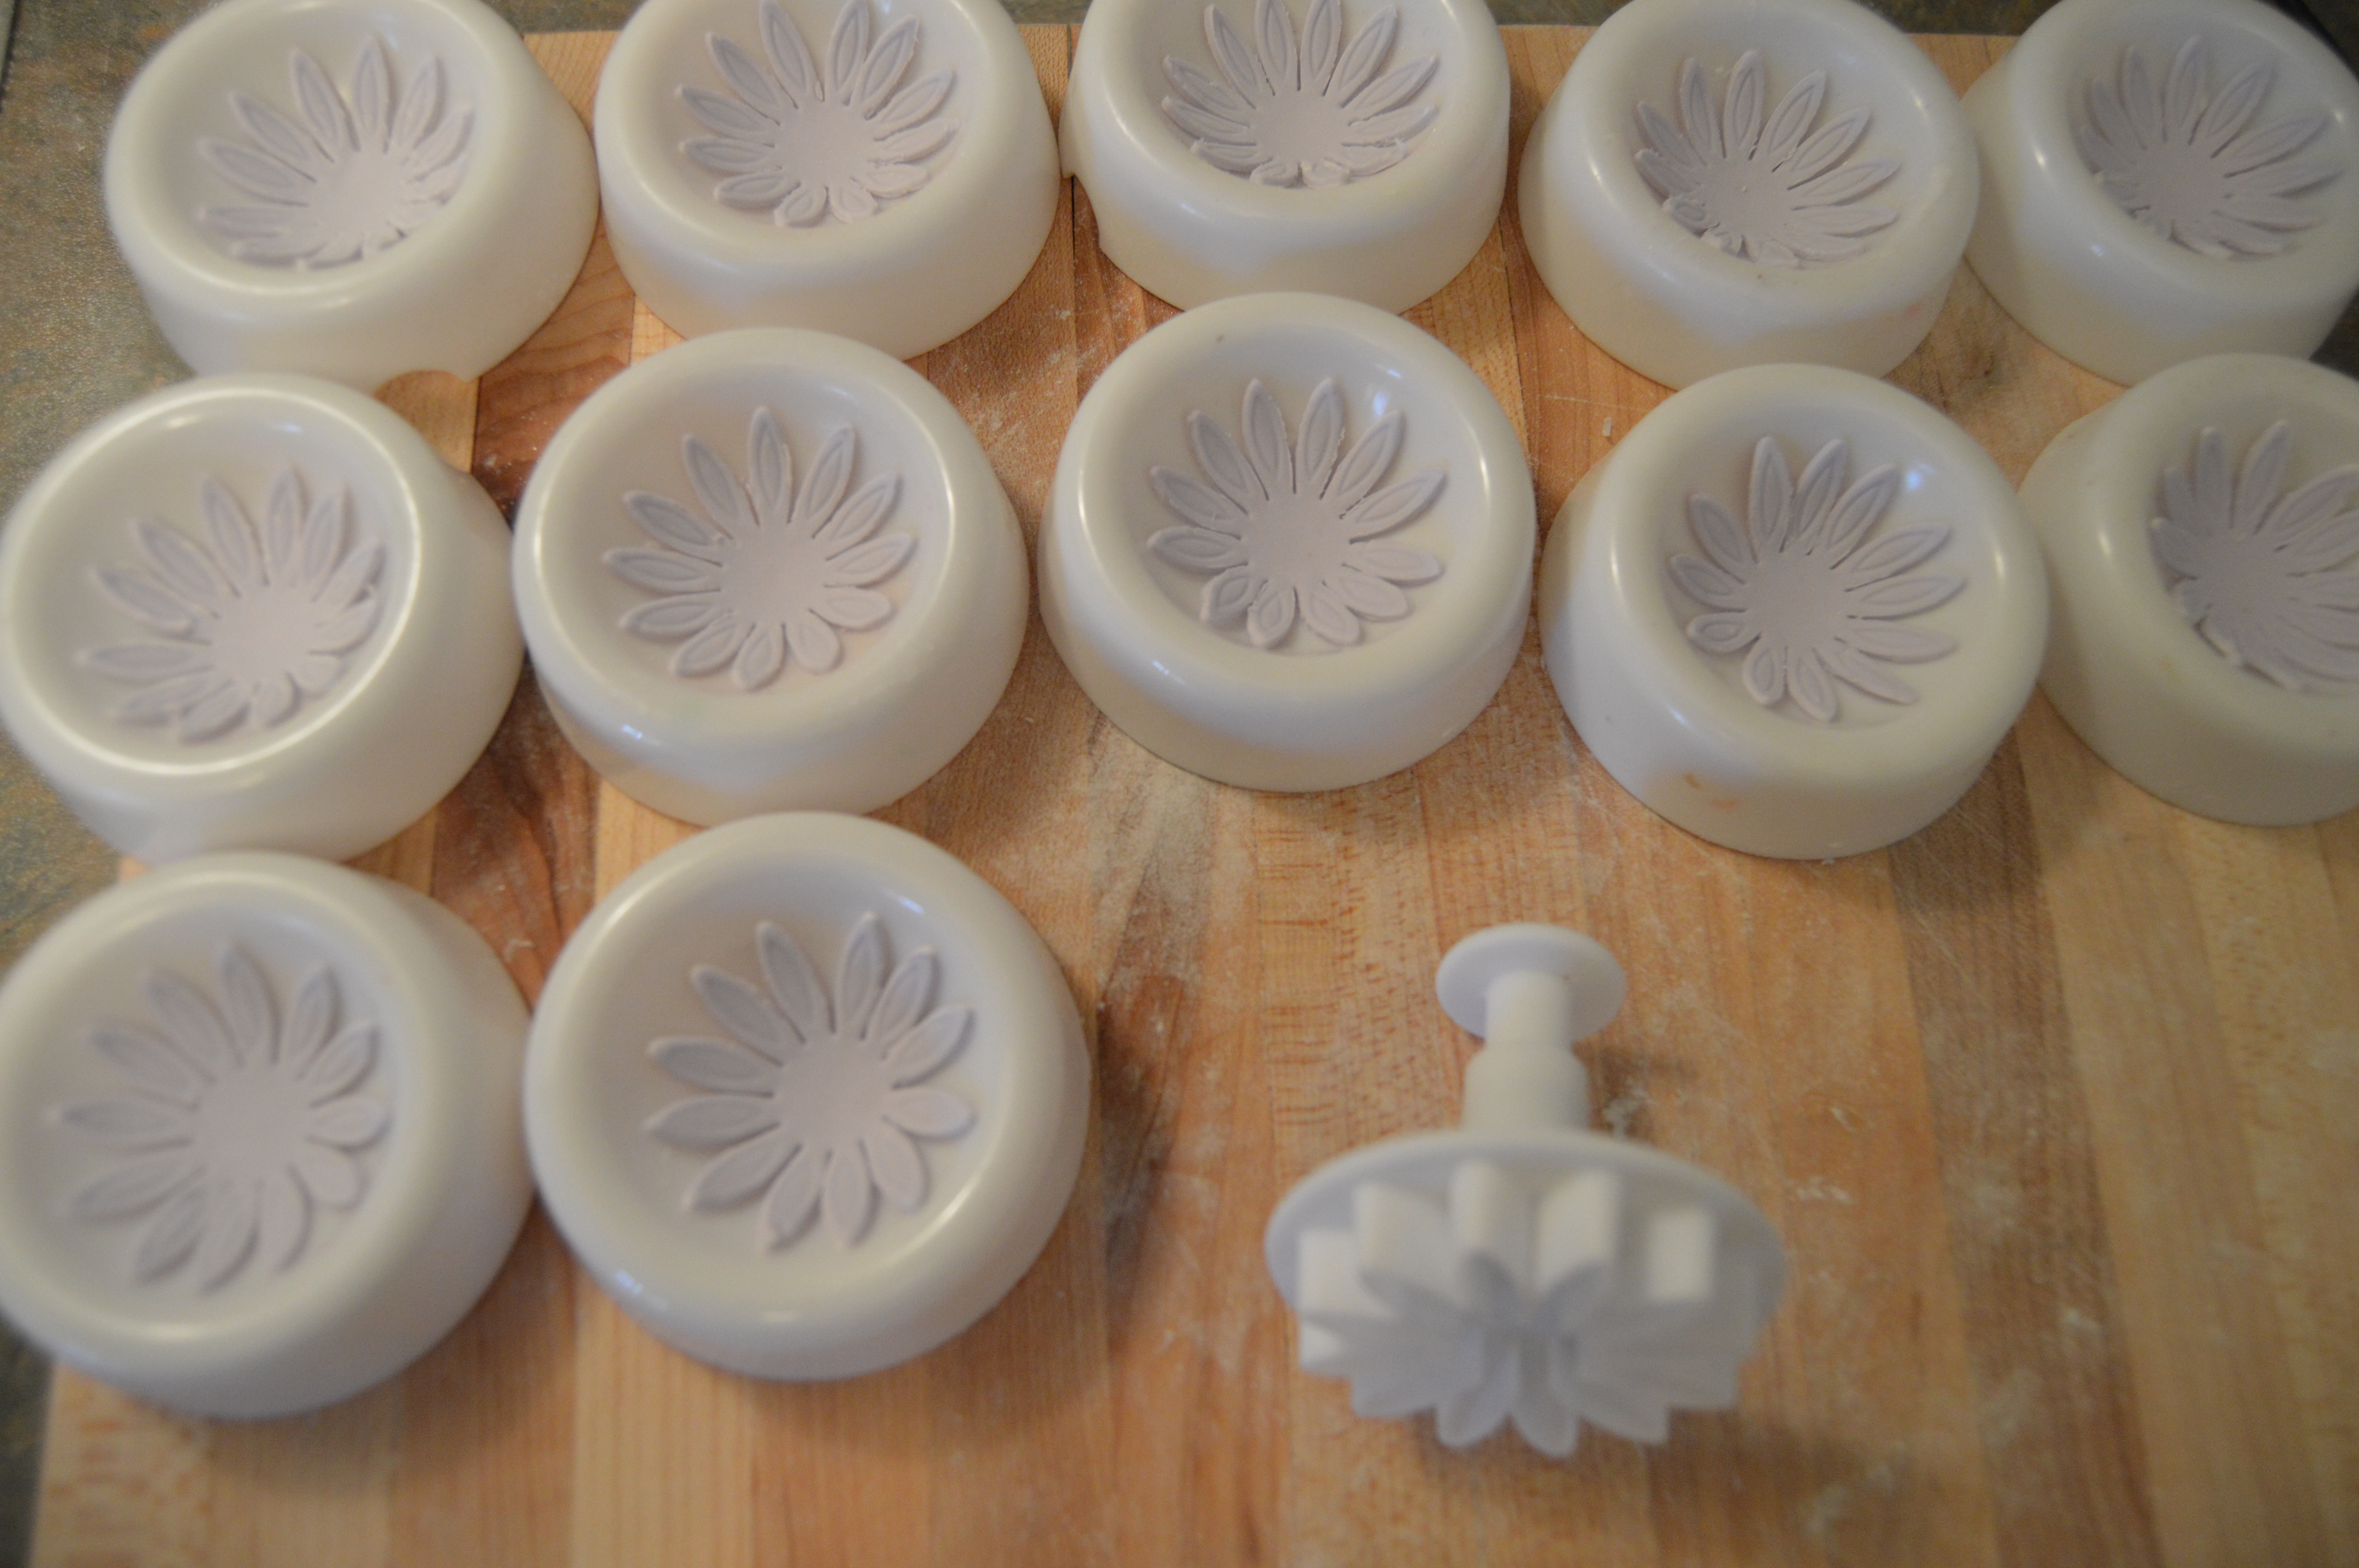
(12) I made some simple light purple flowers using a daisy cutter and left them to dry in flower cups. The flowers were finished with a few red sugar pearls. The flowers were placed on the hair, especially in places were I needed to hide some things like where the briad was pegged down and the gap between the braid and the hair tail. In retrospect, the flowers should have been made about a day earlier so they are ready to be used when needed.
(13) Finally, the hair was brushed with some gold pearl dust mixed with vodka for a more golden look. That’s all there is to it. Easy isn’t it? All the best creating yours.

Terry Adido is passionate about showing people how easy it is to recreate restaurant quality meals in the comfort of their kitchens. With a style of cooking he refers to as Afro-European Fusion, his meals are influenced greatly by French and Italian Cuisine with a West African twist. If you love good food, you are in for the ride of your life.
Well don terry love ur work
Thanks a lot.
Well done
Thanks Biodun
well done Mr terry and thanks for the tutorial
You are welcome Amarachi.
always learning from u; thanks… God bless u
You are welcome Constance.
Weldone Terry,ialways admire your work. Keep it up Terry….thumb up
Thanks Mercy
Well done Terry
Thanks Binta
Beautiful cake , great work
I want to made this cake for my daughter’s birthday but she want butter cream instead , do u think I can do the cake in butter cream and put the rapenzal face made out of fondant on the top ? What do u think what kind of butter cream would be good for this ?
Thanks a lot
Yes Vivian, this cake can definitely be made with buttercream and decorated with fondant.
I just can’t believe you are a self taught decorator. Good job bro, you are really good at this.
Thanks Mercy.