
The Making of a Noah’s Ark Cake
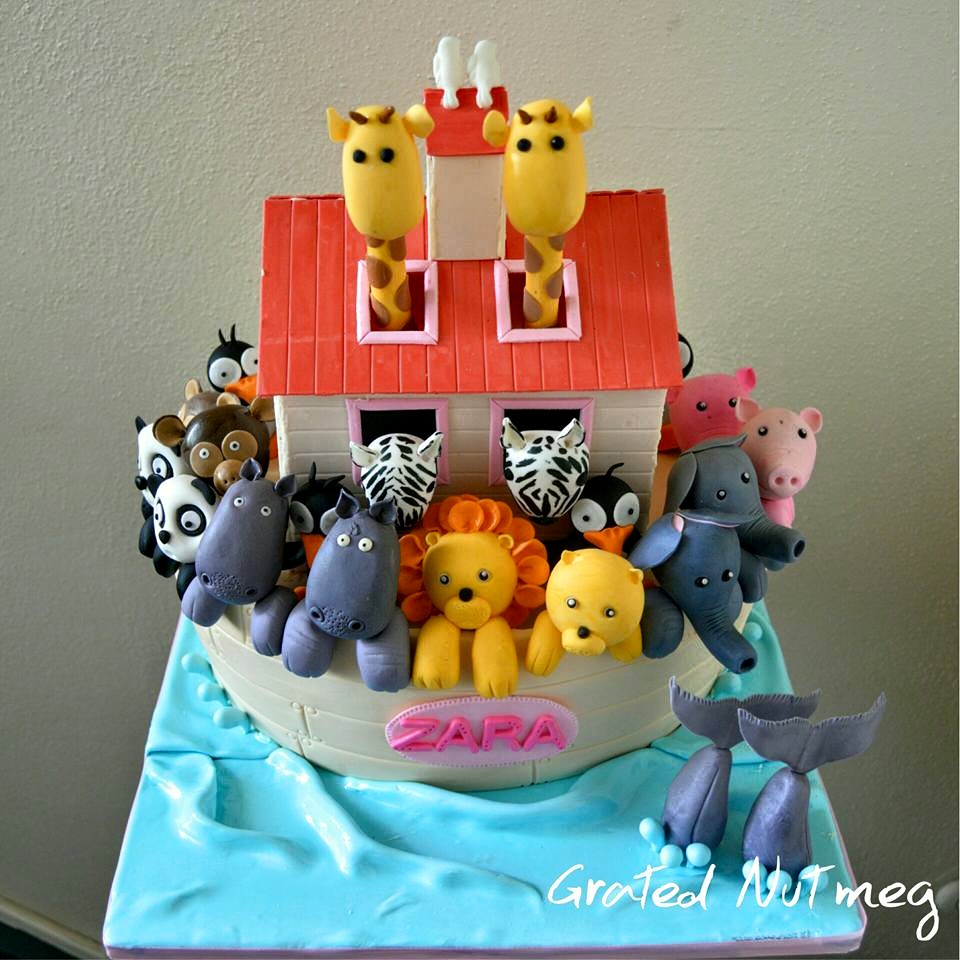
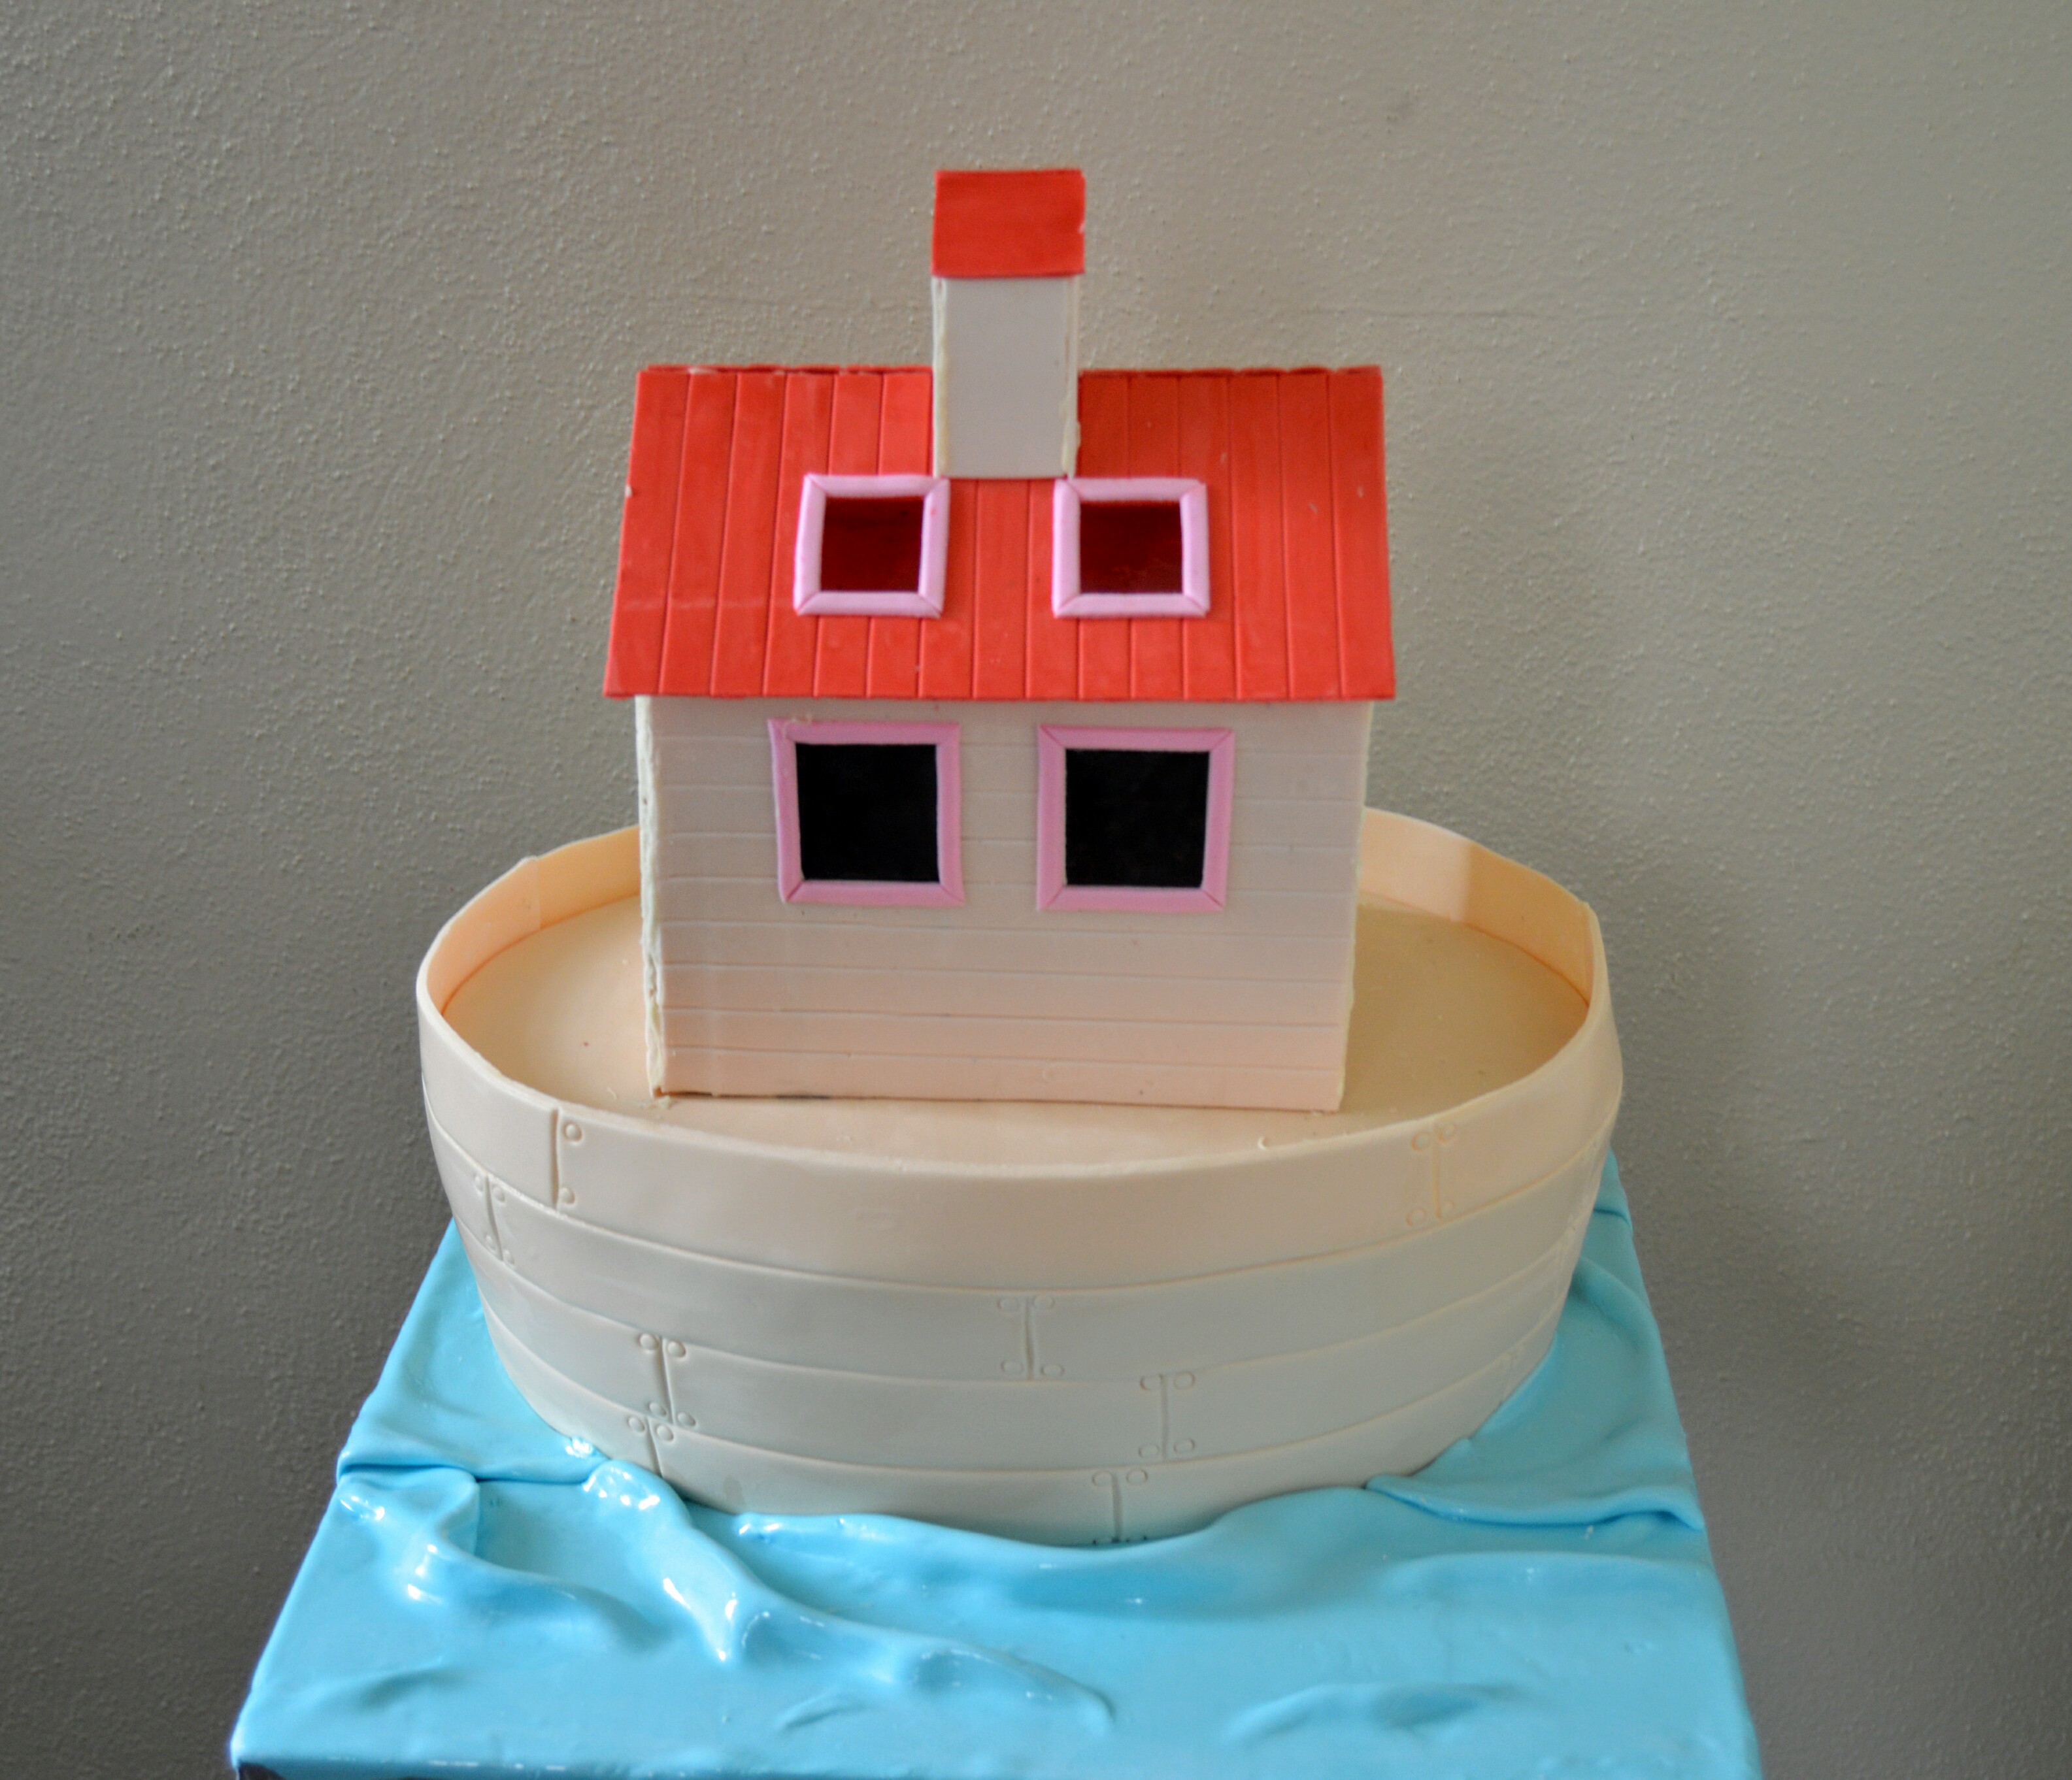
In this tutorial, I will be showing you how I made this Noah’s Ark Cake. This is one cake in which I used both the dry and soft fondant paneling methods. To read more about this cake and see other views of it, click here. For detailed notes on how I decorate cakes using soft and dry fondant panels, click here.The notes there will help you understand the process here better.
THE PROCESS
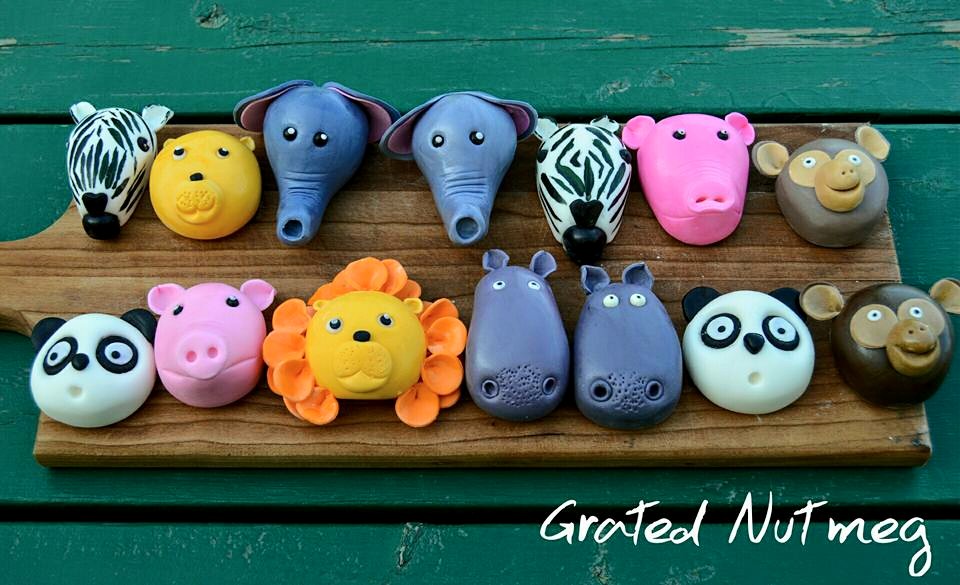
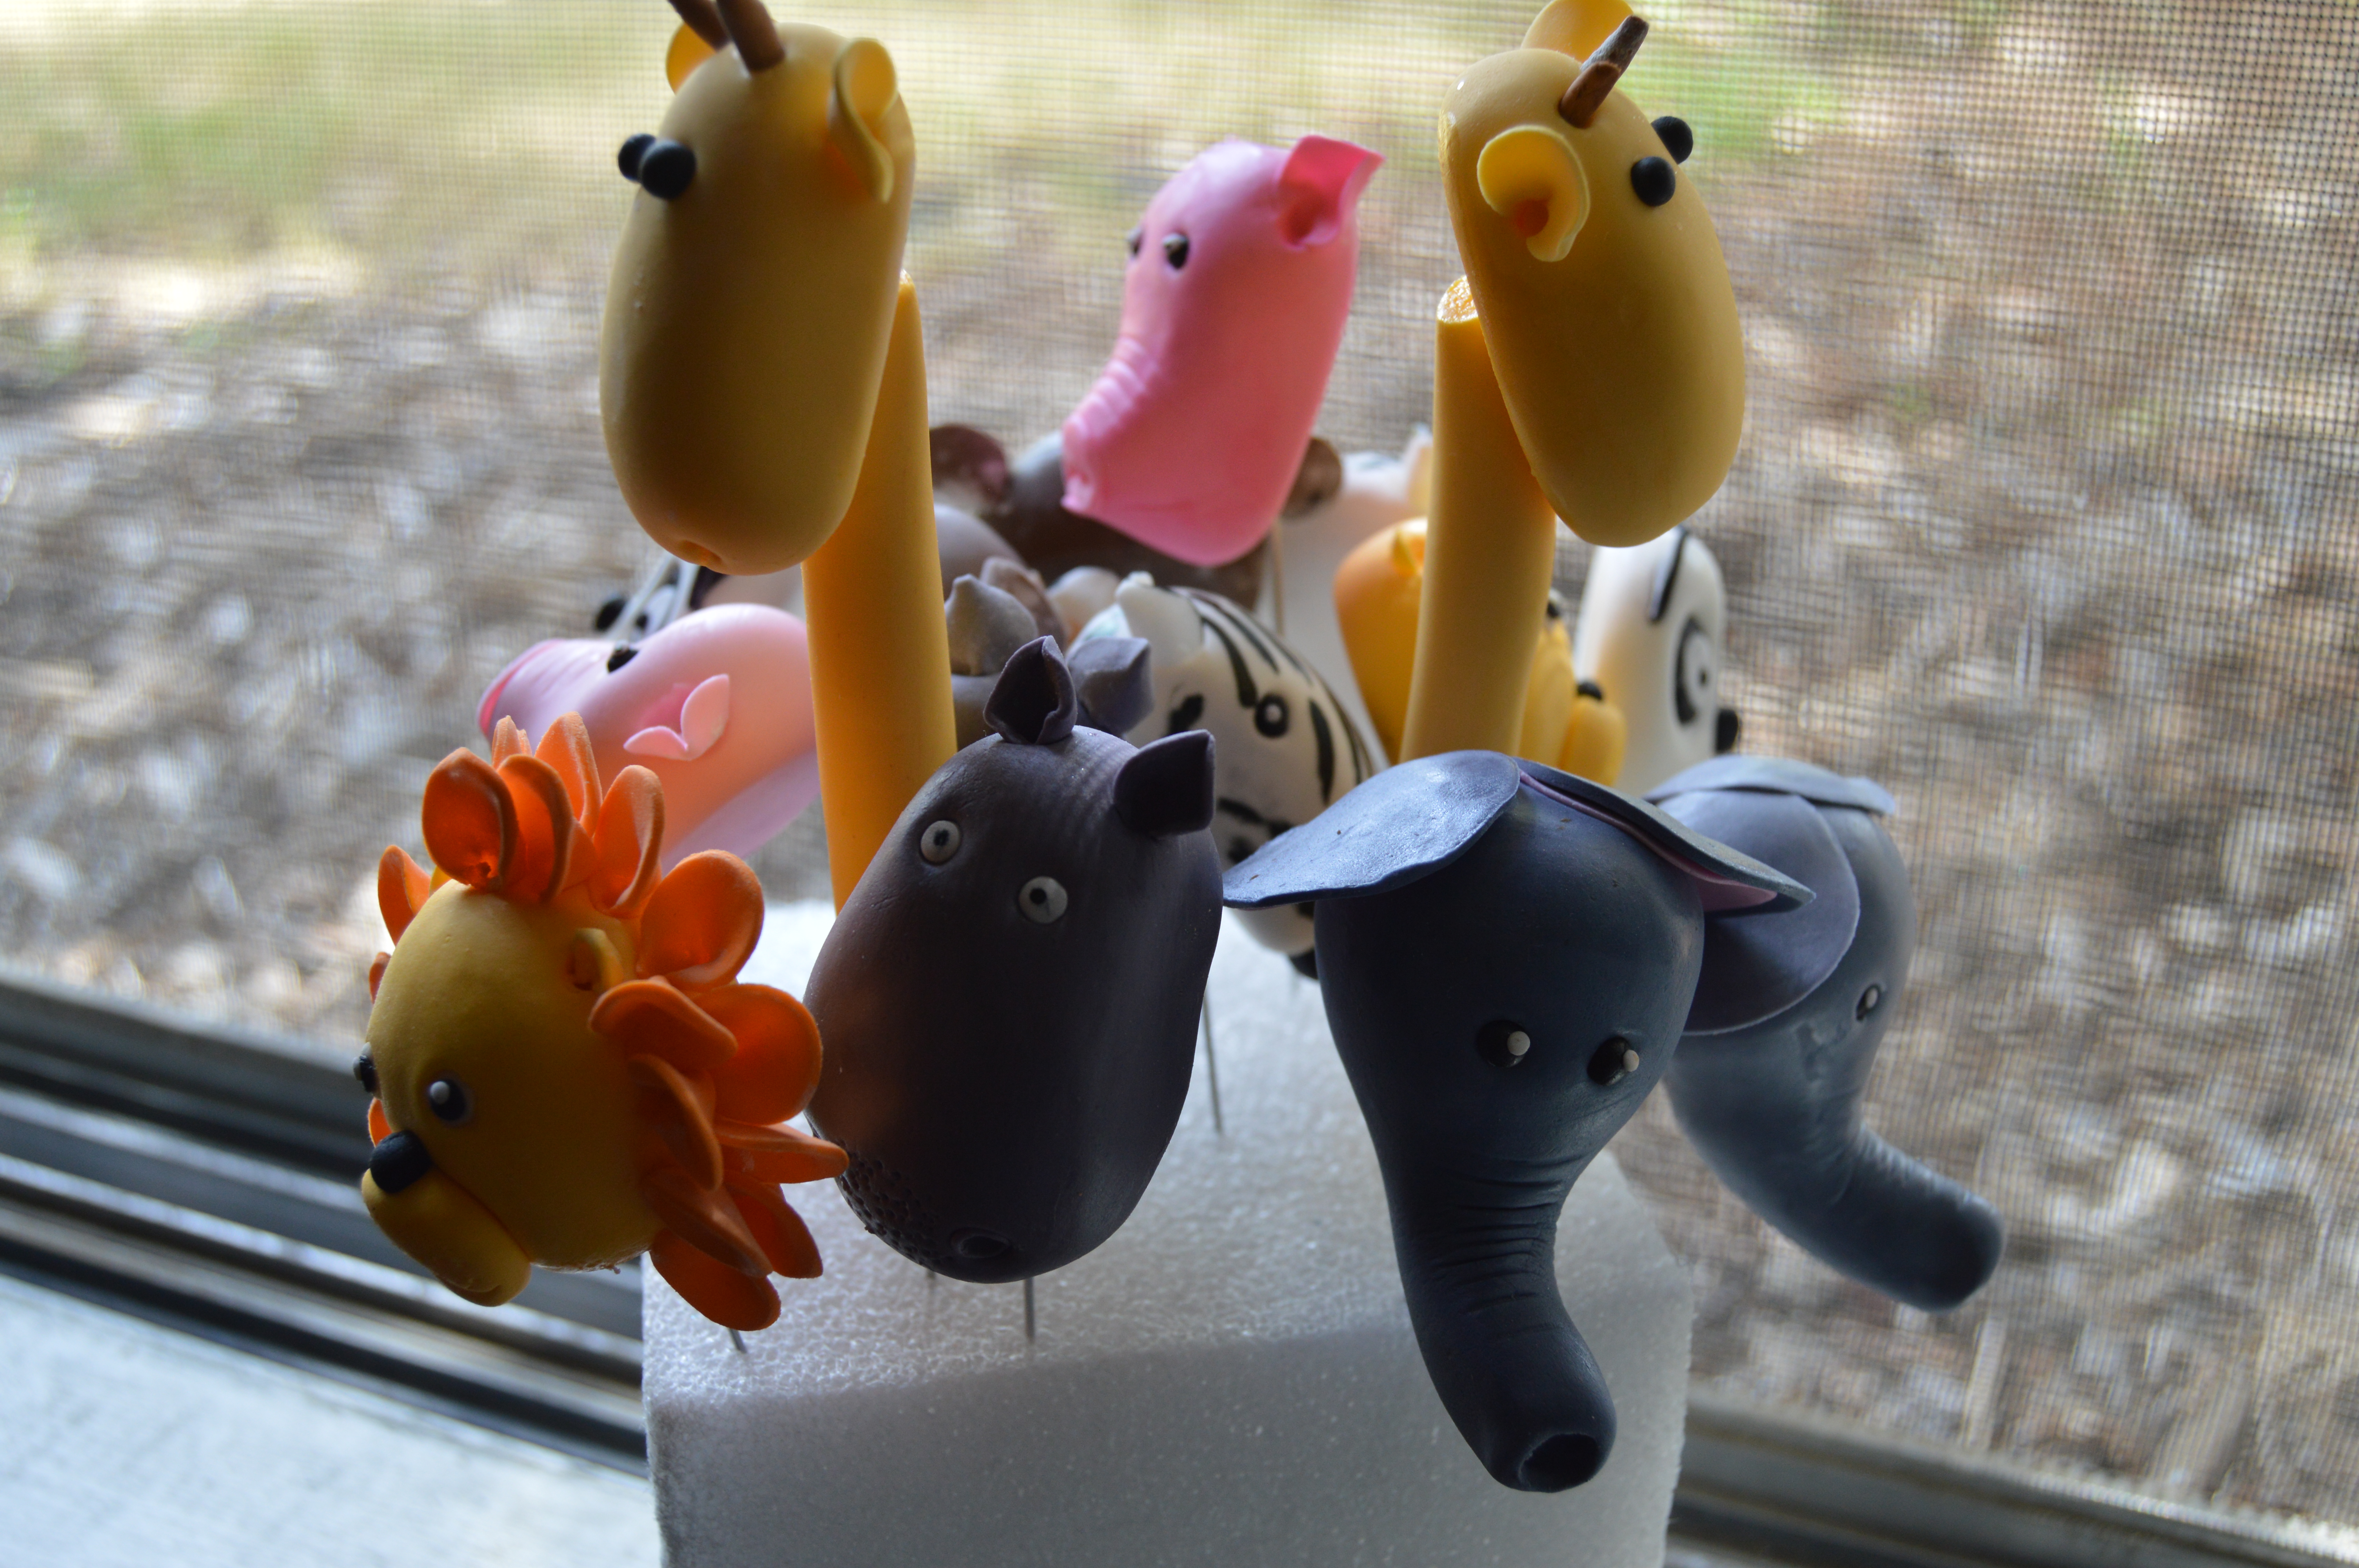
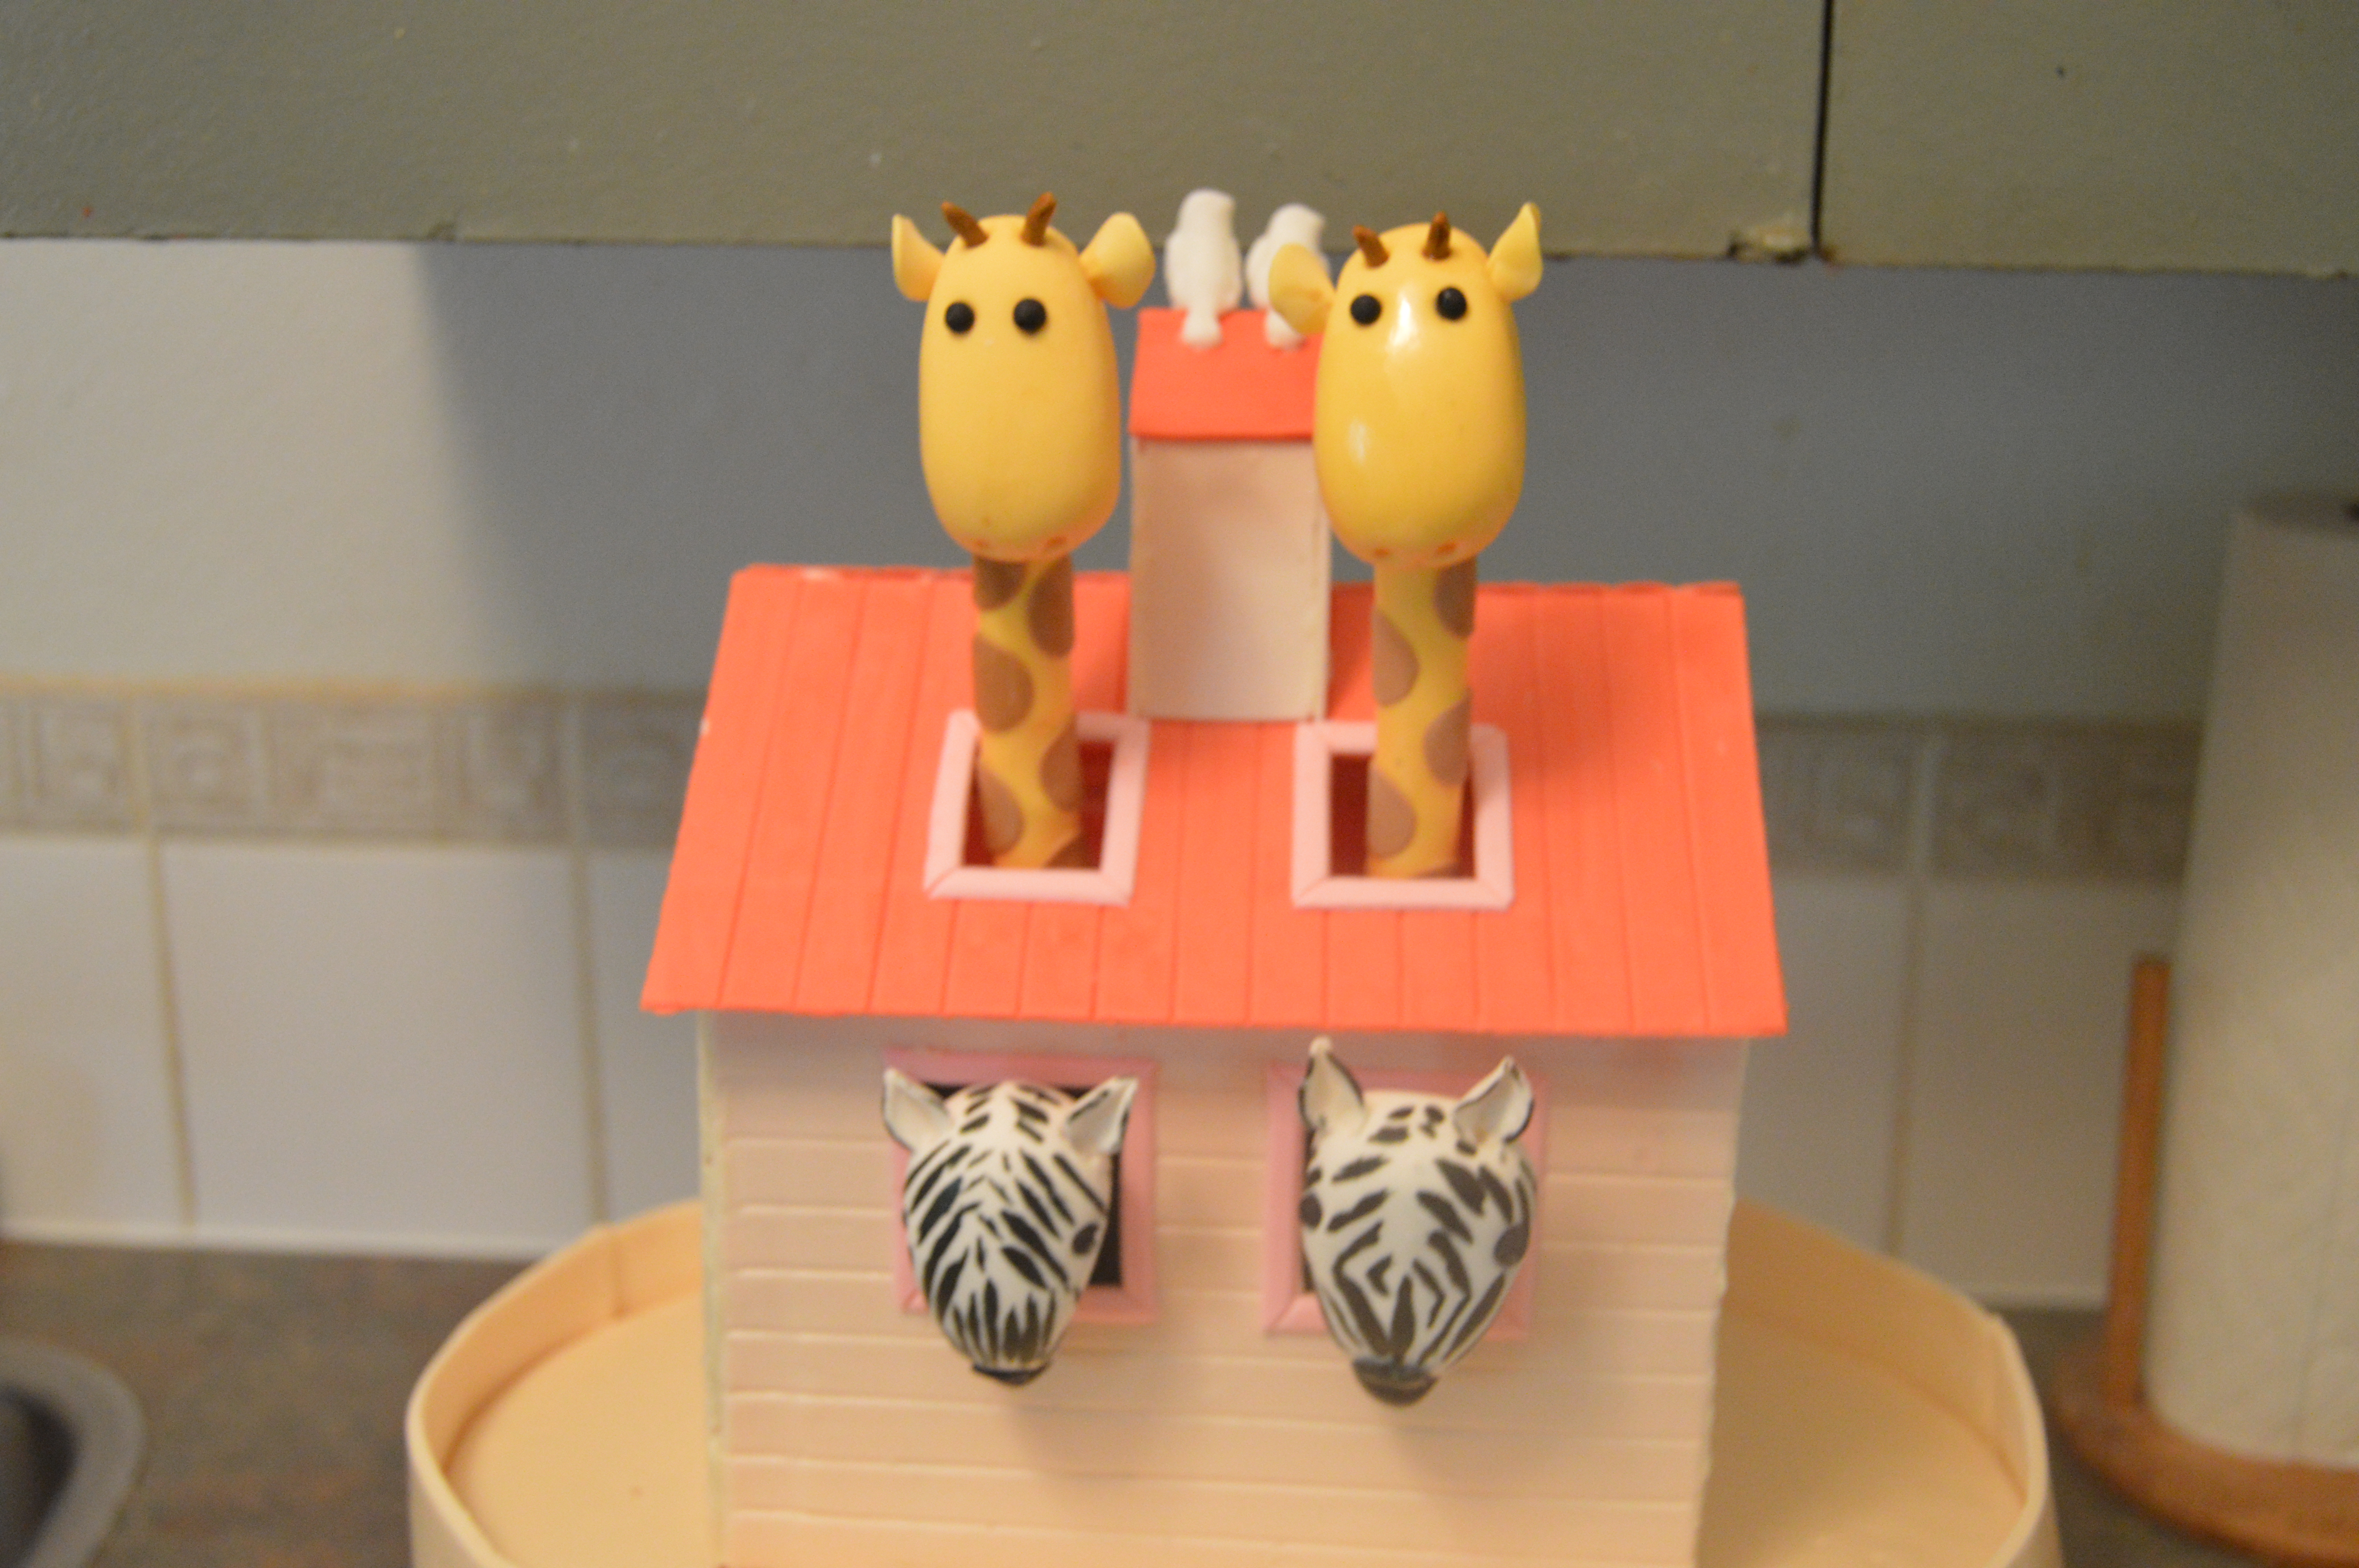
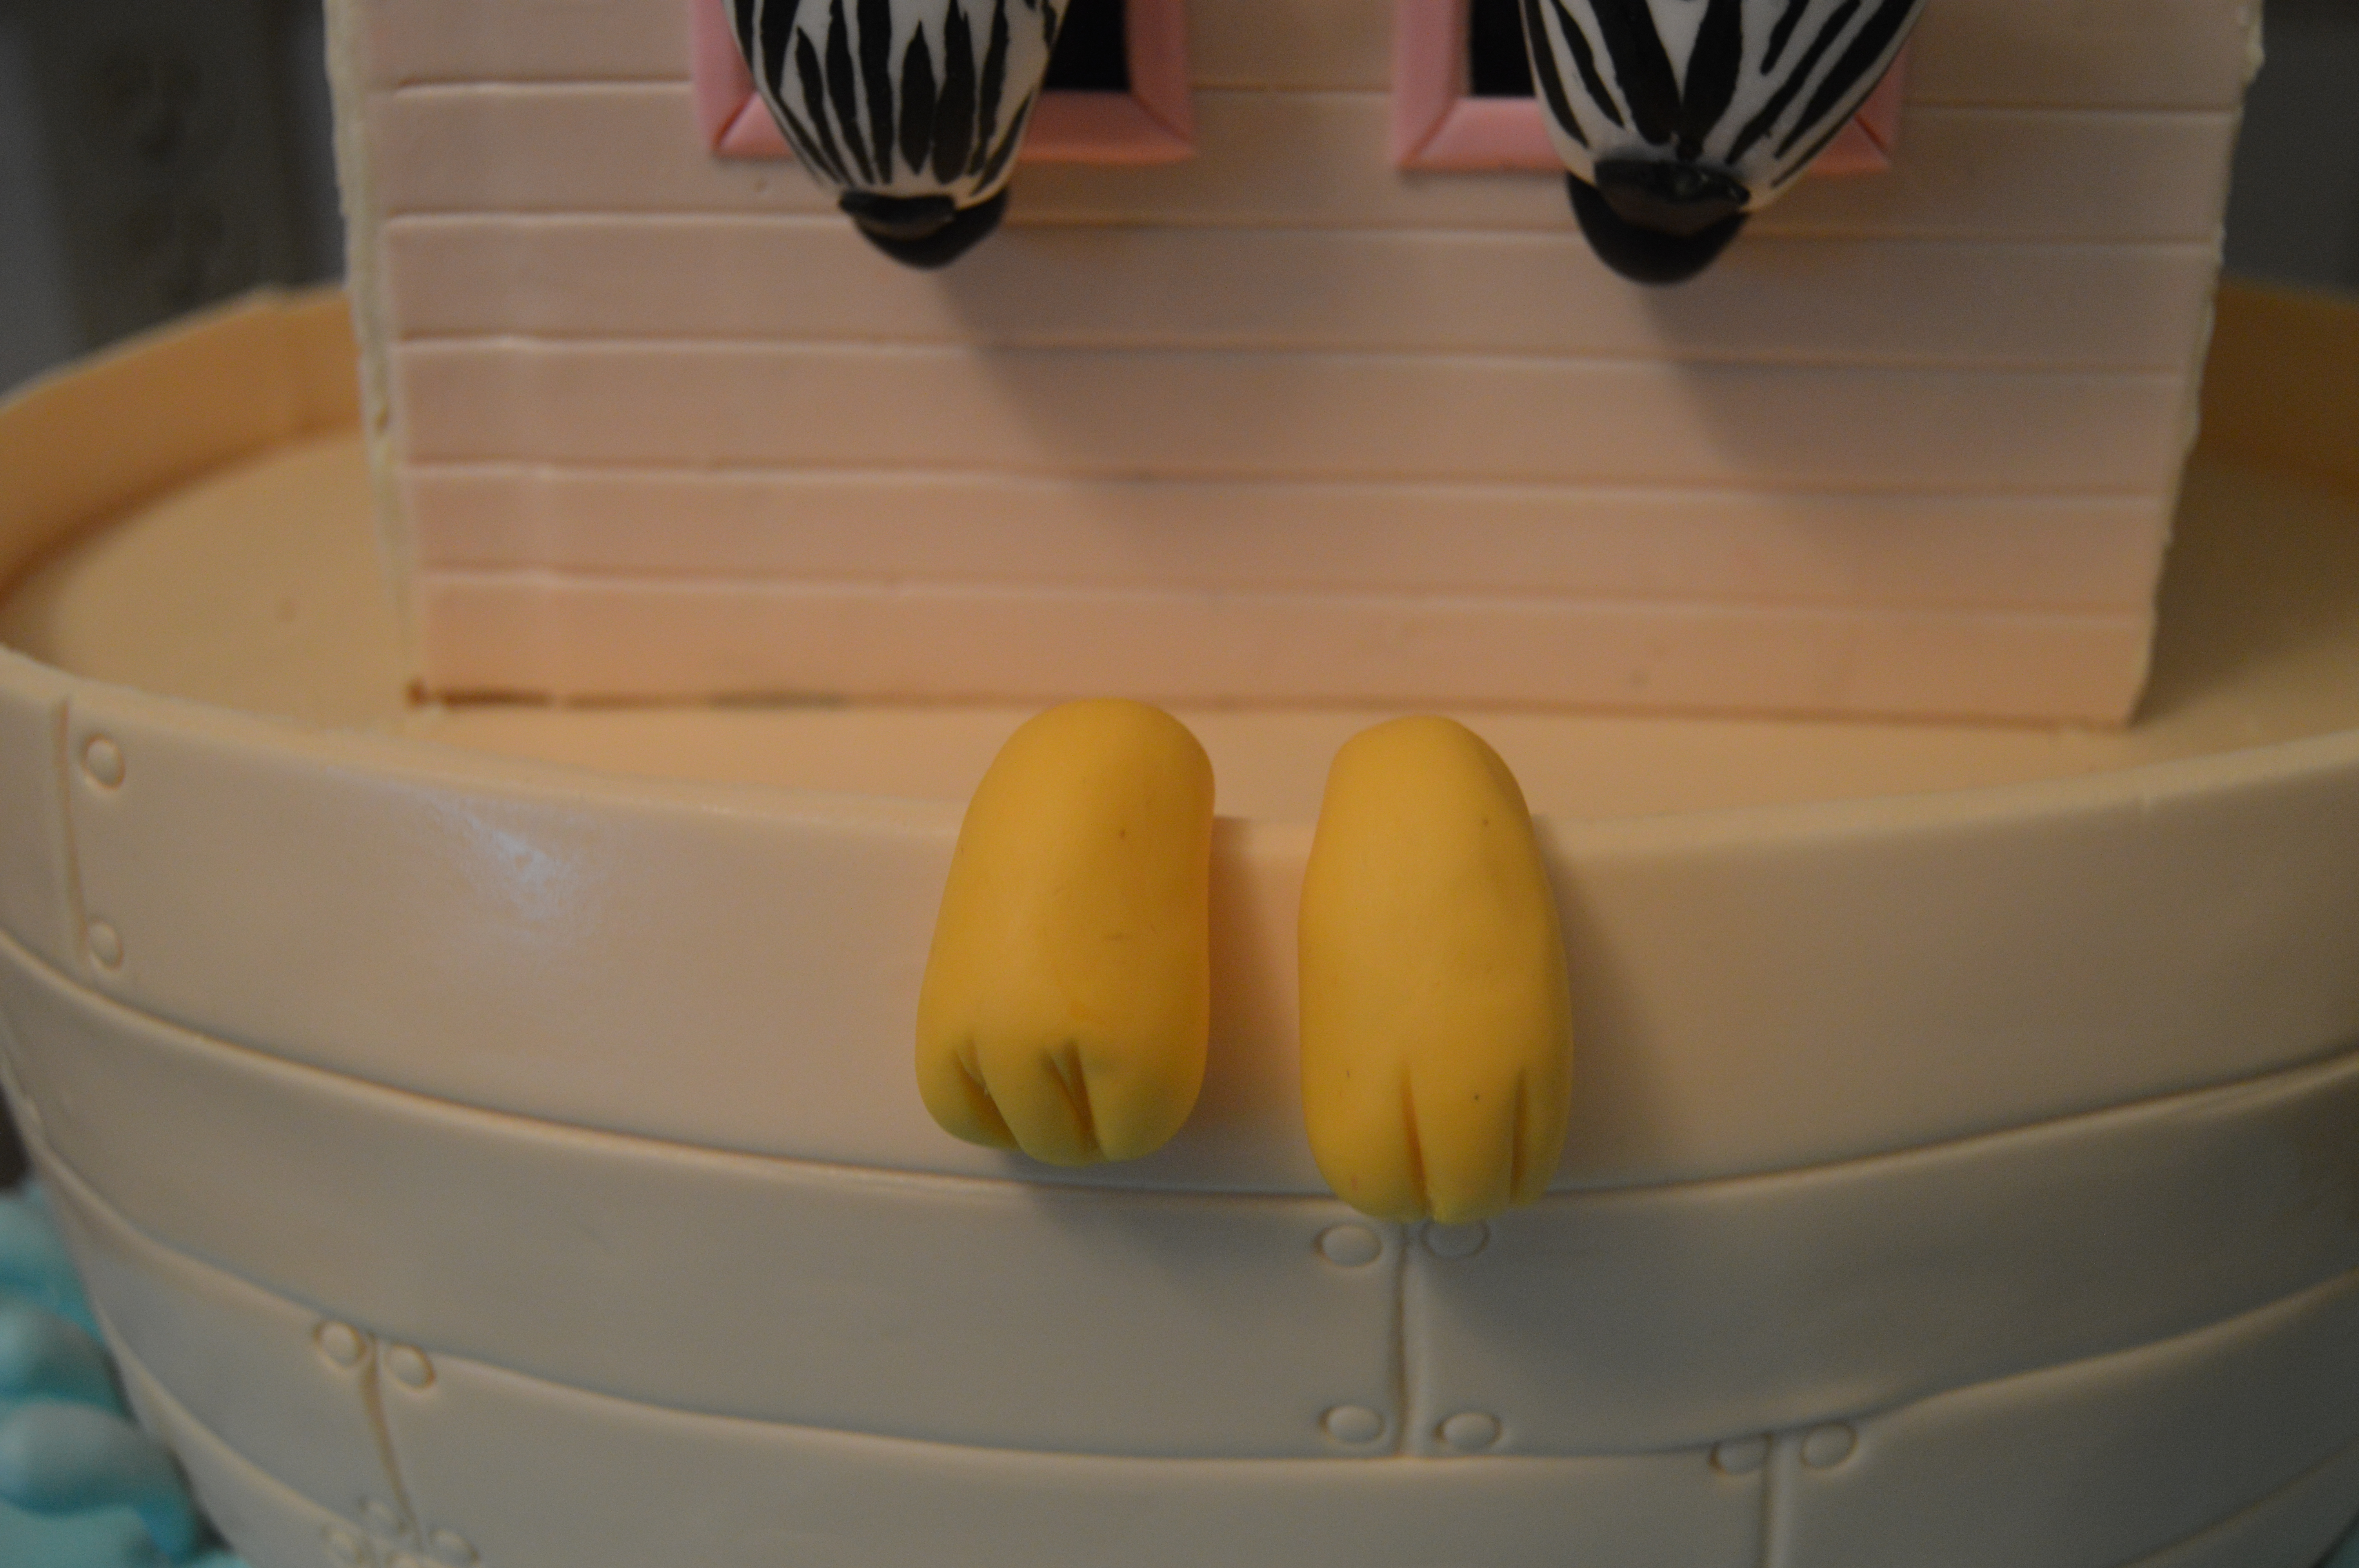
(1) Make all your animal heads. Leave the heads to dry for about 24 hours and insert floral wires underneath them. Links to some of the animals I used here can be found below. These can be made weeks in advance. After making each head, keep the remaining fondant as these will be used to make the animal feet when the cake is being designed.
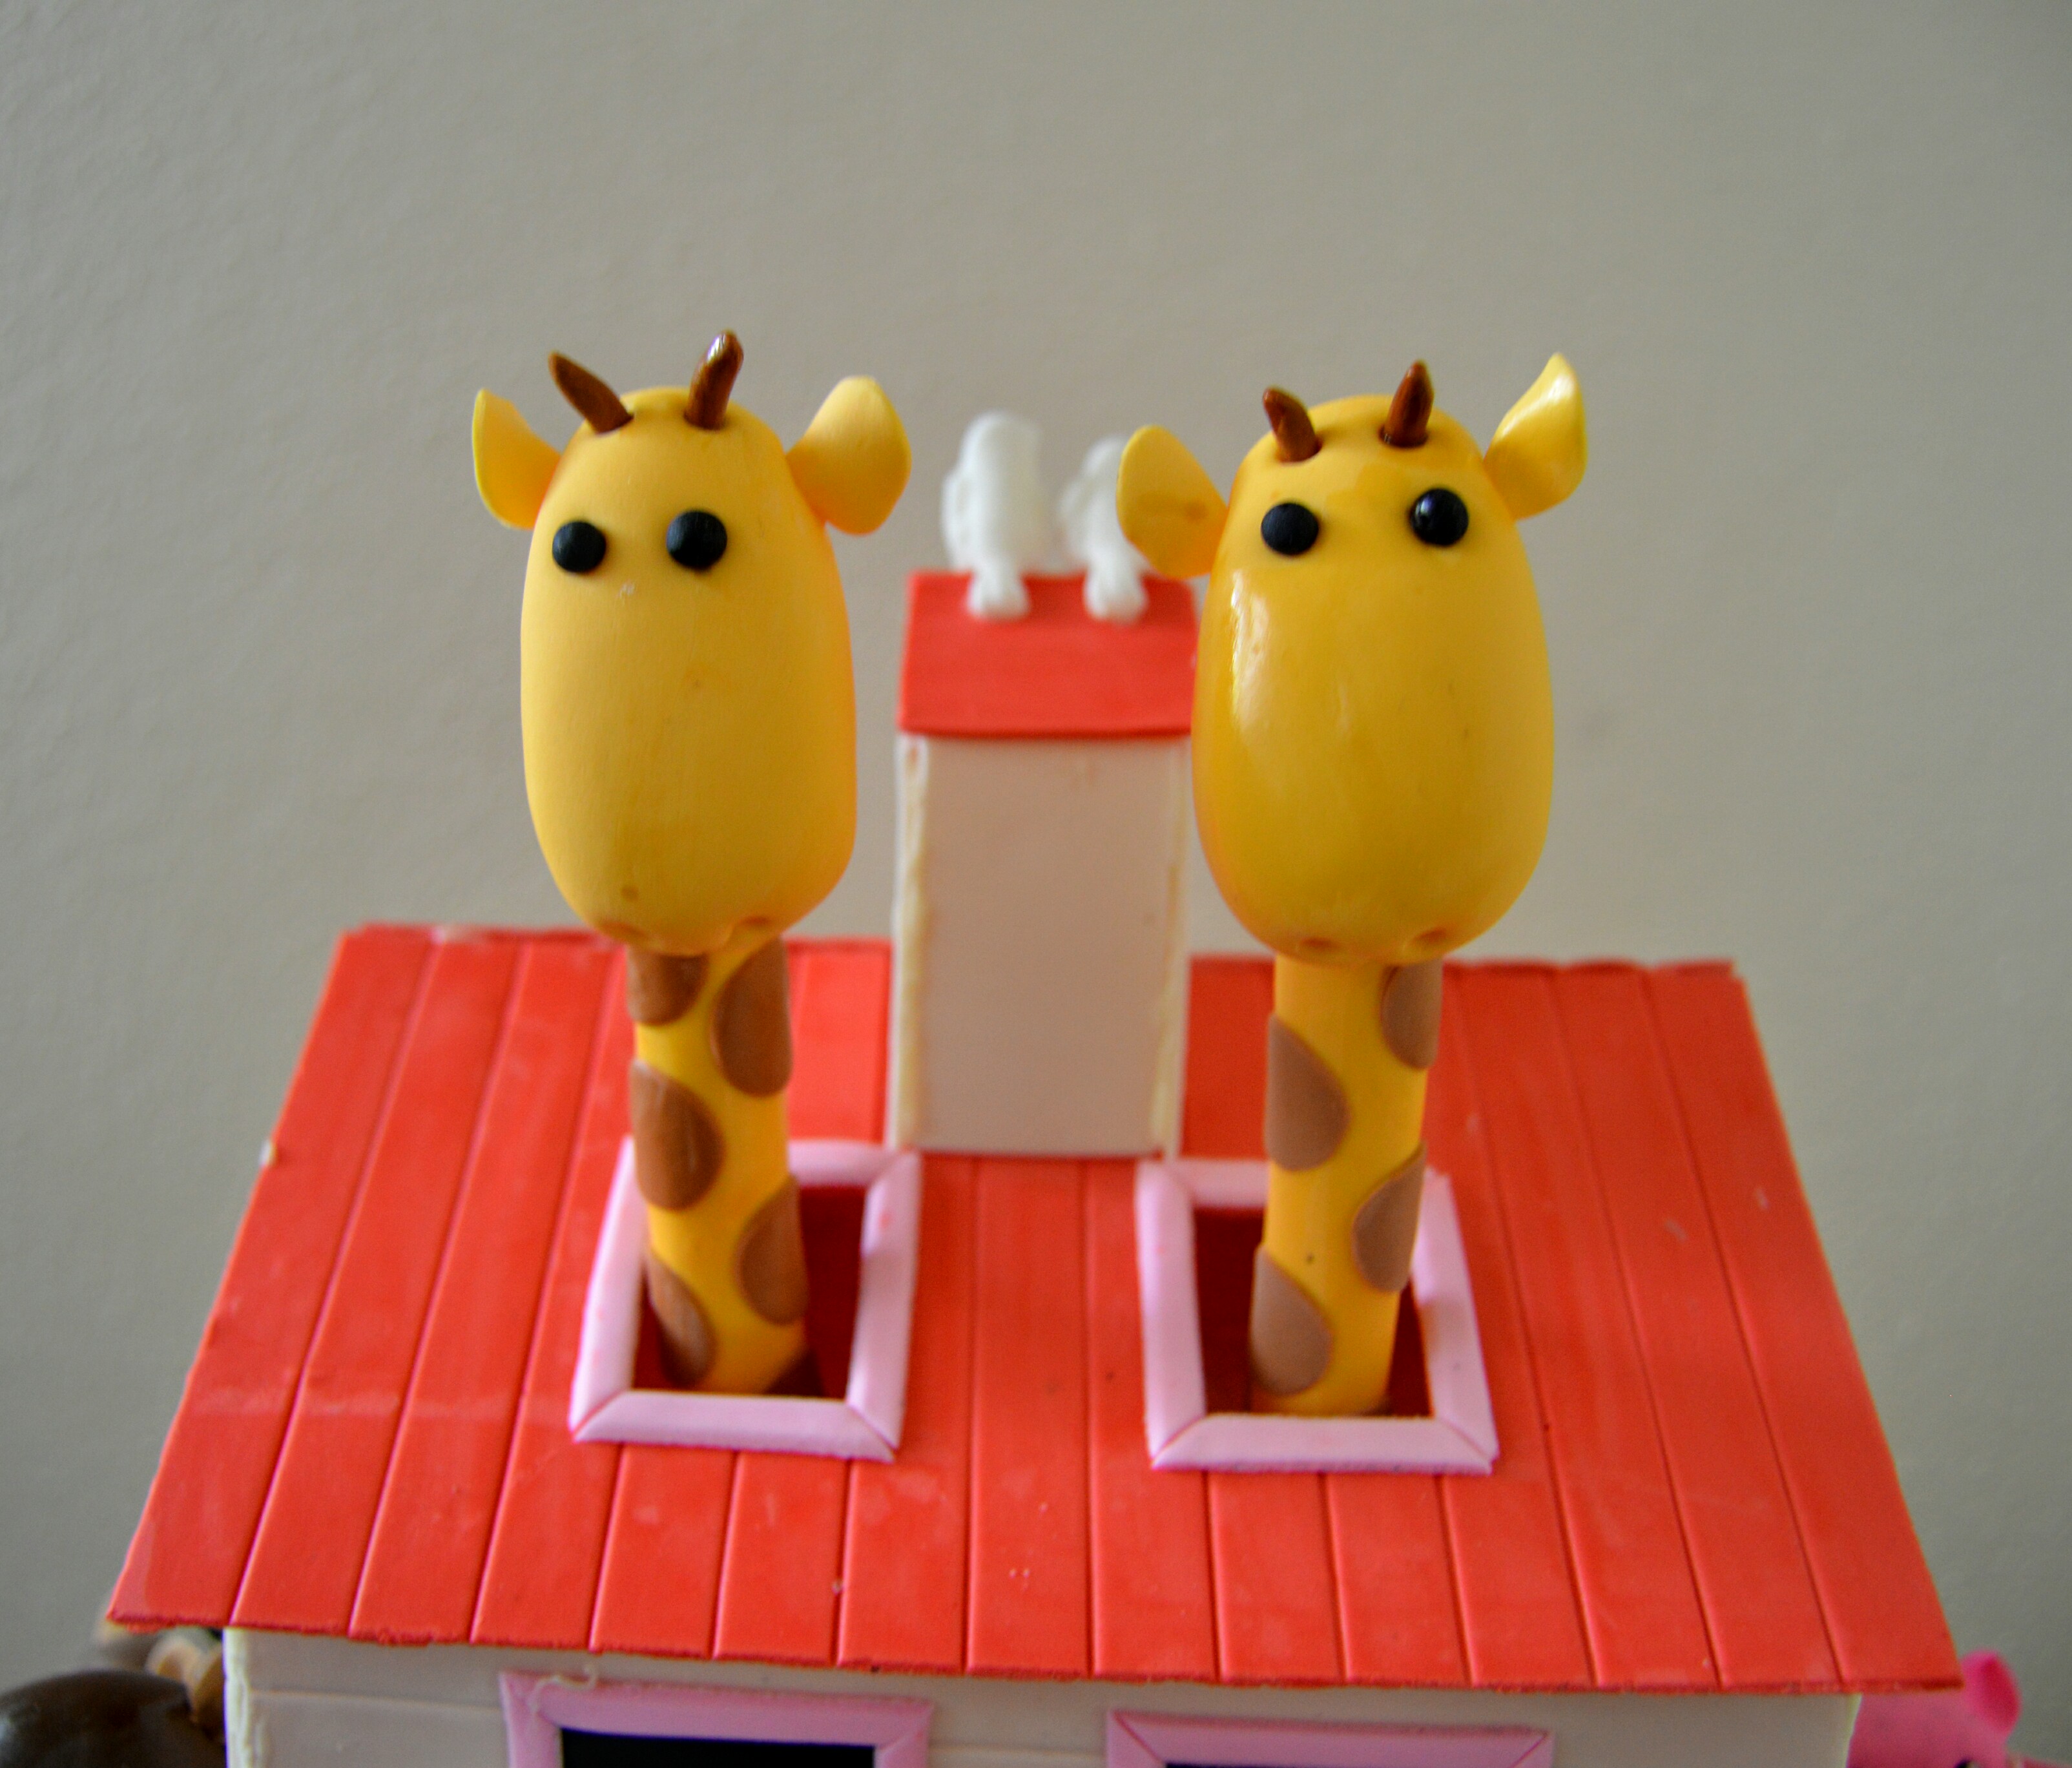
Fondant Giraffes. Link here
Fondant Monkeys. Link here
Fondant Penguins. Link here
Fondant Hippos. Link here
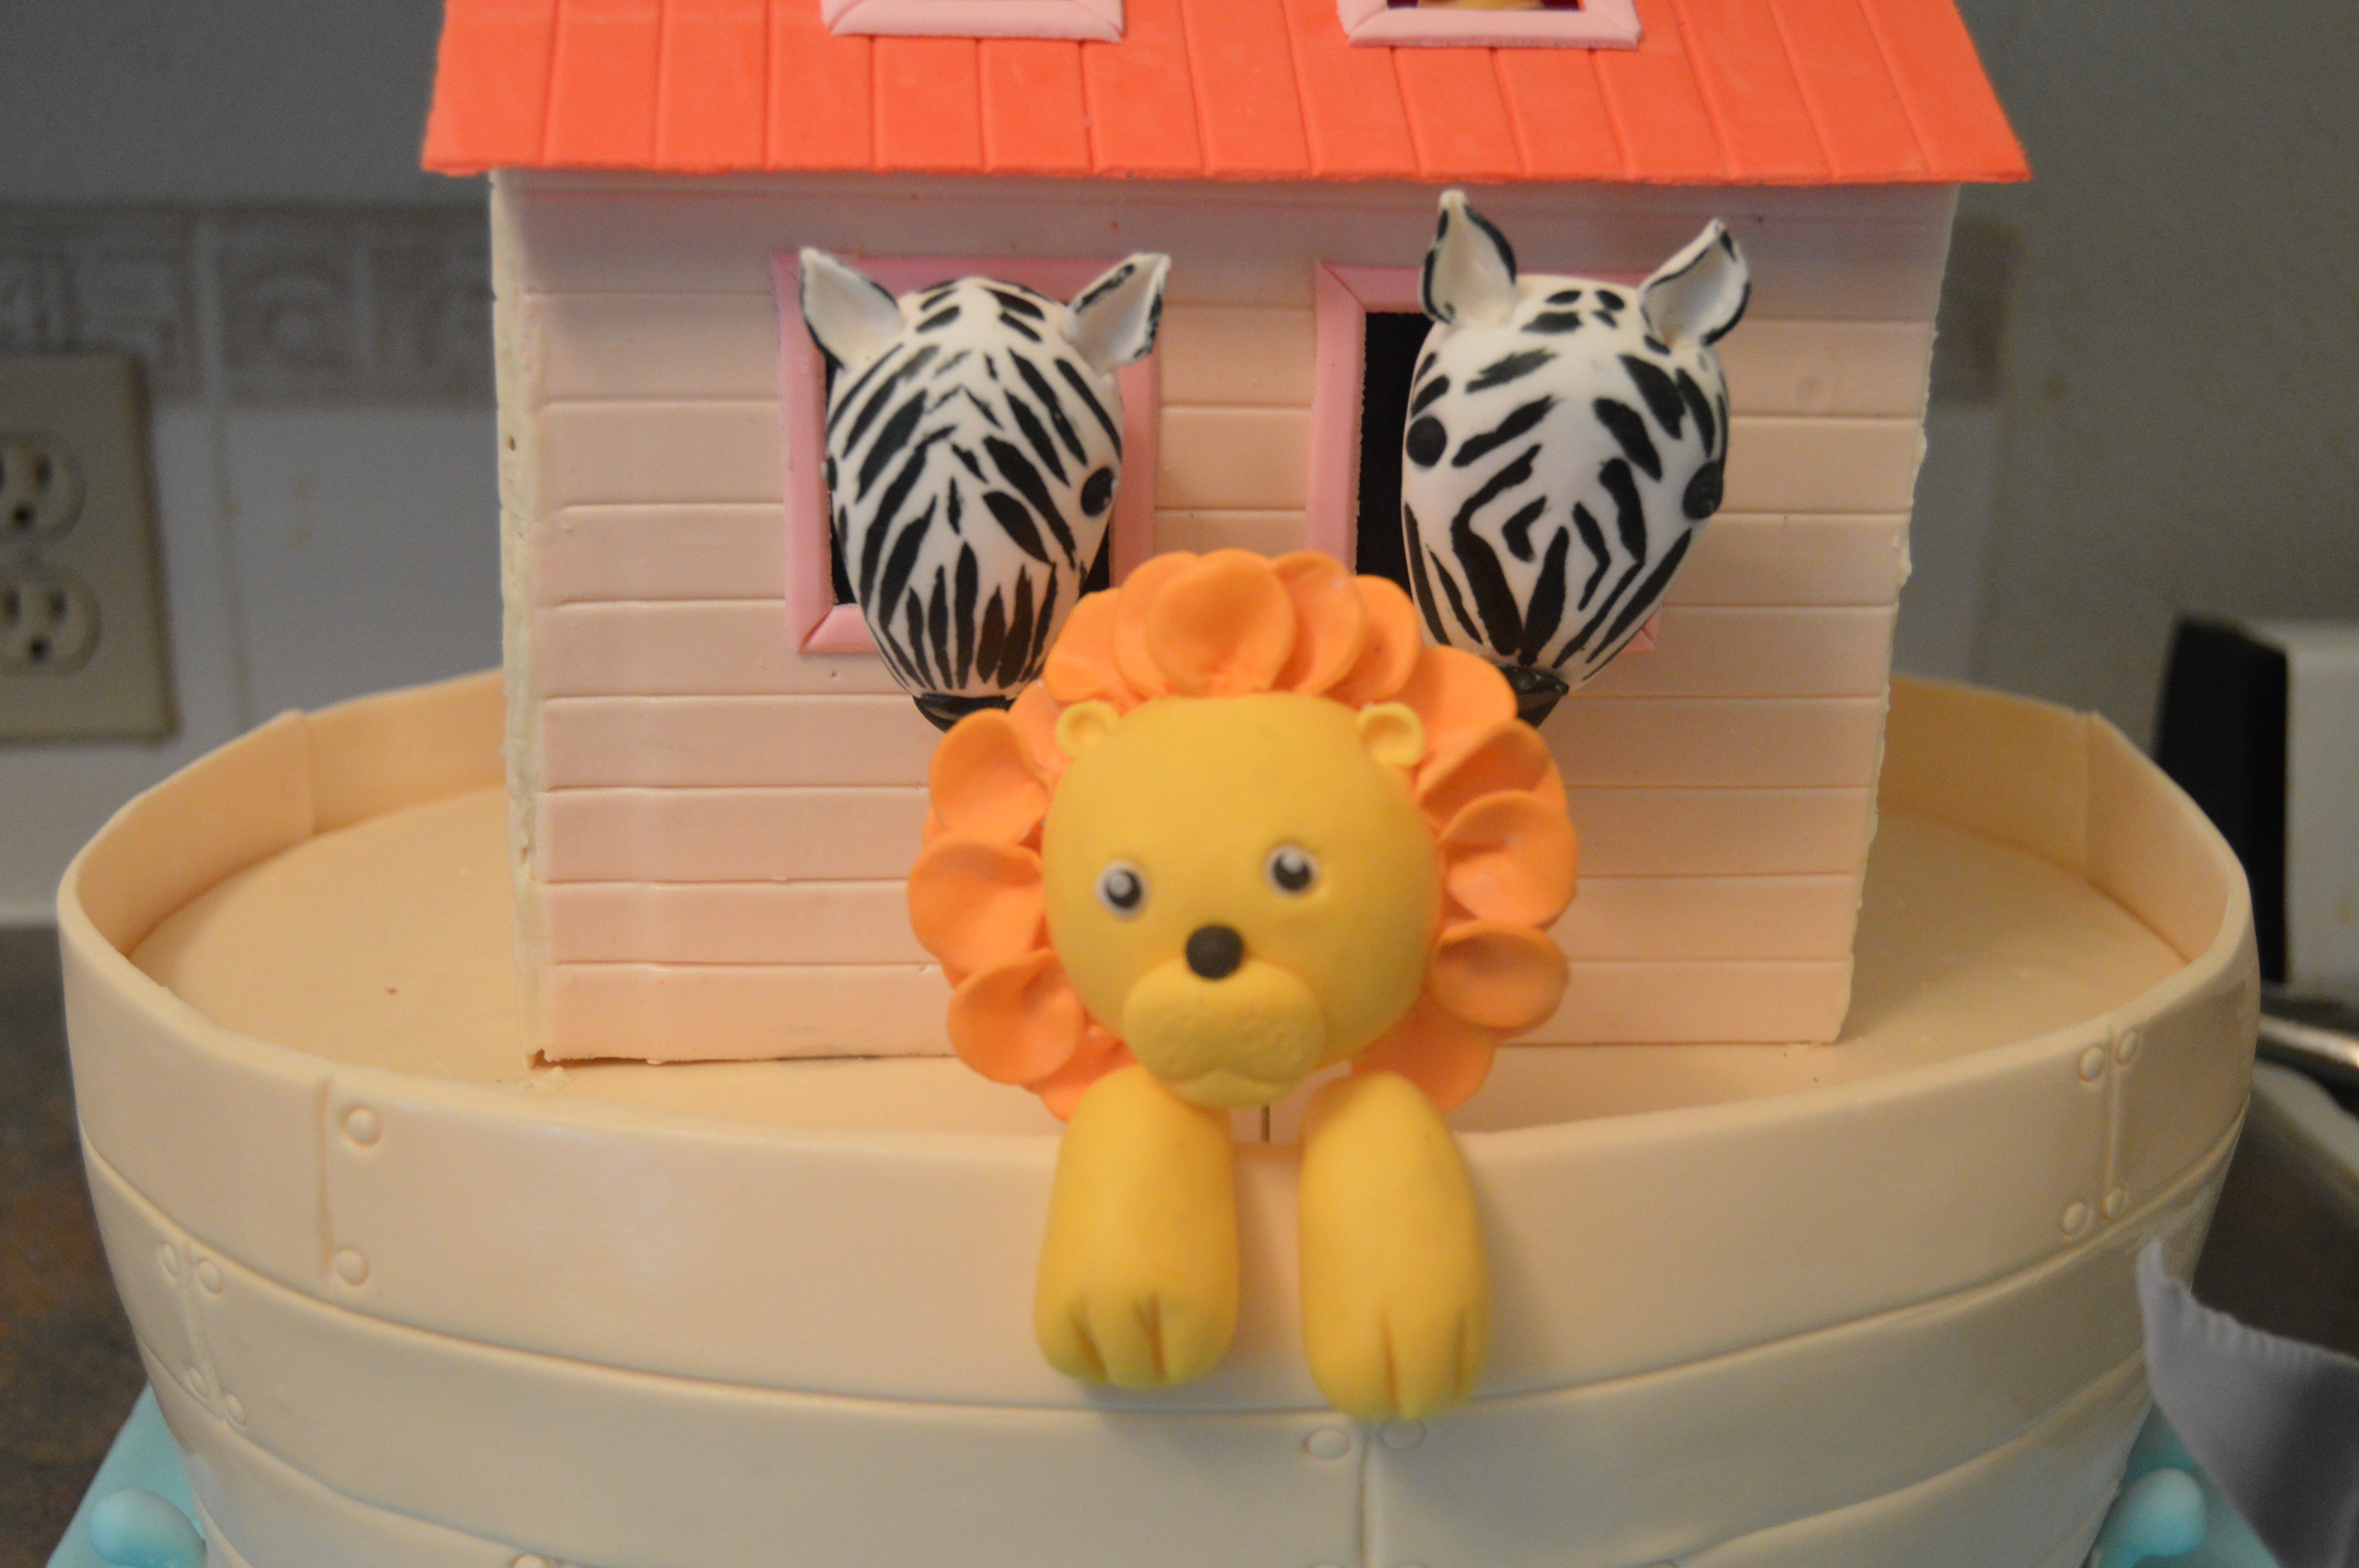
Fondant Lions. Link here
Fondant Pandas. Link here
Fondant Elephants. Link here
Fondant Shark Tails. Link here
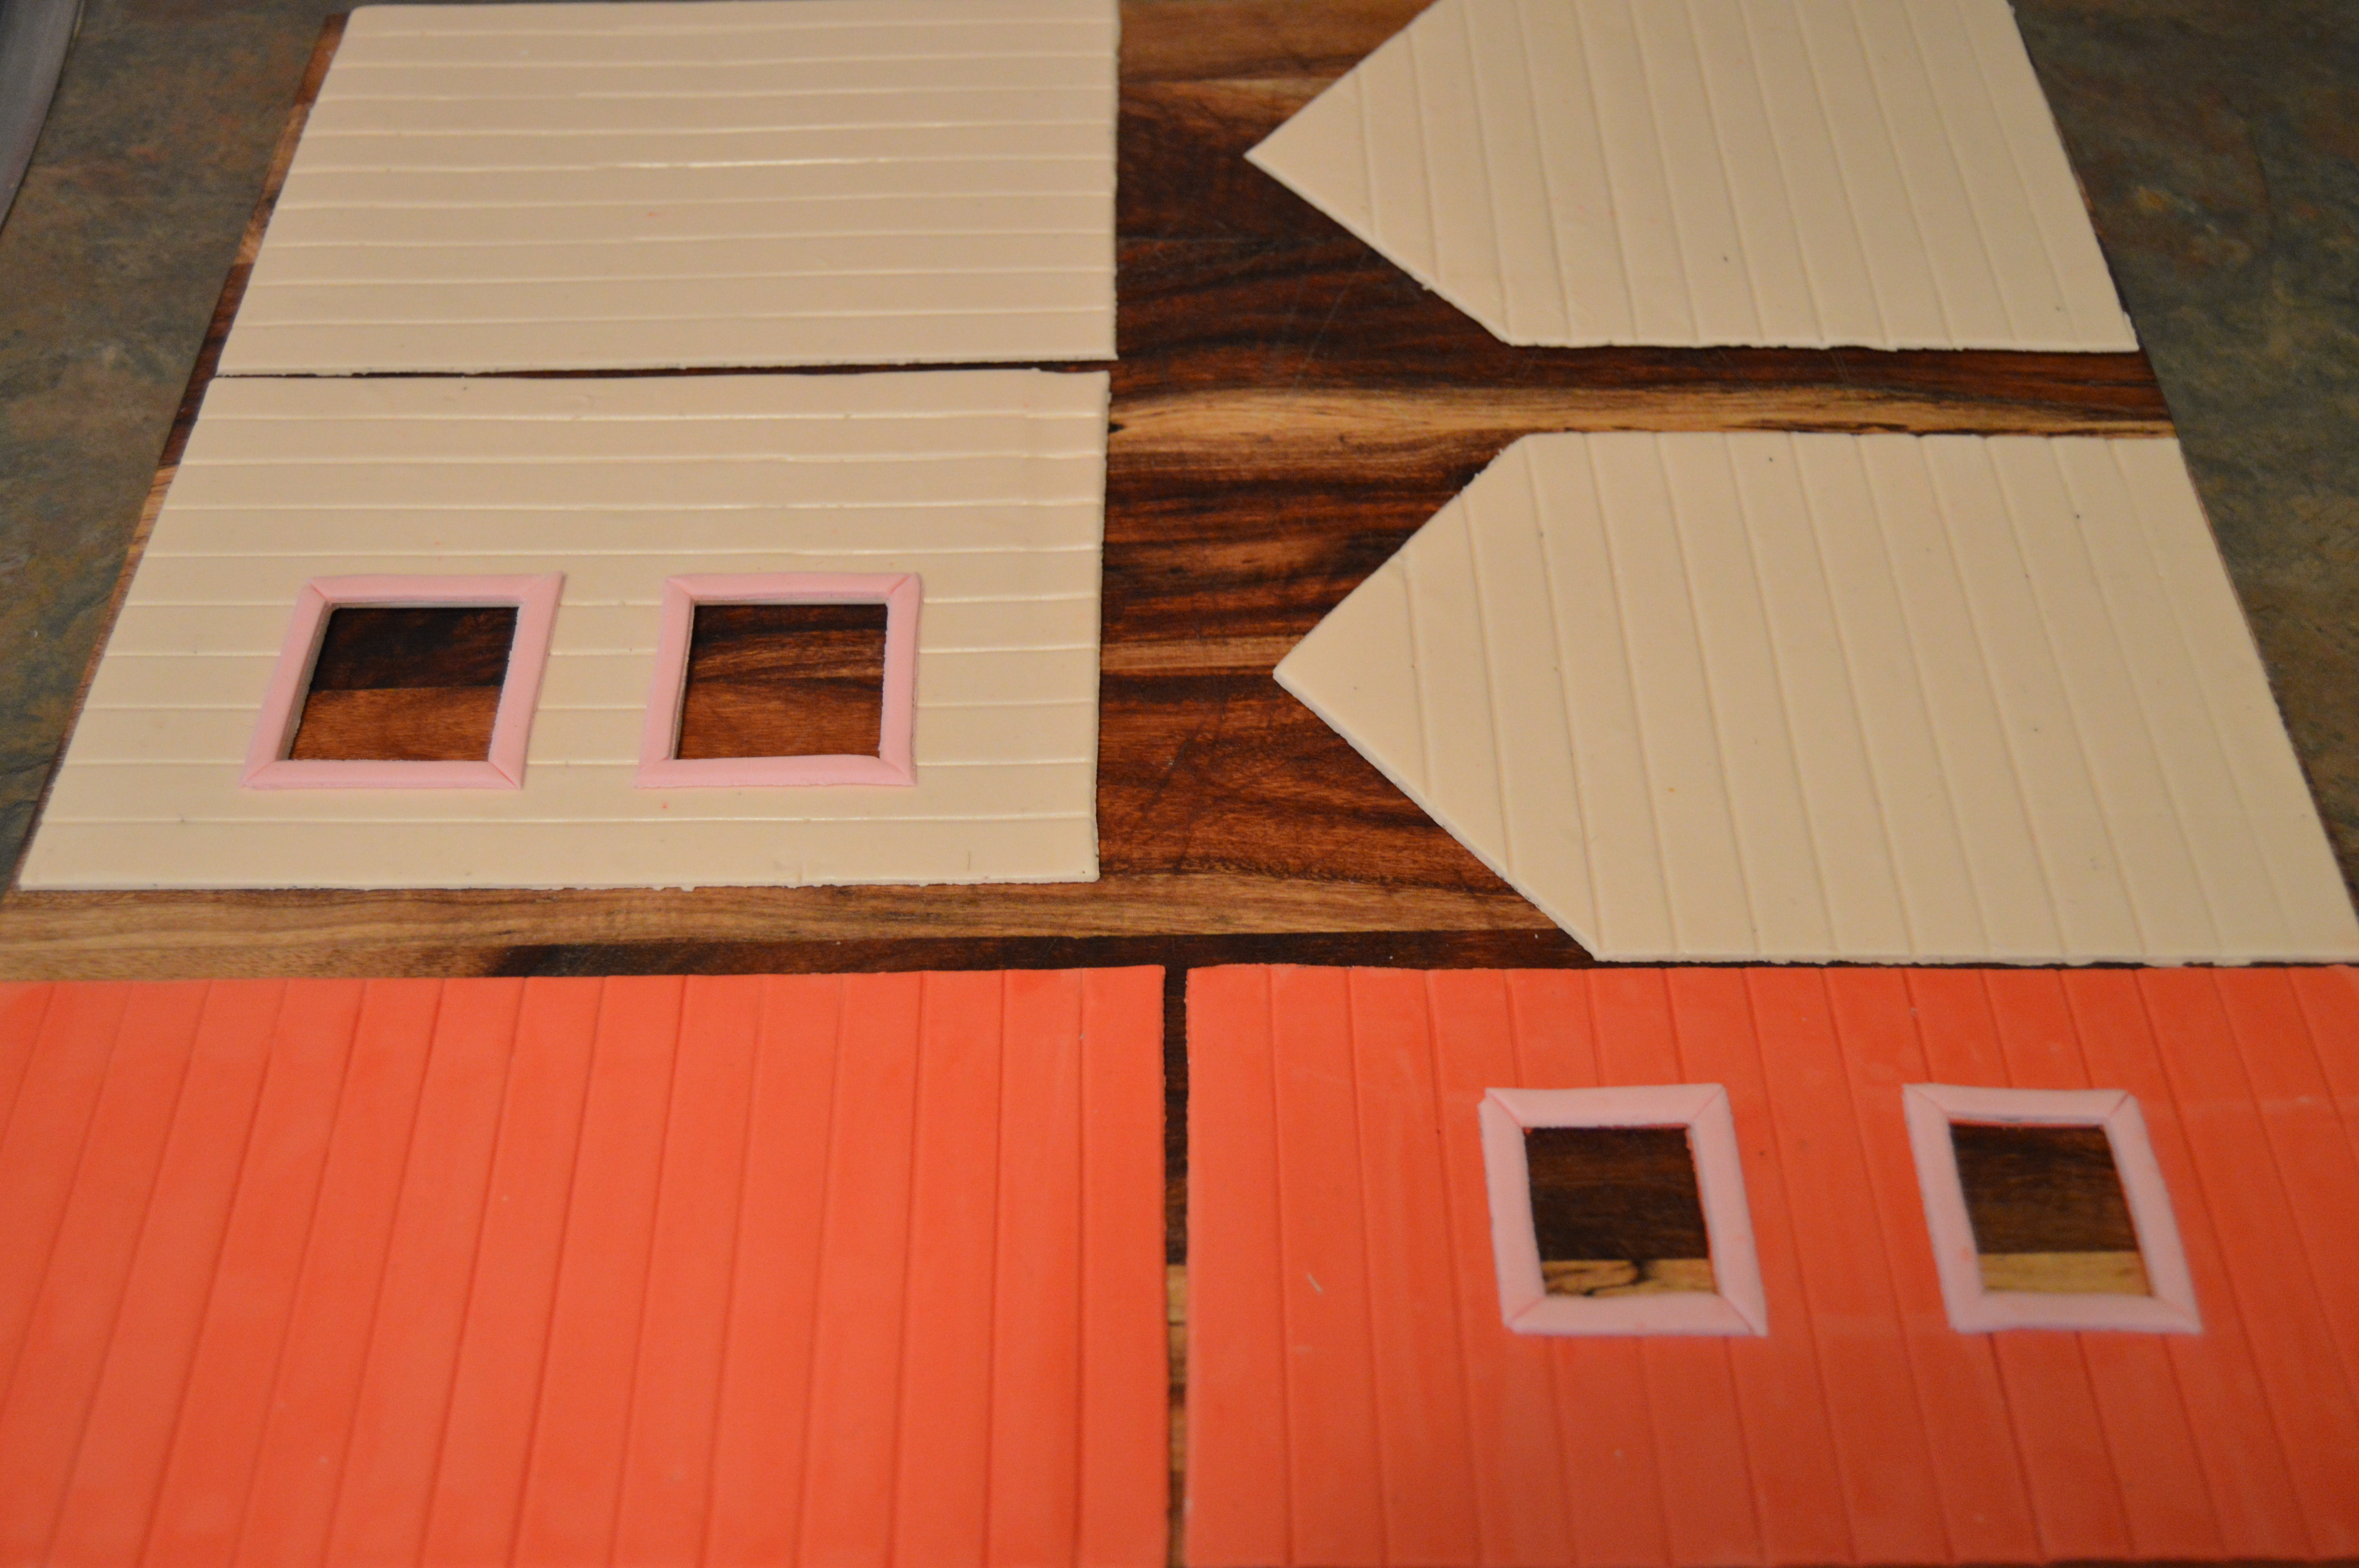
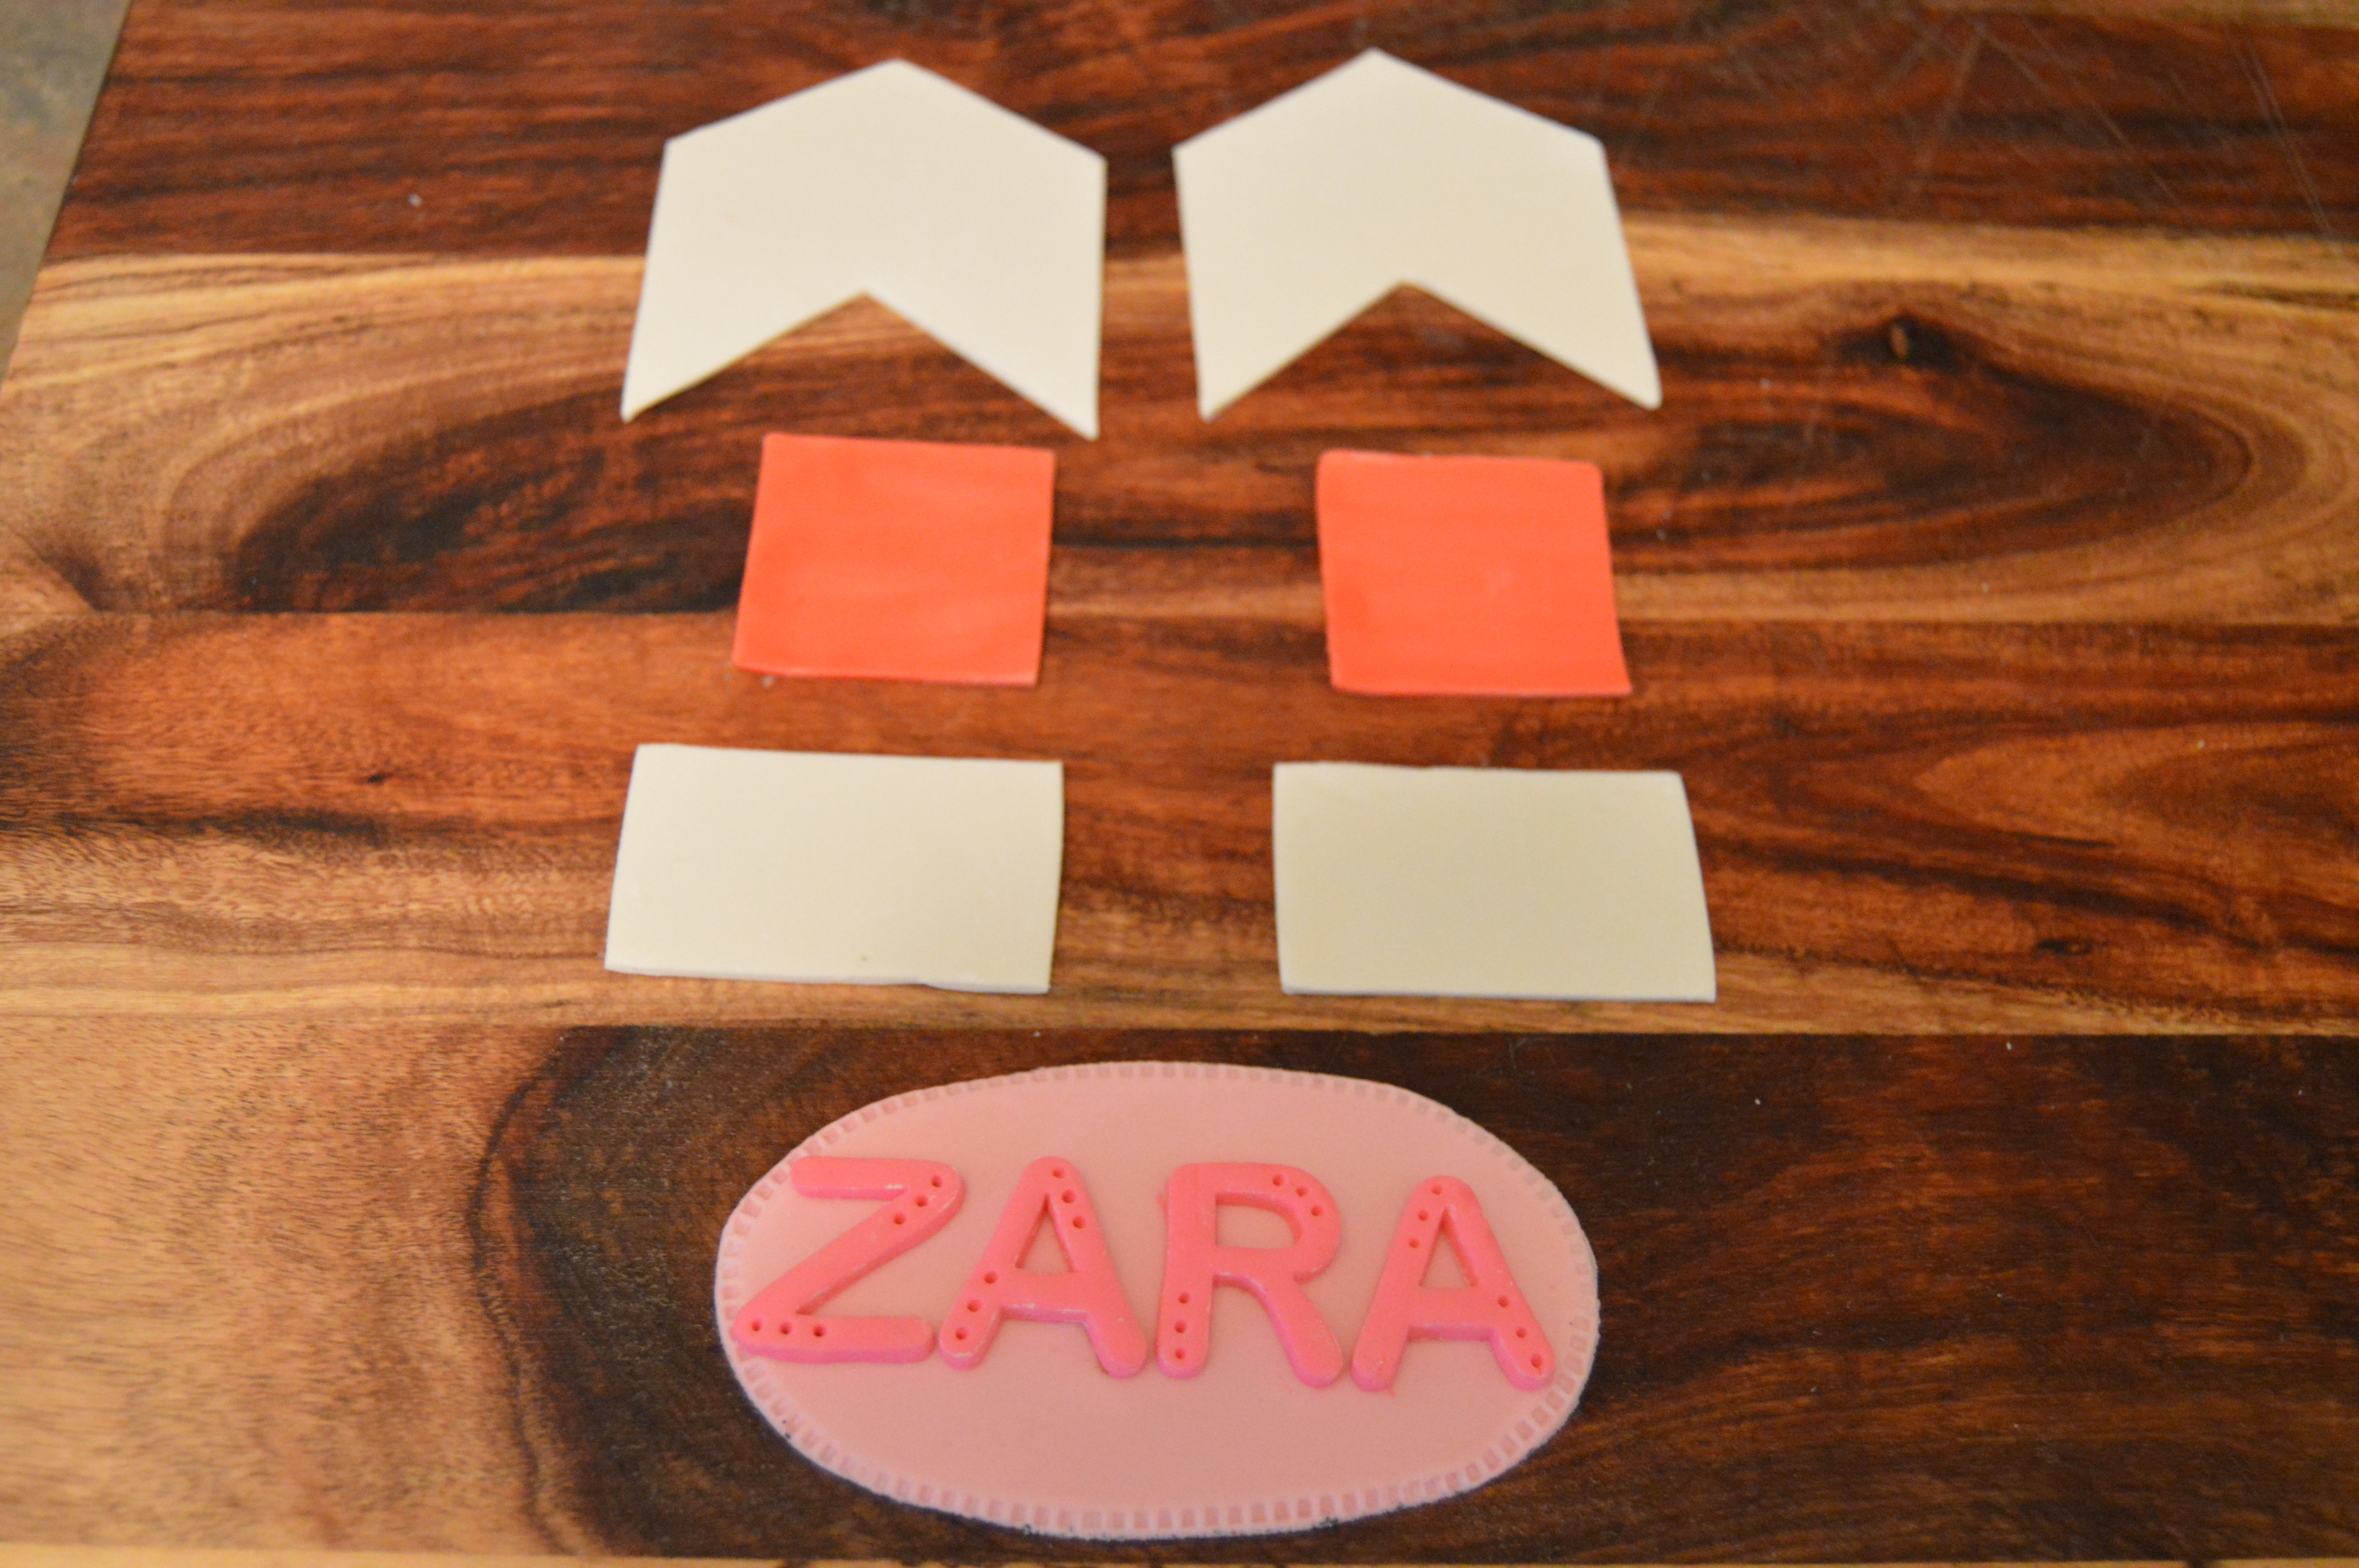
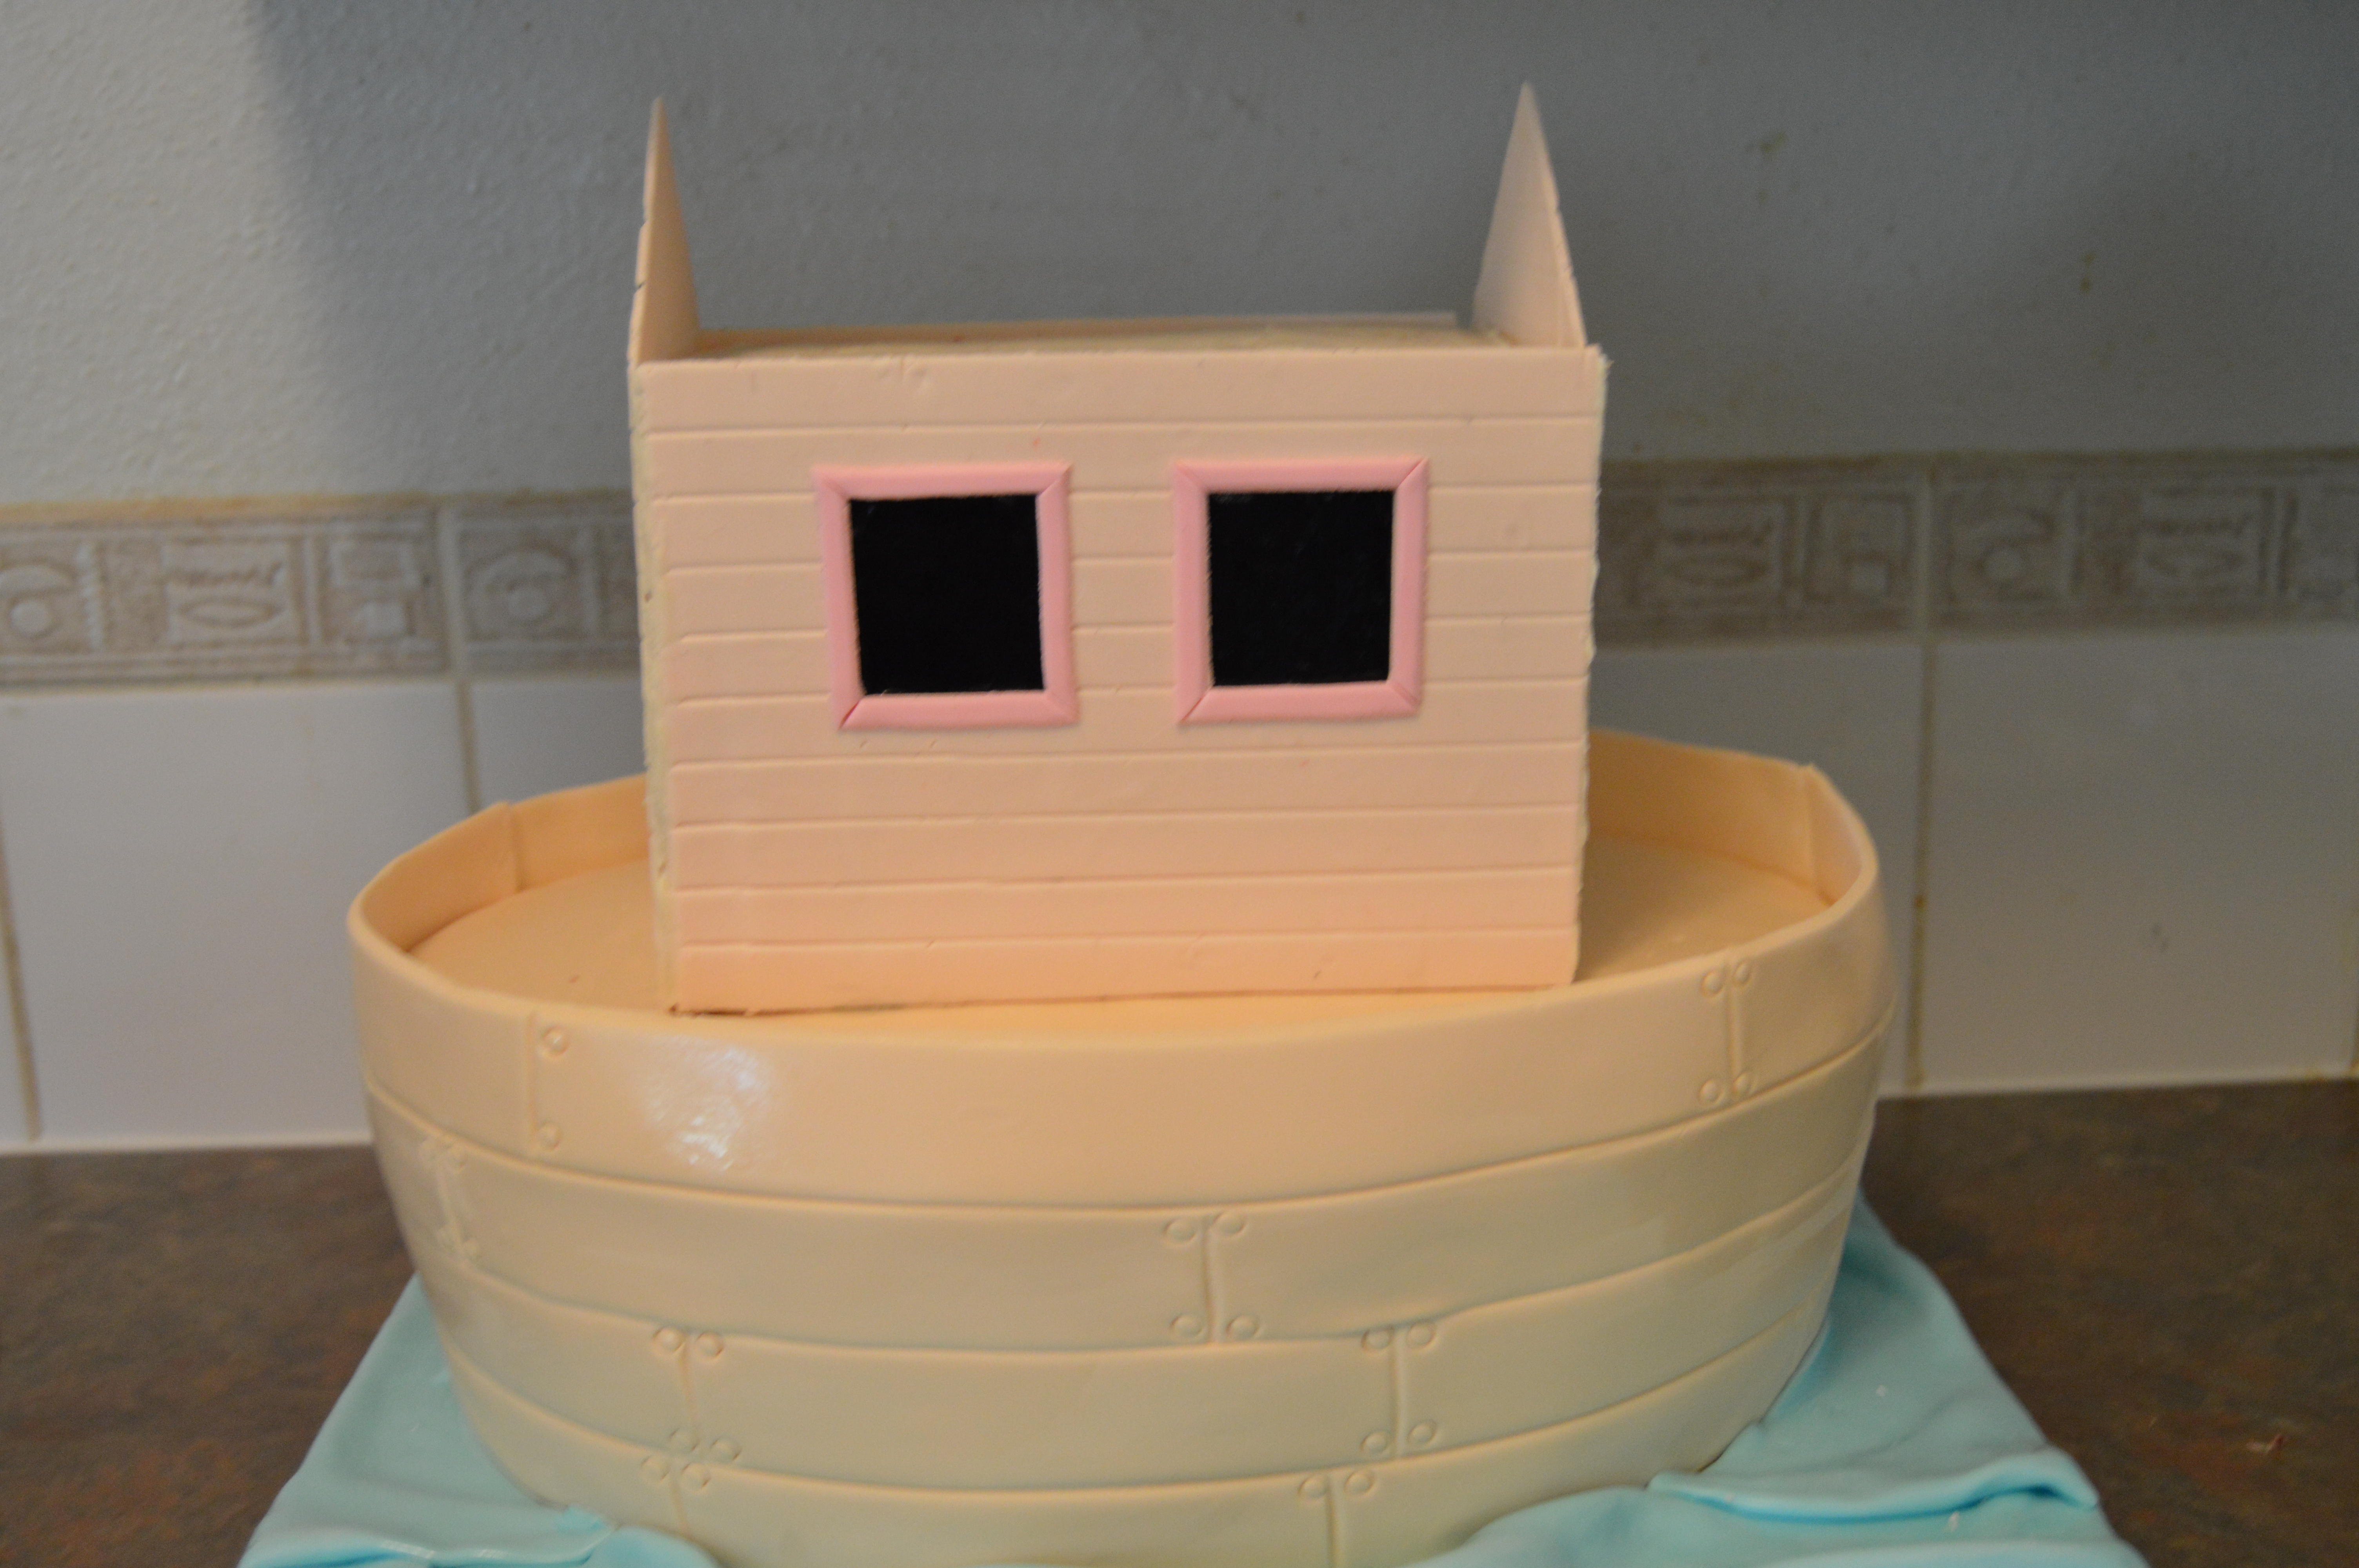
(2) Next, make the panels for the ark cabin. My notes on dry fondant paneling are instructive here. The cabin measures 8″ x 5″ x 6″
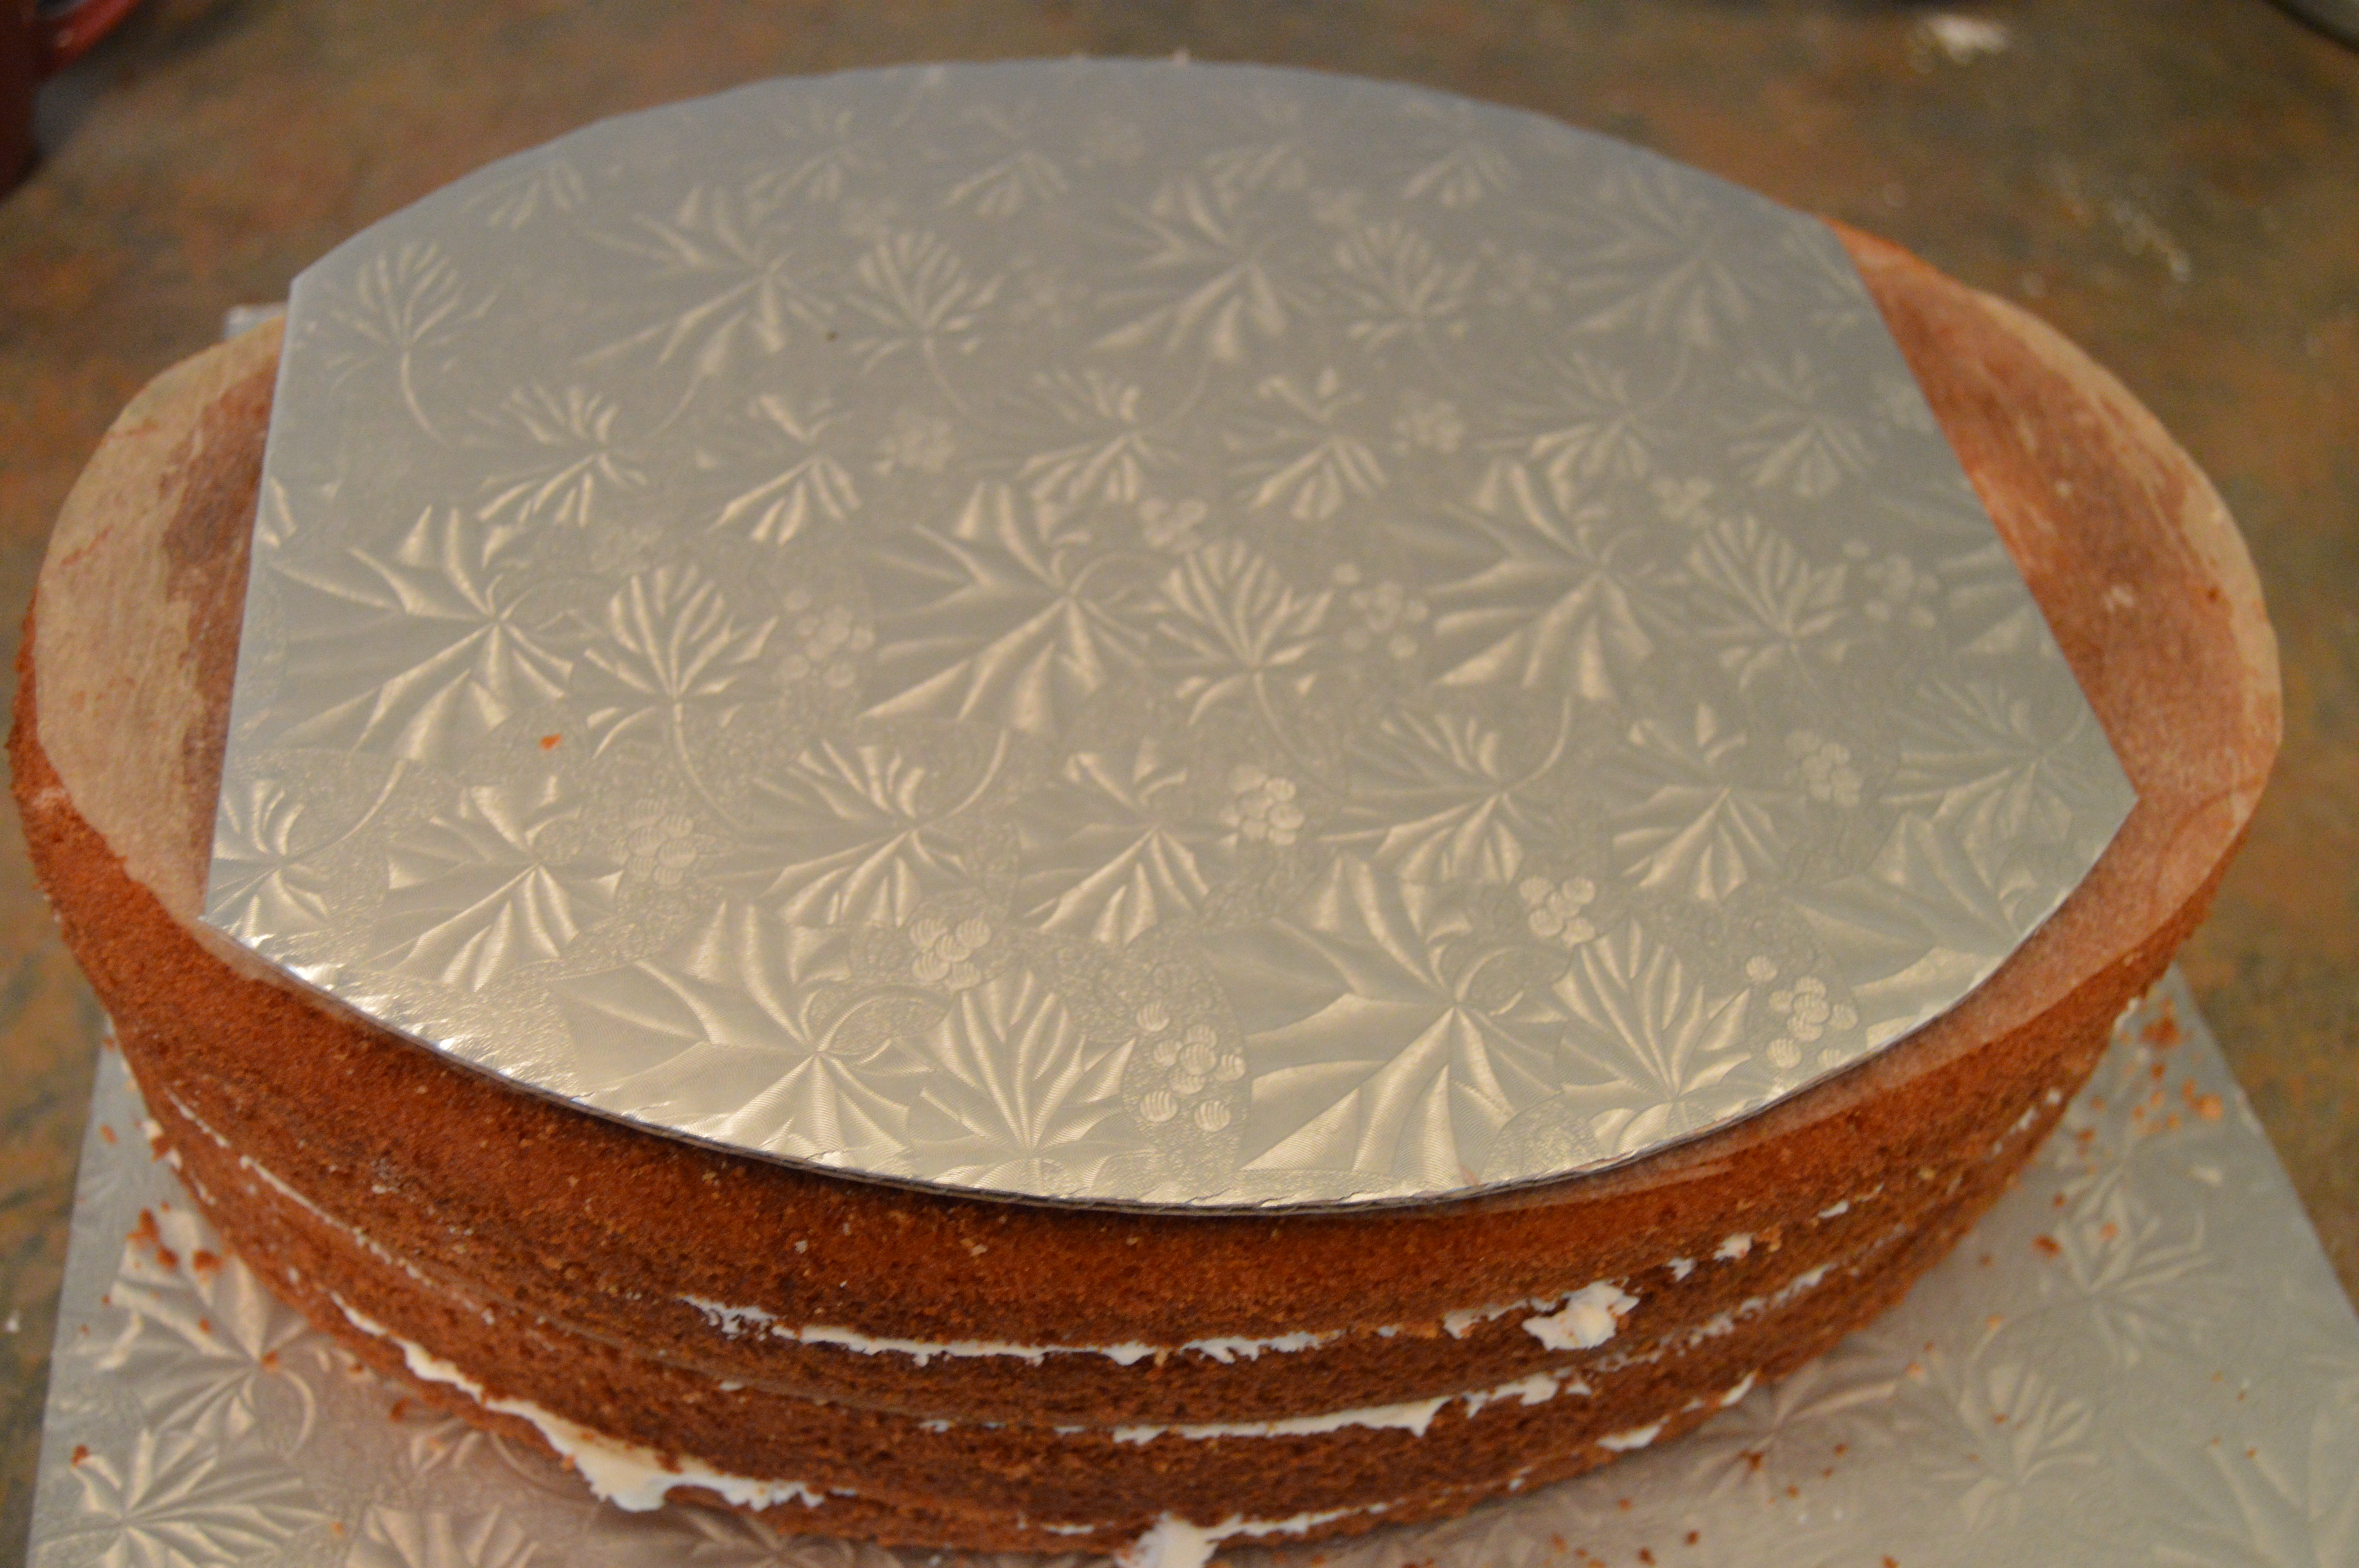
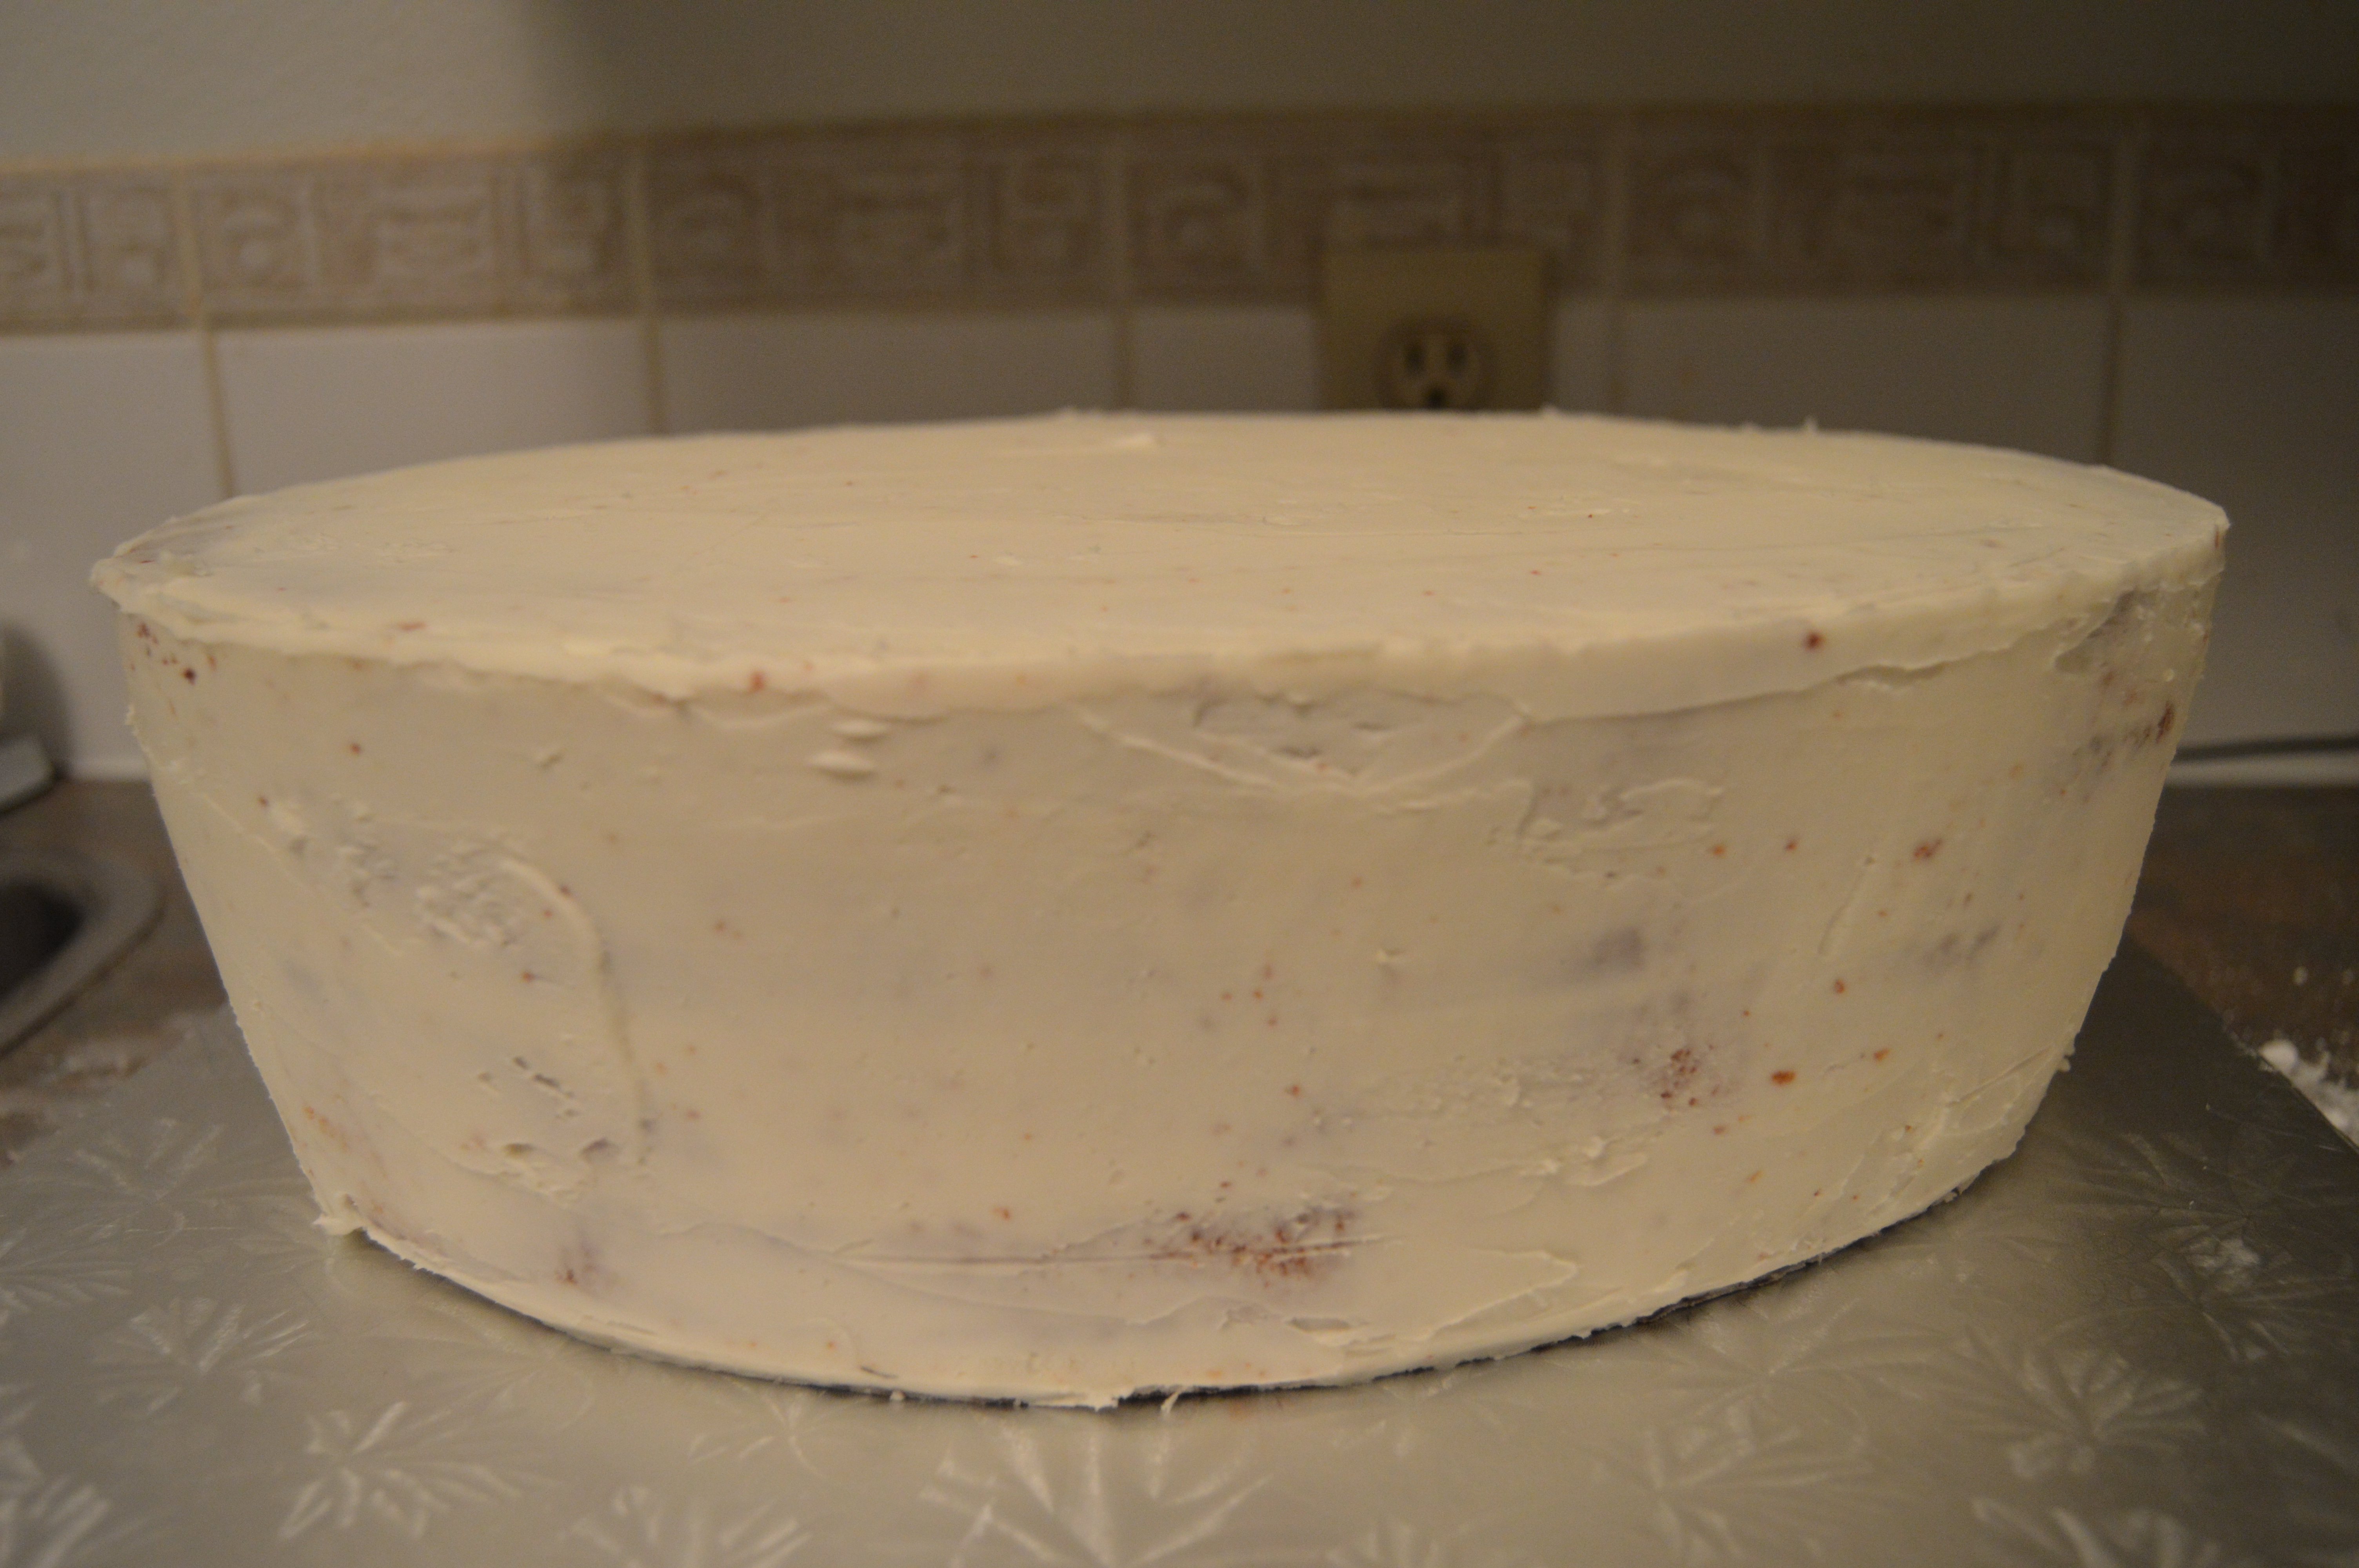
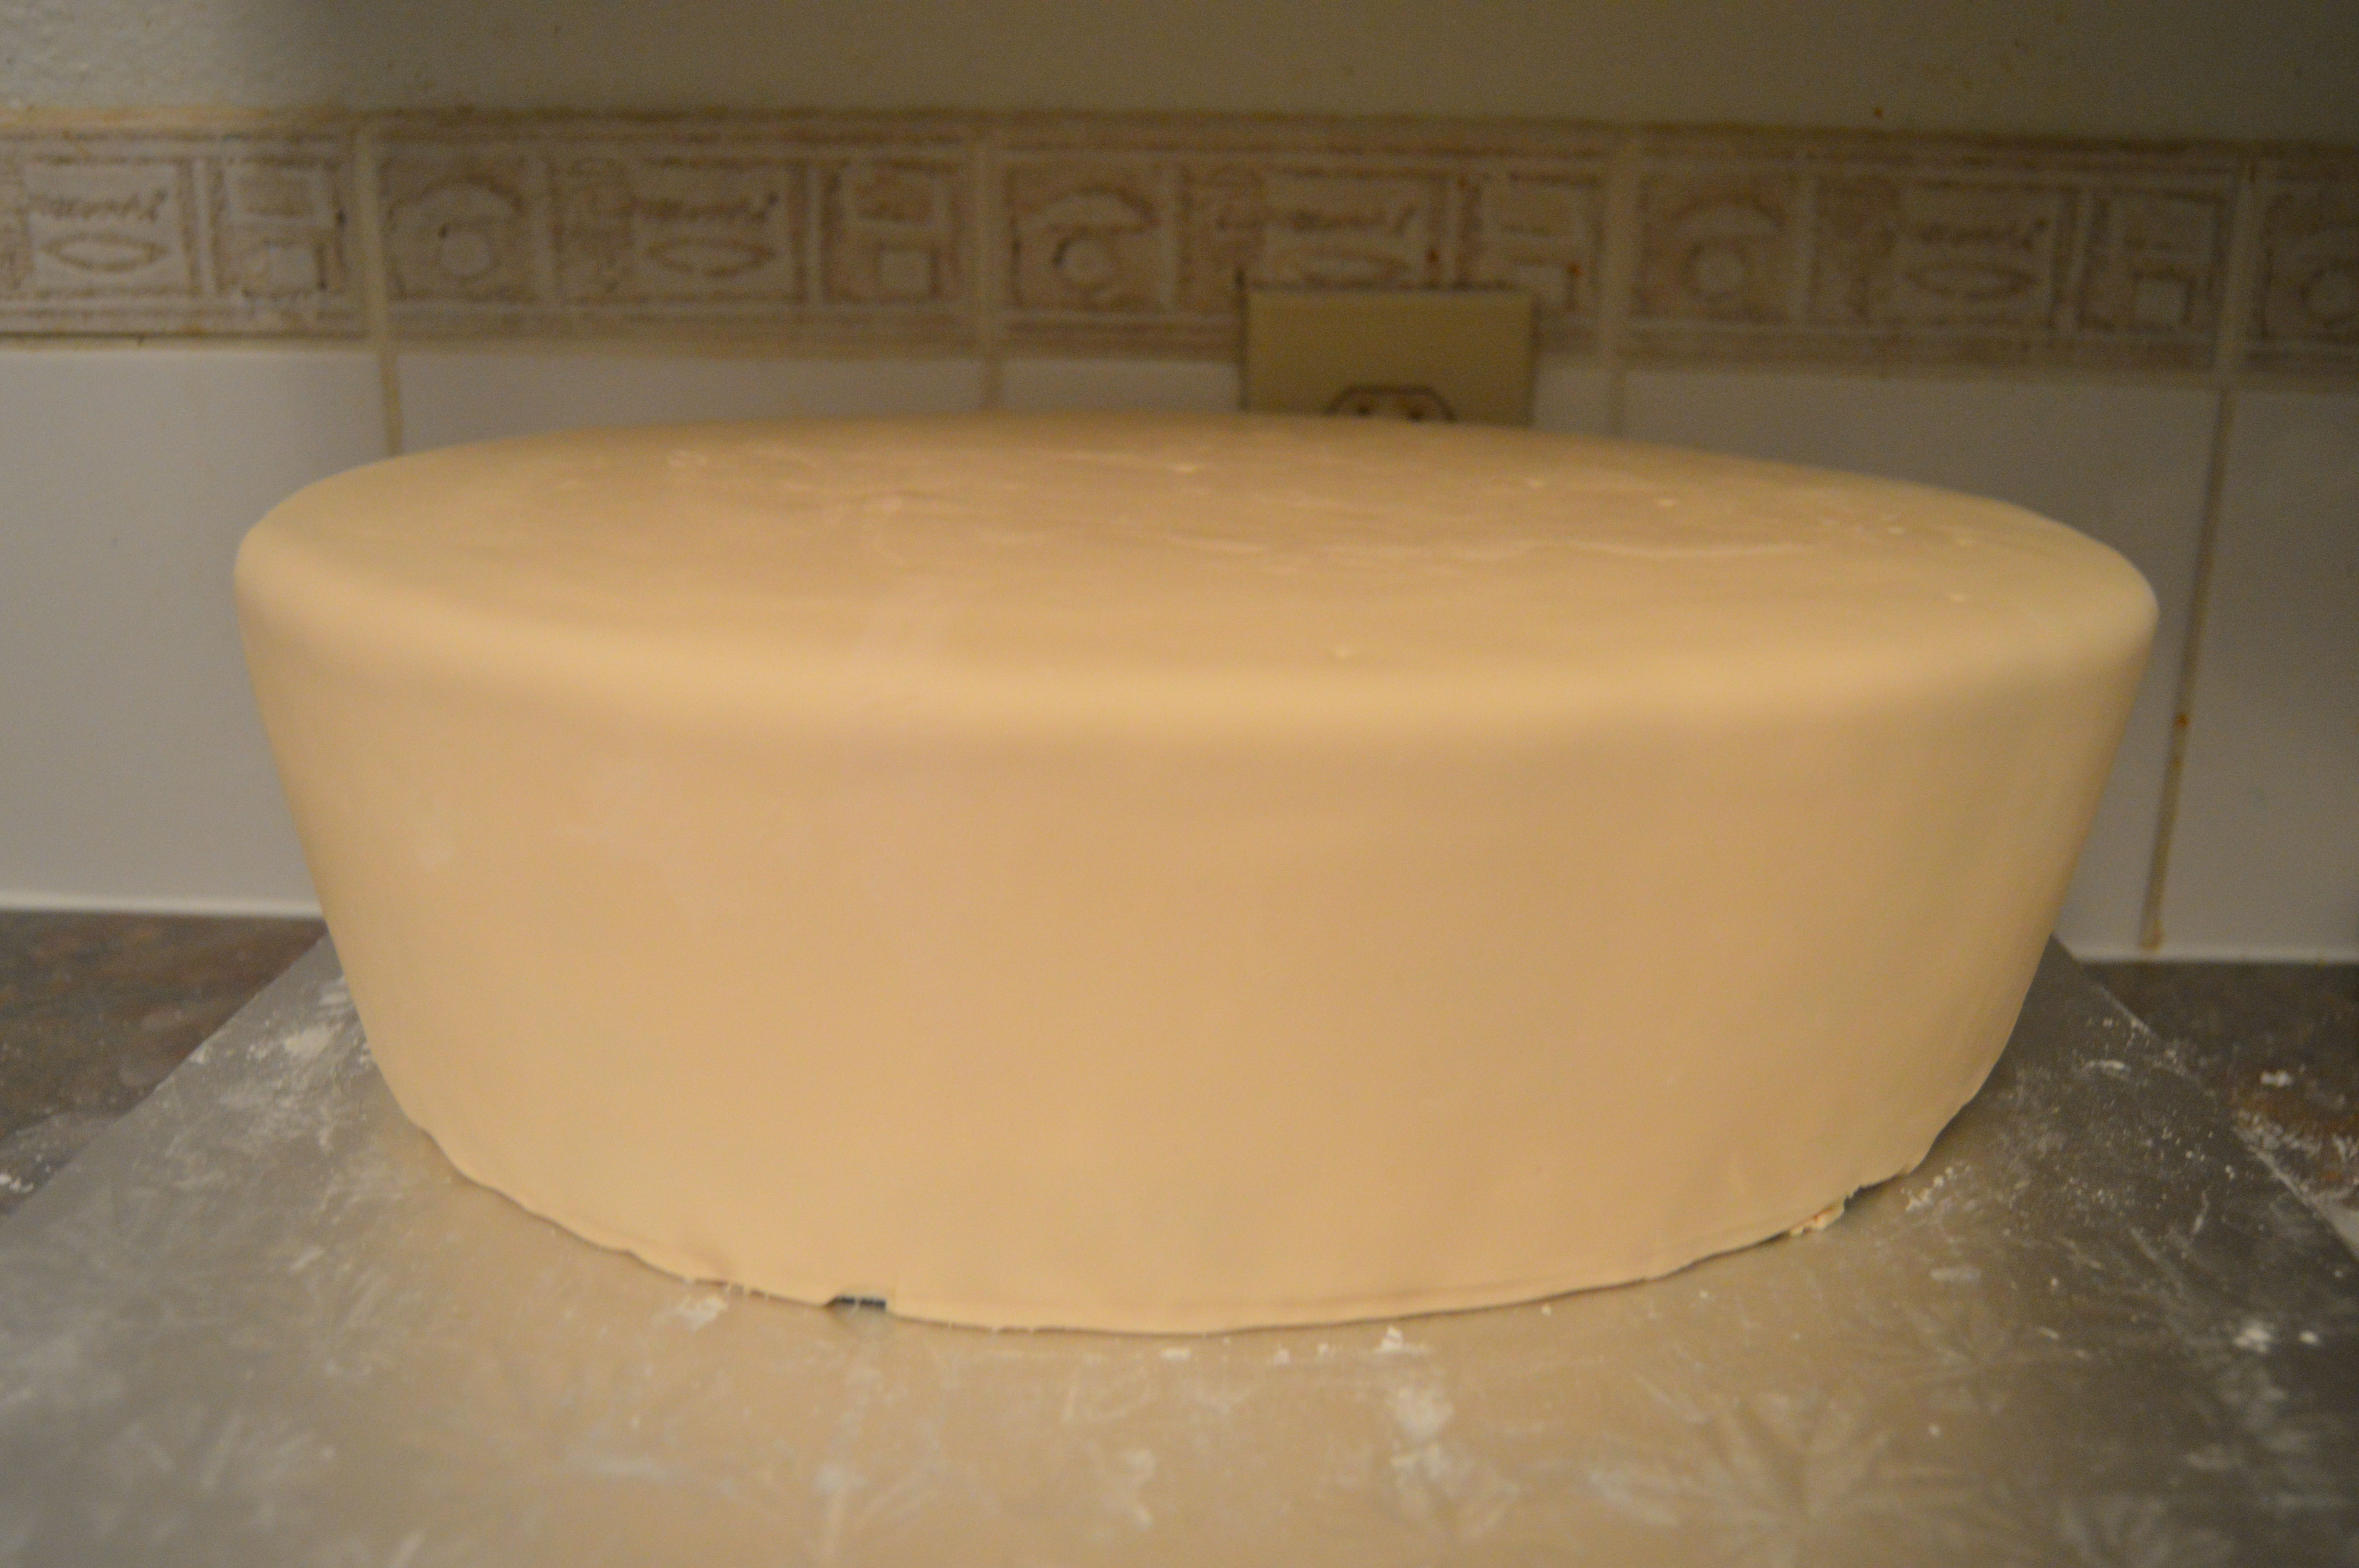
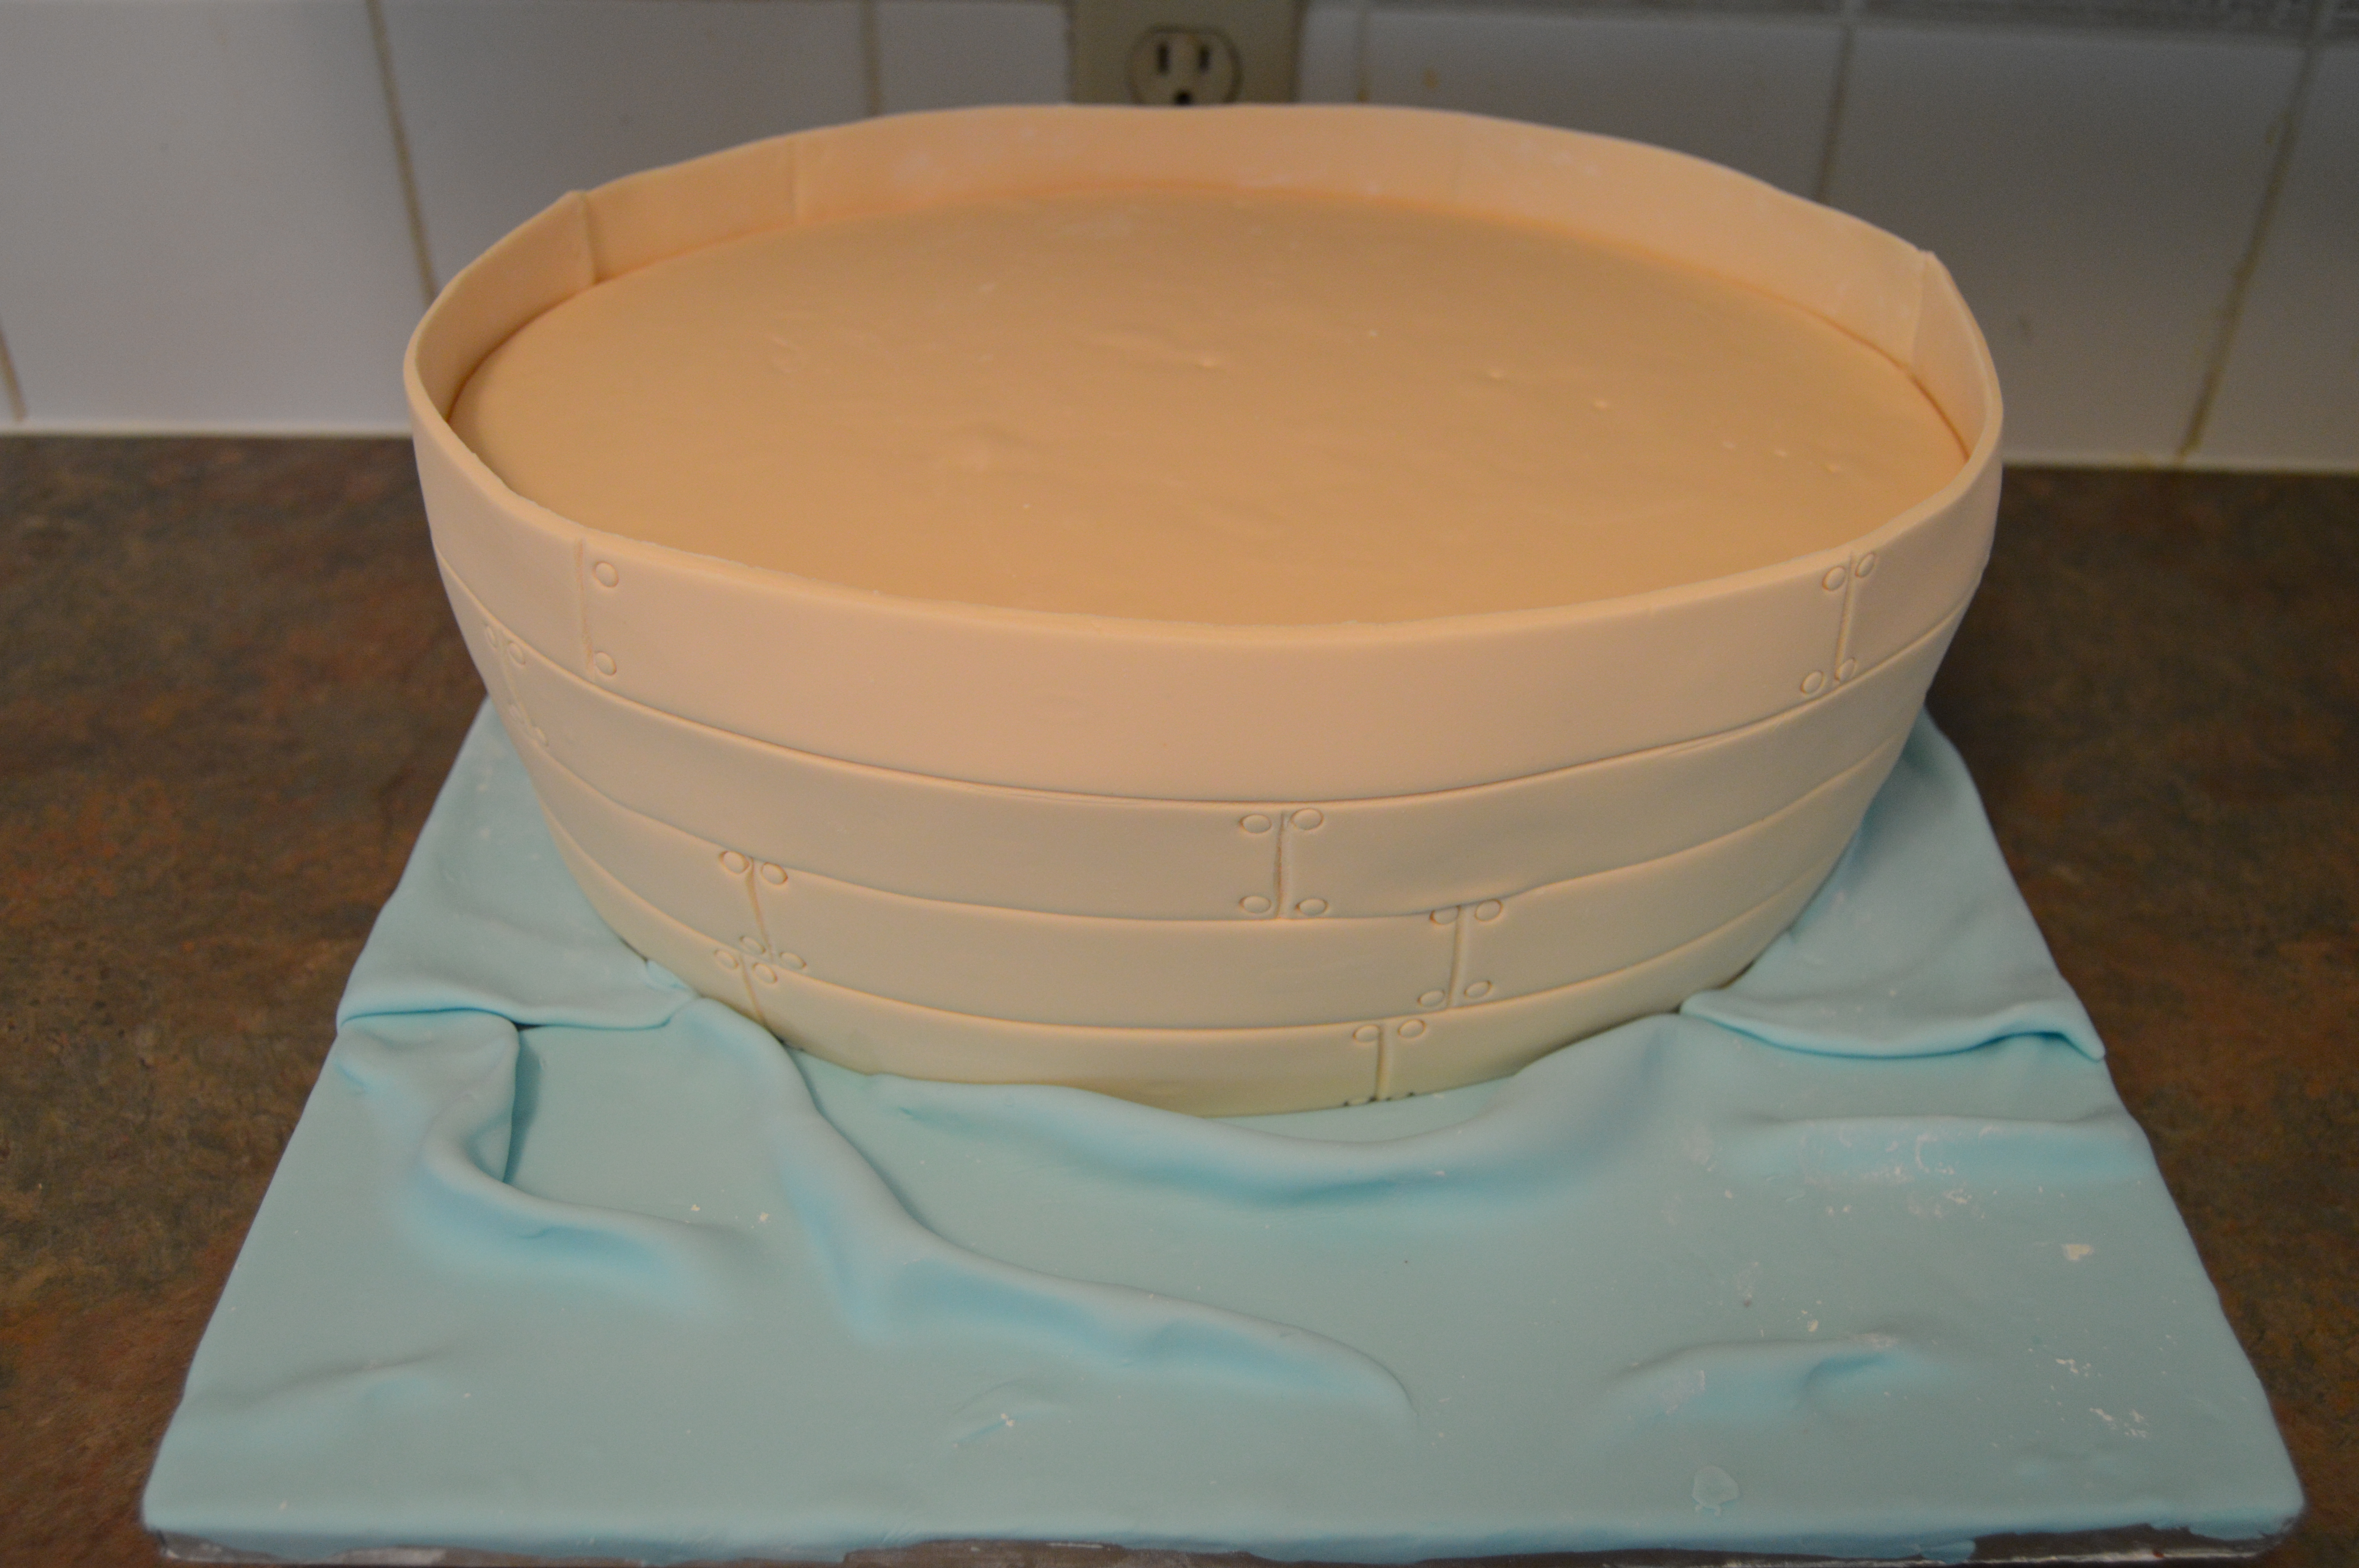
(3) Bake your sponges. The bottom tier of the ark was baked in a 12 inch oval pan. The sponges were filled, the bottom ends were carved in to form the shape of a boat and the whole cake was frosted.
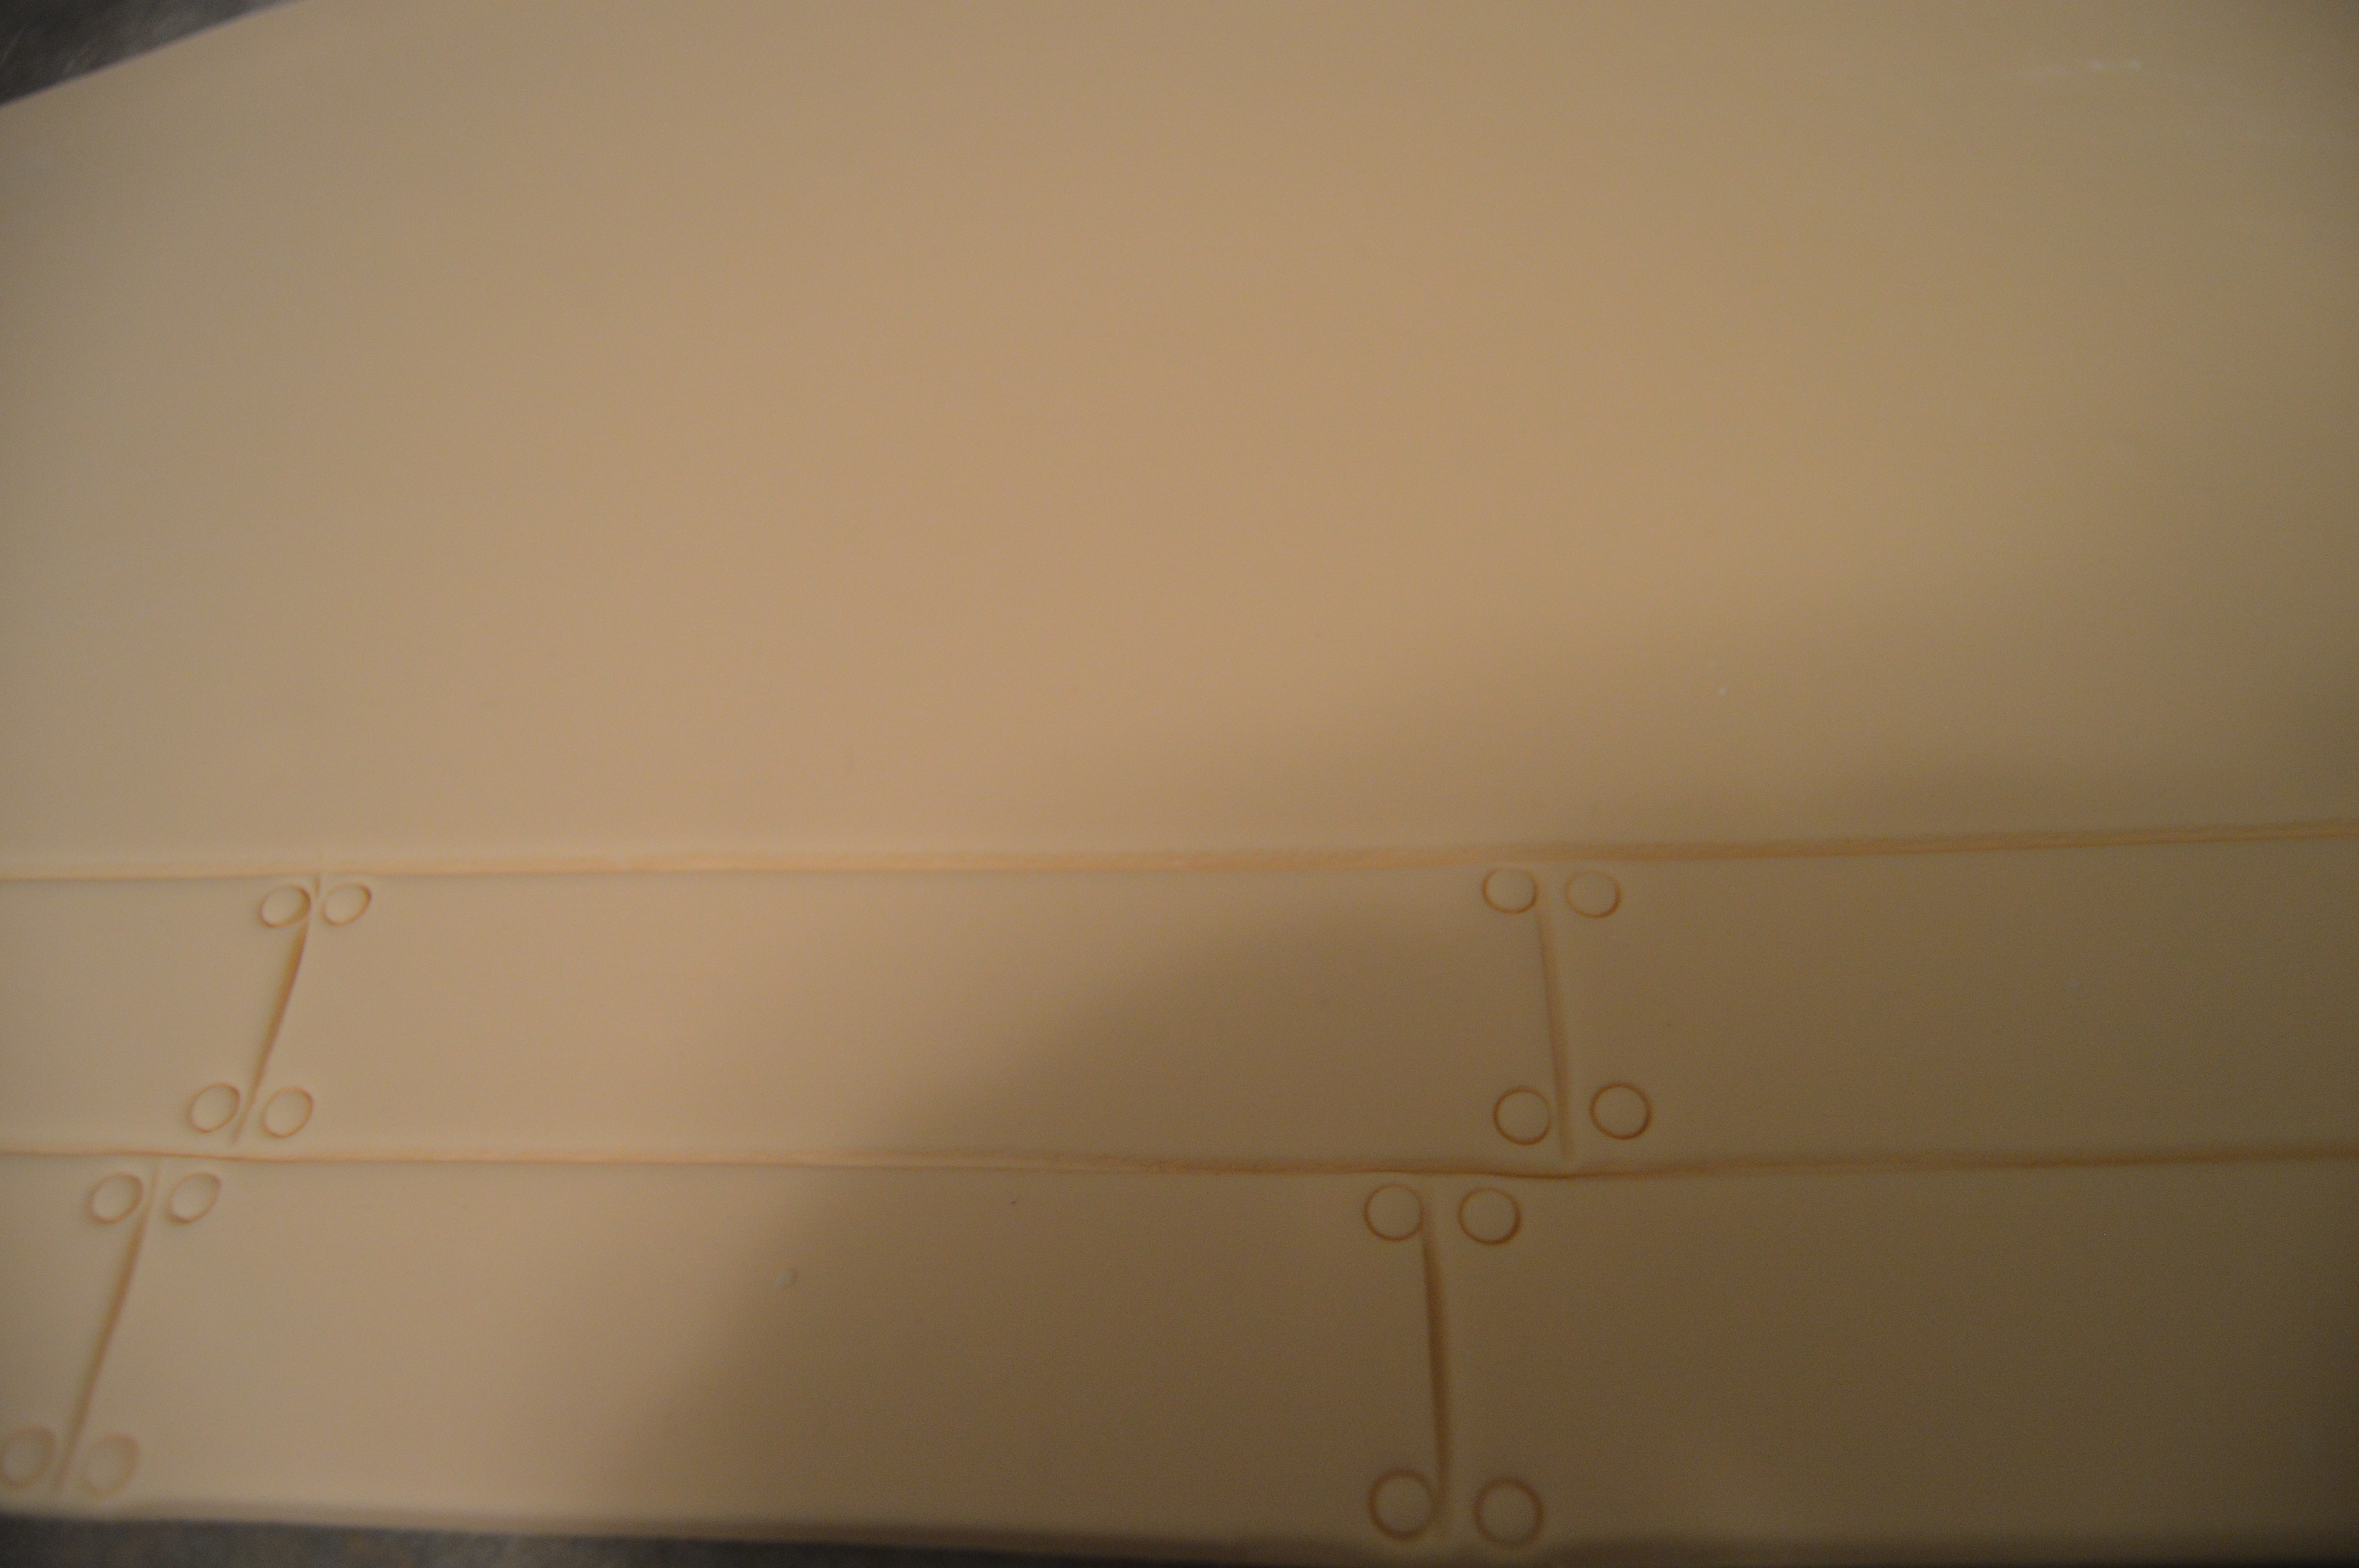
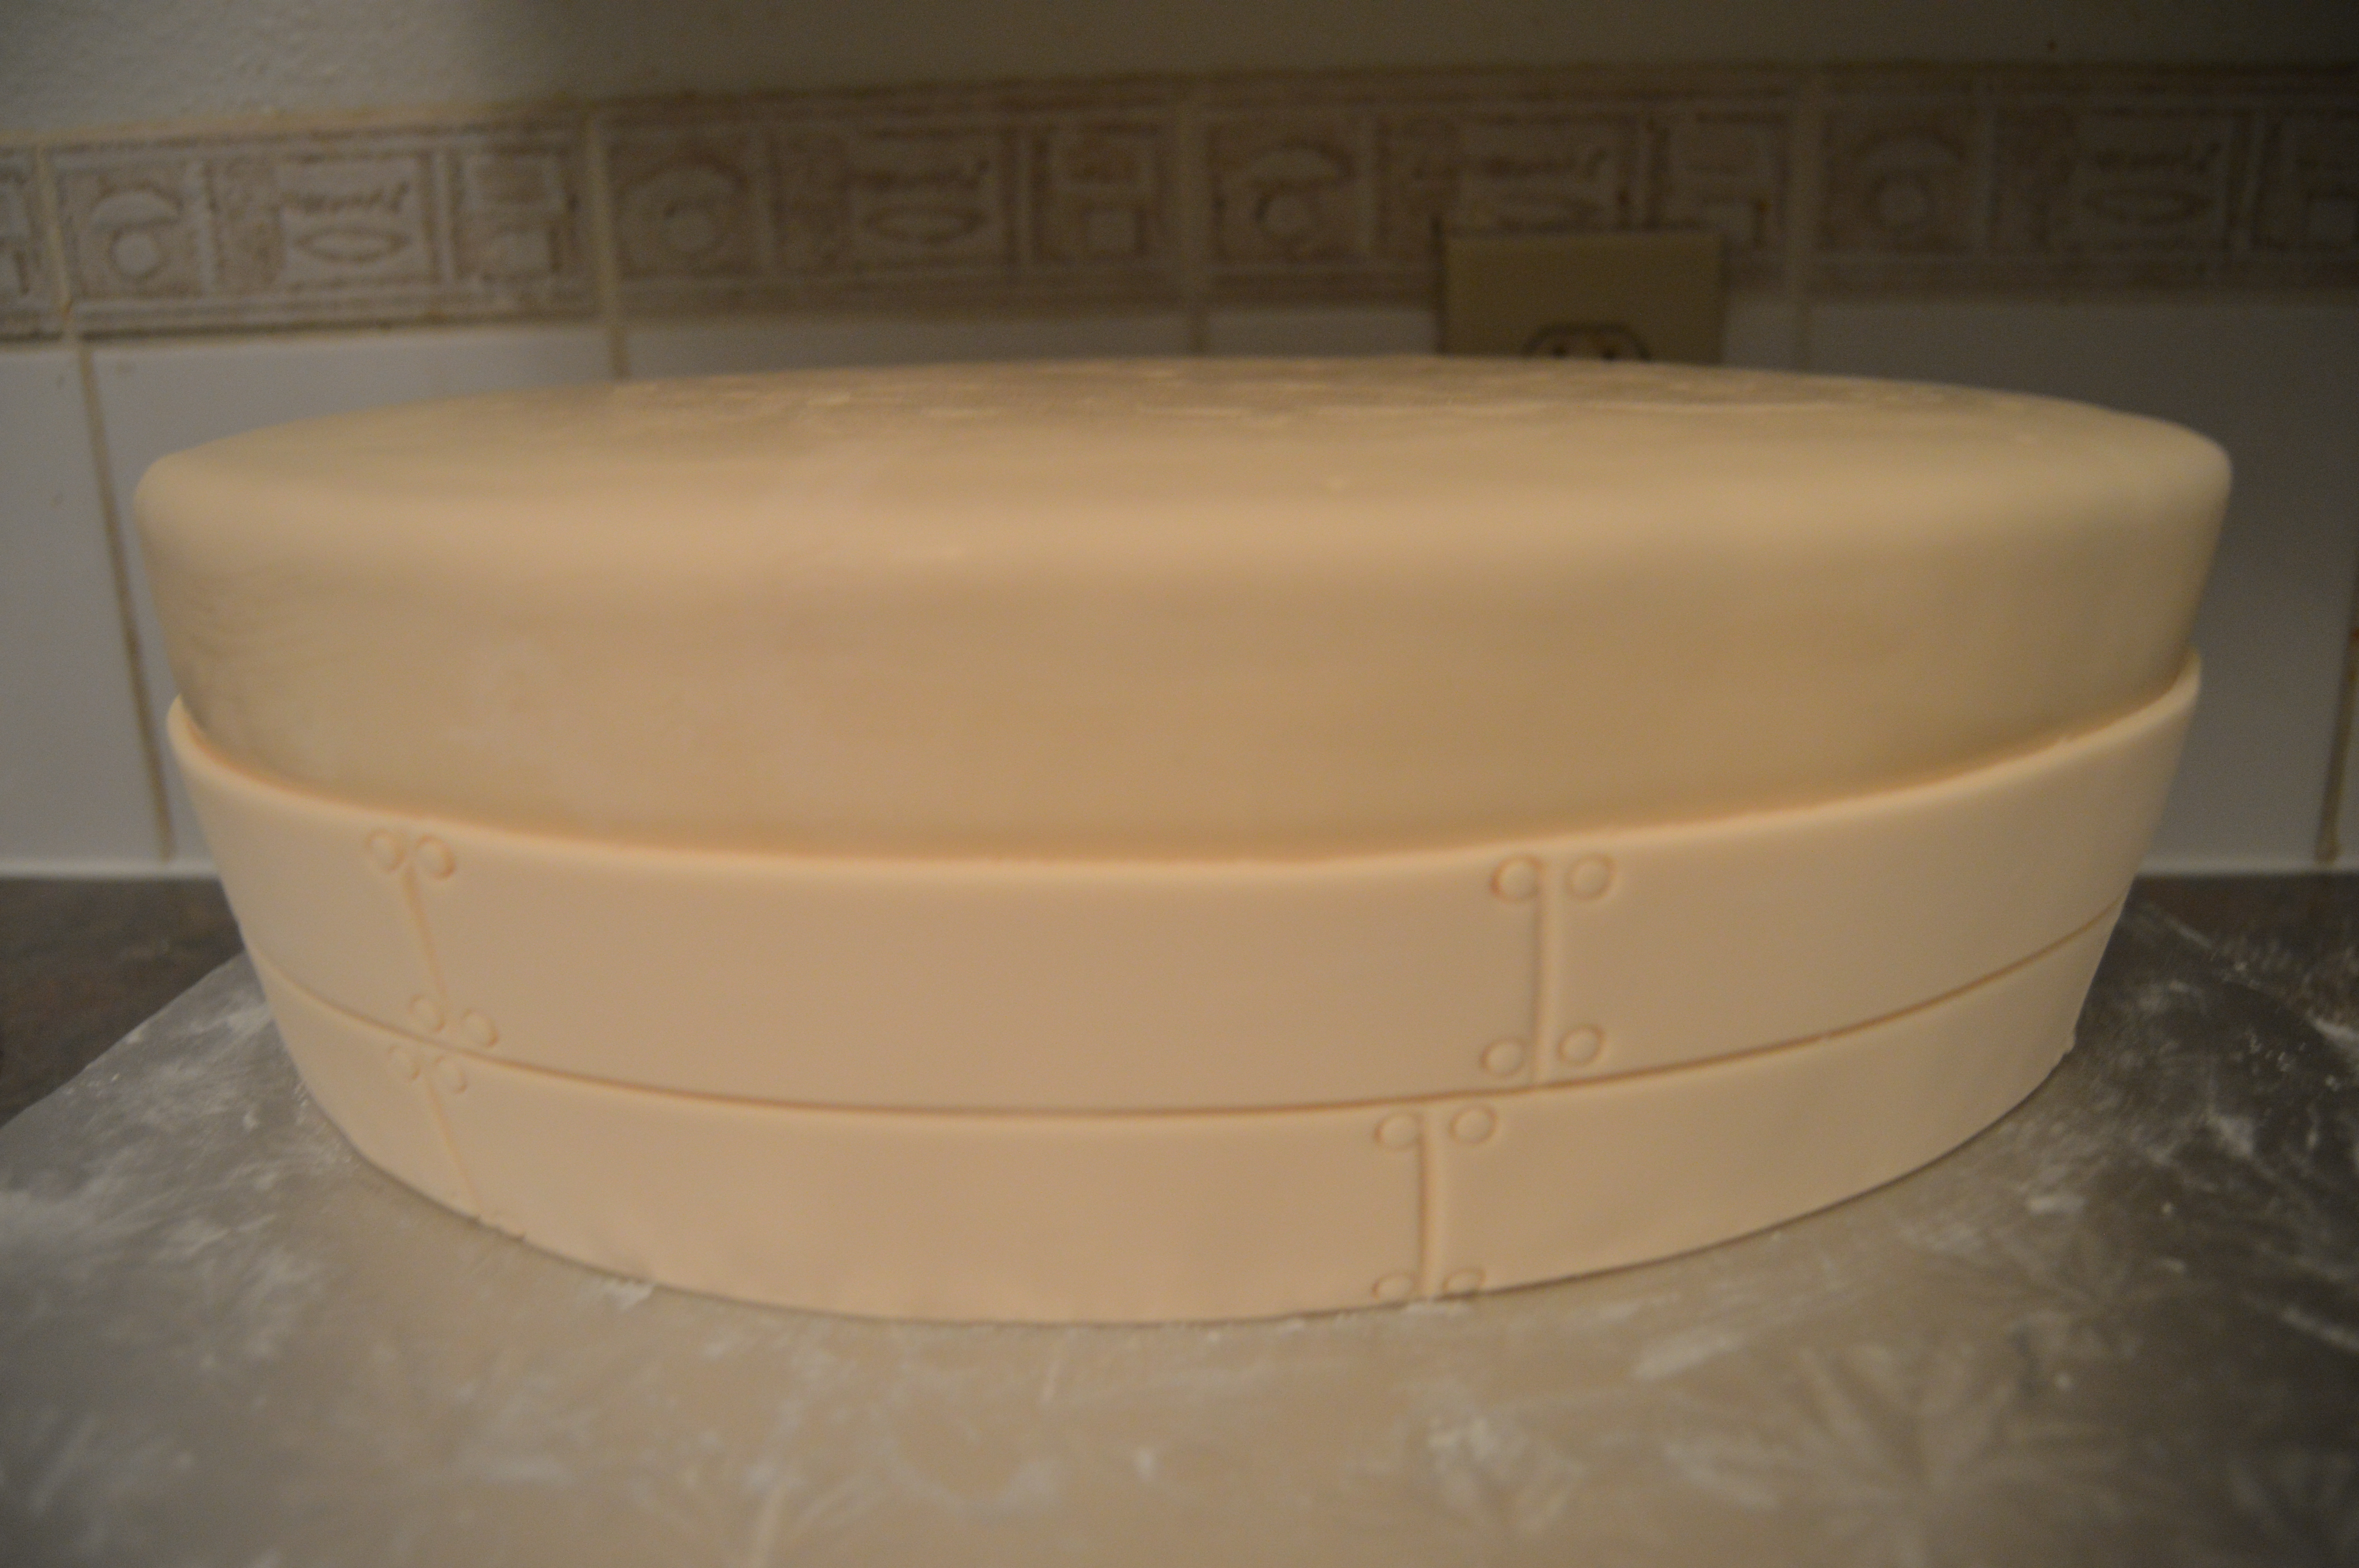
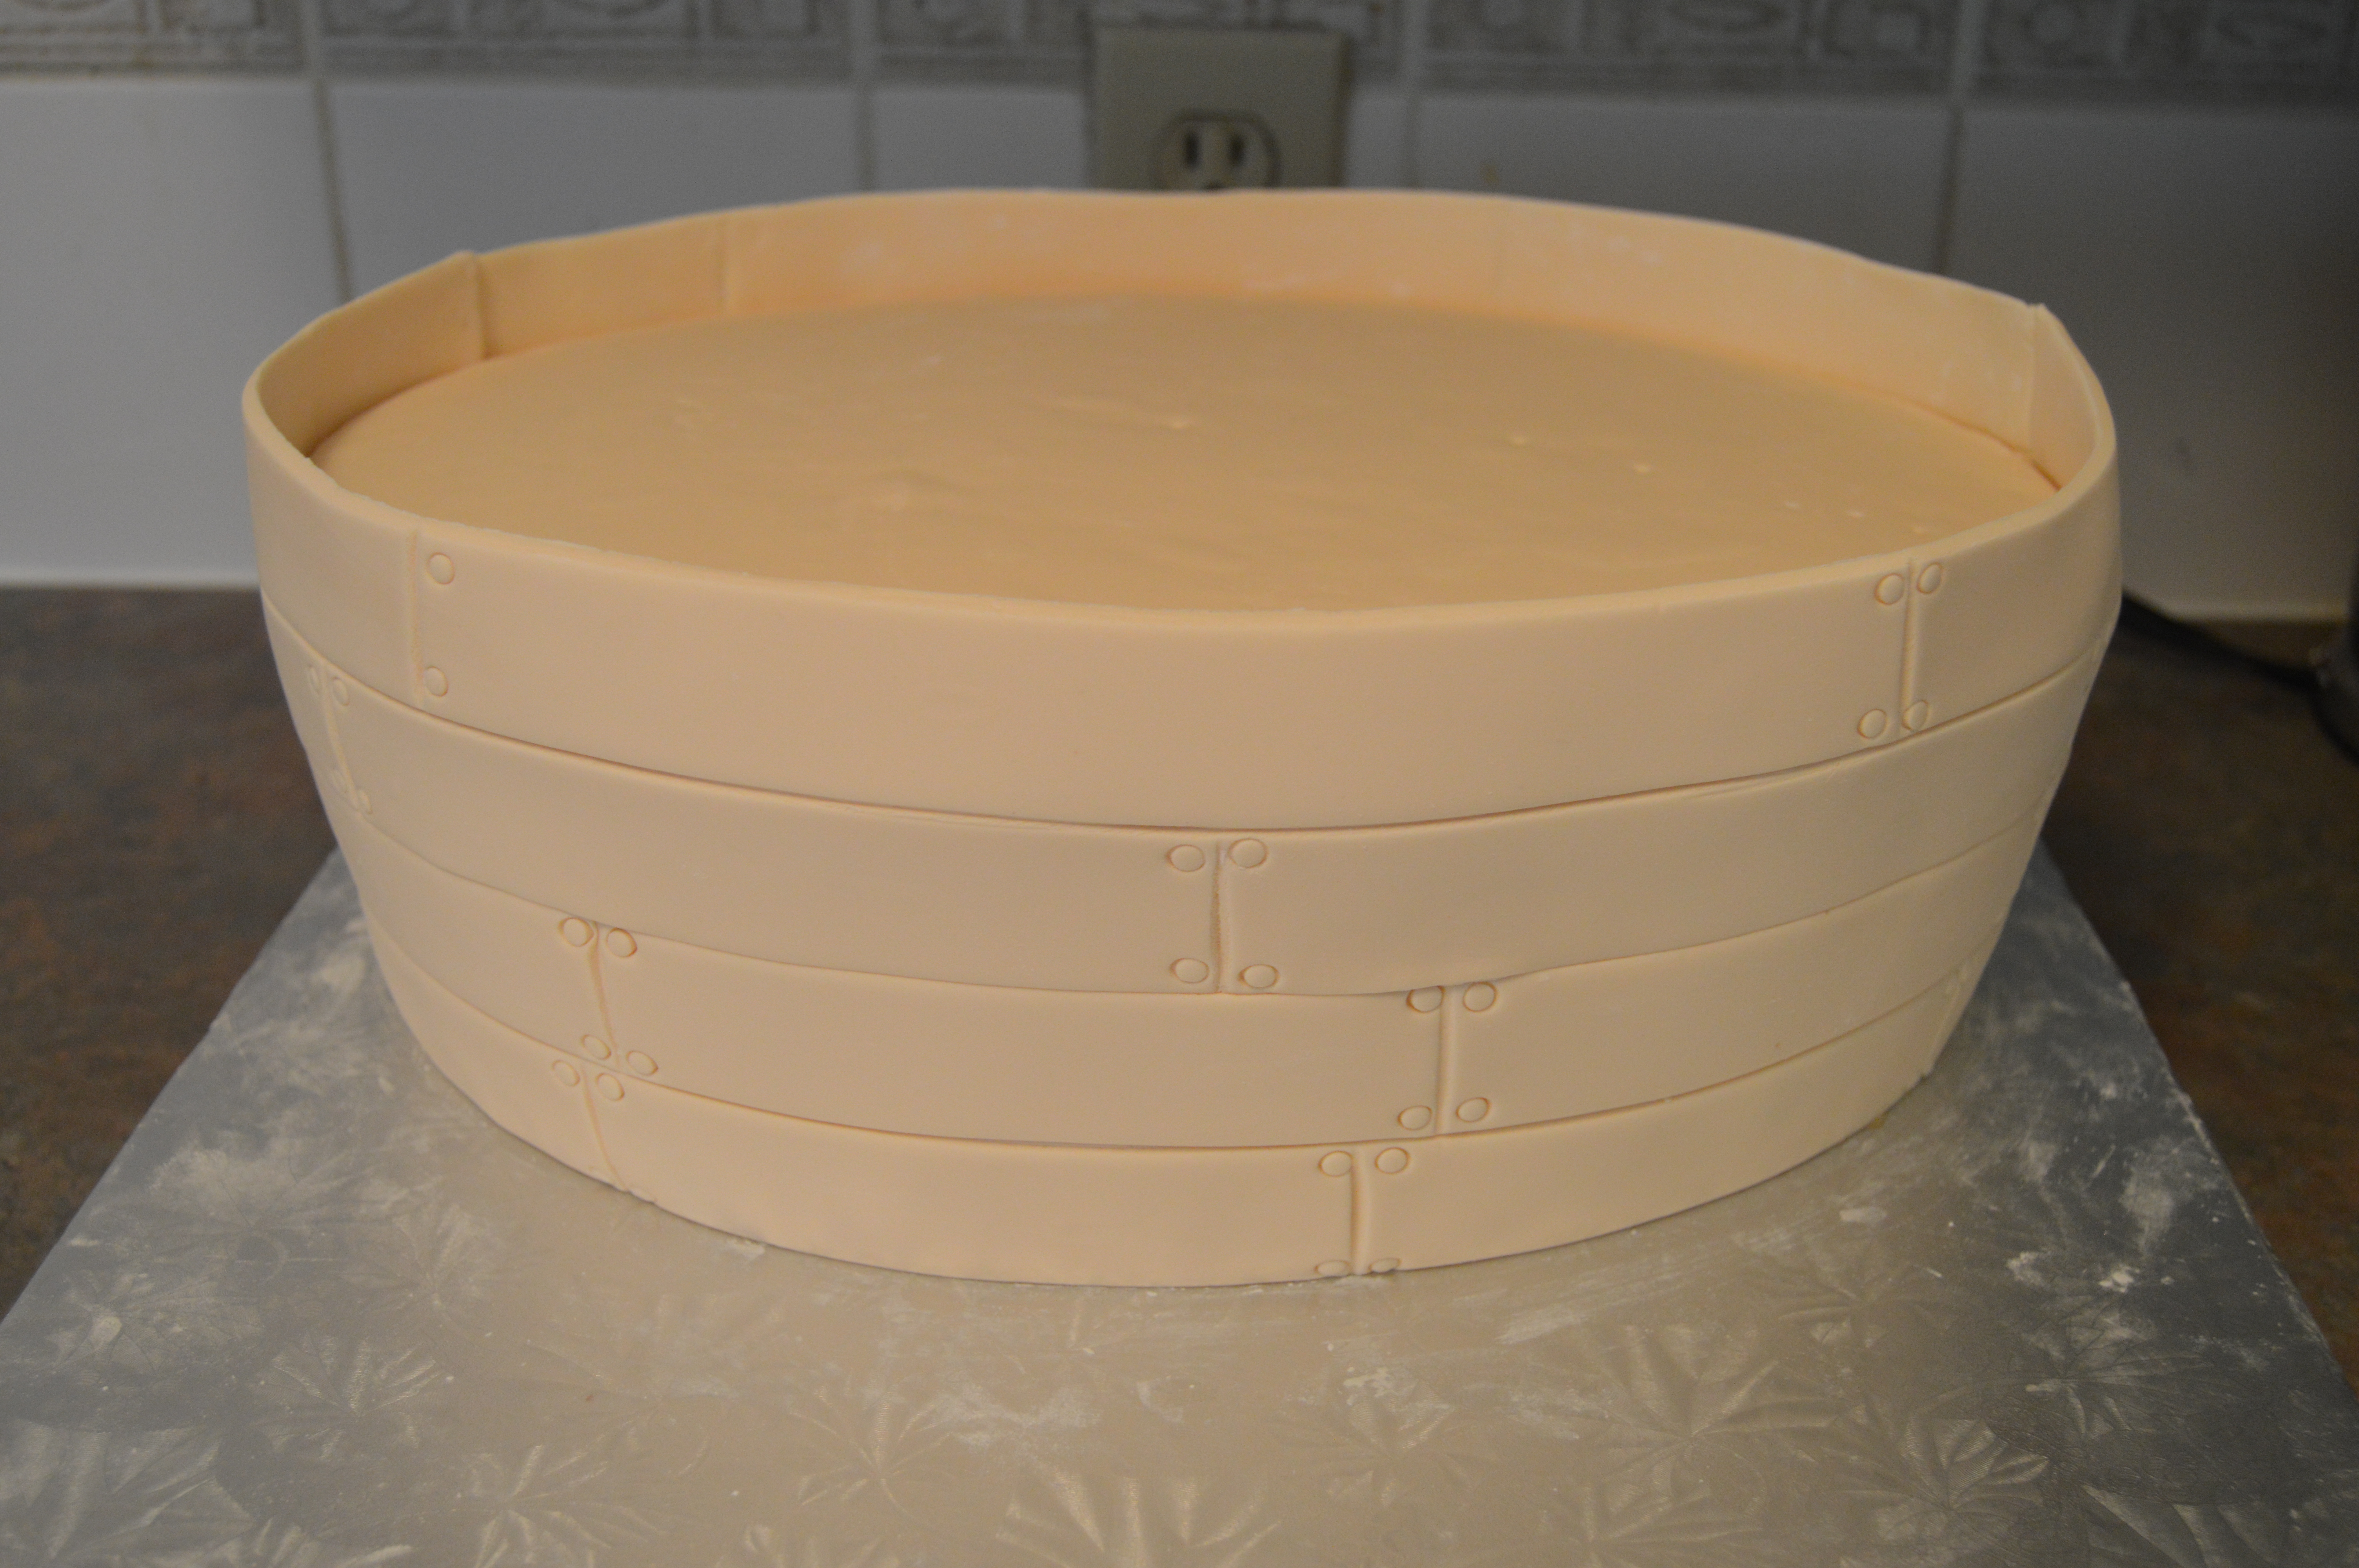
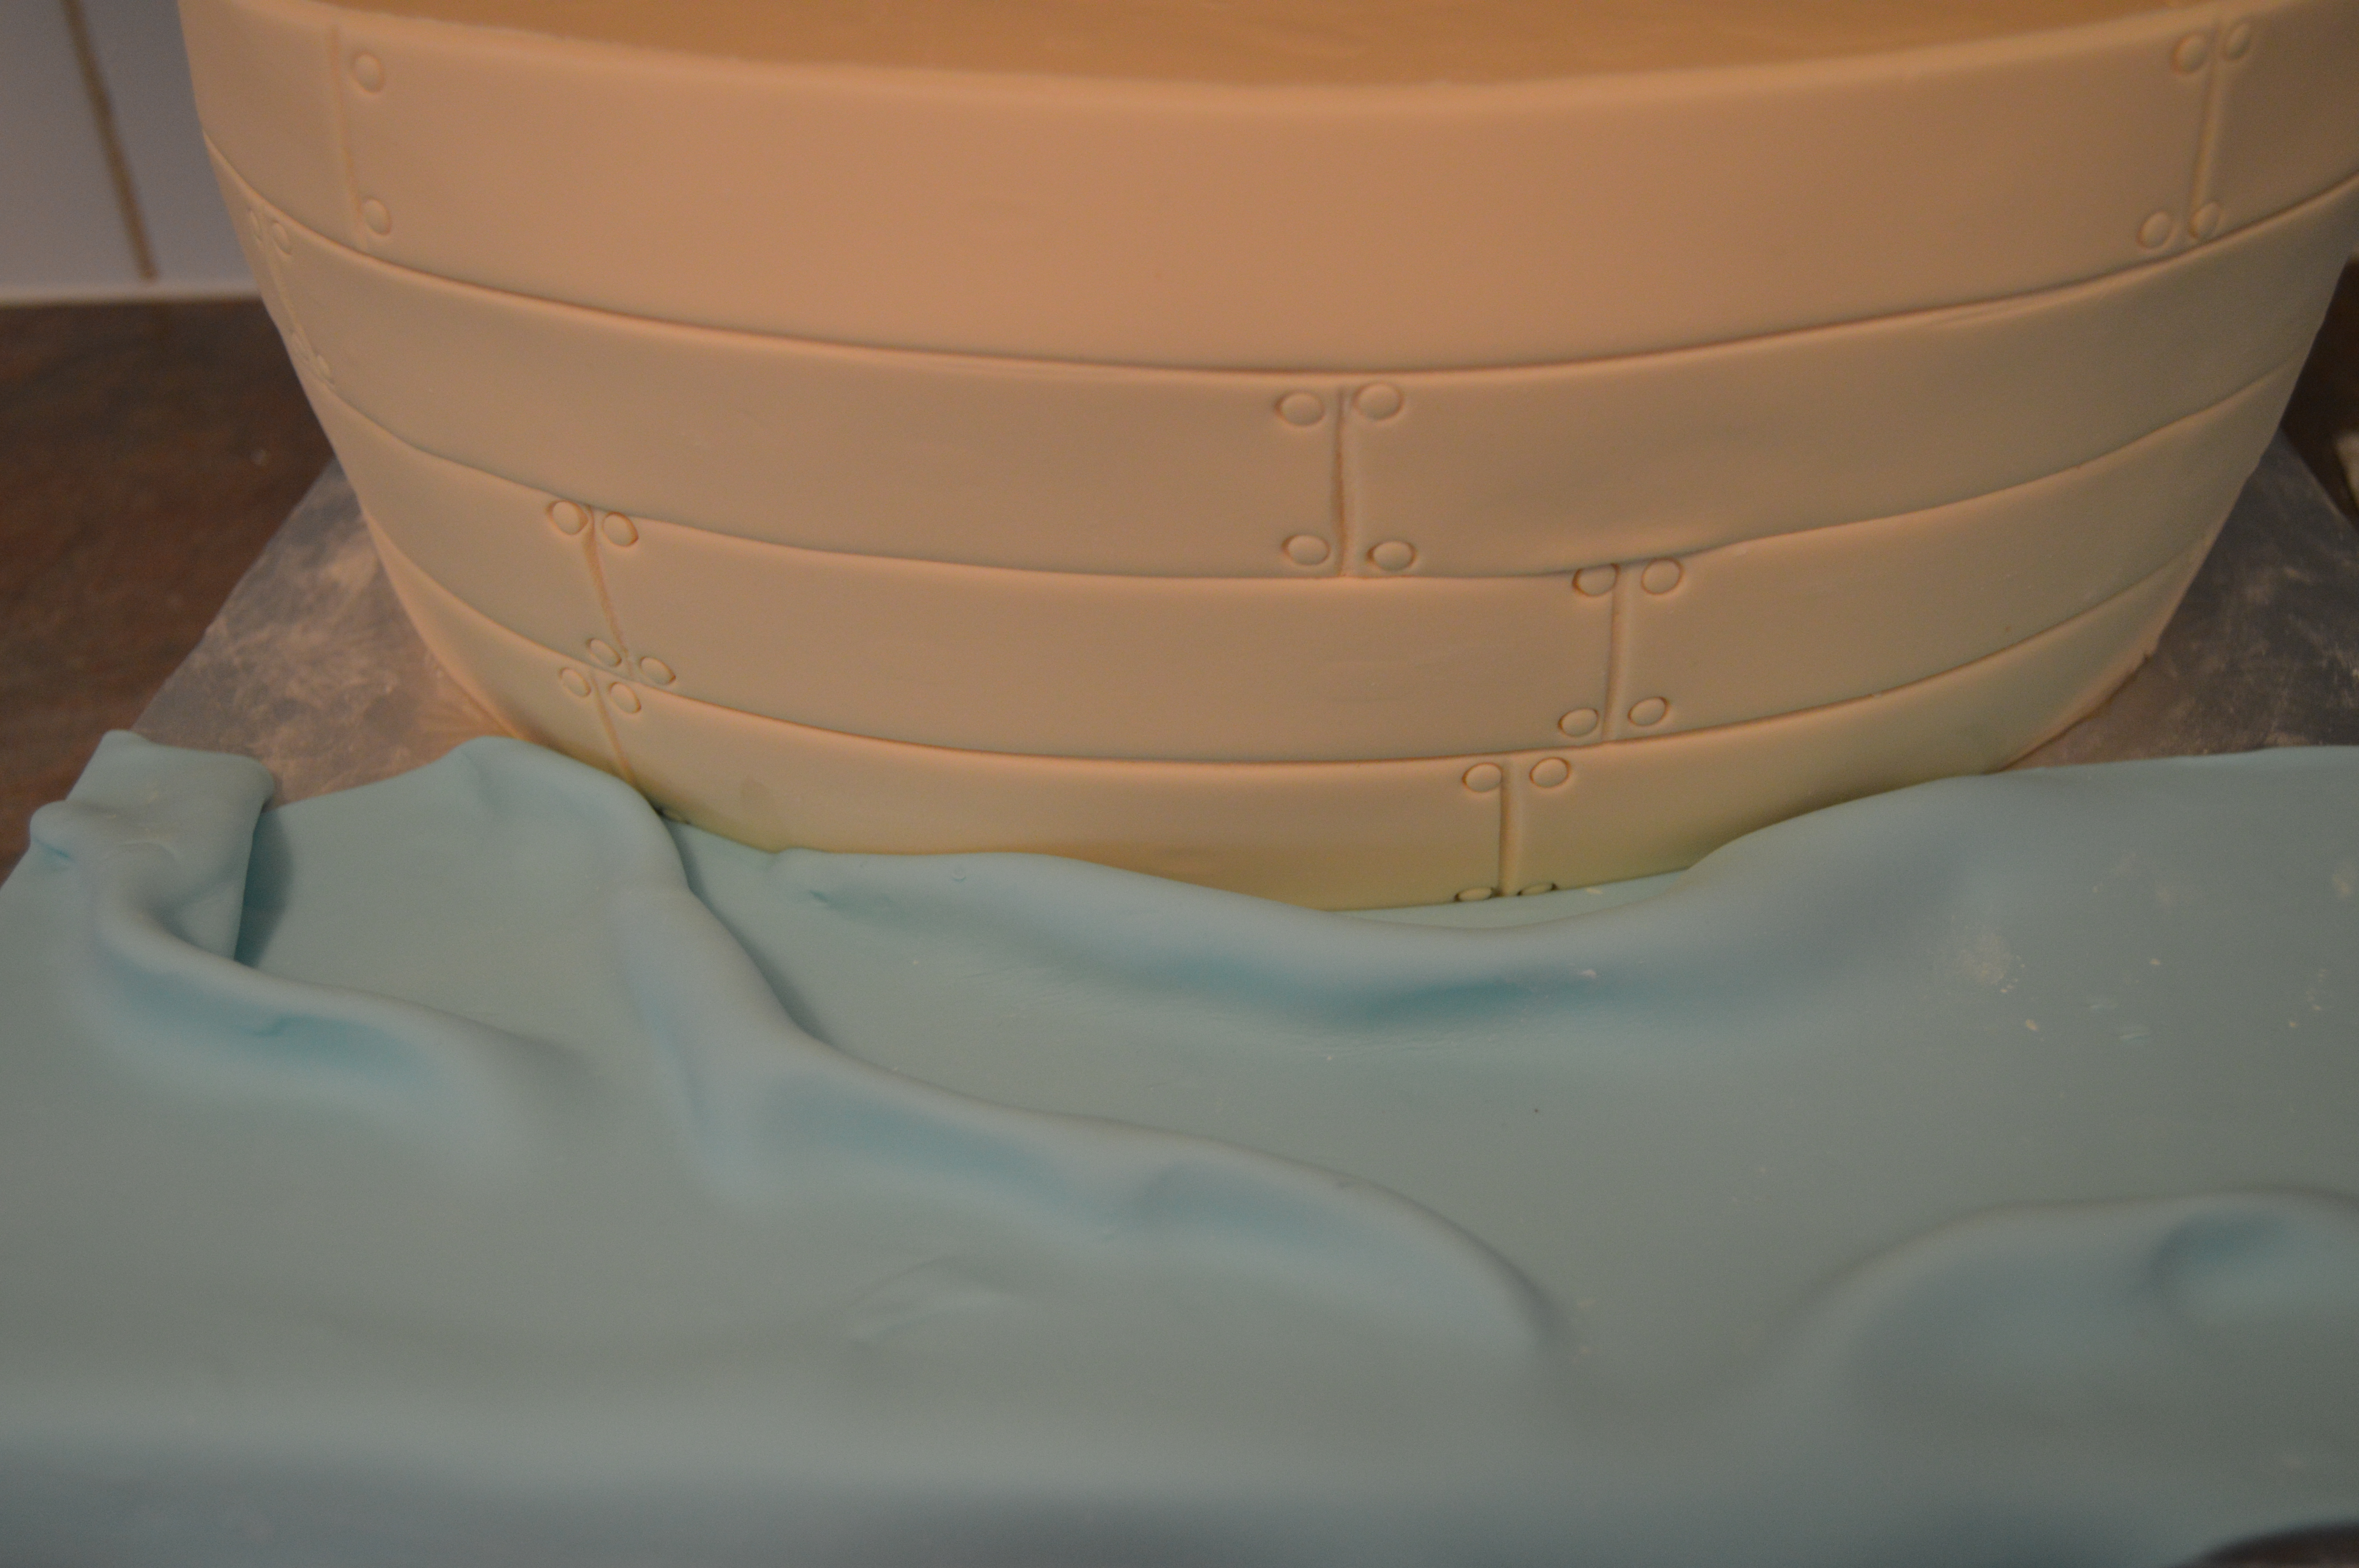
(4) Now to the designing. Drape the bottom tier with ivory colored fondant. Cut out 1 inch strips of ivory fondant and divide the strips into segments using a fondant wheel/embosser. Use a small round pipping tip to make circles at the corners of each segment. Place the bottom tier on your cake board and wrap the sides of the bottom tier with the strips. The topmost strip should tower over the cake. This will hide the floral wires inserted into the animal heads. I would advice that you allow the topmost strip dry properly before inserting the animals.
(5) Next, drape the cake board with blue fondant so it looks like flowing water. I rushed the blue fondant with vodka and a bit of Wilton’s white white gel paste to create the illusion of reflecting water.

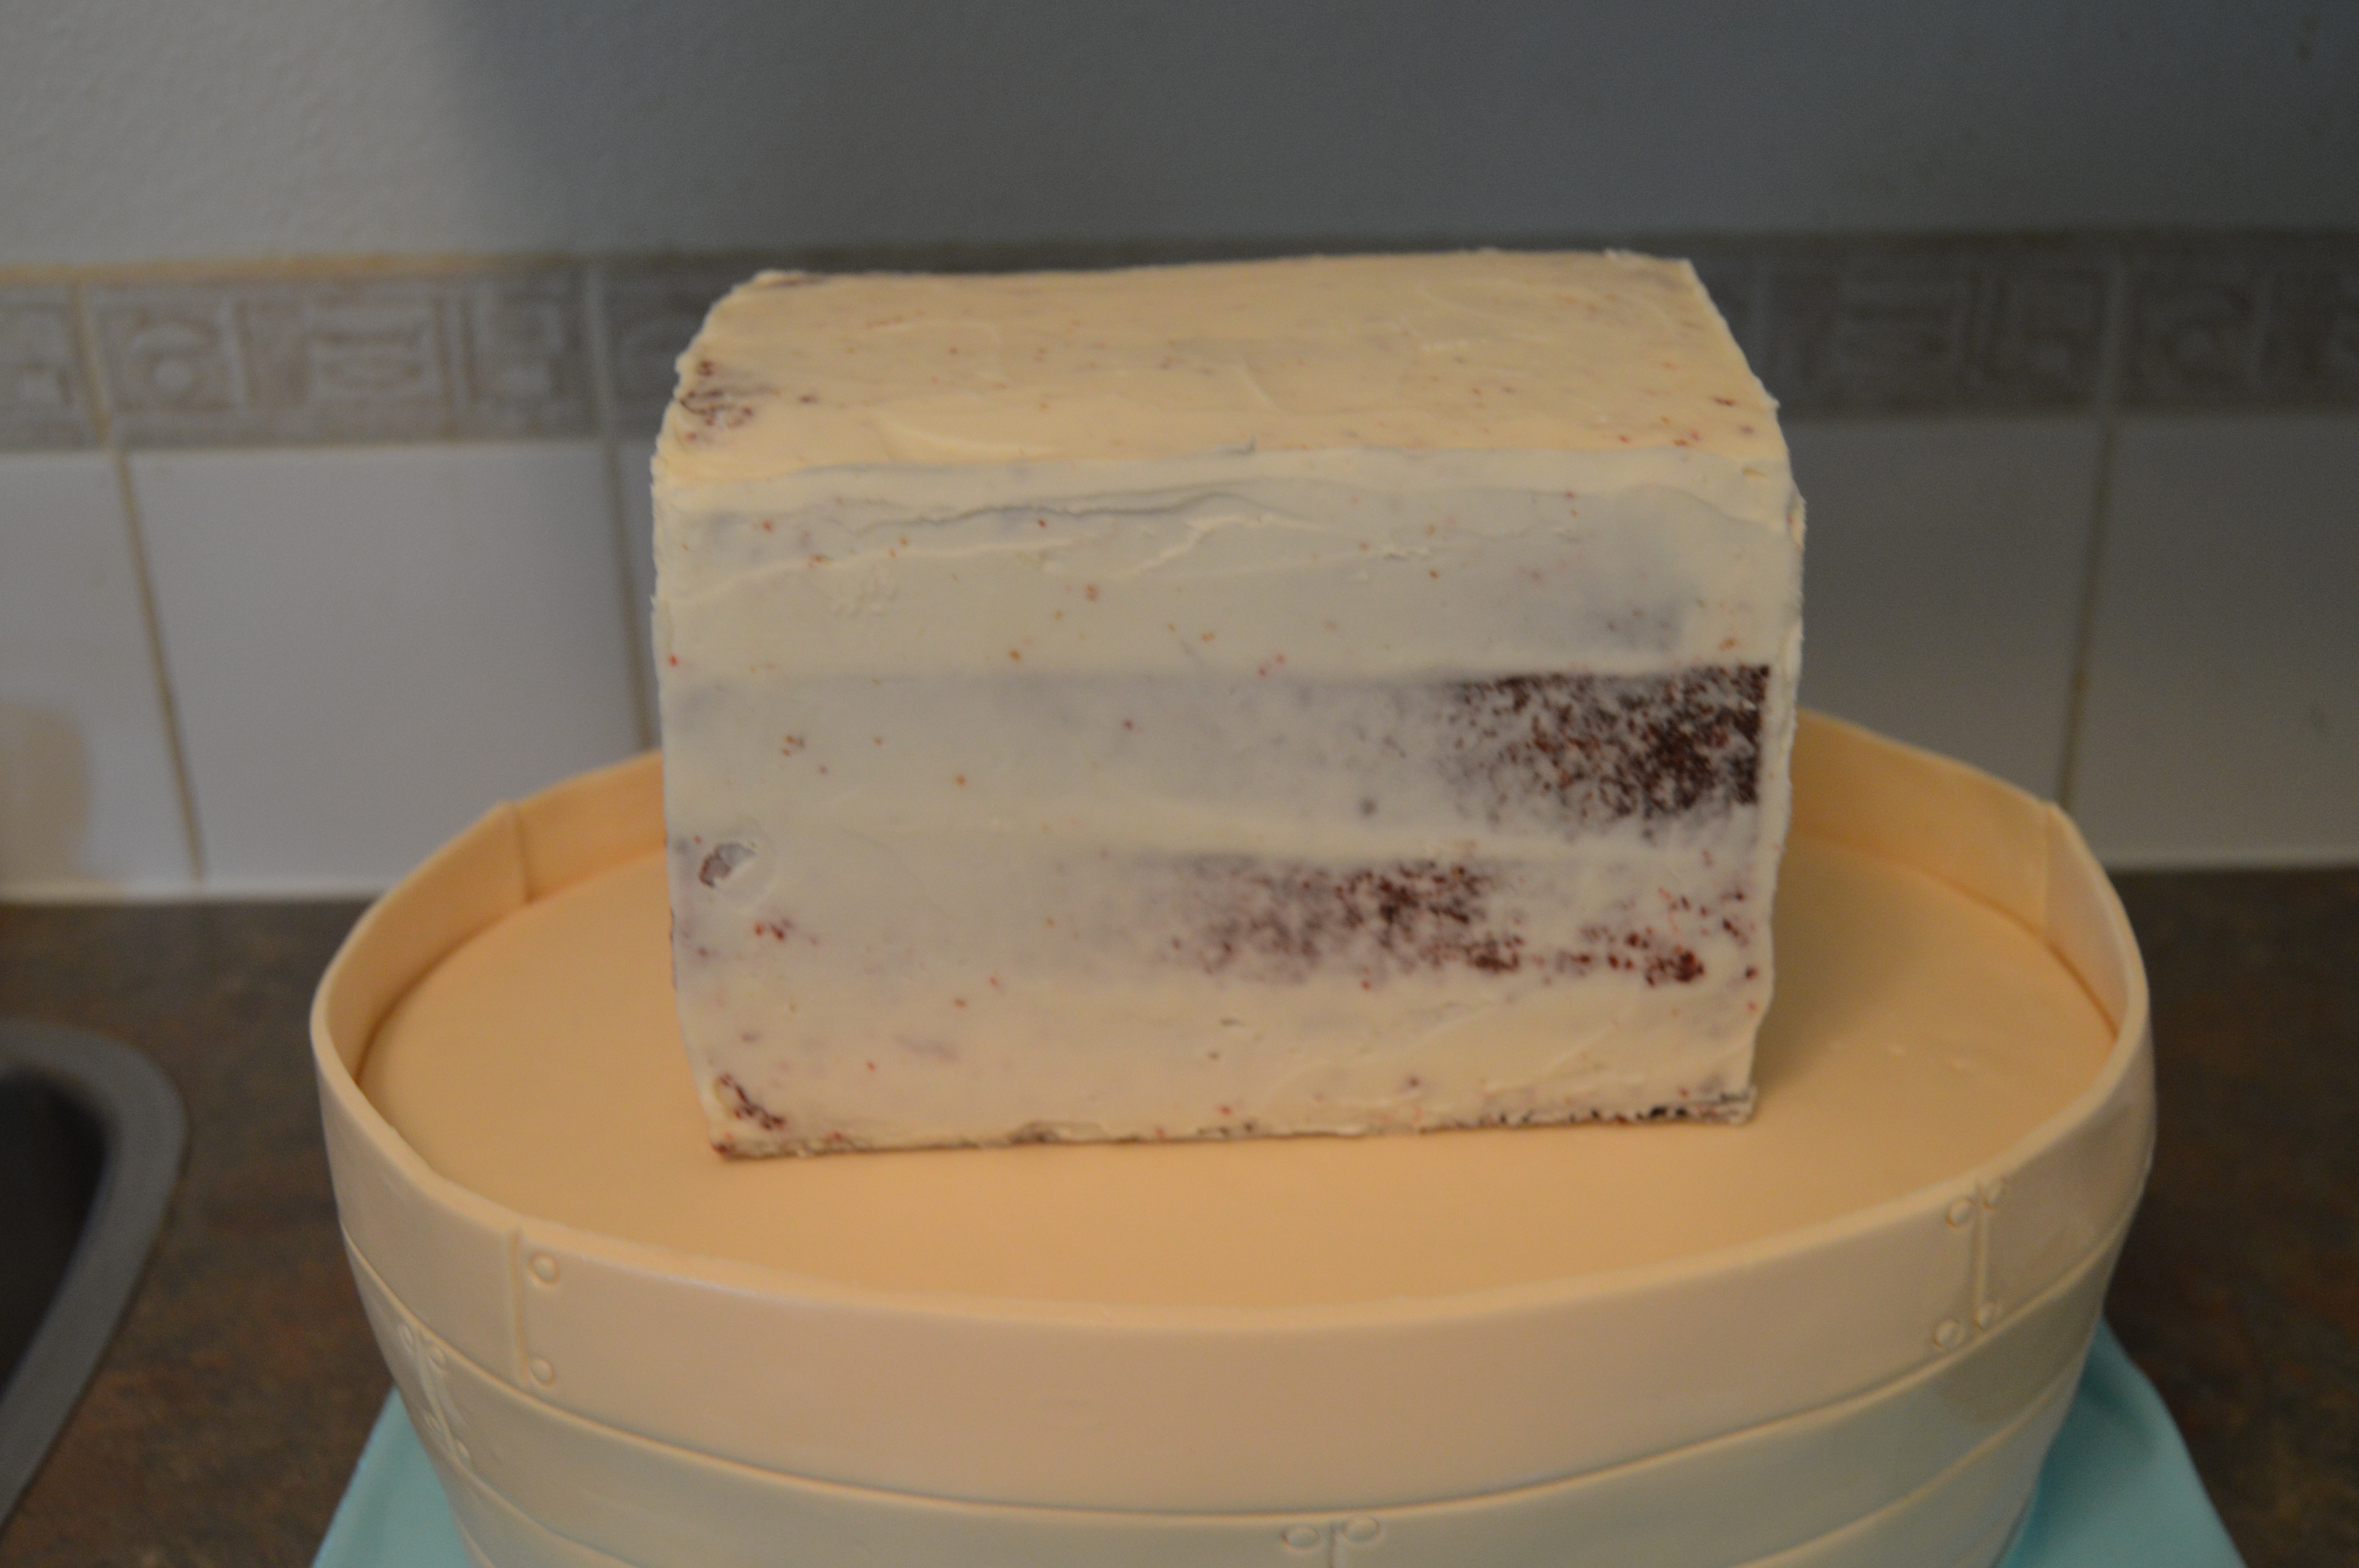
(6) Next, I placed dowels into the bottom tier and stacked the top tier on it. Then I started building the cabin using the fondant panels. The cake was brushed with a bit of water and the the edges of the panels were brushed with melted white chocolate so they could stick together.
(7) Next, the animals were added to the cake. When placing the animals on the deck, first make their feet and hang them over the edge of the ark. Then insert the animal behind the feet using the floral wires.
That’s all there is to it. I must confess that it is a very time consuming cake to make. The end however justifies the means. Happy caking!
Terry Adido is passionate about showing people how easy it is to recreate restaurant quality meals in the comfort of their kitchens. With a style of cooking he refers to as Afro-European Fusion, his meals are influenced greatly by French and Italian Cuisine with a West African twist. If you love good food, you are in for the ride of your life.
great tutorial.
Thanks.
Am really learning God bless you Terry
You are welcome Rejoice.
Terry God bless and keep you. Thank you so much for sharing with love.
Thanks Ekanem.
I’m speechless. This is good and you make it look so easy. Thank you and may God reward you.
Thanks. It really is easy. It’s just time consuming.
Thanks for the tutorial and at the same time to take permission to use it or any other ones that related to kids for my upcoming cake exhibition as my cake display.Kudos for all the tutorials,you can’t be stopped.
Thanks. You are free to reproduce any of my cakes.
Lovely Terry am learning alot here. God bless you
Thanks Joyrain.