
Queen of Sheba Cake (Julia Child’s Recipe)
Queen of Sheba Cake (Reine de Saba) is a very rich chocolate almond cake with ingredients which compliment each other so very well. Its a chocolate cake like you have never eaten before. It is dense like a tort and elegantly decorated with chocolate swirls on top and sliced almonds on the sides. This is a recipe by Julia Child. As she puts it in her own words, “The queen of Sheba is a dark beauty made of chocolate, and almonds, and rum and butter. Let’s go into the kitchen and make the best chocolate cake you’ve ever put in your mouth,” Yeah, its that good.
INGREDIENTS:
For Cake:
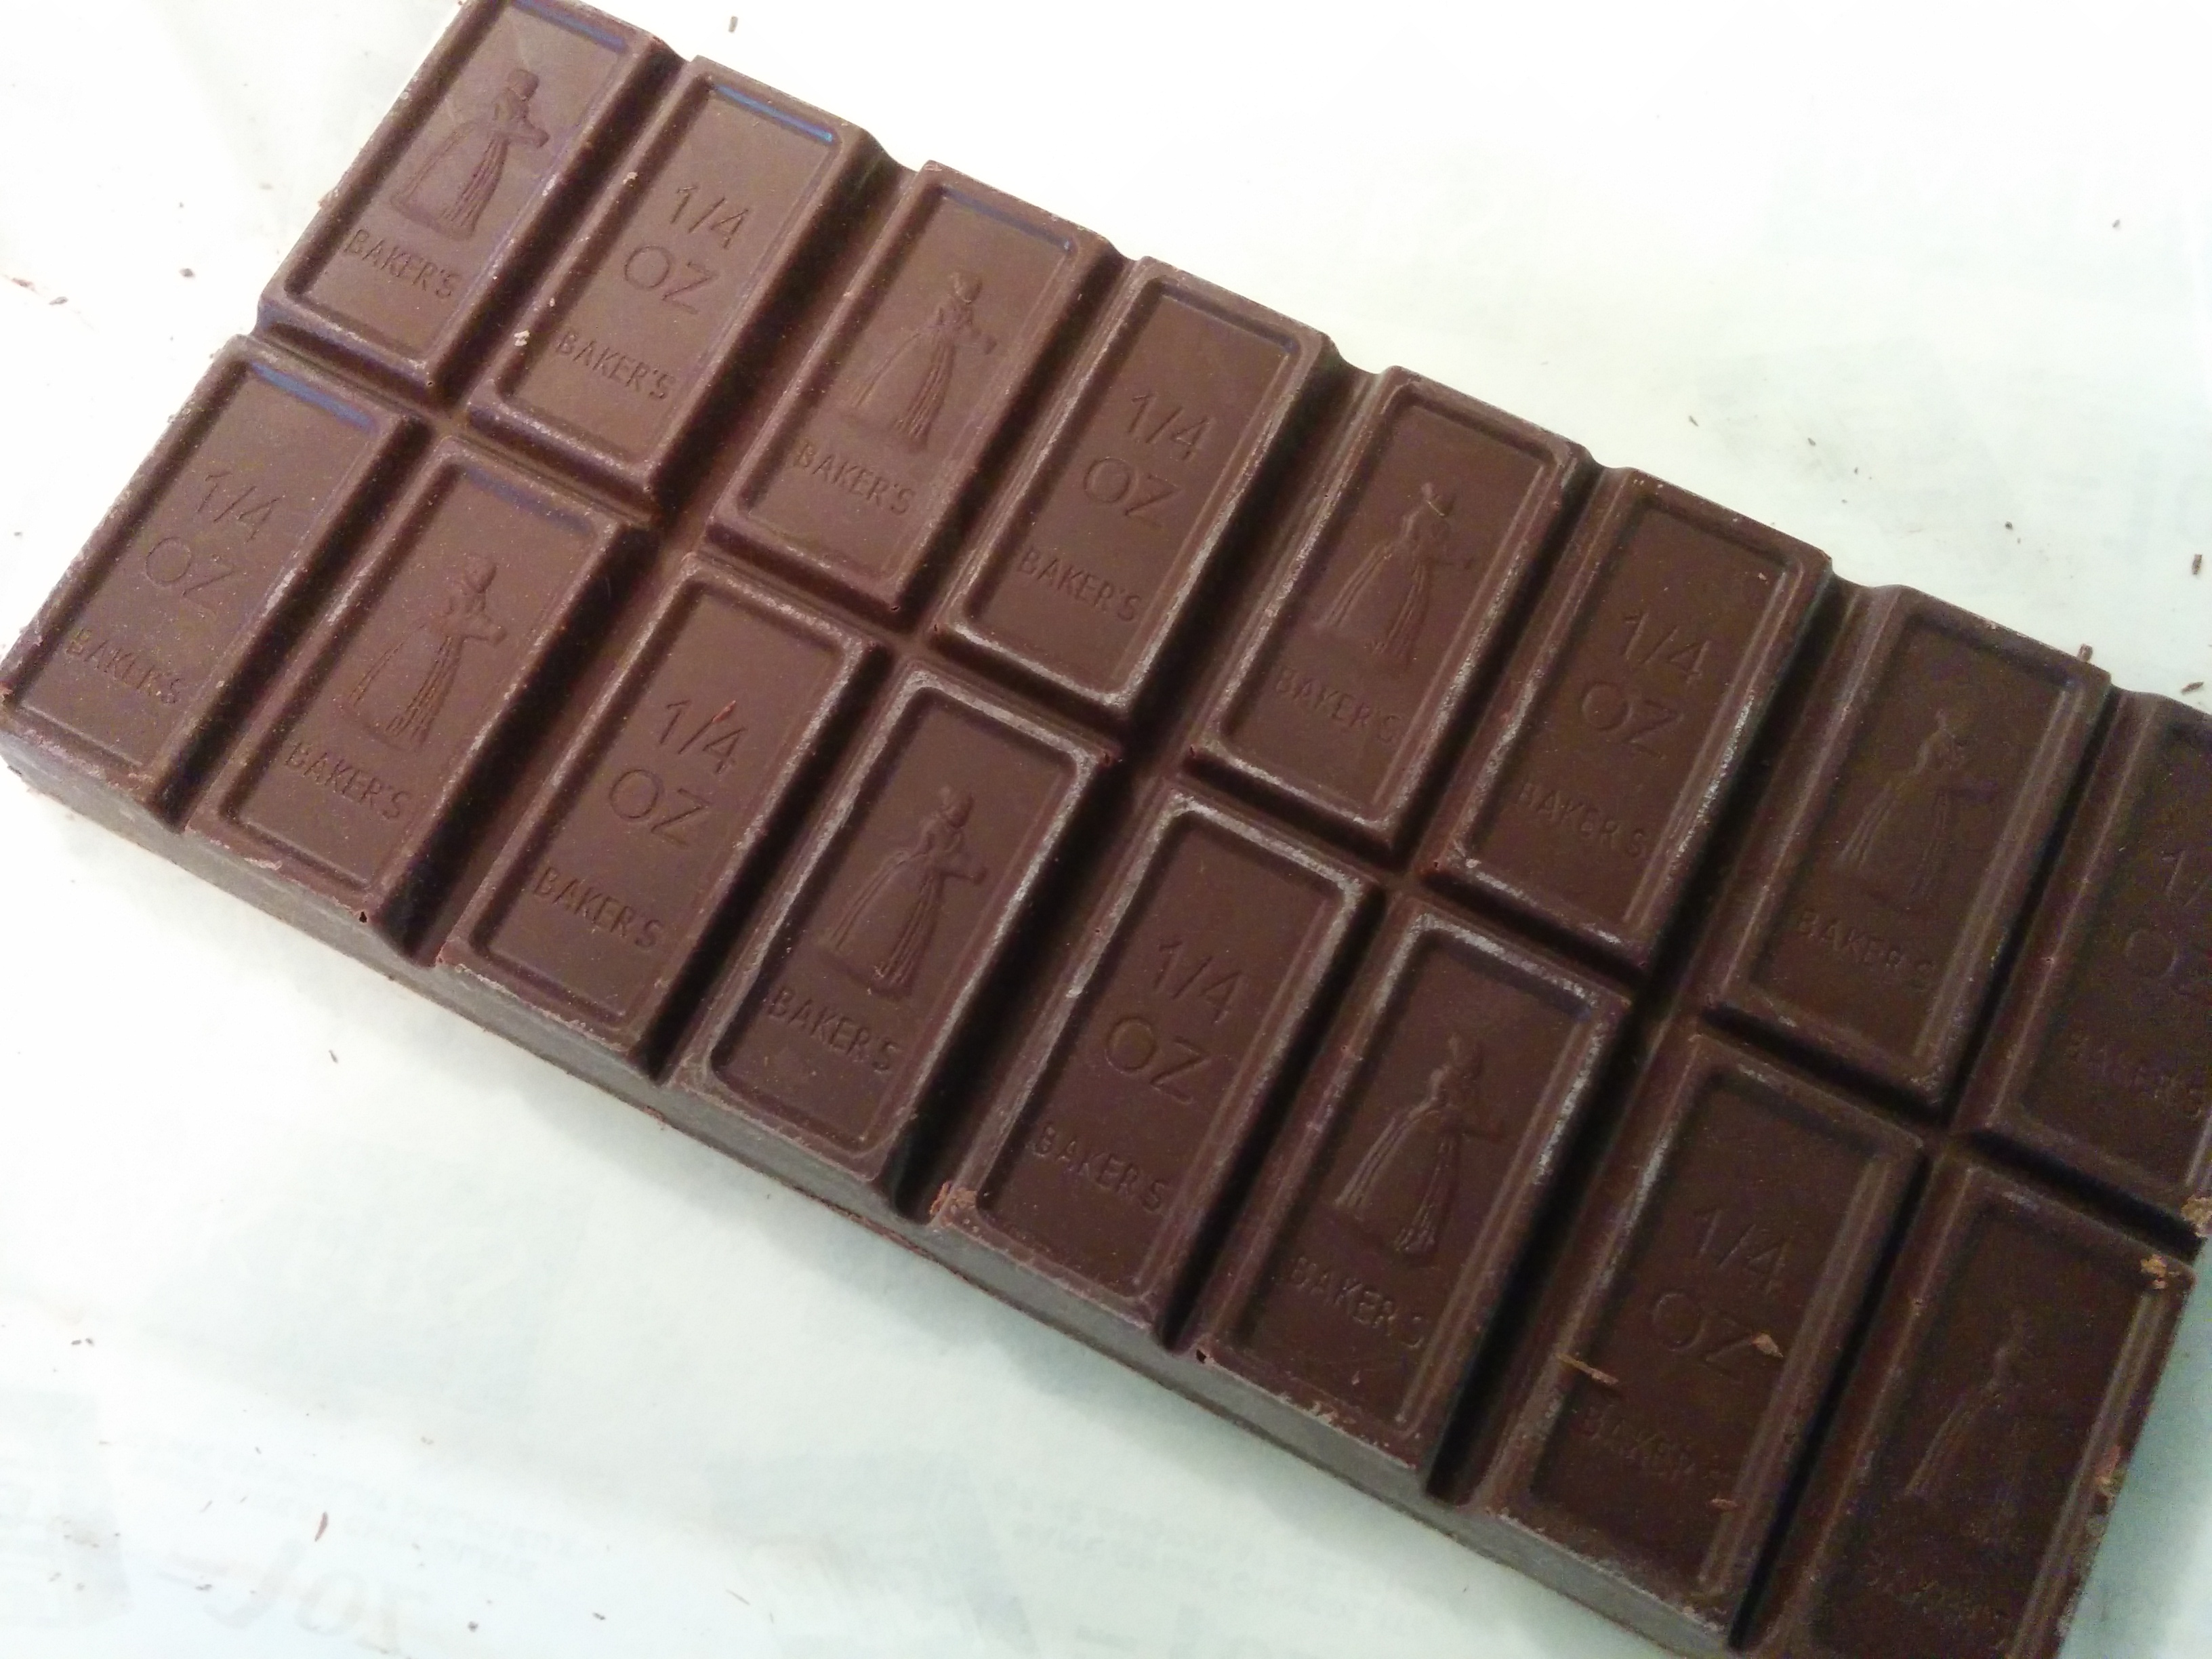
(1) 4 Ounces Semi-Sweet Chocolate (113 Grams)
(2) 2 Tablespoons Dark Rum (See Note 1)
(3) 1/2 Cup Unsalted Butter (113 Grams)
(4) 100 Grams Granulated White Sugar (1/2 Cup)
(5) 25 Grams Granulated White Sugar (2 Tablespoons)
(6) 3 Egg Yolks
(7) 3 Egg Whites
(8) 37 Grams Ground Almonds (1/3 Cup)
(9) 90 Grams Cake Flour (3/4 Cup)
(10) 1/4 Teaspoon Almond Extract
(11) 1/4 Teaspoon Cream of Tarter
(12) A Pinch of Salt (1/8 Teaspoon)
For Ganache (Chocolate and Butter Glaze):
(1) 4 Ounces Semi-Sweet Chocolate (113 Grams)
(2) 2 Tablespoons Dark Rum
(3) 85 Grams Unsalted Butter (6 Tablespoons)
For Topping:
(1) 2 Tablespoons White Chocolate (Optional)
(2) 1/2 Cup Sliced Almonds
NOTES:
(1) According to Julia Child, you can substitute the rum with coffee. She however forbids you from using water for, as she says, “the French never use water for anything unless they have to.”
PROCEDURE:
For Cake:
(1) Preheat oven to 350 degrees and place the baking rack in the middle of the oven.
(2) Grease an 8 inch cake pan with oil or butter. For extra security, coat the pan with some flour after greasing it.
TIP: I have discovered that with chocolate cakes, it is better to coat the pan with cocoa powder and not flour. This will prevent a white film from forming on the sides cake after it has been baked.
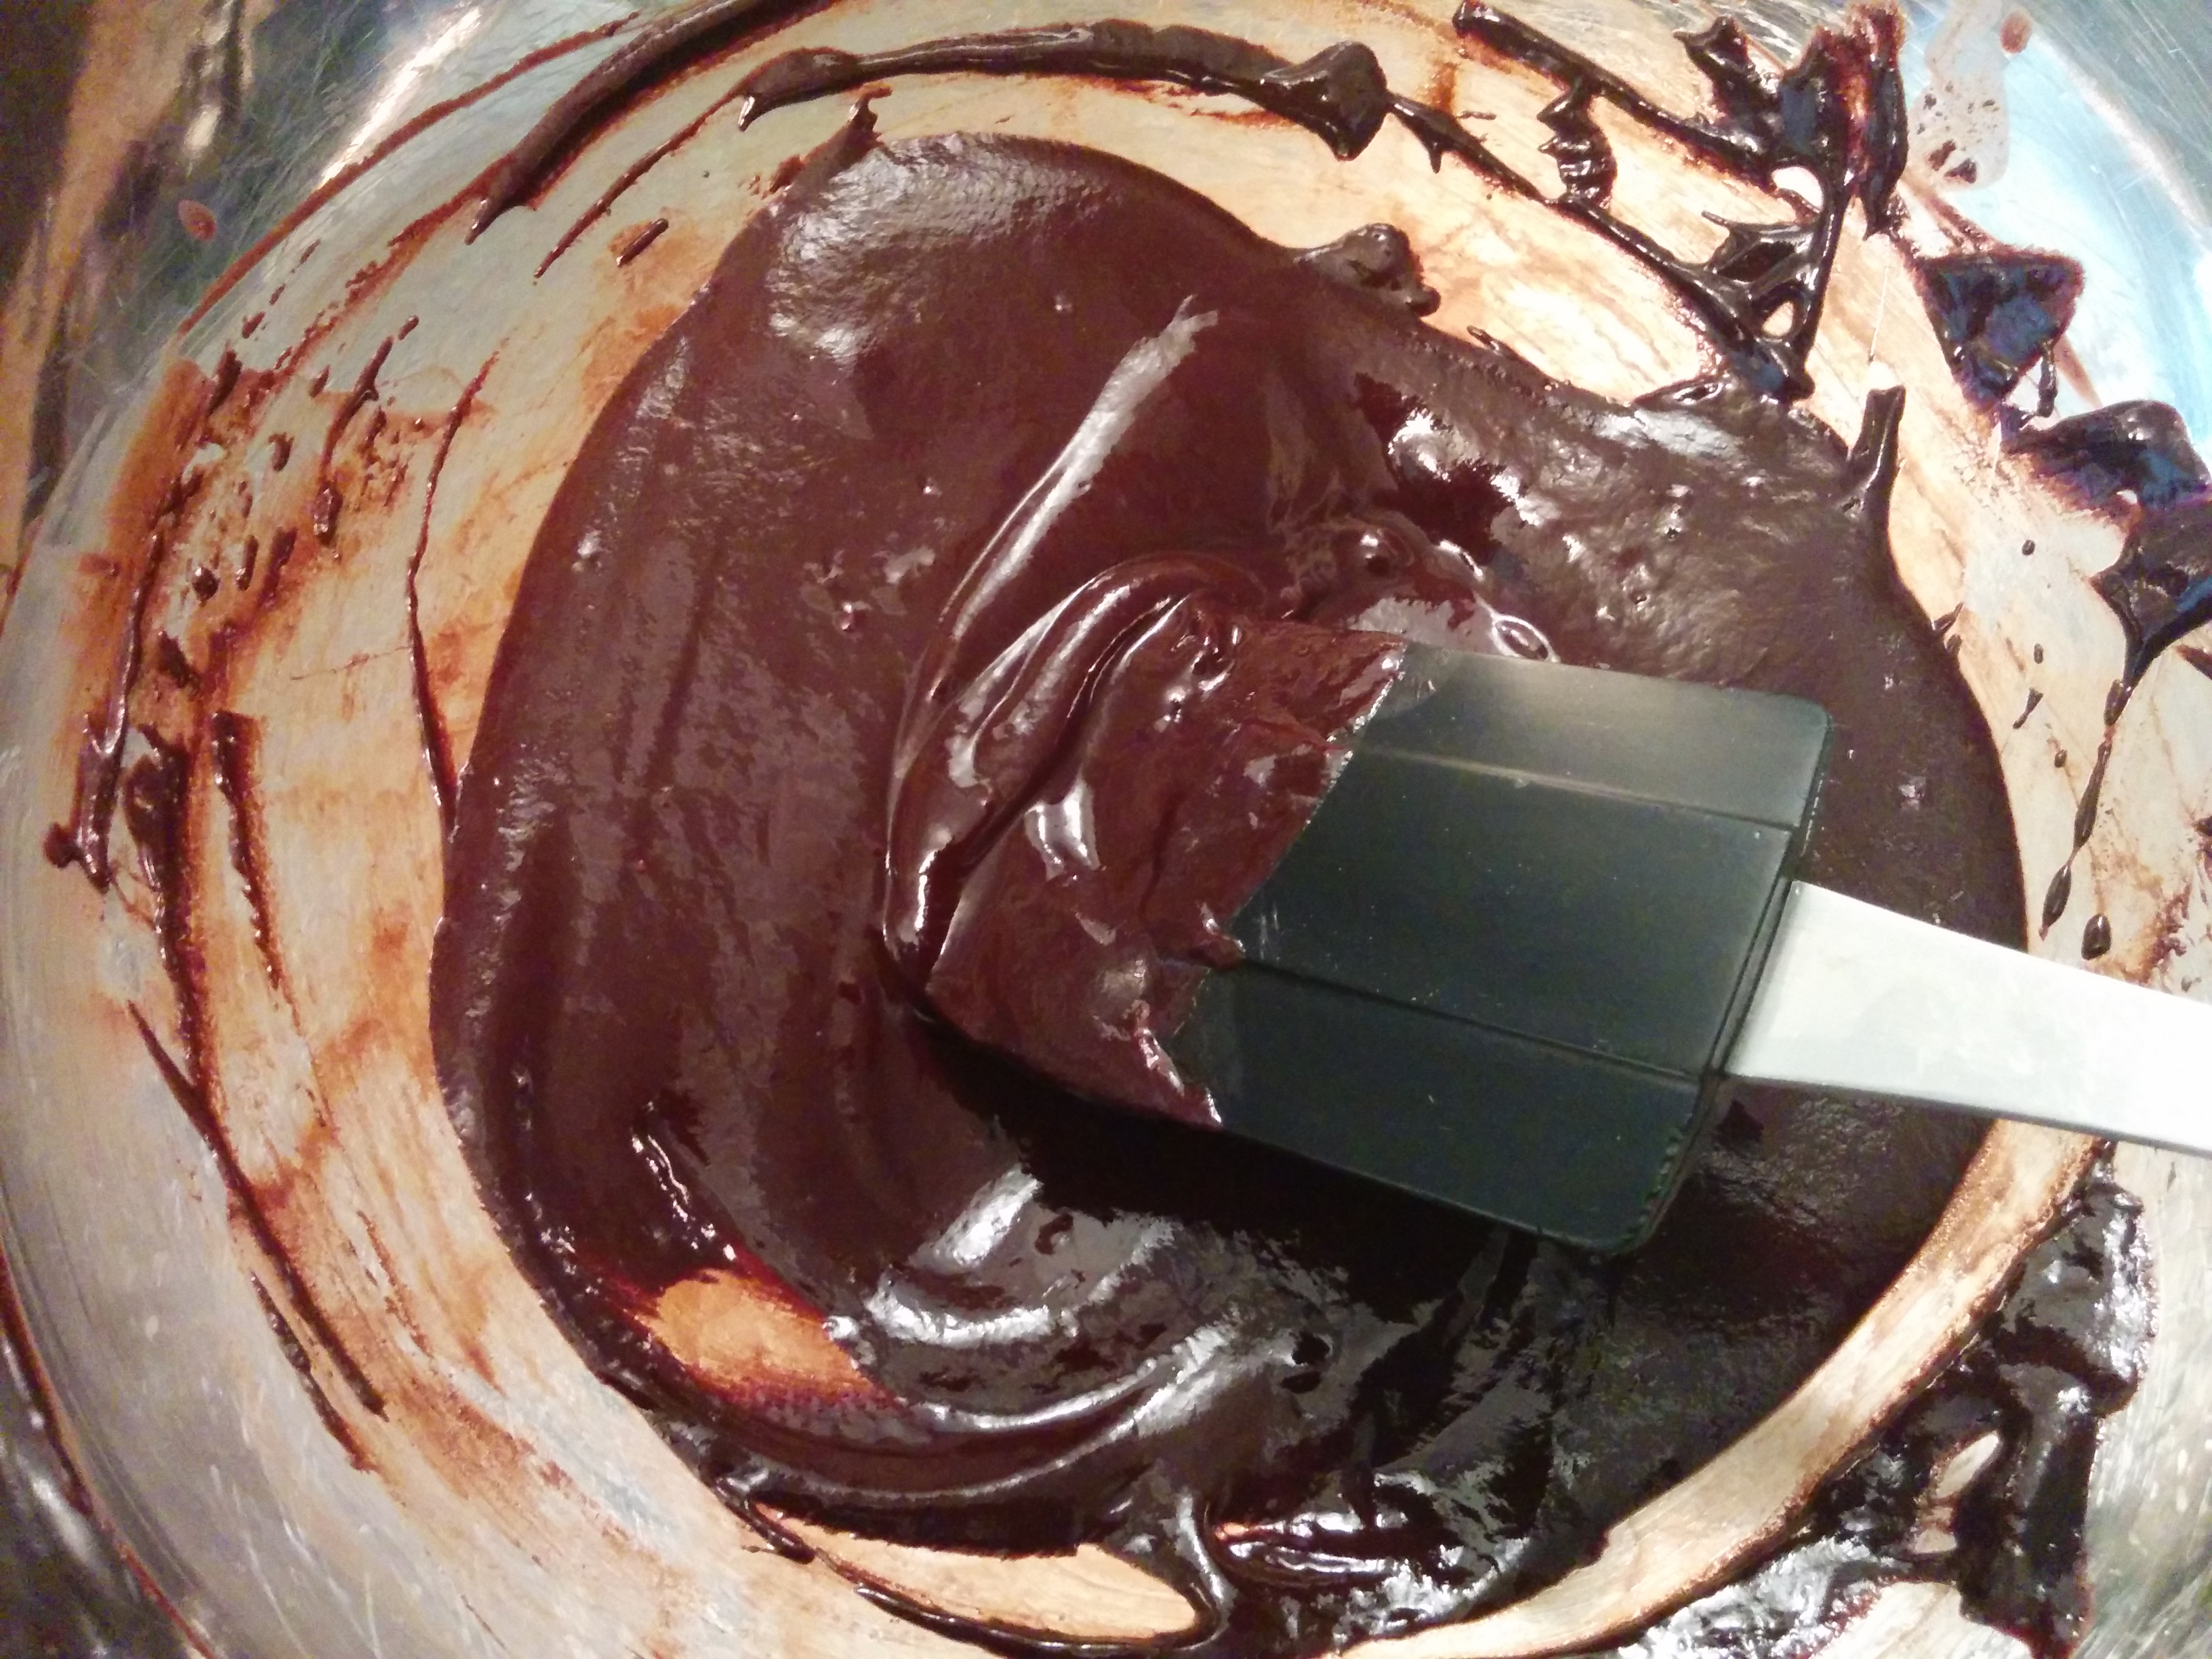
(3) Melt the chocolate and rum over a double boiler and set aside as you mix the other ingredients. If the chocolate becomes too strong by the time you want to use it, just place it over the hot water to lighten it a bit before using.

NOTES: A double boiler is just a heat proof bowl placed over a pot of simmering water. It should be, and my words are “should be”, possible to do this in a microwave oven. I have made this cake about 3 times and I noticed each time that the chocolate seized as it melted. Recent baking knowledge shows that you do not melt chocolate with water or water-like substances as this causes the chocolate to seize. A better alternative would be to melt the chocolate and then add the rum afterwards.
(4) In the bowl of your stand mixer fitted with the paddle attachment, cream 1/2 cup of sugar and butter until soft and creamy. This should take about 4 minutes.
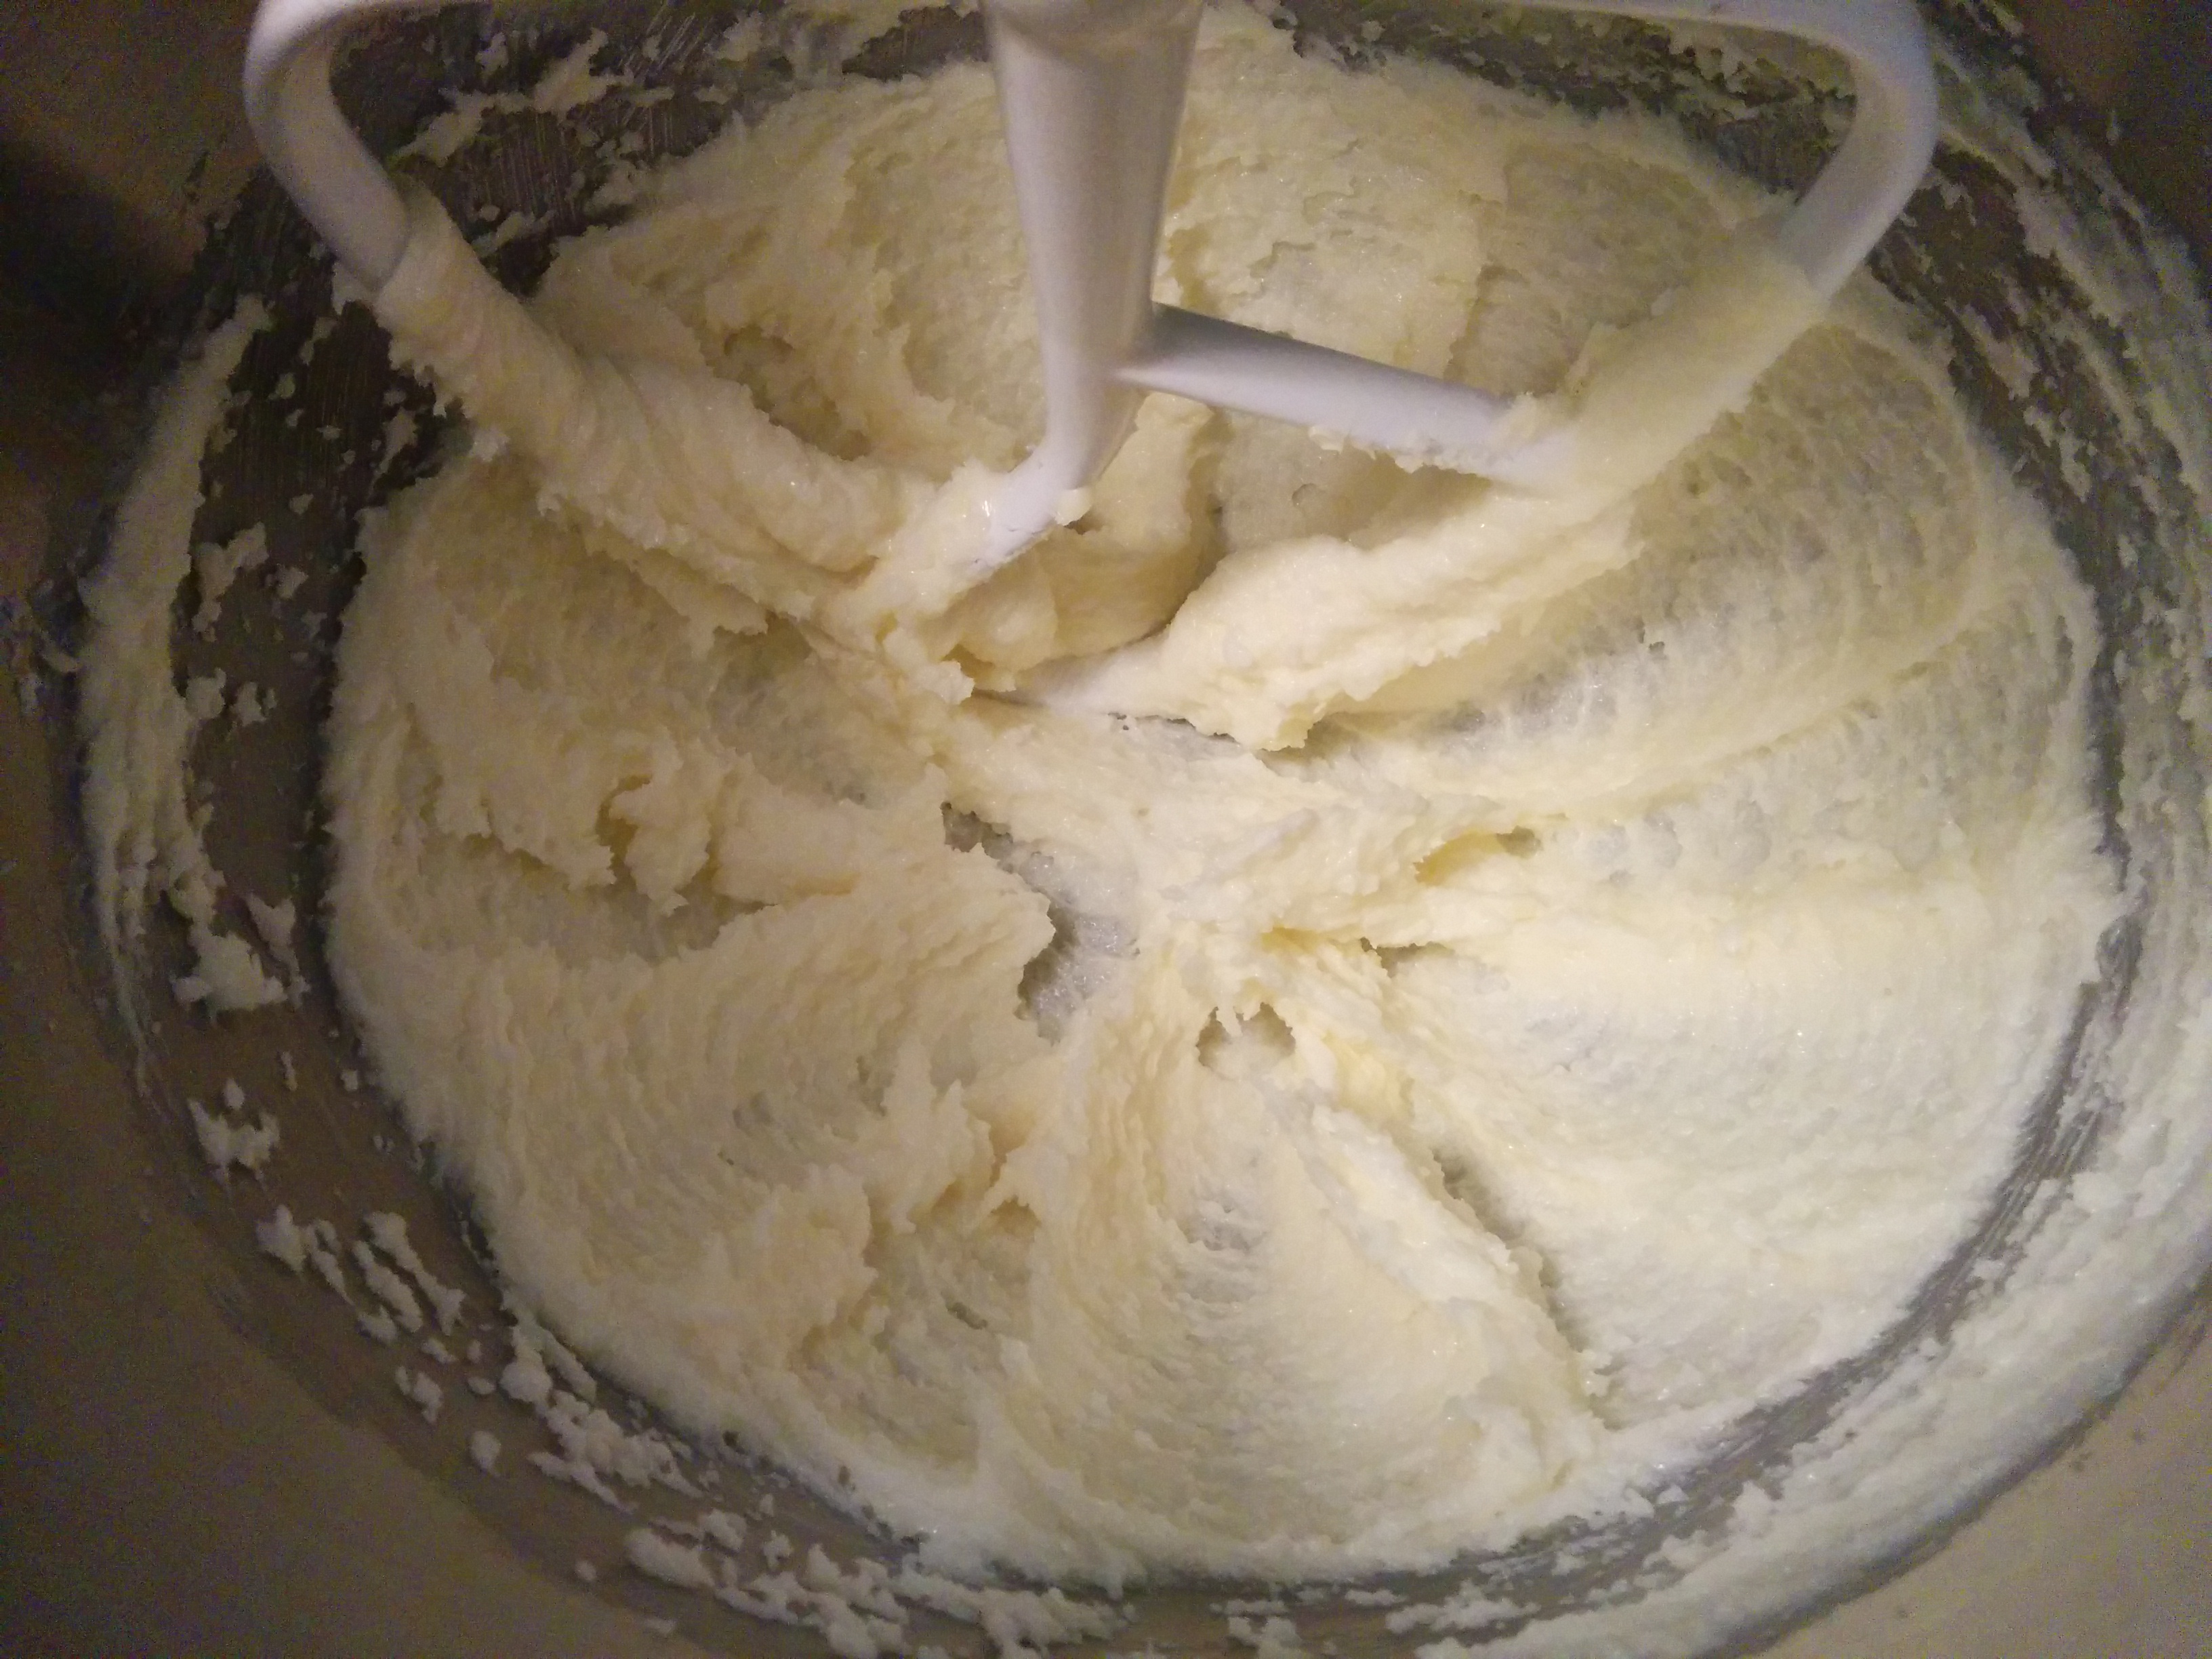
TIP: Julia advises that the butter be very soft so it can cream easily.
(5) After creaming the butter and sugar, add the egg yolks one at a time, beating after each addition. Next, add the almond extract and beat to incorporate.
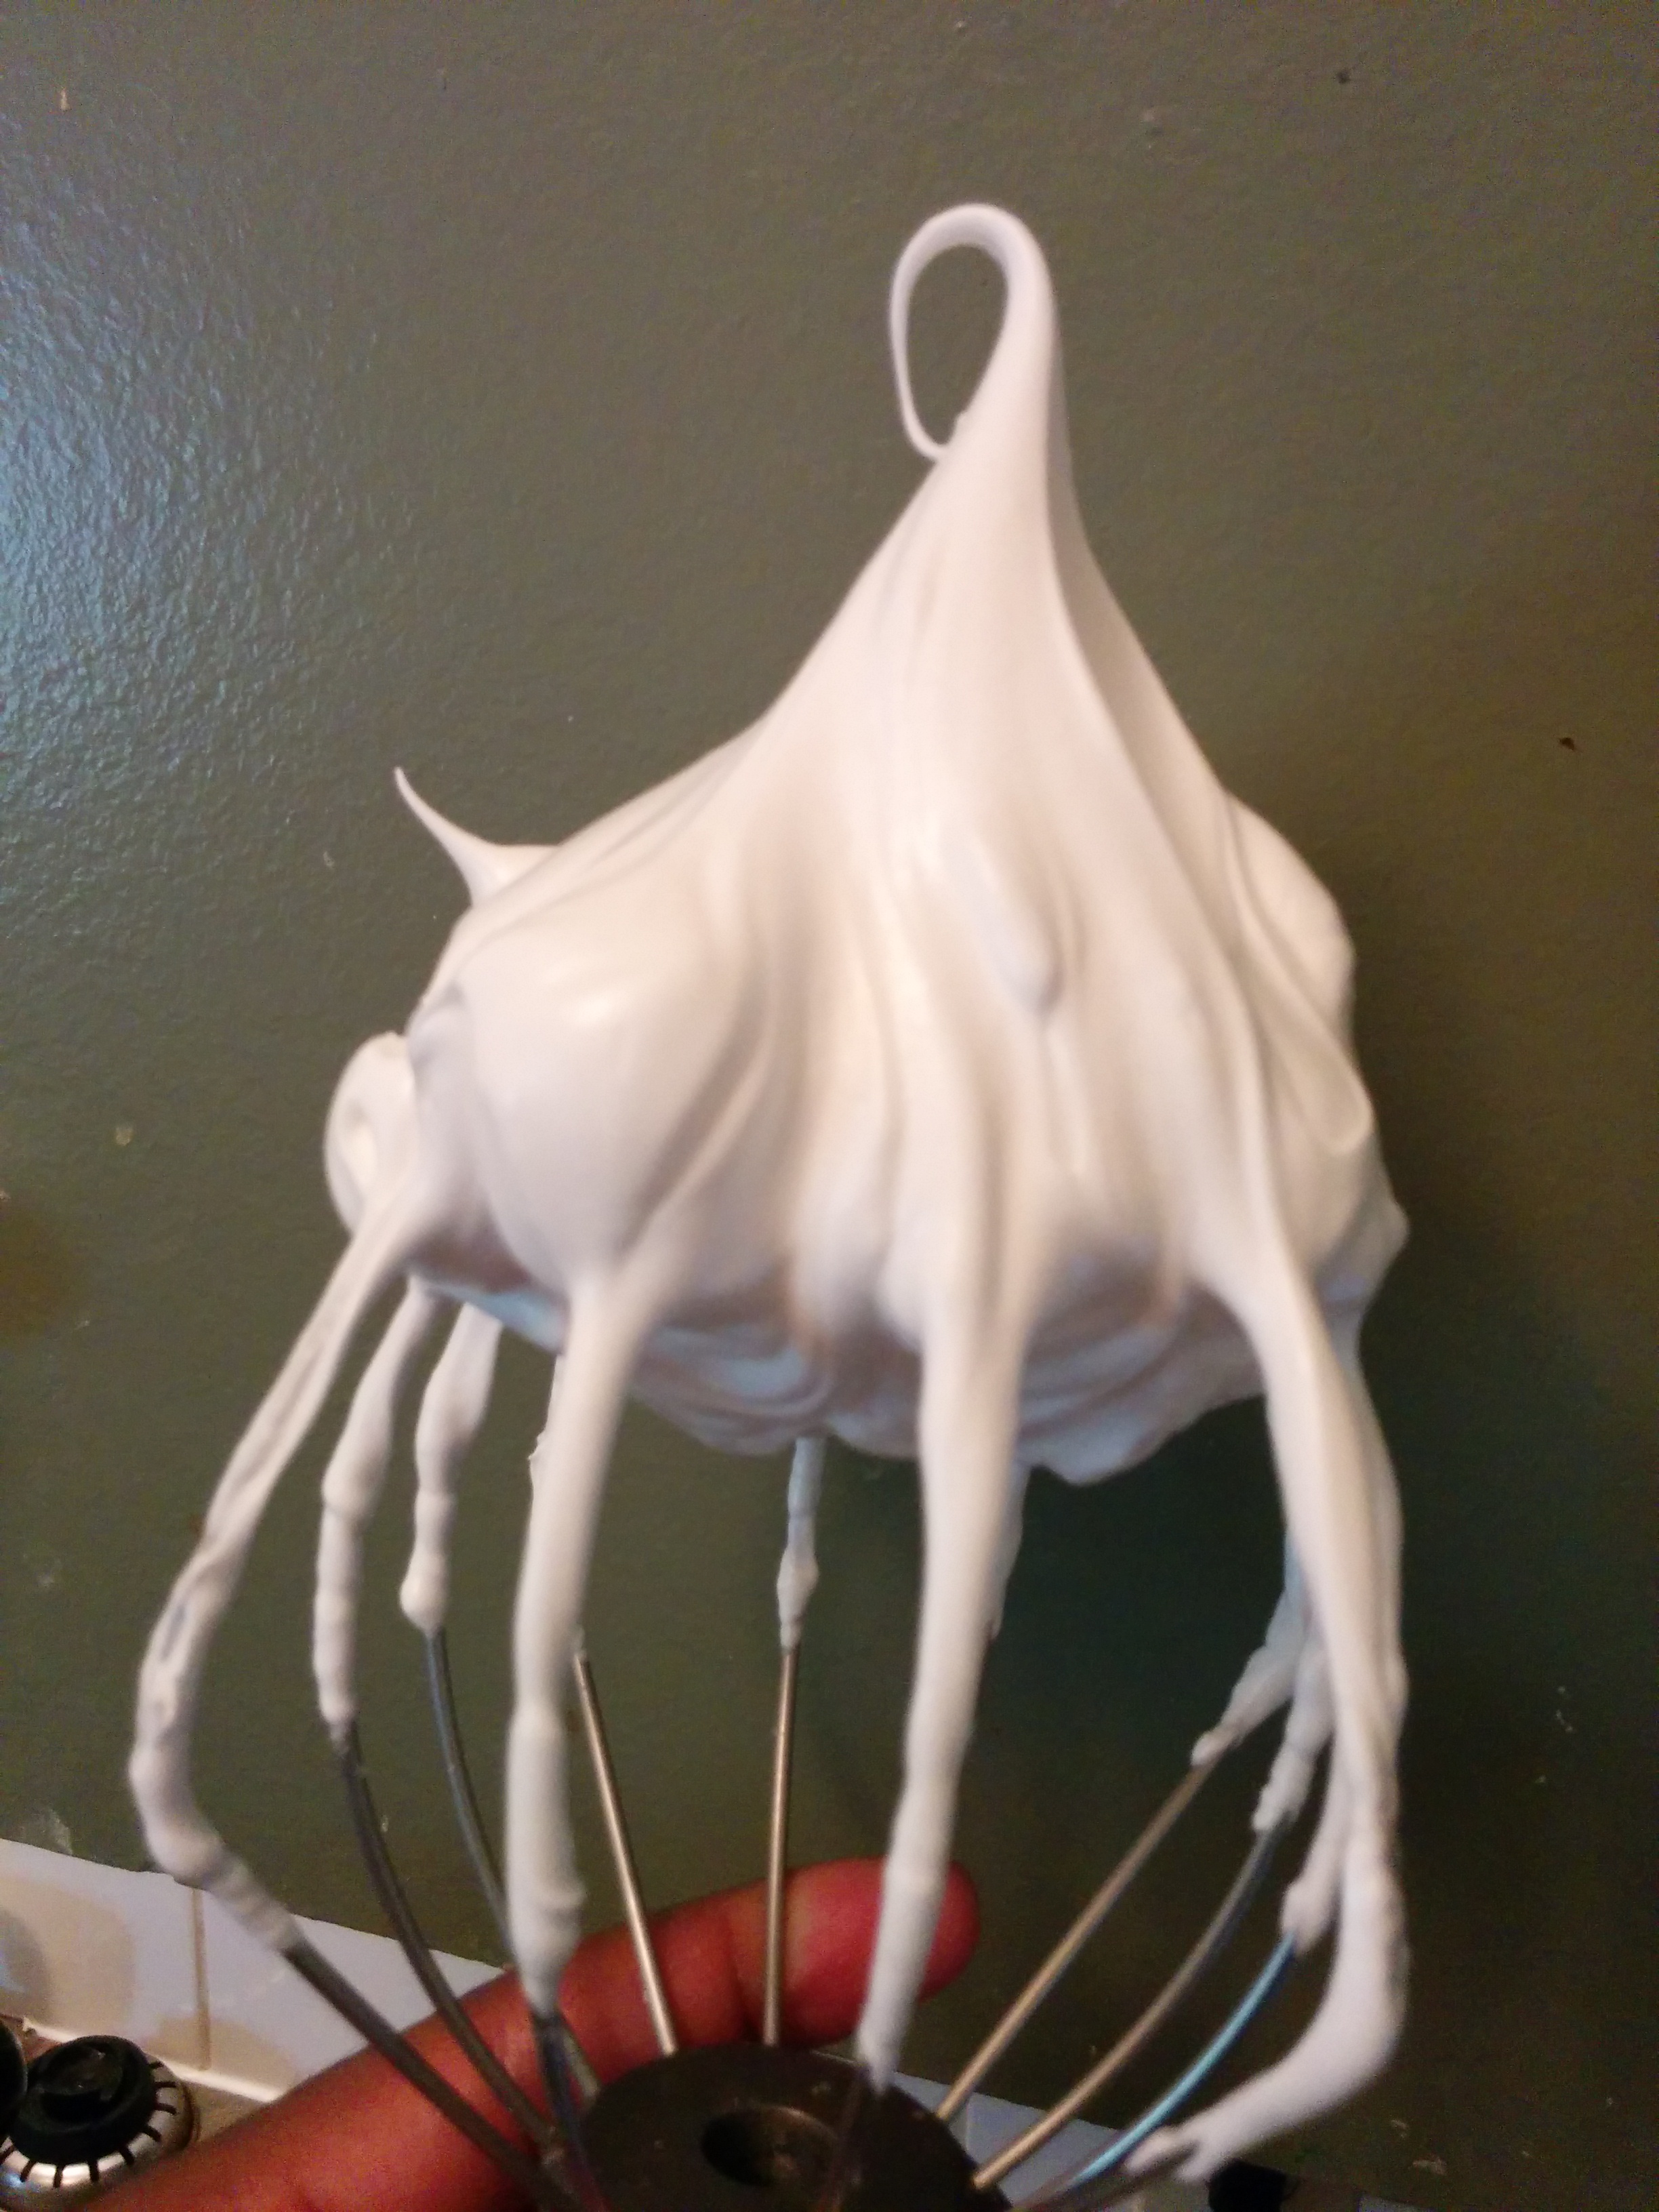
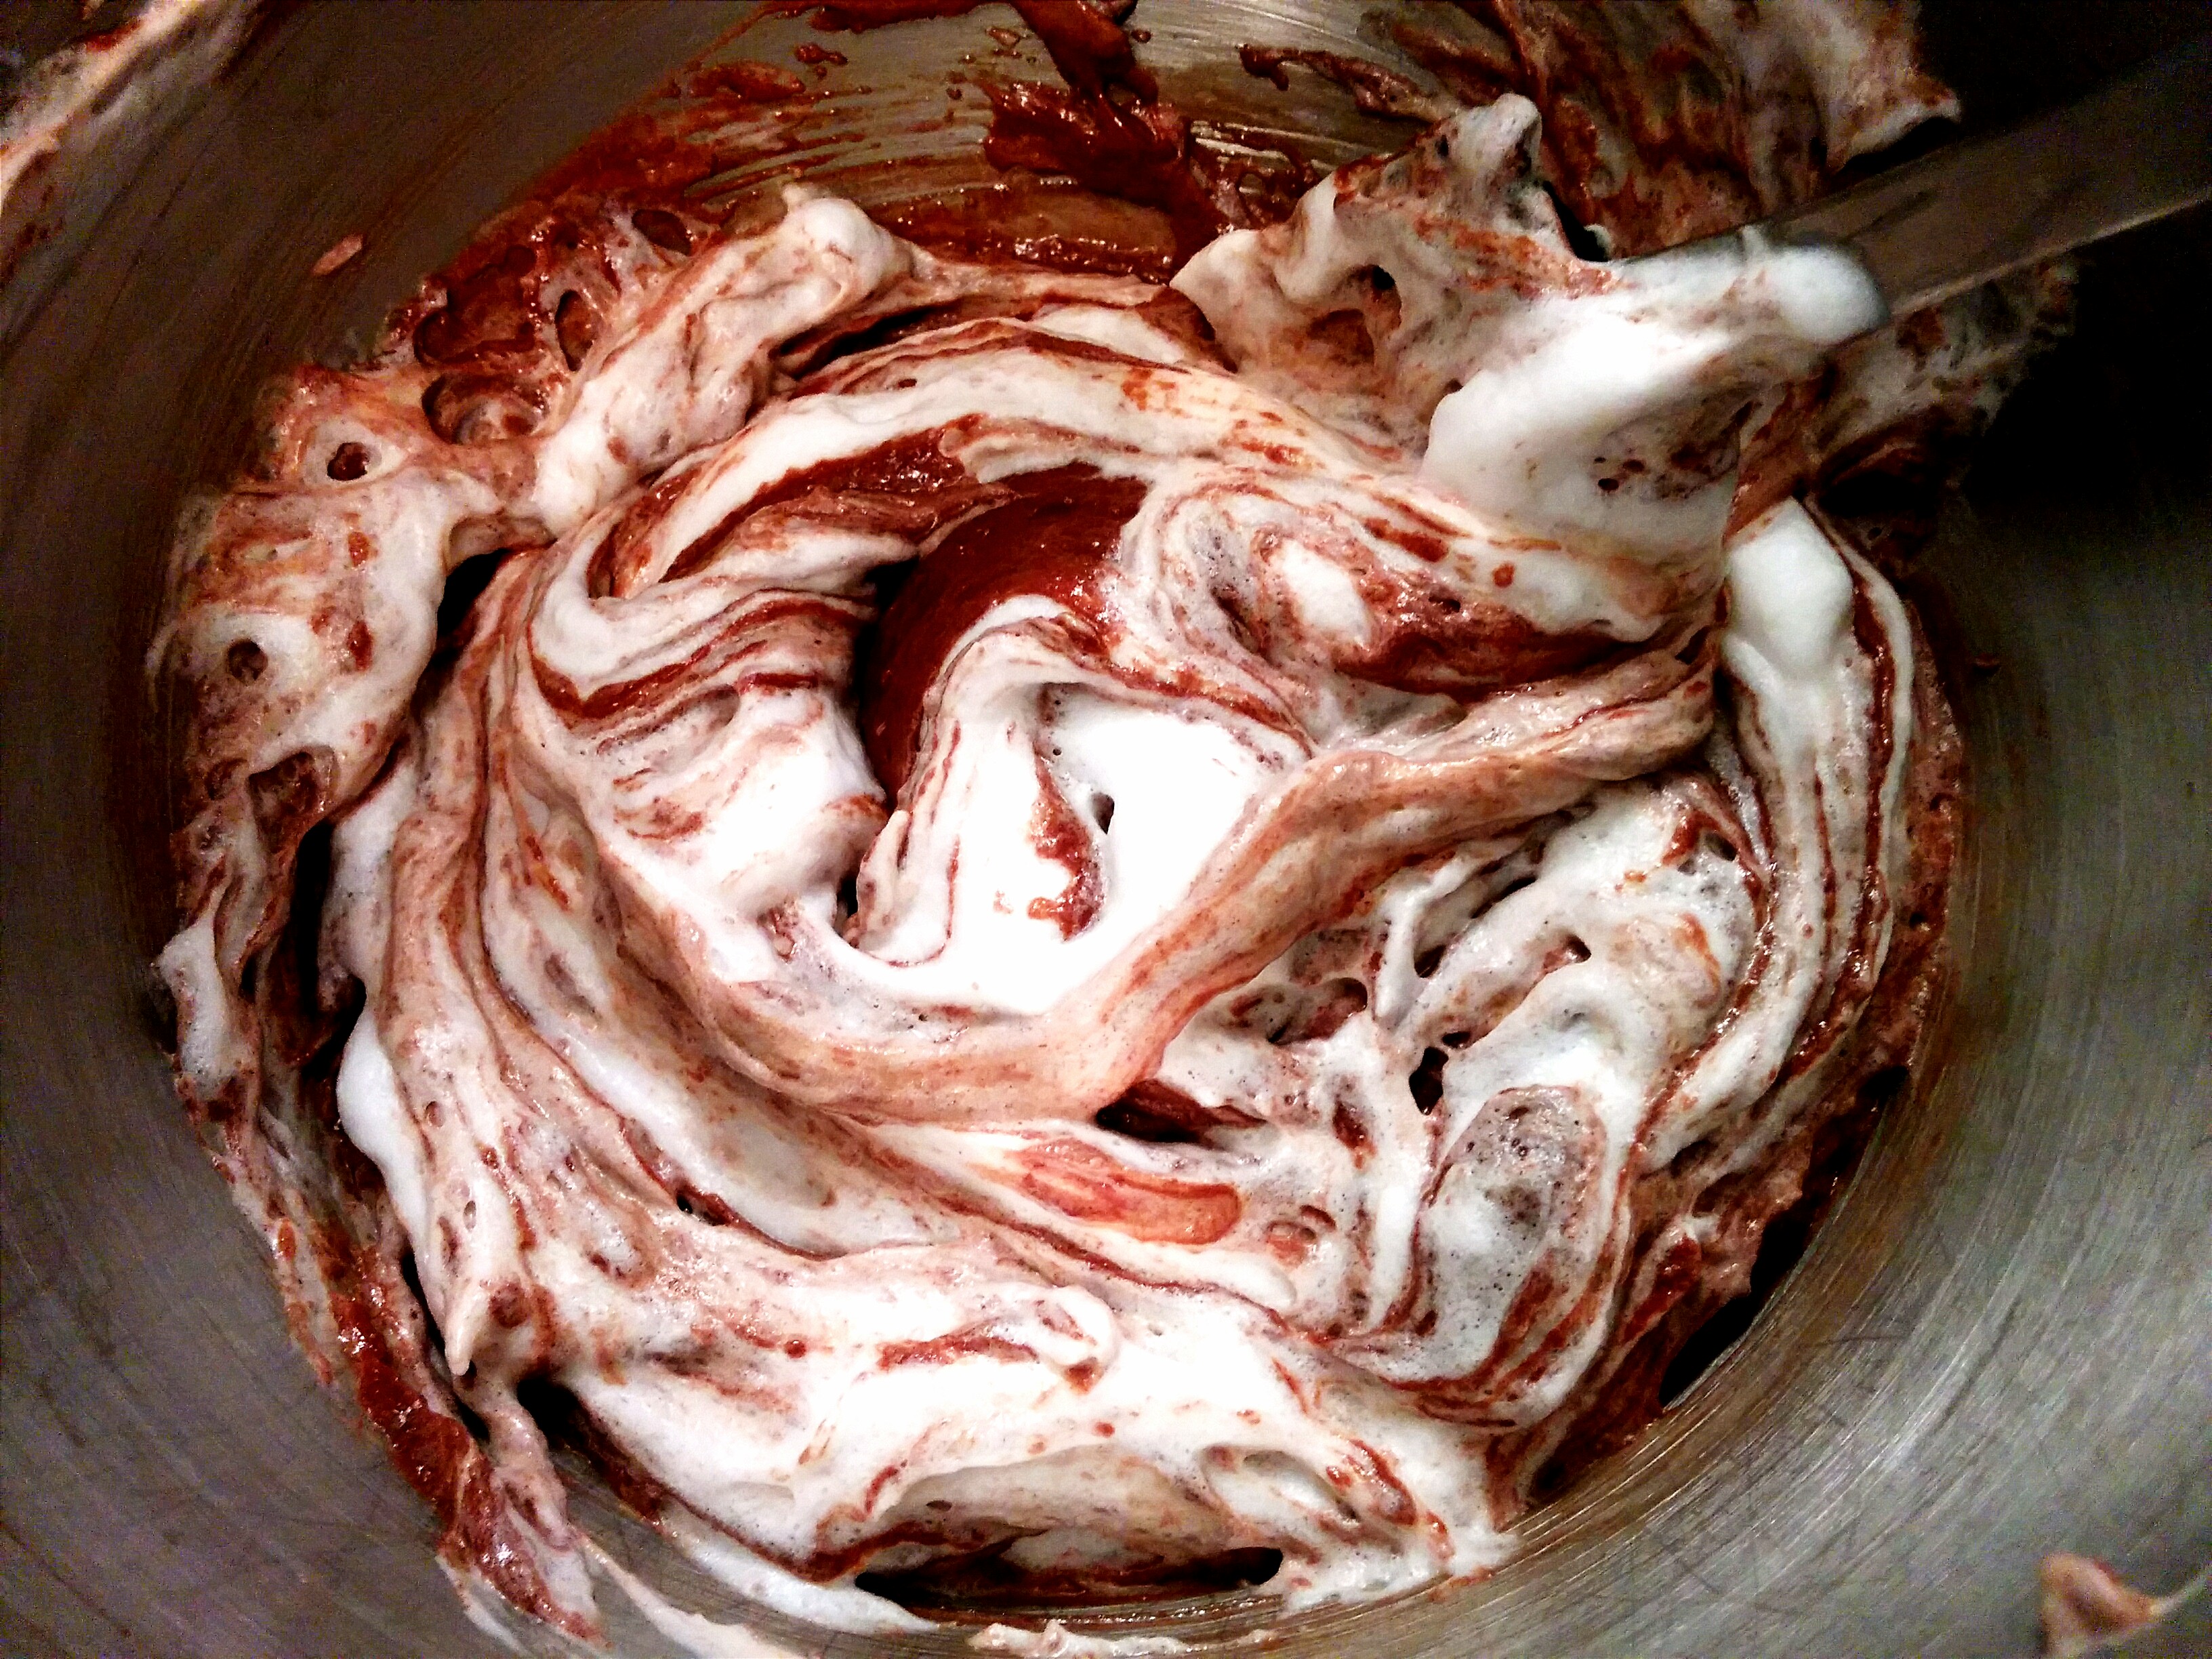
(6) You are now done with the creaming stage of the recipe. The nest step is to beat the egg whites to medium peaks. You do this by placing the eggs whites into a clean bowl and beating with the whisk attachment until they start to foam. Add the cream of tarter and salt and continue beating until the egg whites increase in volume. The cream of tartar helps the egg whites to beat to full capacity. You can leave it out and use only the salt of you do not have access to cream of tartar. Finally add the 2 tablespoons of sugar a teaspoon at a time and keep beating until you achieve medium peaks. It is important not to over beat your egg whites. You do not want stiff peaks hear.
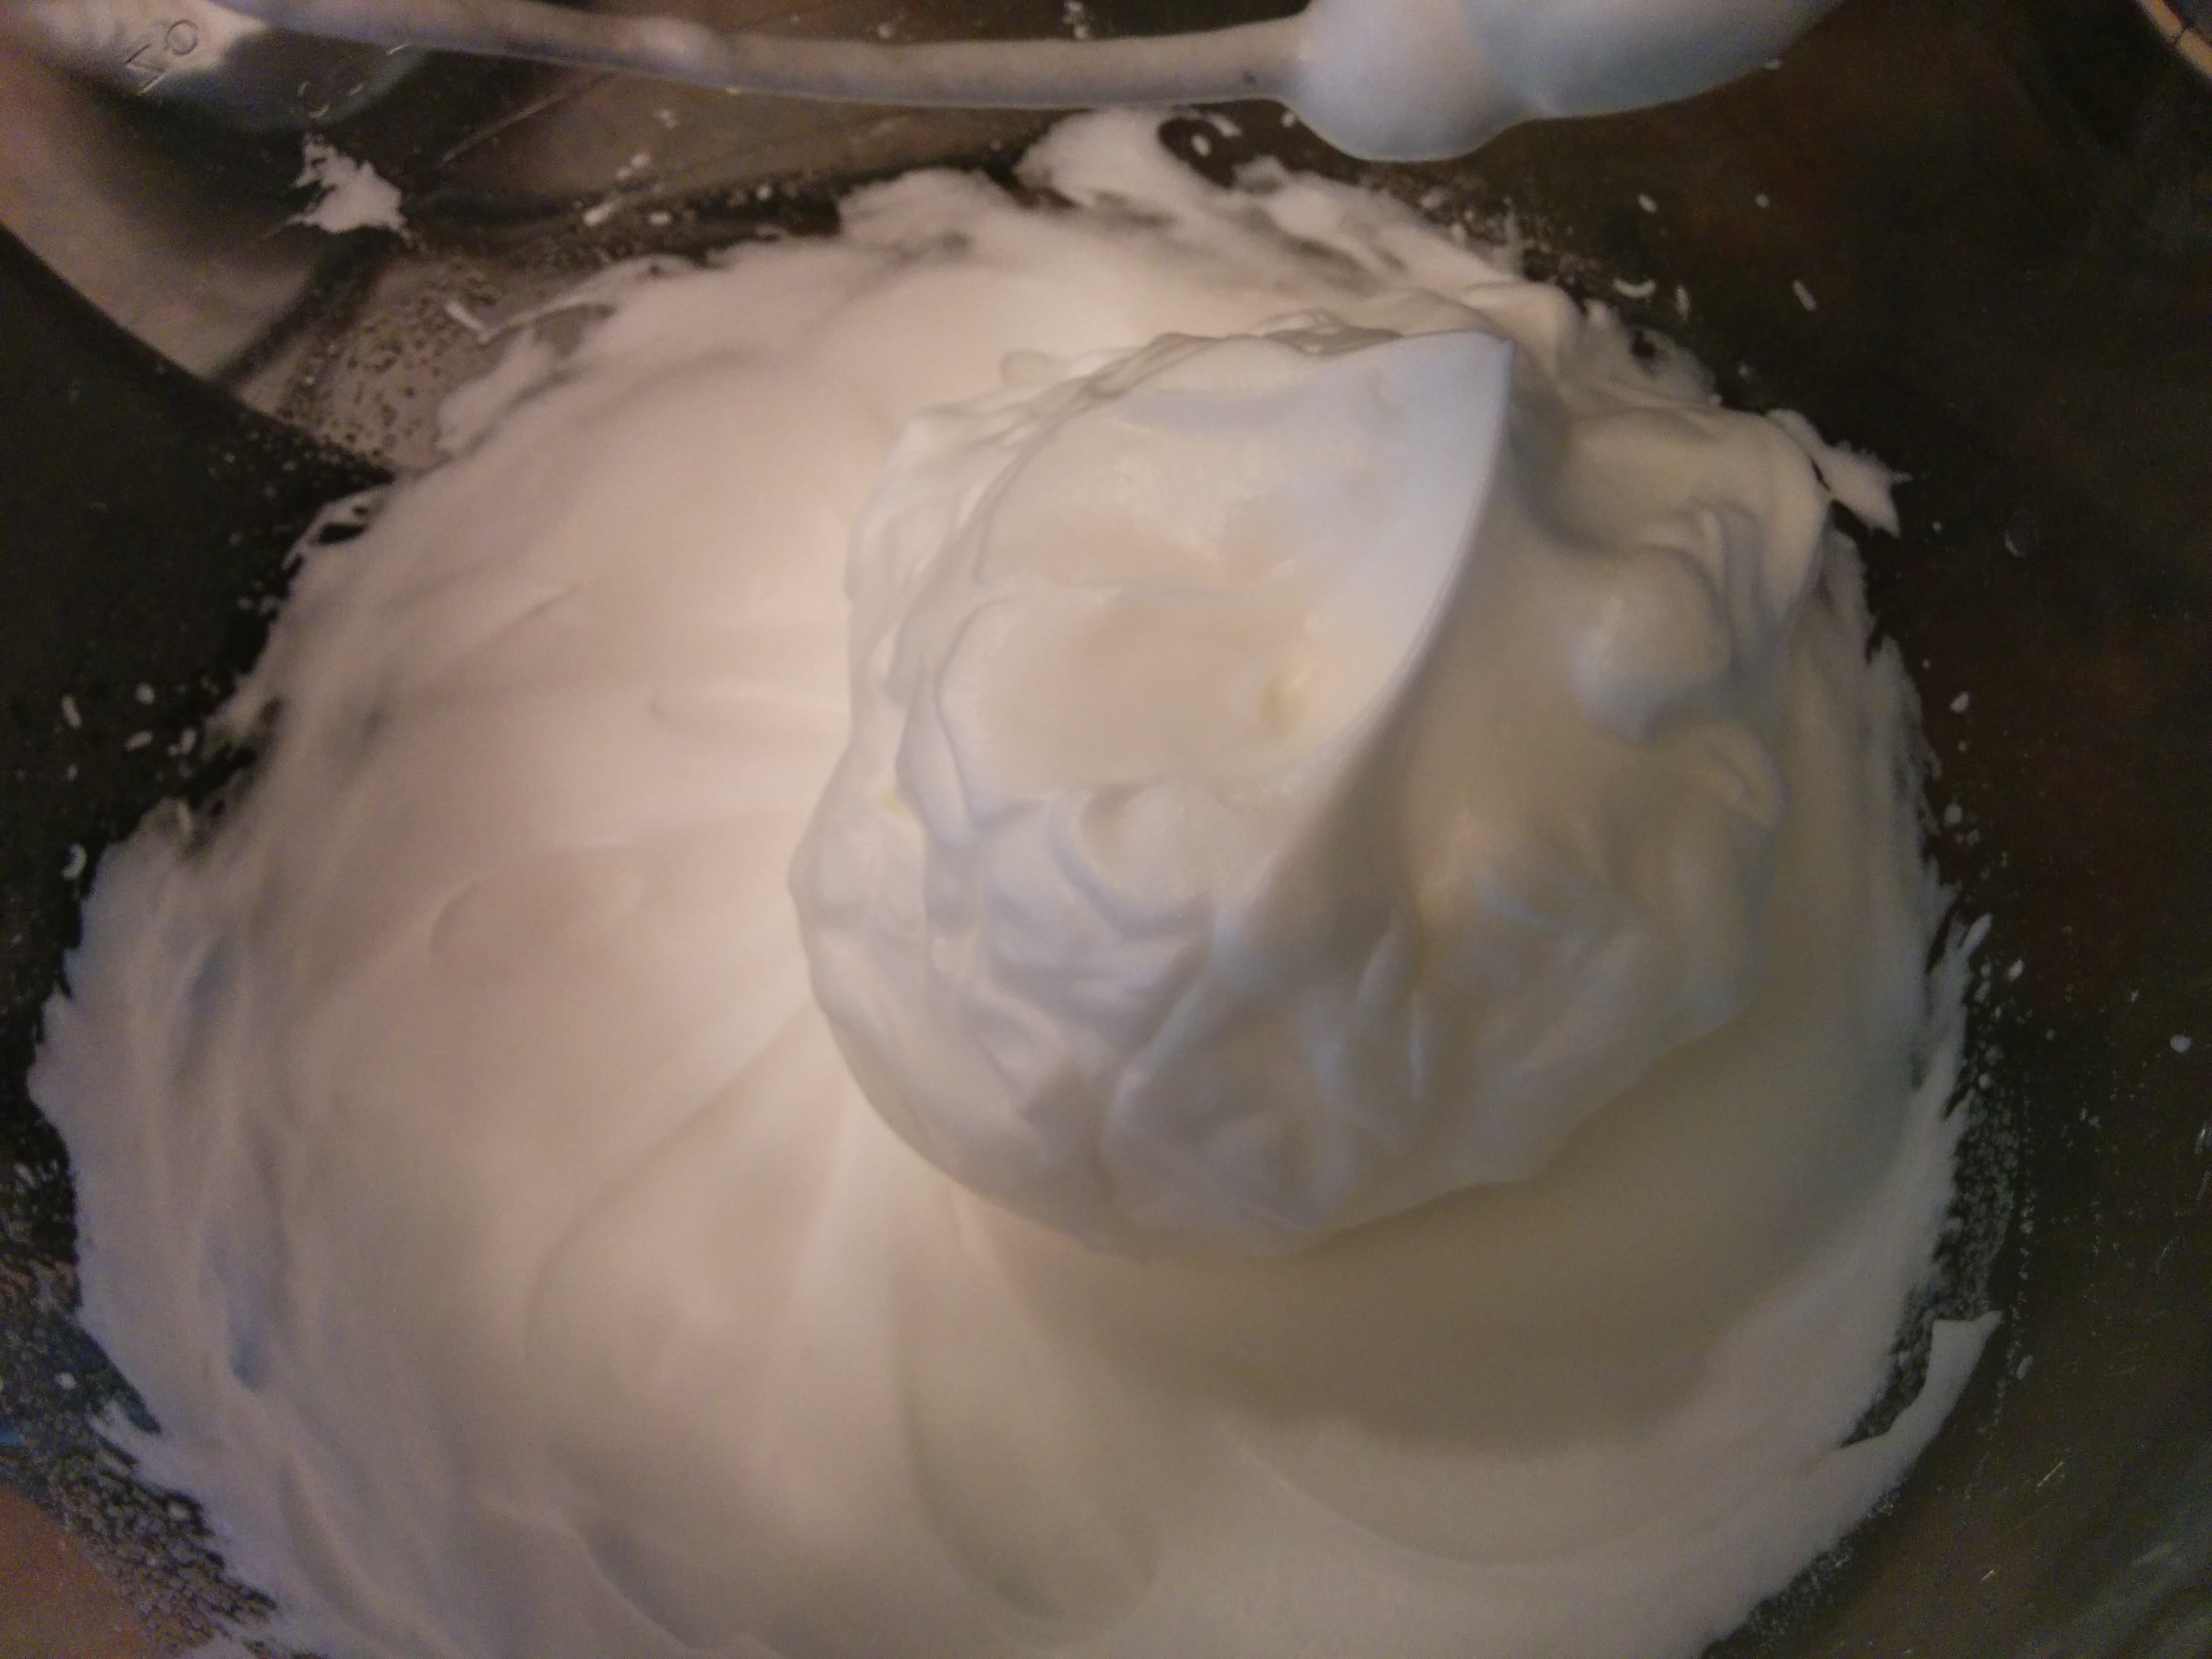
TIP 1: You will know that your eggs whites are ready if when you hold up the whisk attachment, the tip of the egg white bends or tilts. If it stands straight up, you have over beaten it.
TIP 2: The egg whites can be beaten with a hand mixer and a bowl if you have only 1 stand mixer. Alternatively, turn the creamed butter, sugar and eggs into another bowl, wash the stand mixer bowl very well, dry it properly and beat the egg whites. Note that egg whites are very fussy and would not beat well if they are cold or beaten in a dirty, greasy or wet bowl.
LEARNING POINT: Egg whites beat better when they are at room temperature while whipping cream beats better when it is very cold.
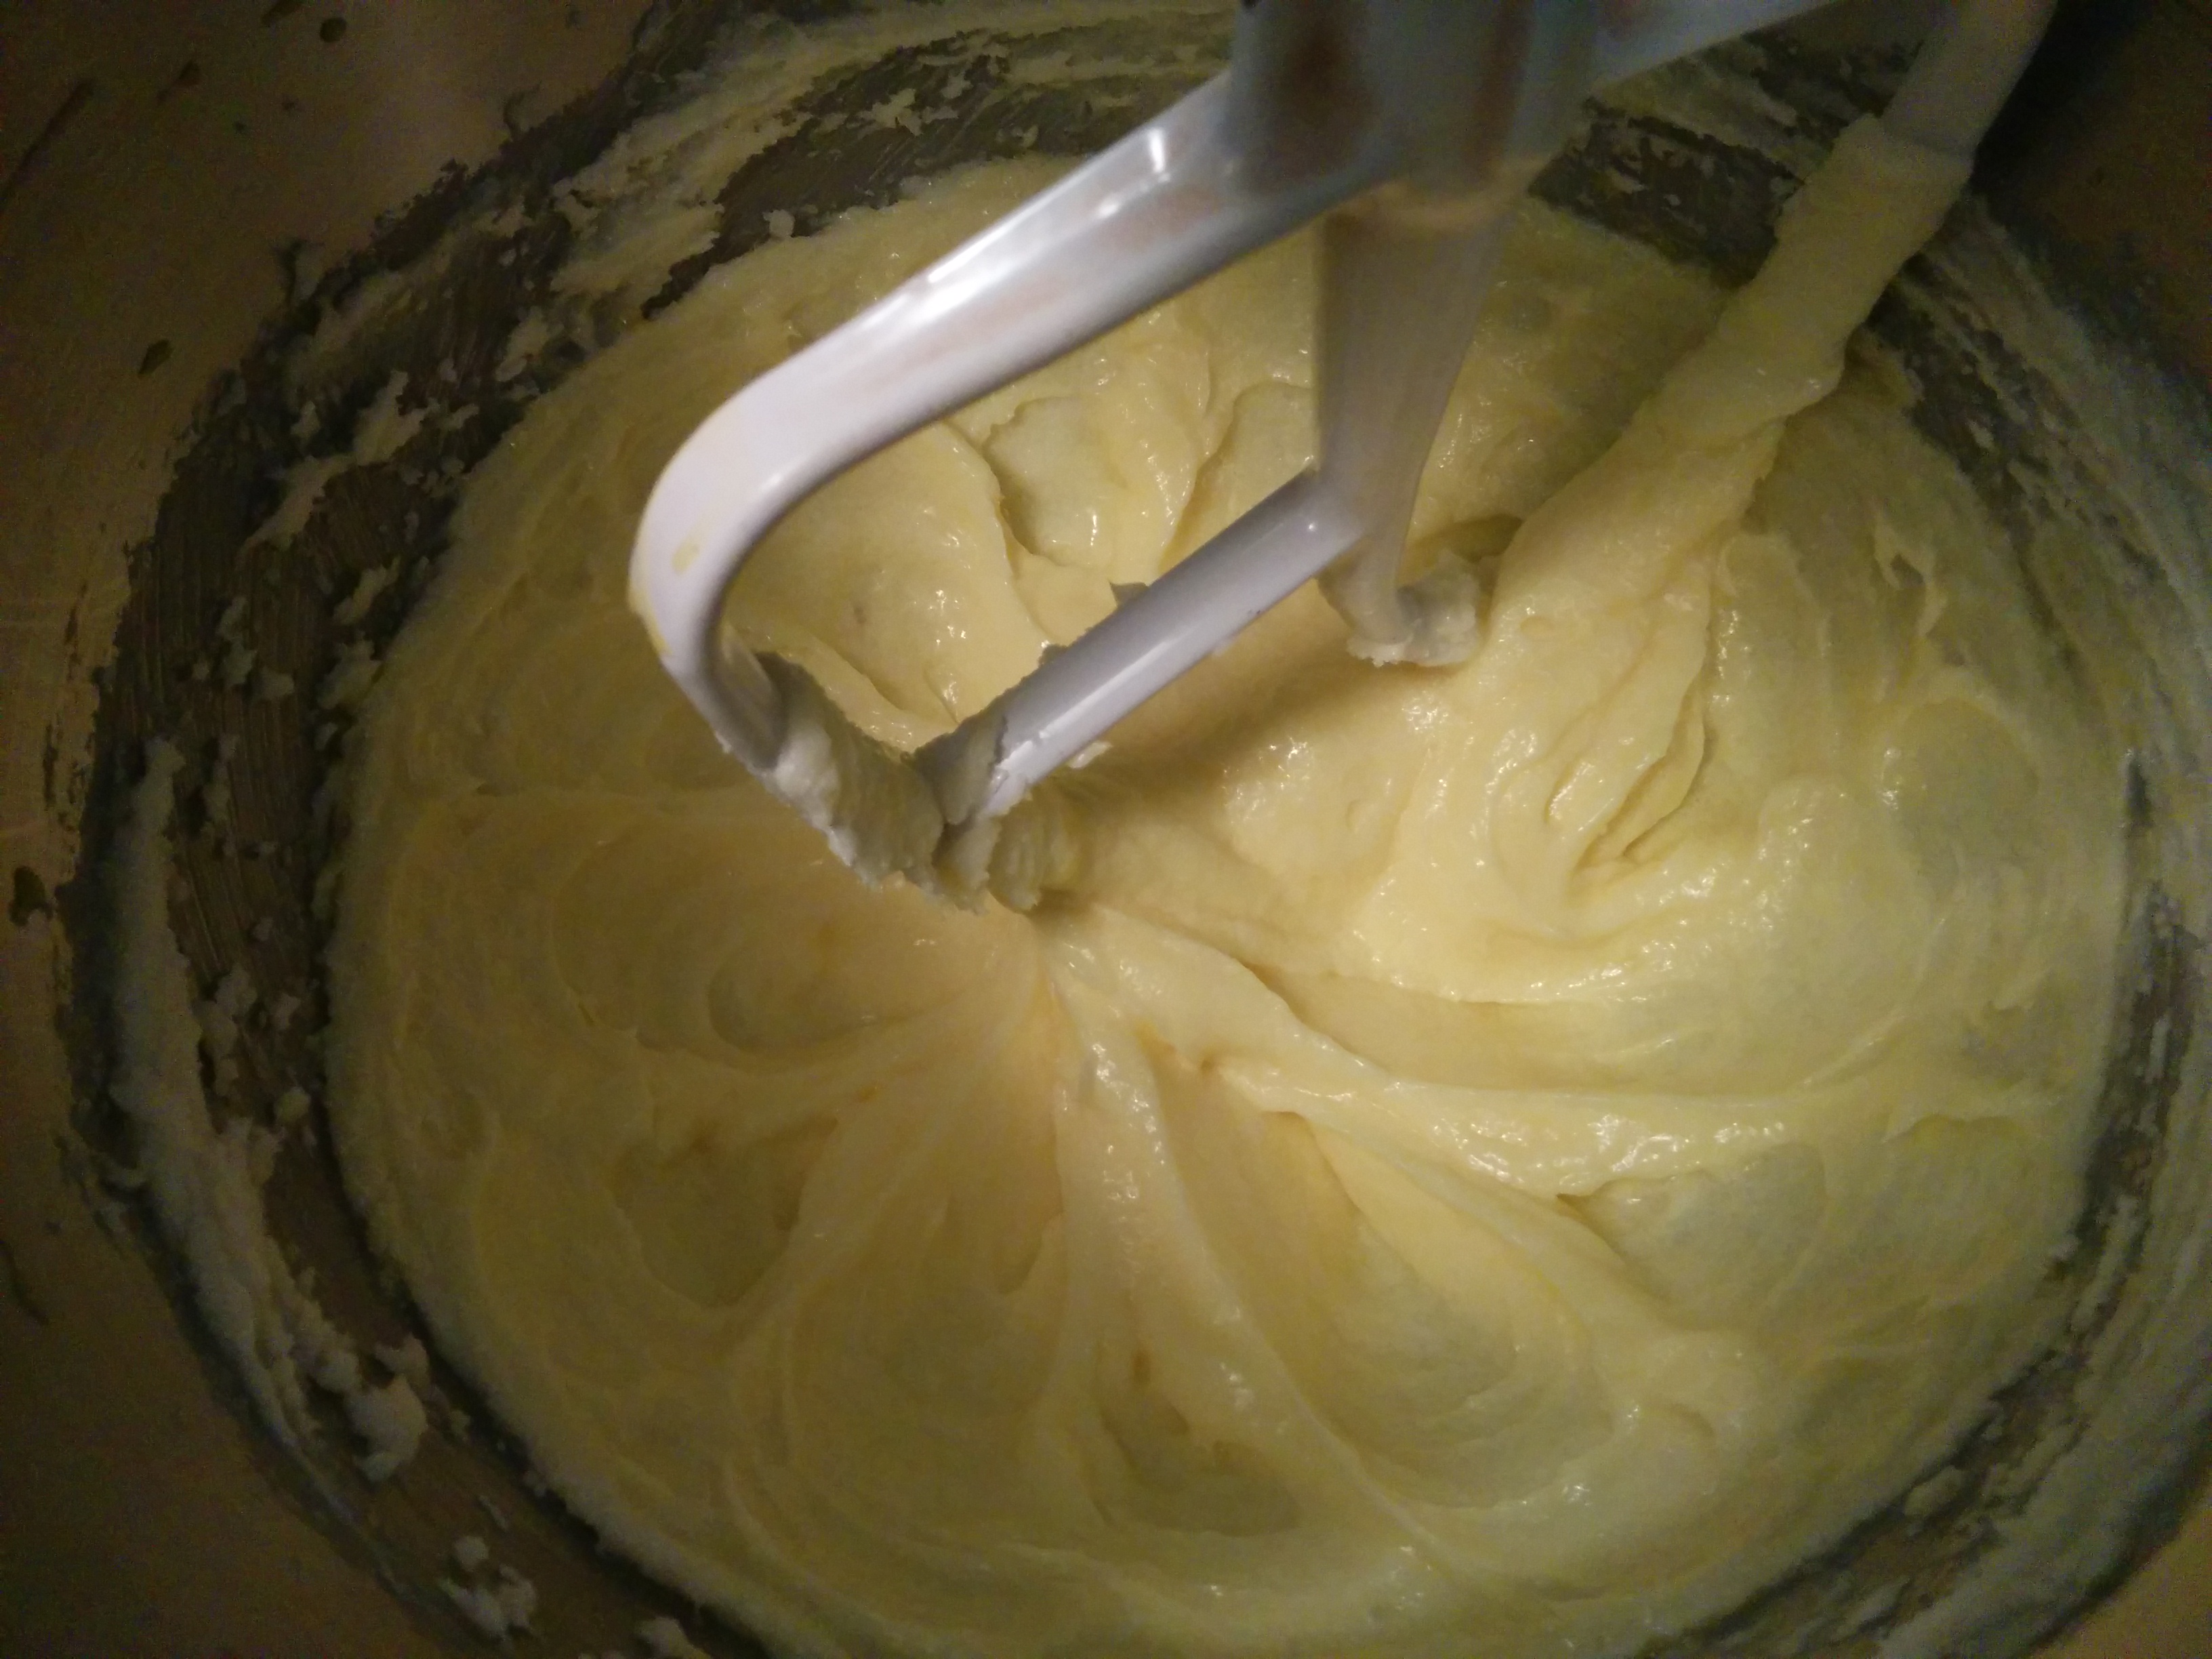
(7) Return to the creamed butter, sugar and eggs. With the mixer running on low speed, add the melted chocolate and rum mixture and beat until incorporated.
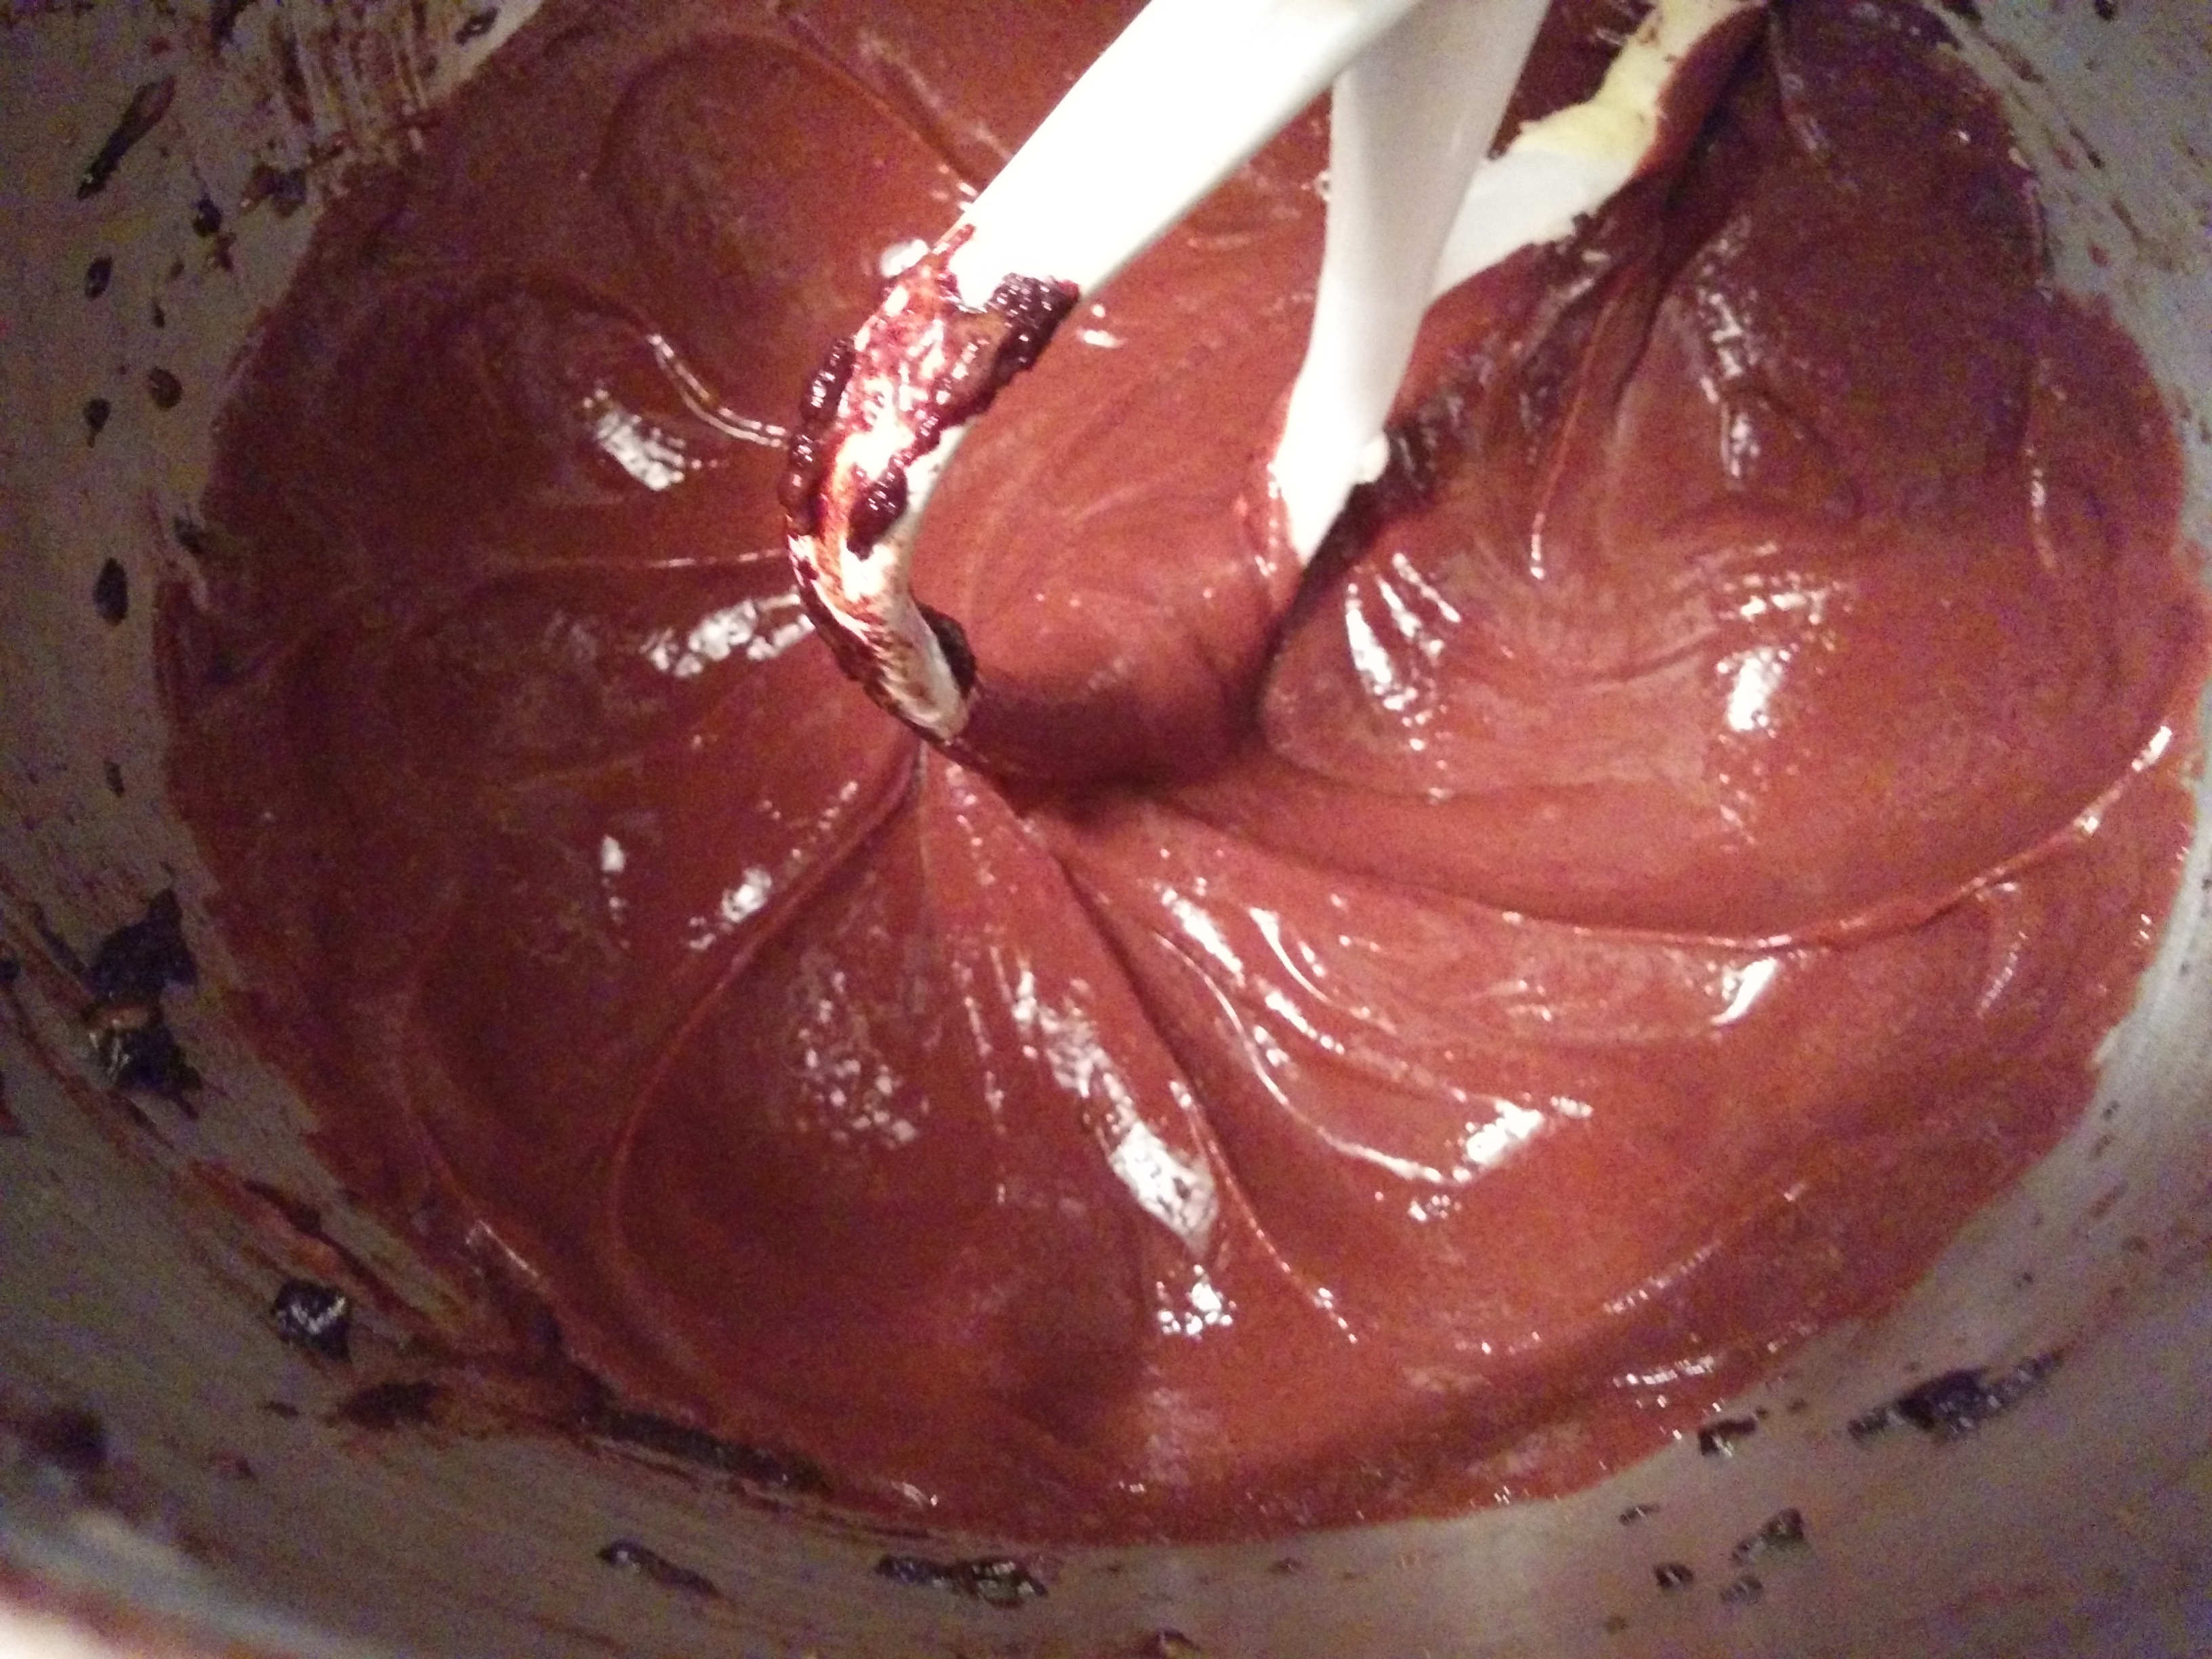
(8) Next add the ground almonds to the batter and beat until incorporated.
HOW TO NOTE: See Baking Solution 104 on how to properly ground almonds so they do not clump together.
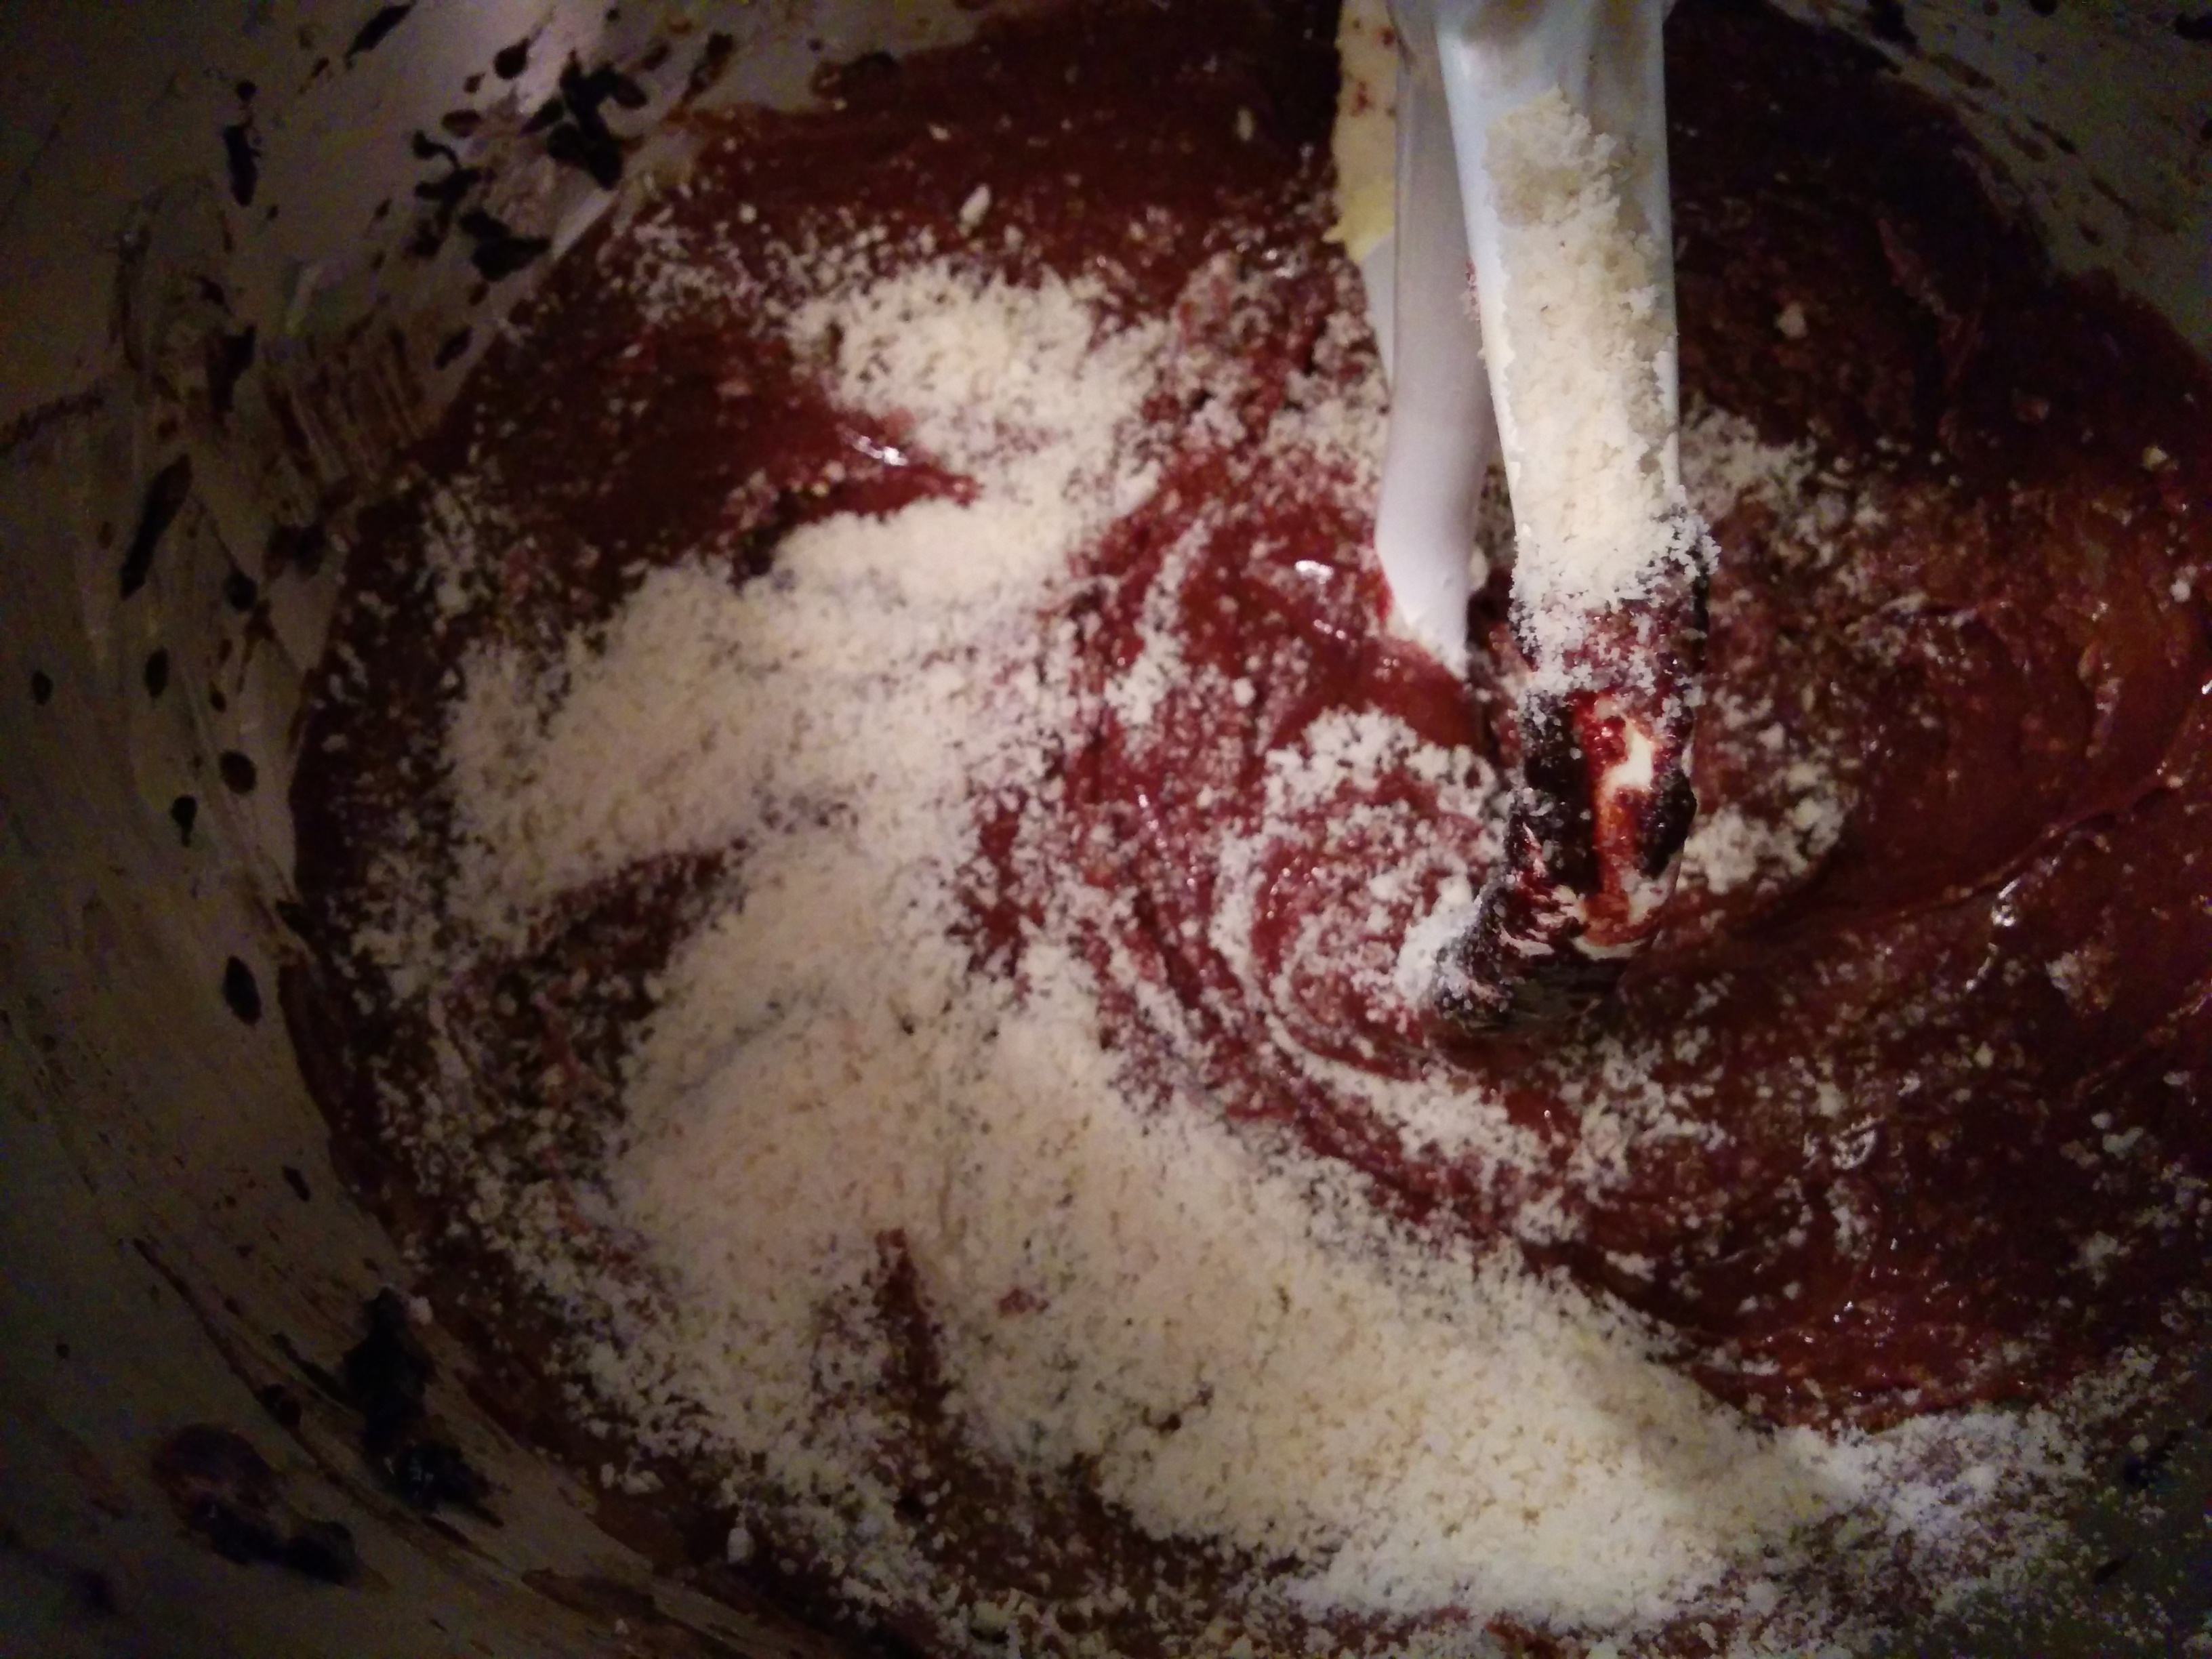
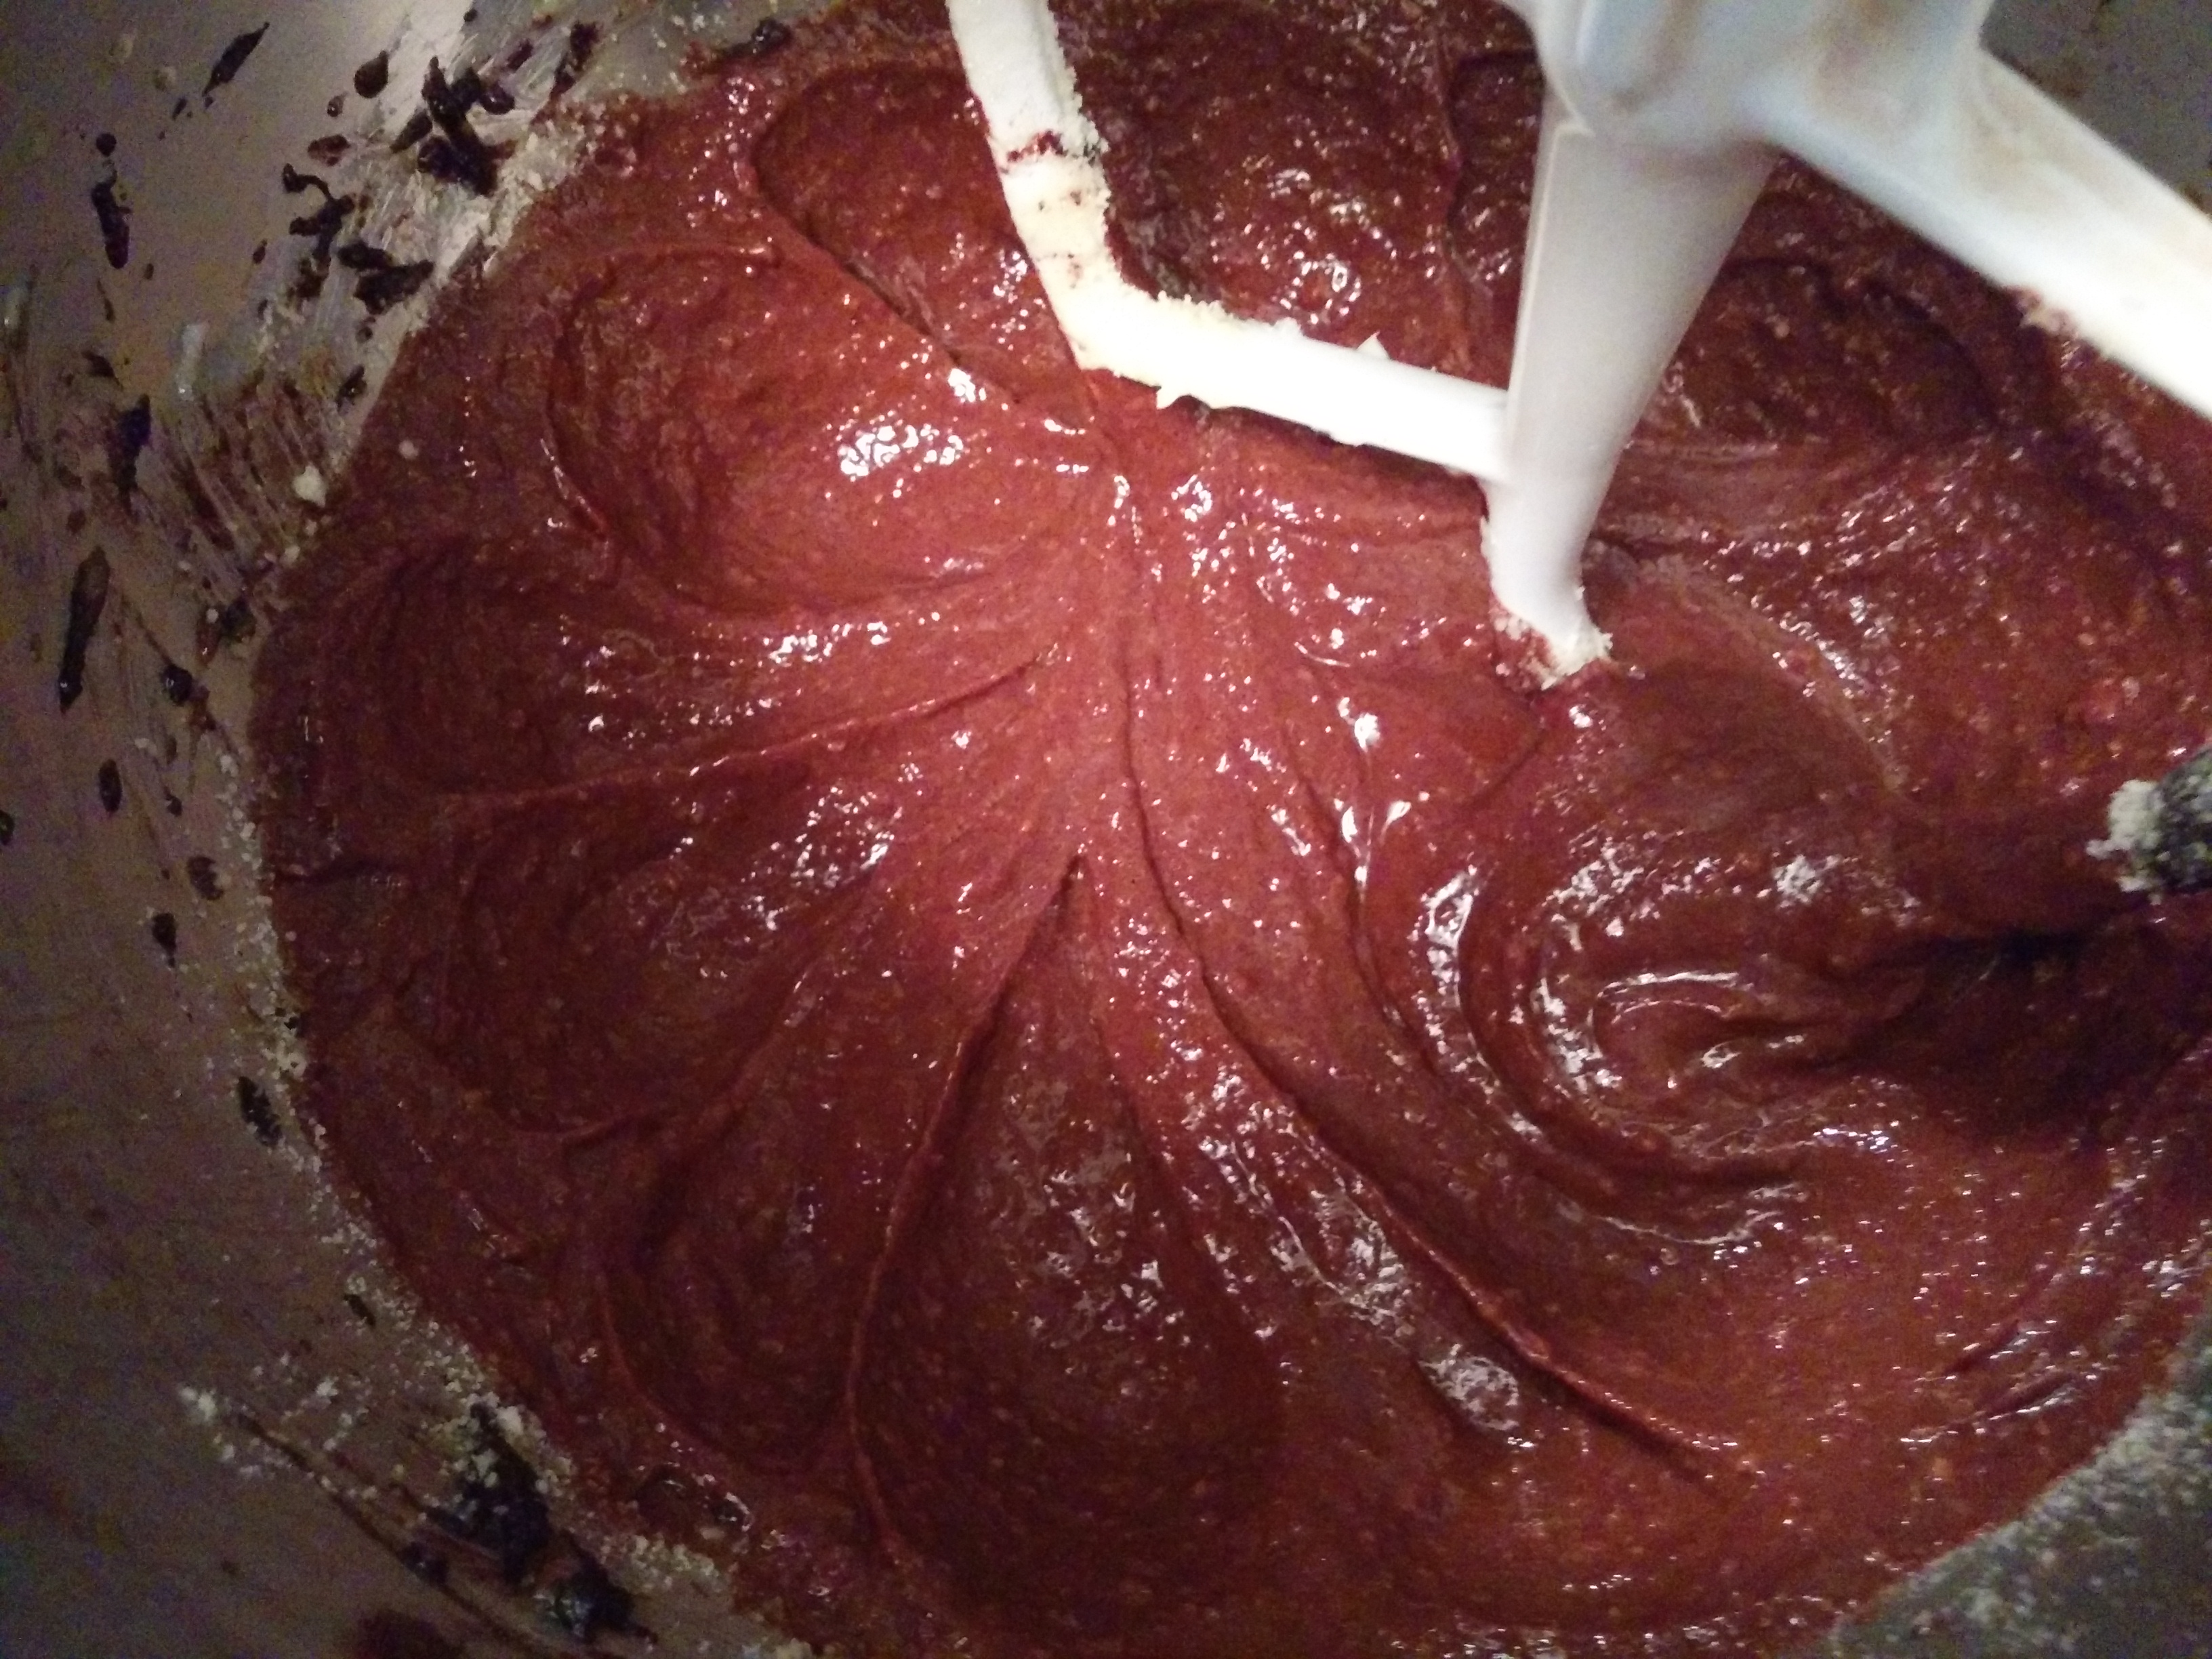
(9) Next, add the flour to the mixture and beat until incorporated.
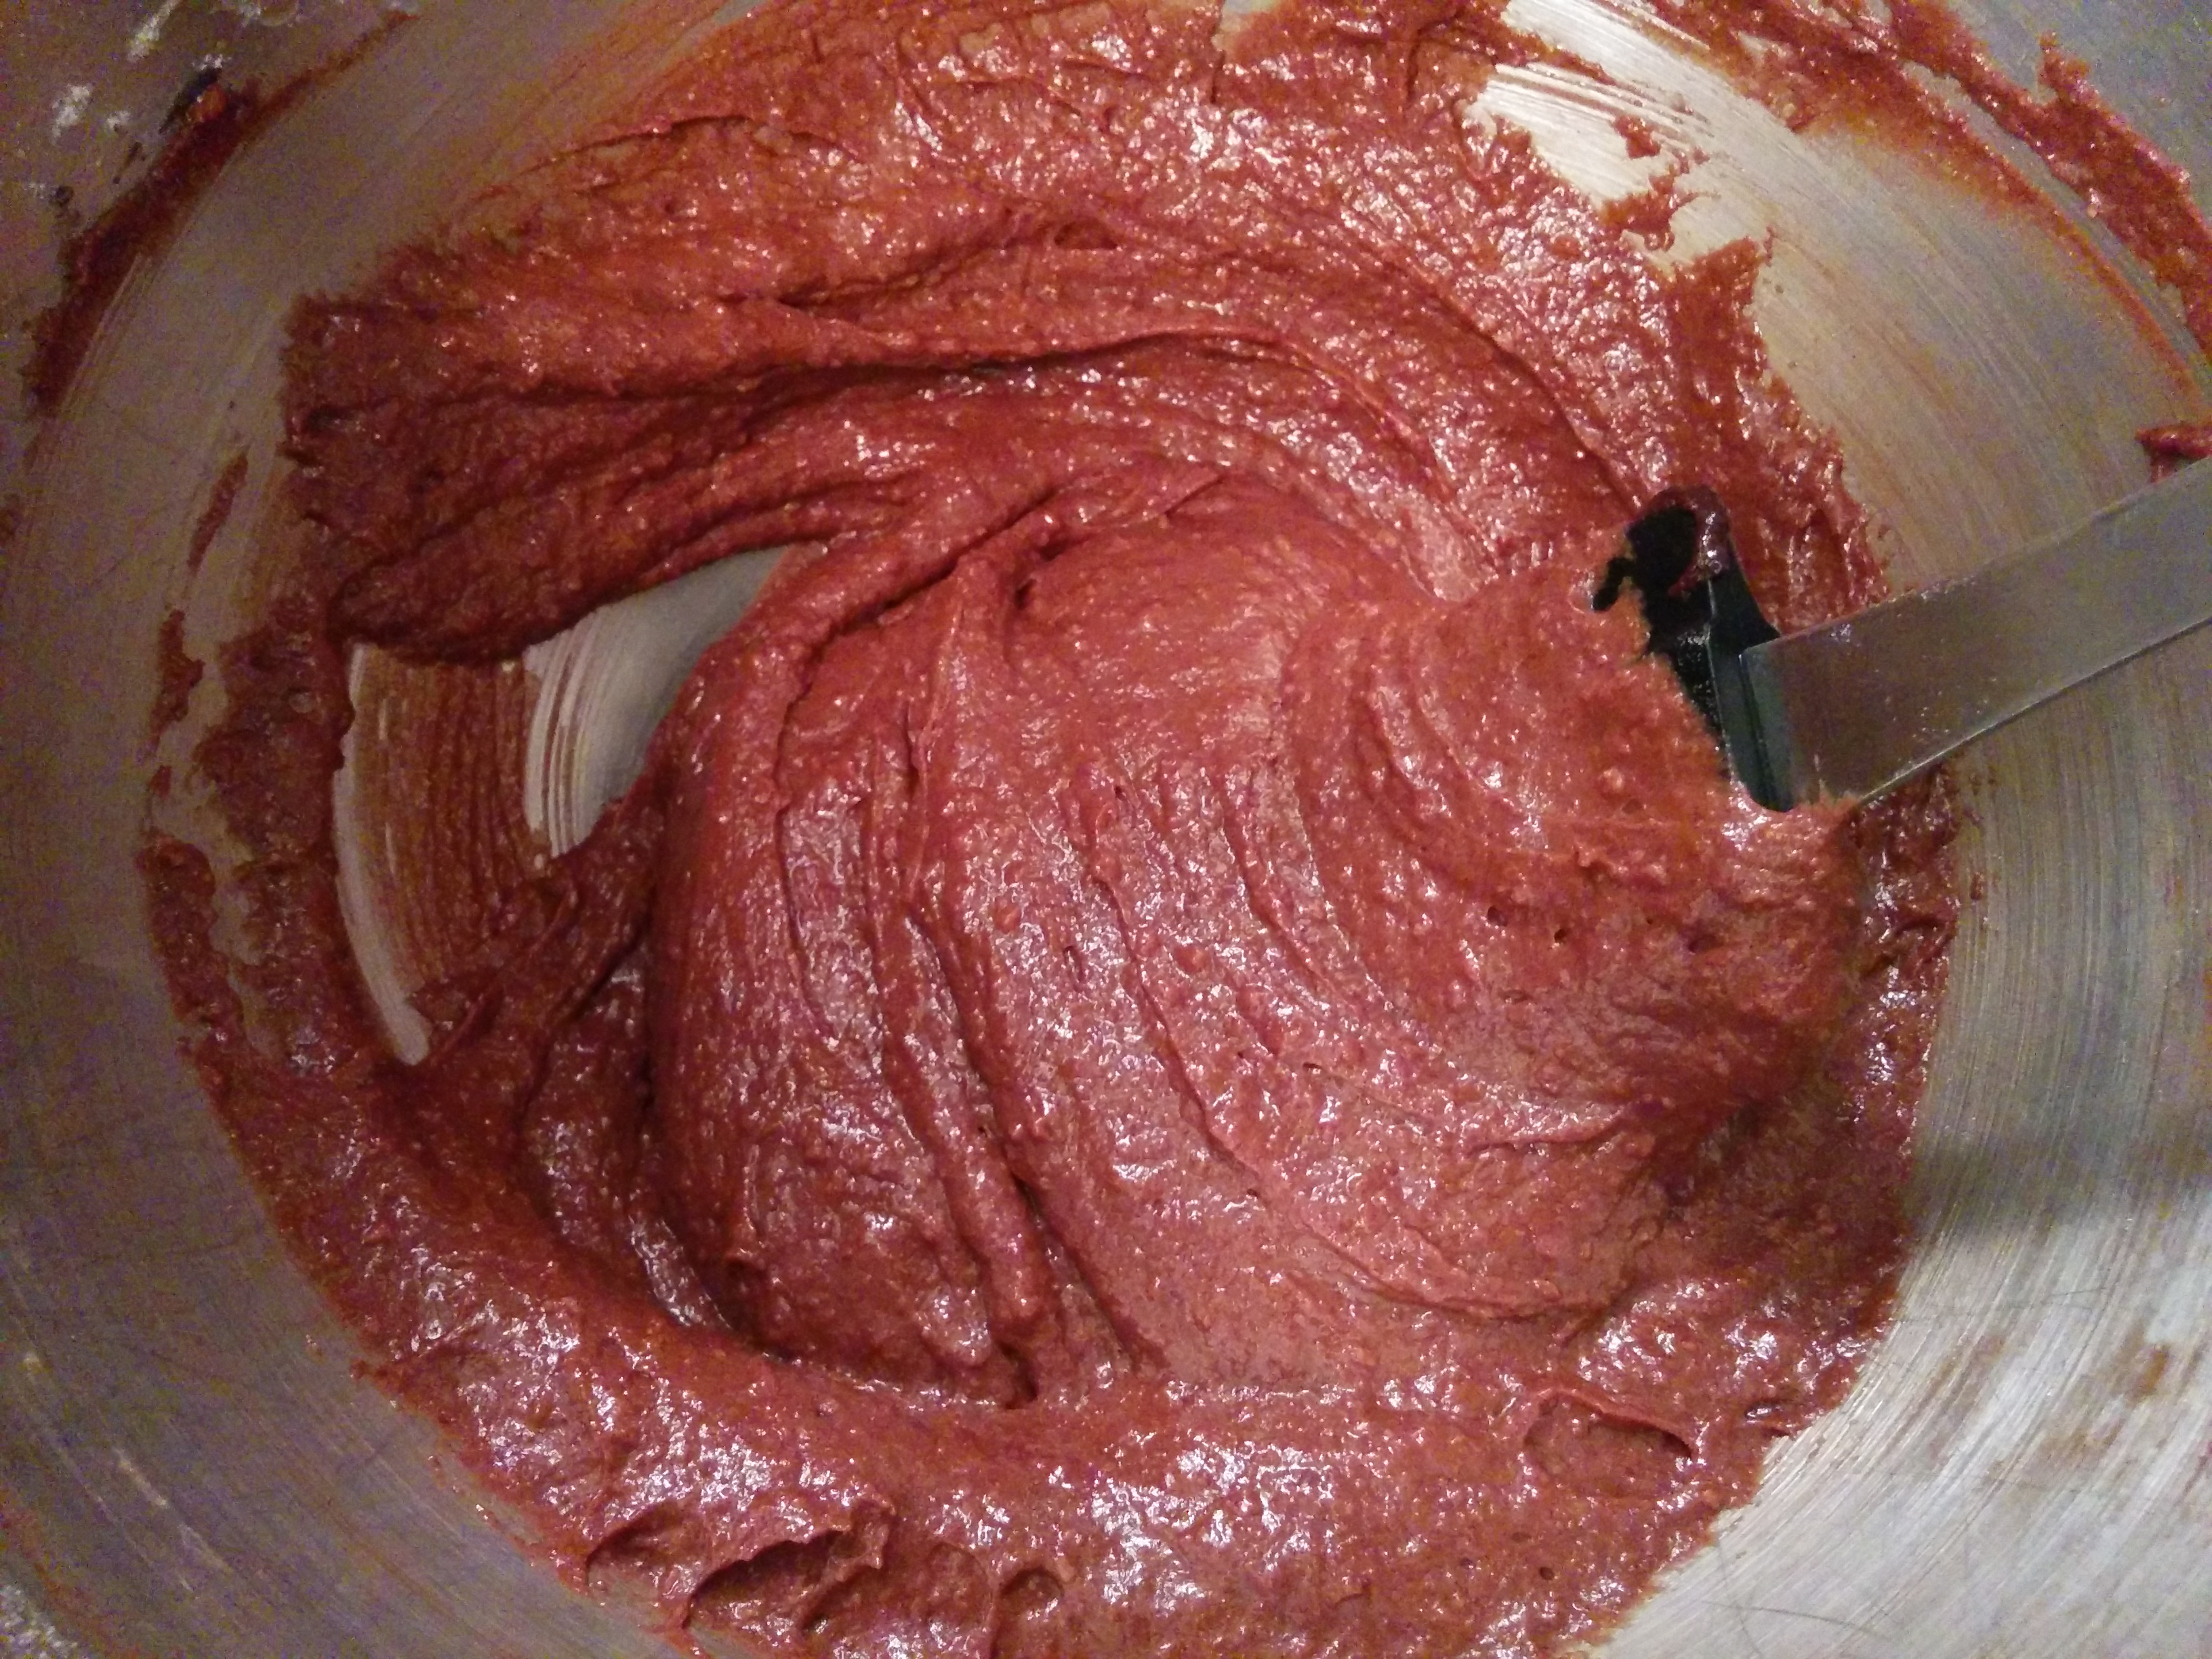
(10) It is now time to fold in the beaten egg whites. This should be done in 3 additions. Fold in the egg whites gently. This cake has no baking powder and gets all its leavening from the egg whites so you must be very careful not to deflate the egg whites. A few streaks of egg whites is fine. The whites need not be completely blended with the batter.
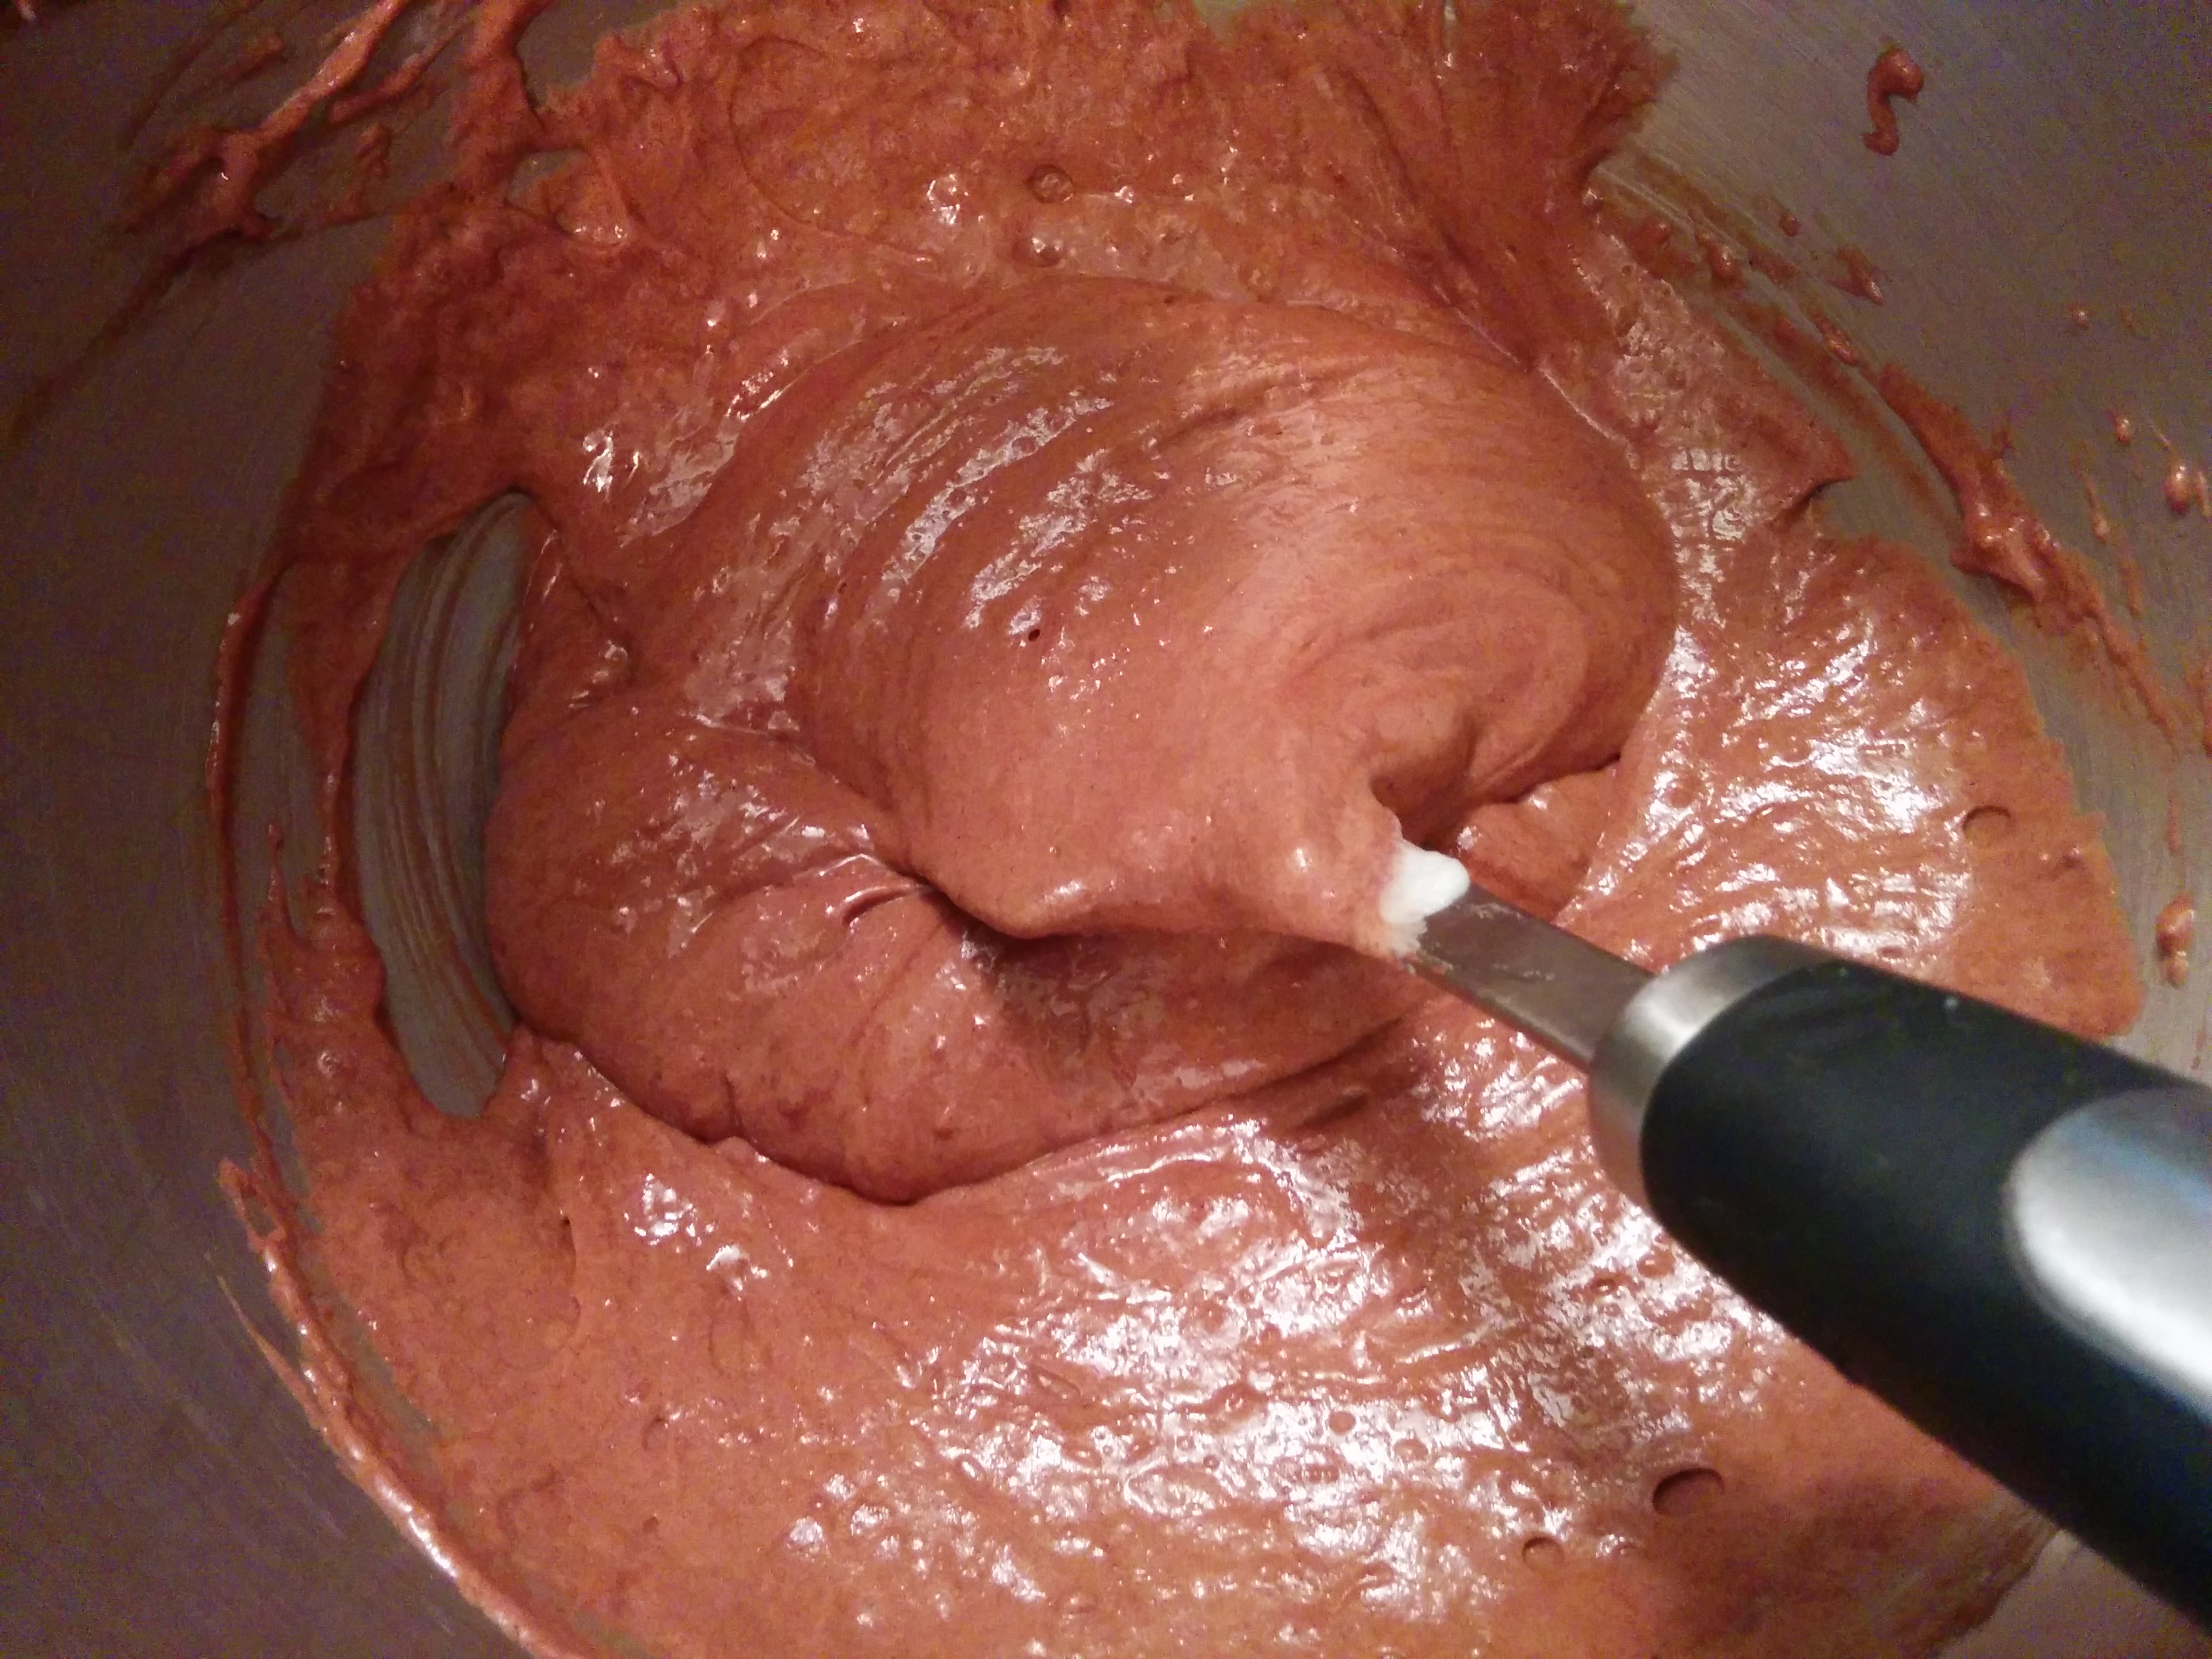
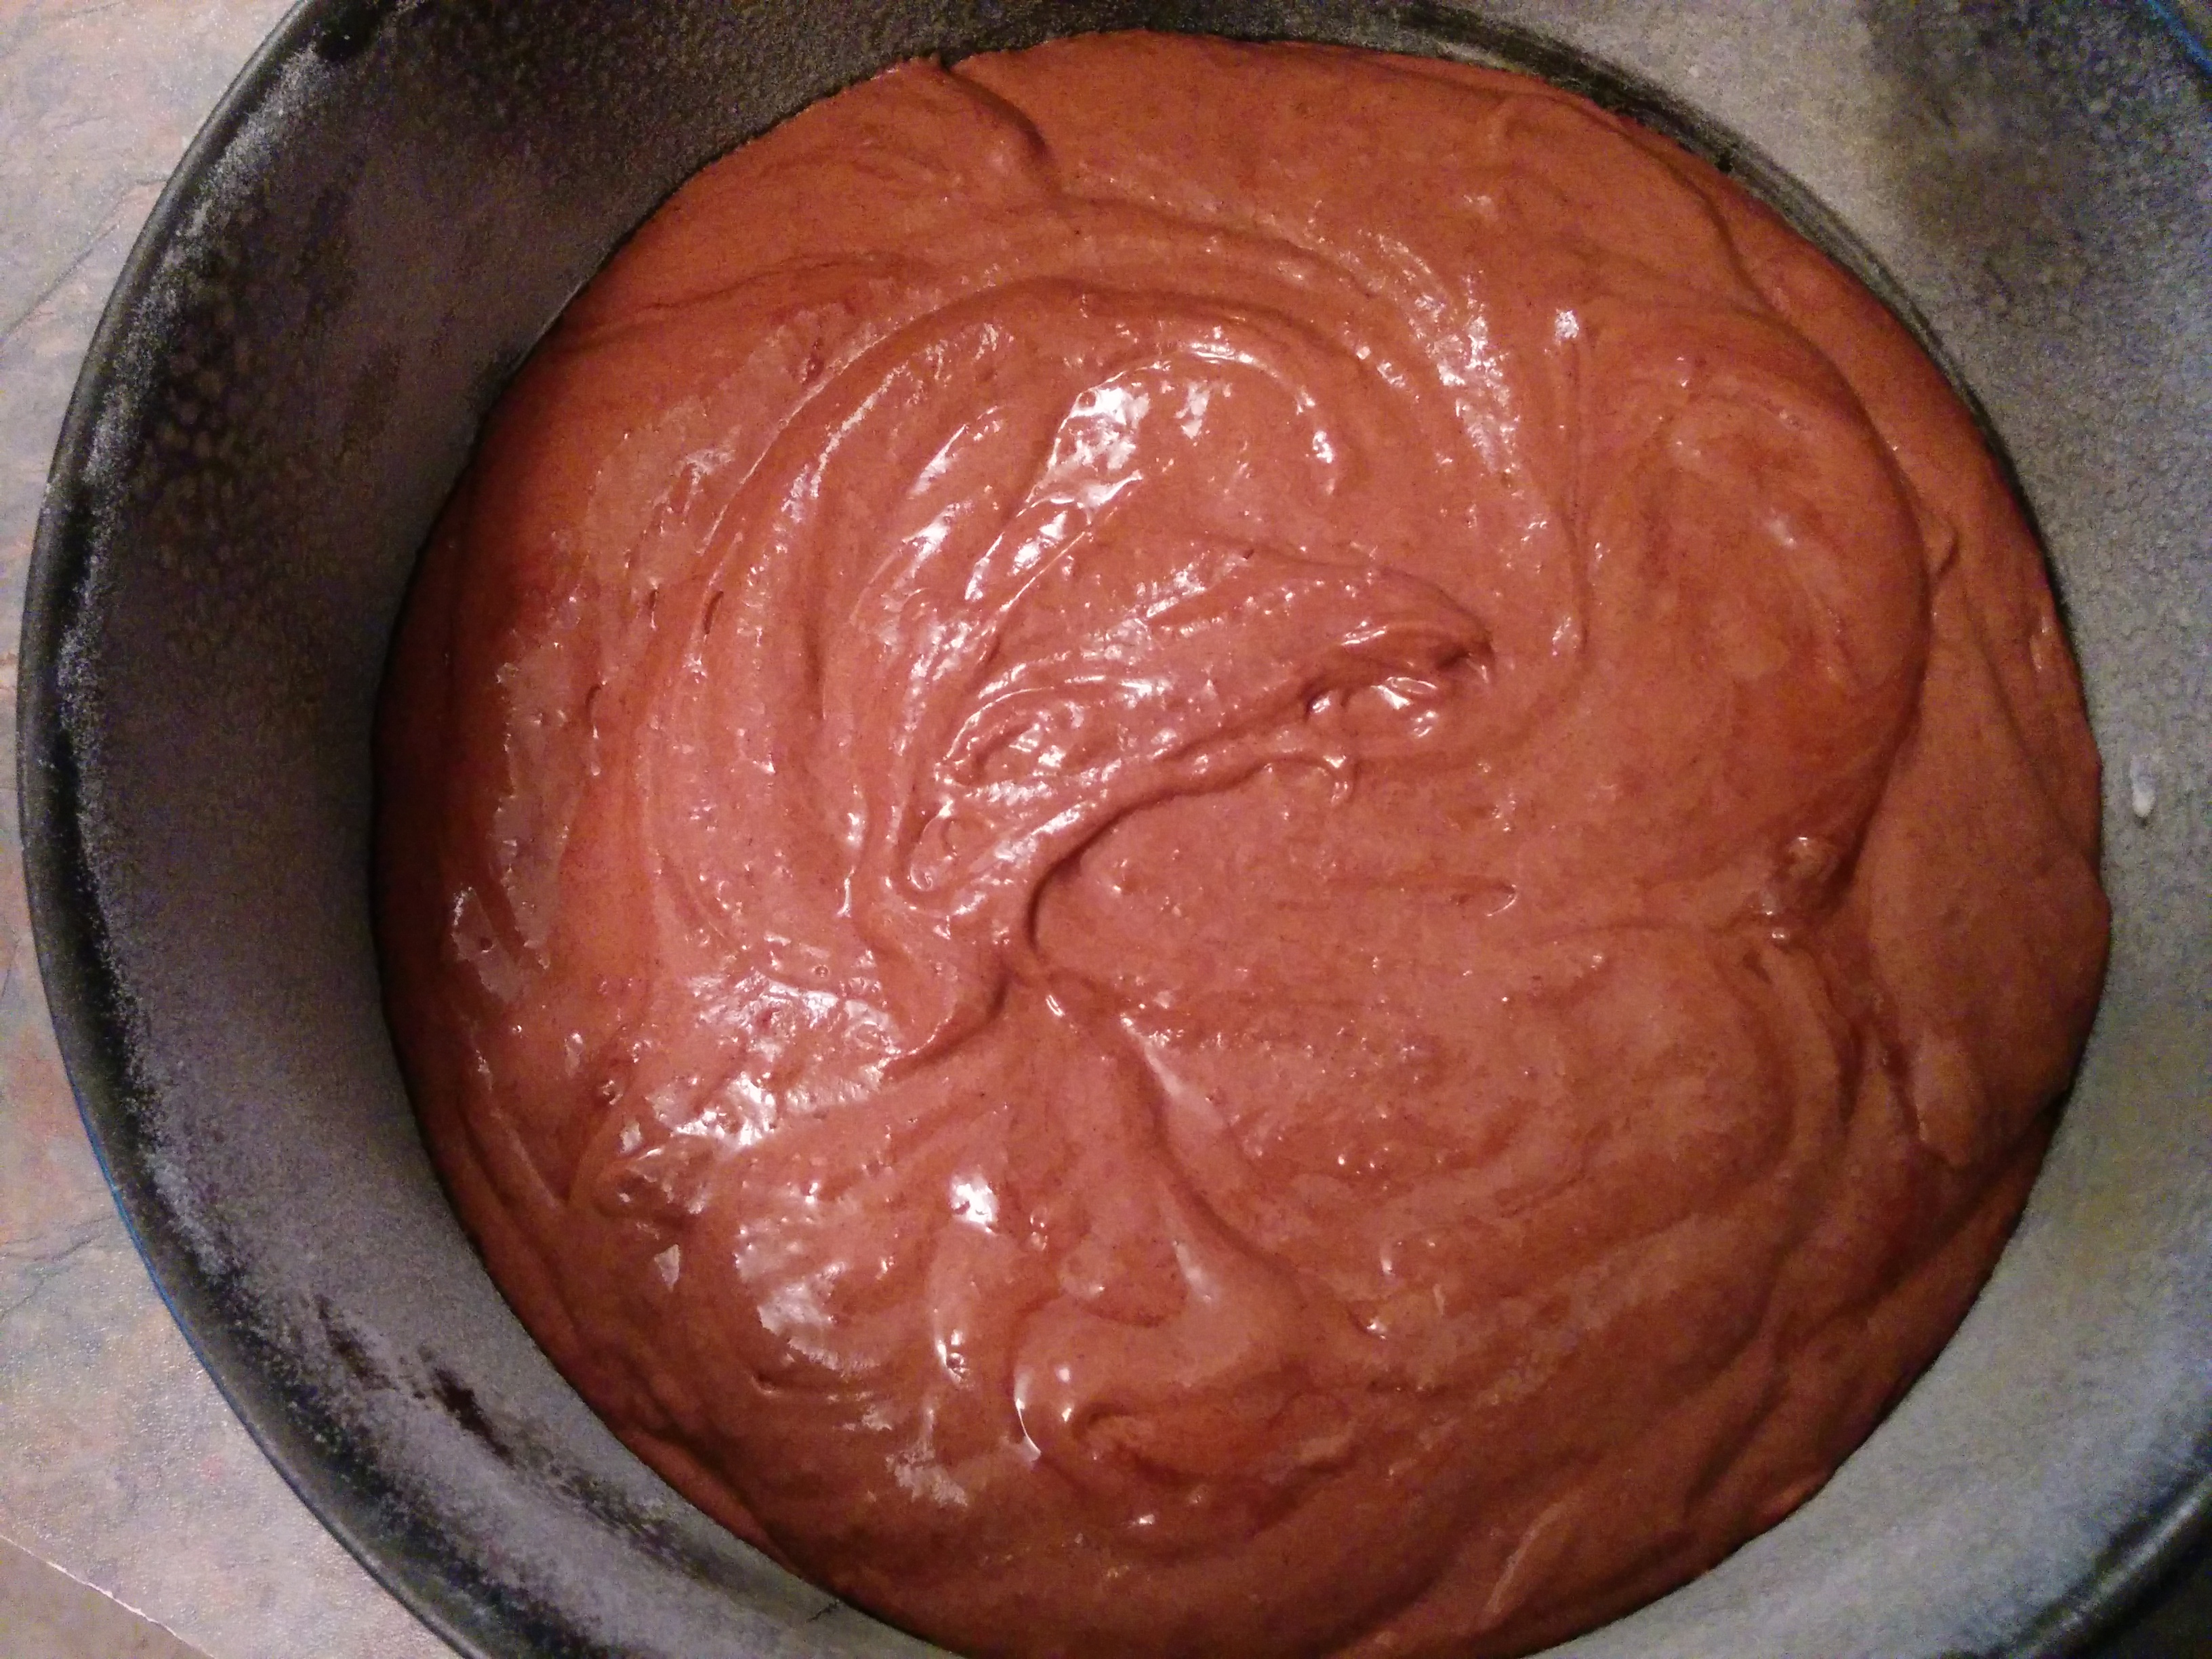
(11) Pour the batter into the prepared cake pan and bang the pan on your counter top a few times to remove air bubbles. As Julia states with all seriousness, you are to lick whatever batter is left on your spatula after you are done pouring the batter into the cake pan. “That’s part of the recipe” she states.
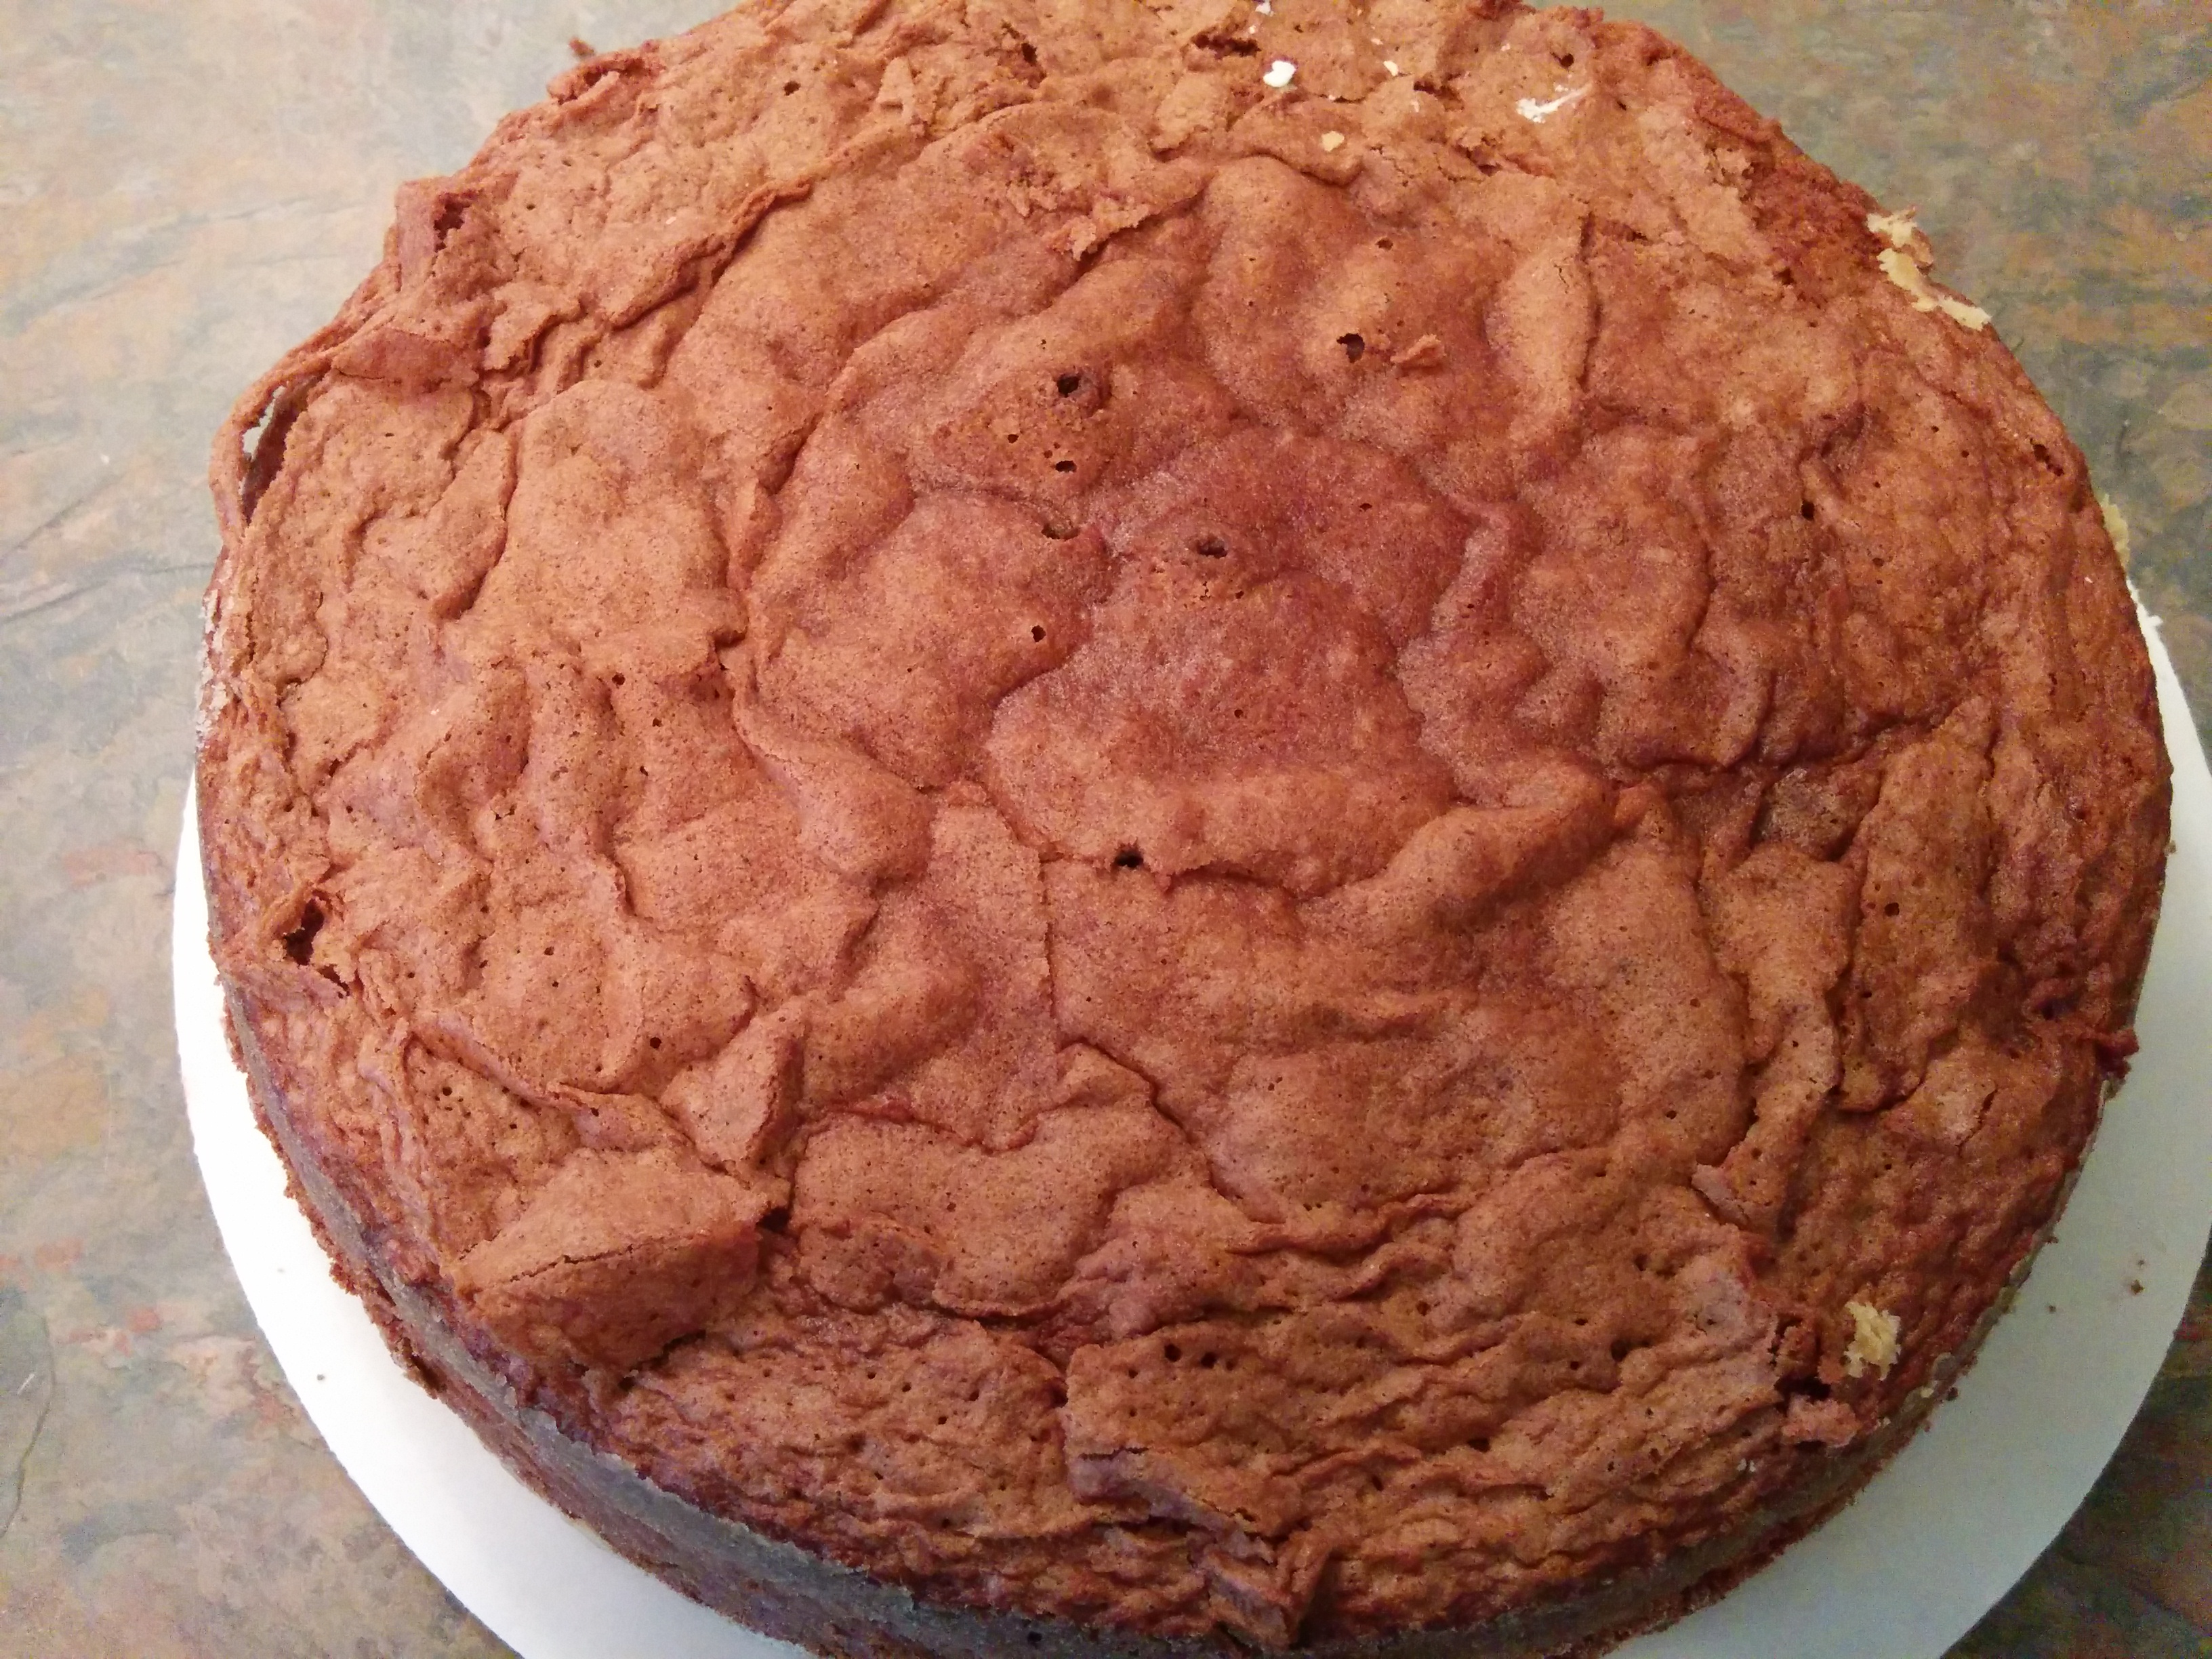
(12) Bake the cake for about 25 minutes. This is a special type of cake which is supposed to be slightly moist in the center. When you pass a toothpick through the outside edge of the cake, it should come out clean. However, the toothpick should still be a bit moist when you pass it through the middle of the cake. As Julia states, “The quality of this cake is in its moistness.”
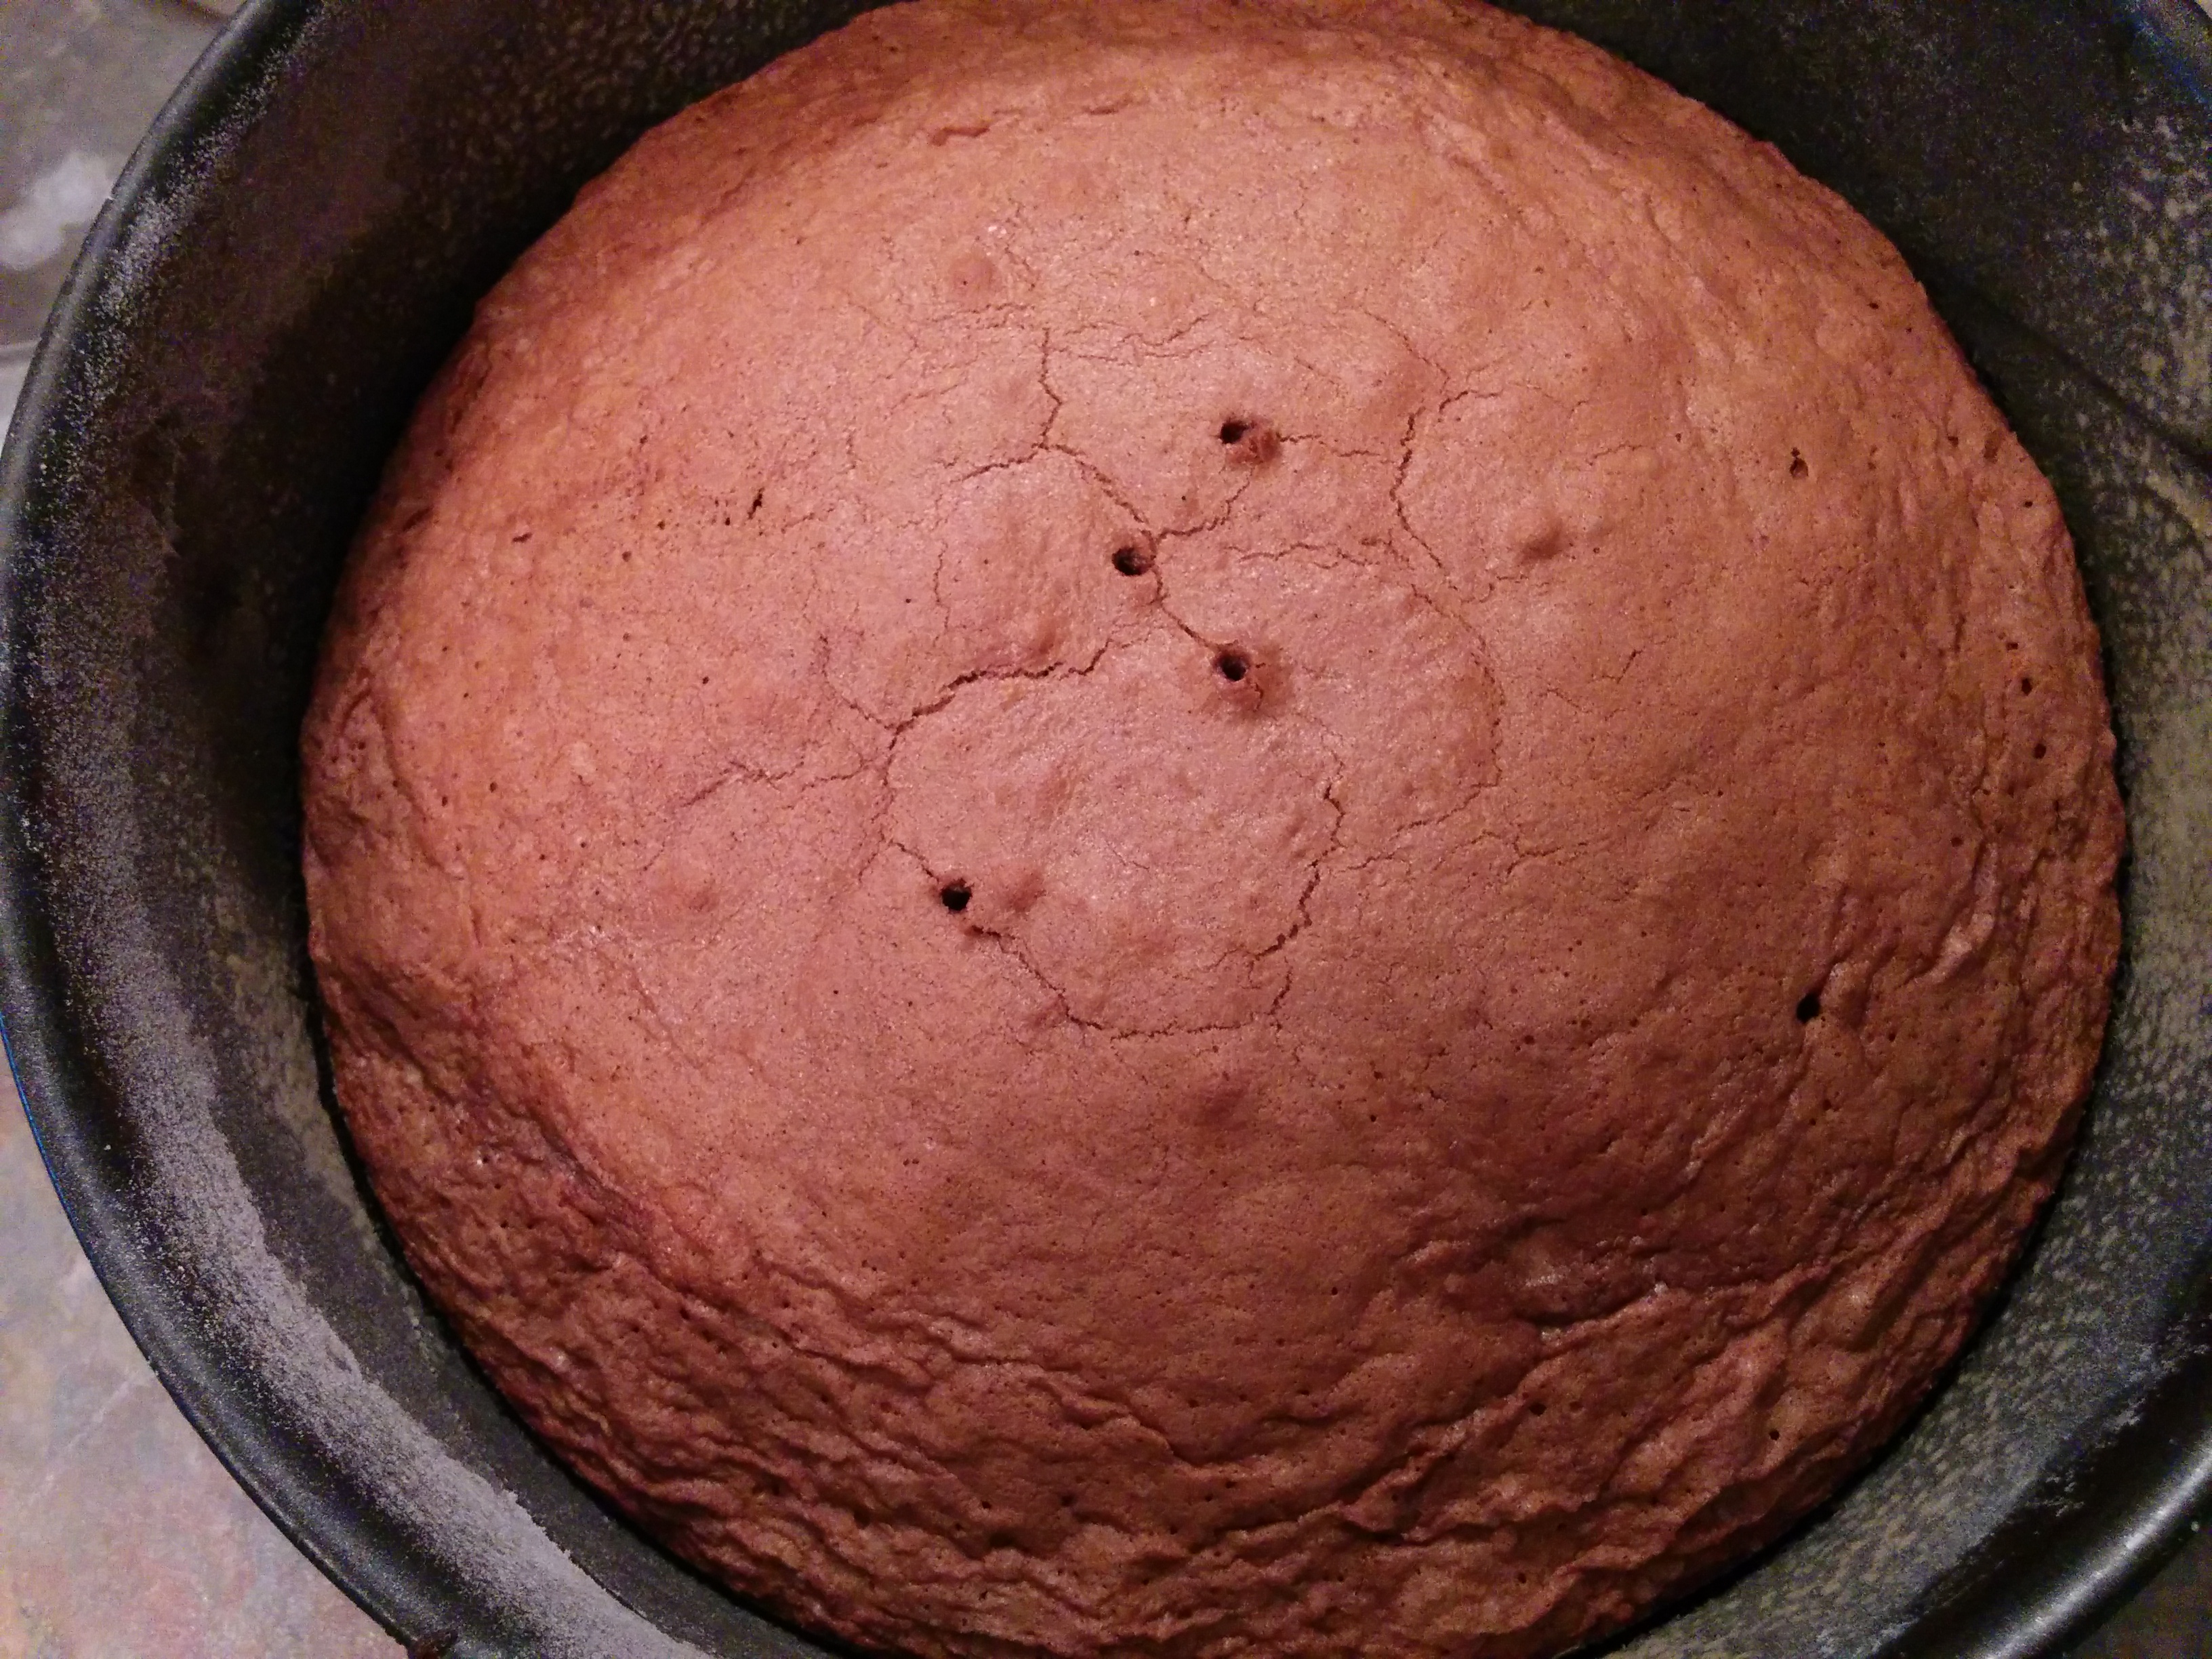
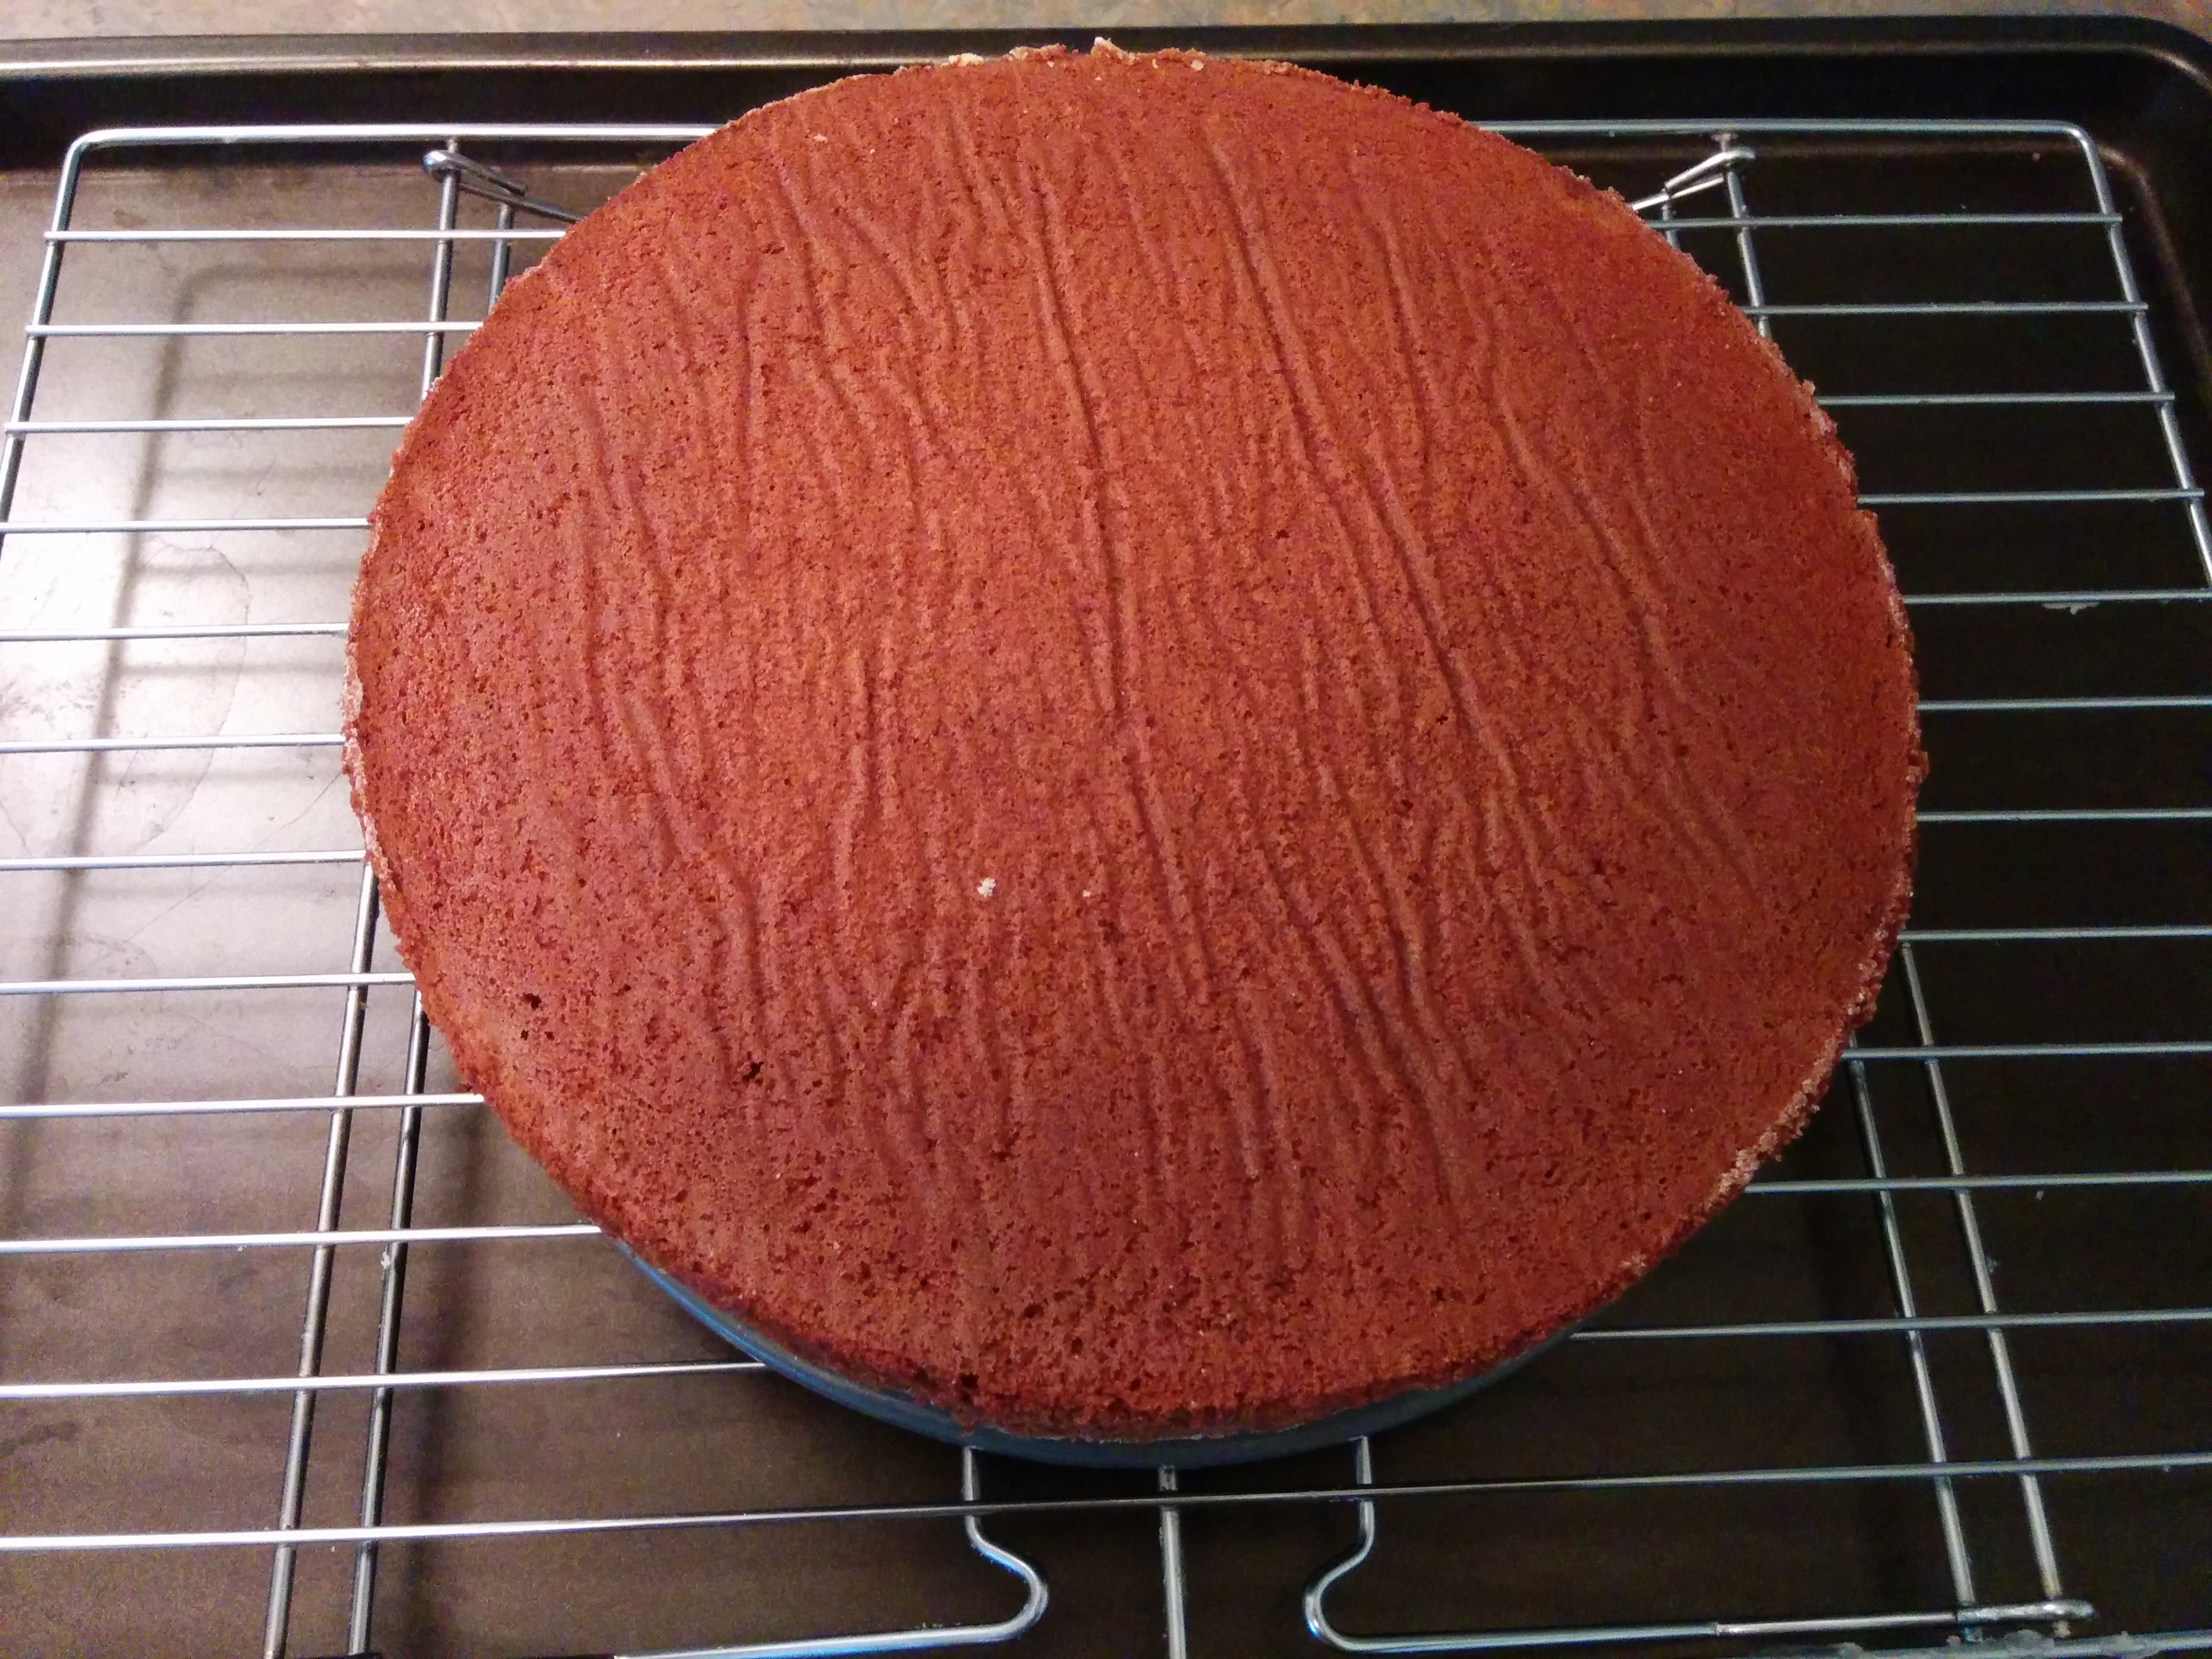
(13) Allow the cake to rest for a few minutes in the pan before unmolding. You will notice that the top of the cake would crumble a bit, this is because the cake has very little flour. Thus do not panic when this occurs. Unmold the cake and turn it upside down. Allow the cake to cool completely.
For Ganache (Chocolate and Butter Glaze):
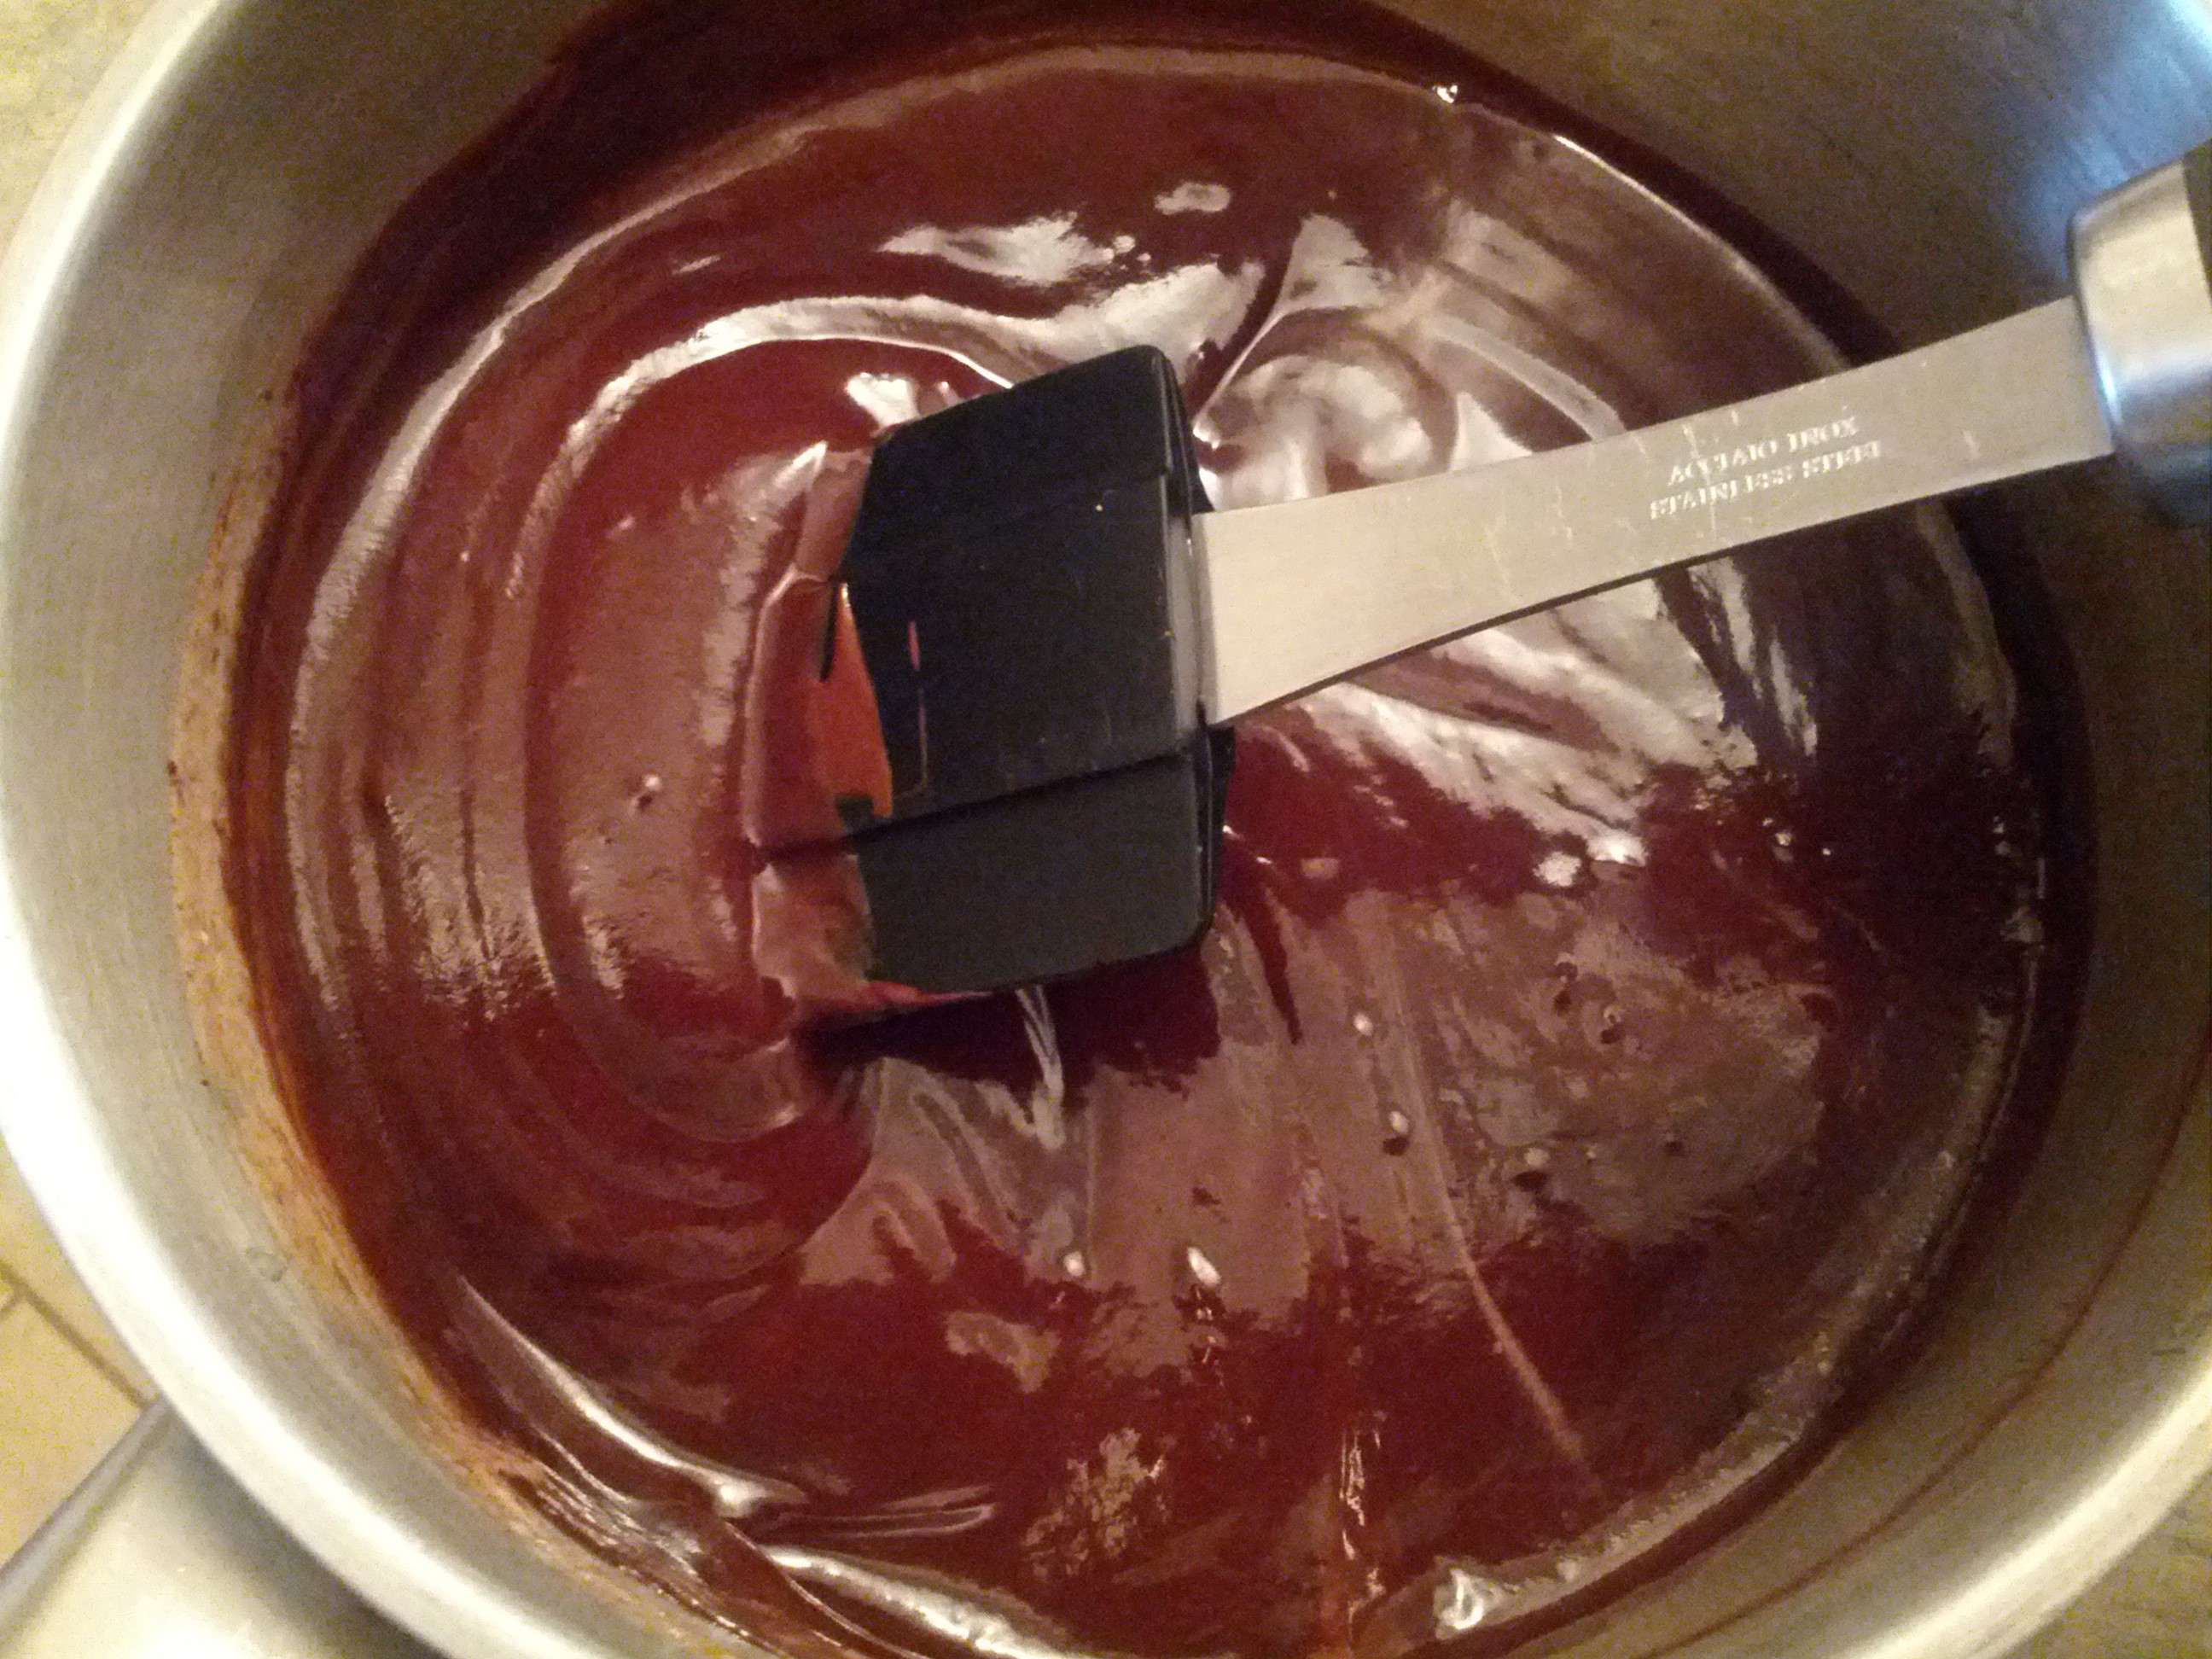
(1) Melt the chocolate and rum like you did for the cake.
(2) Add the butter to the melted chocolate and rum in tablespoons and keep mixing until all the butter has melted and the mixture is smooth and silky.
NOTE: If you find this ganache too complicated to make, you can use a simpler ganache recipe. I have one on this website which can be found here.
Assembling:
(1) This step is optional, but if you want to create a spider web design on the top of the cake, melt some white chocolate and place it in a pipping bag fitted with a small tip or just make a small hole at the tip of the pipping bag.
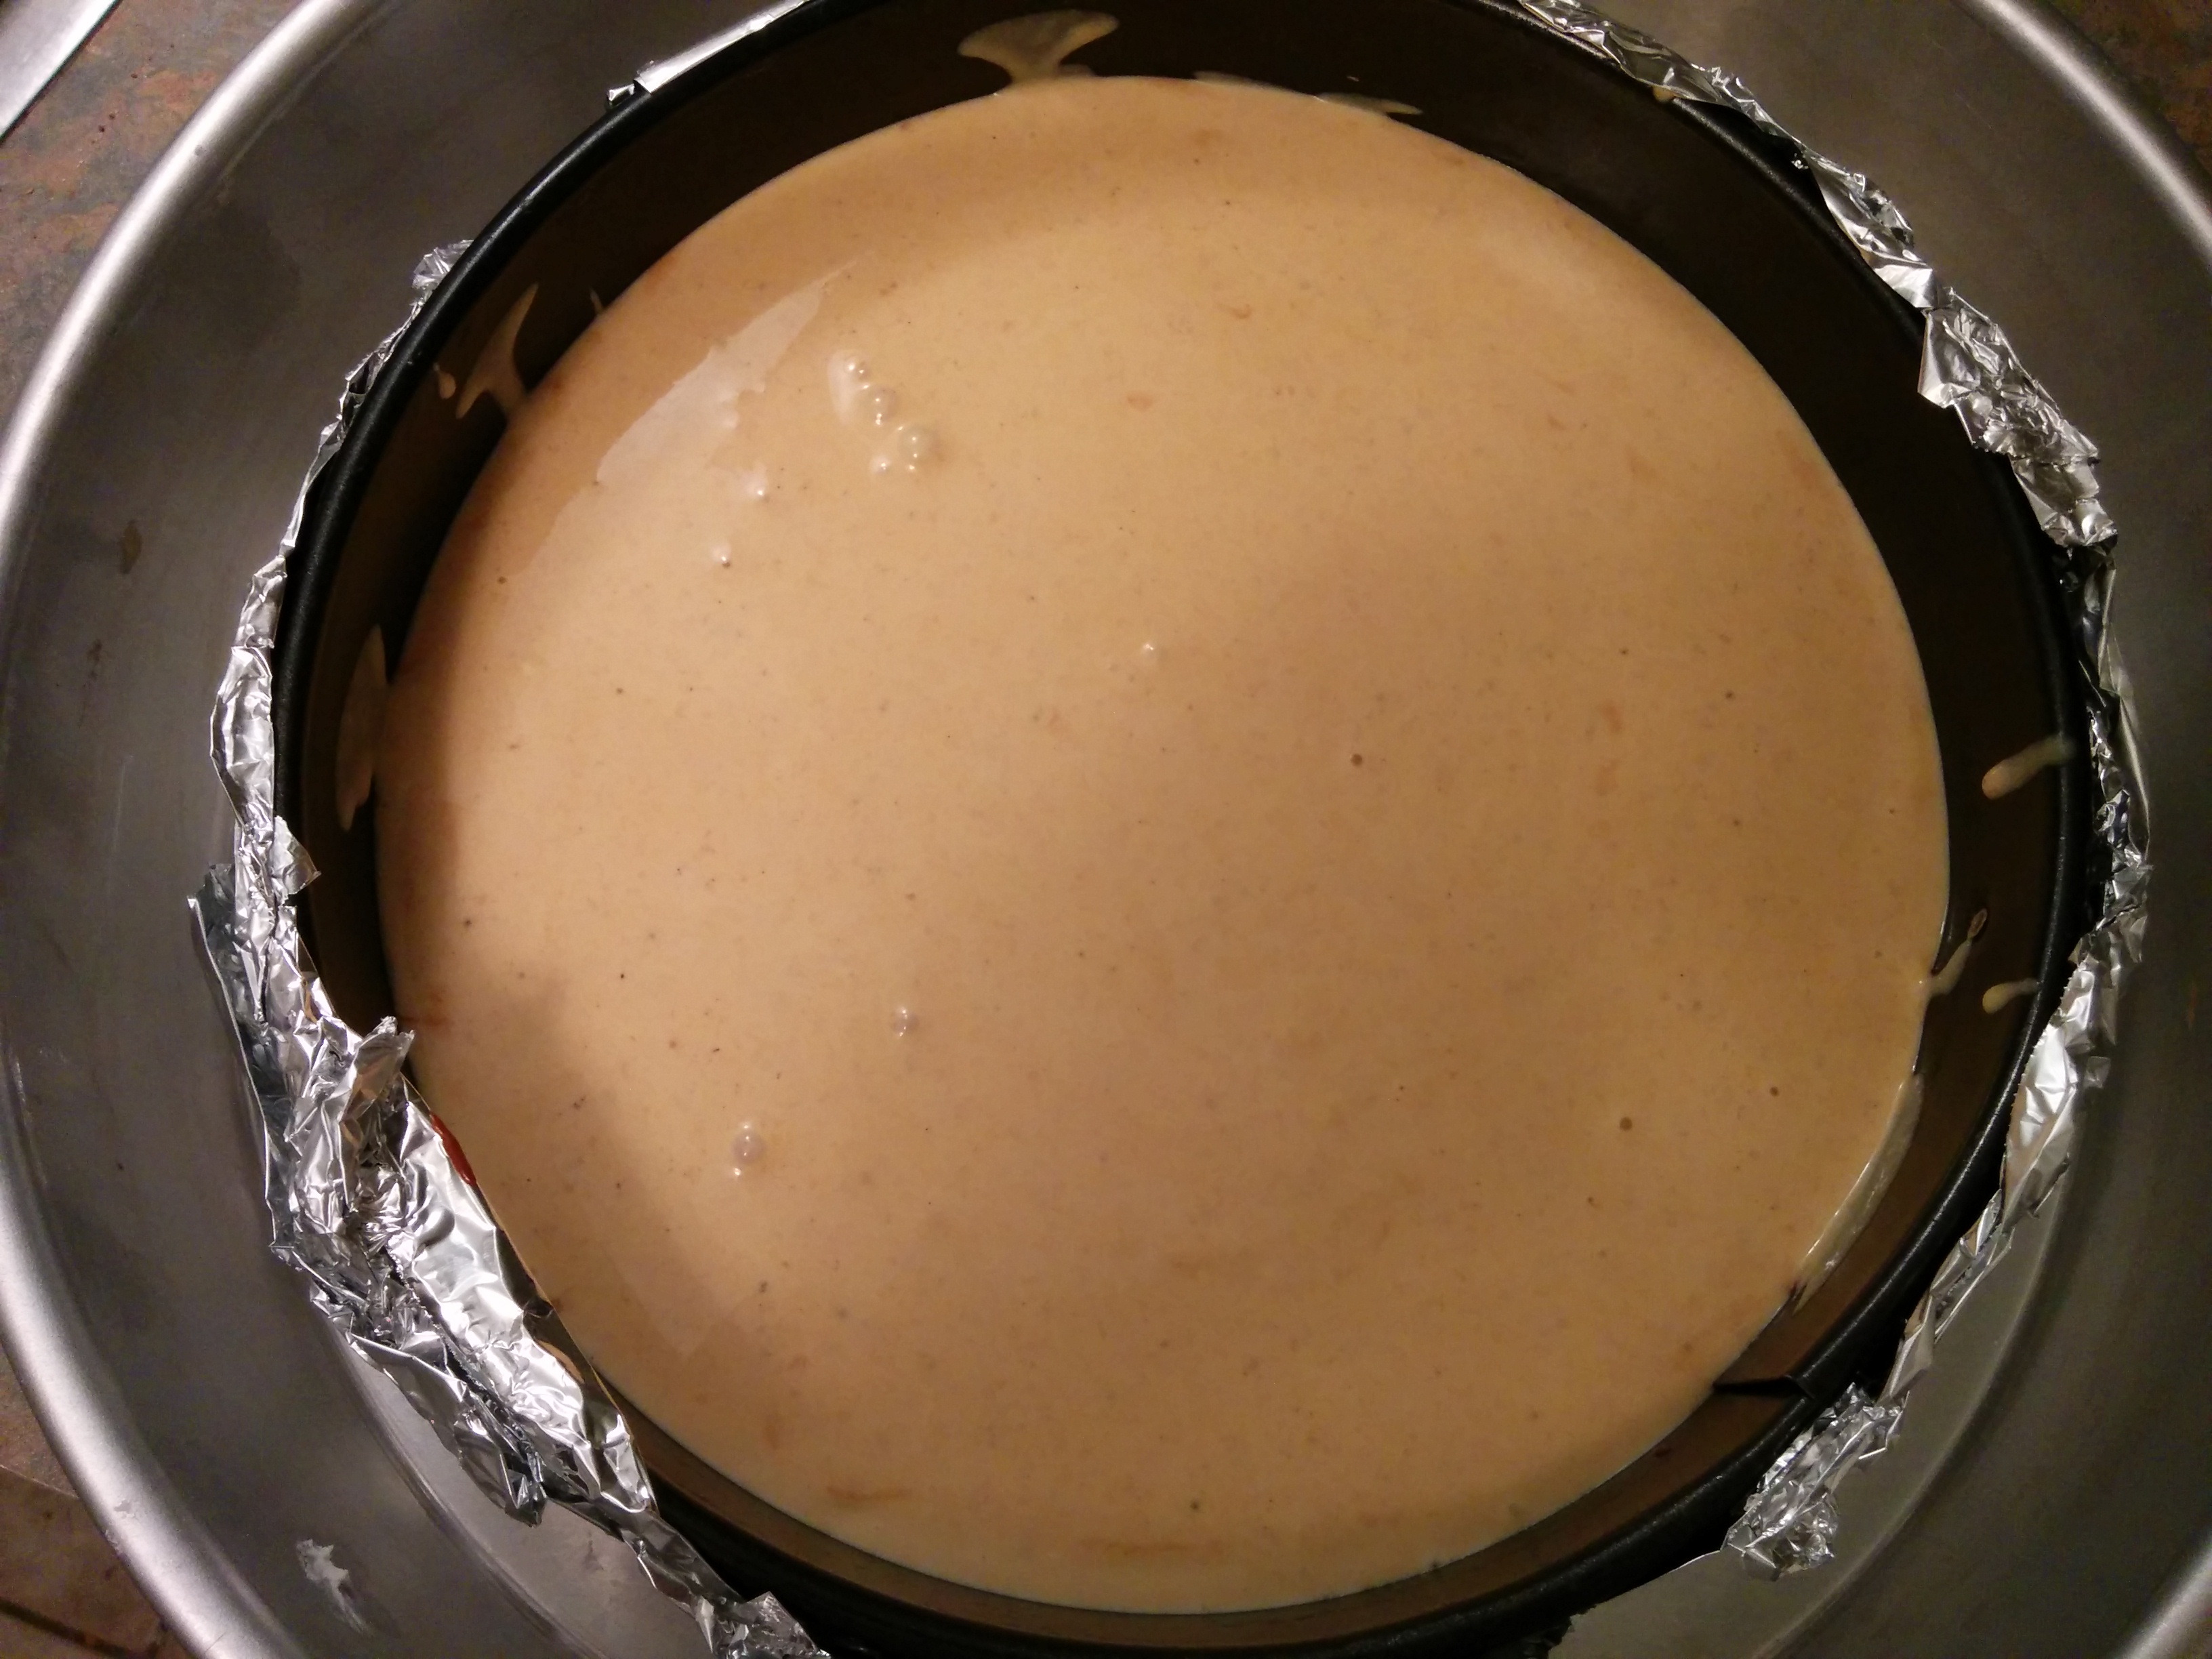
(2) Invert the cake and place it on a cake board which is the same size as the cake, place the cake and board on a wire cooling rack and place everything over a baking tray. The baking tray will “catch” any leftover ganache that falls from the cake.
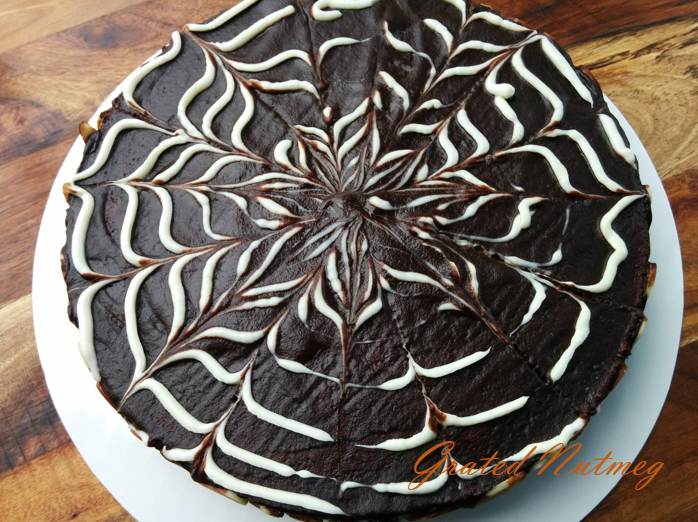
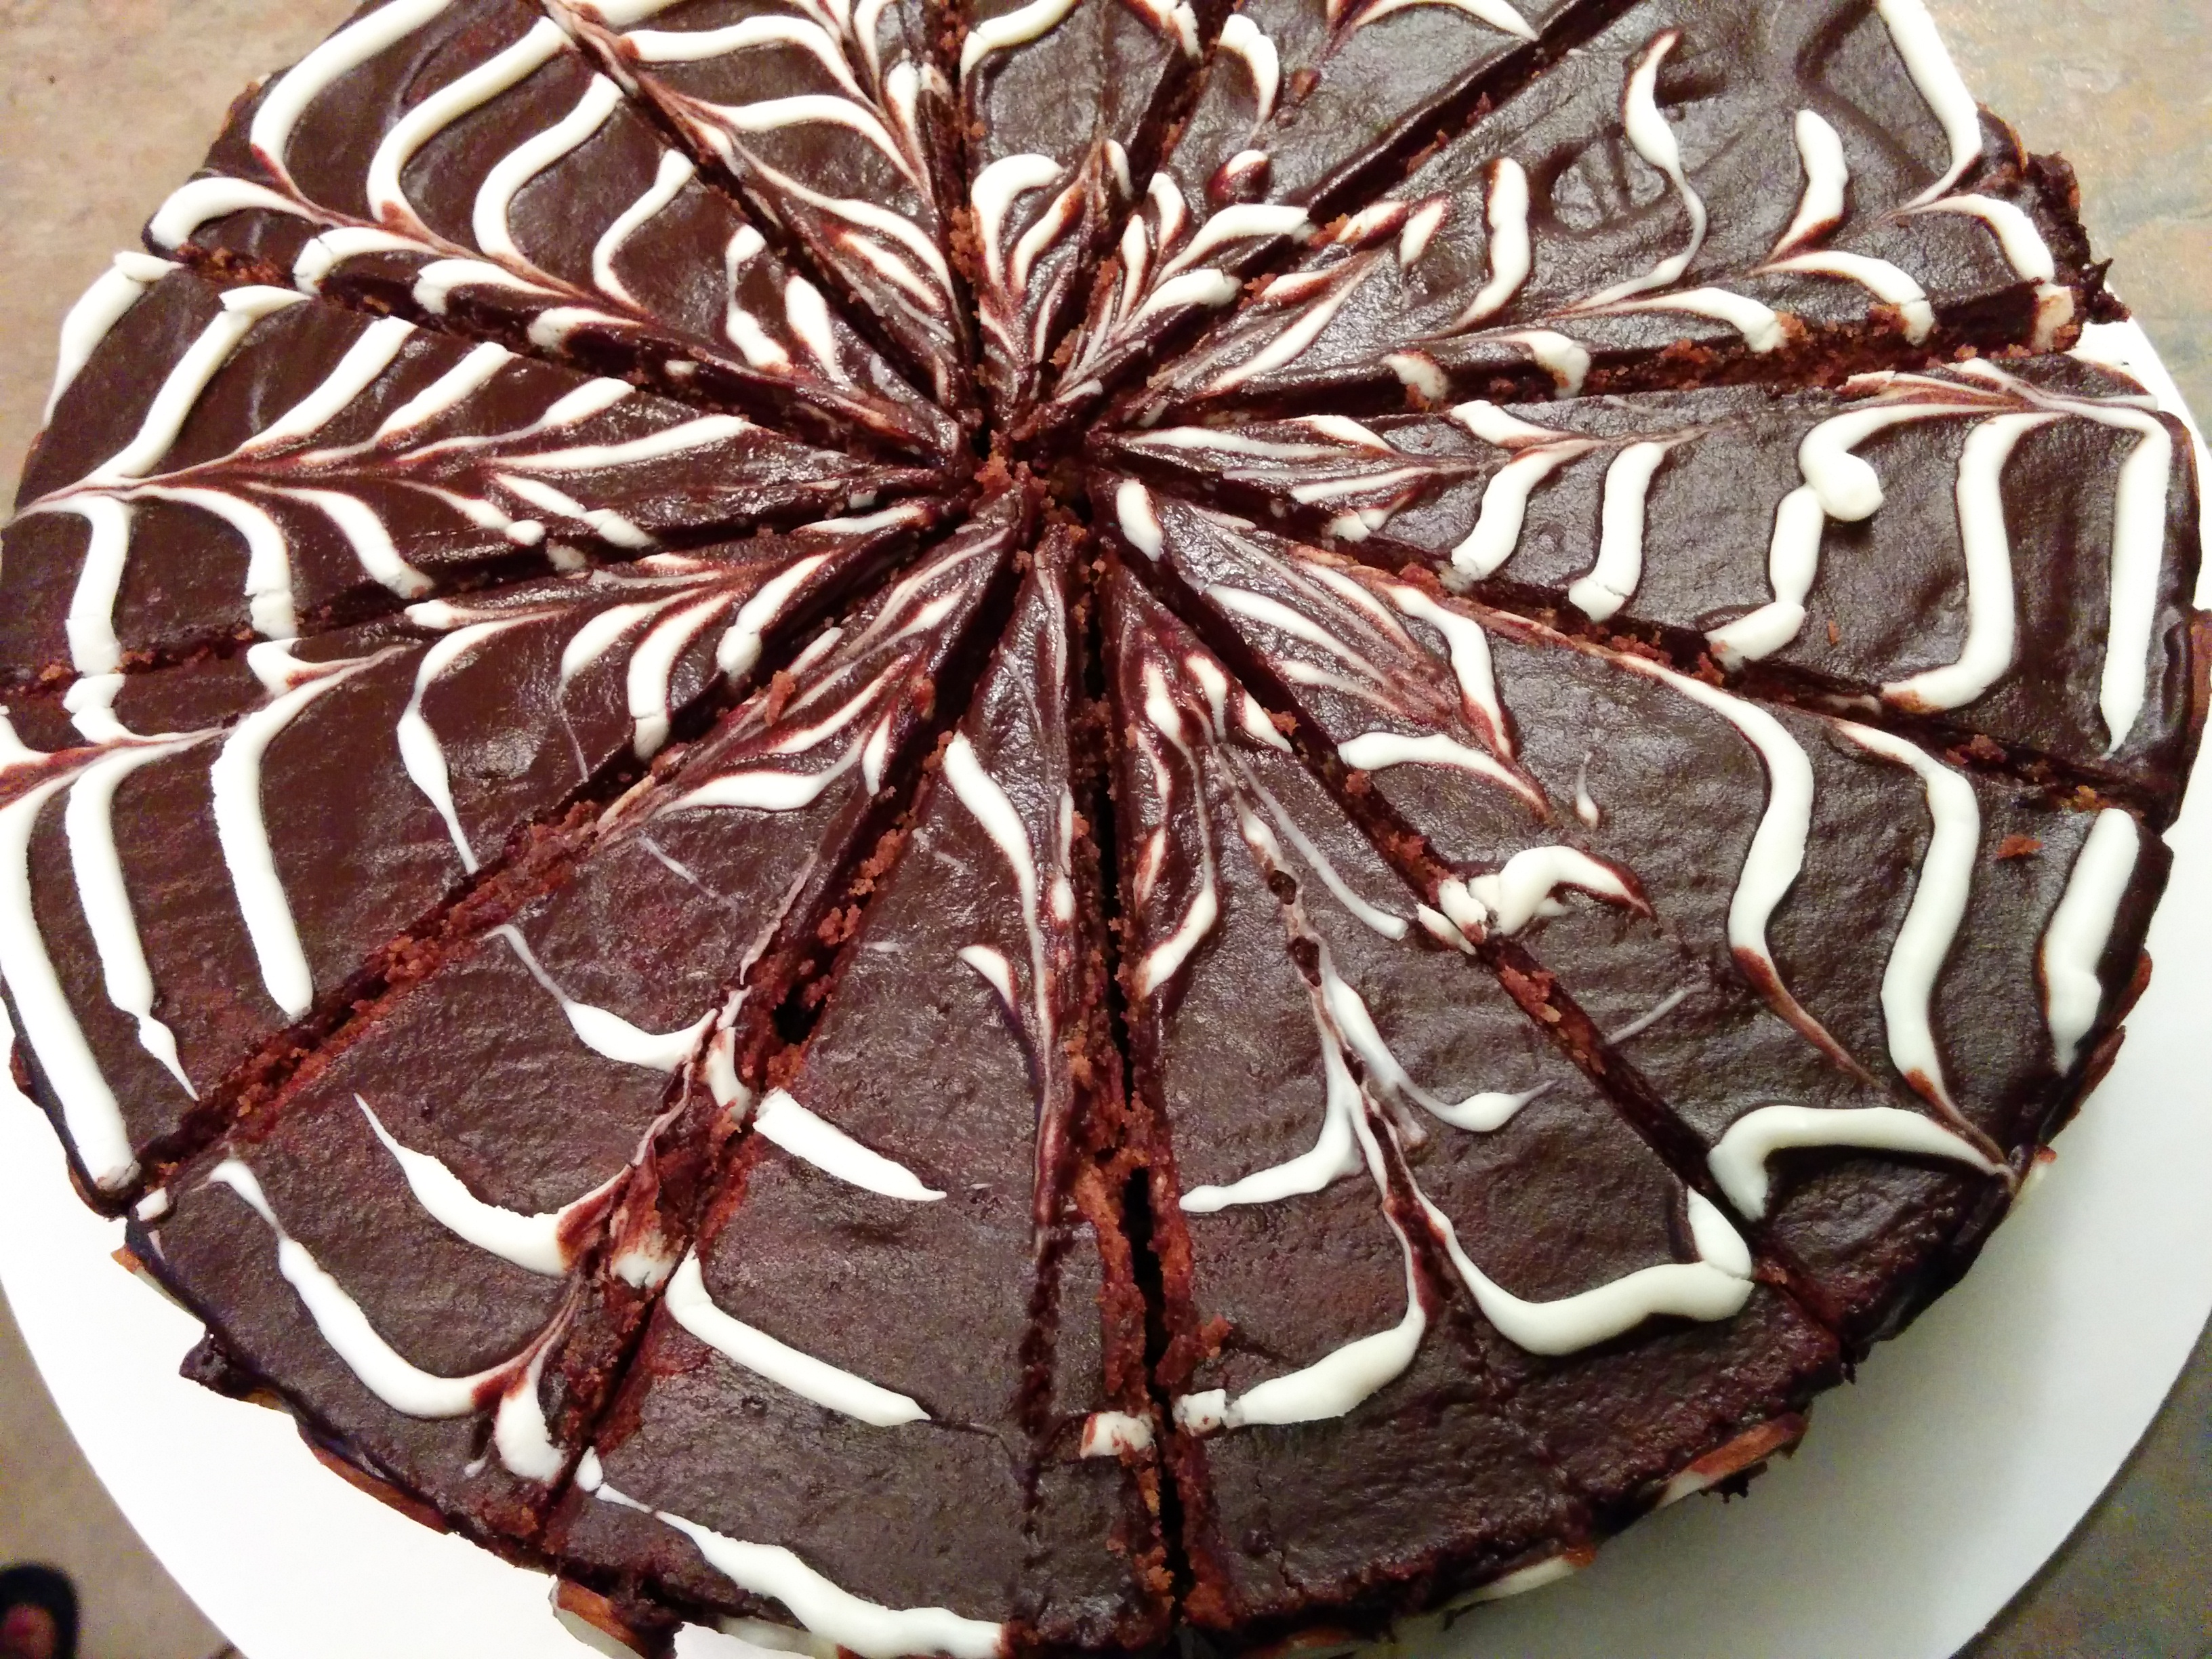
(3) Pour the ganache over the cake and spread it to the sides of the cake using an icing spatula or knife. Now you can stop here. Allow the ganache to harden a bit and you are done.
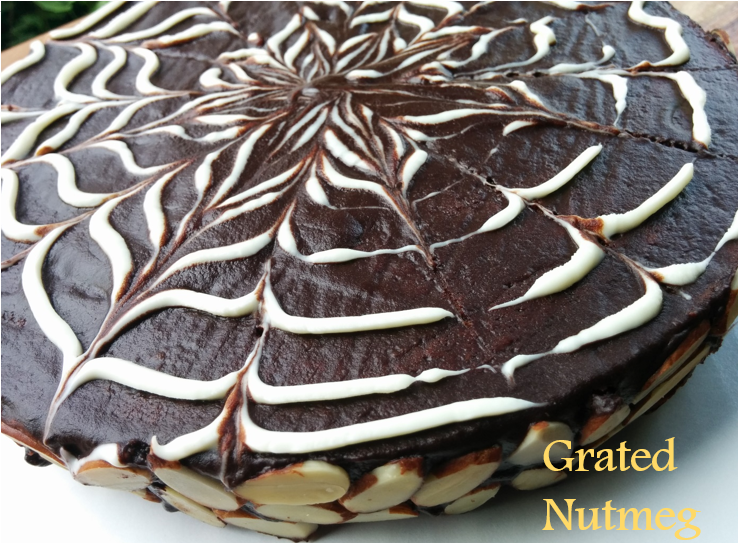
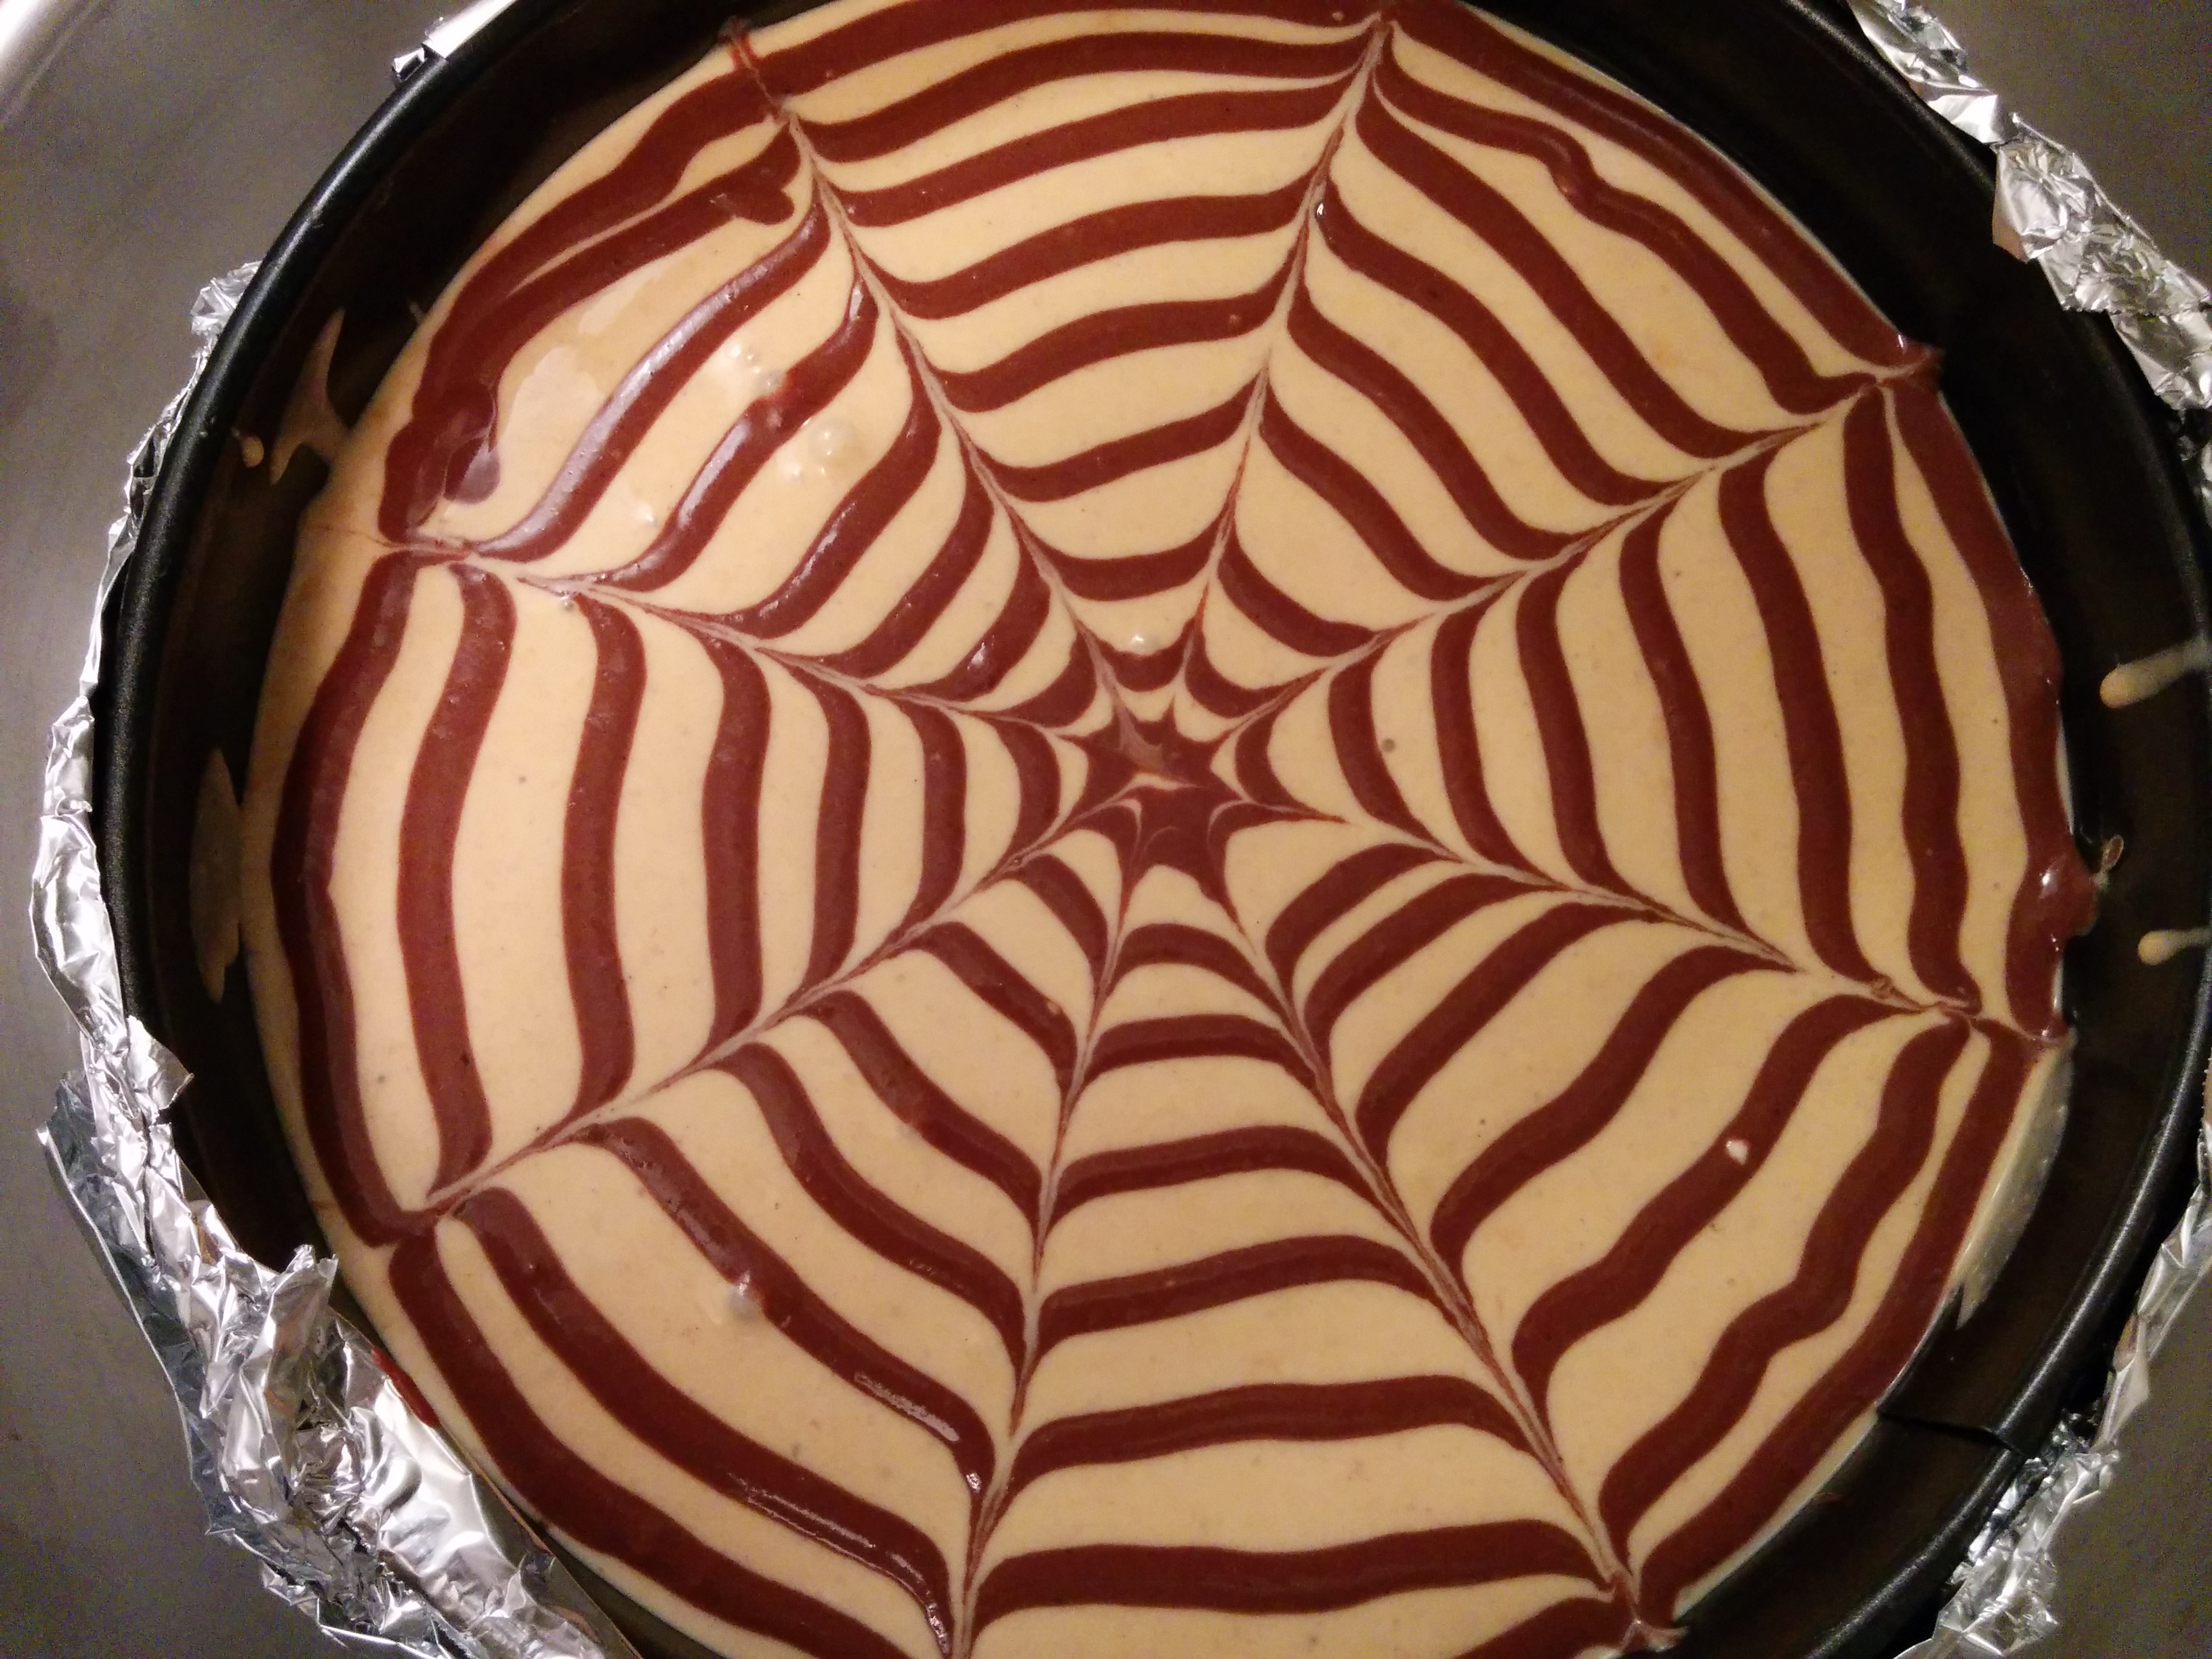
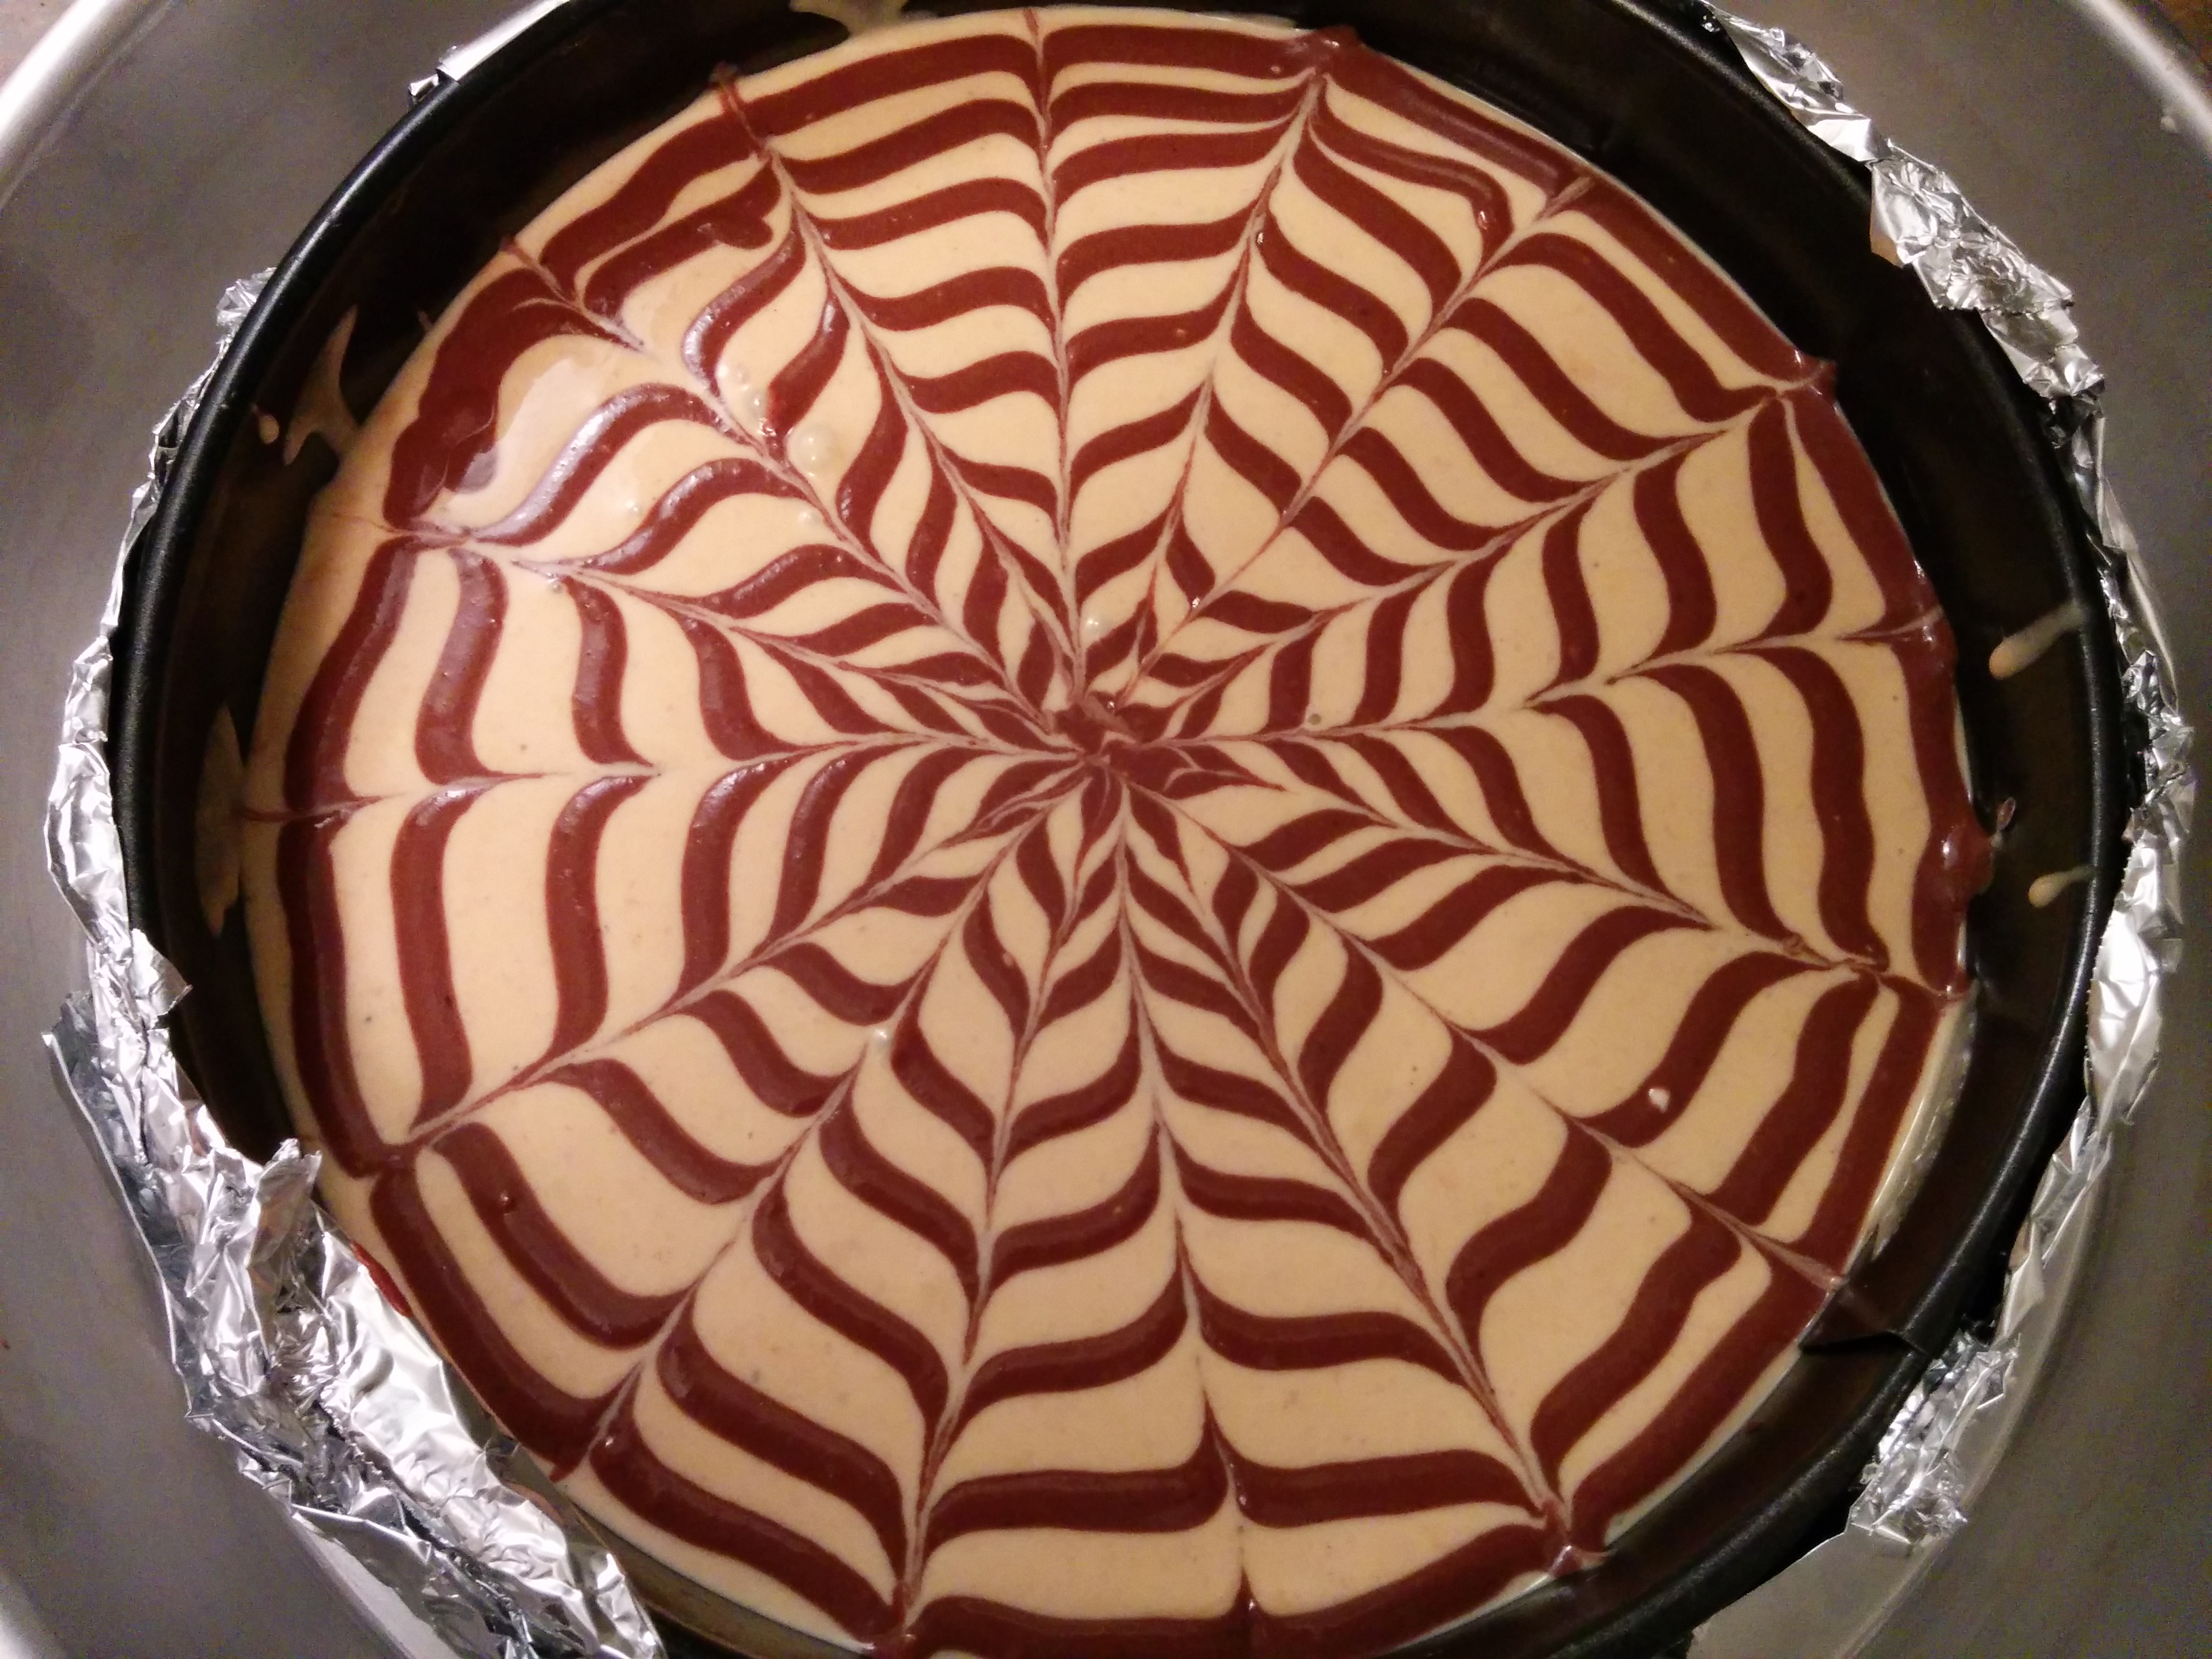
(4) If you want to take it a step further, make circles on top of the cake with the melted white chocolate. Using a toothpick or skewer, draw 8 lines from the edge of the cake to the middle of the cake. Next, draw another set of 8 lines from the middle of the cake to the edge of the cake. The second set of lines should be in the middle of the previous lines. This is how to create the spider web effect. This must be done while the ganache is still soft or it would not work. Again, you can stop here.
NOTE: I forgot to take pictures of this spider webbing process. I have however provided pictures below of the process of webbing a Chocolate-Pumpkin Cheesecake. These pictures are for illustrative purposes only. The same process applies to this Queen of Sheba Cake.

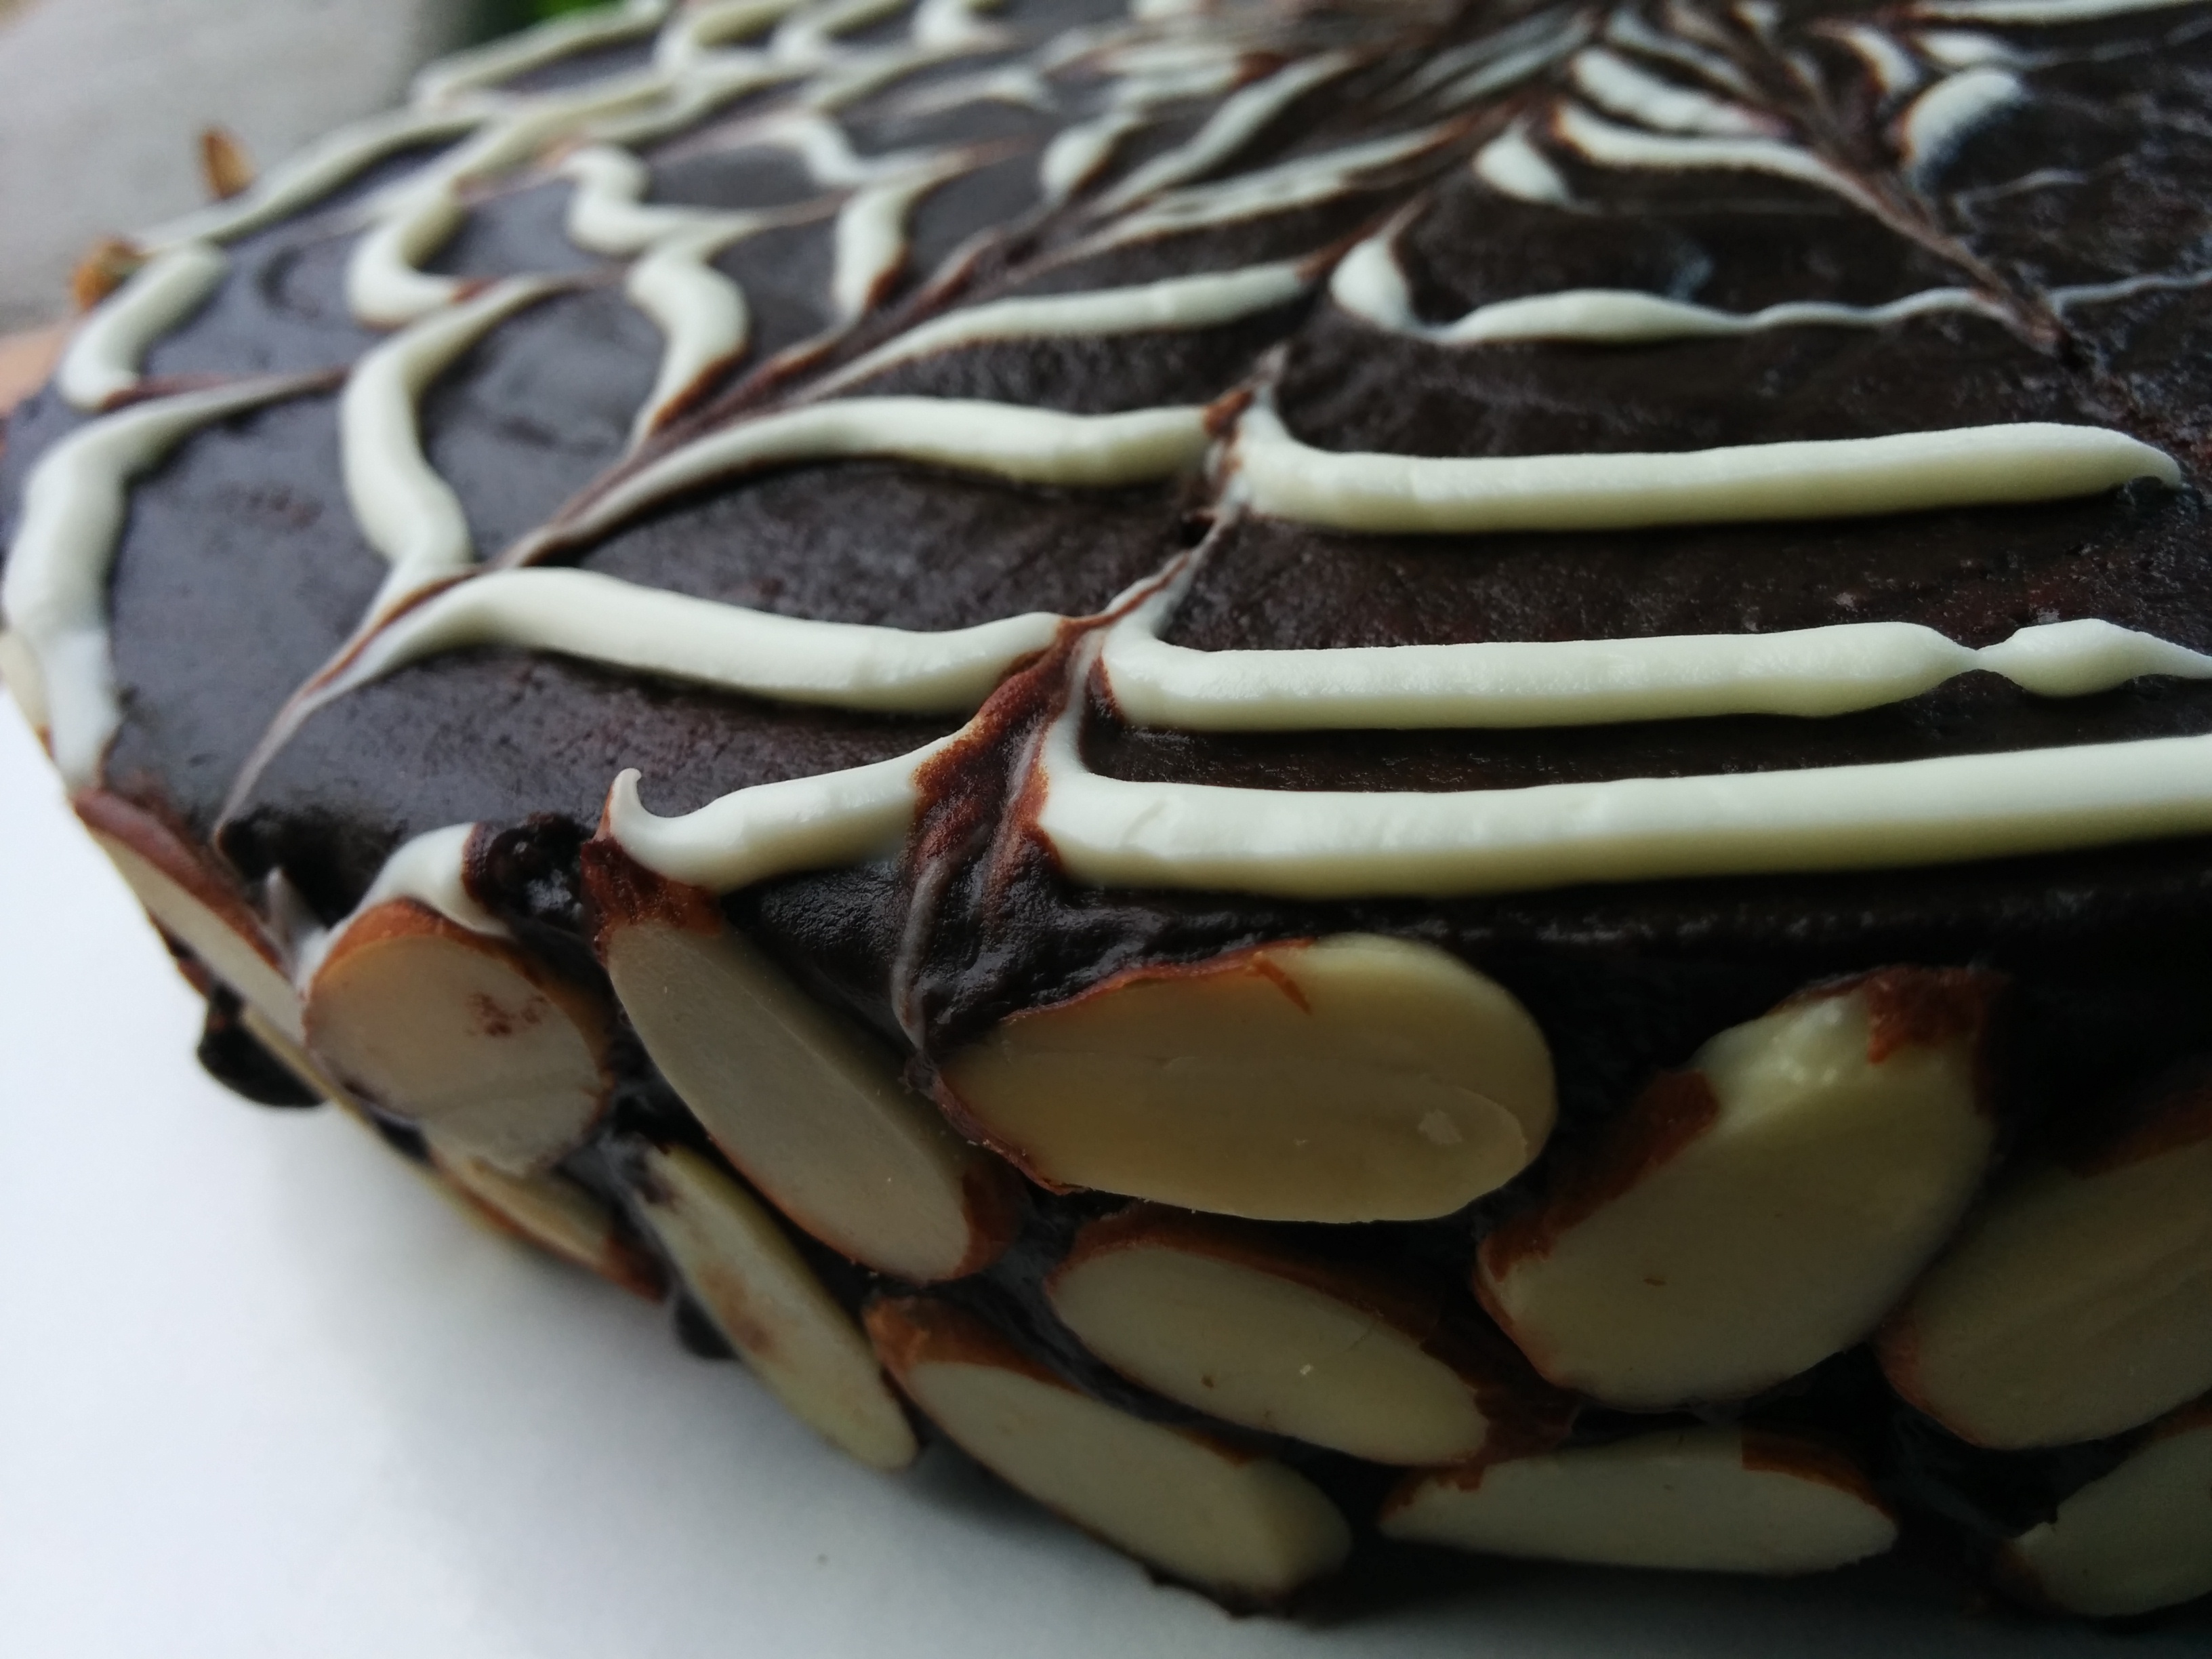
(5) If you still wish to decorate further, stick sliced almonds to the sides of the cake. The ganache will help the almonds to stick to the cake.
I know, this cake looks like a lot of work, and I must confess, for a new baker, it most likely would be. You can however challenge yourself to bake this cake for the taste is absolutely exceptional. Its like nothing you have ever tasted before. Bon Appétit
END NOTE: This cake can be frozen for months after it has been baked.
Terry Adido is passionate about showing people how easy it is to recreate restaurant quality meals in the comfort of their kitchens. With a style of cooking he refers to as Afro-European Fusion, his meals are influenced greatly by French and Italian Cuisine with a West African twist. If you love good food, you are in for the ride of your life.
I’ll try this one, I’m a big lover of cheesecake! Thank you for always sharing Terry! God bless!
You are welcome
Terry, I so much love your works.
You are so creative.
But one thing has been bothering me, My fondant always look dry.
How can I get the shining look.
Somebody suggested Gin and Glucose, when I tried that, my cake was sweating for almost 48 hrs.
Pls, help me, my brother.
Hi.I do not work with regular fondant but marshmallow fondant and I fear the two might not react the same way. I usually brush my cakes with some vodka when I am done. This gives it a shine. I hope this helps.
Thanks Terry for sharing,will definitely give this a try.it looks great
You are welcome.
Your works are marvelous thank you.permit me to write down this recipes for future use in my confectionary shop.
Thanks. Sure you can write them out.
Am making a note of some recipes for myself, more like an handout for future reference, can I please add Ur recipes?
Yes you can.
Hey Terry, please can the whisking be done manually, how long do I have to whisk for and would I get same results? Also what other nuts can I use in place of almonds which can be gotten here in Lagos? Thank you.
Hi Peace. You can use any nuts of your choice. As per whisking manually, while that might be possible, it will definitely be a daunting task.
Hi Terry, ever So generous. Thank you so much. I really appreciate the efforts you put into helping me become better. This cake looks great. I will be trying it out.
You are welcome