
The Making of An Avengers Cake
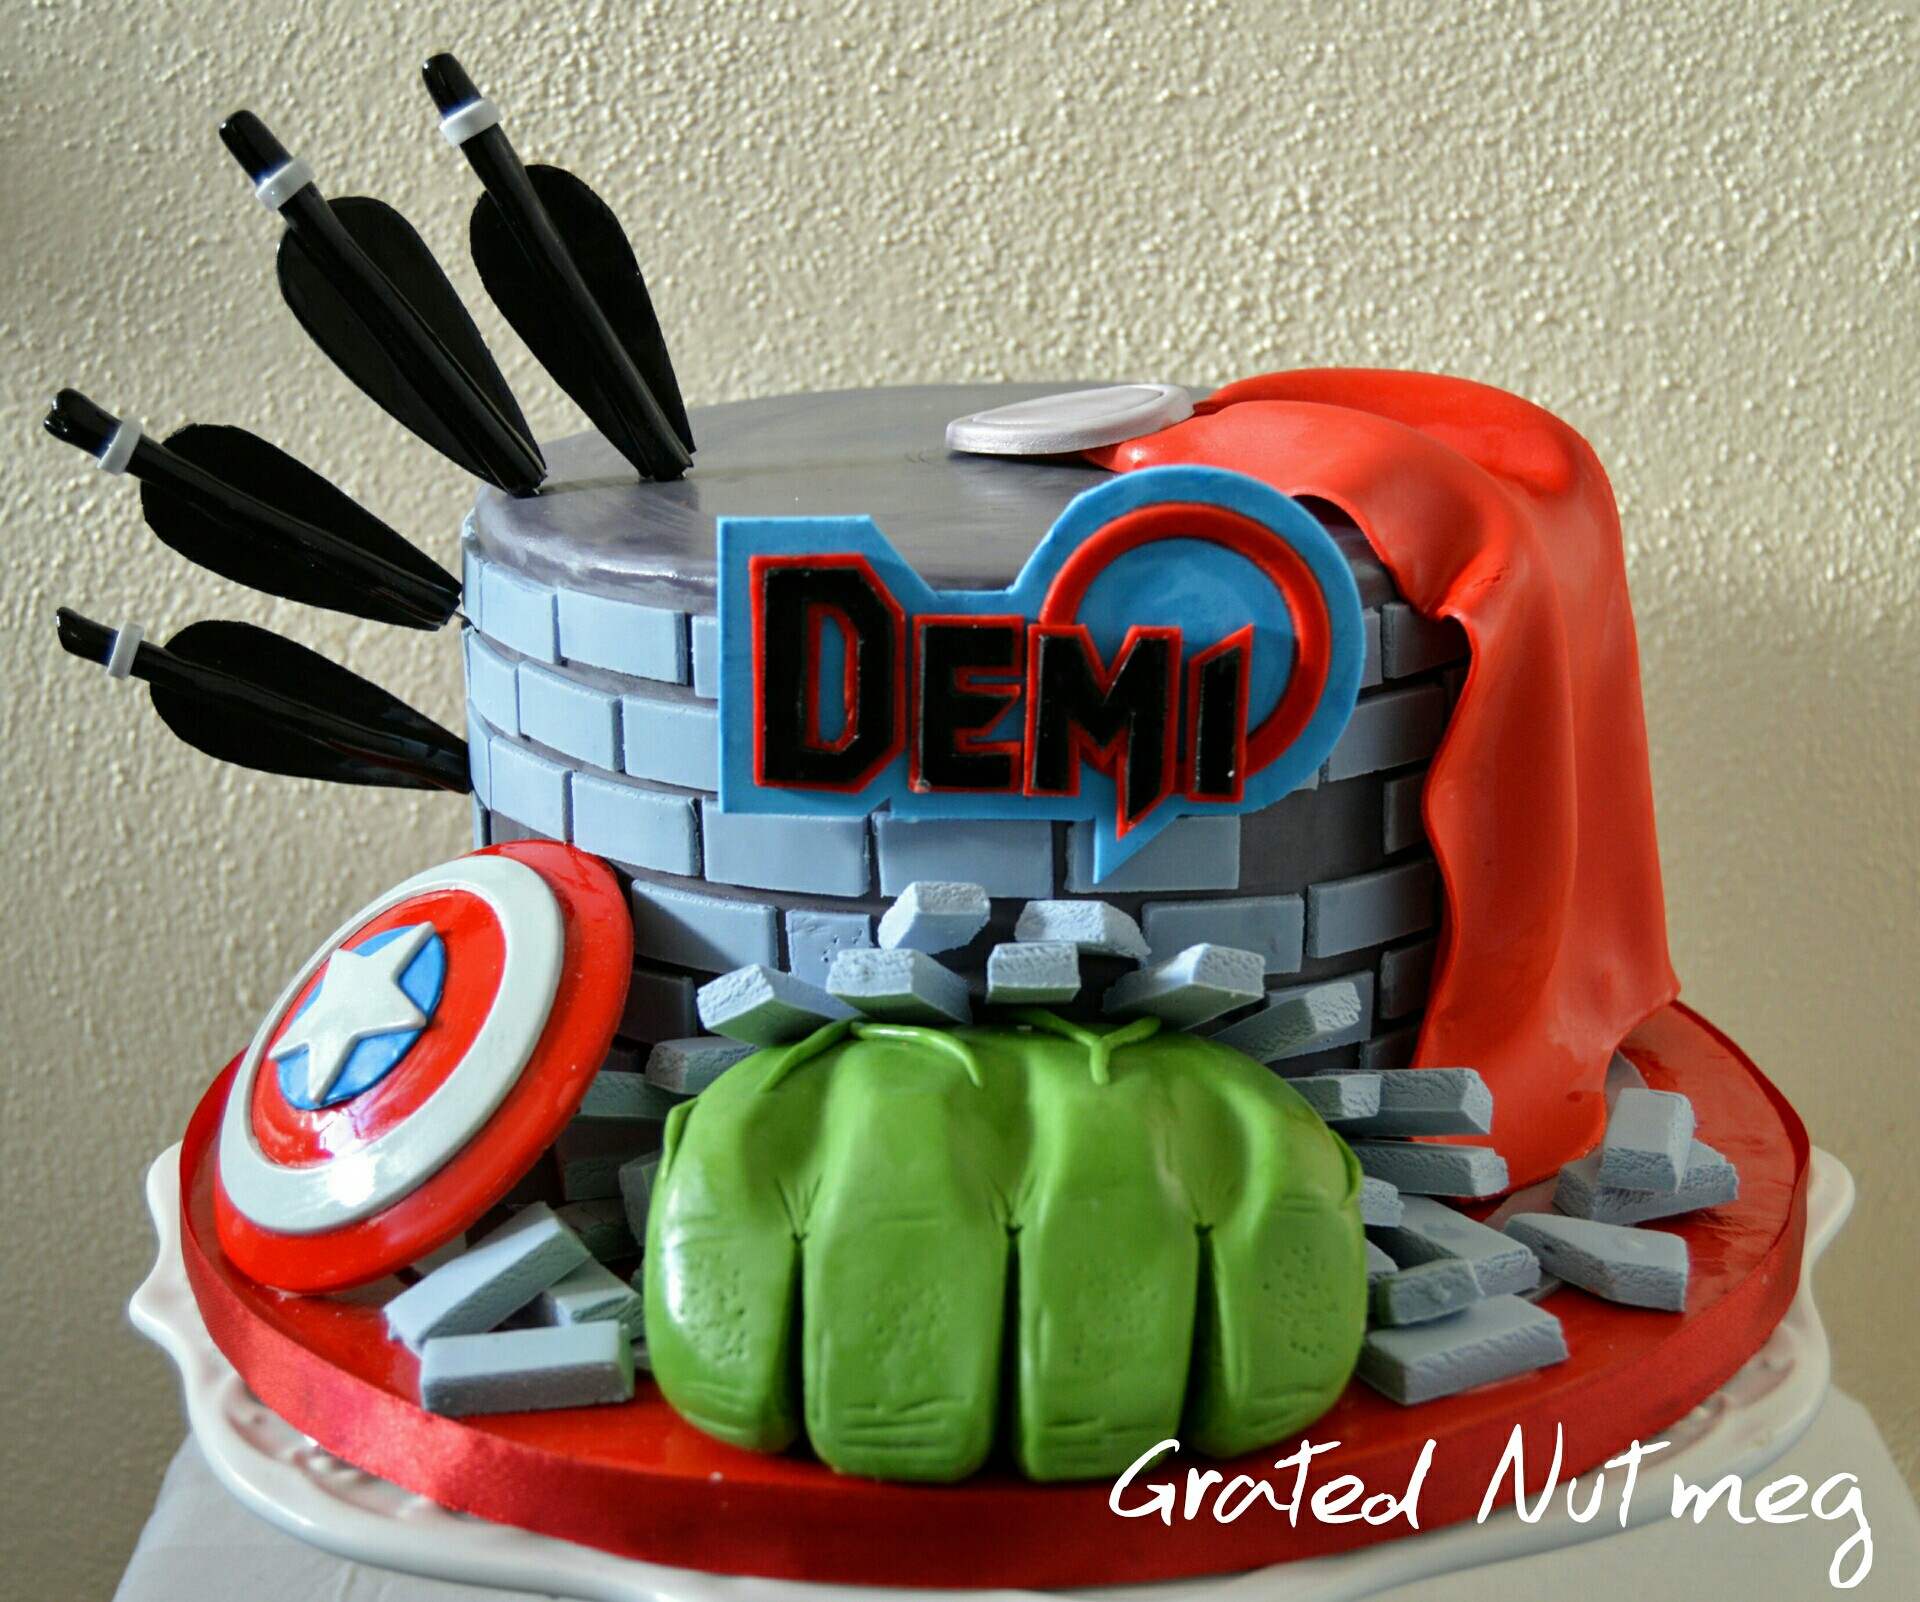

This post shows how I made the Avengers Cake above. I will be the first to admit that this is a complex cake to execute. The complexity comes not from the difficulty of the design but the fact that the design involves a lot of elements. I will be providing links to other tutorials where you can find how to make the several elements of this cake. For links to the various recipes used for this cake, click here.
THE PROCESS:
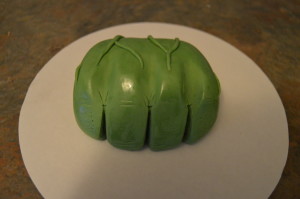
(1) First, some preliminary elements, and there are a lot of them. Make Hulk’s fist. A tutorial for this can be found here.
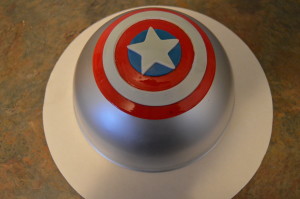
(2) Next, make Captain America’s Shield. A tutorial for this can be found here.
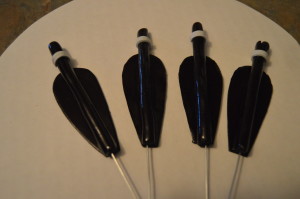
(3) Next, make Hawkeye’s Trick Arrow Tails. A tutorial for this can be found here.
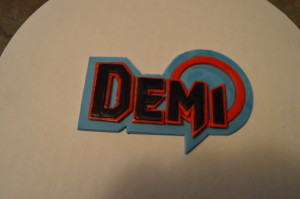
(4) Next, make the name tag. I used my method of making fondant letters which can be found here.
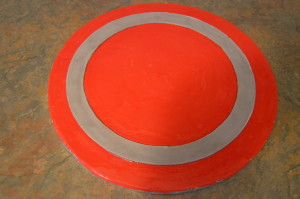
(5) Next, make a cake board which represents Captain America’s Shield. Cover a cake board with red fondant and make a ring of grey fondant on it. Color the grey fondant with silver luster dust mixed with vodka and brush the red portion of the board with a 50/50 mixture of corn syrup and vodka to make it glossy.
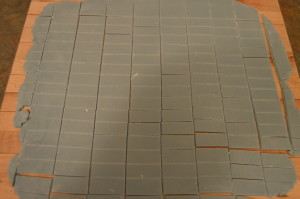
(6) Next, Make blue bricks. Roll blue fondant into about 5 mm thick. Cut out rectangles measuring 1 inch x 1/2 inch. Insert spaghetti into one end of the bricks and leave these to dry. I used spaghetti instead of floral wires. Wrap leftover blue fondant and keep for the actual cake decoration.

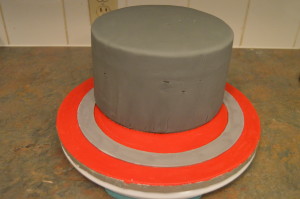
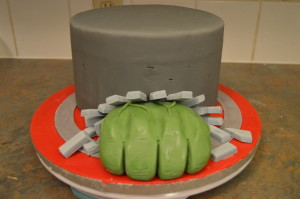
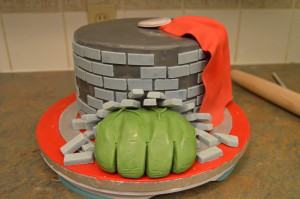
(7) Now, to the cake itself. Drape a frosted cake with dark grey fondant and stick it on the board leaving a lot of room in front of the board for the fist. I used a 12″ board for an 8″ cake.
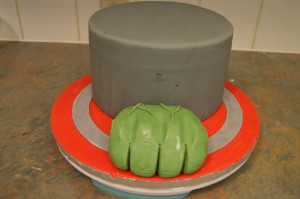
(8) Stick Hulk’s fist on the board in front of the cake.
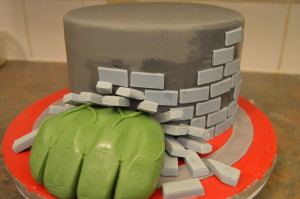
(9) Insert the dried blue bricks around the fist. Your aim is to make it look like Hulk punched a brick wall with his fist with bricks flying off the wall. Stick some bricks on the cake board around the fist.
(10) Roll out the saved blue fondant and cut them into 1 inch x 1/2 inch rectangles.
(11) Brush the cake with a bit of water and stick the rectangles on it to create a brick wall. Leave some open spaces. Why? Because Hulk just punched the wall, you don’t expect all the bricks to remain in place.
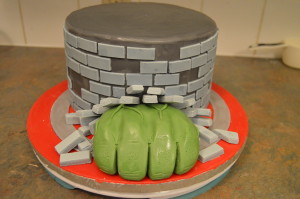
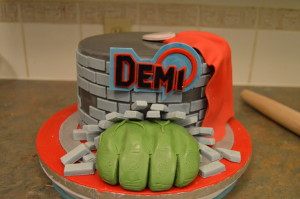
(12) Its time to start adding elements to the cake starting with Thor’s Cape. Make the cape out of red fondant and stick it to the left side of the cake cascading down. Make a cape pin out of grey fondant for the top of the cake. Brush this with silver luster dust mixed with vodka.
(13) Next, stick the name tag in front of the cake.
(14) Next, stick the shield on the right side of the cake.
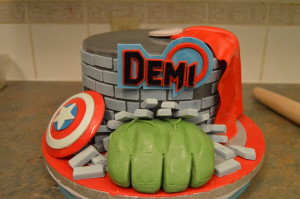
(15) Complete the cake by inserting the arrow tails into the top right side of the cake. That’s all there is to it. Happy caking!
Terry Adido is passionate about showing people how easy it is to recreate restaurant quality meals in the comfort of their kitchens. With a style of cooking he refers to as Afro-European Fusion, his meals are influenced greatly by French and Italian Cuisine with a West African twist. If you love good food, you are in for the ride of your life.
Hmmm… Terry u r d boss! This is wao! Weldone.
Thanks Oluyemi.
thank u so much Sir 4 this free tutorials. I started a small baking business to help myself in school & thank God I Ve discovered this site.your step by step lessons can never make me miss it.May God Bless U Sir.
I am glad you find my website helpful Sephora. All the best with your creations.