
How to Stencil a Cake
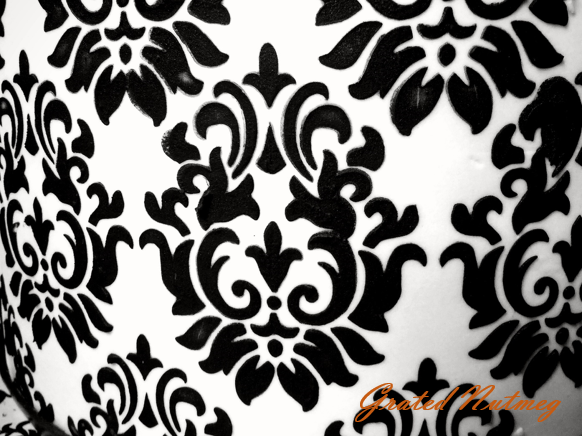

Stenciling is a technique used to apply patterns to cakes. It always gives an impressive finish to cakes. Though it looks somewhat technical to execute, it is actually quite easy. I intend to share some basic stenciling techniques here which I use for my cakes.

INGREDIENTS:
(1) Royal Icing (Recipe here)
(2) You will also need a fondant covered cake.
NOTES:
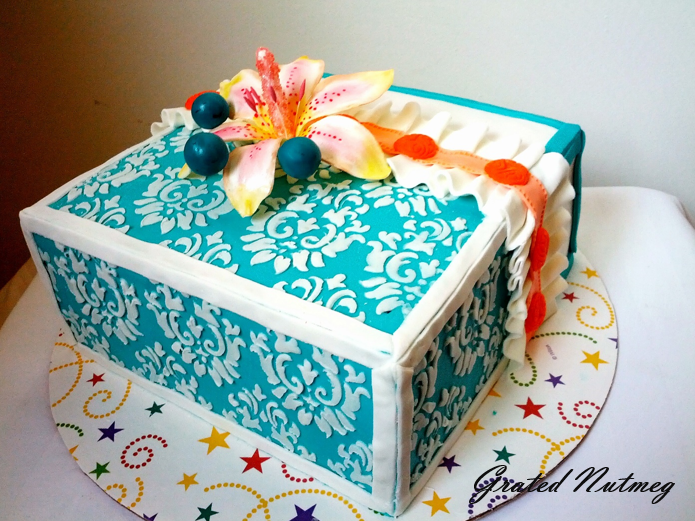
(1) Though buttercream frosting (and by extension, creamcheese frosting) can be used to stencil cakes, the advantage royal icing has over these two is that royal icing dries quickly, thus giving you the opportunity to work fast. The likelihood of staining your cake with frosting is also reduced when you use royal icing. If however you want to stencil a buttercream covered cake, chill the cake first so the buttercream sets. A tutorial on how to stencil buttercream frosted cakes can be found here.
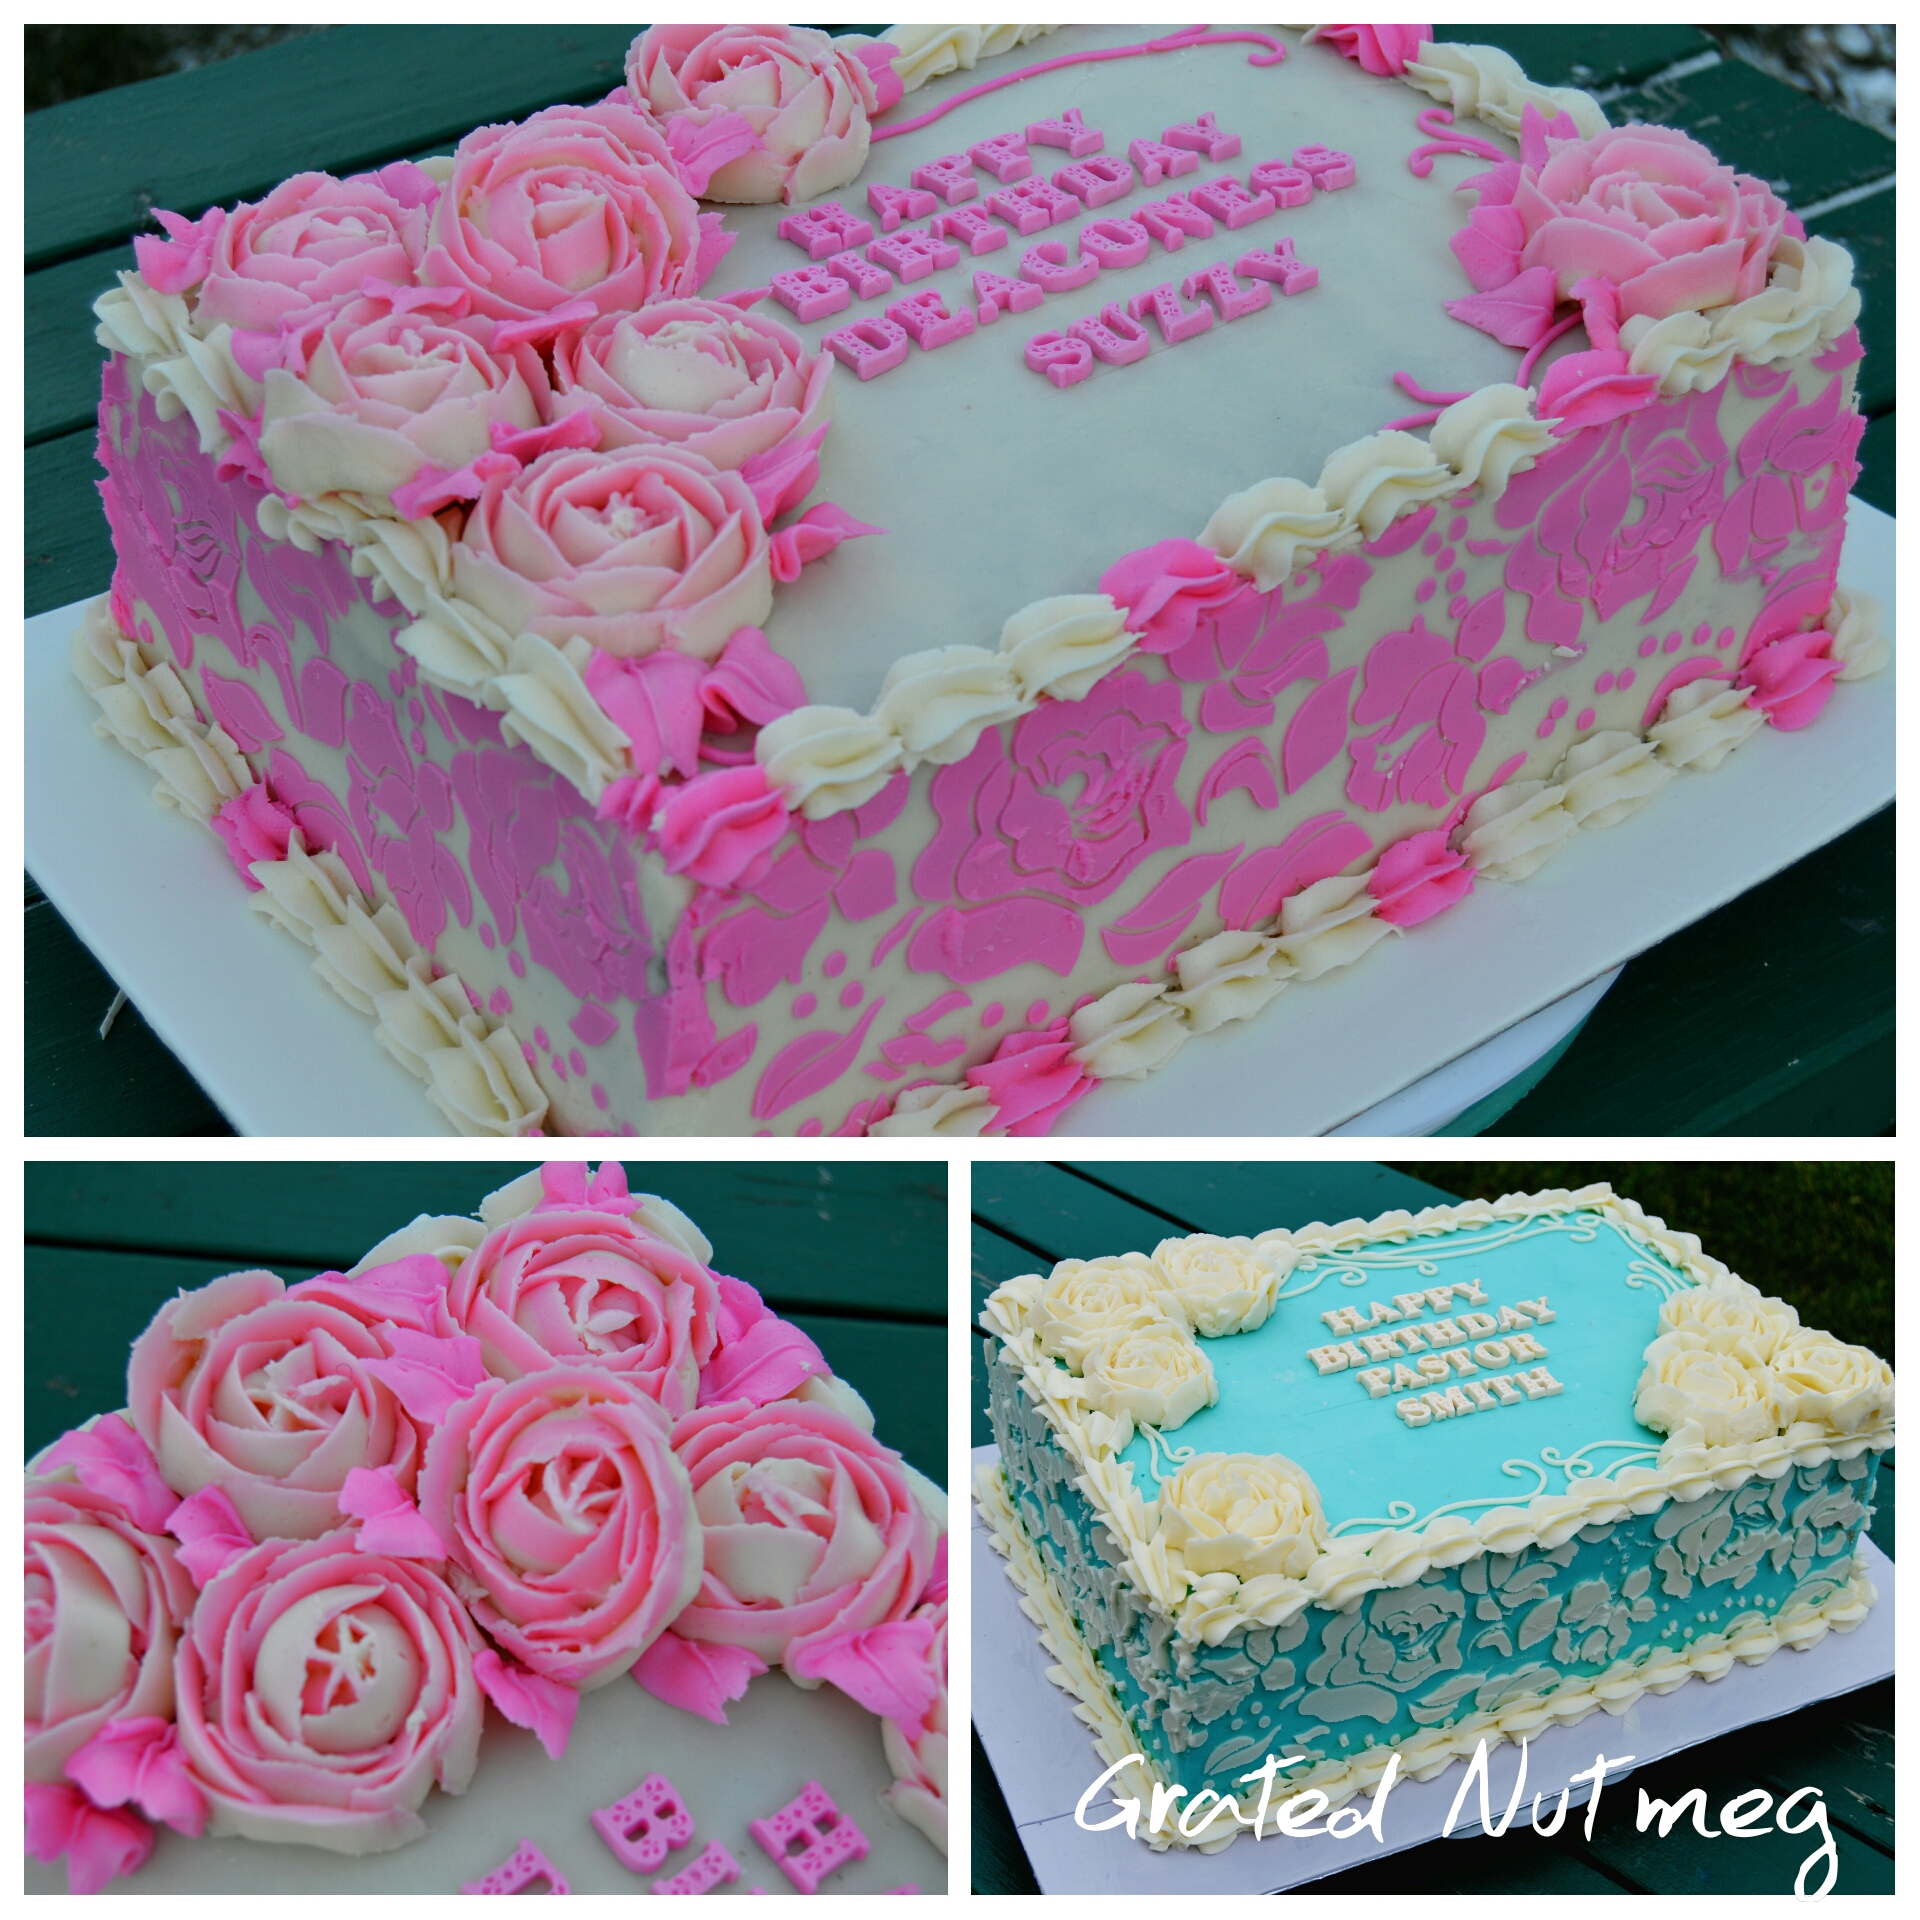
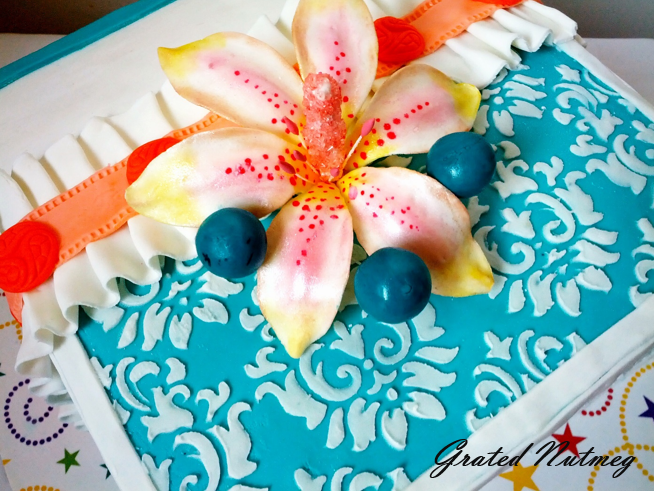
(2) While it is possible to stencil a cake covered with buttercream frosting as with the cake above, I always prefer stenciling cakes covered with fondant as it is a drier and more steady surface to work on.
(3) Stencils can be purchased online at eBay, Amazon, other online cake and craft stores or at cake and craft stores like Michaels or Bulk Barn.
TOOLS:
(1) Plastic Stencils
(2) Icing Spatula
(3) Cake Smoother (Optional)
(4) New Pins or Needles
(5) A Turn Table
PROCEDURE:
(1) Bake, frost and cover your cake with fondant. Some cake recipes can be found here.
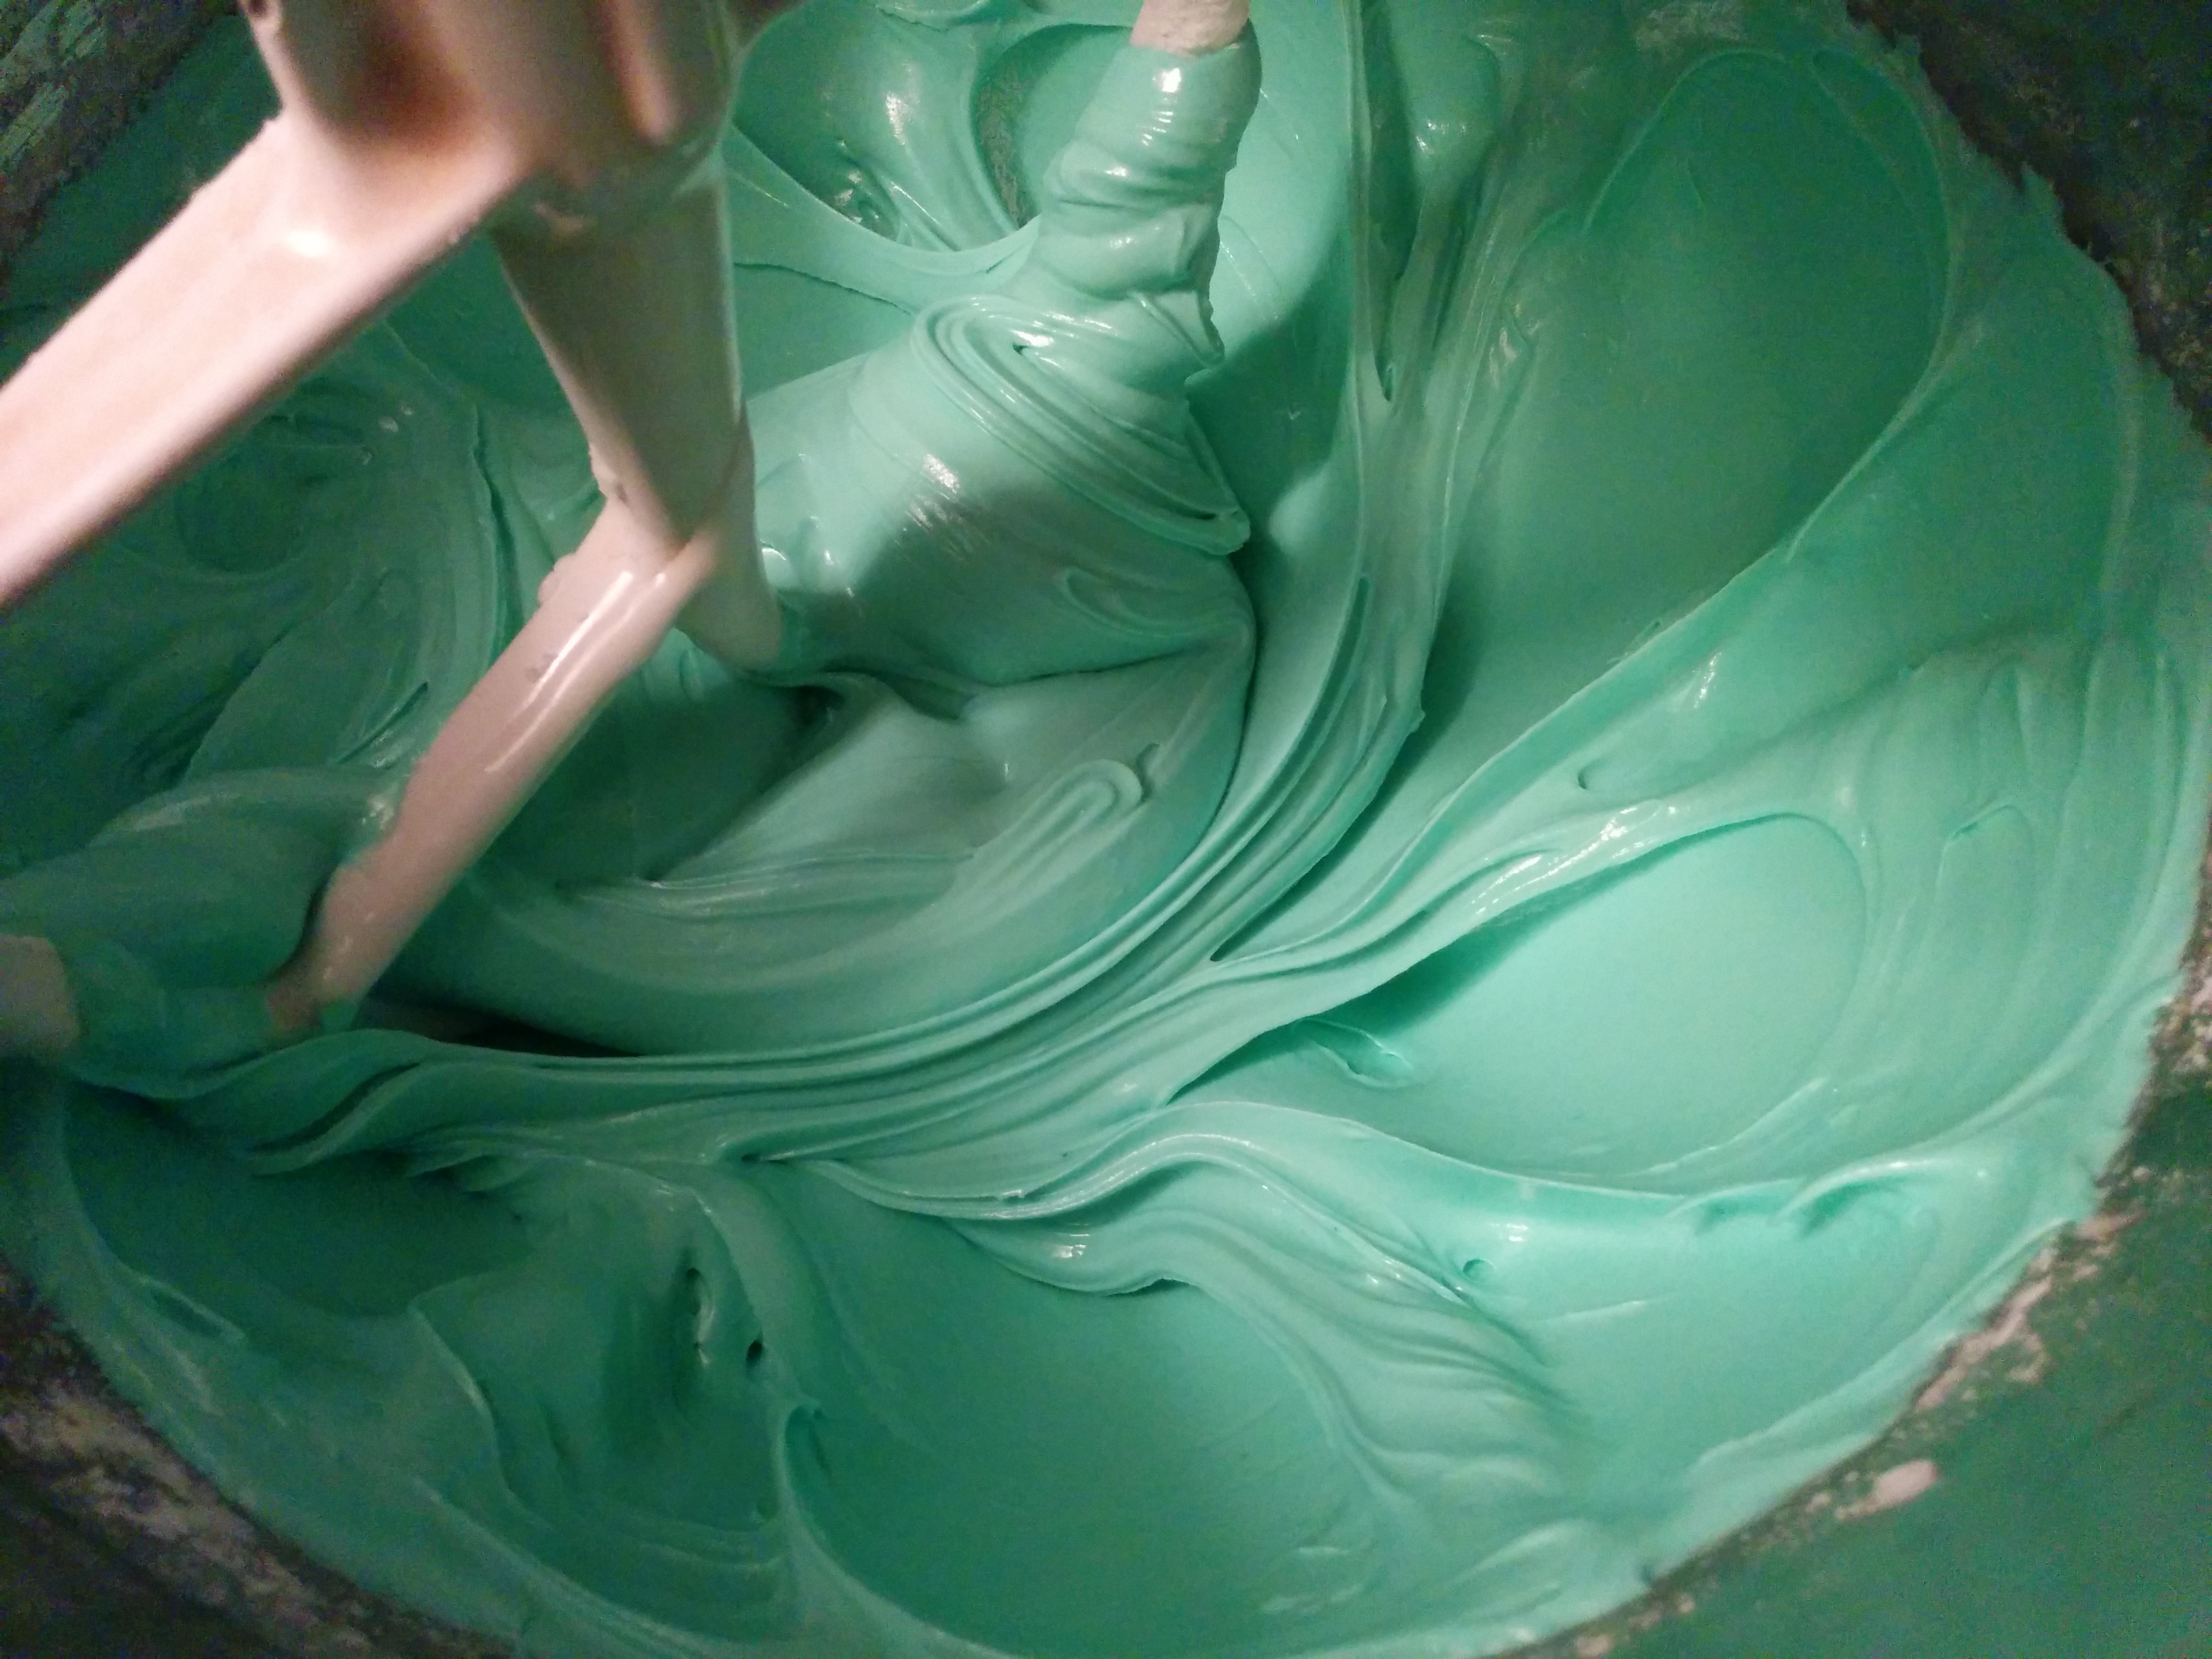
(2) Make your royal icing. A recipe for how to make royal icing can be found here.
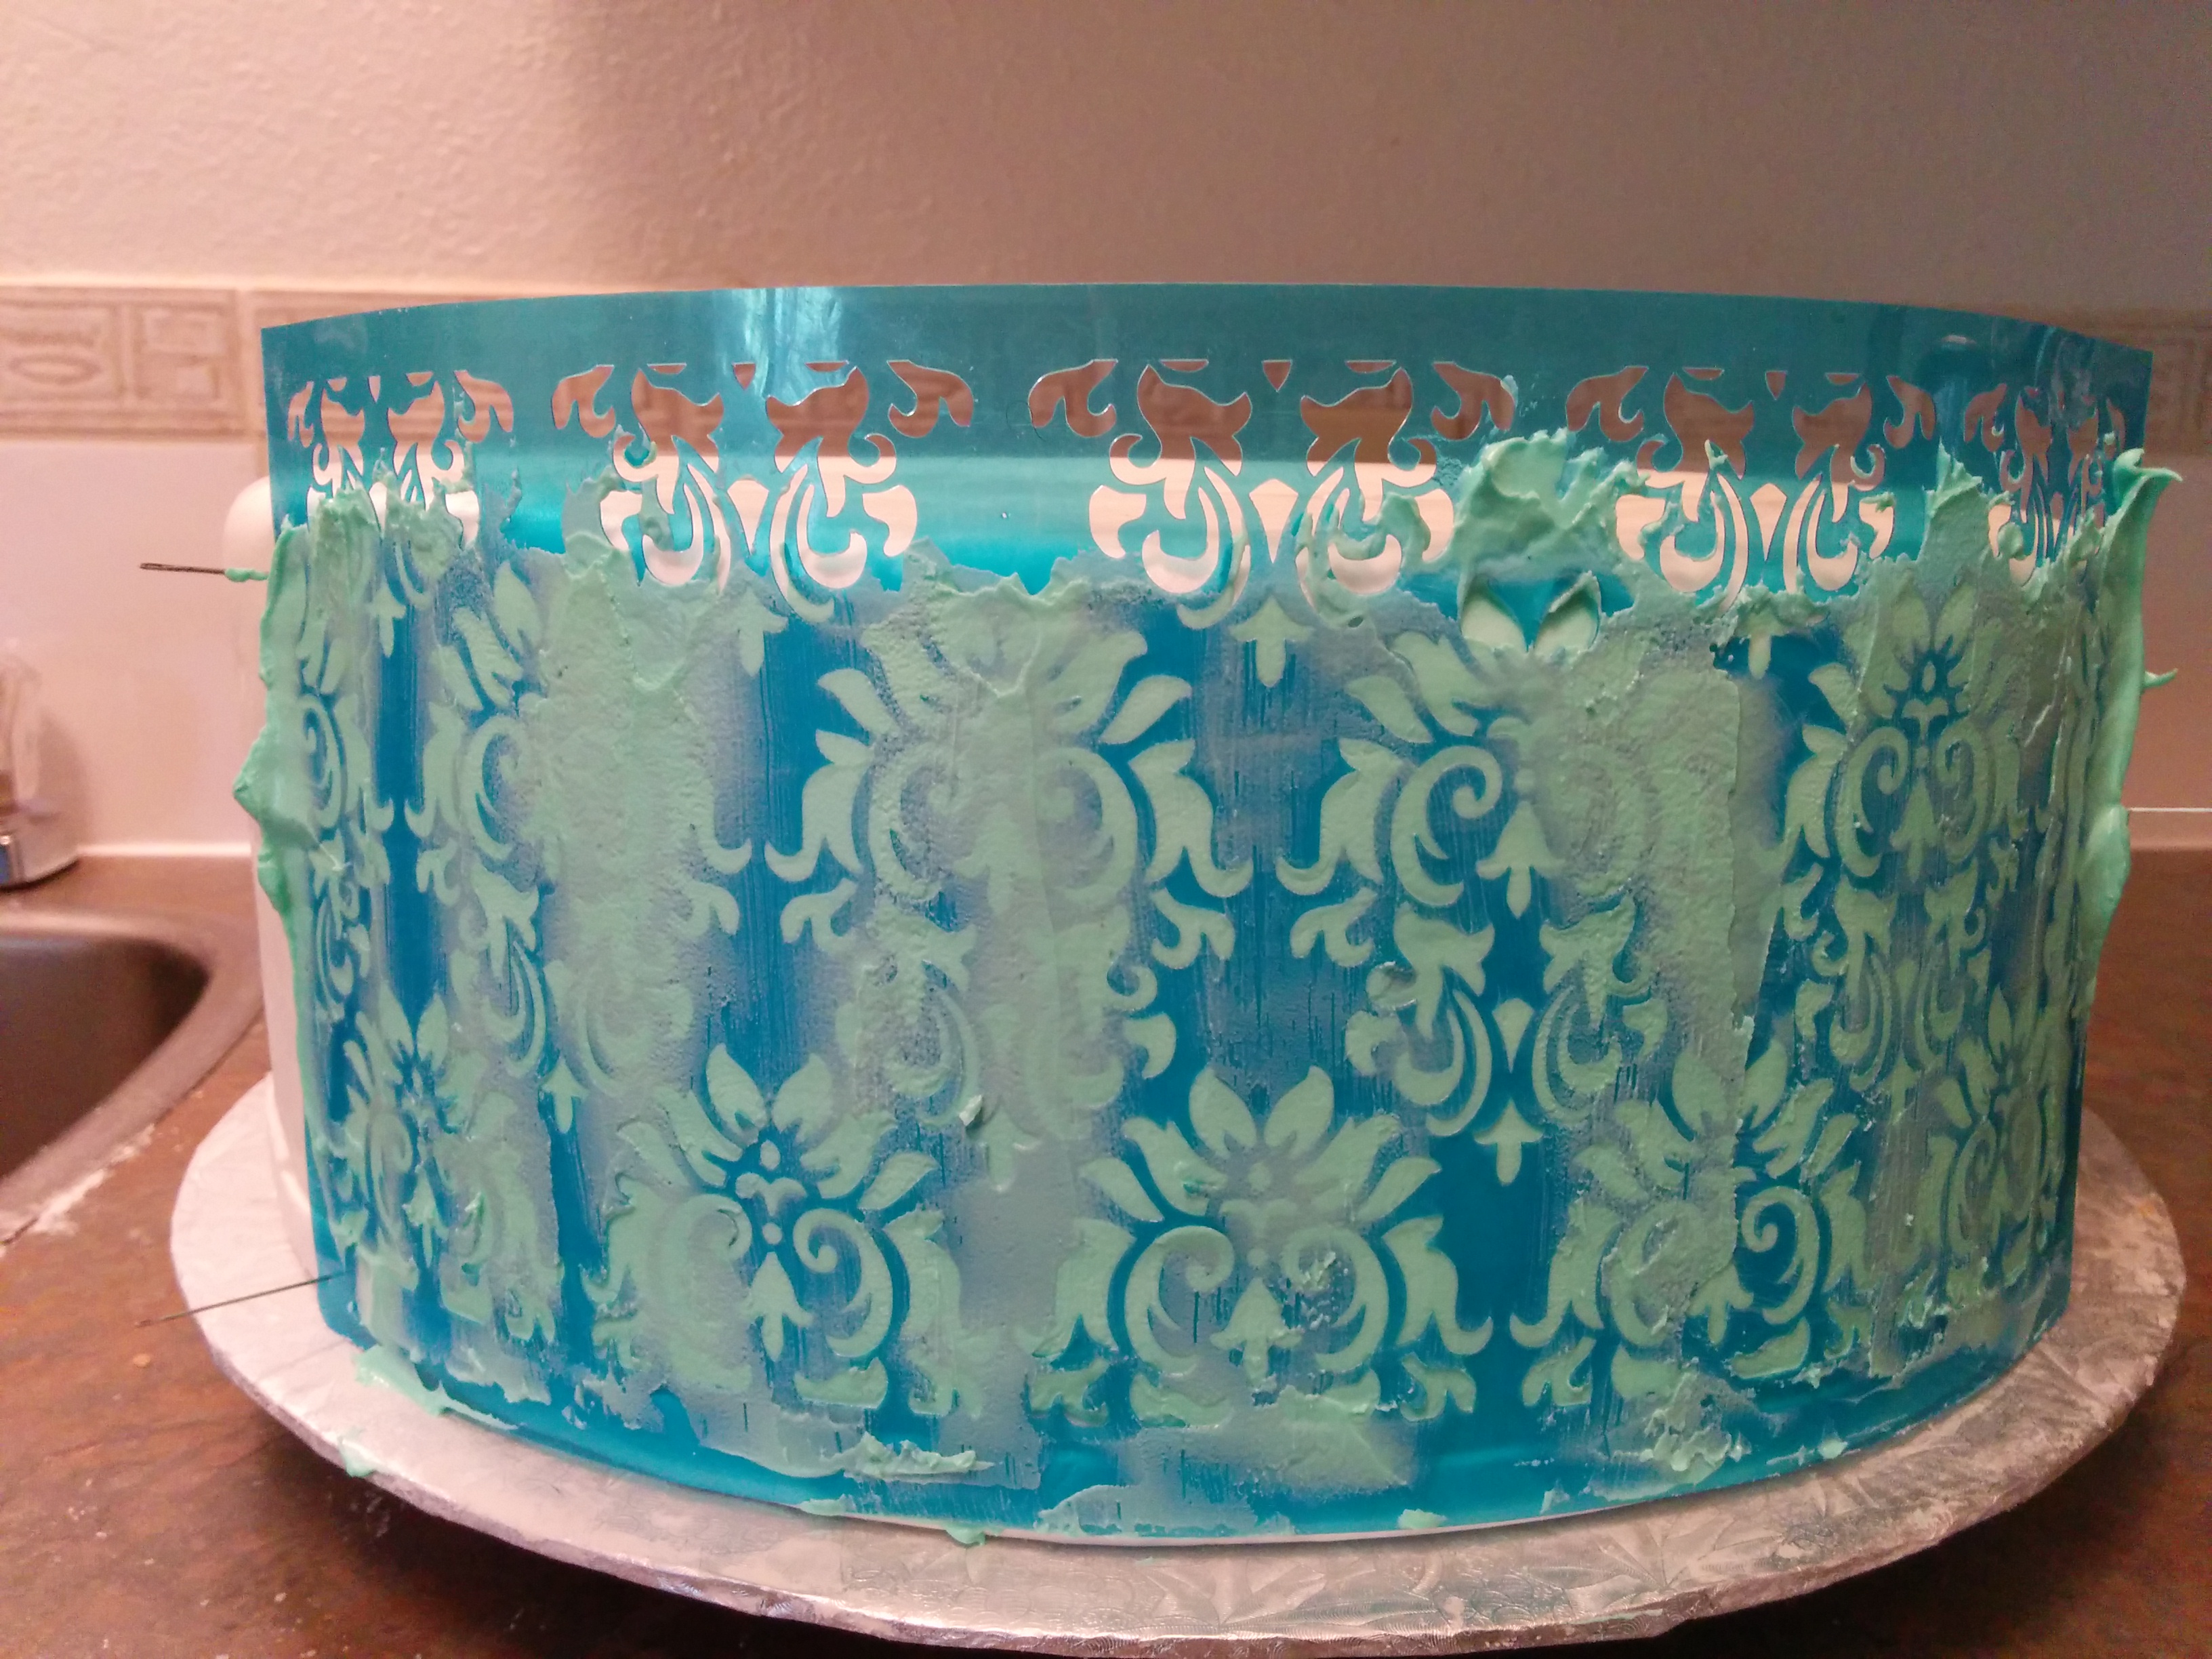
(3) Place your stencil around the sides of the cake. Make sure the stencil is resting on the cake and is leveled with the cake board. If there are gaps between the stencil and the cake, the royal icing would bleed into other parts of the cake and mess up with the pattern you are trying to create.
(4) Hold the stencil to the cake with a few pins or needles at the edges. Be careful not to press too hard on the cake while placing the pins. It might be useful to make holes on the stencil with the pins before placing it on the cake so as not to dent the cake when pricking with the pins.

(5) Using your icing spatula, apply a generous portion of royal icing over stencil, being sure to cover all the holes on the stencil.

(6) After covering the stencil with royal icing, use a cake smoother or the back of the icing spatula to remove excess royal icing from the stencil. Be careful not to remove too much of the icing from the portions touching the cake itself. You want about 2 mm of royal icing to remain on the cake so as to ensure that the pattern comes out well.
(7) Remove the pins from the stencil and peel it off the cake from one end to the other, carefully. Do not just lift the stencil off the cake, peel it off.
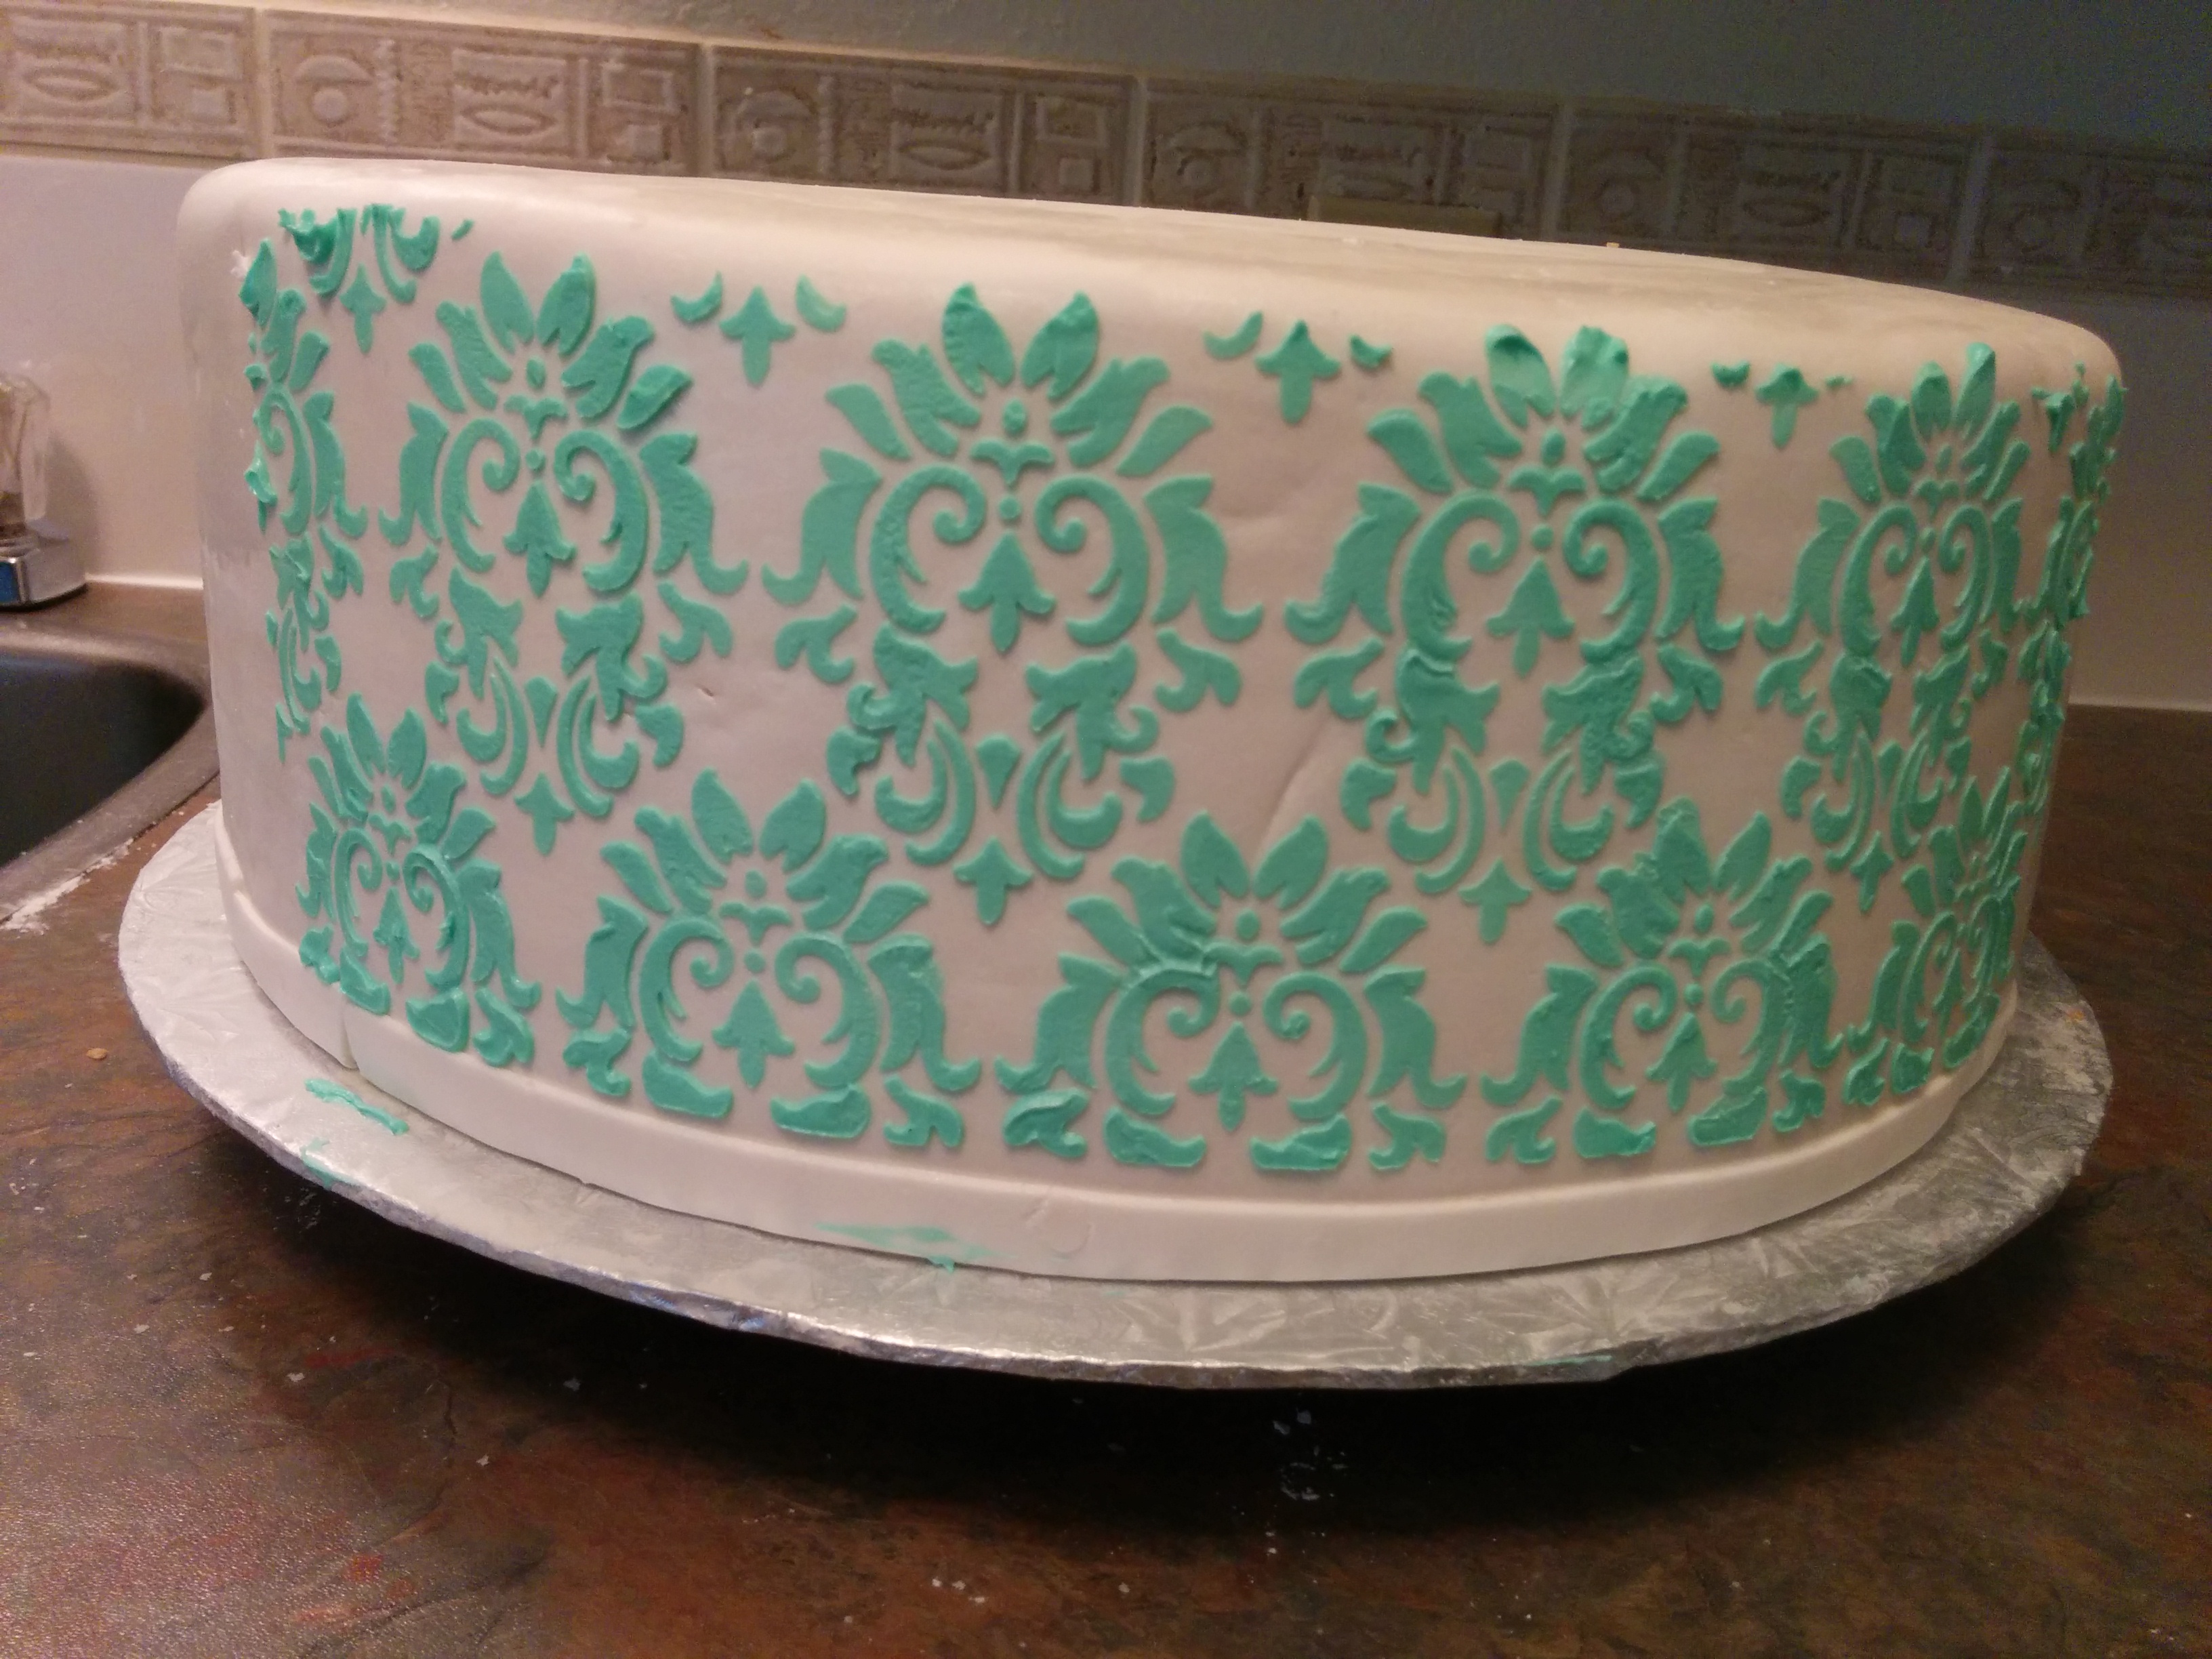
(8) Allow the royal icing to dry for about 5 minutes before using the stencil on the uncovered portion of the cake. You can place the cake in the fridge for a couple of minutes to speed up this process. Buttercream frosting would need more time to harden. Be sure to start from the point where the previous stencil pattern ended. Continue this process until all the cake sides have been covered.

IMPORTANT: Make sure you wash and dry your stencil after each use so the pattern lines can be sharp. To do this, rinse the stencil under running water and pat dry with paper towels. Be gentle when doing this so as not to damage stencil.
That is how to stencil a cake using royal icing.
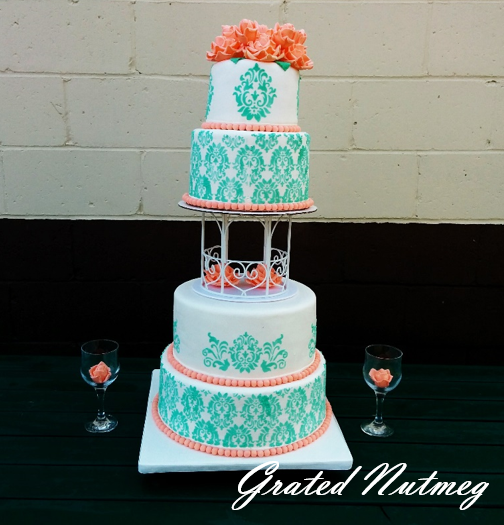
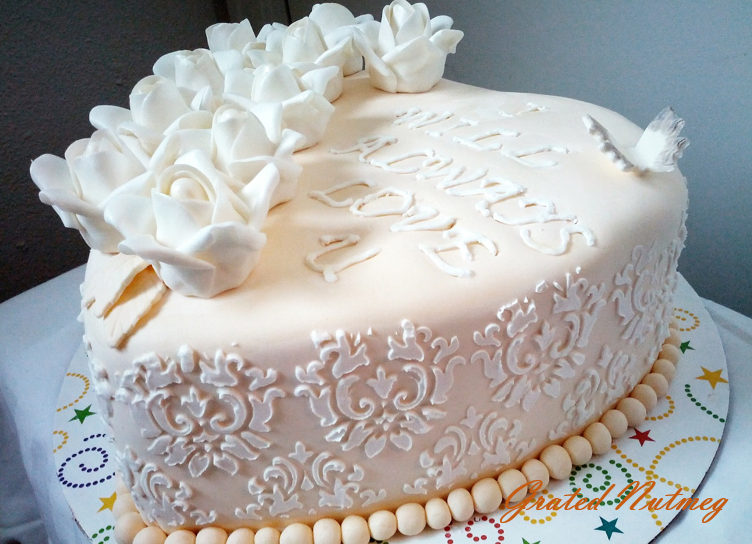
Tiered cake stenciled with Royal Icing
Terry Adido is passionate about showing people how easy it is to recreate restaurant quality meals in the comfort of their kitchens. With a style of cooking he refers to as Afro-European Fusion, his meals are influenced greatly by French and Italian Cuisine with a West African twist. If you love good food, you are in for the ride of your life.
Terry u r so so good
Thanks Nnenna
Amazing Terry,merci.been waiting for this.God bless you
You are welcome Rasheedah.
I love this mr terry .thanks
Thanks Kachi
I love this stenciling..plan to do it on a cake today combination gold(background) and red on the stencil.pray it work out well
All the best. Colors sound great.
Thanks for d good work. Pls where can I get stencil in Nigeria cos I want to decorate a cake with it.
Thanks. I do no know where it can be found in Nigeria.
I stubbled on this blog while trying to get a nice moi moi recipe with nutmeg.I am very glad I did.Keep up the good job.This suprb Blog Ȋ̝̊̅ڪ bookmarked 4ever…I would try a lot of ur recipes and send you pixs hopefully.Cheers !
Thanks Ruky. I’ll look forward to the pictures.
Terry,GOD bless u reeaaal good
Thanks Jumoke
Thanks adido, I’m grateful blessed are your works in the morning, night and noon. Amen.
Thanks Abiola
Terry, thank you for all these.
You are always ready to impact knowledge.
Making some difficult decorations simple for us beginners.
You are most welcome.
Thanks so much, u’re indeed a blessing to the bakers
You are welcome Adeola.
Stunning. Thanks for willing to share knowledge.
You are most welcome.
Nice one Terry! Will follow all the steps on my cakes and see how it goes. Thanks
I am certain it will turn out great.
Thanks for this amazing tutorial. So detailed. Meanwhile is it wise to add alcohol to a nigerian cake?
I am not sure I understand your question. Do you wanna rephrase it? Thanks.
Ps sir what exact measurements of ingredients is required to make royal icing to the right consistency for stenciling? i tried to stencil a cake yesterday and the surface was rough. thanks.
Hi Yinka. I do not have the exact measurement for stenciling. I just keep adding icing sugar to my royal icing recipe until I arrive at a thick paste. If it was not smooth, maybe you should try sifting your icing sugar before using it.
God bless u for me Oga Terry! Tnx I believe I’ll be able to stencil my cake dis time around. Tnx sir n God bless
You are welcome. It really is quite easy and straightforward.
Terry, ure blessed. Thanks so much! I’m inspired.
You are welcome Veronica.
thanks for this tutorial, u made it seem so easy. im a hobby baker, and i’ve always wanted to learn stenciling technique
I am very glad you found the tutorial useful.
Wow am carried away by it but Y cann’t i use liquid colors
They are not as concentrated. You will have to use a lot of them which in turn will thin out your icing.
In ur fondant u didnt mention cmc glucose and gelatin wouldnt it cut
Those are not needed in MMF.
Thanks Terry u just answered my stenciling question. God bless u
I’m glad I did. You are welcome Dorcas.
my mentor with a large heart. Always ready to share. May God bless u plenty ehn! Amen.
Thanks a lot.
Thanks alot Terry, for the knowledge you are impacting on people…
My pleasure Patience.
Thank you Terry! You are my go to “baking and decorating google”. So easy to follow
You are welcome Yemisi
HMMMMMMMMM……….TNX 4 THIS EASY TUTORIAL
You are welcome Glory.
You are too much.God bless you richly
Thanks Lisoma.
loved this thanks
You are welcome Nari.
Great tutorial !
Thanks Nicki.
Thanks for this,God bless you.
Thanks Ann.
Thank you always, Terry!
You are welcome.
Thanks so much for this tutorial. Will try this out.
You are welcome Sandra.
Hi Terry.Been a while!
Trust you’re doing just great.
We miss you on Facebook.
Stay blessed.
Thank you sir for always making creativity simple. 😊
Thank you very much for the good work.
Thank you.