
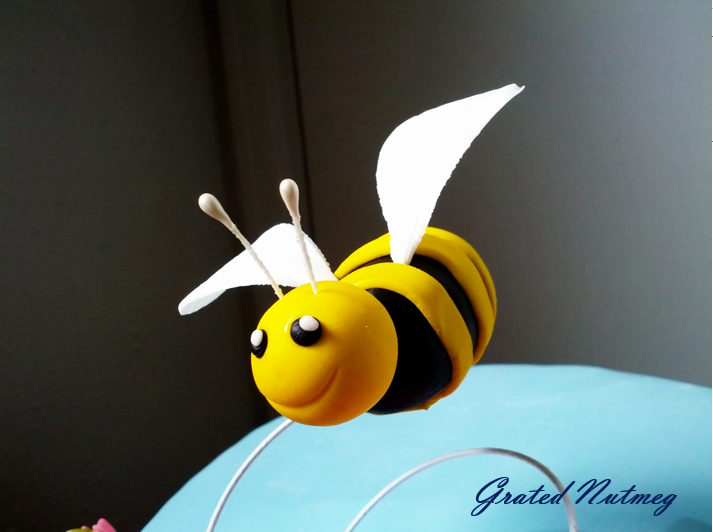
Fondant Bumblebee Tutorial

This is a tutorial on how to make a simple bumblebee topper with fondant. It is a great topper to use when you are making a cake with flowers.
TOOLS:
(1) A Rolling Pin
(2) Floral Wires
(3) Flower Stamens
(4) A Petal Dryer or Curved Surface
(5) Rose Petal Cutter
(6) Fondant or Pizza Cutter
INGREDIENTS:
PROCEDURE:
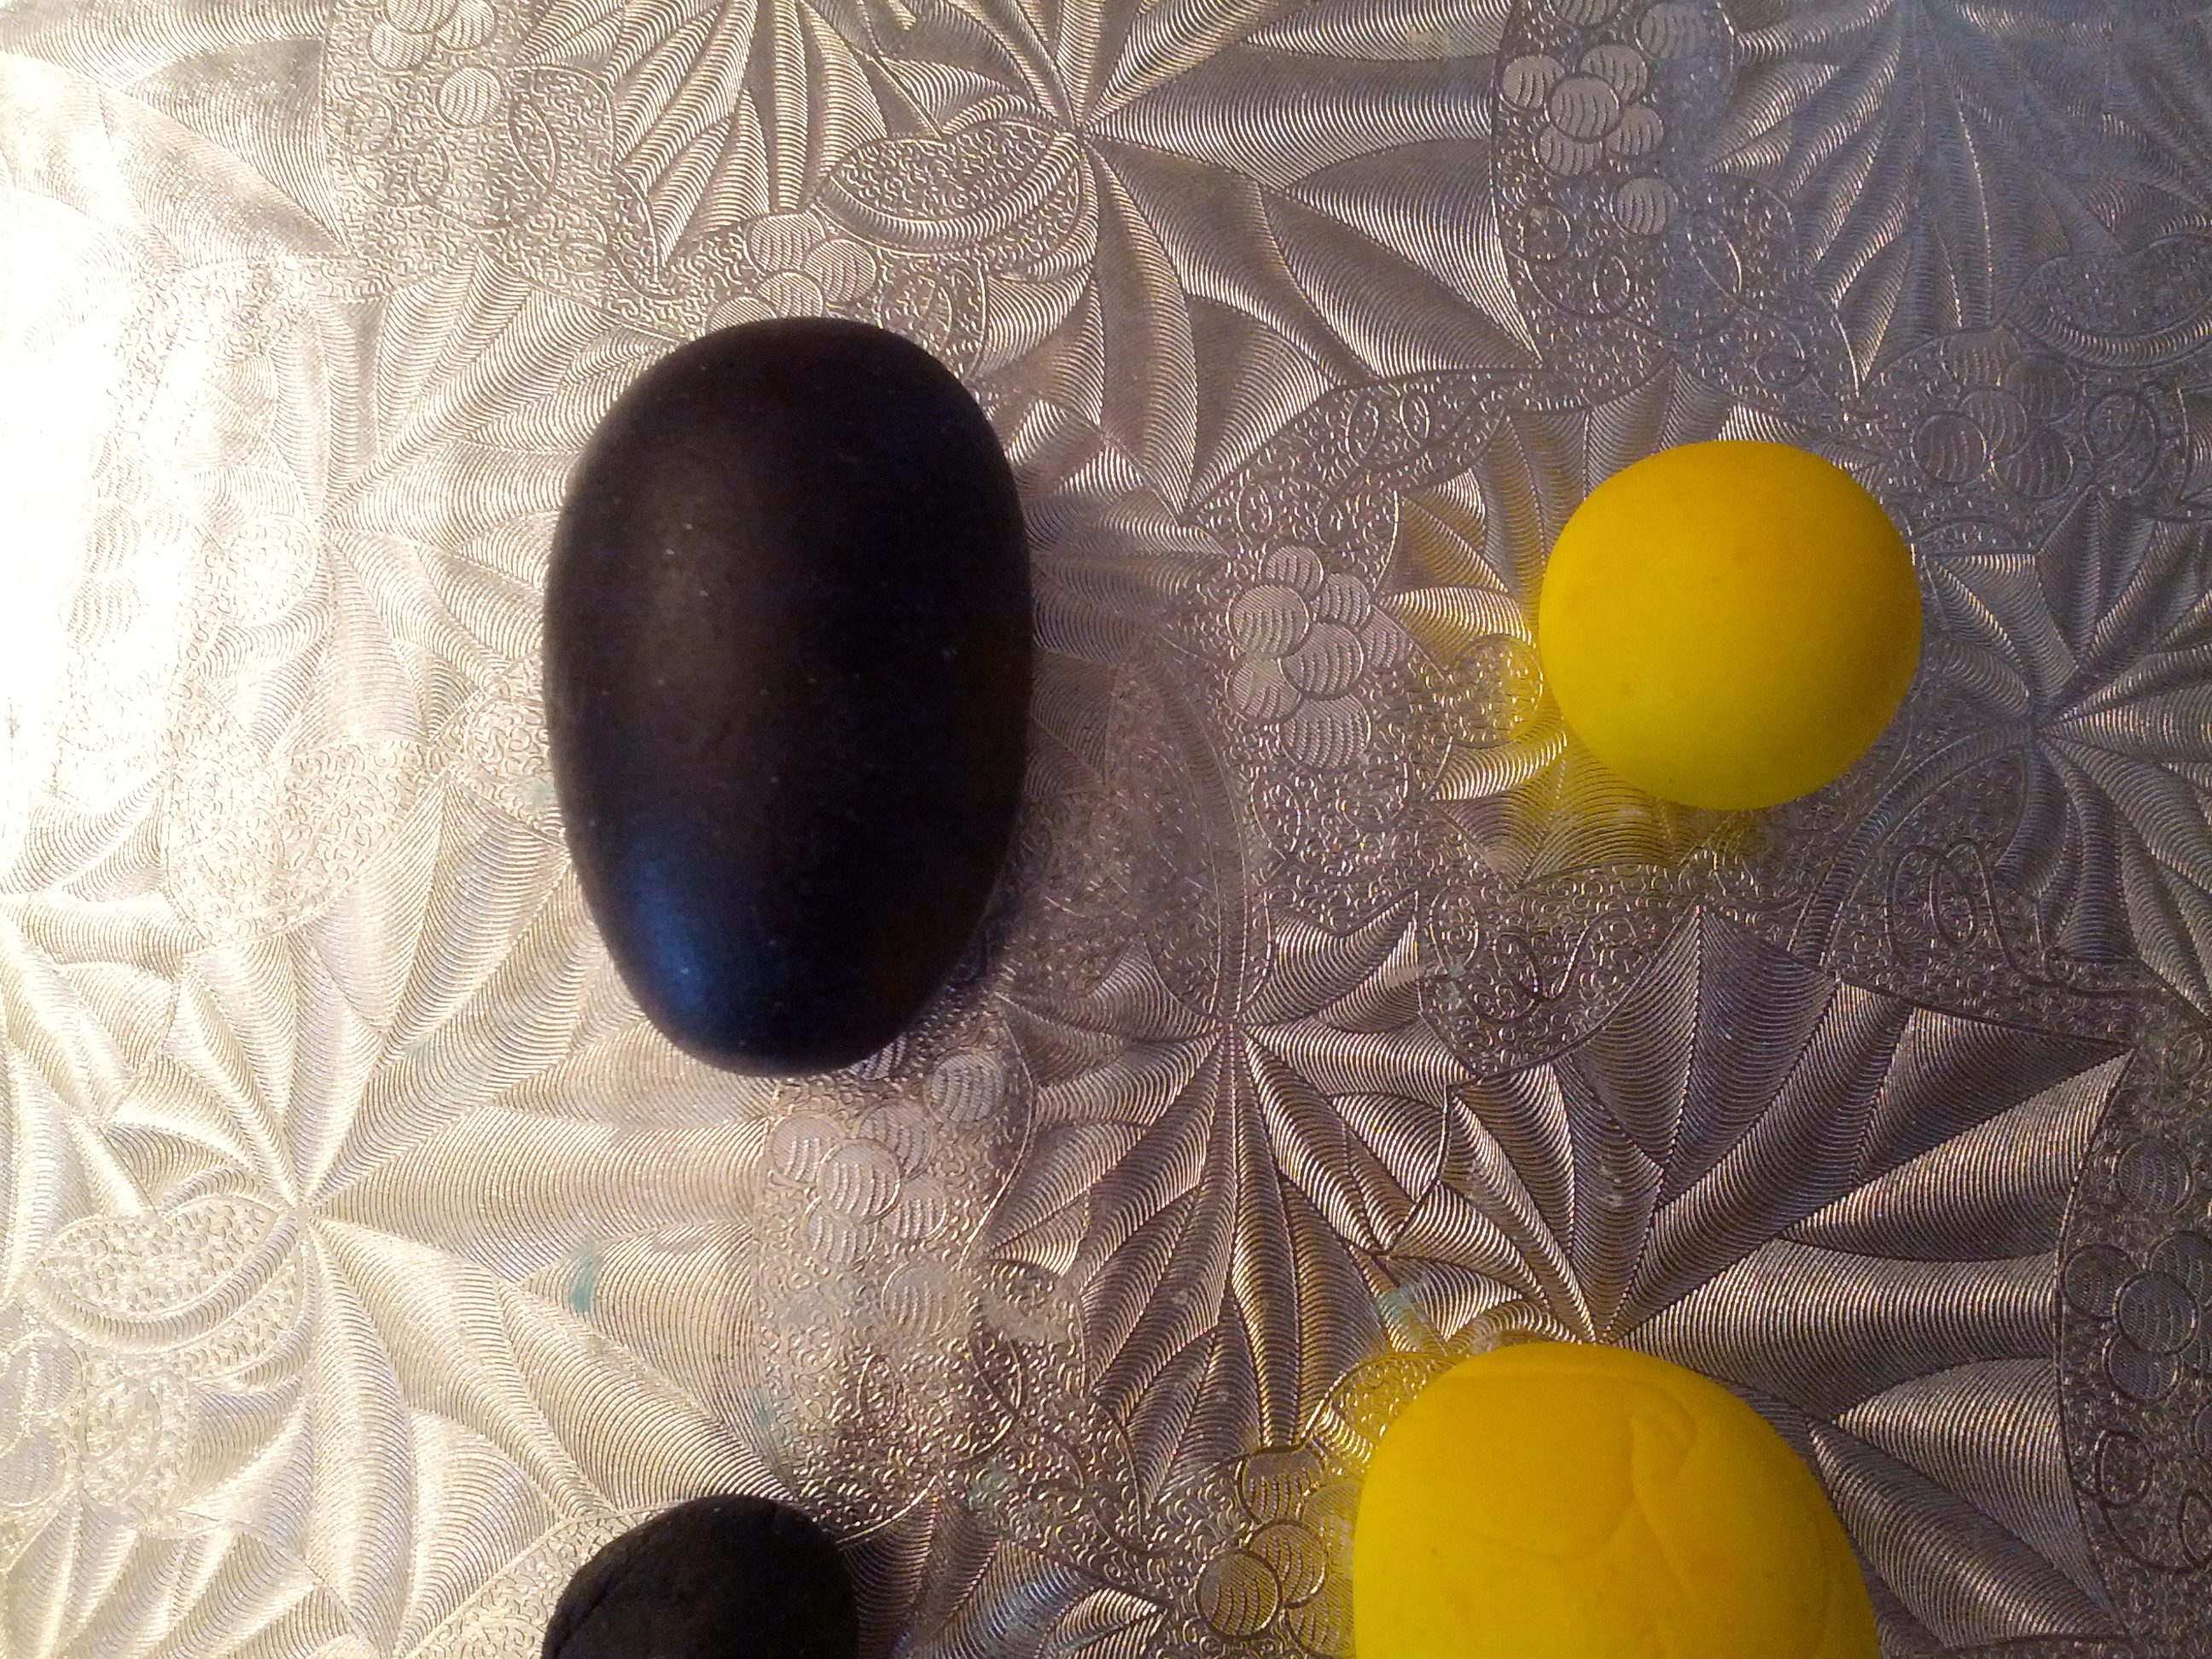
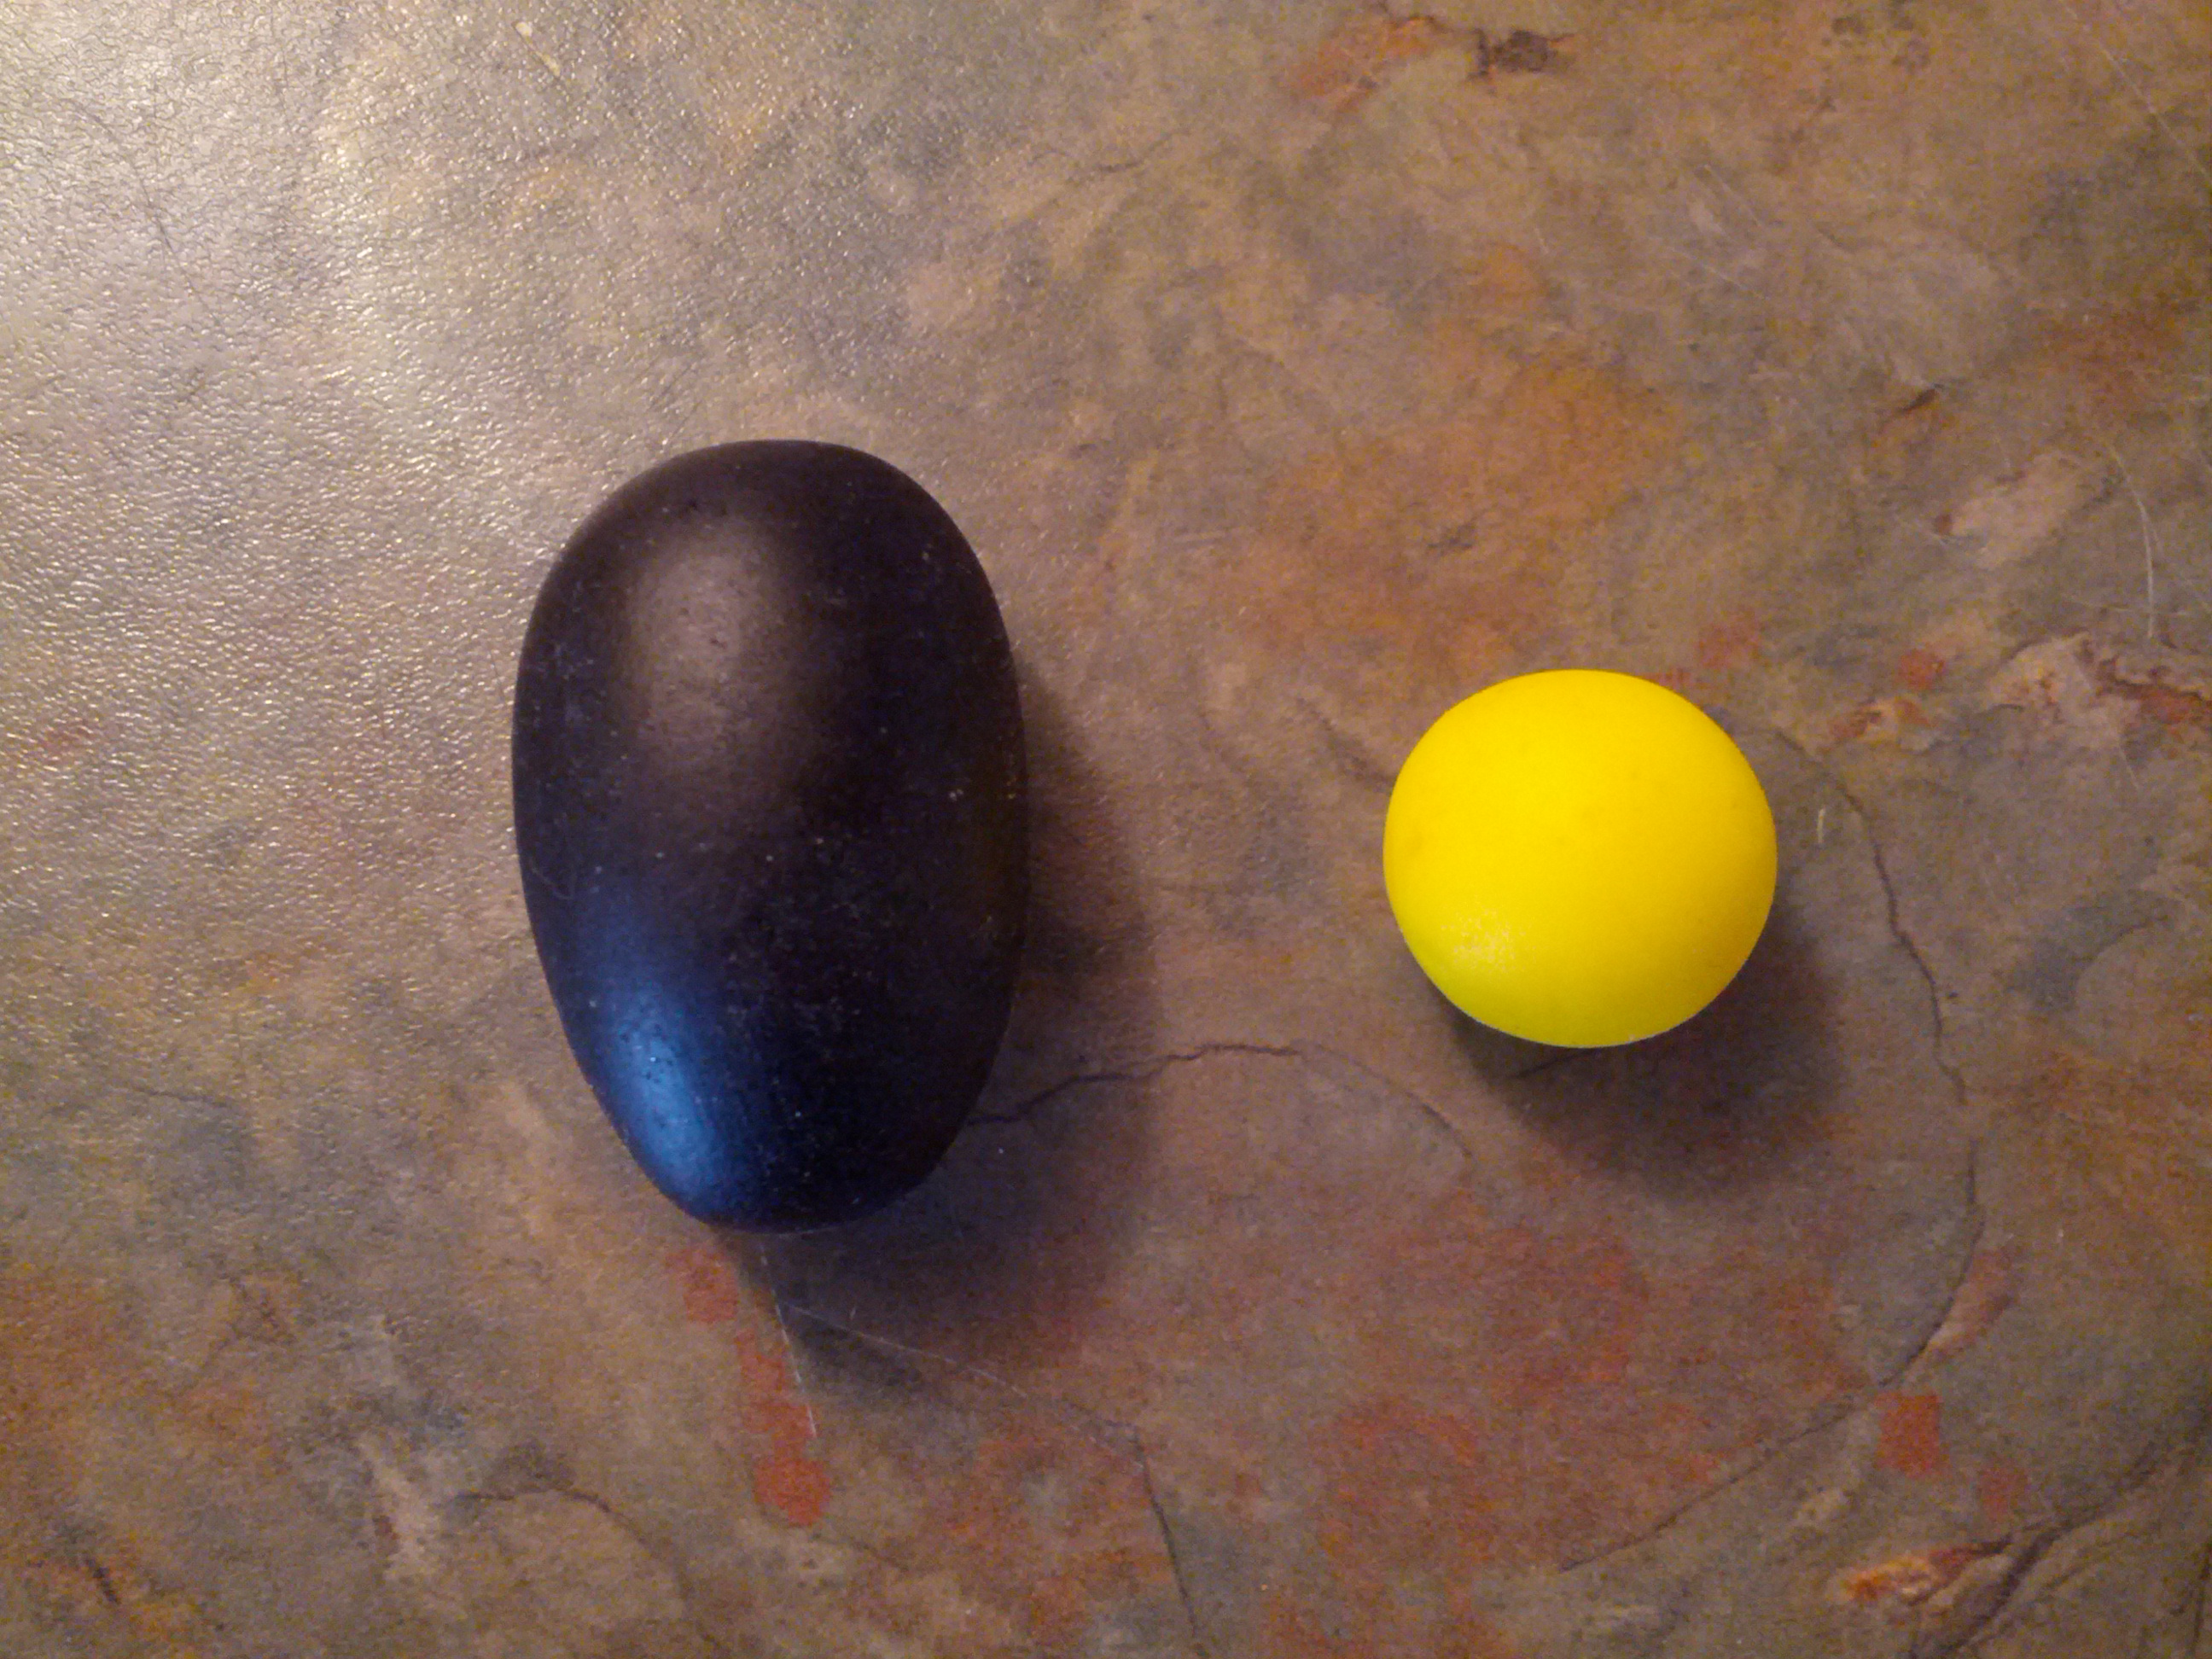
(1) Color your fondant black and yellow. You will need one large black piece of fondant for the body, a smaller yellow piece for the head and some extra fondant for the eyes and stripes on the body. You will also need some white fondant for the wings.
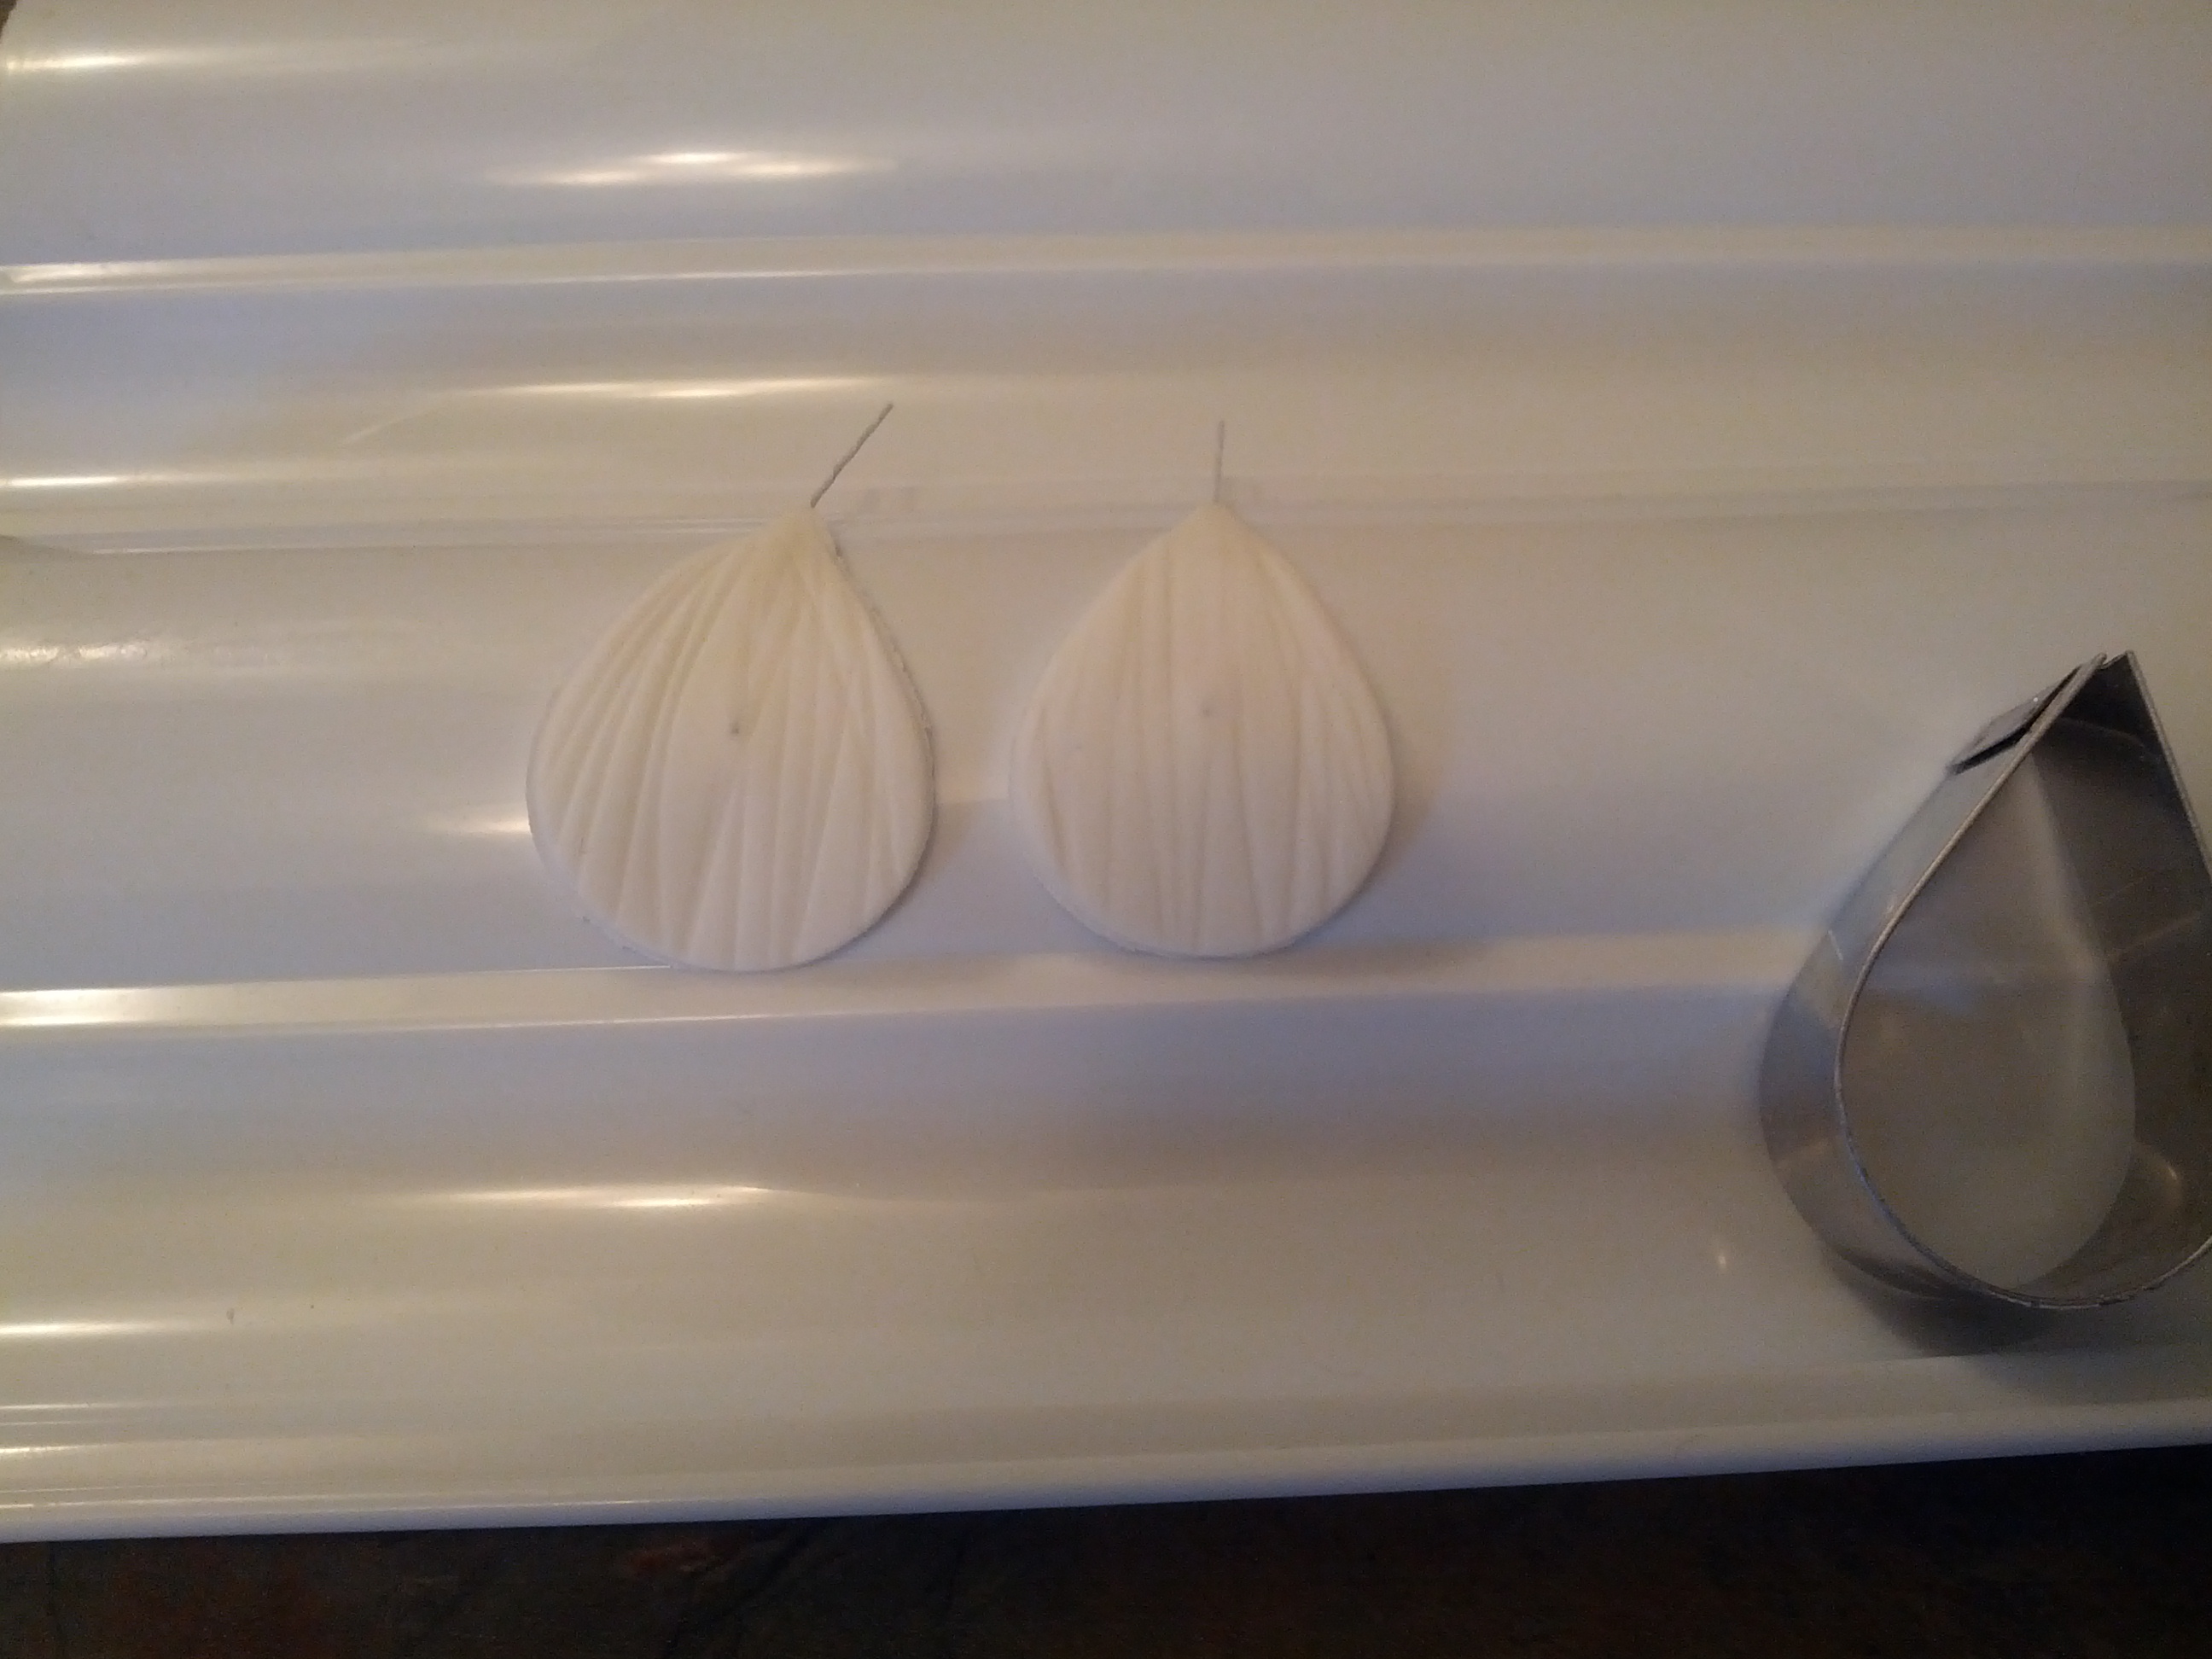
(2) Make the wings. Roll out some white fondant and make lines on it using a fondant cutter. The lines should be random. Use a petal cutter to cut out 2 wings. Cut 2 small pieces of floral wire and stick onto the base of each wing at the back. Some floral wire should stick out at the bottom. This will be used to insert the wings into the body of the bee much later. Roll out some more white fondant and cover the floral wires at the back. This will serve as reinforcement. Curve the floral tape to curve wings and allow to dry on flower dryer.
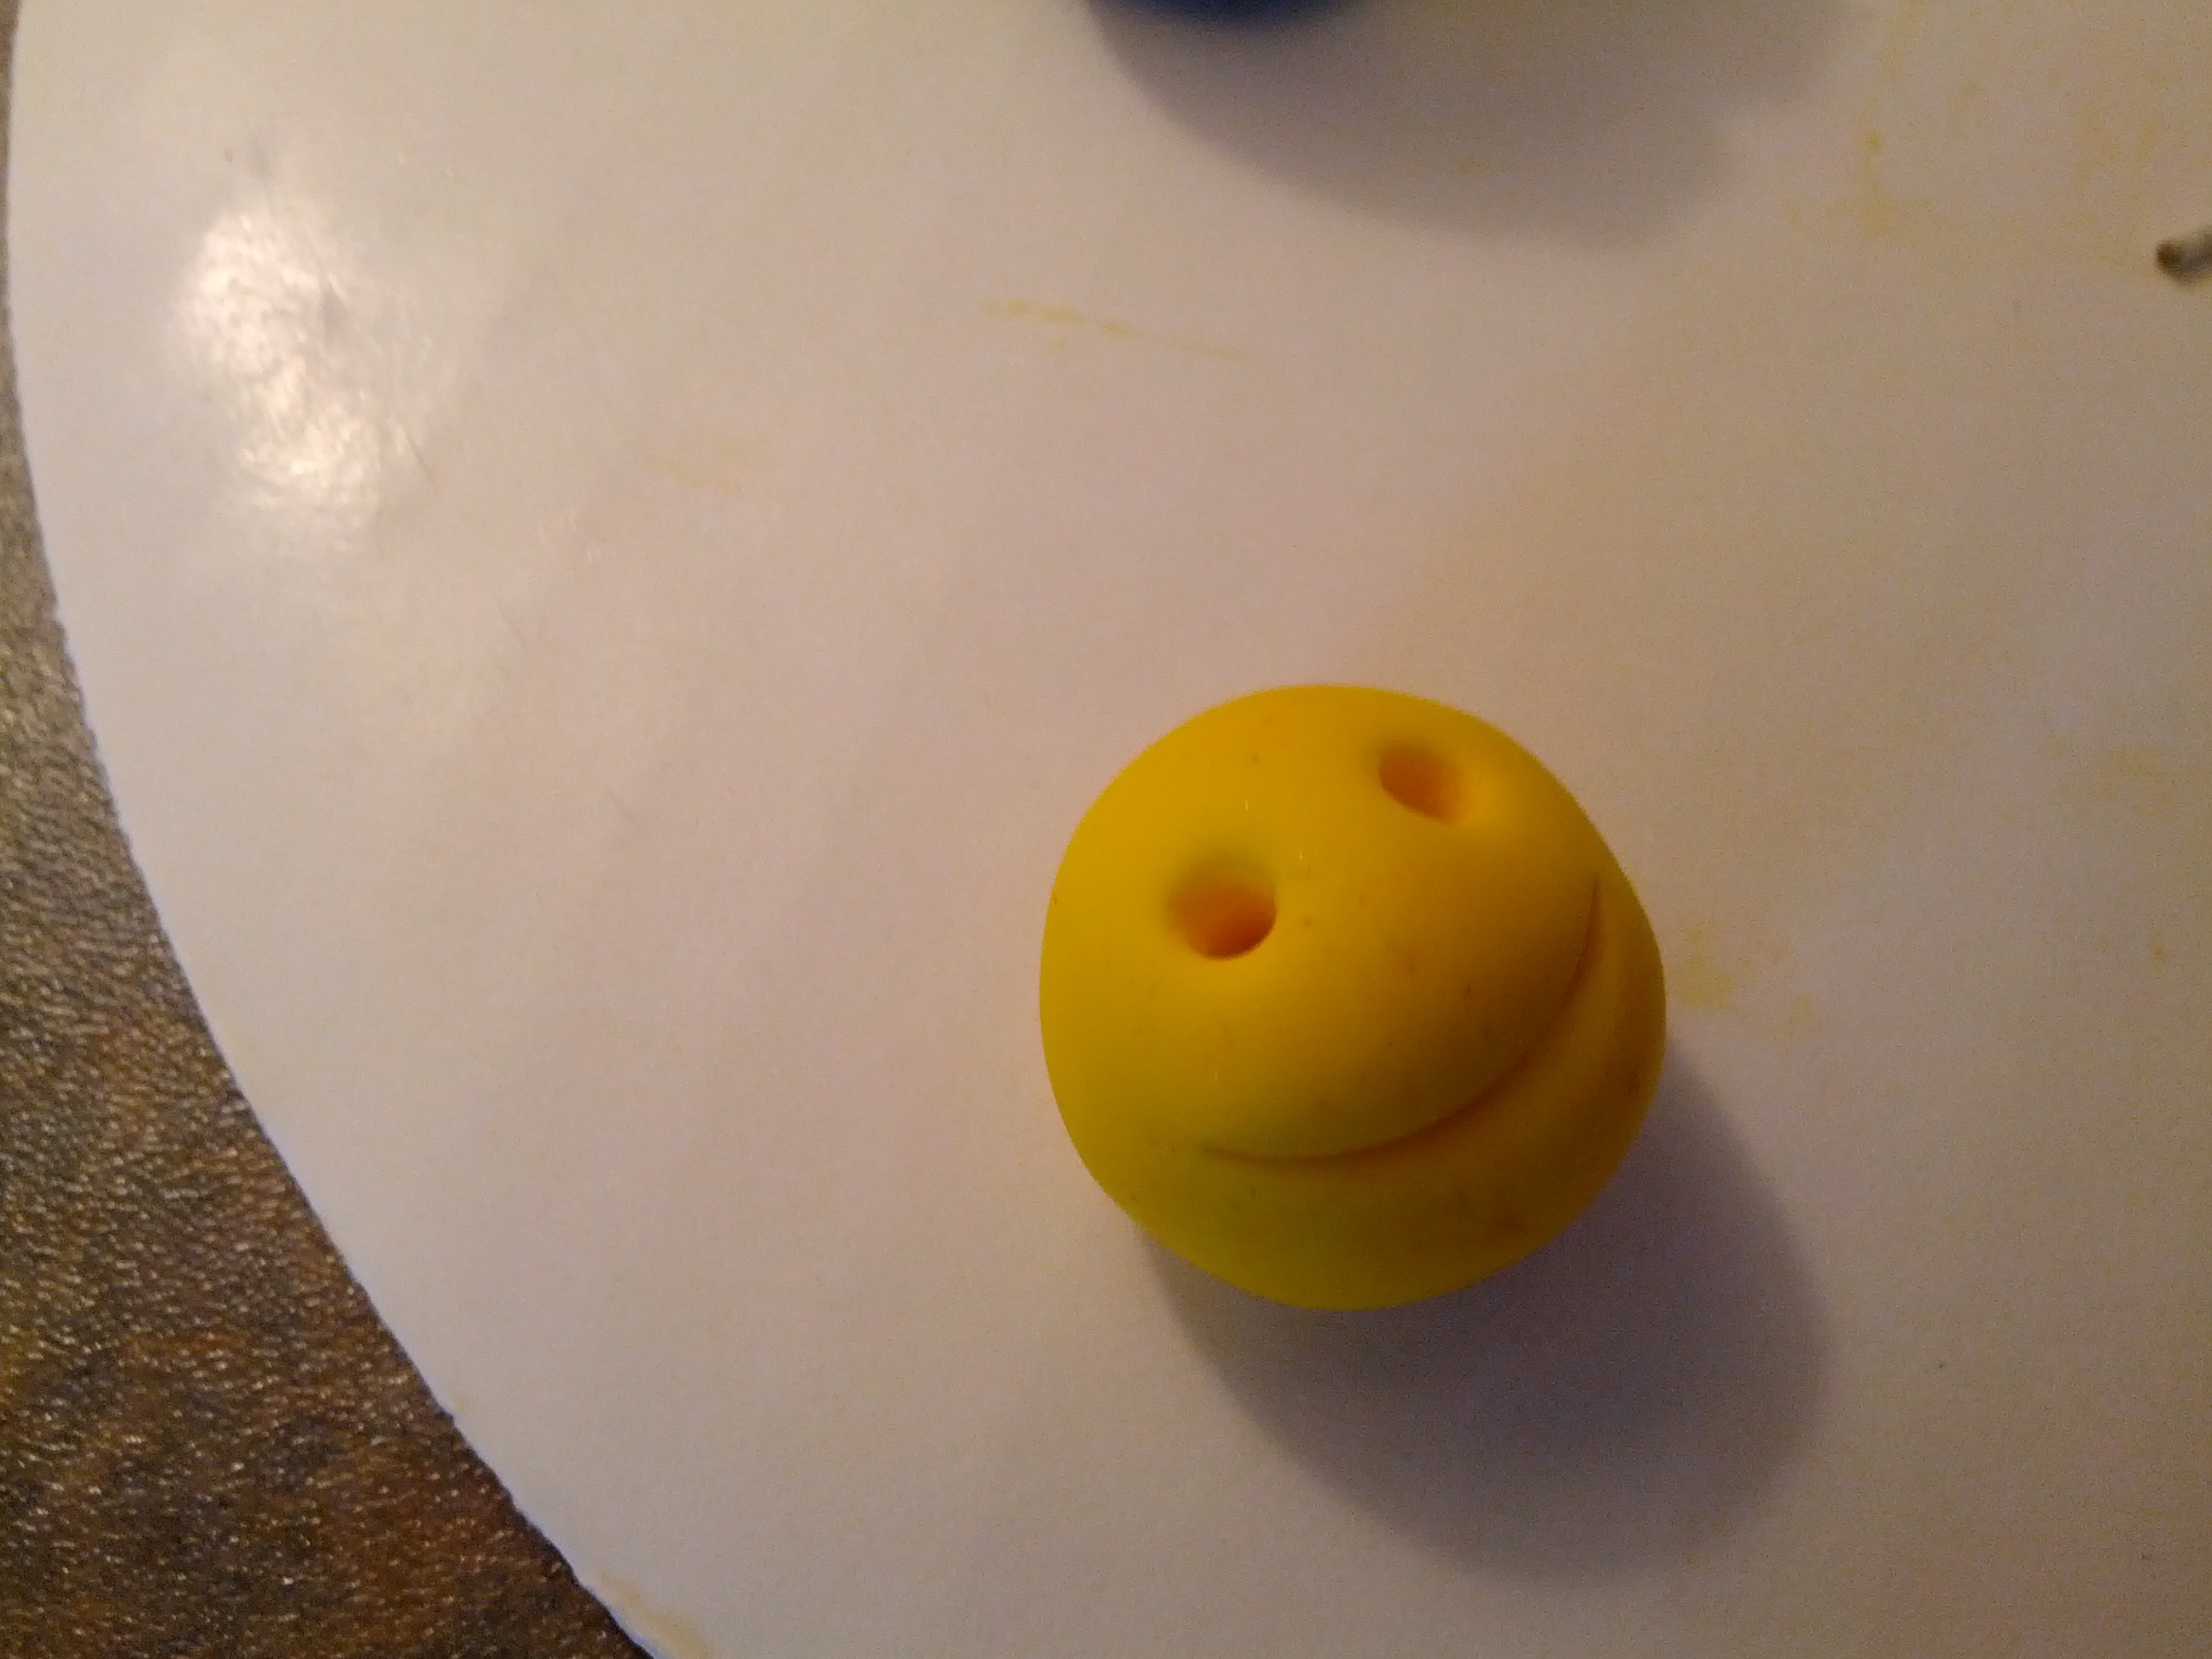
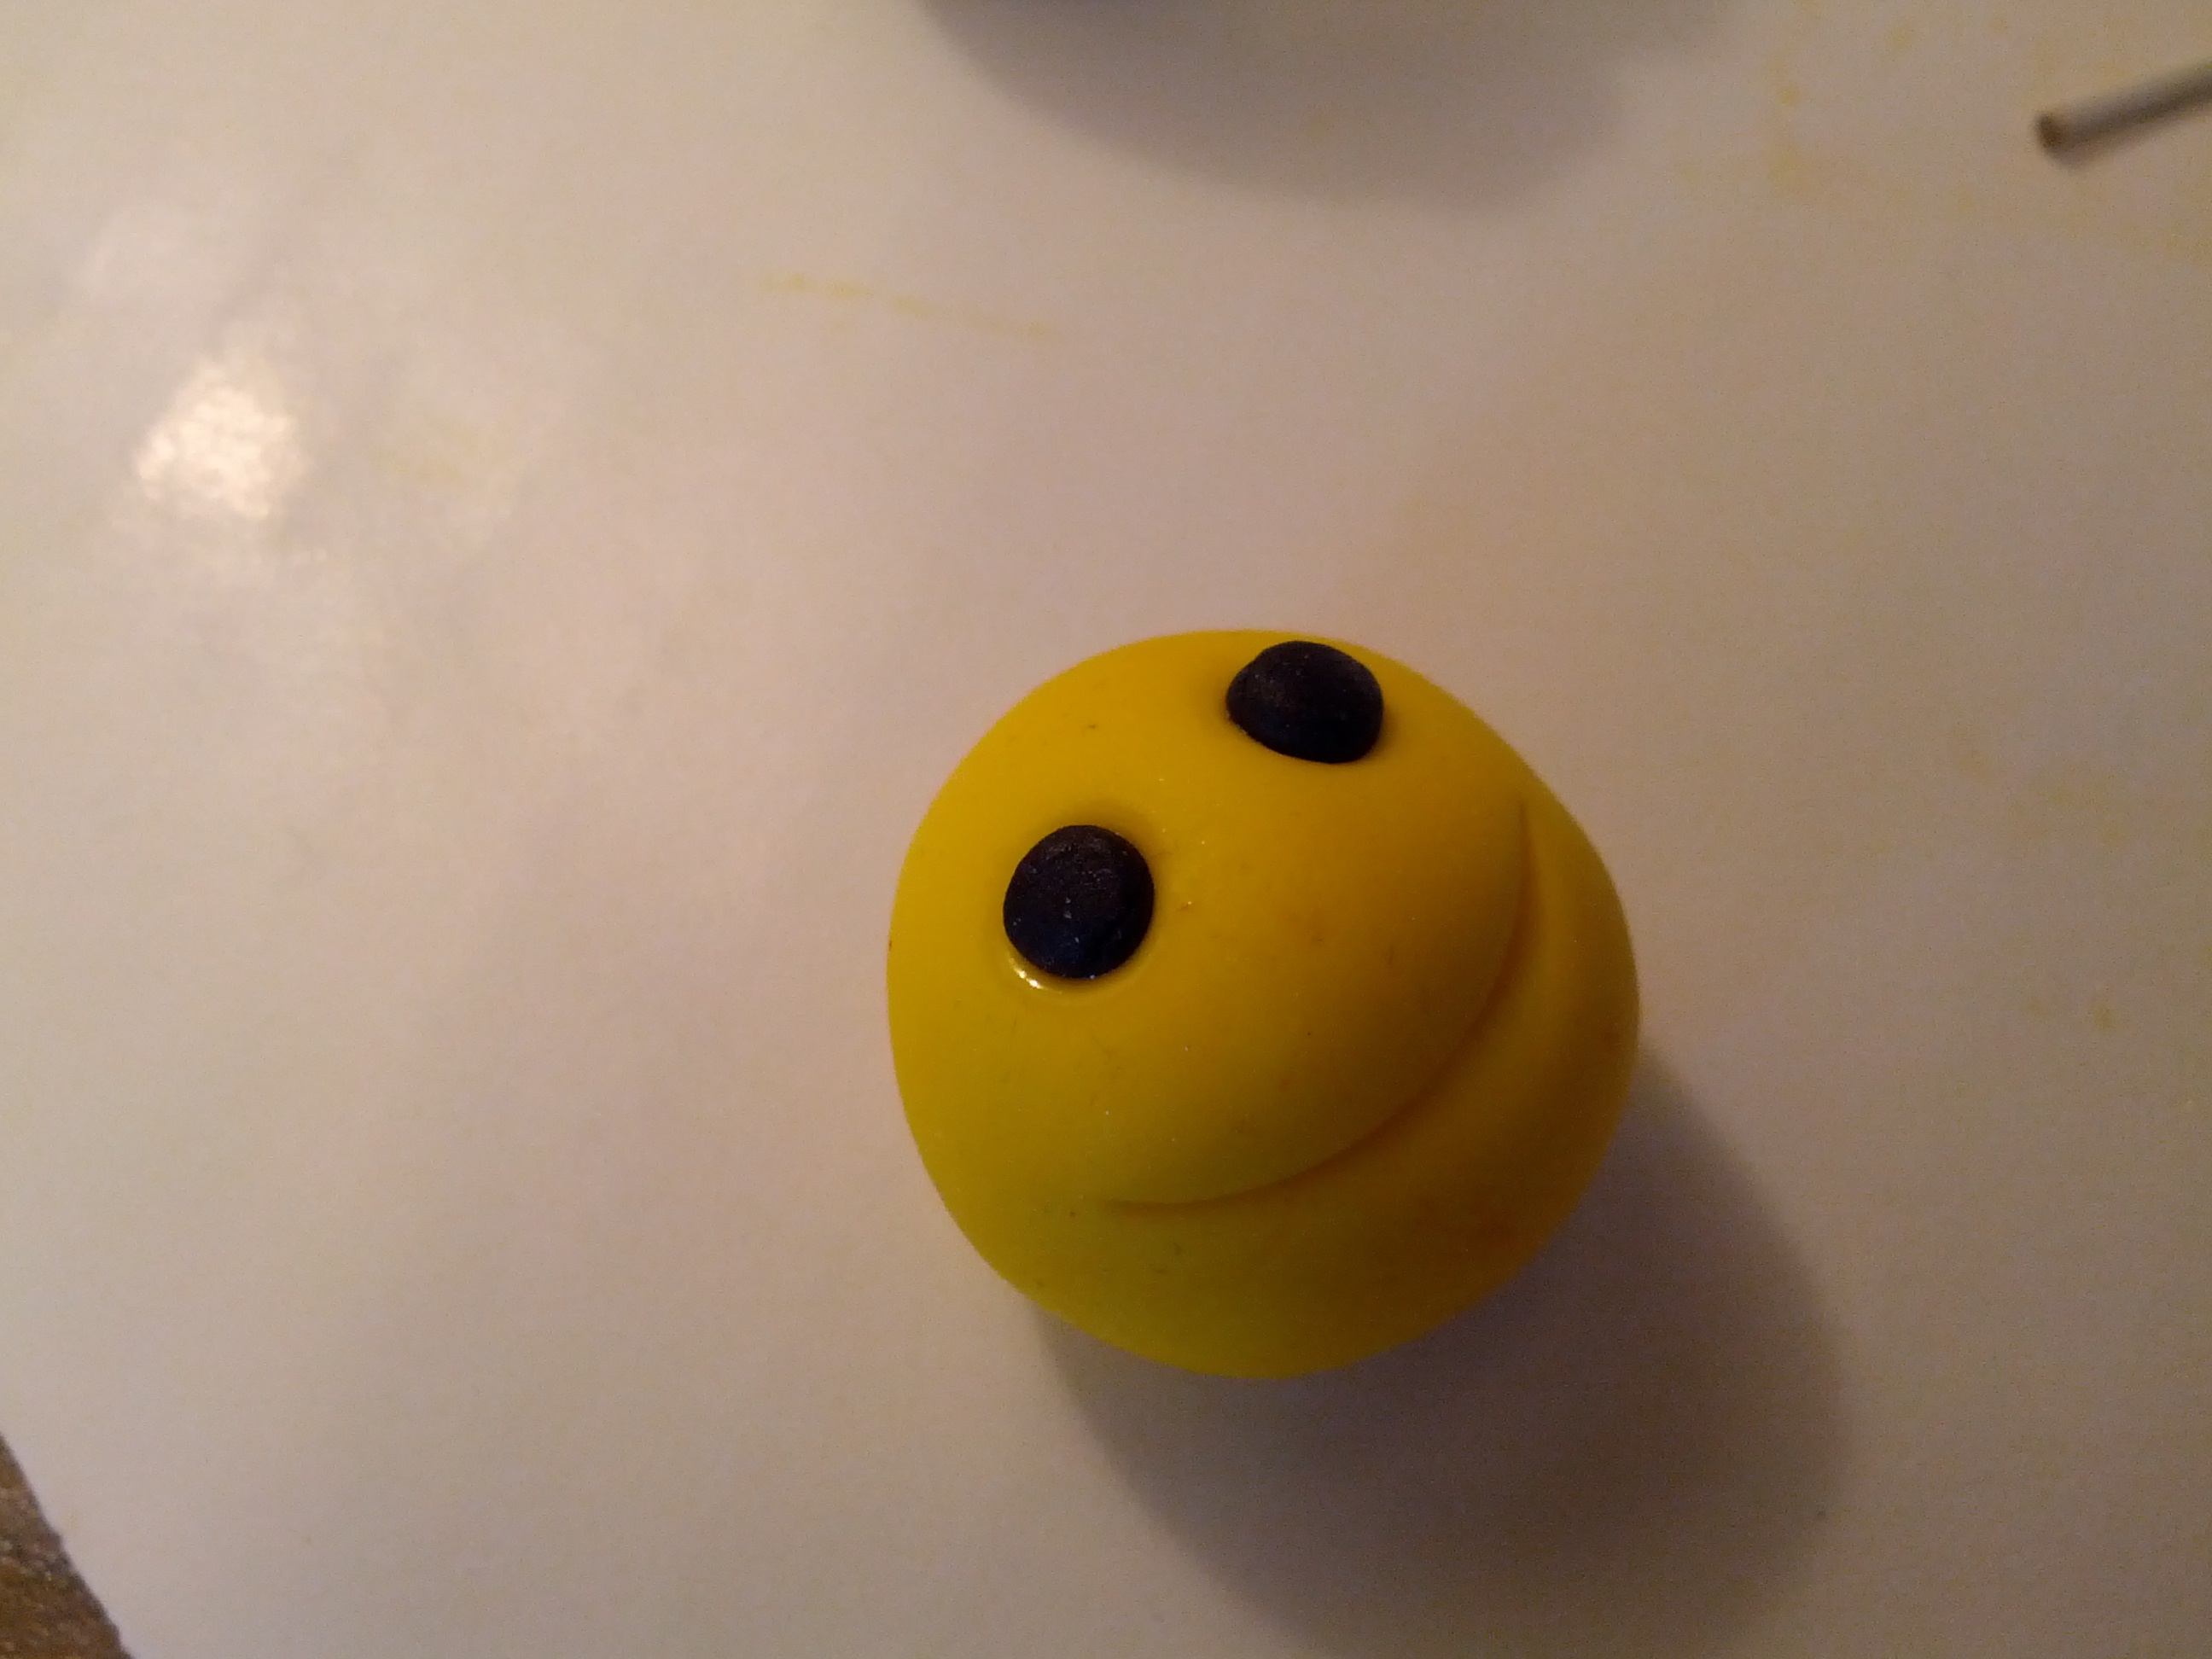
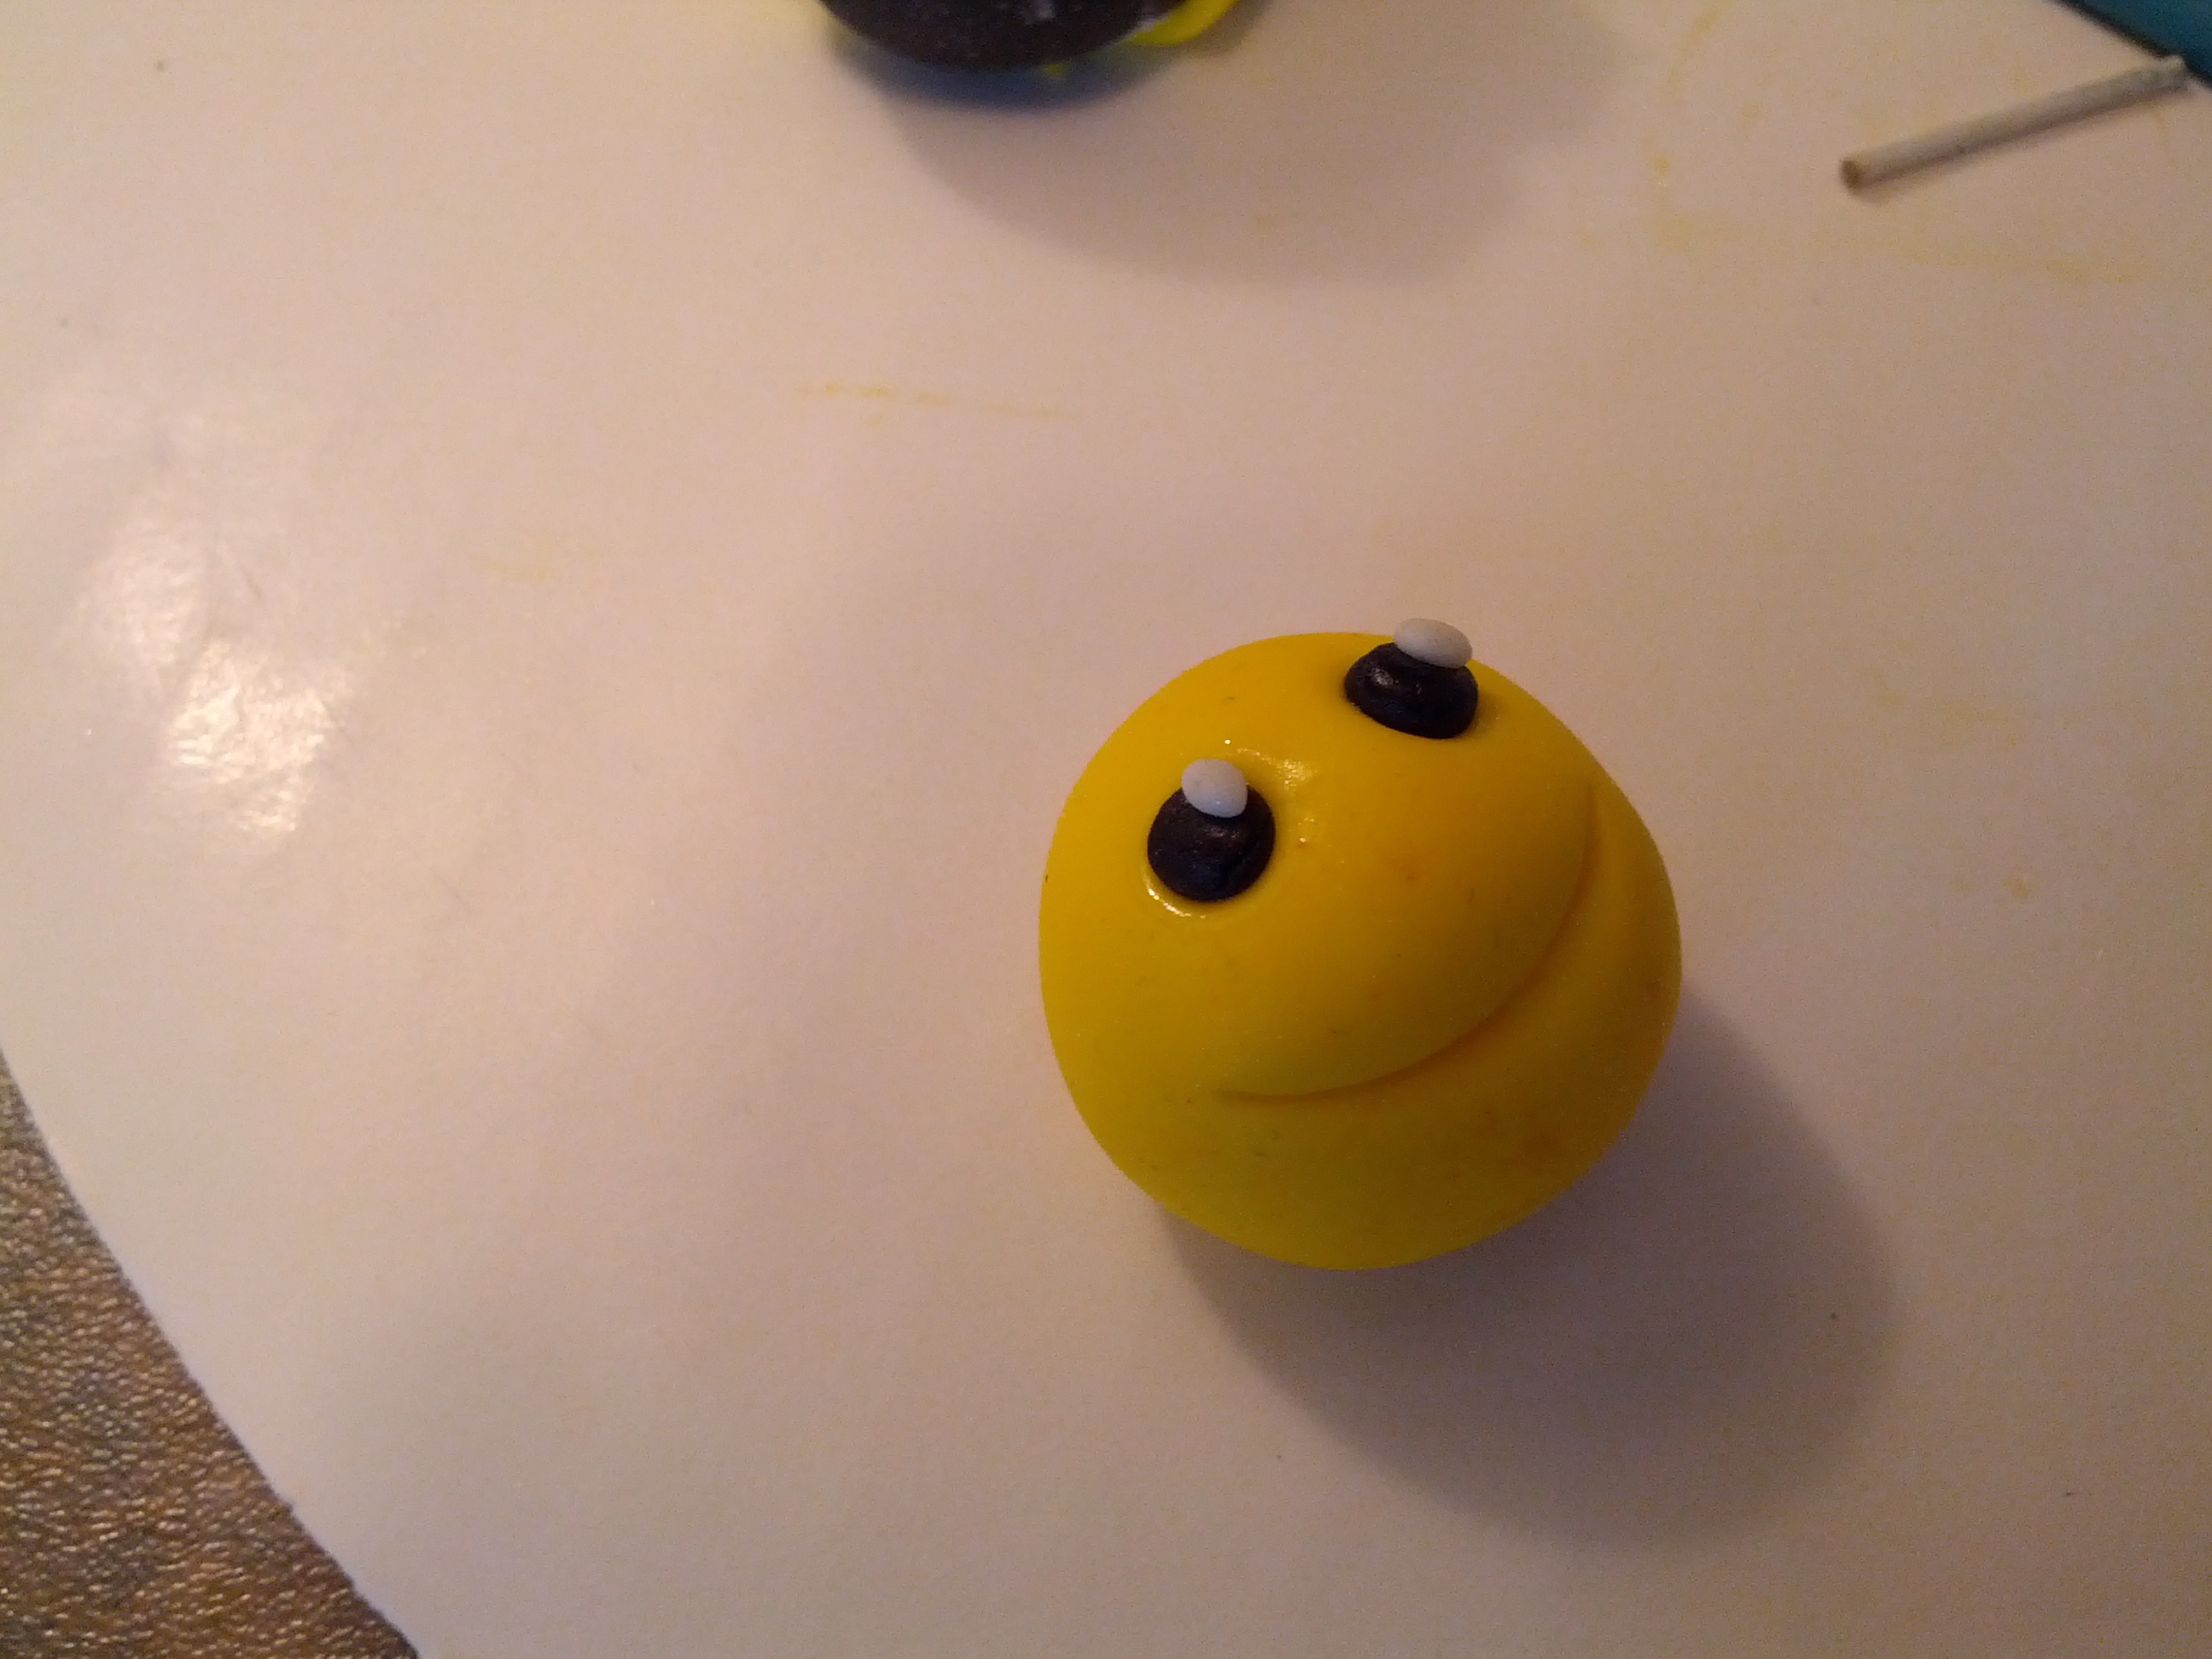
(3) Roll the yellow fondant into a smooth ball. Use the base of a paint brush to poke holes for the eyes. Also use a round cutter or the base of an icing tip to create the mouth. Next, roll some black fondant and insert into the eye sockets. Roll out two smaller white fondant pieces and place on the eyes to give them more life. Finally attach 2 flower stamens with round tip on the head to serve as the antennae.
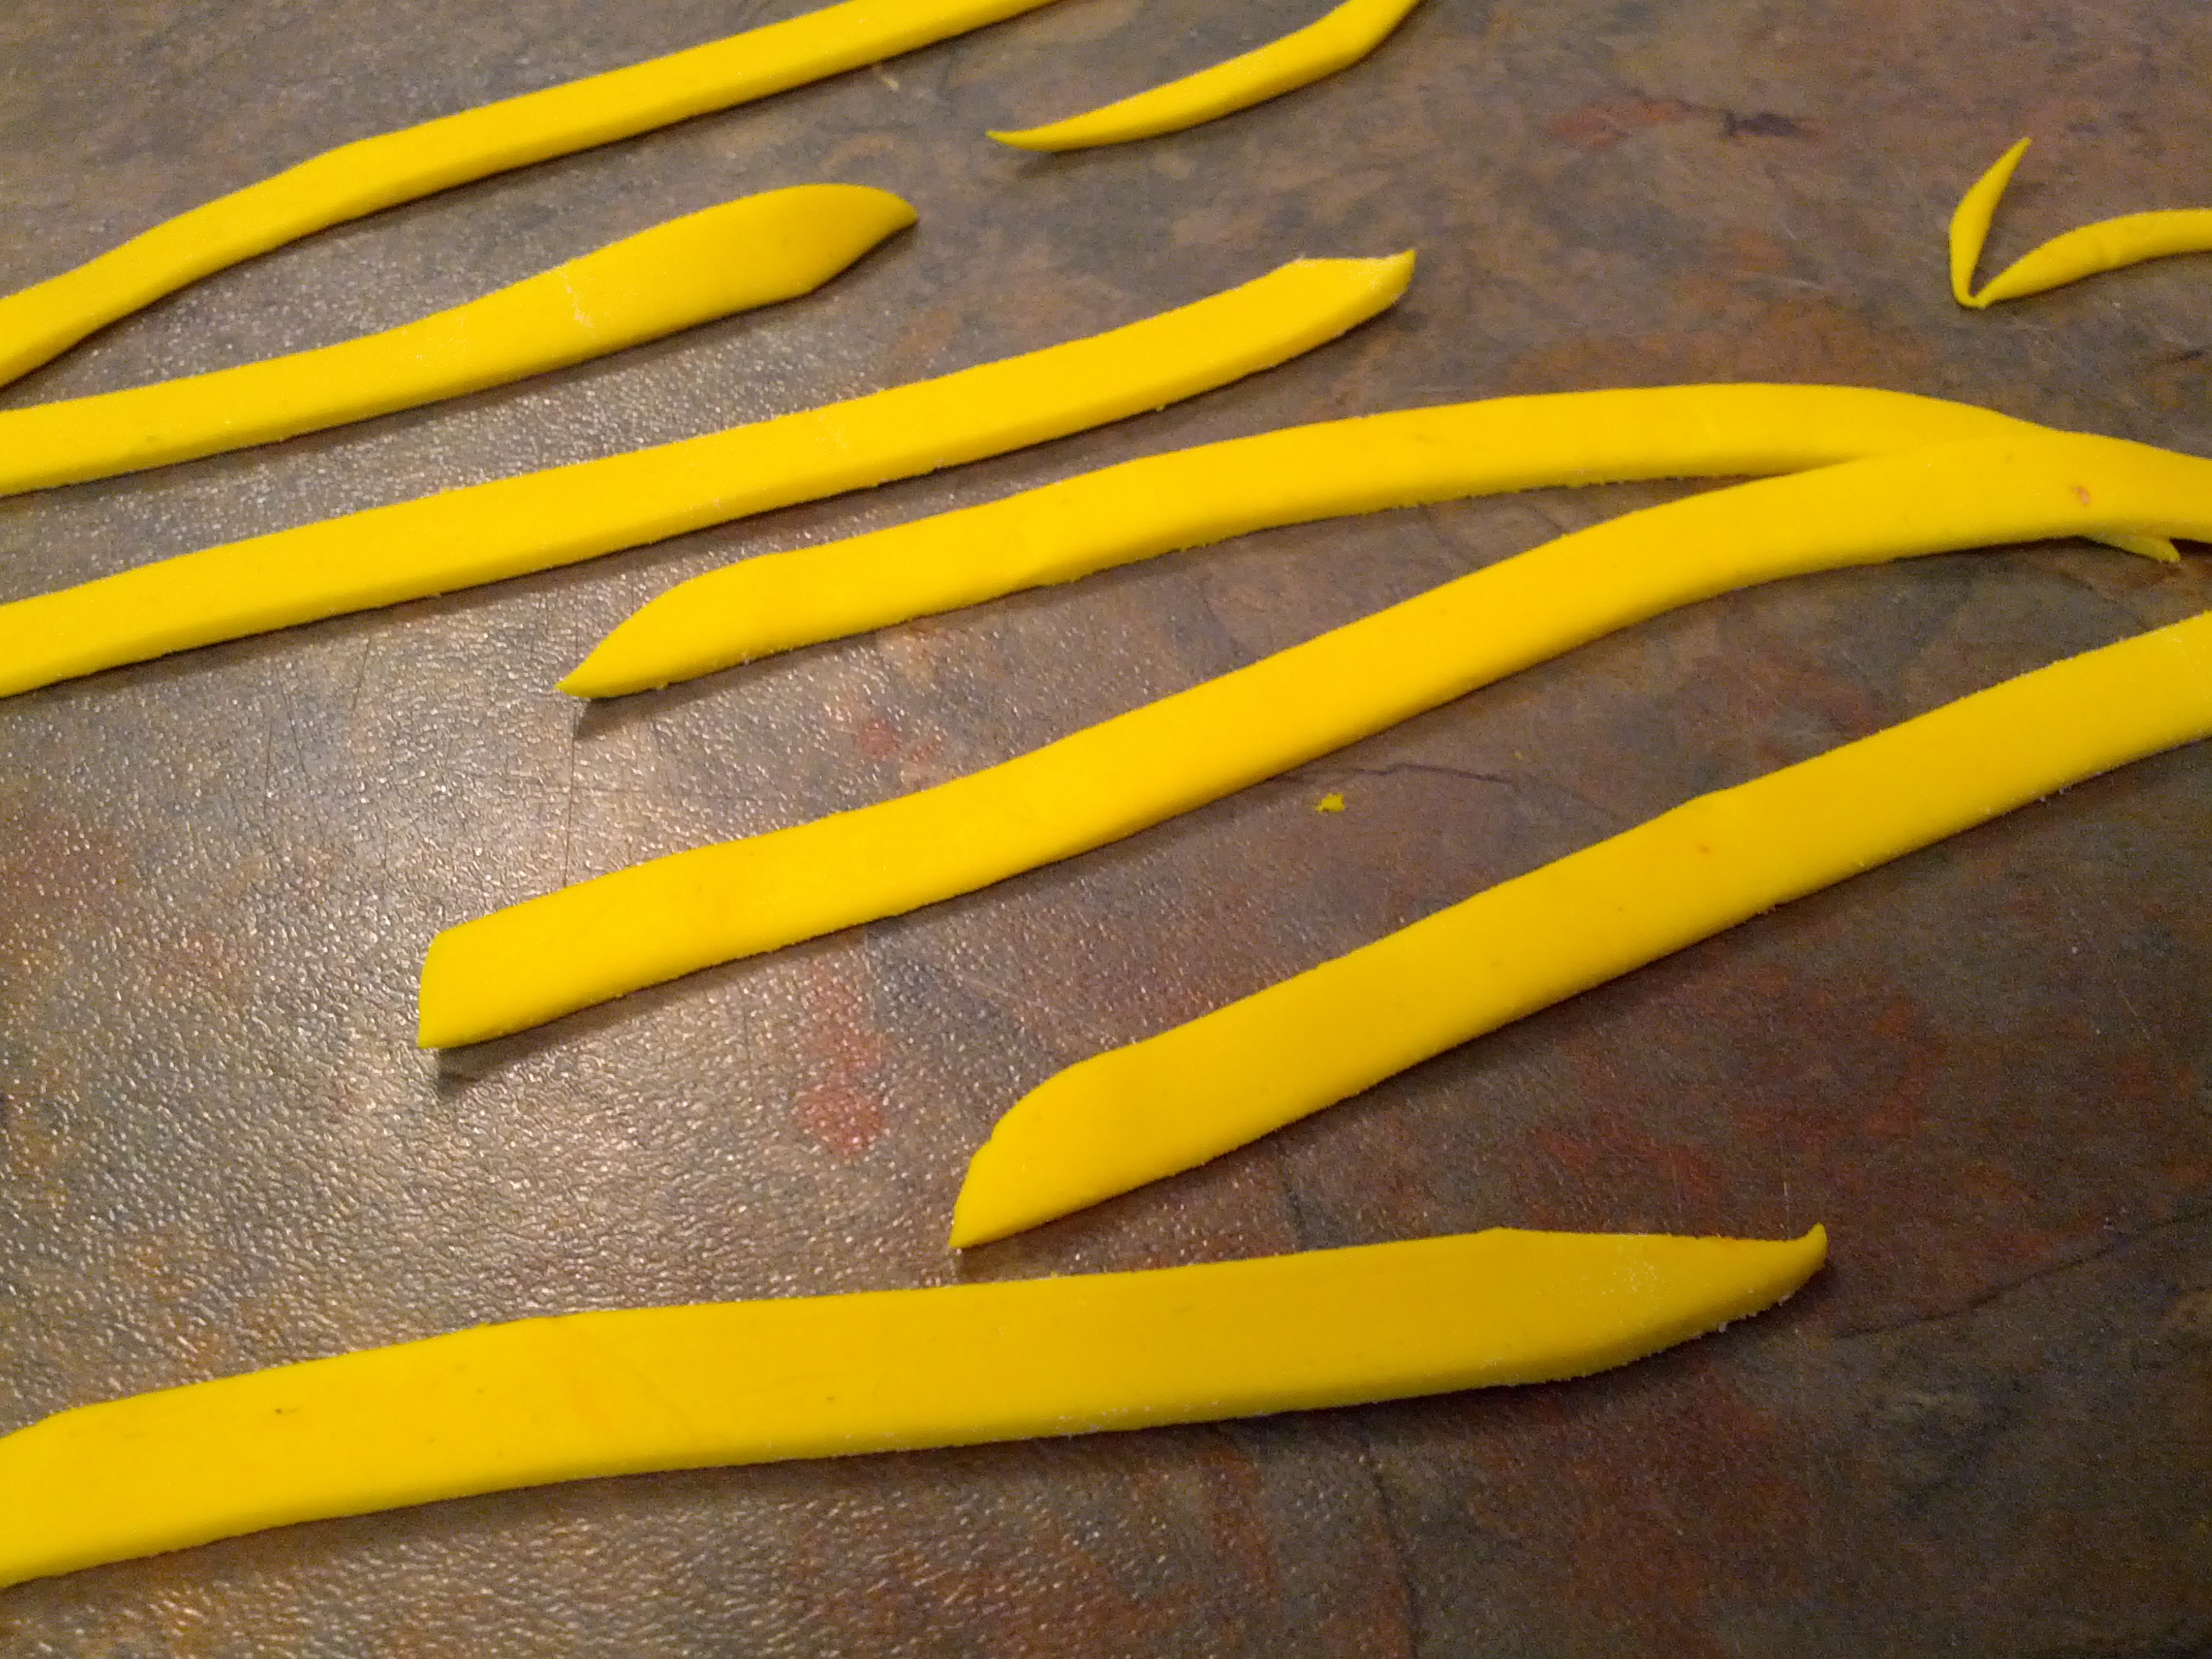
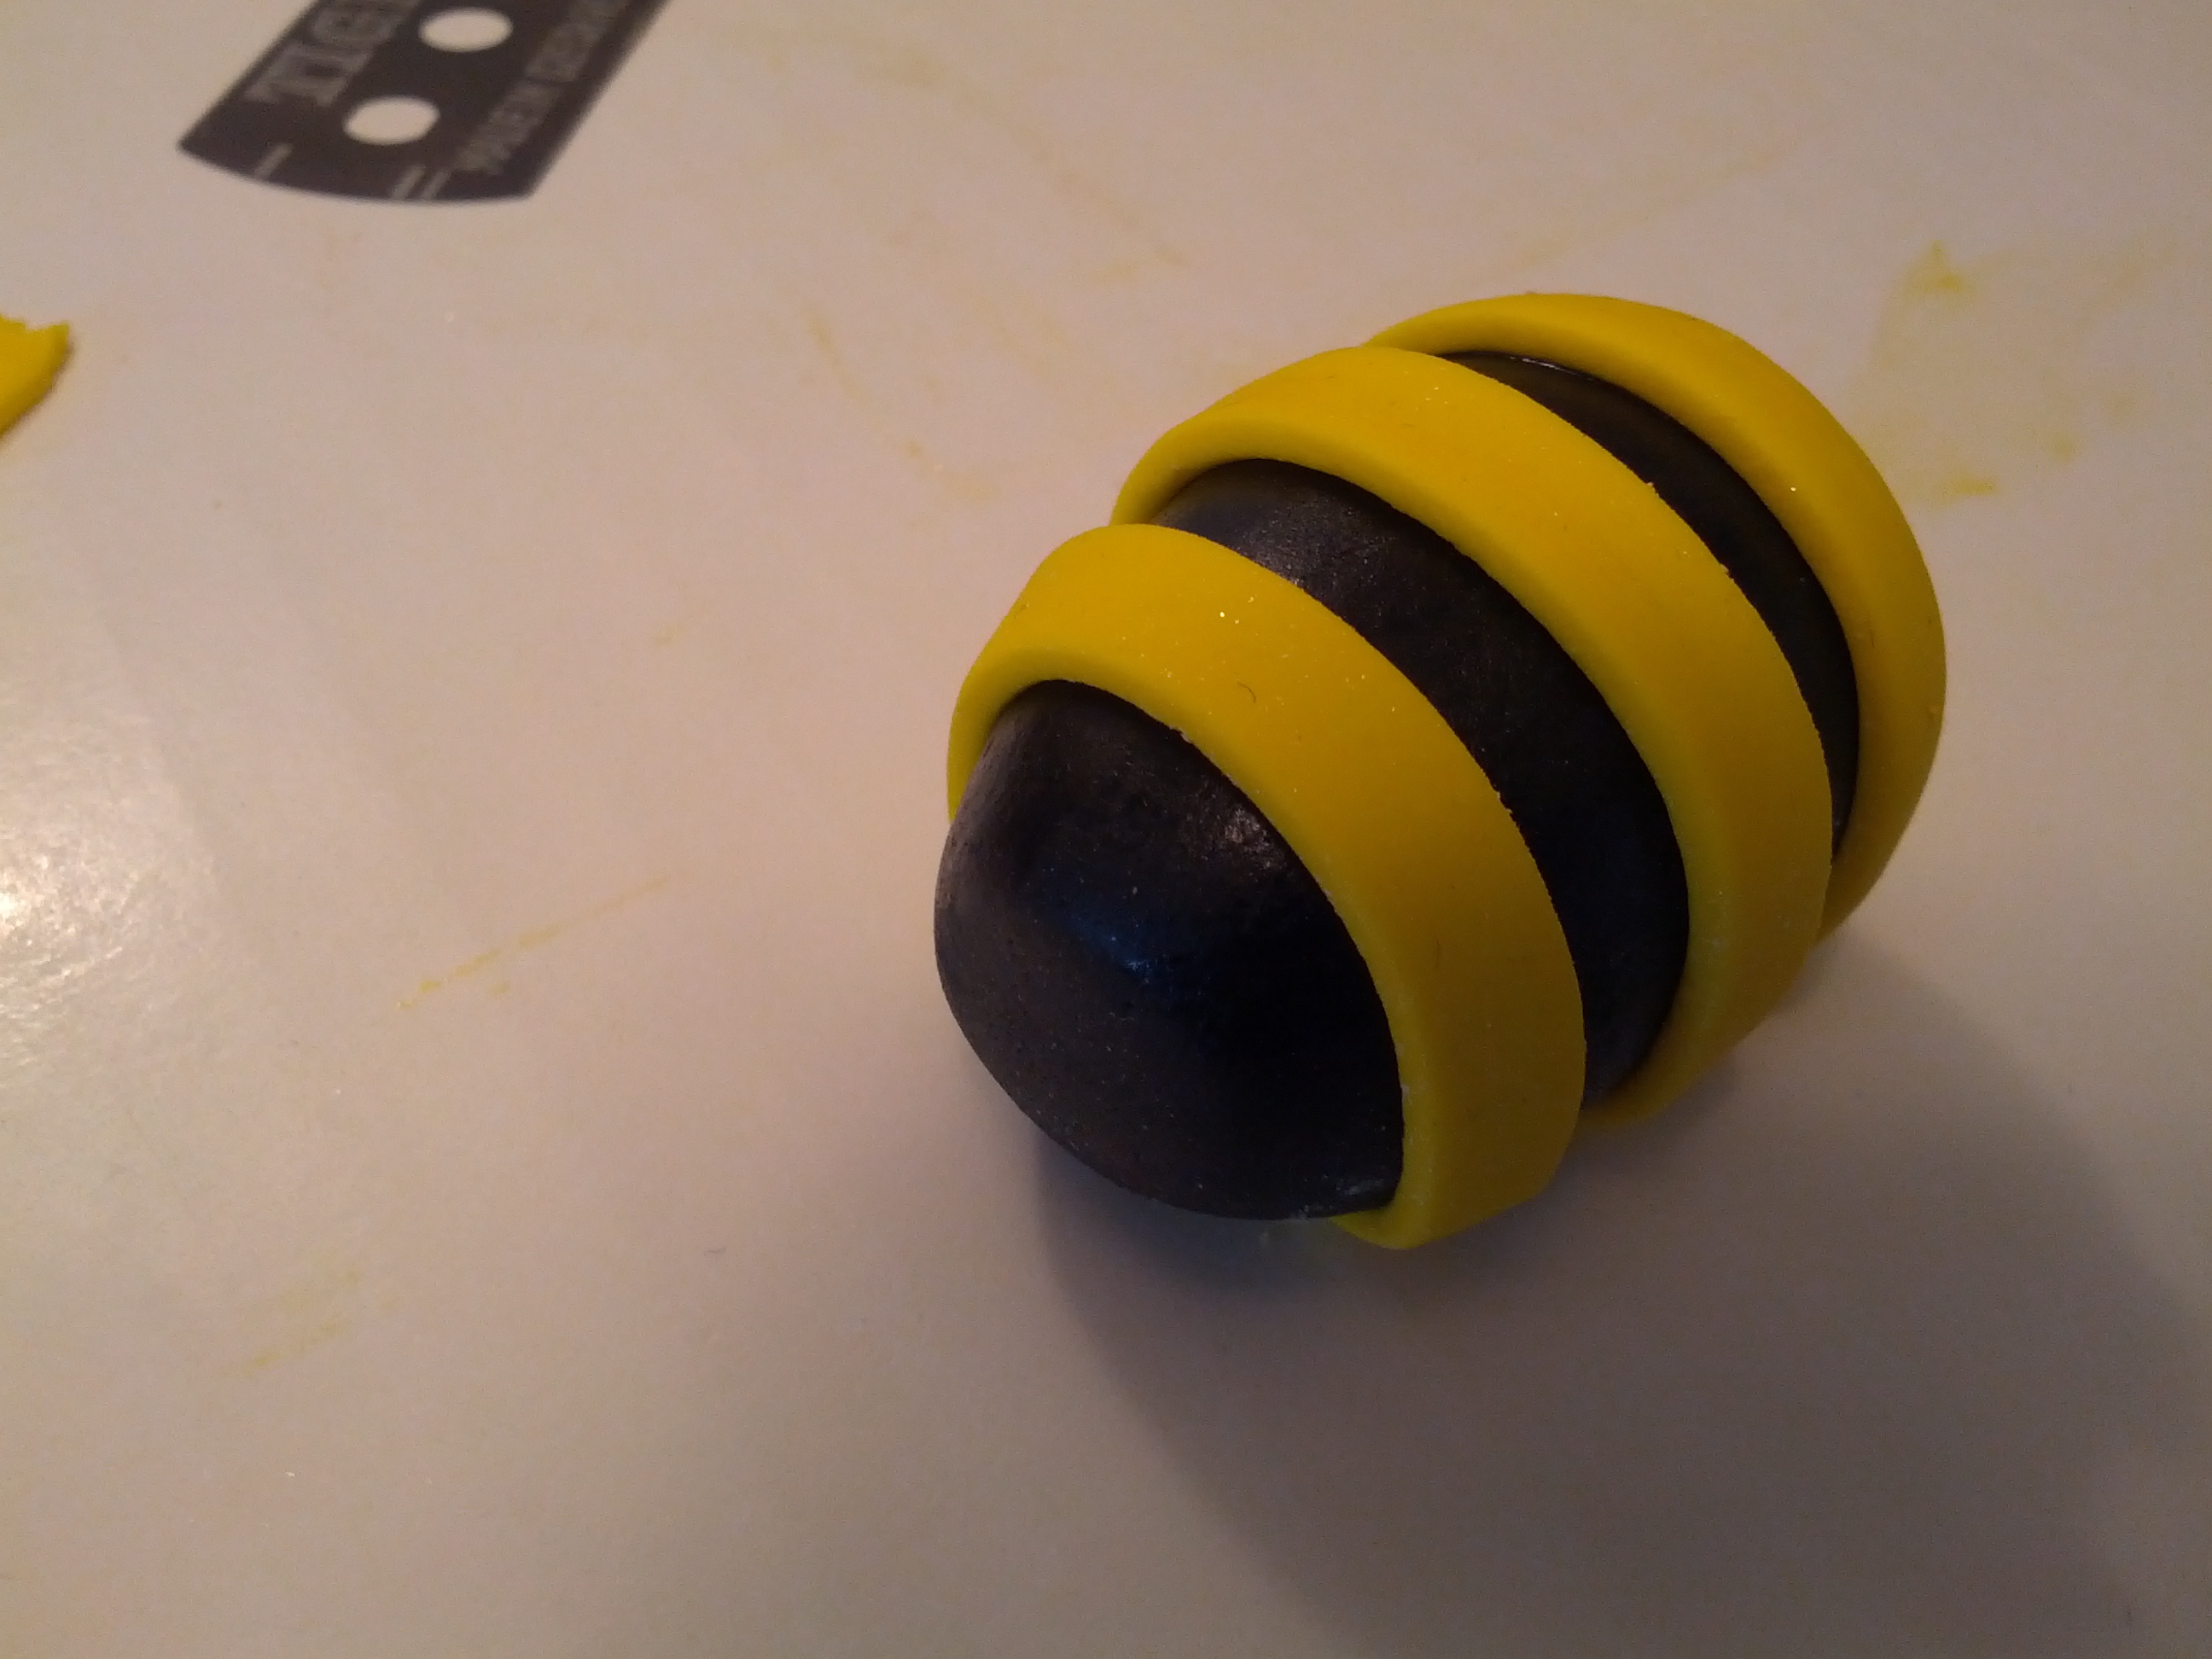
(4) Make the body. Roll out the black fondant into a smooth oval shape. Use your rolling pin or pasta roller to roll out some yellow fondant. Cut the yellow fondant into strips and attach about 3 of these around the body using some water or alcohol. You can add some yellow fondant to the end of body to create a pointed tip.
(5) Bring it all together. Attach the head to the body. You can use some floral wire here. Insert one end of the floral wire into the head and the other end into the body. Finally attach the wings on top of the body.
To create a bee in motion, bend a thick floral wire into a spiral and attach one end to the under belly of the bee. Allow this to dry suspended before using. I dried mine on some stacked cooling racks so it could dry suspended.
Terry Adido is passionate about showing people how easy it is to recreate restaurant quality meals in the comfort of their kitchens. With a style of cooking he refers to as Afro-European Fusion, his meals are influenced greatly by French and Italian Cuisine with a West African twist. If you love good food, you are in for the ride of your life.
Woah u just simplified this so well. Thanks fir freely educating us daily, glad to ve u as a friend
You are welcome Gift.
Tanks Terry. U r da bomb!
Thanks Gloria.
TERYYYYYYYYYYYYYYYY!
🙂
Terry is a ‘G’ God bless y,made it soo simple.thanks
I am glad it turned out well. You are welcome Bola.
i really learnt alot,thanks for the tutoria.can i have more of creativity
Thanks Beckley.
Terry Terry Terry Terry Terry Terry Terry Terry Terrrrrrry.tankx
You are welcome.
Terry Terry this is beautiful. Still my mentor.
Thanks Charity.
Terry, you just make me want to give you one big long hug and a whole lot of kisses ( only my husband will read it the wrong way lolzzzzz) . You are a Genius, and a very kind hearted one at that. I hope to meet you in person one day. Thanks Terry,with you I dont need any professional sugar craft classes.
Awwwww look at that. Lots of hugs. Thanks