
The Making of a Mickey Mouse Cake
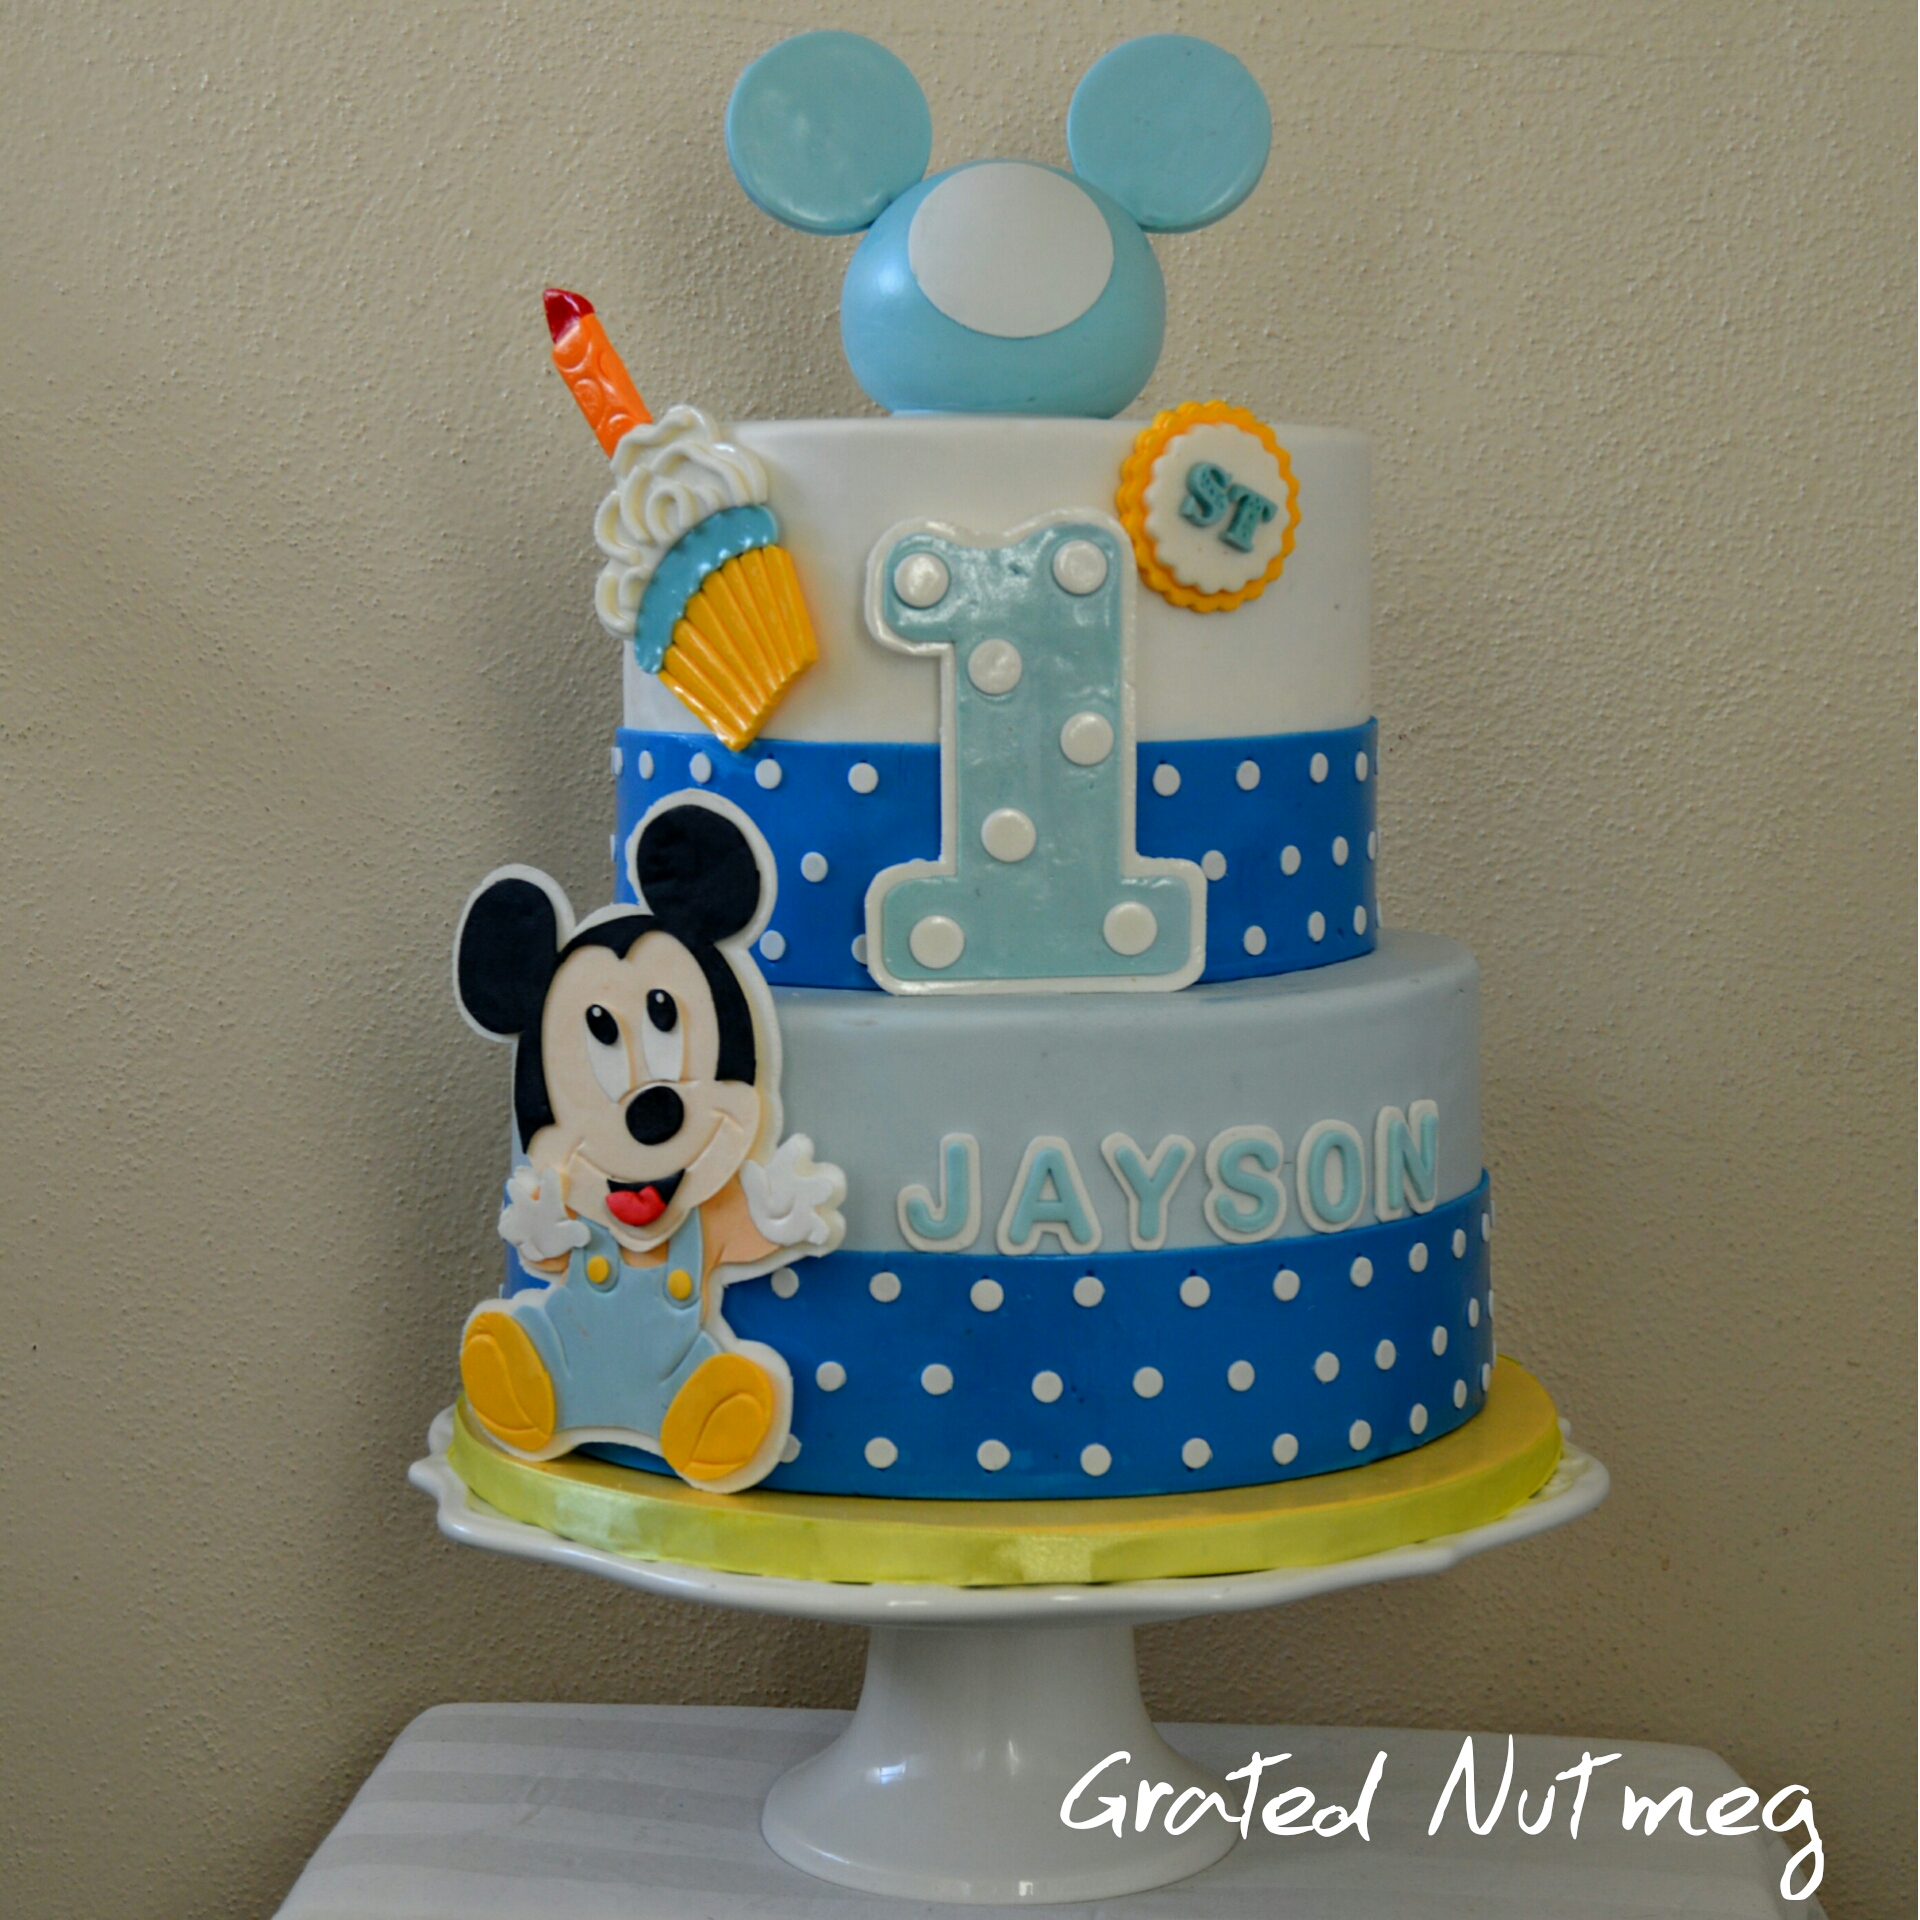

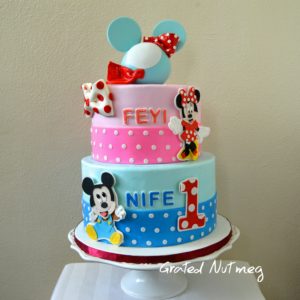
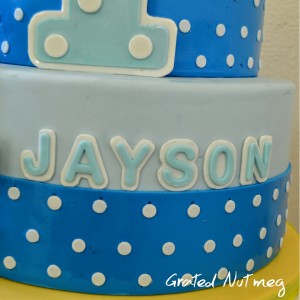
In this post, I will be showing you how I made the Mickey Mouse Cake above. This is an easy cake to execute but involves a lot of elements. The beauty of cakes like this one is that you can make all the elements ahead of time and simply stick them to the cake after it has been draped with fondant. To get access to the recipes used for this cake, click here. This cake is subject to several interpretations like the one below which was made for a set of twins.
THE PROCESS:
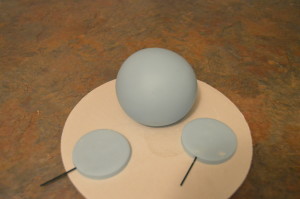
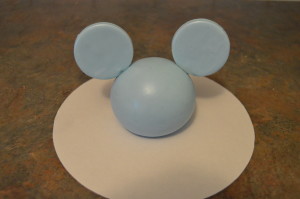
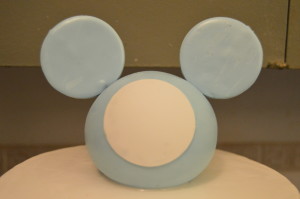
(1) Make the 3D Mickey Mouse topper. Roll blue fondant into a smooth ball to make the head. To make the ears, roll out some more blue fondant and cut out circles. Pass floral wires into them. Leave these to dry overnight. Insert the ears into the head. Cut a large white fondant circle and stick to the front of the head.
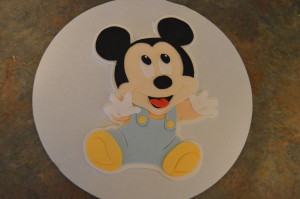
(2) Make the 2D Mickey Mouse. A tutorial for this can be found here.
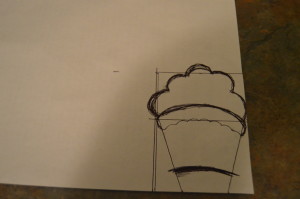
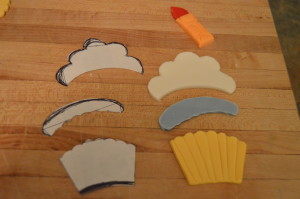
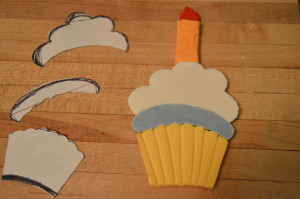
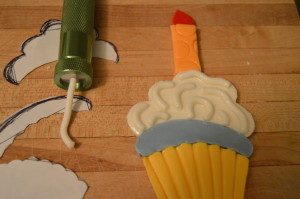
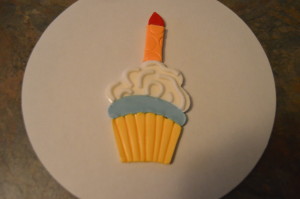
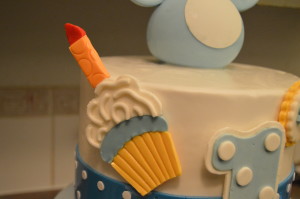
(3) Make the 2D ice cream. Sketch out the ice cream and cut the sketch into the various parts to create stencils. Roll out fondant in the various colors and use the stencils to cut the fondant. Make patterns on the fondant using a fondant embosser. Stick the various parts together. Brush the ice cream with a 50/50 mixture of vodka and corn syrup for gloss. Using an extruder, make white fondant strings and attach them to the white part of the ice cream. Leave to dry.
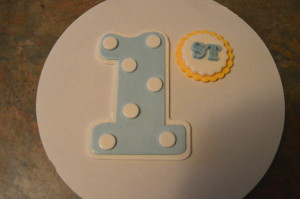
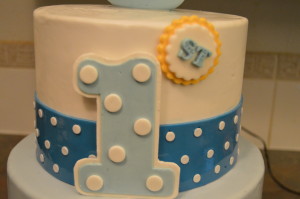
(4) Make the number 1 and “st”.
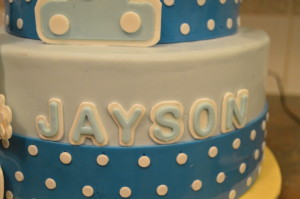
(5) Finally make the name of the celebrant. I used a mold to cut out the blue parts of the name and bordered it with white fondant. You can also do this without a mold by following the steps in my tutorial here.
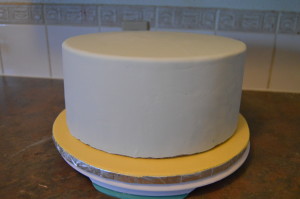
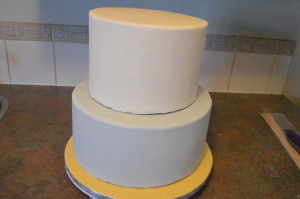
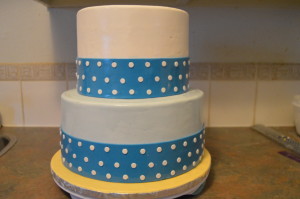
(6) Now that you have completed all the preliminary steps, its time to bring it all together. Cover a cake board with yellow fondant. Drape the top 8 inch tier with white fondant. Drape the bottom 11 inch tier with light blue fondant. Stick the bottom tier on the cake board. Insert dowels into the bottom tier and stack the top tier on it.
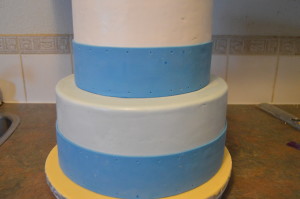
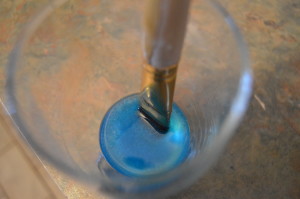
(7) Wrap the base of both tiers with a 2.5 inch high dark blue fondant strip. After rolling out and cutting the strips and before sticking them to the cake, use a ruler and sharp tool to make holes at both edges of the fondant strip. The holes should be 1 inch apart from each other. This is to serve as a guide for you when sticking the white polka dots on the strips. Mix blue luster dust with a 50/50 mixture of vodka and corn starch and brush the blue strips with this mixture. This will make them look glossy.
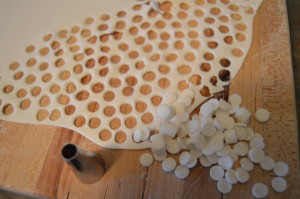
(8) Use a large pipping tip to cut out white fondant circles. Stick these to the blue strips using the holes as a guide. There are 3 rows of polka dots on each strip. Start by sticking the top and bottom rows and then make the middle row using the top and bottom rows as guide.
(9) Now that the cake structure is complete, its time to stick the prepared elements on it.

That’s all there is to it. Happy caking!
Terry Adido is passionate about showing people how easy it is to recreate restaurant quality meals in the comfort of their kitchens. With a style of cooking he refers to as Afro-European Fusion, his meals are influenced greatly by French and Italian Cuisine with a West African twist. If you love good food, you are in for the ride of your life.
Thanks so much for this, I’ve learnt alot from you. May the Almighty continue to increase you in knowledge.
Thanks Folake.
Terry you are wonderfully terrific kai!!!!
Thanks Nengi.
God bless u Terry!
Thanks Olumedinat.
I Will Like To Make Dis For My Son’s 3rd Birthday On D 14th Of March I Pray God Help Me* But Terry You Are God Sent To Me And Many* God Bless You 4 Me
Thanks. I trust you should be able to execute it. All the best.
Jeez ,you are so selfless . I was sent a pic of this cake by a client (something similar )she wants it for her sons one year birthday .i had to quickly look up how to do the cake and I came across your website . Everything is so detailed . You are good at what you do . God bless you big time
Thanks Pamela. I wish you success with your cake.