
Fondant Hard Hat Tutorial

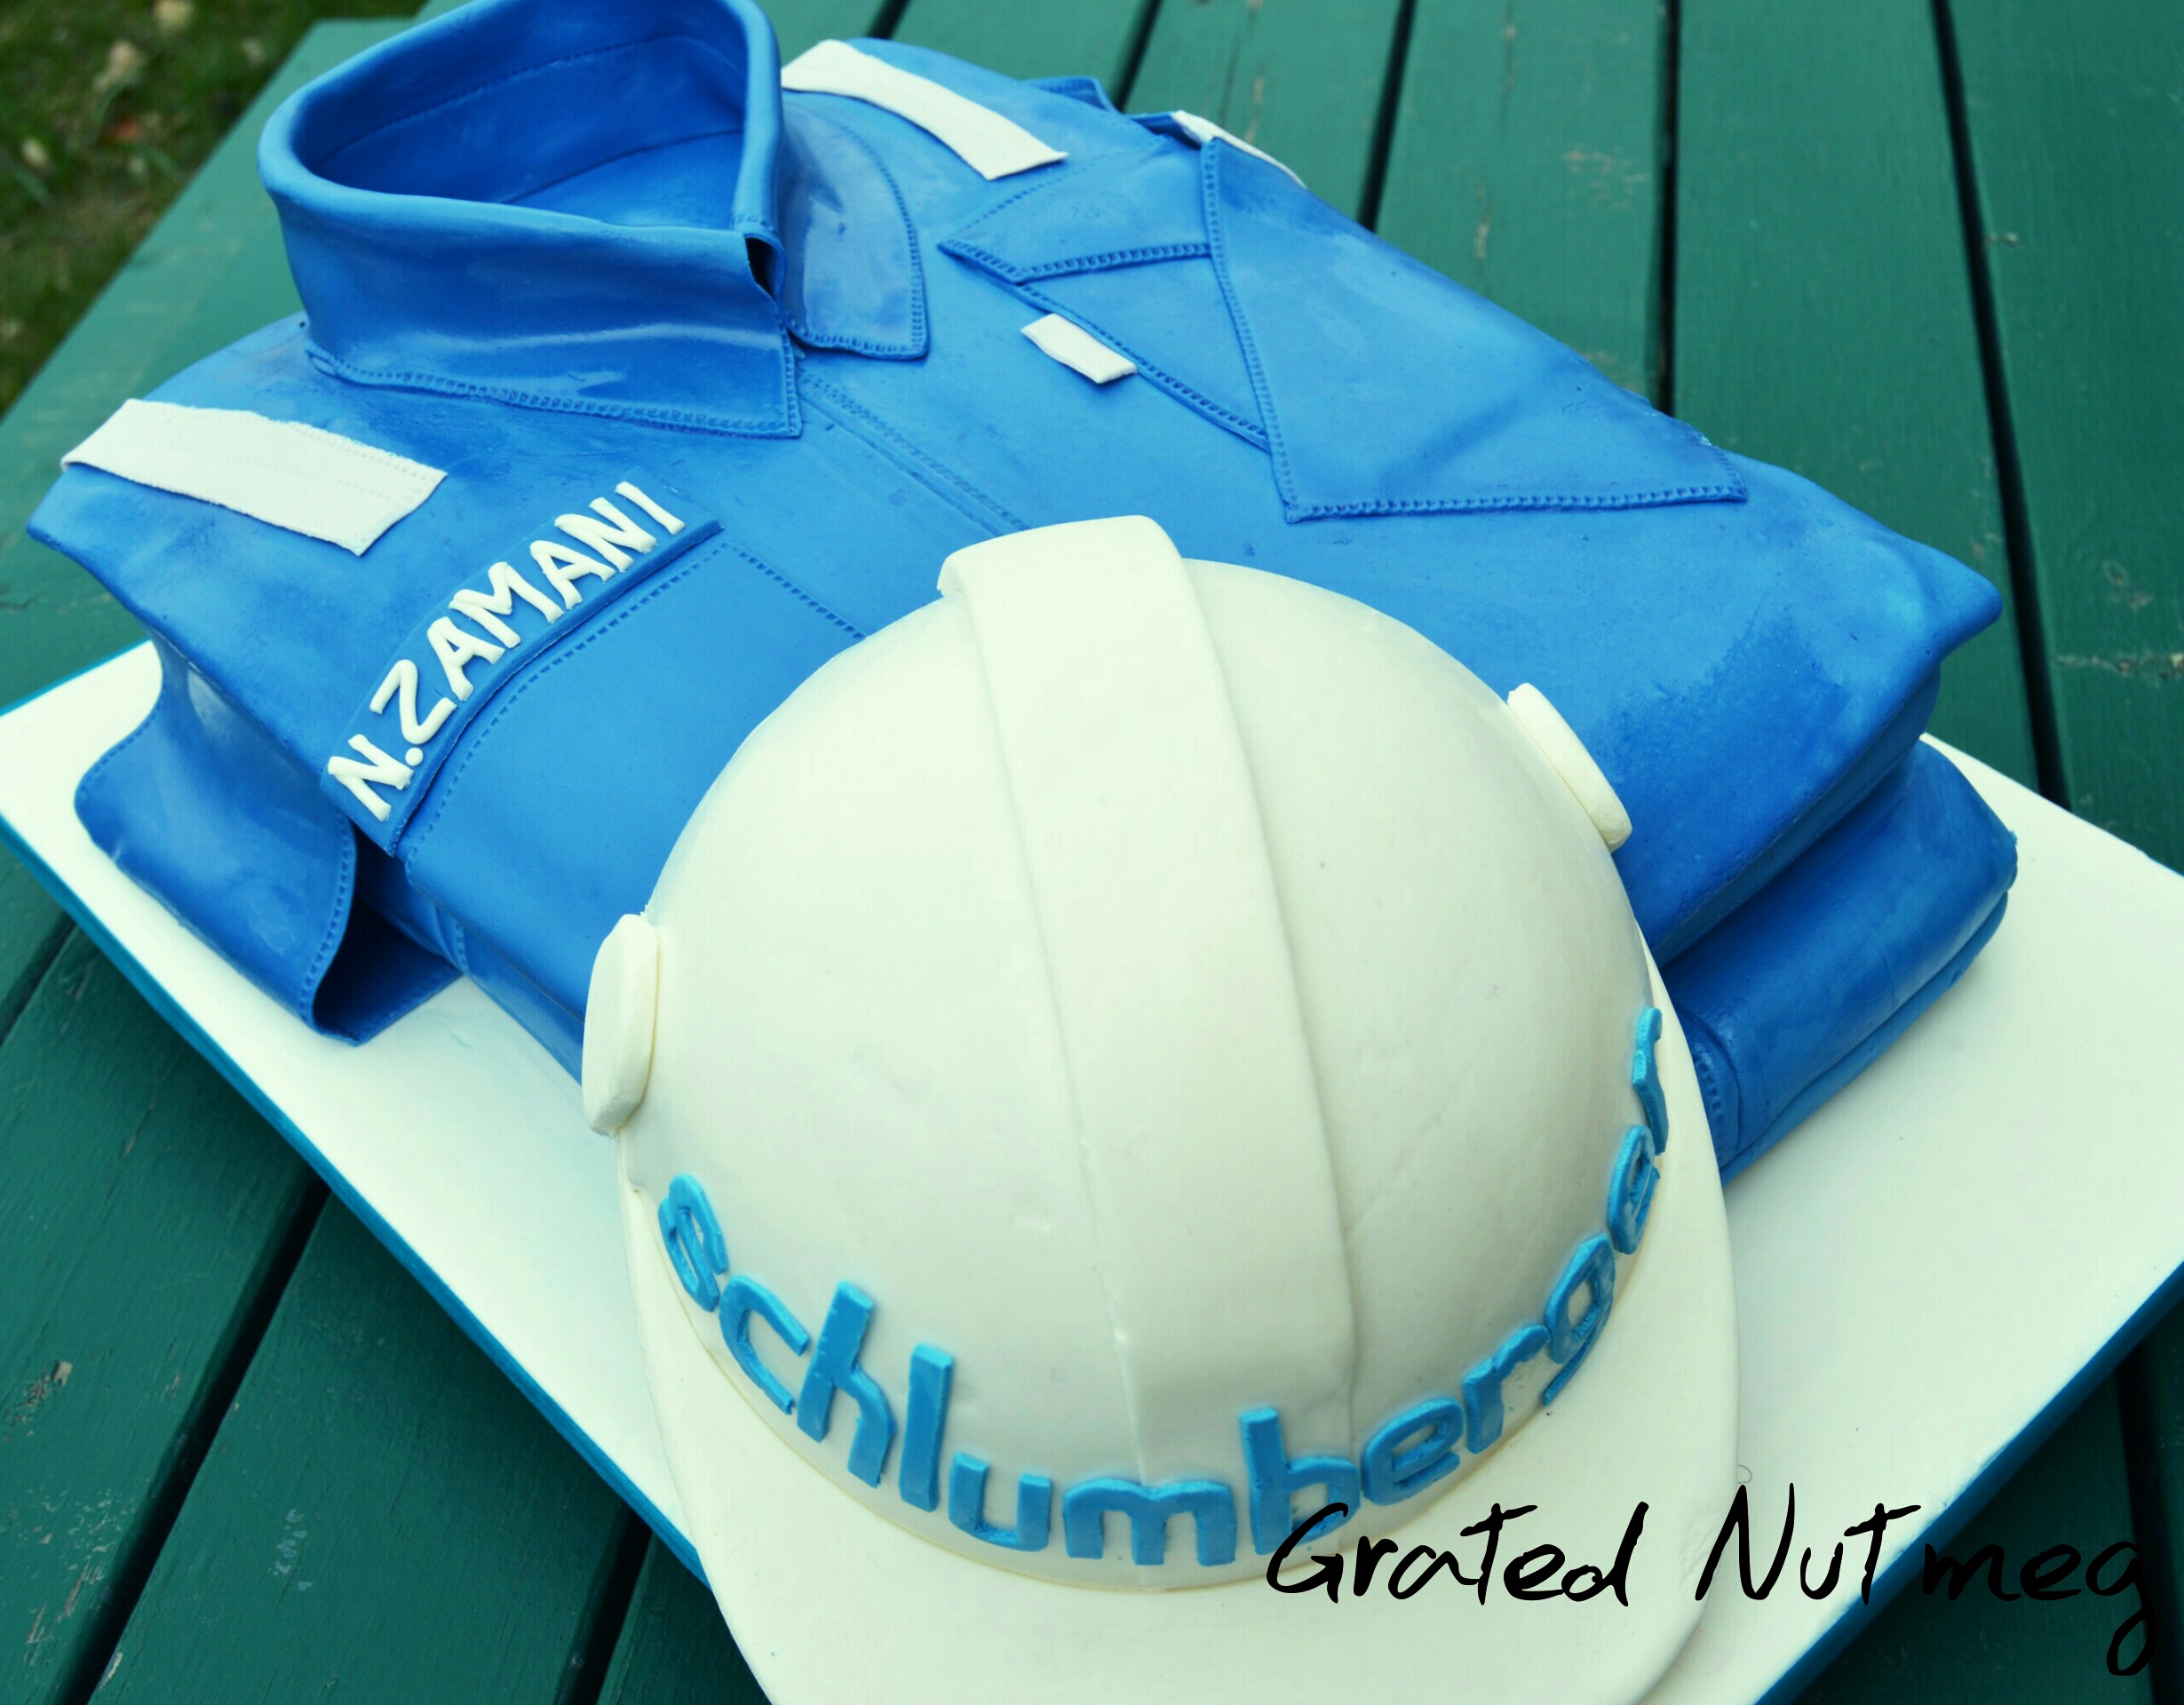
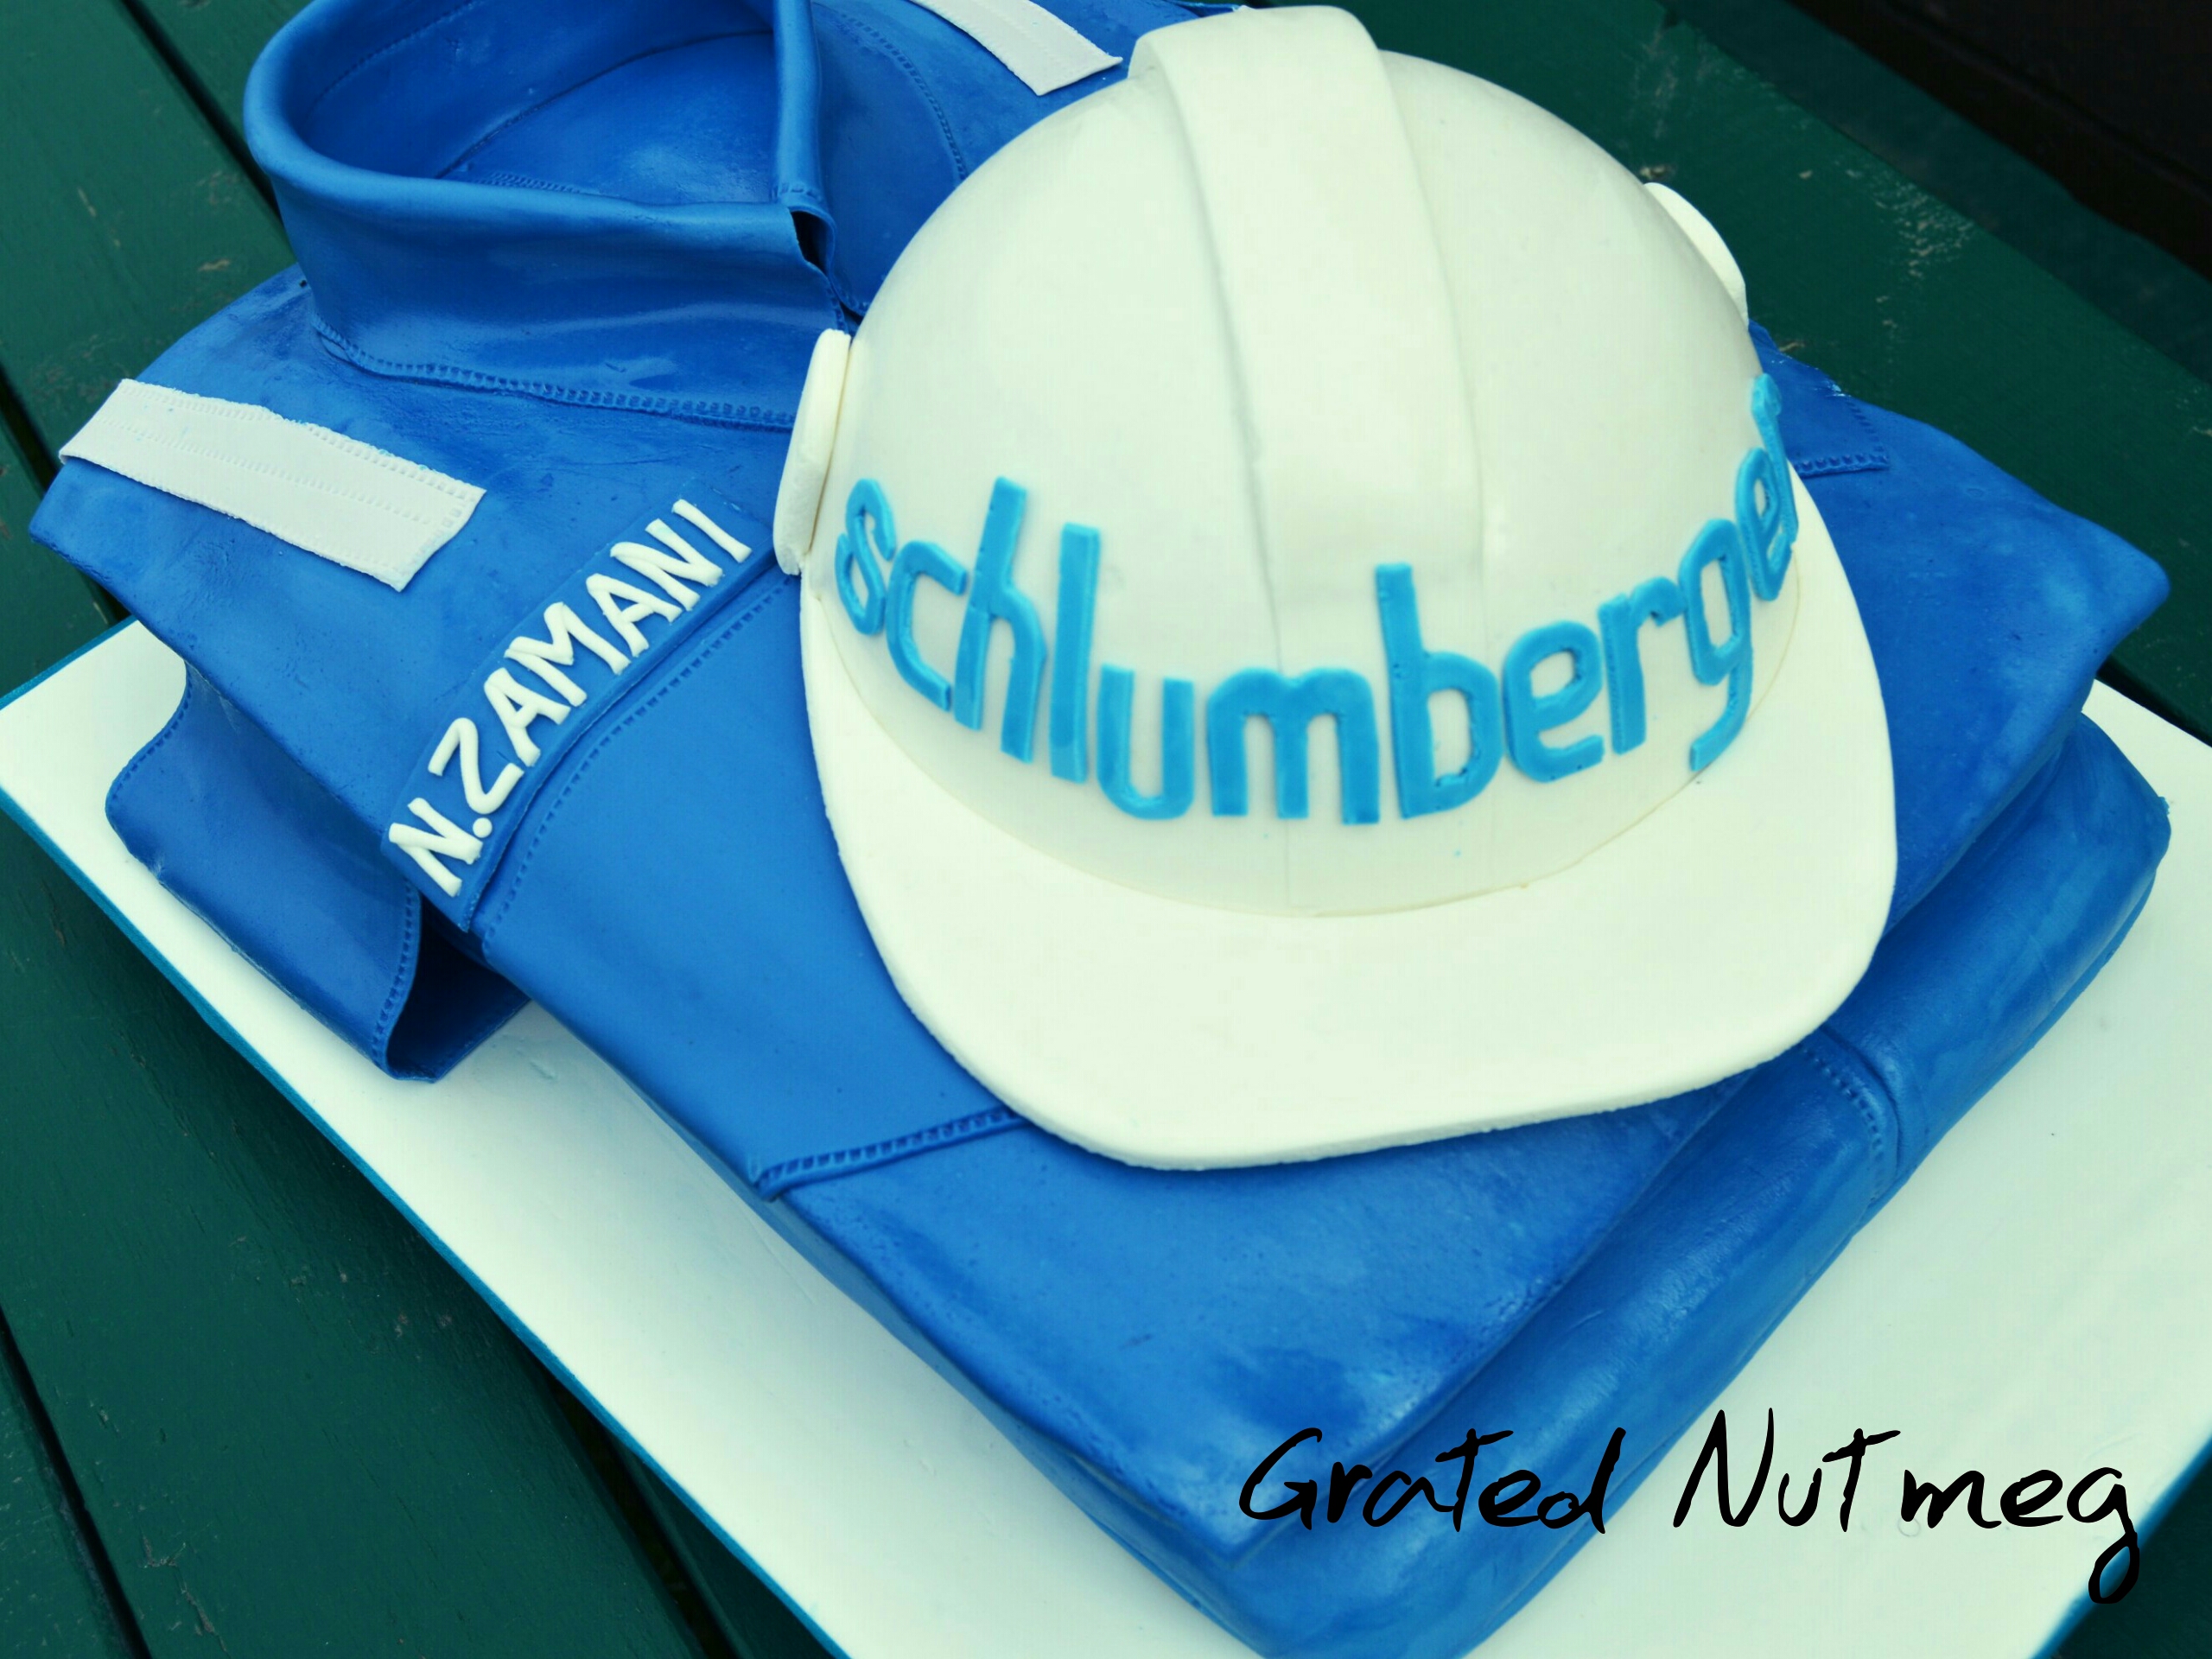
This is a tutorial on how to make a fondant hard hat which can be used for construction or drilling themed cakes like this Overall Cake. As with all my toppers, this hat is made entirely from Marshmallow Fondant. It need not be attached to the actual cake and can thus be saved long after the cake has been eaten.
TOOLS:
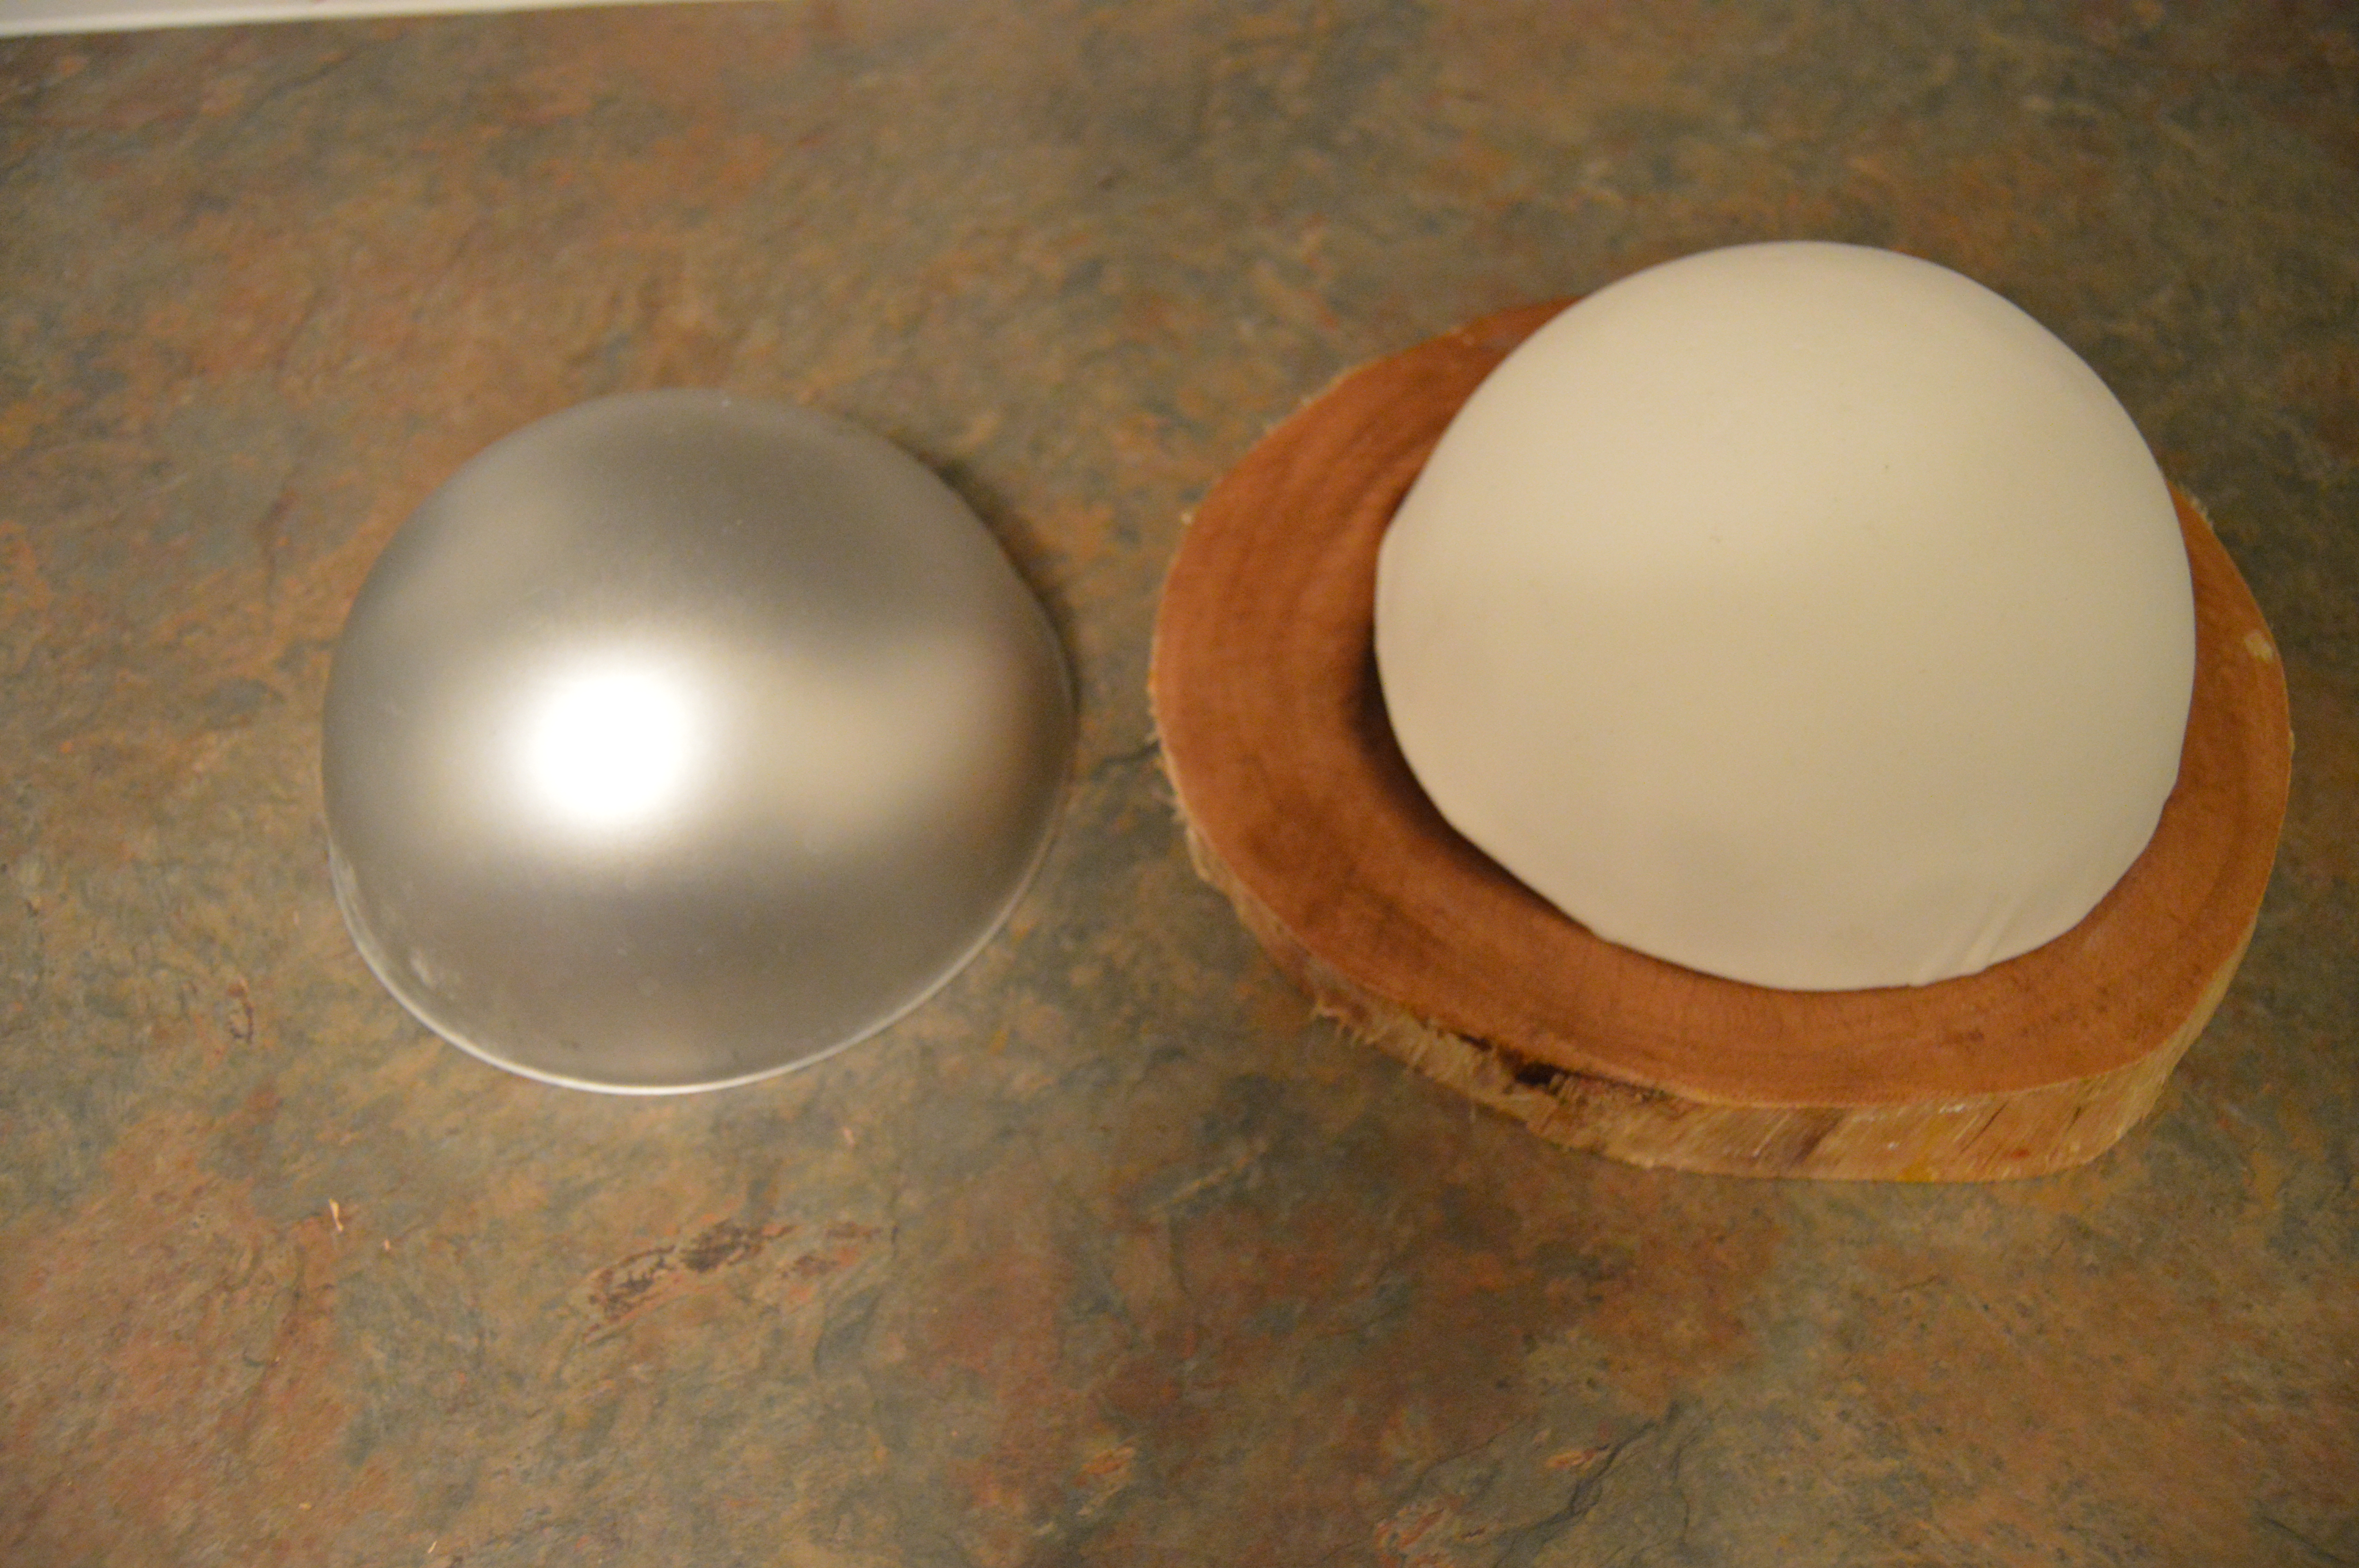
(1) 1 Wilton Ball Pan
(2) Rolling Pin
(3) Pizza Cutter
(4) Sharp Blade
(5) Ruler
PROCEDURE:
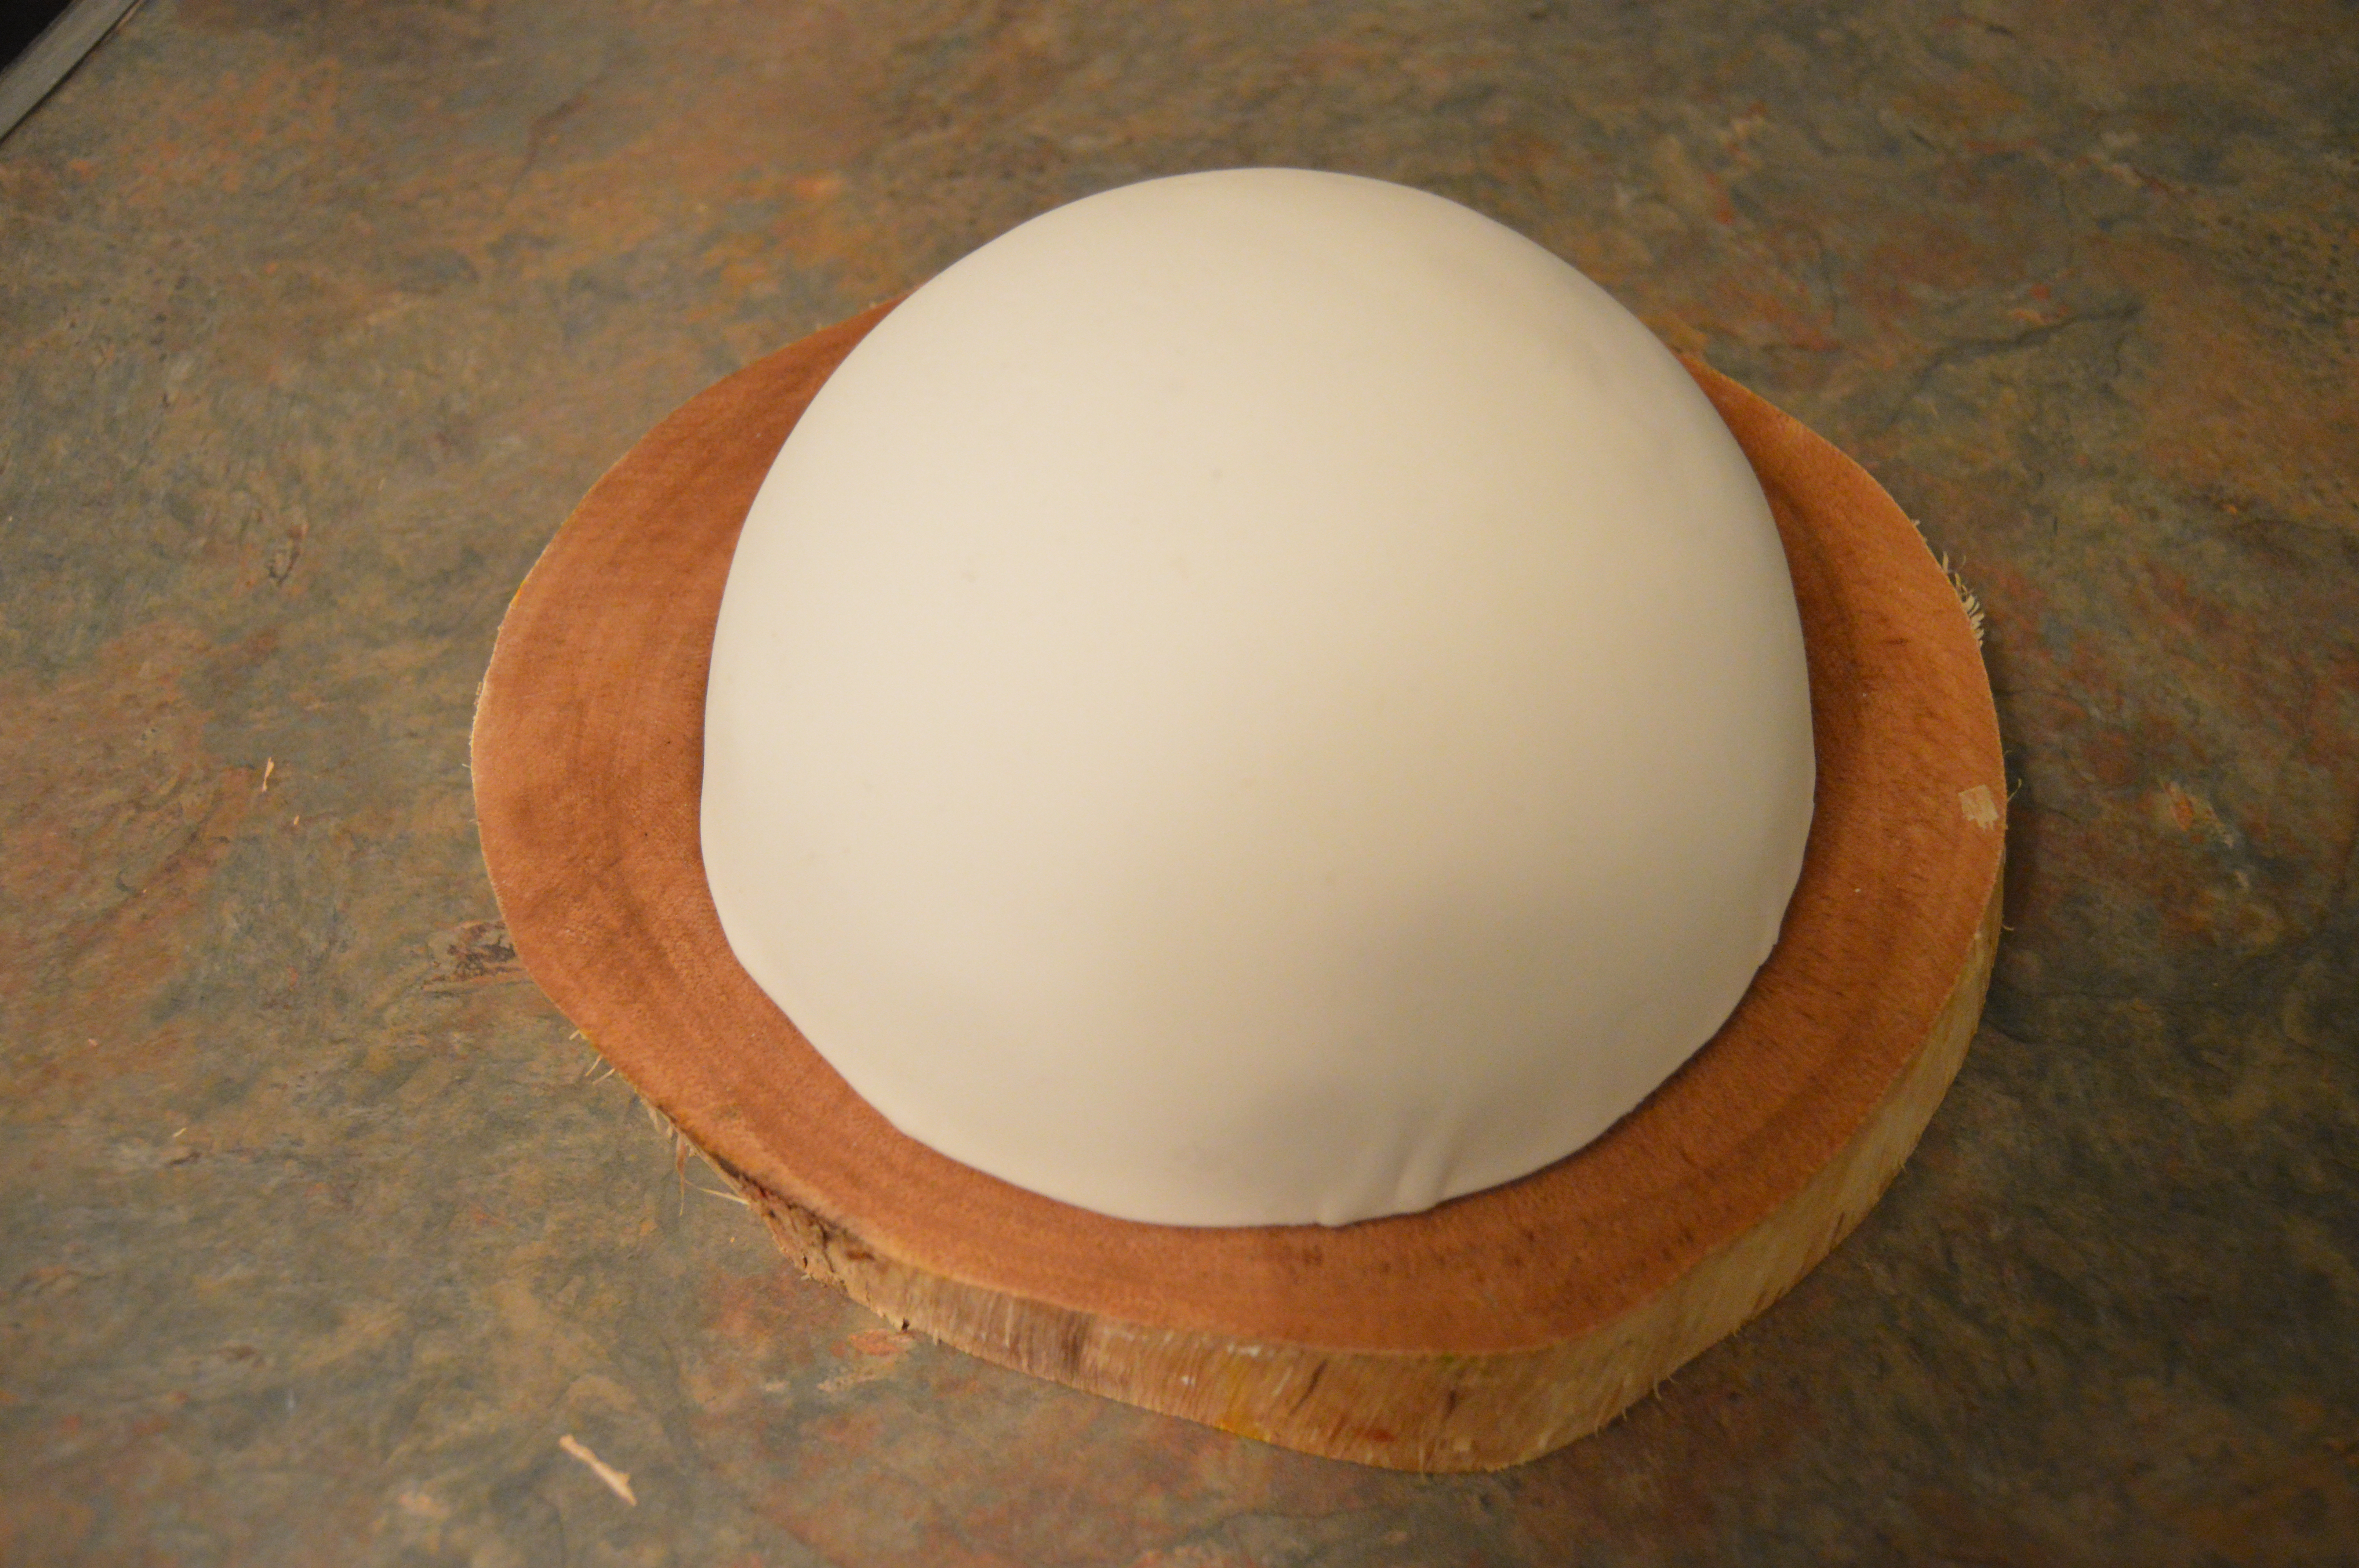
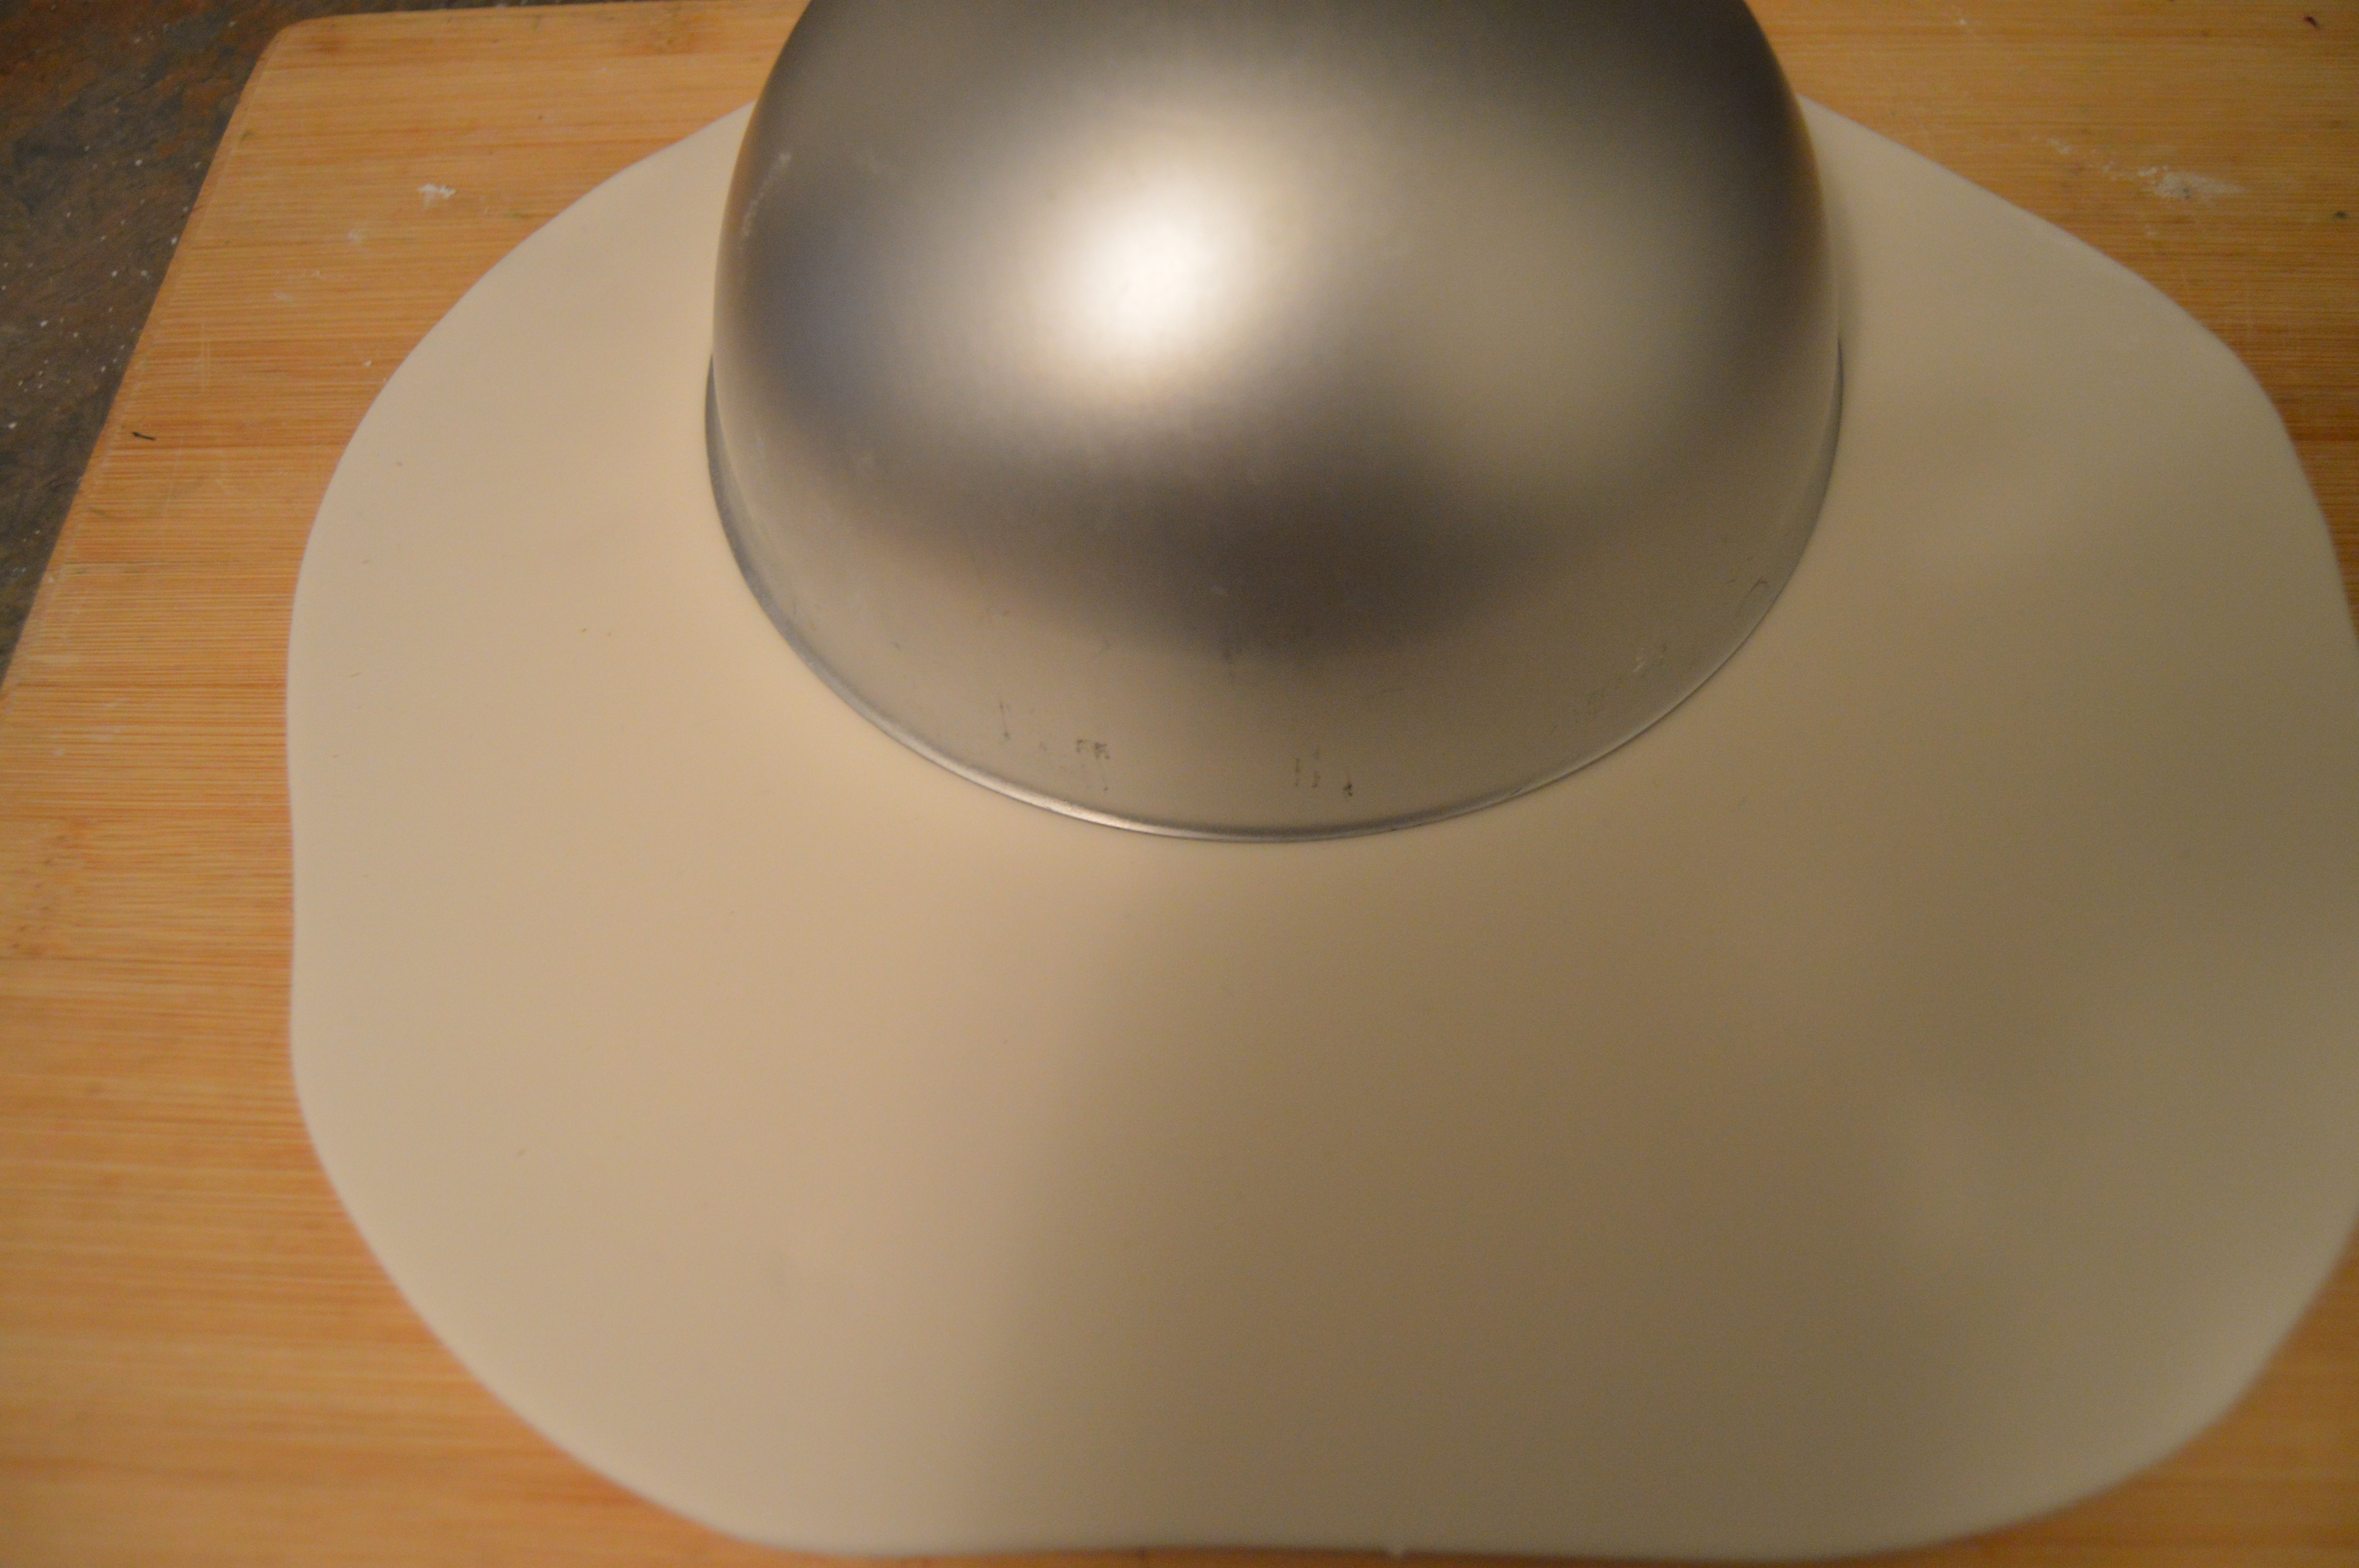
(1) Dust icing sugar on a 6 inch Wilton ball pan. Roll out white fondant and drape the pan with it. Cut off excess fondant with a sharp blade and leave the fondant to dry. It takes about a week for the fondant to dry thoroughly. On the first 3 days, rotate the fondant a couple of times to ensure that it does not stick to the pan. If it happens that it does stick to the pan, run a knife or spatula around the base of the pan to loosen it.
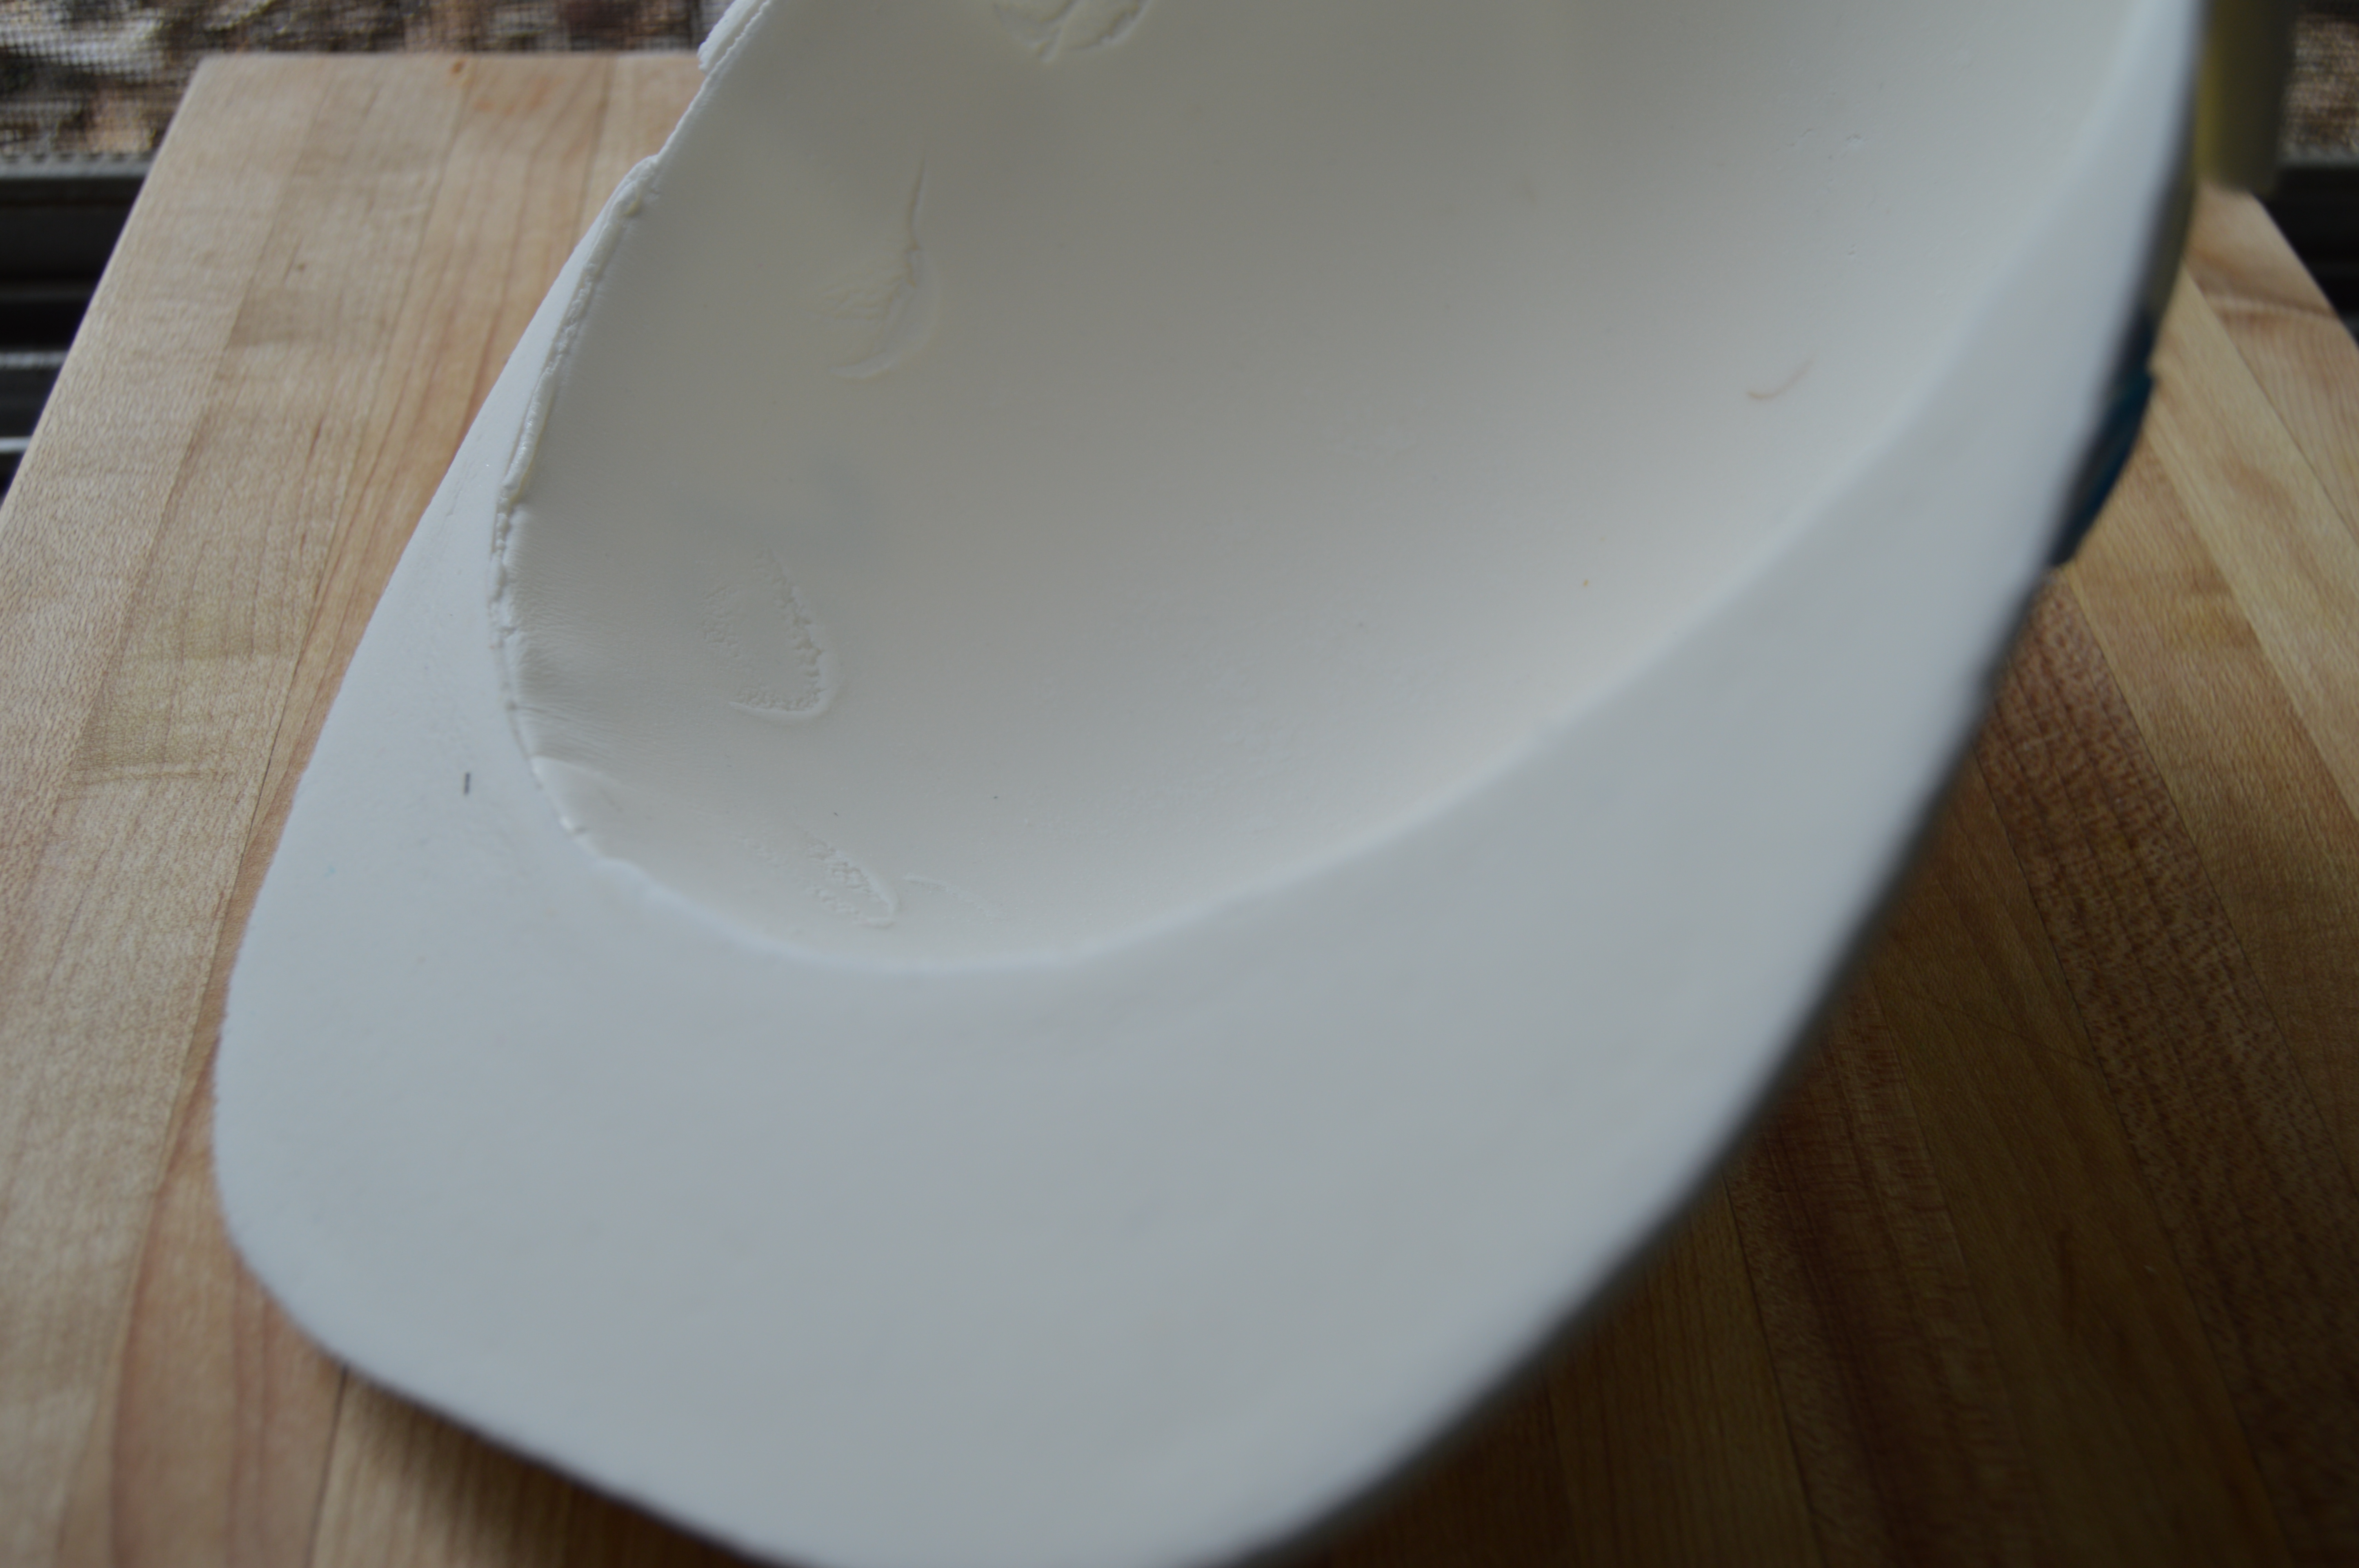
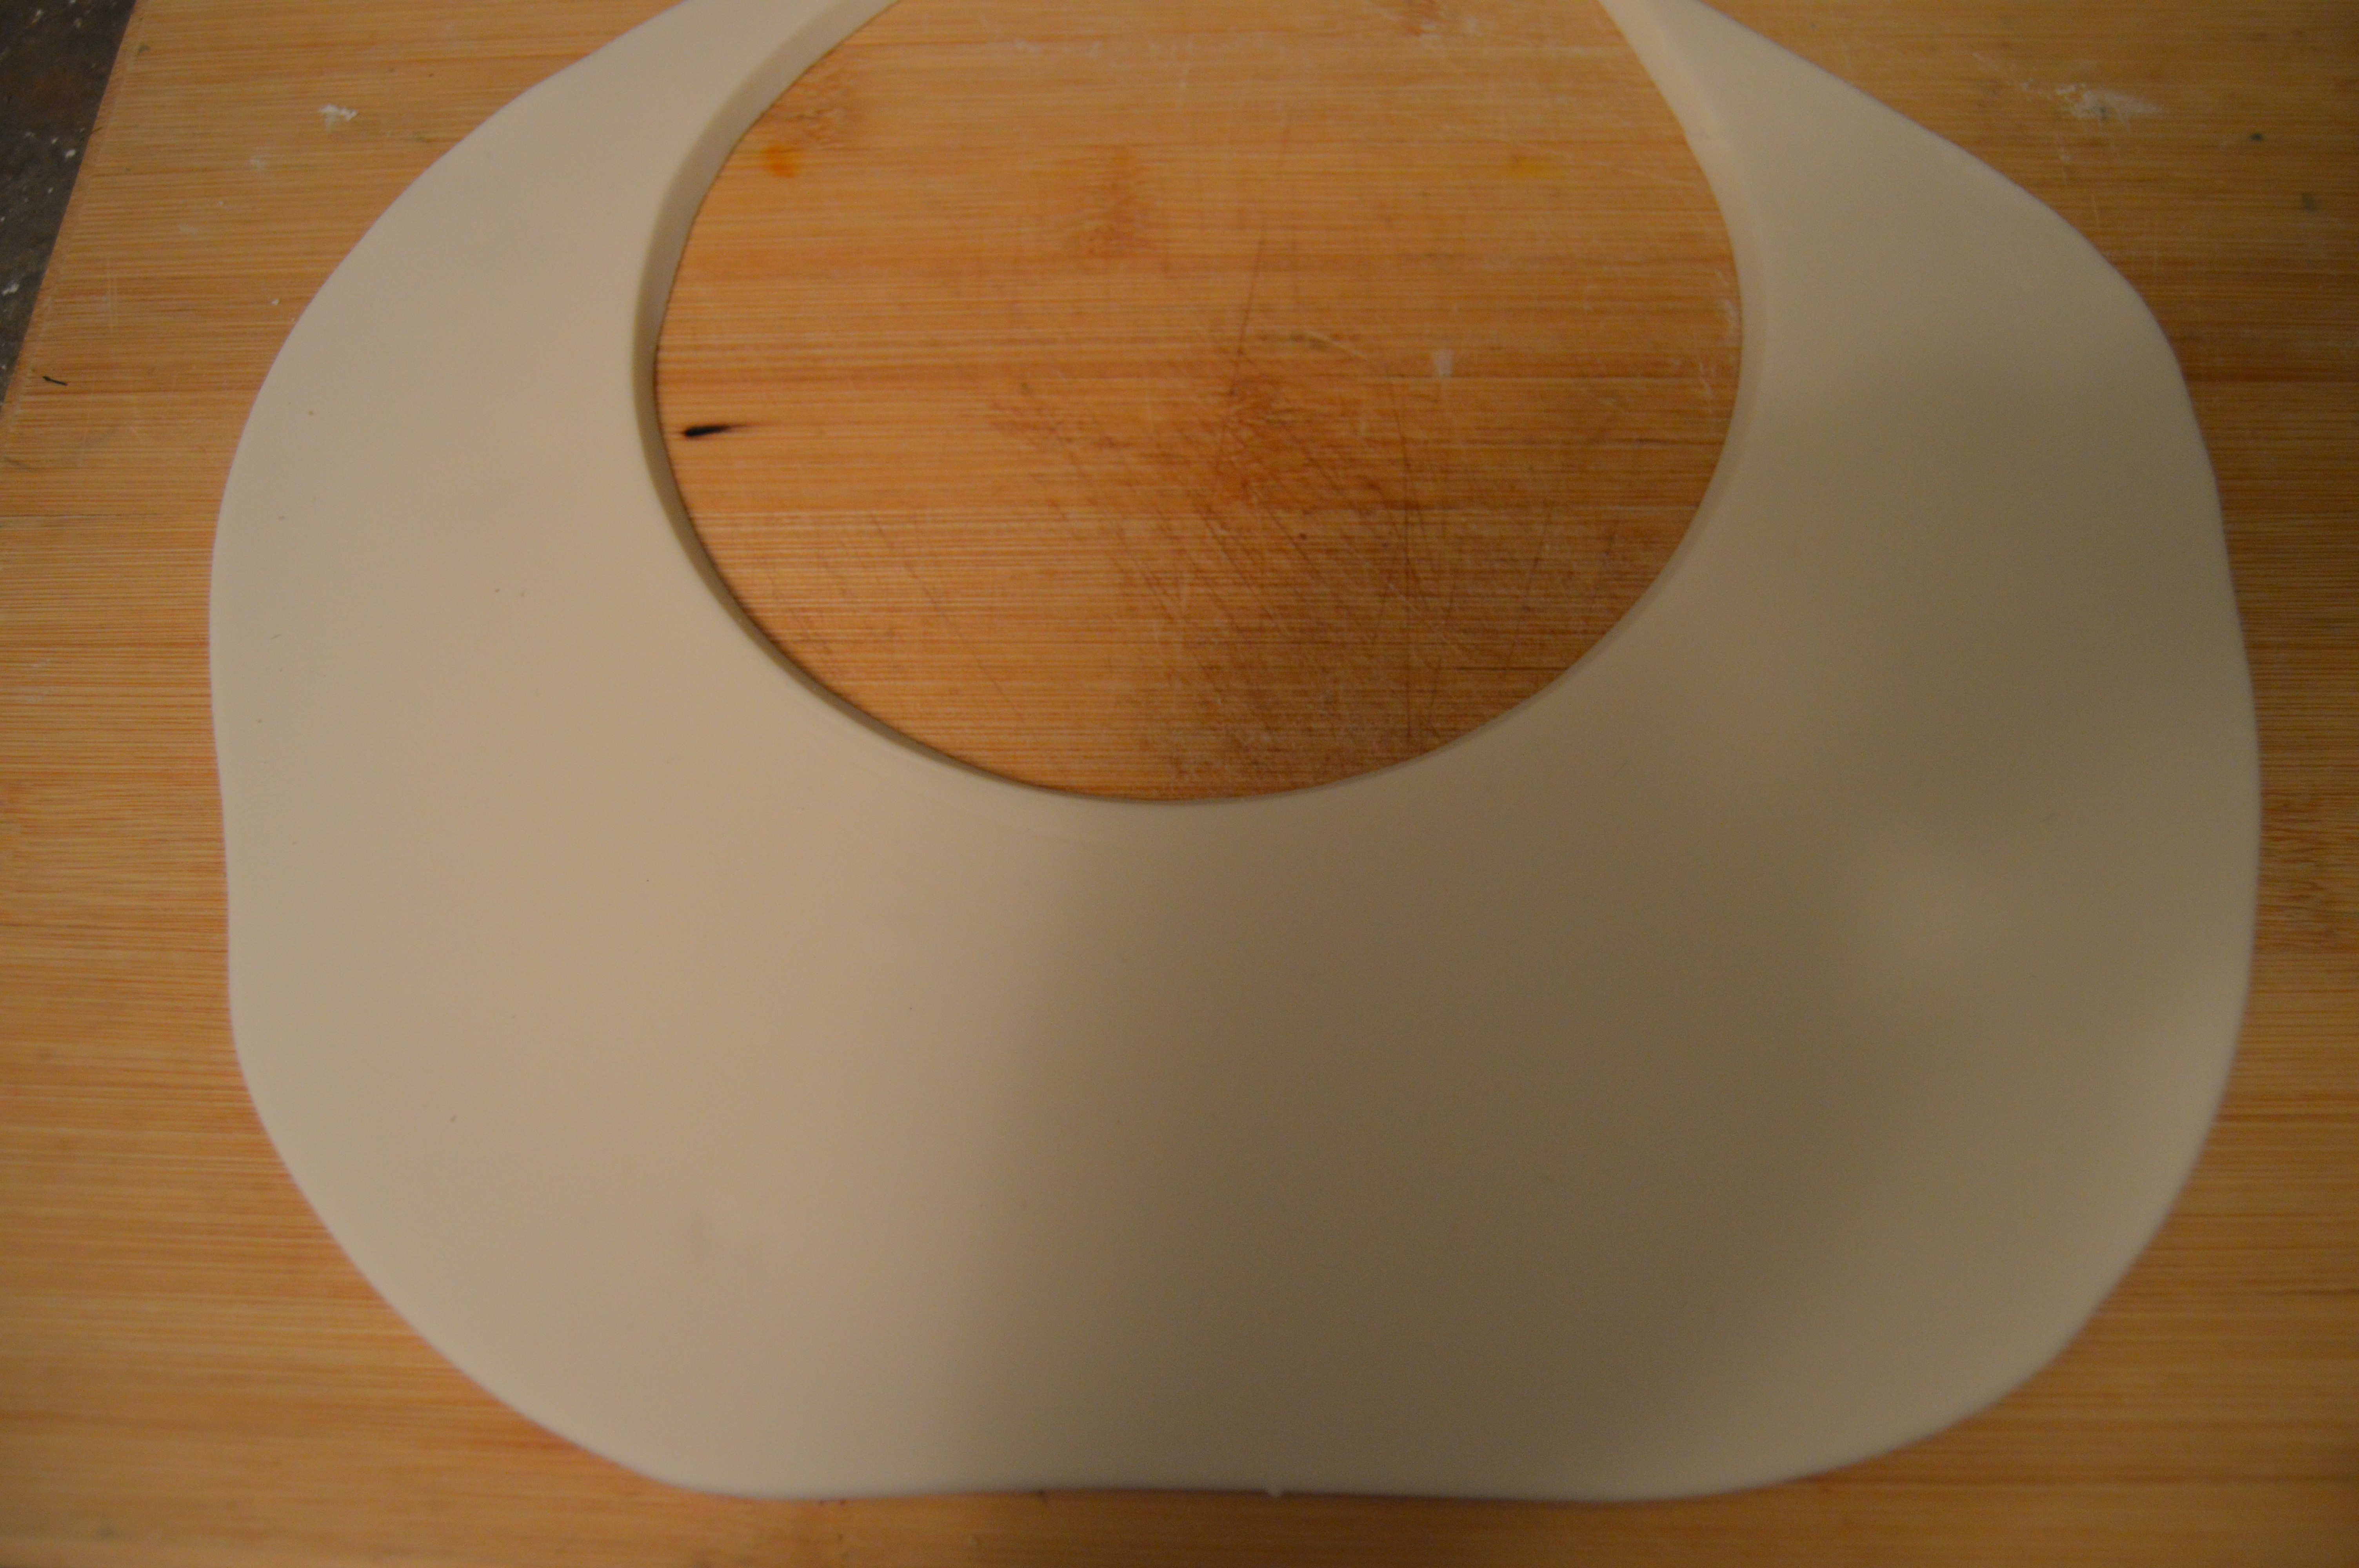
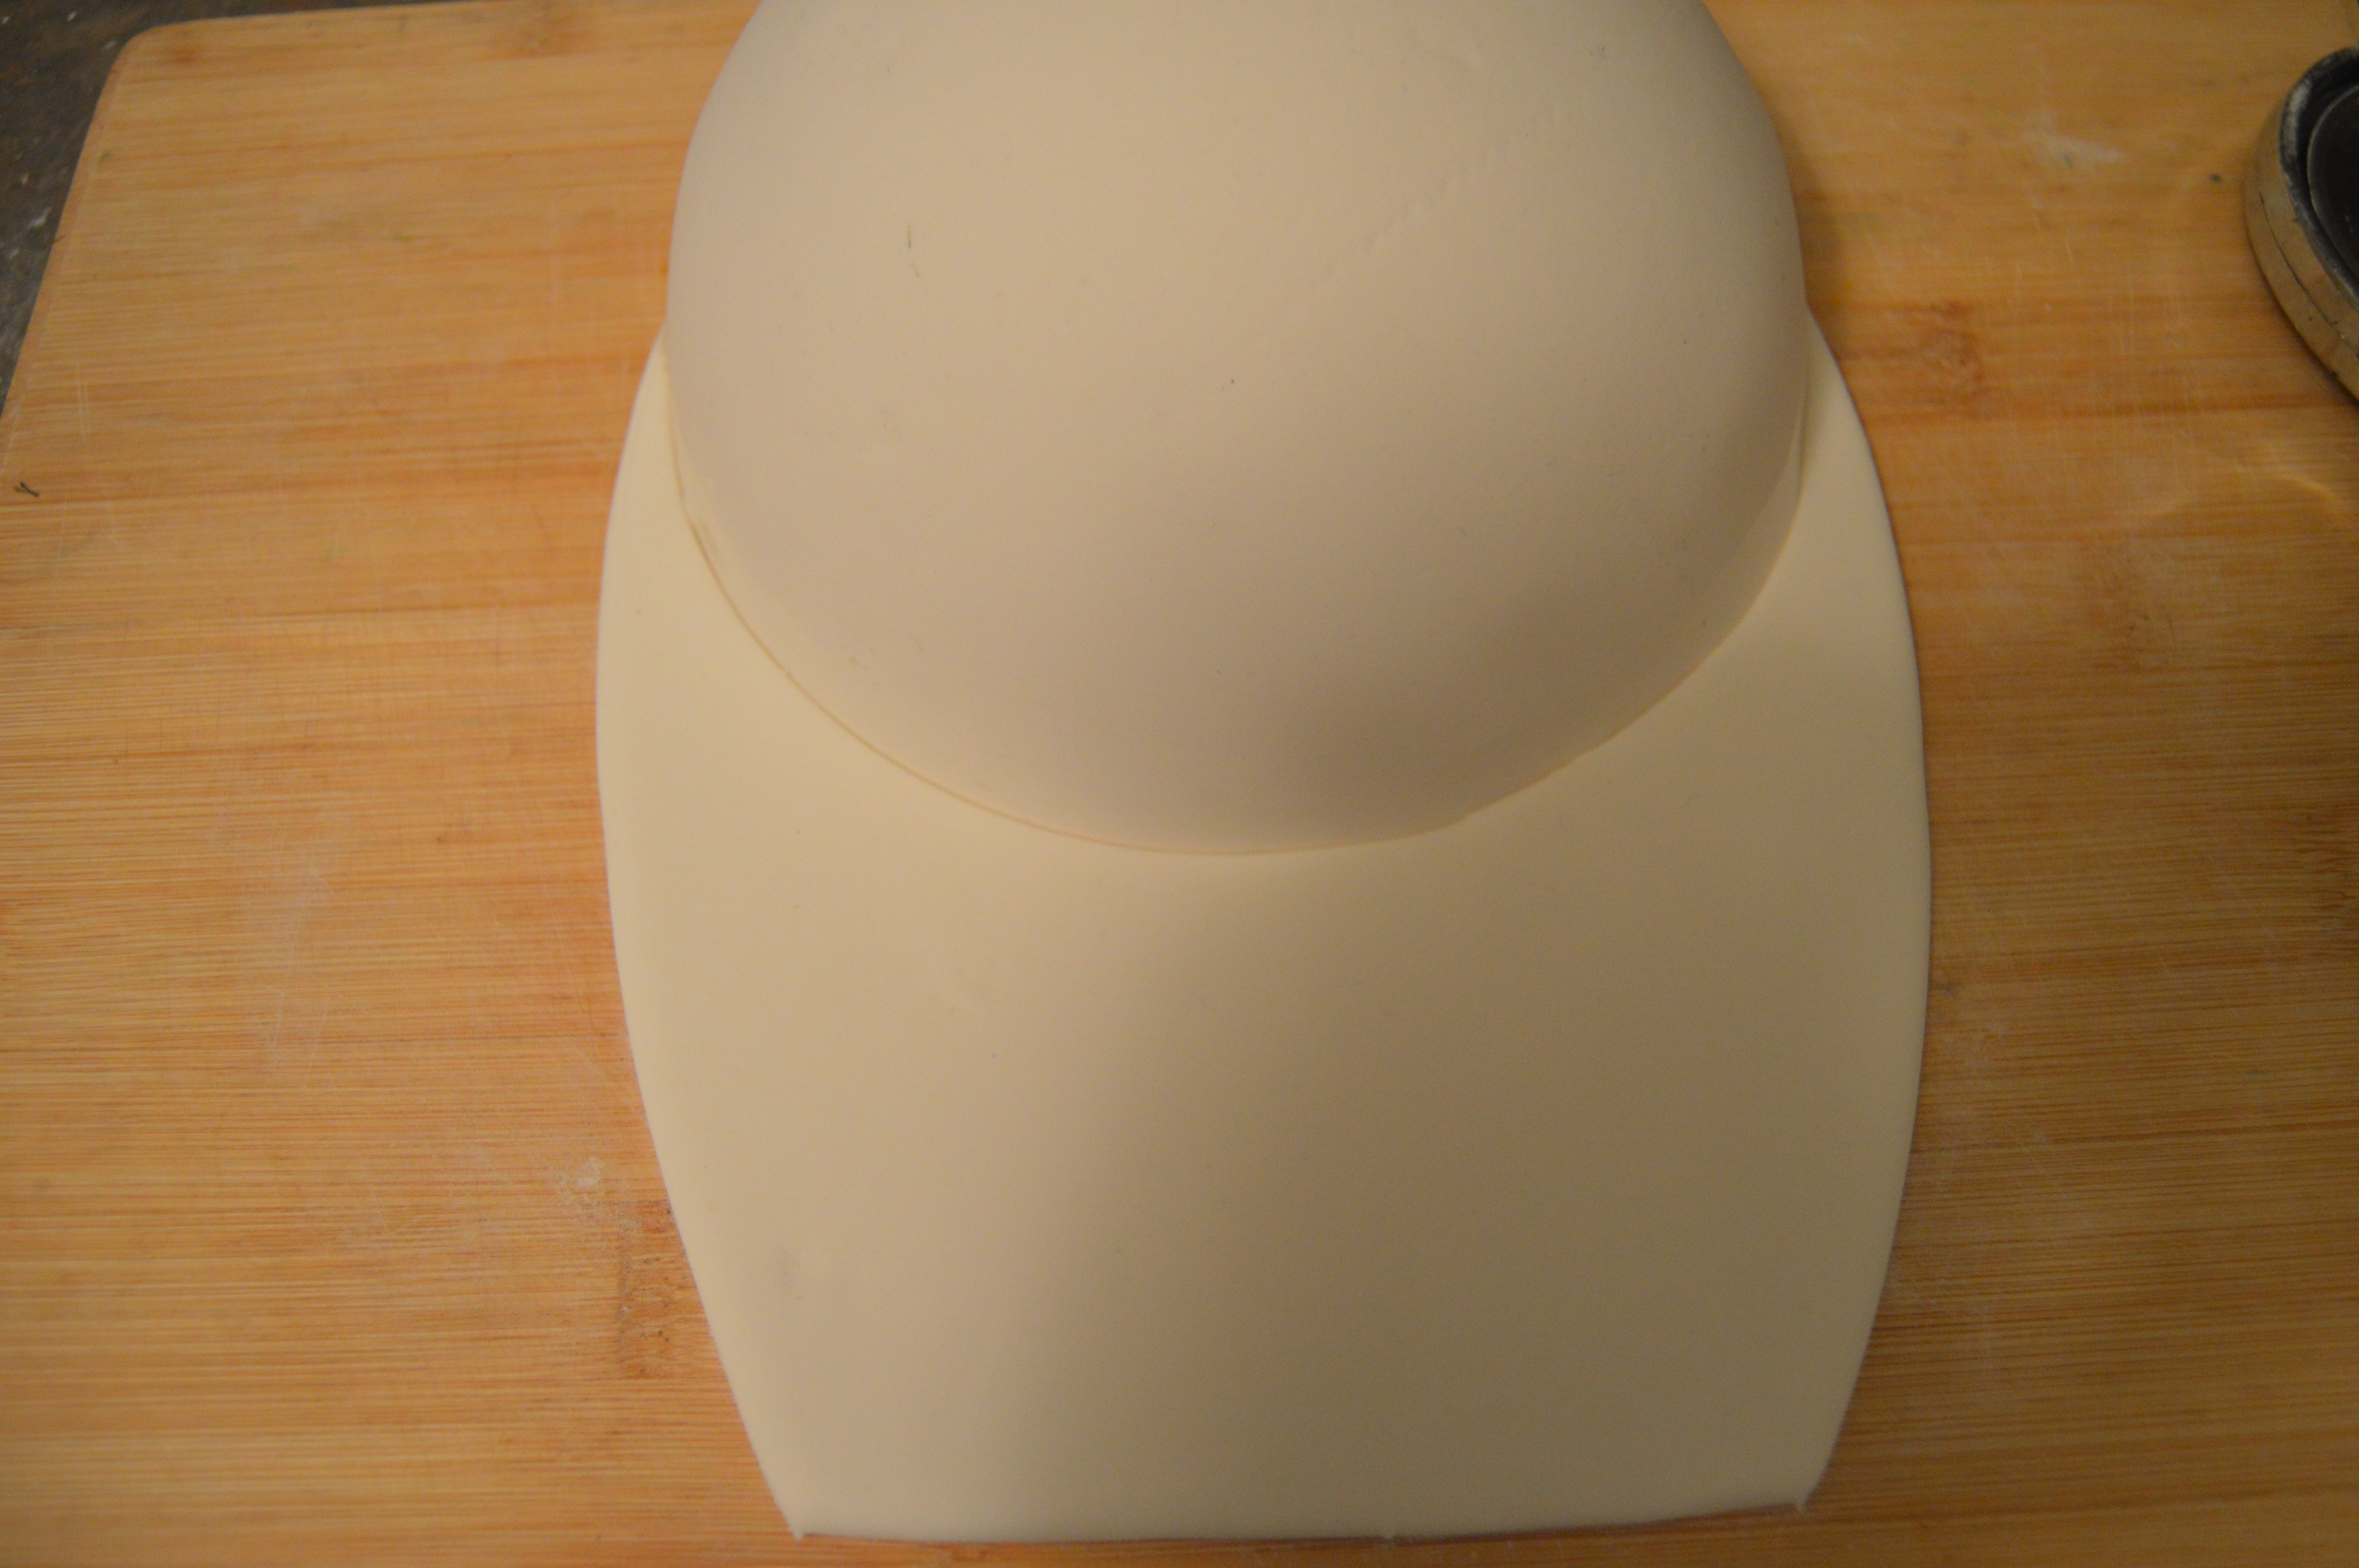
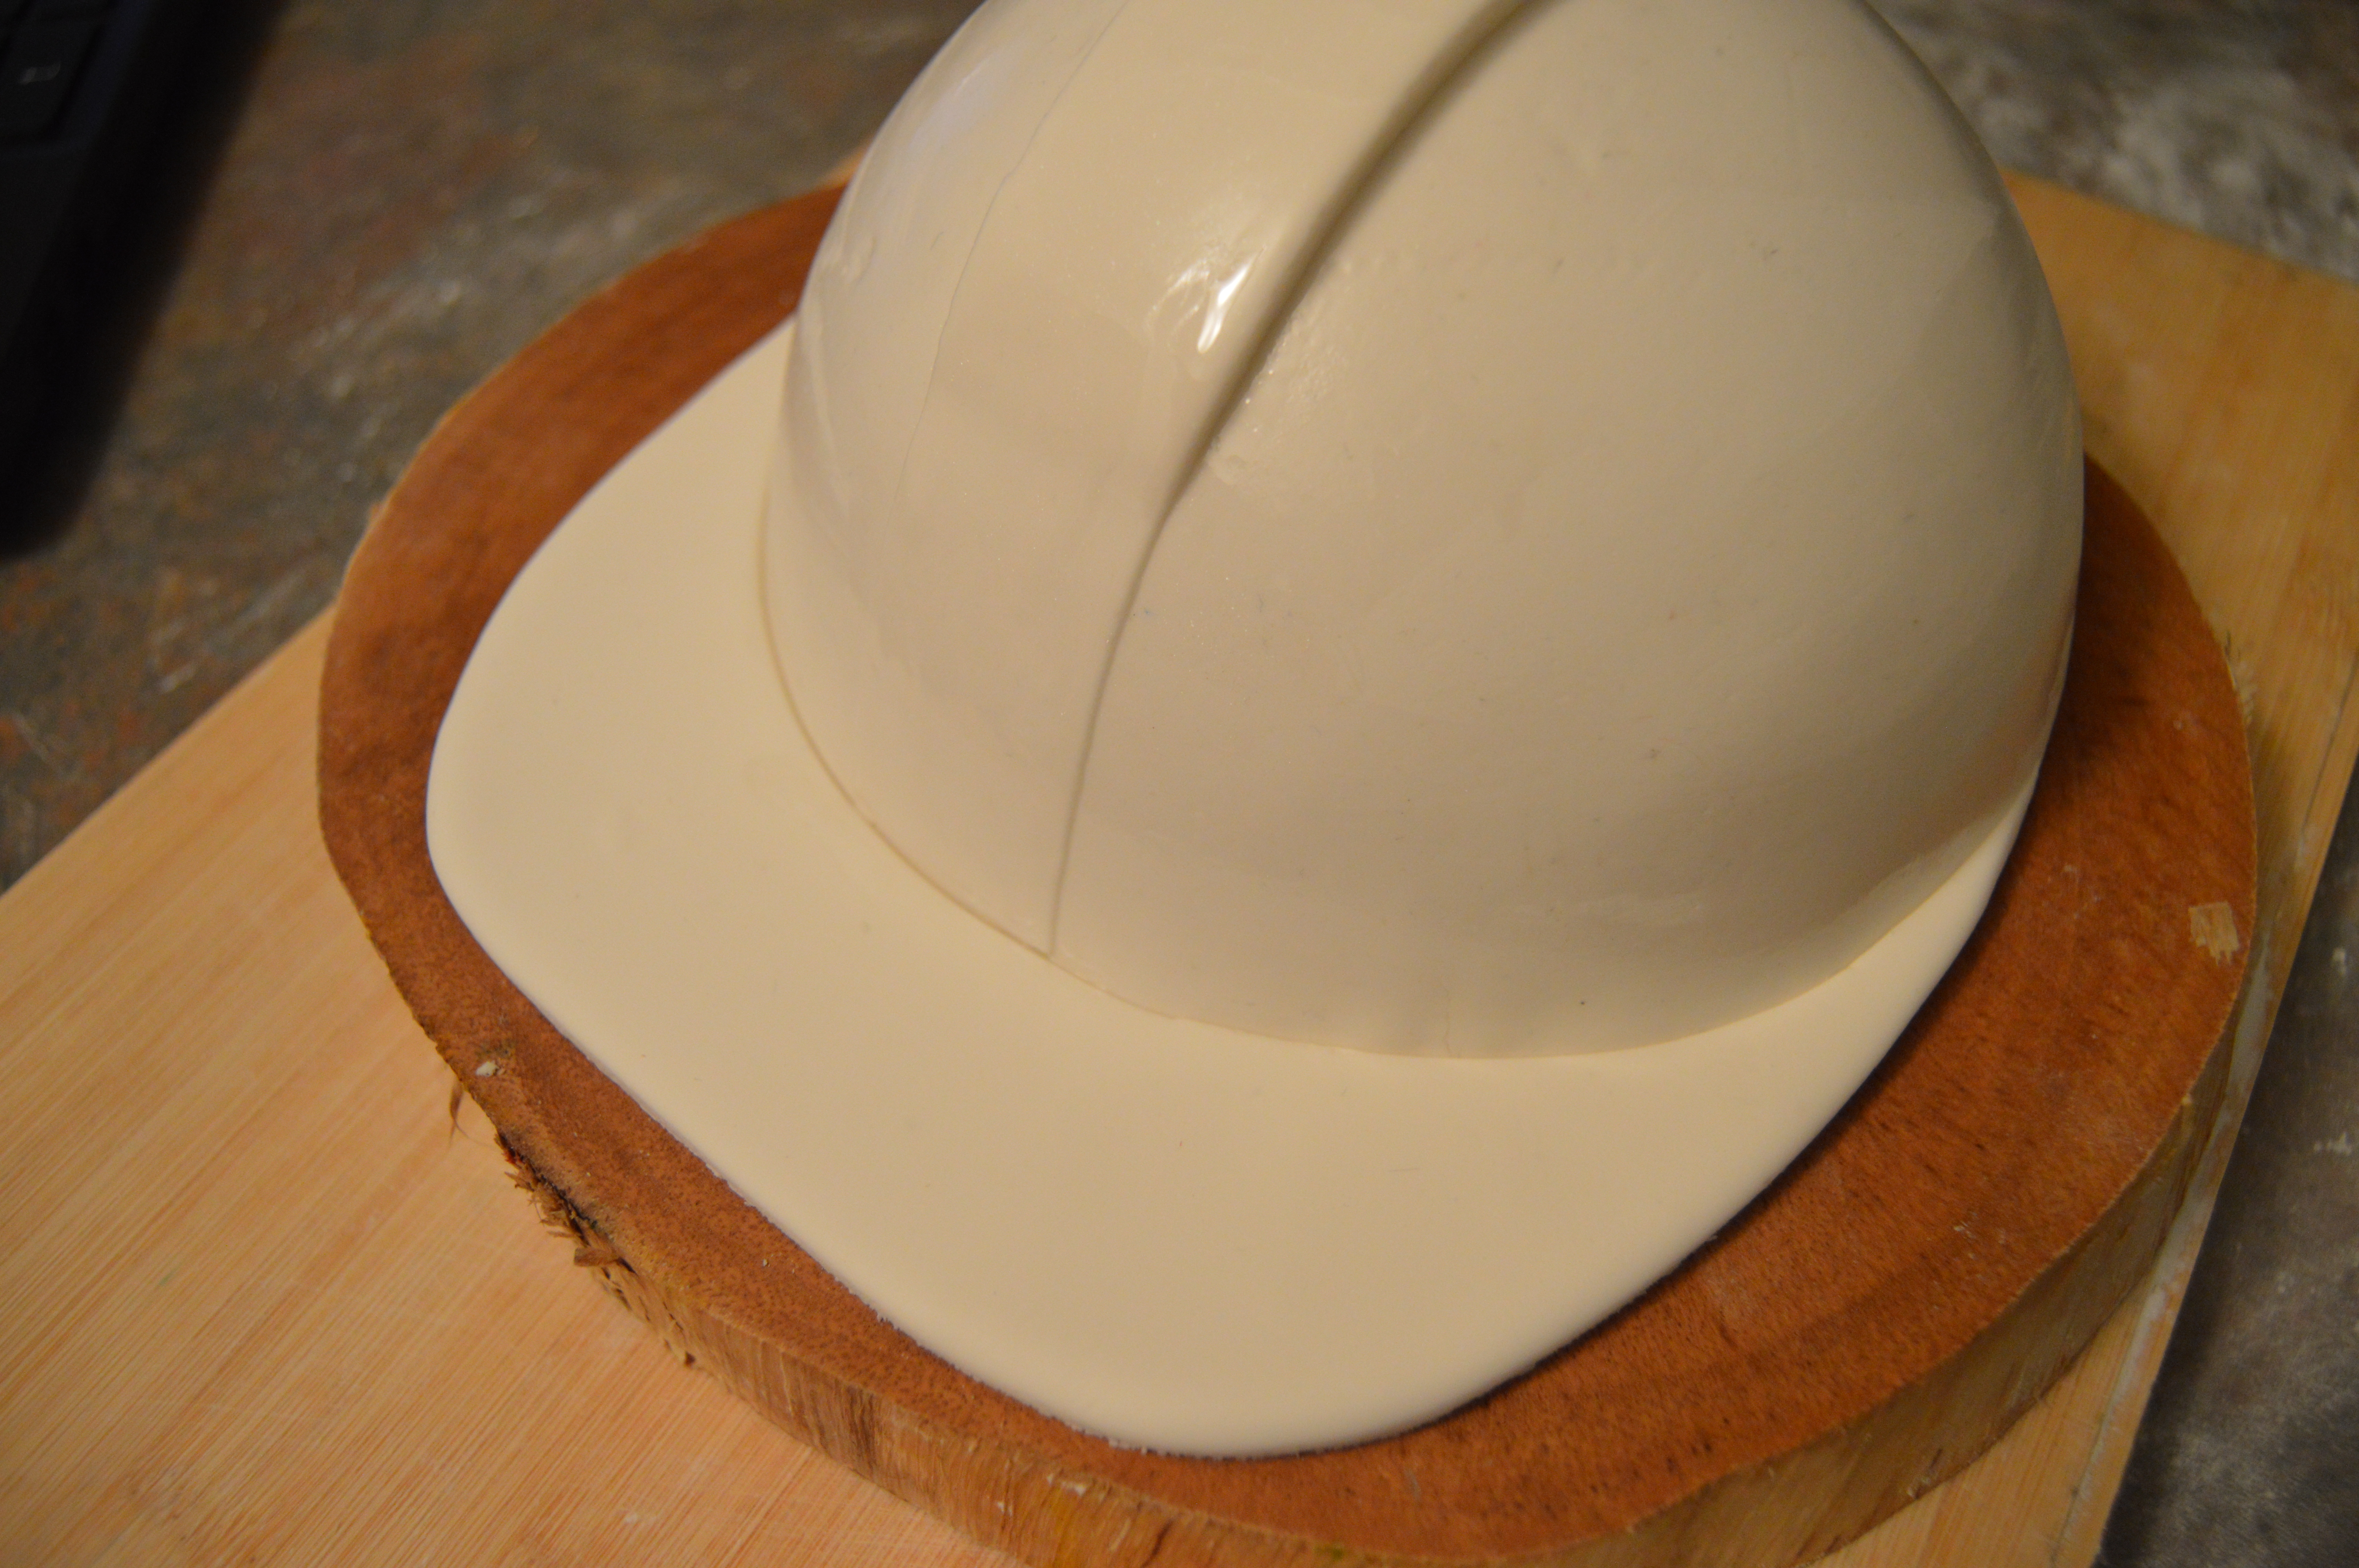
(2) Once the ball part of the hat has dried completely, its time to make the front of the hat. Roll out some white fondant into a thickness of about 5 mm. Place the pan on the rolled out fondant and cut around the base with a pizza cutter.
(3) Brush the base of the ball part of the hat with some water and stick it to the cut out portion of the rolled out fondant.
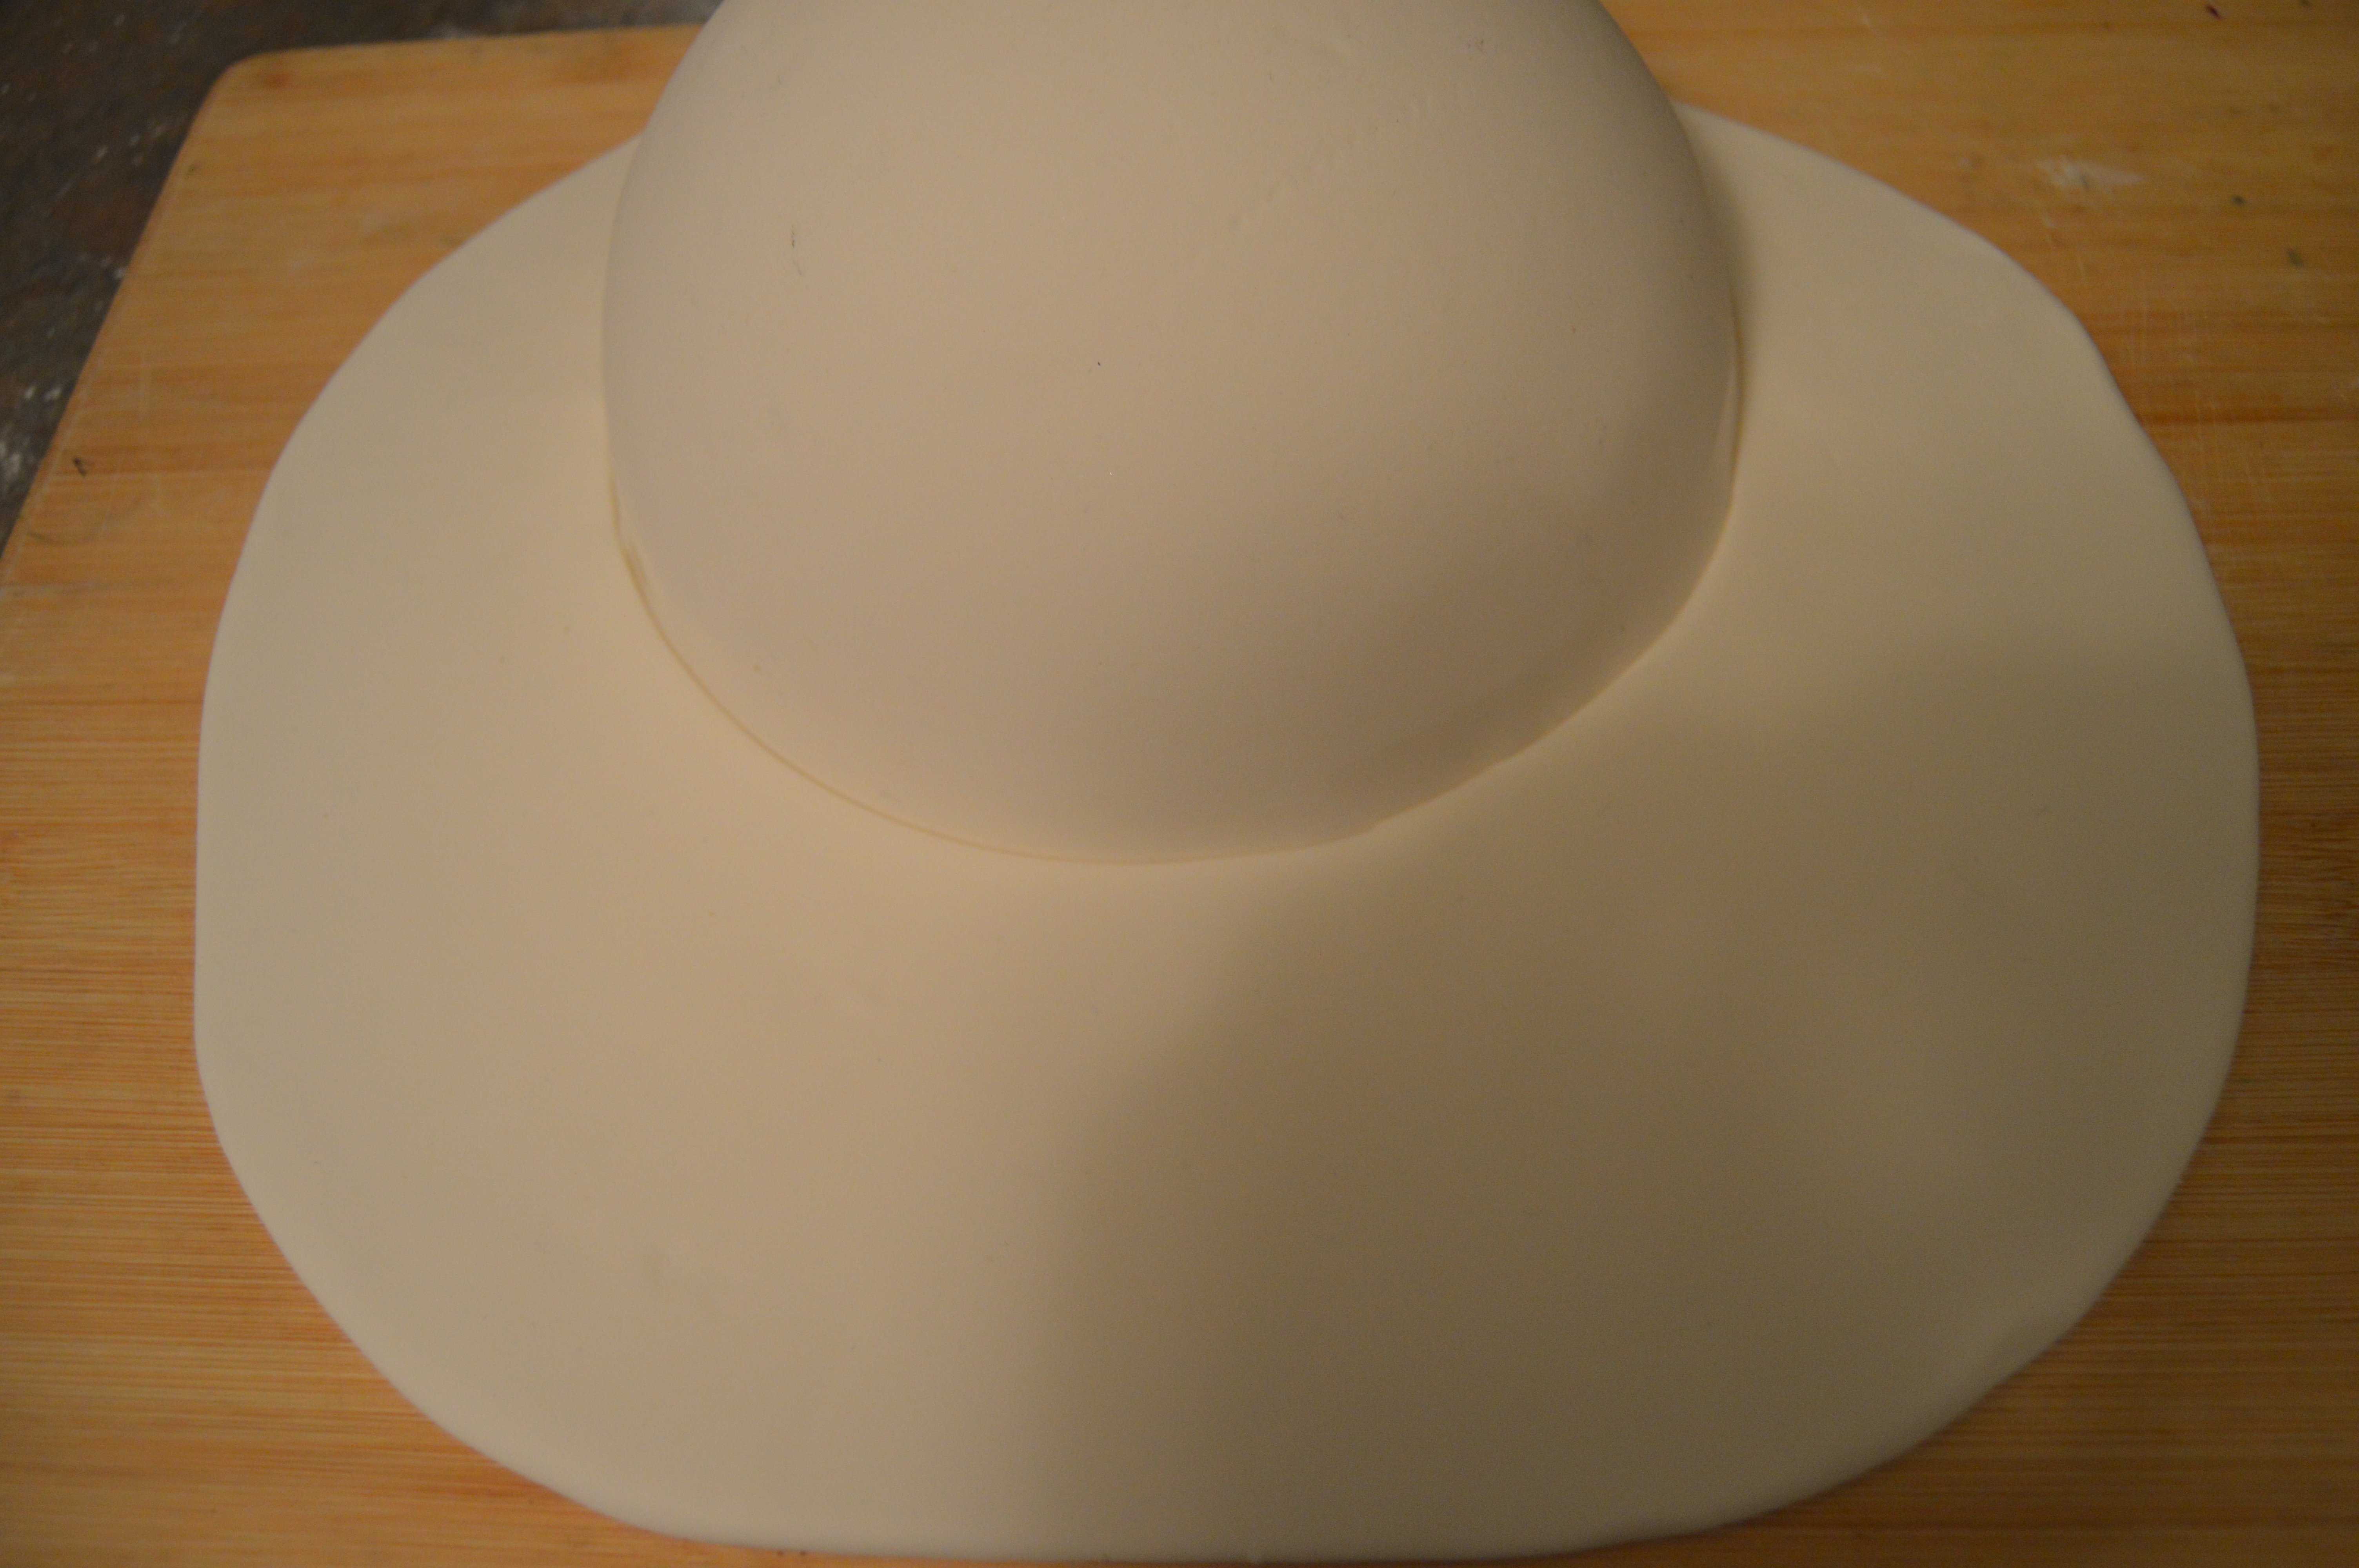
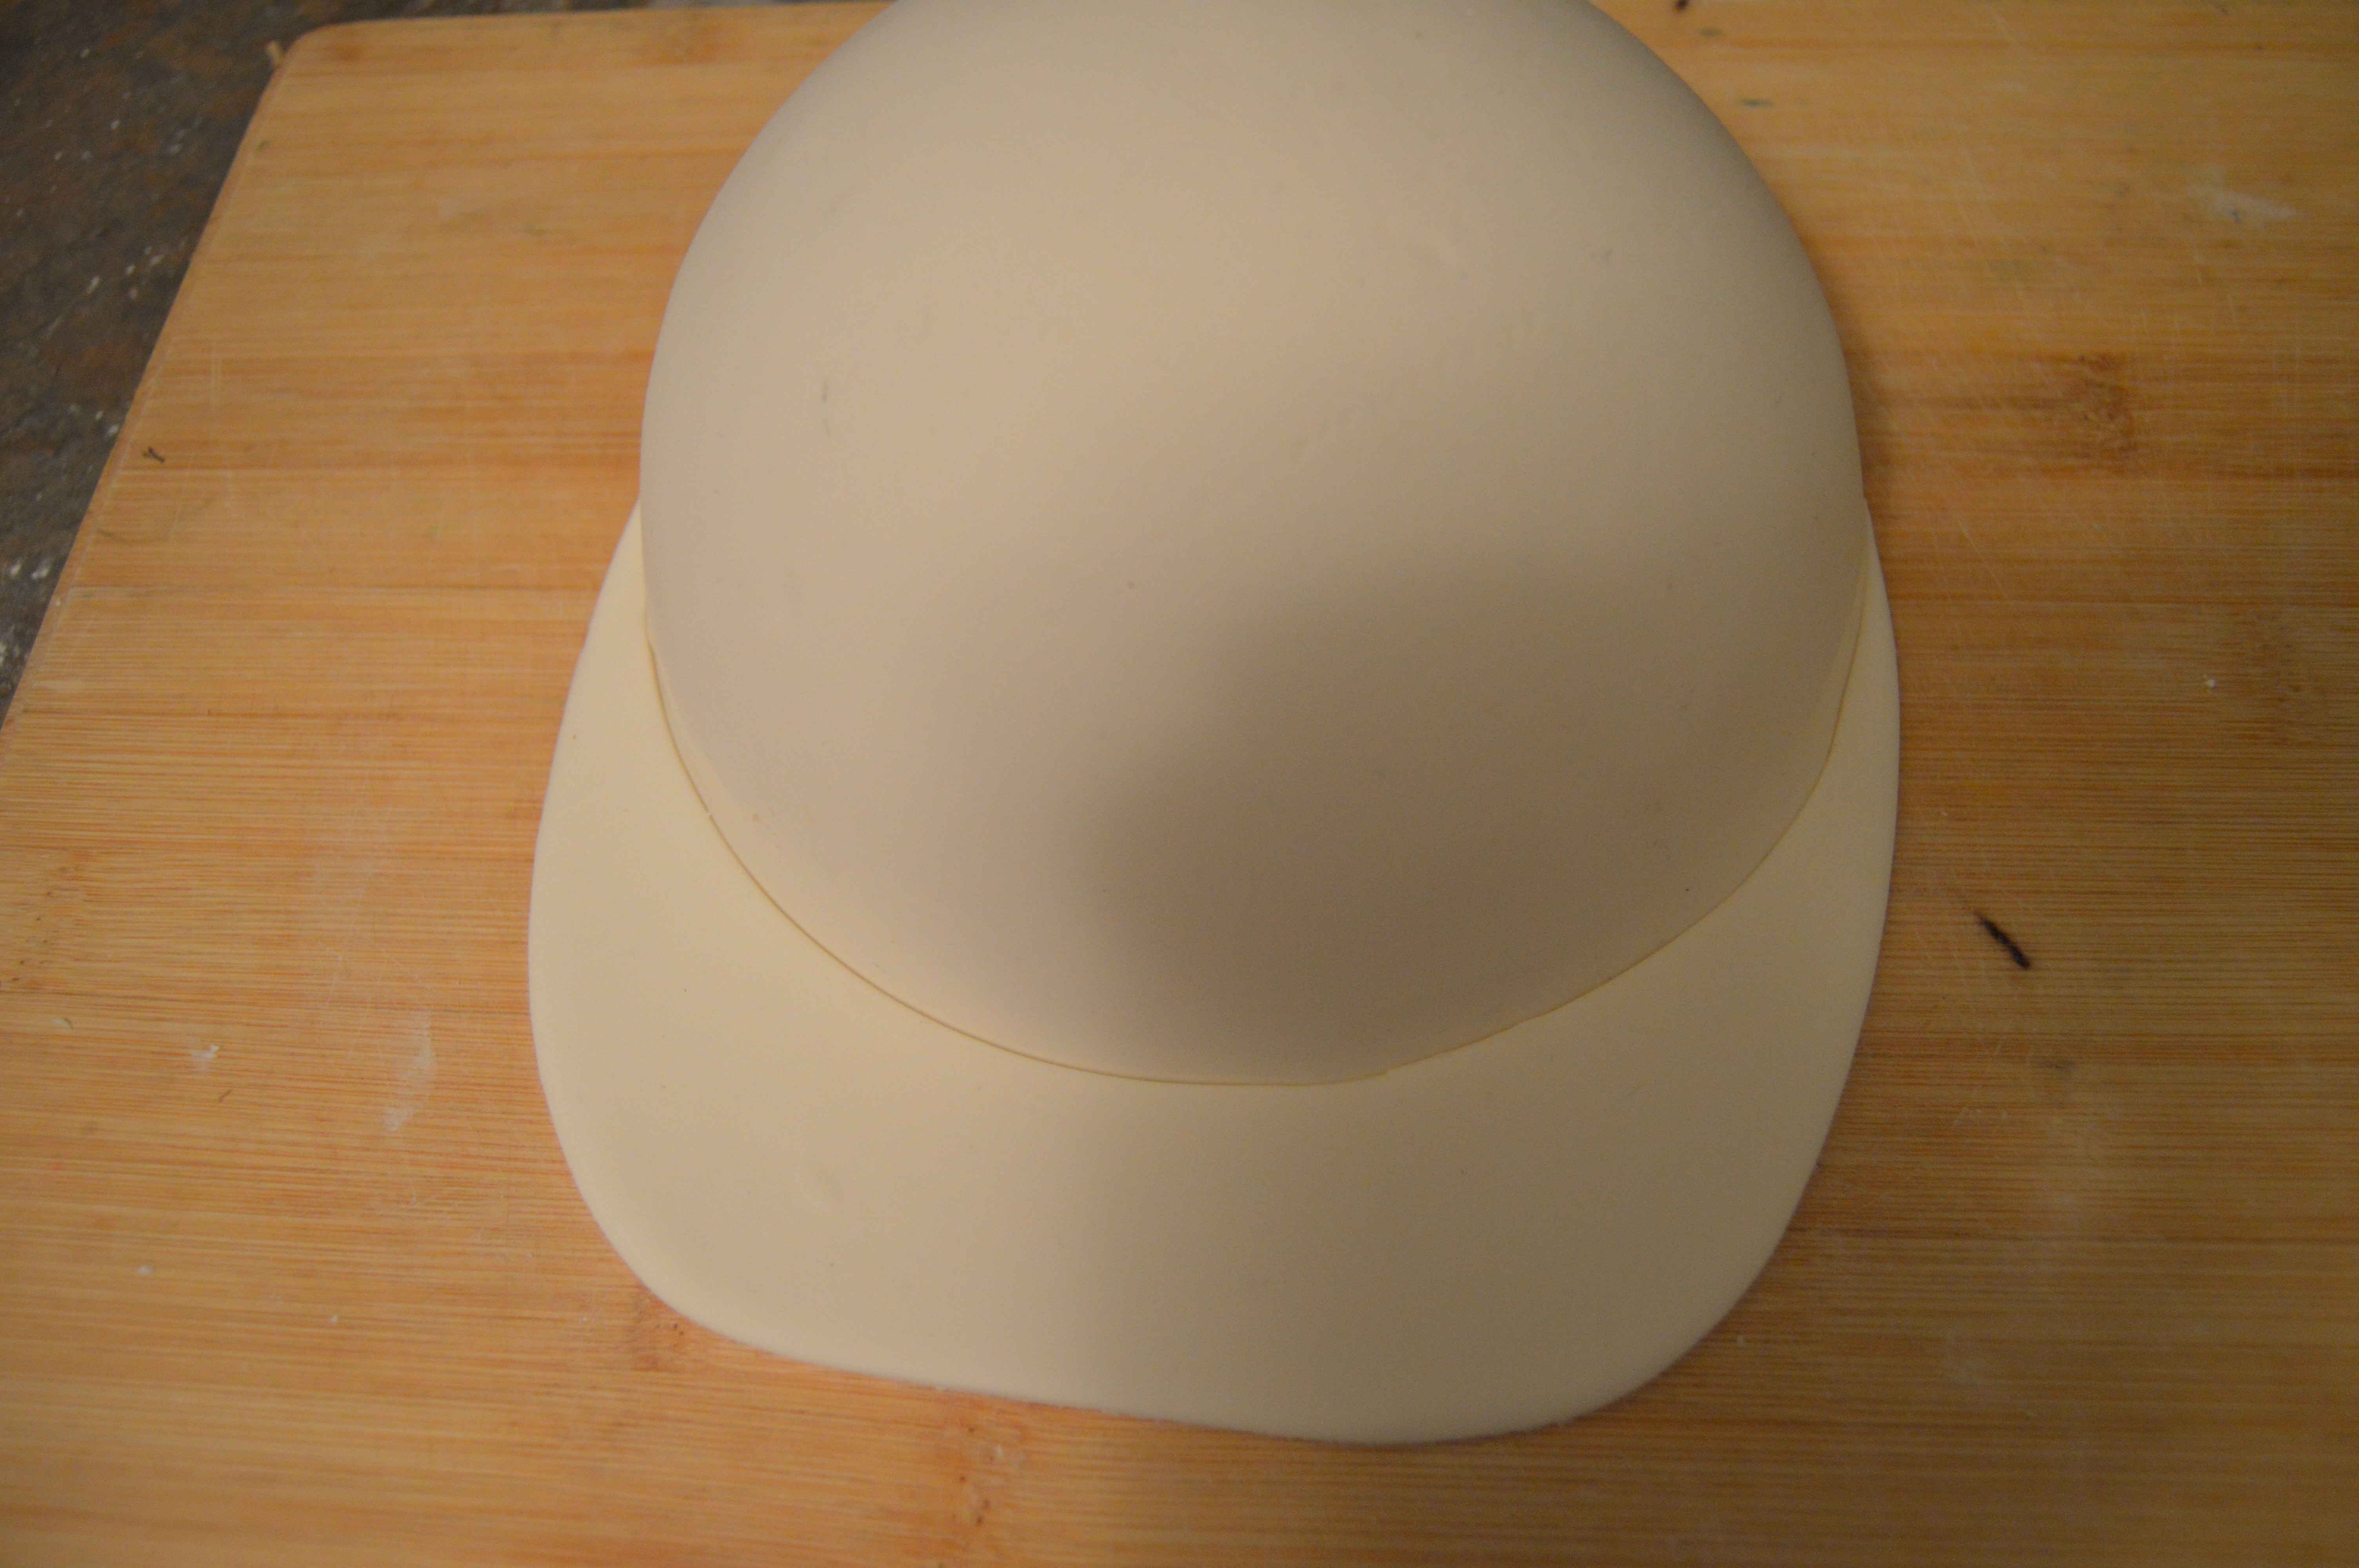
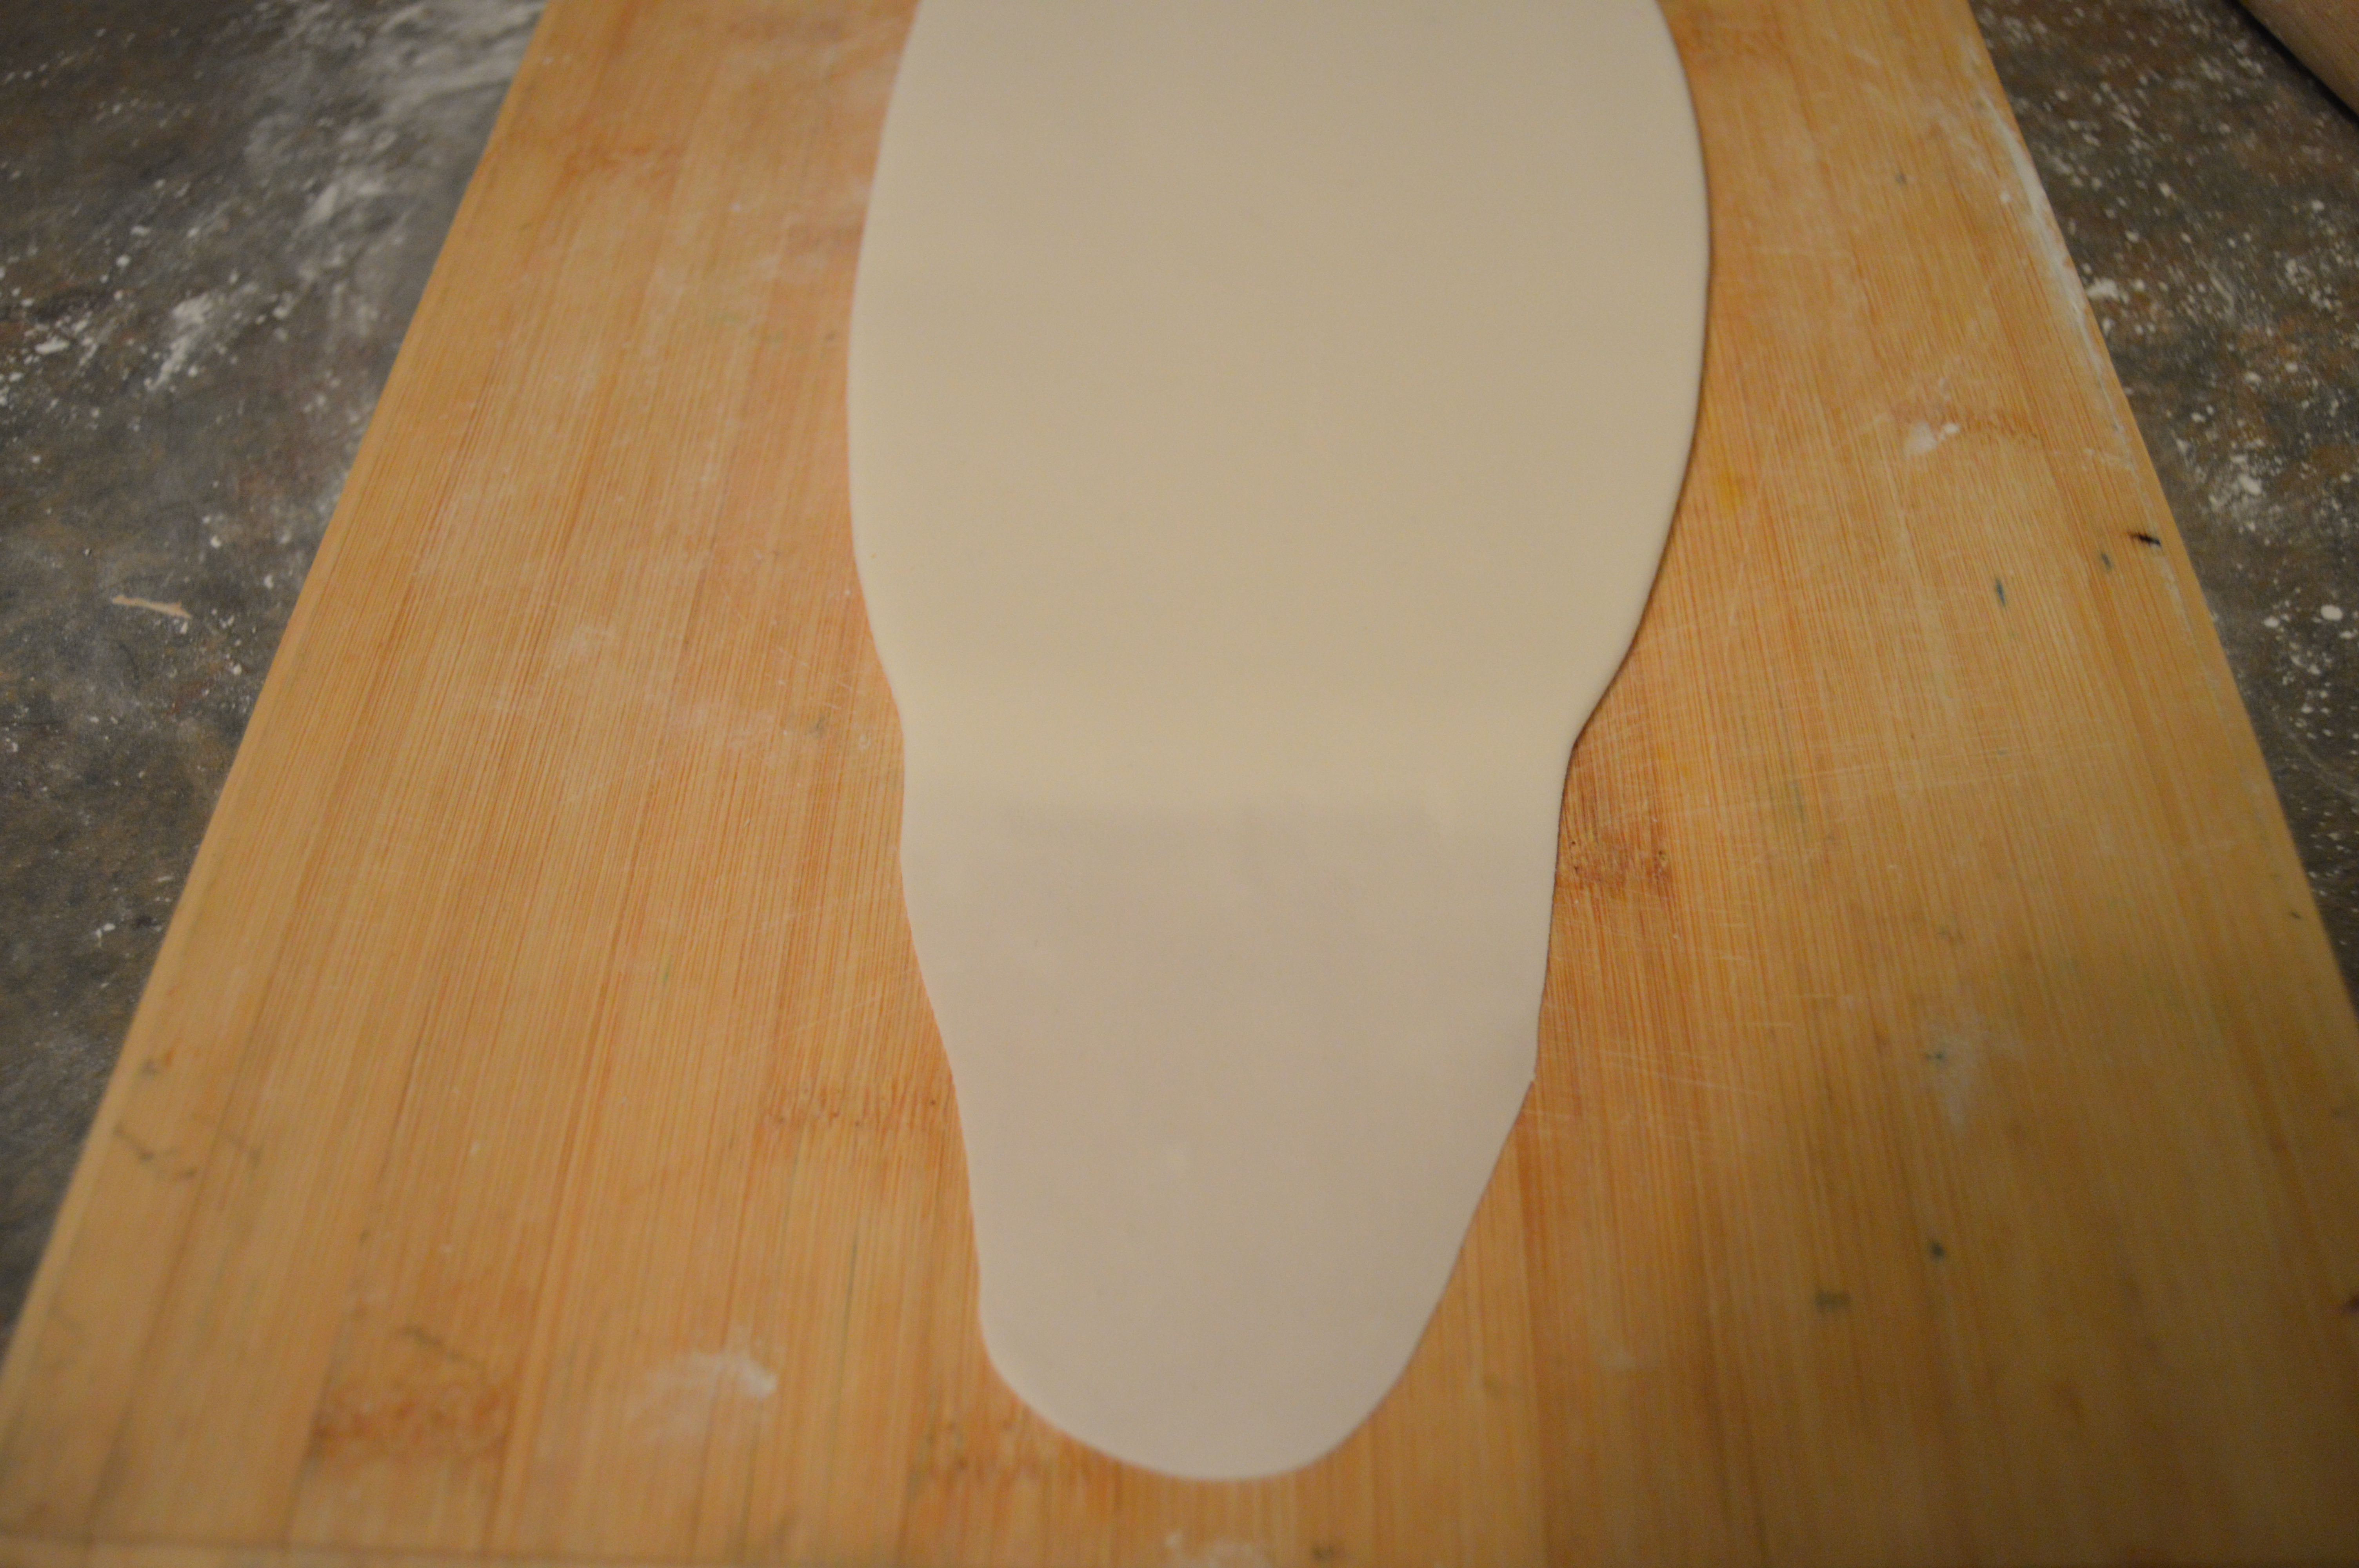
(4) Using a pizza cutter, start shaping the front of the hat until you arrive at the desired shape.

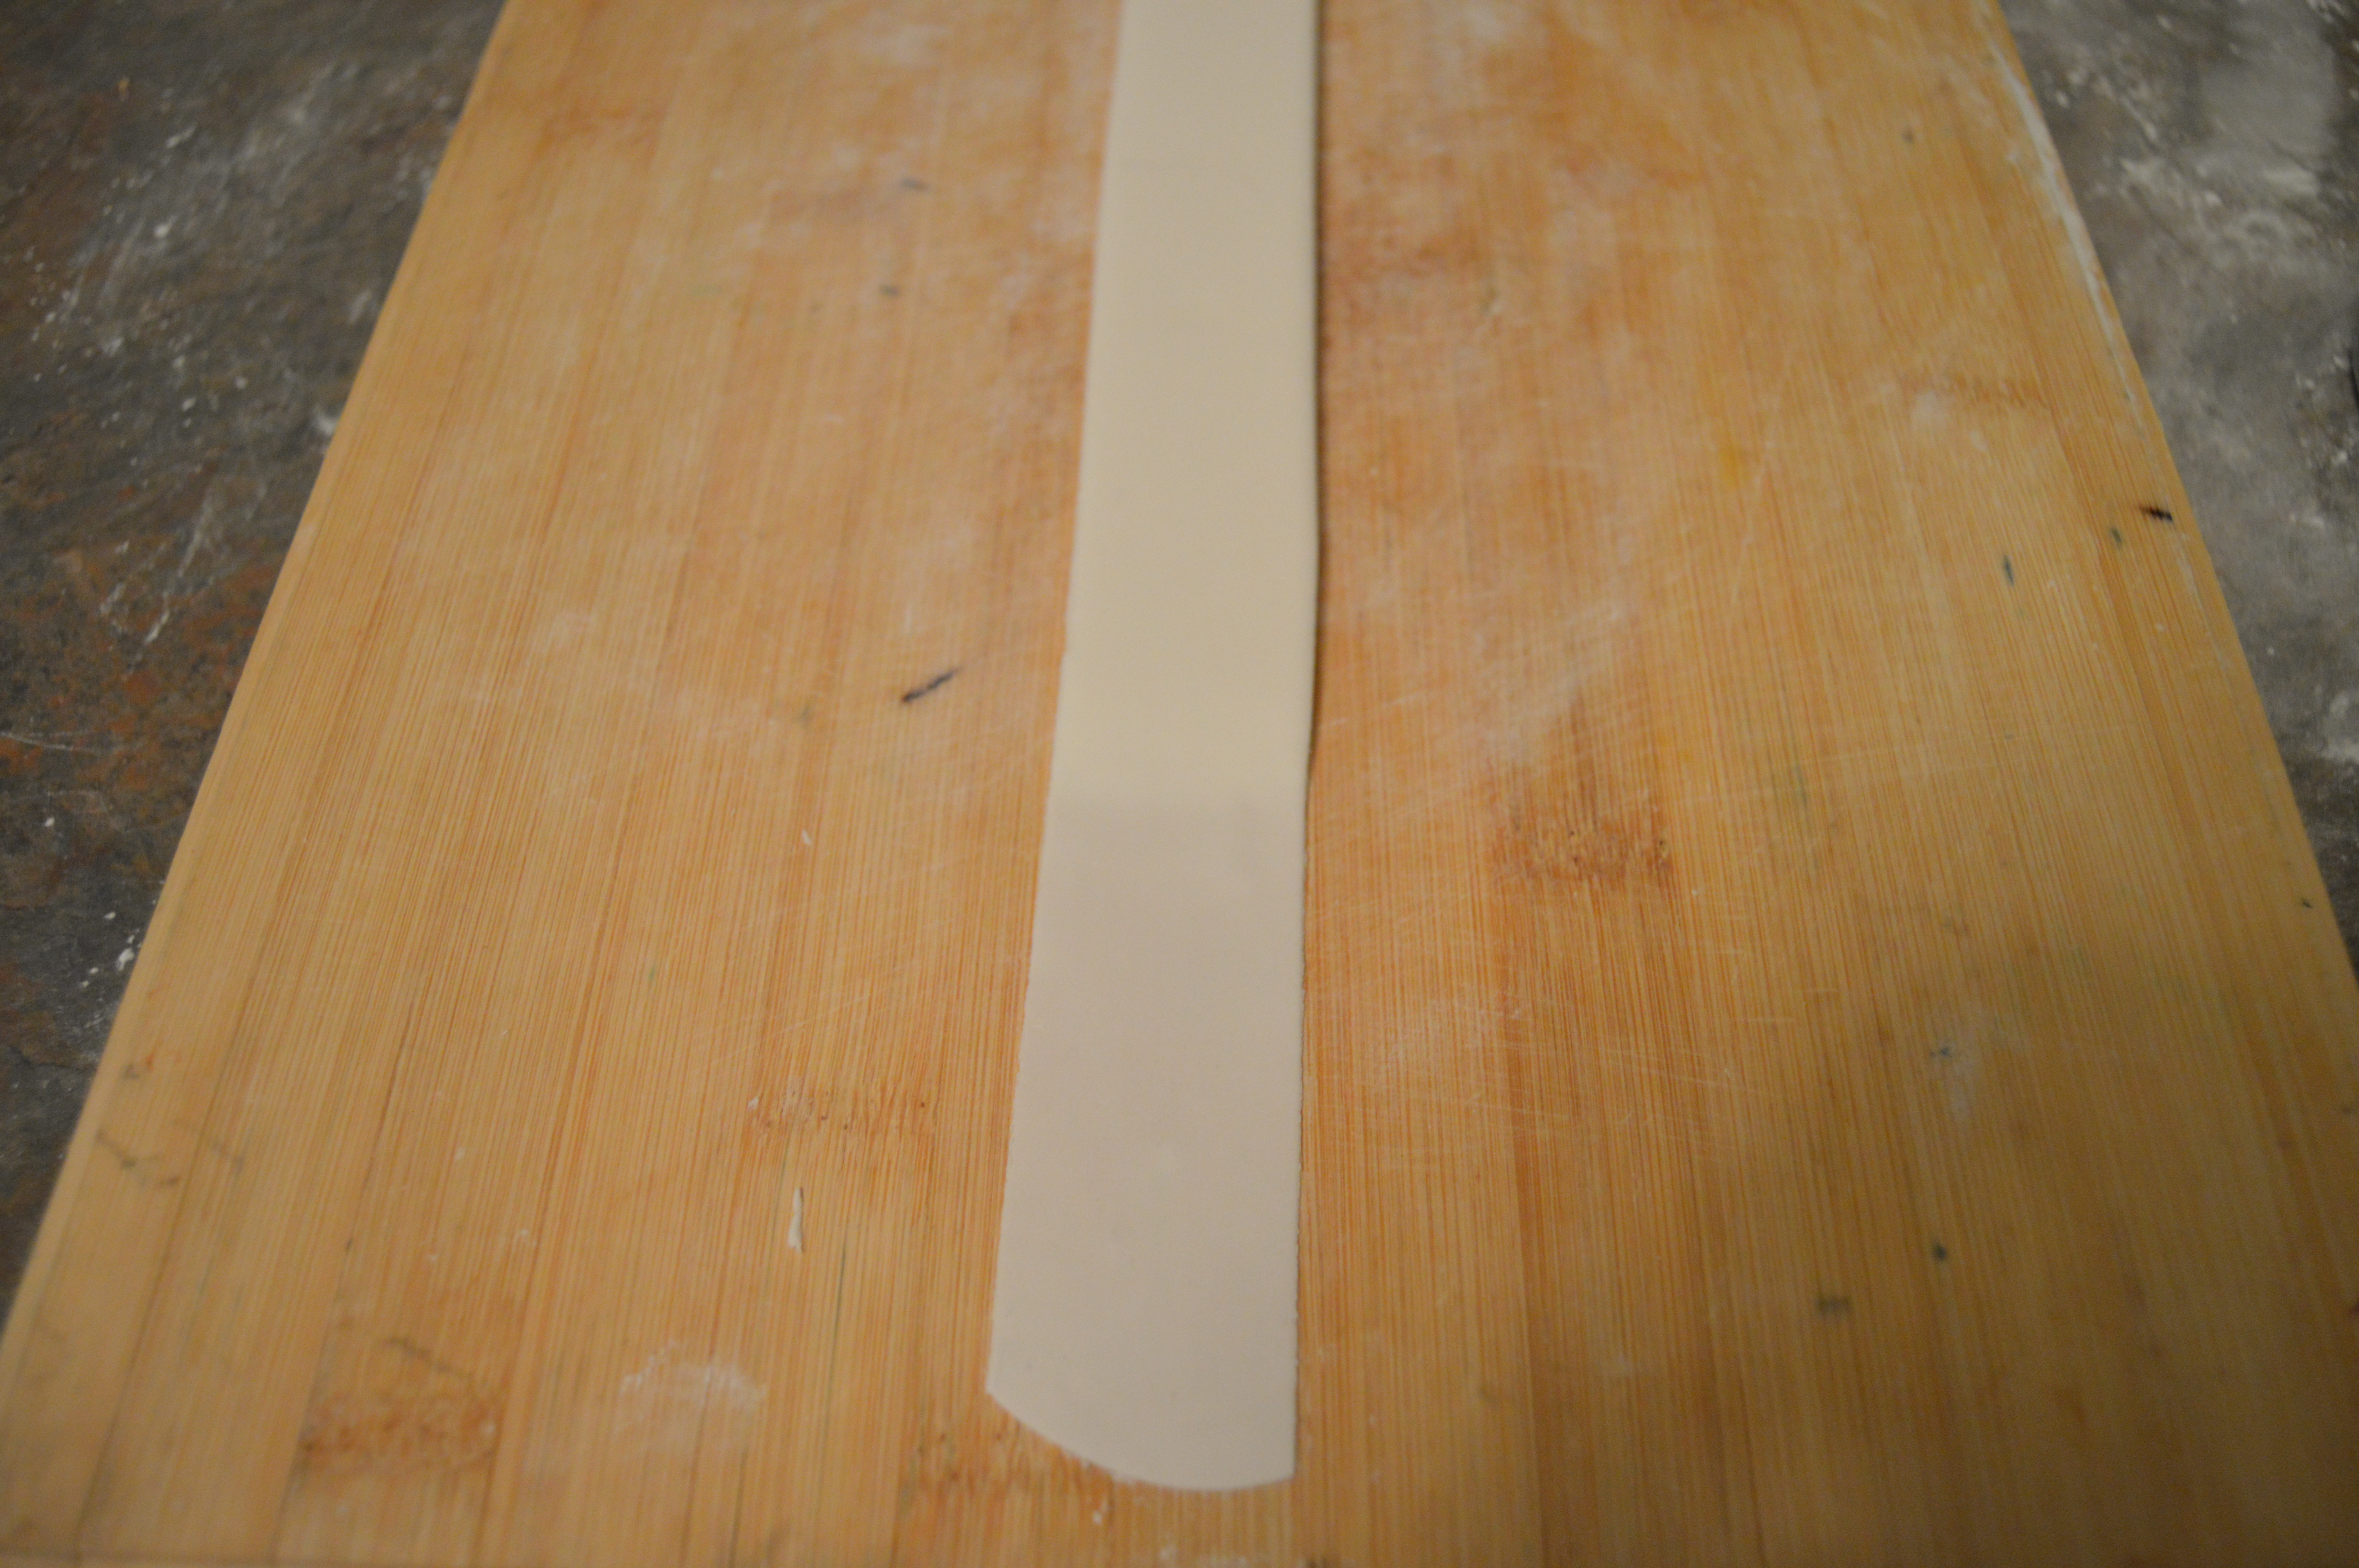
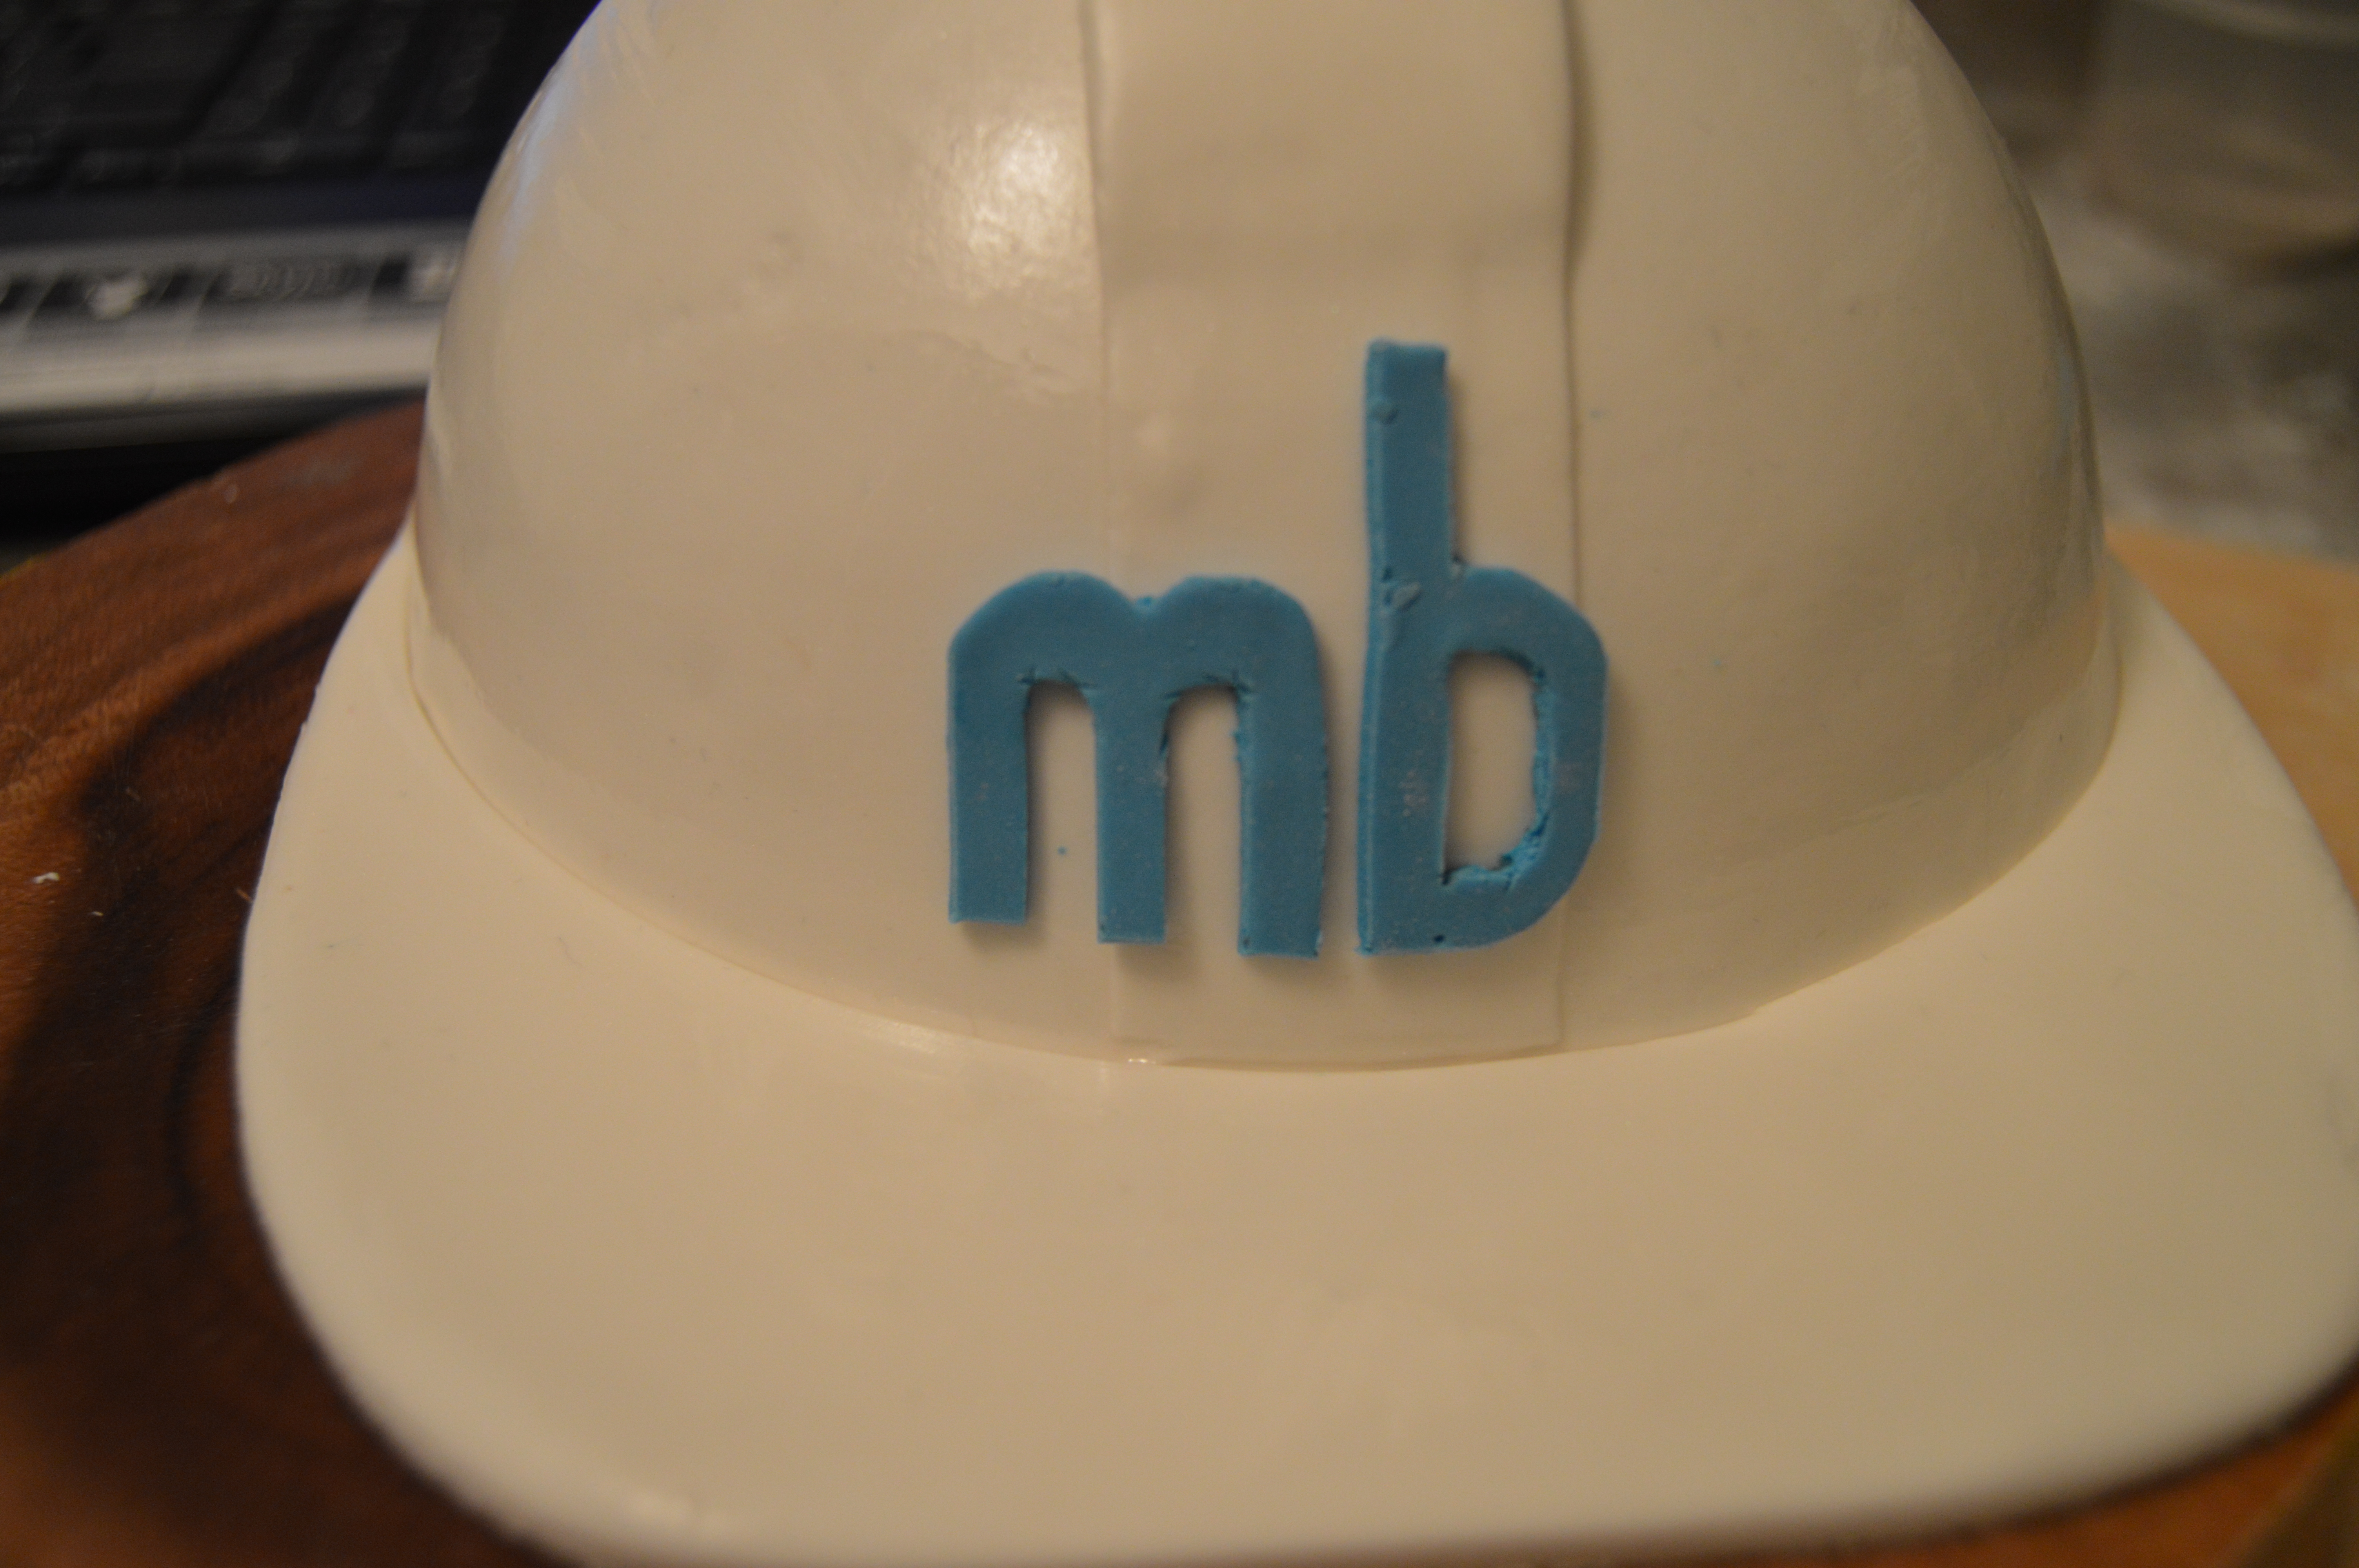
(5) Next, cut out a thin strip of fondant about 1 inch wide. When rolling the fondant out, roll the front thinner than the back so you have a gradual rise. Stick this to the middle of the hat. Stick two shorter strips on both sides of the hat.
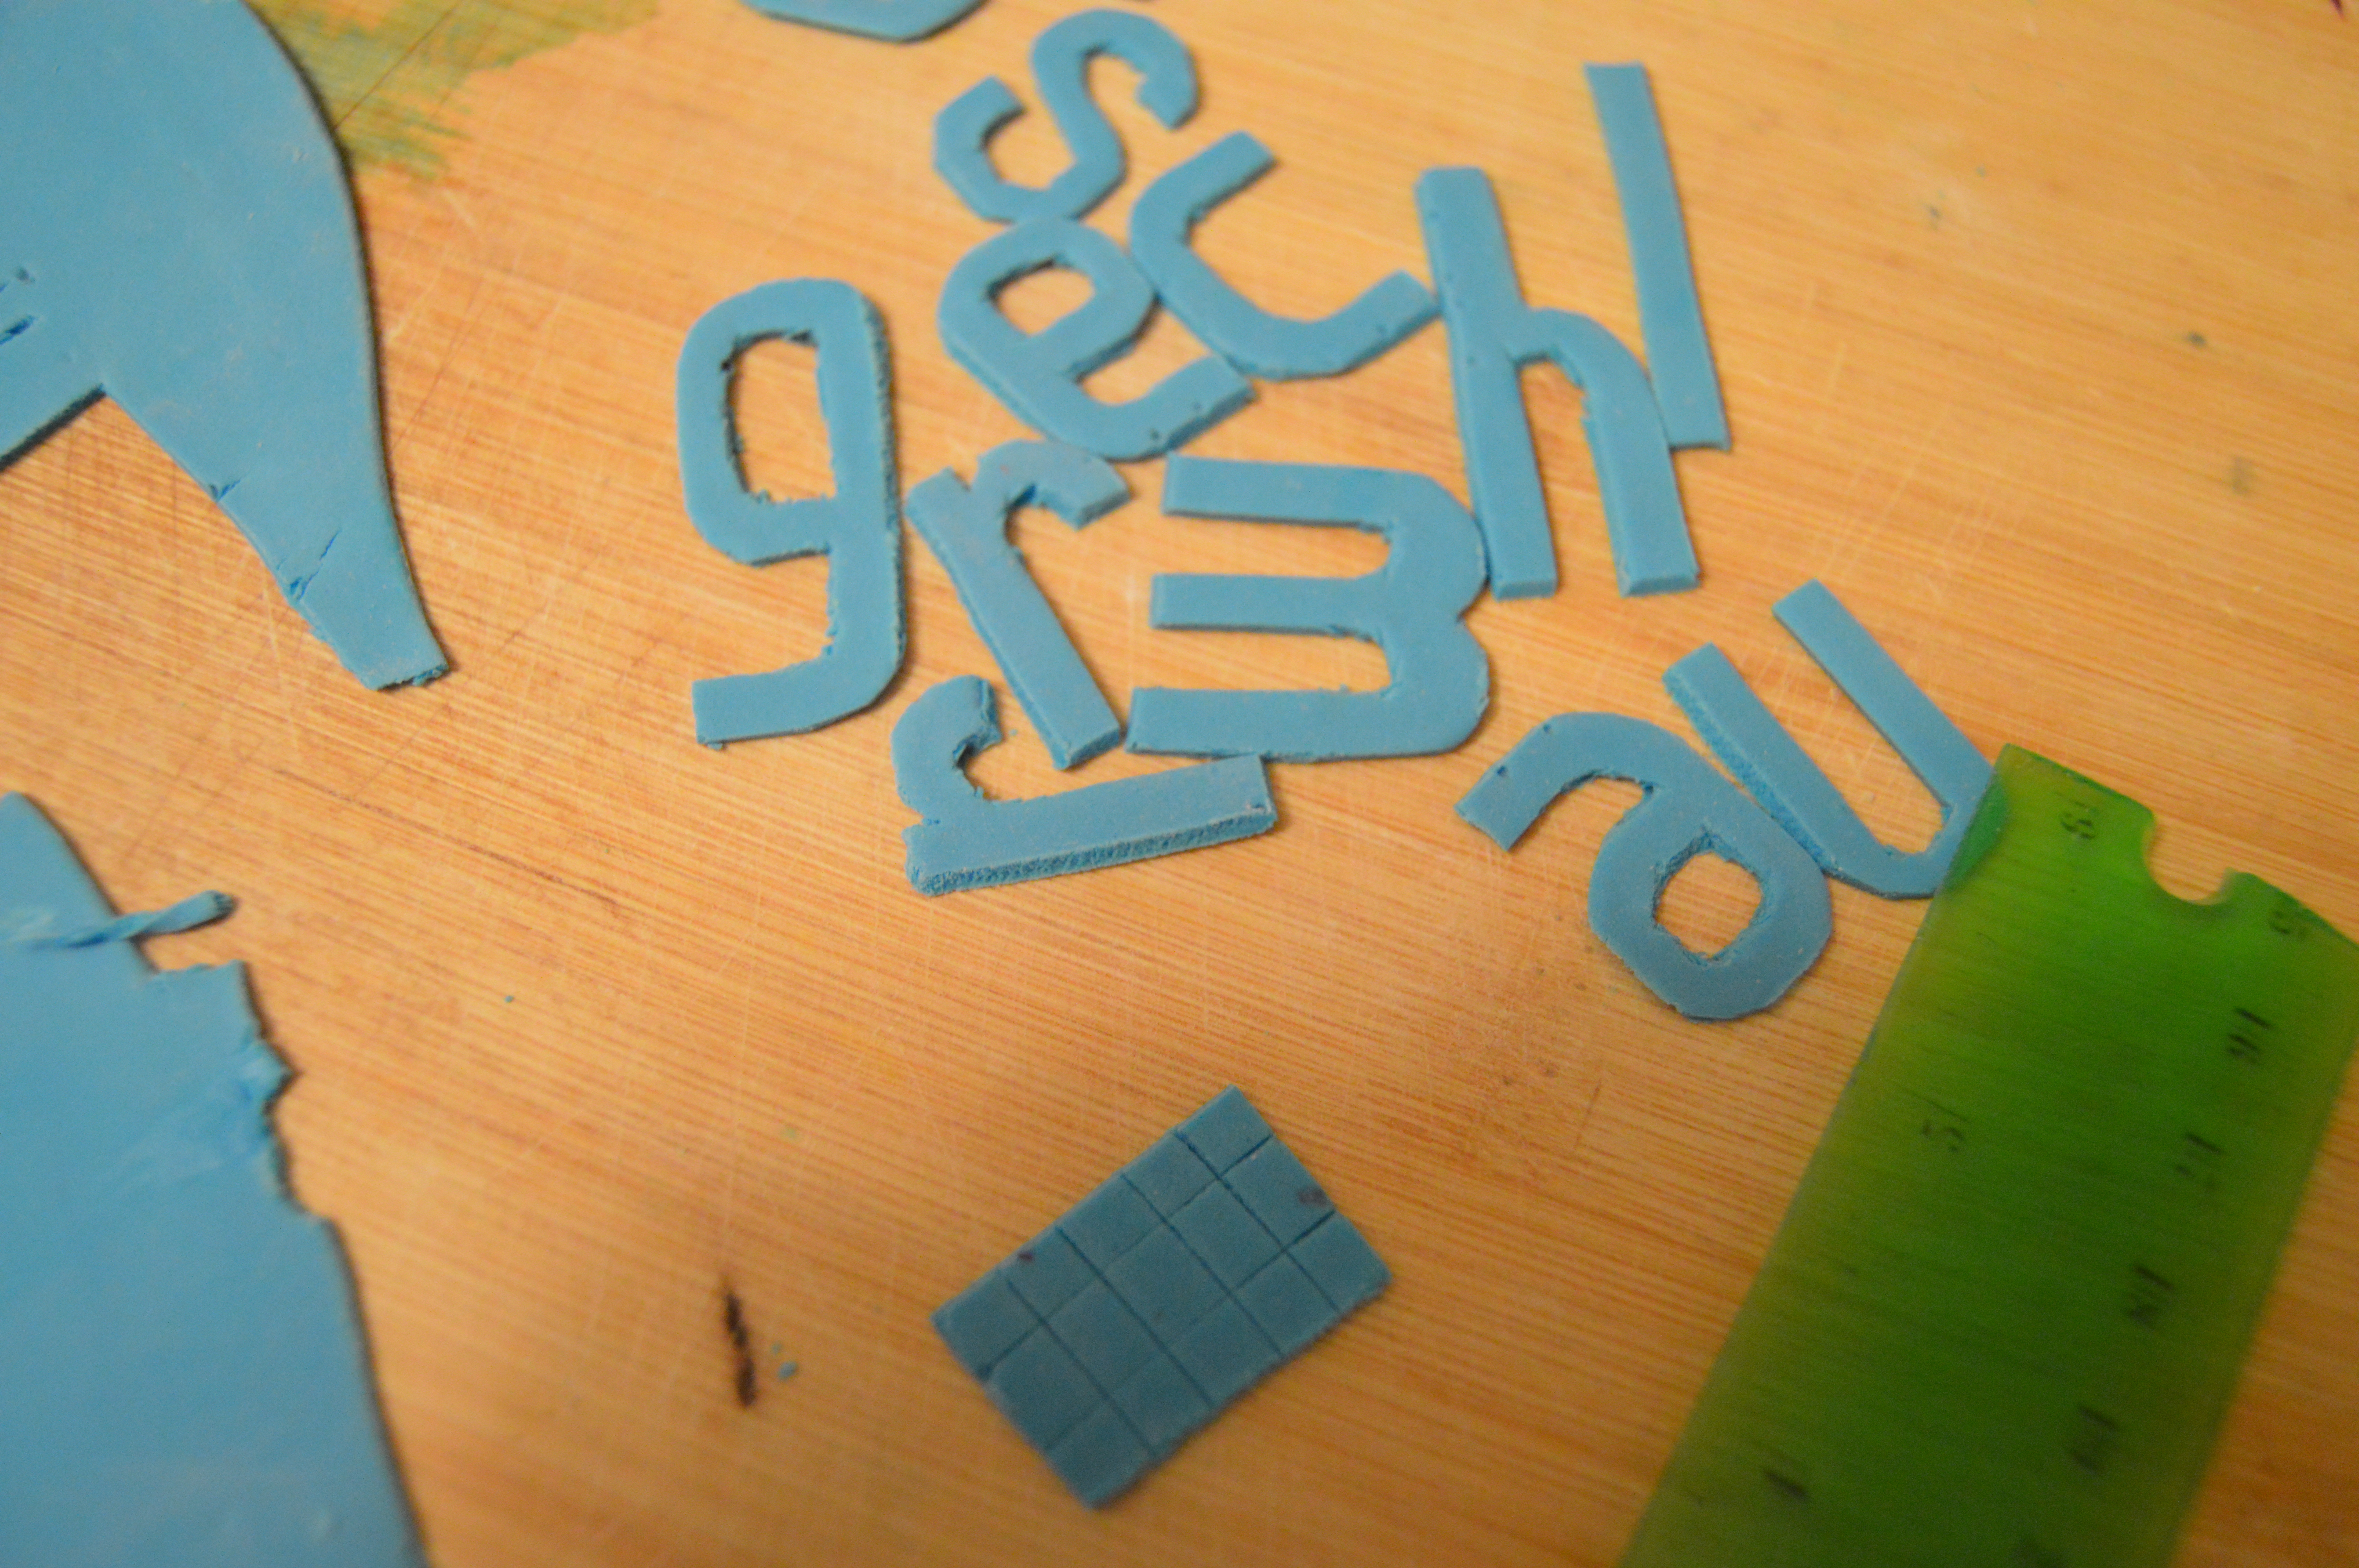
(6) Next, write the words on the hat. This can be done with a letter cutter or mold. In this tutorial, I made the letters using a box technique. It involves the use of 15 imaginary boxes placed in rolls of 3s and cutting the letters with a sharp blade within those boxes. A tutorial on how I make my fondant letters without the use of molds and cutters can be found here
(7) Leave the hat to dry for a couple of days before using.
Terry Adido is passionate about showing people how easy it is to recreate restaurant quality meals in the comfort of their kitchens. With a style of cooking he refers to as Afro-European Fusion, his meals are influenced greatly by French and Italian Cuisine with a West African twist. If you love good food, you are in for the ride of your life.
Thanks Terry, Love this explanation
You are welcome Chinyere.
Thank u and may d good Lord bless always
Thanks a lot.
Well done, you made it so so so easy. Thanks, and God bless your brain.
Thanks Dady.
thanks so much Terry.
You are welcome.
Thank u sooo much. Hv bn trolling the Web till 3am and didn’t gt d kinda tutorial I needed on youtube. Snt off my baby to school bout 15mins ago and decided to do a quick search and the blessing called your blog popped up. God bless u.
I am glad I could help Toks. All the best with the cake.