
The Making of an Orange and Black Tufted Billow Weave Cake
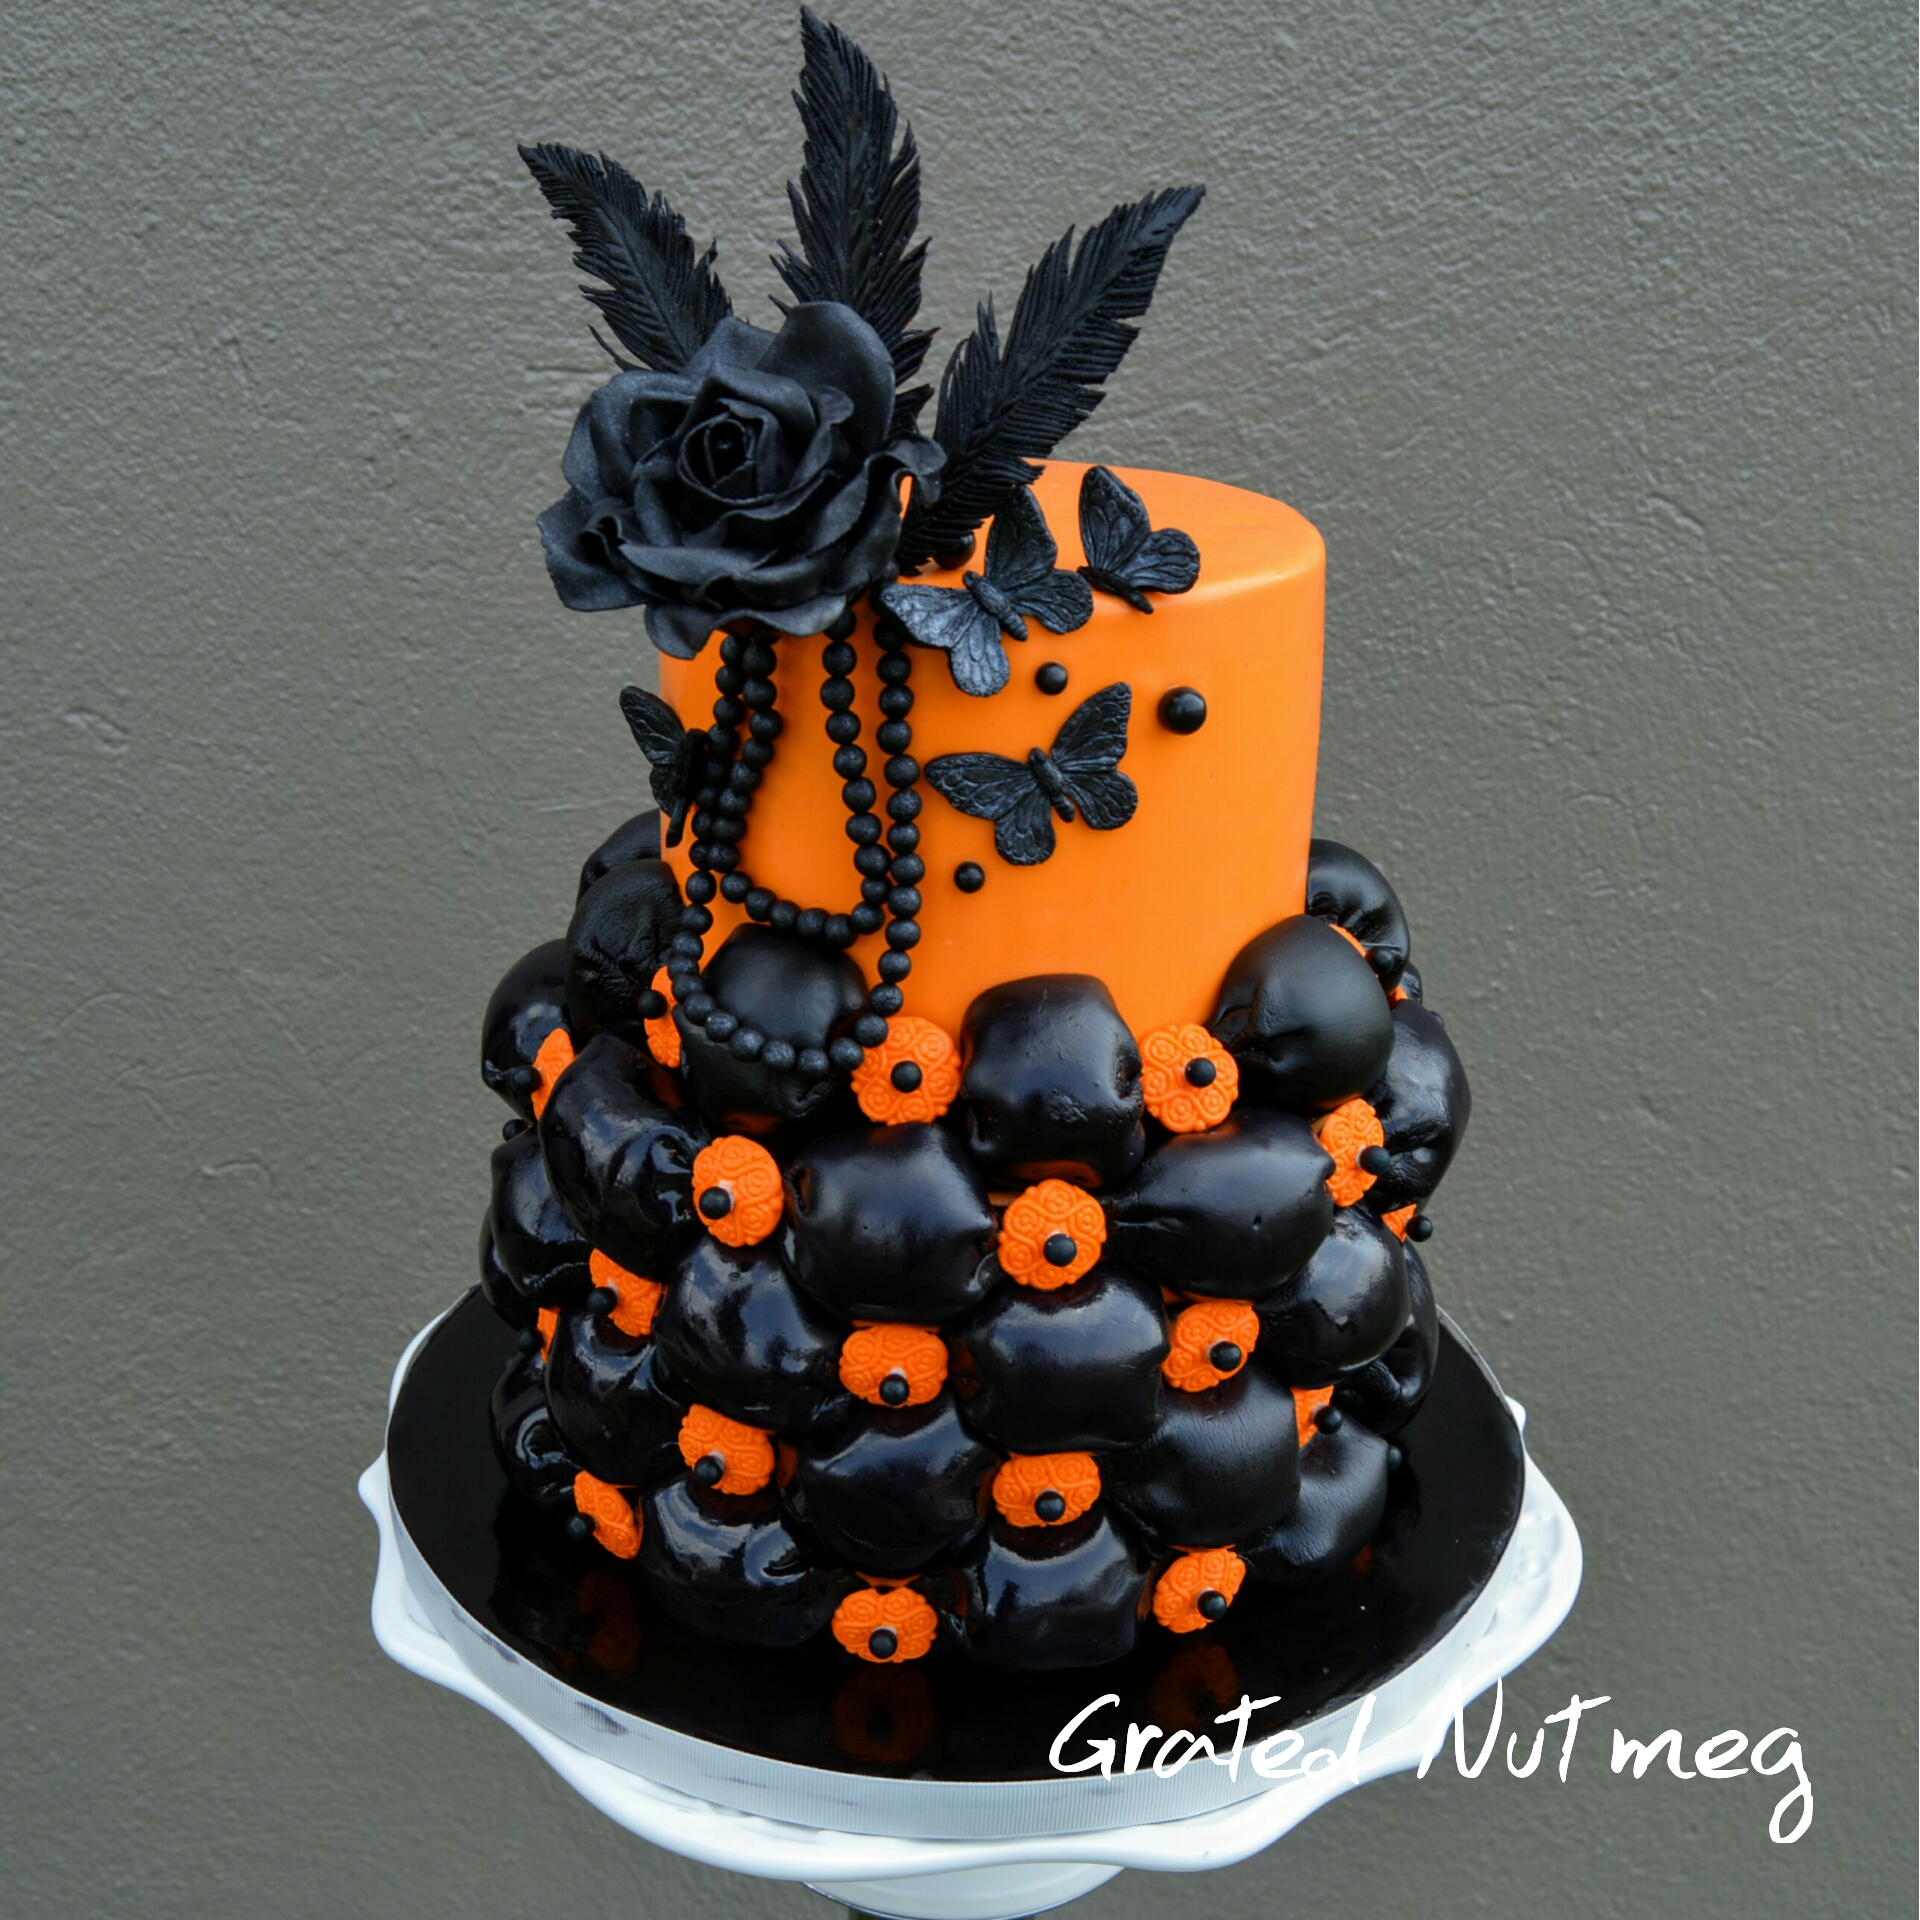
This is a post on how I made this orange and black tufted billow weave cake. This cake features a lot of lovely accessories on the top tier and an elaborate tufted billow weave on the bottom tier. To read more about this cake, click on this link.
THE PROCESS:
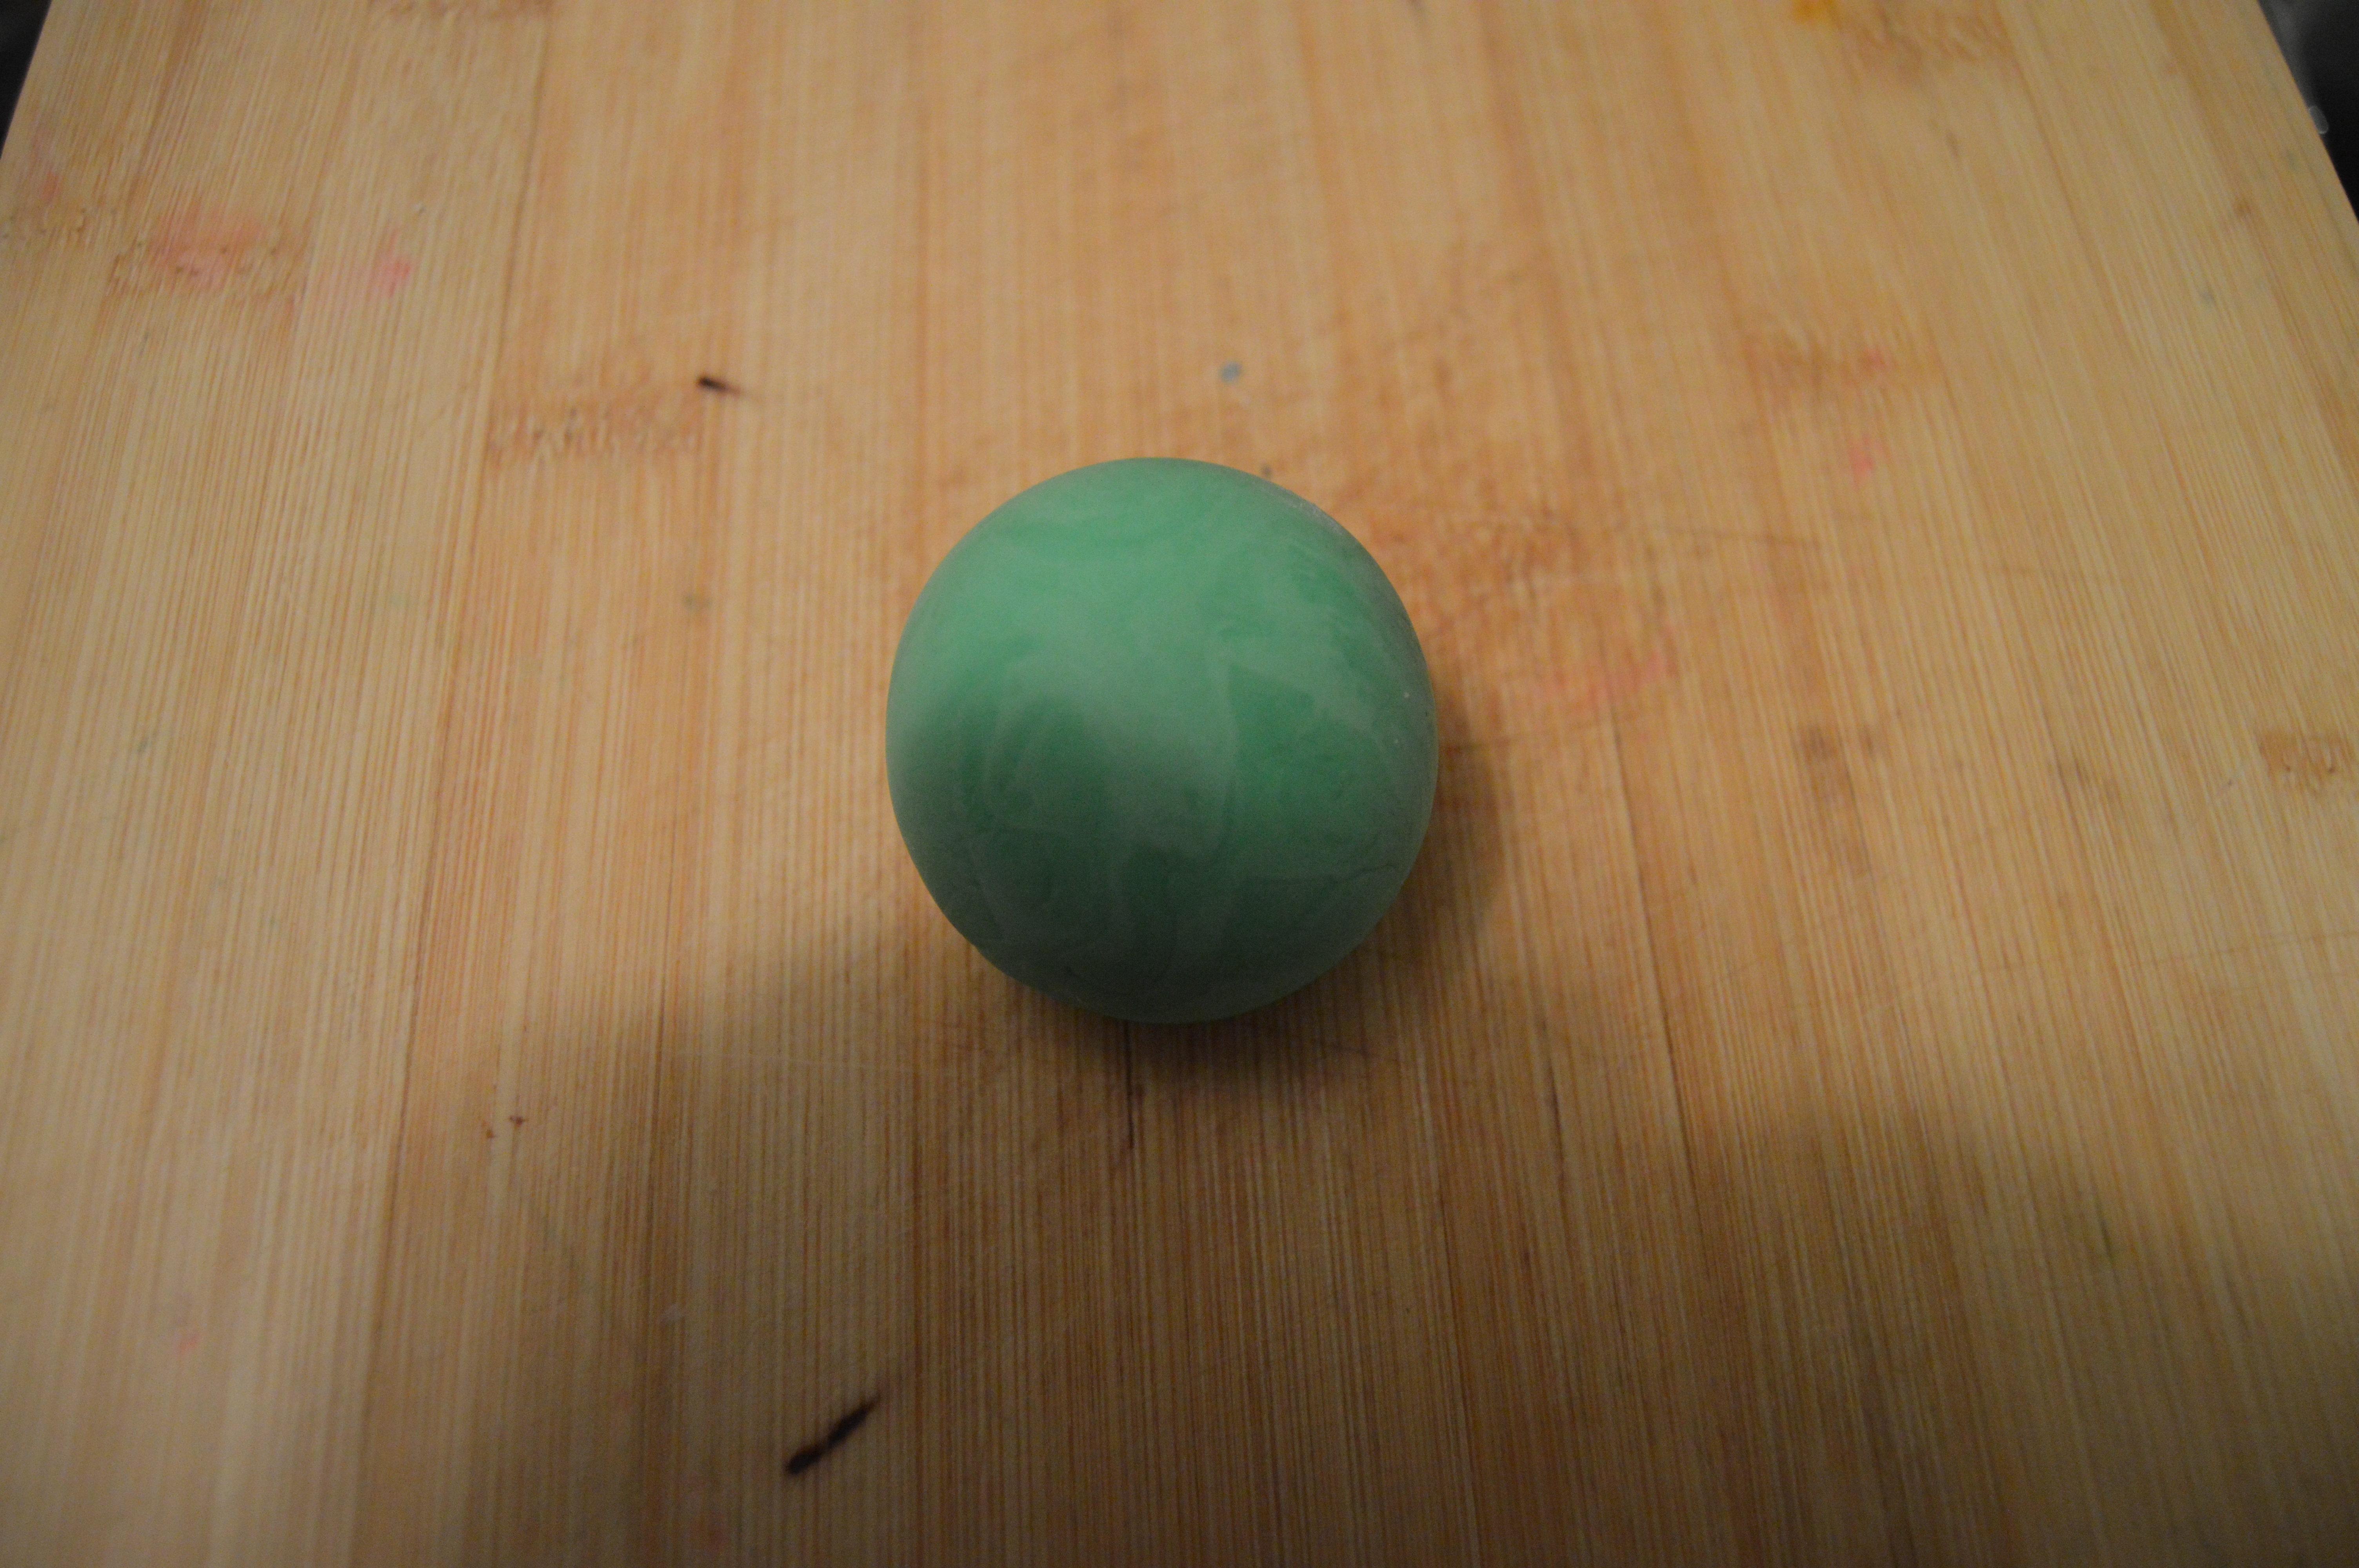
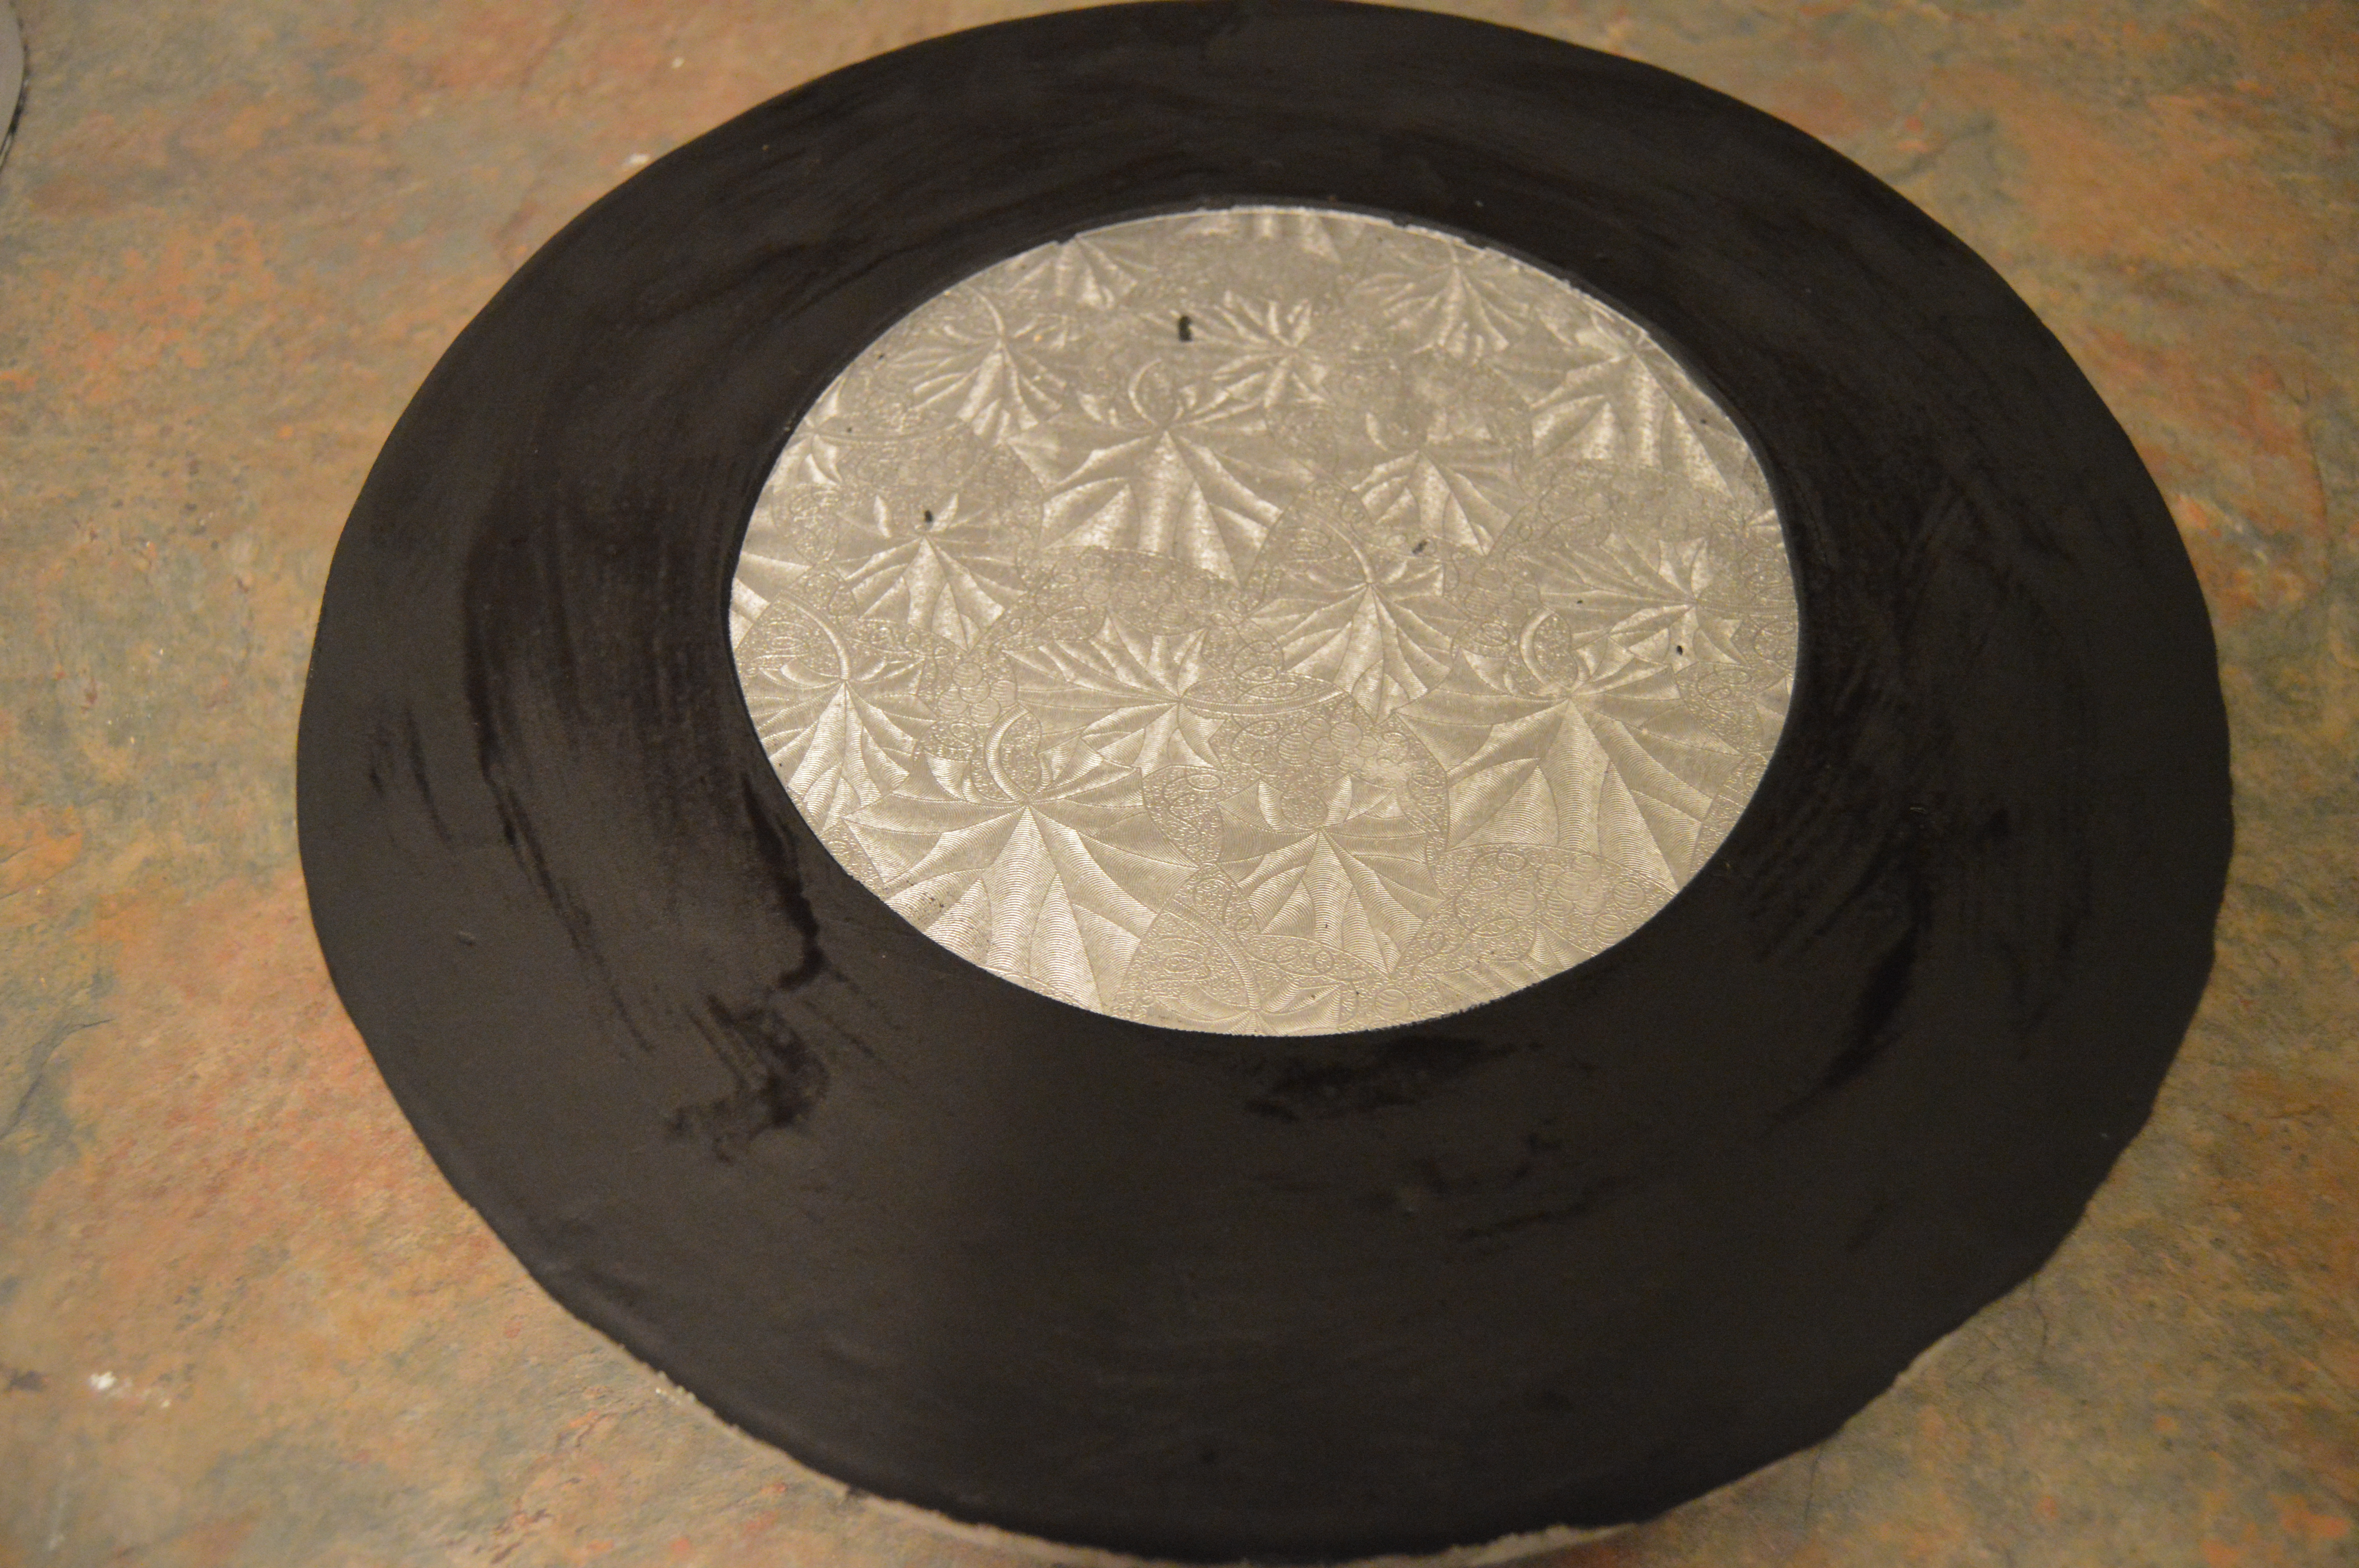
(1) There are various ways of making the tufted billow weave on the bottom tier. The method I chose uses a tennis sized ball to shape the weave. Since I did not have access to a ball of that size, I decided to make mine with fondant. I shaped some fondant into a ball and left it to dry.
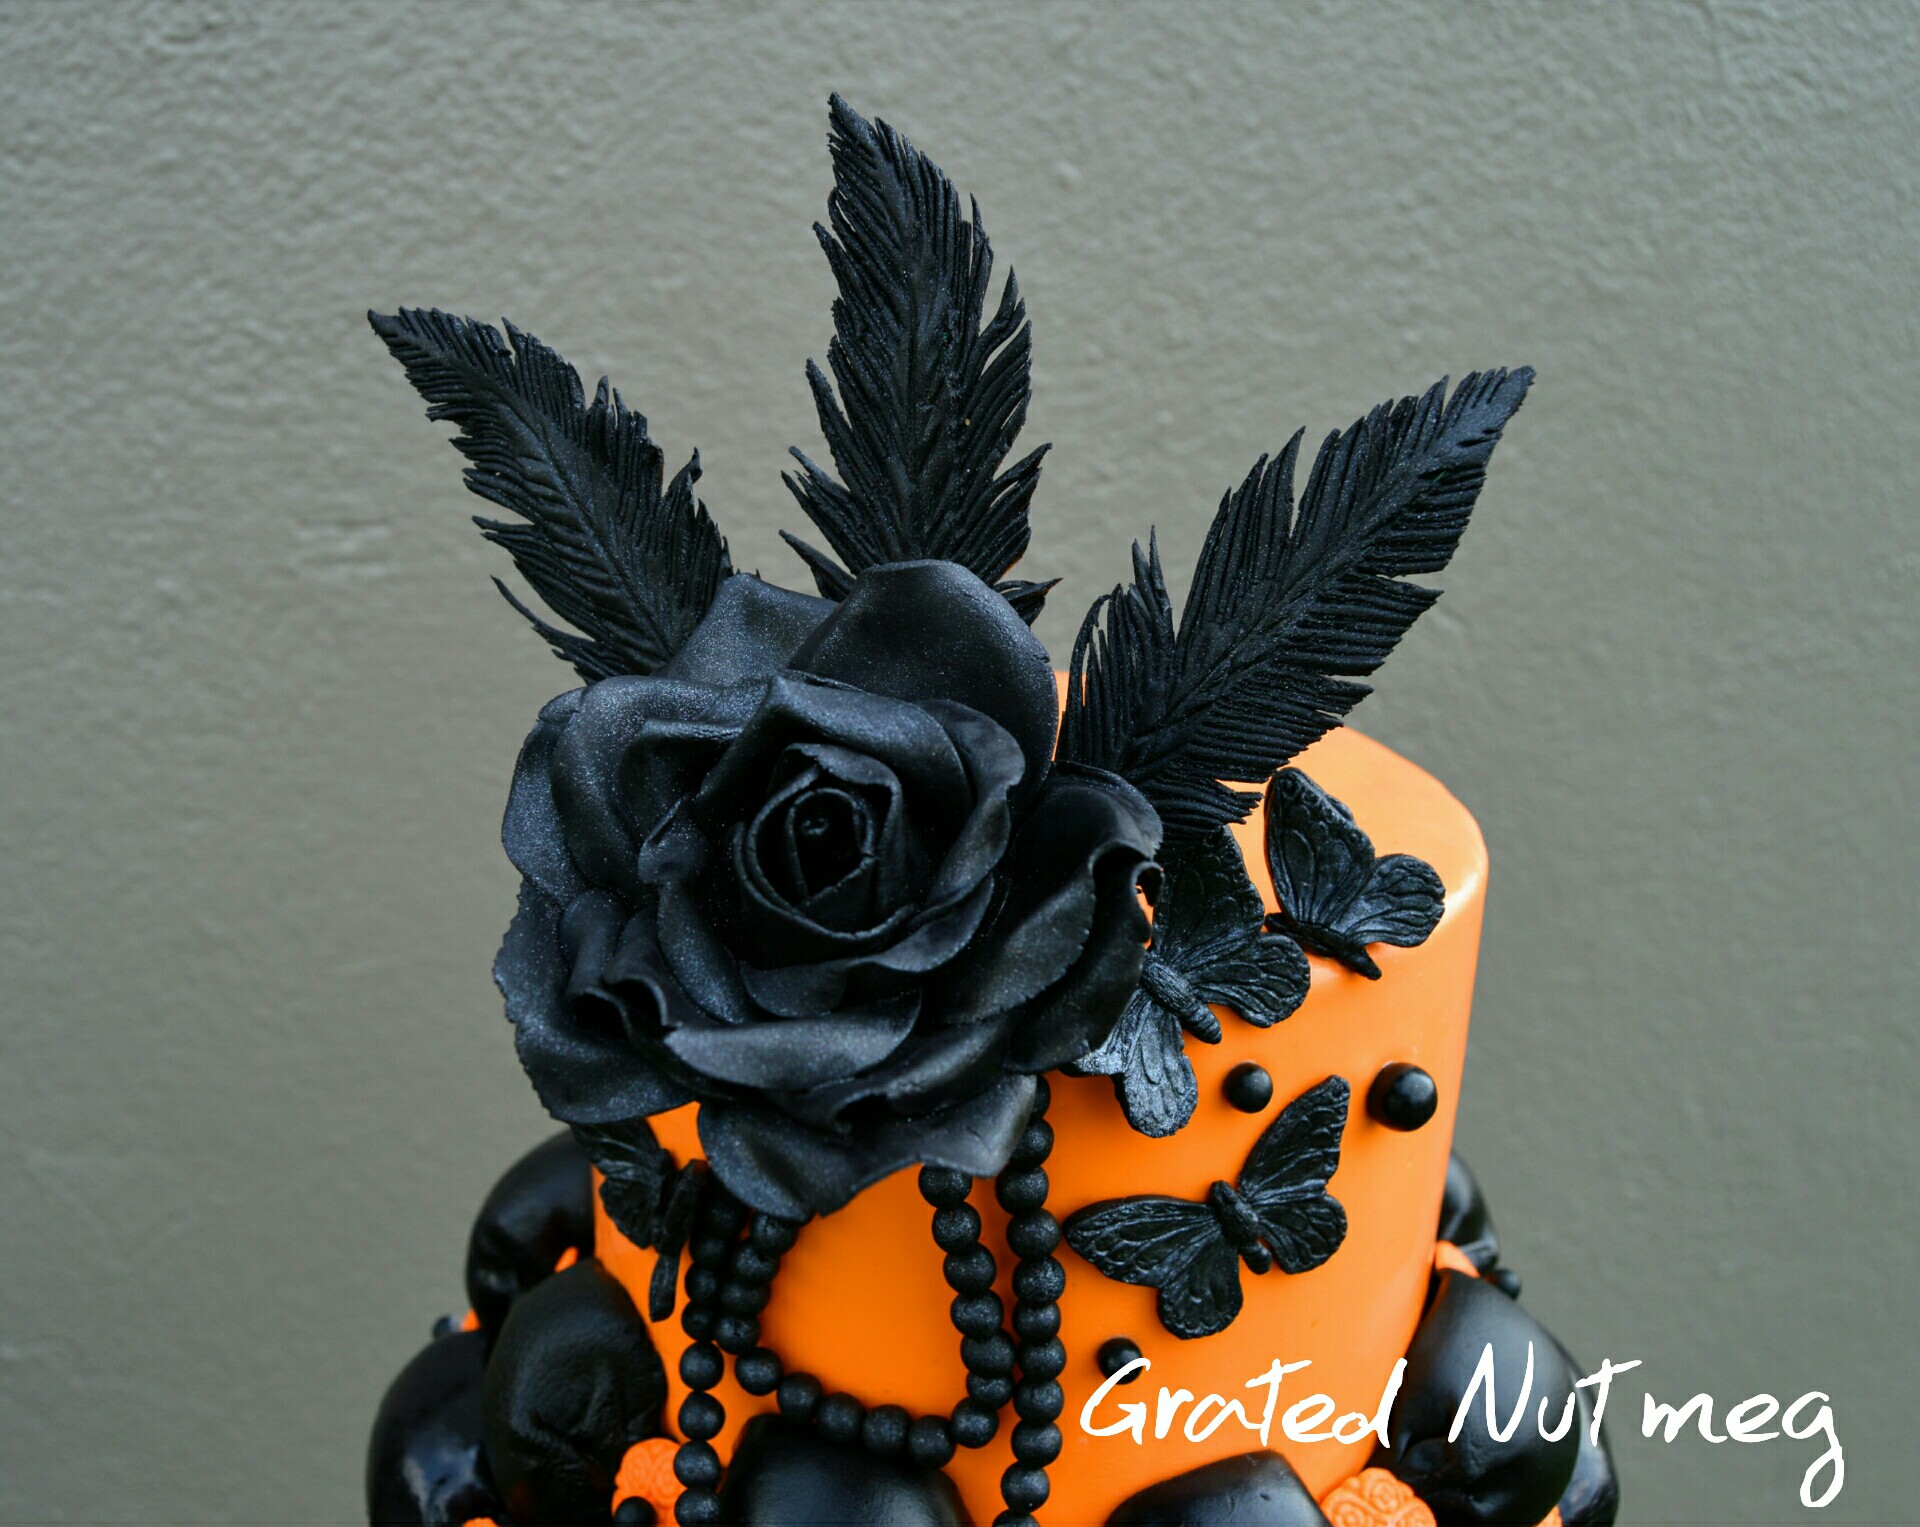
(2) You will need to make some elements of the cake before hand.
A tutorial on how to make the fondant feathers can be found here.
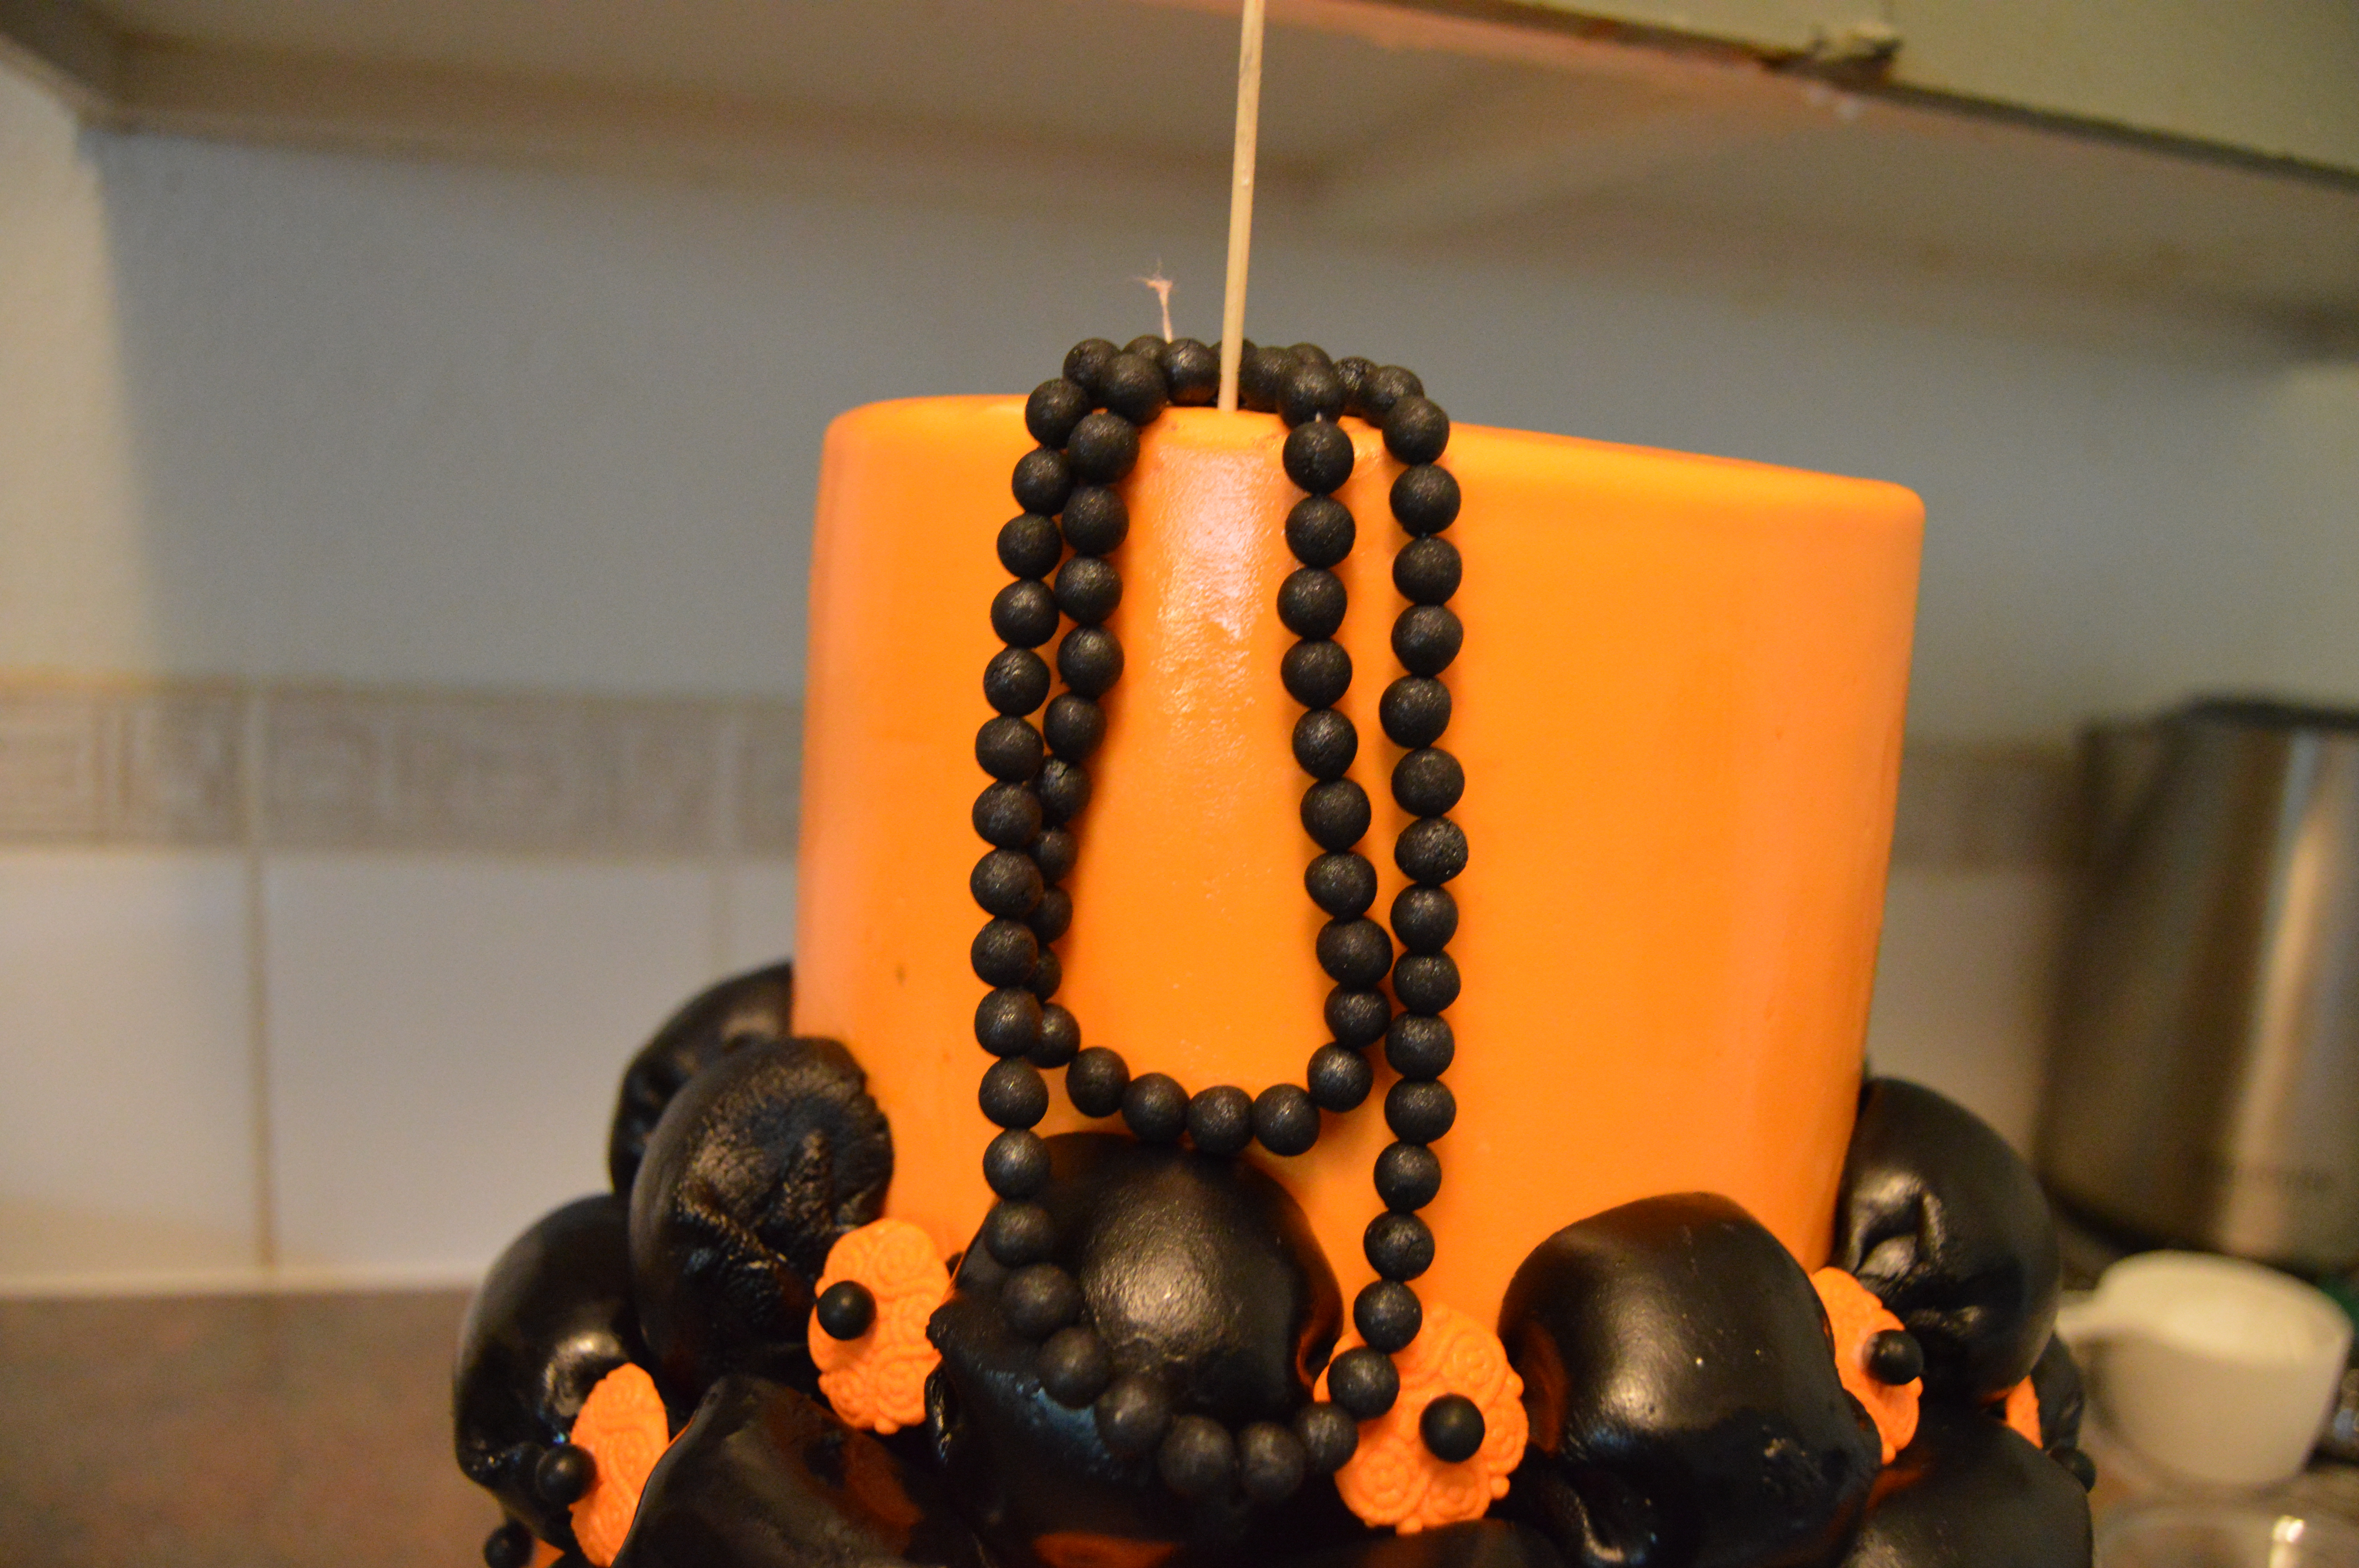
A tutorial on how to make the black pearl necklace can be found here.
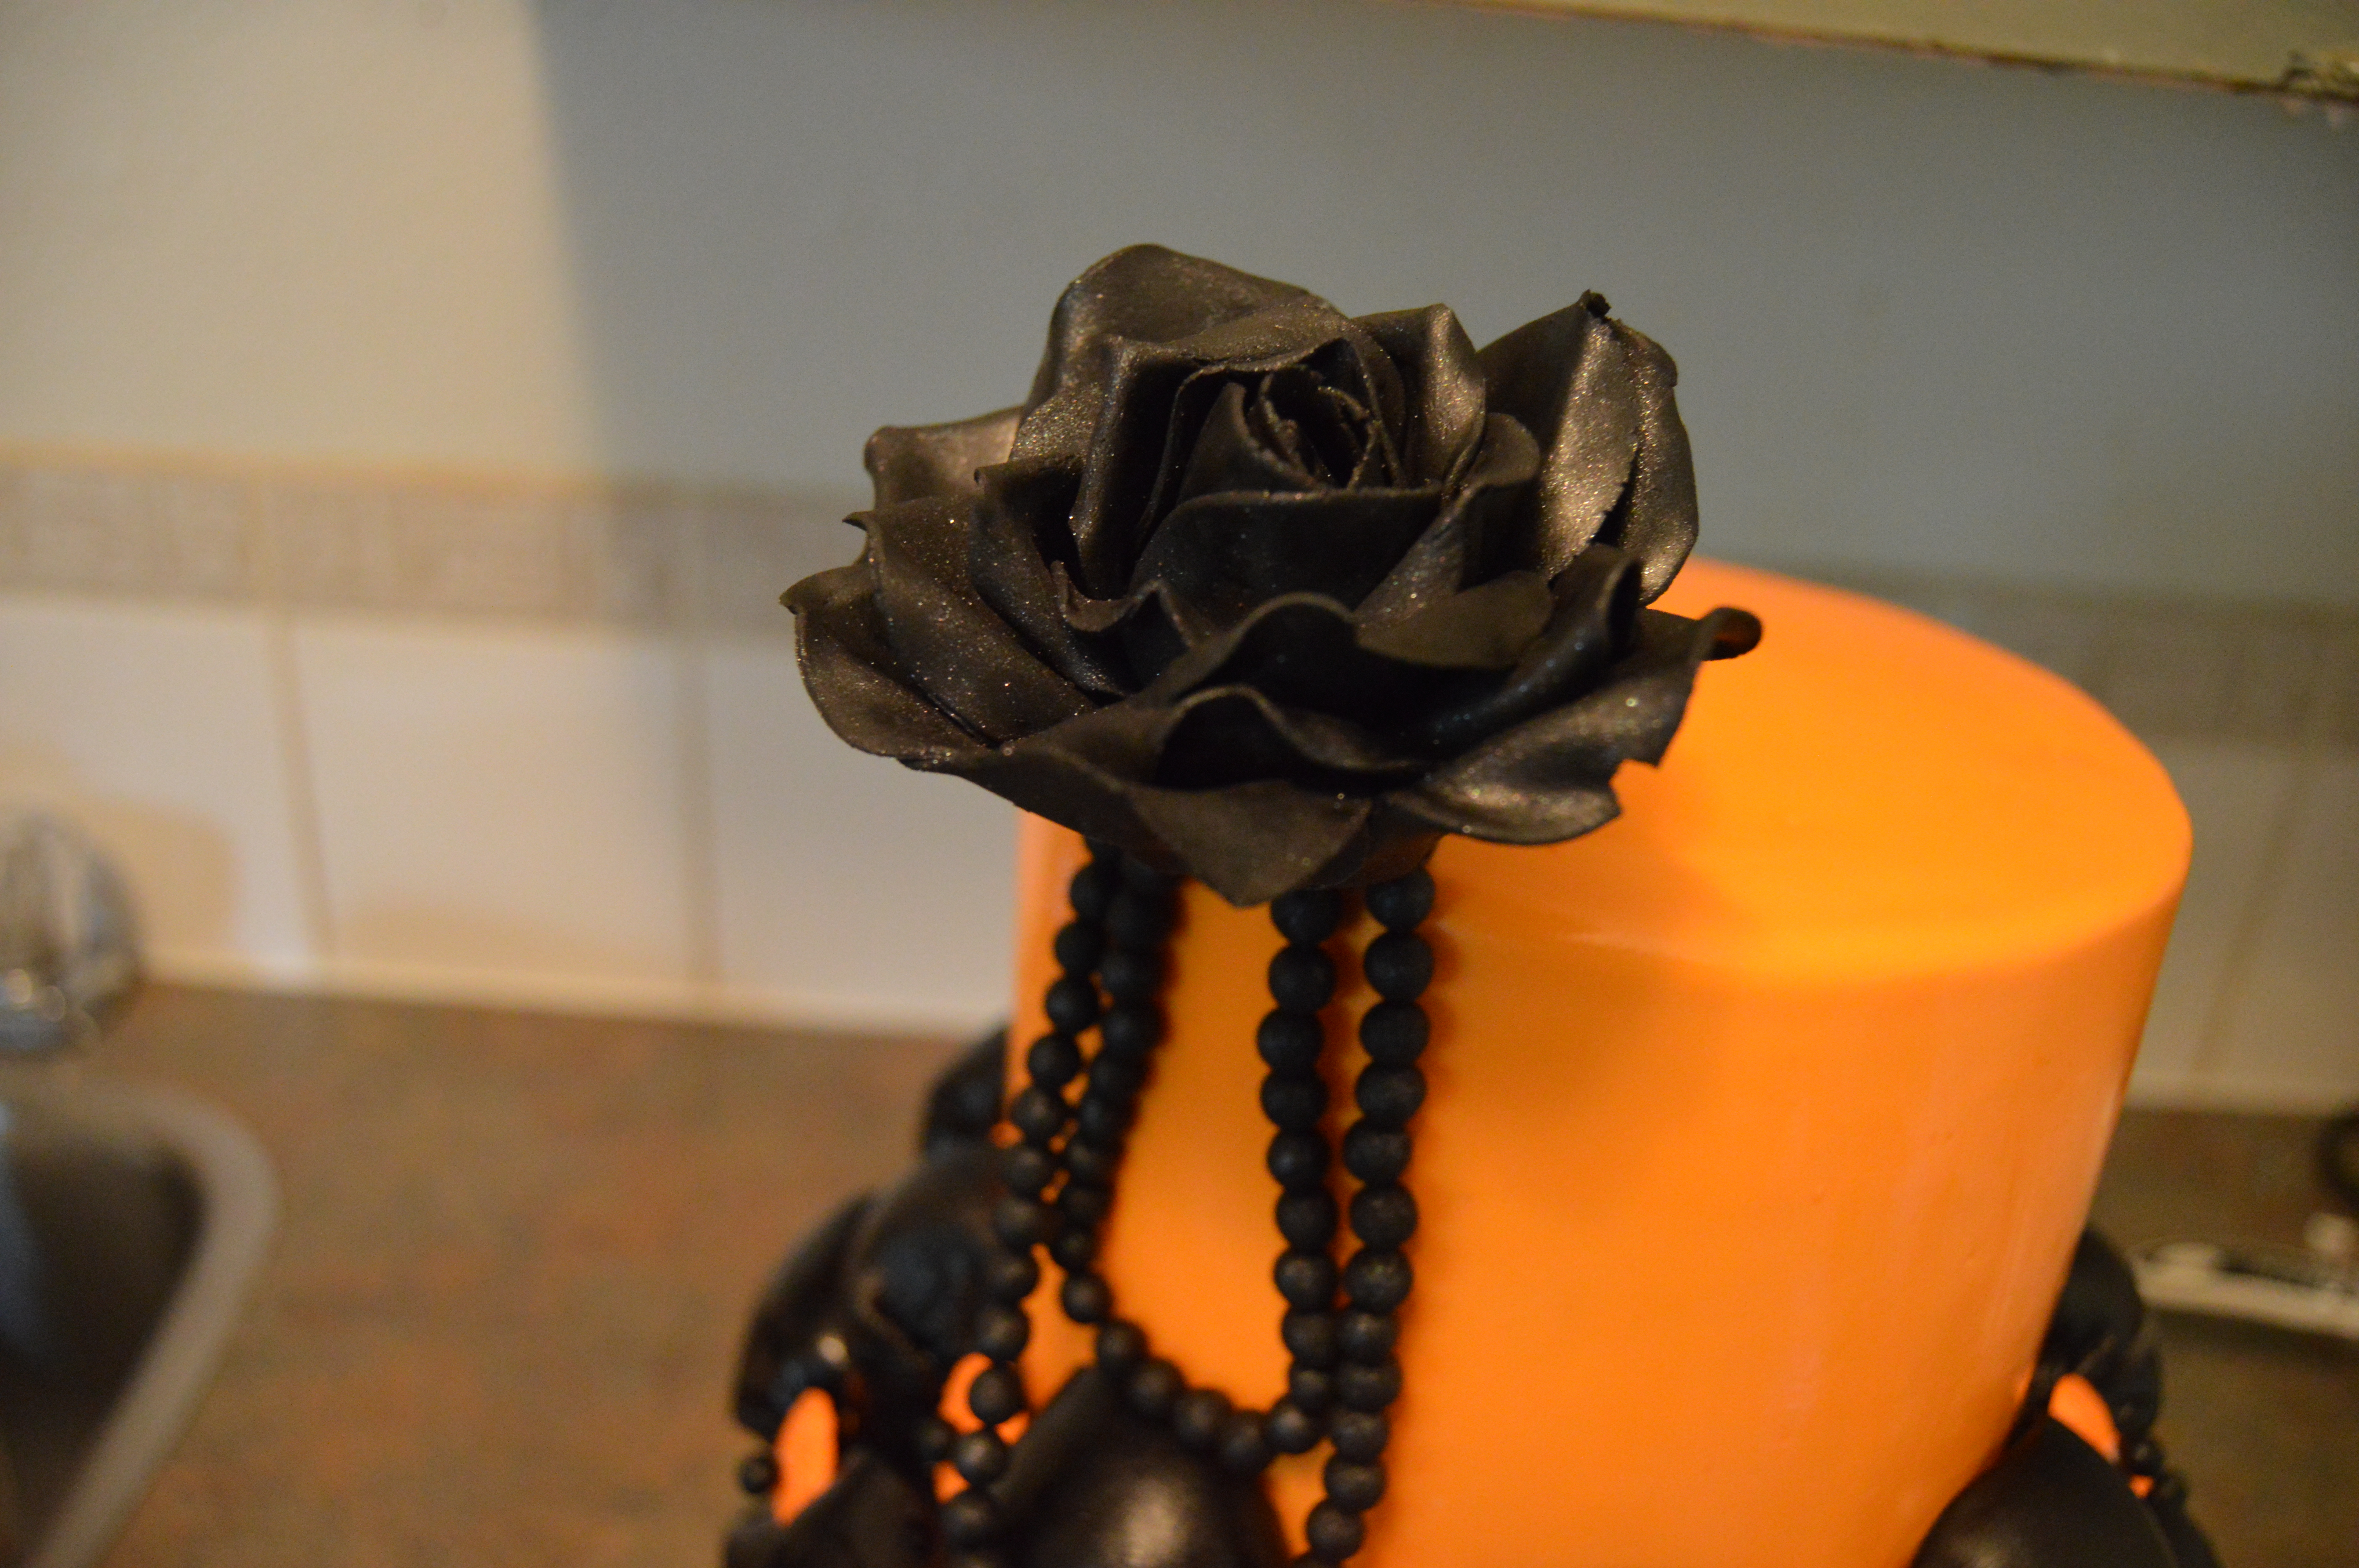
I do not have a tutorial on how to make the type of rose I used here. A tutorial on how to make a simpler type of rose can be found here.
The butterflies were made using a silicon mold.
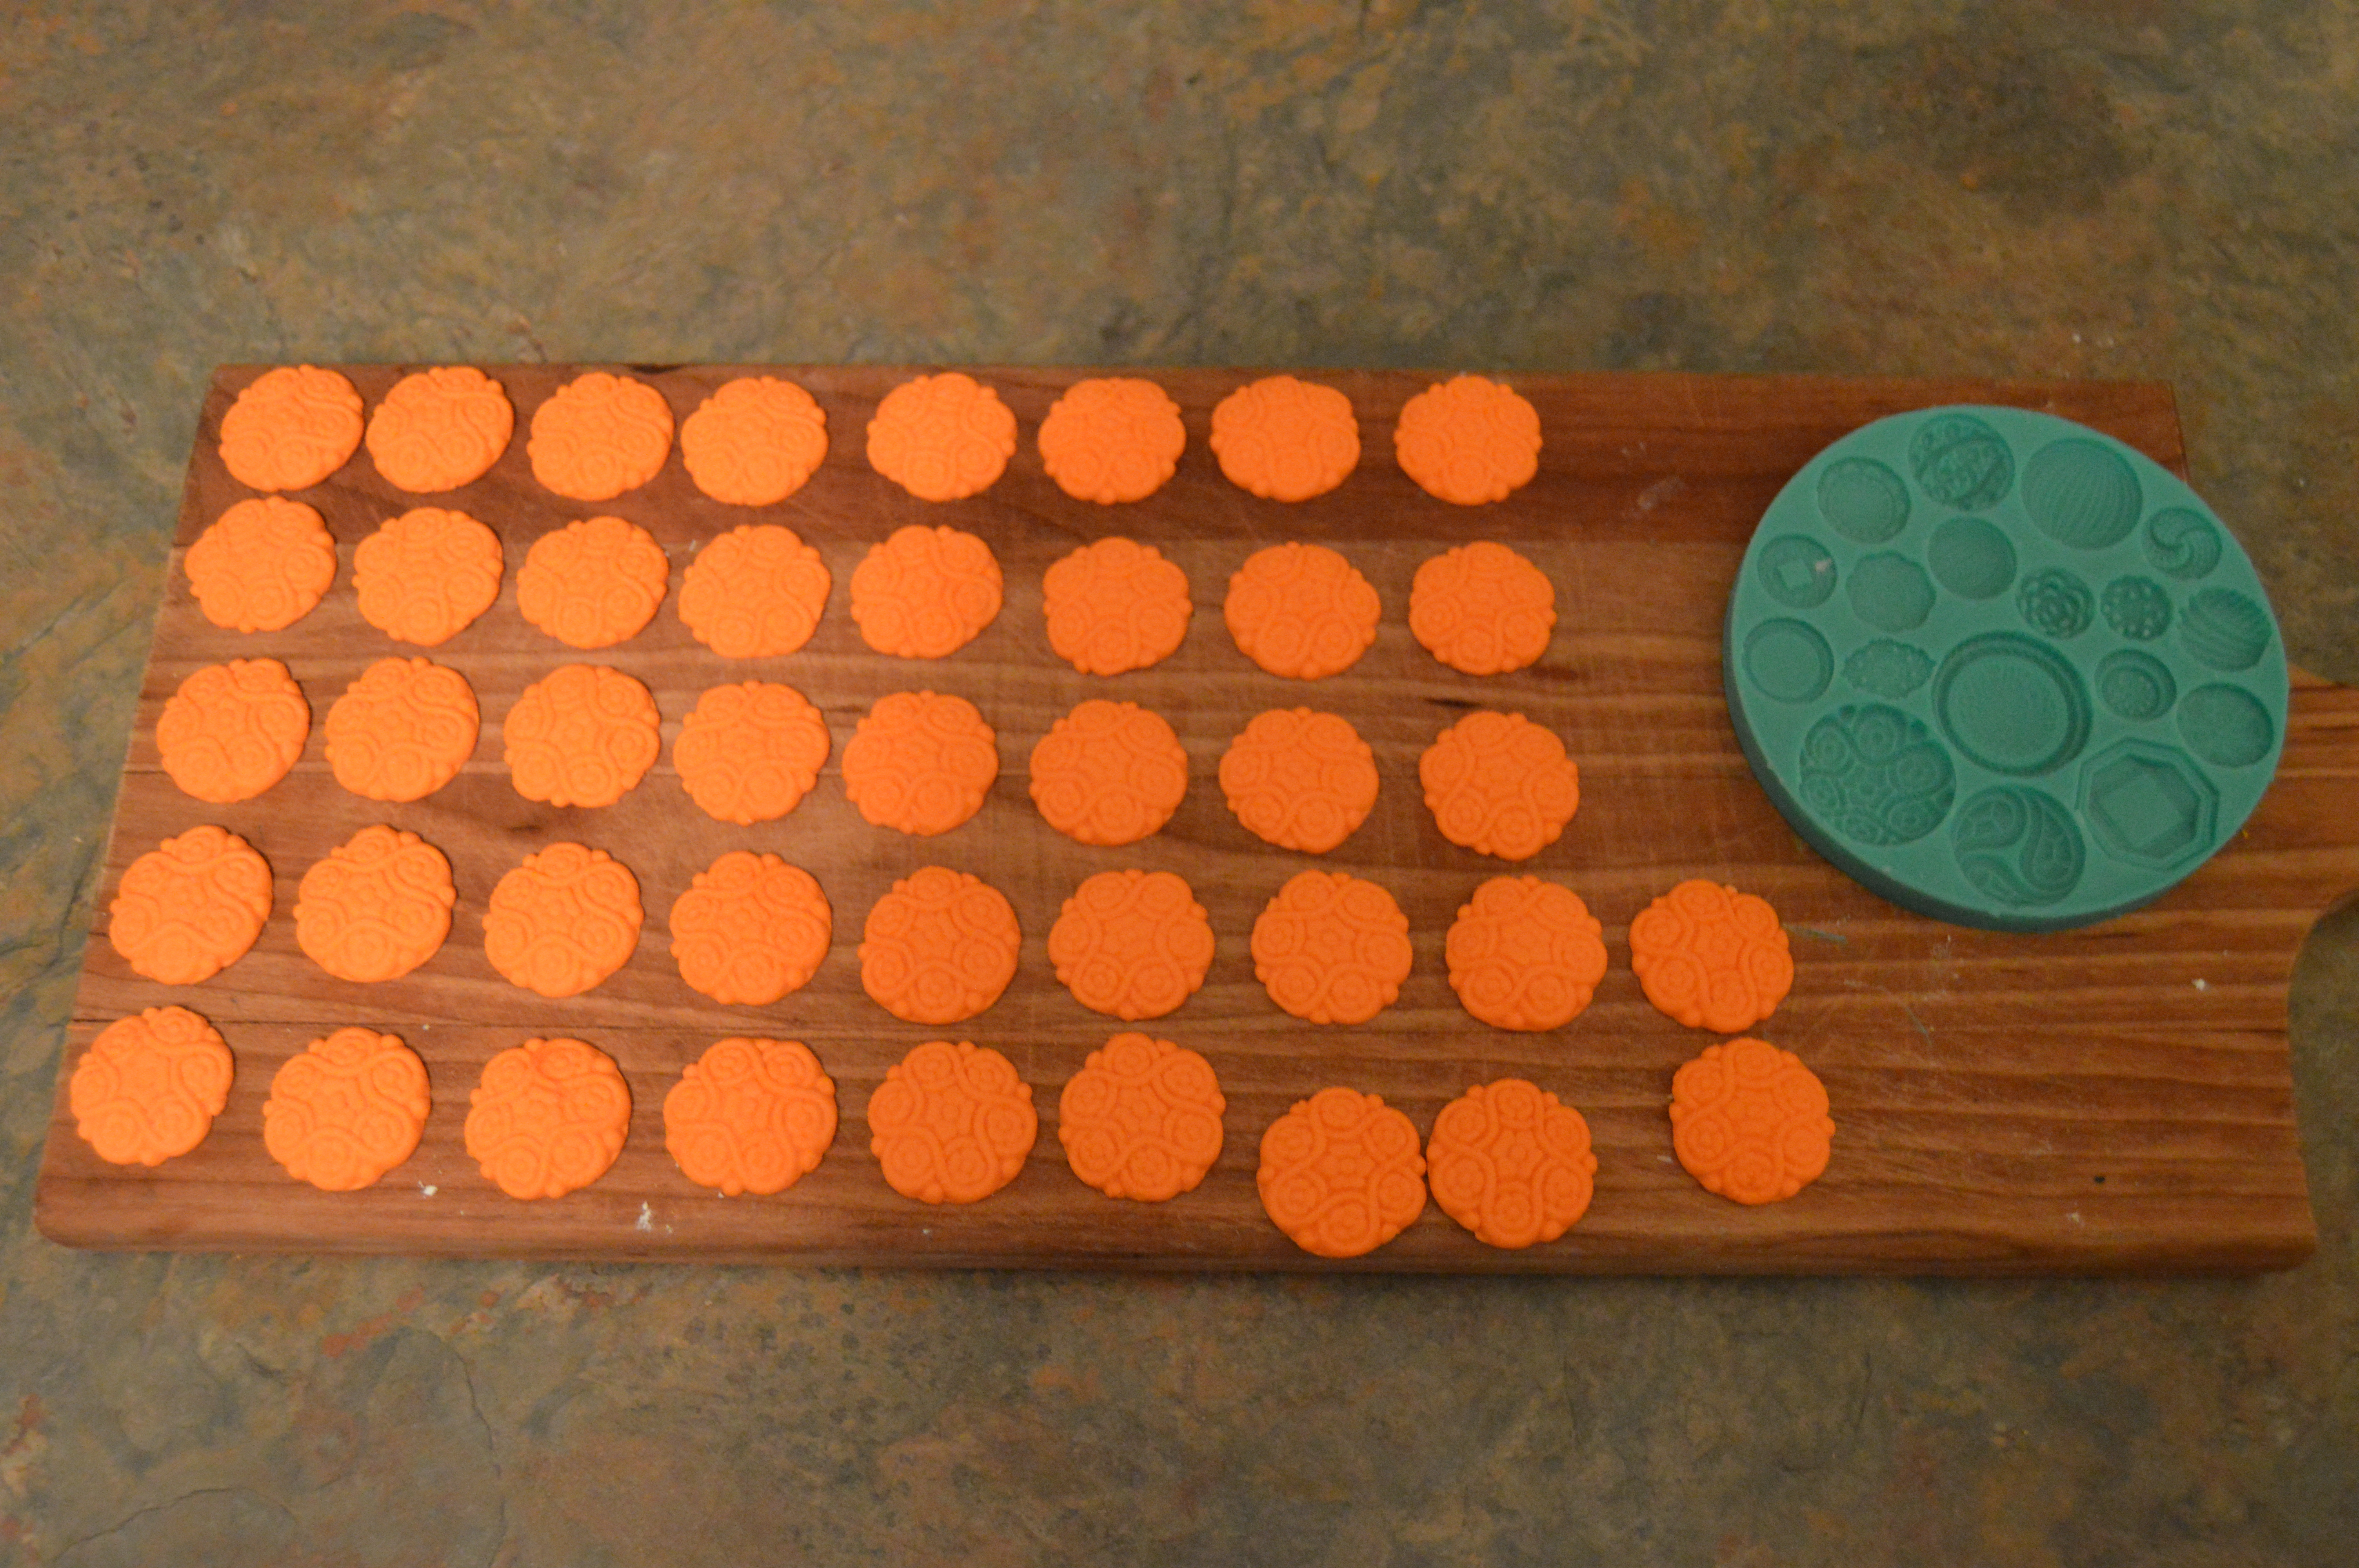
(3) Next, you will need to make buttons for the weave. These can be fondant formed into balls, small fondant flowers, fondant buttons or any other type of fondant ornament. I used a silicon button mold to make fancy buttons.
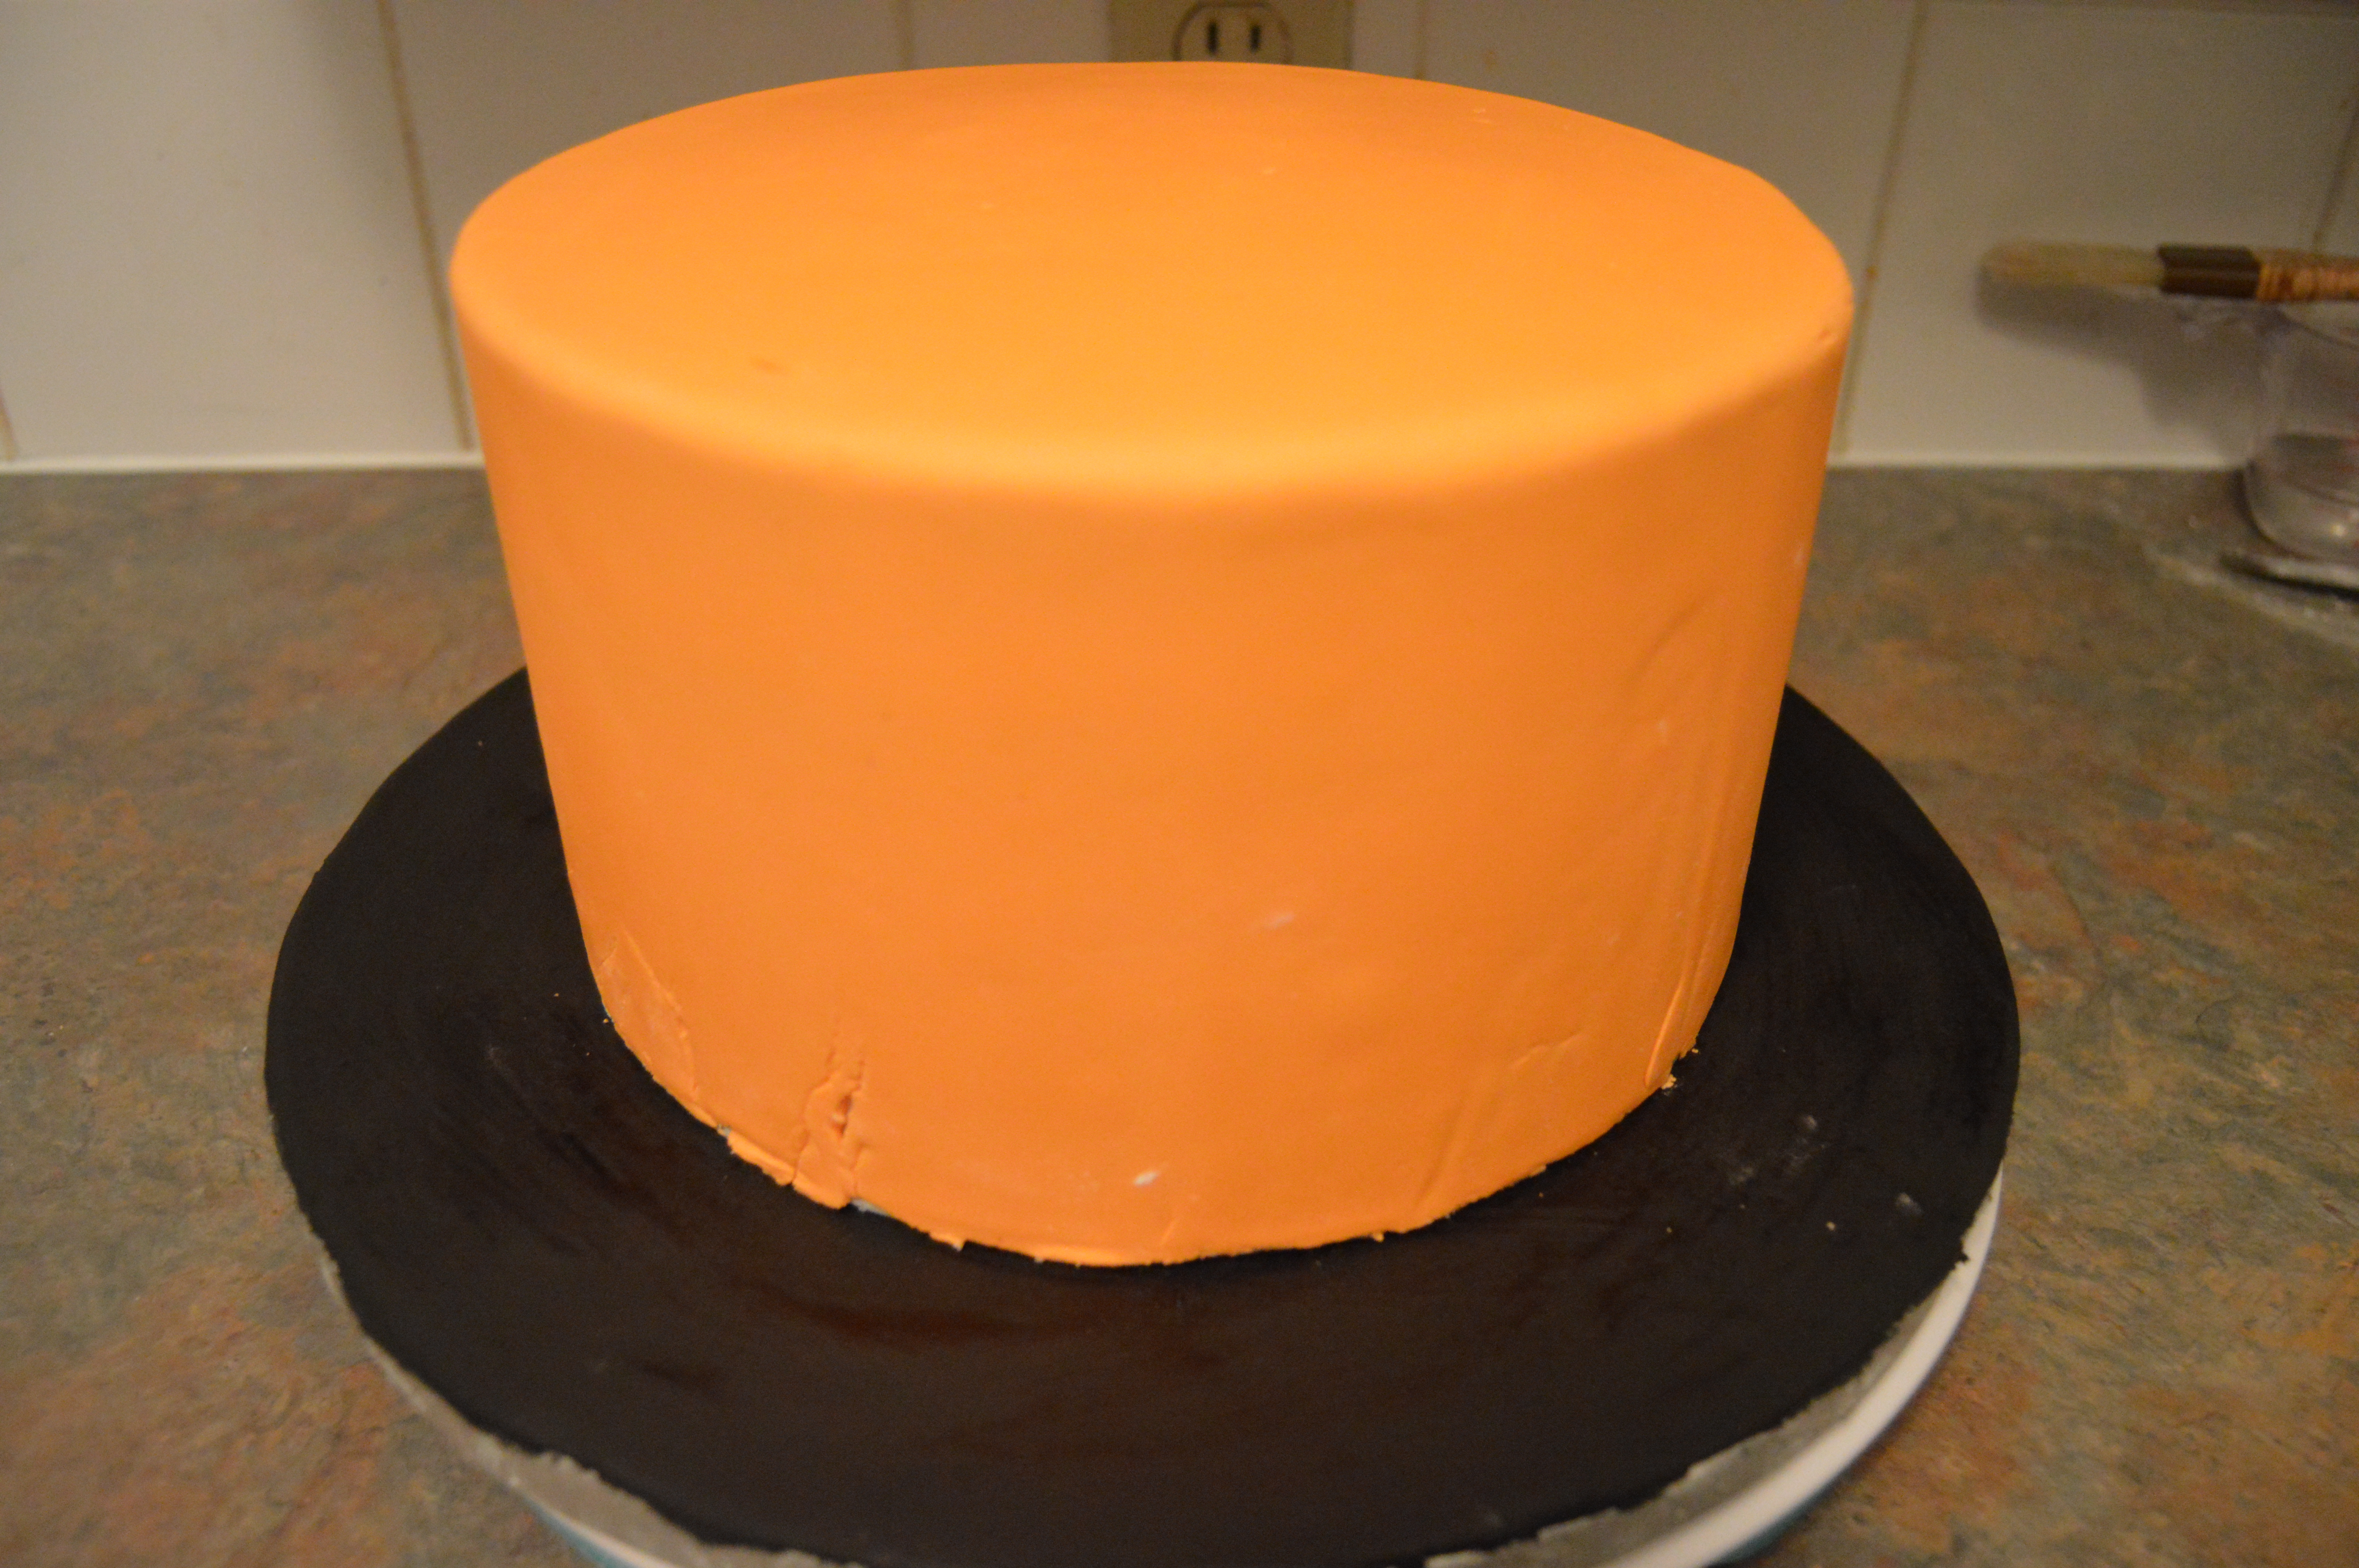
(4) To design cake, drape both tiers with orange fondant. Drape your cake board with black fondant. Stick the bottom tier to the cake board.
NOTE: Alternatively, the bottom tier could be draped with black fondant. I chose to use orange fondant as it is easier to work with. Due to the high amount of color used to make black fondant, it tears easily and breaks when used to drape cakes.
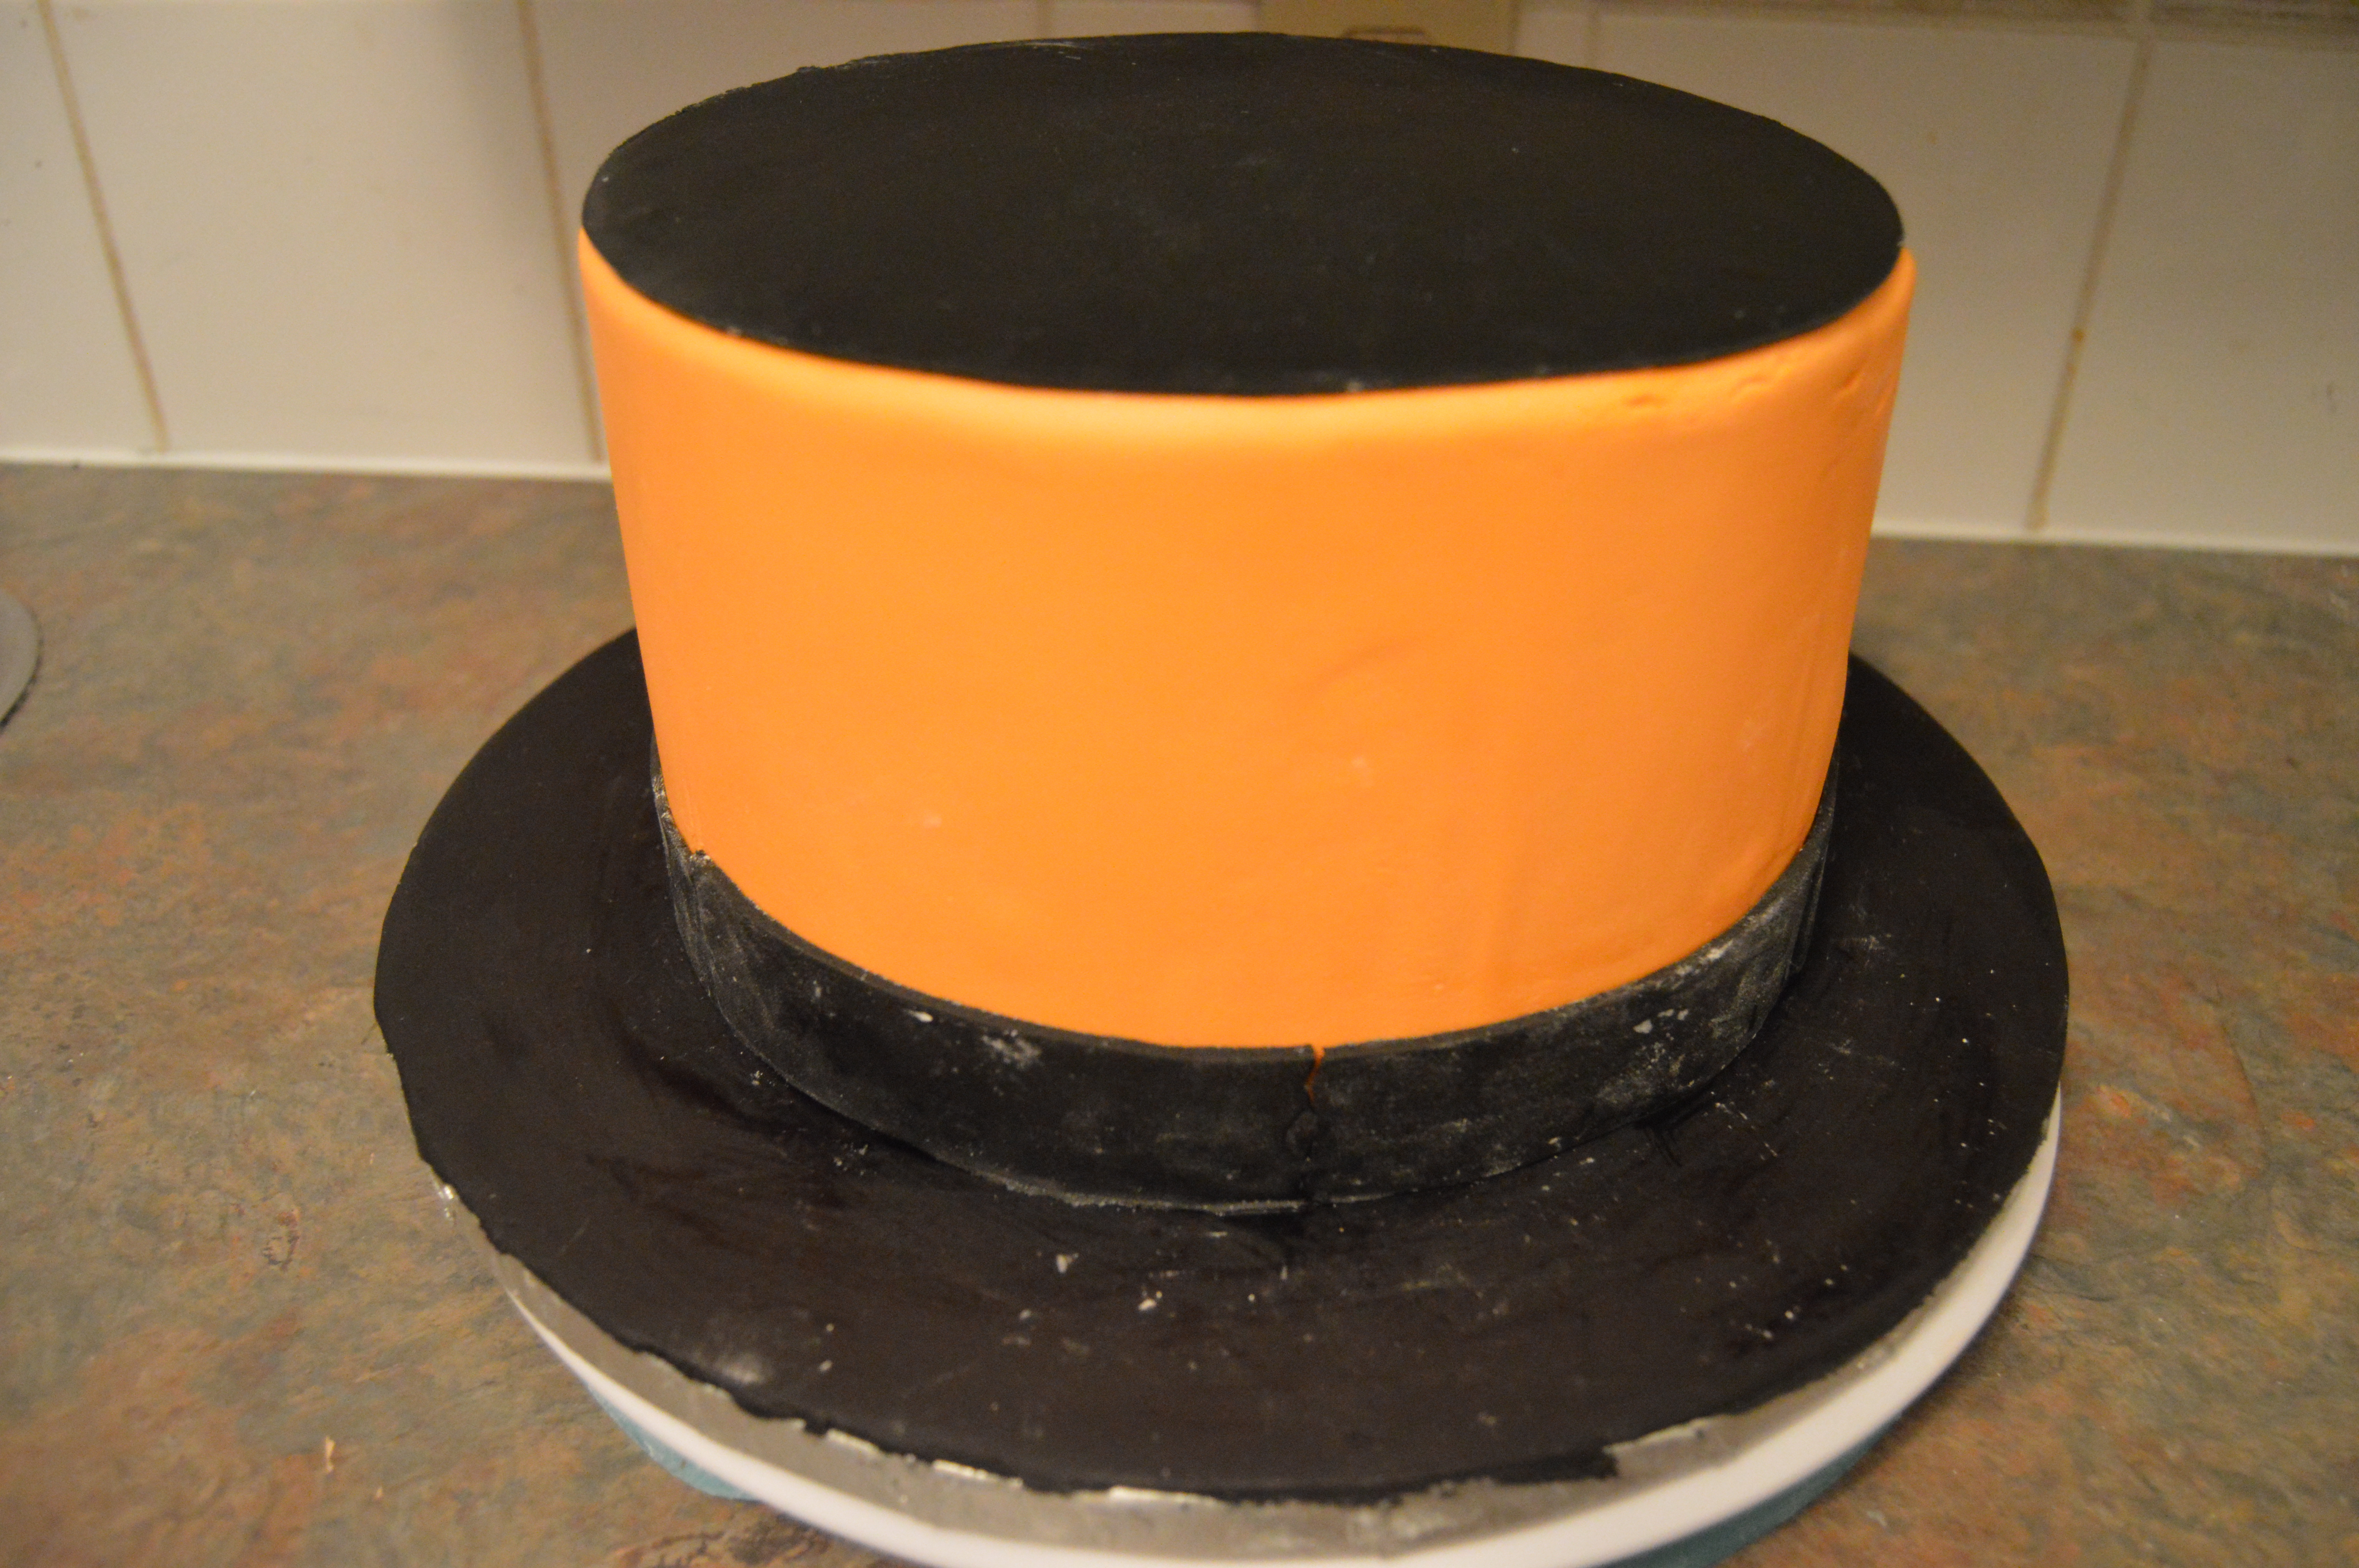
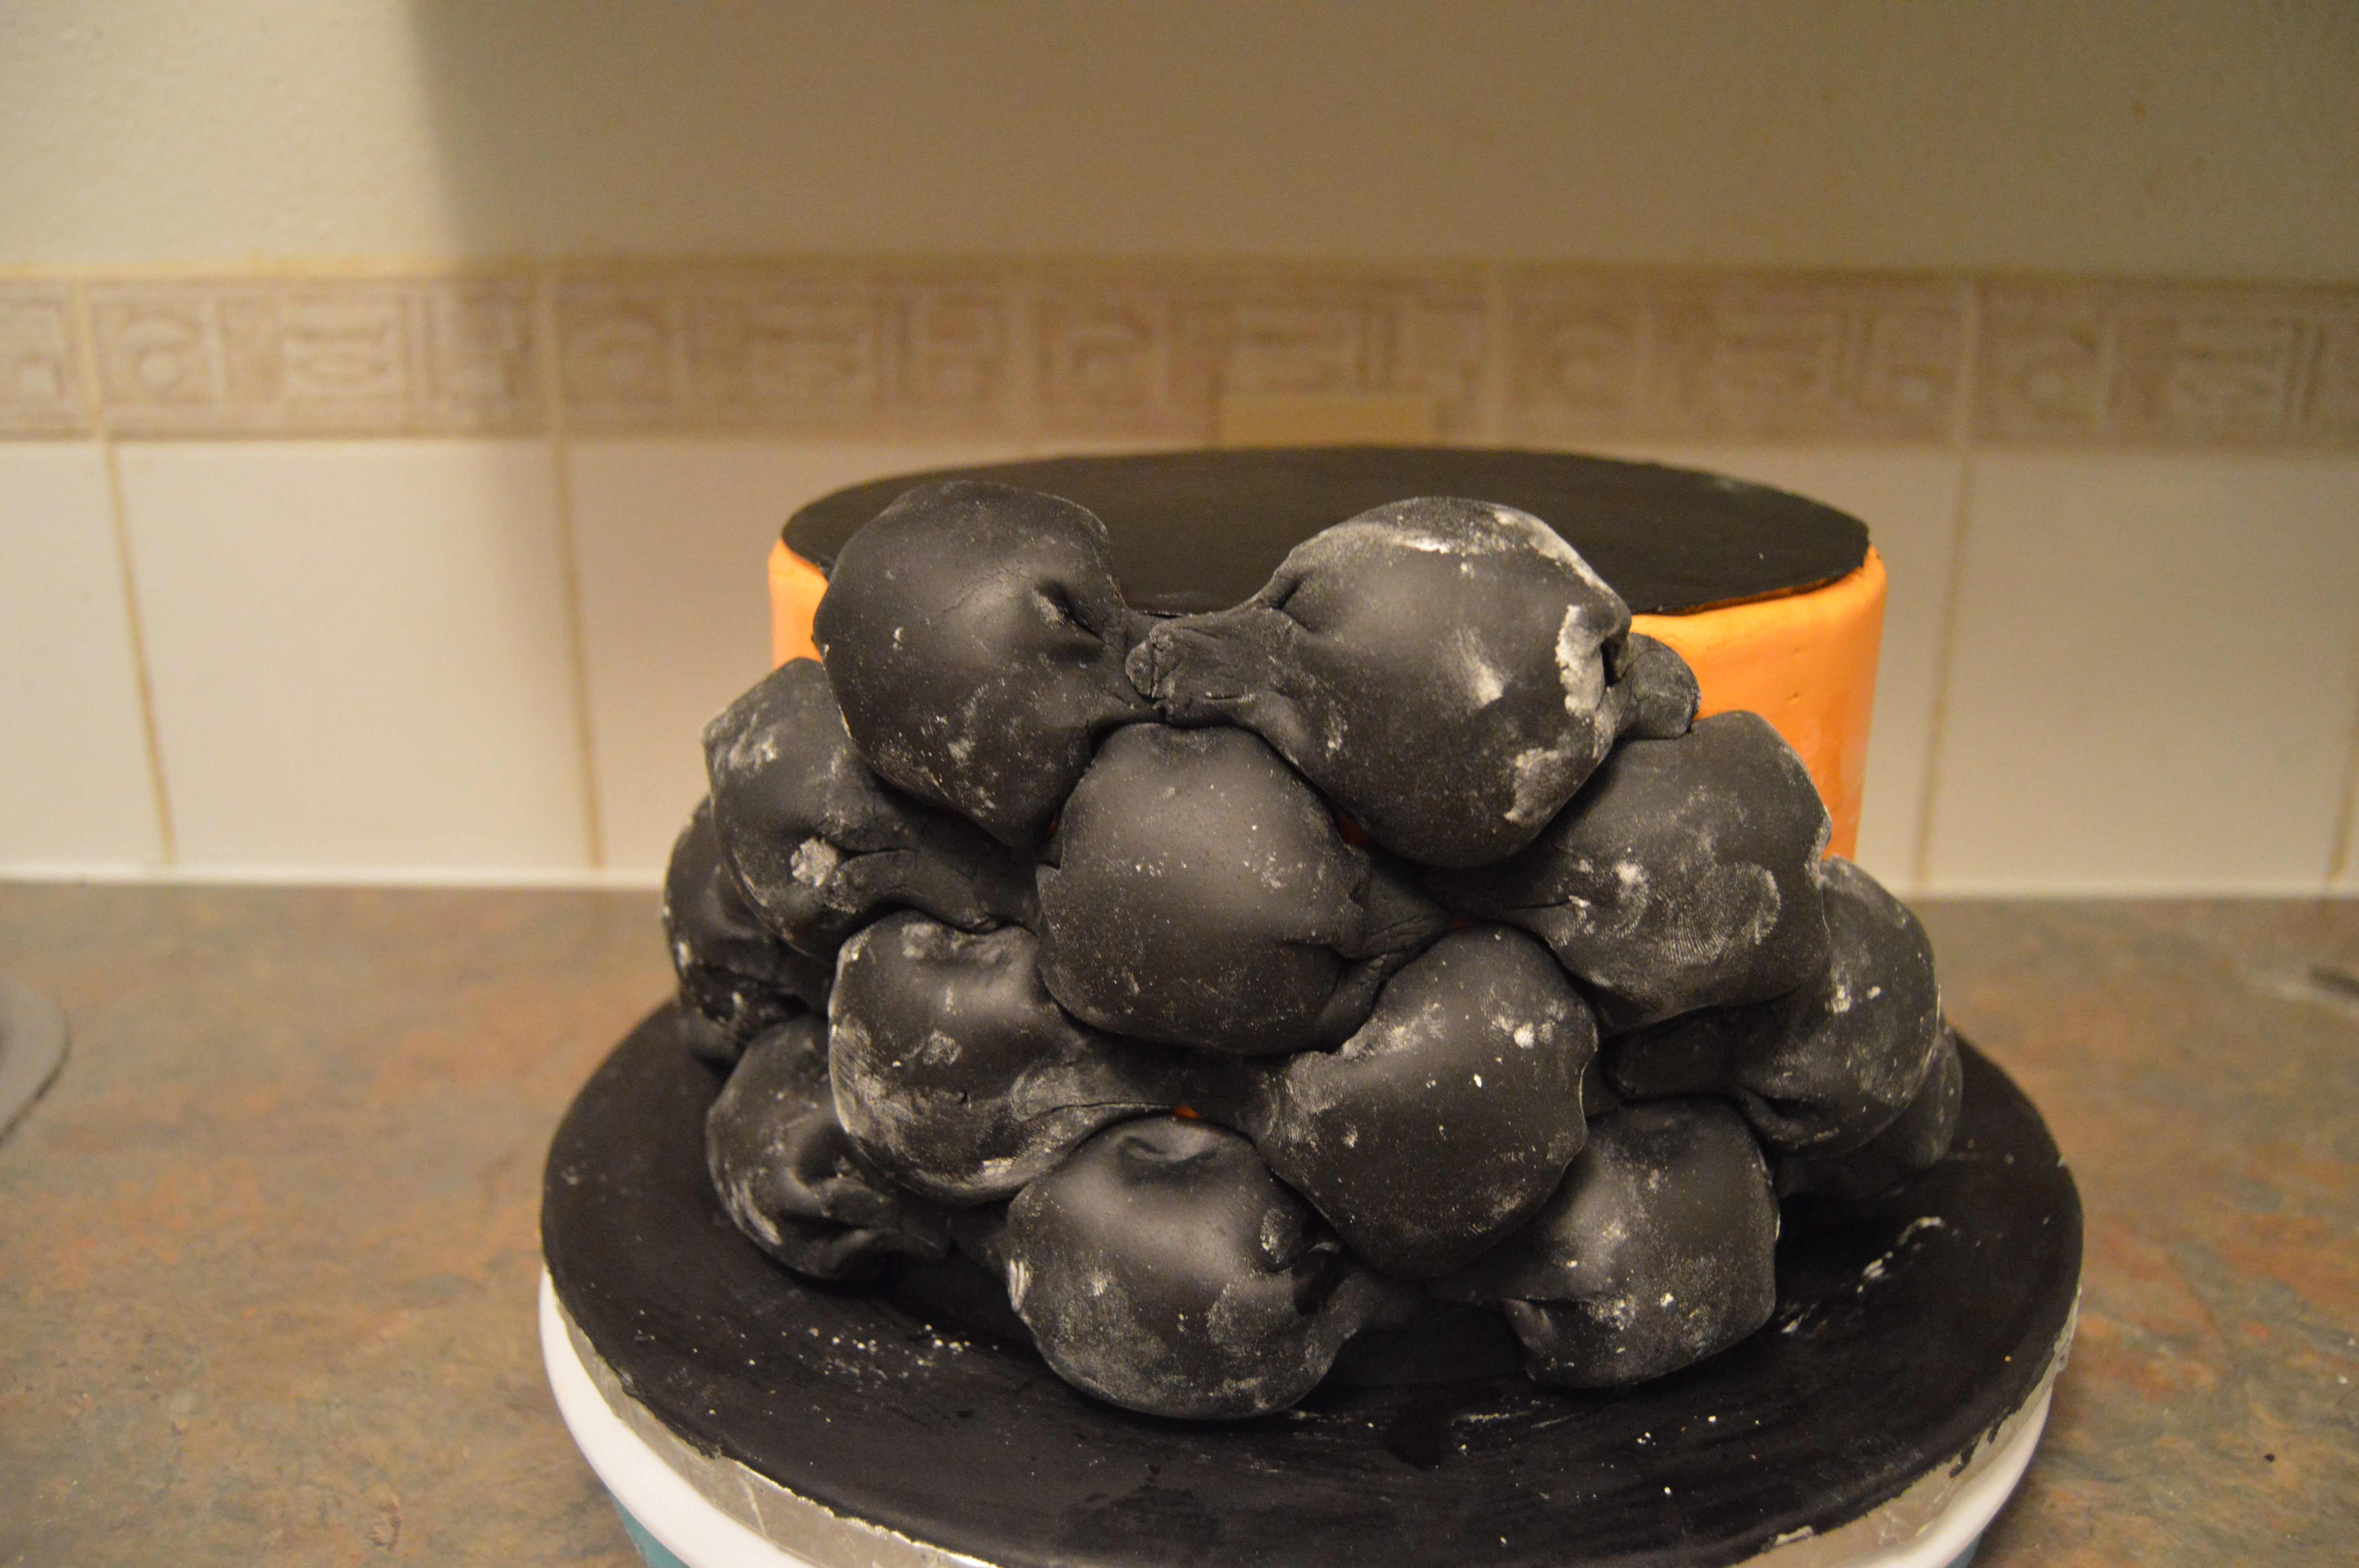
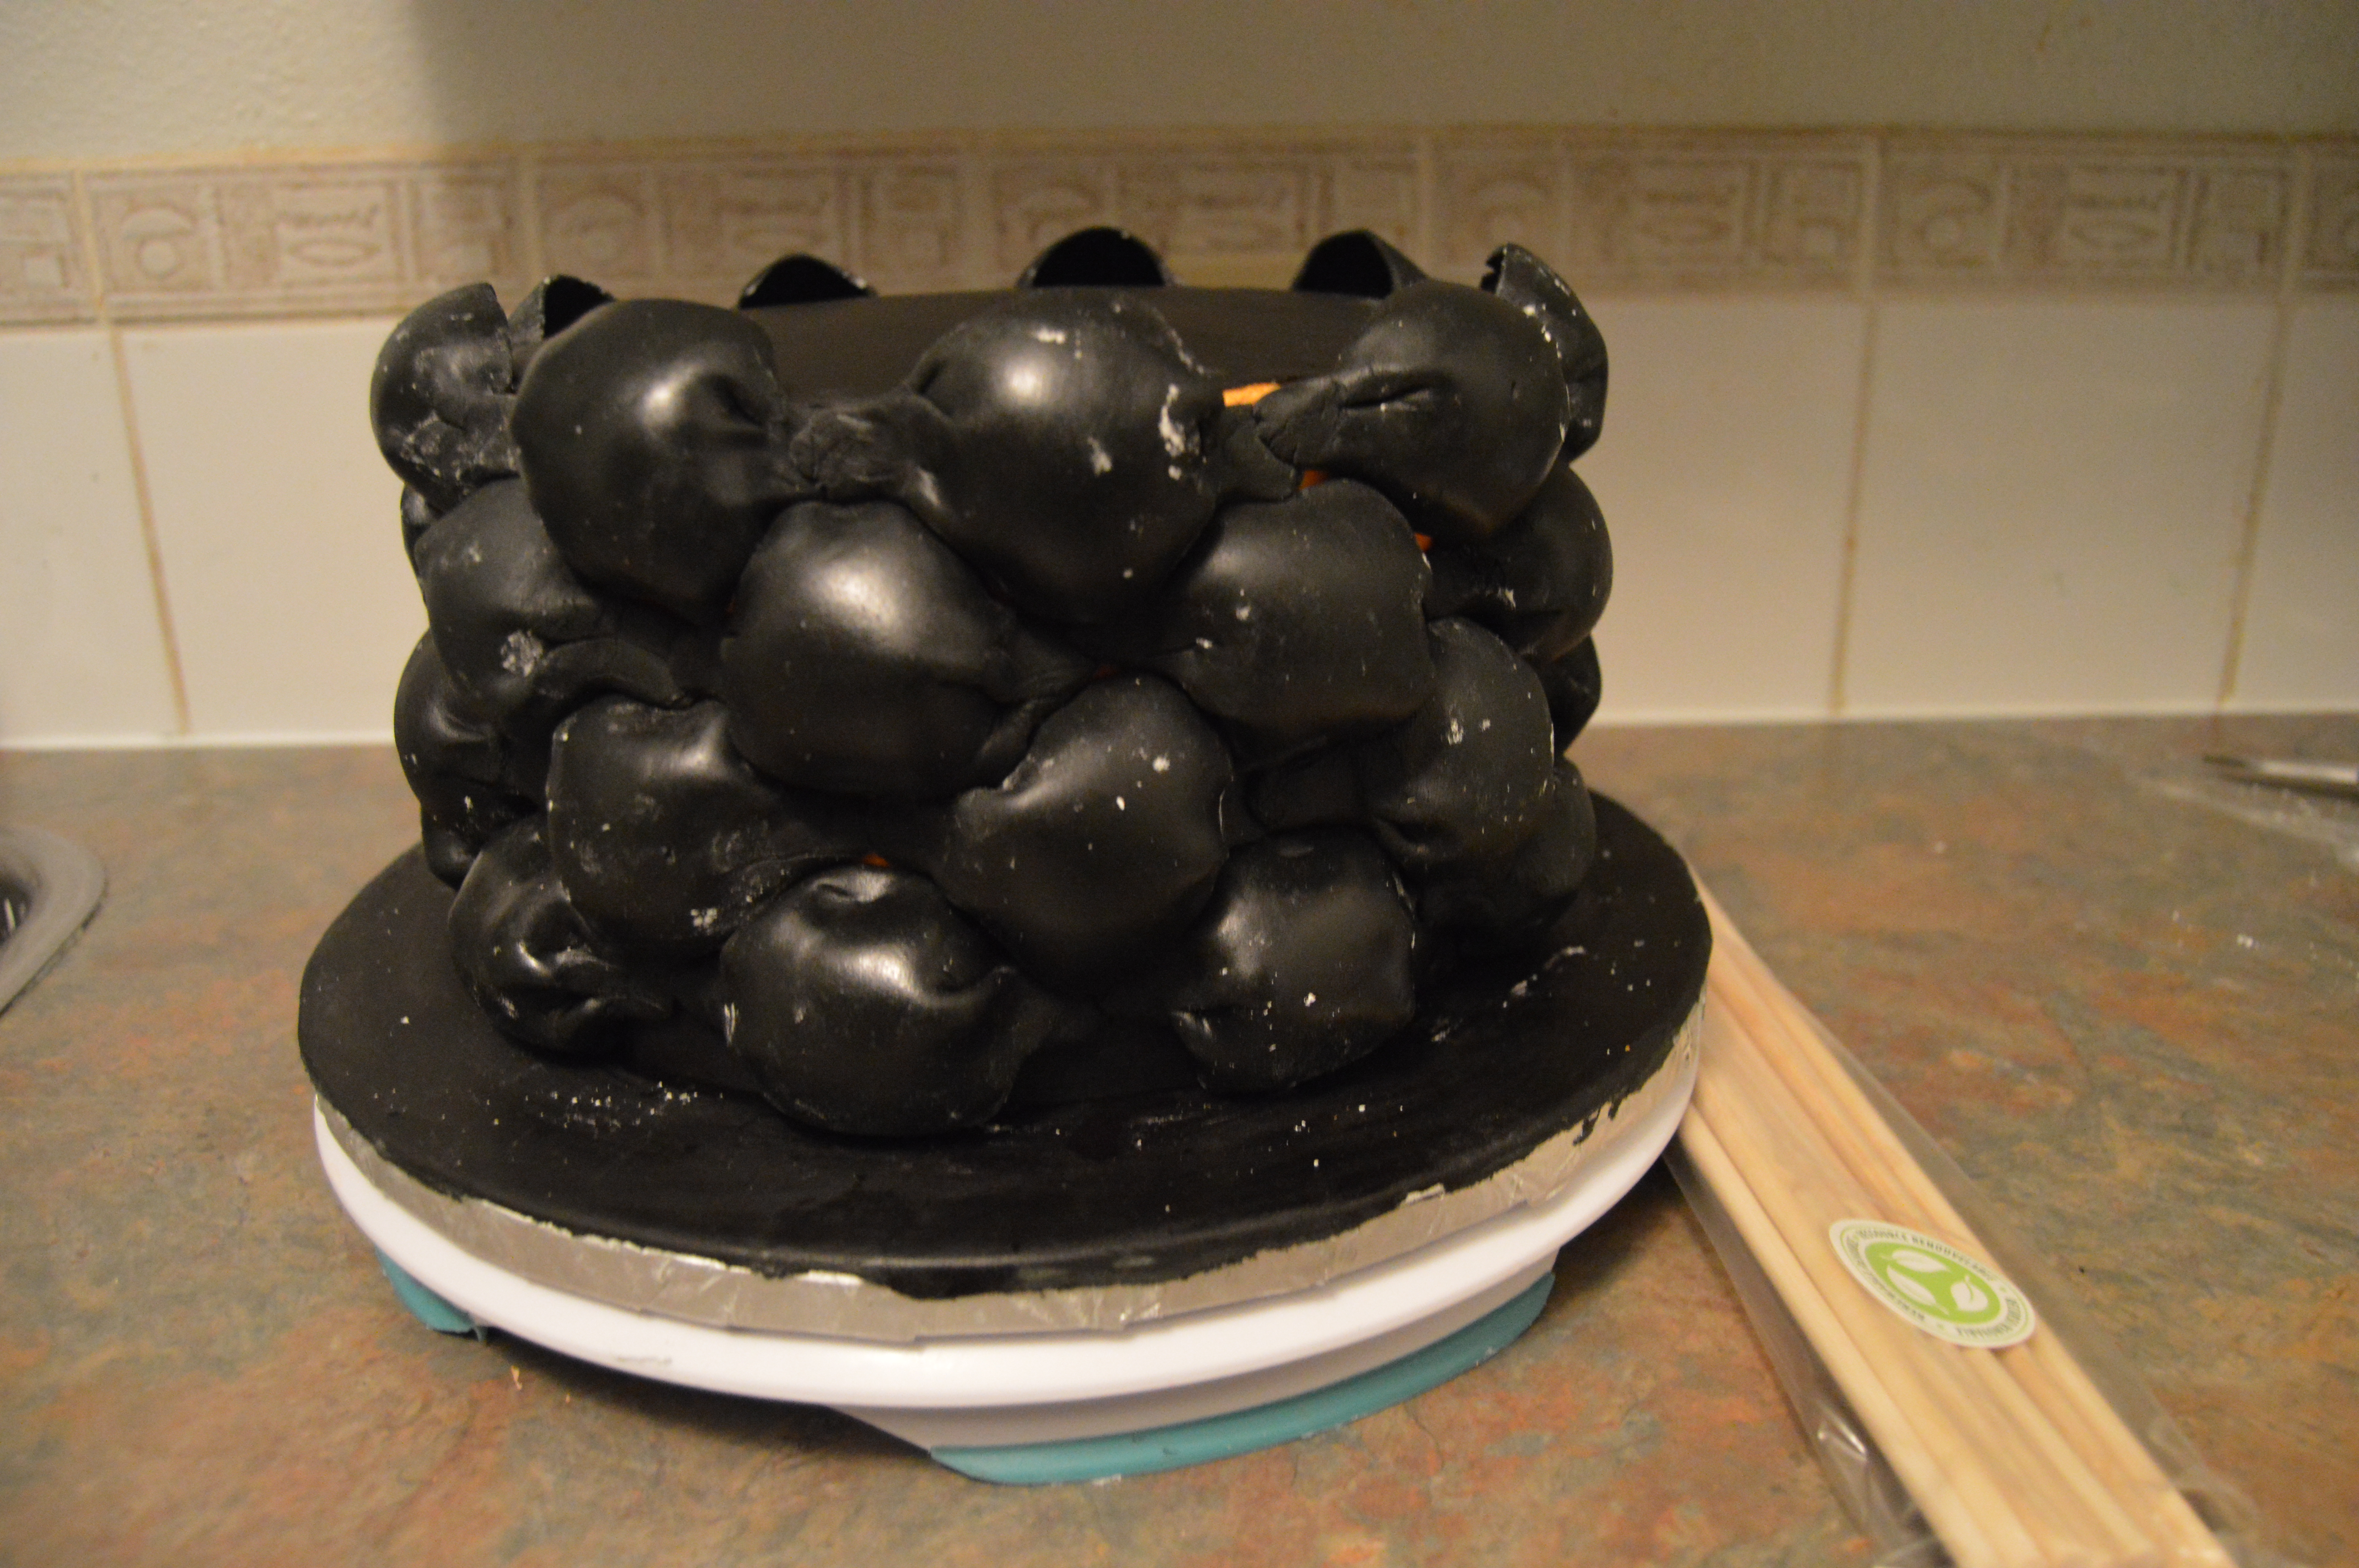
(5) Since I covered the bottom tier with orange fondant, I had to cover the top of the tier with a disk of black fondant. The bottom of the tier was also wrapped with a strip of black fondant. This it to hide the orange fondant.
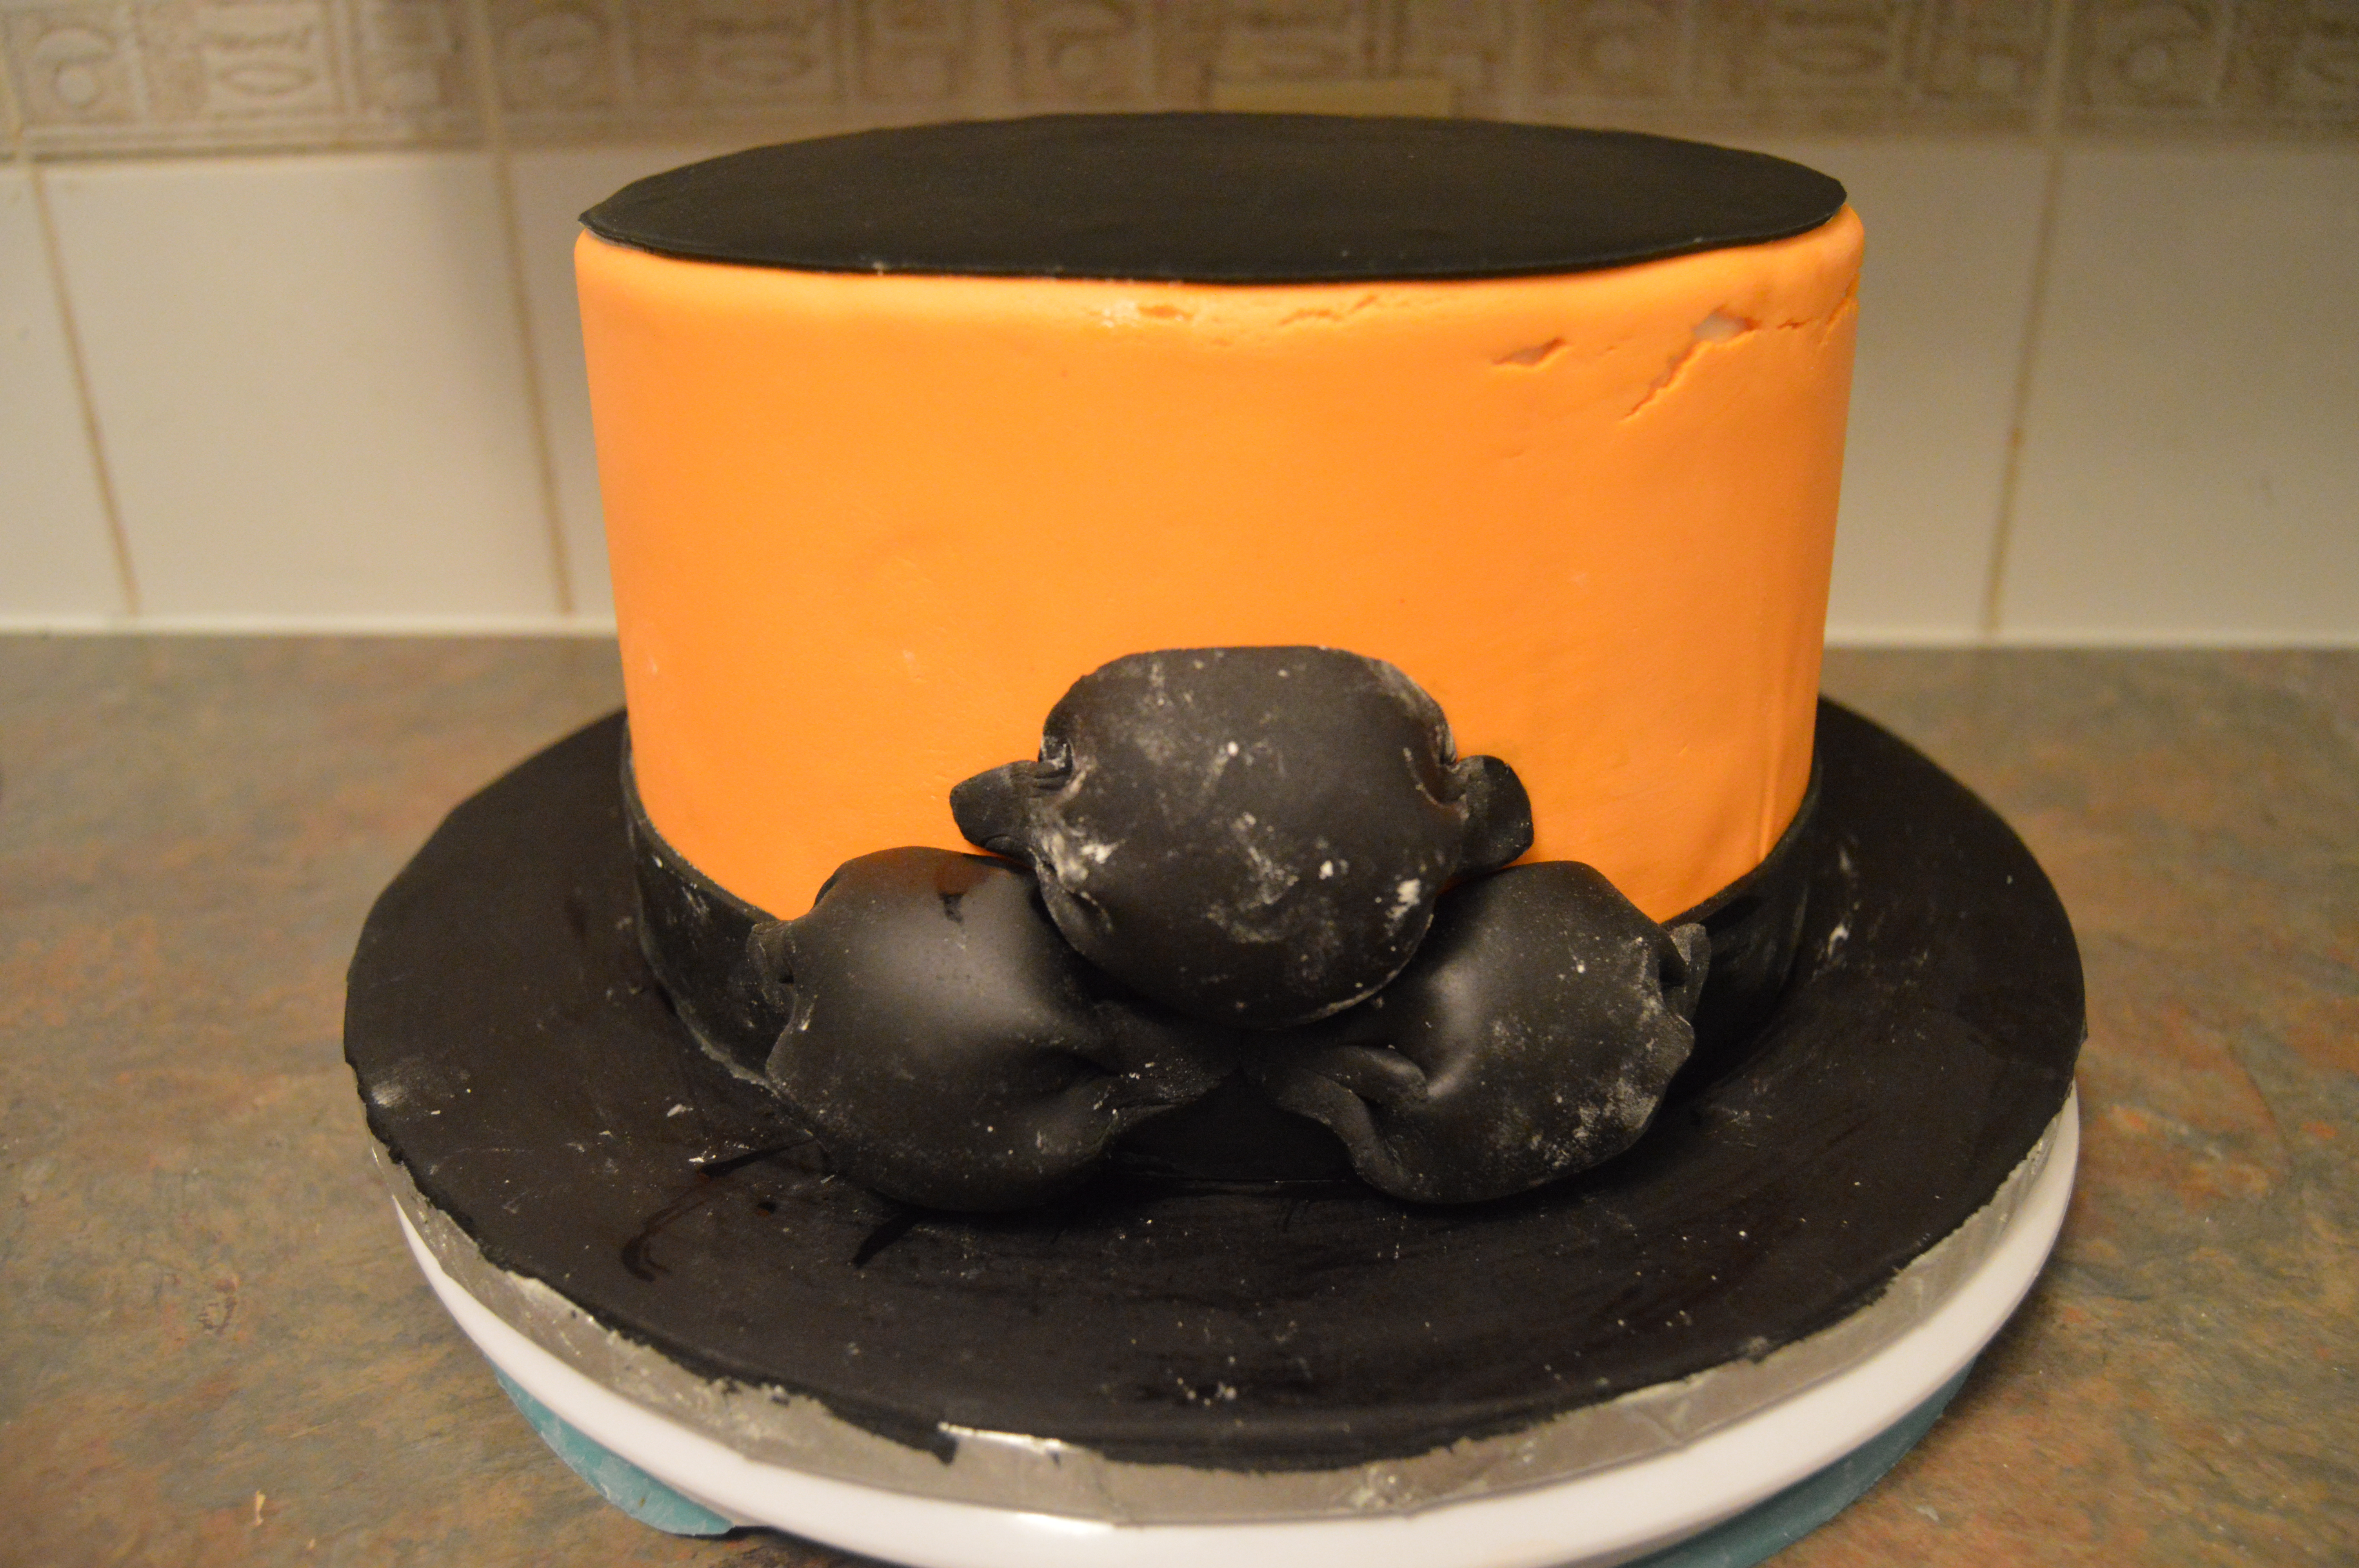
(6) Next, start building your weaves. I have a very detailed tutorial here on how to do this.
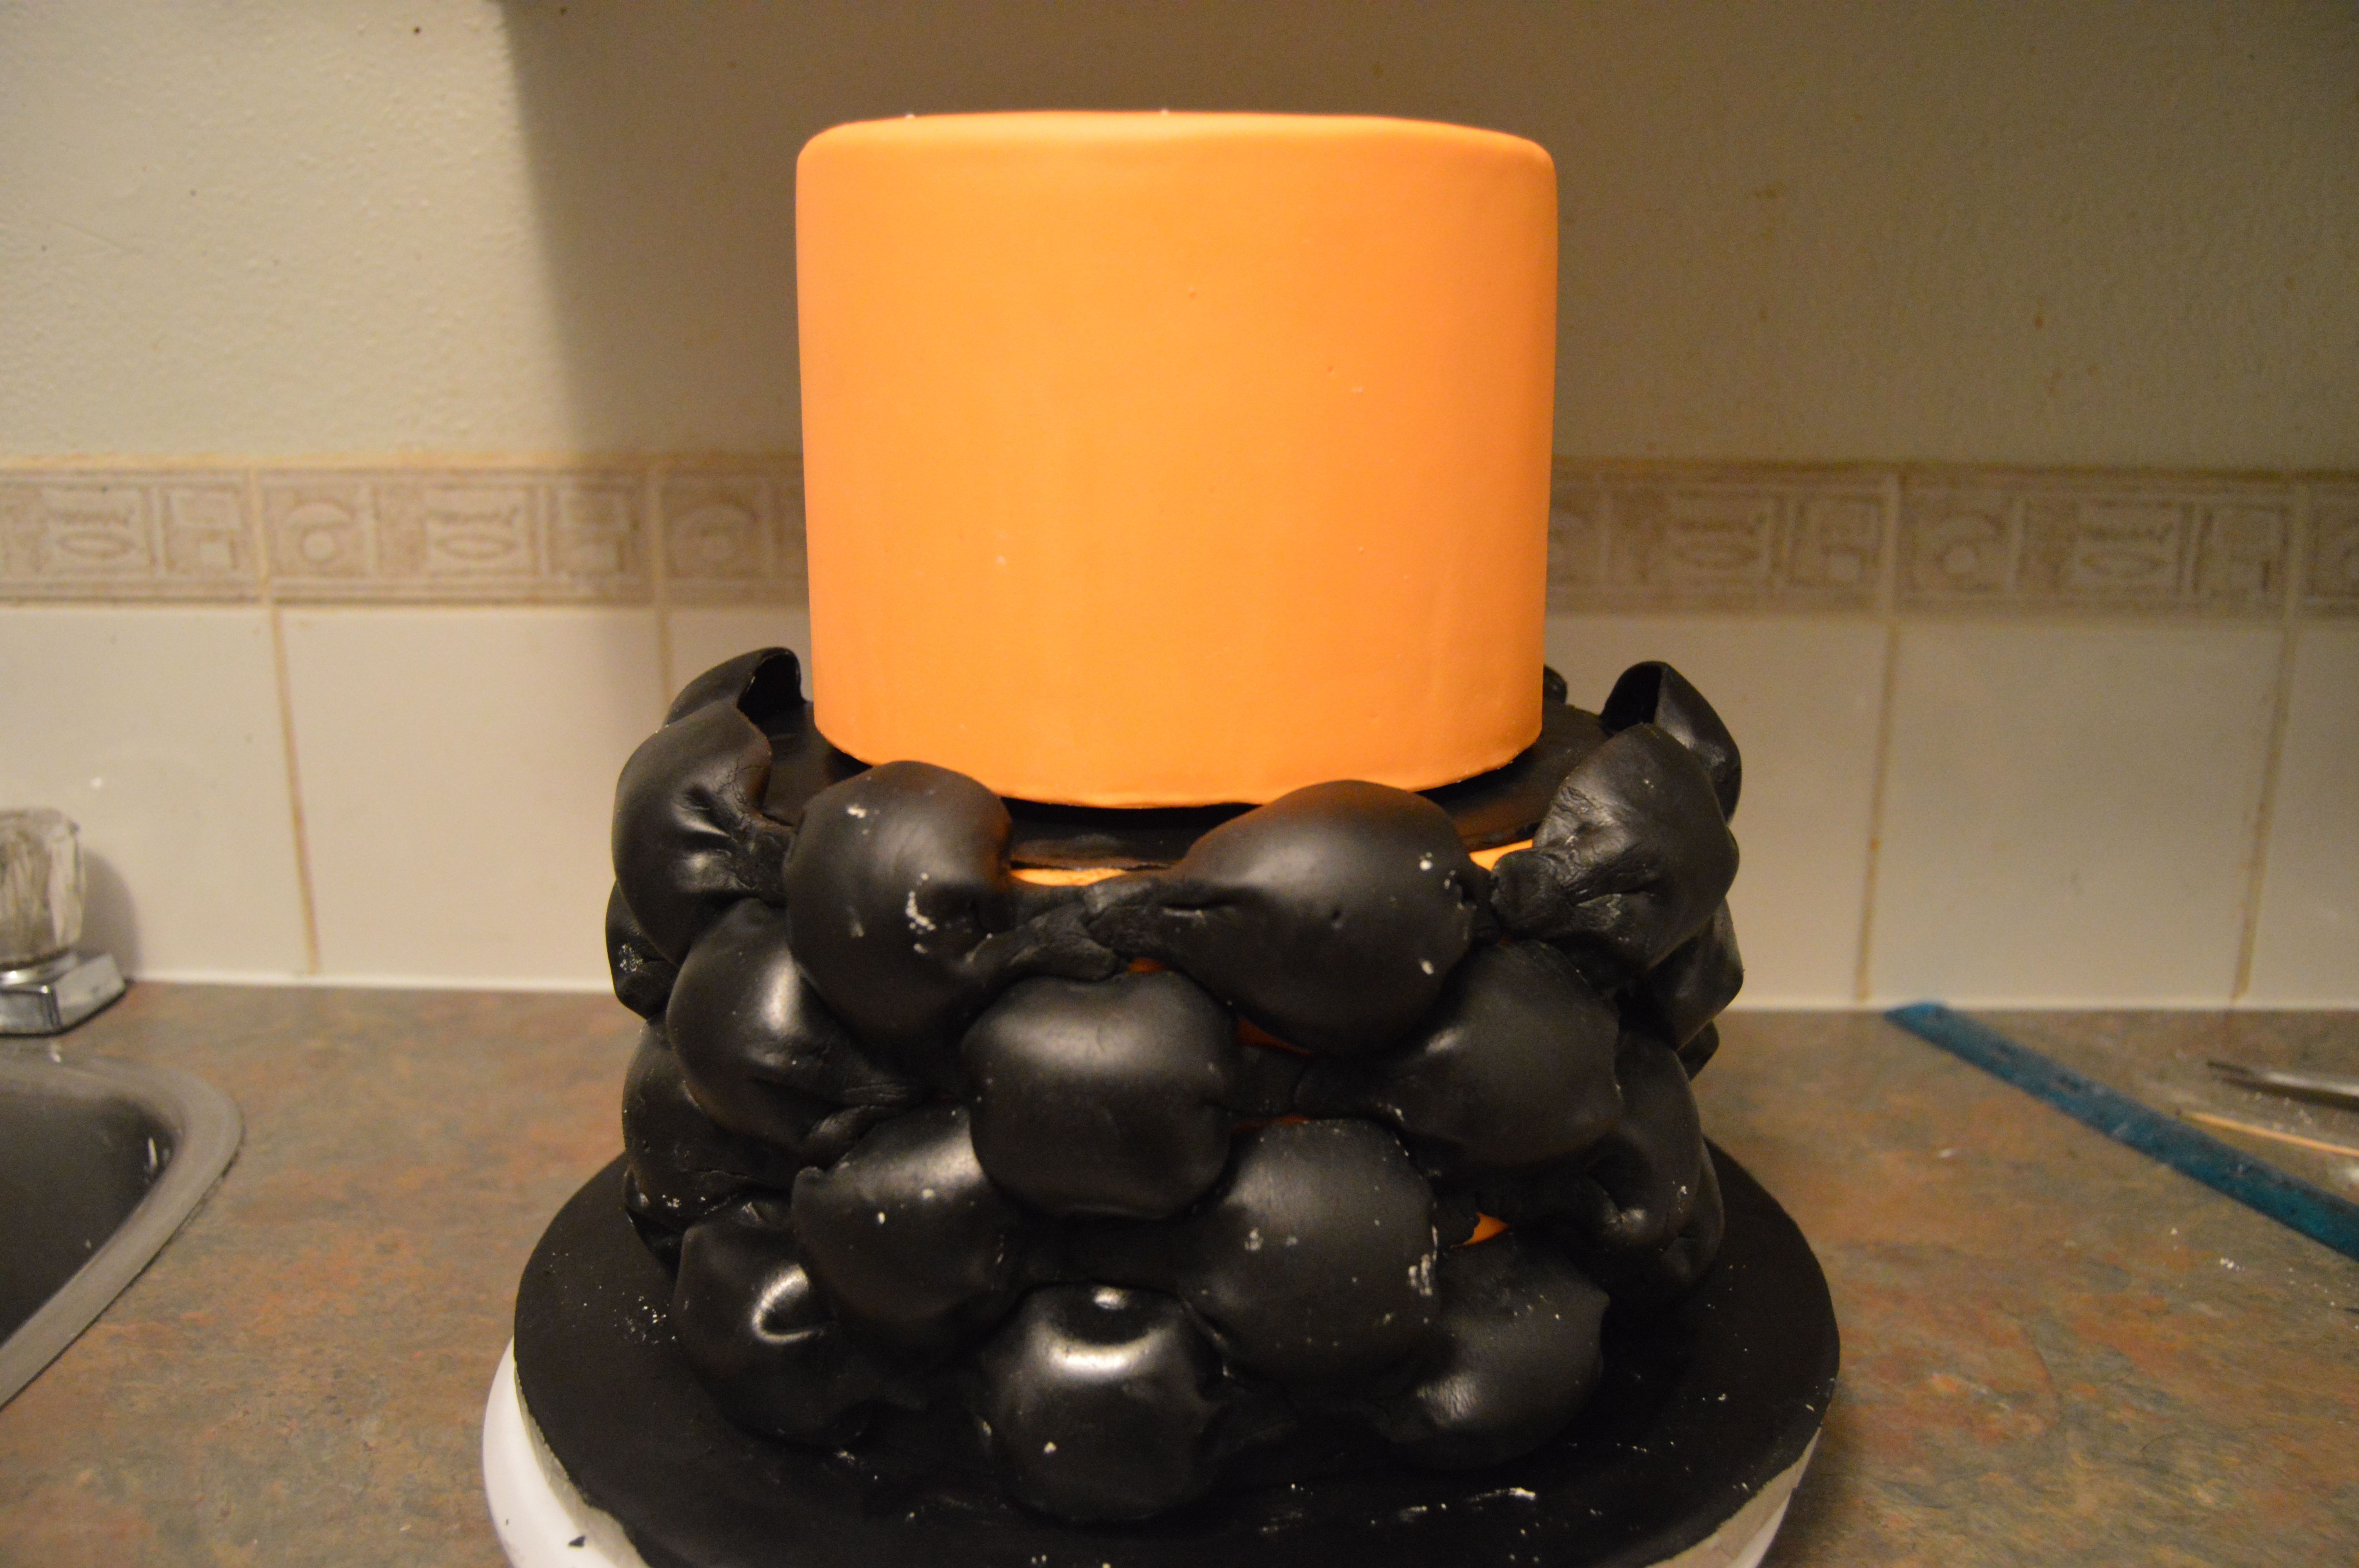
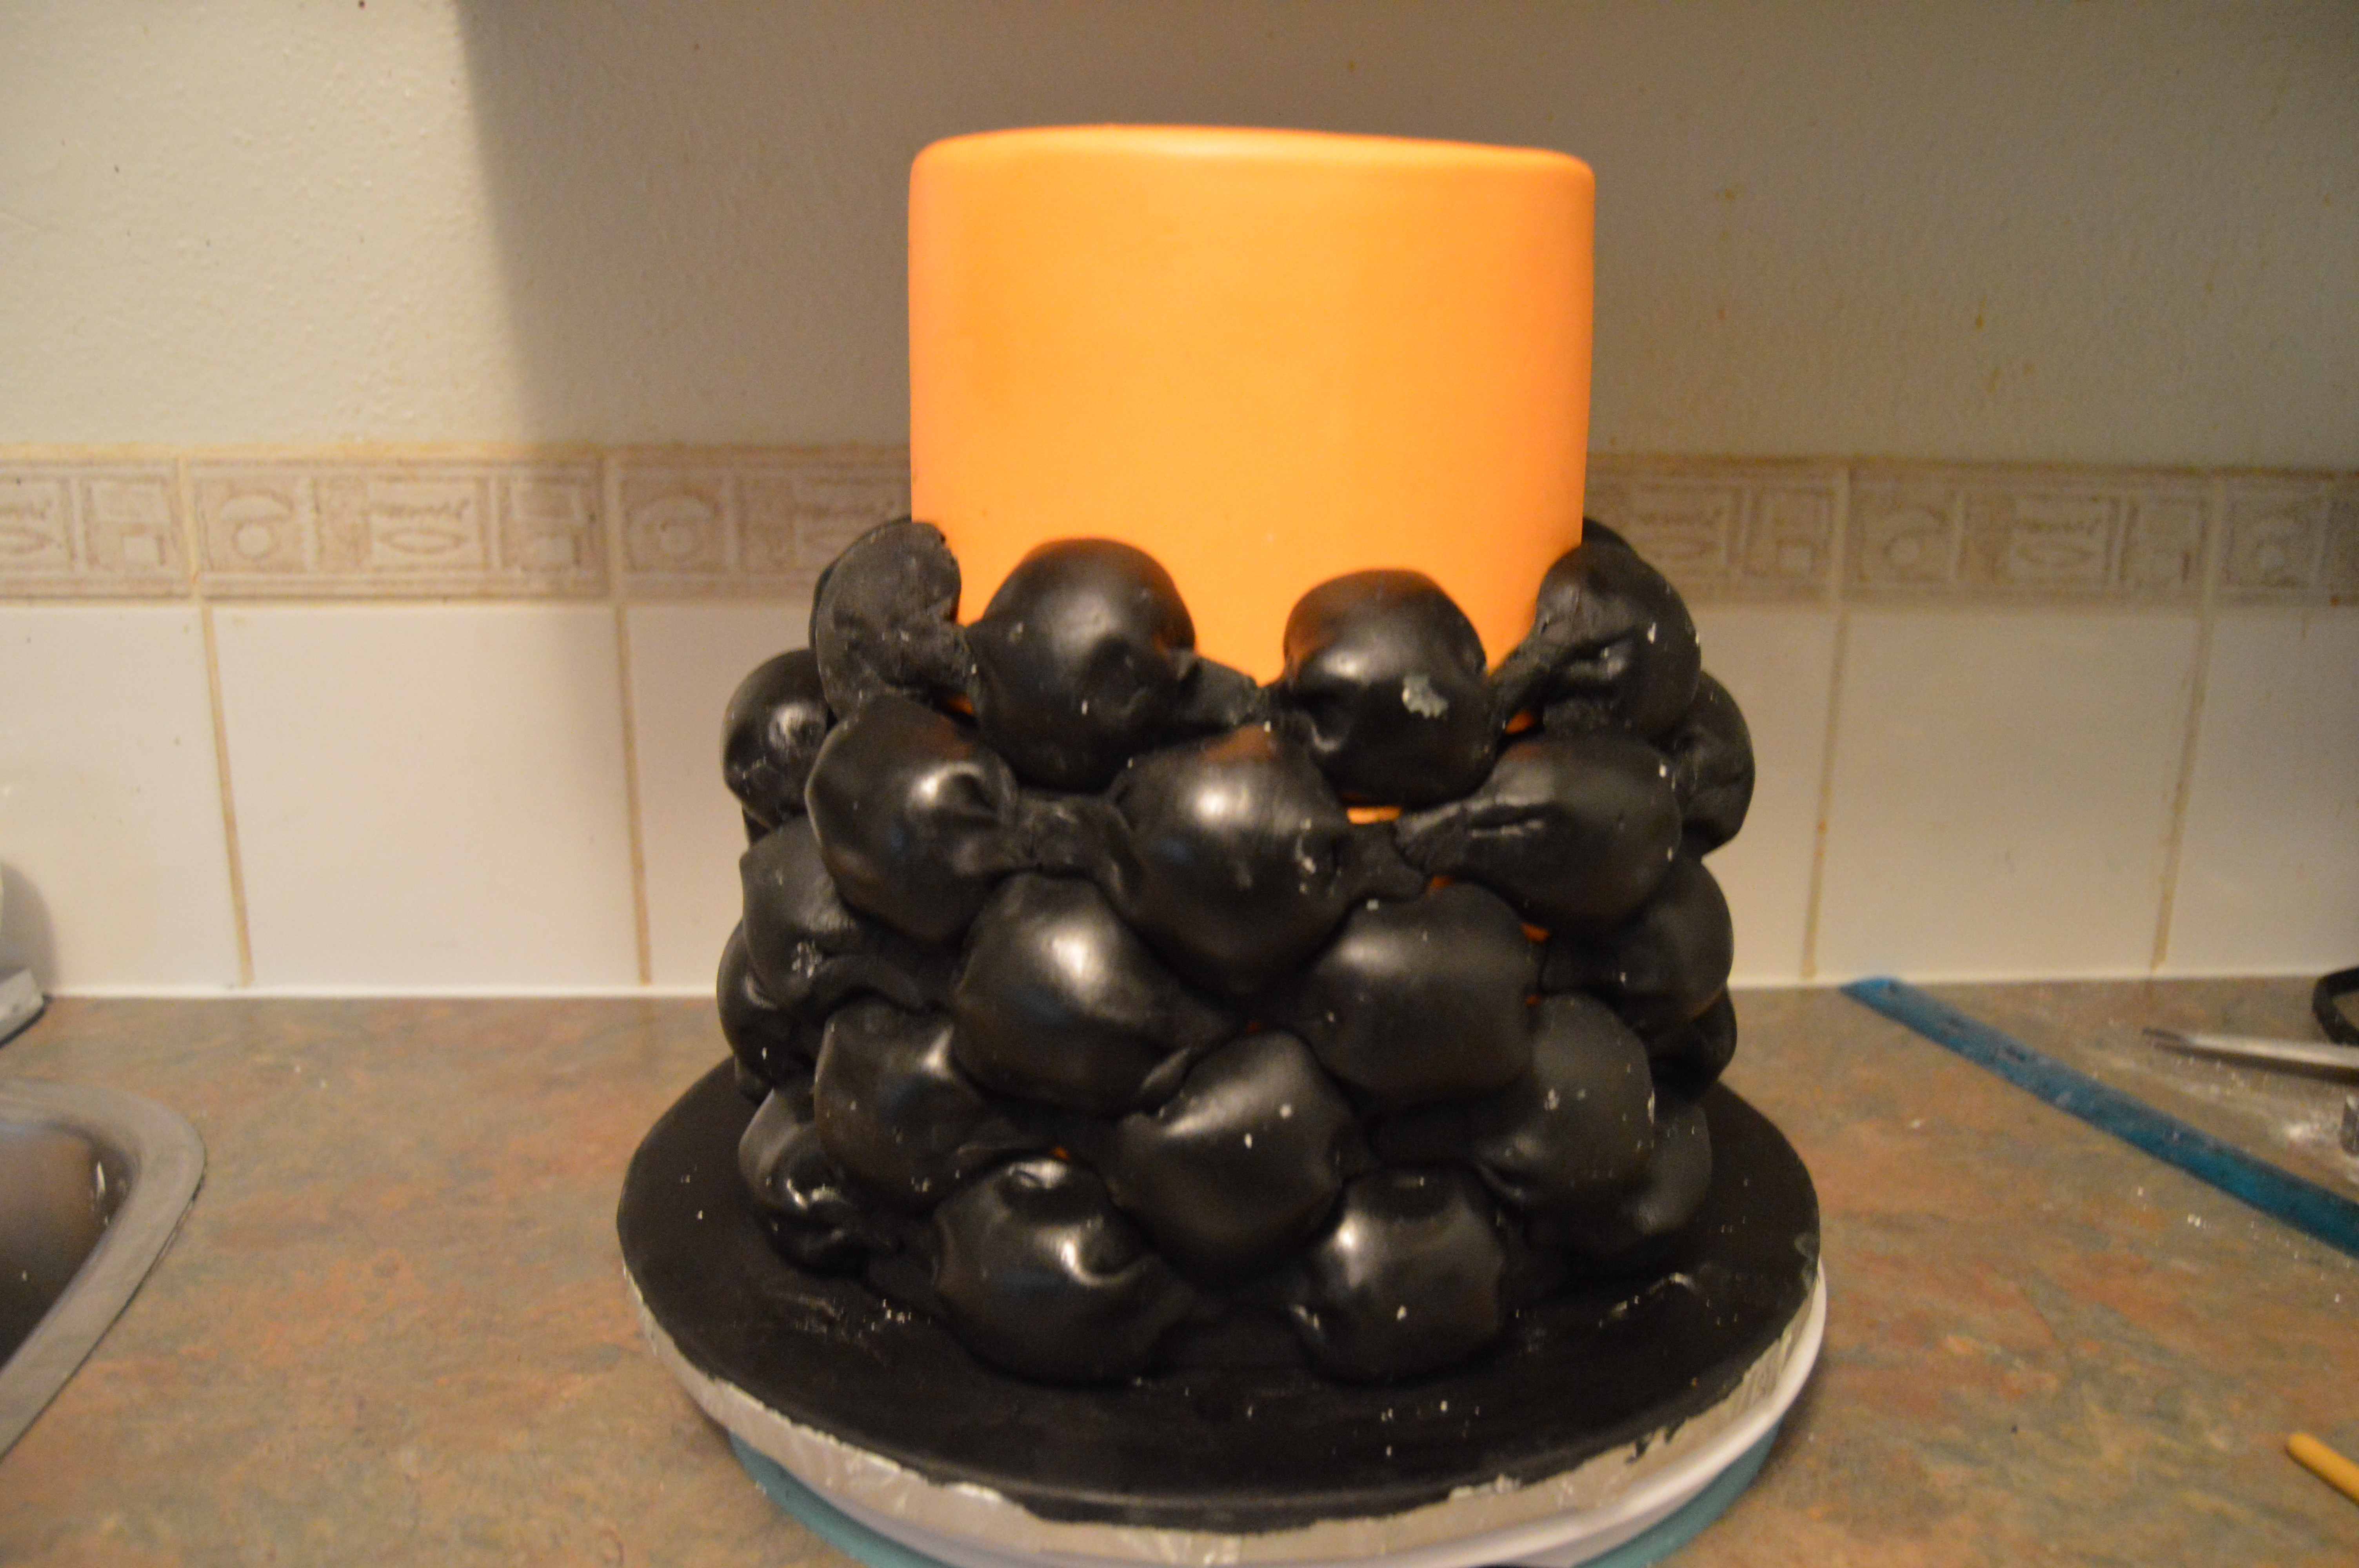
(7) Before placing the last row of weaves, place dowels in the bottom tier and stack the top tier on it. Place the weaves so they extend to the base of the top tier.
(8) Next, brush the weaves with vodka to remove any icing sugar residue. While the cake is still wet, place the buttons on the weaves.
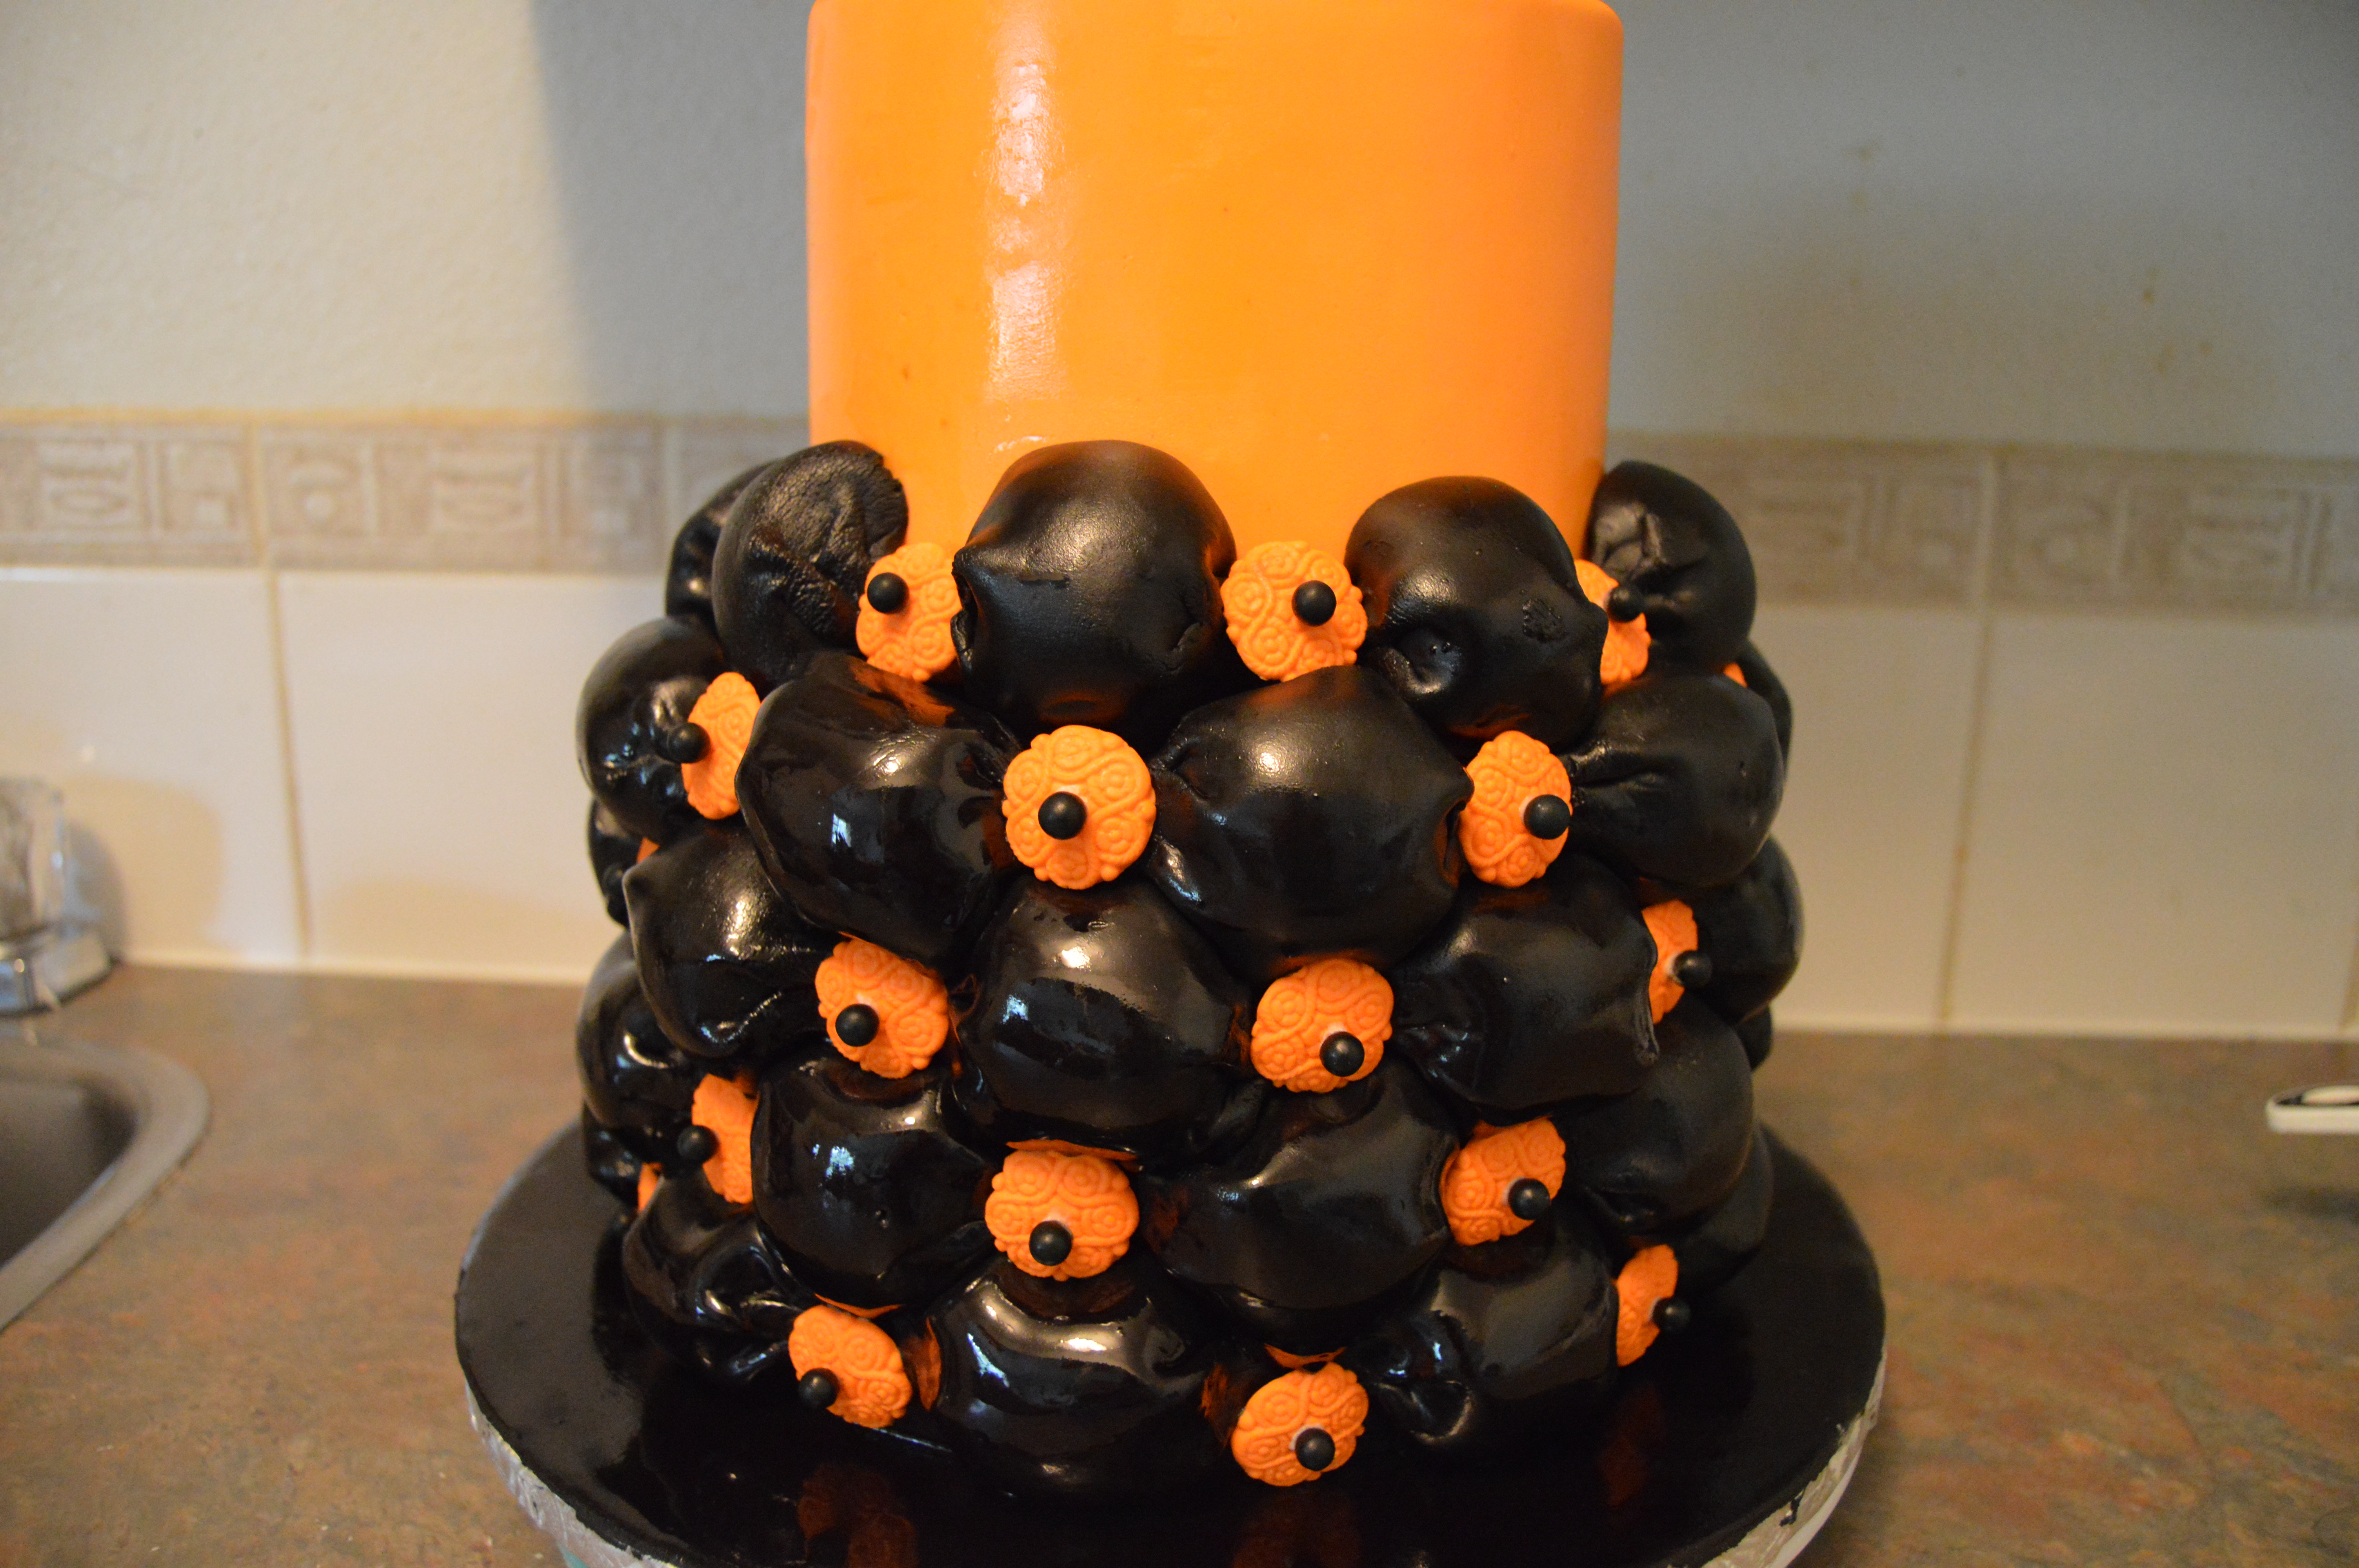
(9) Next, place the ornaments on the top tier.
That’s all there is to it. Do not forget to cover the sides of your cake drum with a ribbon. Happy caking!
Terry Adido is passionate about showing people how easy it is to recreate restaurant quality meals in the comfort of their kitchens. With a style of cooking he refers to as Afro-European Fusion, his meals are influenced greatly by French and Italian Cuisine with a West African twist. If you love good food, you are in for the ride of your life.
Tenx dis give me an idea fo my birthday cake.
I’m glad you found it helpful.
Hello Terry, please give a hint on how u made your fondant feather.
Tutorial here.