
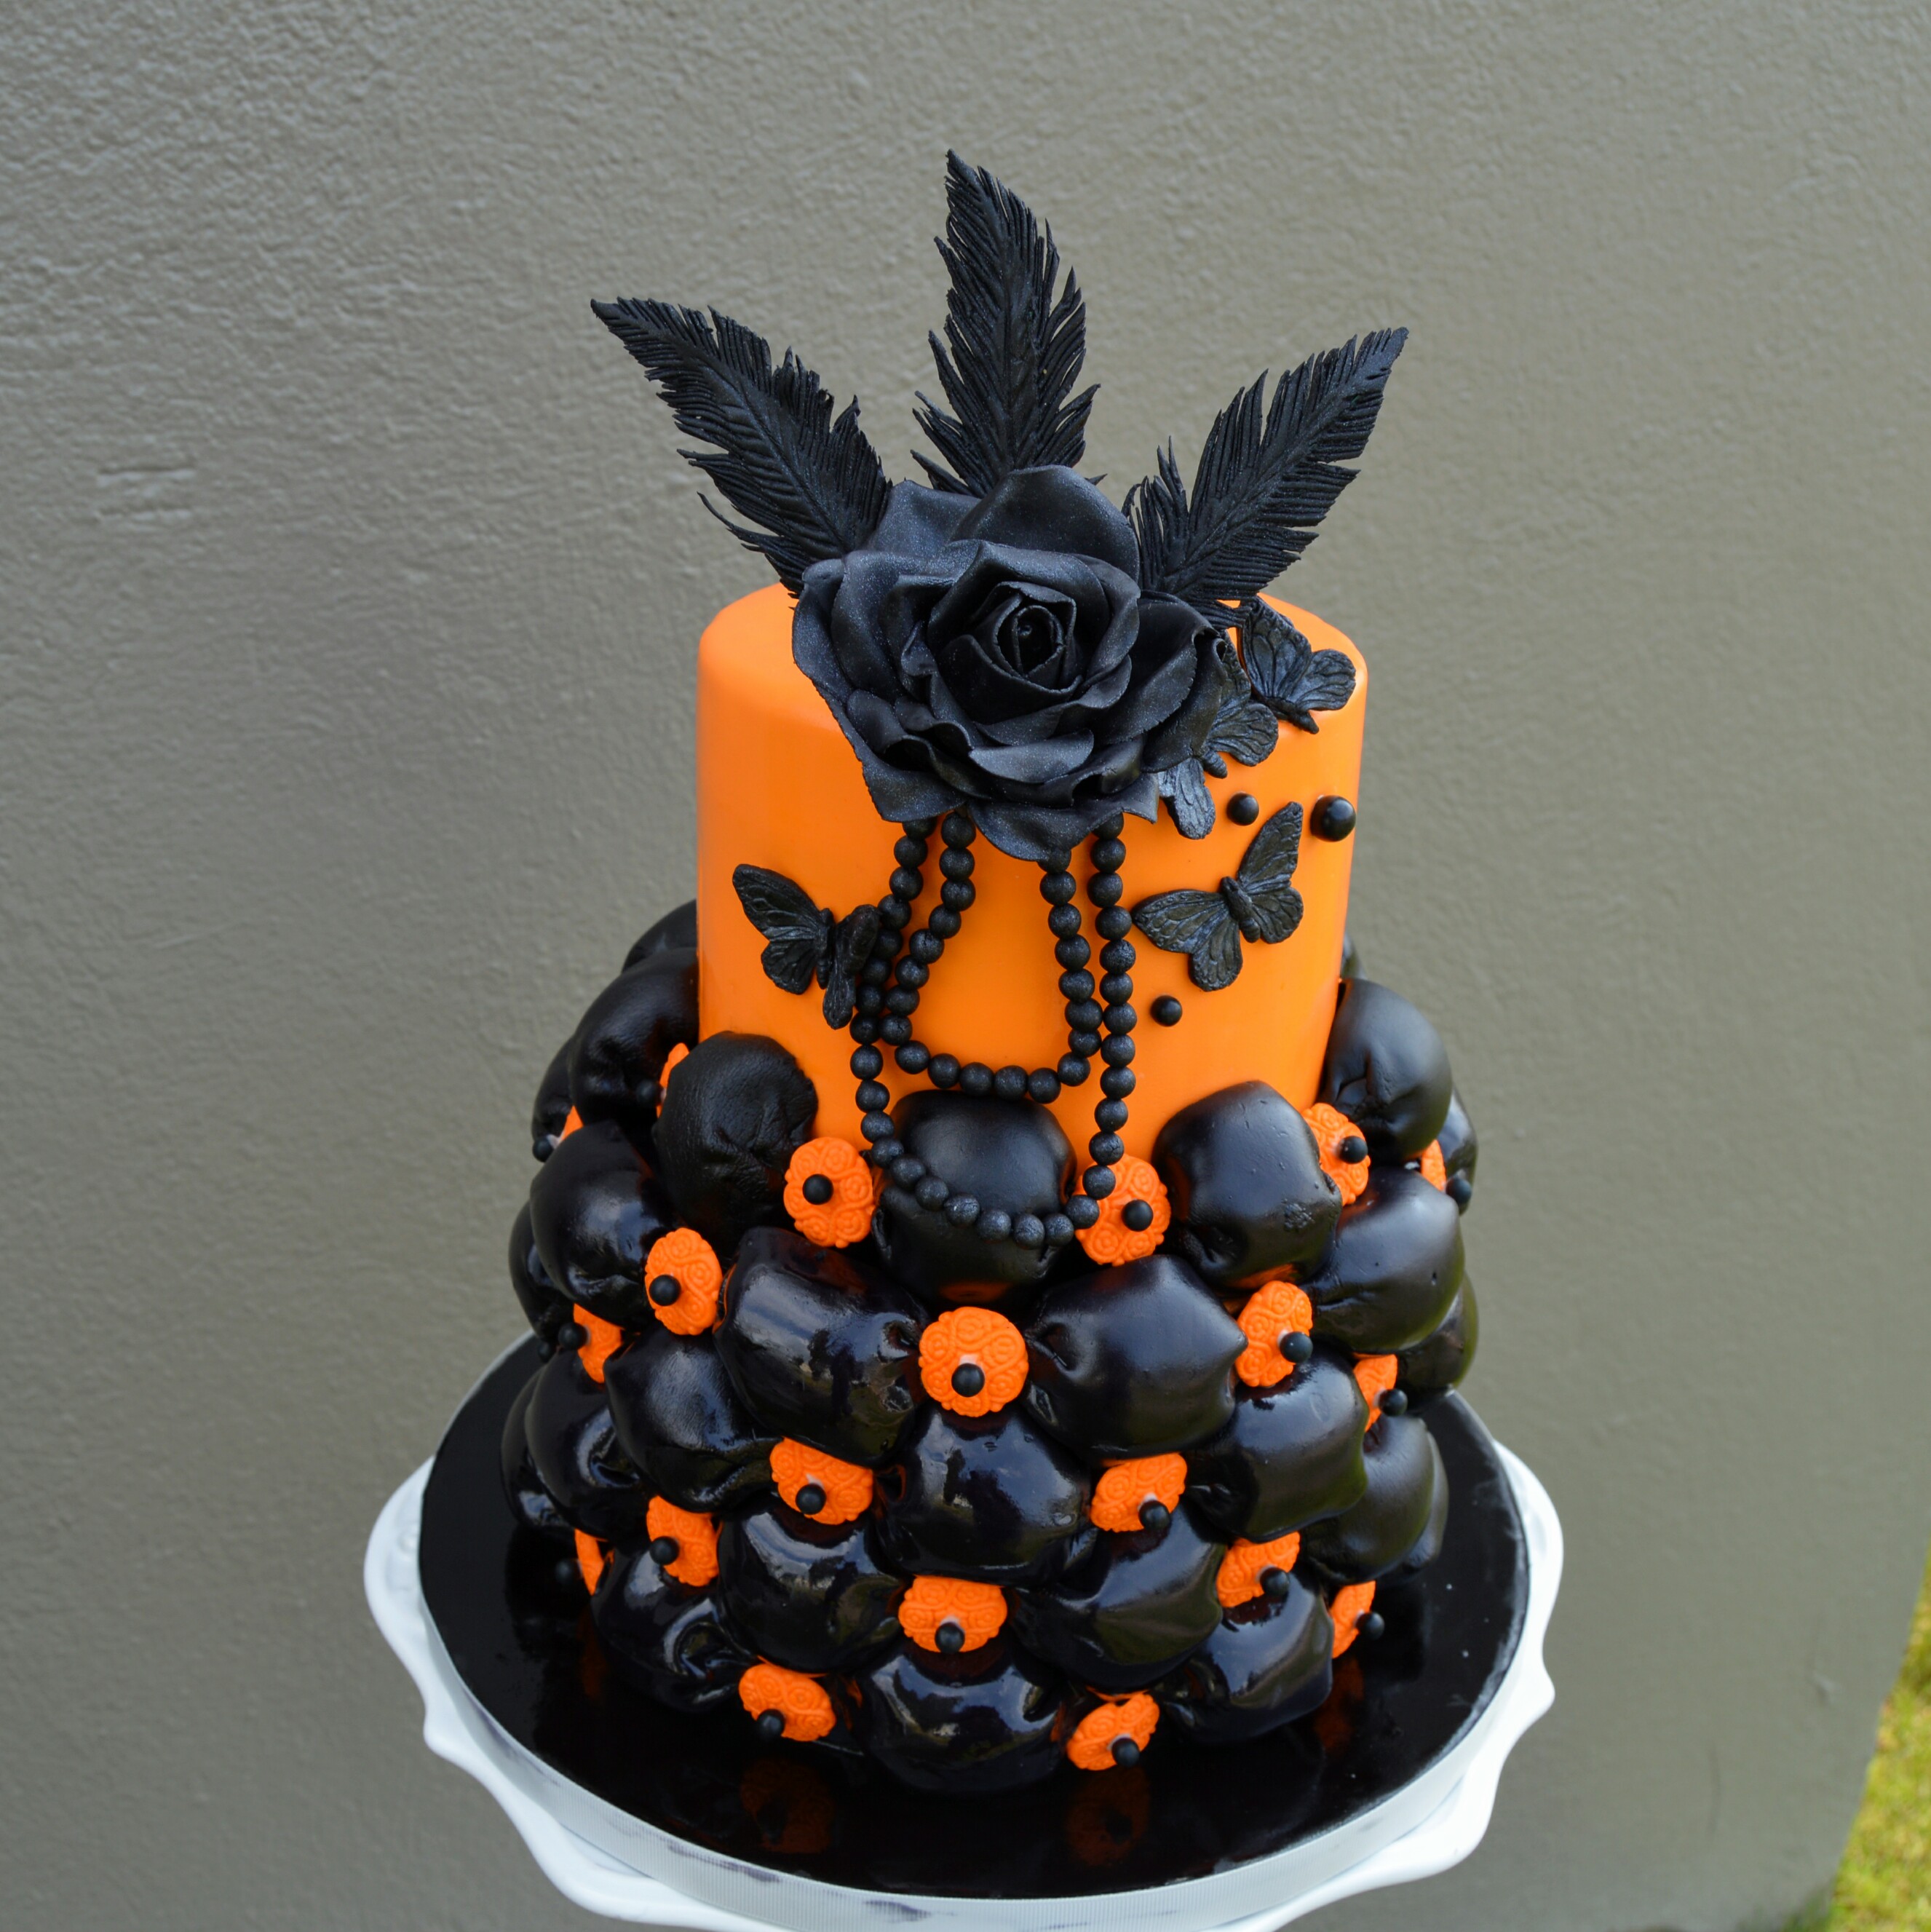
How to Make Tufted Billow Weave Design with Fondant
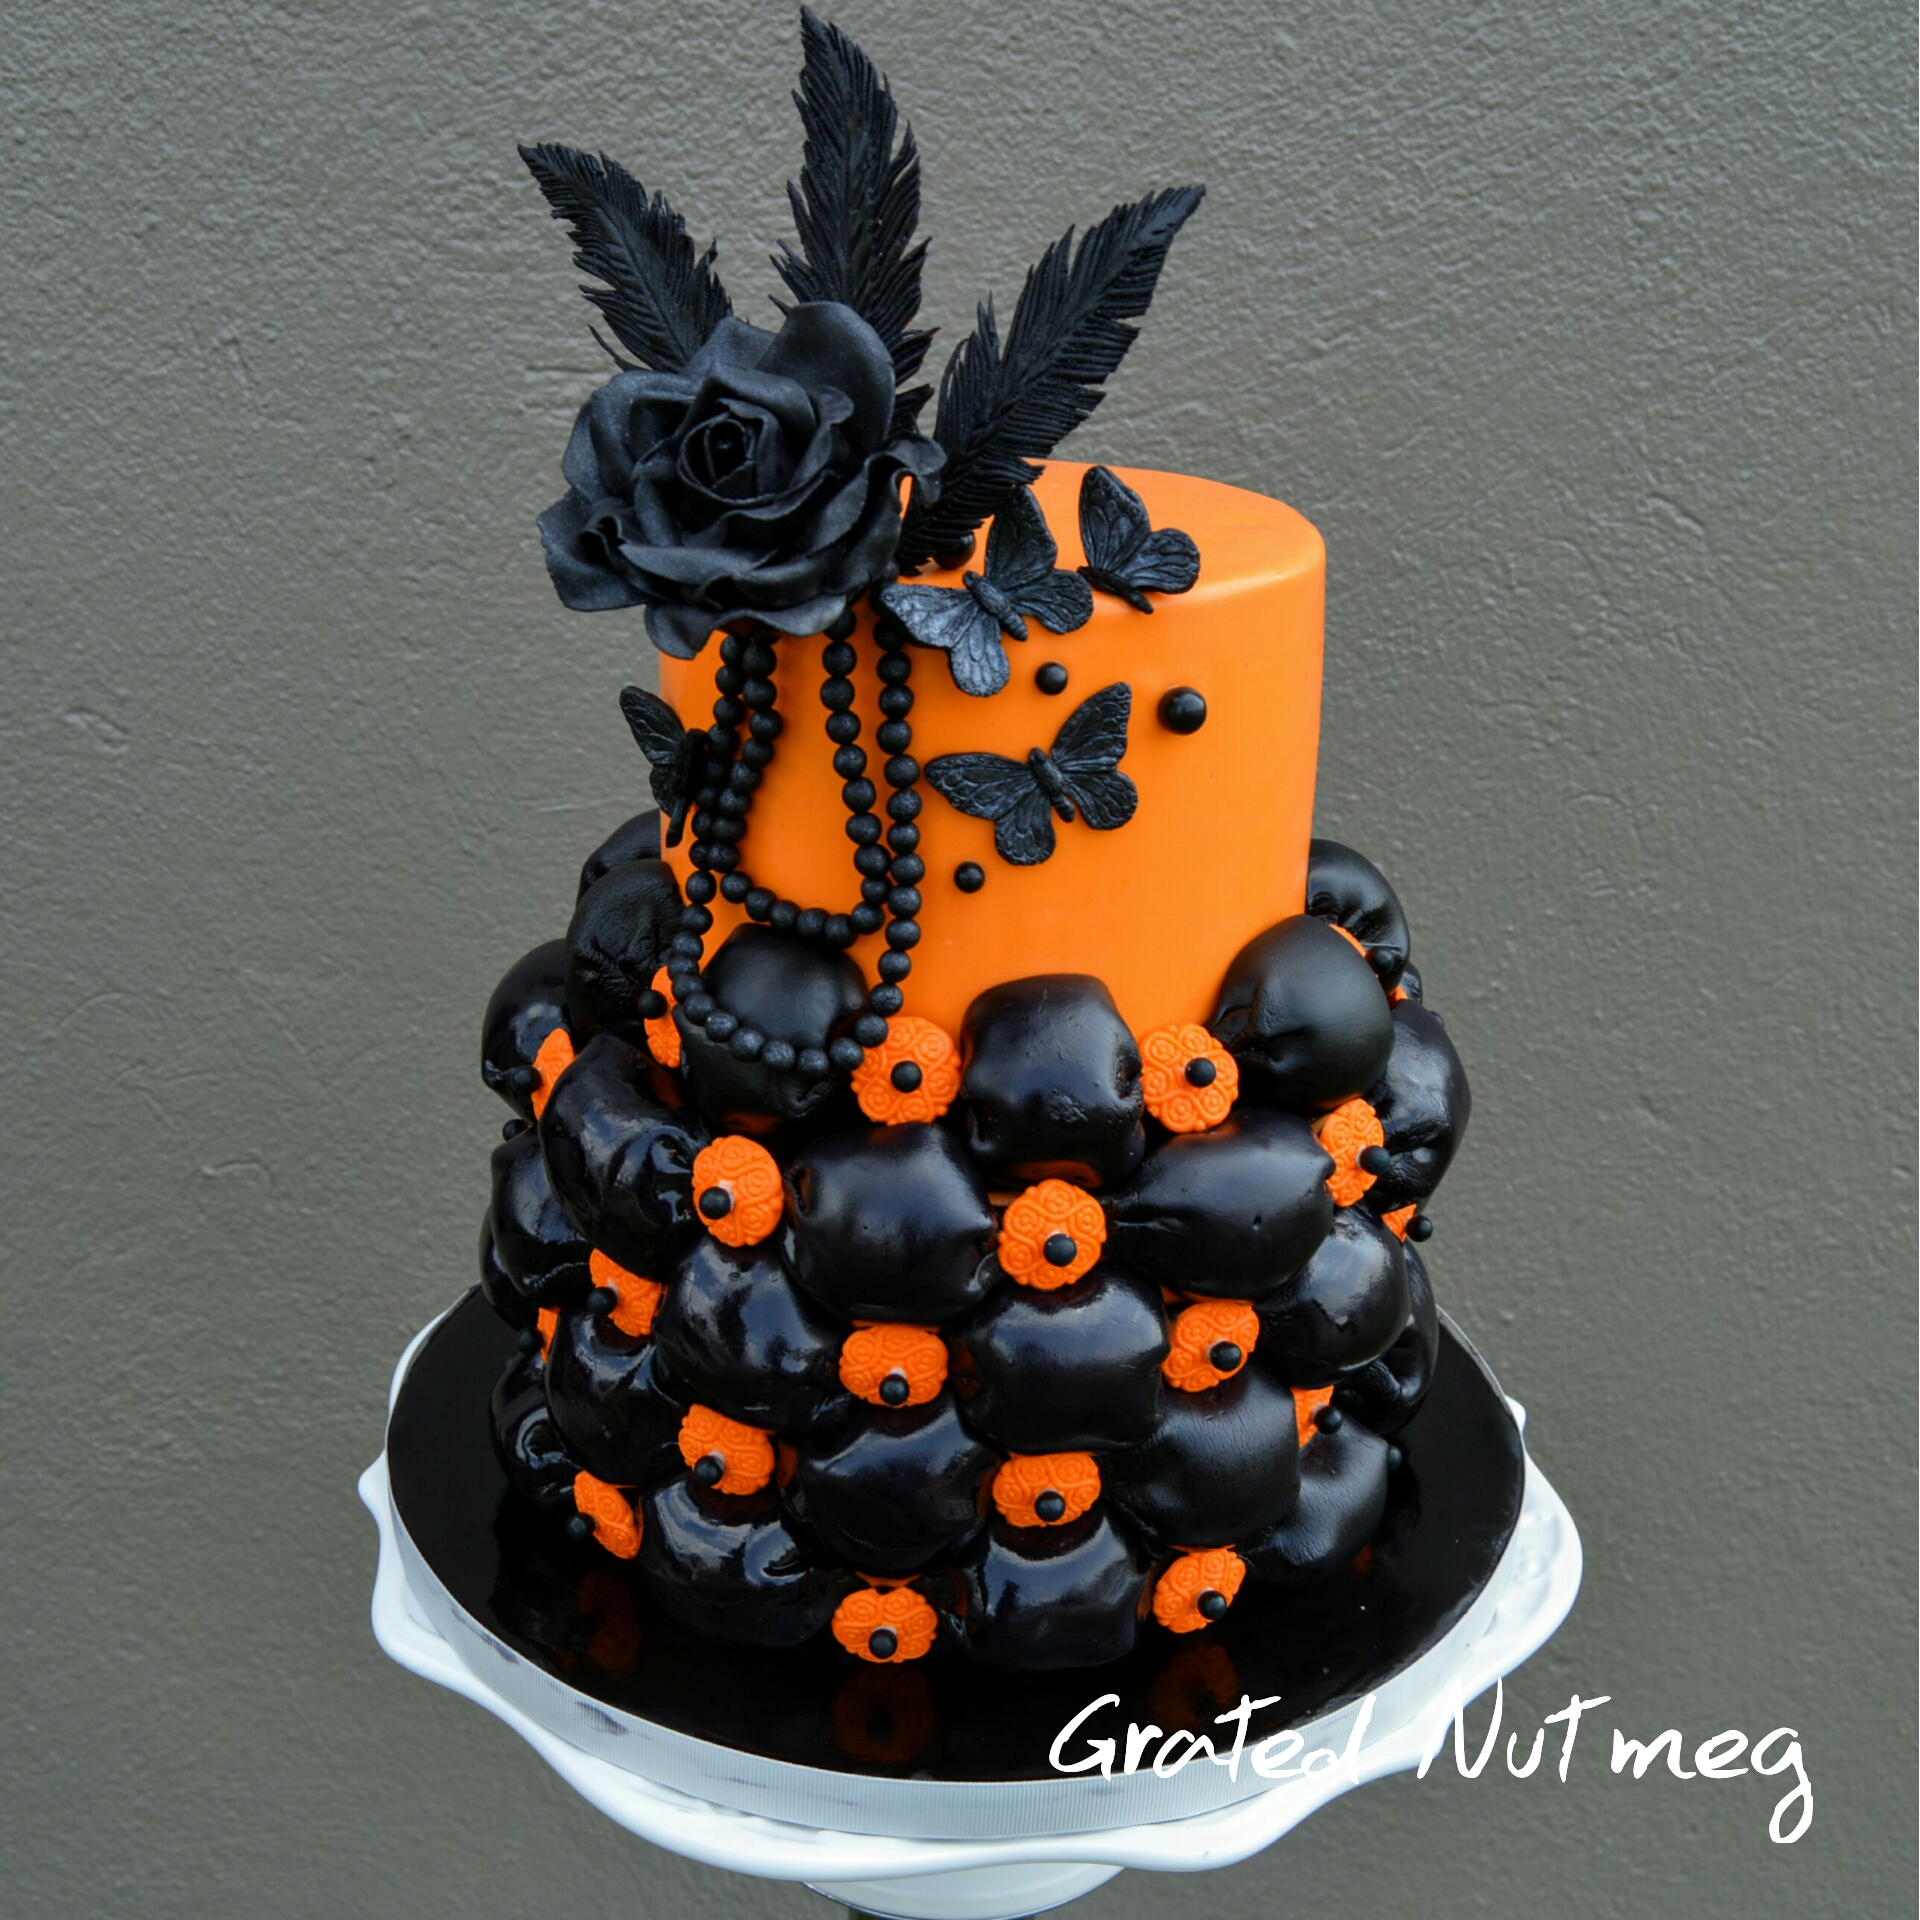
The tufted billow weave technique is an intricate way of laying fondant so it looks like an elaborate air filled woven fabric. There are various ways of achieving this look. While some designs are large and puffed up like the one used in this cake, others are smaller and look somewhat deflated. Whichever you choose, be prepared to spend some time executing the design for though it is not difficult to execute, it can be time consuming. Below, I will be showing you how I executed the tufted billow design for this Orange and Black Tufted Billow Weave Cake. To see how the complete cake was made, click here.
TOOLS:
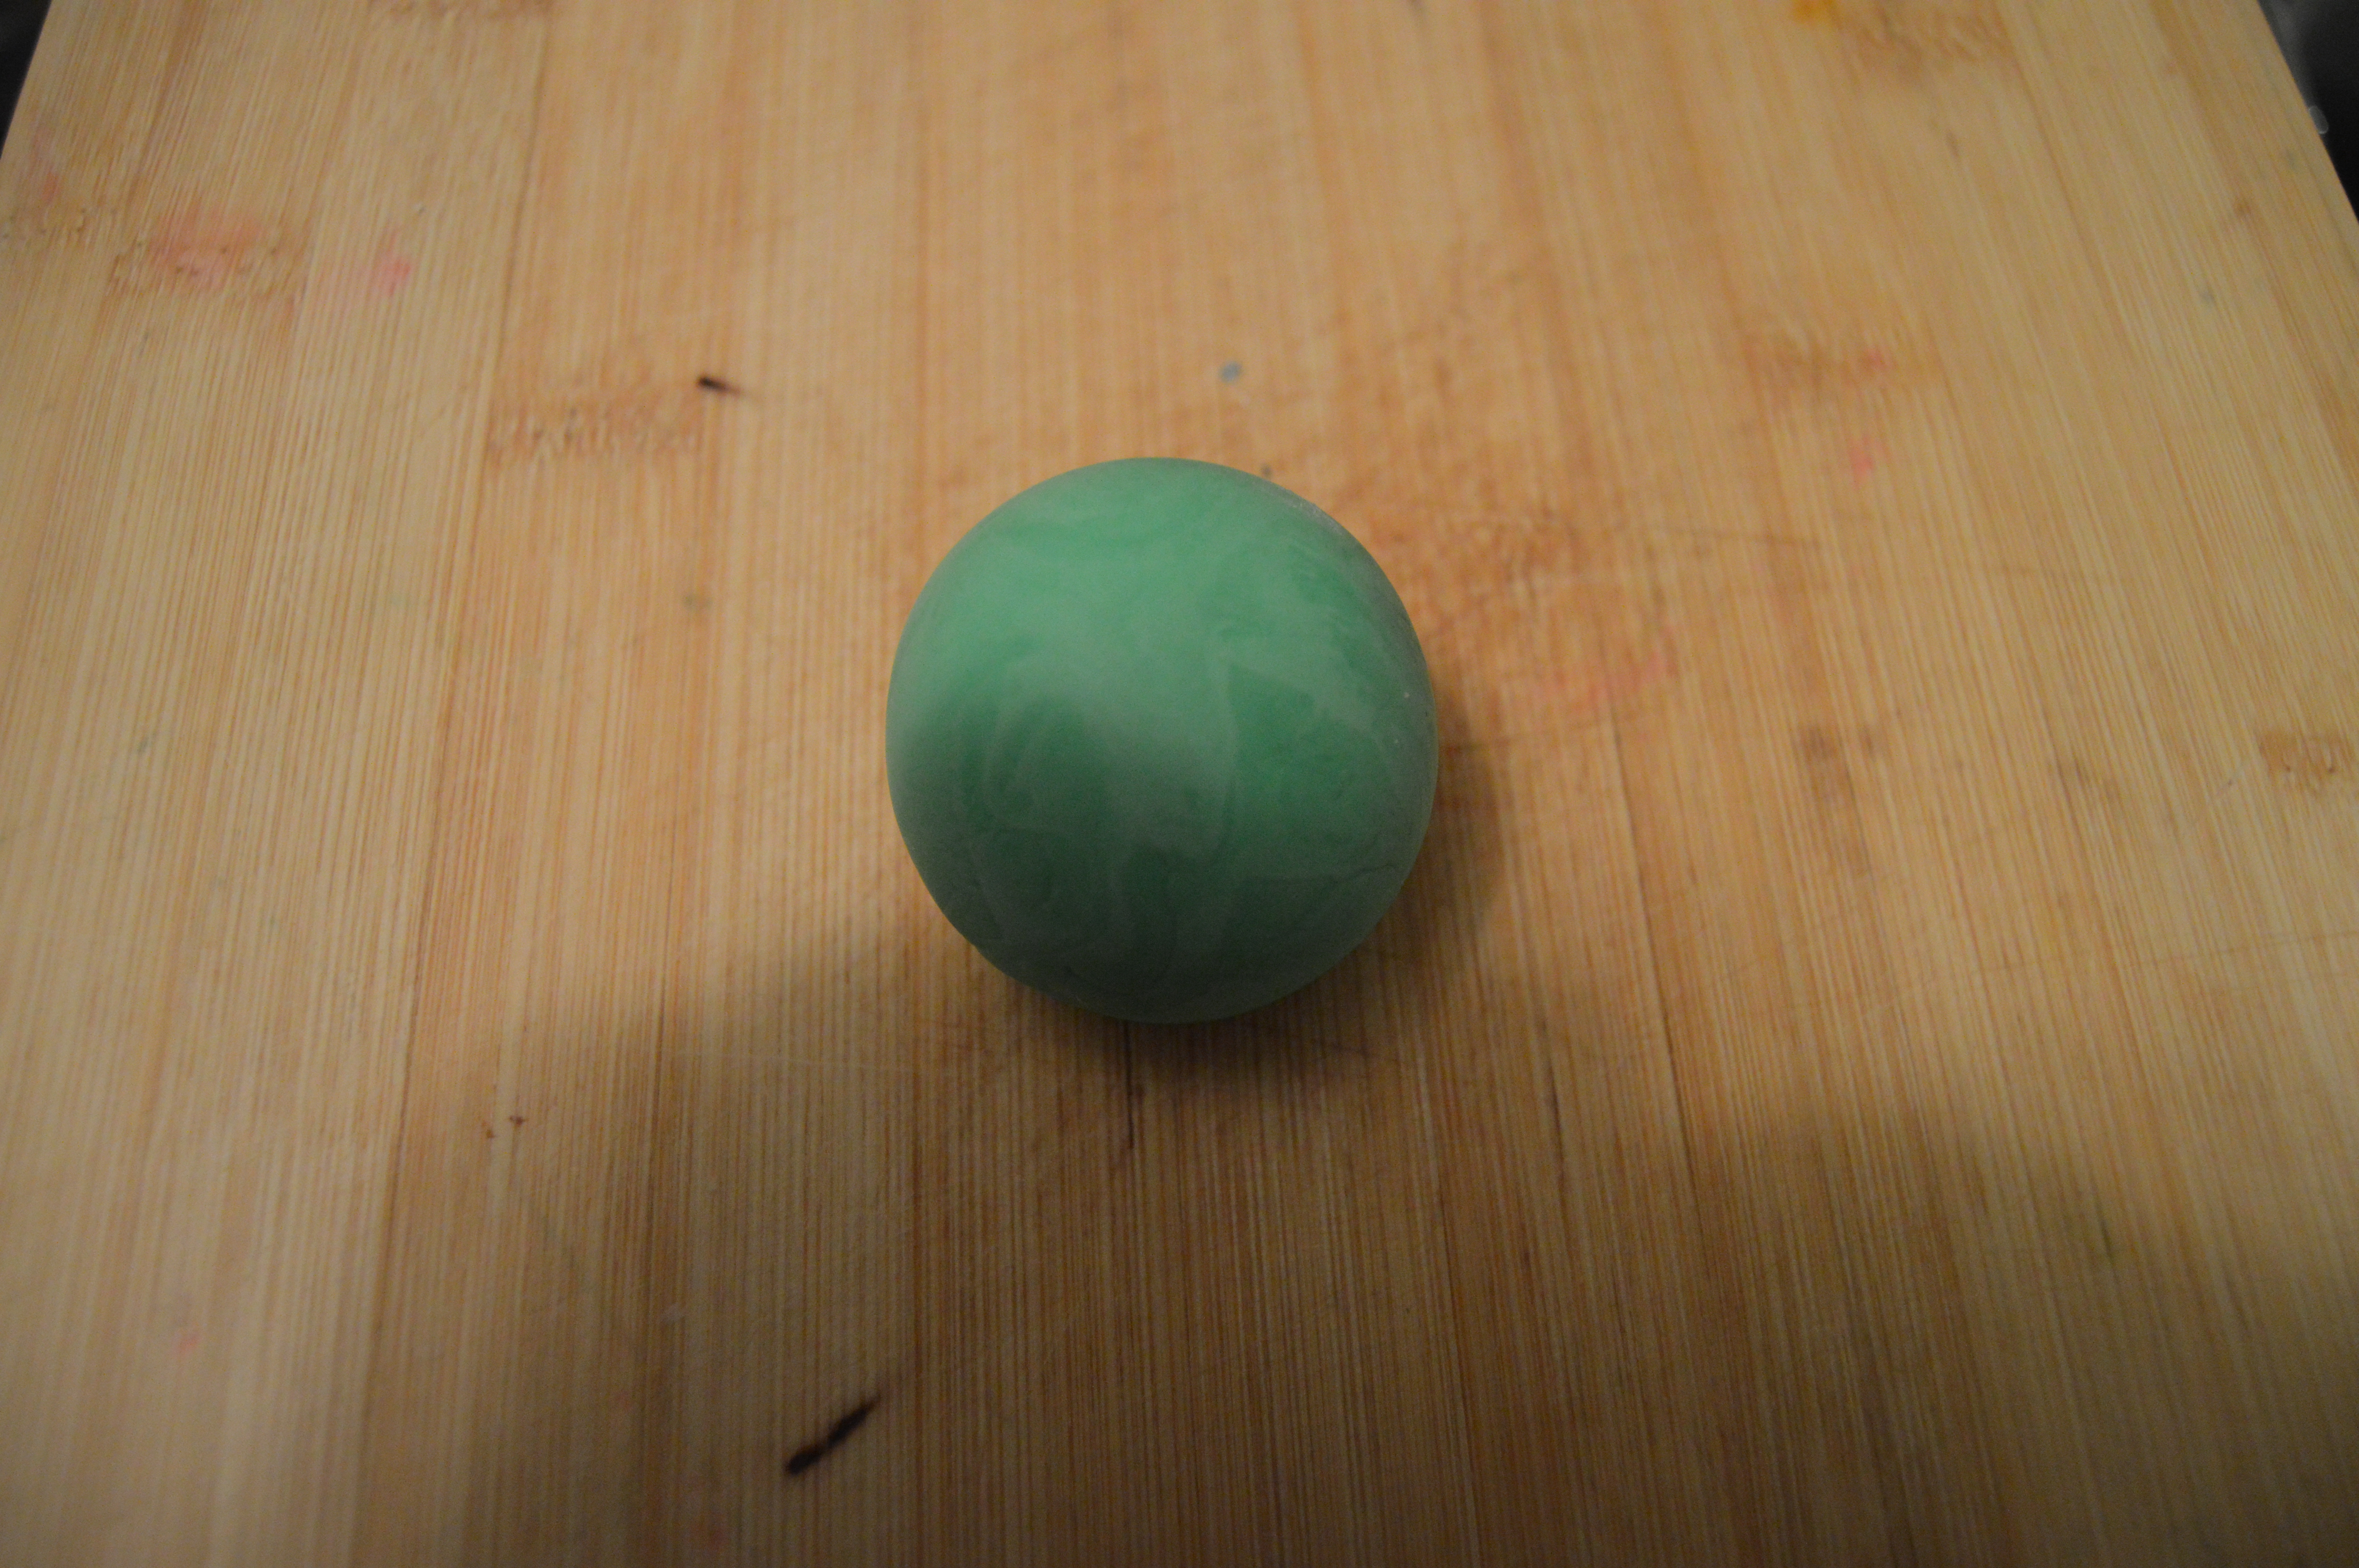
(1) Domed Baking/Silicon Molds. You can use any spherical mold that is about 4 cm in diameter in place of this. I did not have any and chose to make mine with fondant. I rolled fondant into a ball and left it to dry for some days before executing the design.
(2) Rolling Pin
(3) Pizza Cutter
(4) Paint Brush
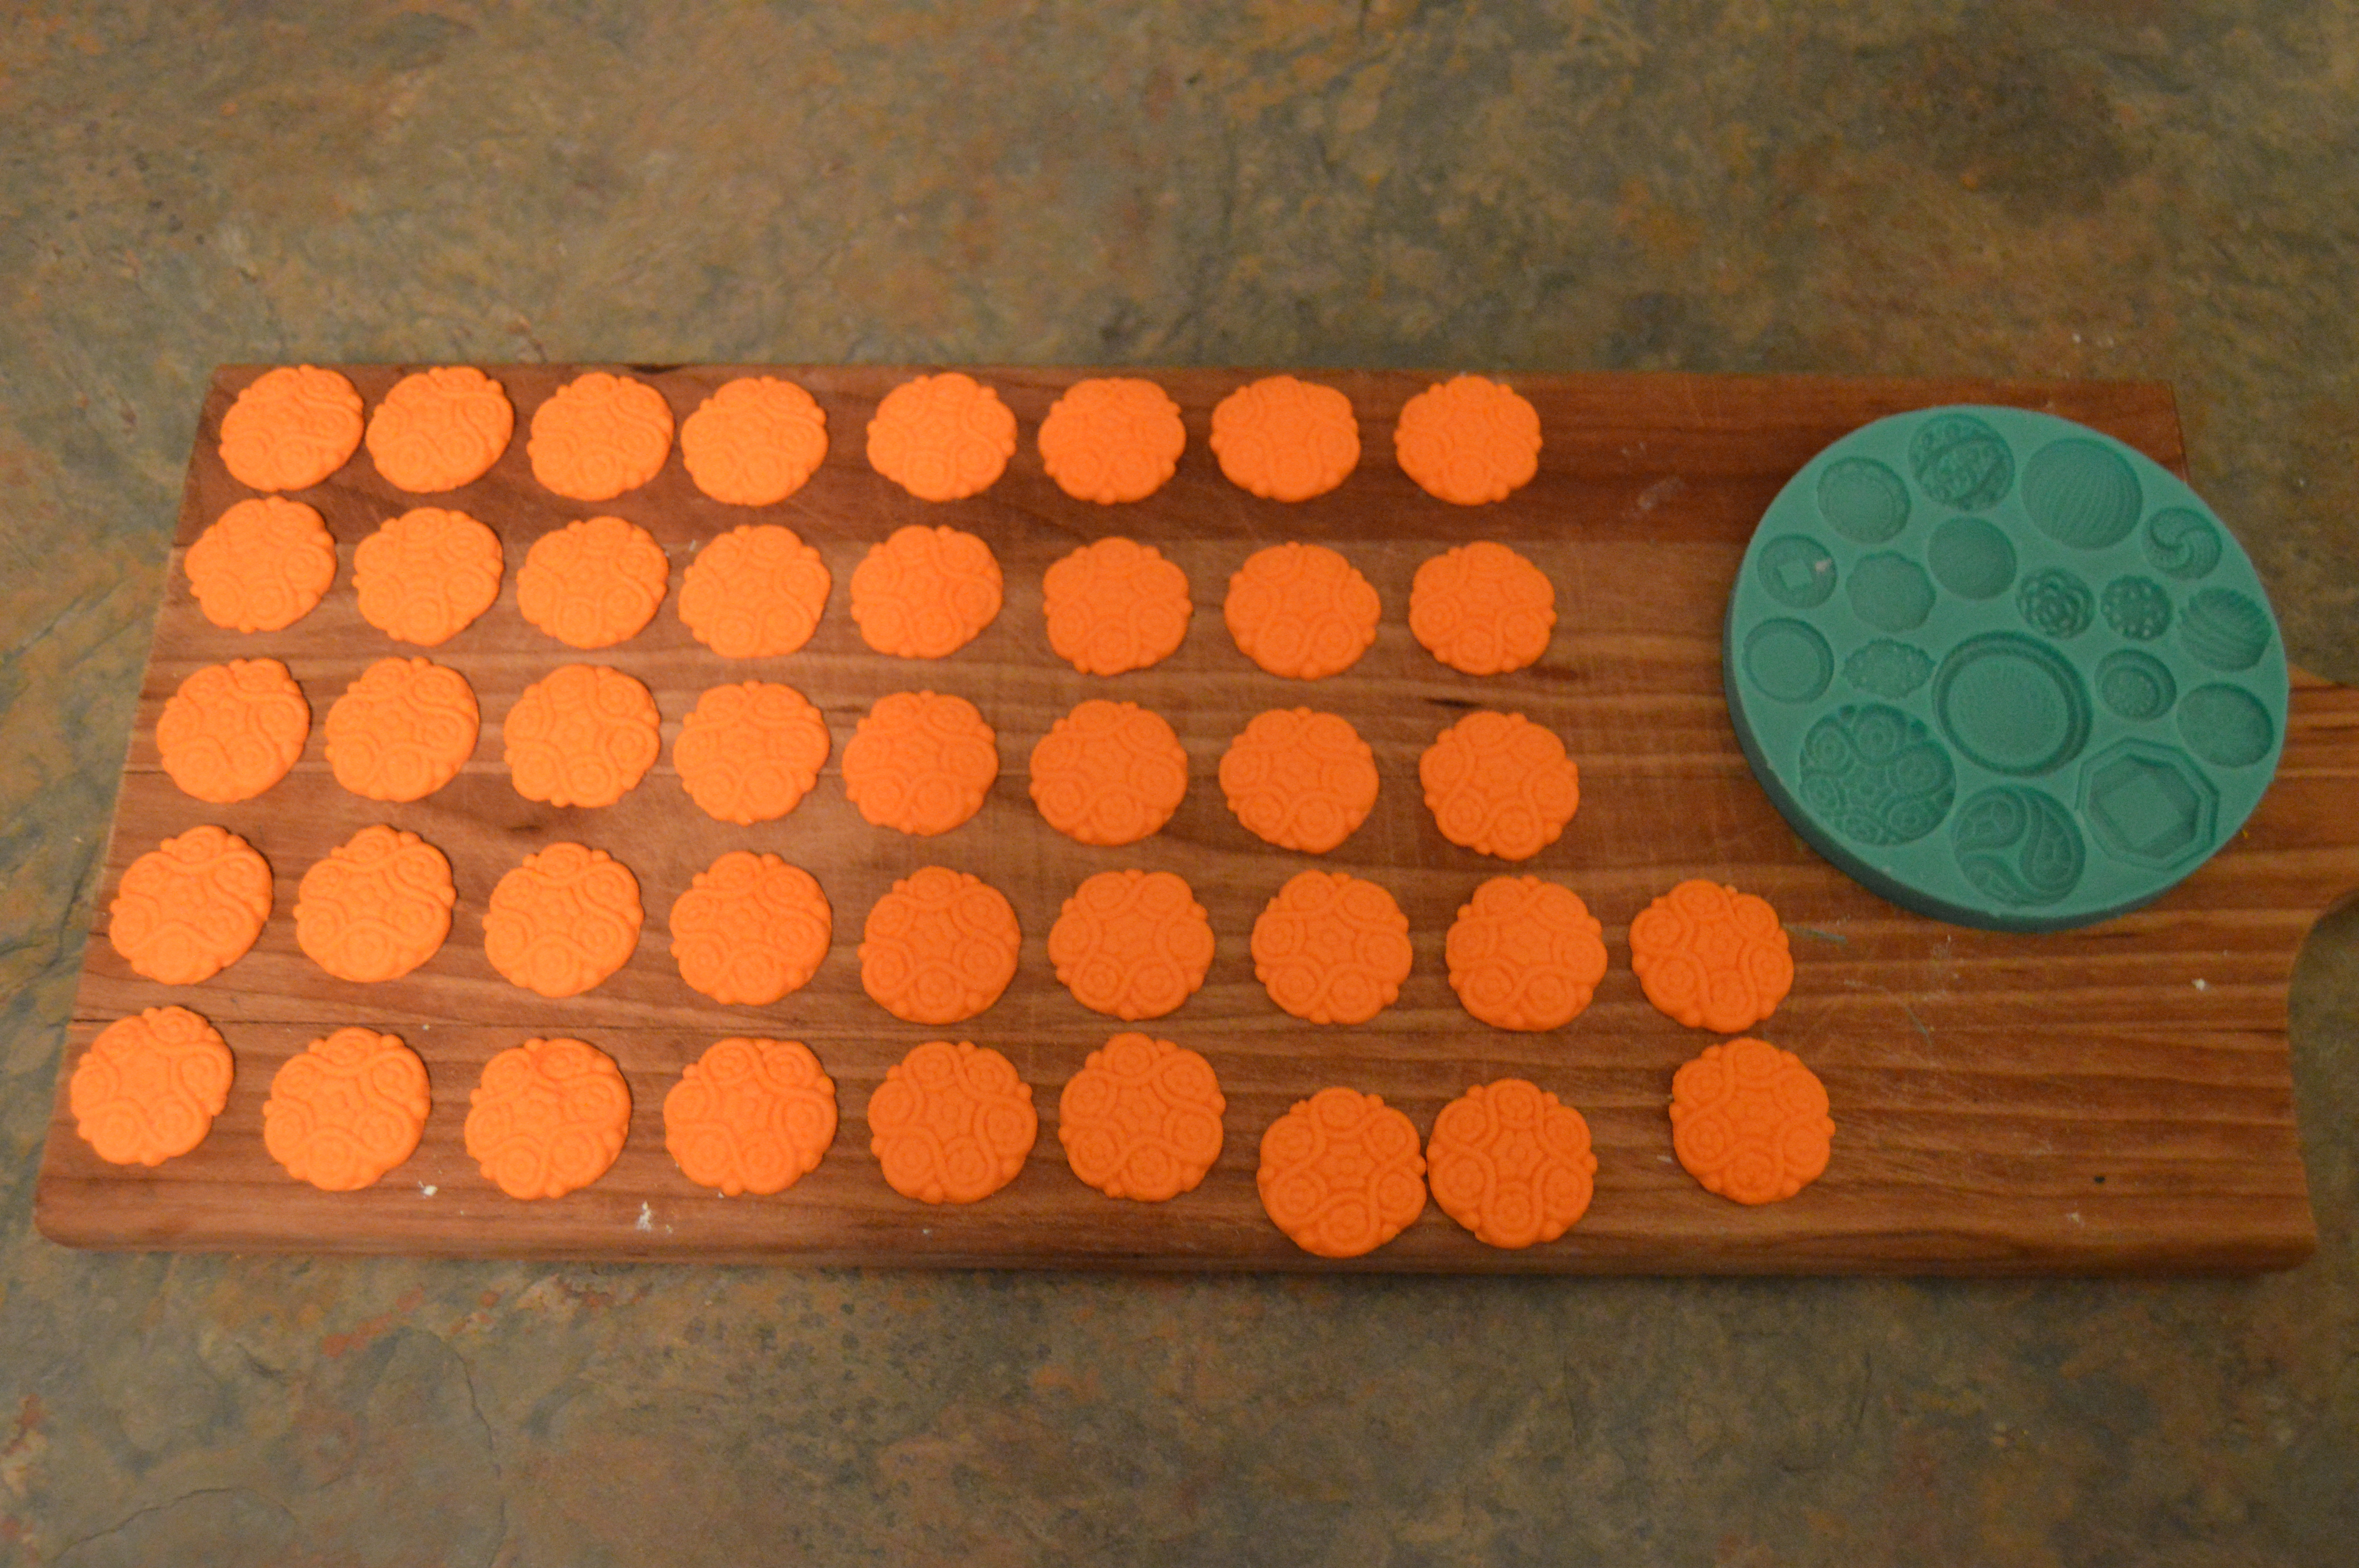
(5) Mold for buttons.
EDIBLE COMPONENTS
(1) Fondant
(2) Color Paste
(3) Vodka/Water
(4) Shortening (If using mold for buttons)
(5) Icing Sugar
PROCEDURE:
(1) Make the buttons. In place of buttons, you can make little flowers or roll fondant into balls. The choice is yours. I chose to make buttons using a button mold. I topped the buttons with black sugar peals to complete the design. These can be done ahead of time. They are easier to place on the cake when they are dry. I used 45 buttons in all.
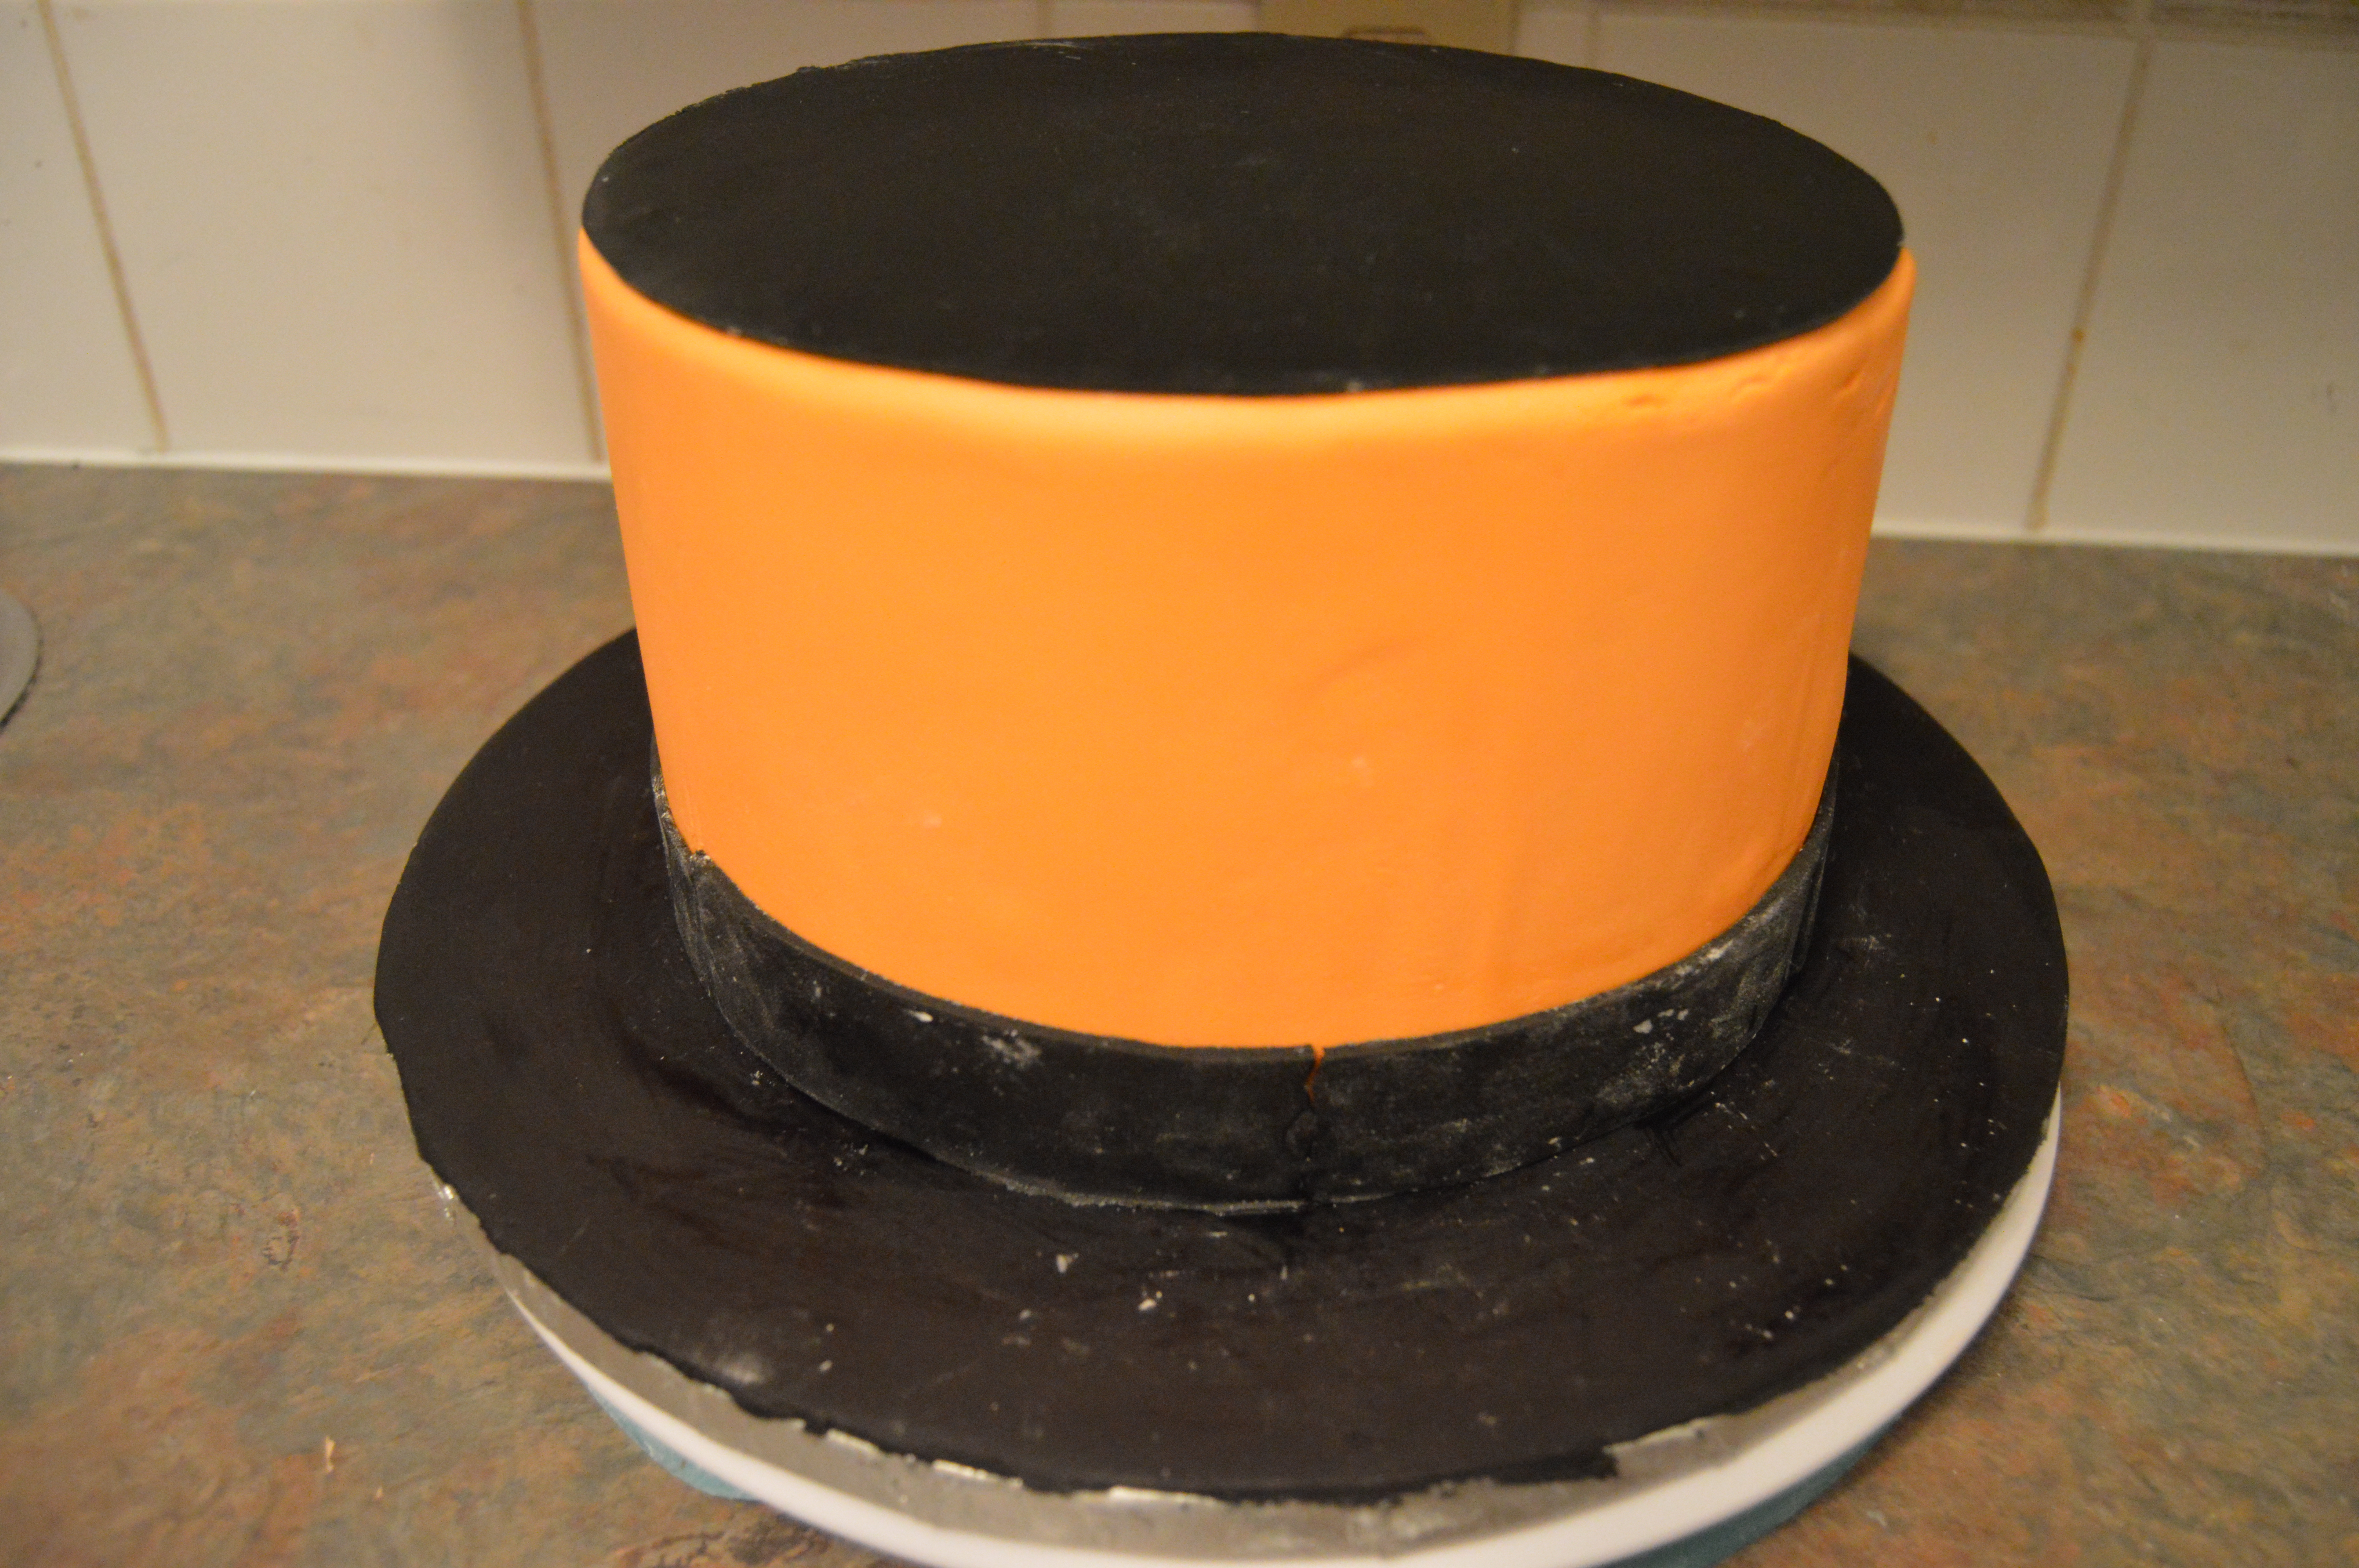
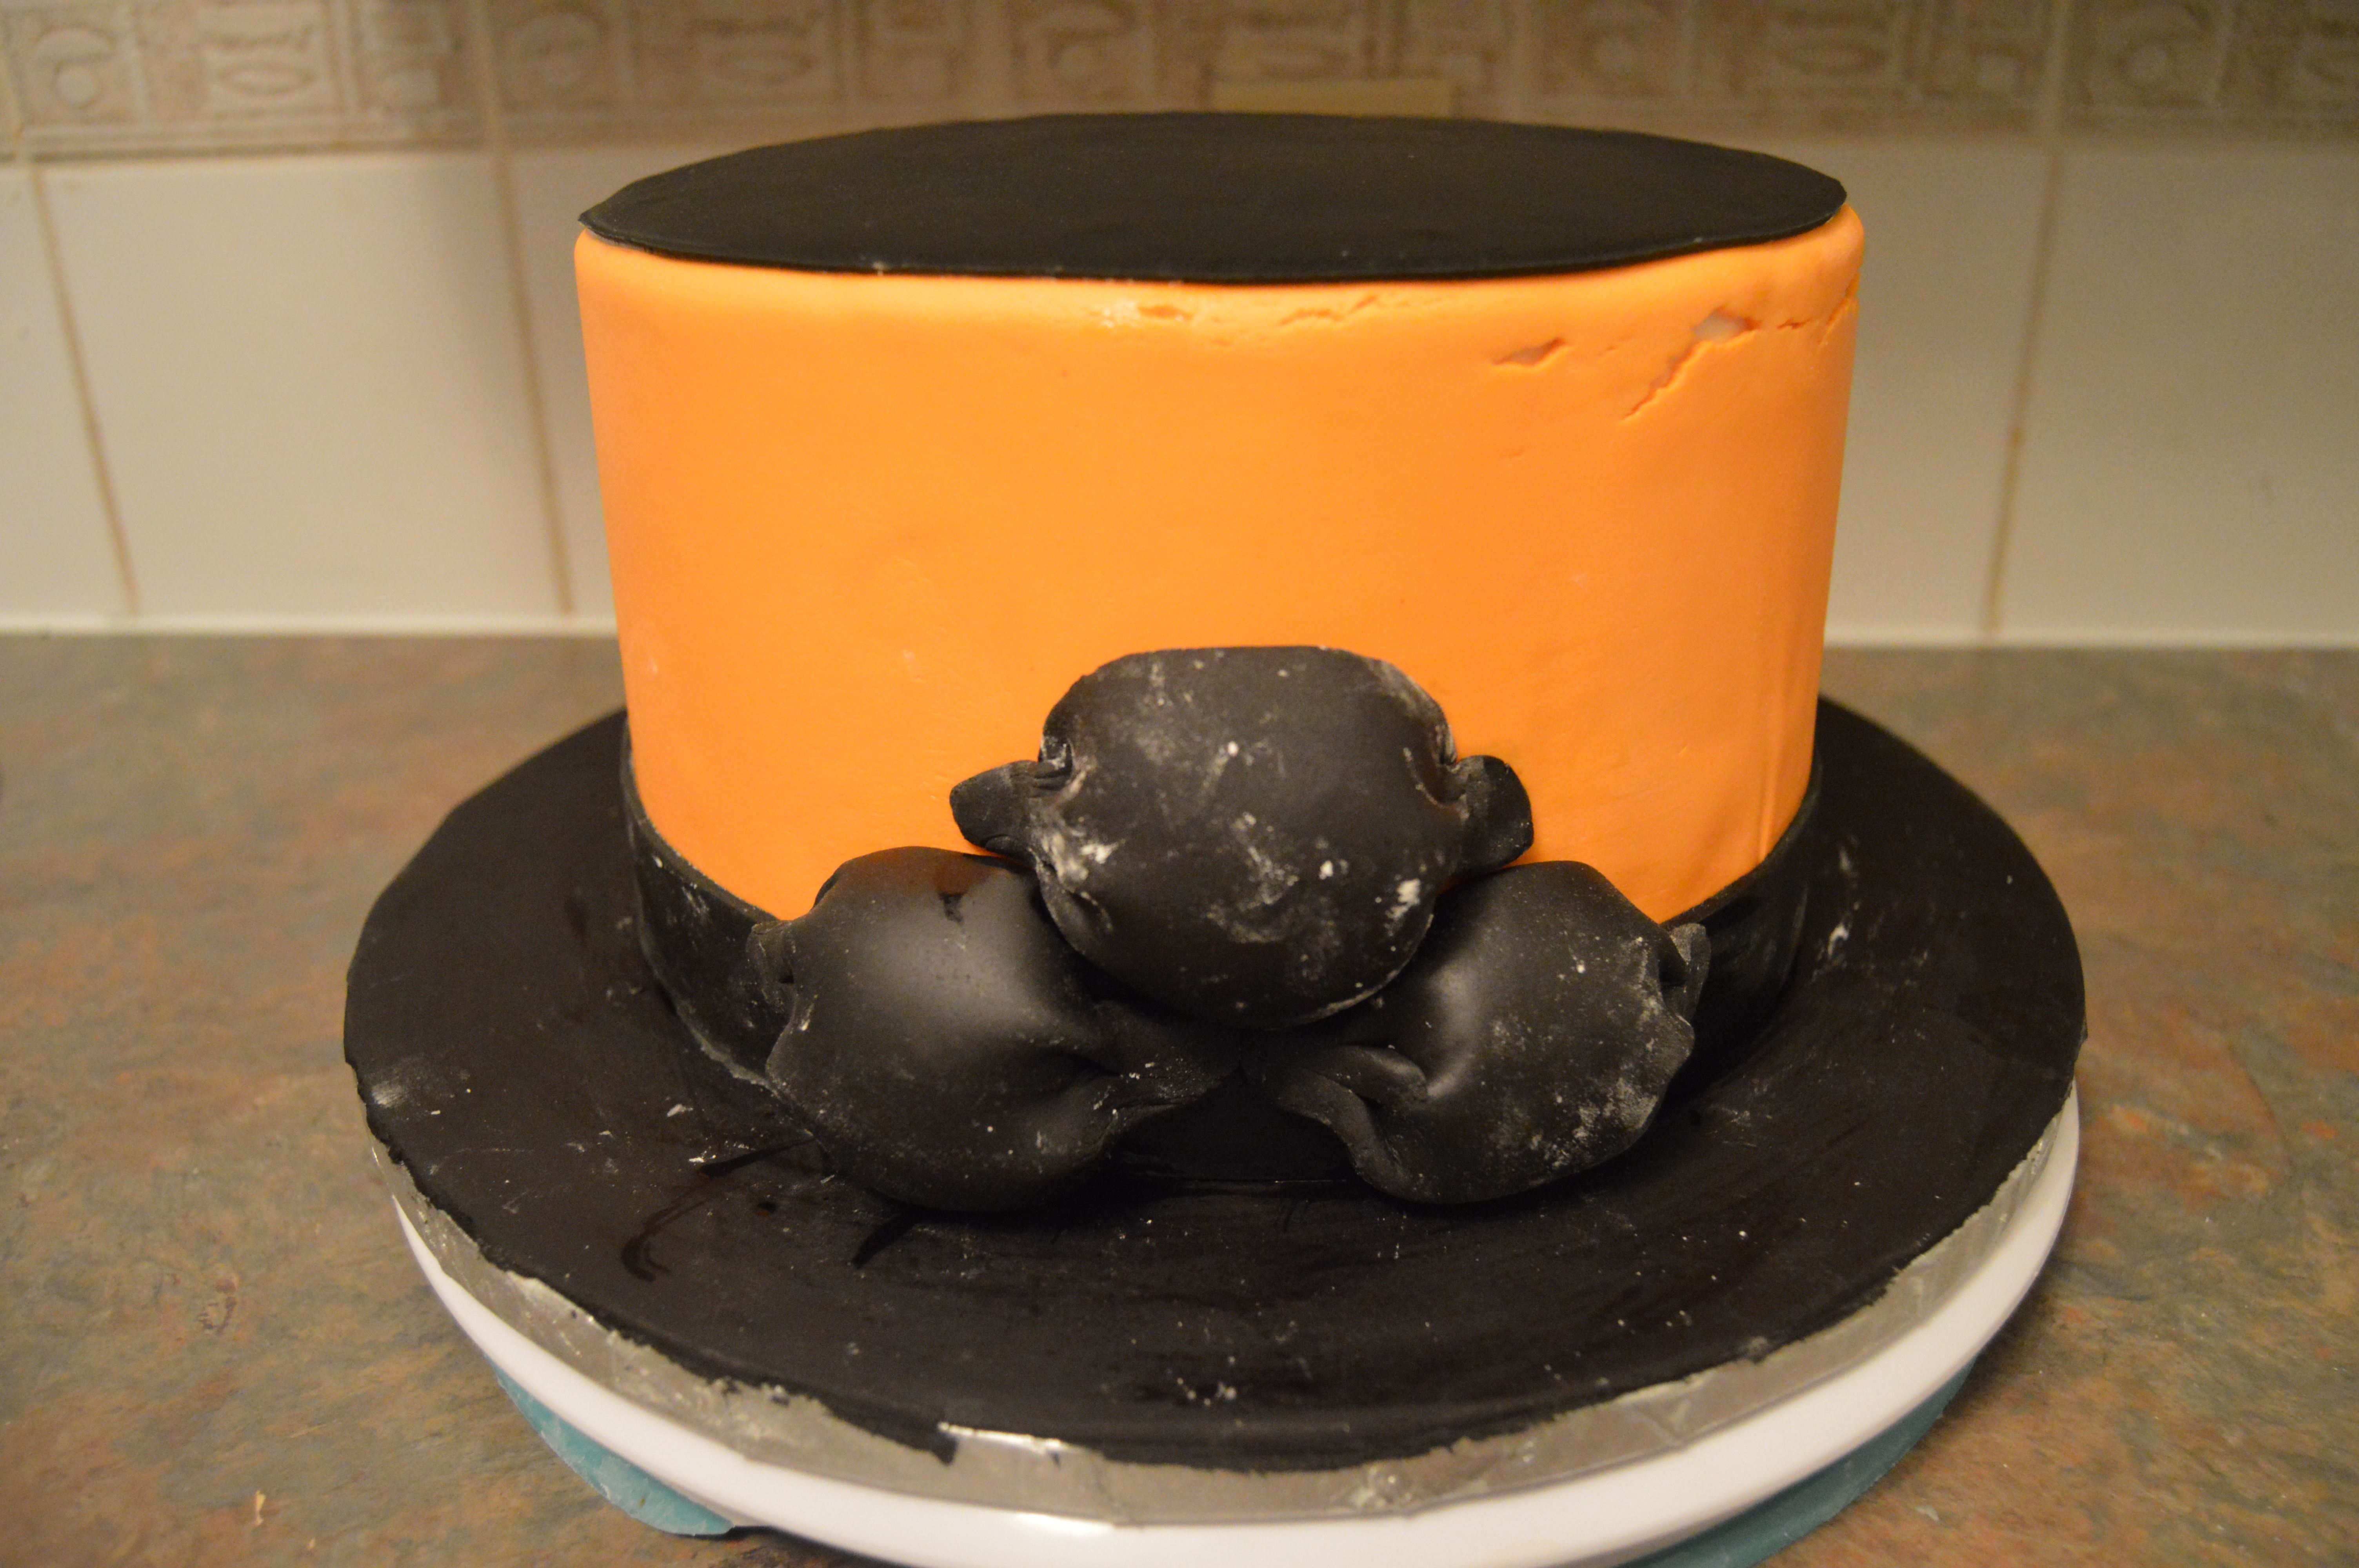
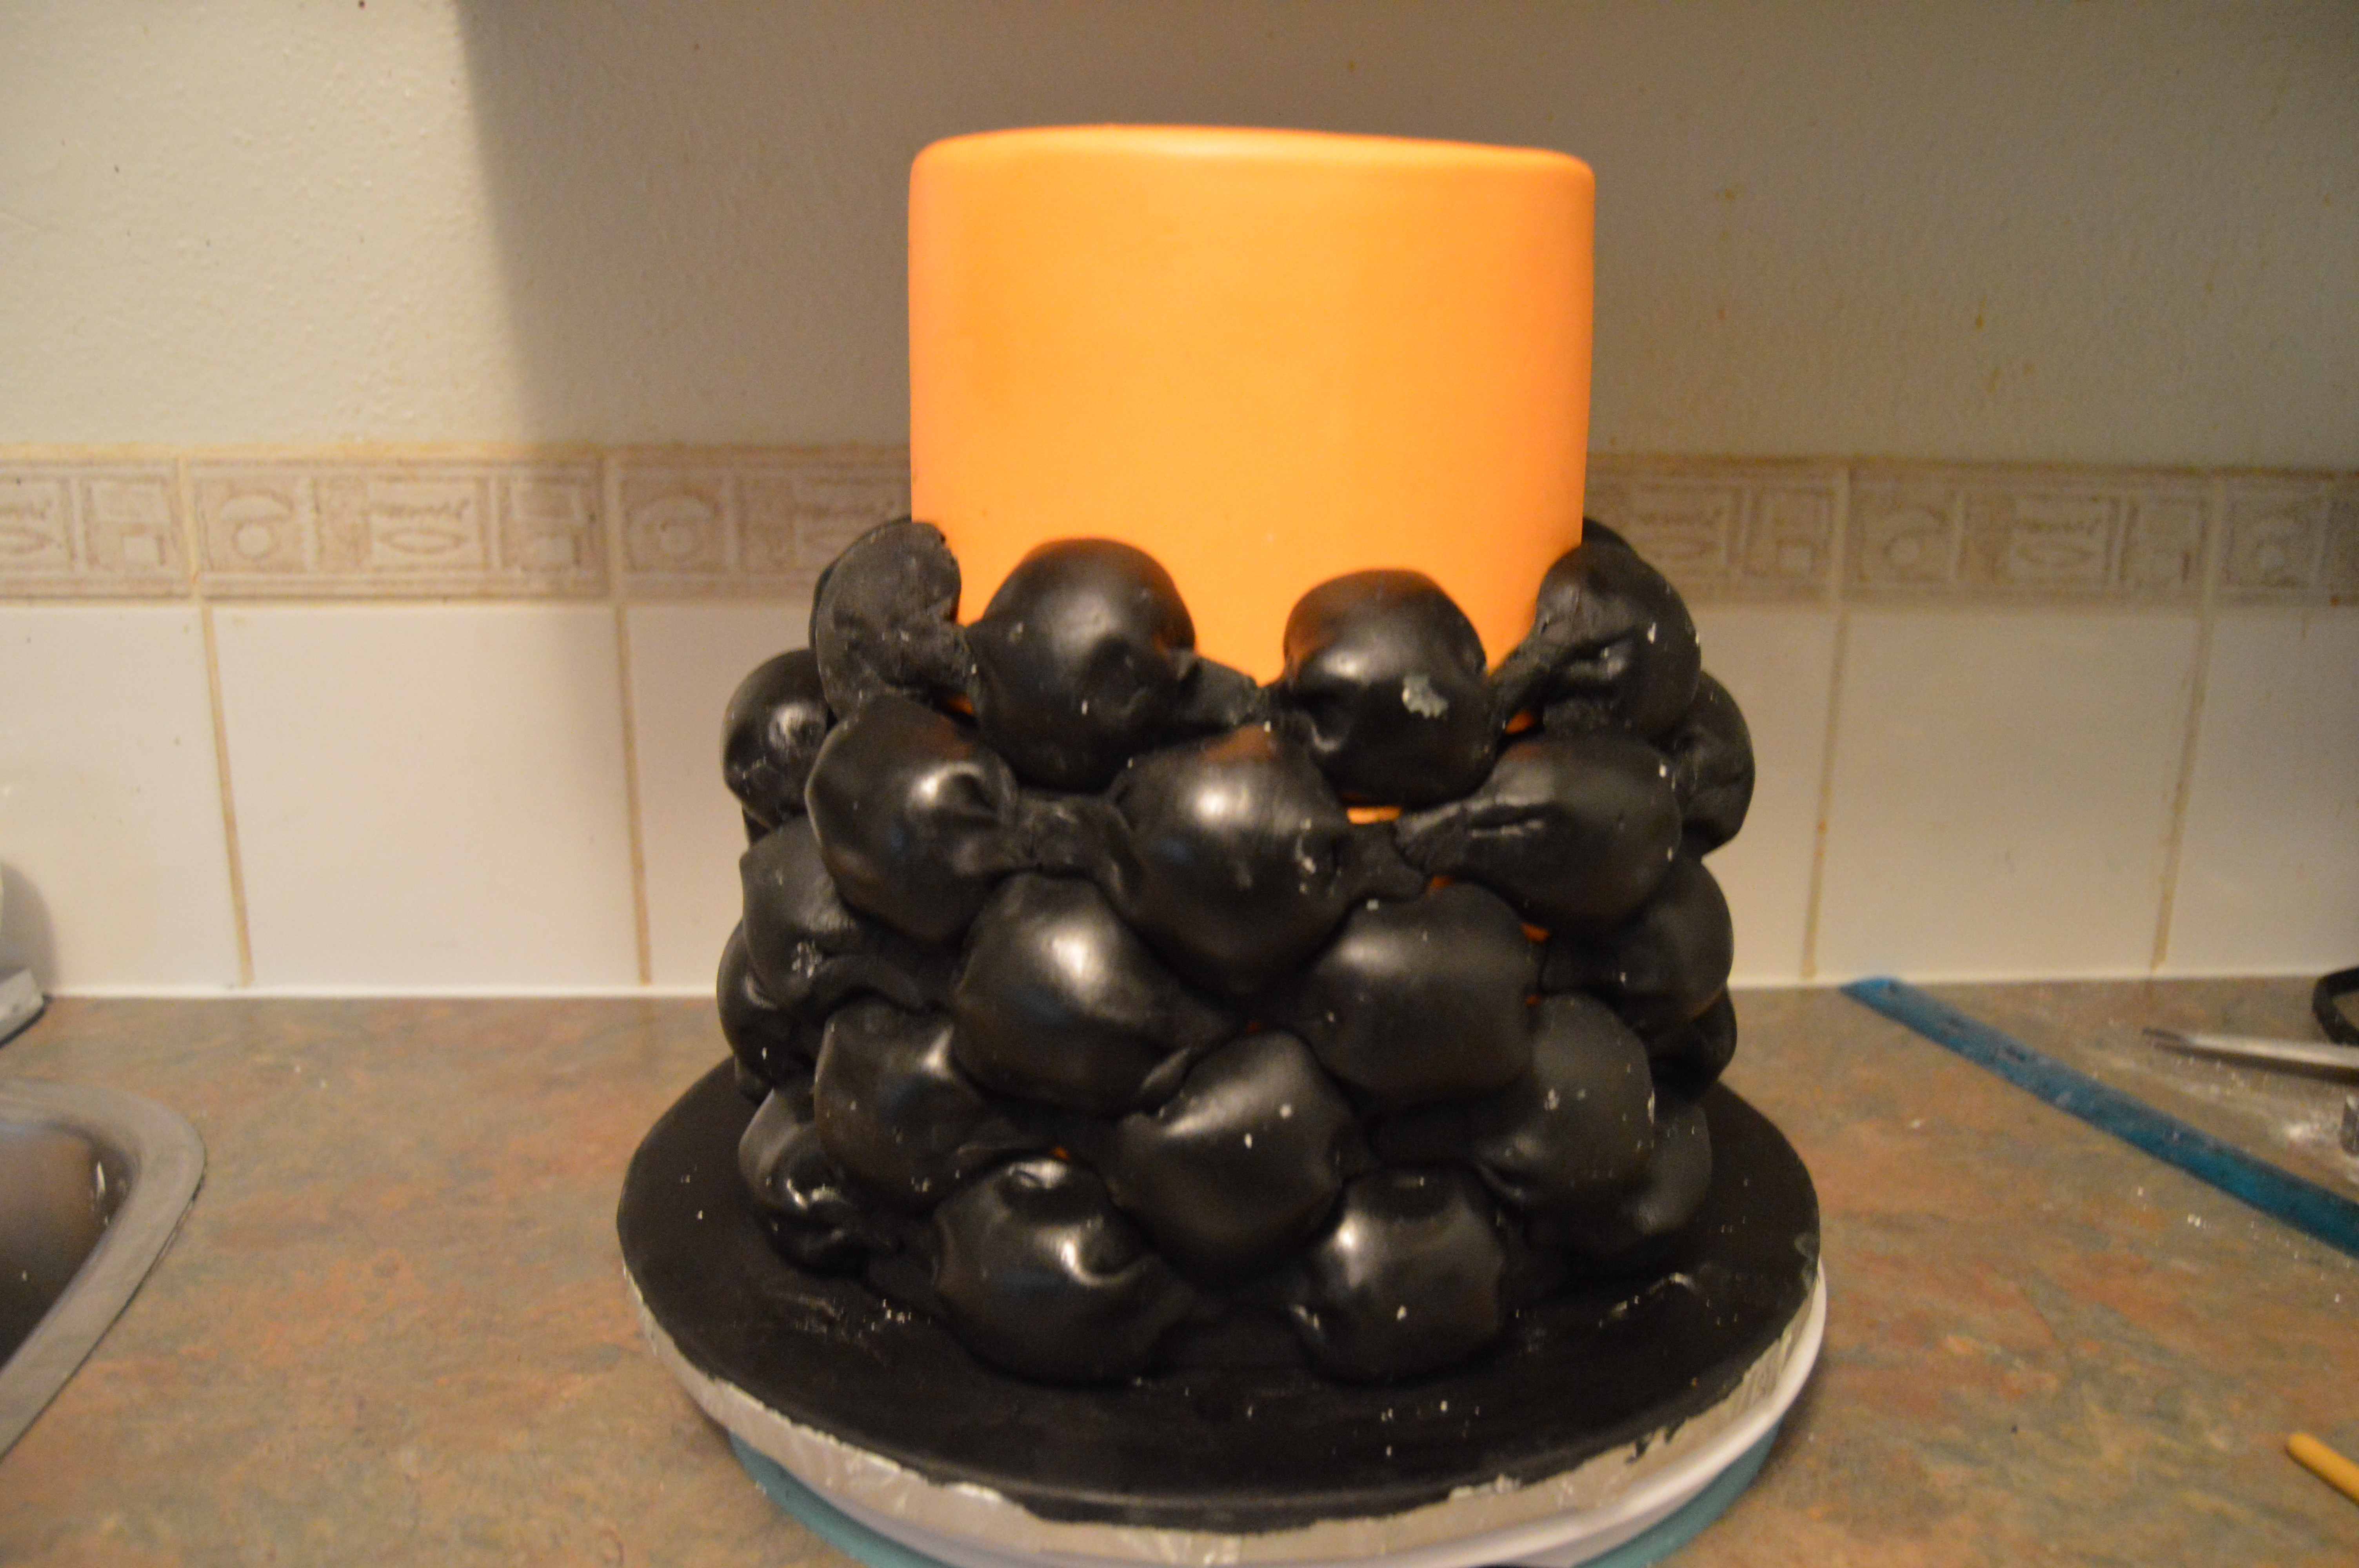
(2) Frost the cake tier you want to design and cover it with a layer of fondant. I chose to cover the cake with orange fondant because black fondant can be hard to work with due to the high volume of color it contains. If using a different color of fondant from the color of the billow weaves, make sure you cover this layer of fondant well when placing the billow weaves.
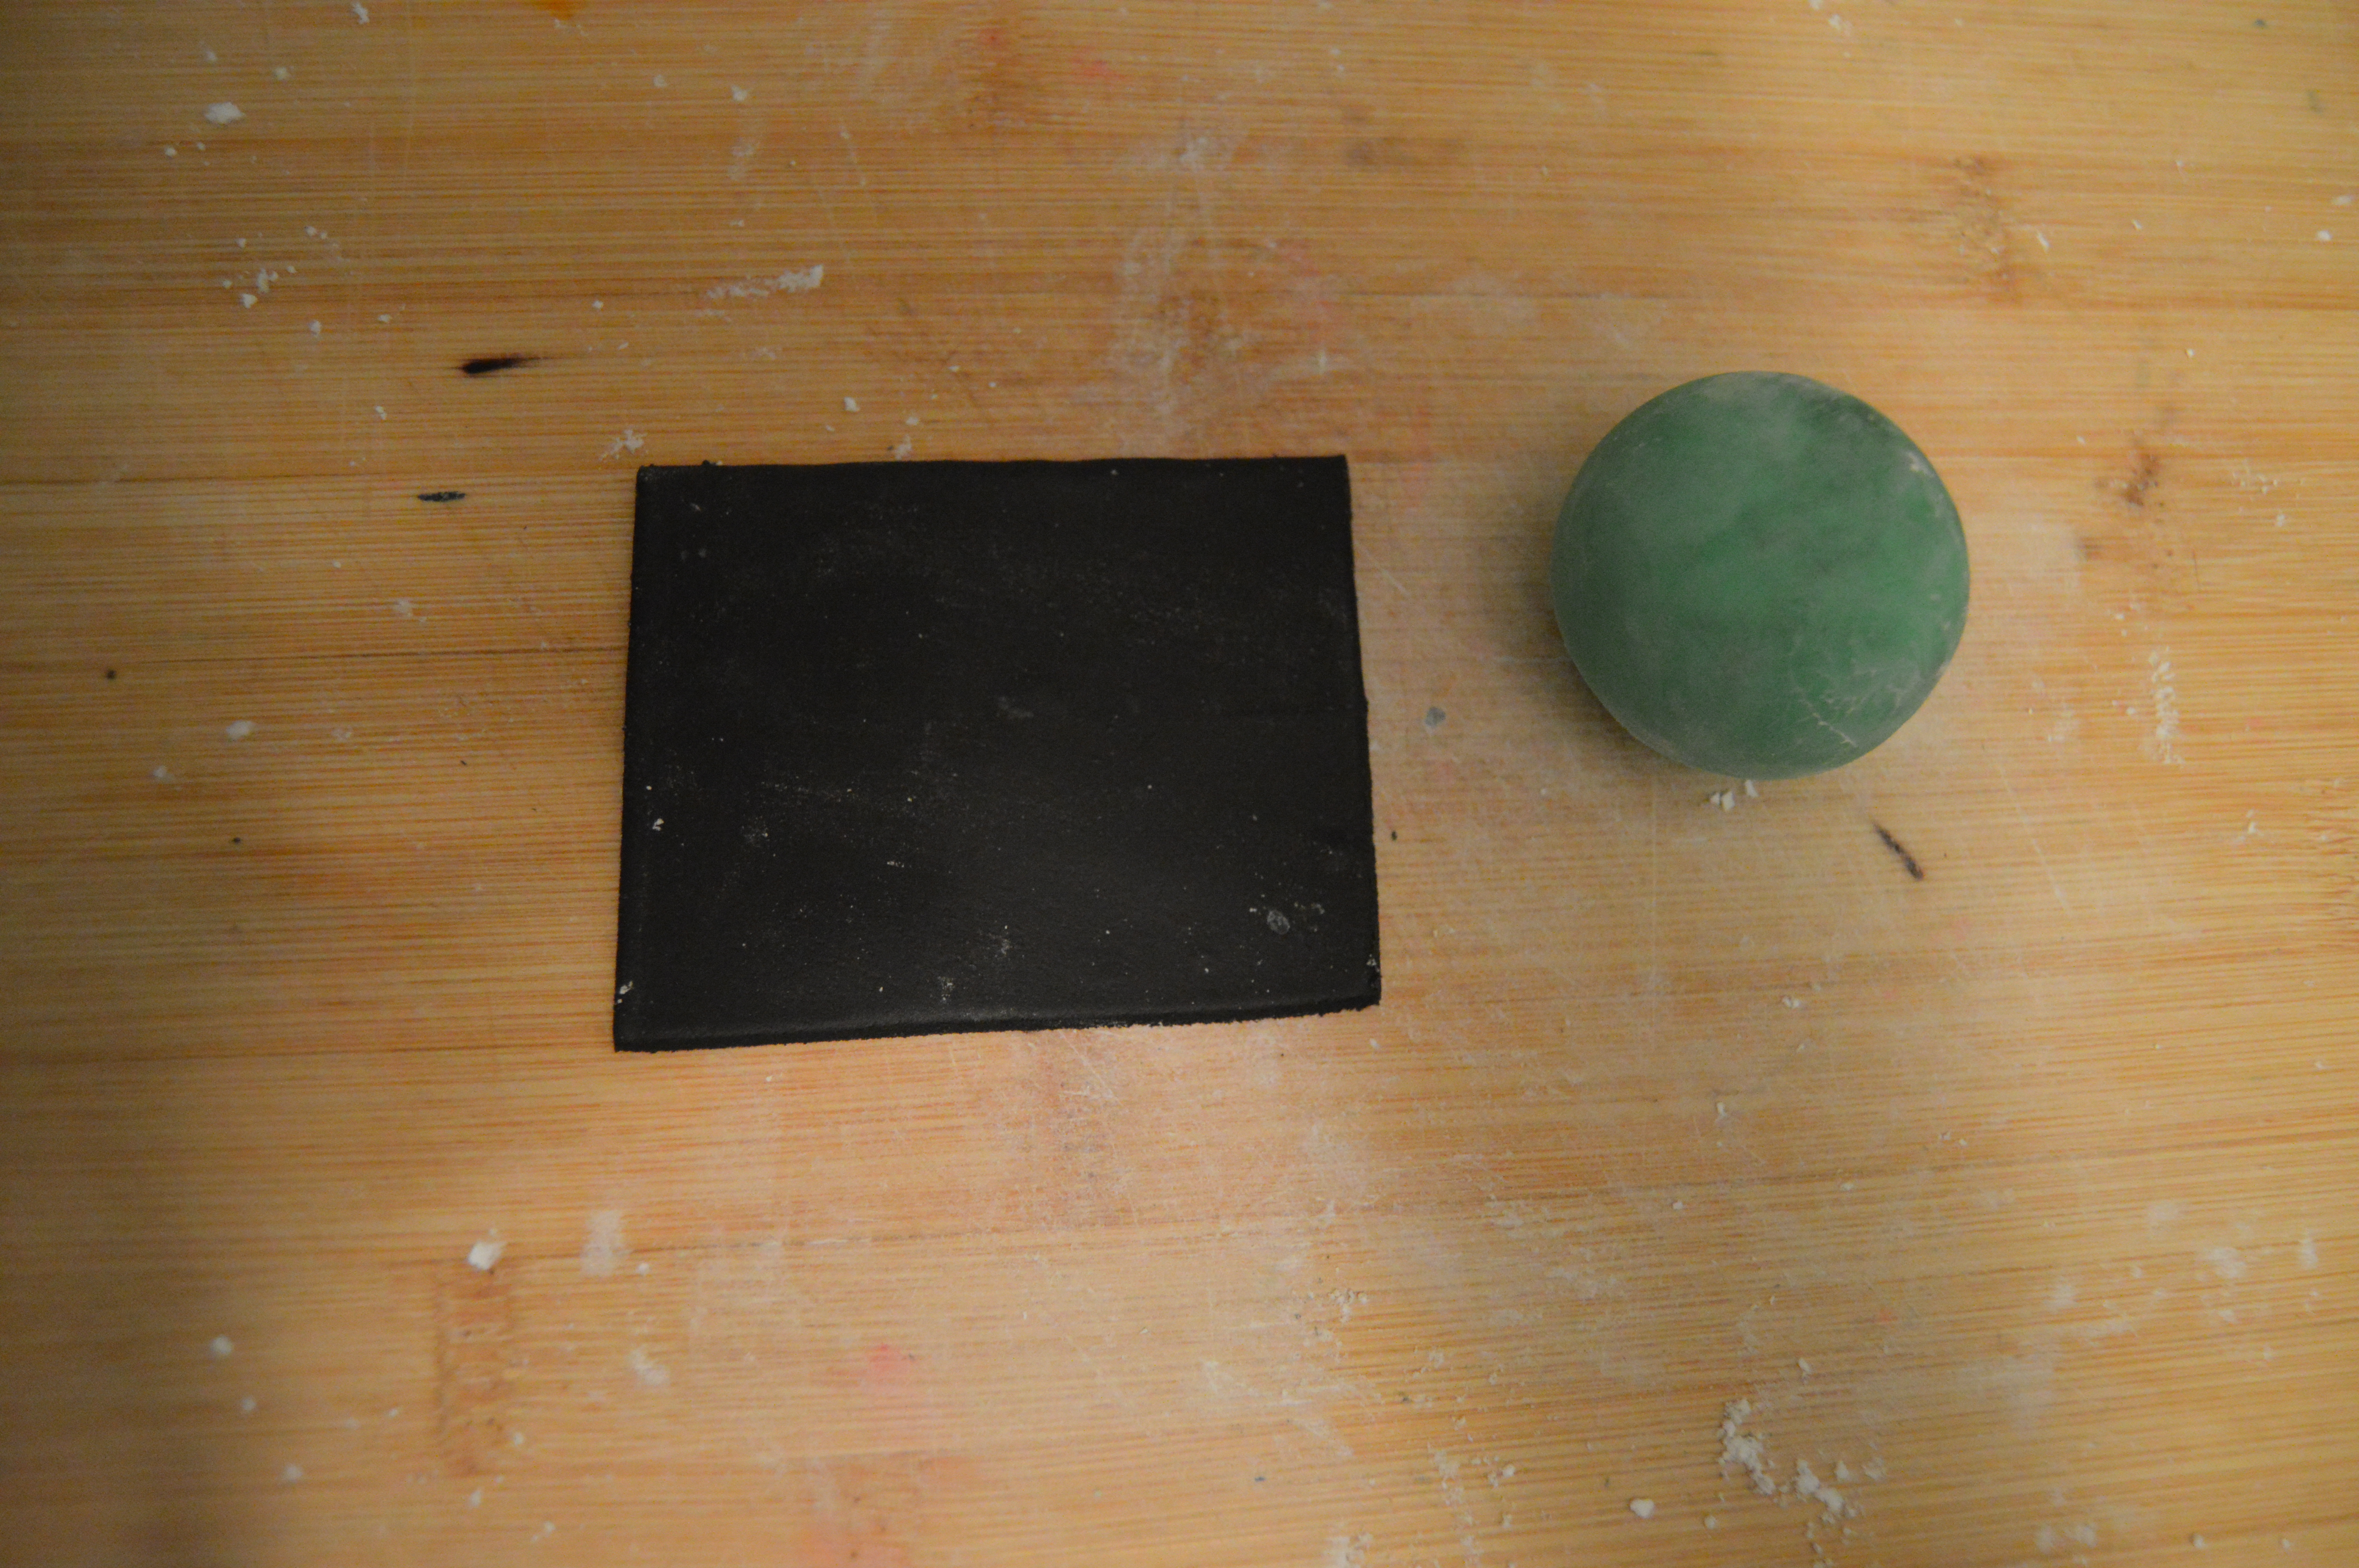
(2) Roll out the fondant and cut it into rectangles 2.5″ x 3″. You can go smaller if you want to.
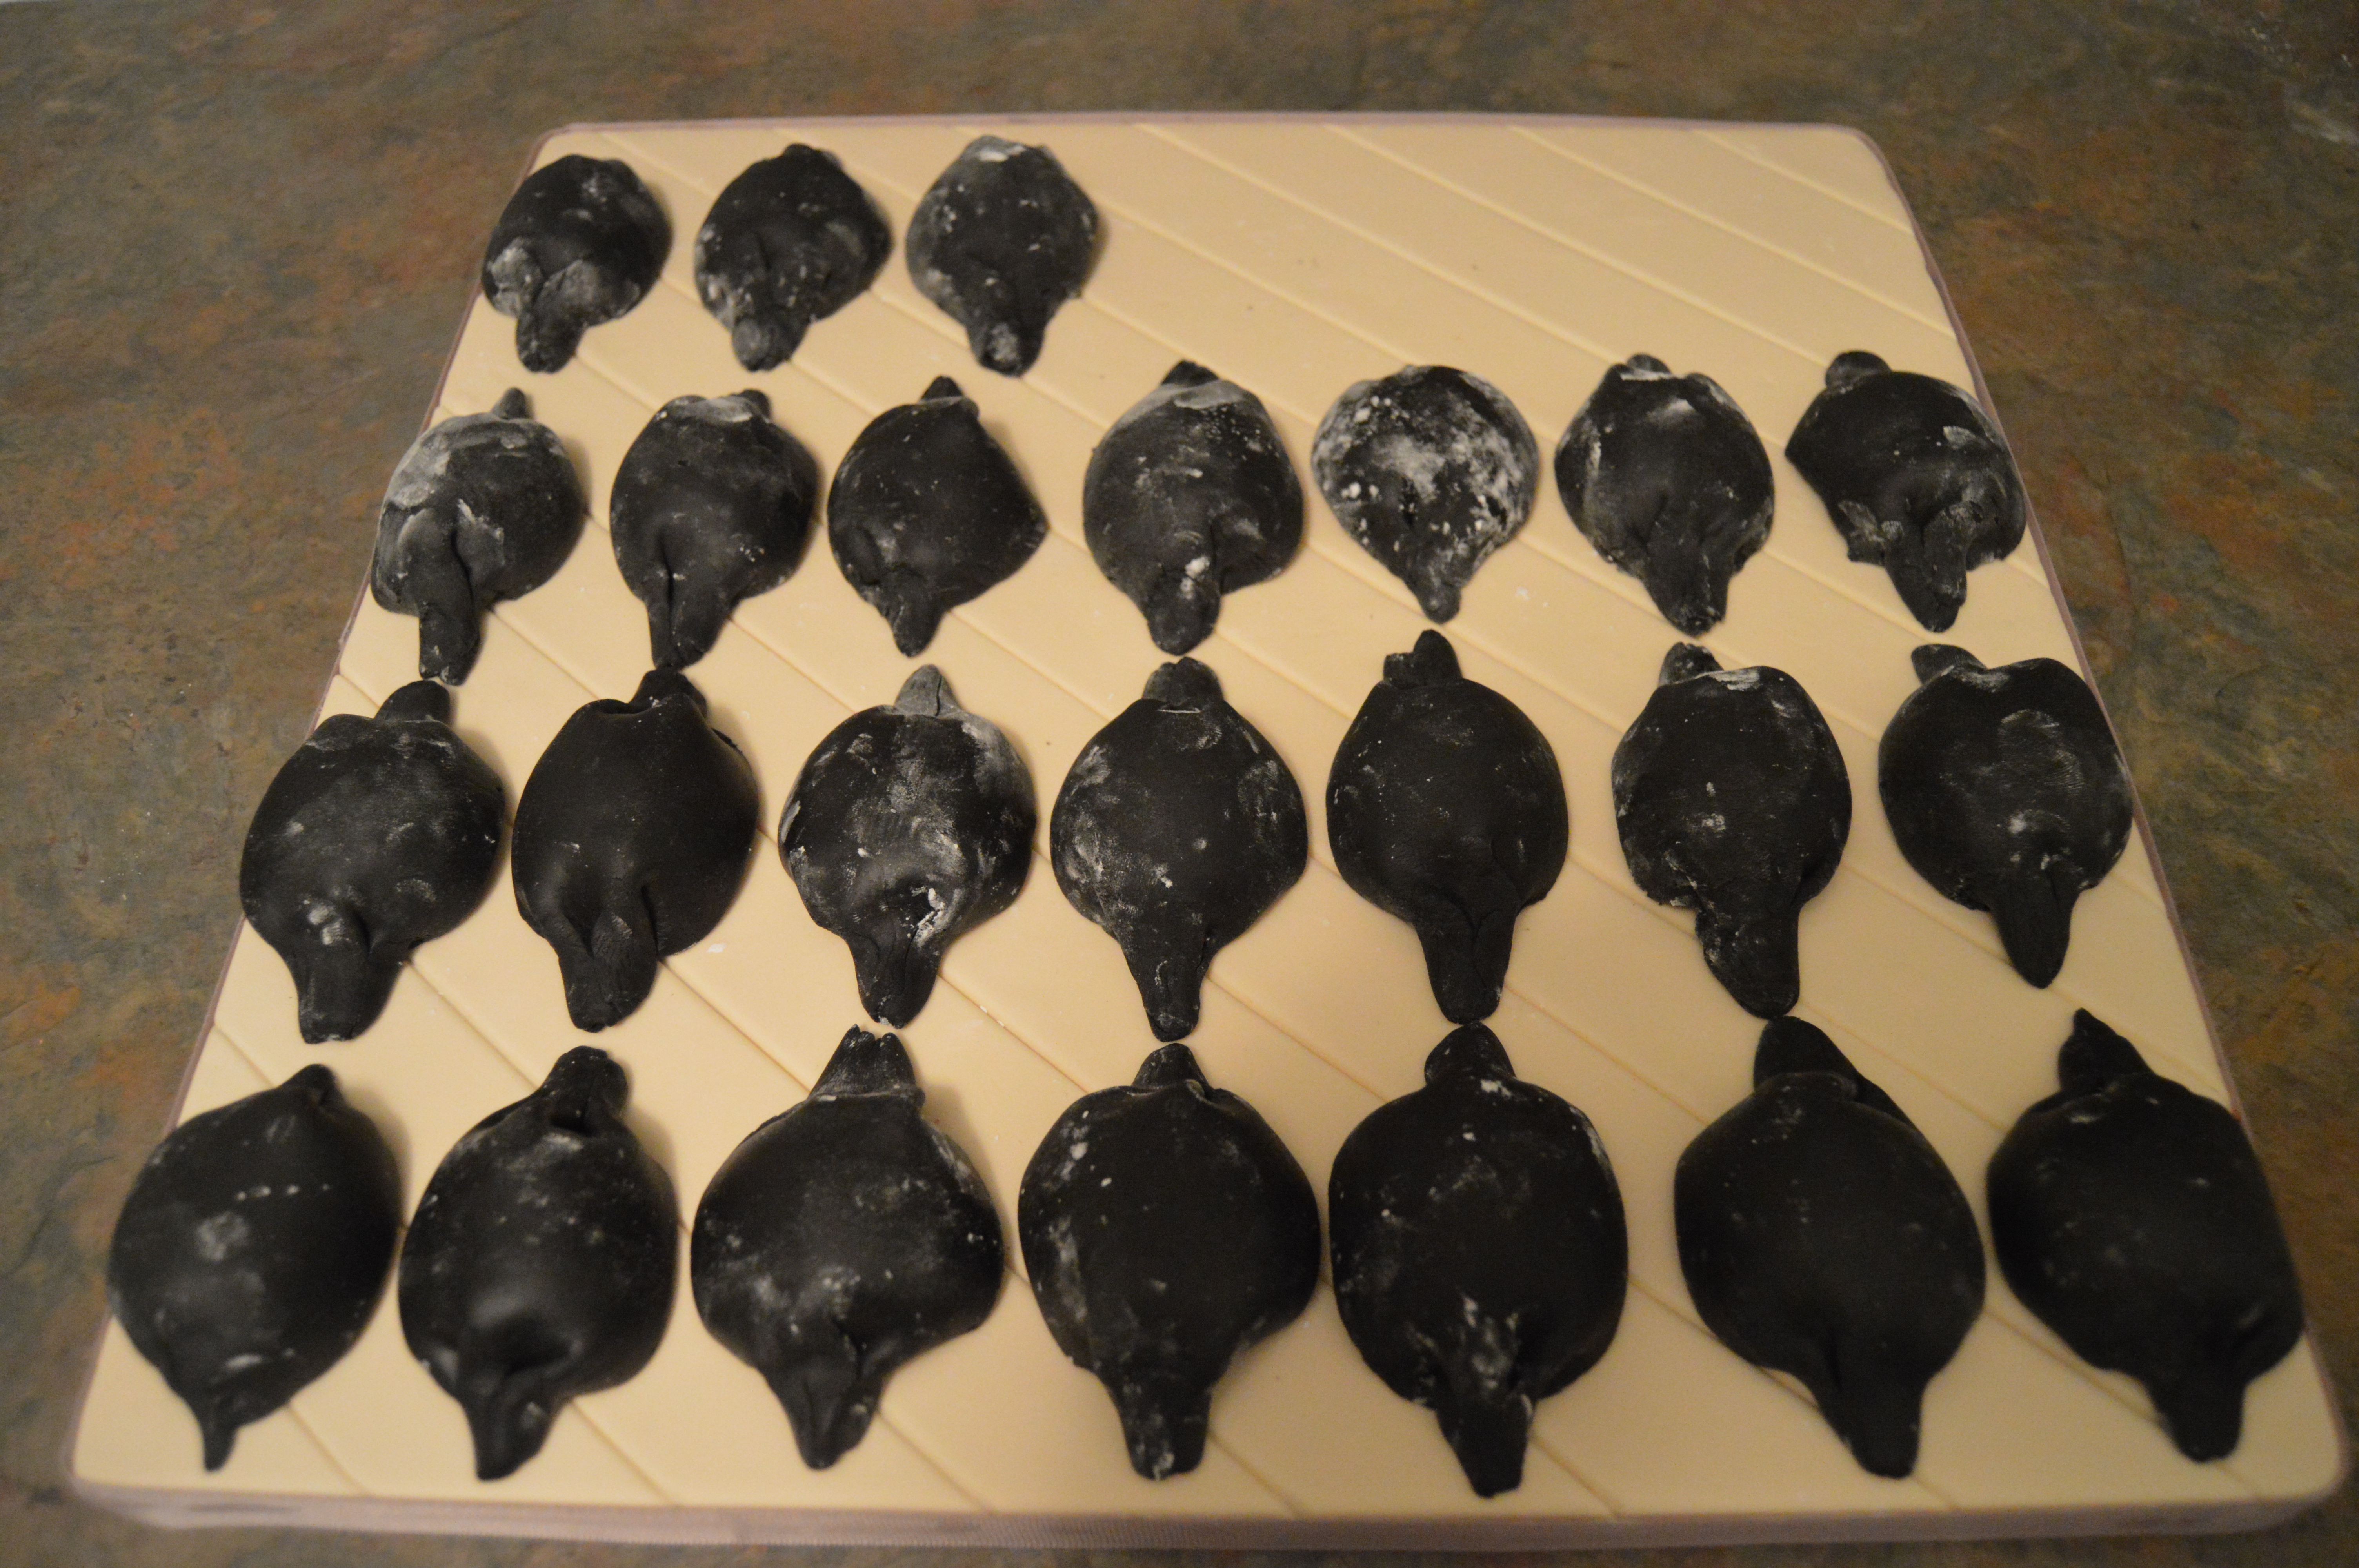
(3) Dust your mold with icing sugar and start forming the billow weaves by wrapping the rectangles over the top of the mold and gathering both ends together in a knot.
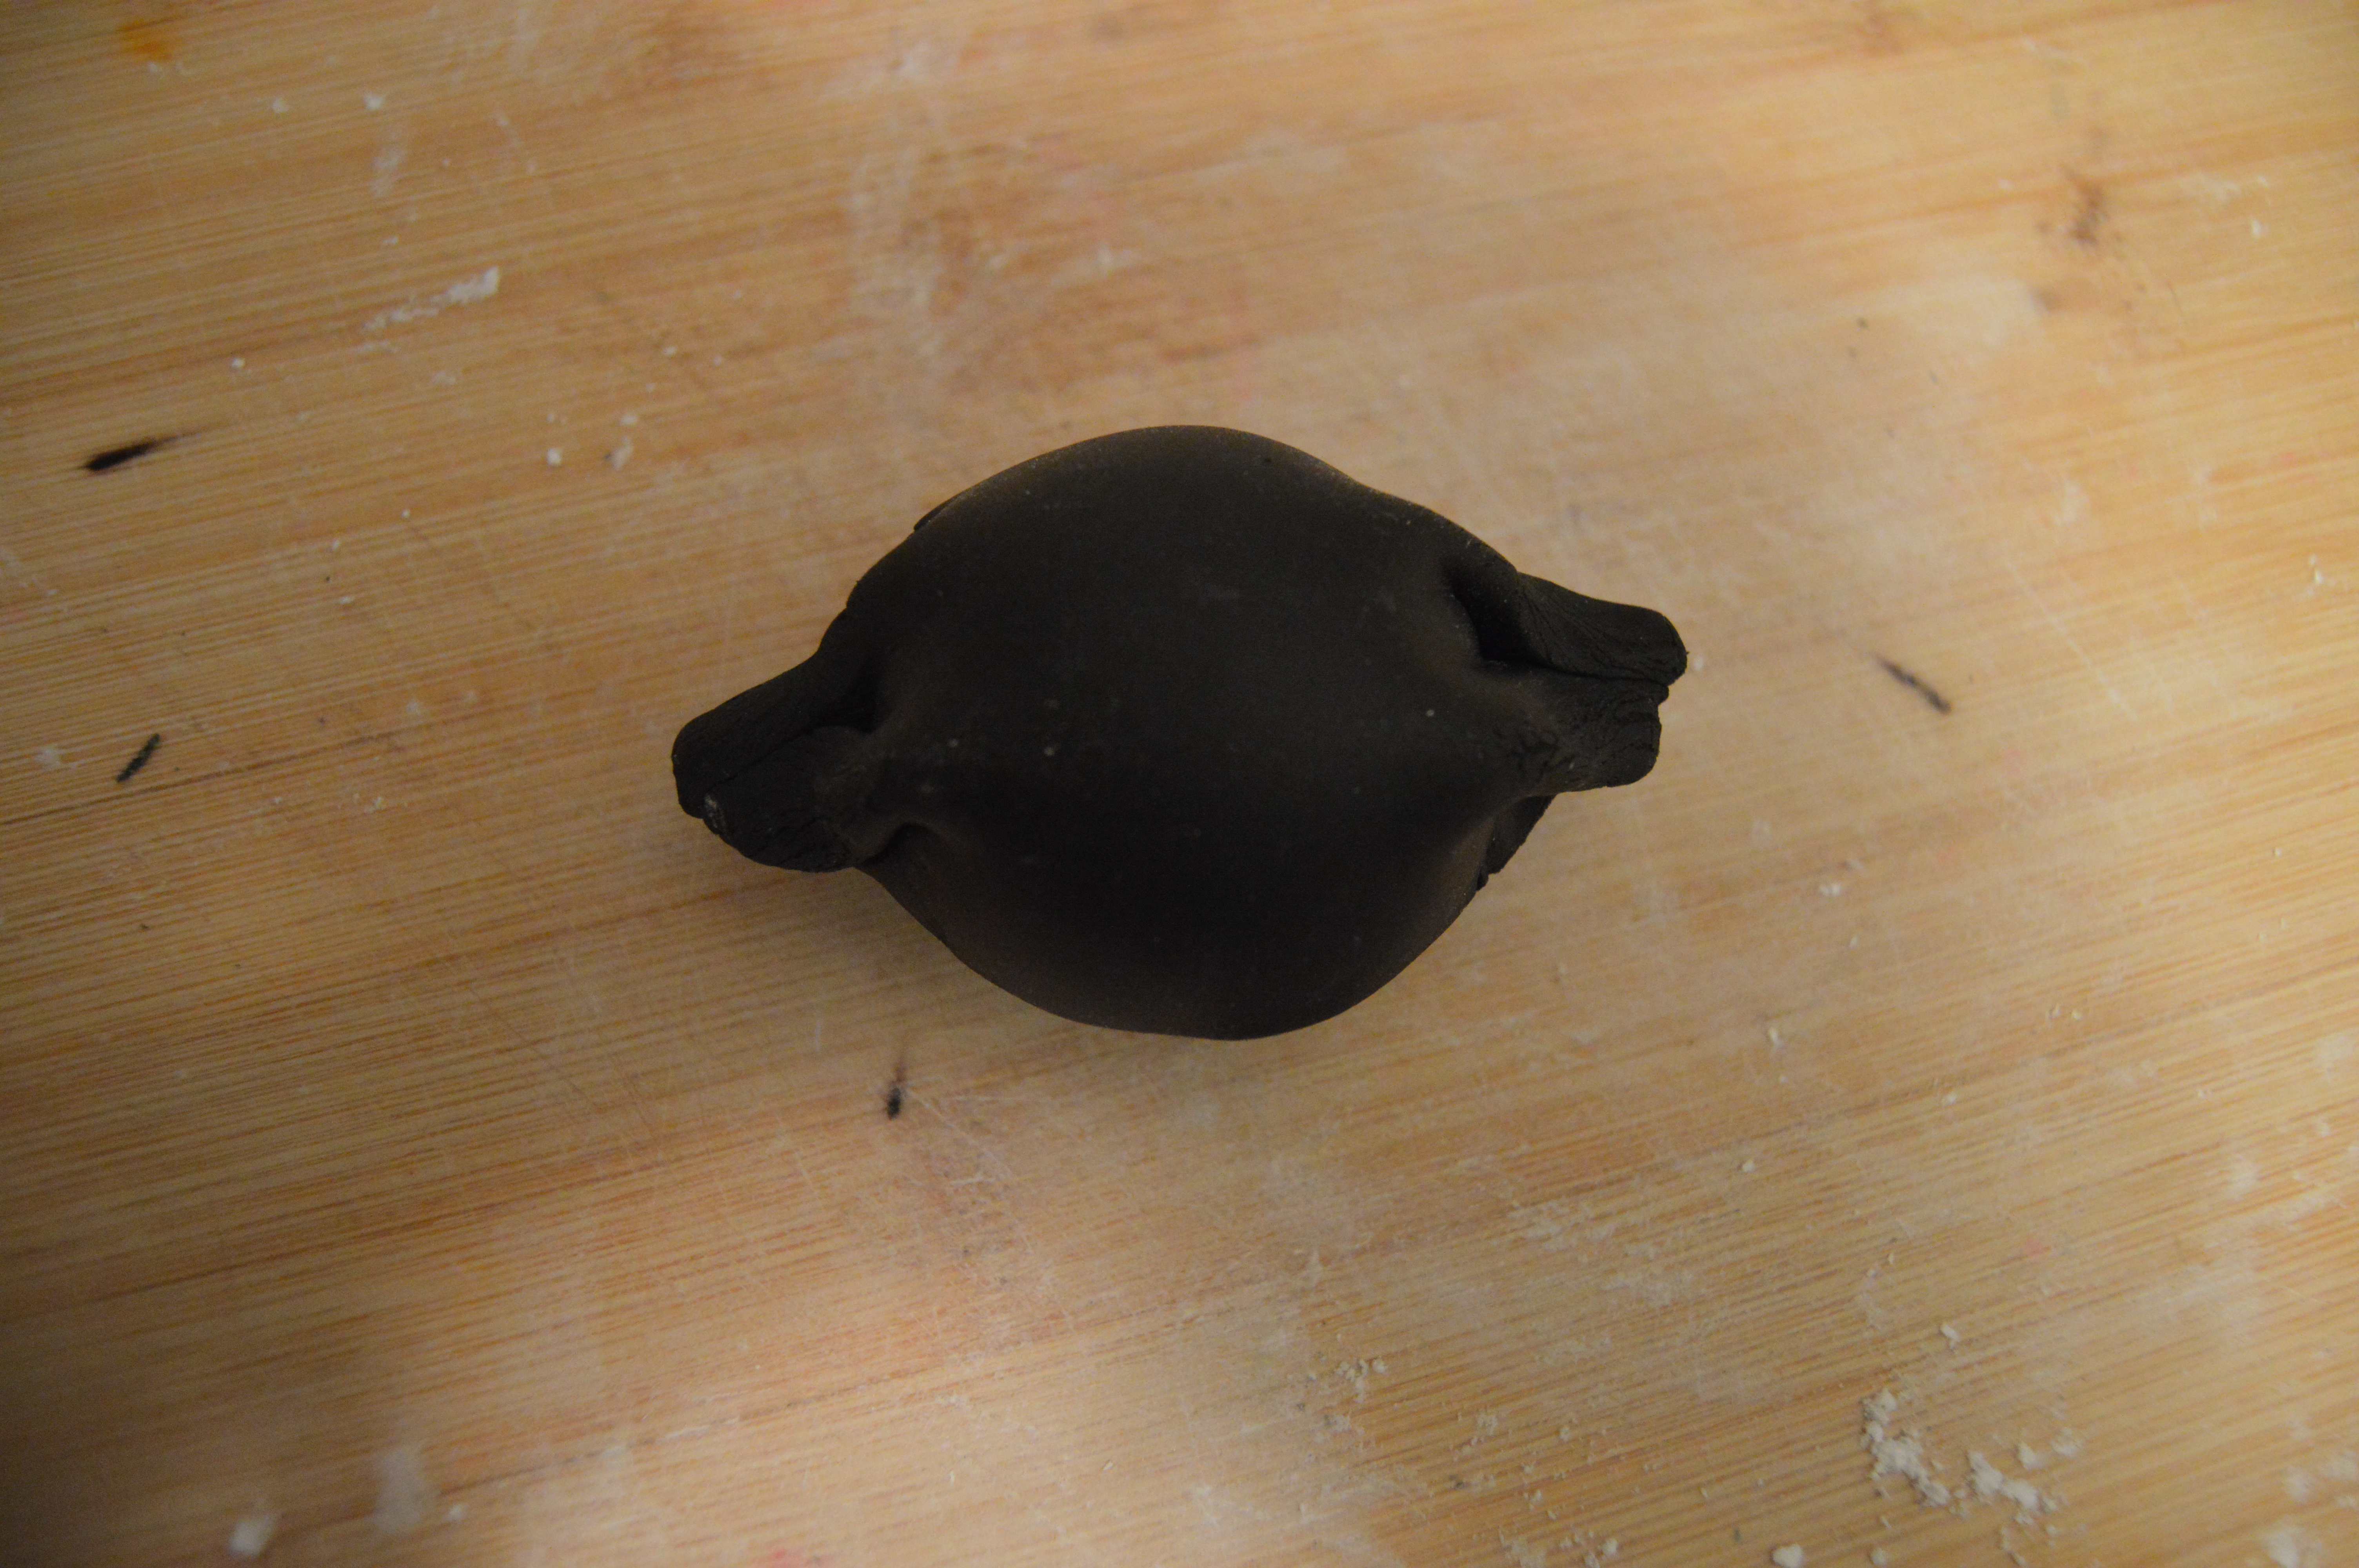
(4) Place the formed weaves on a platform to dry for about 30 minutes before using. They will keep shape better when they are a bit dry. I used 45 billow weaves for this 8 inch tier.
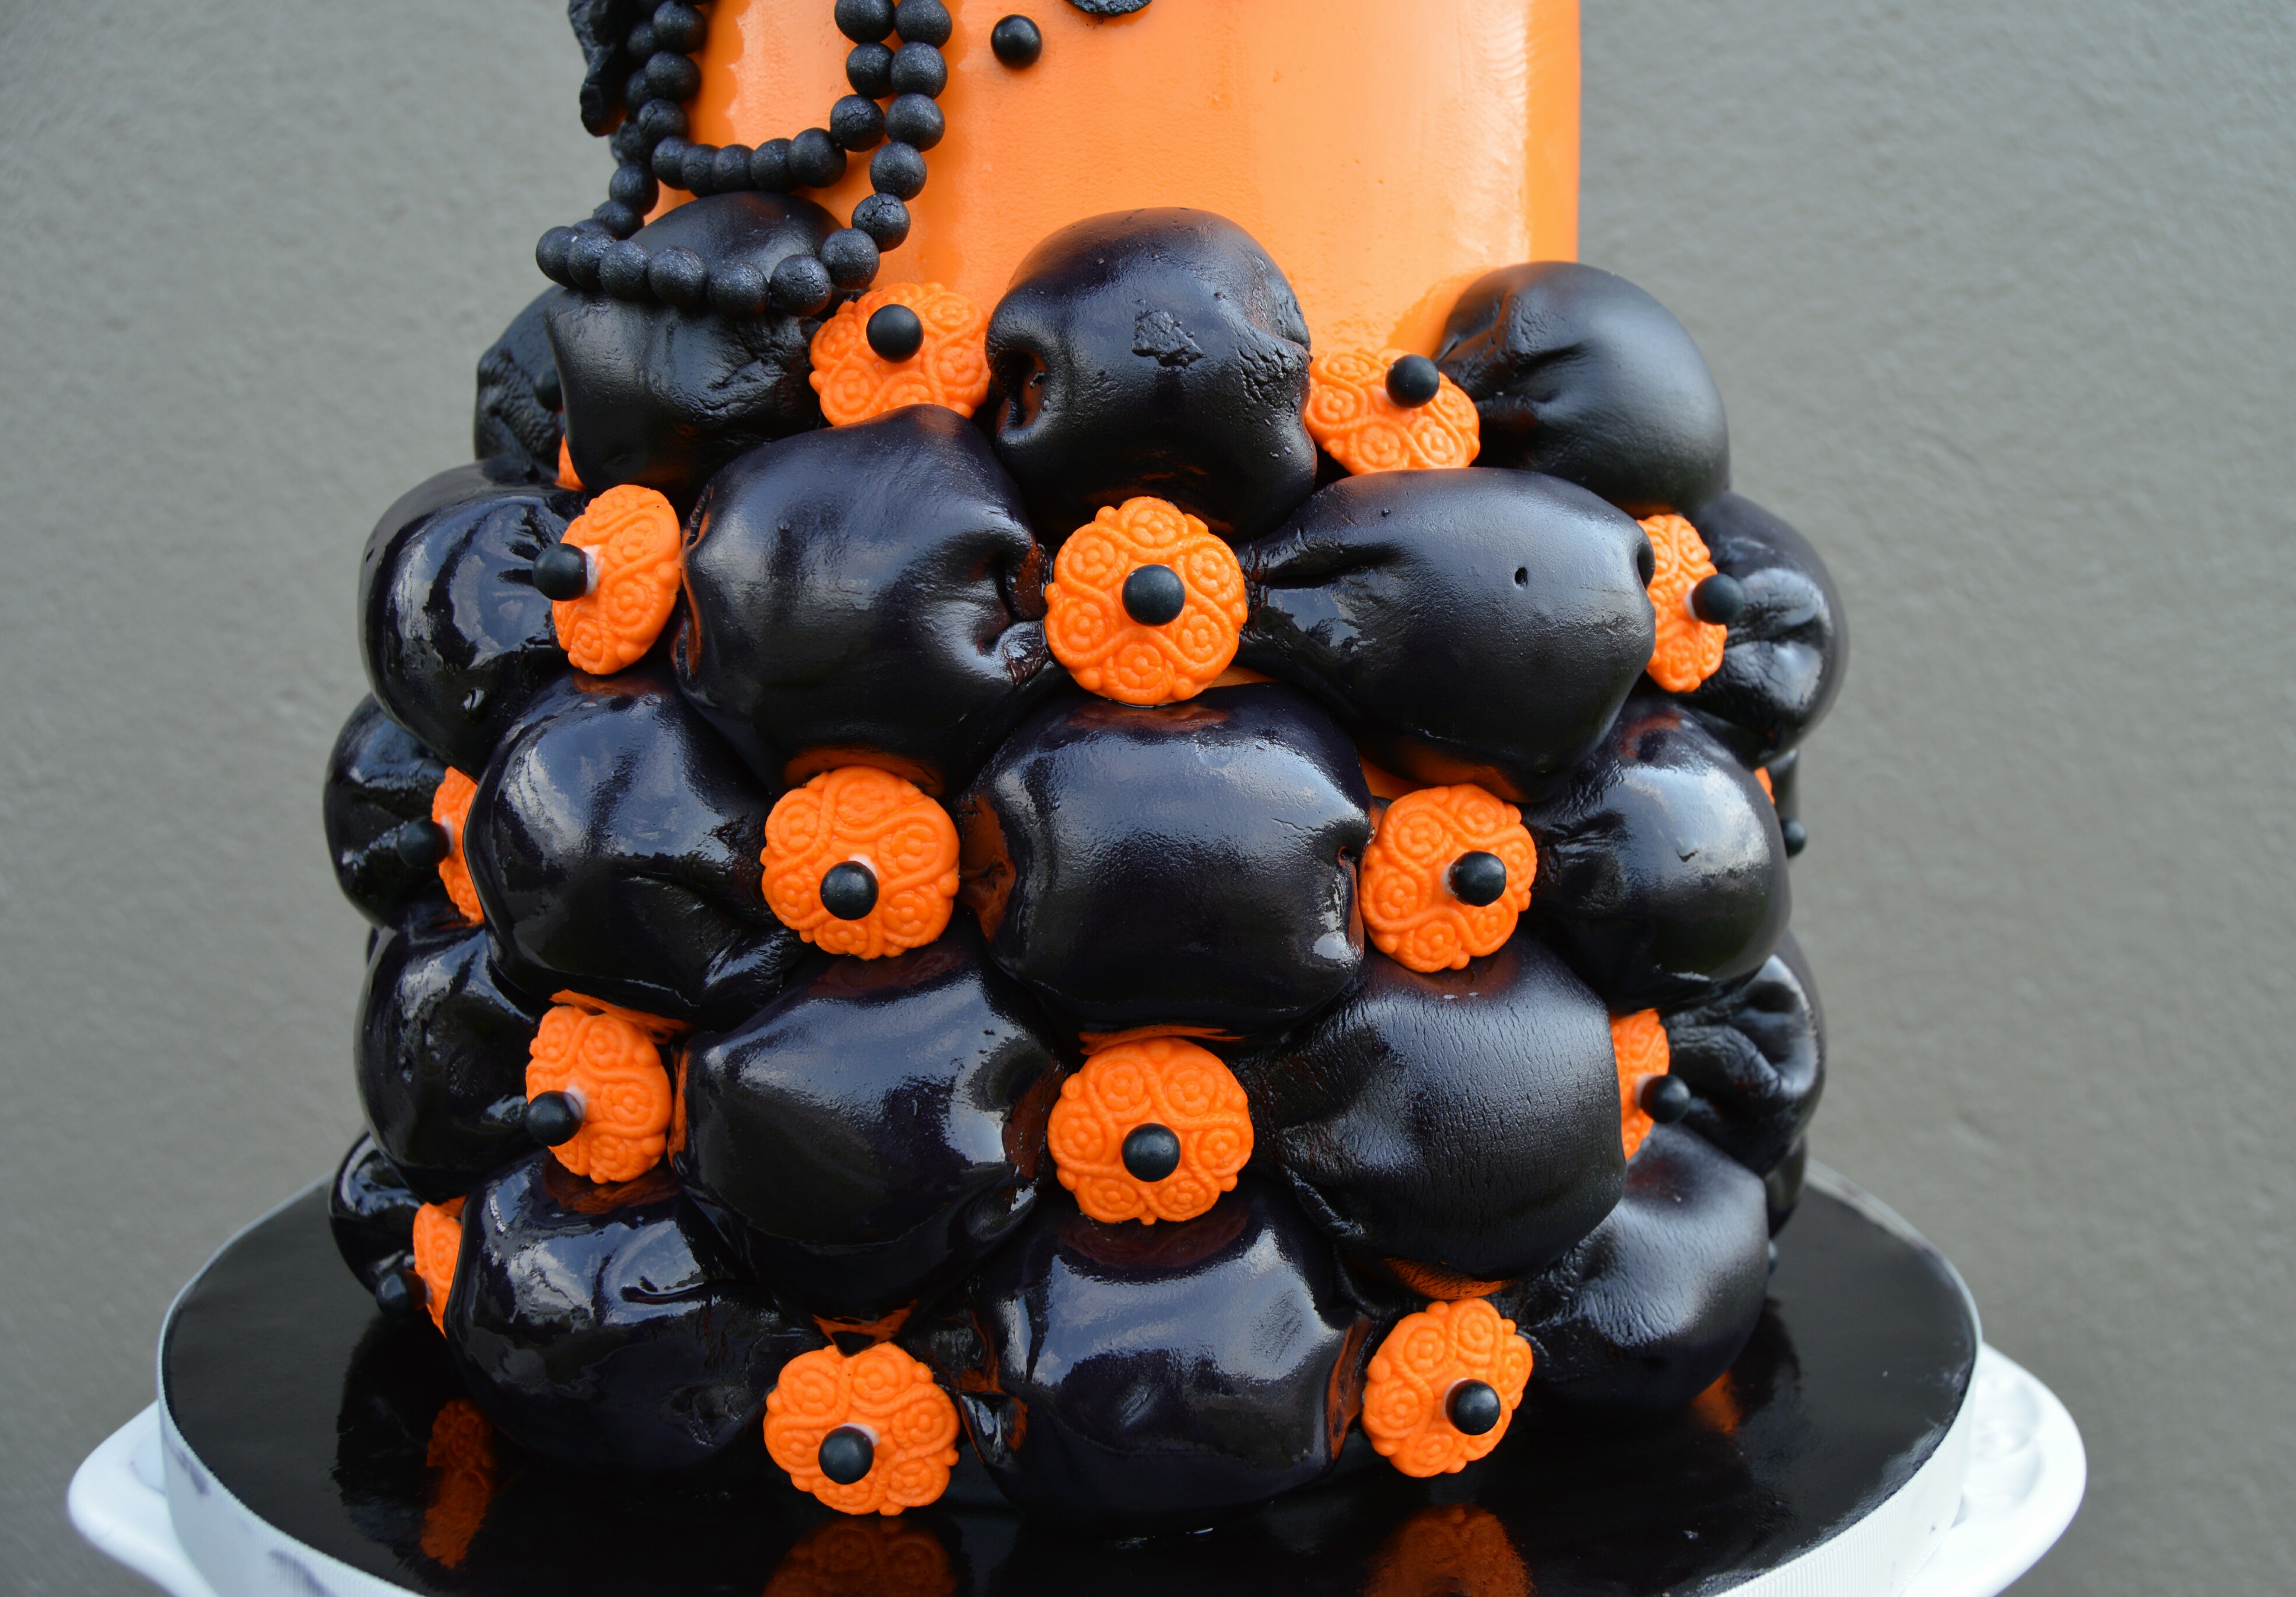
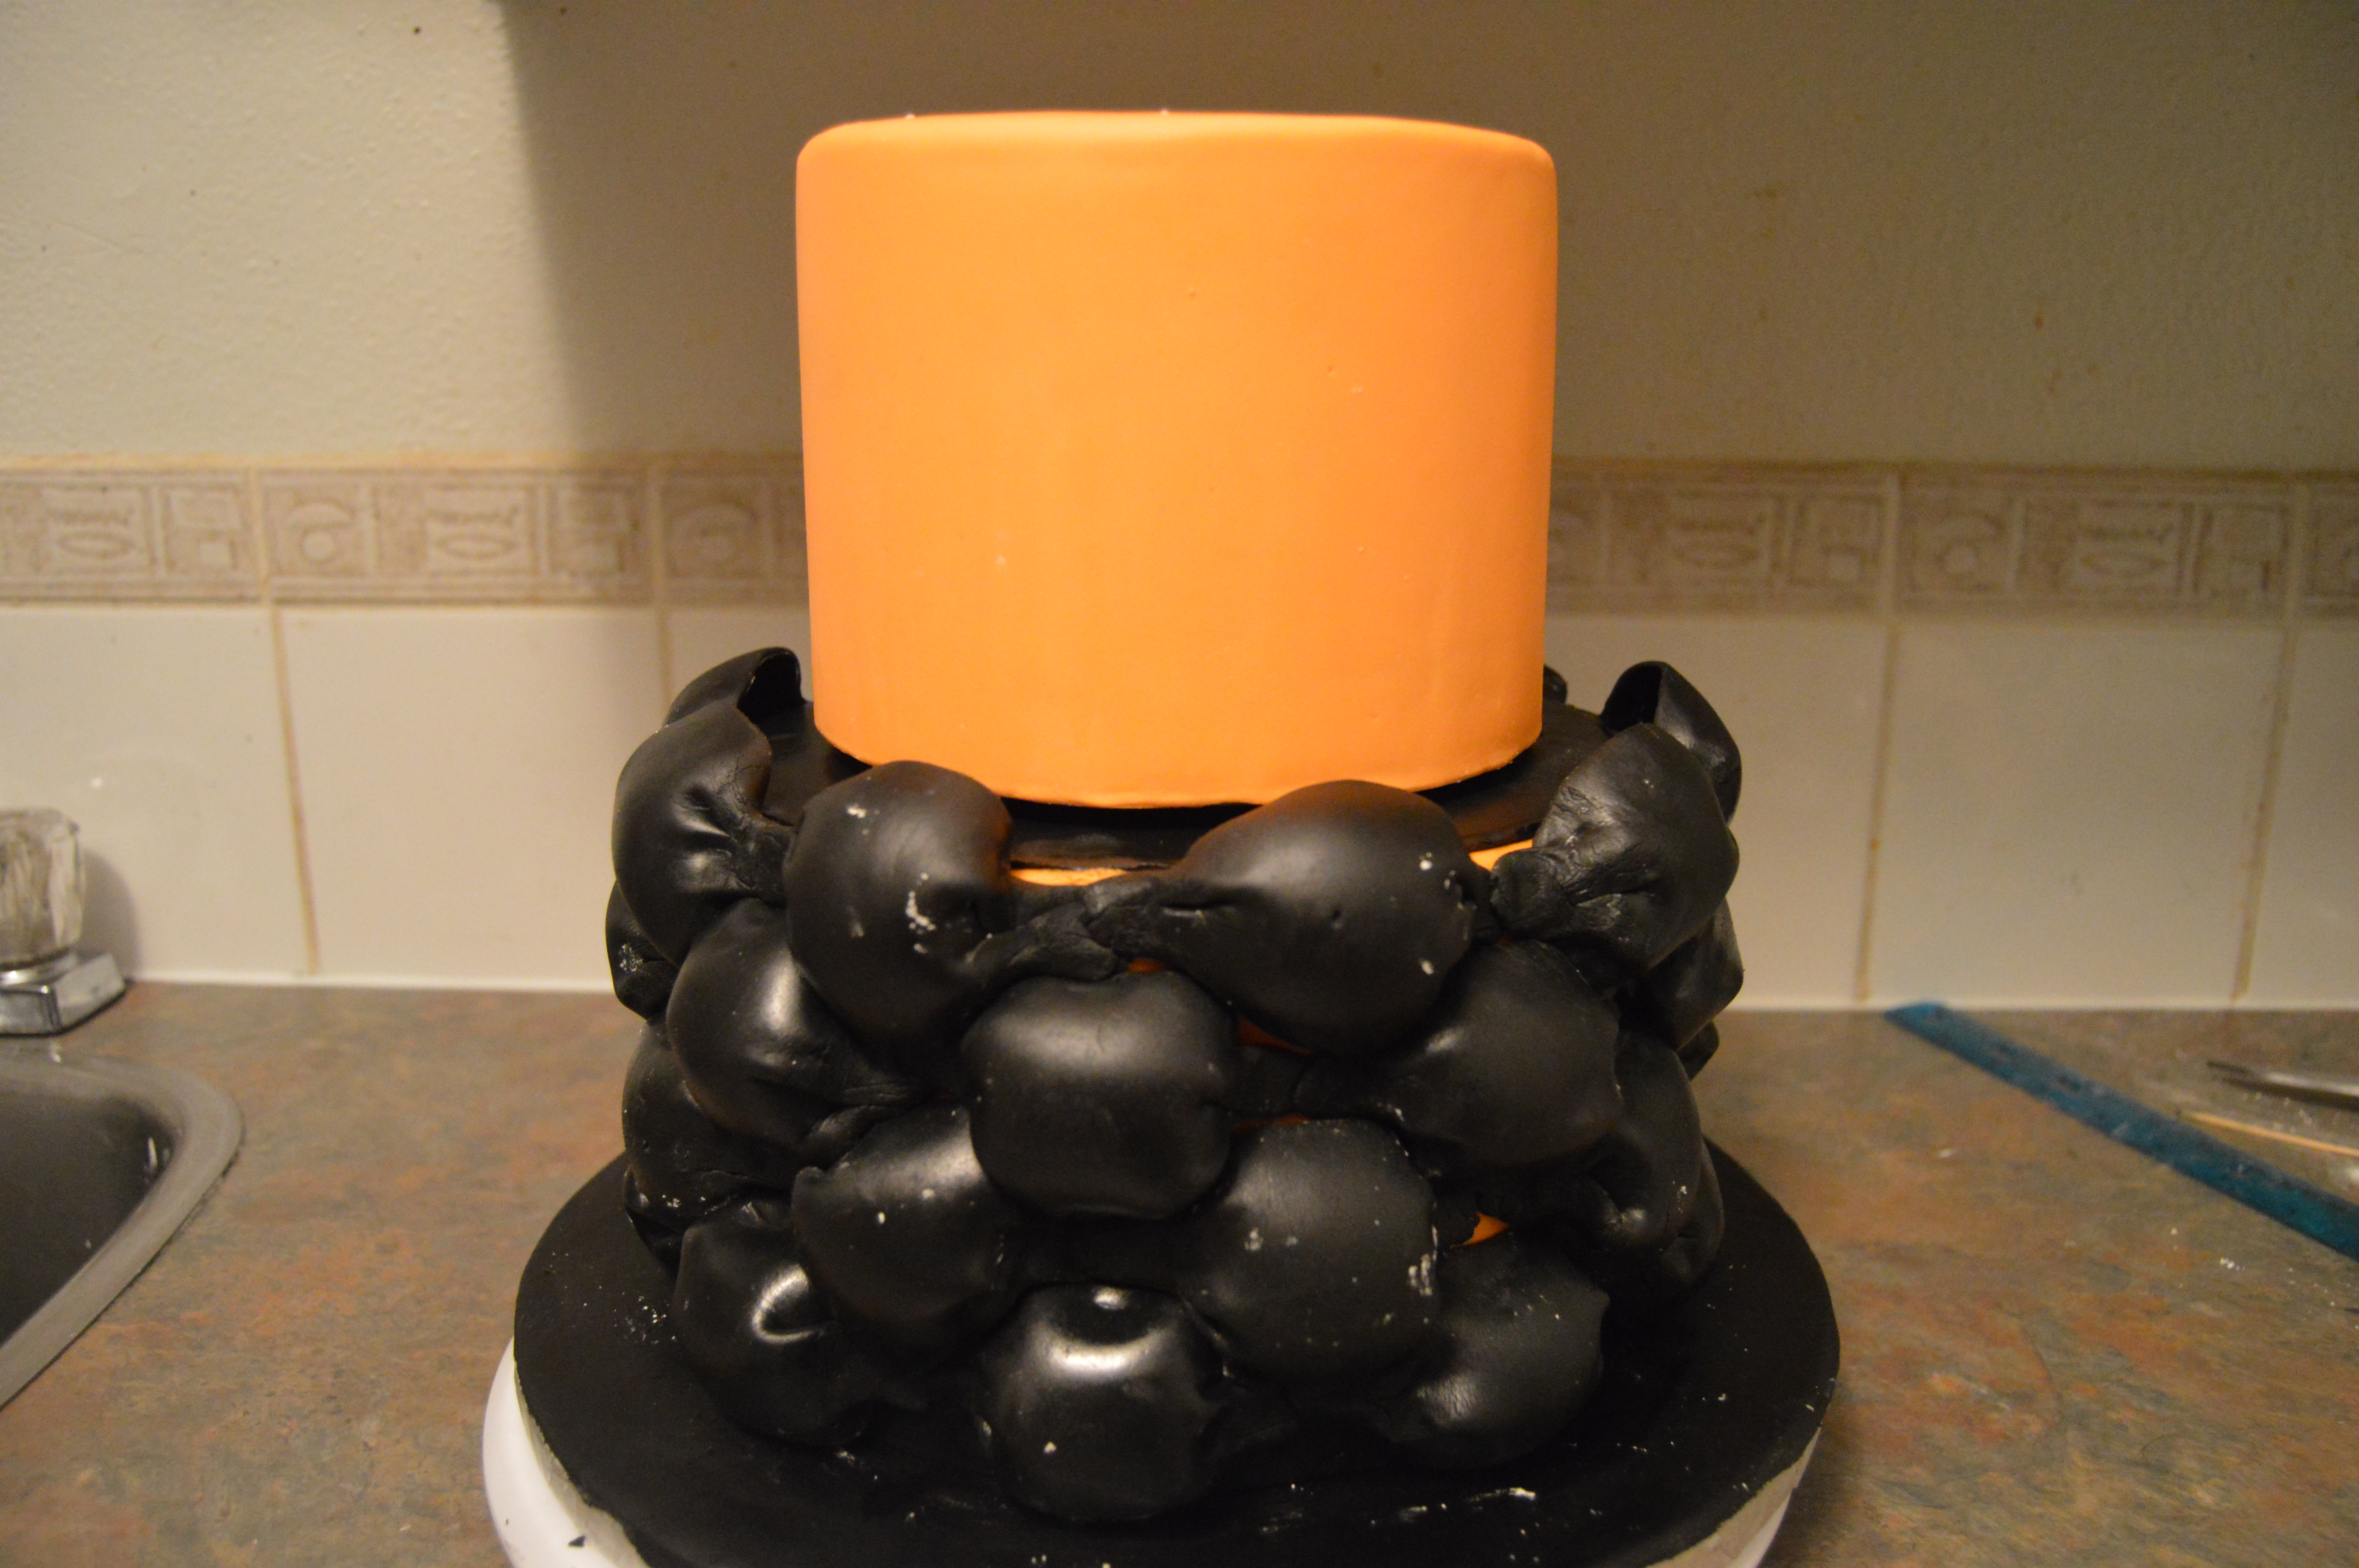
(5) After 30 minutes, brush the cake with vodka or water and start layering the weaves. As you make each row, place a button into the spaces between the billow weaves to make sure that the pocket spaces are large enough to accommodate the buttons.
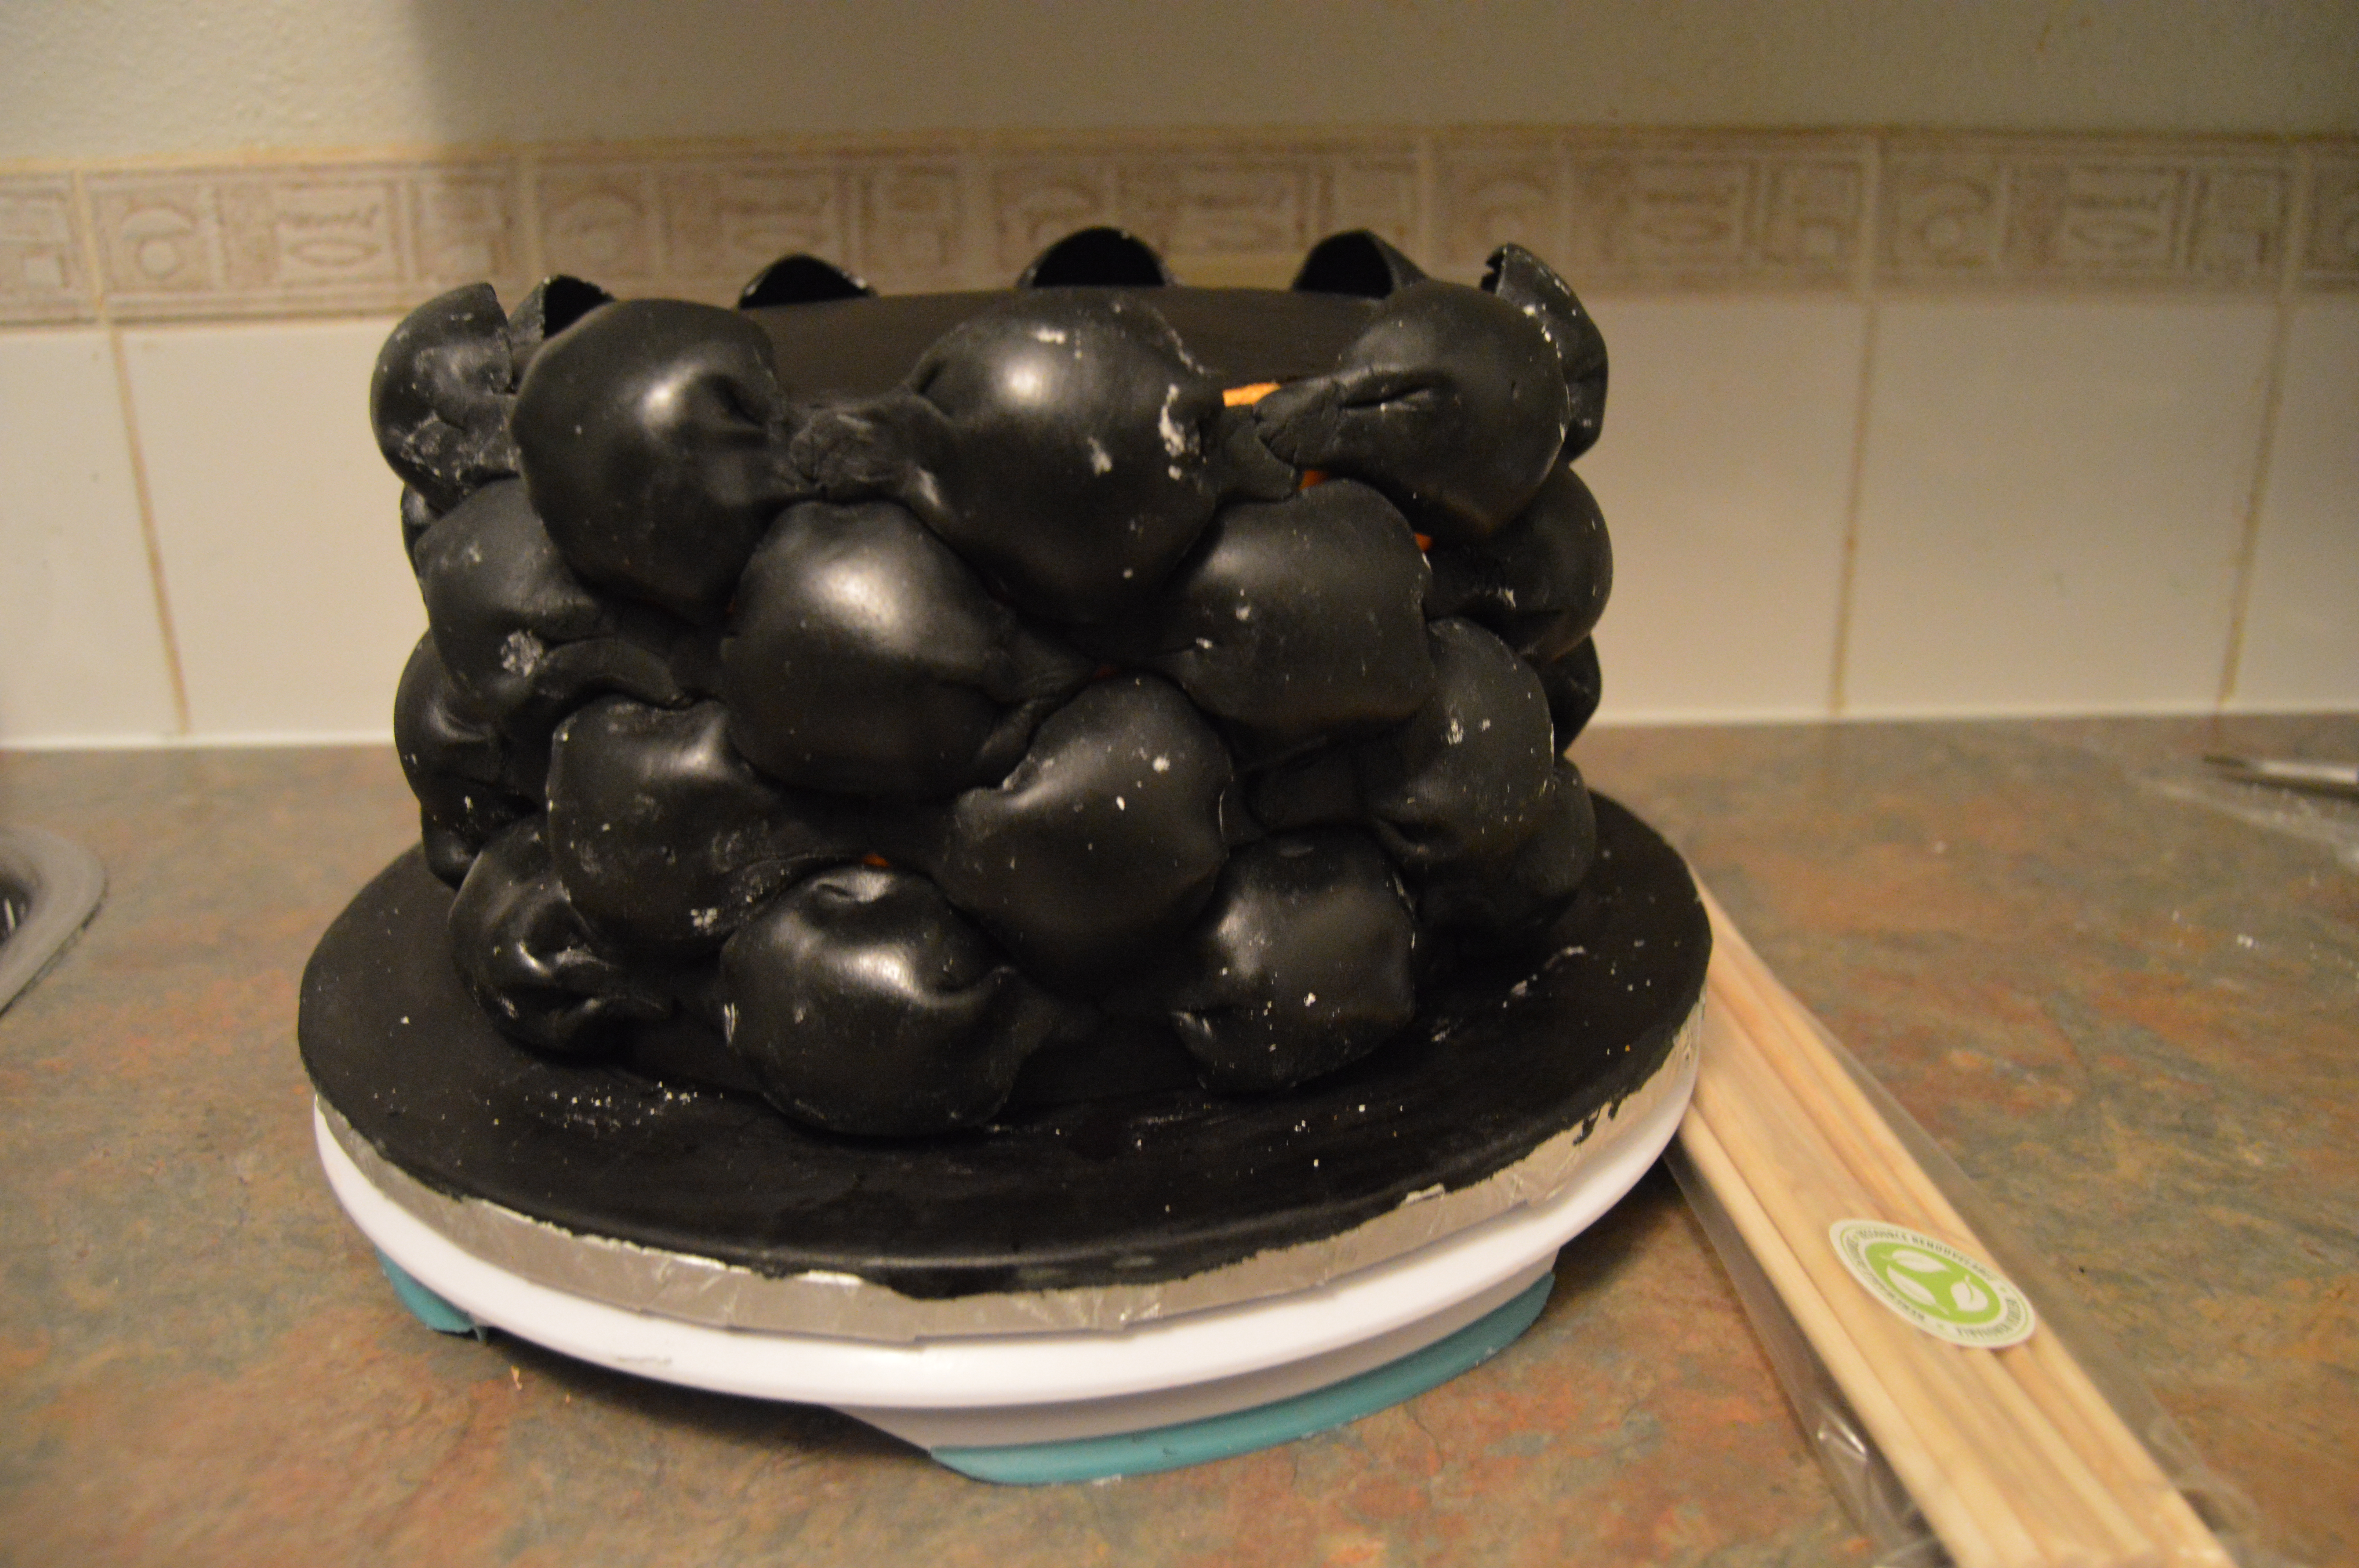
(6) When you are done, leave them to dry before brushing with vodka to remove icing sugar residue.
(7) Place the buttons in the pockets to finish the look.
Terry Adido is passionate about showing people how easy it is to recreate restaurant quality meals in the comfort of their kitchens. With a style of cooking he refers to as Afro-European Fusion, his meals are influenced greatly by French and Italian Cuisine with a West African twist. If you love good food, you are in for the ride of your life.
This is lovely.
Thanks Shola
Lovely and unique. Nice job @ Terry!
Thanks Charity.
Hi Terry, as usual you make everything look soo easy. Thanks a lot. One question though, did you wait for the weaves to dry before removing the mould, if not then at what stage can the mould be removed without spoiling the shape of the weave? Thanks.
You are welcome. The molds are removed immediately. The fondant should be firm enough to hold shape.
You have a way of making Cake designing look quite easy. Thank you for this great tutorial, Terry. I appreciate you, always!!
Thanks.