
The Making of a Diamond Patterned Cake with a Dramatic Bow

In this tutorial, I will be showing you how I made this simple and cute cake with an extra large bow. This cake is all about the bow. One word: drama! Once you’ve got the bow figured out, the rest is easy. During the course of this post, I will be sharing links to other tutorials on the website. To see other looks of this cake, click here.
THE PROCESS:
(1) The first thing you need to do is make the bow. This should be done at least a week prior. The reason is simple: it is a very large and heavy bow. Fondant becomes lighter as it dries. If you place the bow freshly made on the cake, it would not only lose shape but tear the cake under its enormous weight.
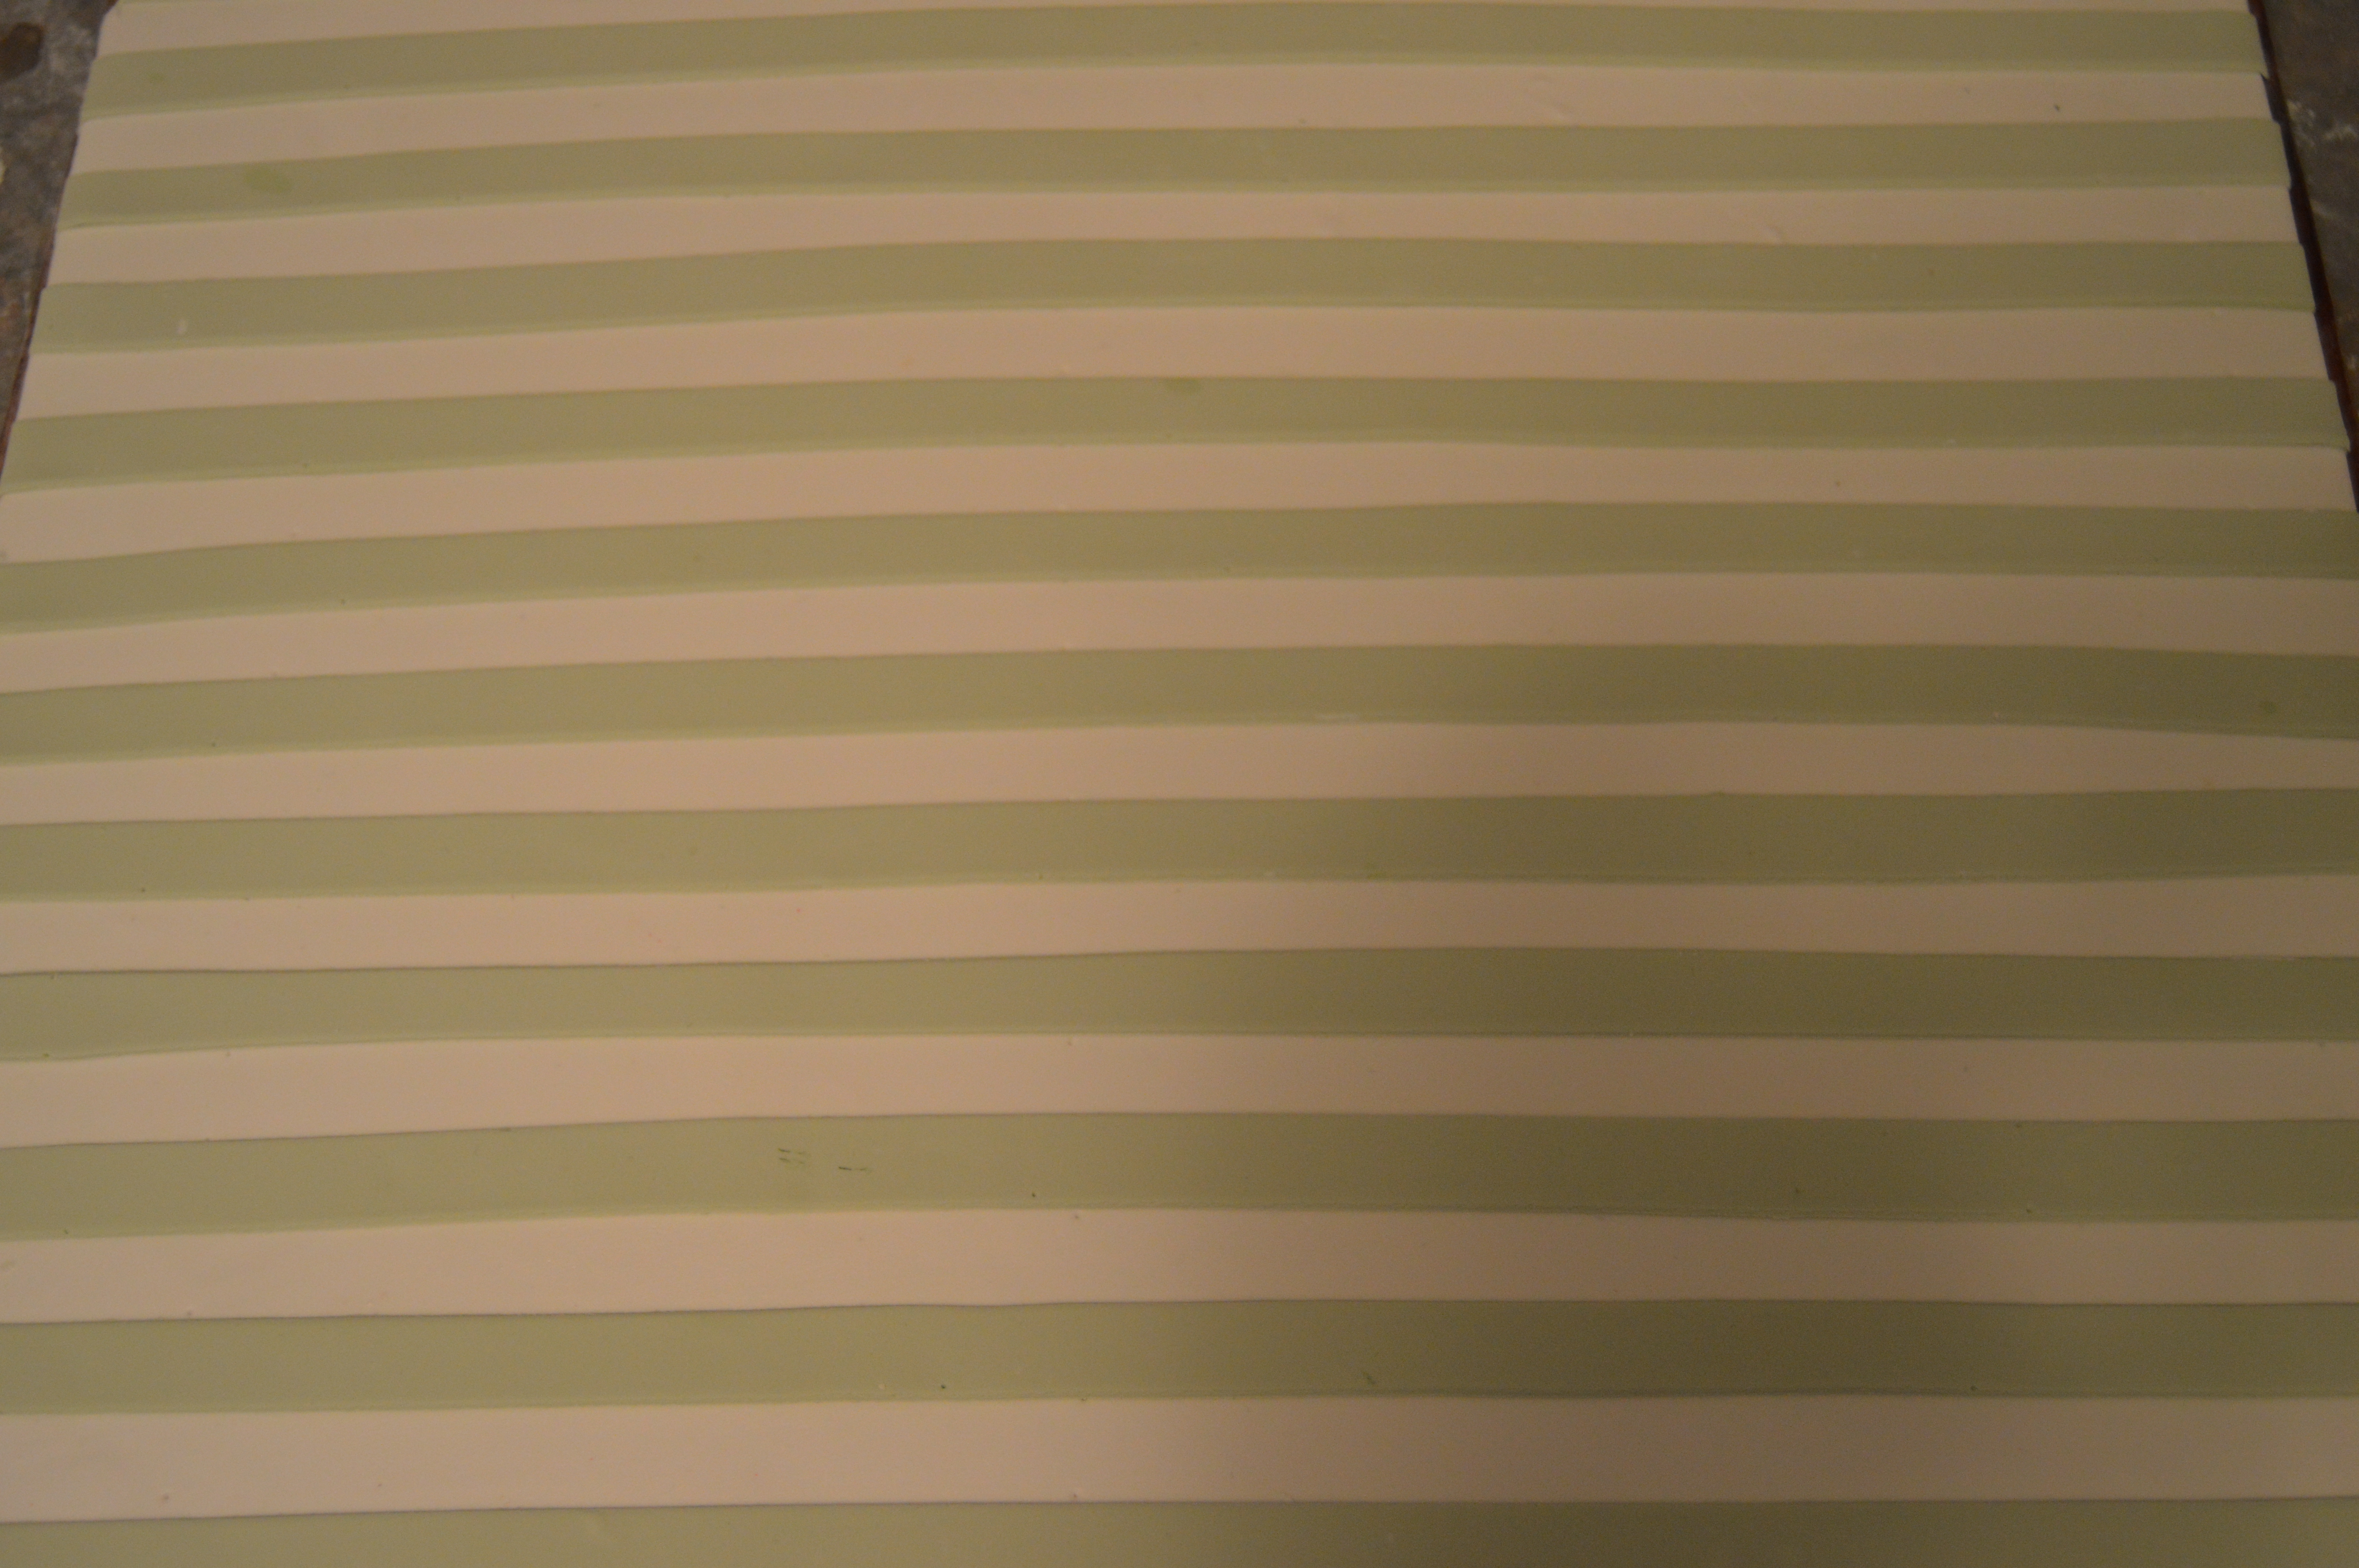
To make the bow, roll out a large piece of white fondant about 12″ x 14″. Cut out smaller strips of moss green fondant about 1/2 inch wide. Stick the green fondant strips on the white fondant, placing them 1/2 inch apart from each other. Use a fondant wheel/embosser on the edges of the green strips to complete the look. Cut the rectangular fondant into 3 parts about 4″ wide each.

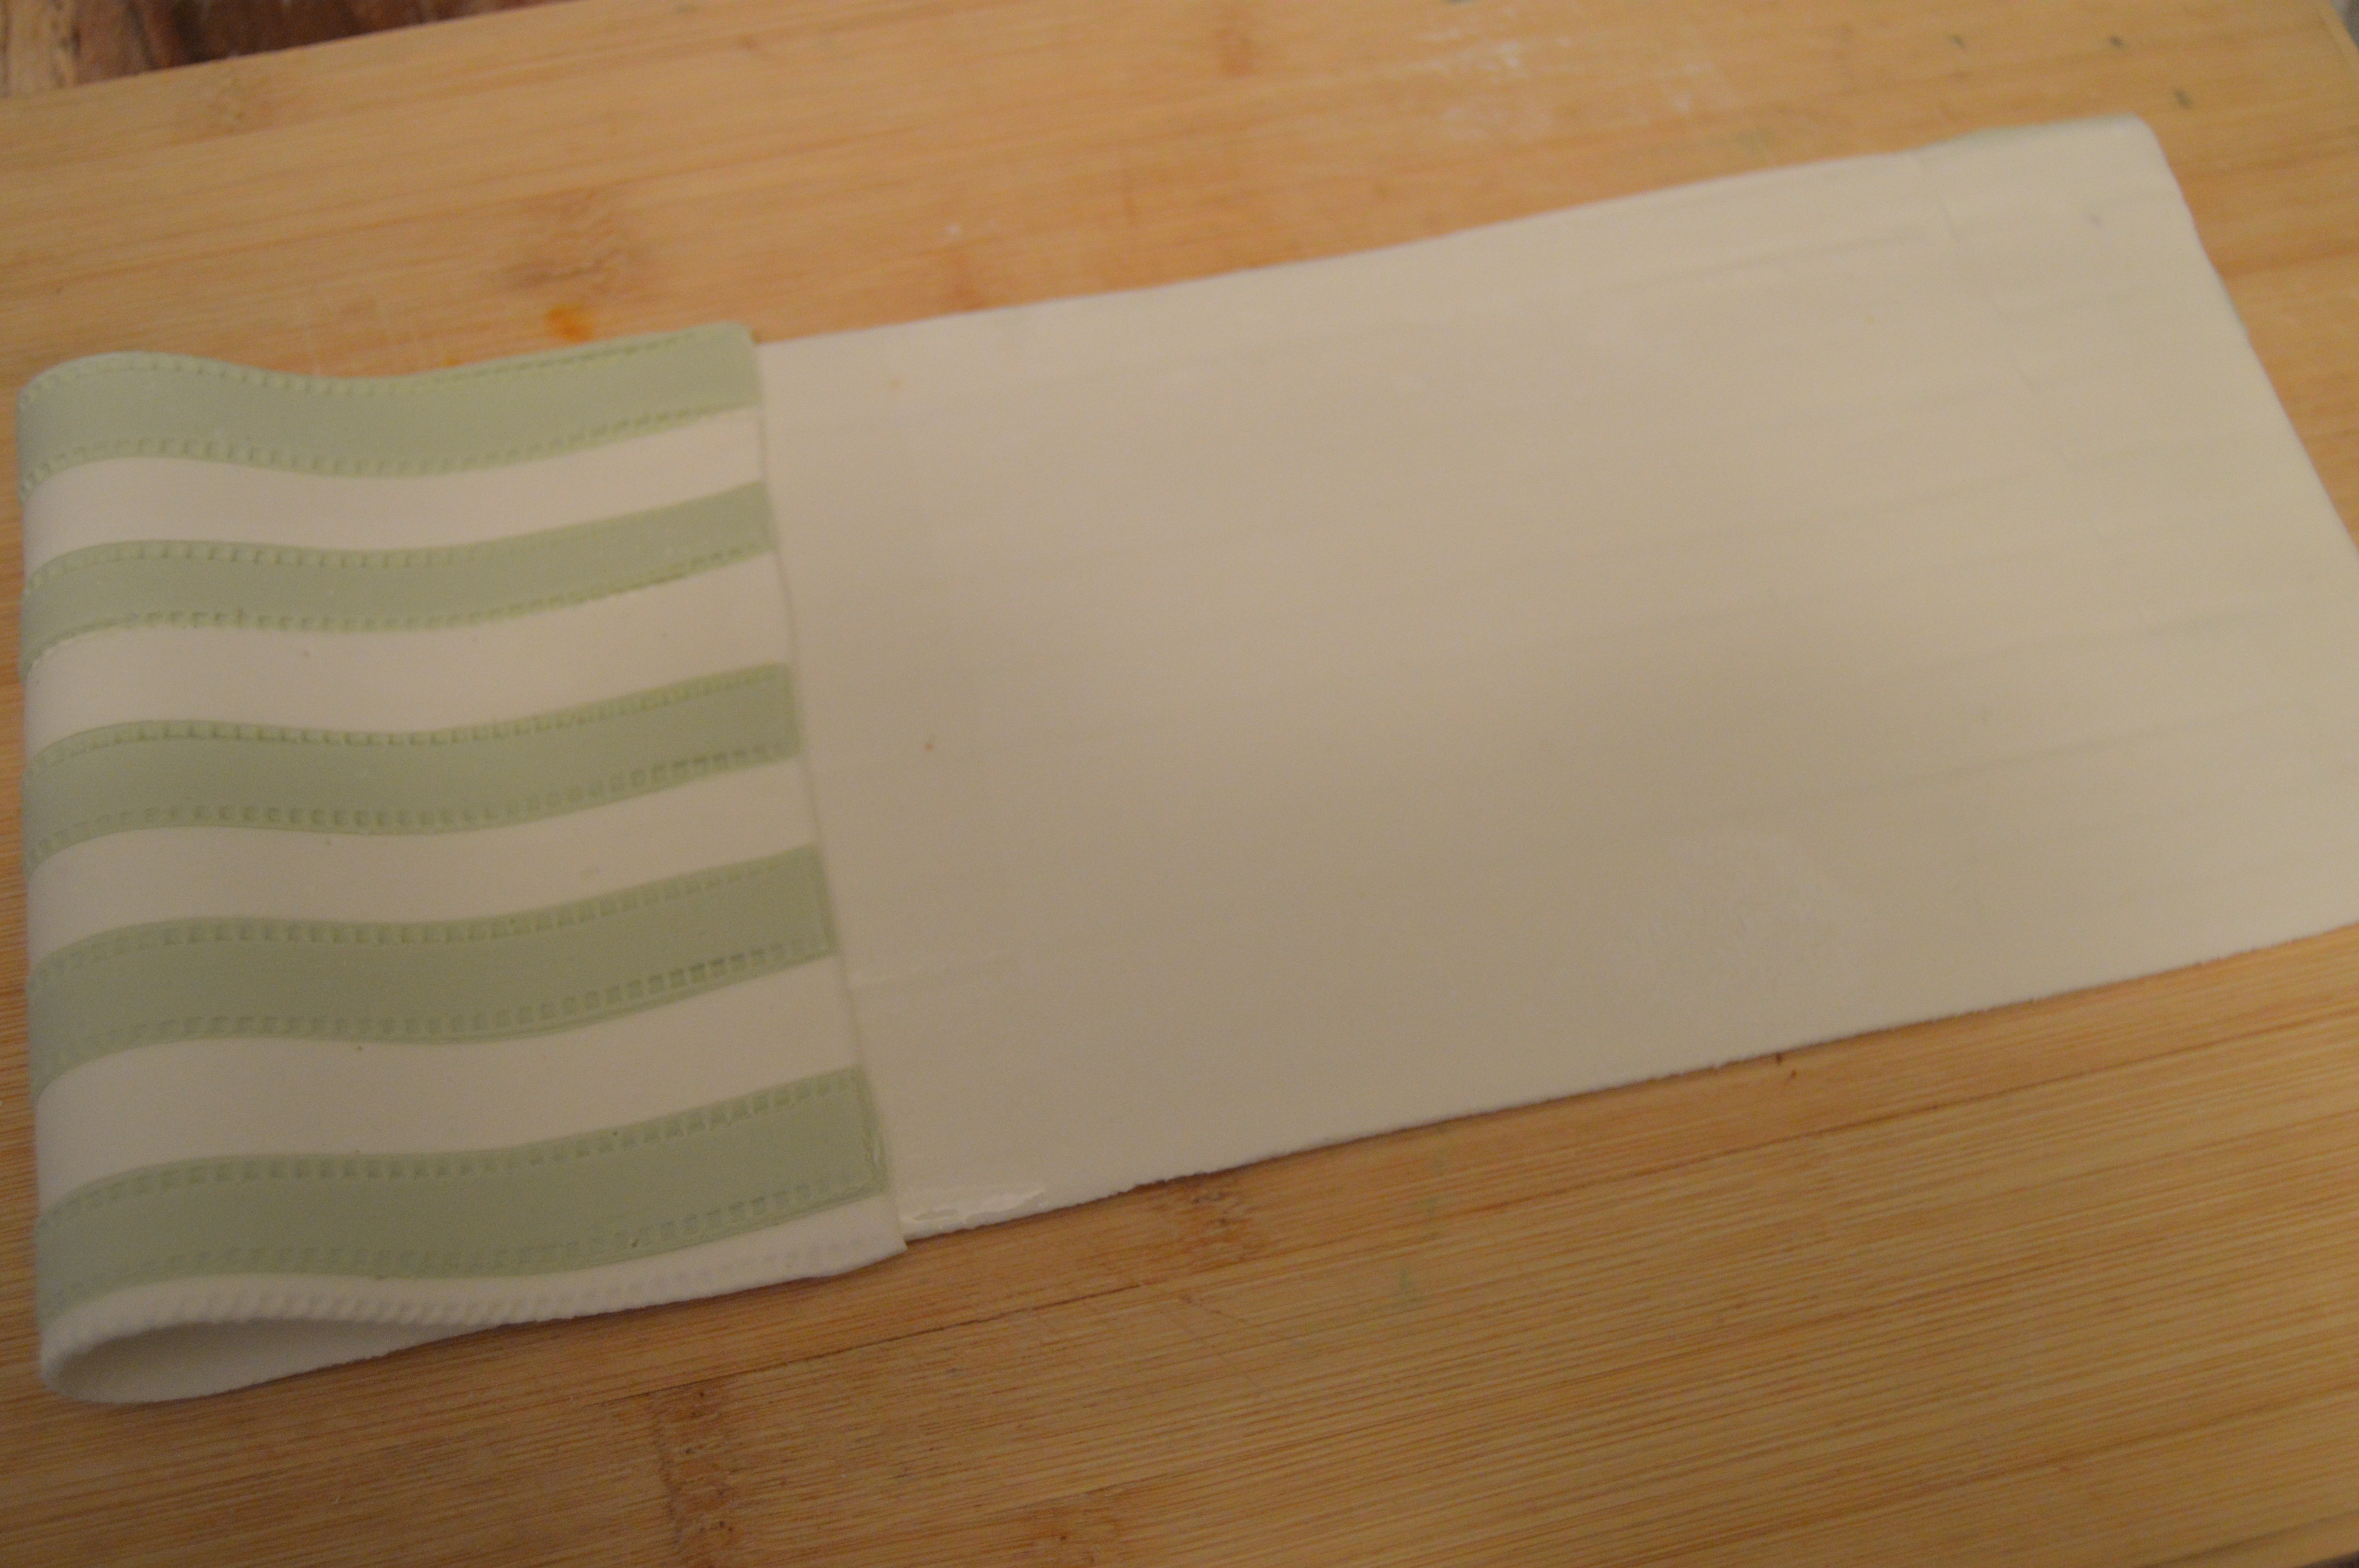
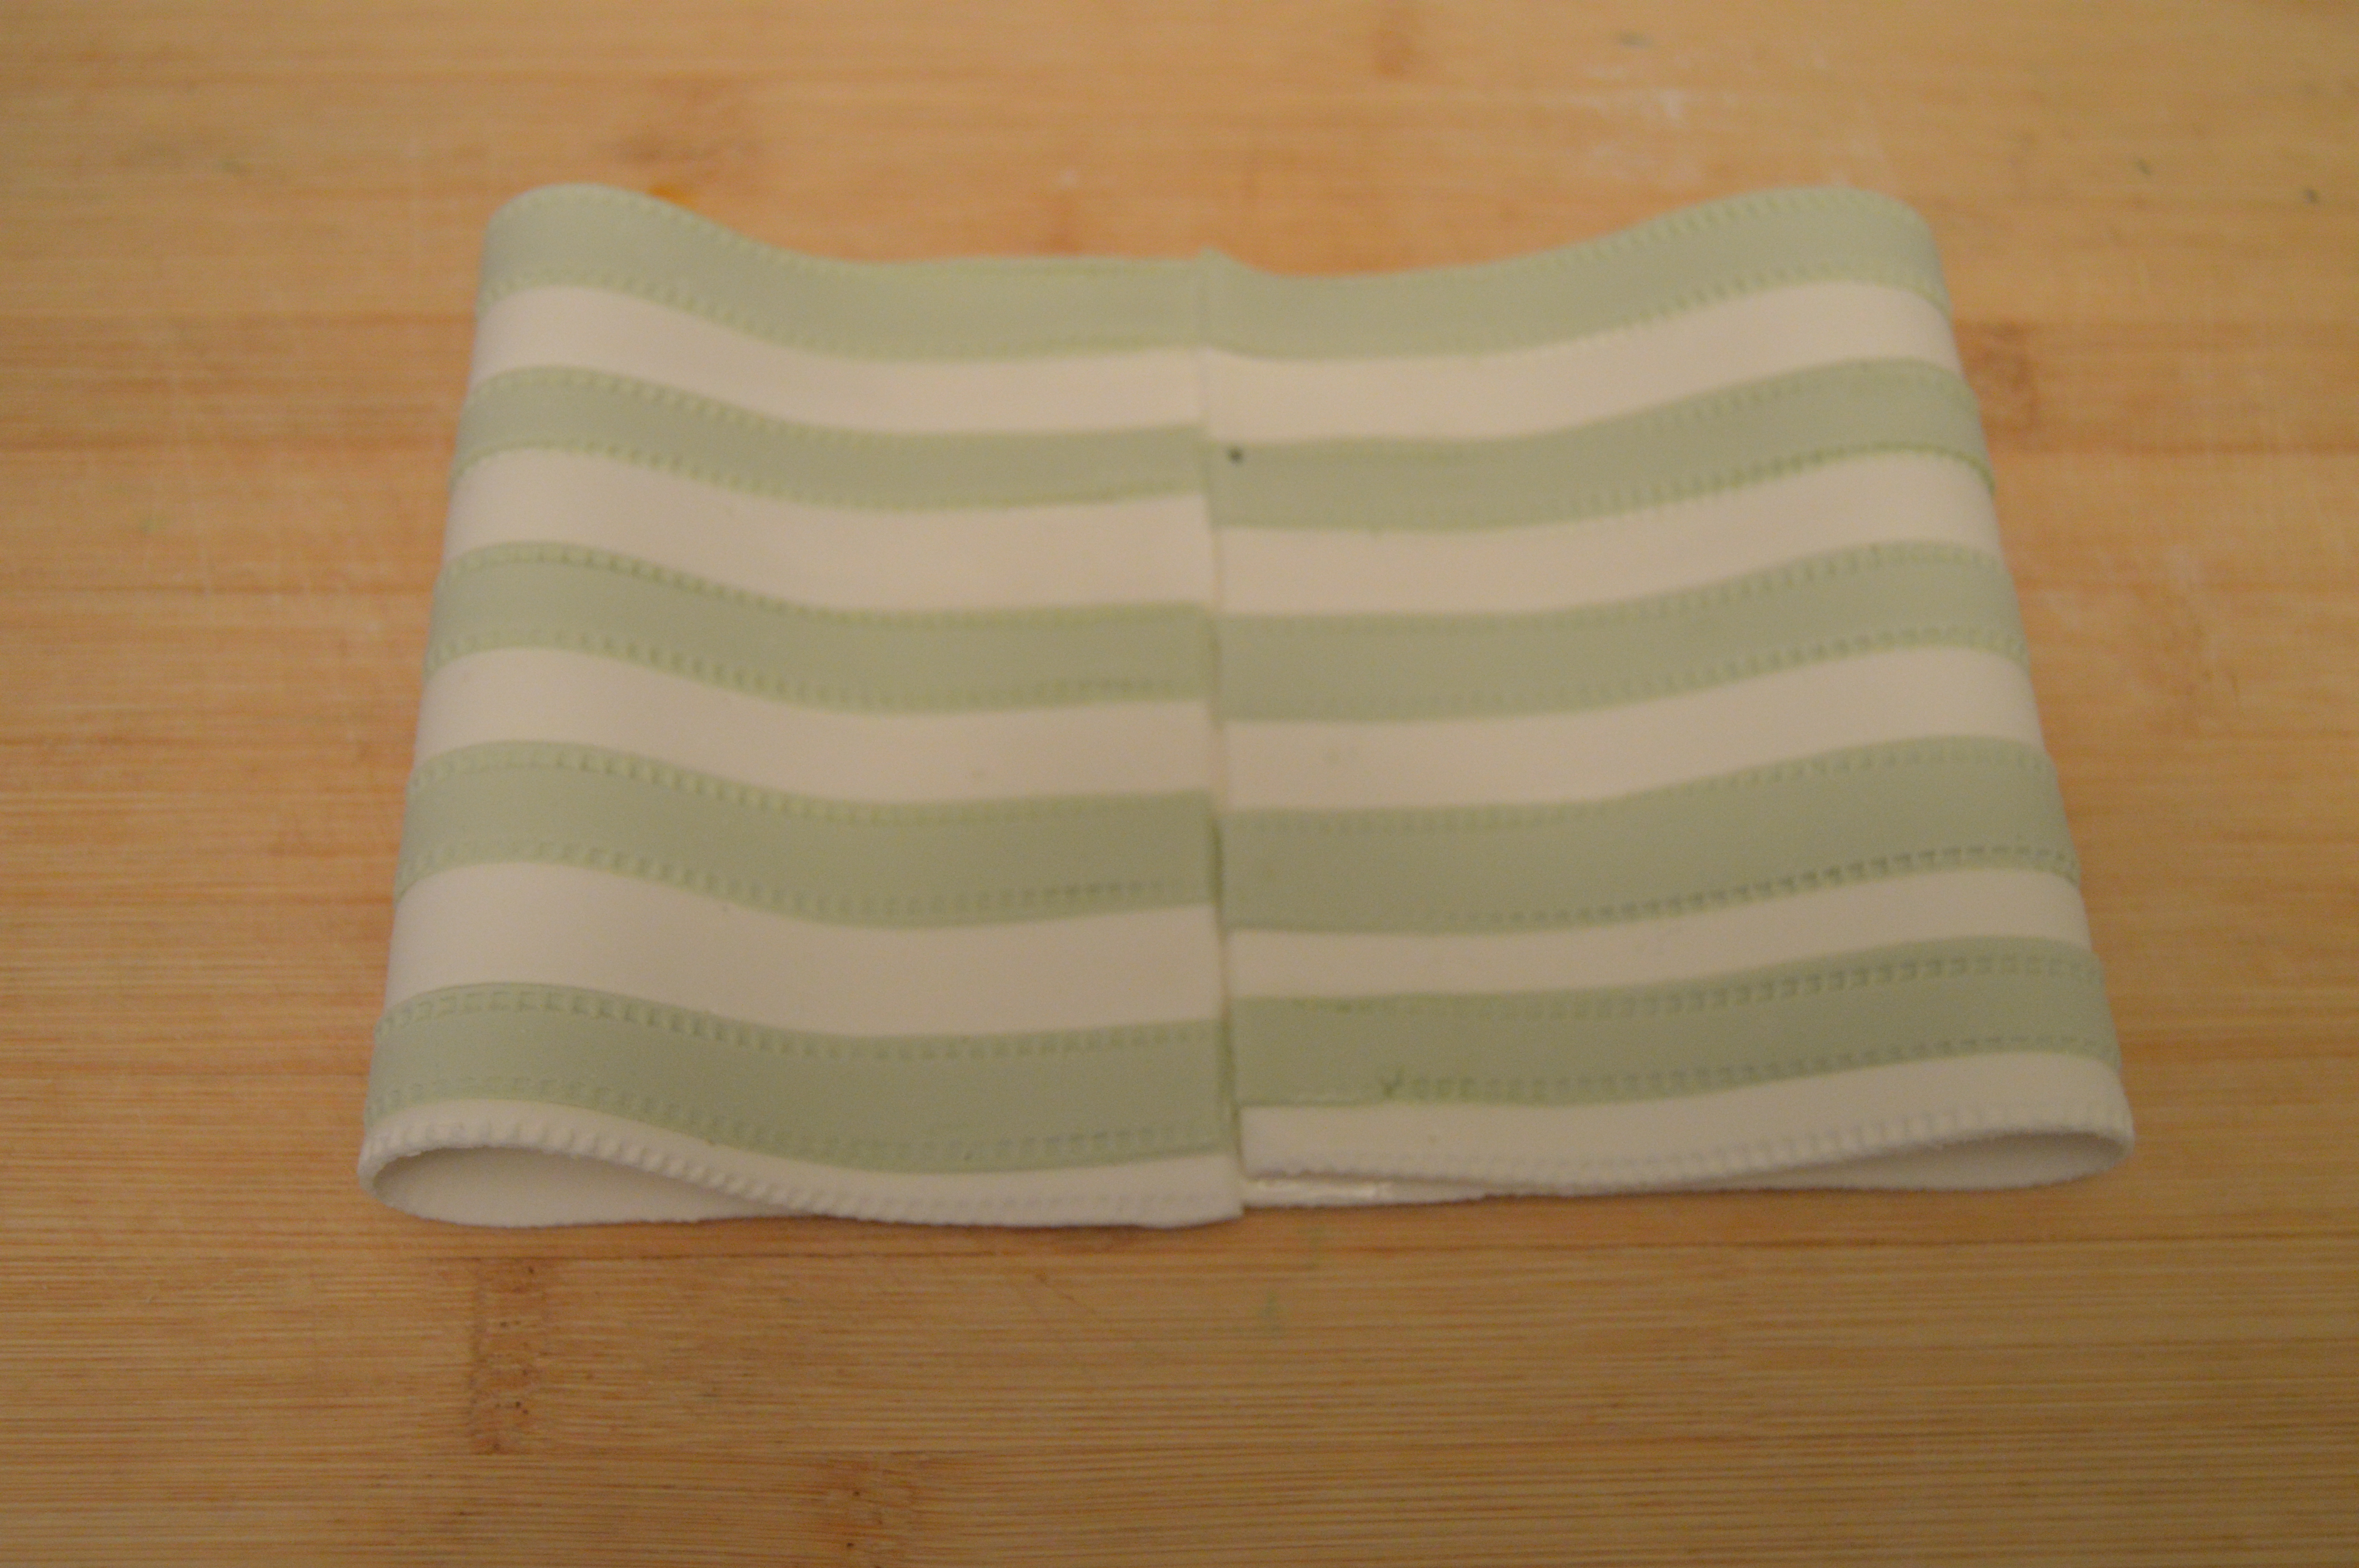
(2) Working with one large strip at a time, flip the strip over, brush some water in the middle and fold both edges to meet in the middle. Flip the fondant over and bring the middle together to form a bow. Repeat this process for the second strip. Divide the third strip into 2 and cut out triangles from one end of each part to create the bow tails.
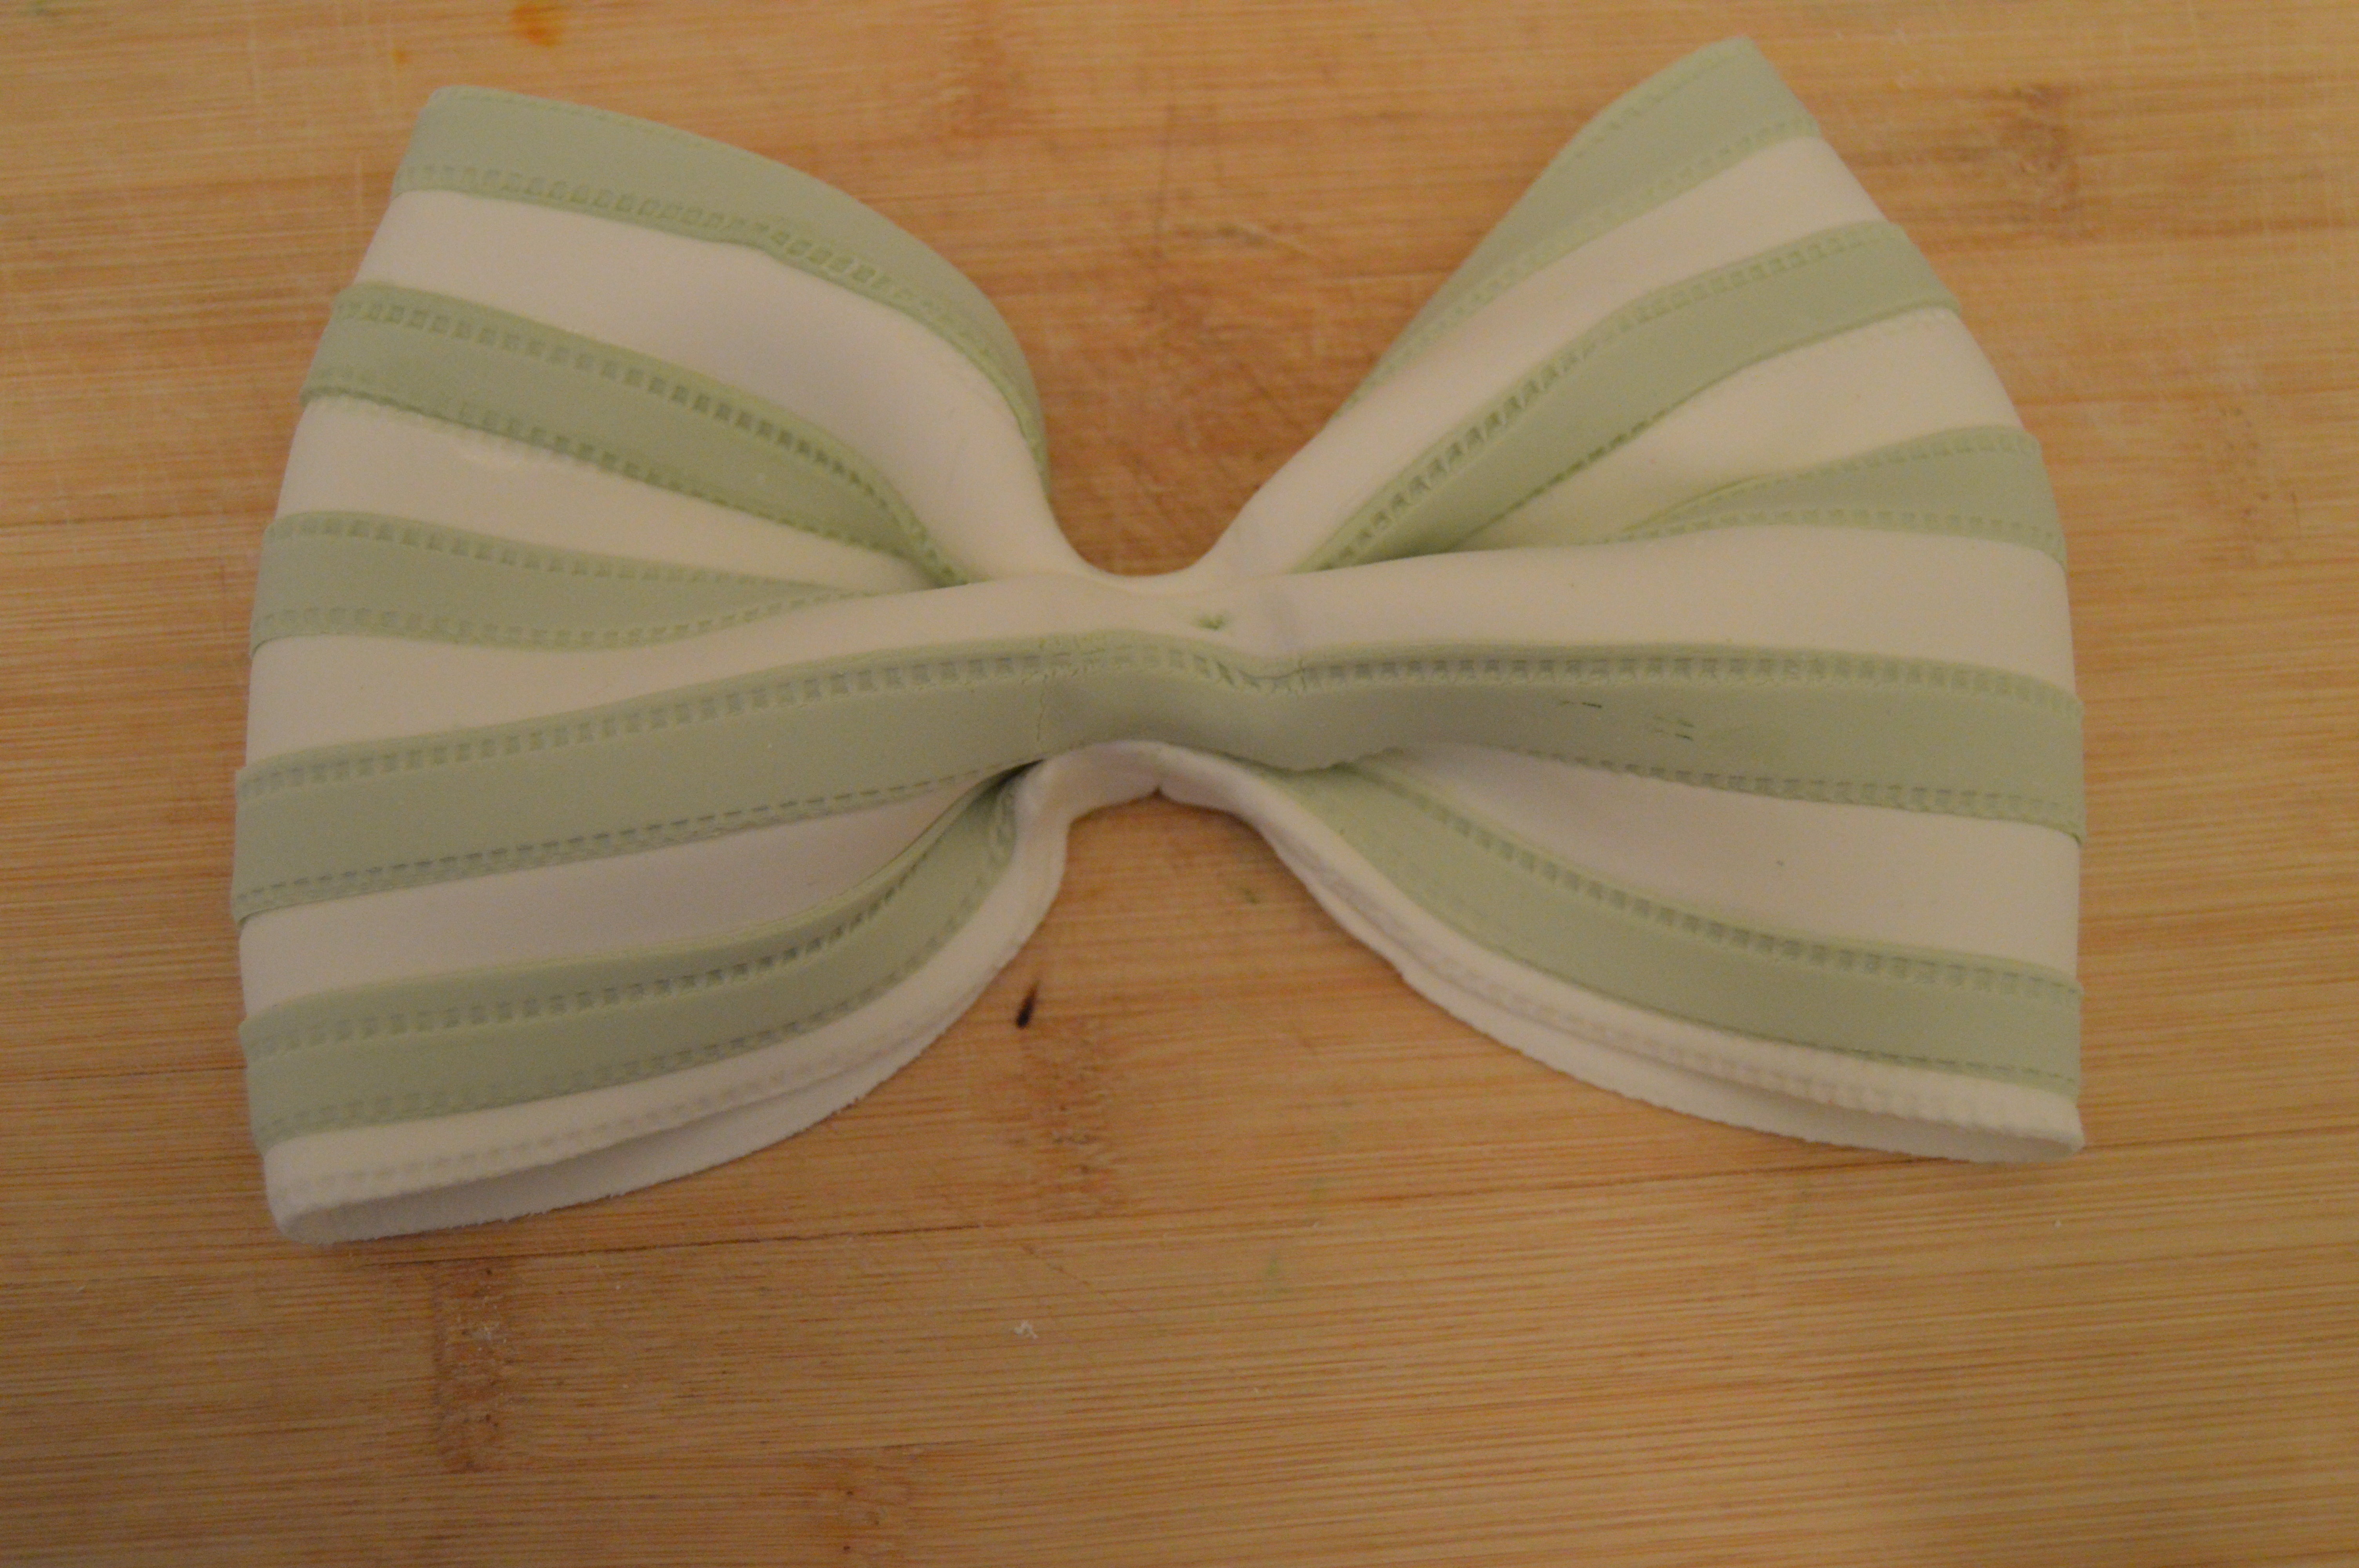
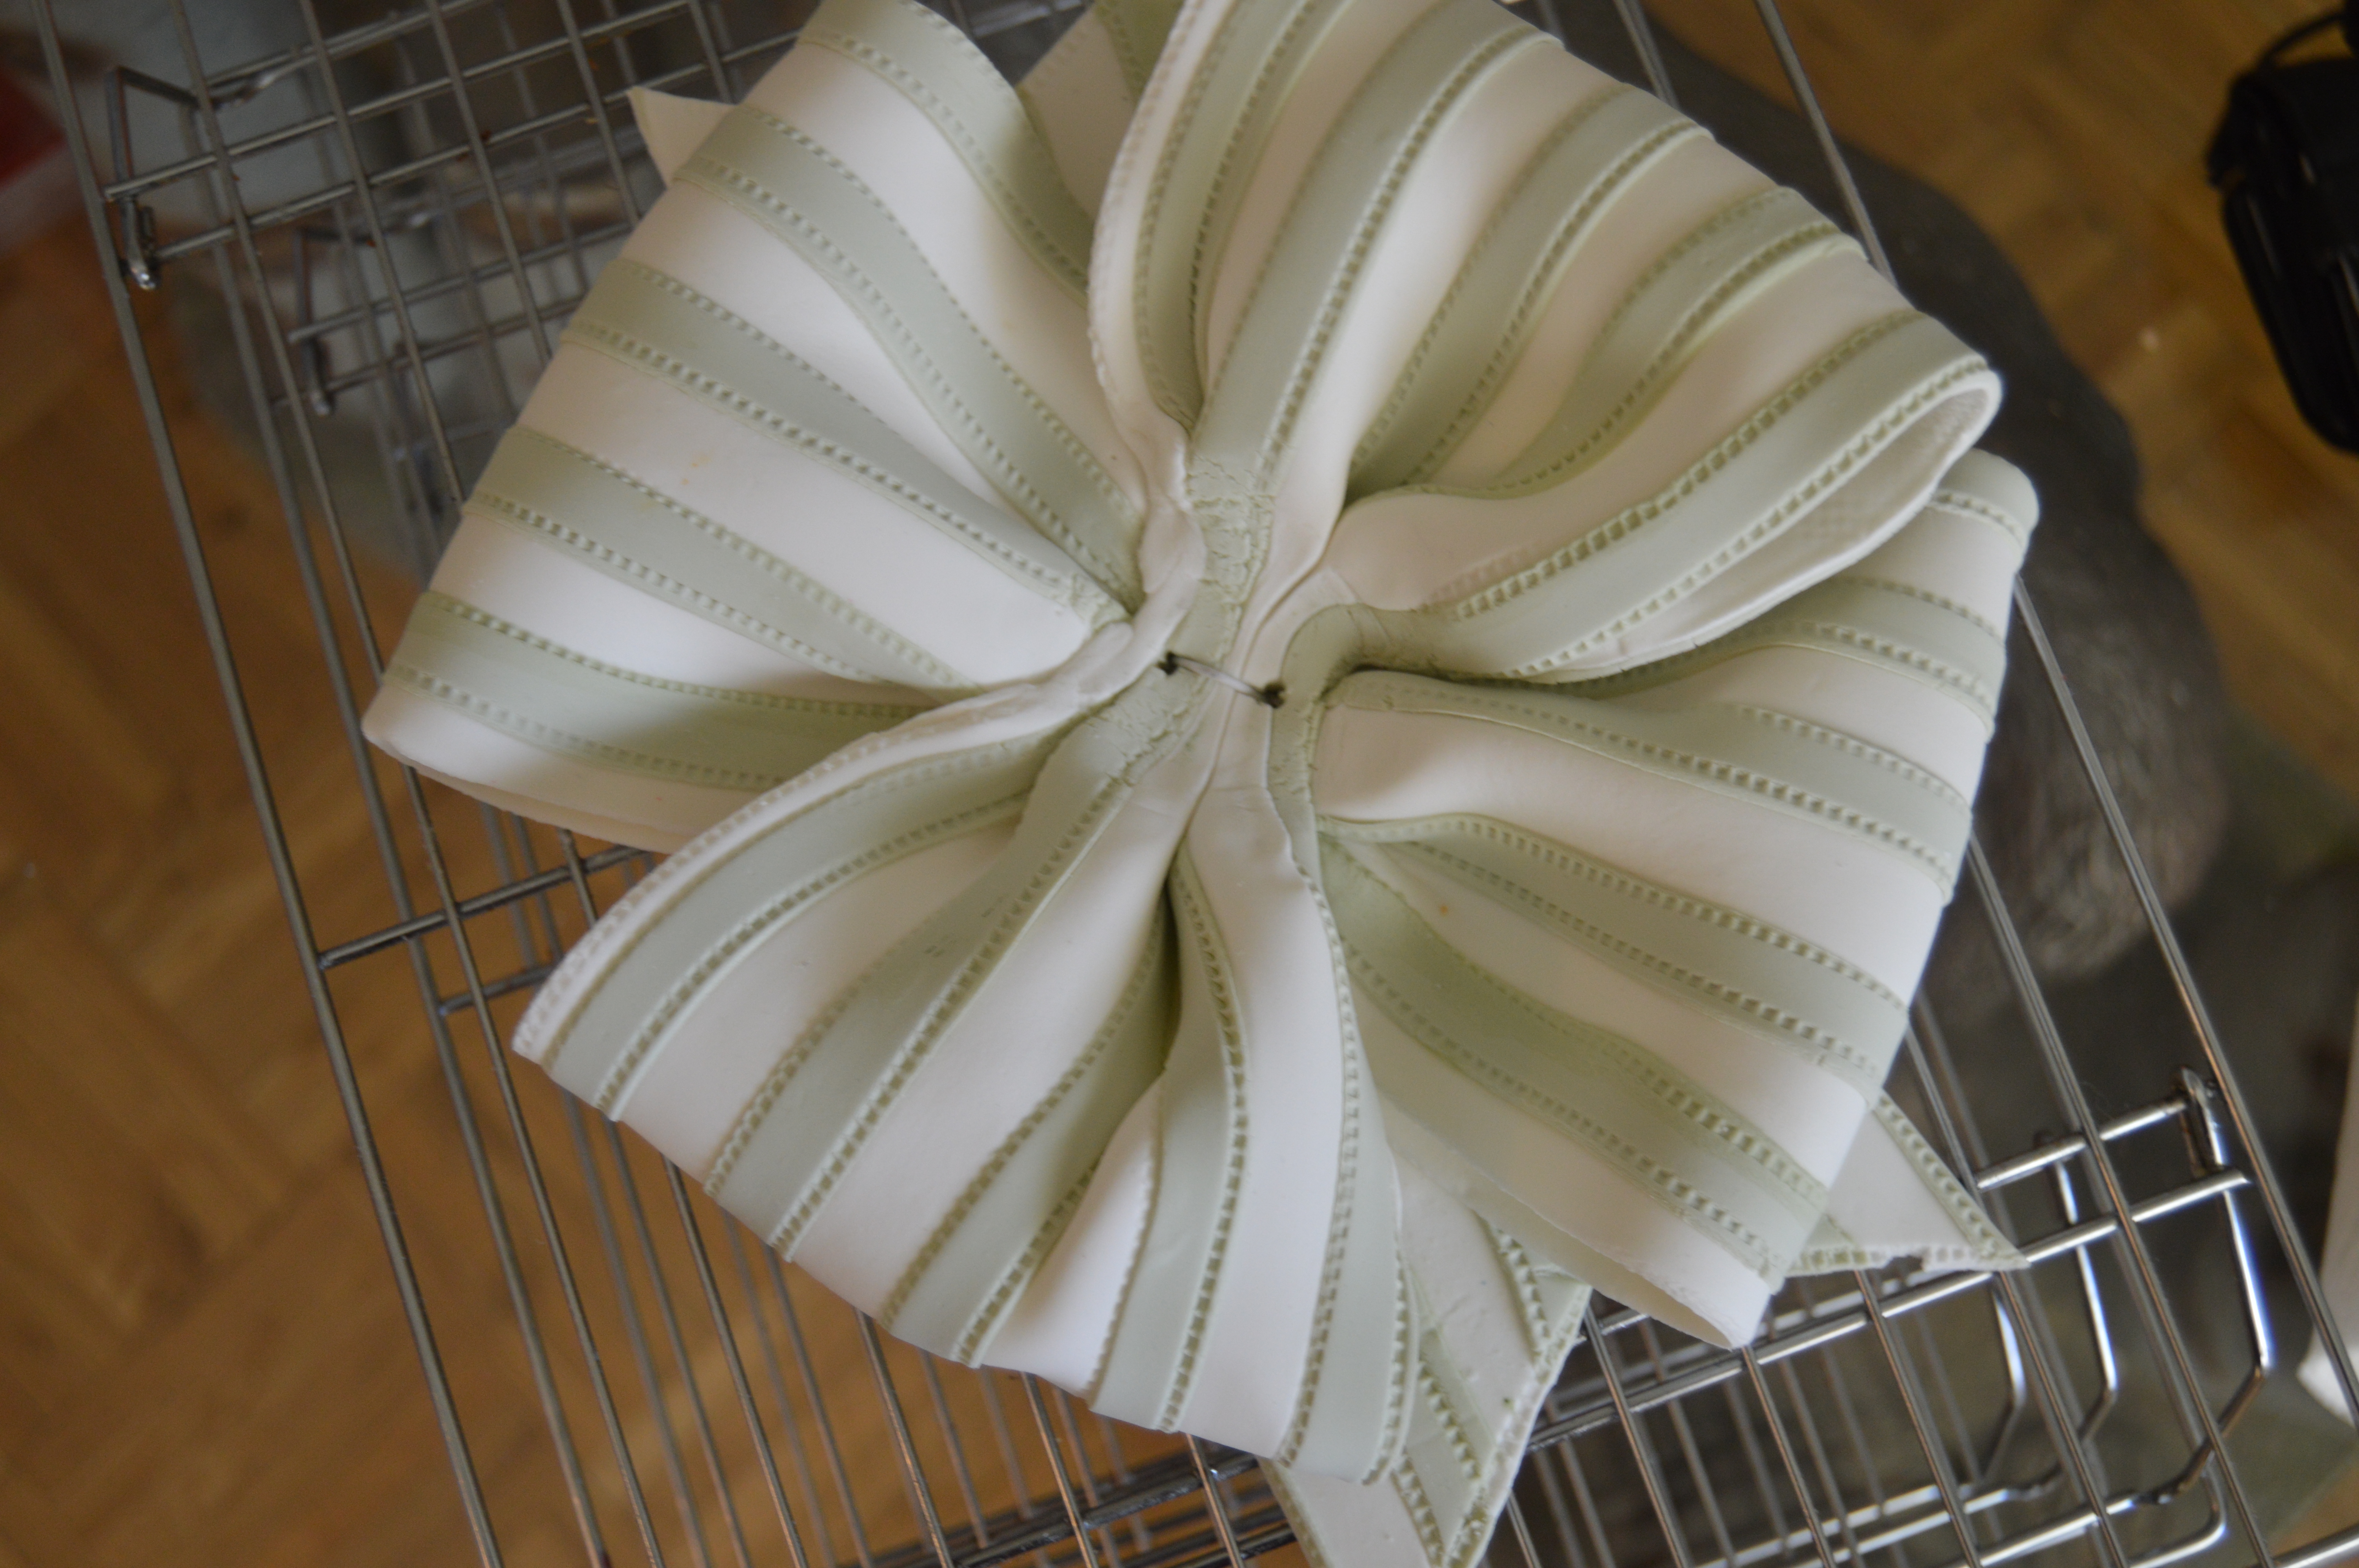
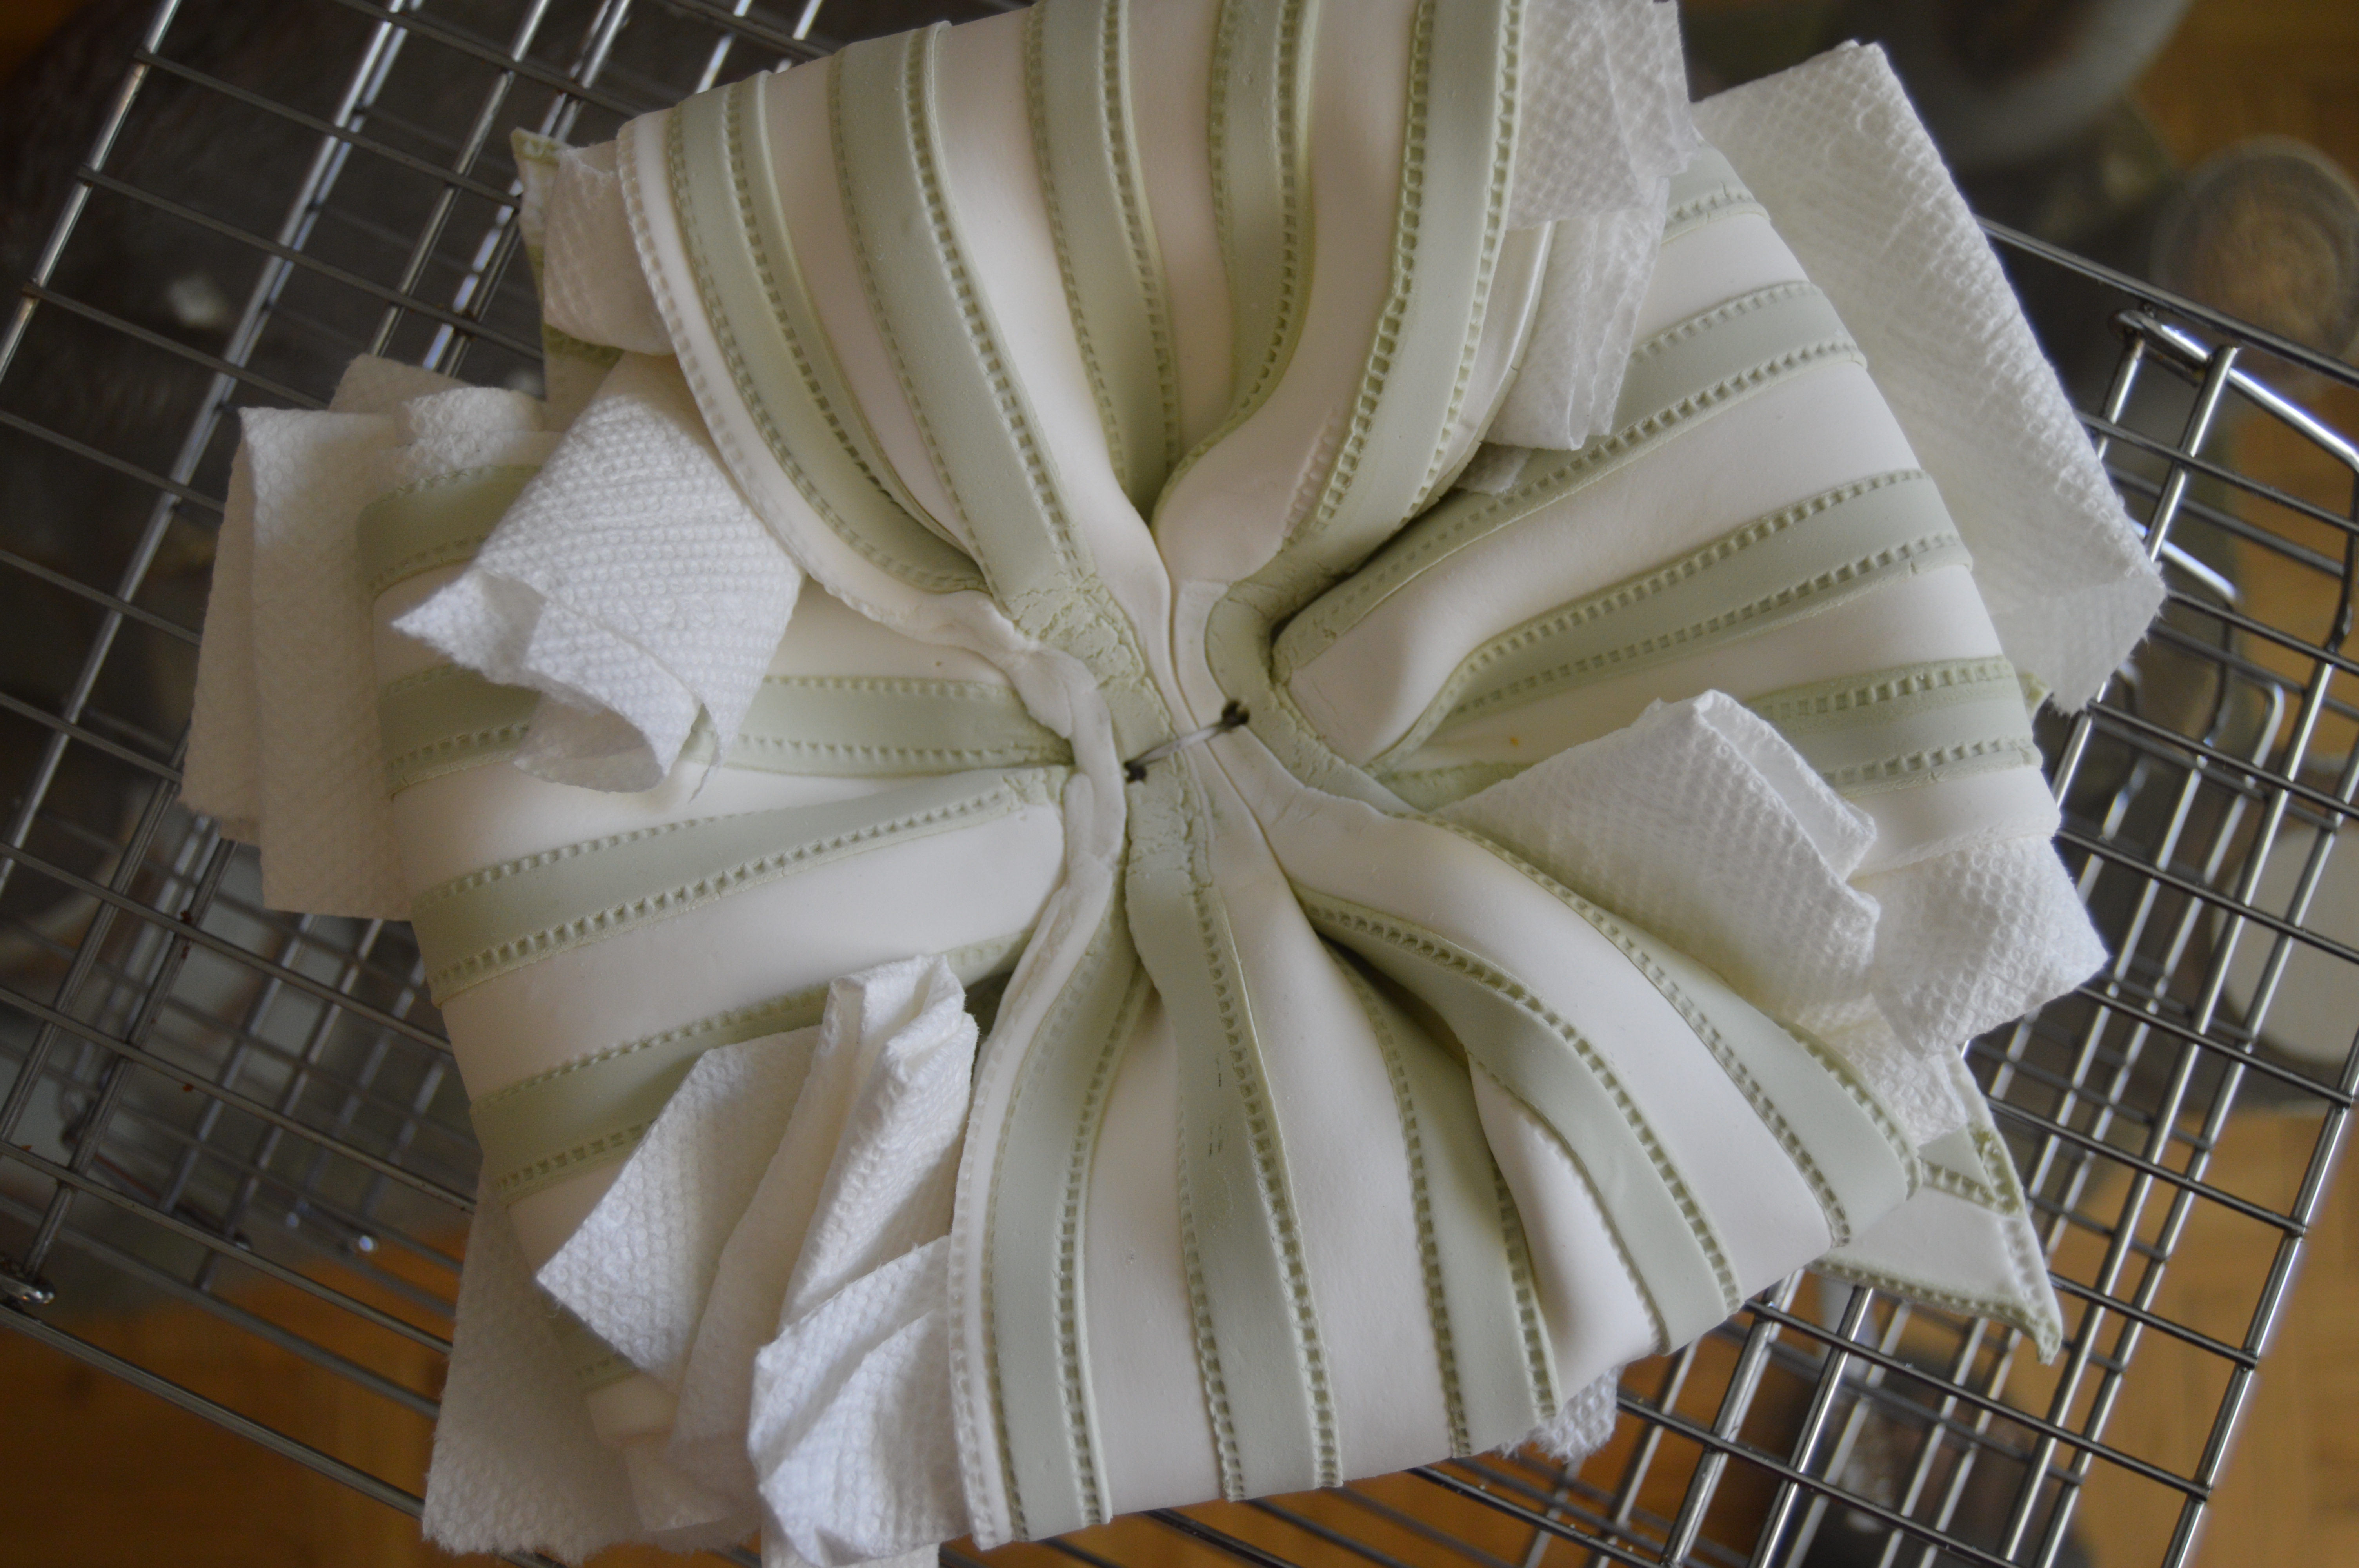
(3) To assemble the bow, Place the tails on an elevated cooling rack. (I used a cooling rack as I needed to pass a floral wire through the middle of the bow). Place the bows on the tails, gluing each piece with water. Place paper towels into the loops of the bows and between each layer to give the bow some body. If you don’t it will dry flat. Curve a floral wire in the middle and pass it through the middle of the bow. Leave the bow this way to dry properly.
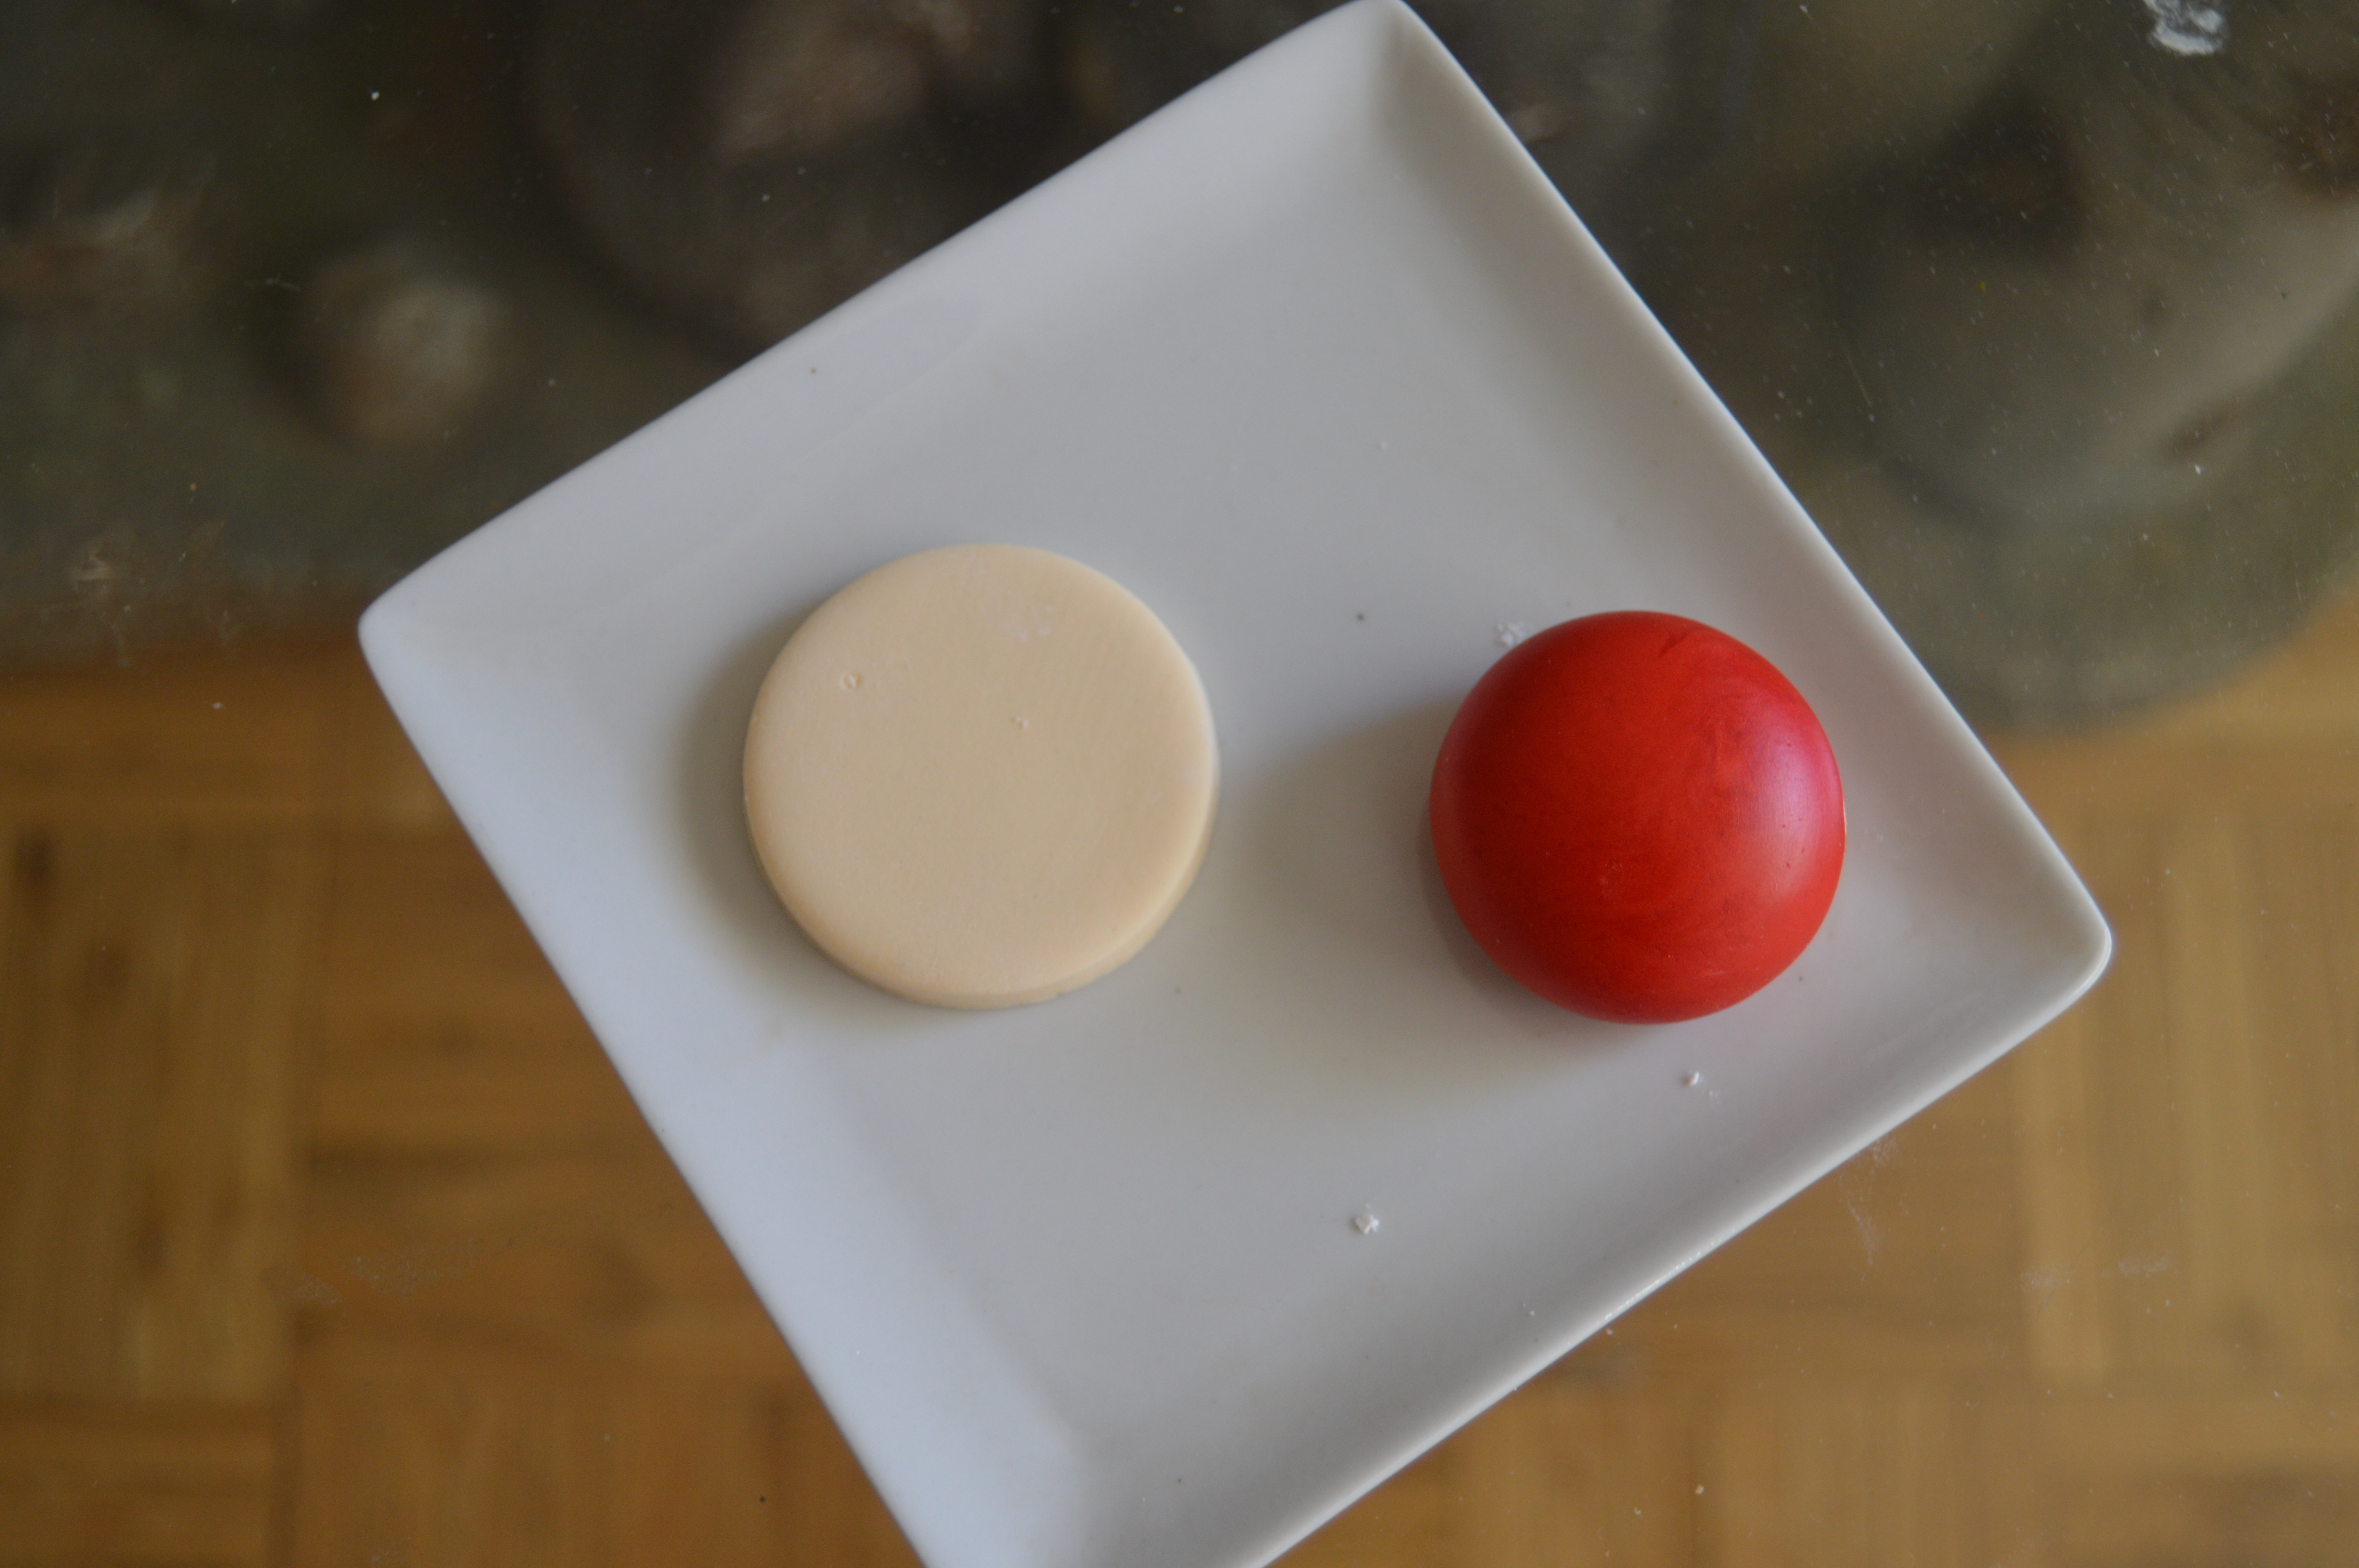
(4) Next made the pearl for the middle of the bow. I achieve a smooth surface on my pearls by applying a bit of shortening to my fondant and rolling it tightly in the middle of my palms. Also create the base for the pearl with a round cookie cutter. Leave these to dry. When all the elements of the bow have dried, glue them together using melted white chocolate.
(5) To design the cake, cover the cake board with fondant.
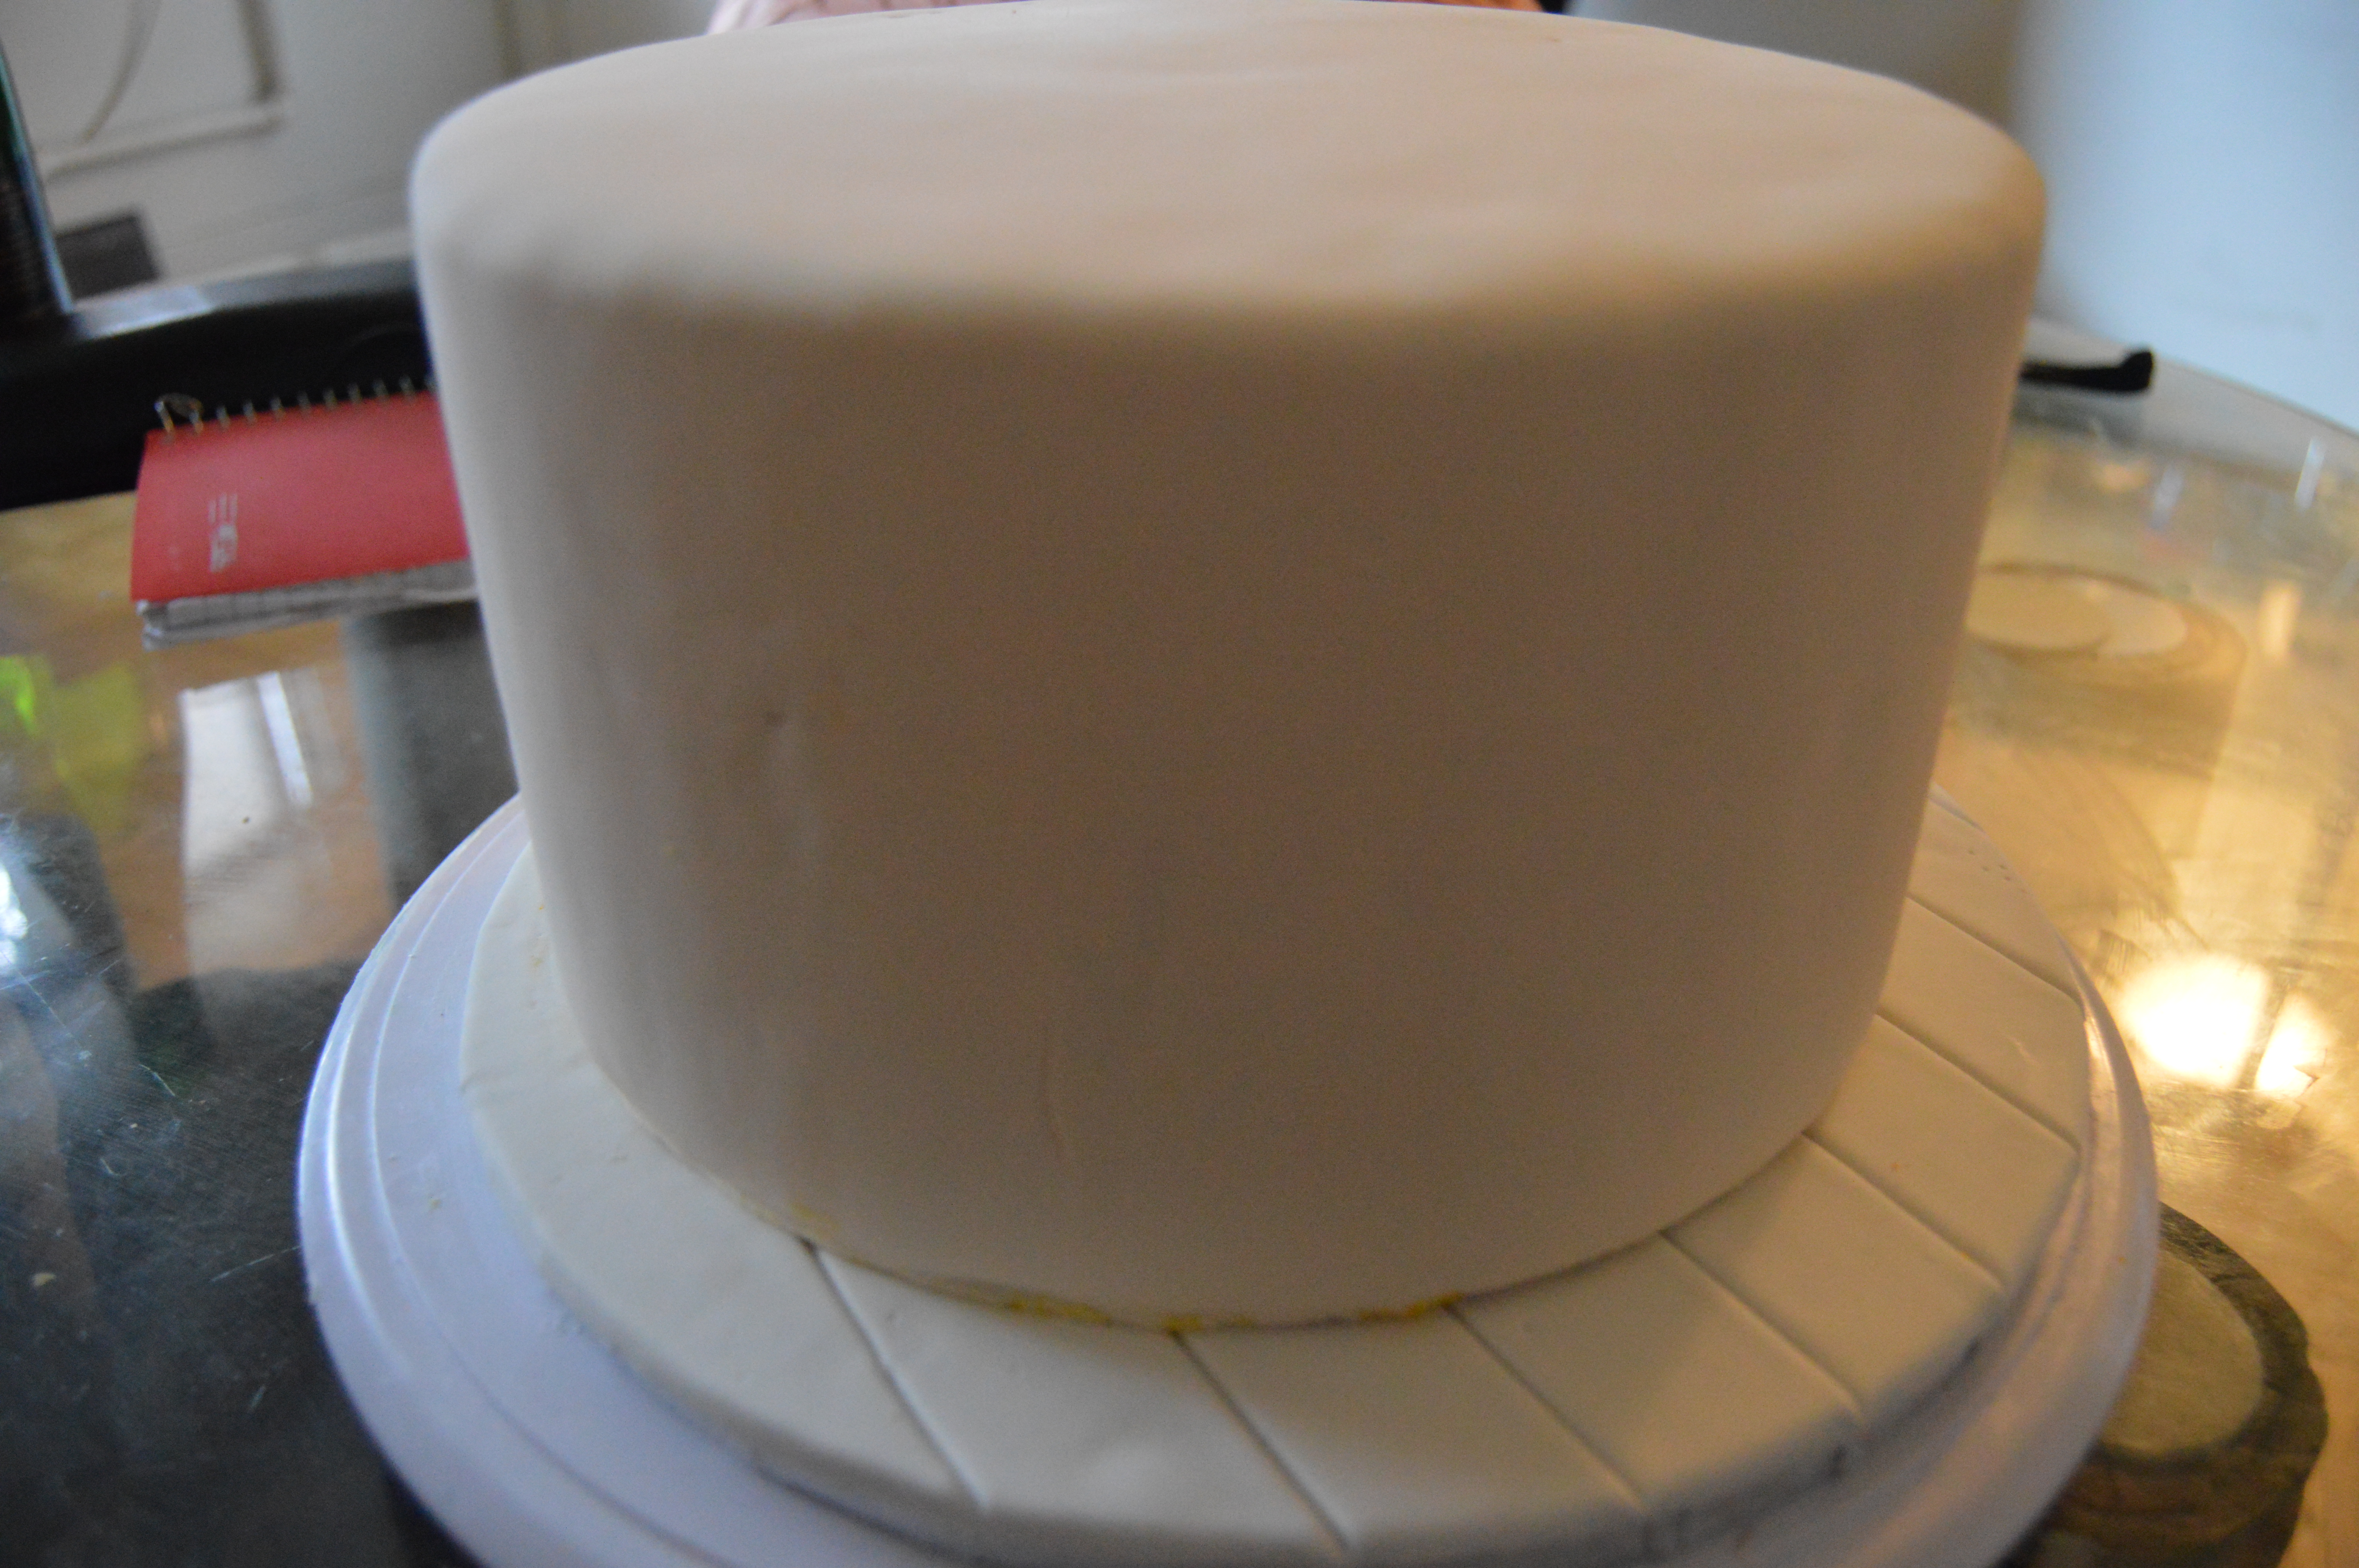
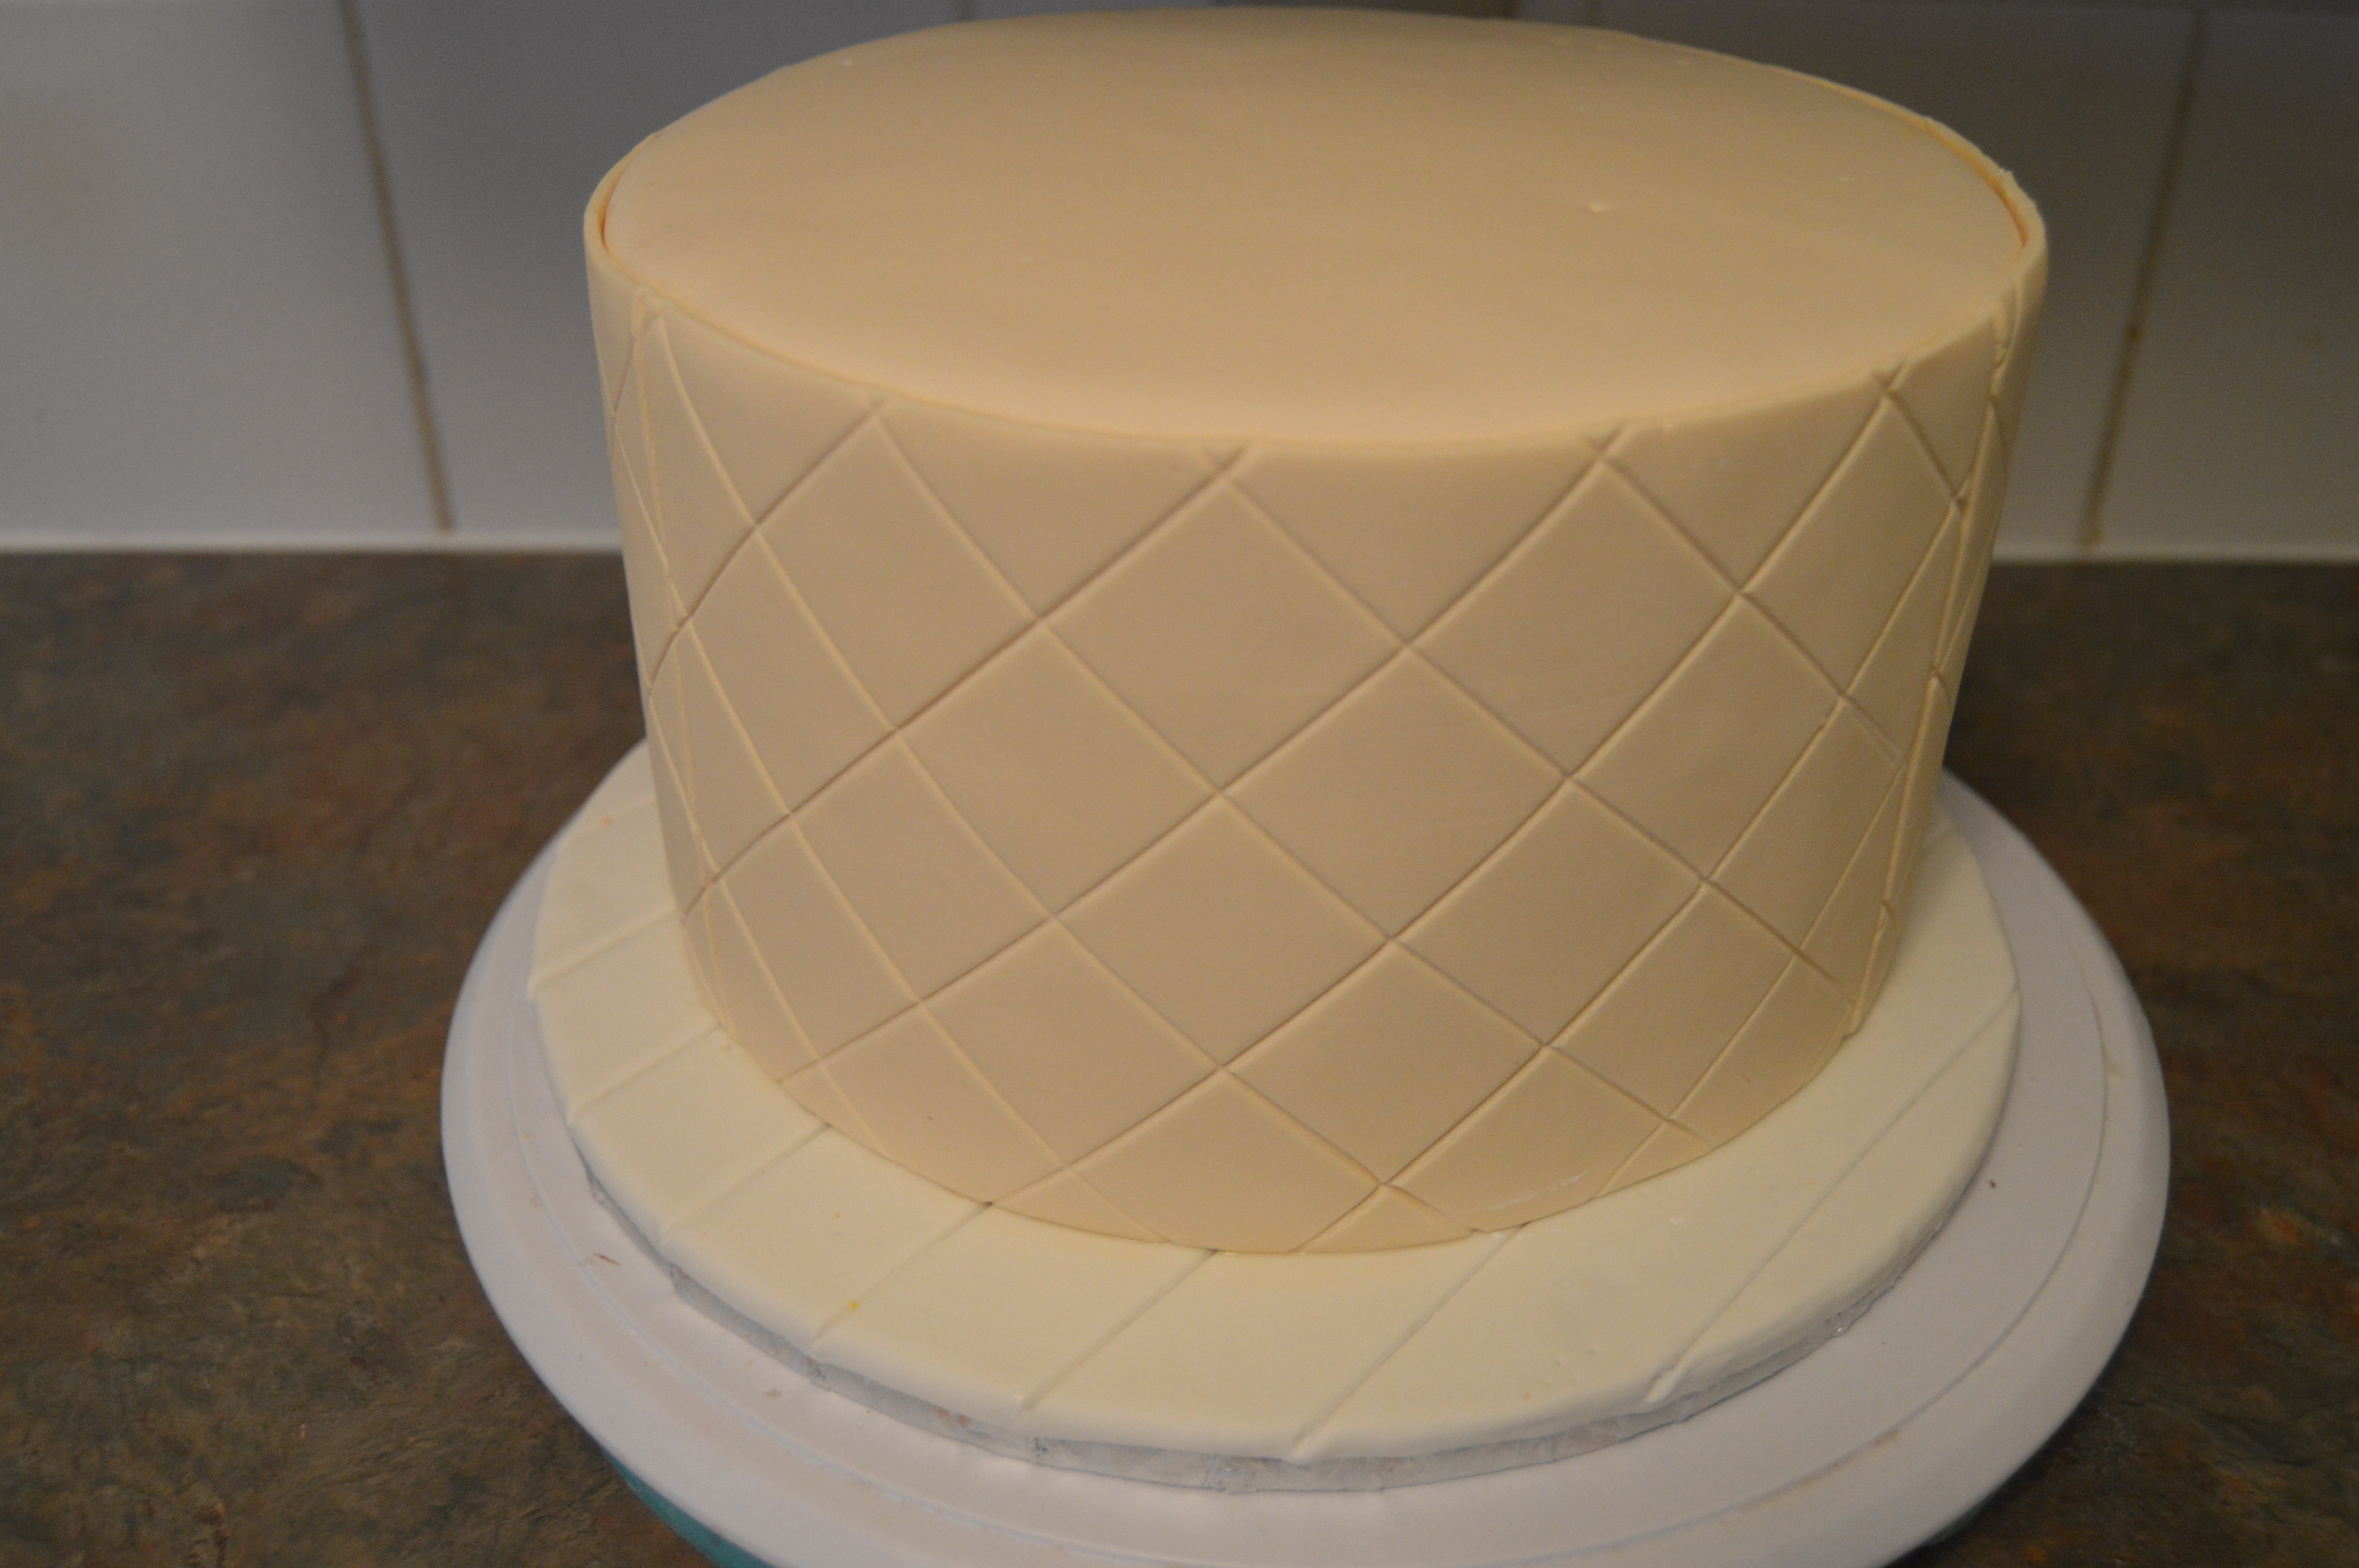
(6) Drape an 8 inch round cake with white fondant.
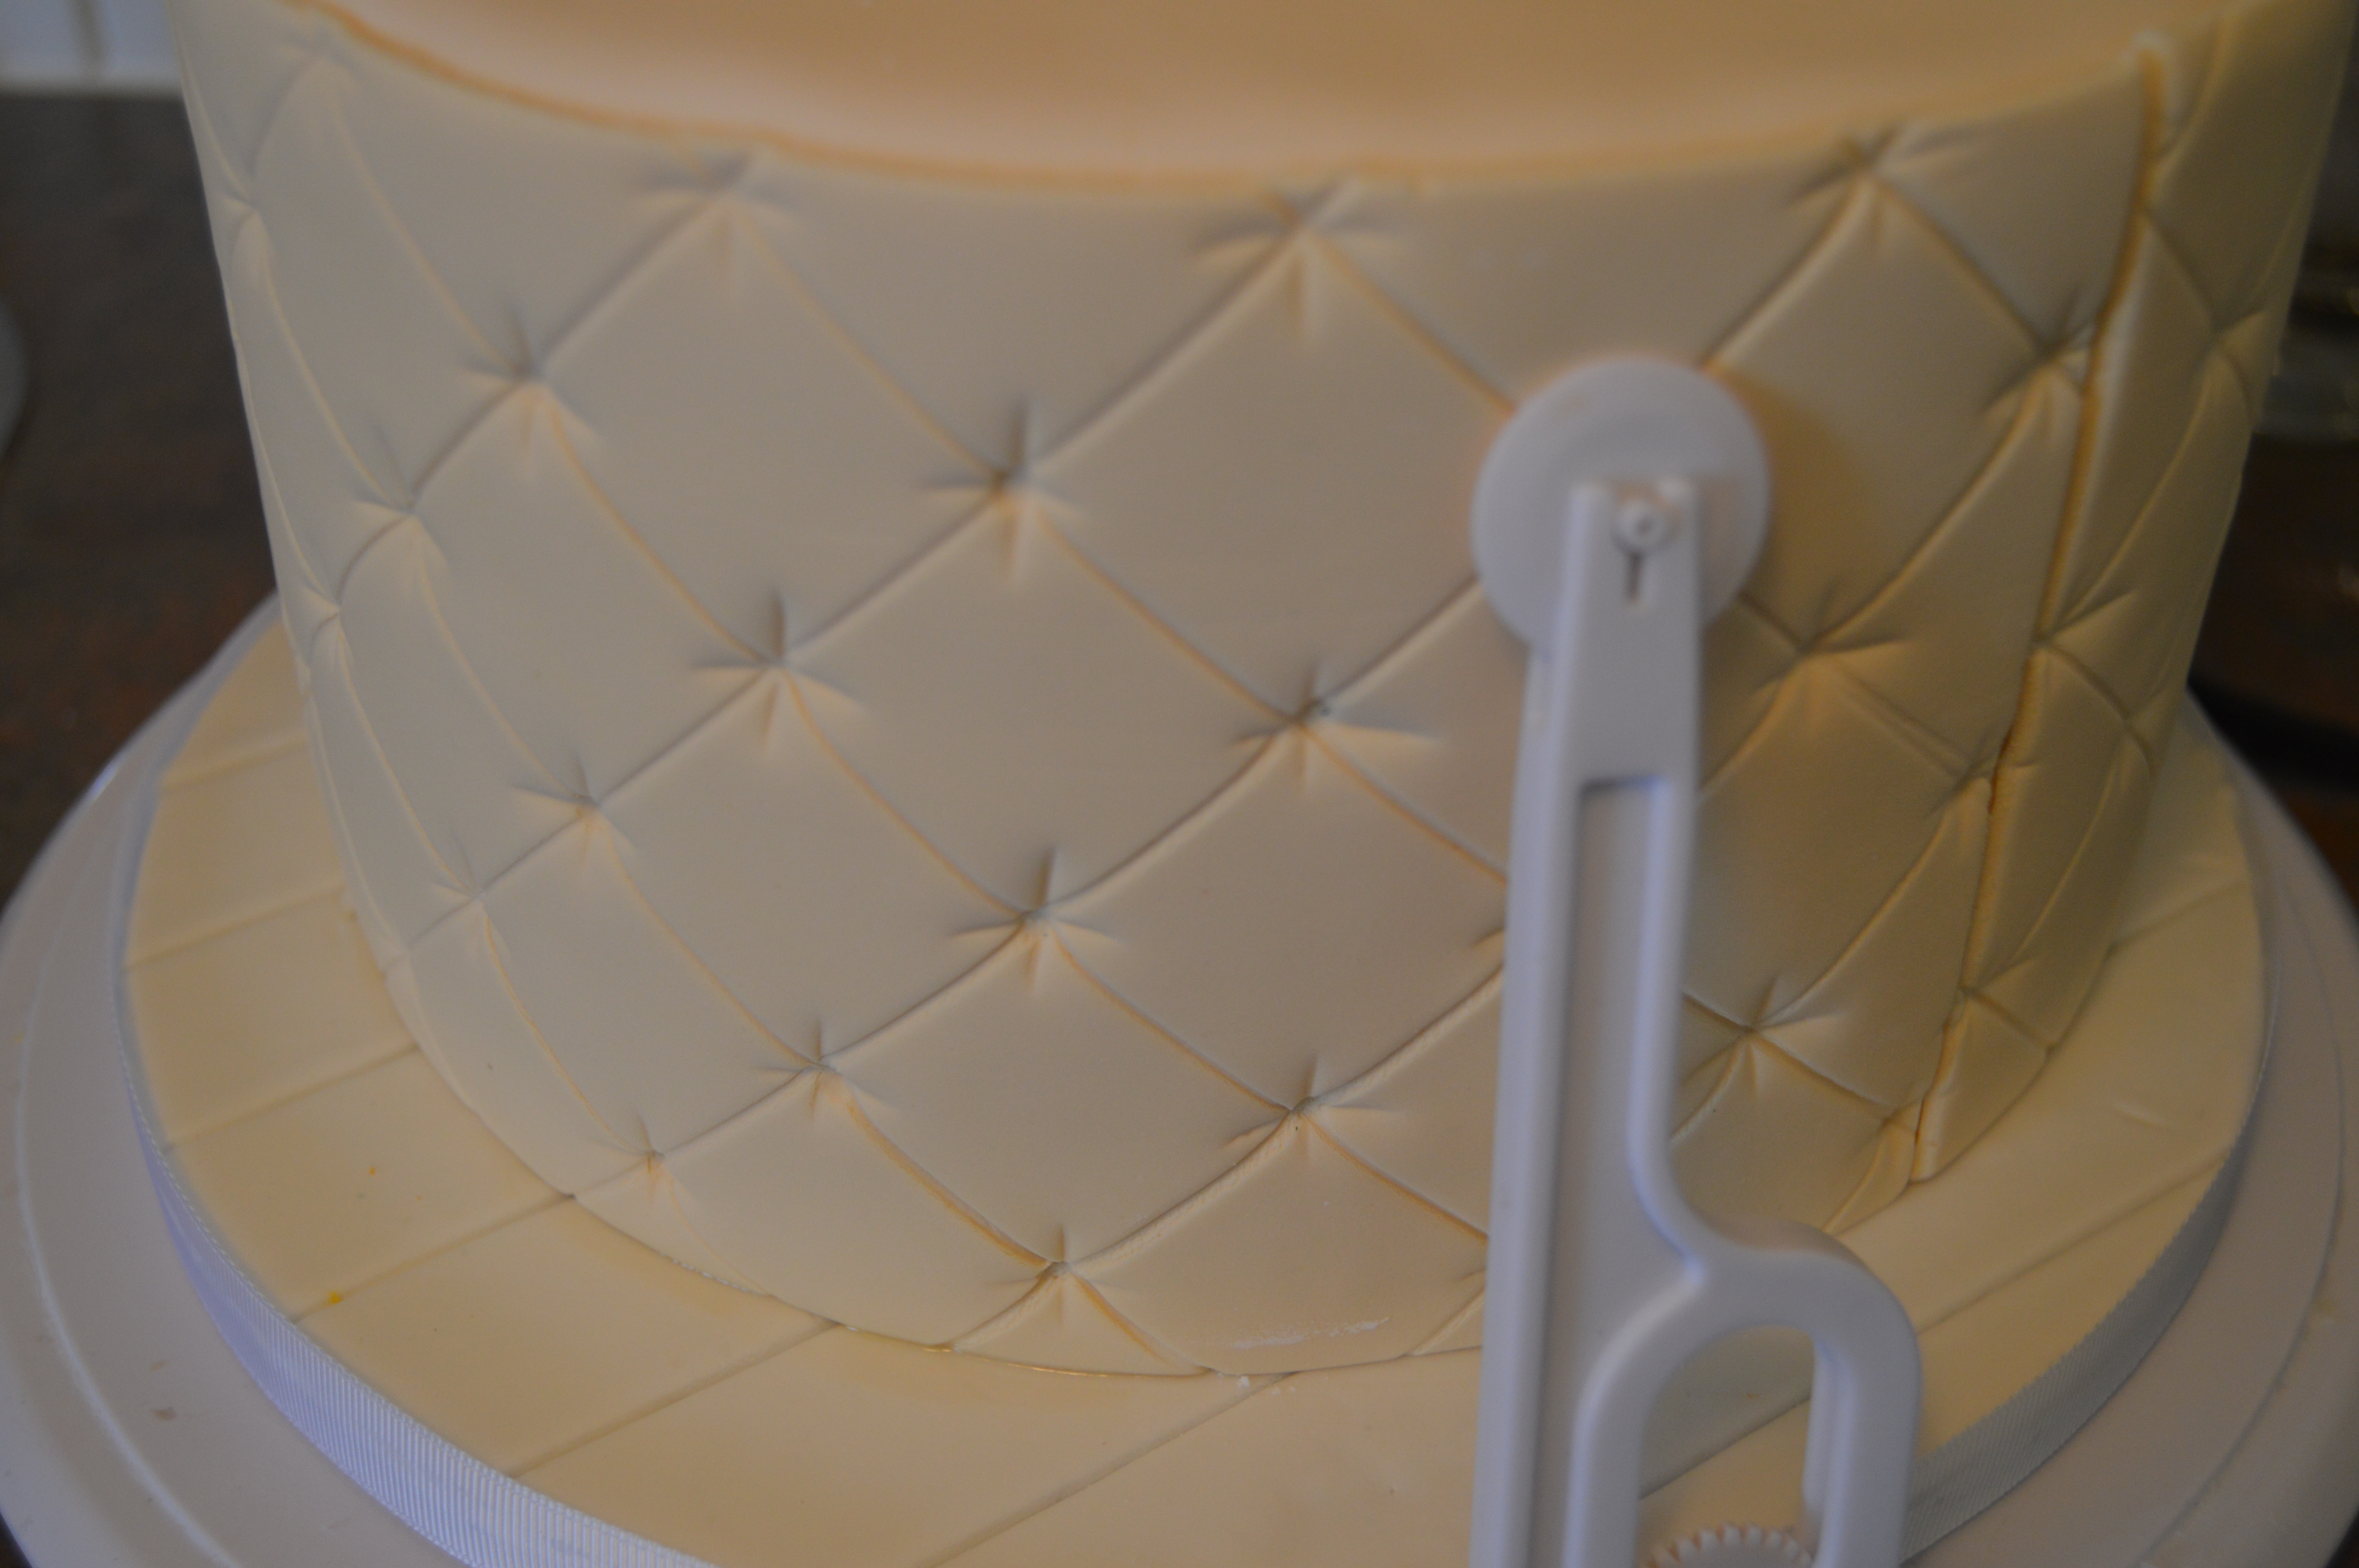
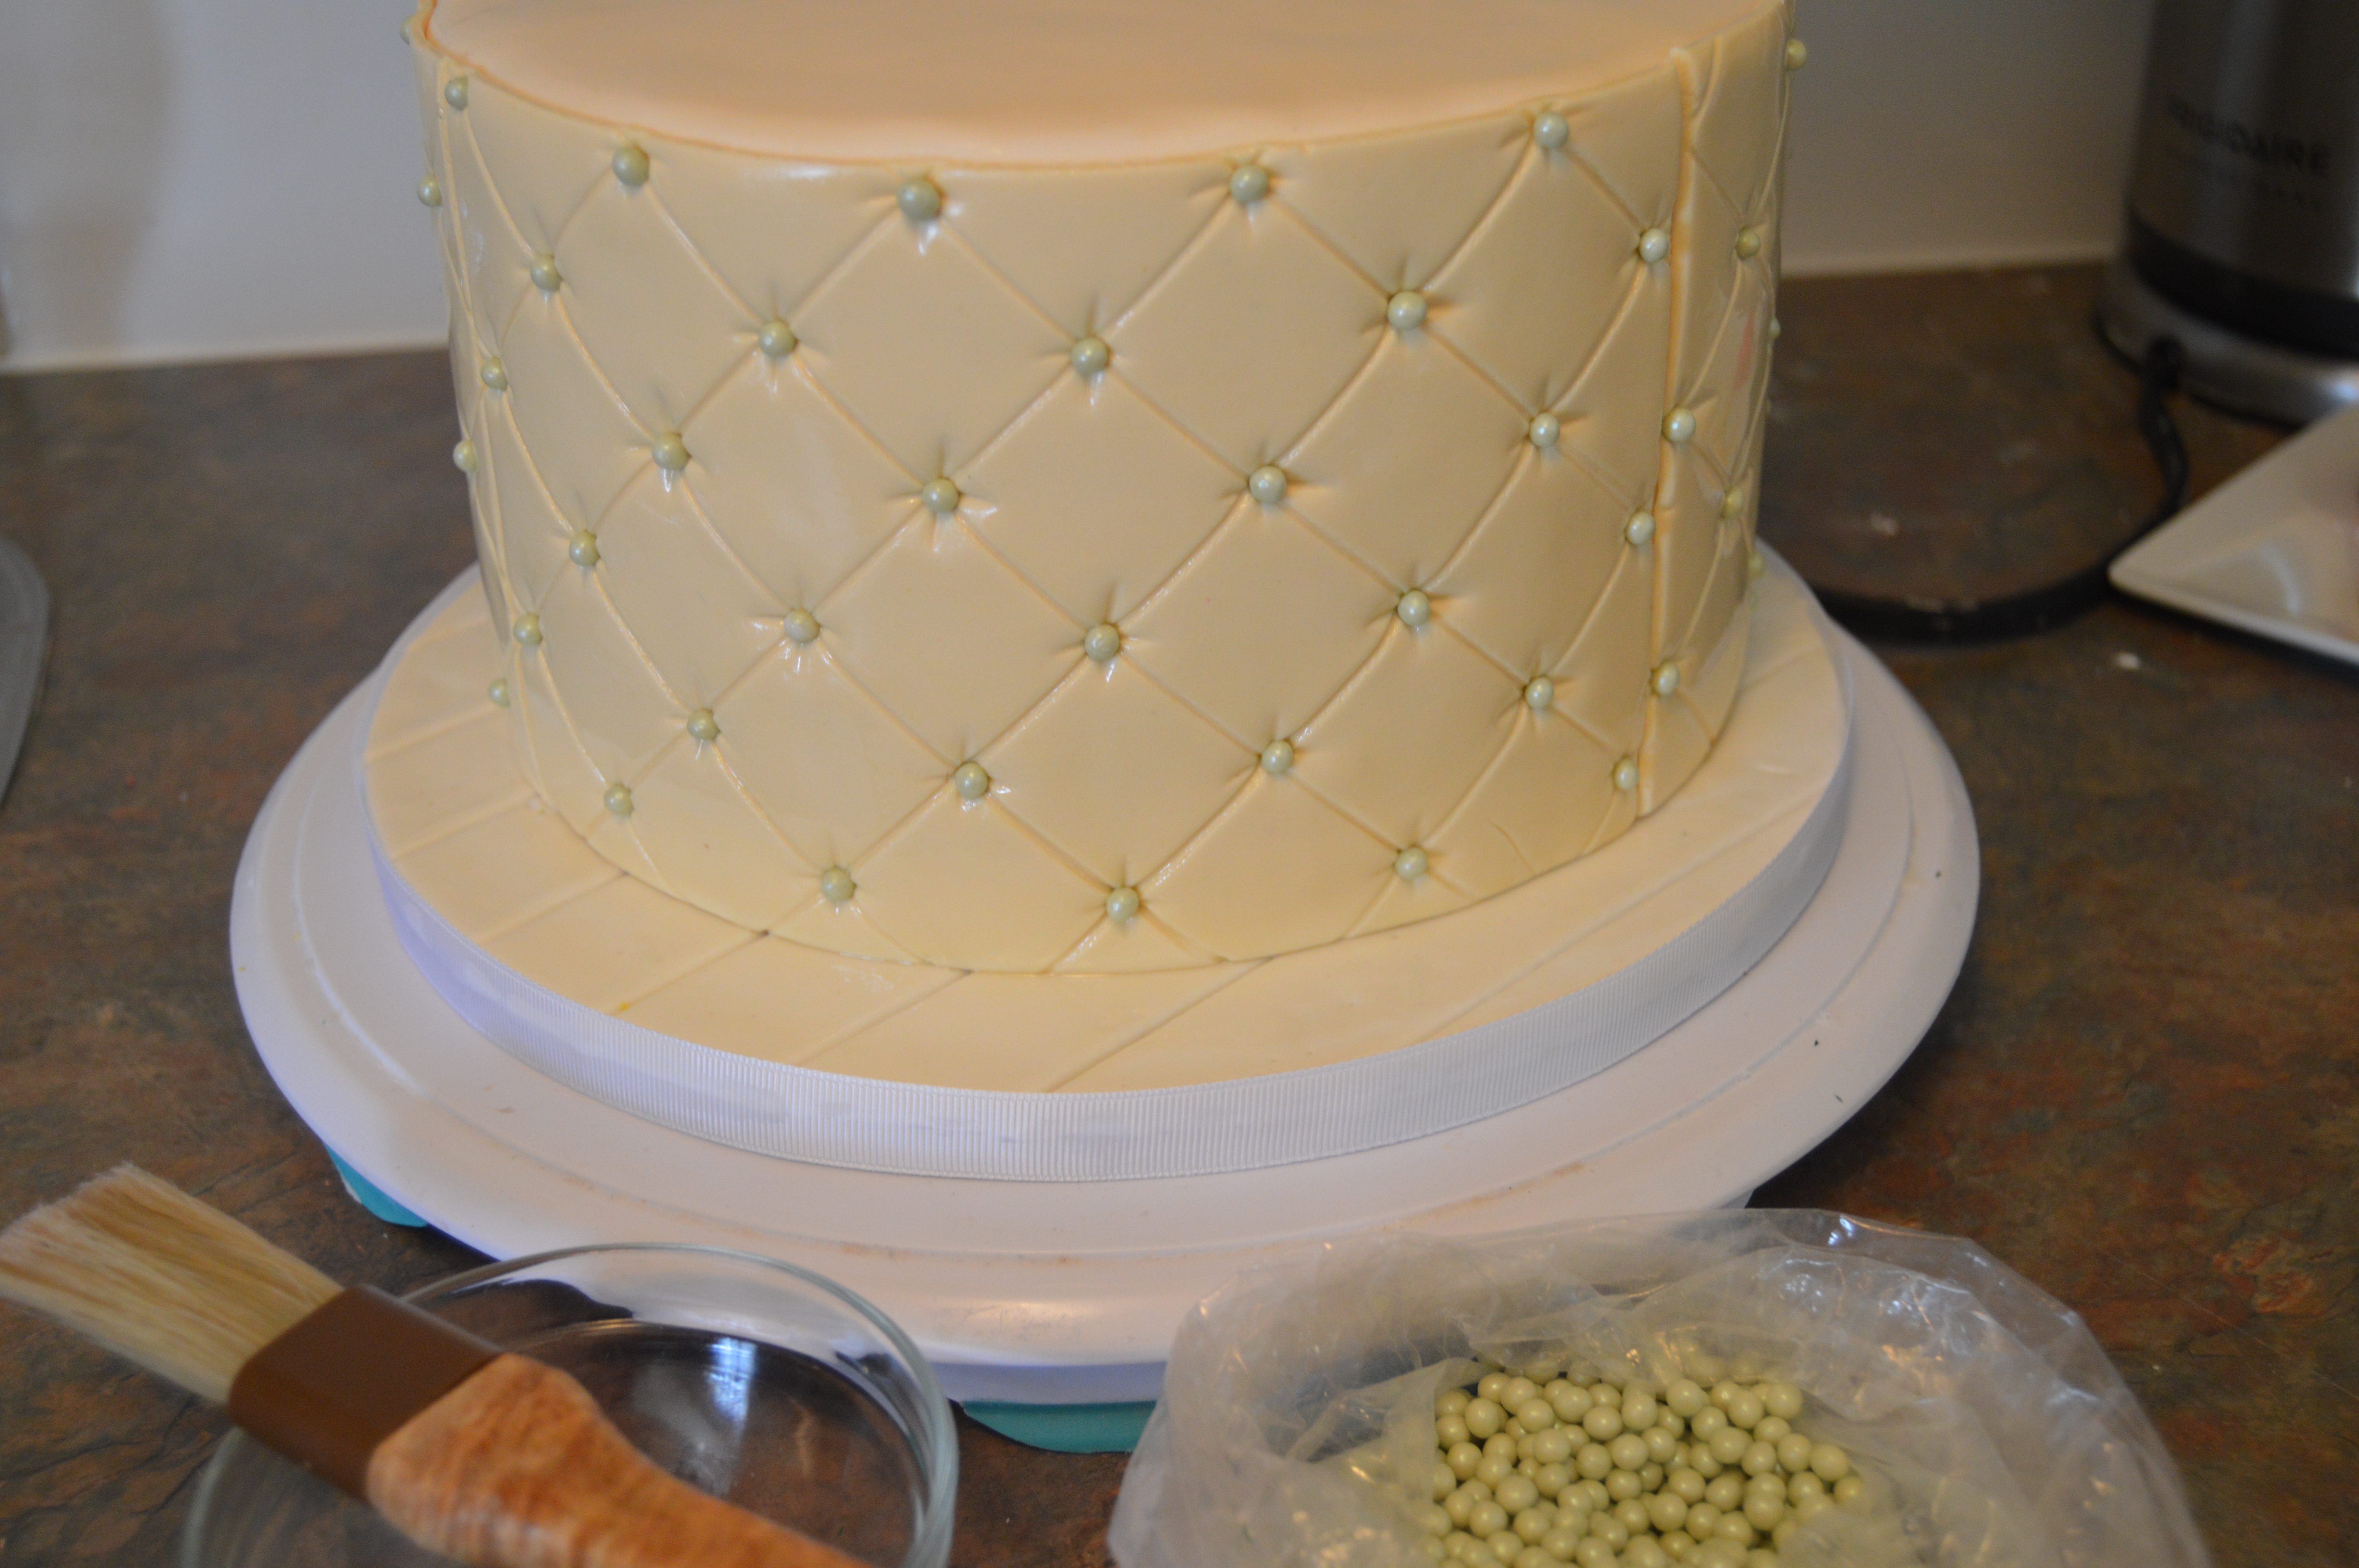
(7) Wrap the side of the cake with diamond patterned cream fondant. Embed green sugar pearls into the diamond pattern. I have a comprehensive post here on how I made my diamond patterns, wrap them around cakes and place the sugar pearls. Do check it out.
(8) Finally place the bow on one side side of the cake using the floral wires and melted white chocolate for extra support. That’s all there is to it. Happy caking!
Terry Adido is passionate about showing people how easy it is to recreate restaurant quality meals in the comfort of their kitchens. With a style of cooking he refers to as Afro-European Fusion, his meals are influenced greatly by French and Italian Cuisine with a West African twist. If you love good food, you are in for the ride of your life.
Lovely
Thanks Terry!
You are welcome Susan.
Beautiful
Thanks
Lovely
Thanks.
Hi Terry,
Lovely tutorial. Please tell me how do you melt chocolate? Also,what is the advantage of using melted choc? I normally use Royal icing.
Thanks
Hi. I melt it in the microwave. Royal icing too works, but chocolate gives me a stronger hold. That’s why I use it.
Do you know how to make diamond candy?
No I don’t.