
The Making of a Ballerina Cake
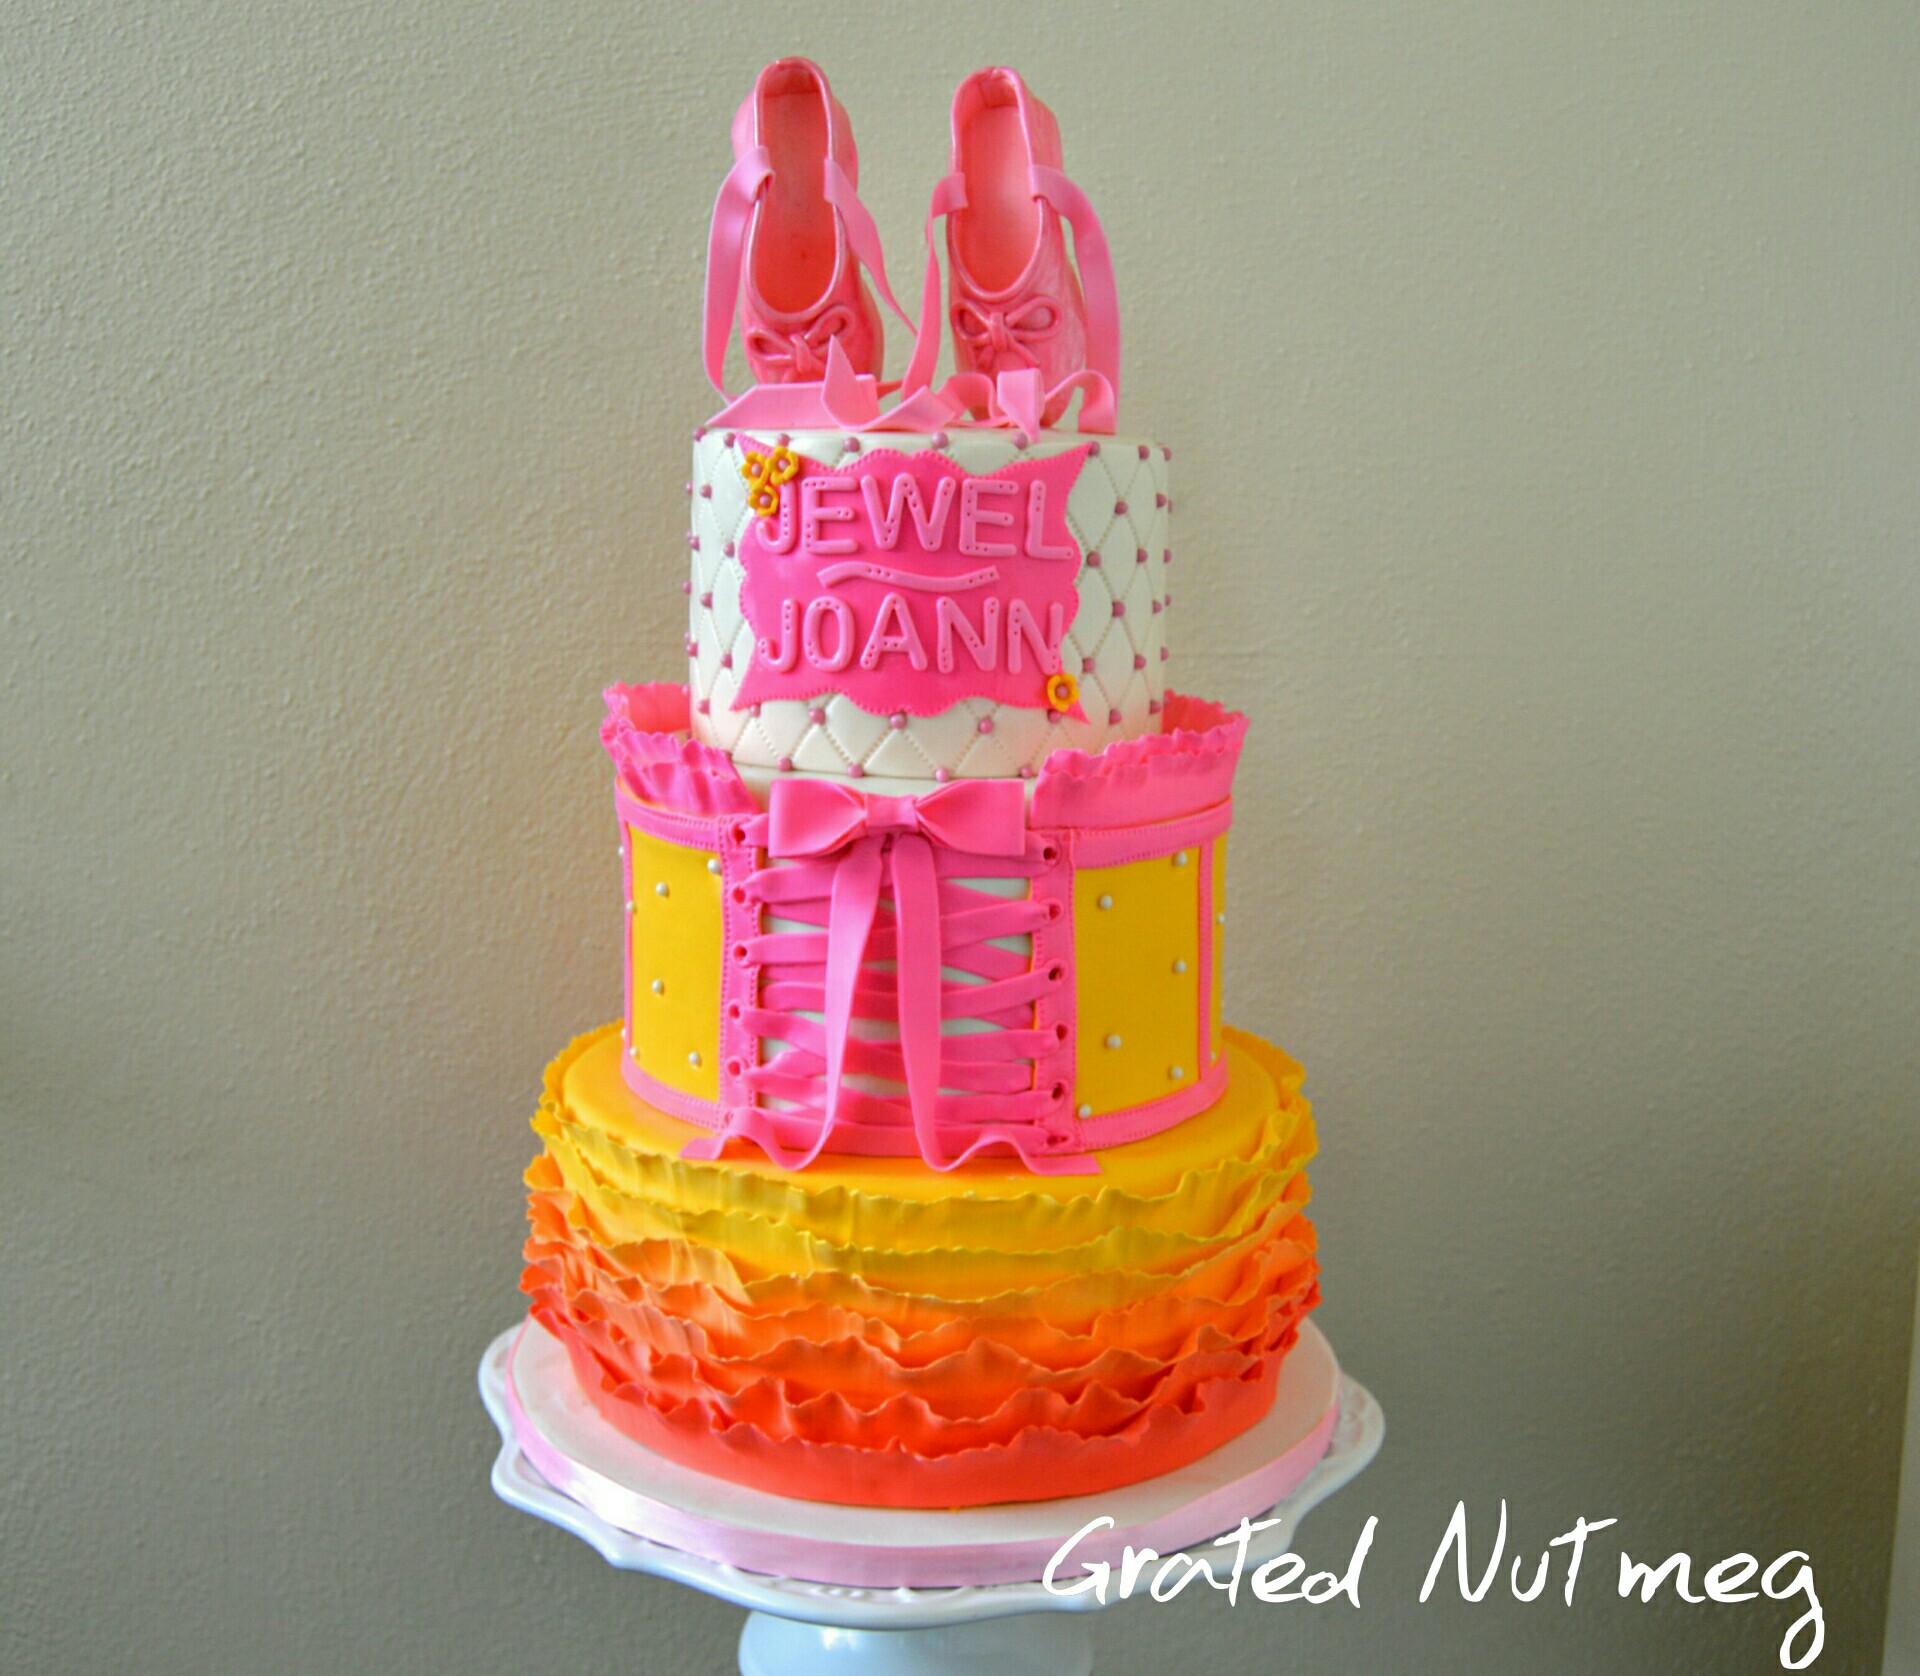
In this post, I will be showing you how to make this lovely 3 tier ballerina cake. This is a lovely cake to make for birthdays, especially for young girls. To see more views of this cake, know the sponges that were used and read about the cake generally, click on this link.

THE PROCESS:
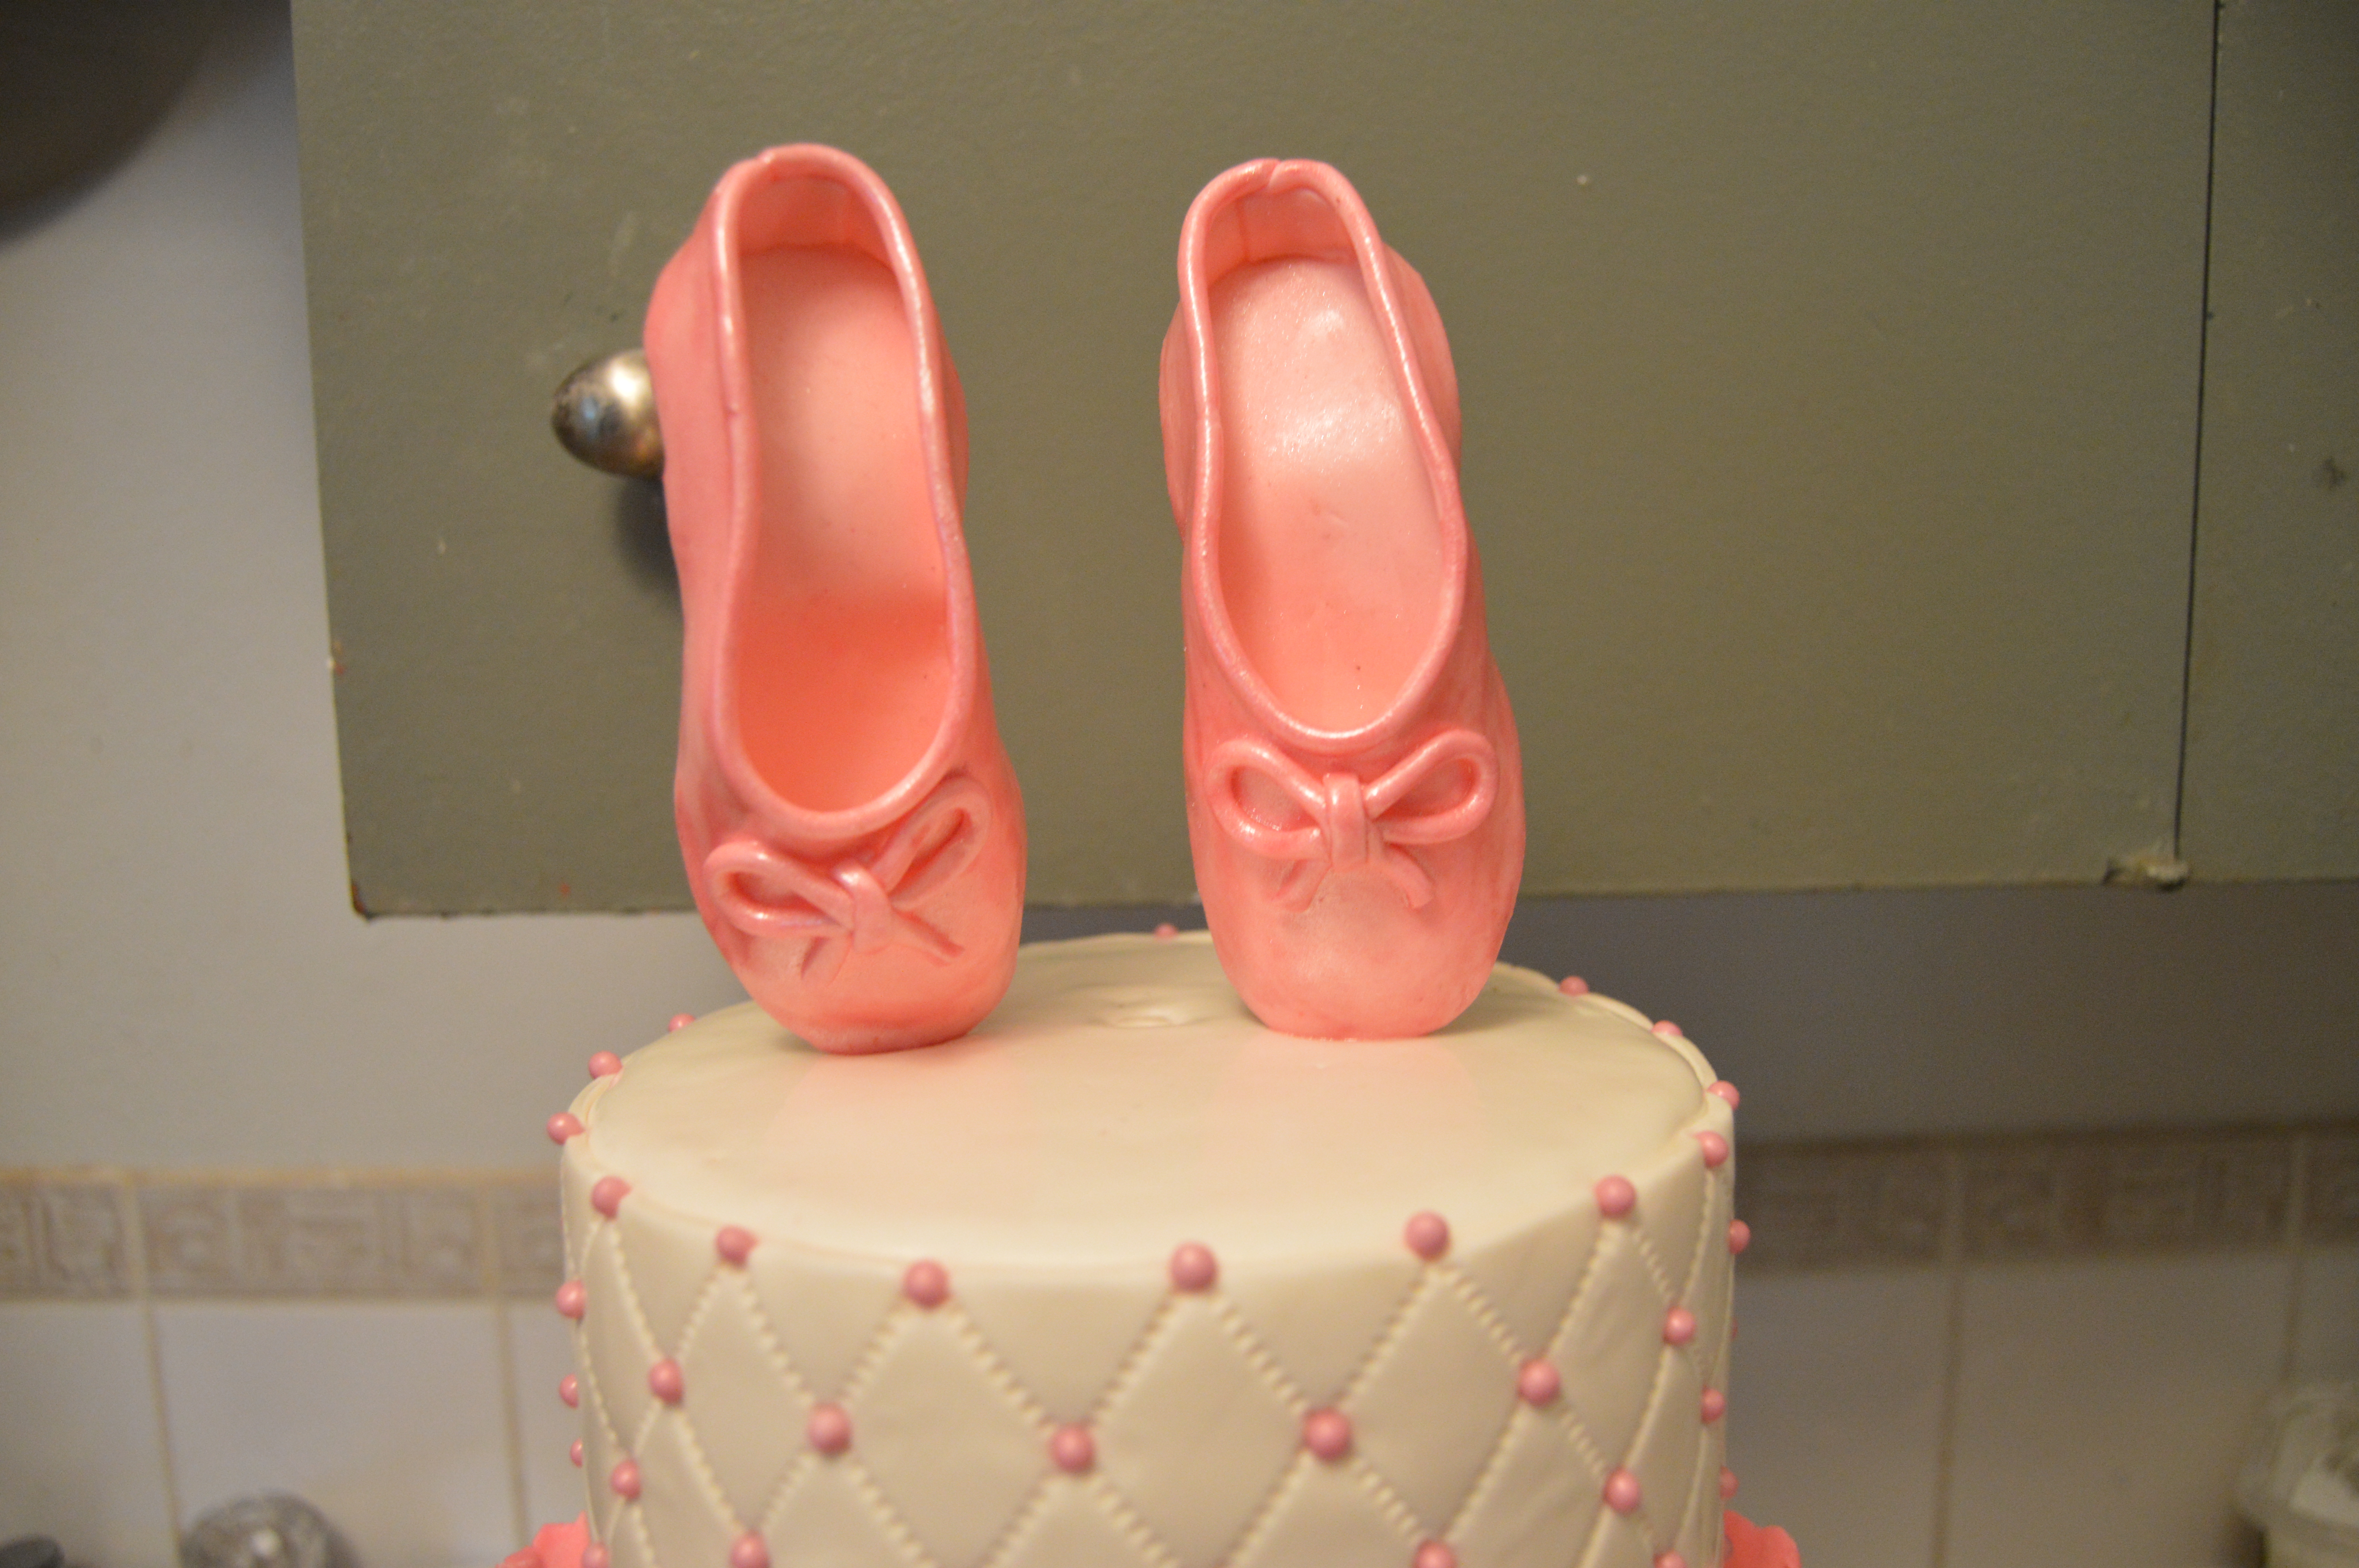
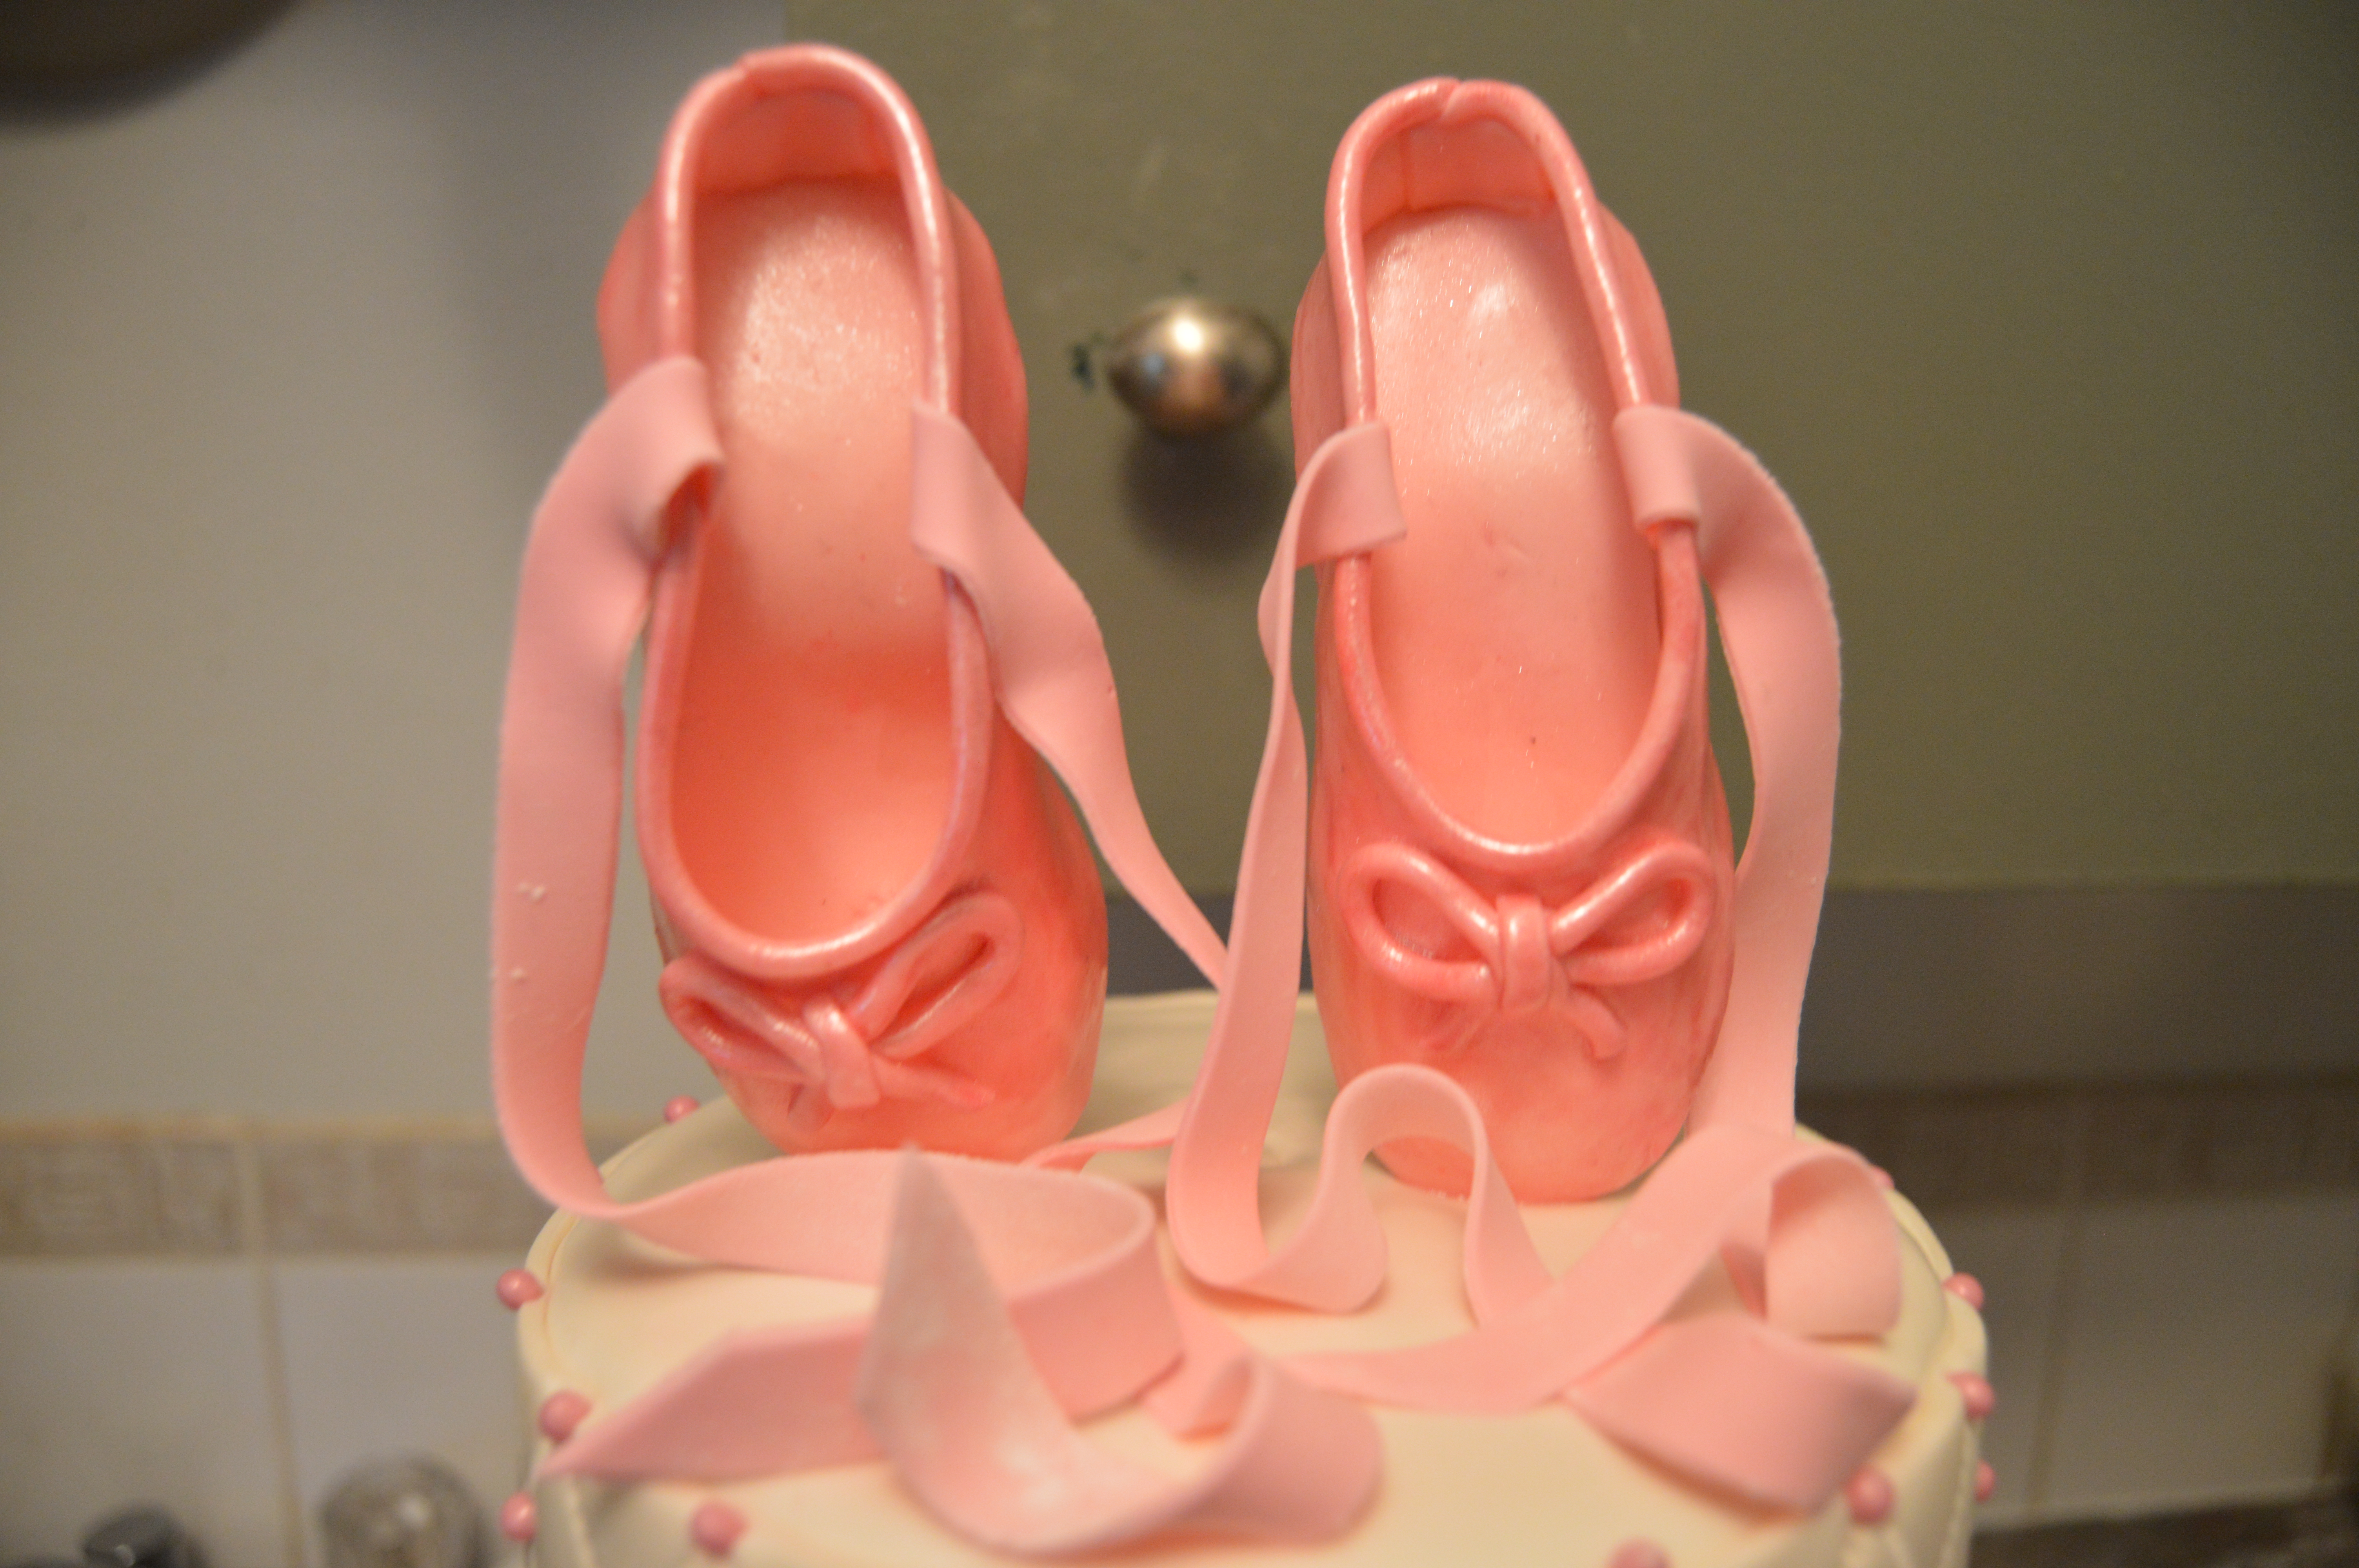
(1) The first thing you need to do is make the ballerina slippers. These need to be made ahead of time. I have a post here on how to make them.

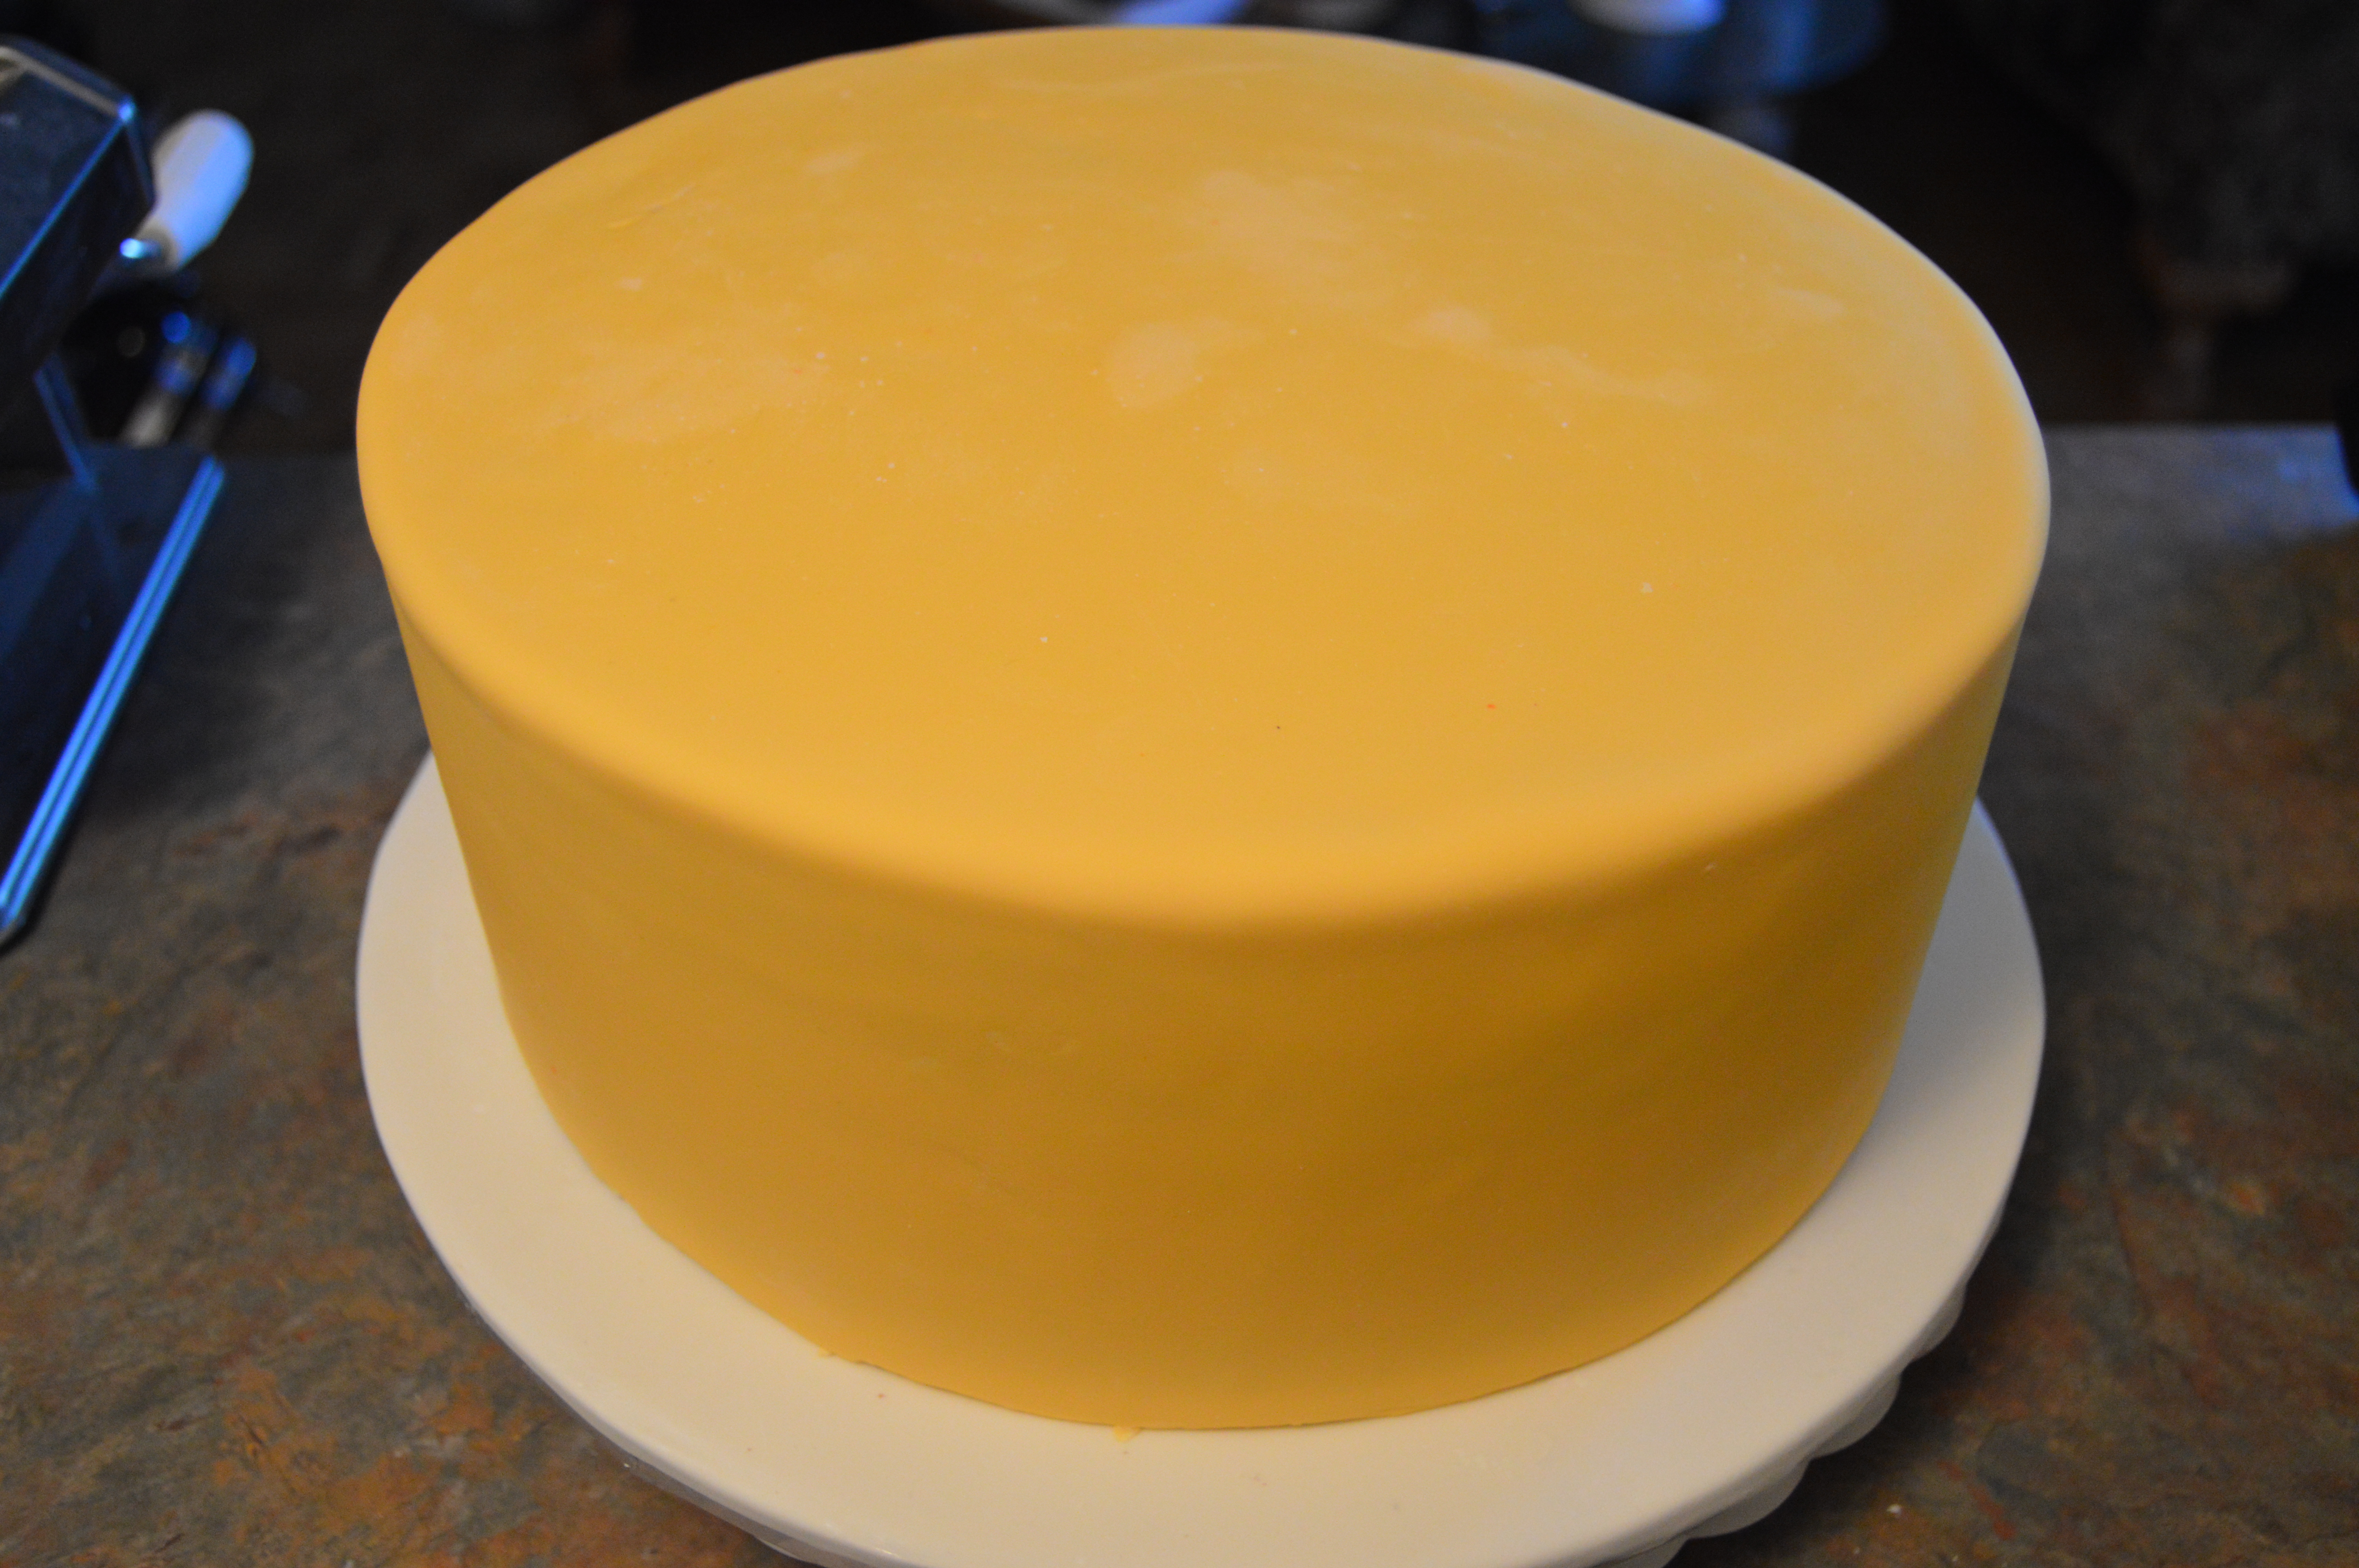
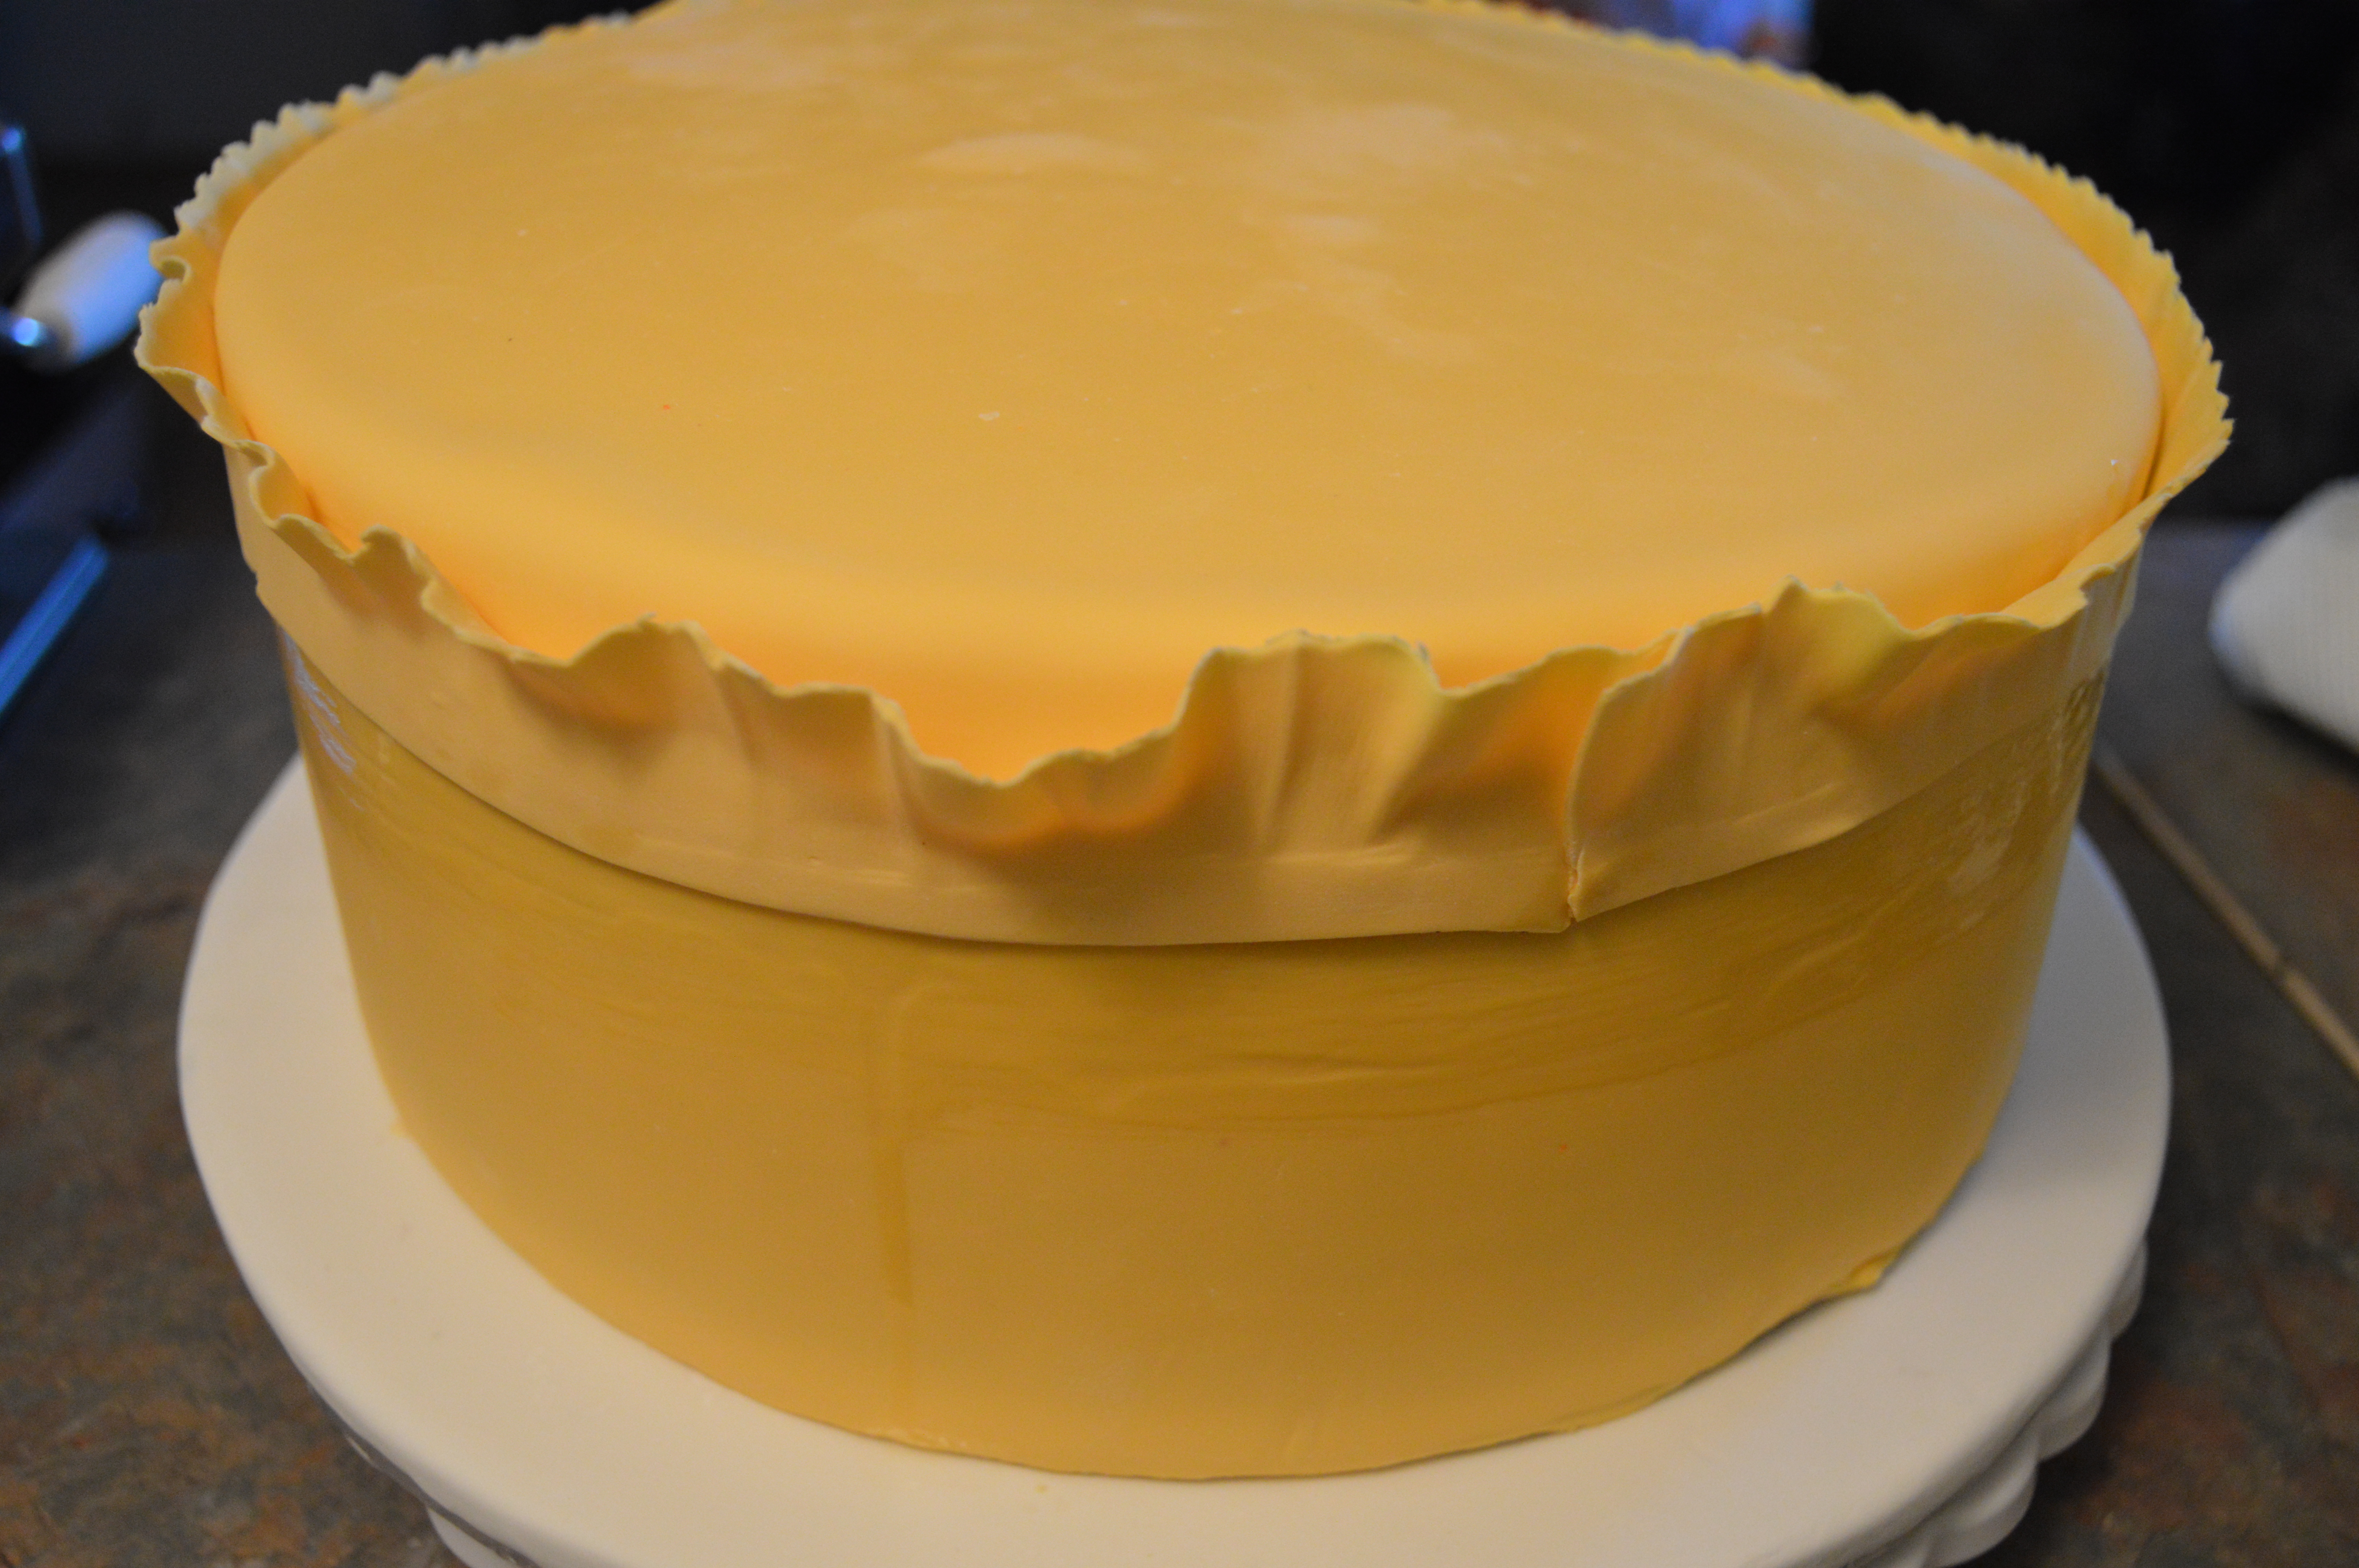
(2) Cover the cake board with white fondant. Drape the bottom 10 inch tier with yellow fondant, spread melted white chocolate on the cake board and place the bottom tier on the board.
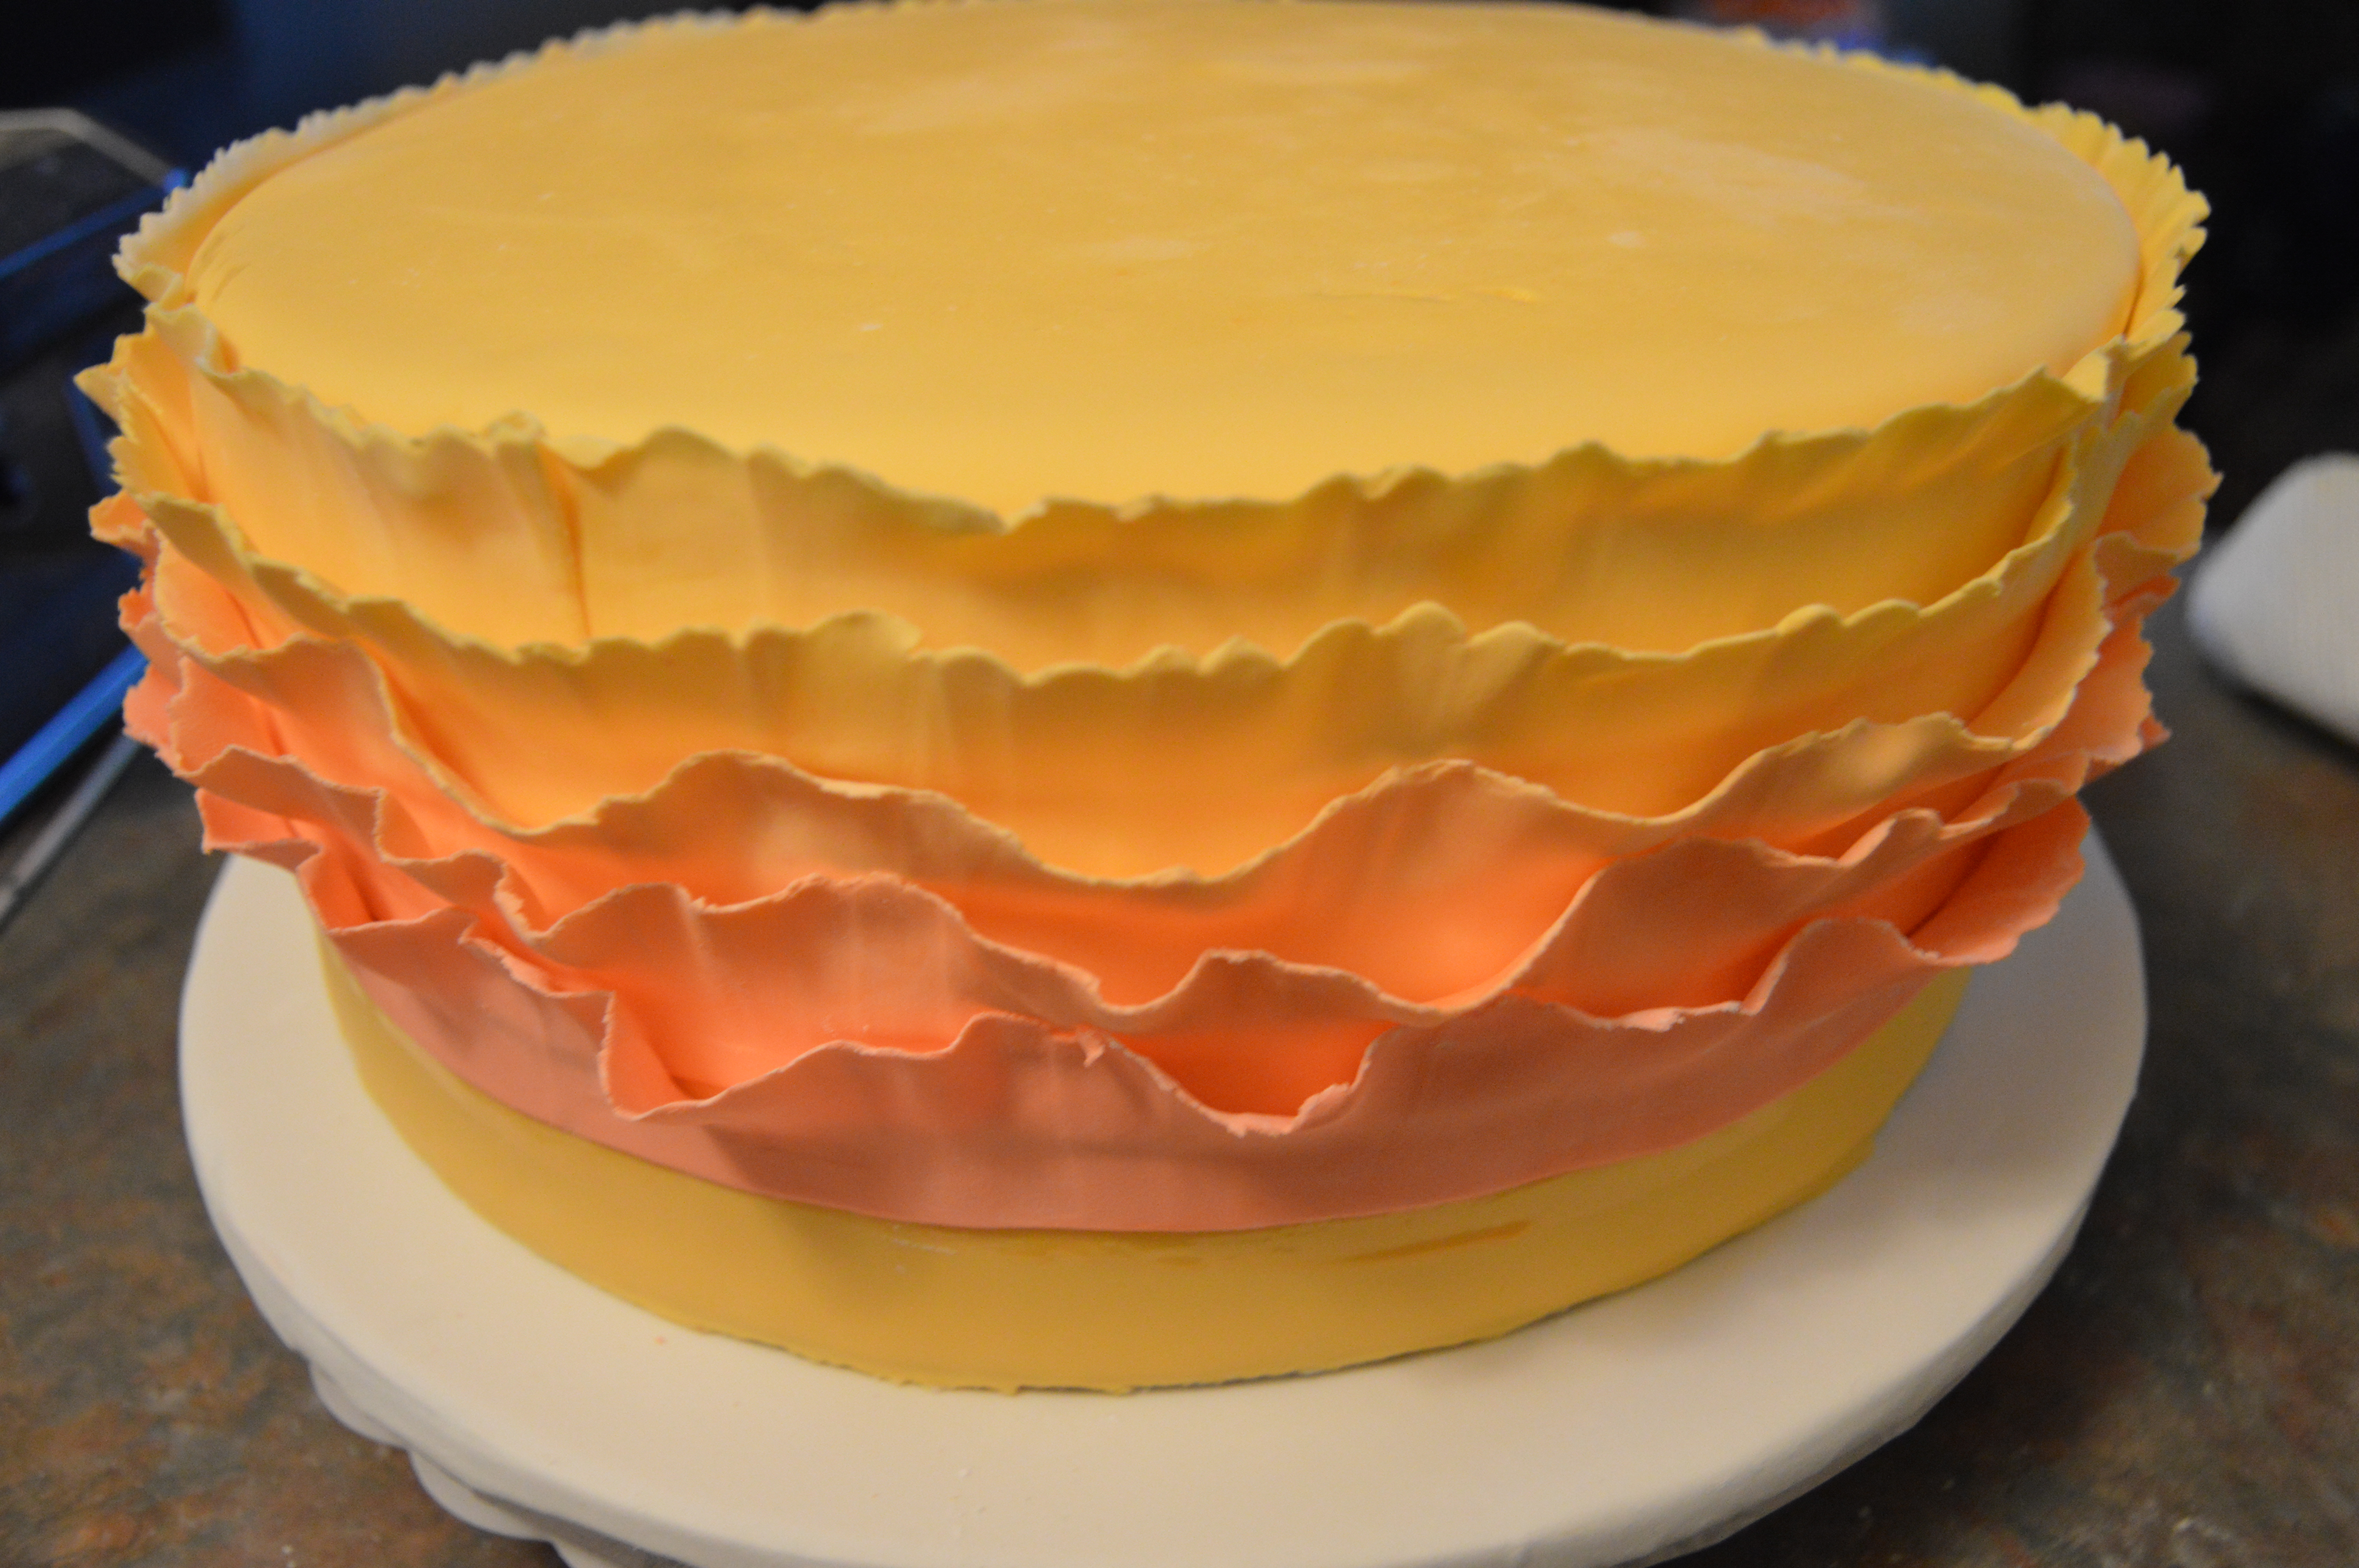
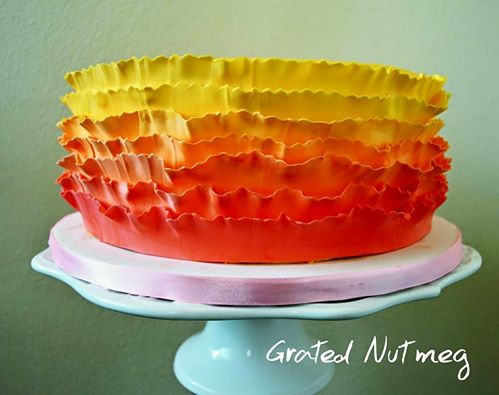
(3) Cut out one inch strips of yellow fondant and frill one of the edges with the body of a paint brush or with a ball tool. Brush the cake with a little bit of water and place 2 rows of yellow frills on the cake. Frill out the edges of the fondant strips as much as possible after sticking them to the cake.

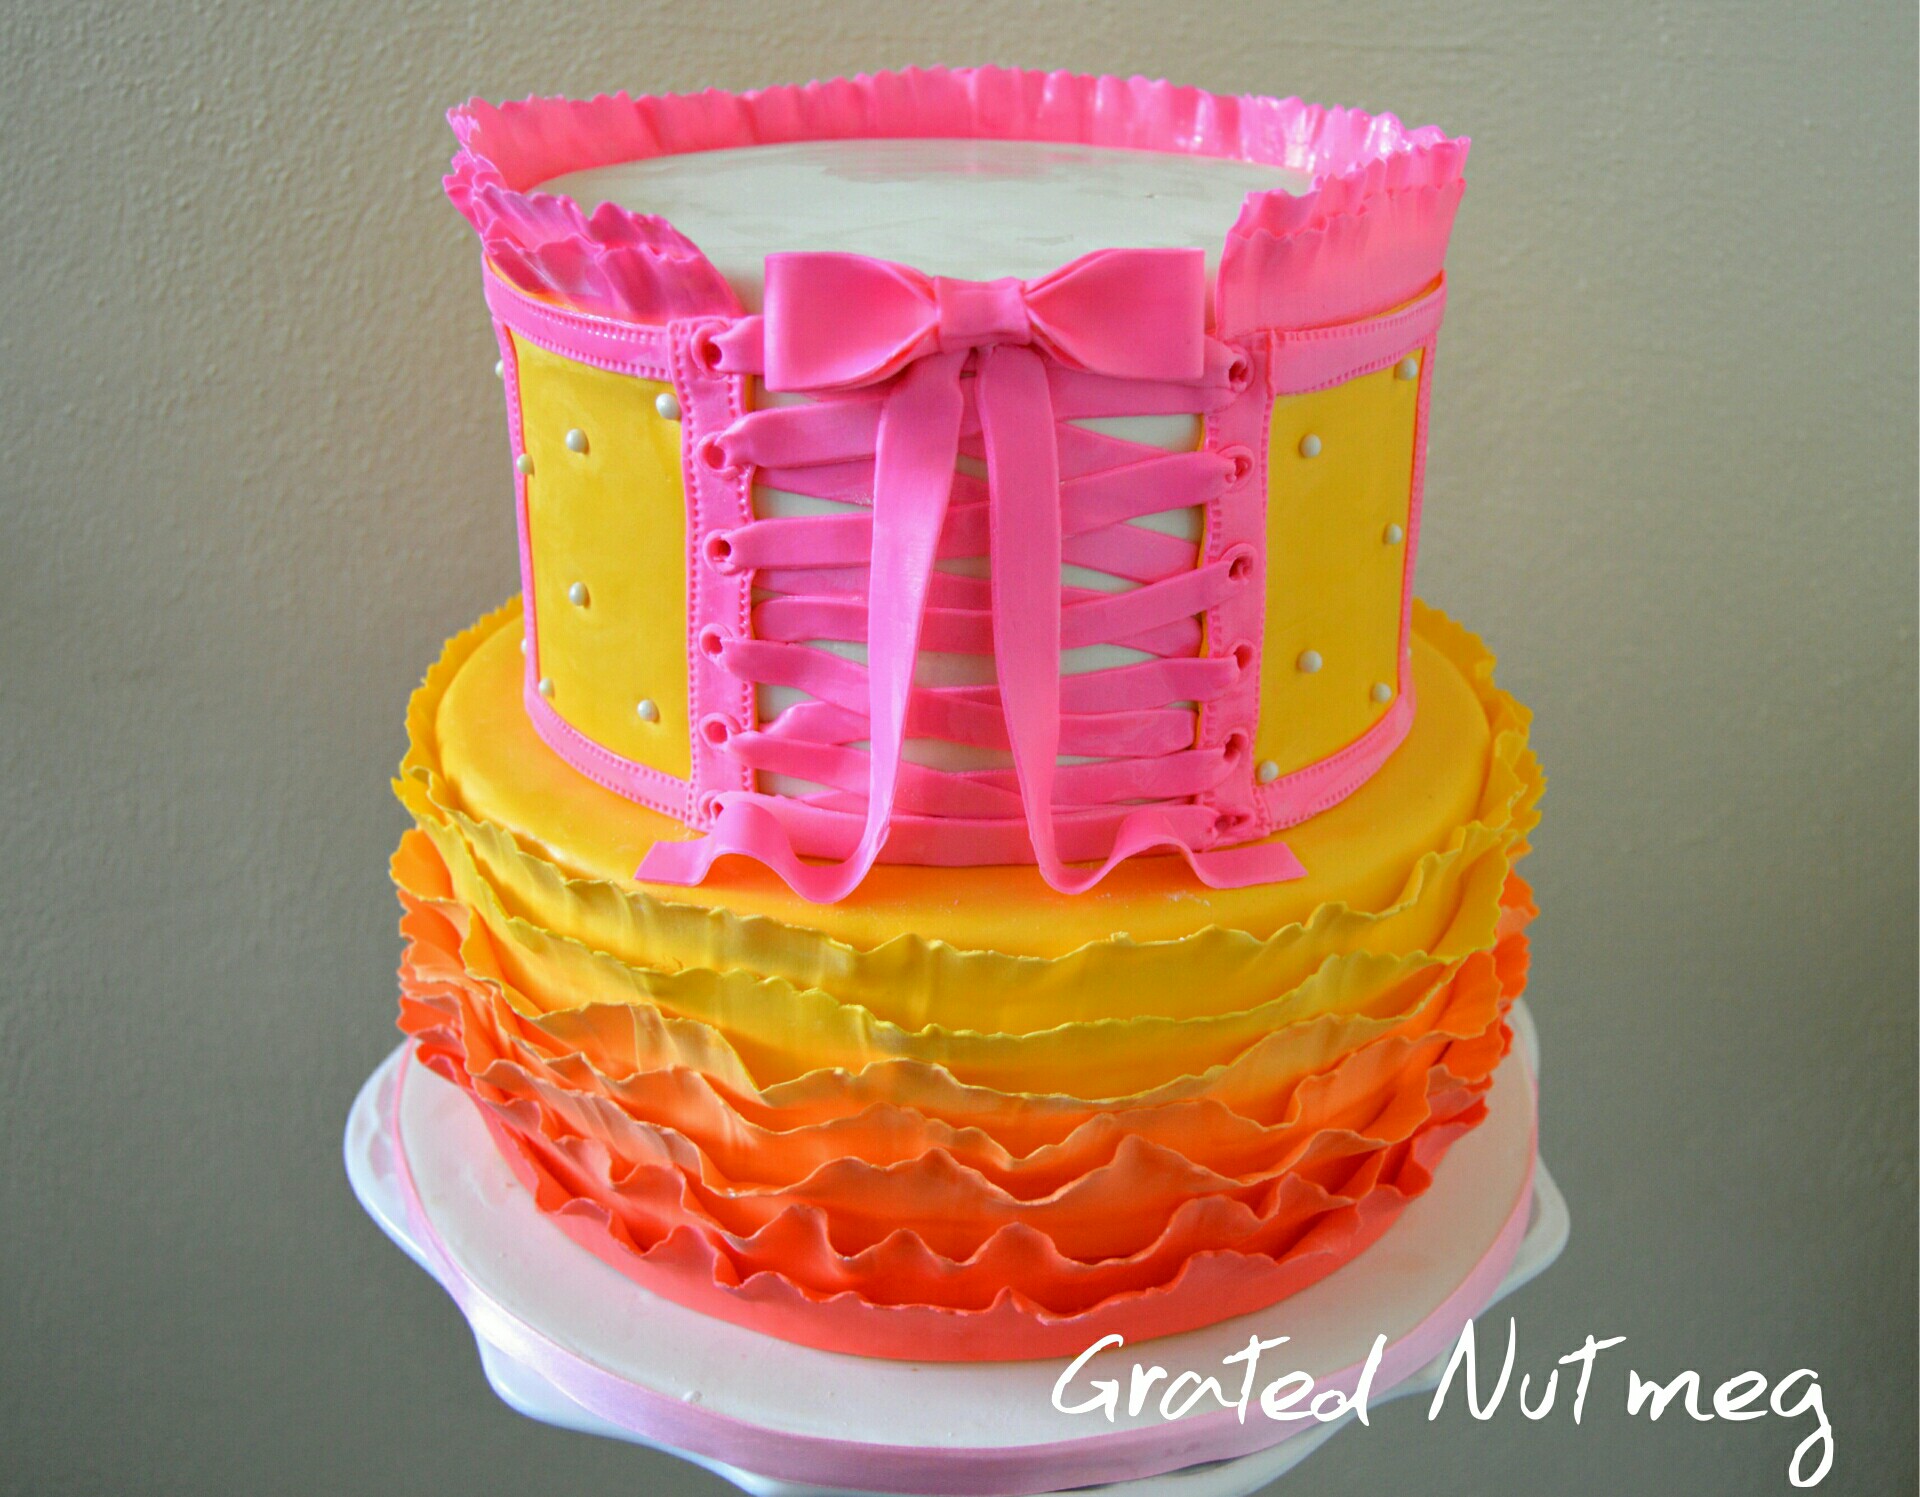
(4) Make the other rows of frills by adding a little bit of pink color to the yellow fondant. After sticking each roll of frill to the cake, add more pink color to the leftover fondant. Continue this way until the whole tier has been covered. This will give the tier an ombre effect. brush the frills with some vodka after they have dried to remove icing sugar residue and make them a bit glossy.
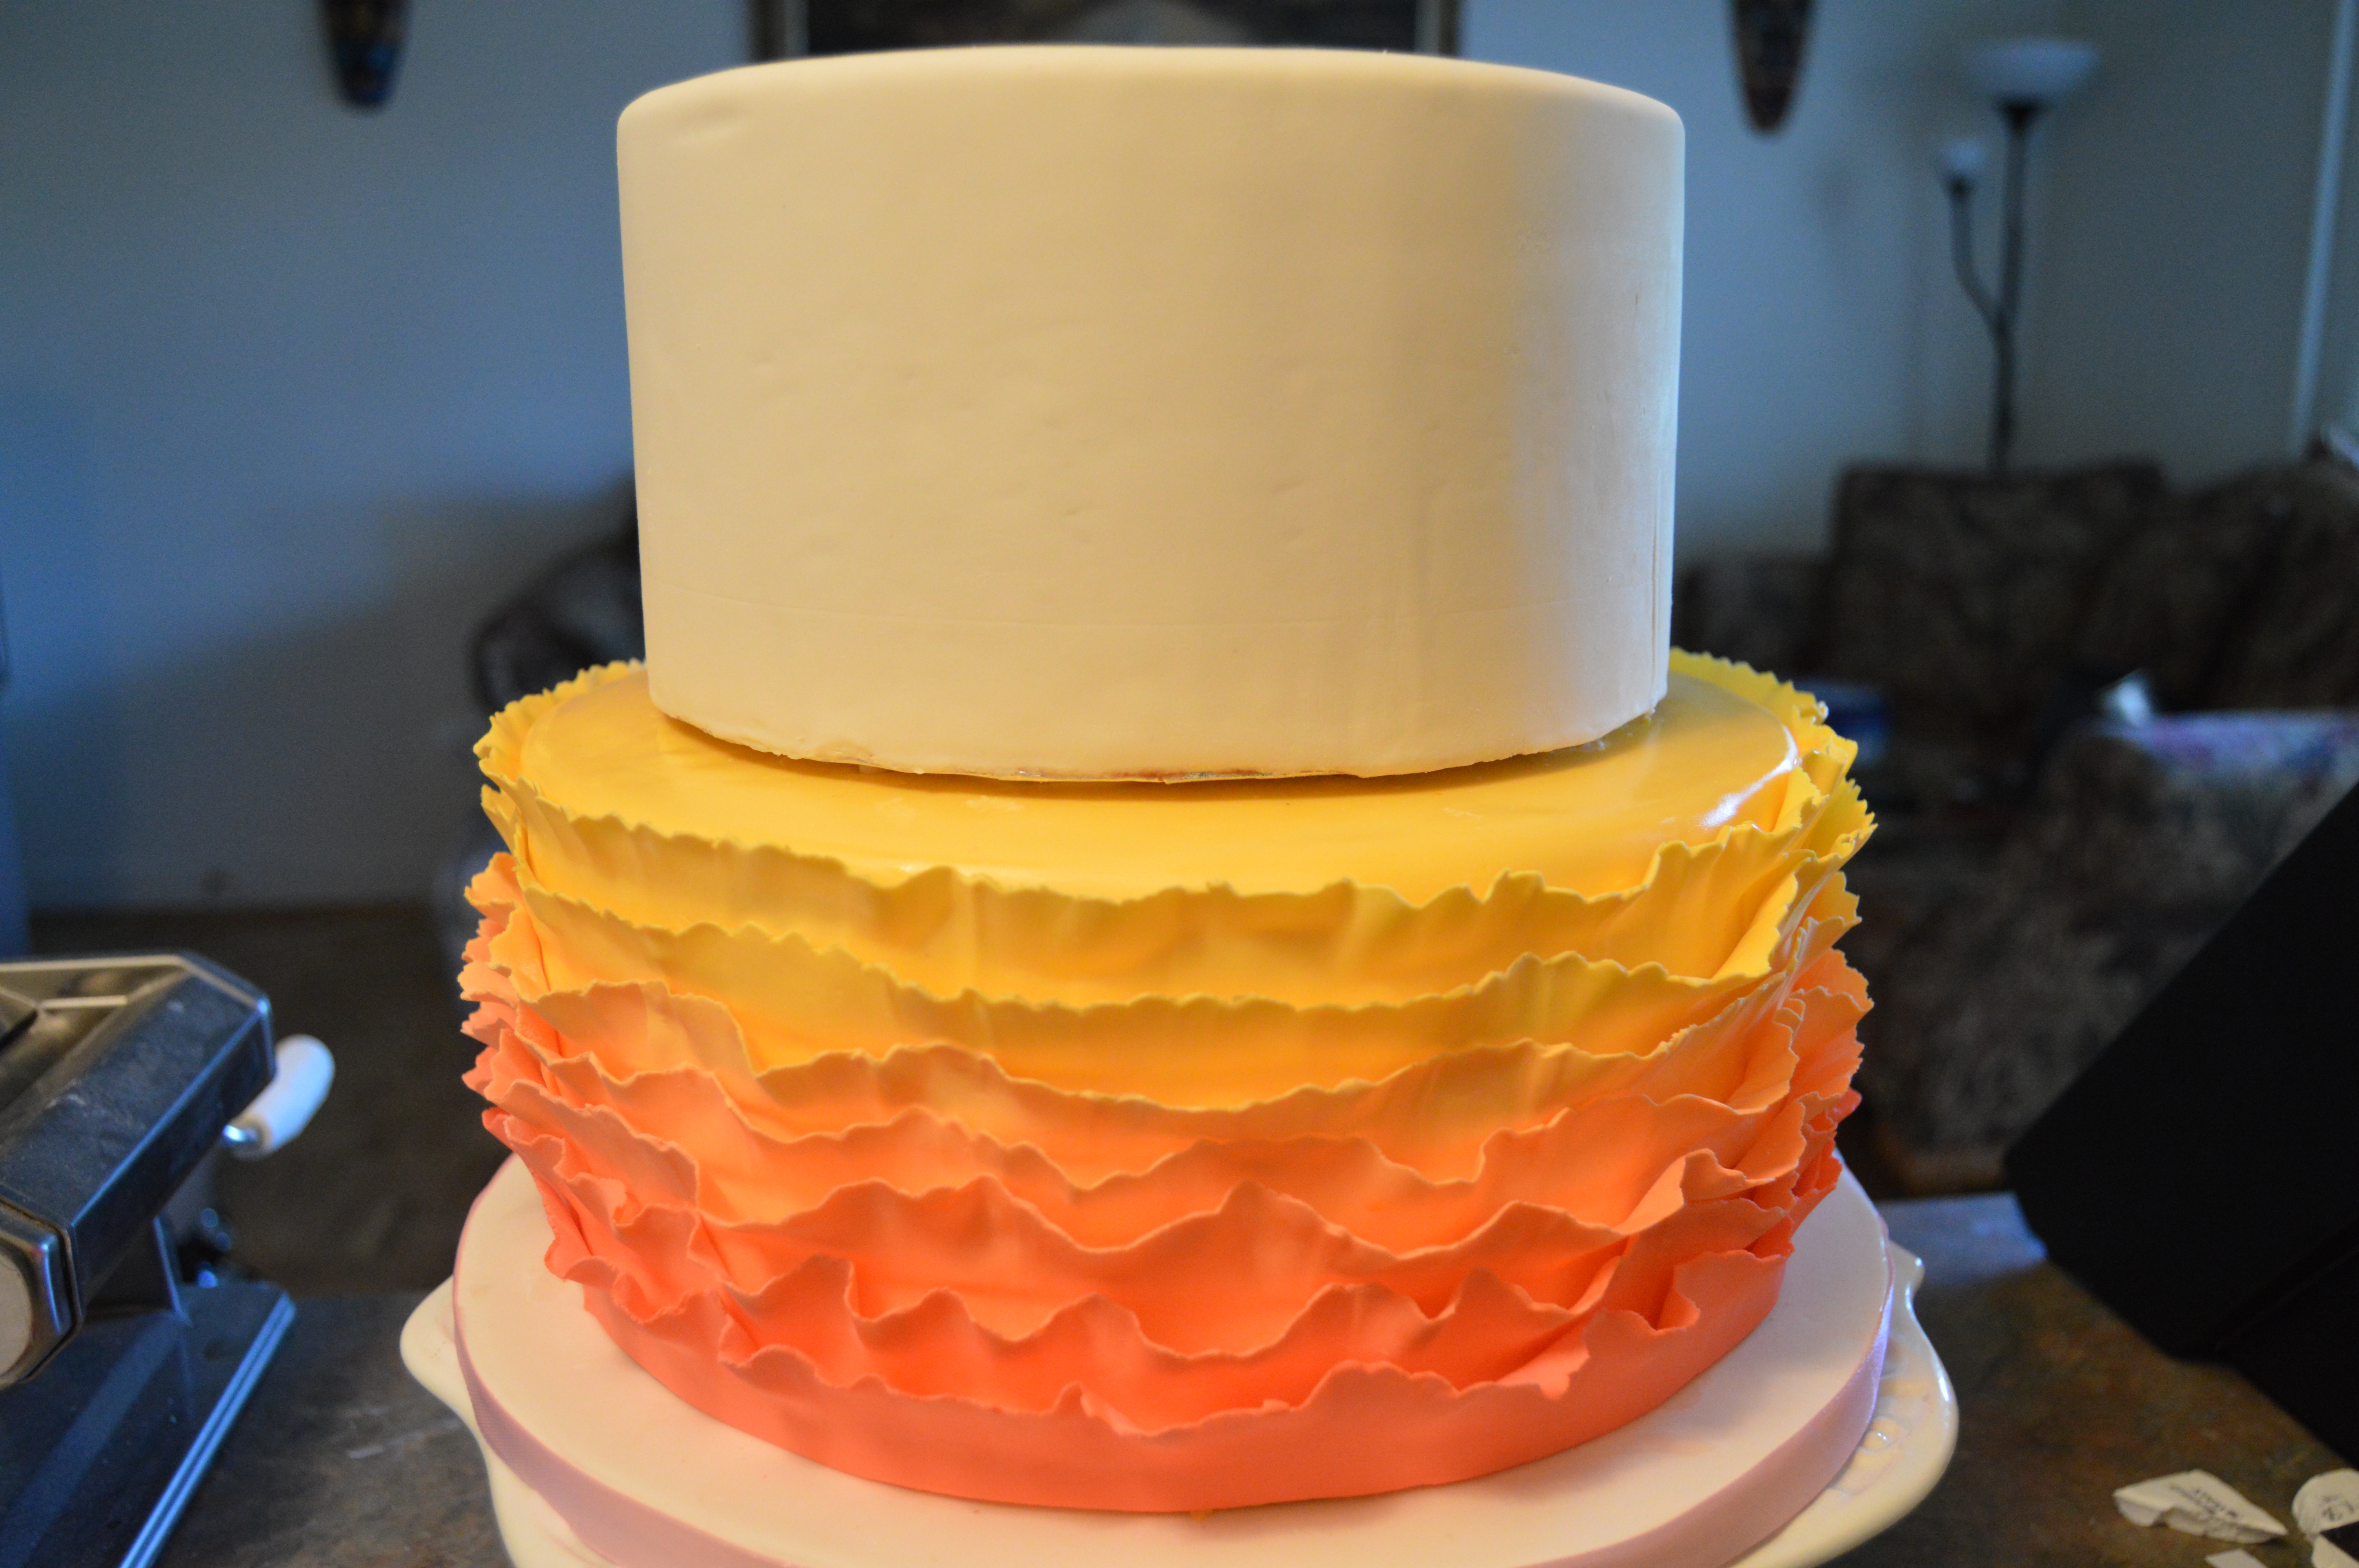
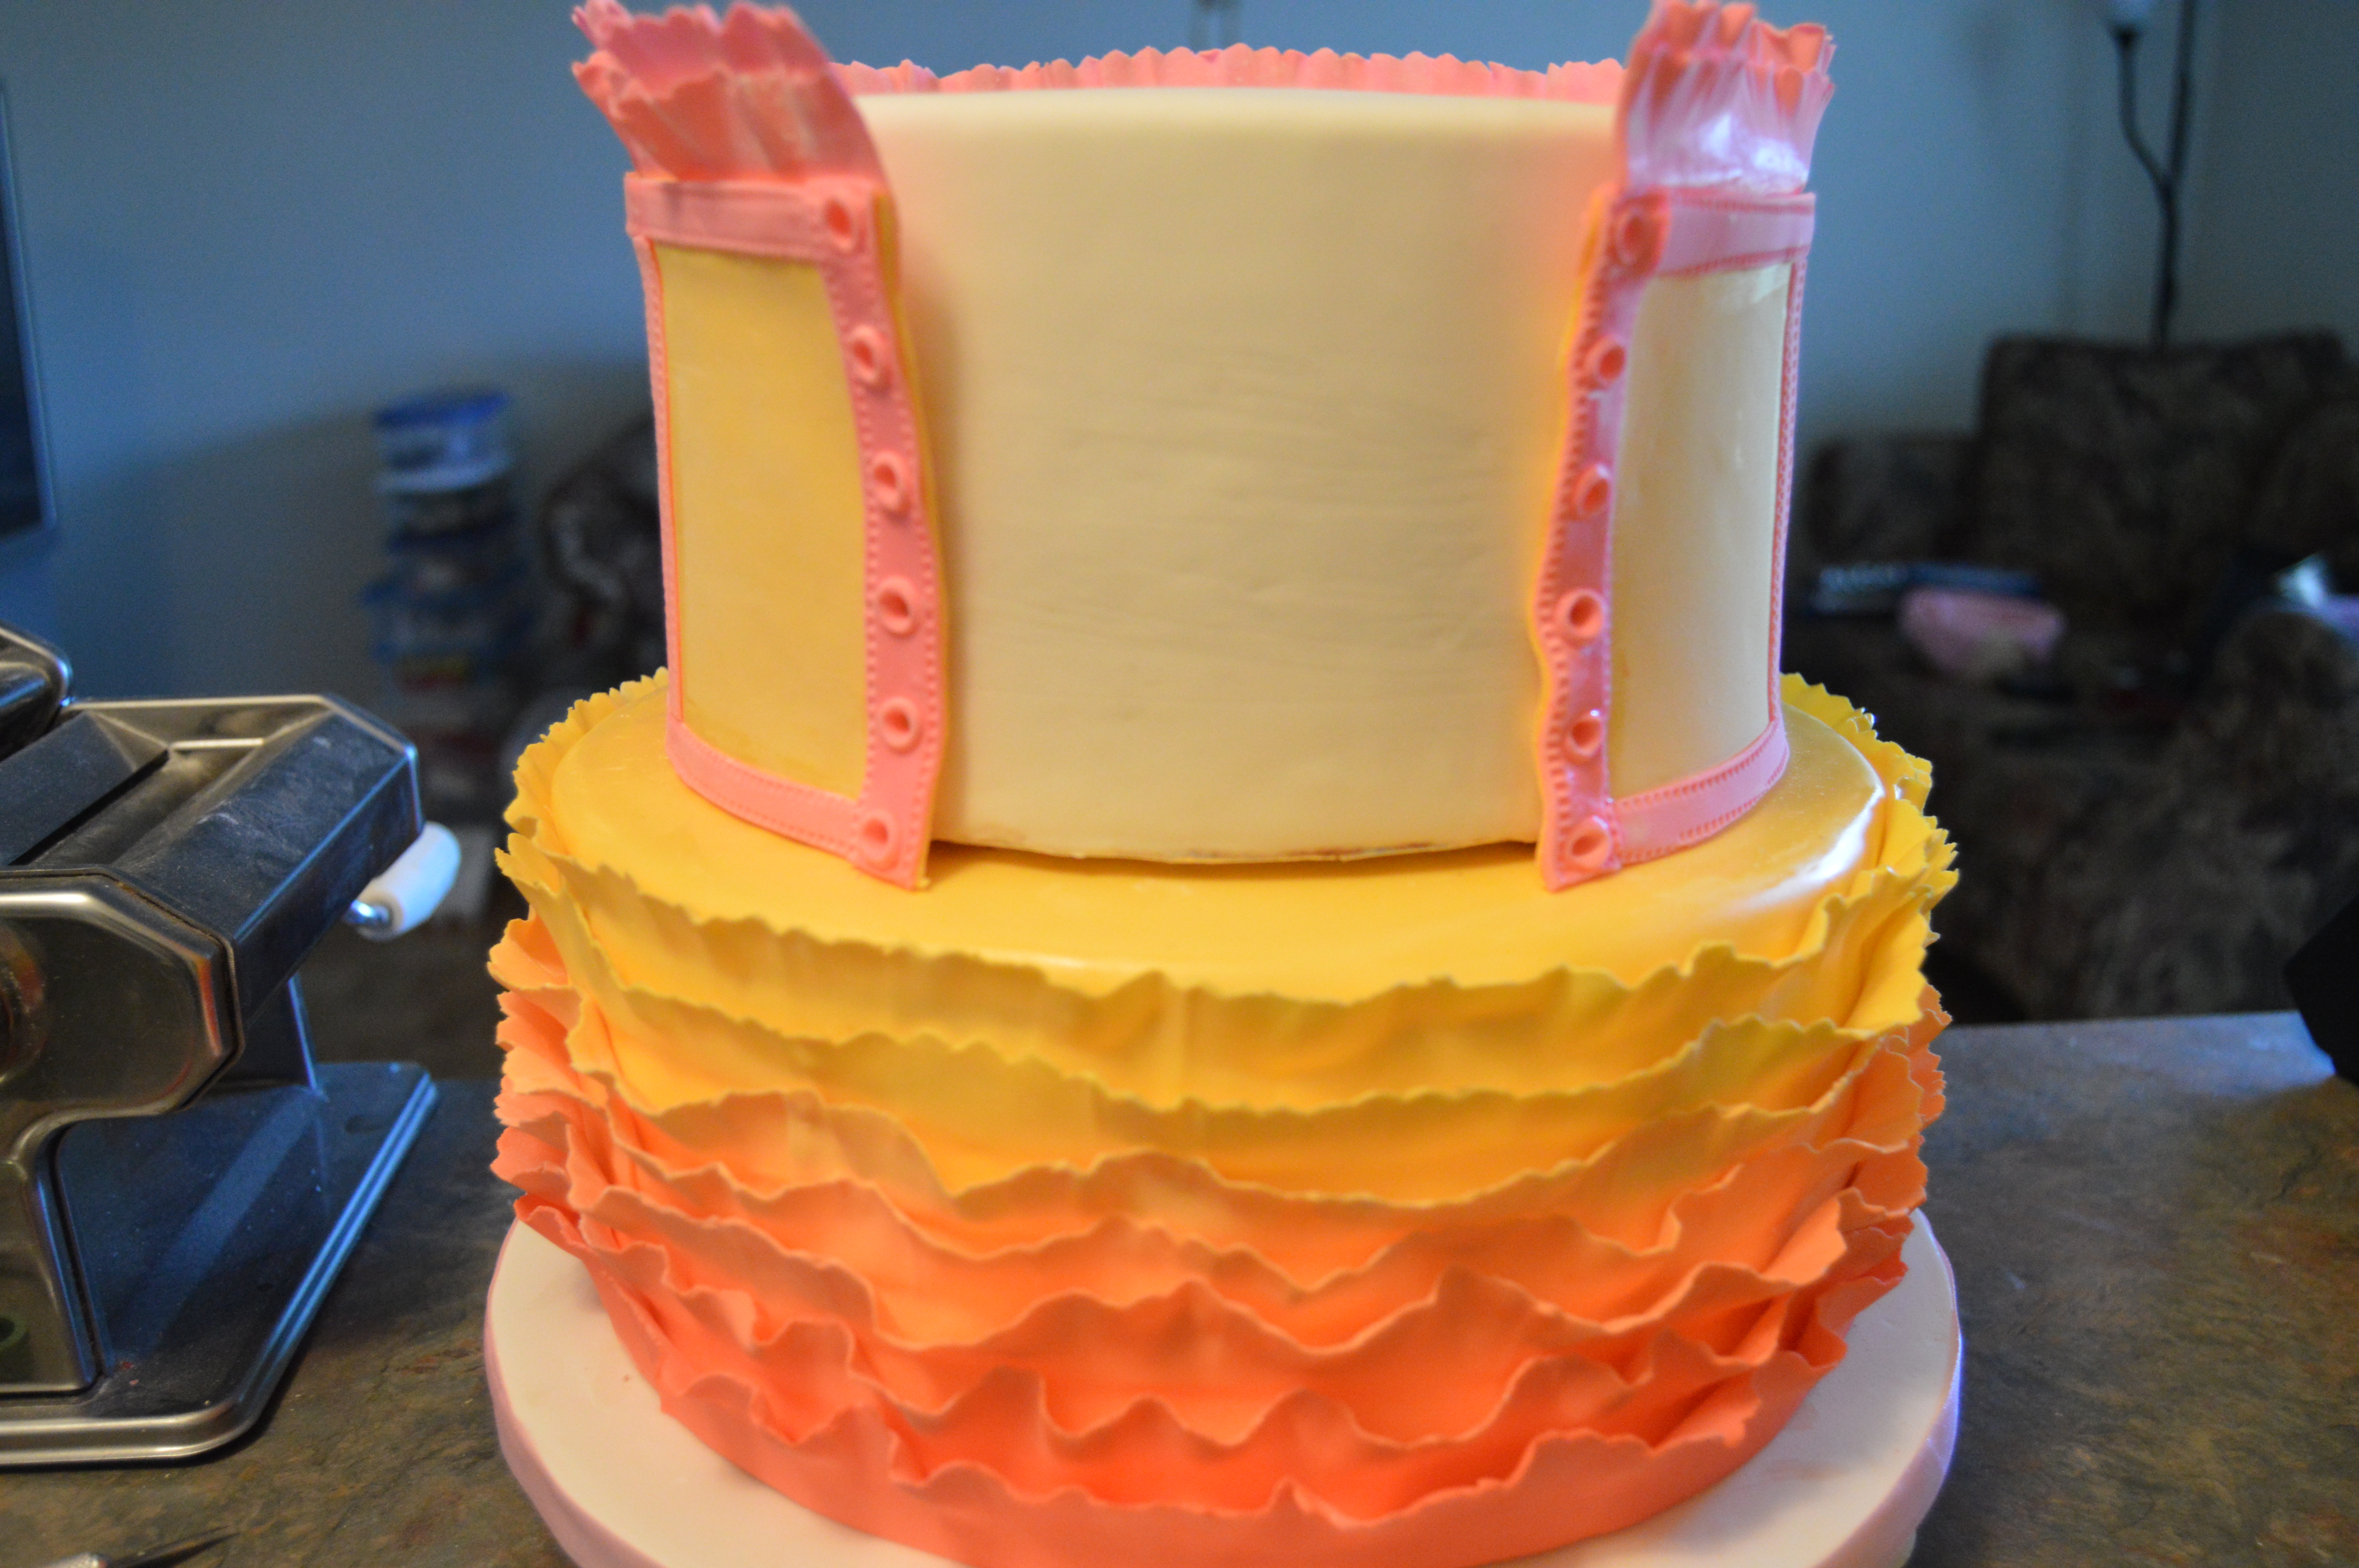
(5) Cover both the second and third tiers with ivory fondant.Place dowels in the bottom tier and stack the second tier on top of it.
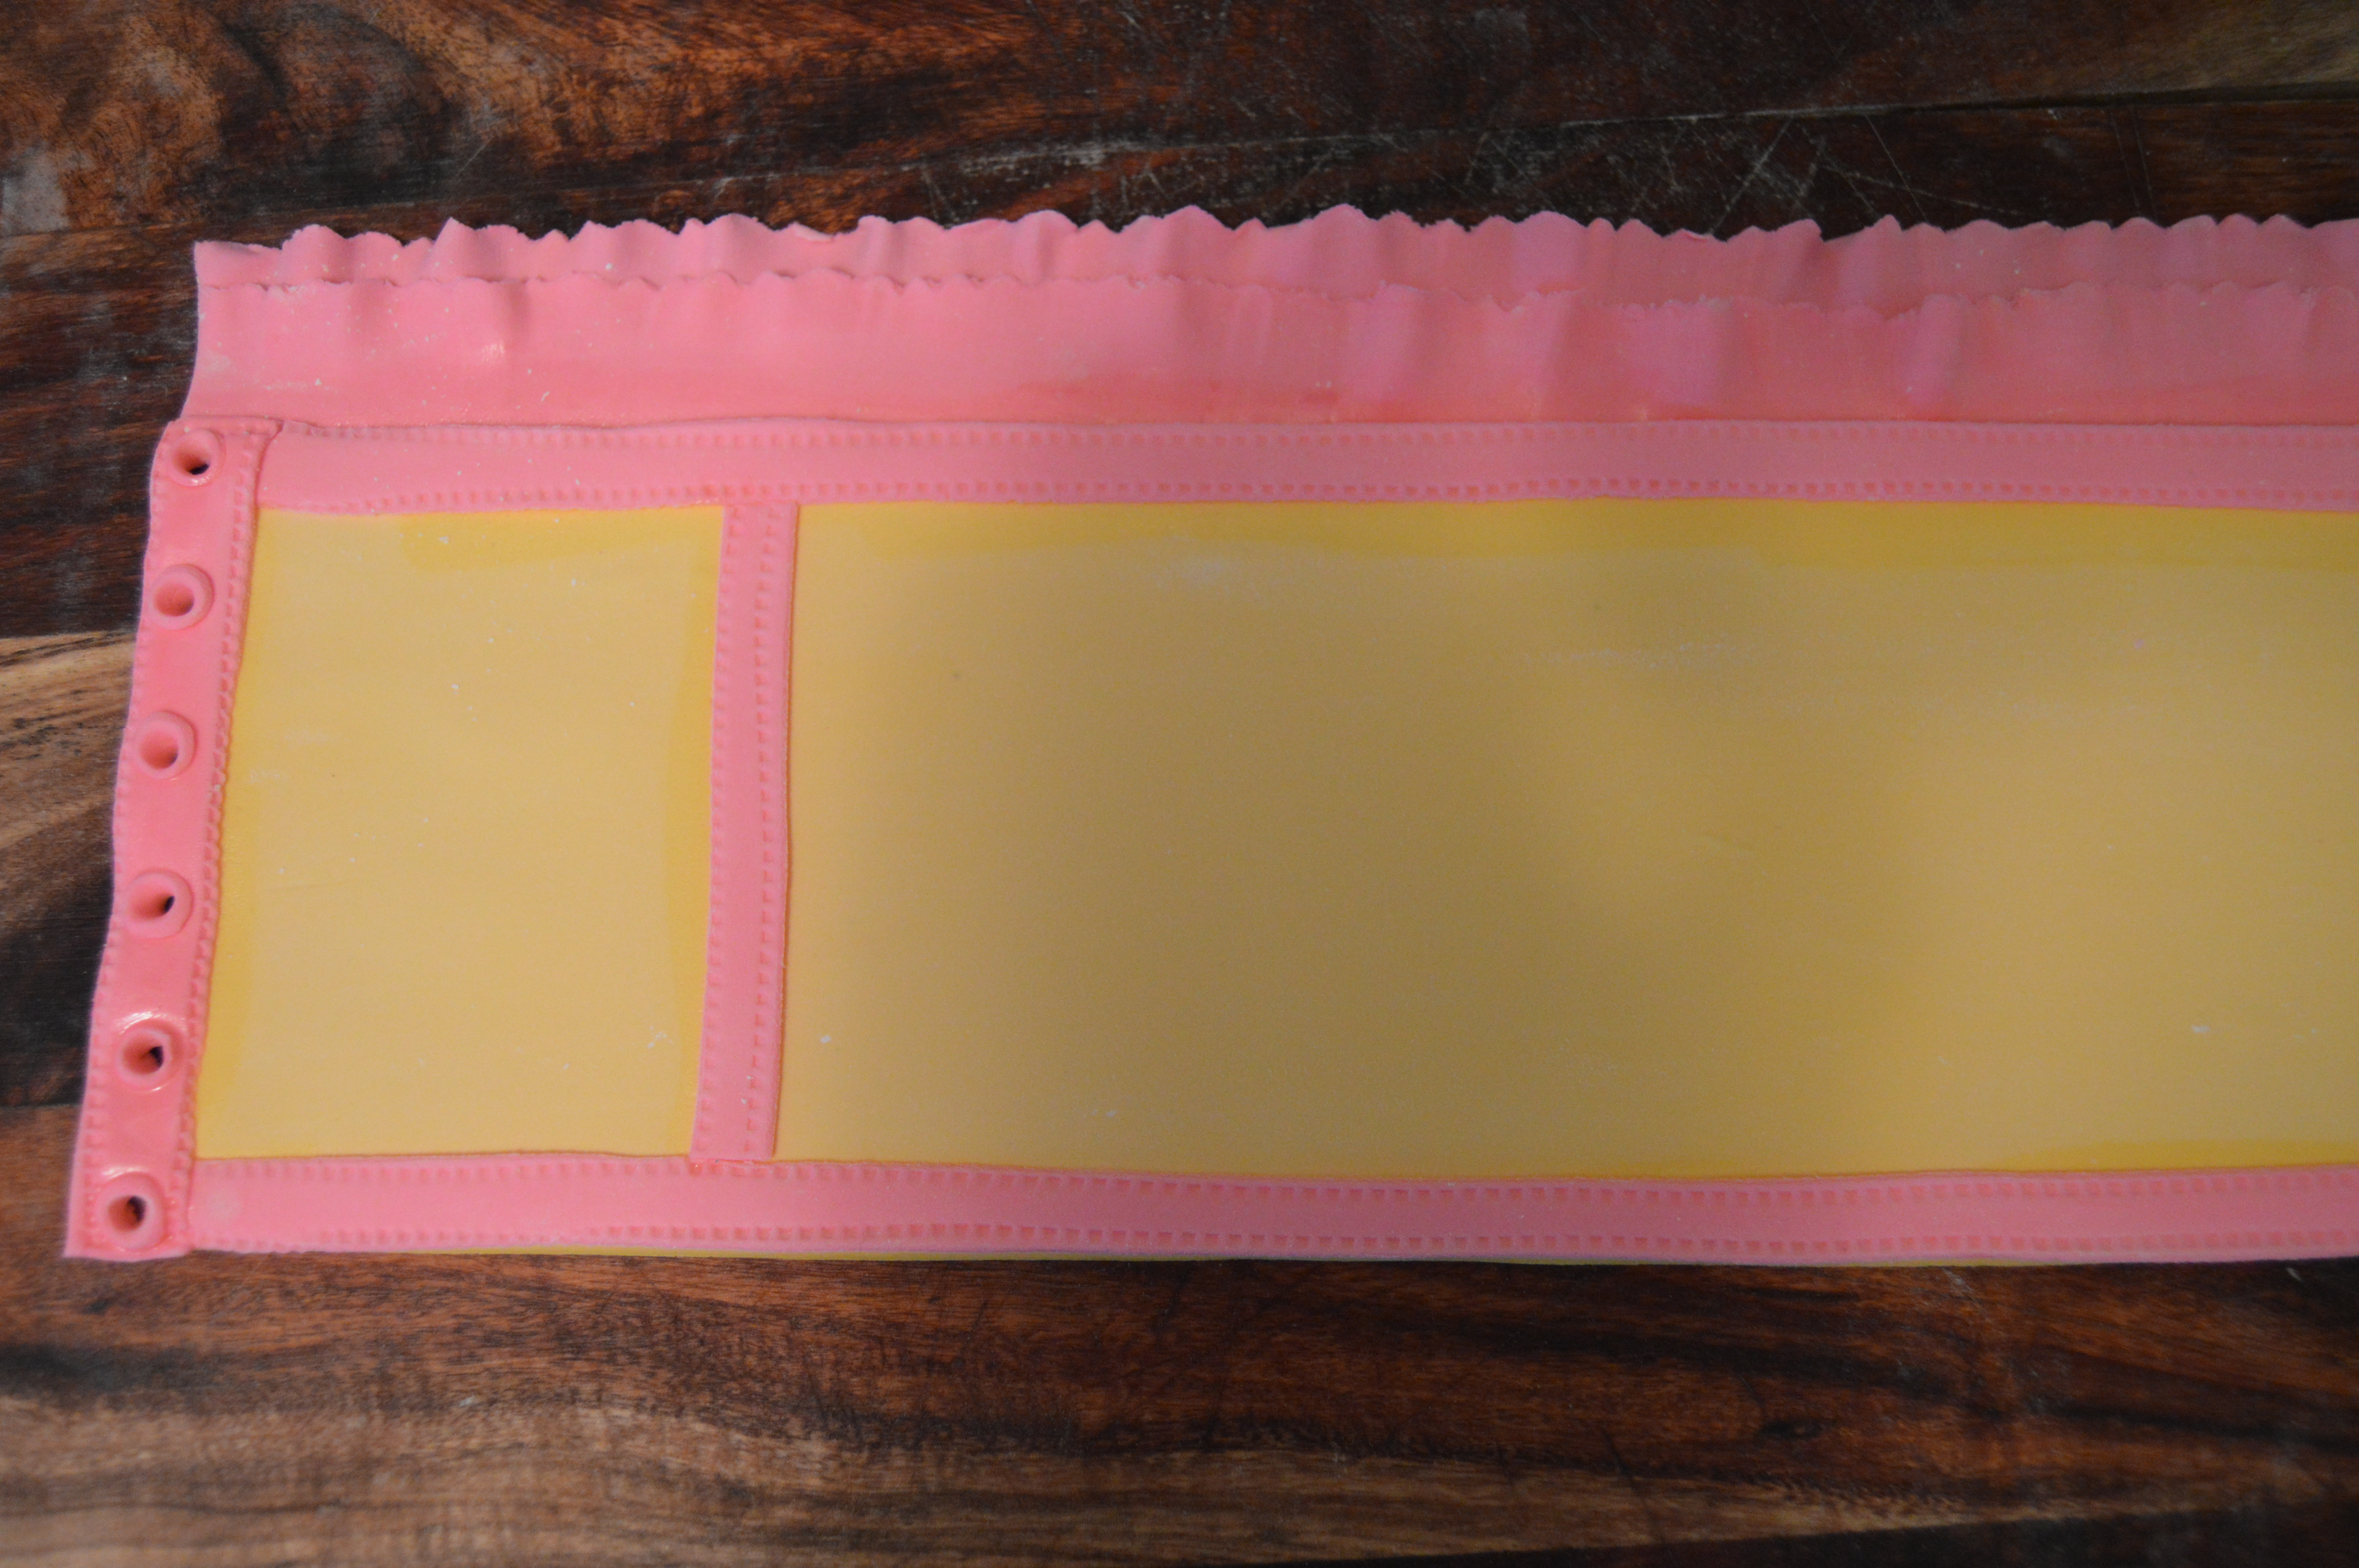
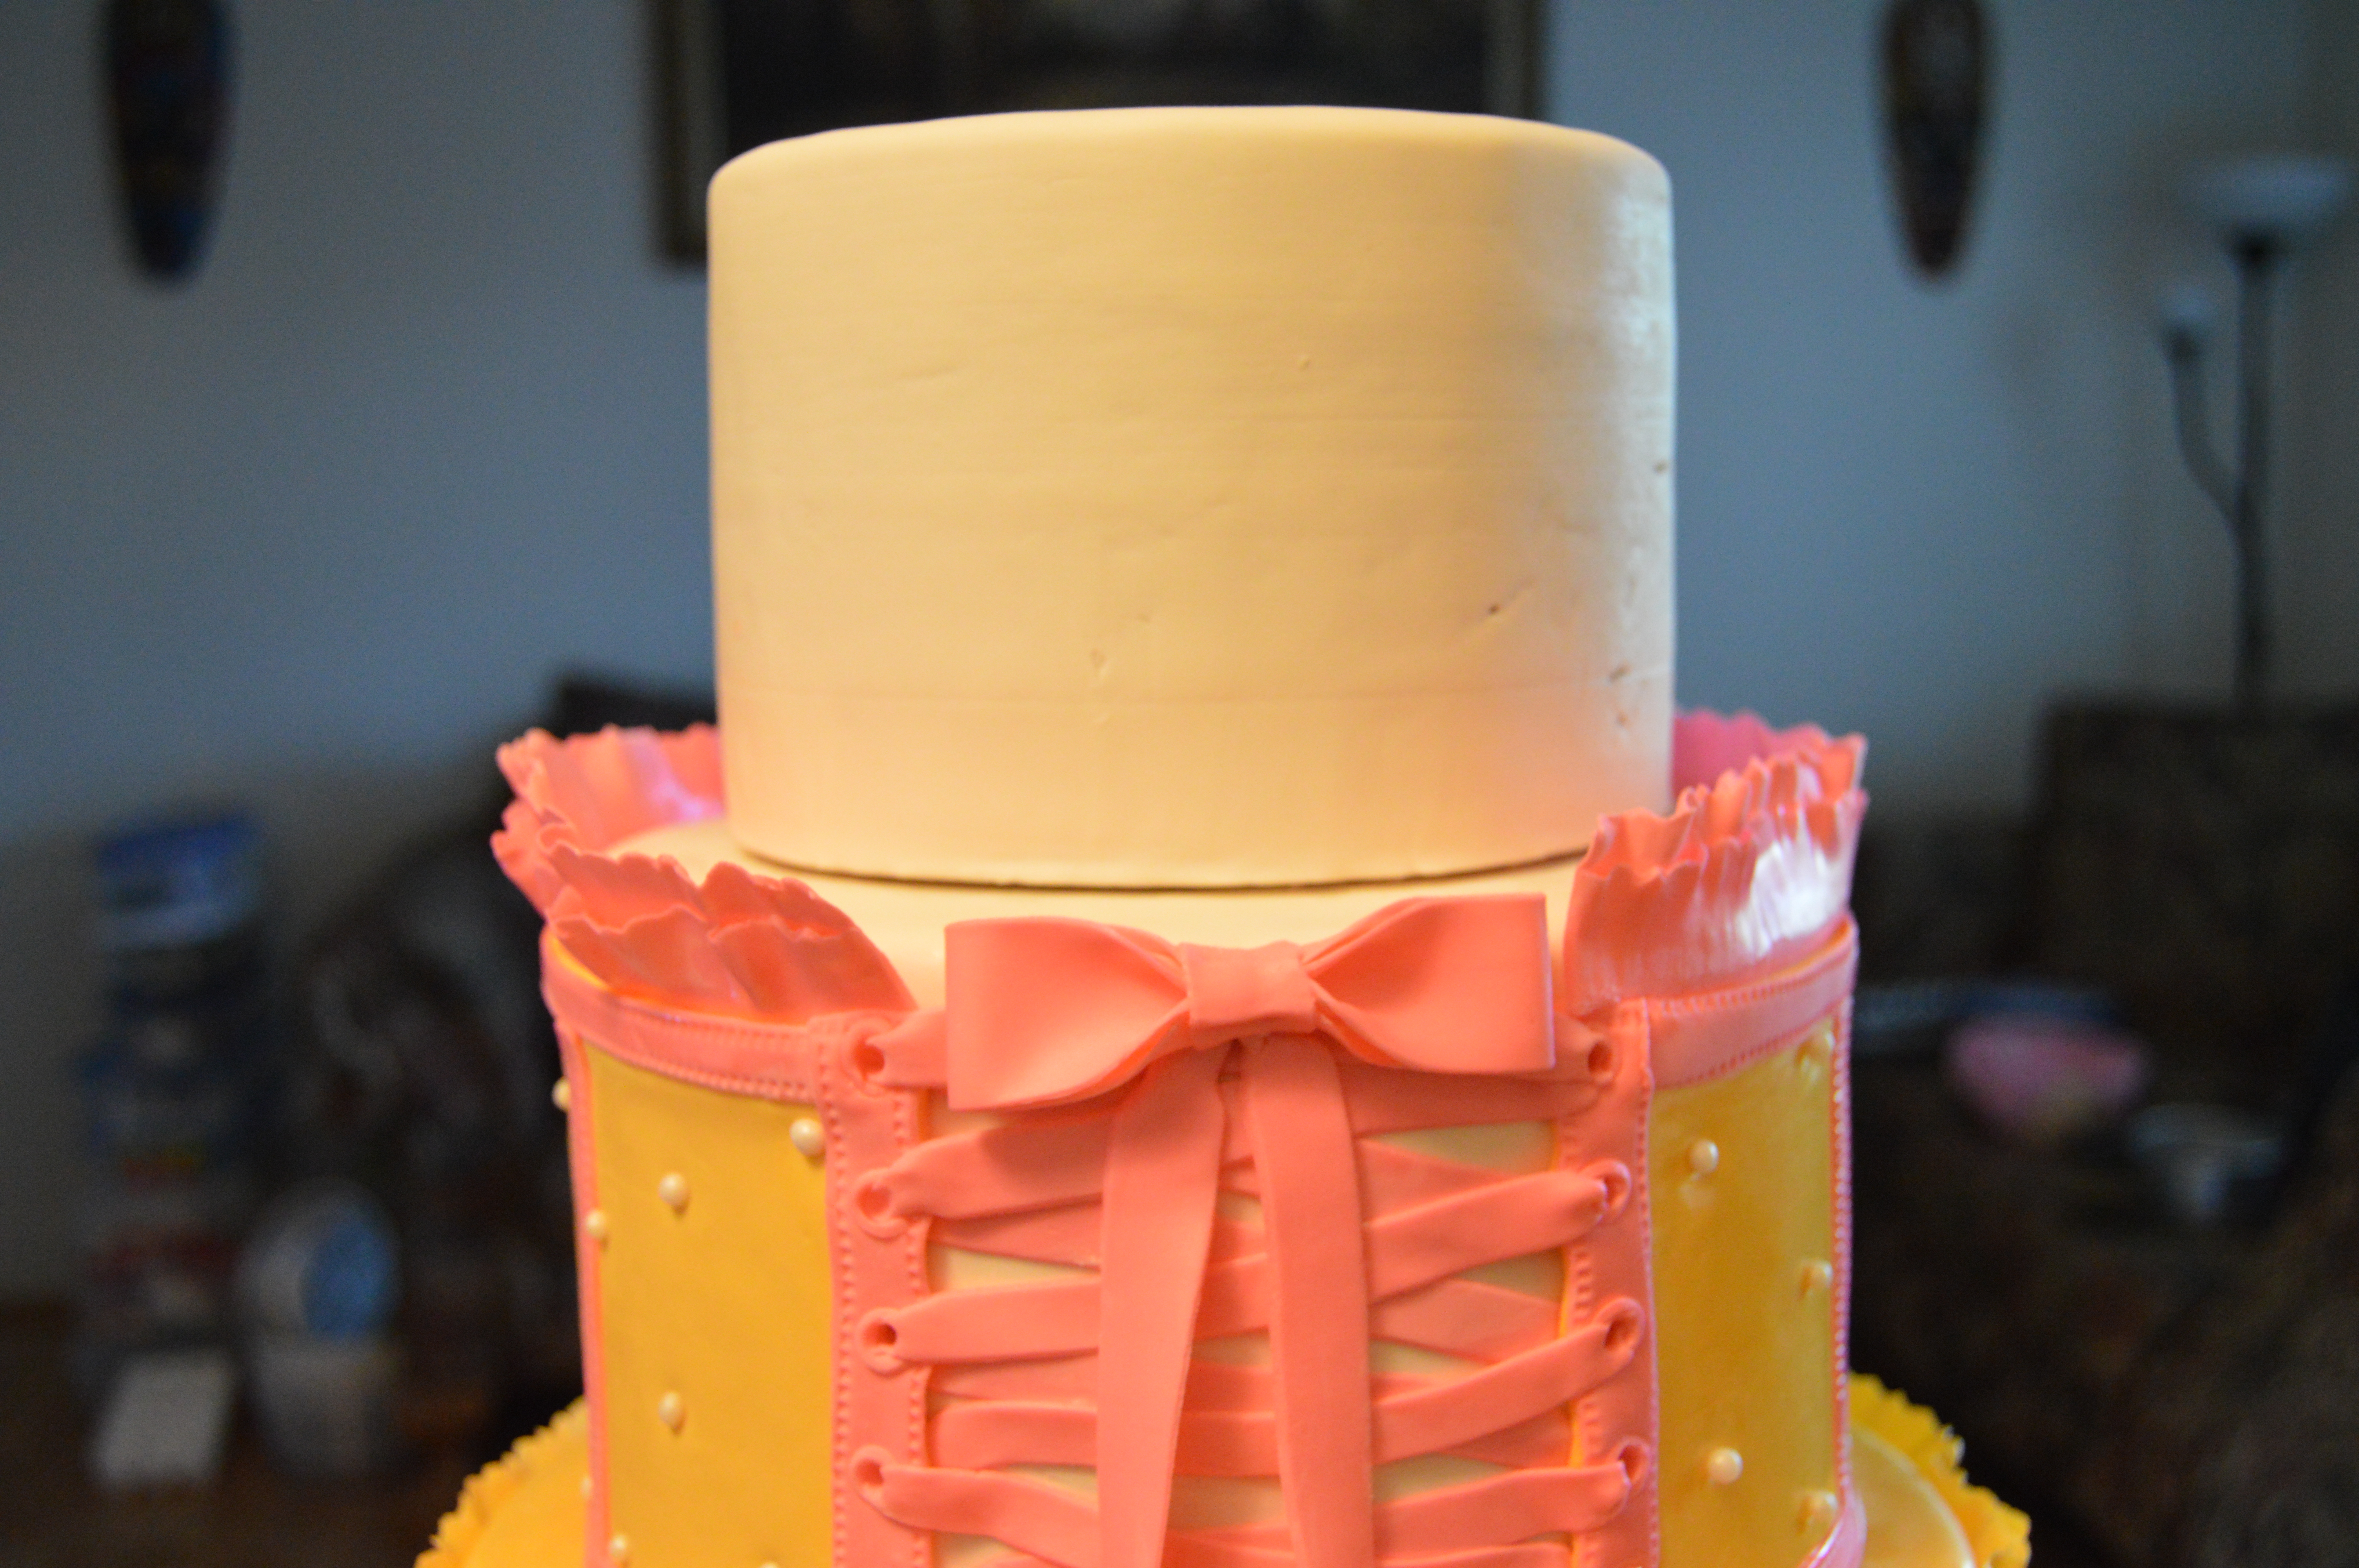
(6) Create the bodice which will go around the second tier. Measure the circumference and height of the second tier and roll out yellow fondant the same height as the tier but with a shorter circumference so there is an opening in the front of the tier. Make two layers of pink frills and stick them to the top of the bodice. Line the edges of the bodice with thin pink strips of fondant. Place another vertical pink strip of fondant about 3 inches from the edges of the rectangle. Run a stitching wheel over the pink fondant. Create lace holes at both ends of the bodice. Do this by placing round pieces of fondant at the edges and passing a thin paint brush trough them.
(7) Brush the side of the second tier with a little bit of water or vodka and wrap the bodice around it.
(8) Make laces using thin strips of pink fondant and stick them to the front of the bodice. Pretend you are lacing a real bodice or shoe and follow the same pattern. Finish this with a small pink bow on top and larger laces extending from the bow to the bottom of the tier.
(9) Dowel the second tier and stack the top tier on it.
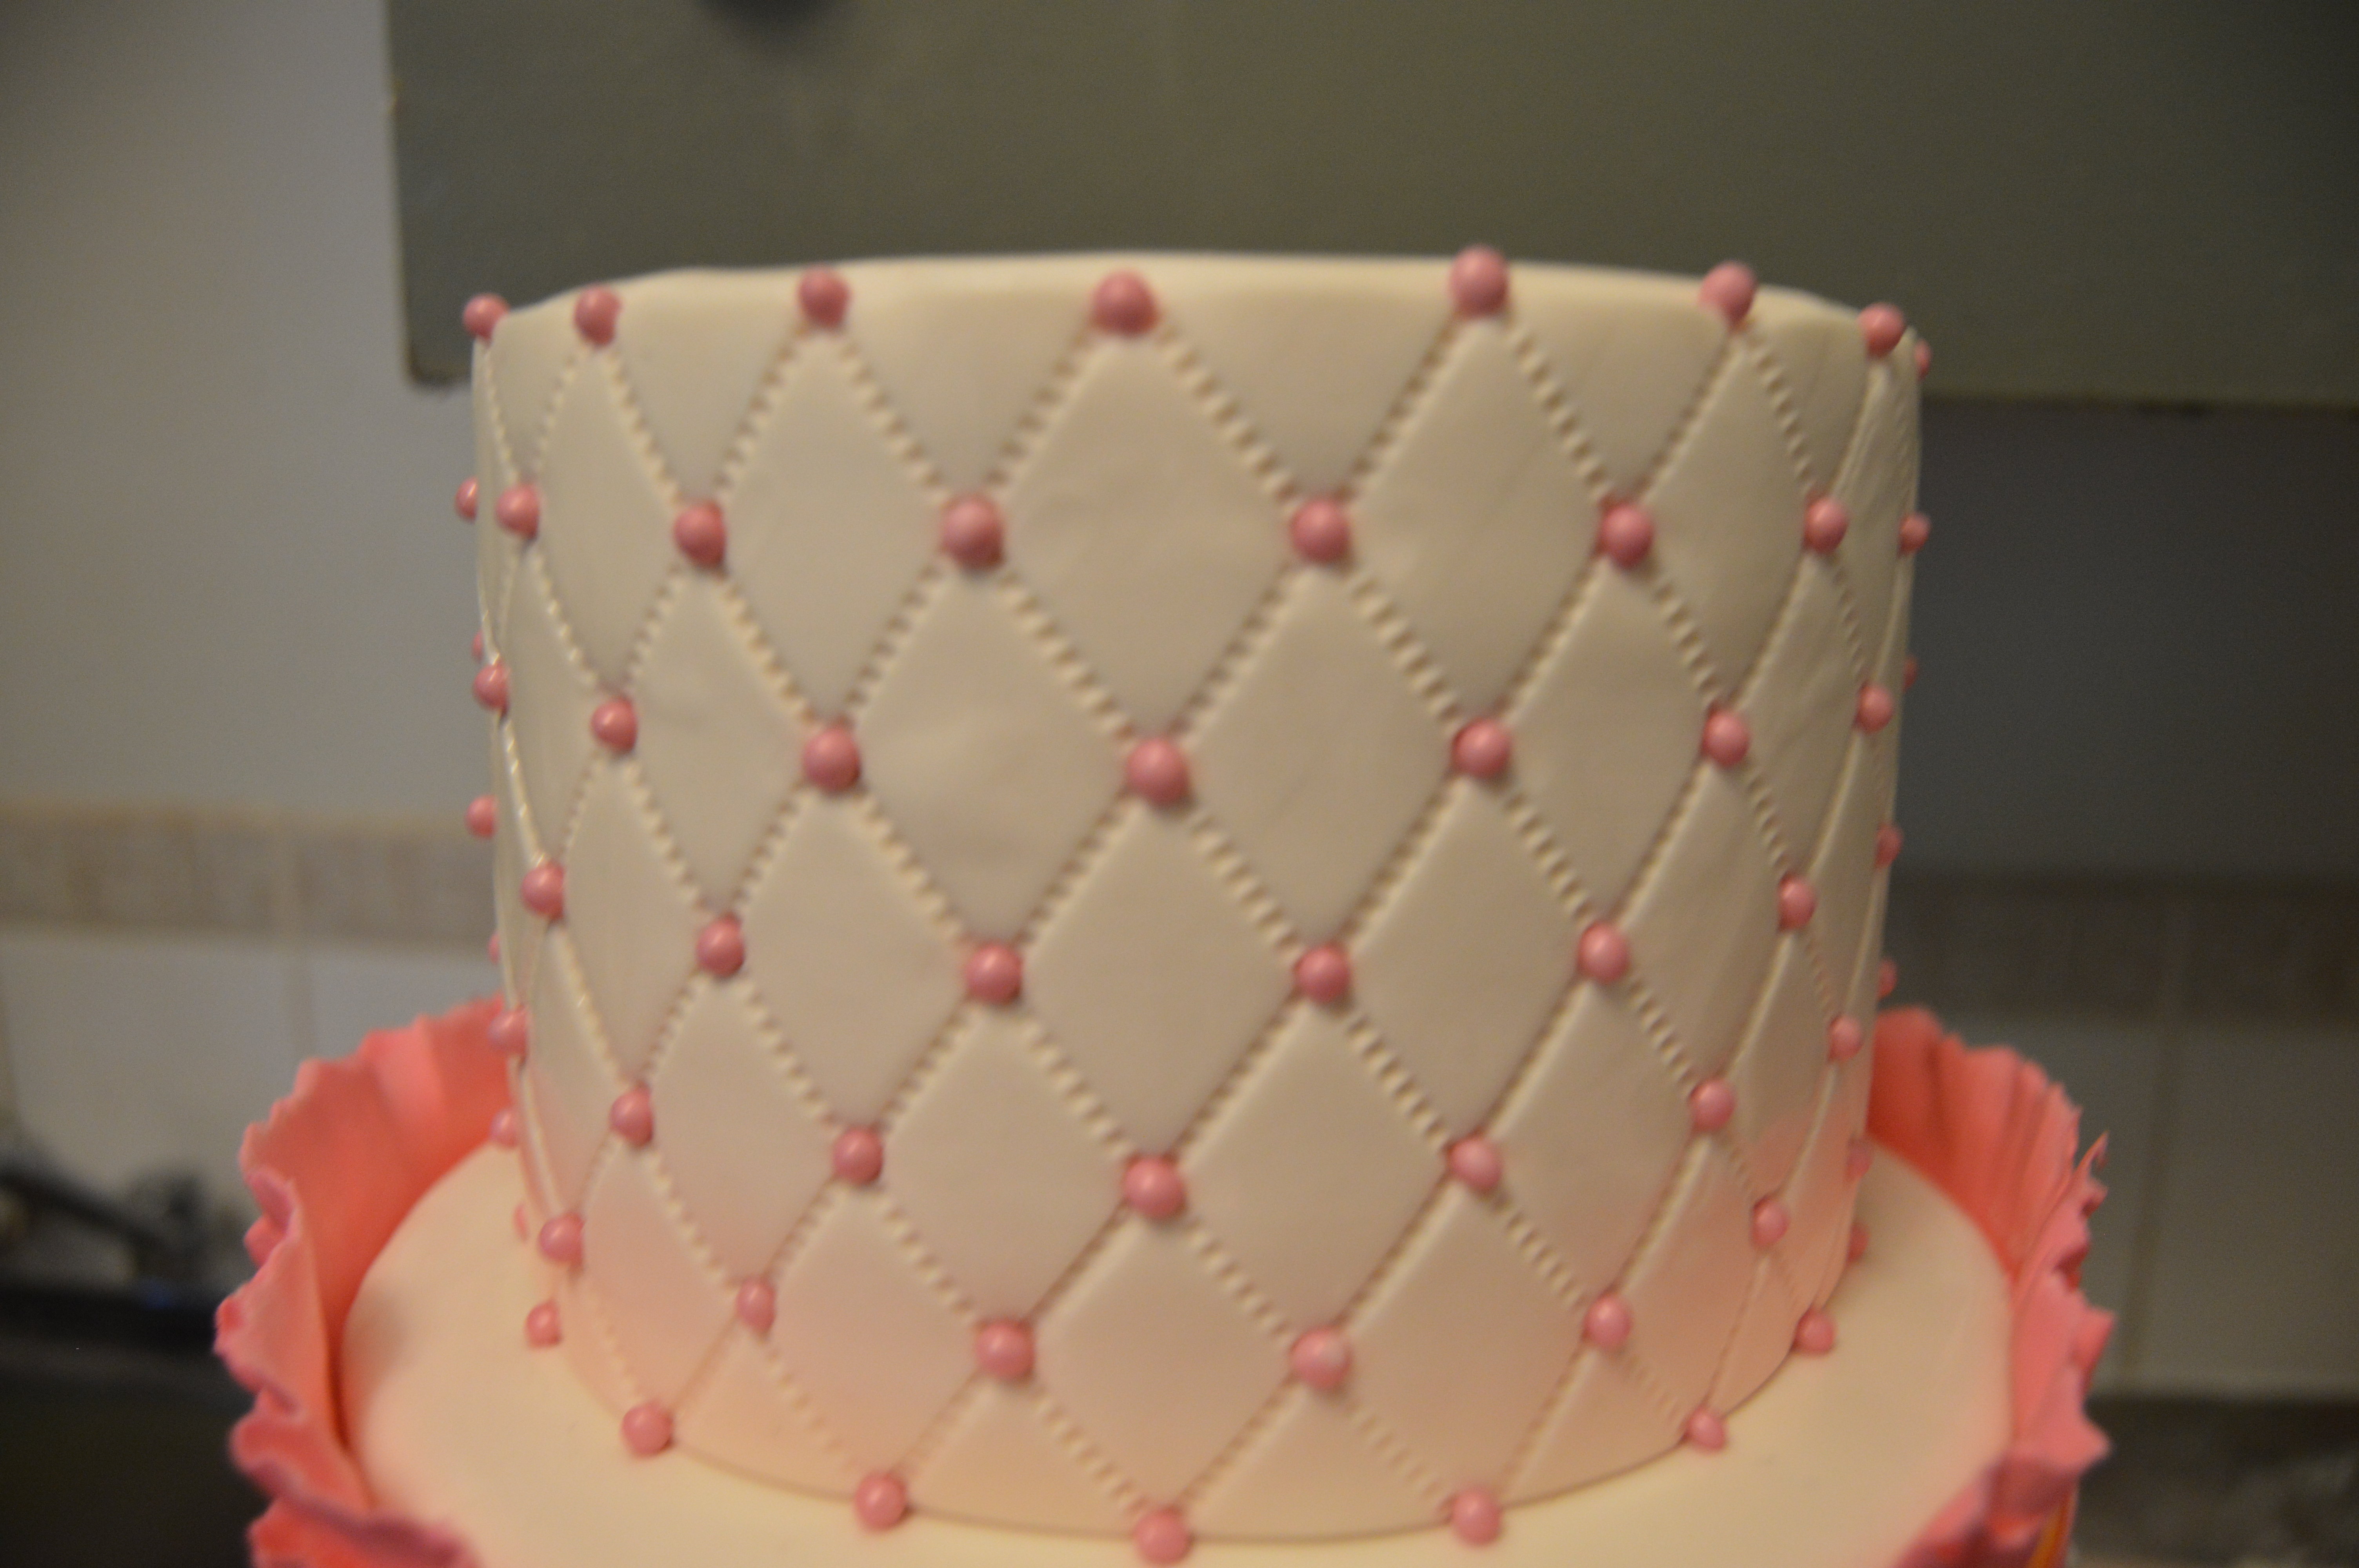
(10) Make diamond patterns on a strip of ivory fondant and wrap the top tier with this. A tutorial on how to do this an be found here.
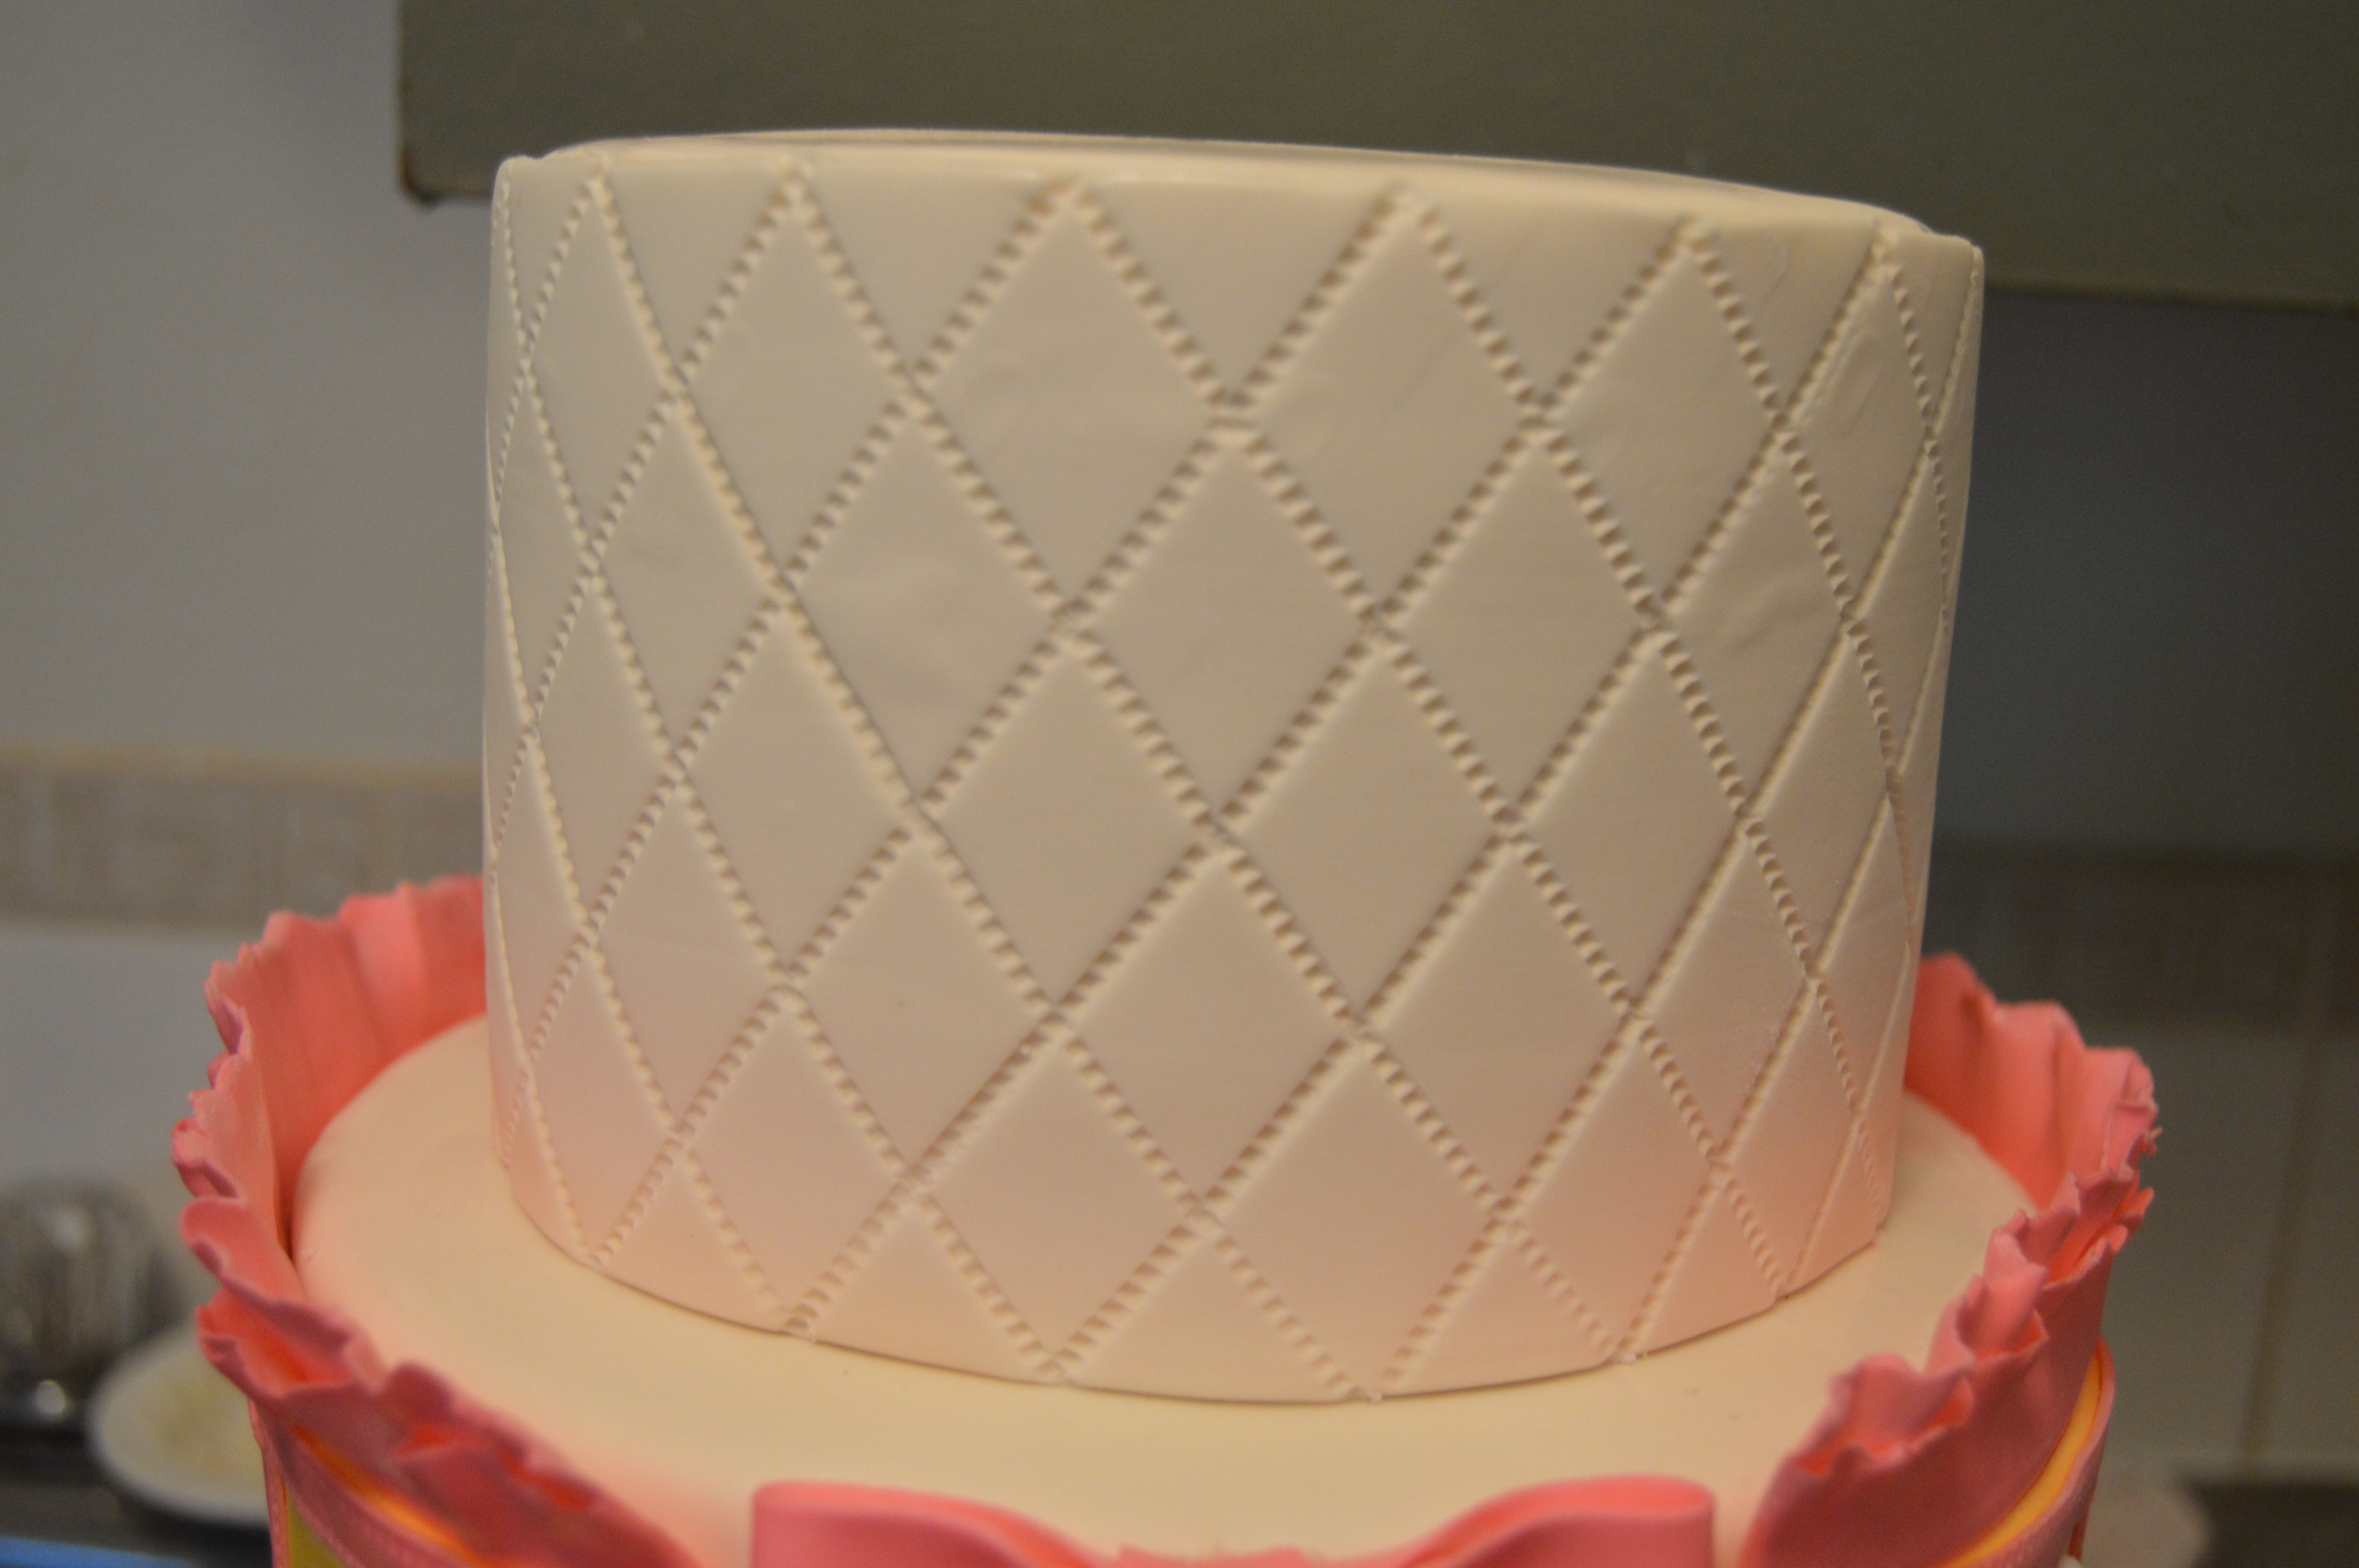
(11) Complete the diamond look by embedding pink sugar pearls on the diamond pattern.
(12) Sharpen one end of a wooden dowel and pass it down the middle of the top tier, through the cake cards underneath the top and second tiers and on to the bottom of the bottom tier. This will offer better support and stability to the cake. Make sure that when you stacked the tiers initially, you did not place any dowels in the middle of the tiers. Cover the hole on top with a small piece of ivory fondant.
(13) Insert the ballerina slippers into the top tier and attach pink fondant laces to them. Allow the laces to dry before brushing them with vodka.
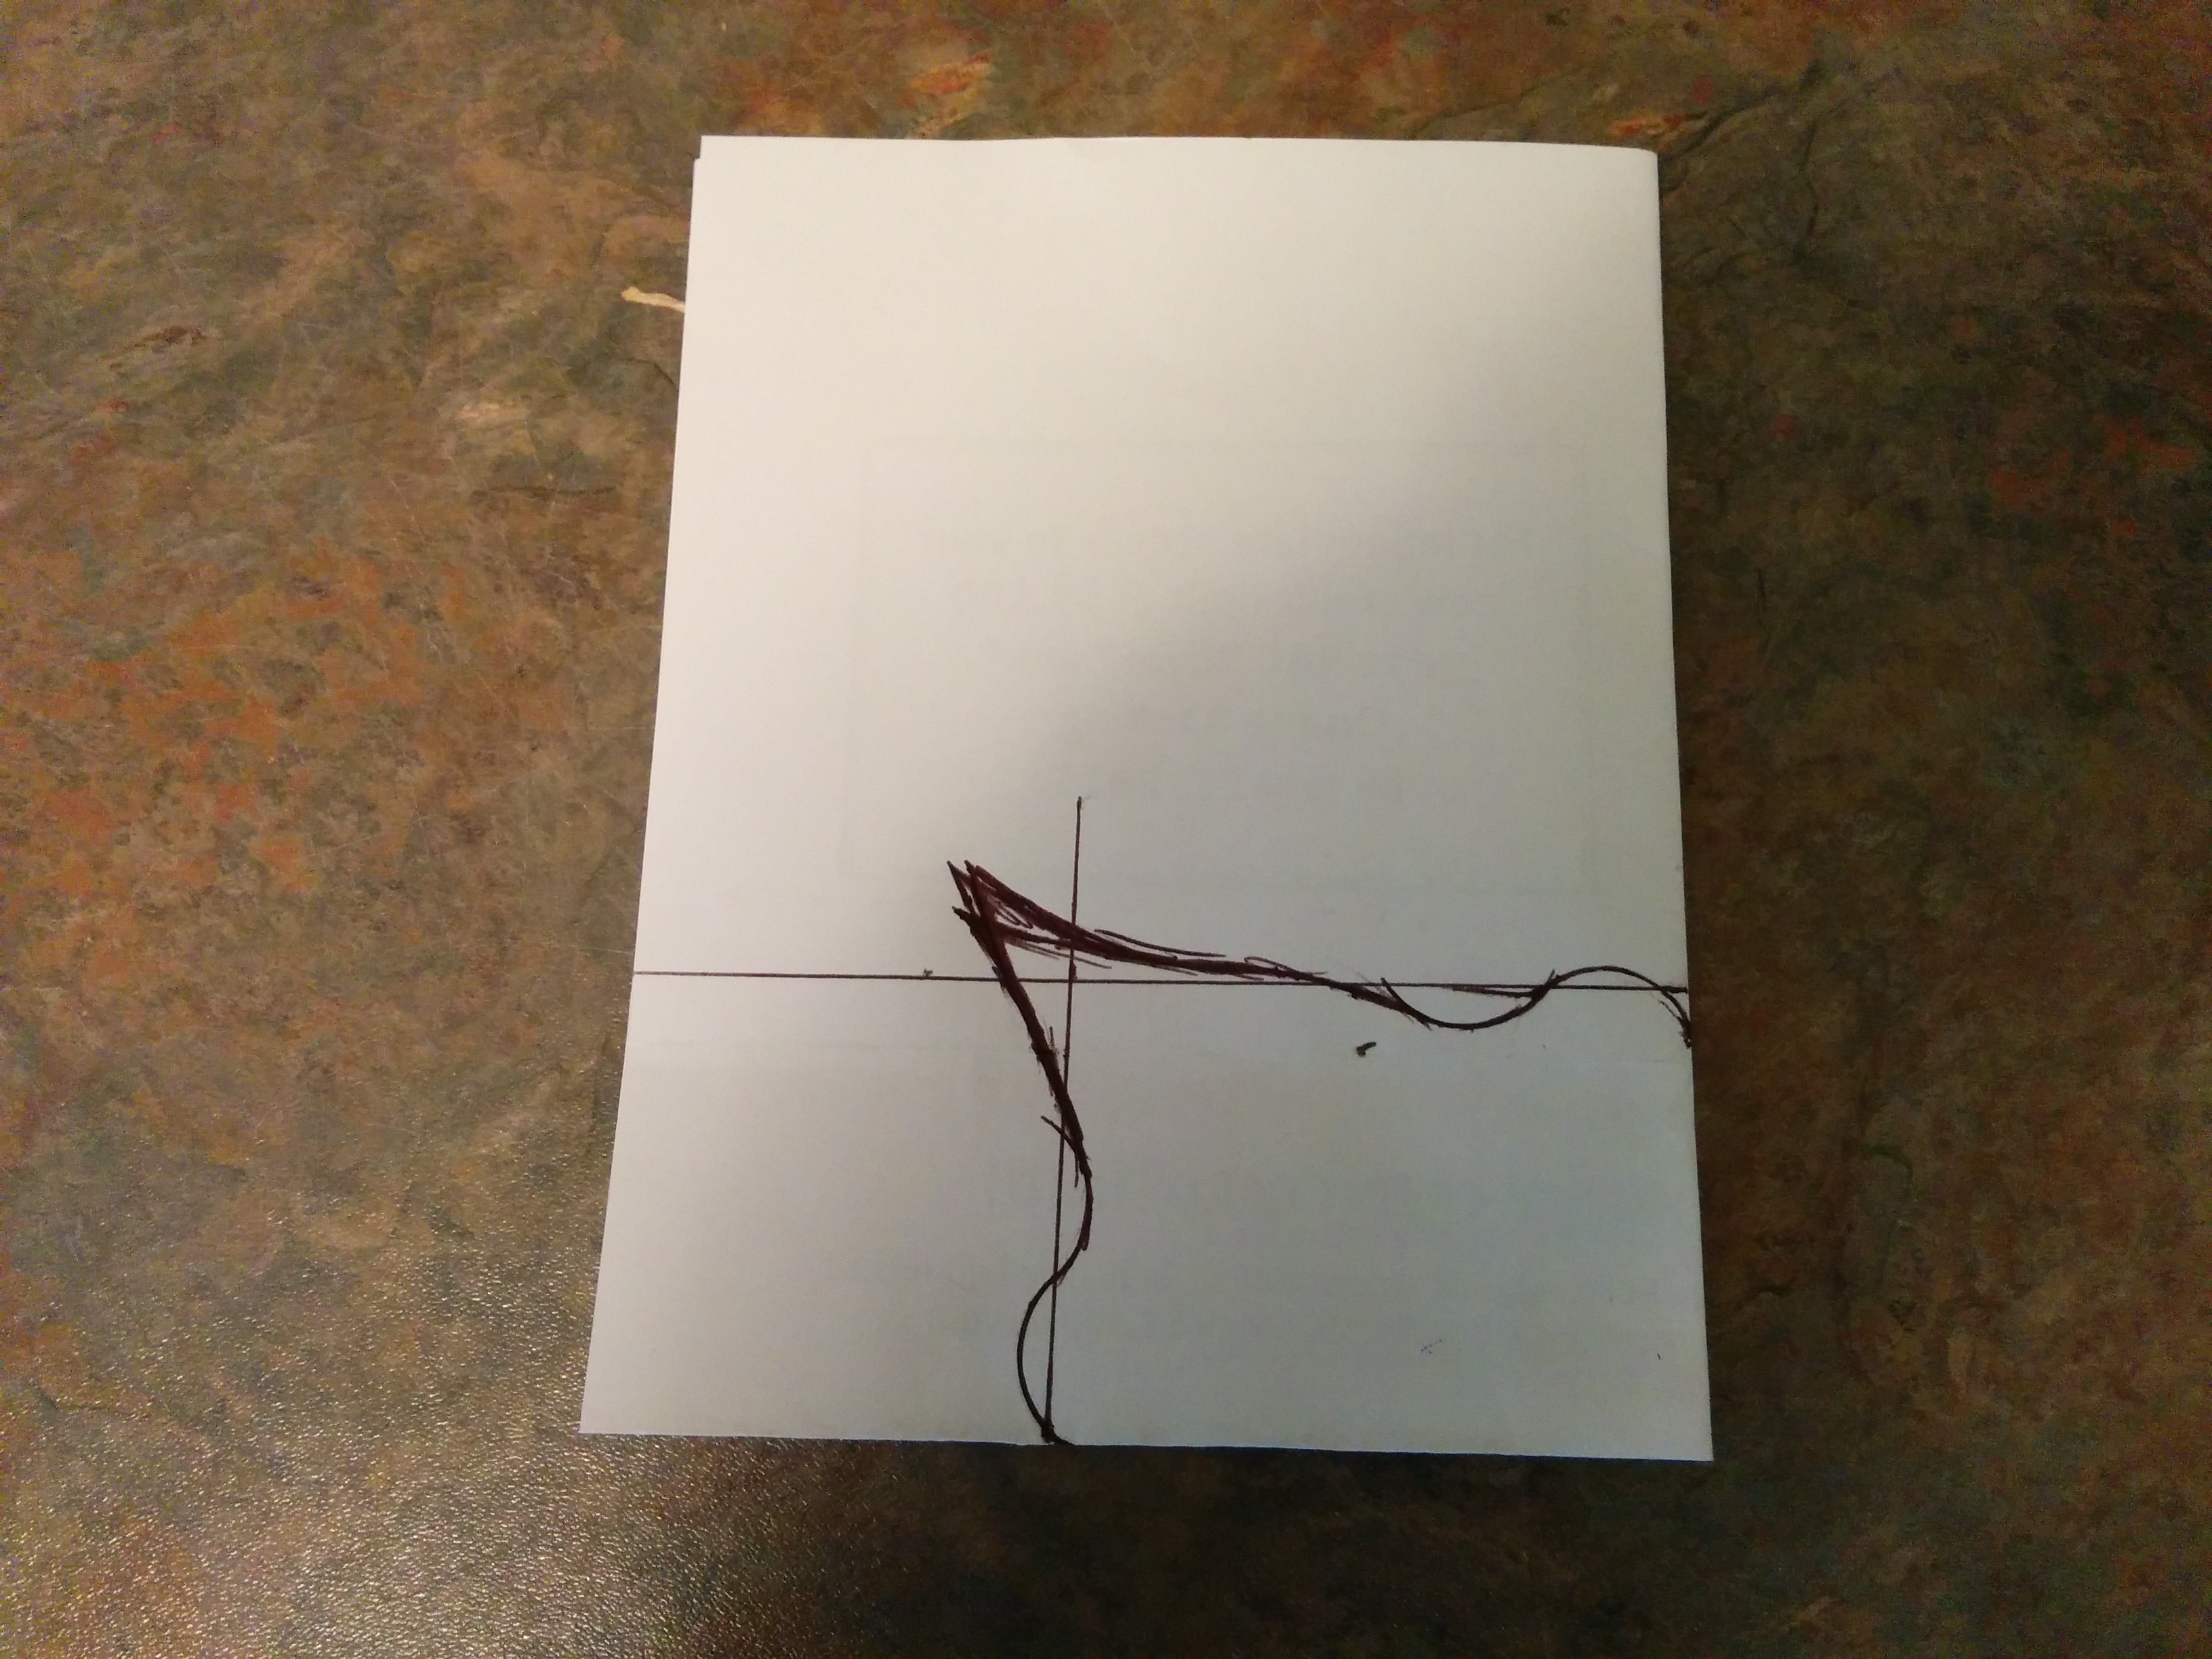
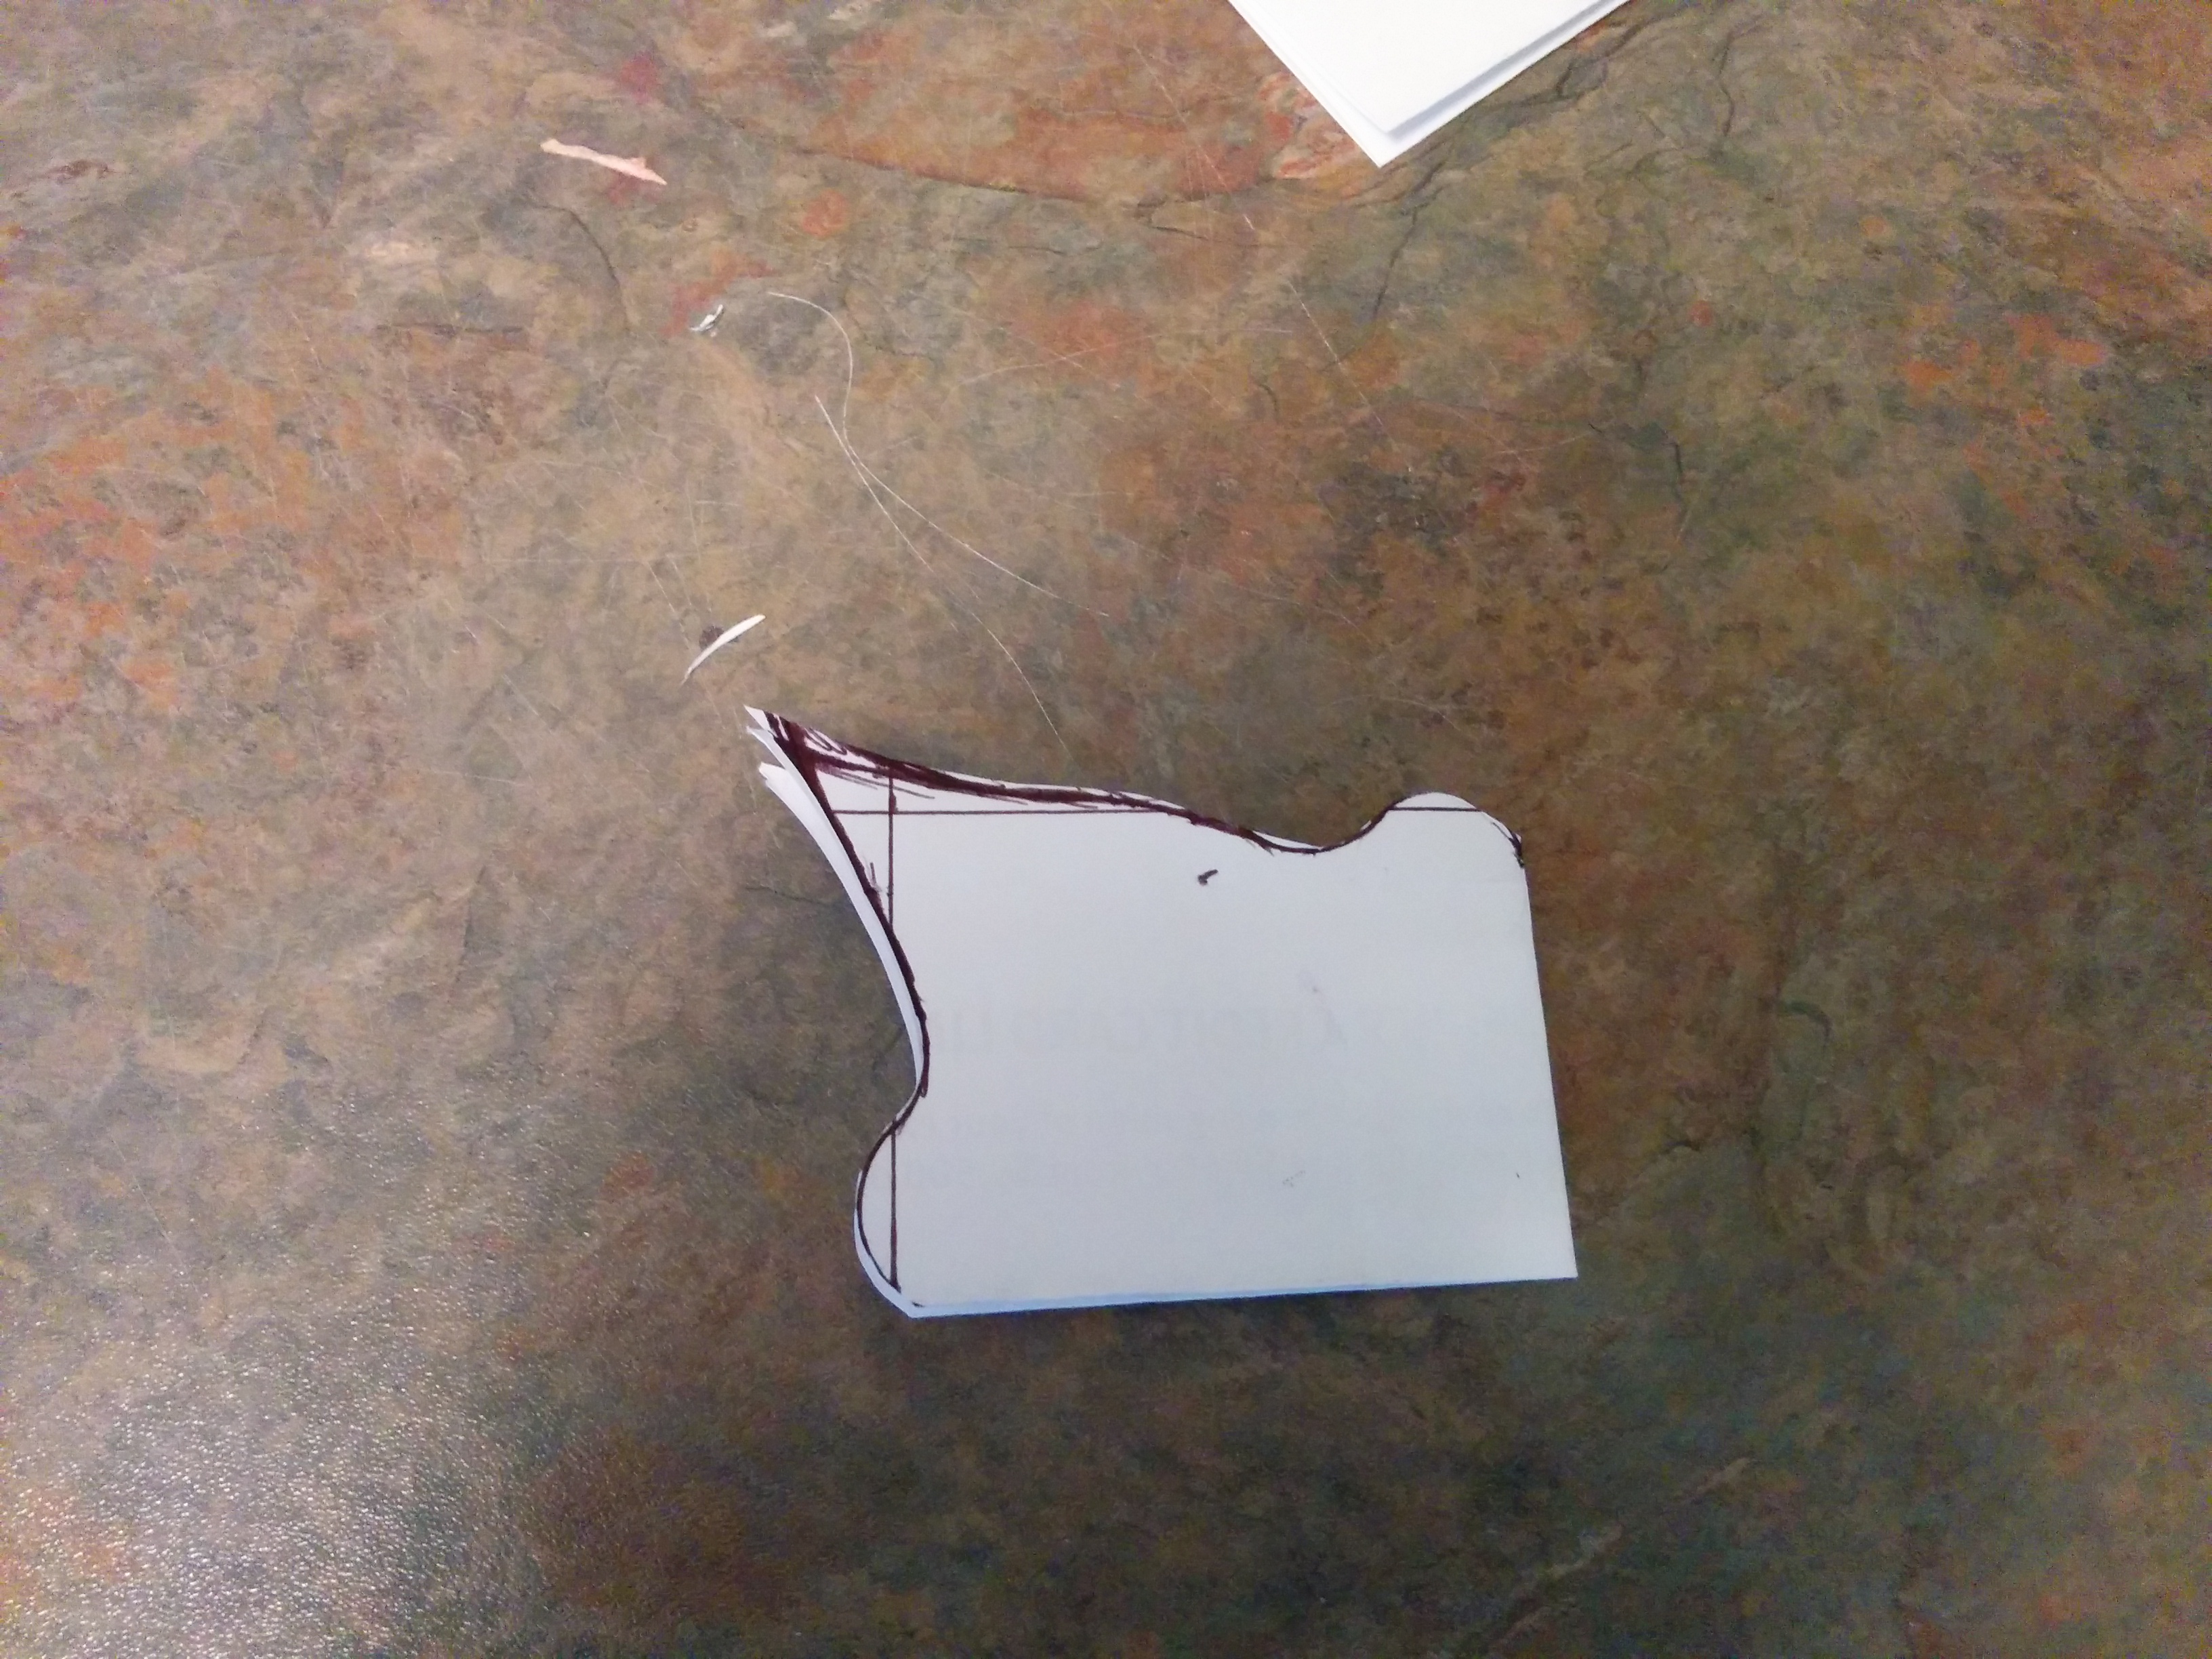
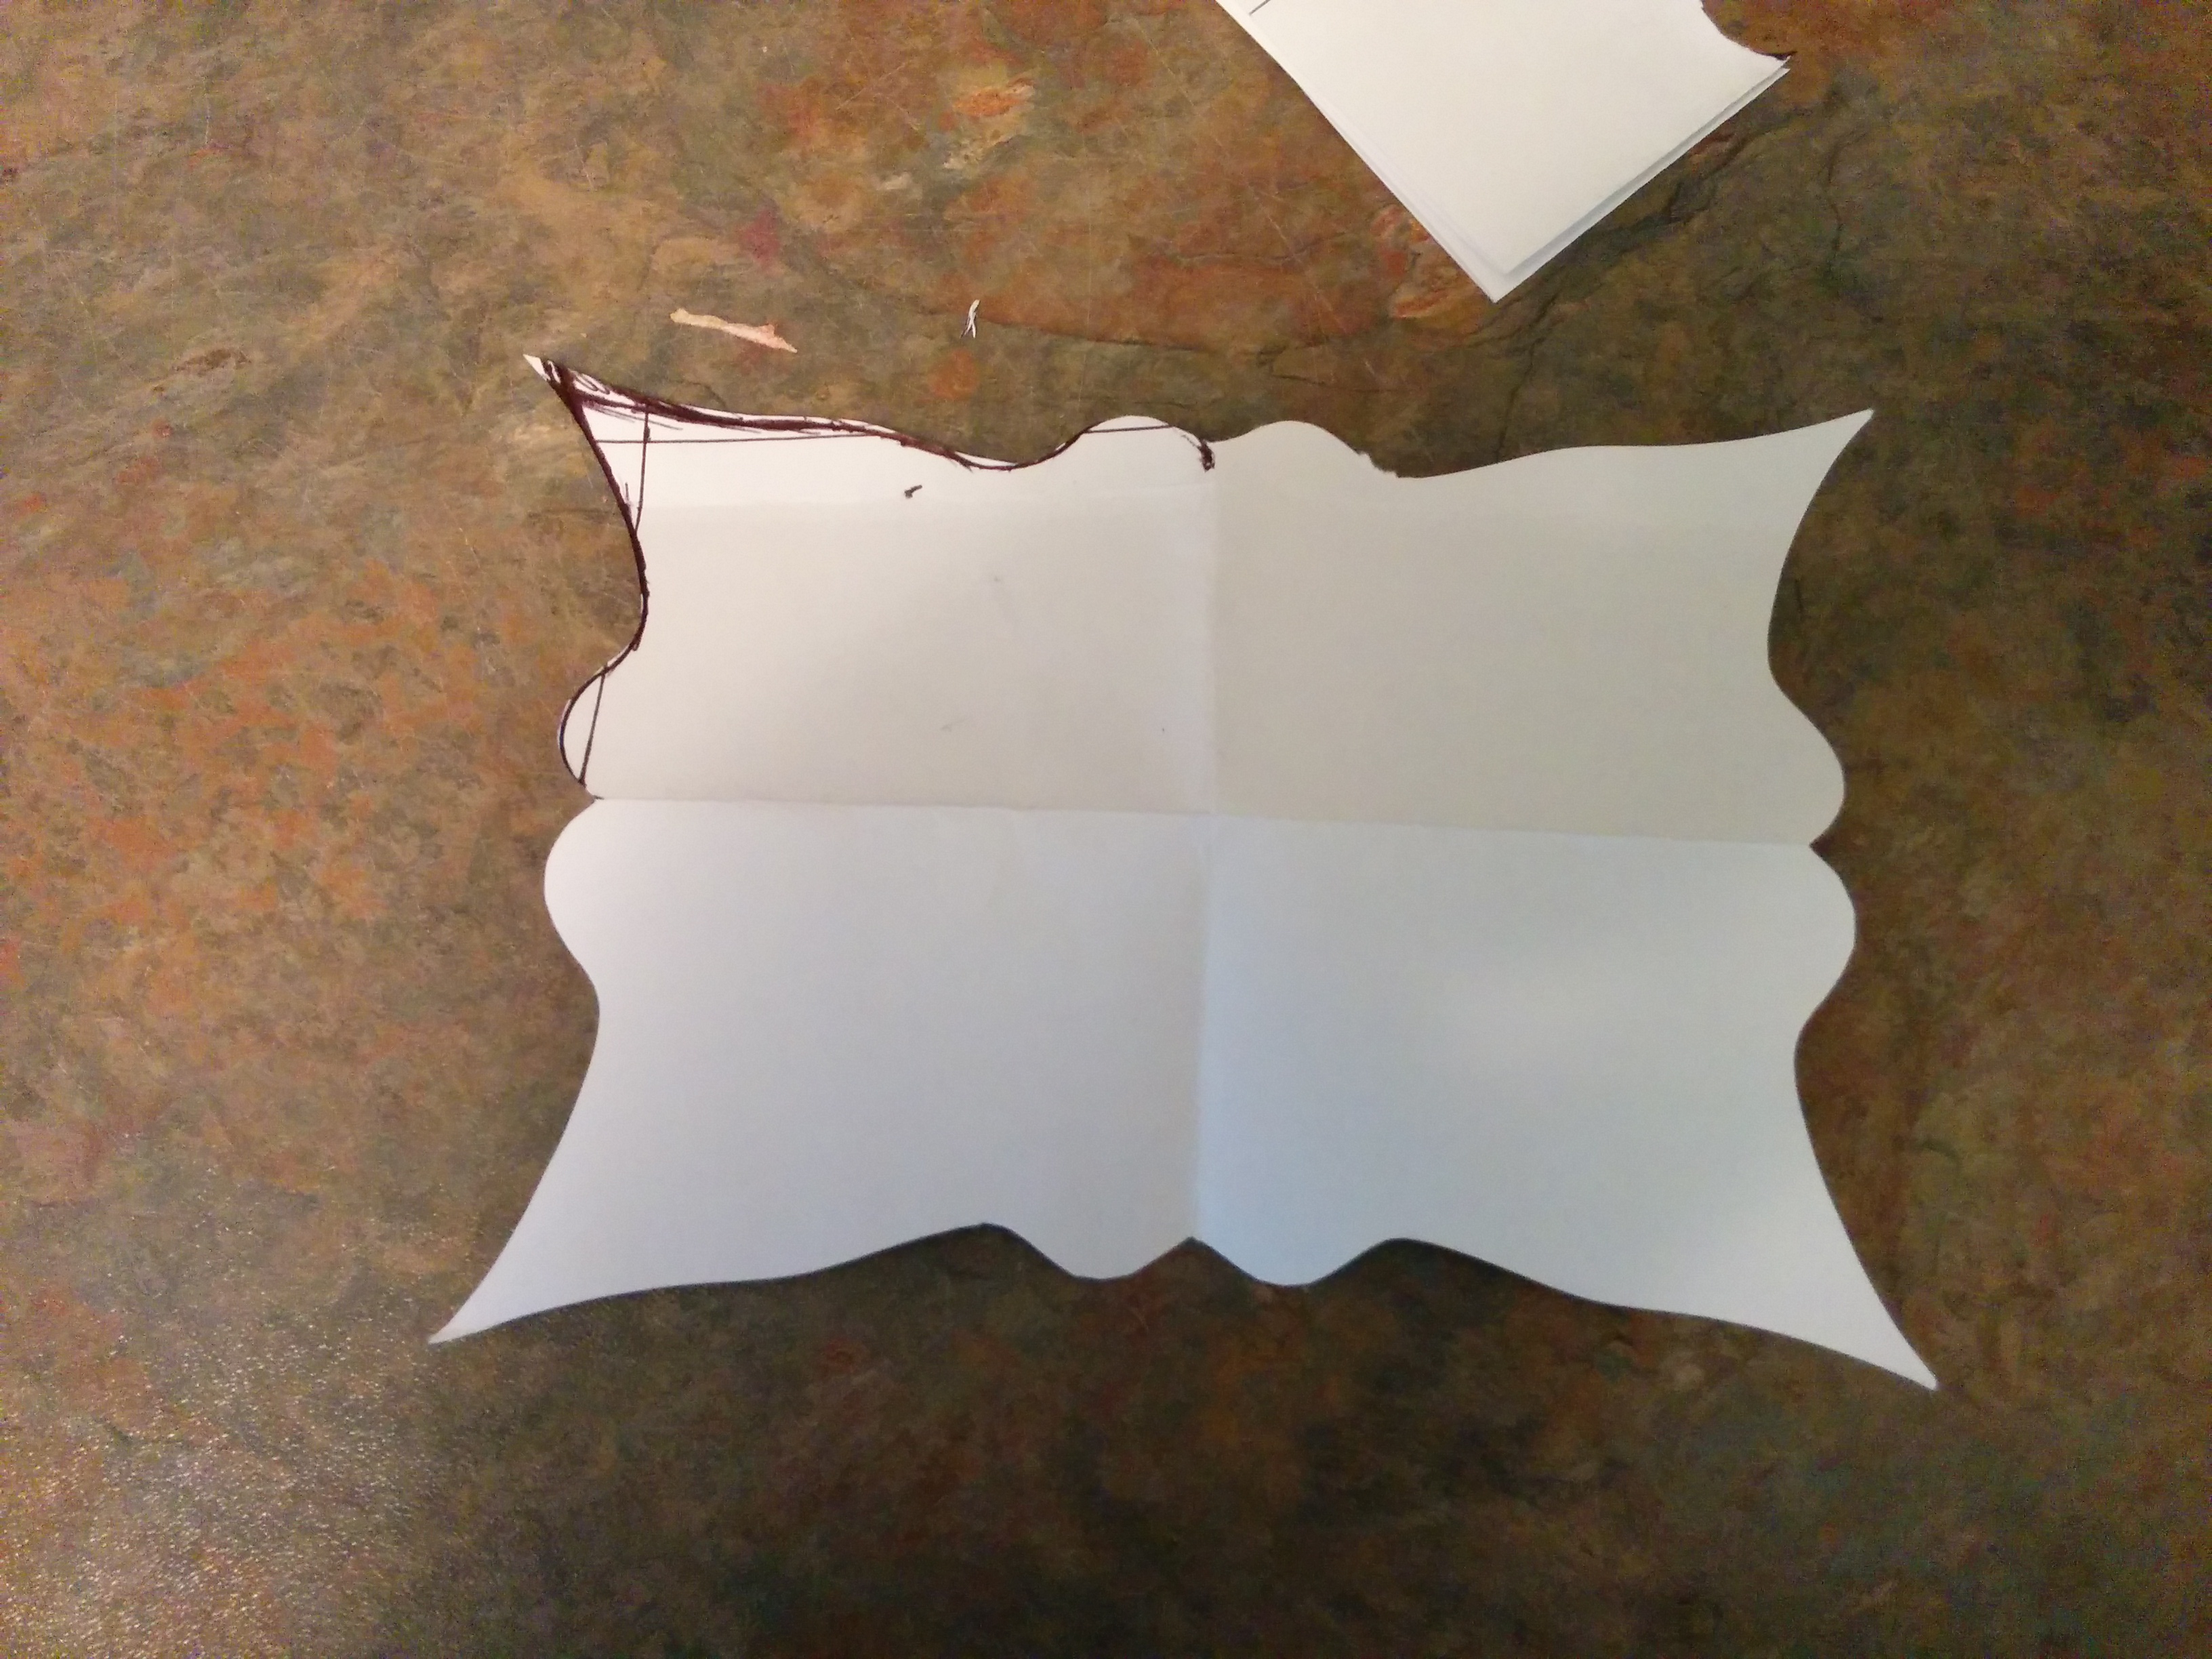
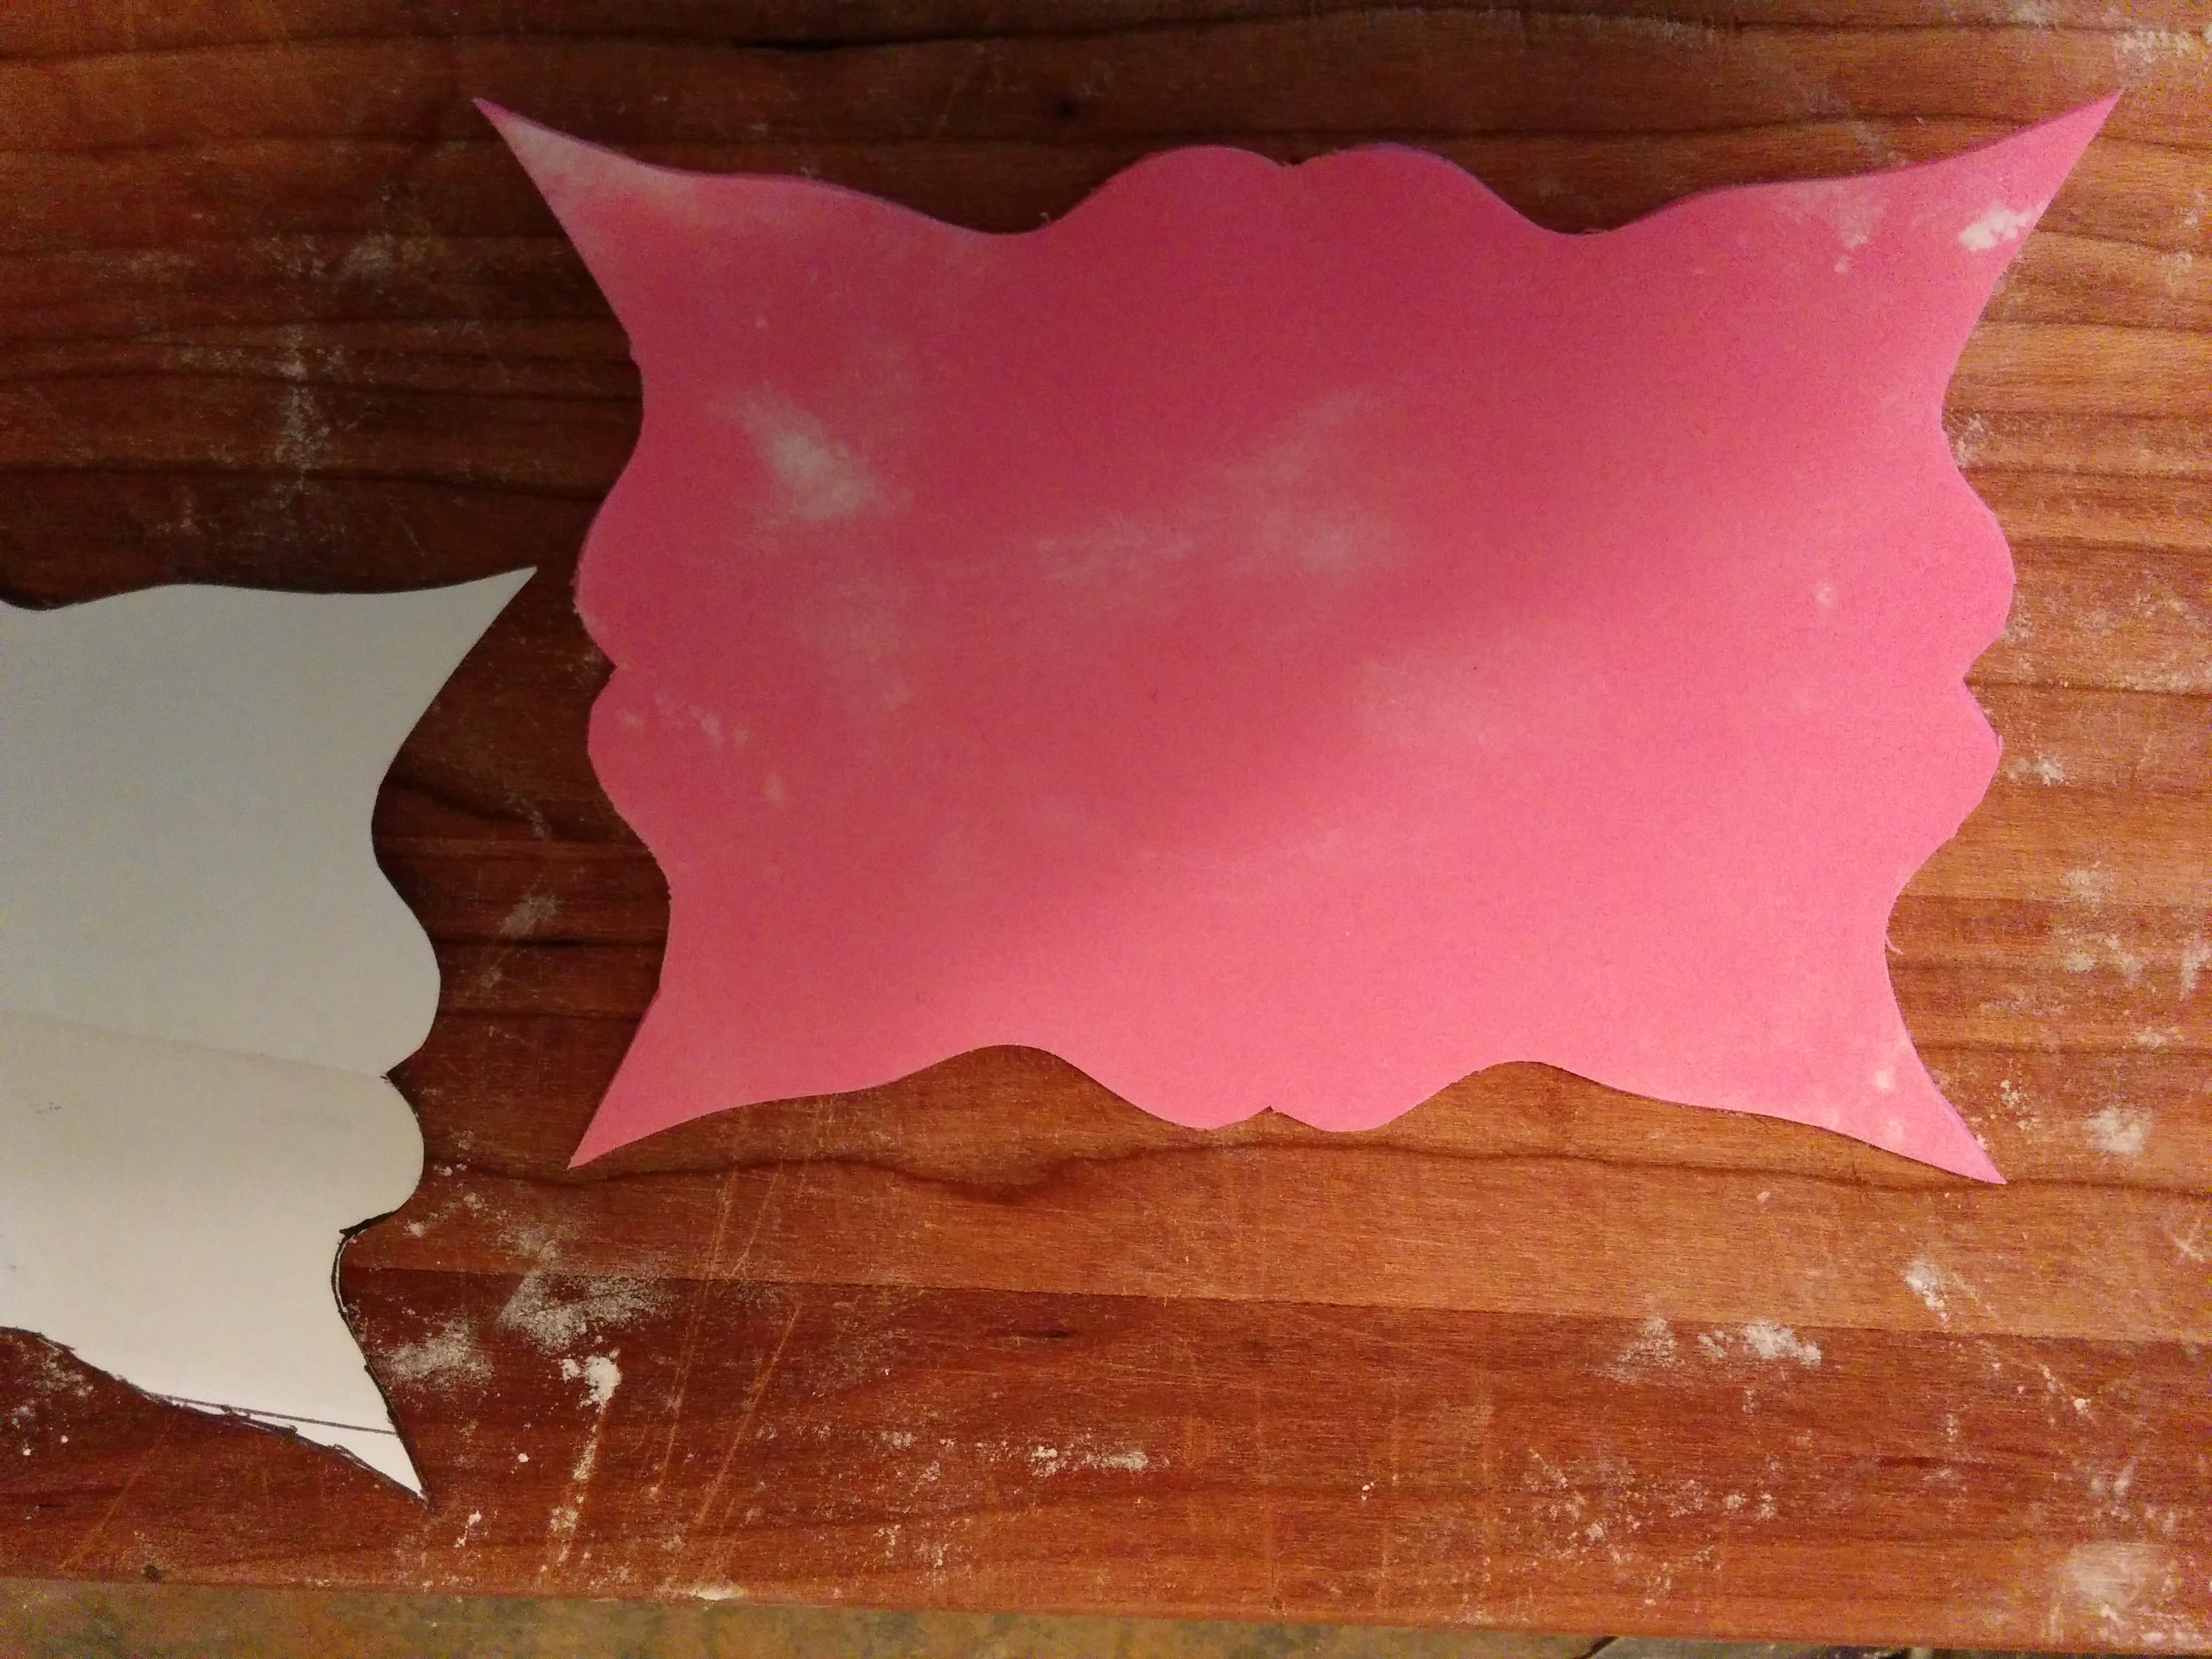
(14) Make the message tag out of pink fondant and attach this to the front of the top tier. There are large cookie and fondant cutters which you can use for this. I did not have any. What I did was fold paper into four and draw a forth of the tag on an angle. I cut this with scissors and opened up the paper to reveal the design. I then rolled out pink fondant and cut it out using the paper template.
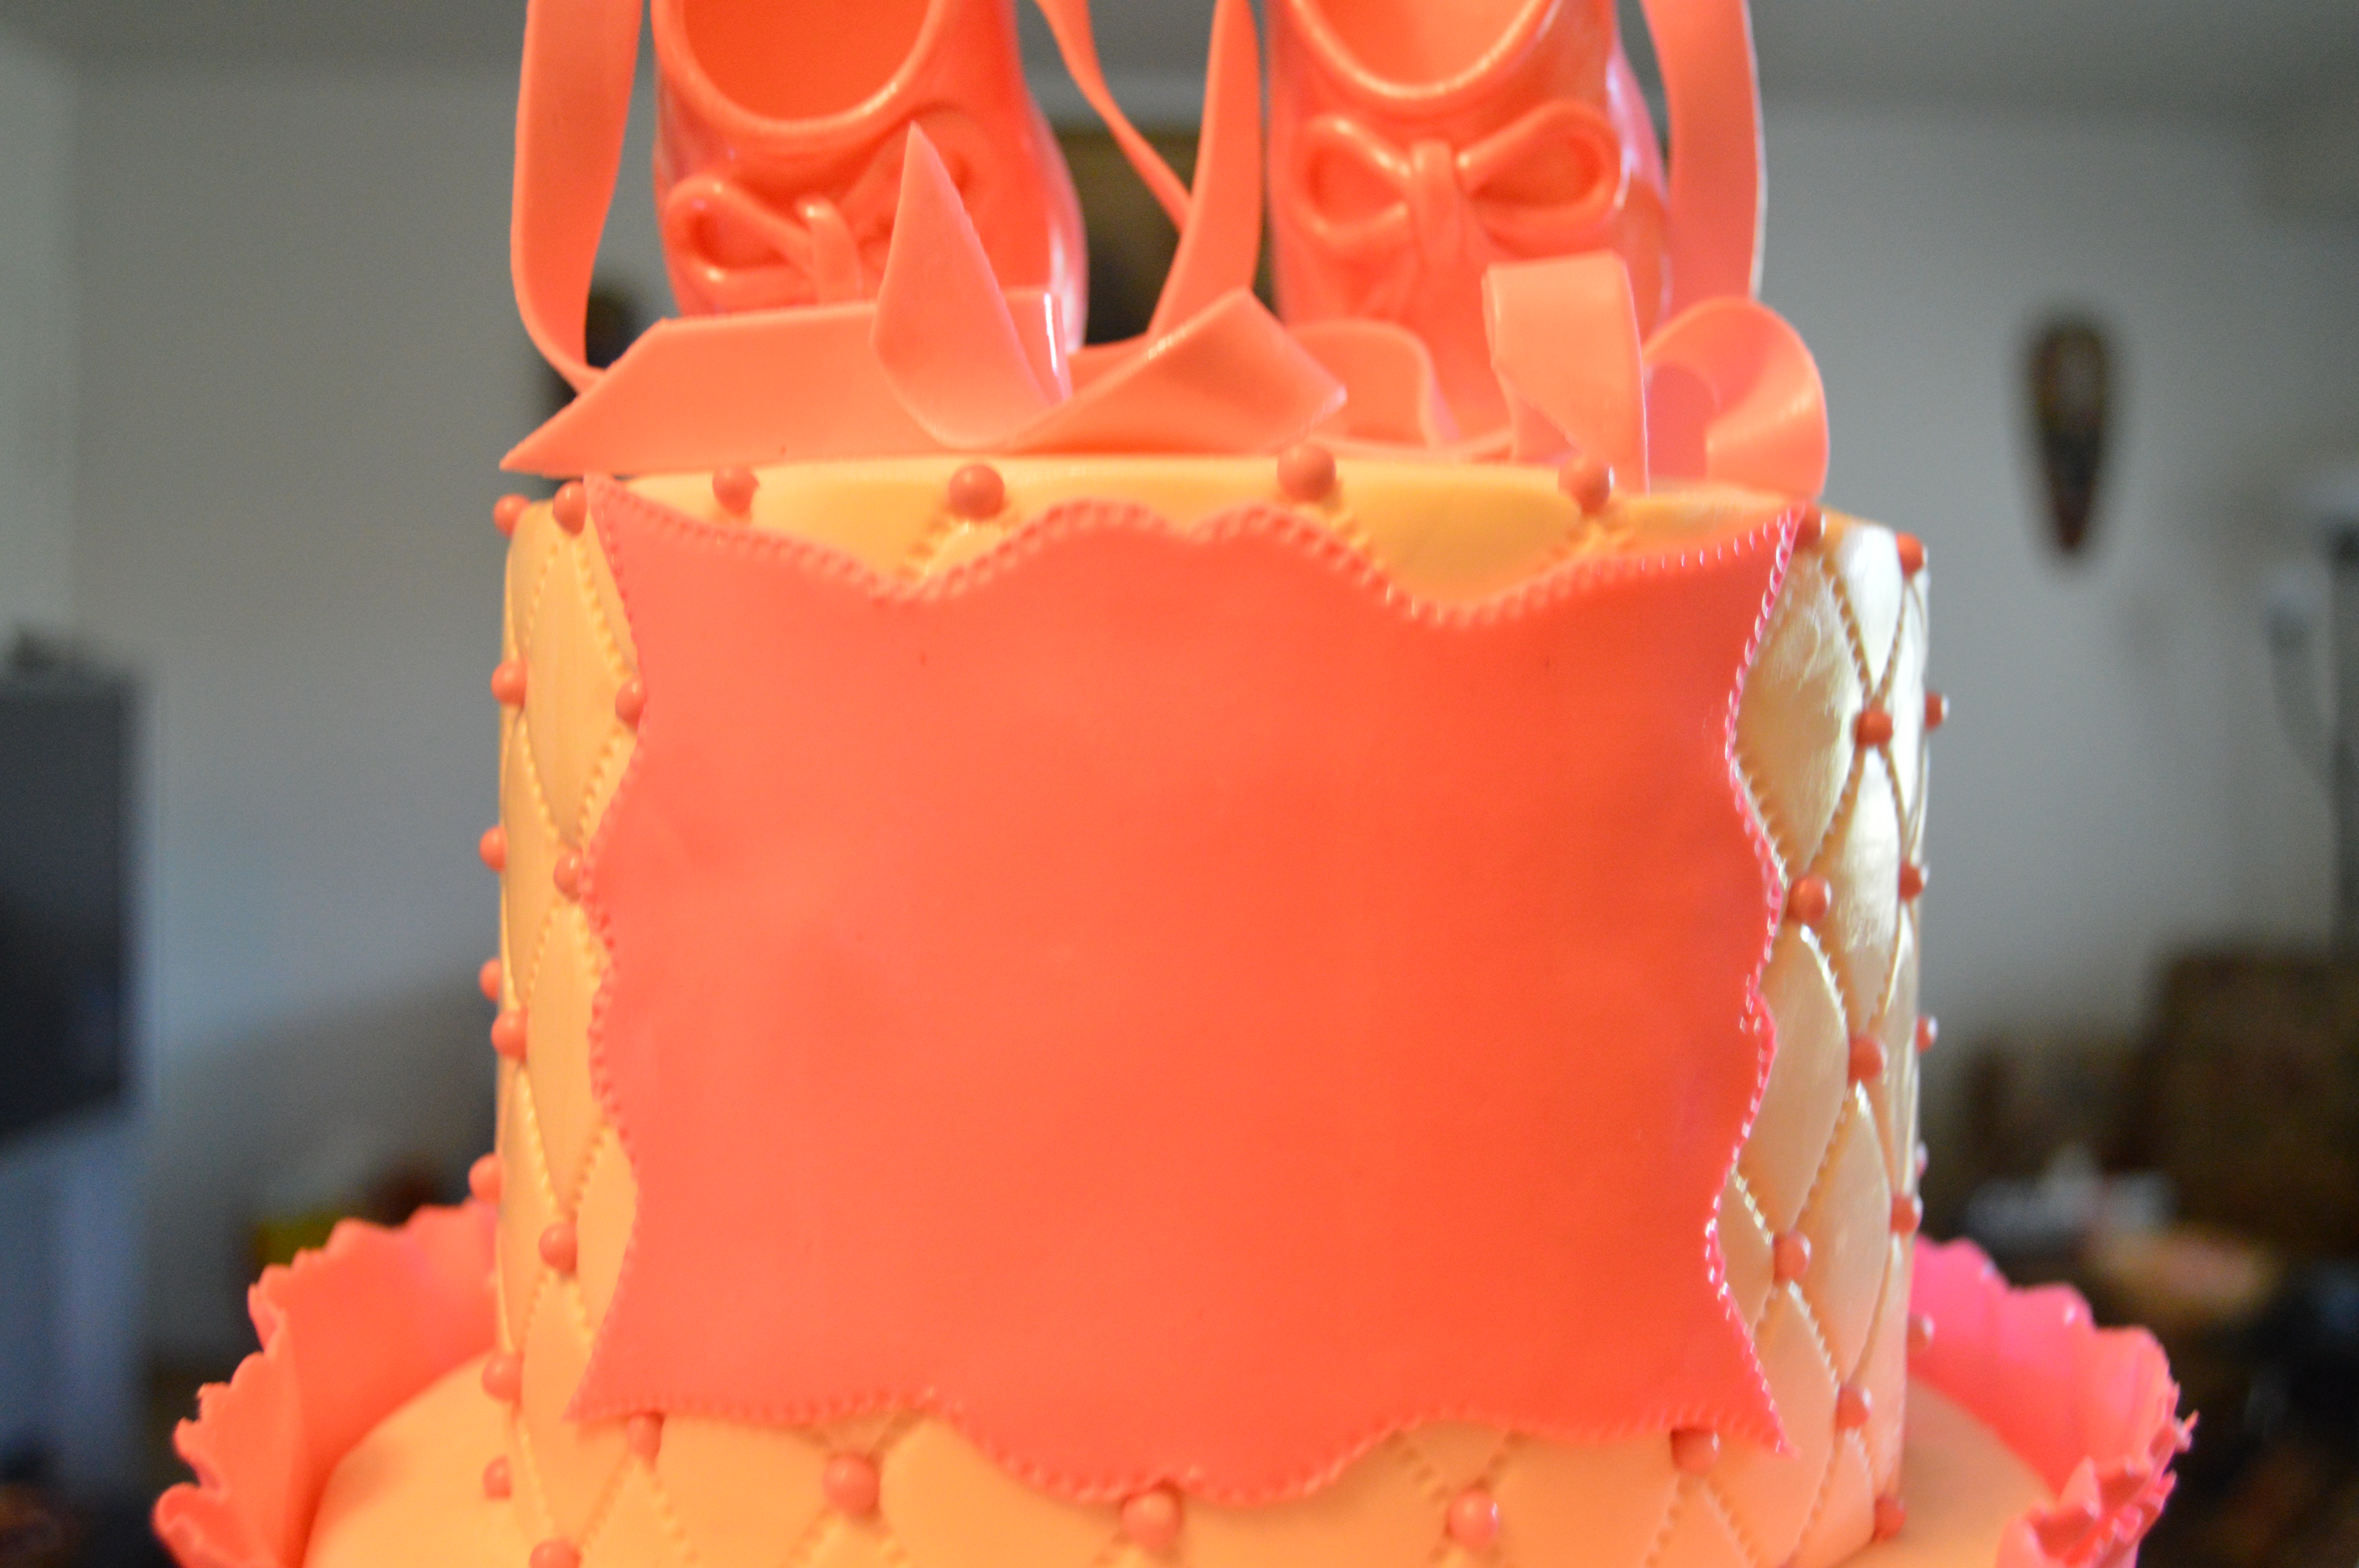
TIP: In retrospect, I would have placed the pearls on the cake after placing the tag. I had to remove some of the peals so they didn’t form bumps underneath the tag.
(15) Use a letter cutter or mold to cut out the names and stick them to the tag. I used a small Wilton letter cutter here and made tiny holes on the letters using a toothpick. The cake belonged to a set of twins, hence the two names.

That’s all there is to it. Happy caking!
Terry Adido is passionate about showing people how easy it is to recreate restaurant quality meals in the comfort of their kitchens. With a style of cooking he refers to as Afro-European Fusion, his meals are influenced greatly by French and Italian Cuisine with a West African twist. If you love good food, you are in for the ride of your life.
Waoooooow! Nice one terry.God bless u
Thanks Chioma.
U’ve been a blessing and inspiration to me, God bless u Terry!
Thanks Joy. I appreciate you.
This is wonderful!! Thank you so much for taking your time to teach on this. That is one of the things I love most about your tutorial. You are always patient; making sure you touch all there is to know irrespective of how long the lecture will take. Thank you so much. God bless you
Thanks Blessing. I’m glad you are learning a thing or two from the tutorials.