
Foundant Mickey Mouse Clubhouse Tutorial

This is a tutorial on how I make Fondant Mickey Mouse Clubhouse cake toppers. As with all my tutorials, the process is really quite simple and straightforward. It however involves steps which must be followed in order to arrive at perfect results. This topper is great for Mickey Mouse themed cakes such as this one and this one. It should be made ahead of time, thus taking off some burden on the cake decorating day.

For a simpler and more direct Mickey Mouse Clubhouse topper, see my other pictorial which can be found here. This clubhouse is however an improvement from the other one. For one, I have found a way of making the fondant keep its shape, thus leading to well rounded parts.

TOOLS:
(1) Rolling Pin
(2) Paint Brush
(3) Blade or Pizza Cutter
(4) Wooden Dowels
(5) Fondant Wheel
EDIBLE COMPONENTS:
(1) Fondant. I used Marshmallow Fondant.
(2) Color Paste (Black, Red, Yellow, Blue)
(3) Vodka/Water
(4) Melted White Chocolate (for sticking to cake)

TUTORIAL:
(1) Divide your fondant and color them into the various colors needed. Roll them out into the various desired shapes. A tip for rolling out perfectly smooth fondant shapes is to apply a bit of shortening to the fondant while rolling. It is best to roll them between your palms while exerting some pressure on the fondant. The various shapes which need to be created are (clockwise from top left):
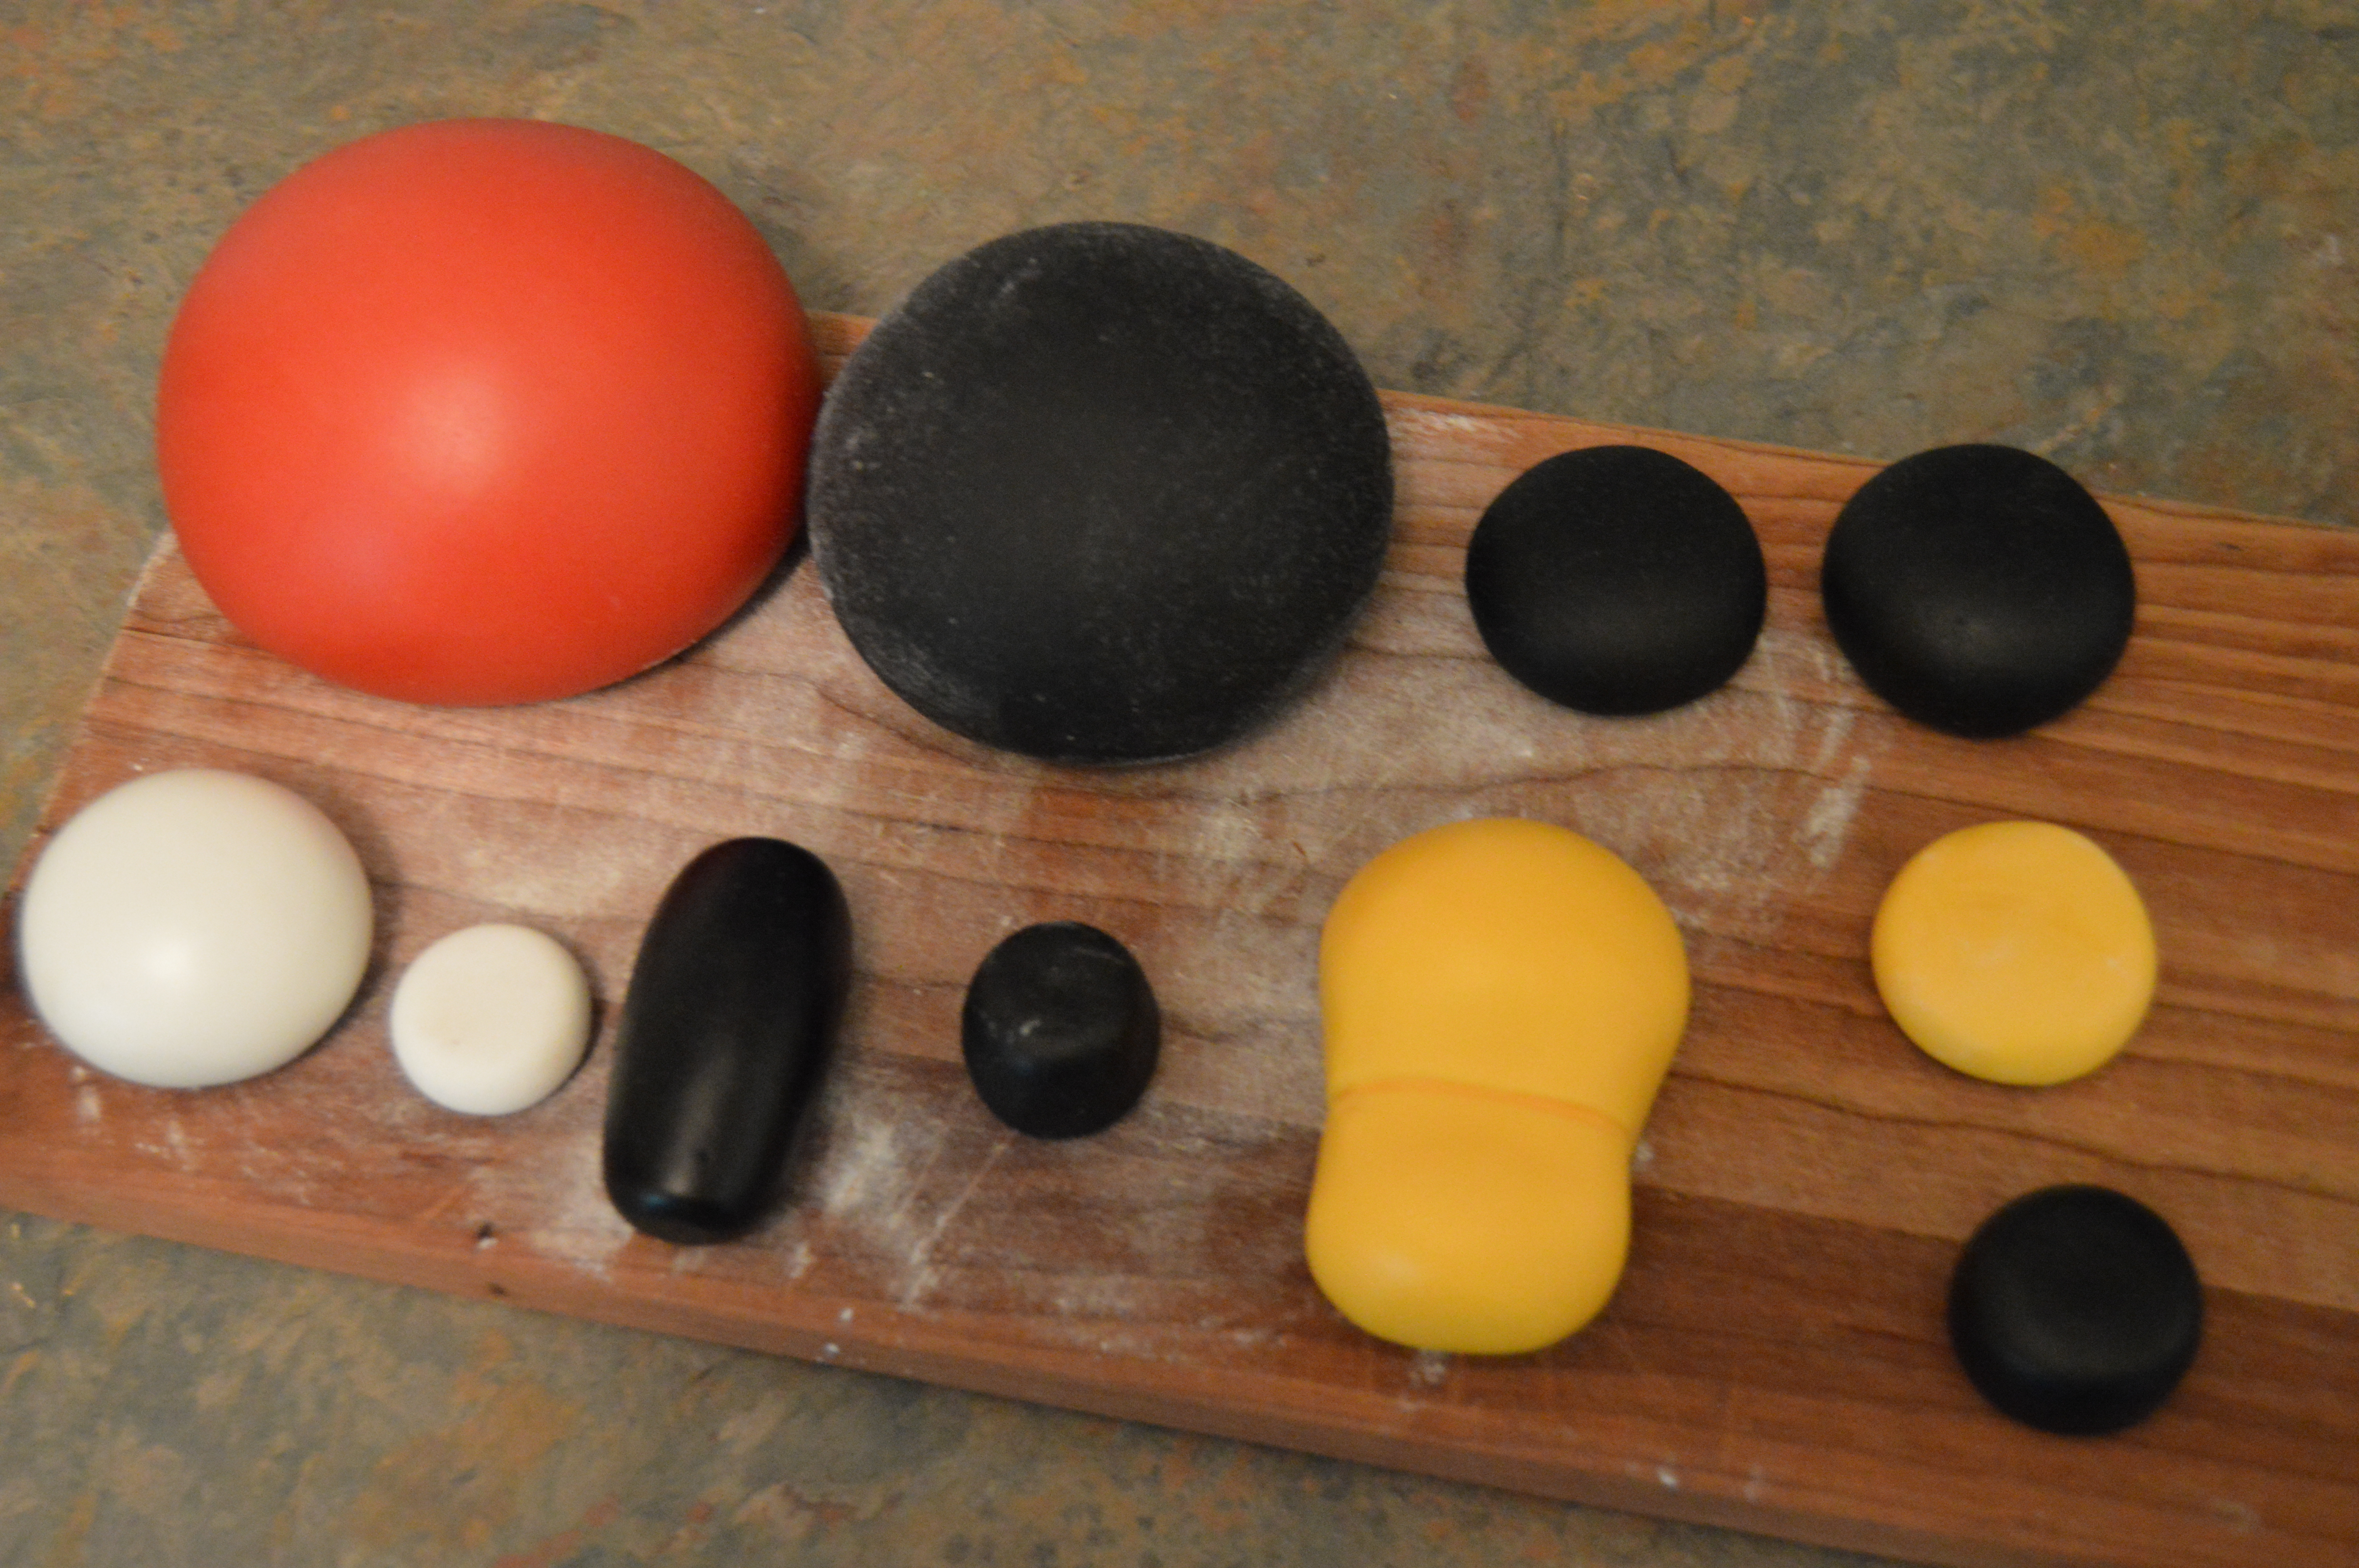
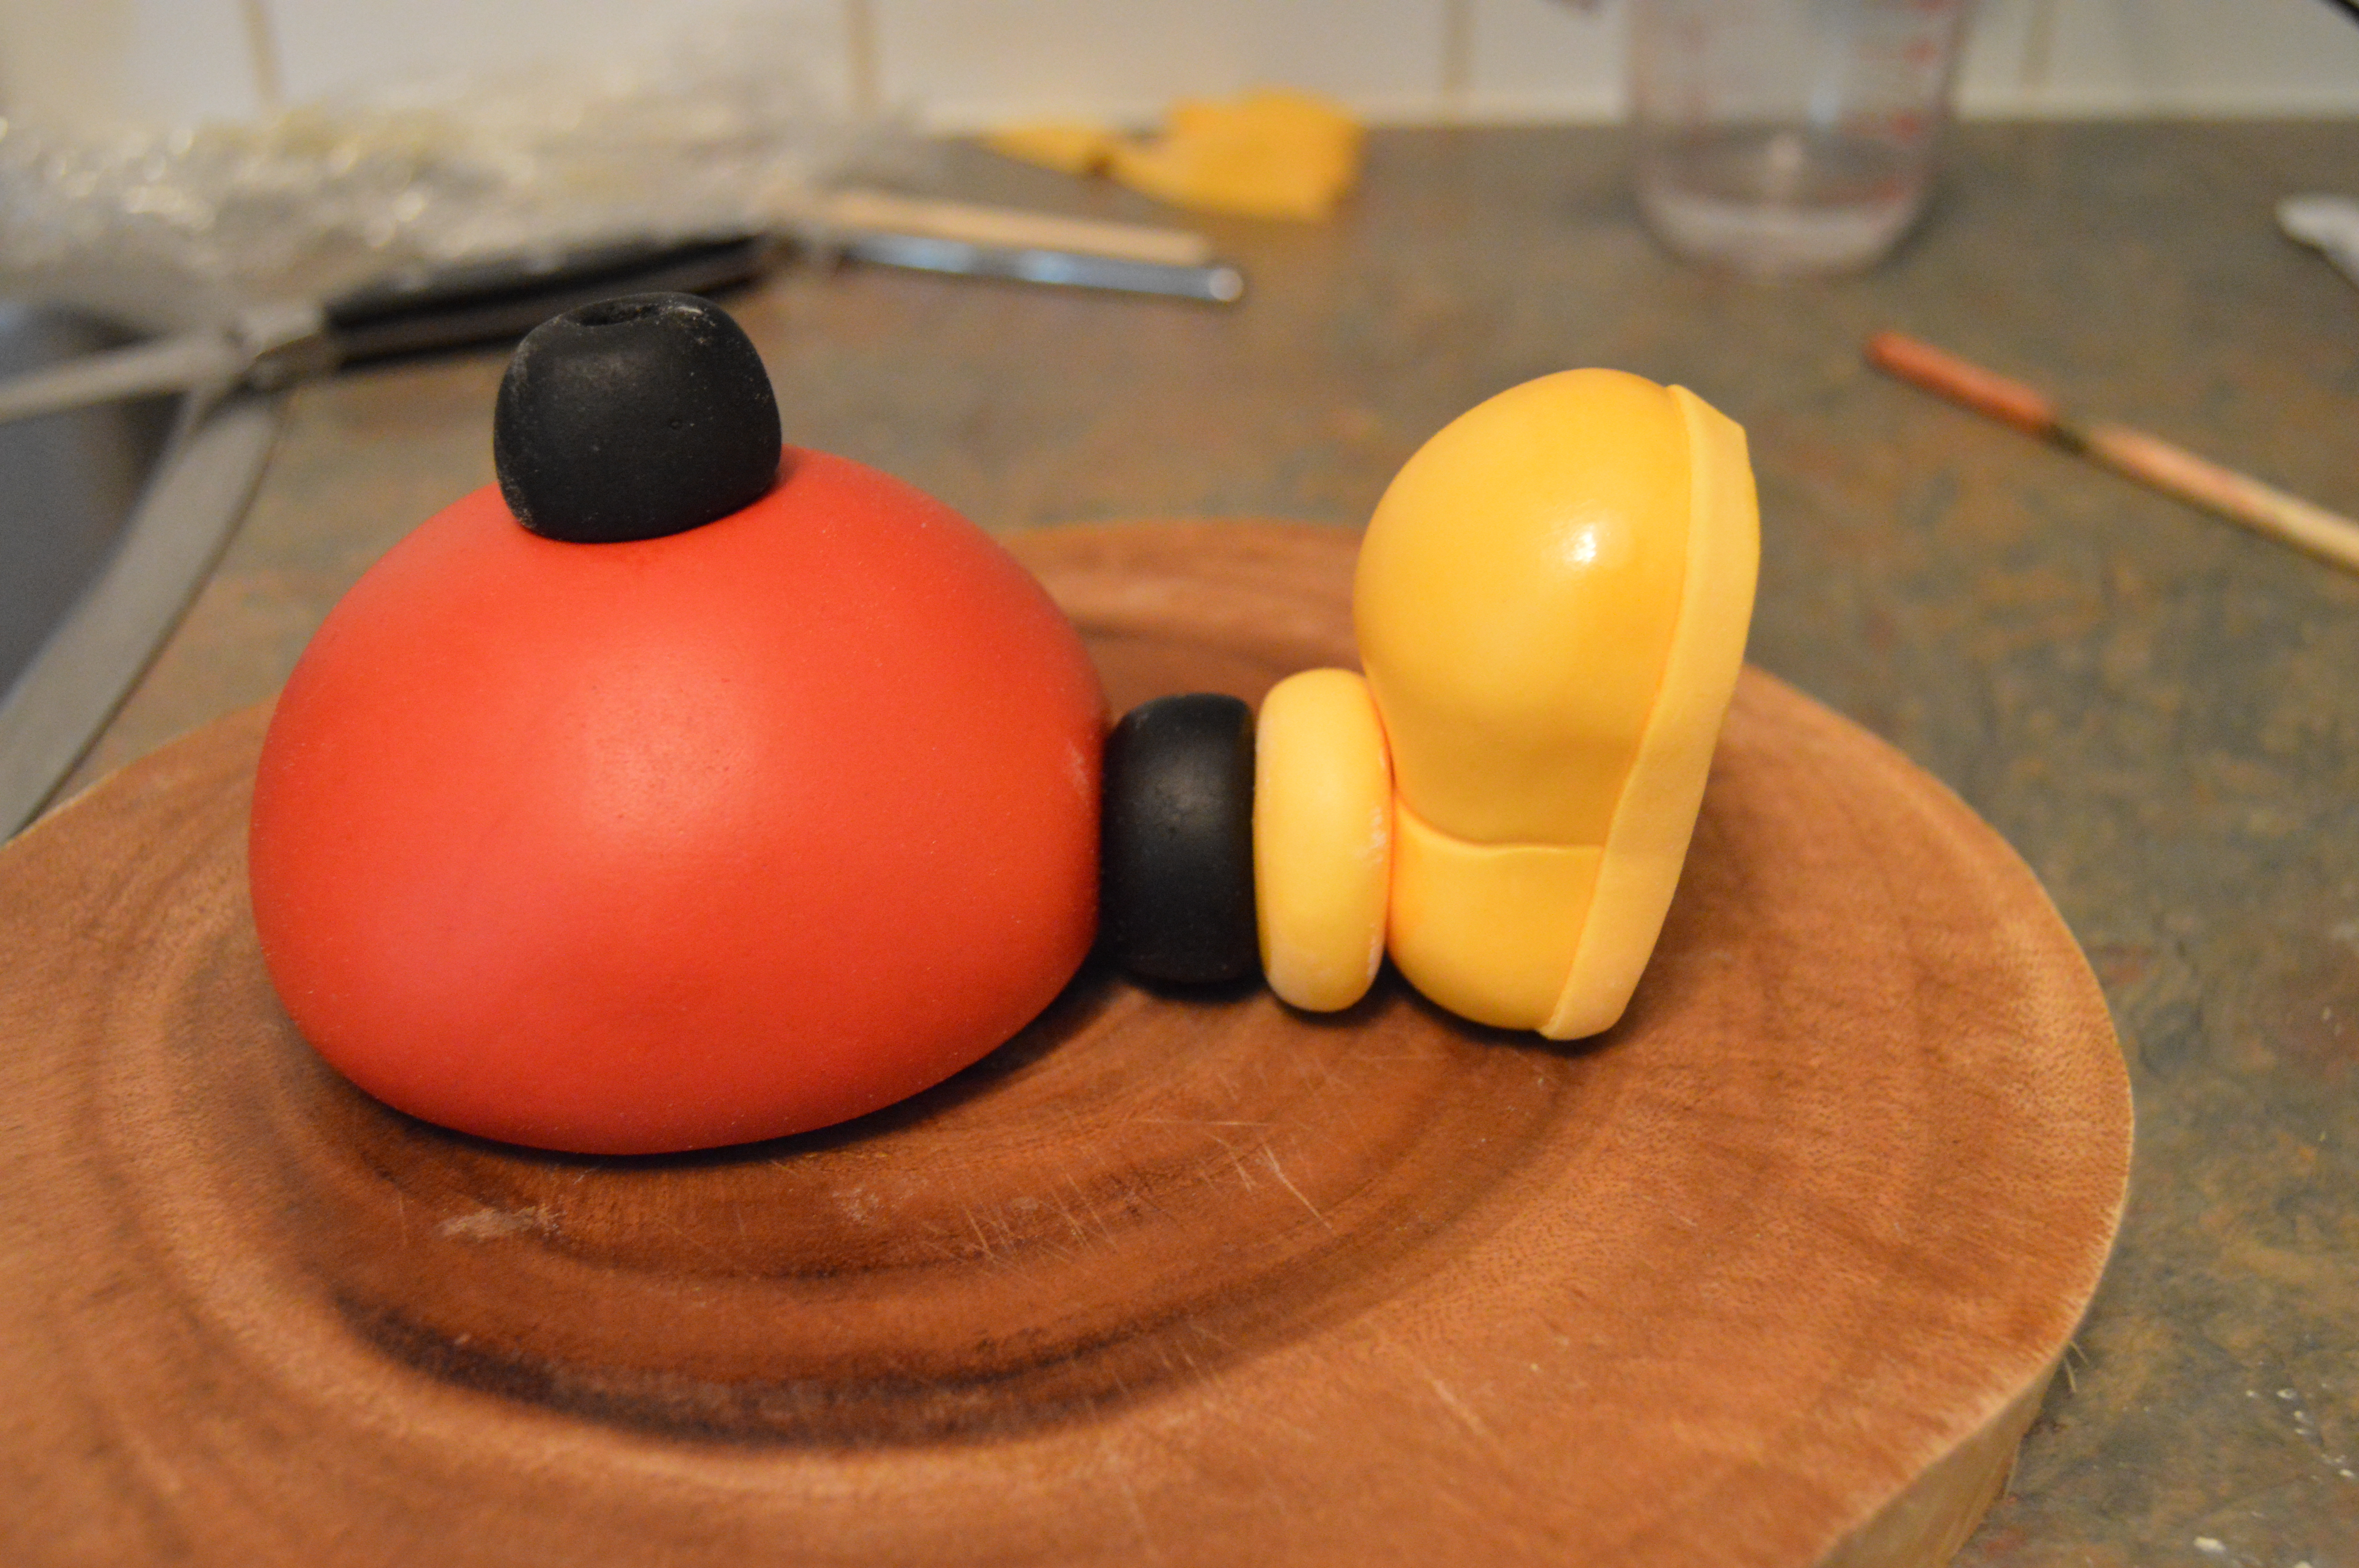
(i) A red clubhouse body which should be shaped like a dome or half sphere;
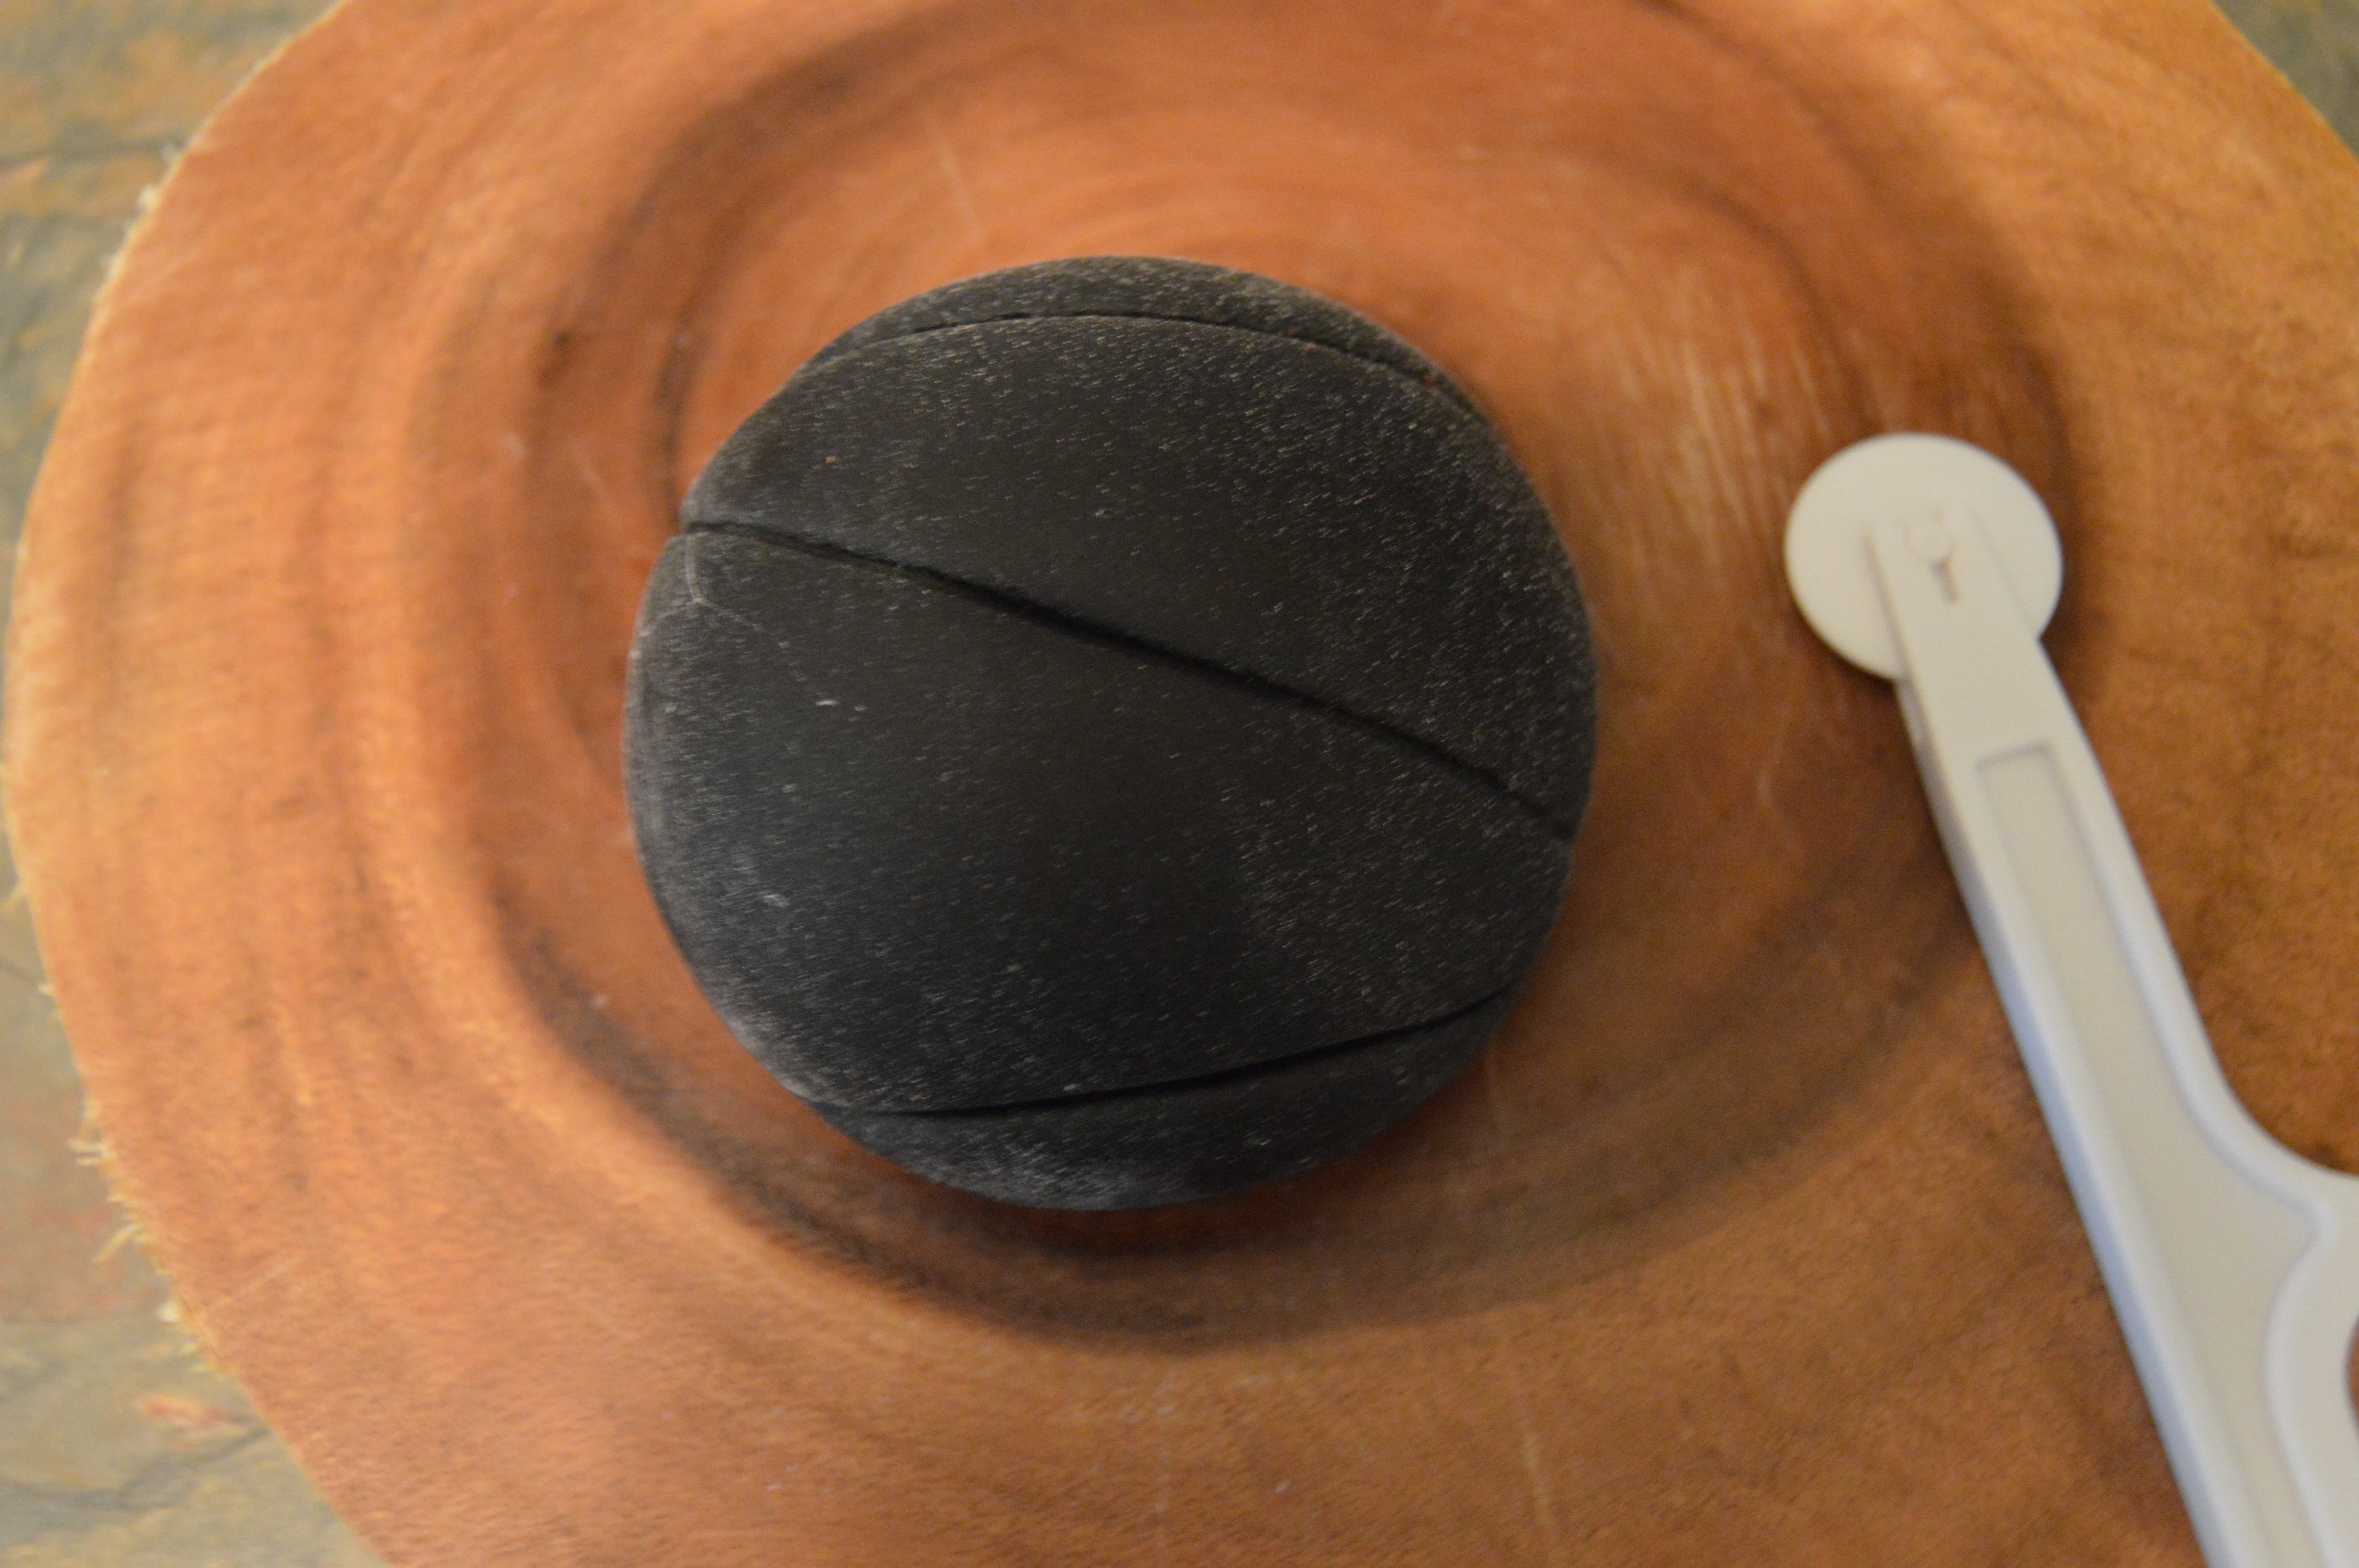
(ii) A black clubhouse head which should be a complete sphere. The underneath might flatten while it is drying. Do not worry much about this as the top is what is most important;
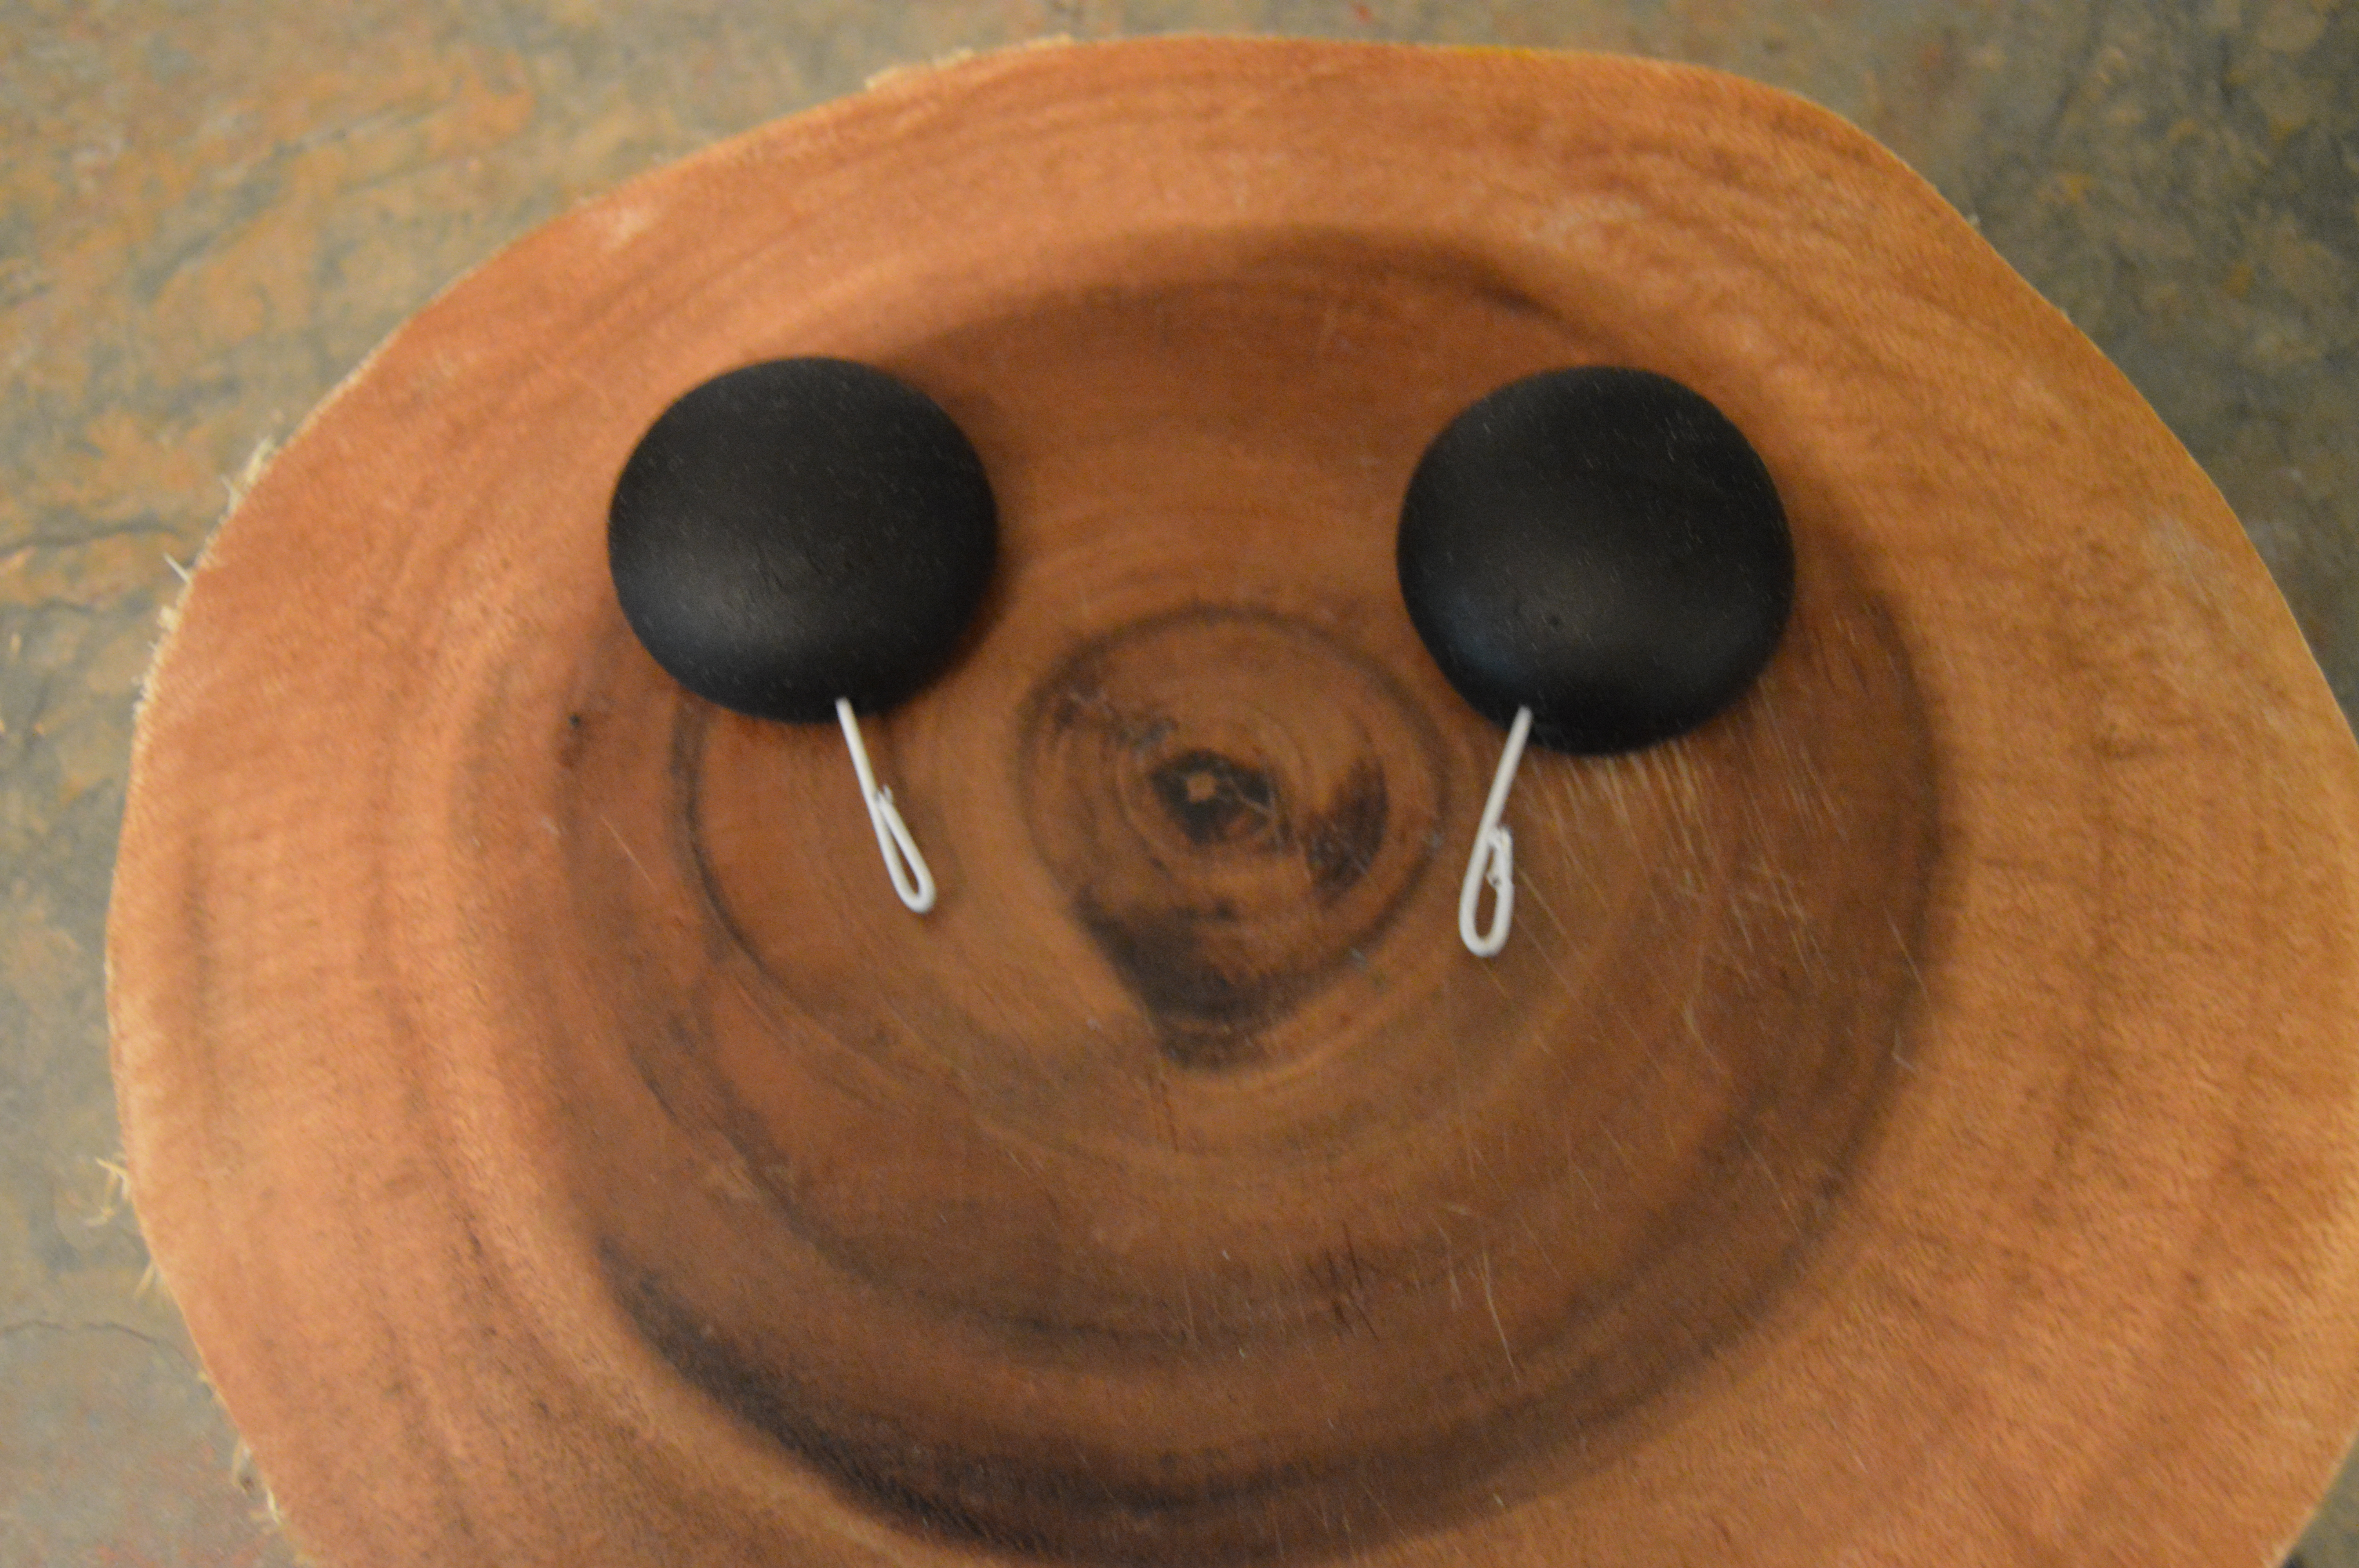
(iii) Two round black mickey mouse ears;
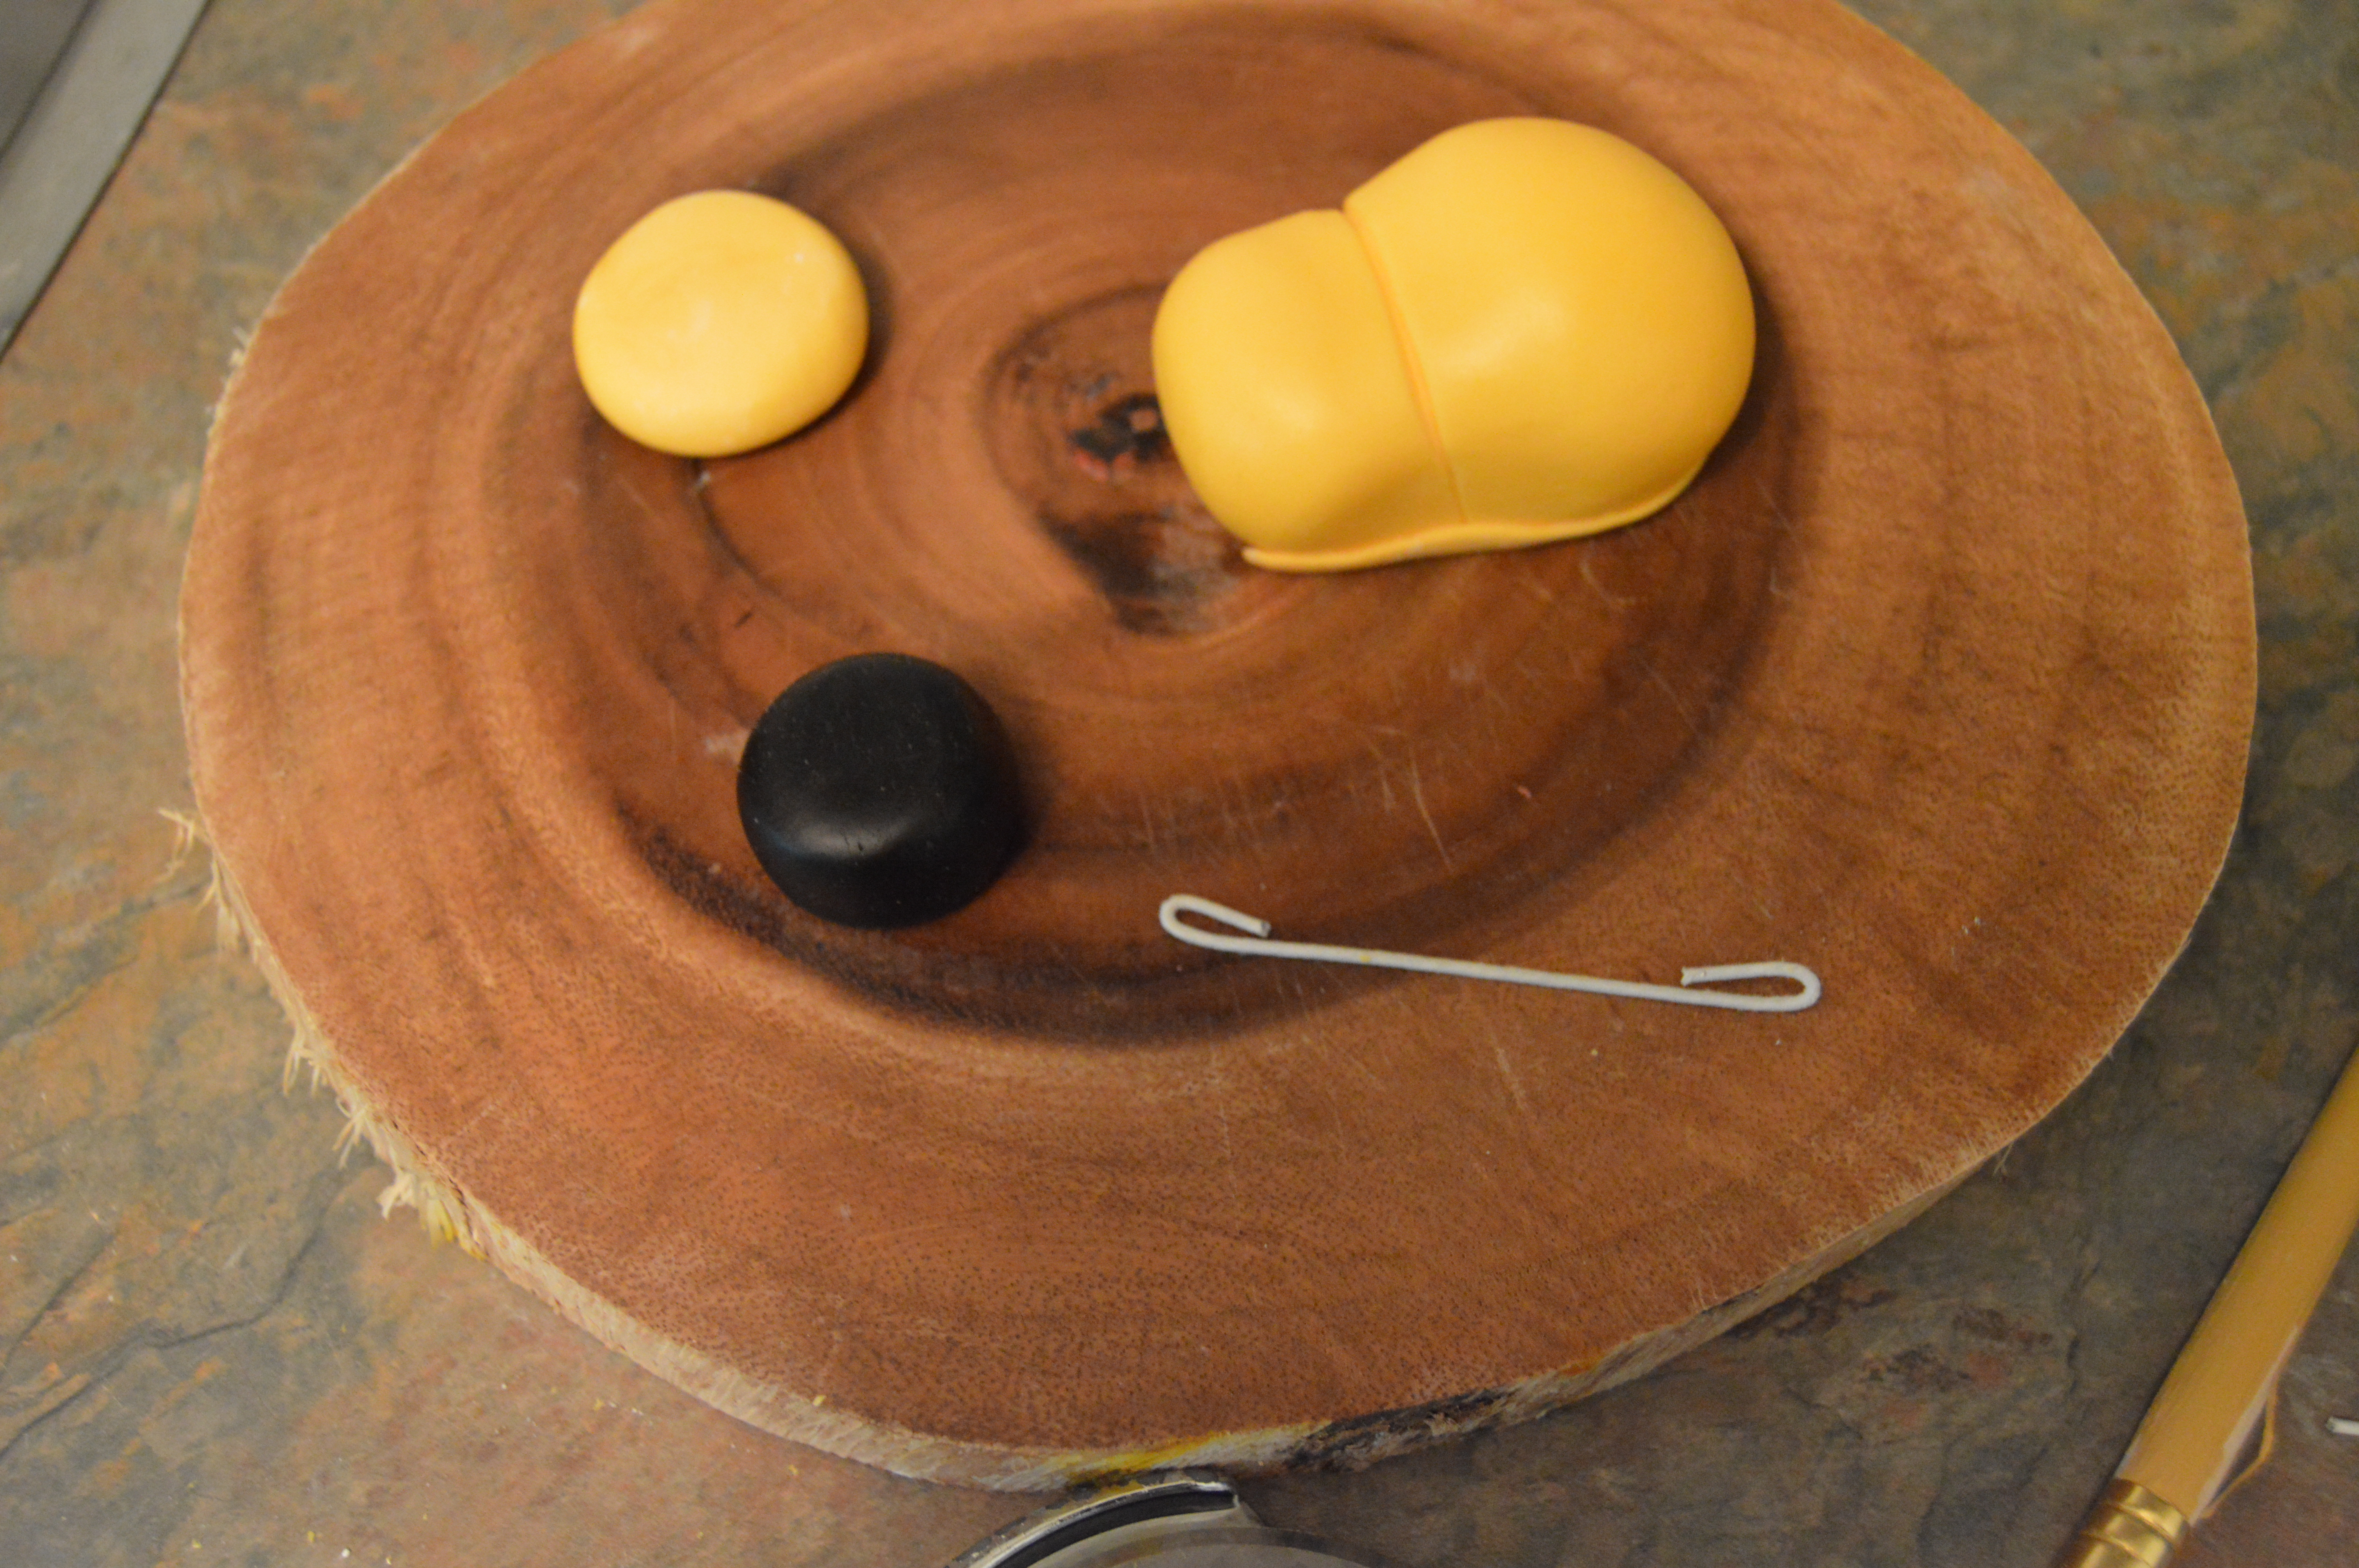
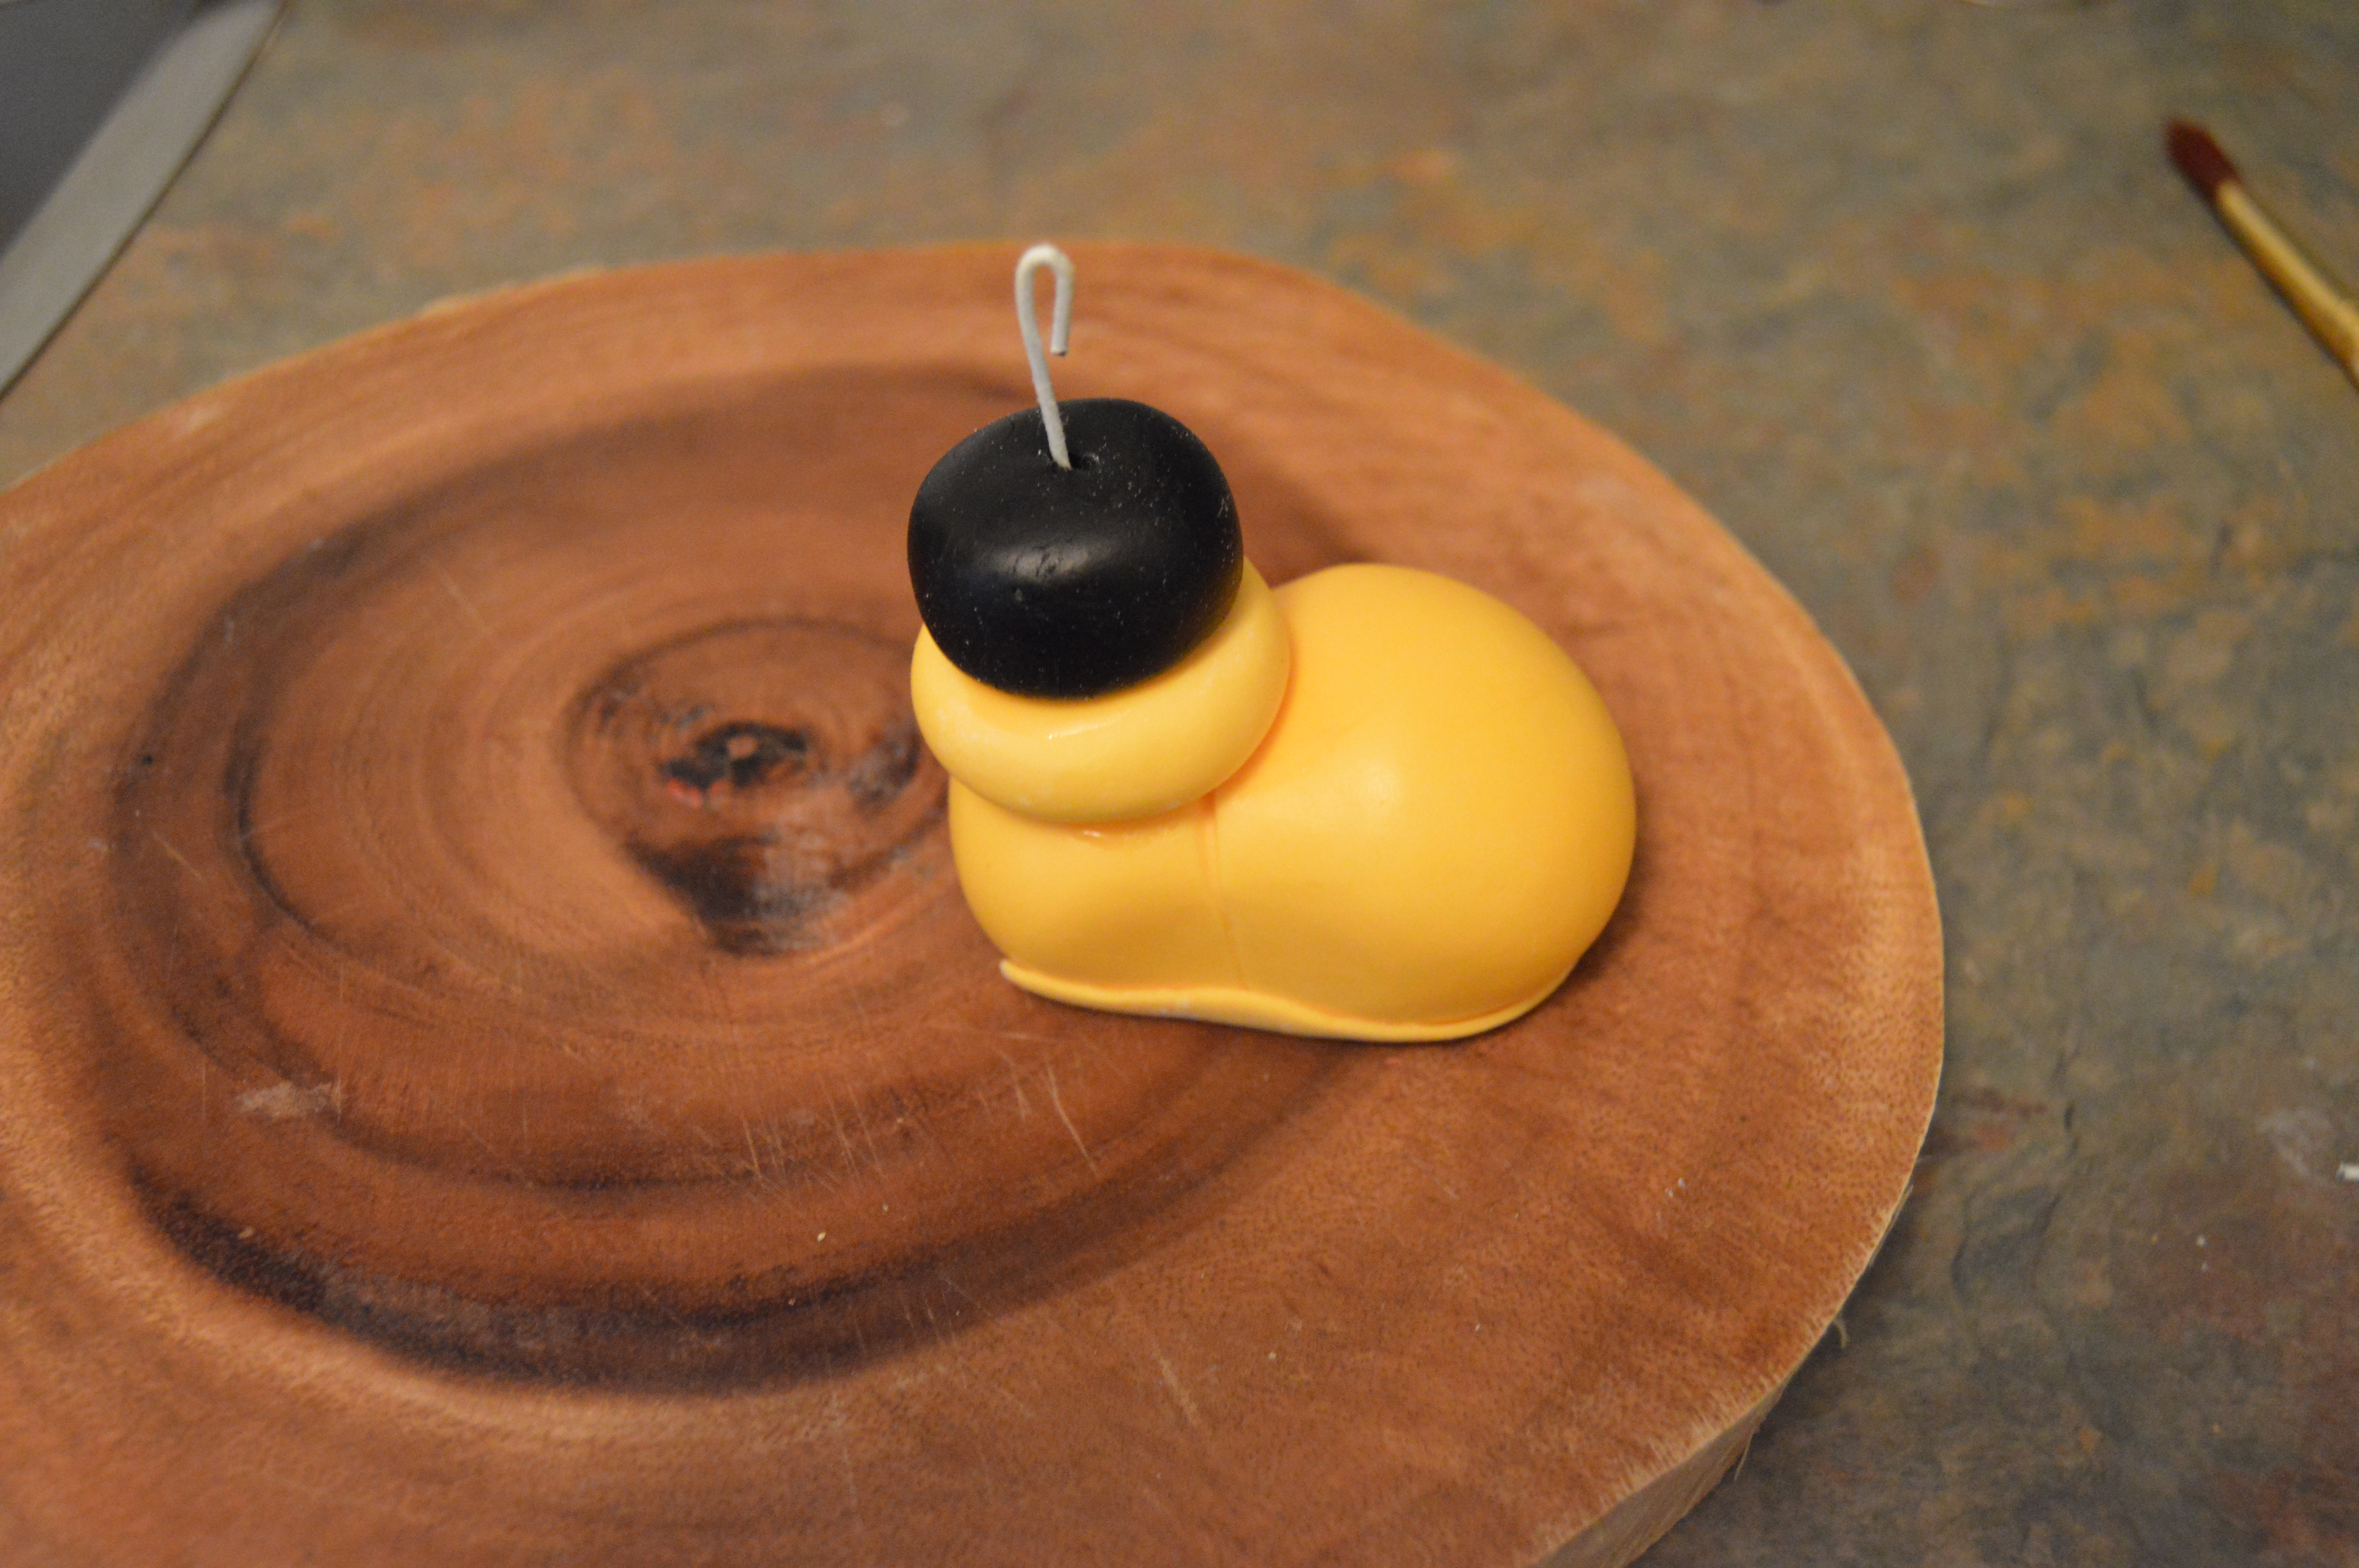
(iv) A round yellow mickey mouse shoe top;
(v) A black mickey mouse foot;
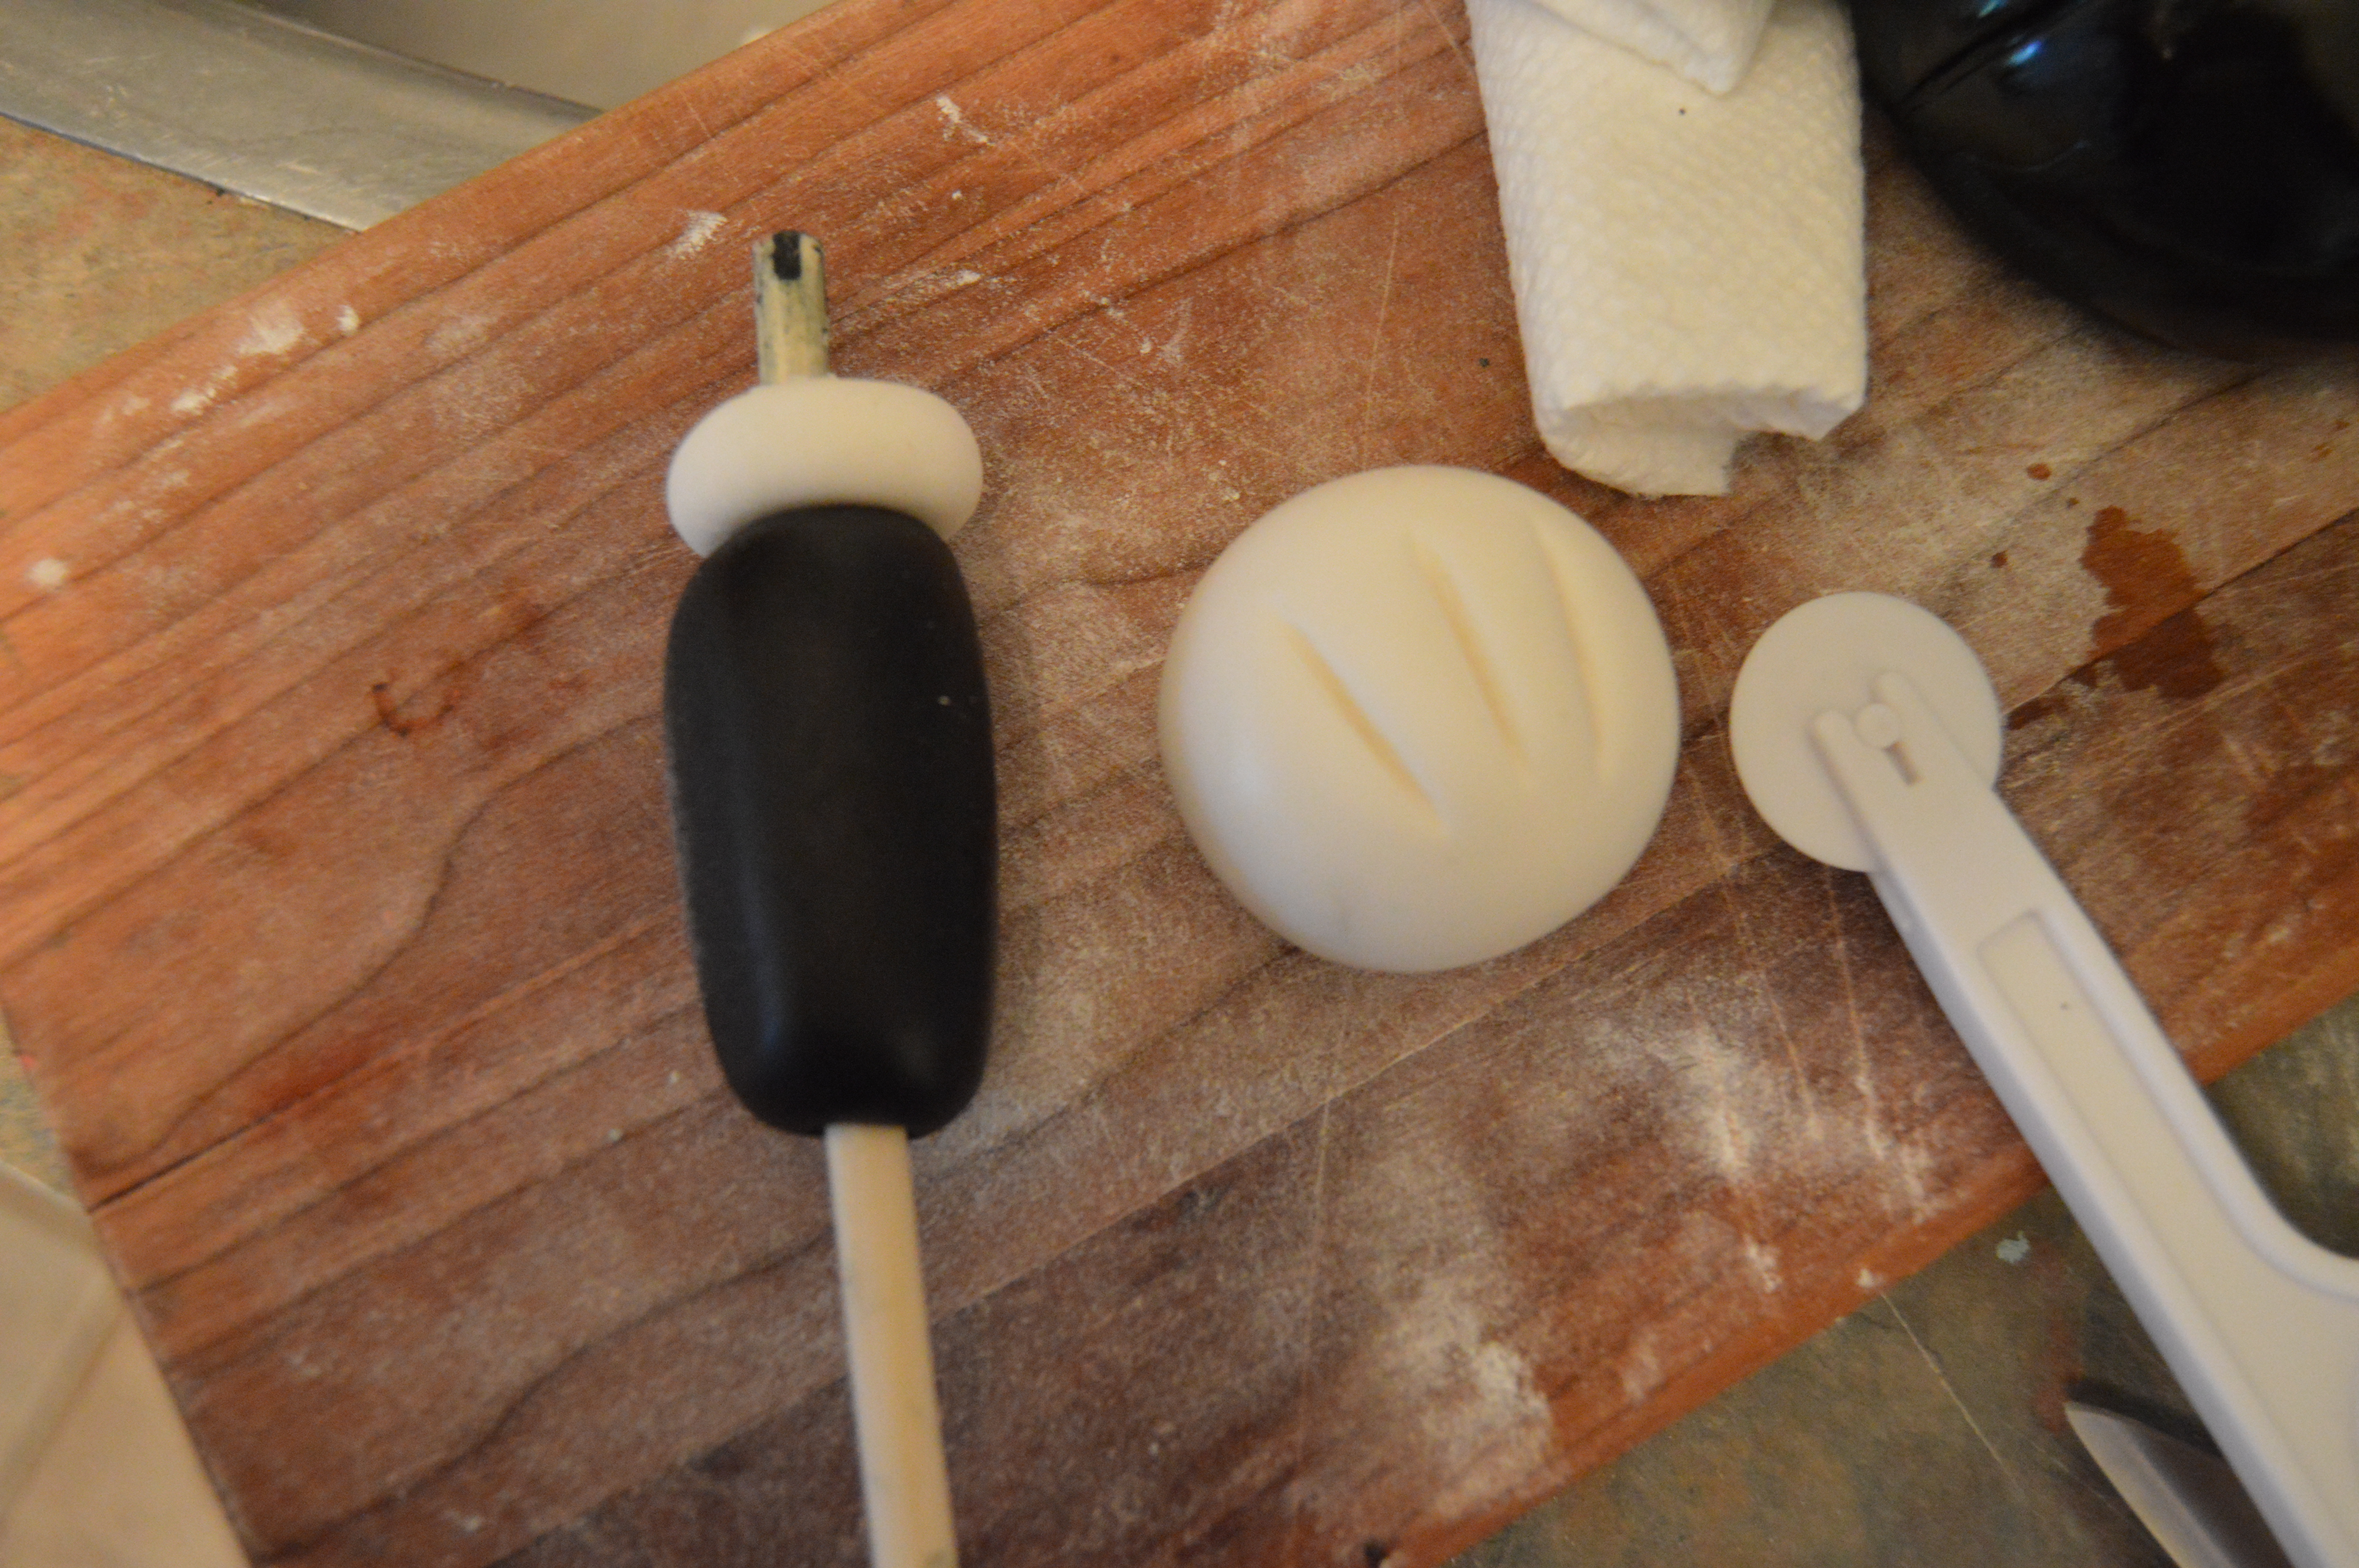
(vi) A yellow mickey mouse shoe which should be indented in the middle and a line drawn at the middle with a fondant wheel;
(vii) A short black sausage shaped mickey mouse neck;
(viii) A longer black sausage shaped mickey mouse hand for the white palm;
(ix) A small white cuff for mickey mouse’s palm; and
(x) A white round shape which will be used for the palms (hot air balloon).
These shapes should be made at least 48 hours before the cake is to be designed. They can be made up to a week earlier. Some of them will be assembled on the same day after they have been left to dry for about 4 hours. This period of drying is needed so they various pieces keep their shape.
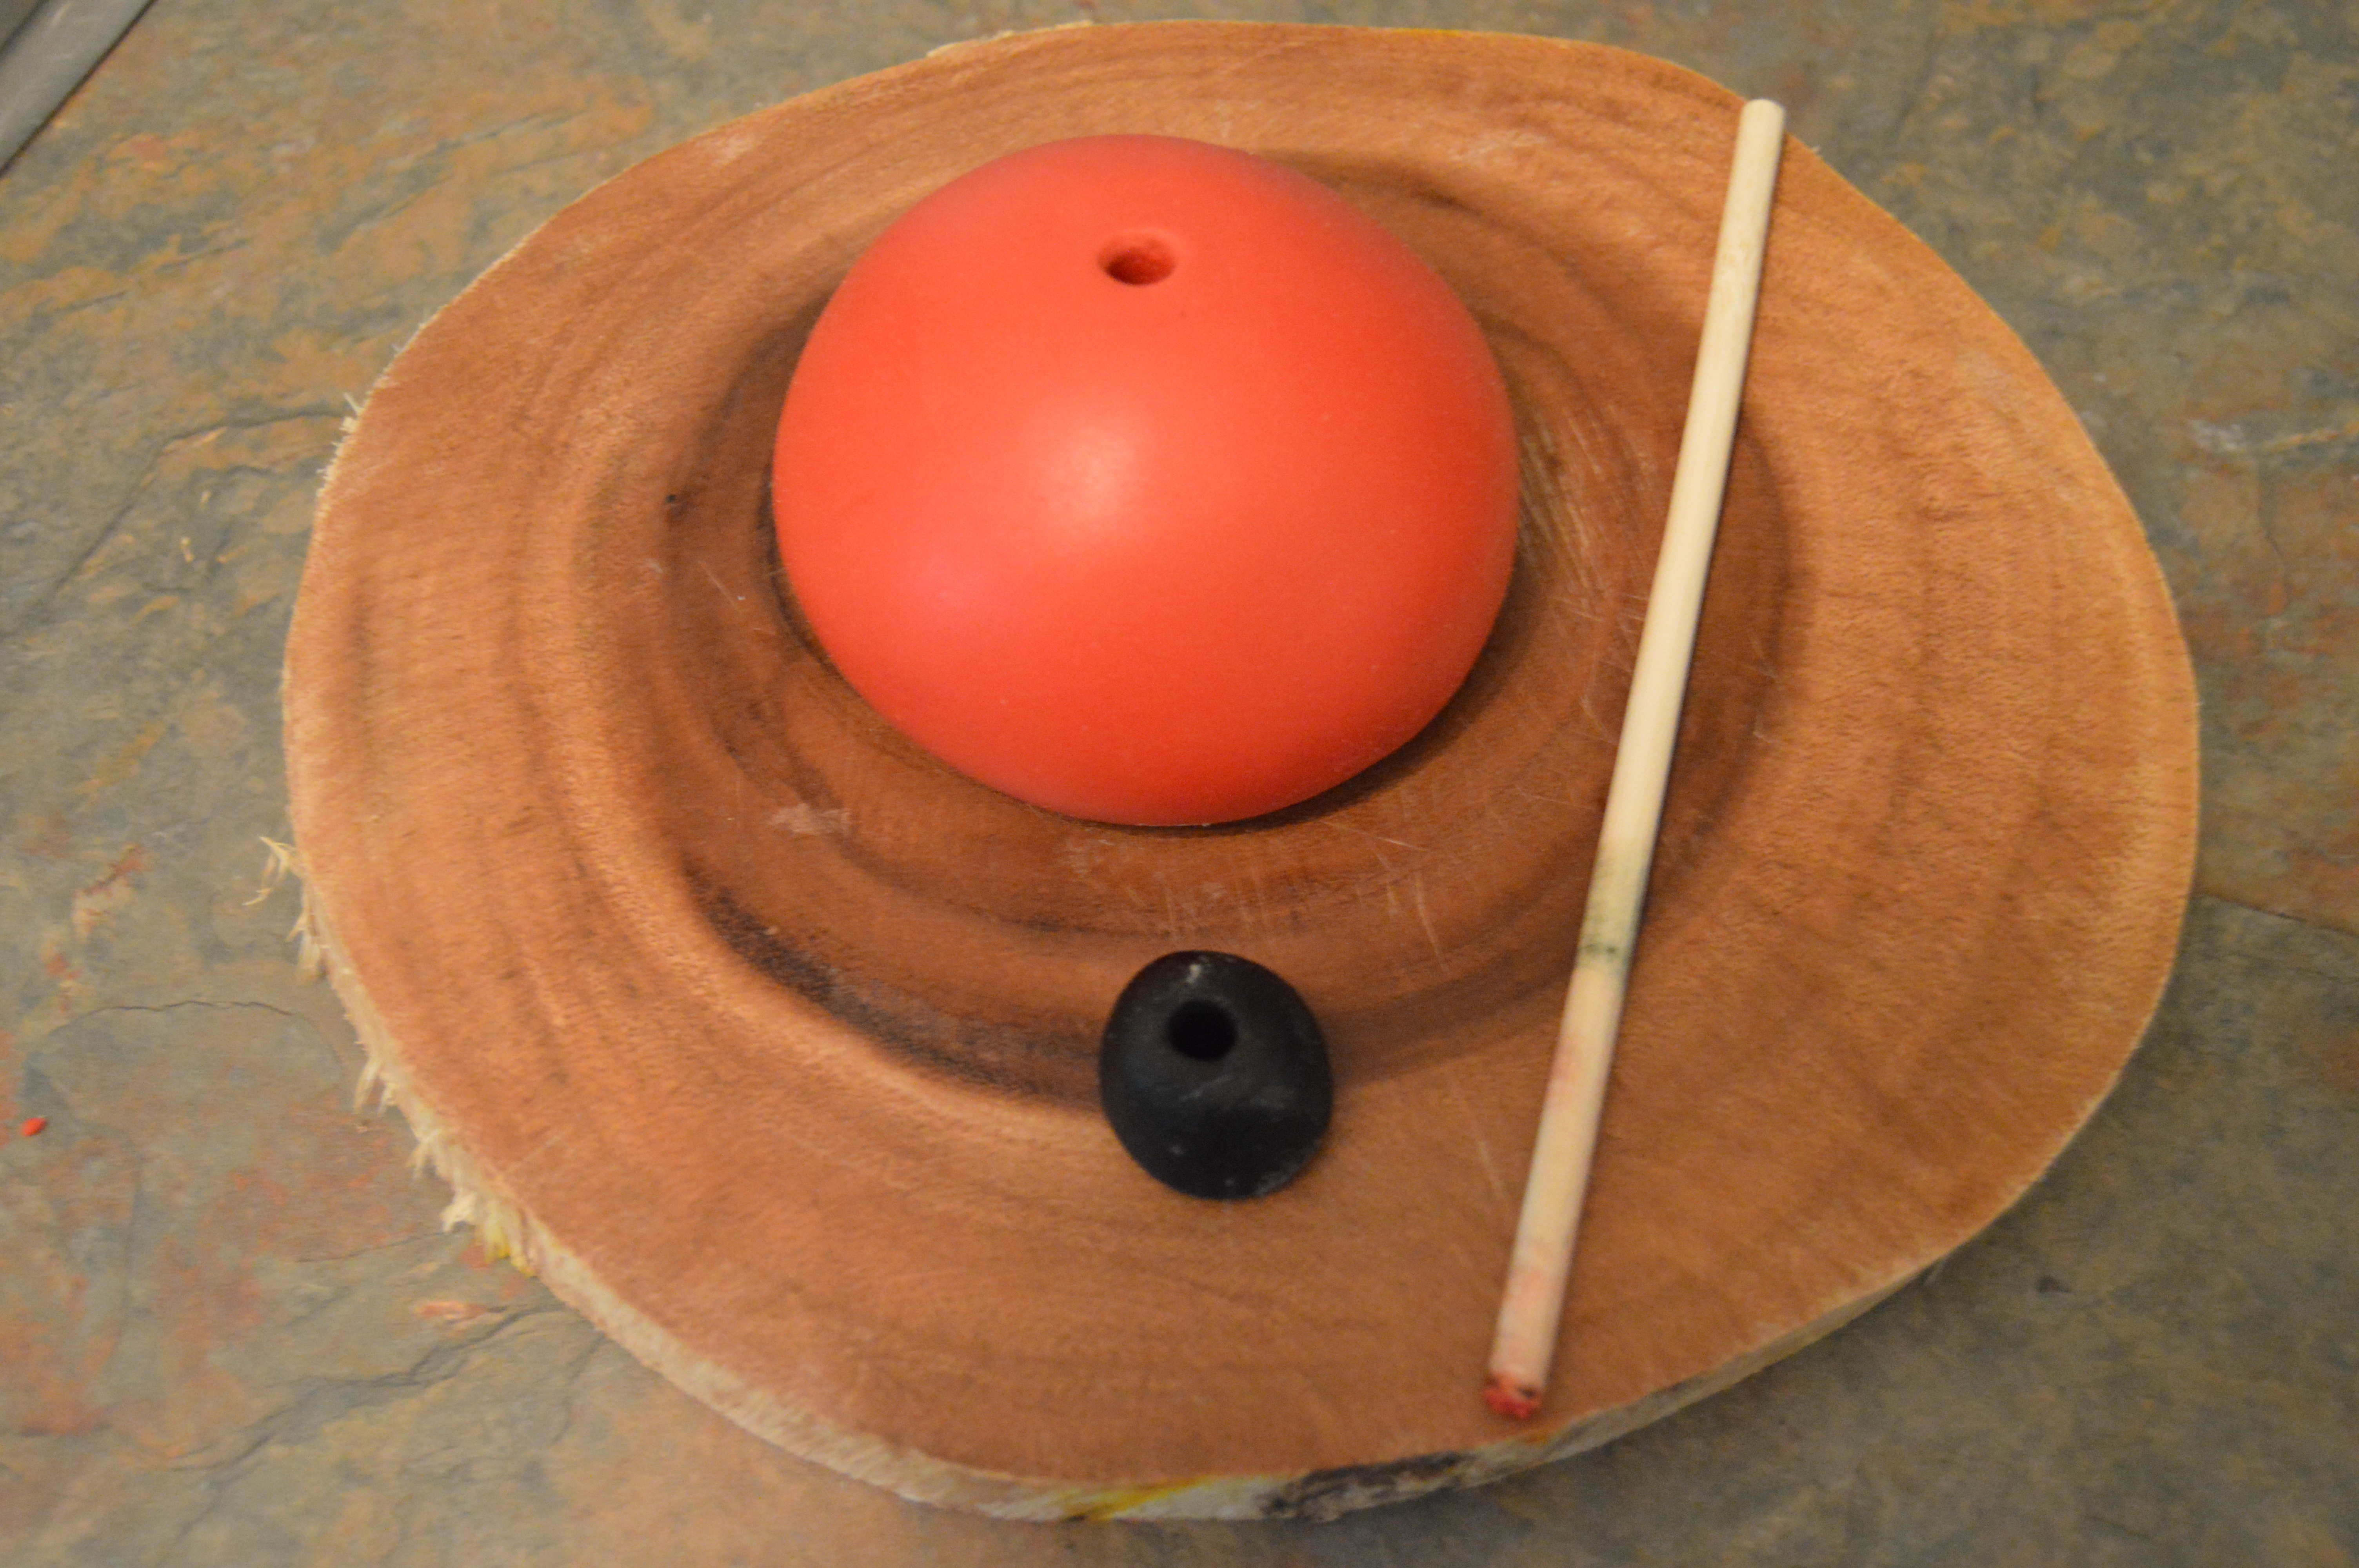
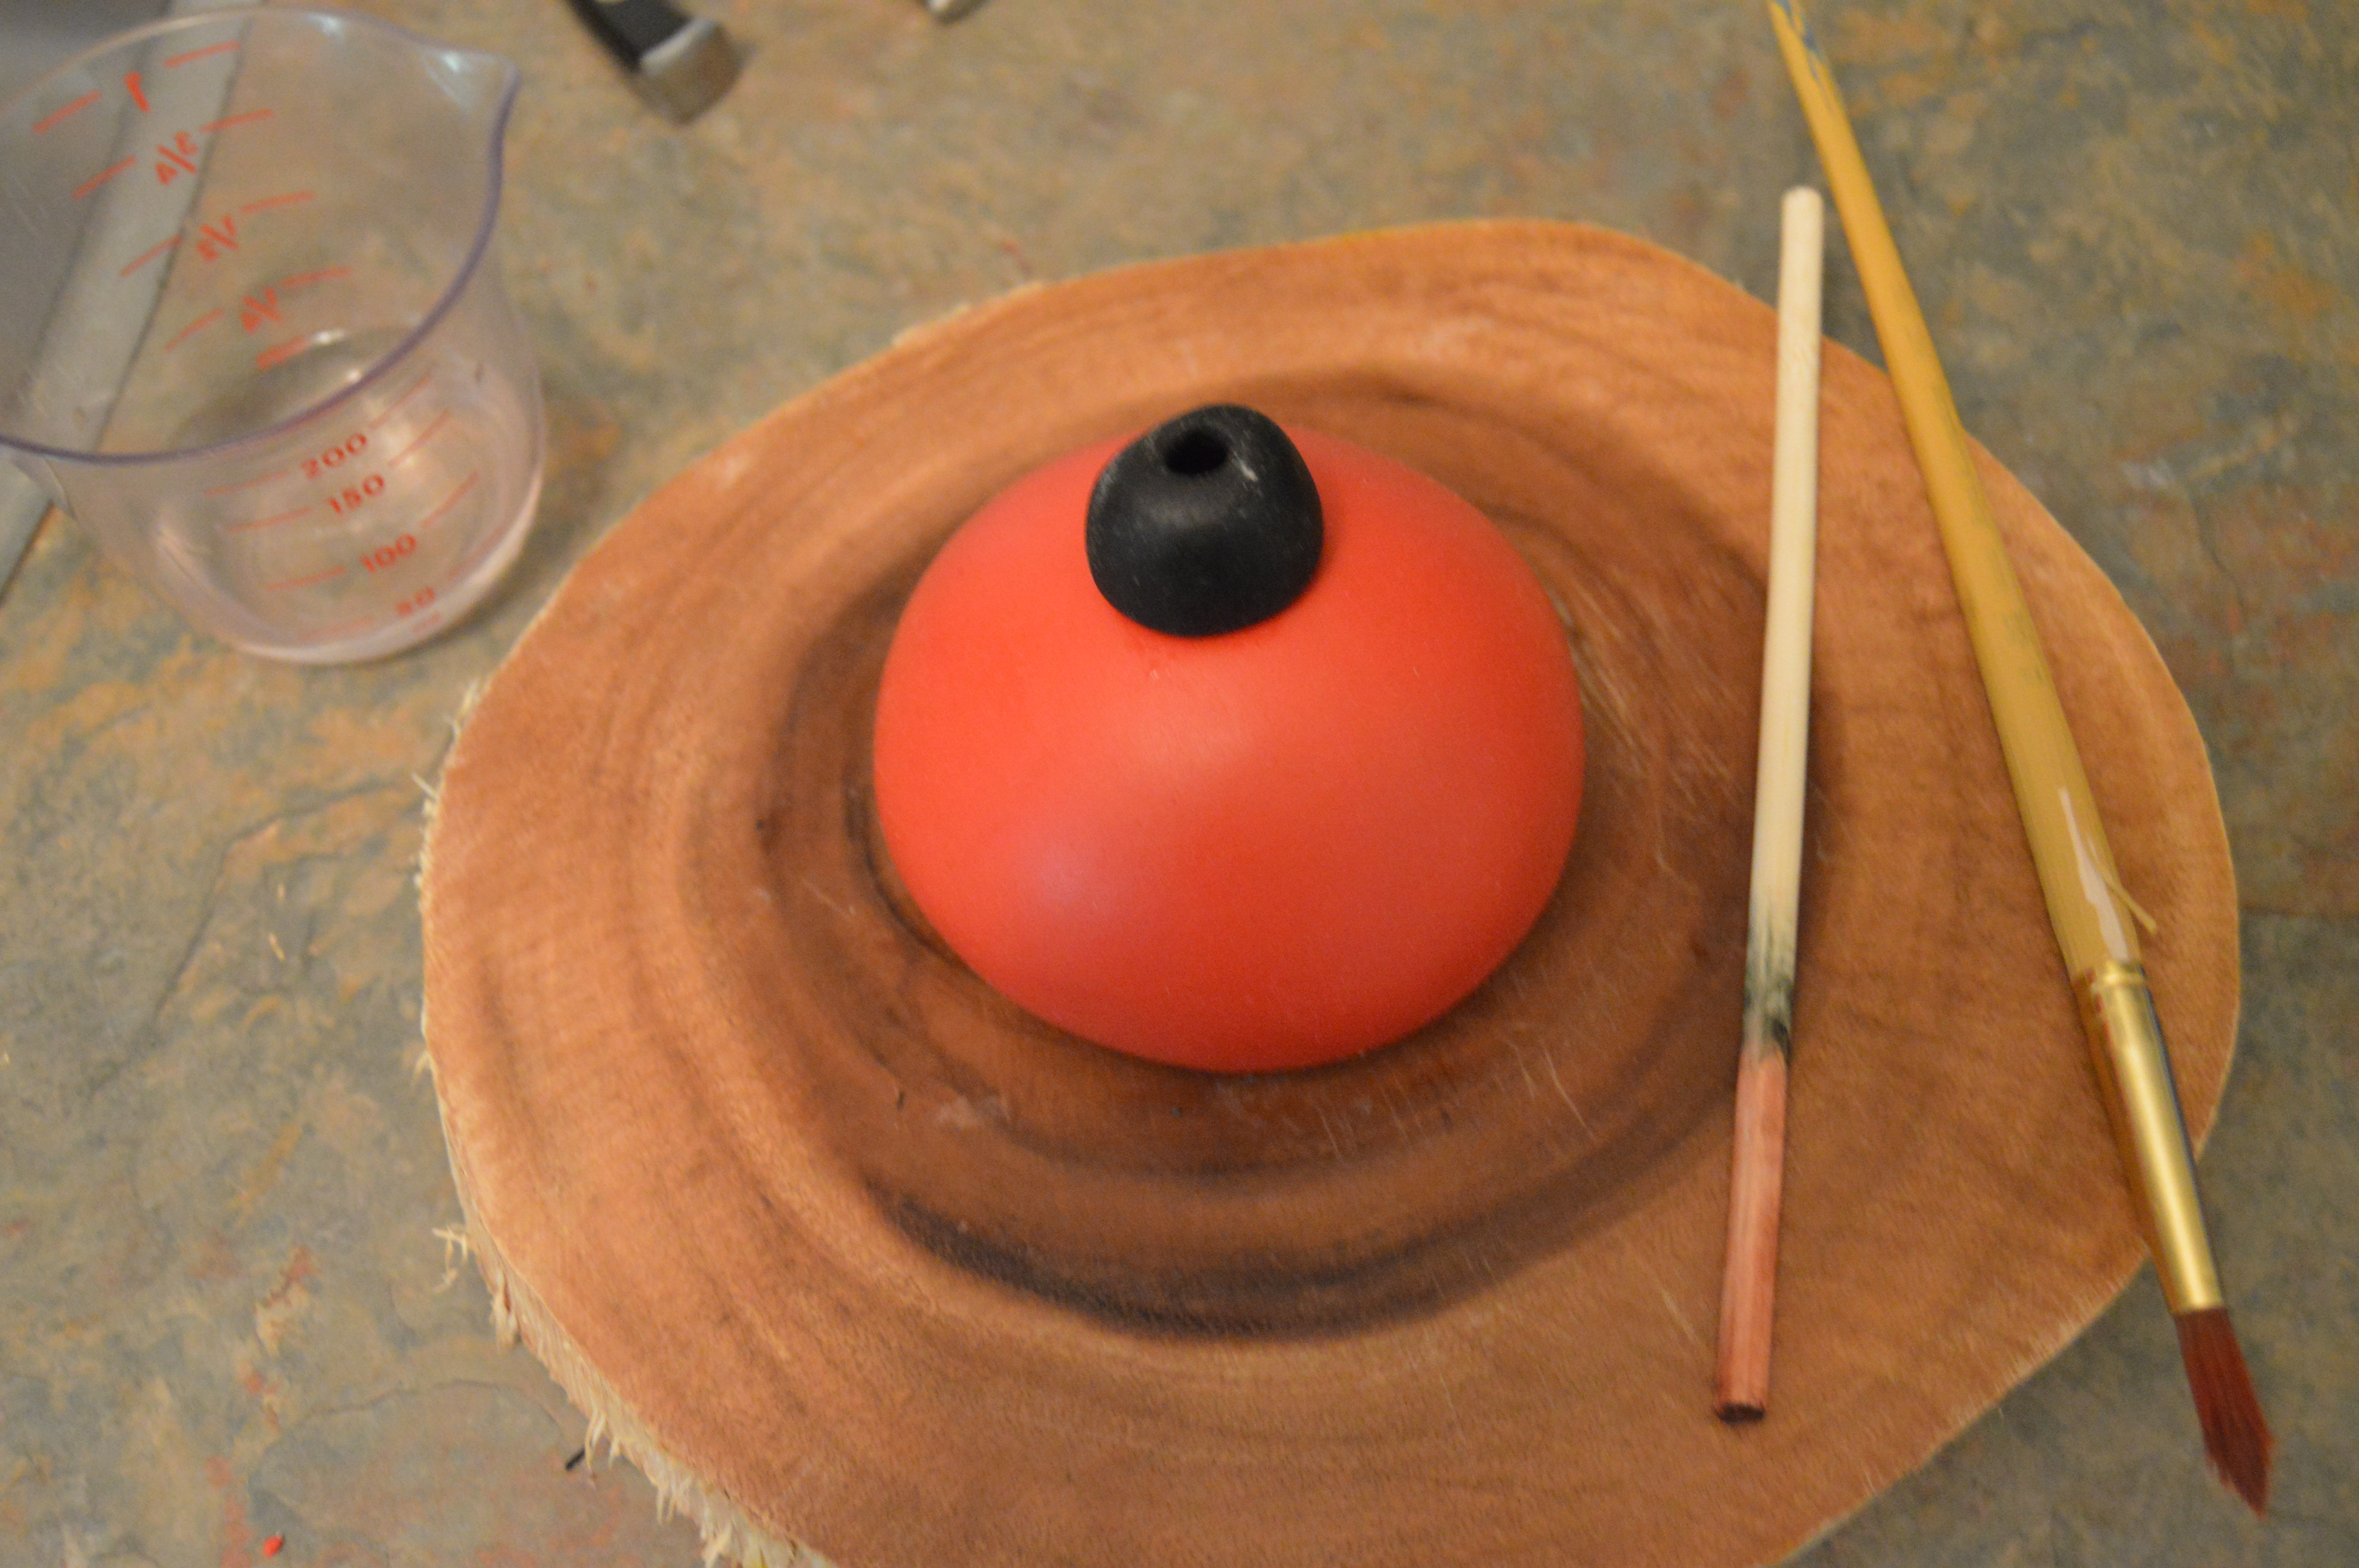
(2) After 4 hours of drying, it is time to start putting some of the pieces together. Start with the clubhouse body. Take a wooden dowel and make a hole through the middle of the clubhouse body and neck. The hole should go through to the bottom of both. Using some vodka or a little water, stick the neck to the body. Pass the dowel through both again just to make sure the hole passes through both at the same spot.
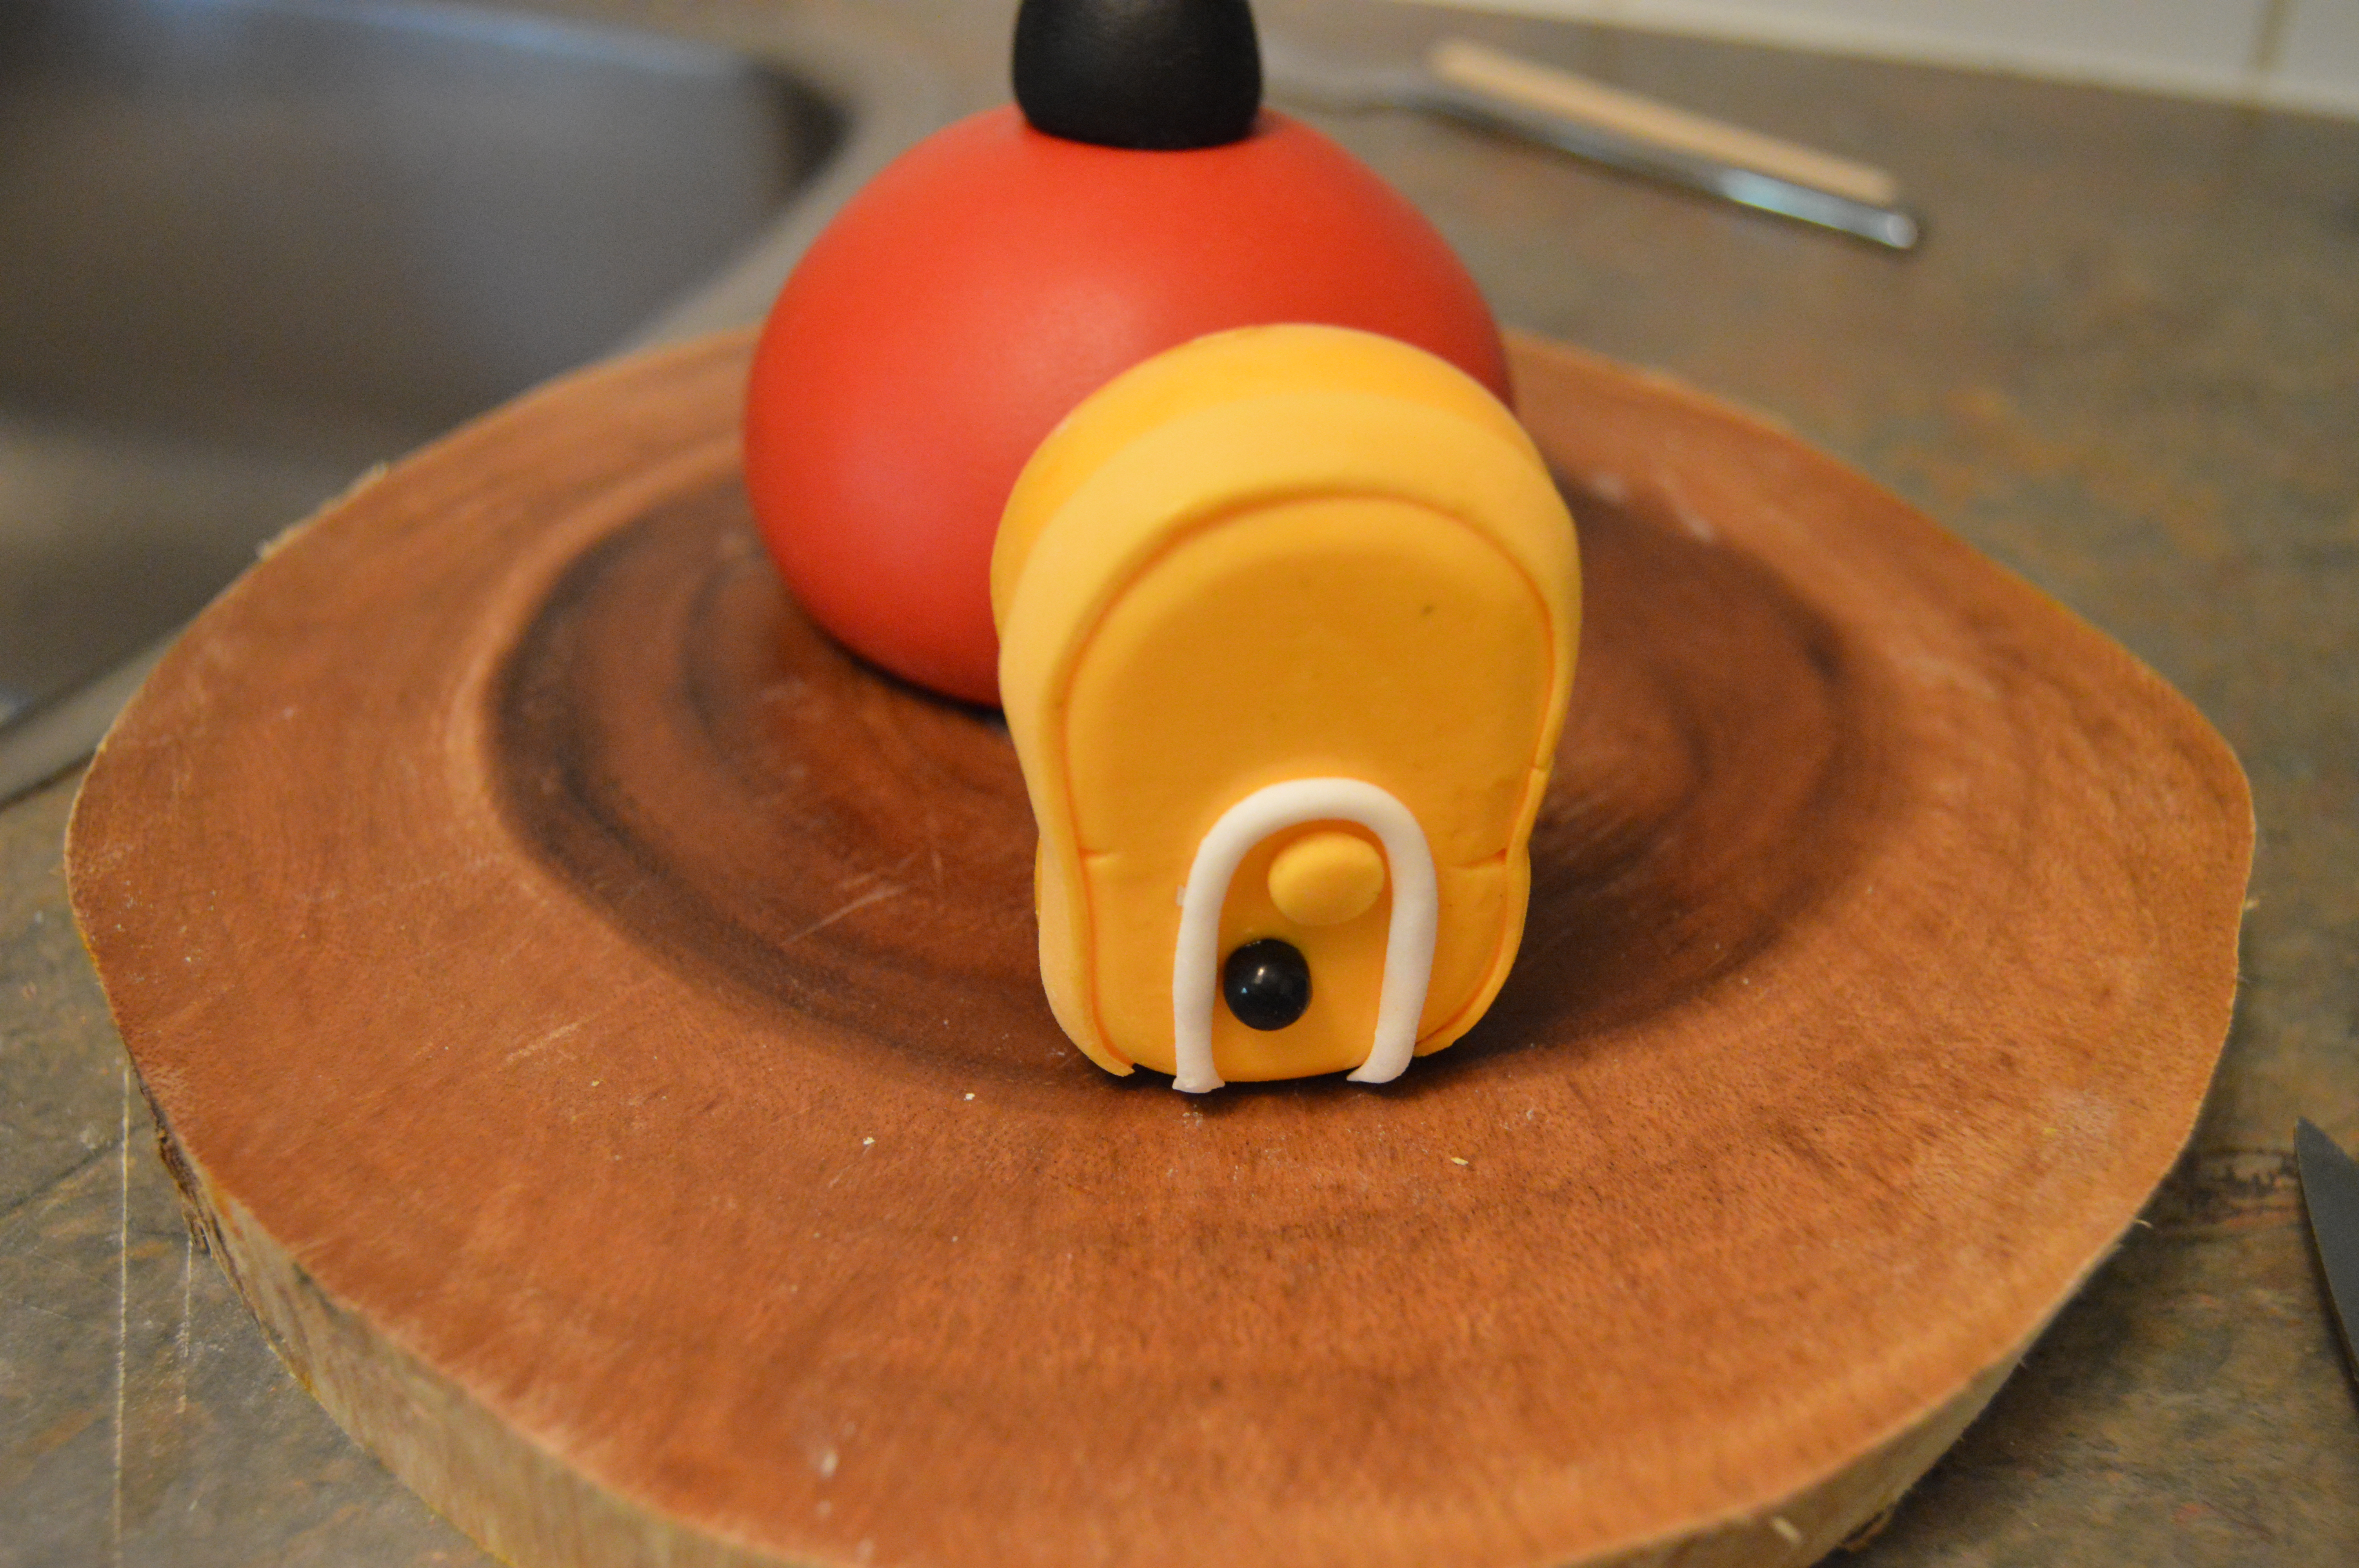
(3) Next, move to the shoe. Cut out a thin strip of yellow fondant and stick it around the sole of the shoe. Bend the ends of a floral wire and pass one end through the 3 parts of the shoe. Use some water to stick the parts together before passing the floral wire through them. Insert the other end of the floral wire into one side of the clubhouse body. Make sure the wire does not get to or obstruct the hole you made earlier in the middle of the body. Complete the shoe with white, yellow and black fondant details underneath the sole of the shoe. This is the entrance to the clubhouse. A red piece of fondant will be placed at the base of the sole after the topper has been placed on the cake.

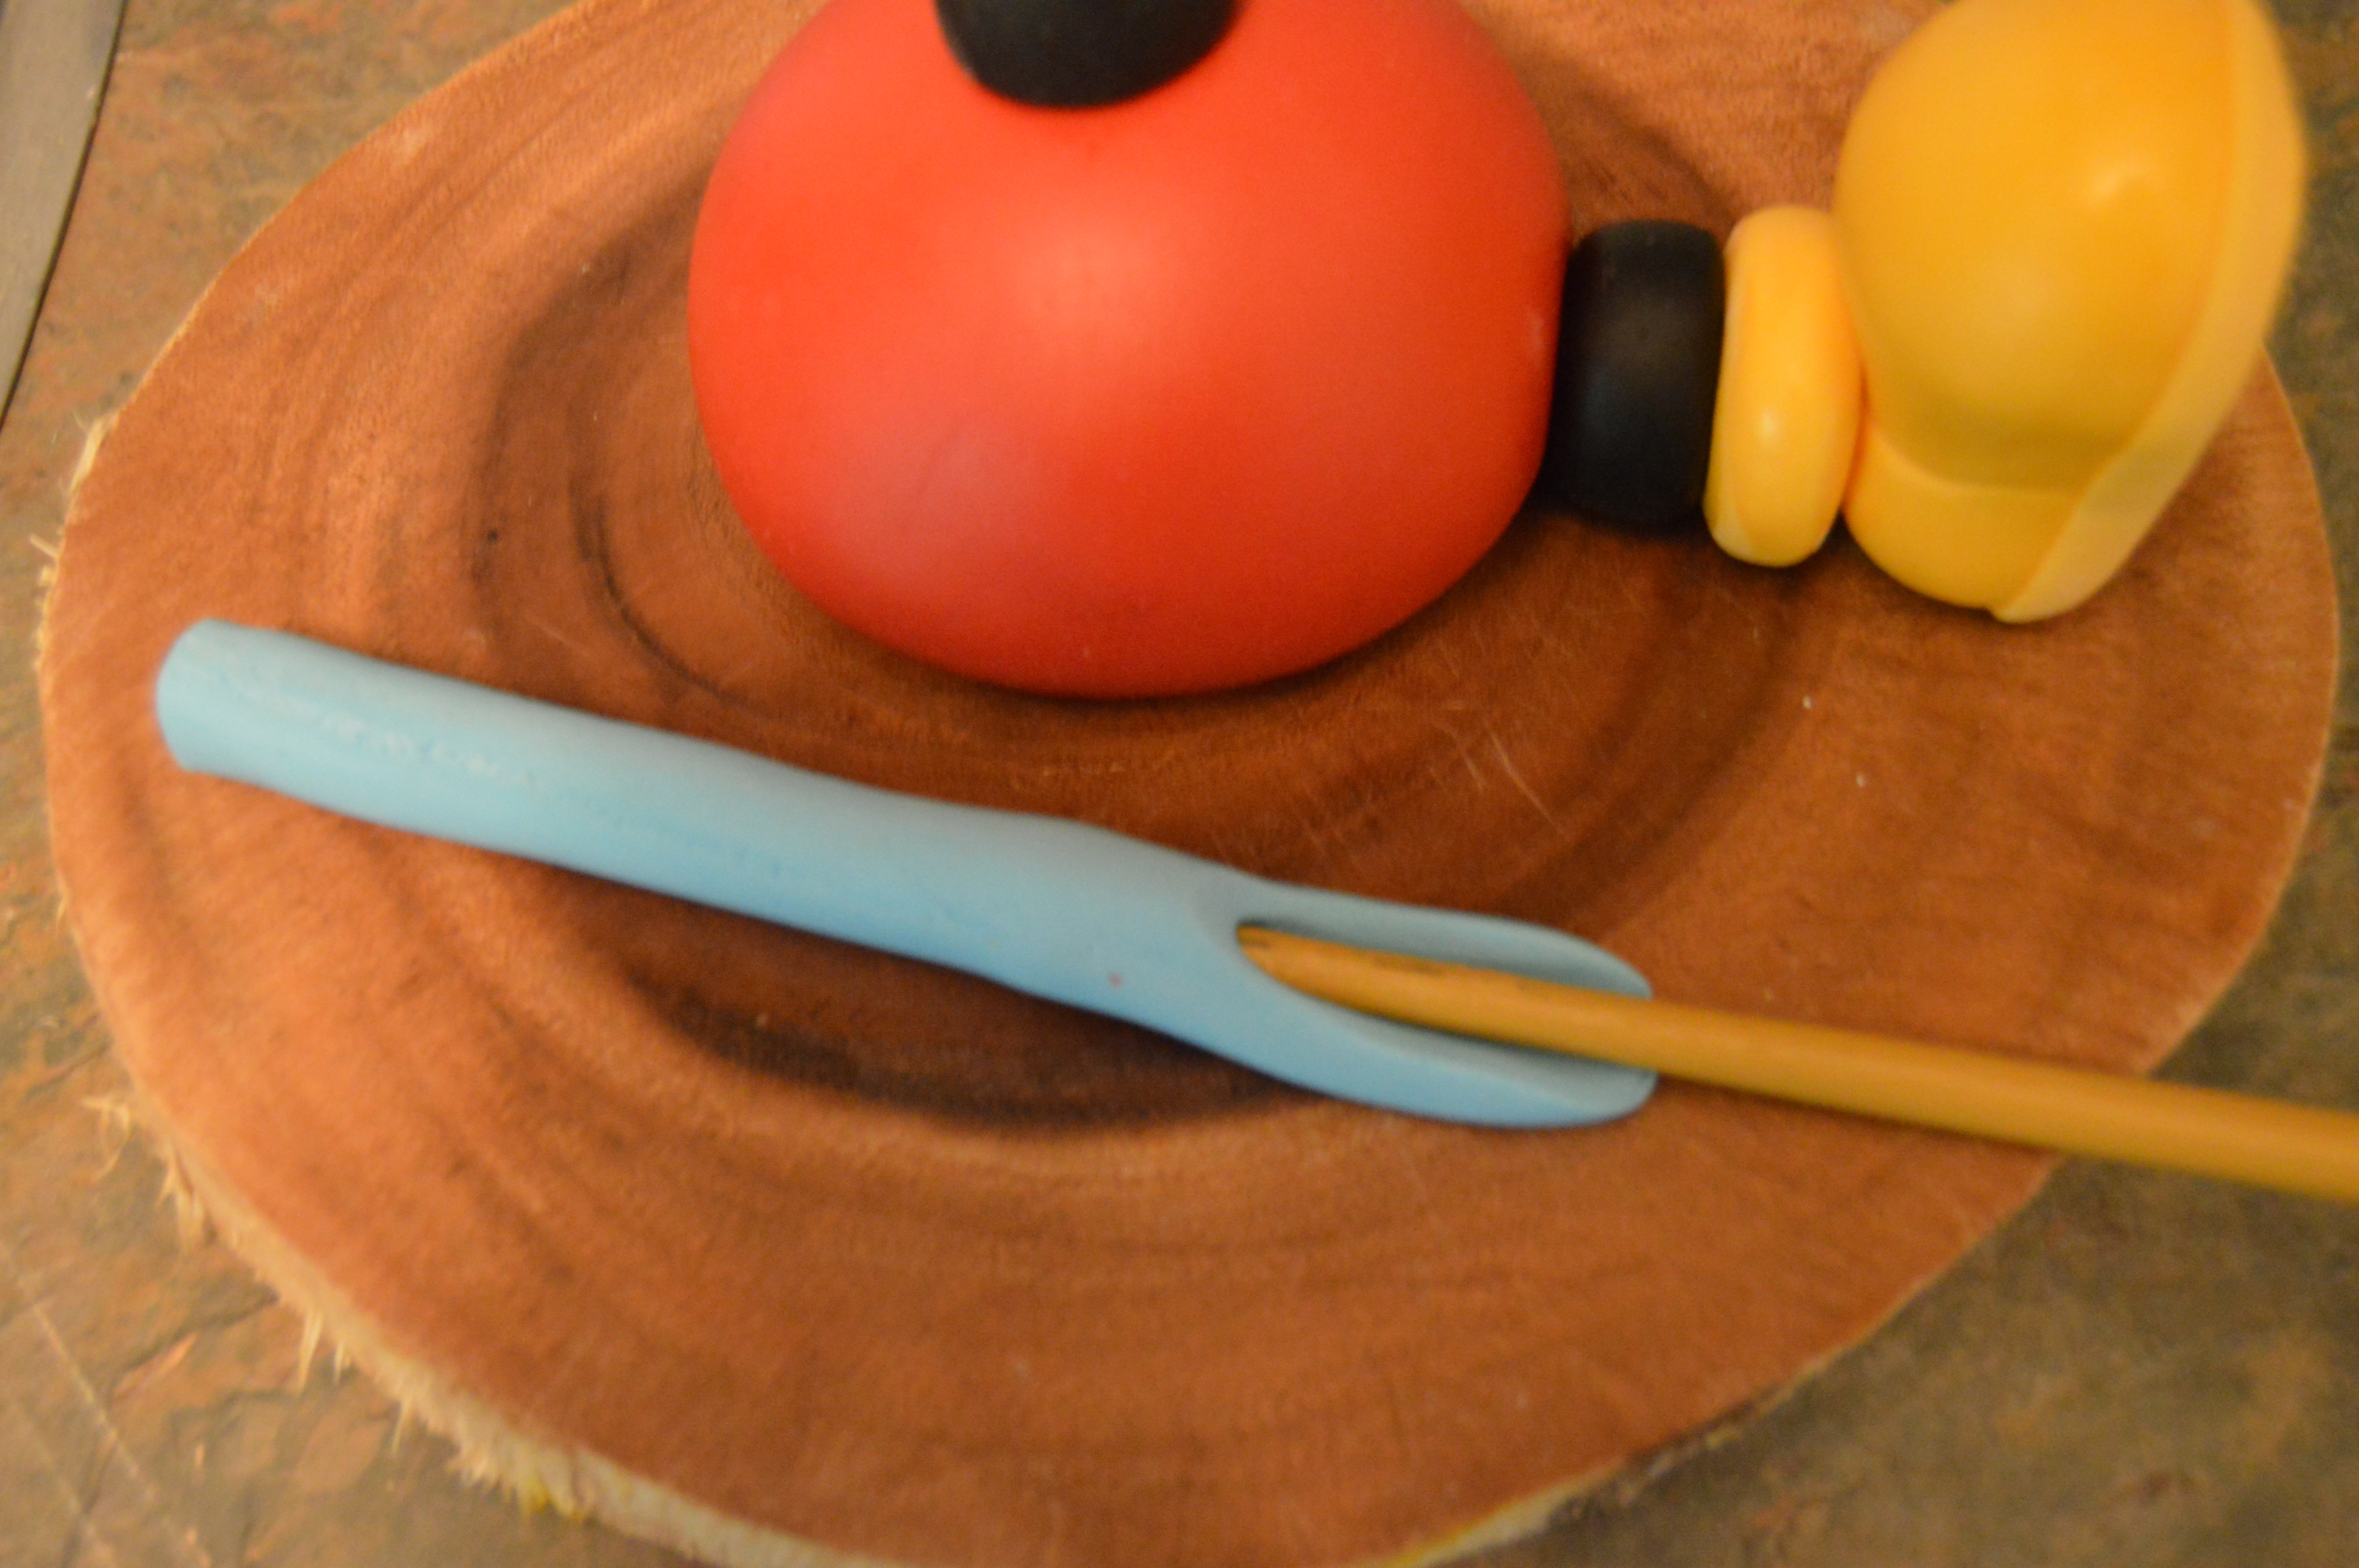
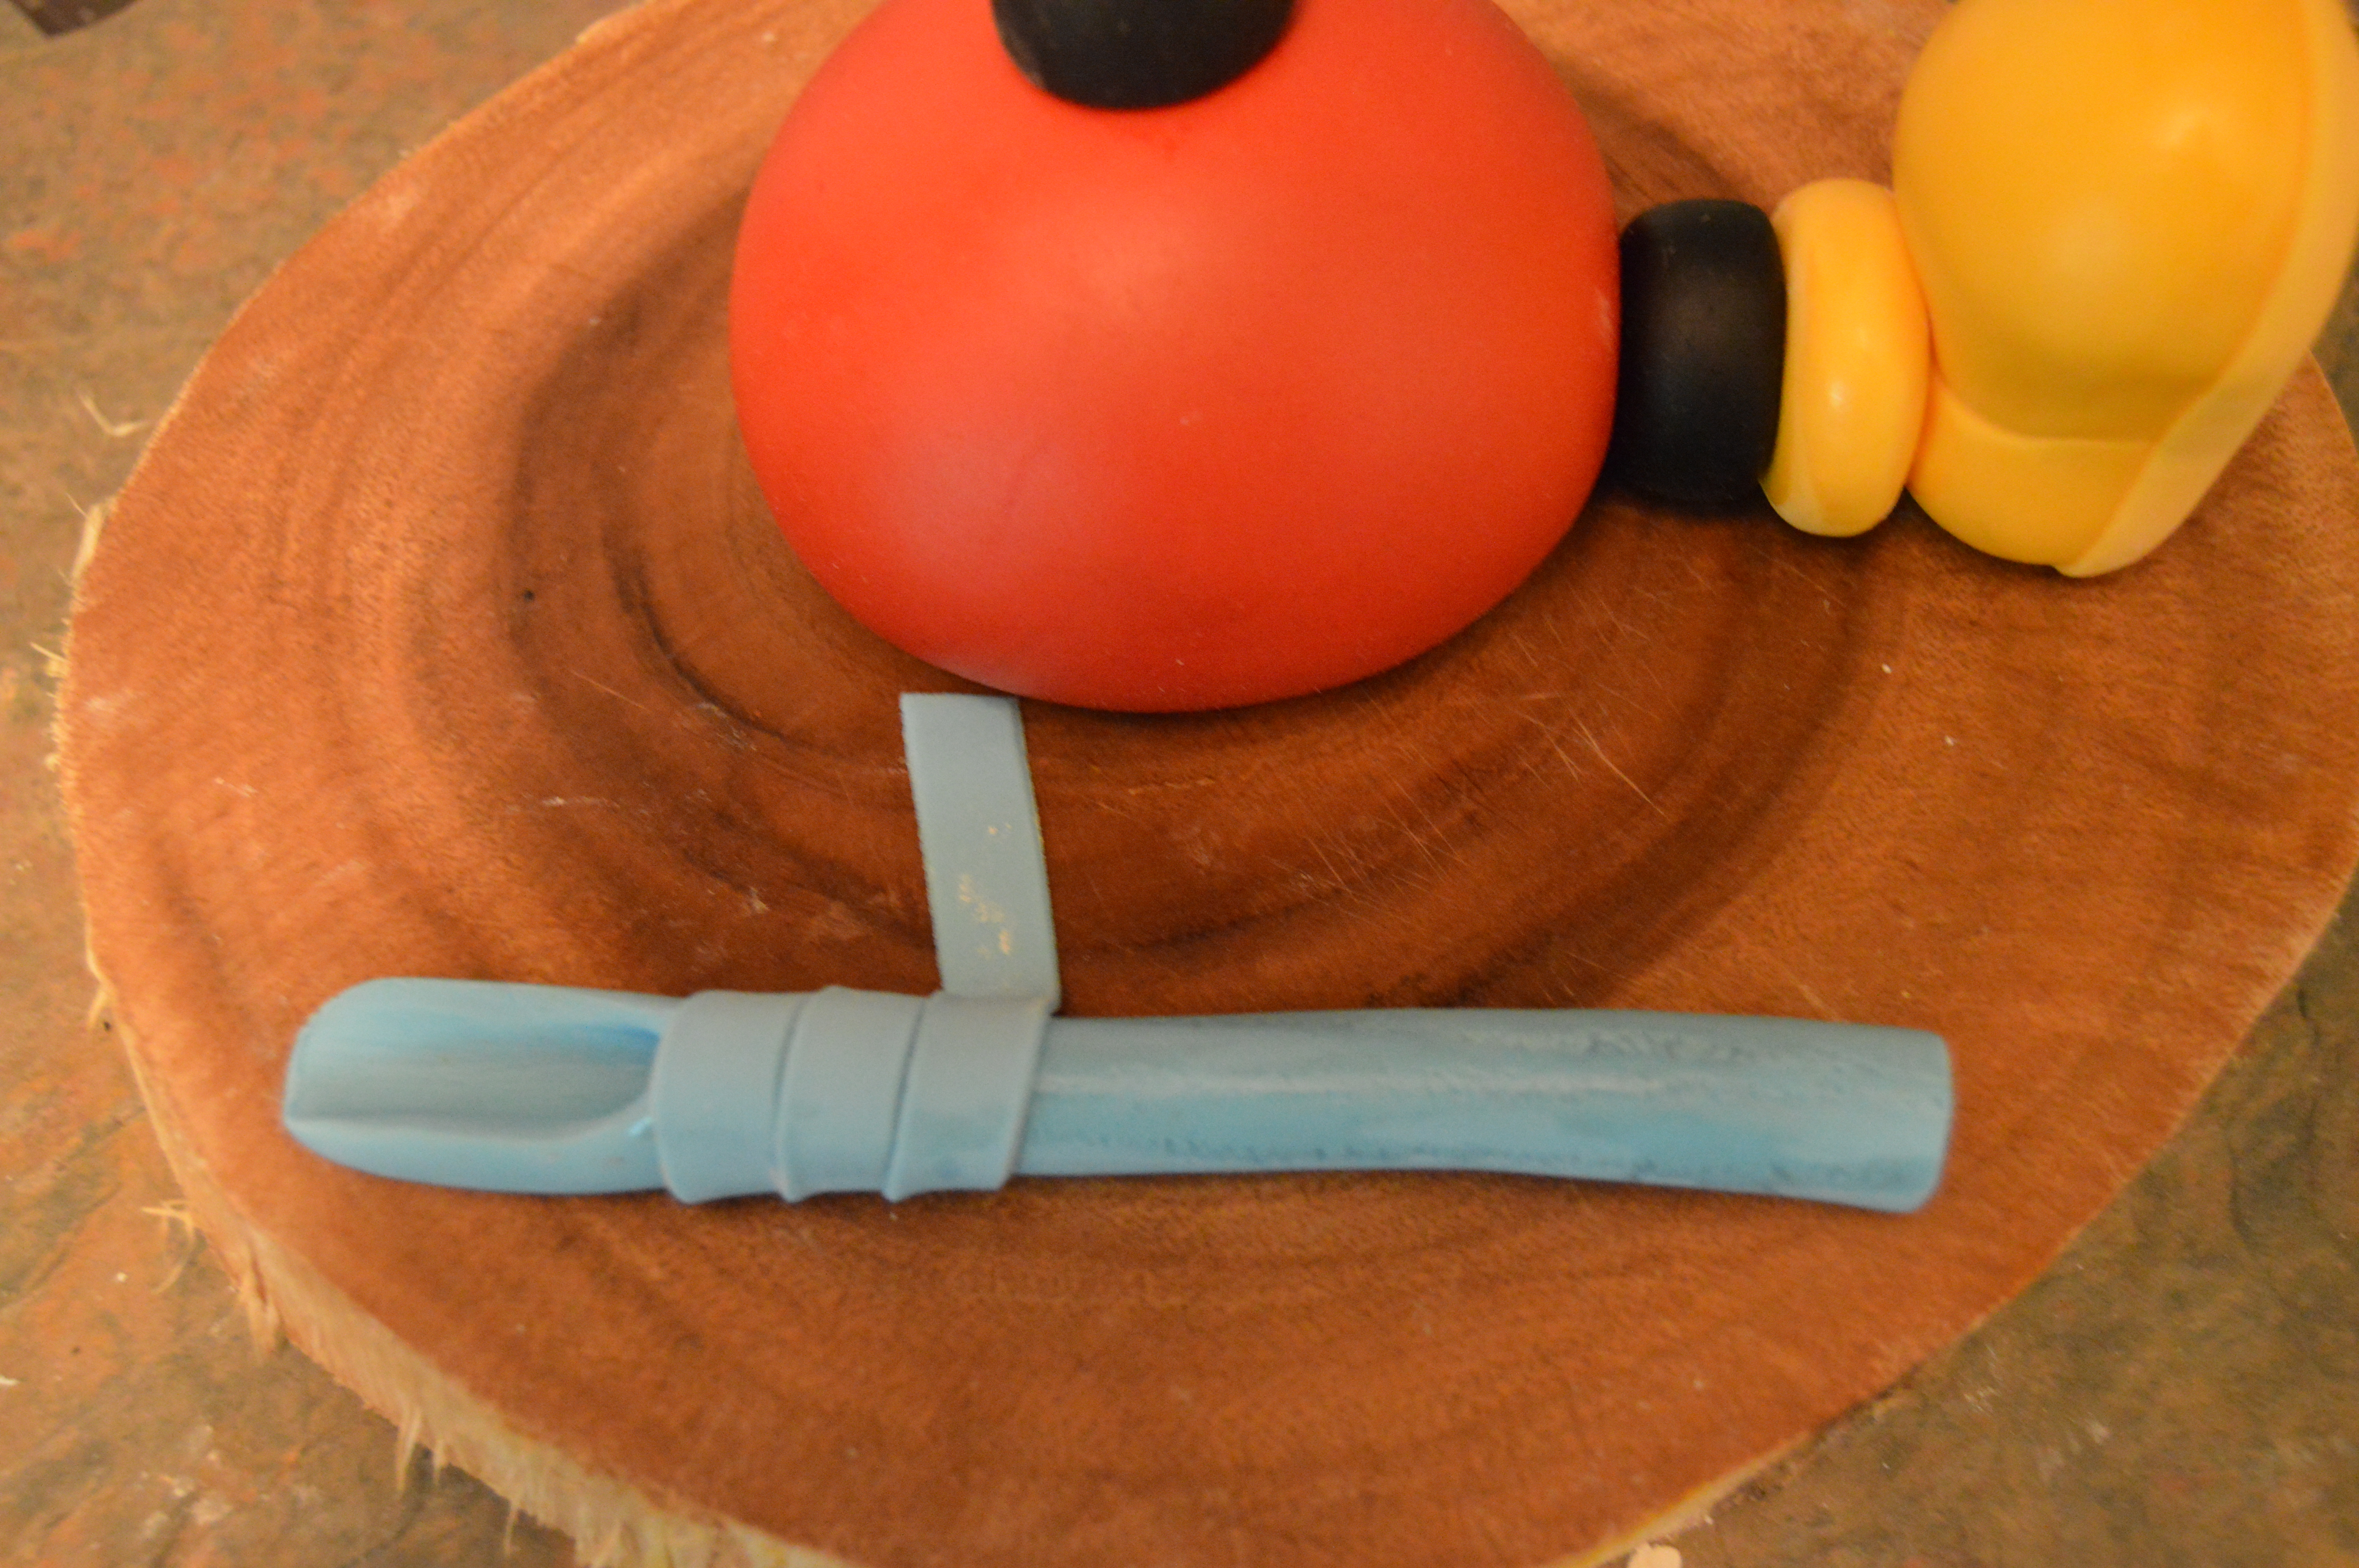
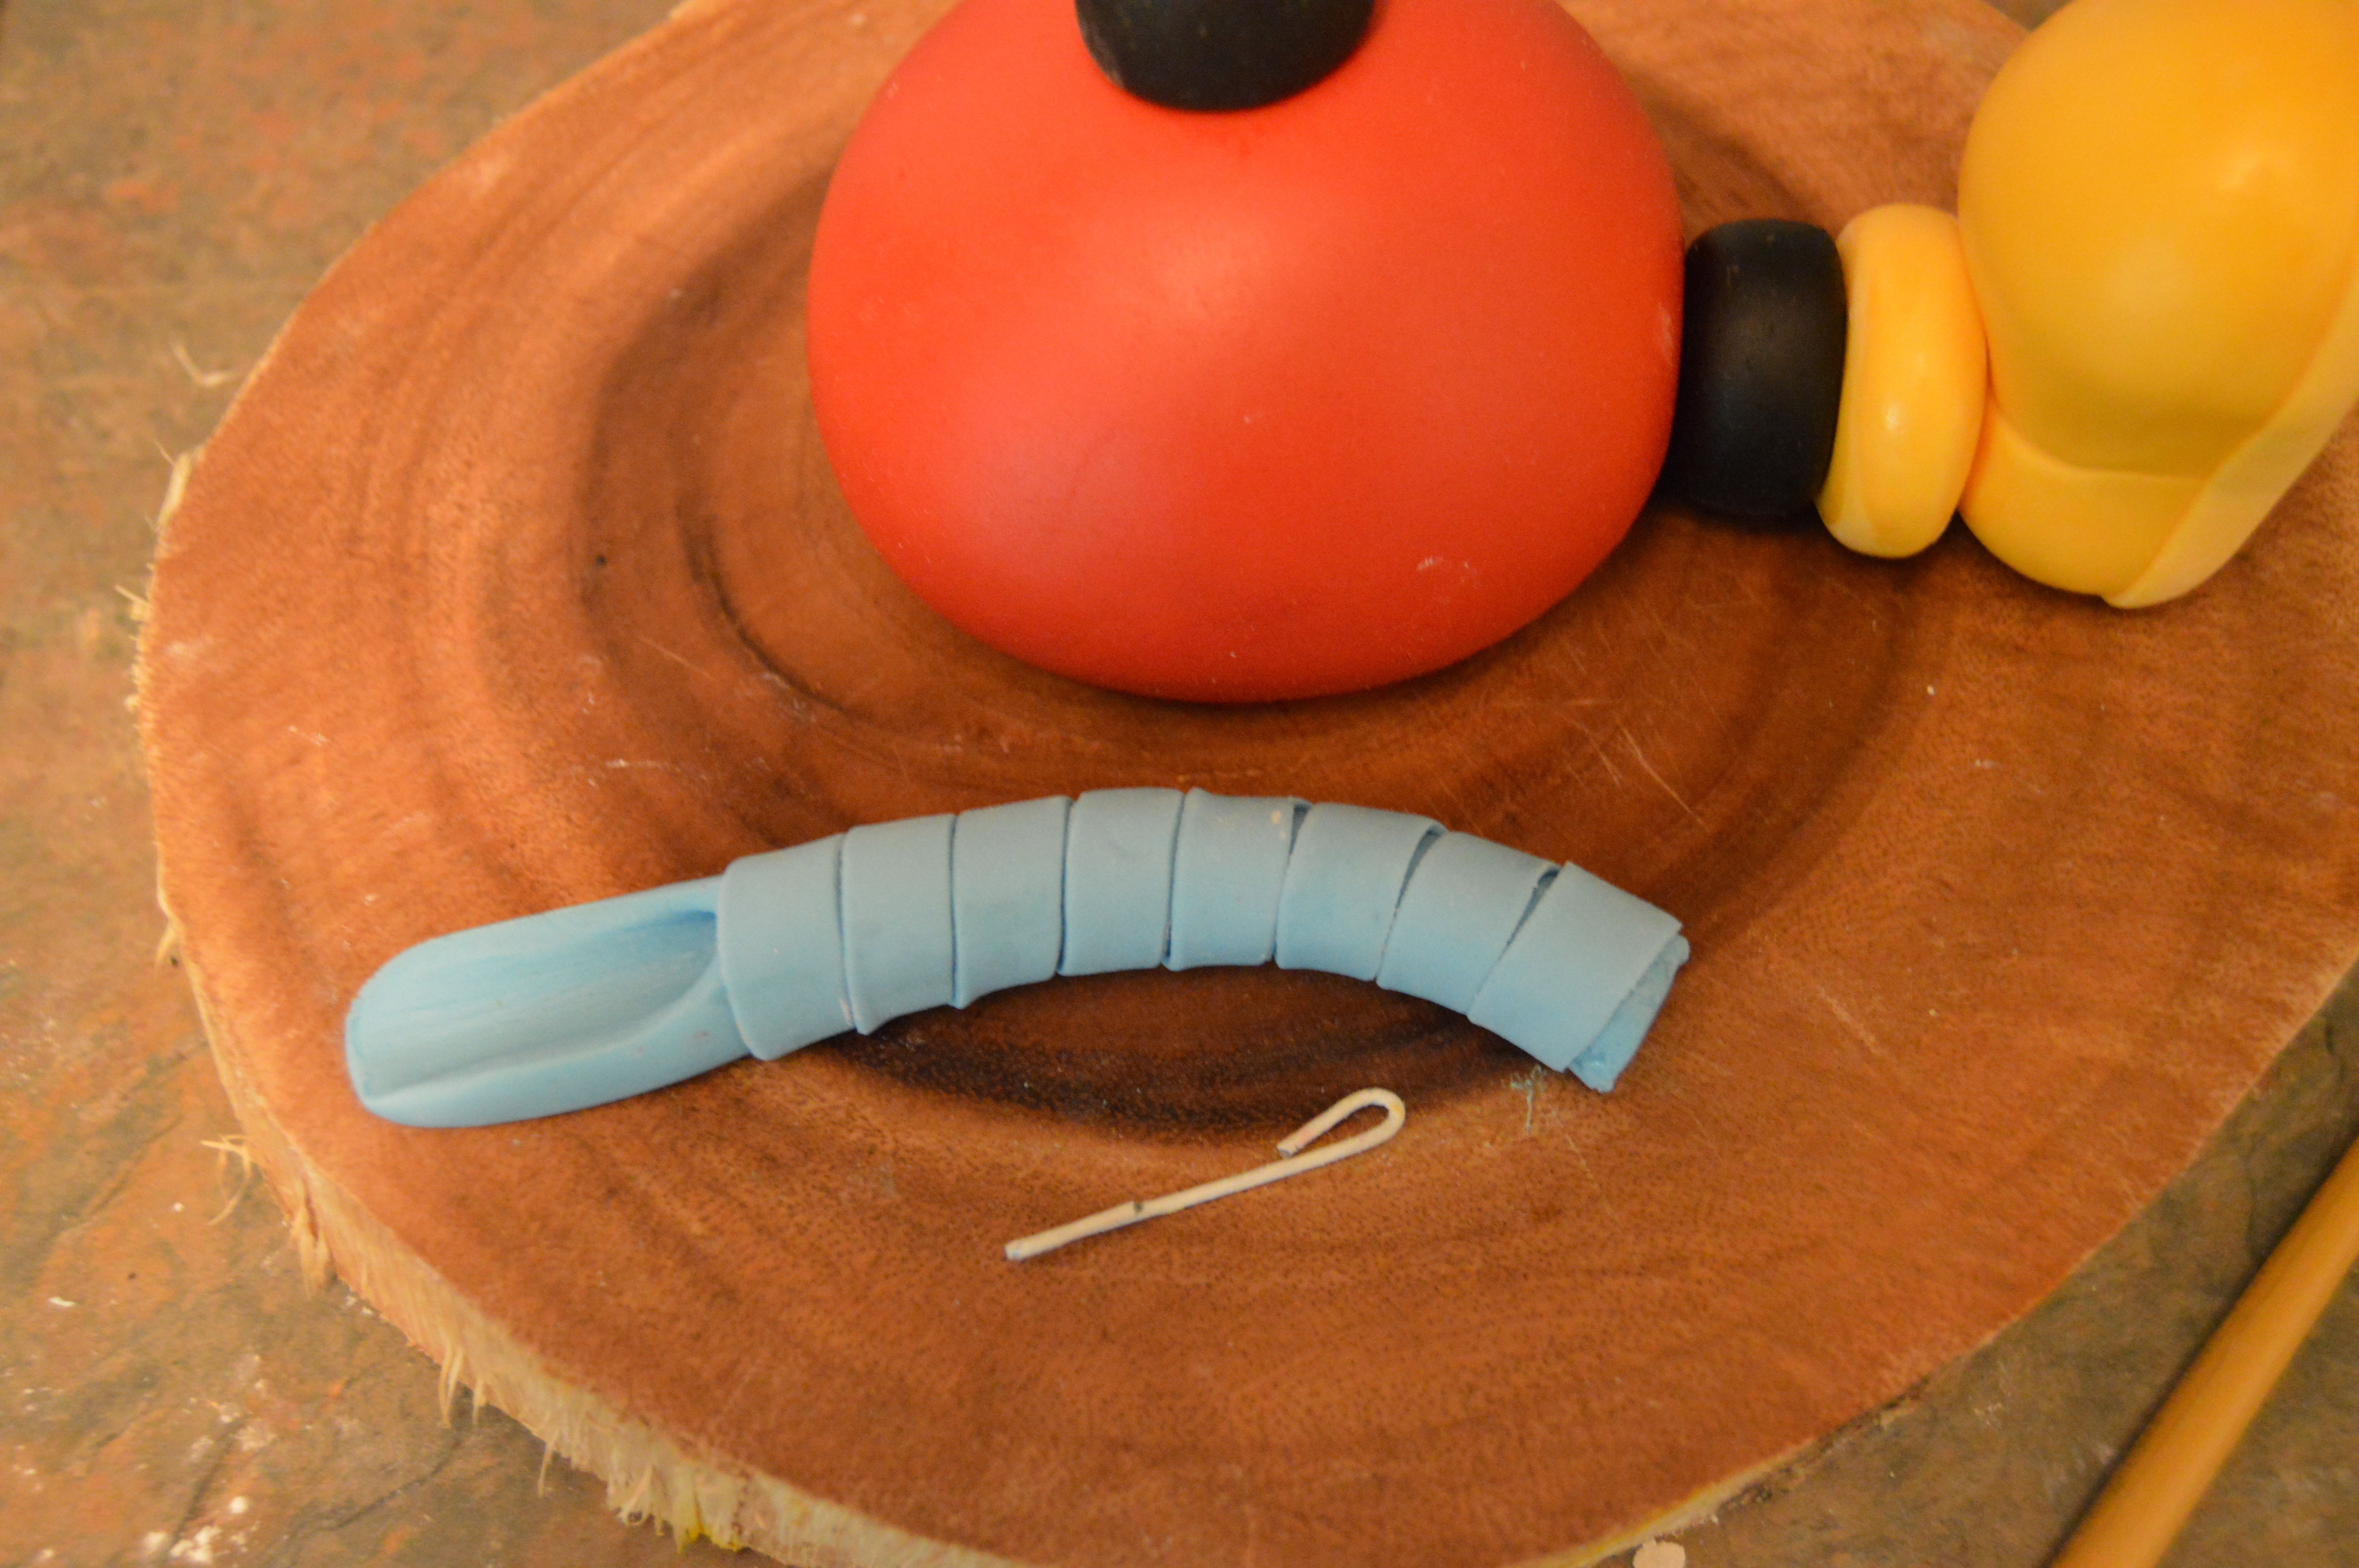
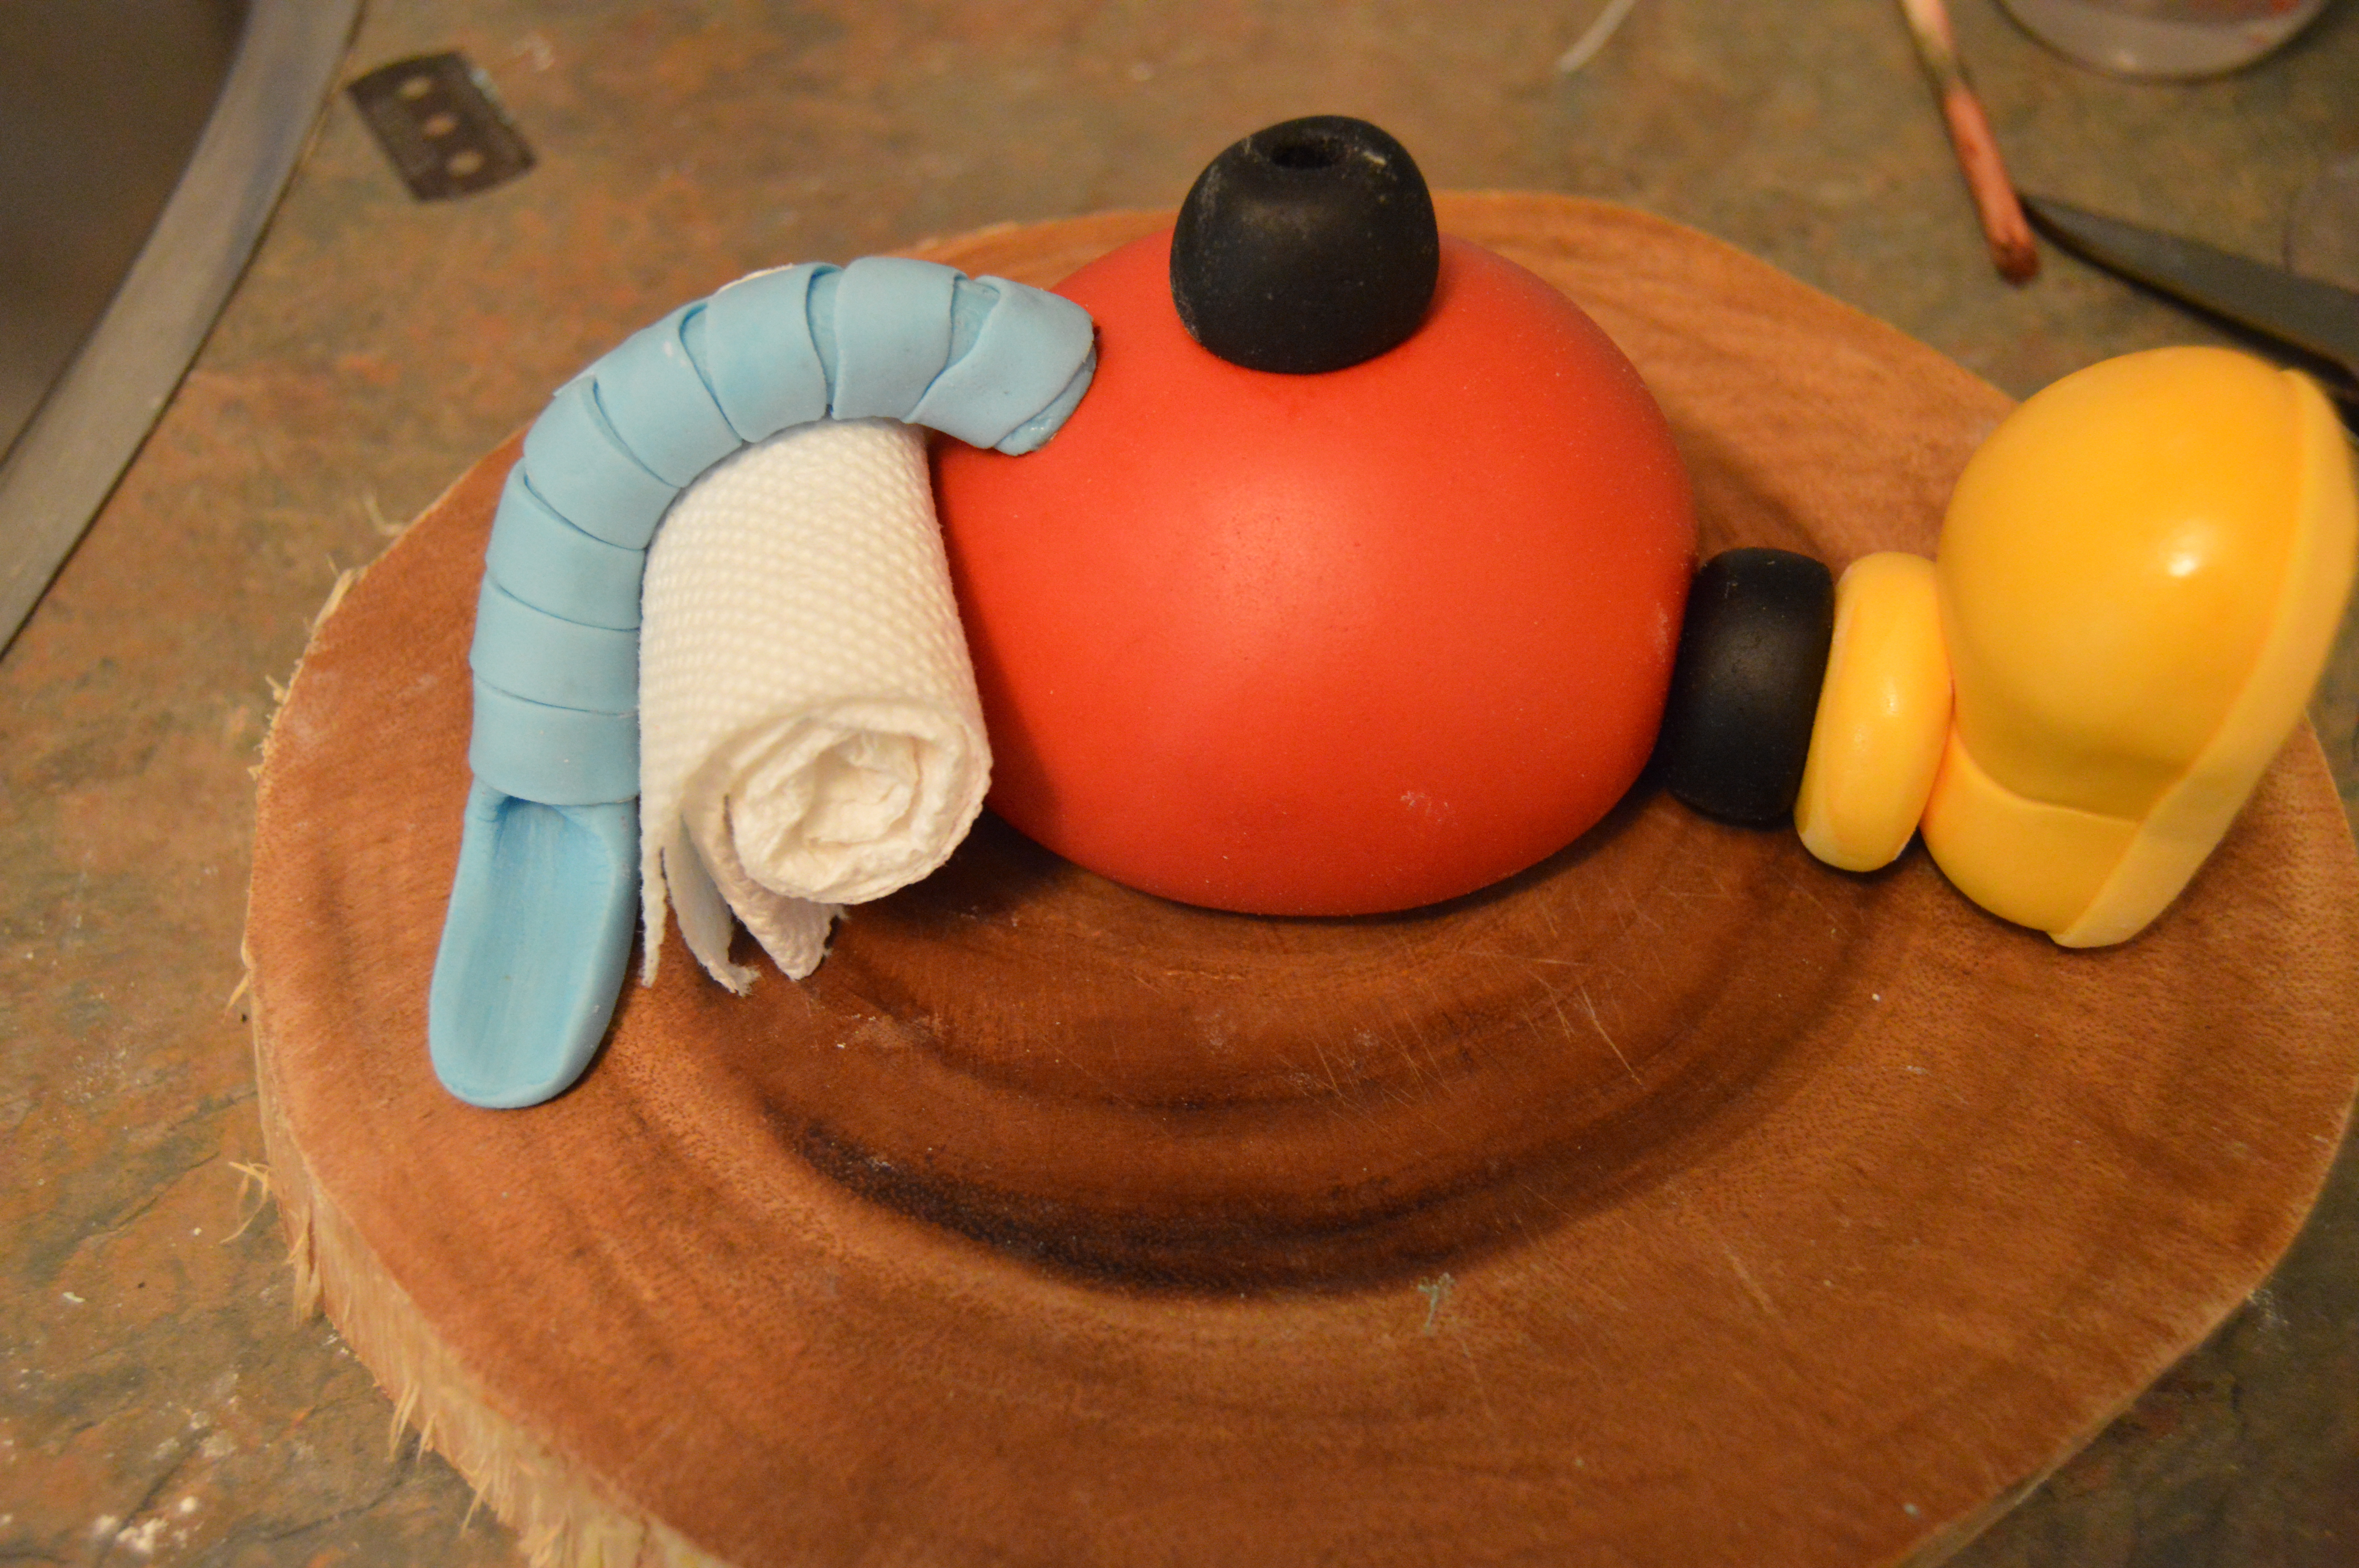
(4) Next, make the slide on the left side of the clubhouse. Roll some blue fondant into a tub. Using a base of a paint brush, make a hole at one end of the tube. Cut out a few strips of blue fondant and wrap them around the tube using a little bit of water or vodka to stick them to the tube. Bend the ends of a floral wire and insert one end into the top of the tube. Insert the tube into the body of the clubhouse. Stuff the gap between the tube and the clubhouse with a folded paper towel and leave the tube to dry this way. The paper towel will provide some support for the tube.
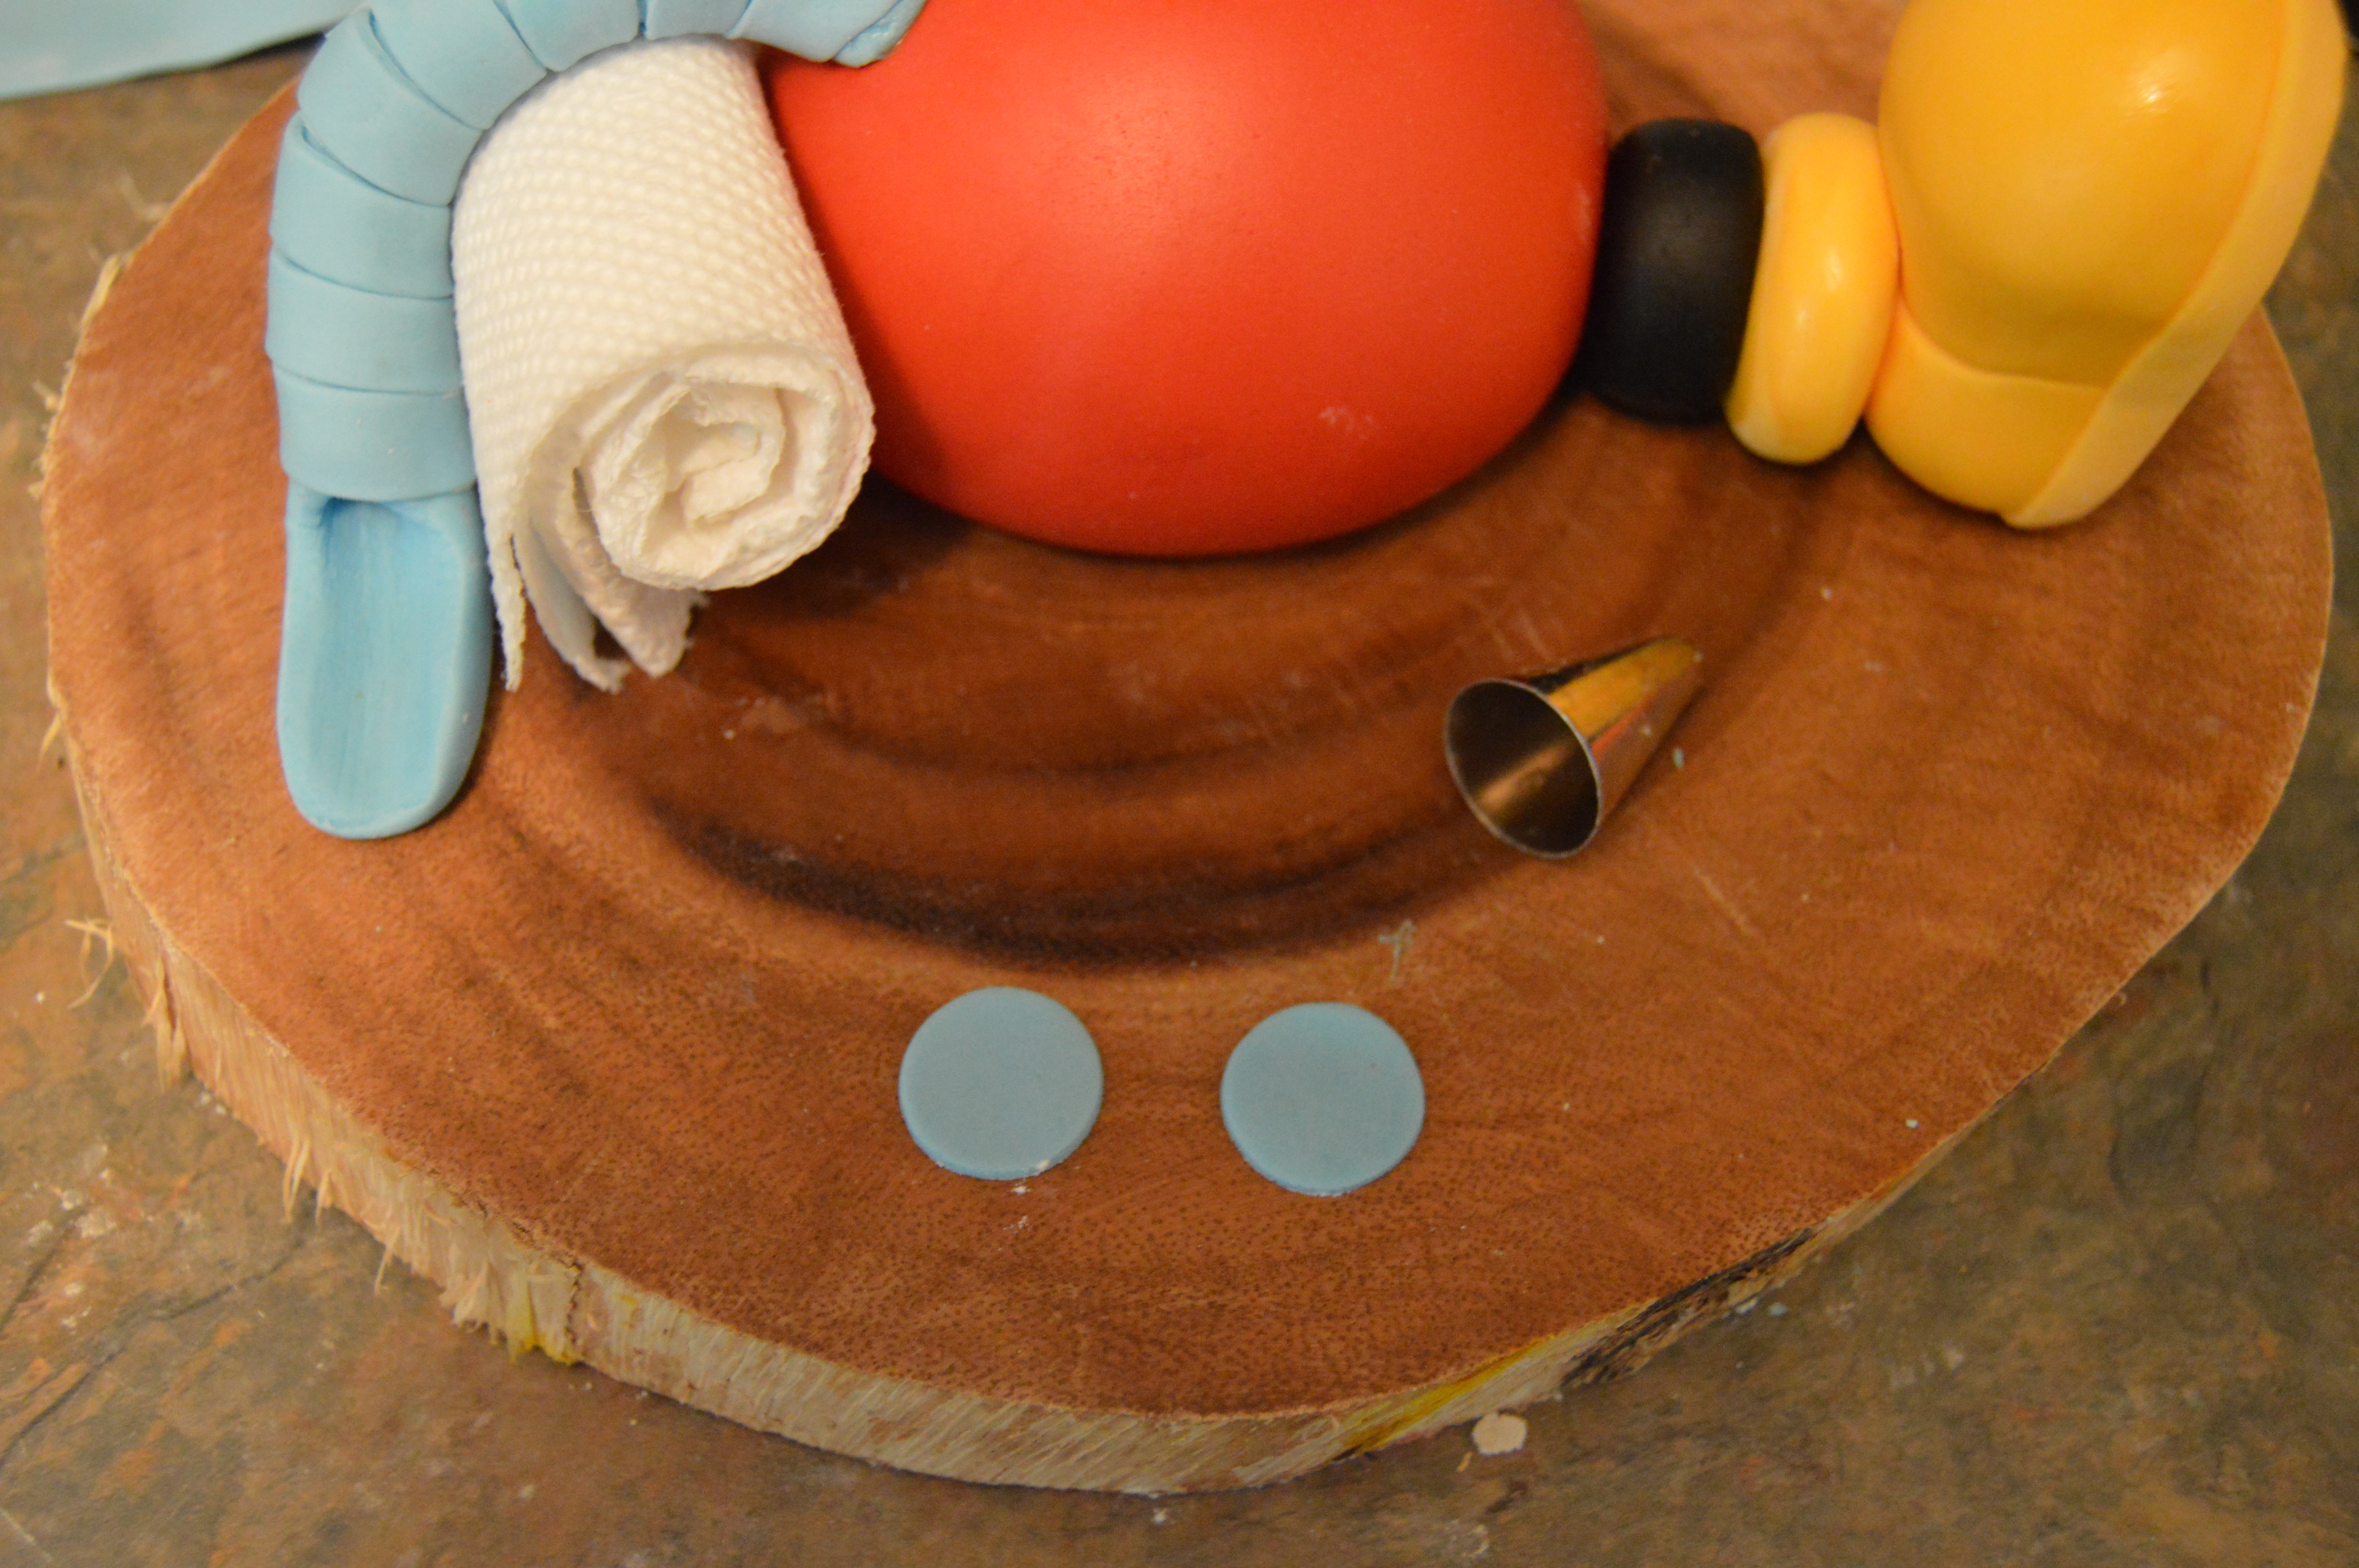
(5) Next, make the windows on the clubhouse body. Cut out two round blue pieces of fondant and roll them out with a small rolling pin so they are oblong. Stick these to the body. Much later, black fondant will be used around and and inside them to complete the look.

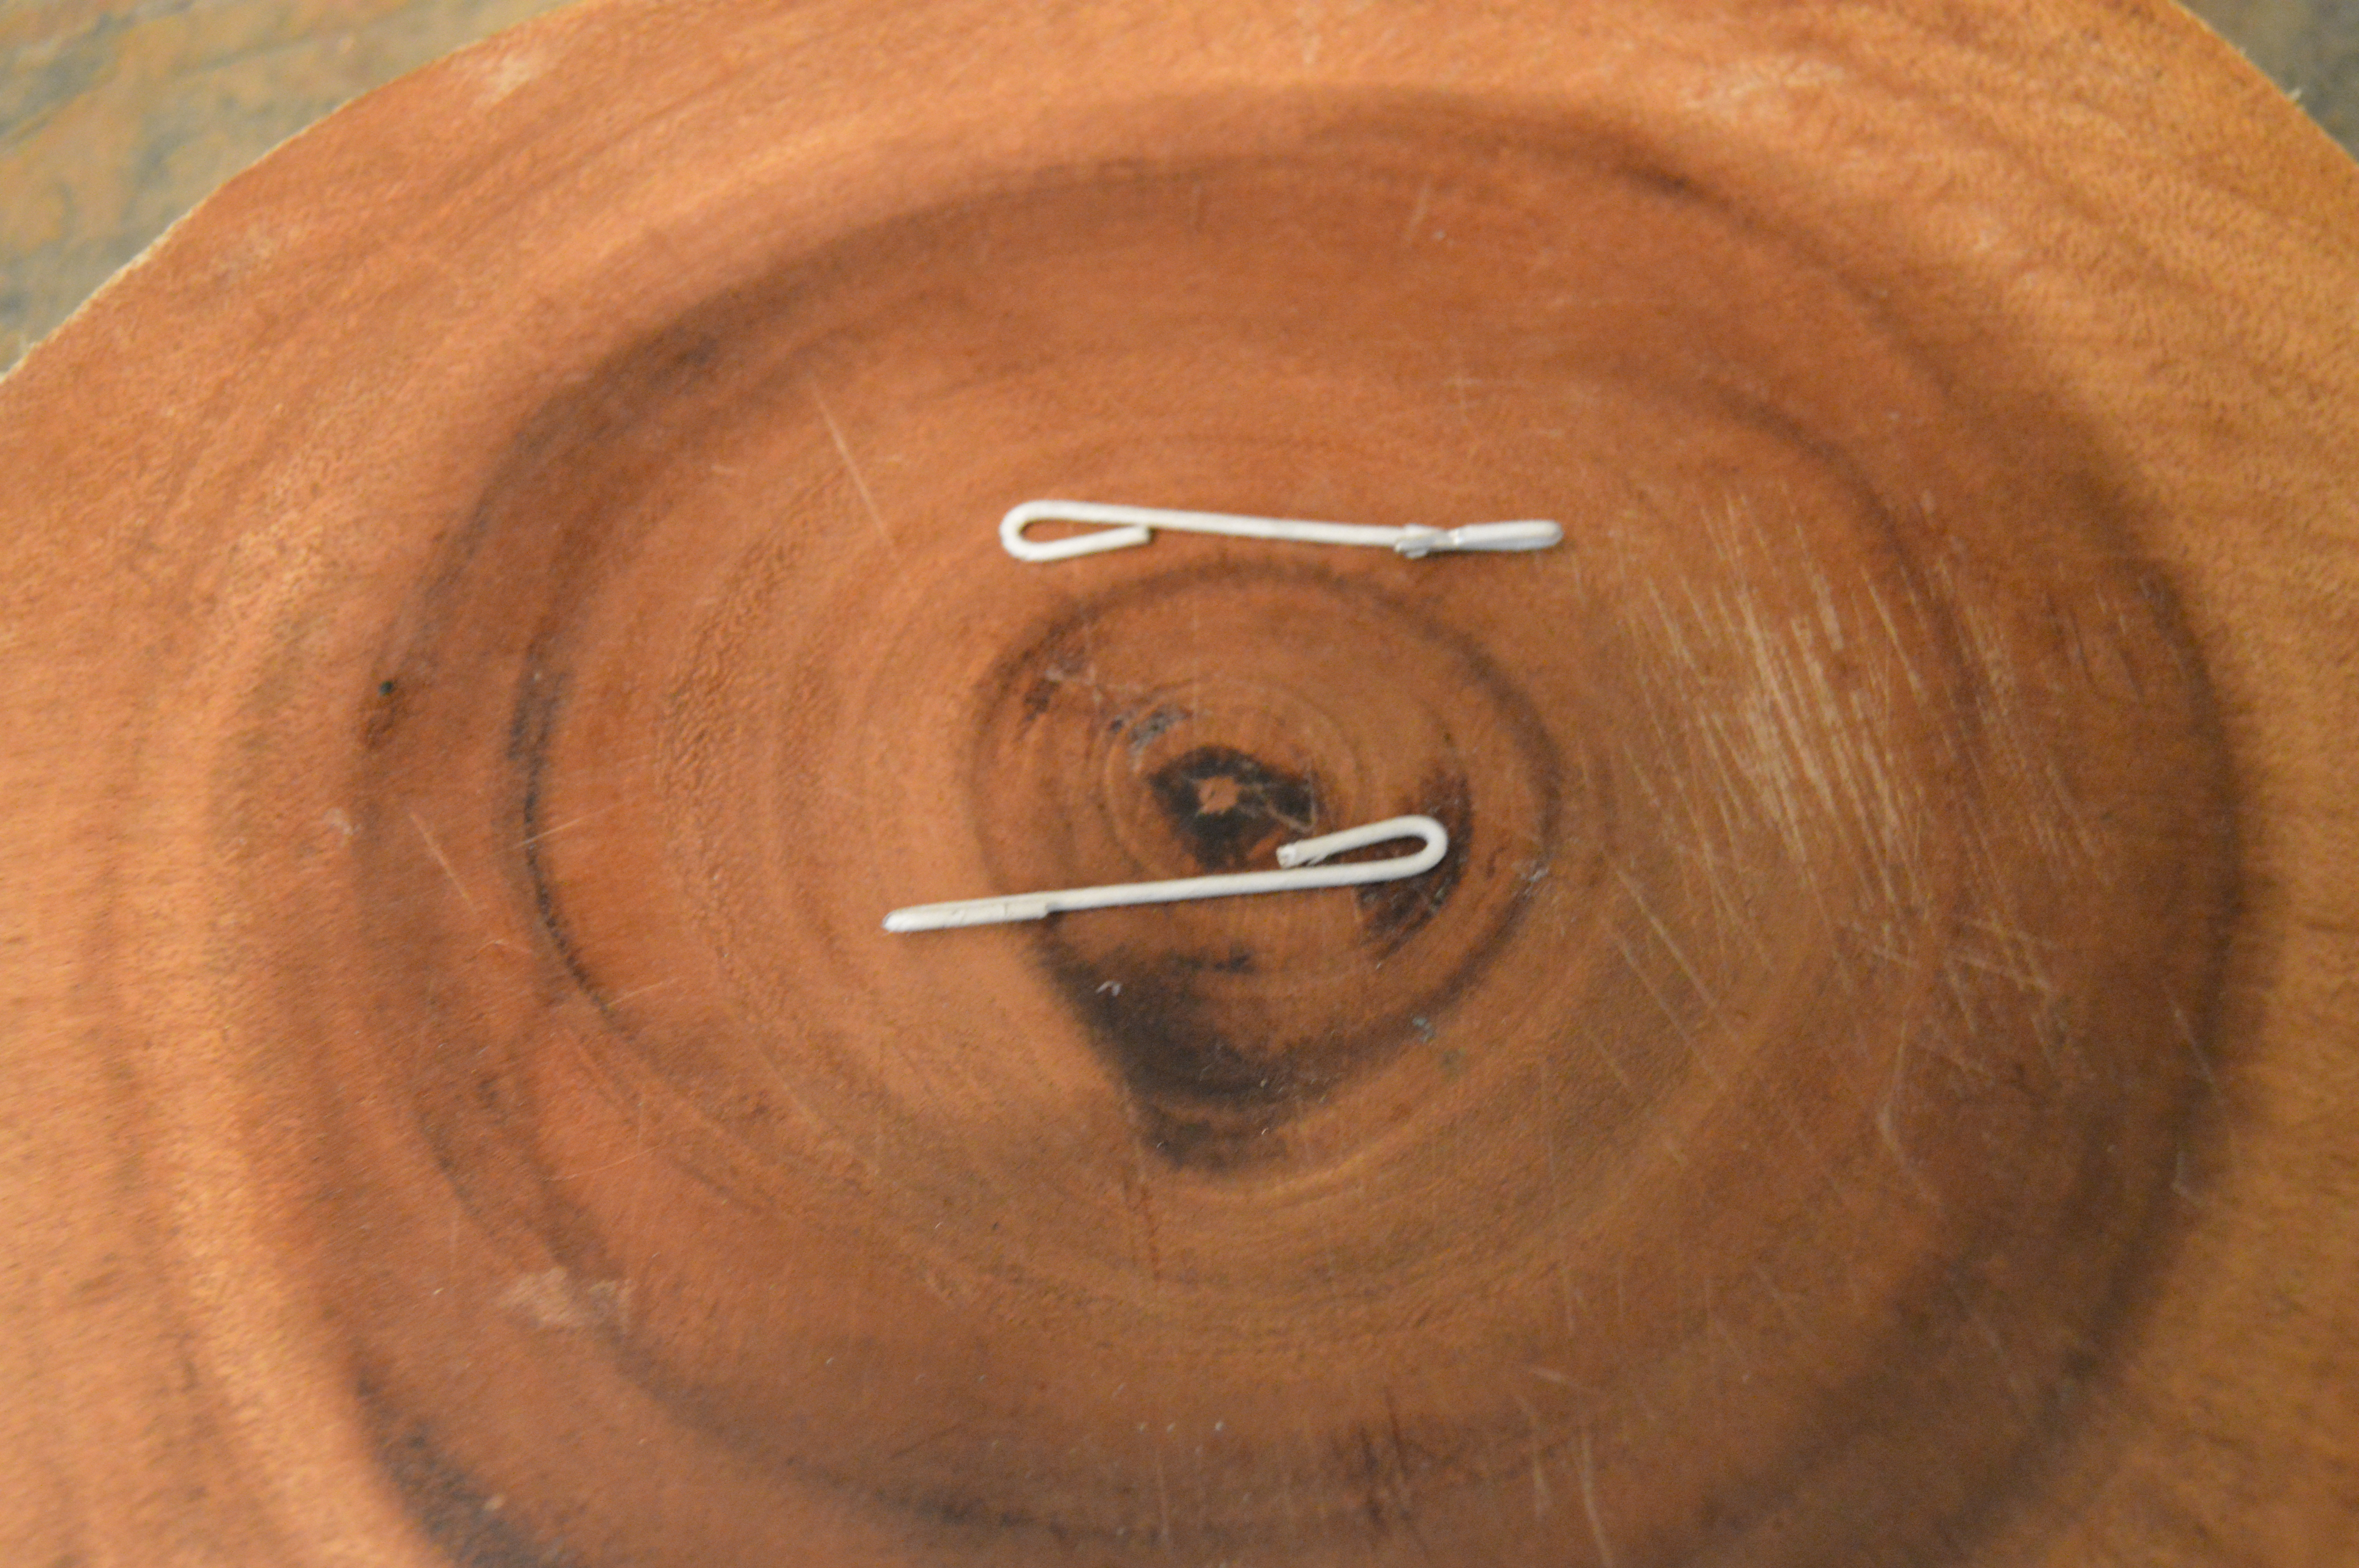
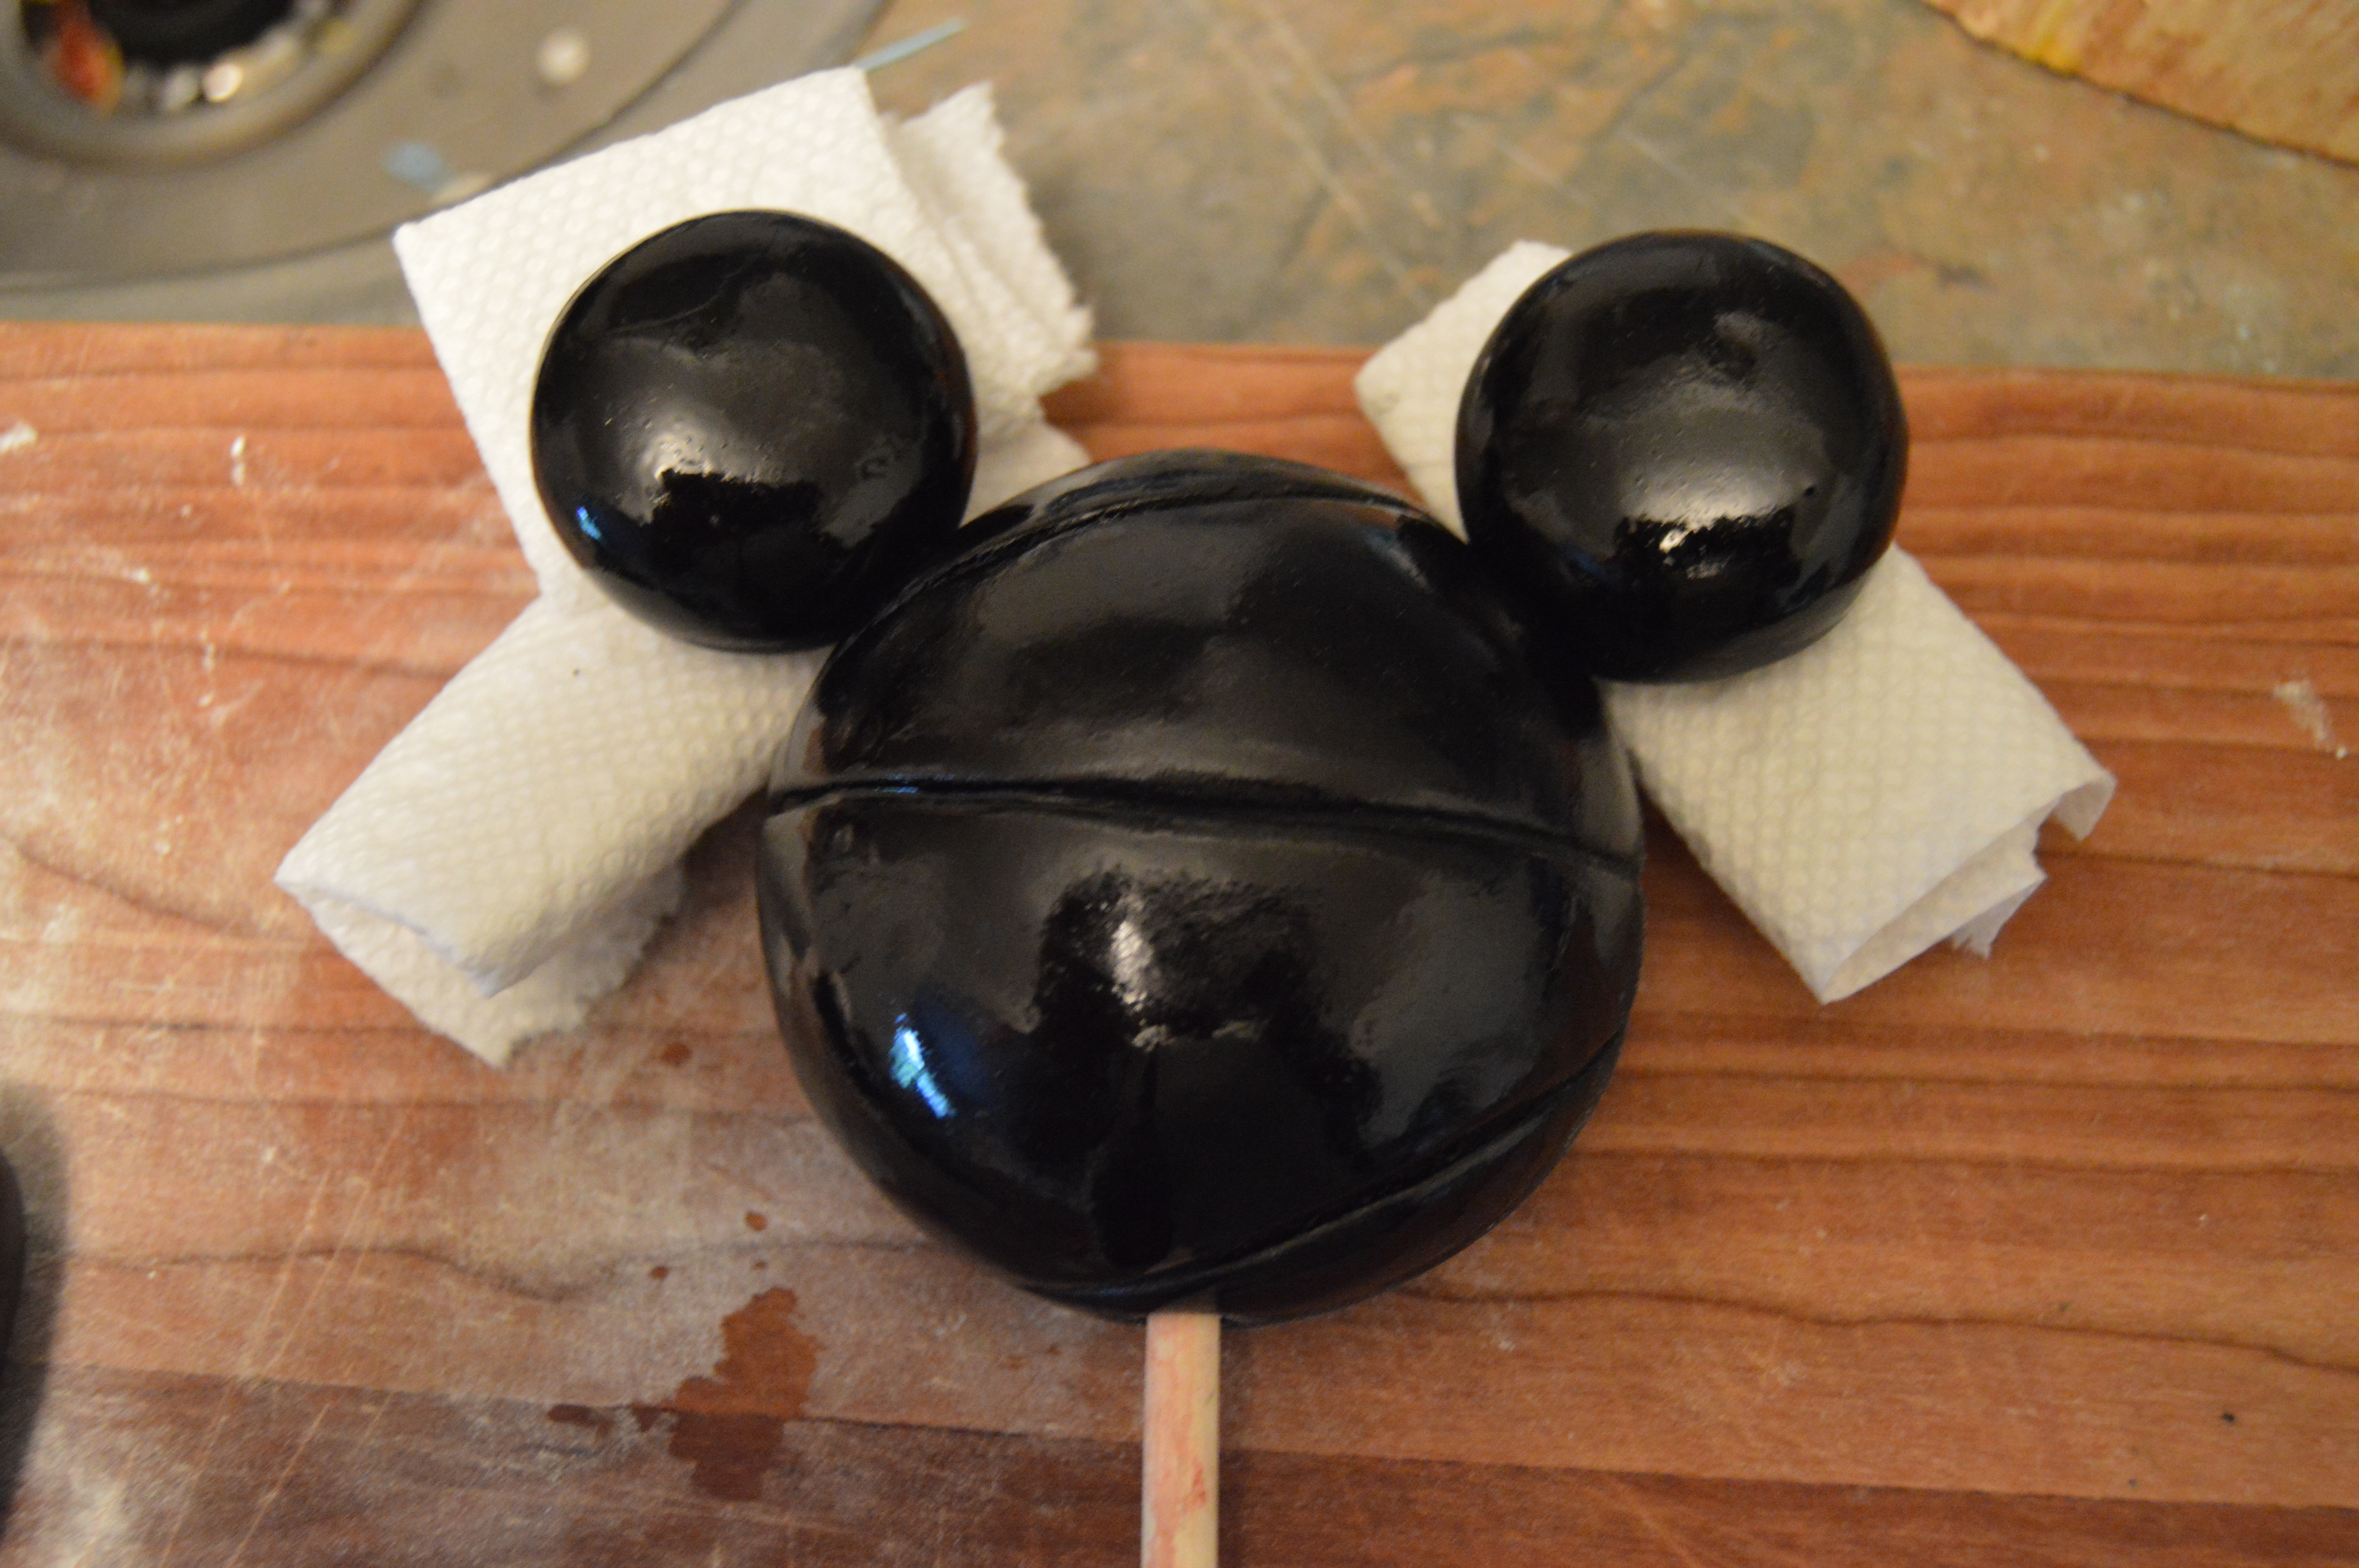
(6) Next, work on the Mickey Mouse (hereinafter: MM) head and ears. Bend both ends of 2 floral wires and insert one end into each of the ears.
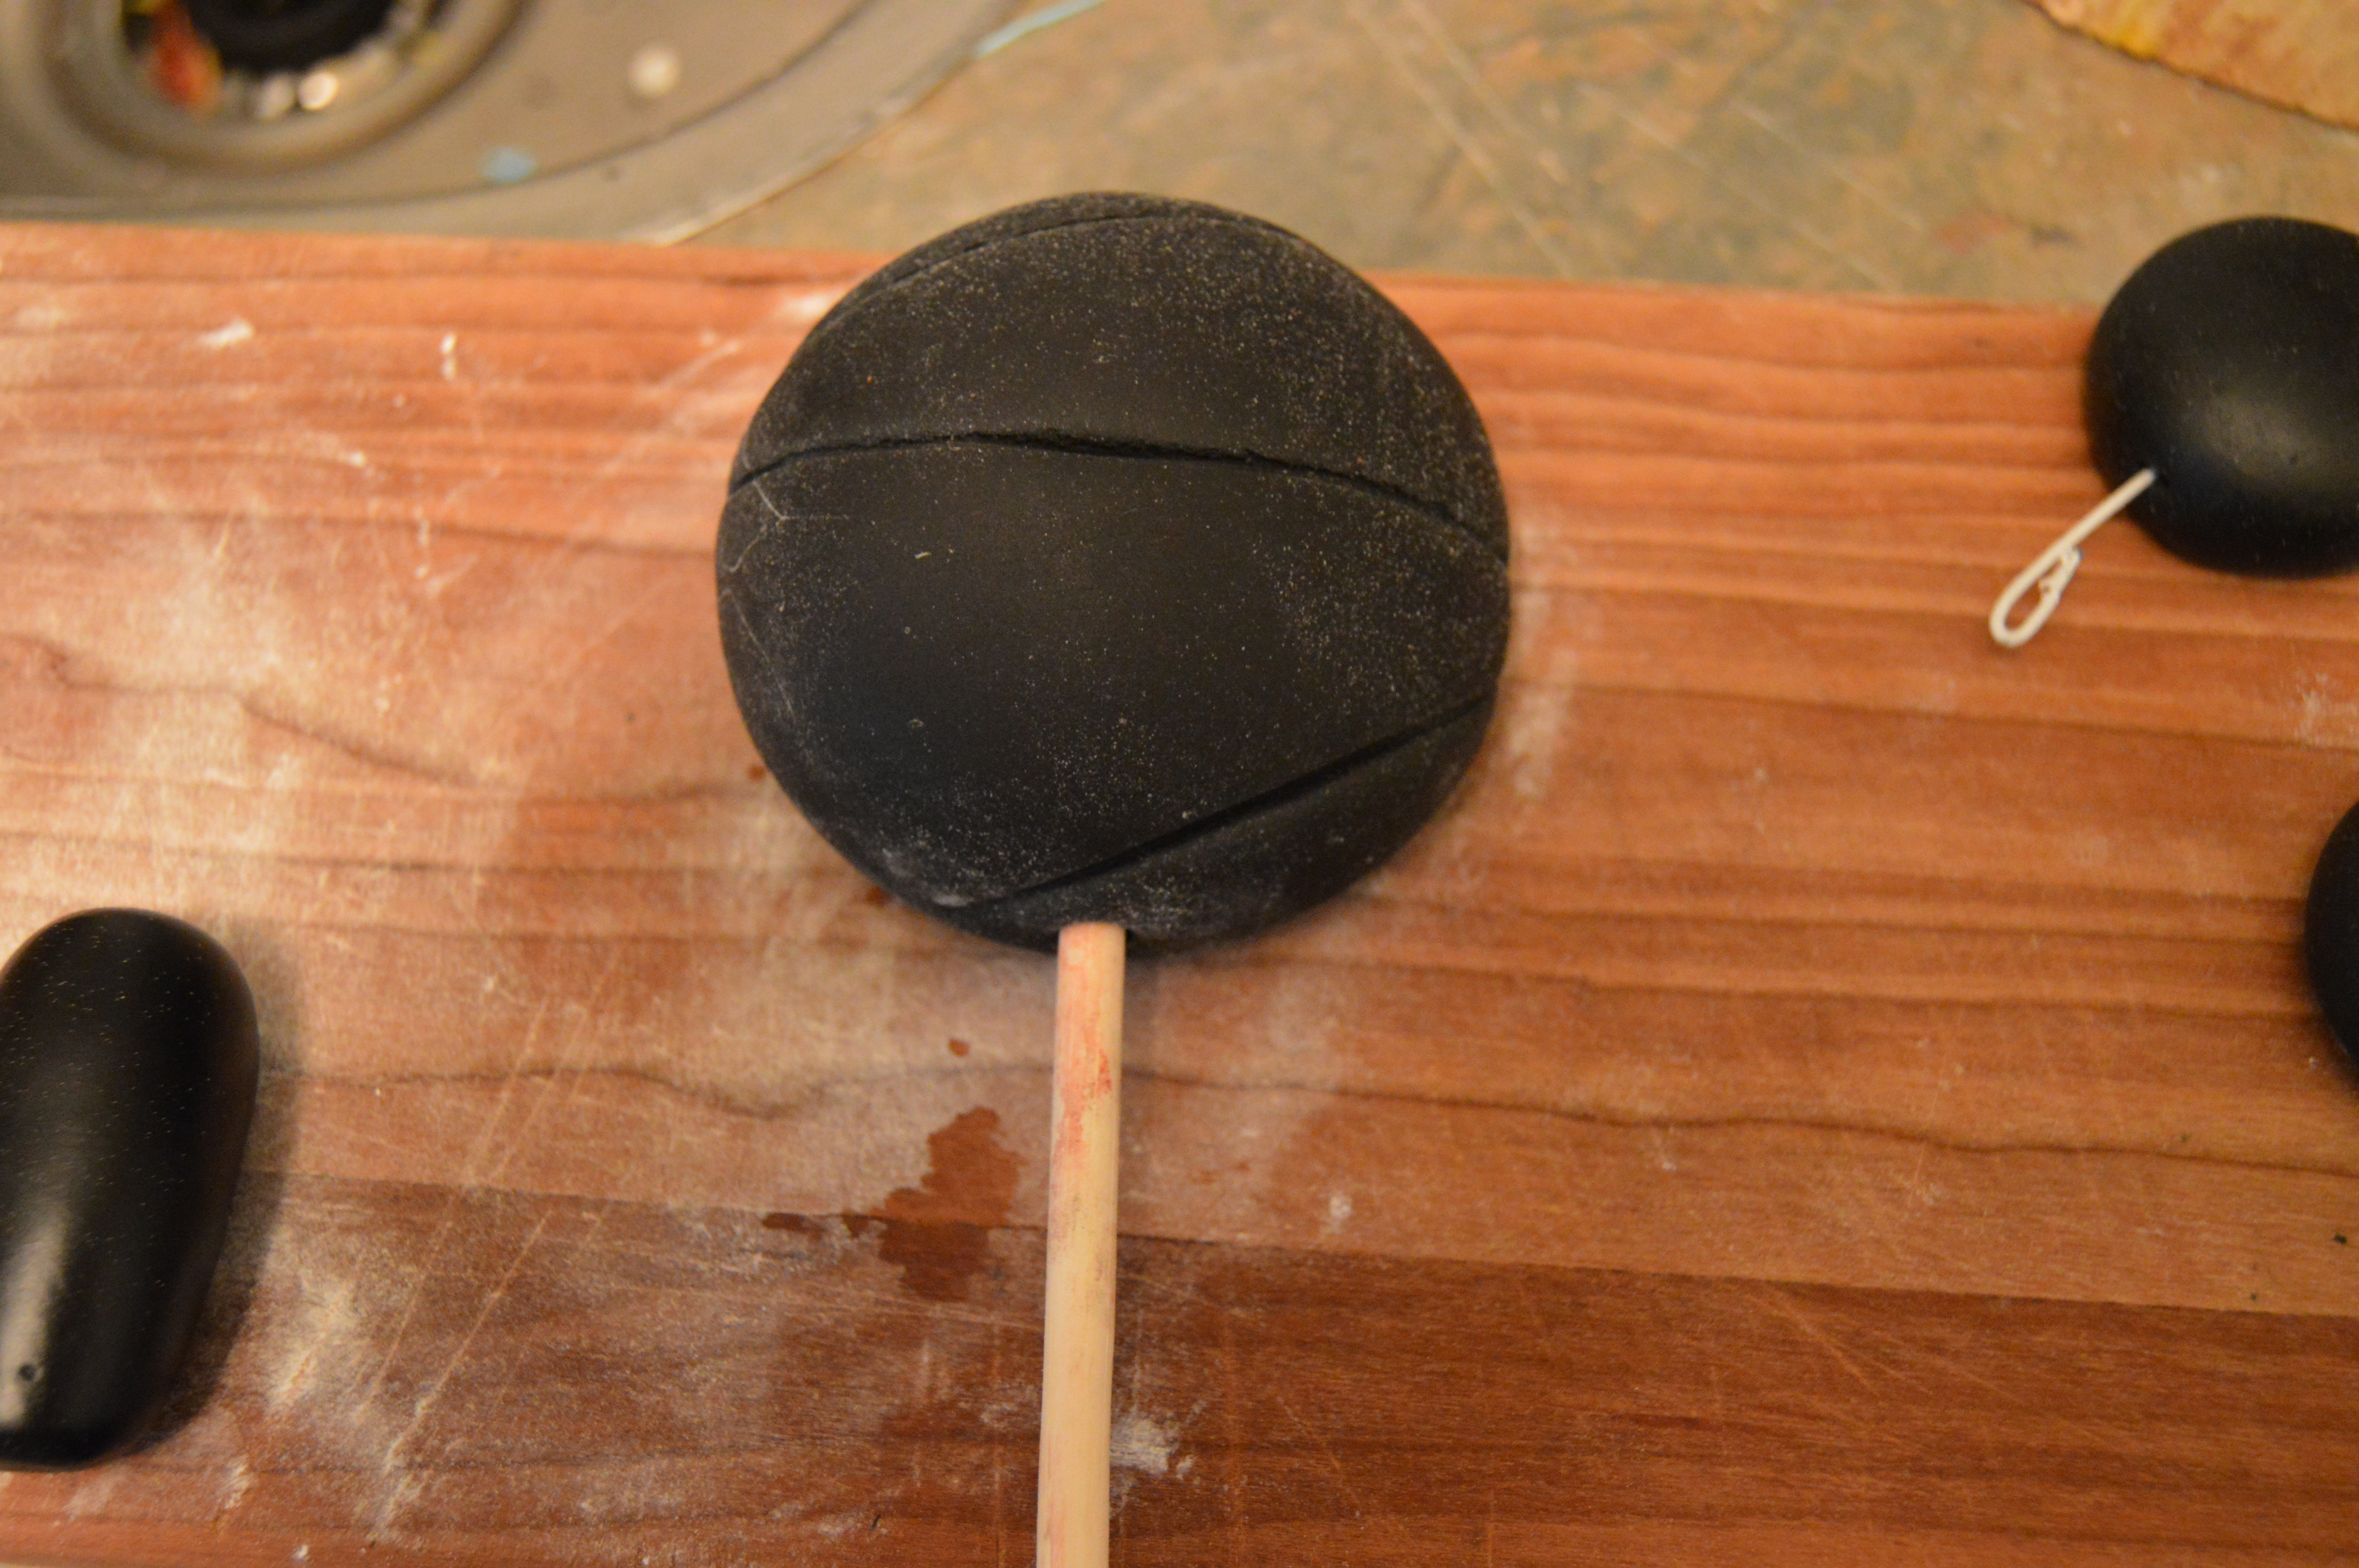
(7) Next, use a fondant wheel to make 3 lines on the MM head as shown in the picture below. Insert a wooden dowel into the bottom of the MM head. This dowel will later be passed through the body and inserted into the cake. It should thus be long enough to pass through the body and into the cake for extra support. Insert both ears into the top of the head using the floral wires and a little bit of water or vodka. Place some folded paper towels under the ears for extra support and leave the head this way to dry for 48 hours.
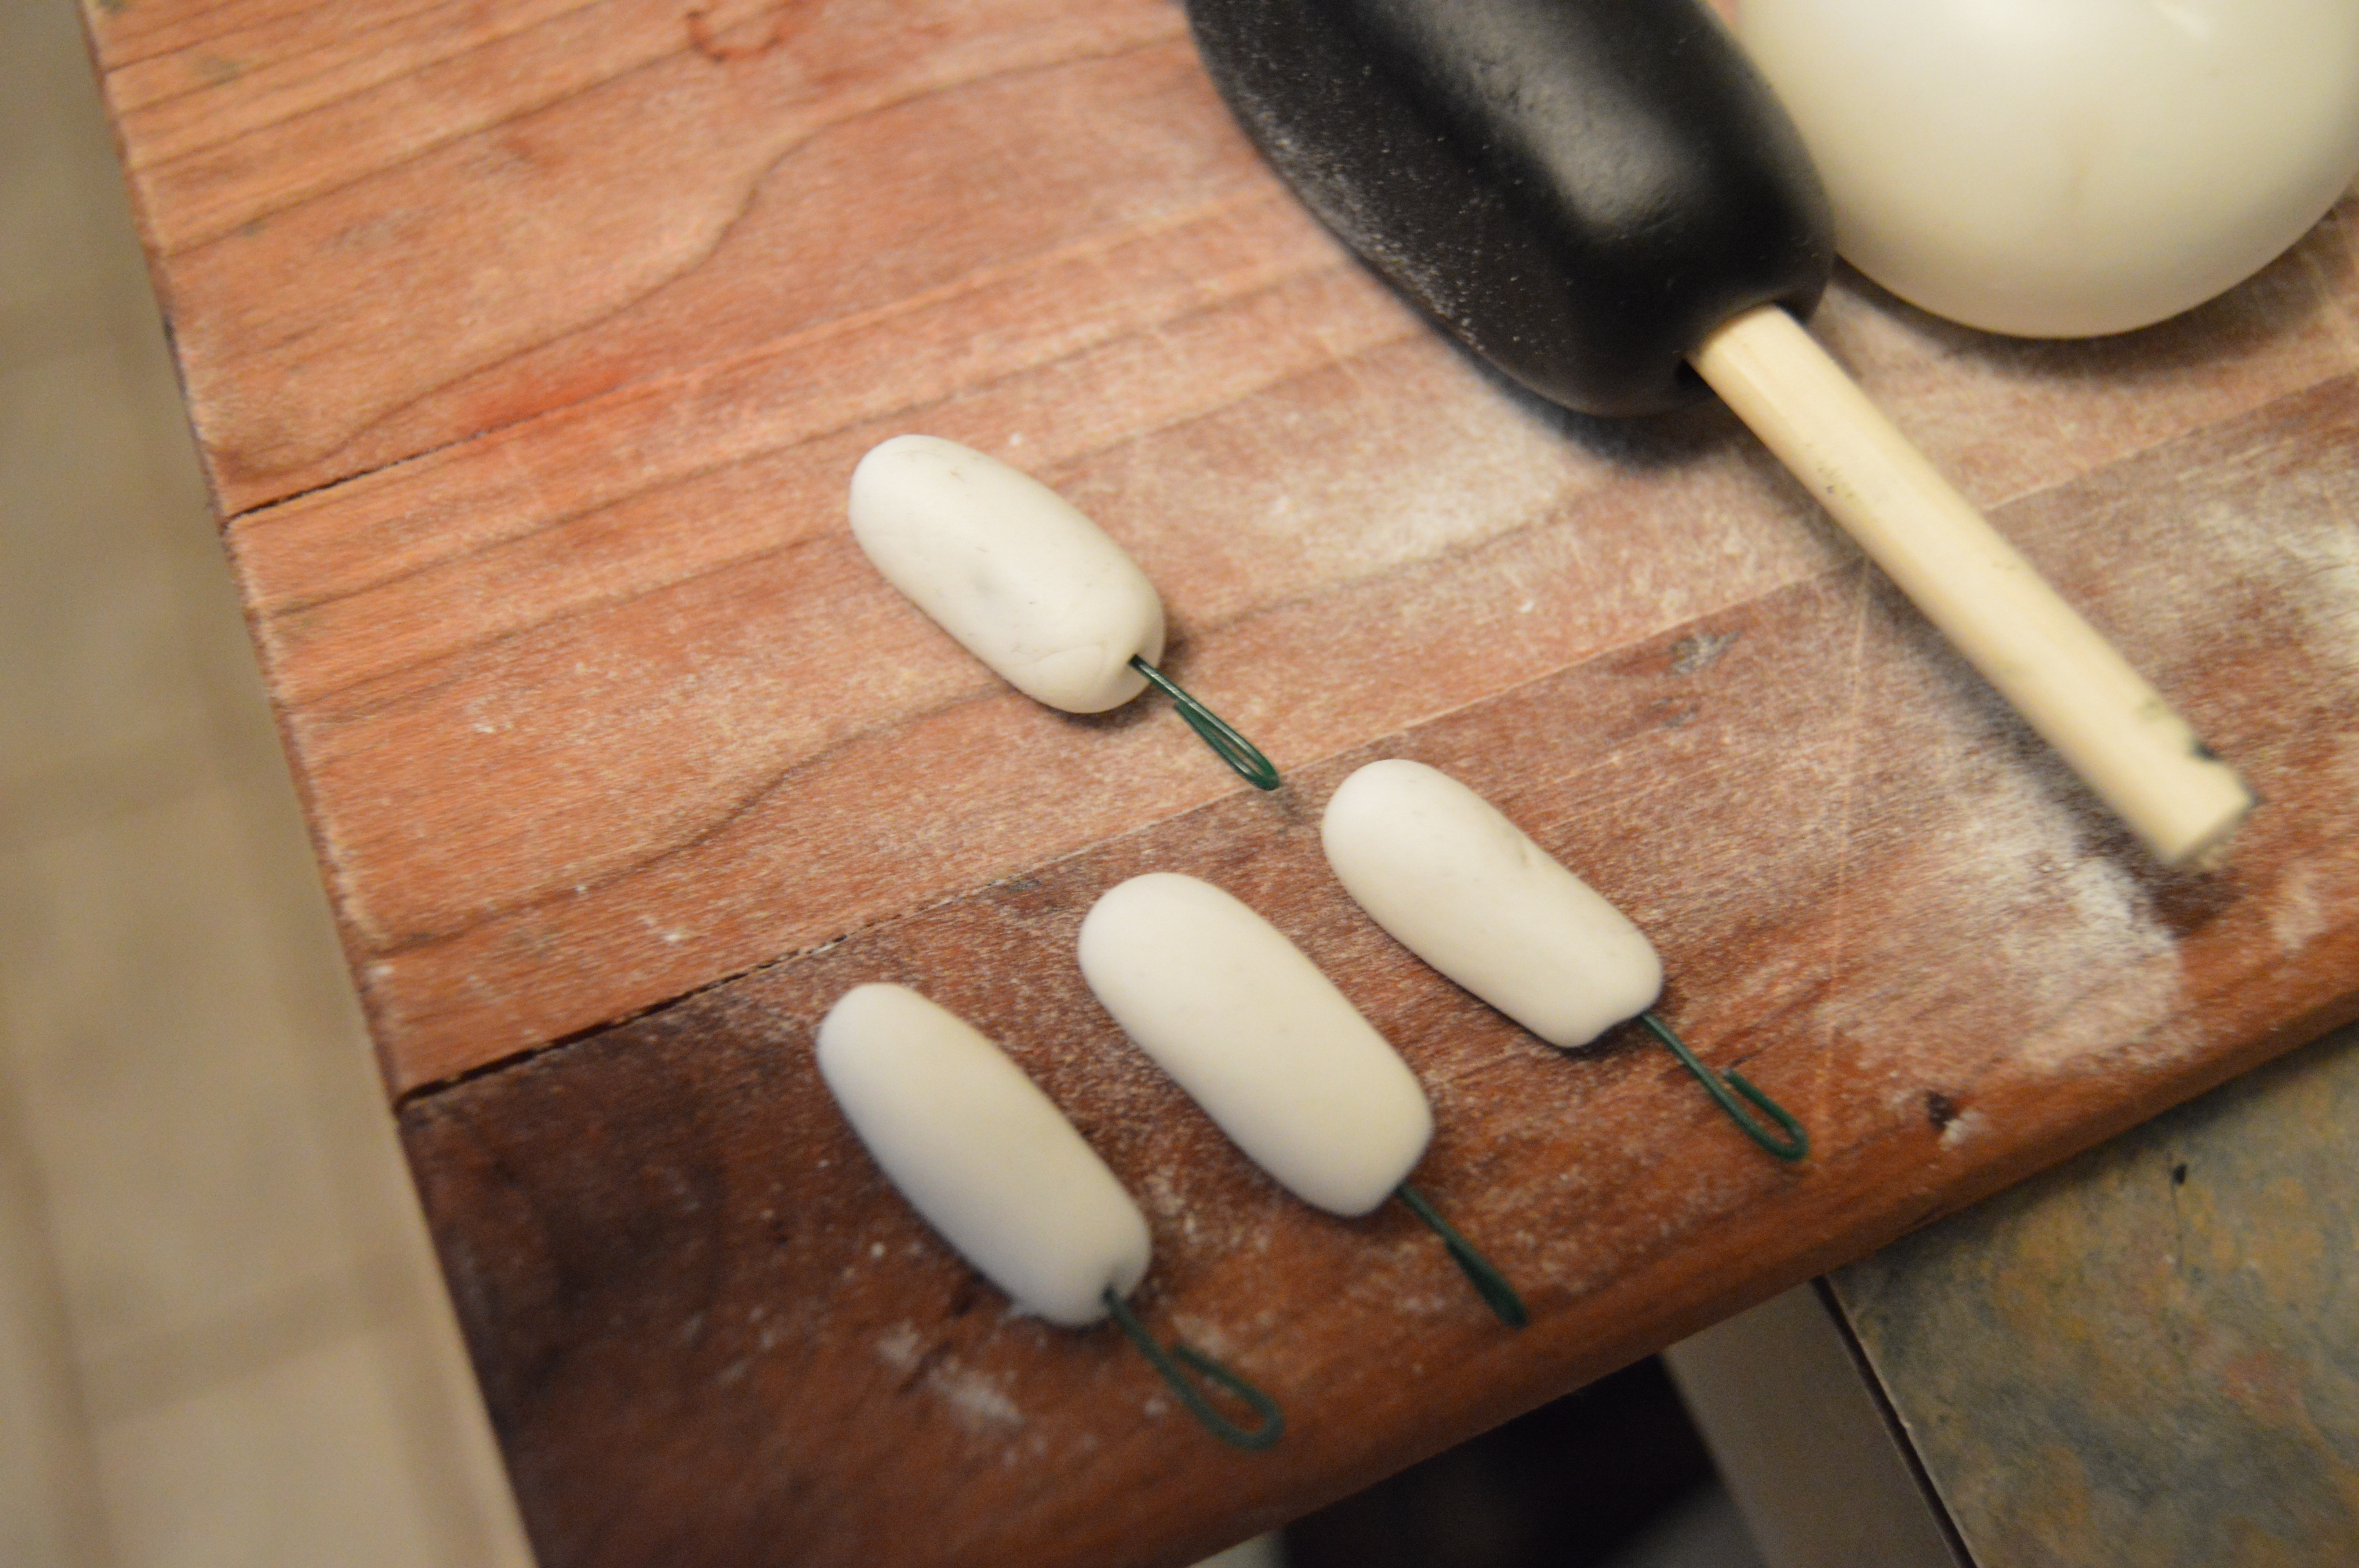
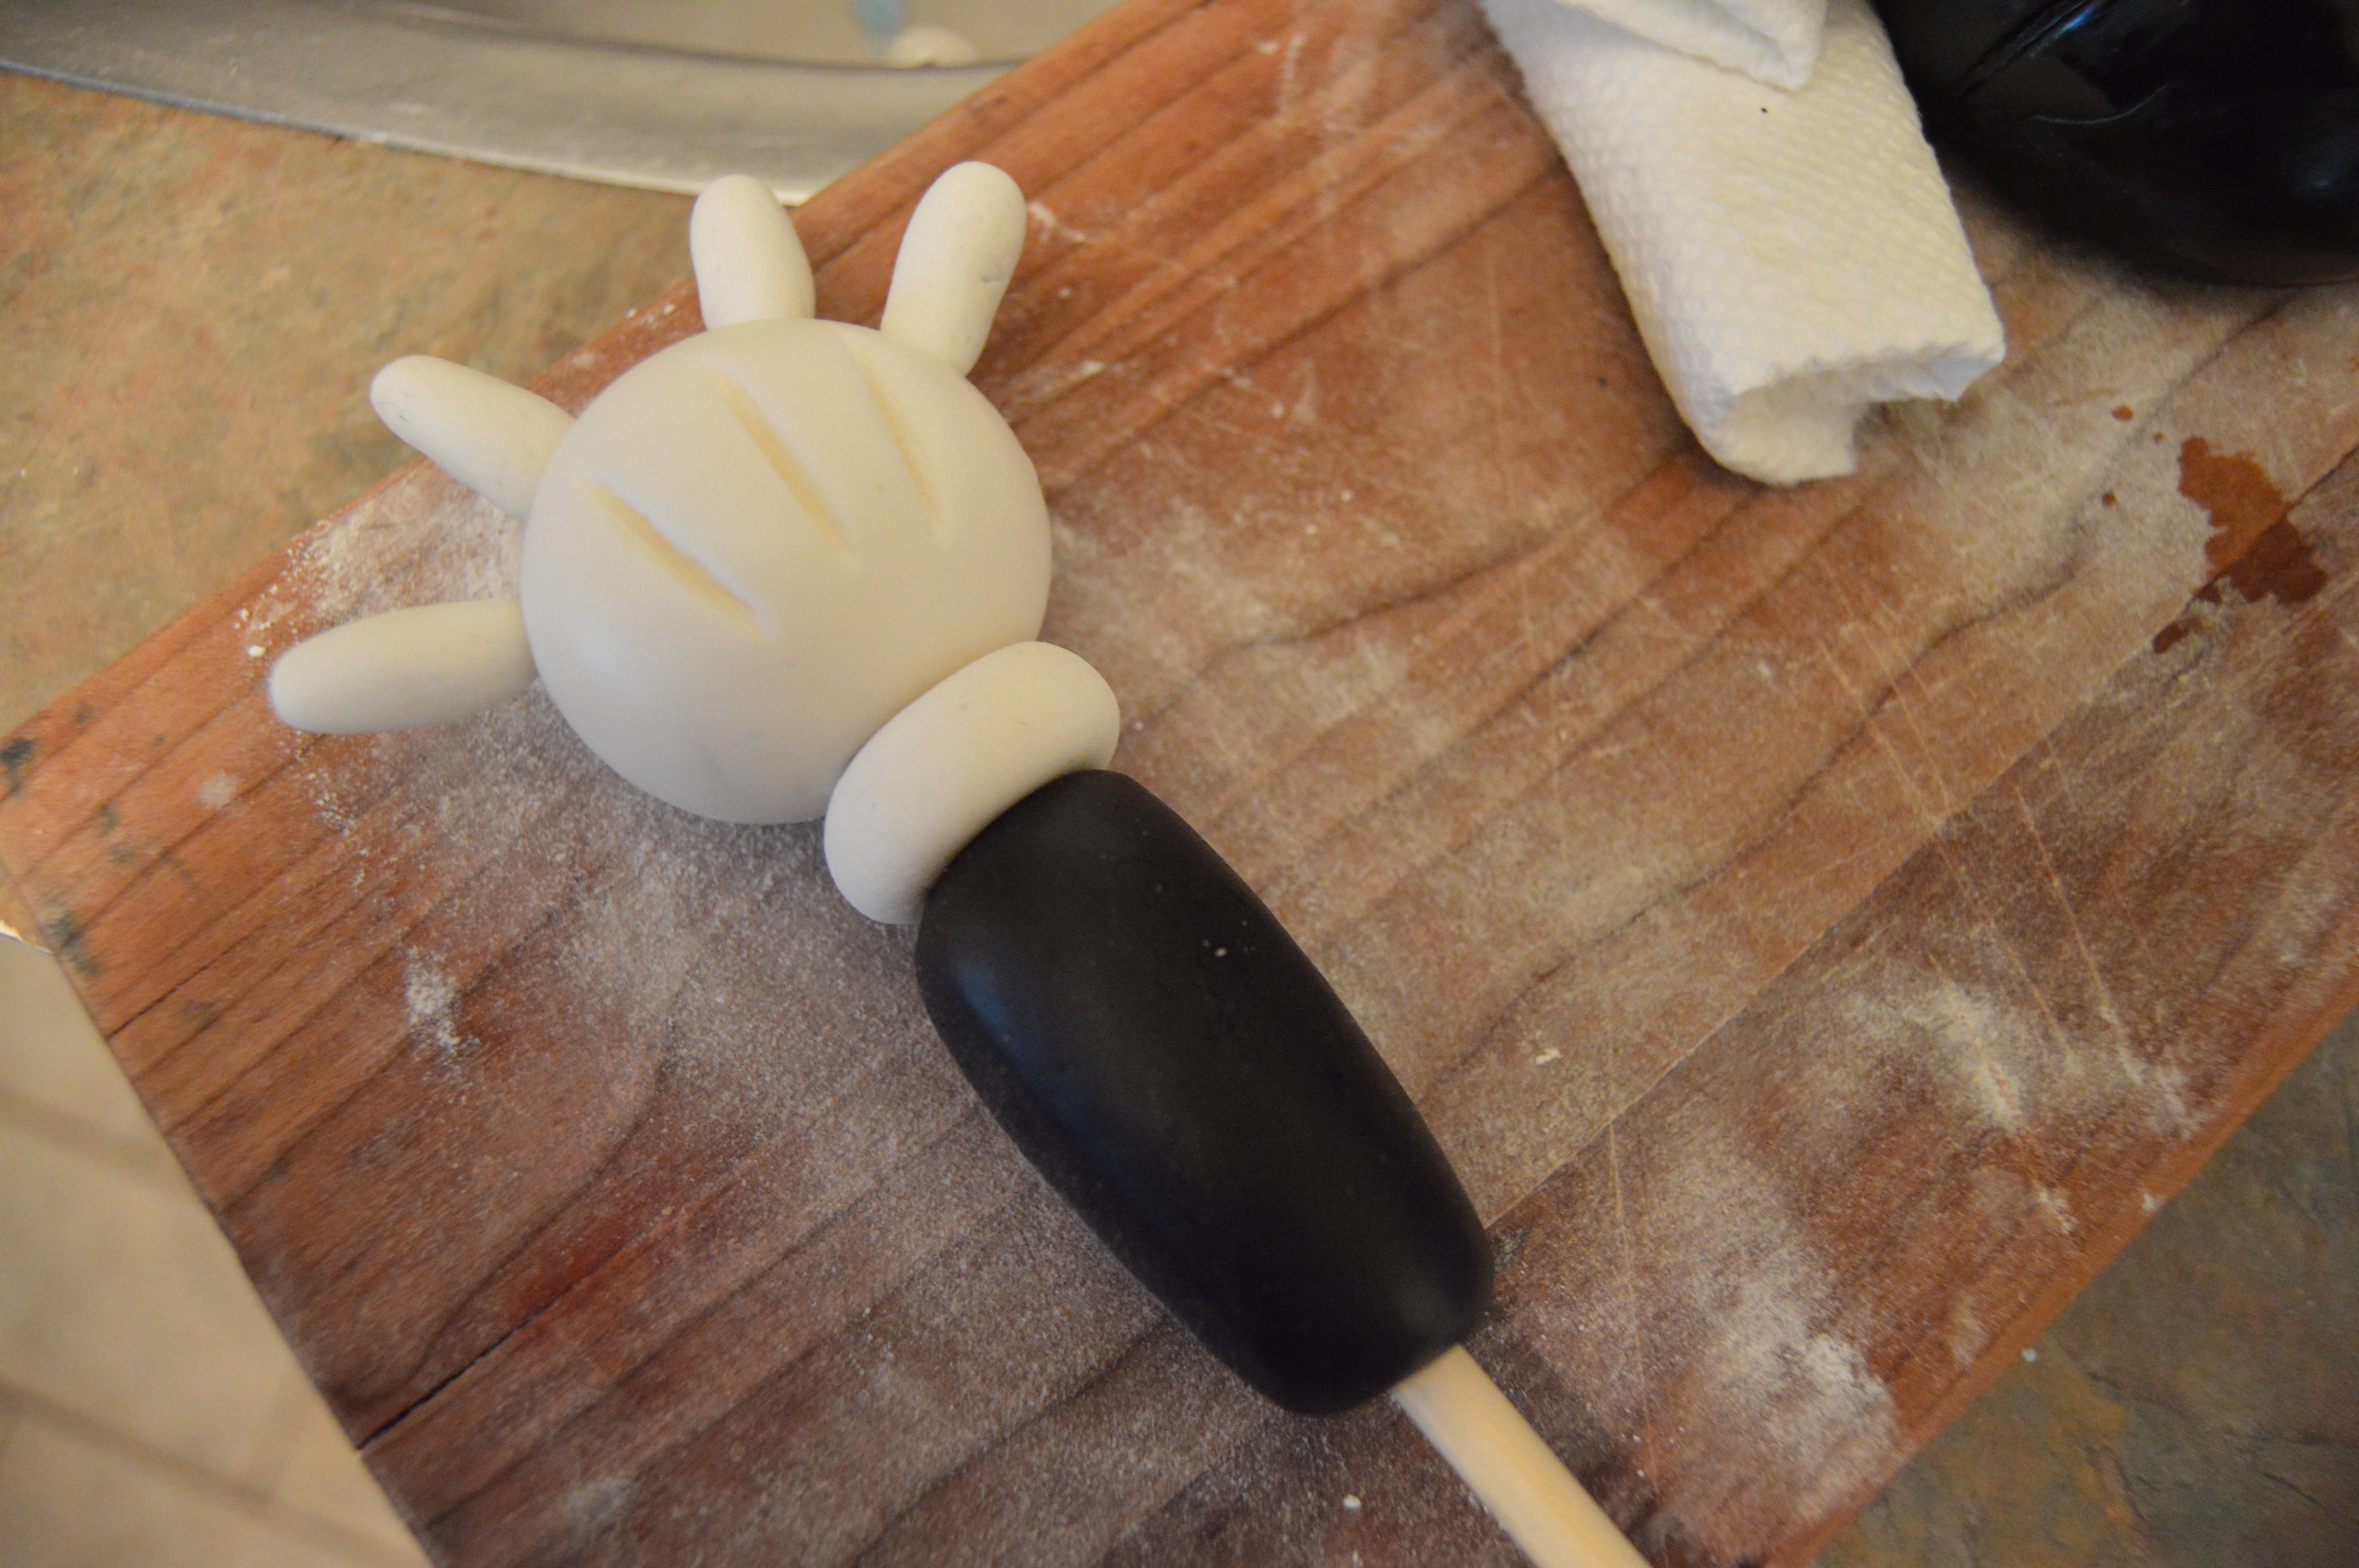
(8) Next, make the hand. Stick the cuff to the base of the hand and pass a wooden dowel through both of them. The dowel should be long enough to stick out through both ends. One end will be inserted into the palm while the other end will be inserted into the cake for better stability. Use a fondant wheel to draw 3 lines in the middle of the palm. Roll out 4 small white fondant tubes which will serve as the fingers, Bend the ends of thin floral wires and insert these into the fingers. Insert the other end of the wires into the palm. Leave the hand this way to dry along with the other parts of the clubhouse.
(9) After the cake has been made and decorated, simply place the body of the clubhouse on the cake, pass the head and dowel through the body and into the cake, insert the hand into the cake and finish up the design with a few touches. The completion of the process can be found in the tutorial on how the cake was made. The link to that tutorial can be found here. Happy caking!
Terry Adido is passionate about showing people how easy it is to recreate restaurant quality meals in the comfort of their kitchens. With a style of cooking he refers to as Afro-European Fusion, his meals are influenced greatly by French and Italian Cuisine with a West African twist. If you love good food, you are in for the ride of your life.
This came at d right time…thanks Terry
You are welcome Susan.
Yes ooooo,thanks alot
You are welcome Tosin
Thanks for sharing, God bless u
Thanks Dolapo
All rounder! Cake genious! Noni! Tuawale!
Thanks Hanatu.
Indeed you do what you love. And we love what you do. Thanks for all of the work.
Thanks Keke. I appreciate your message.
How far in advance can I make this (one week)? Do I keep it in the freezer until I’m ready to use it? It looks amazing, I can’t wait to try this out!
It can be made up to a year in advance. Make sure it is properly dried and store it in a sealed container. No freezing needed.
welldone terry ure doing a great job
Thanks Jumoke.
Please can I ask, how have you achieved the shine on the clubhouse?
Hi Gill, in this case, I rubbed my palms with shortening before molding. This gave the topper some gloss.