
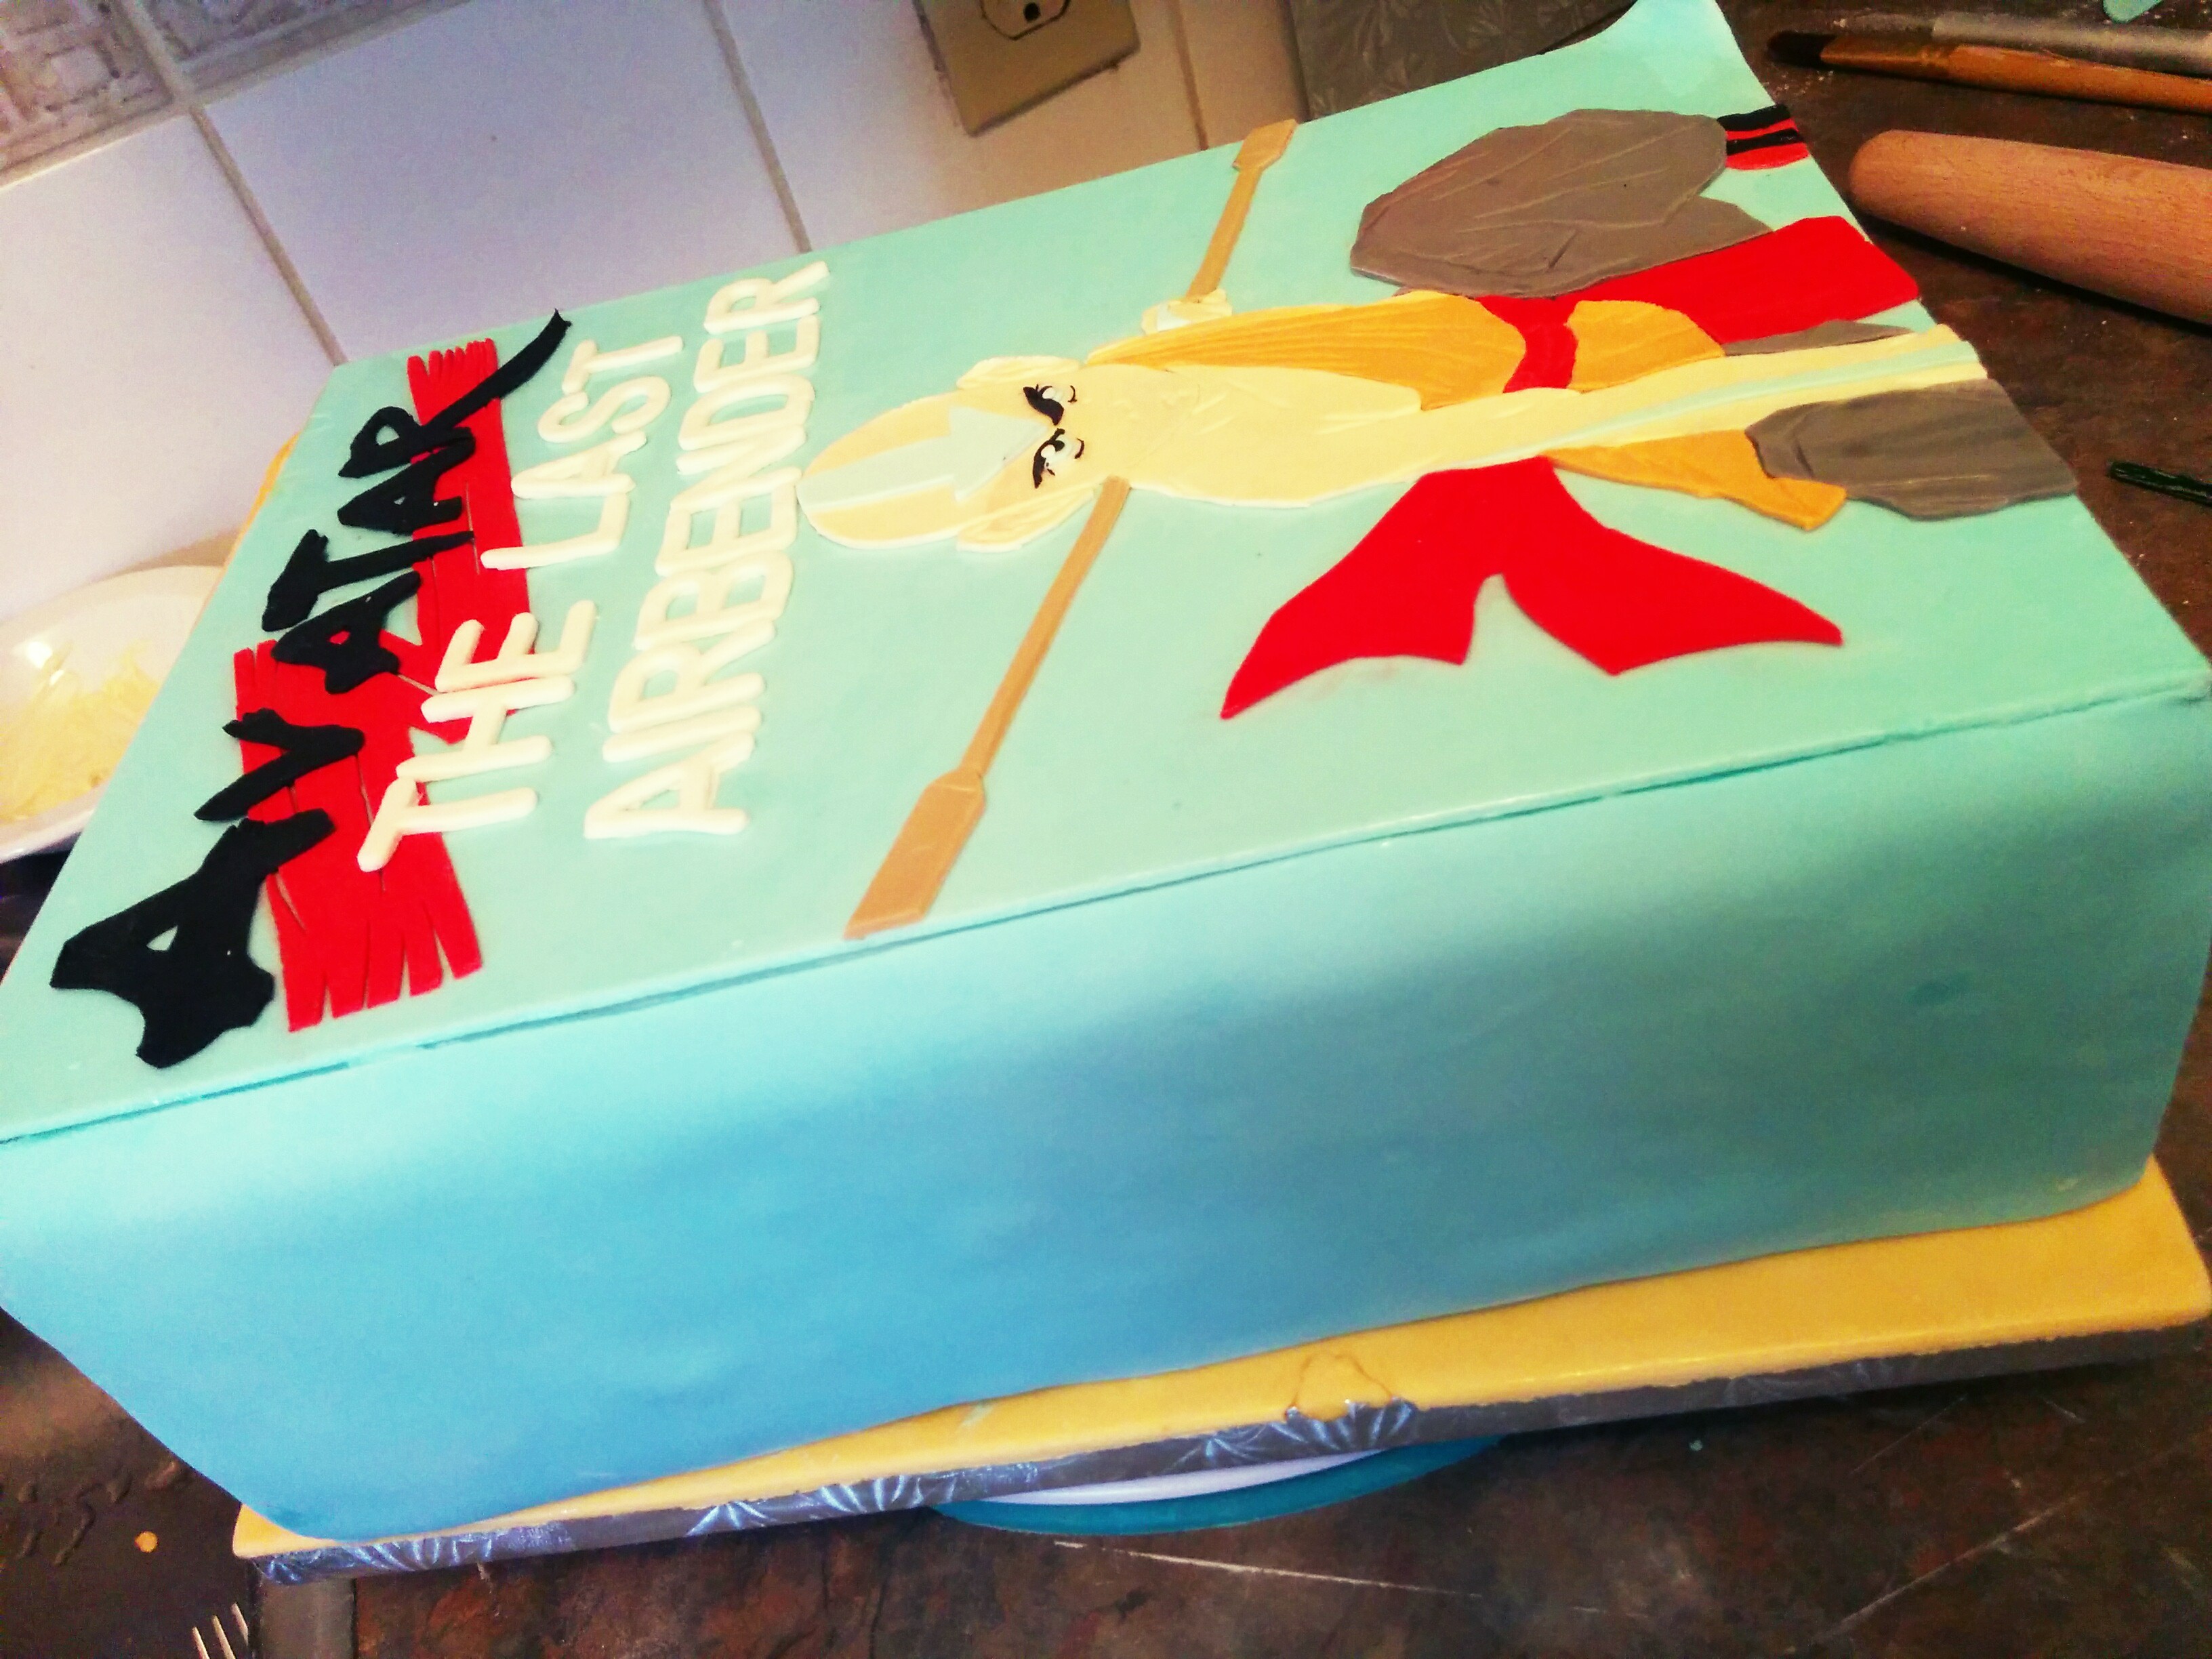
The Making of an Avatar: the Last Airbender Book Cake

This is a post on how I made this Book Cake. To read more about this cake and see other views of it, please click on this link. I will be linking you to other posts during the course of this tutorial. The knowledge gained here can be transferred into making more complicated cakes like the Book Cake Below.
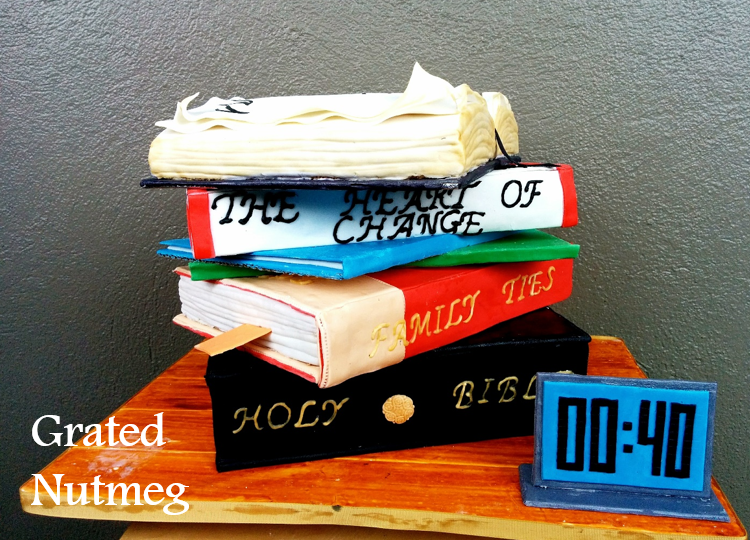
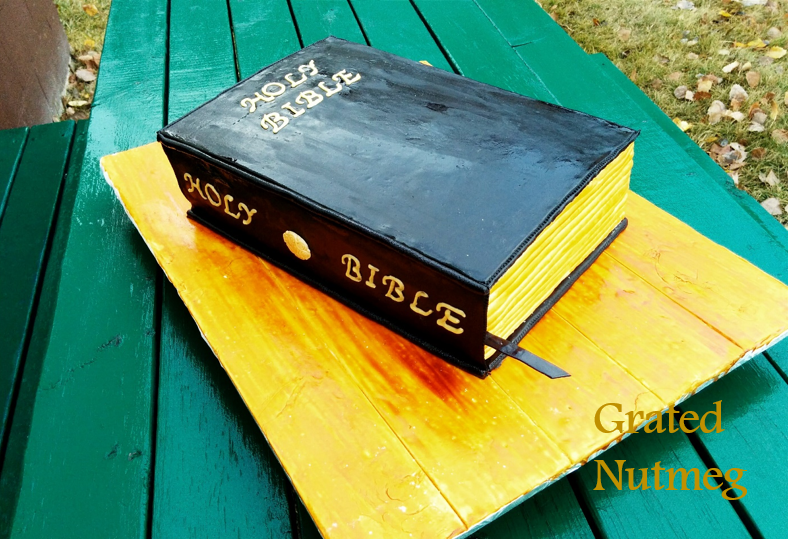
Note: If making the a stack of books like that in the picture above, make sure the bottom cover is made on a cake board. This is so you can stack the books properly with dowels.
THE PROCESS:
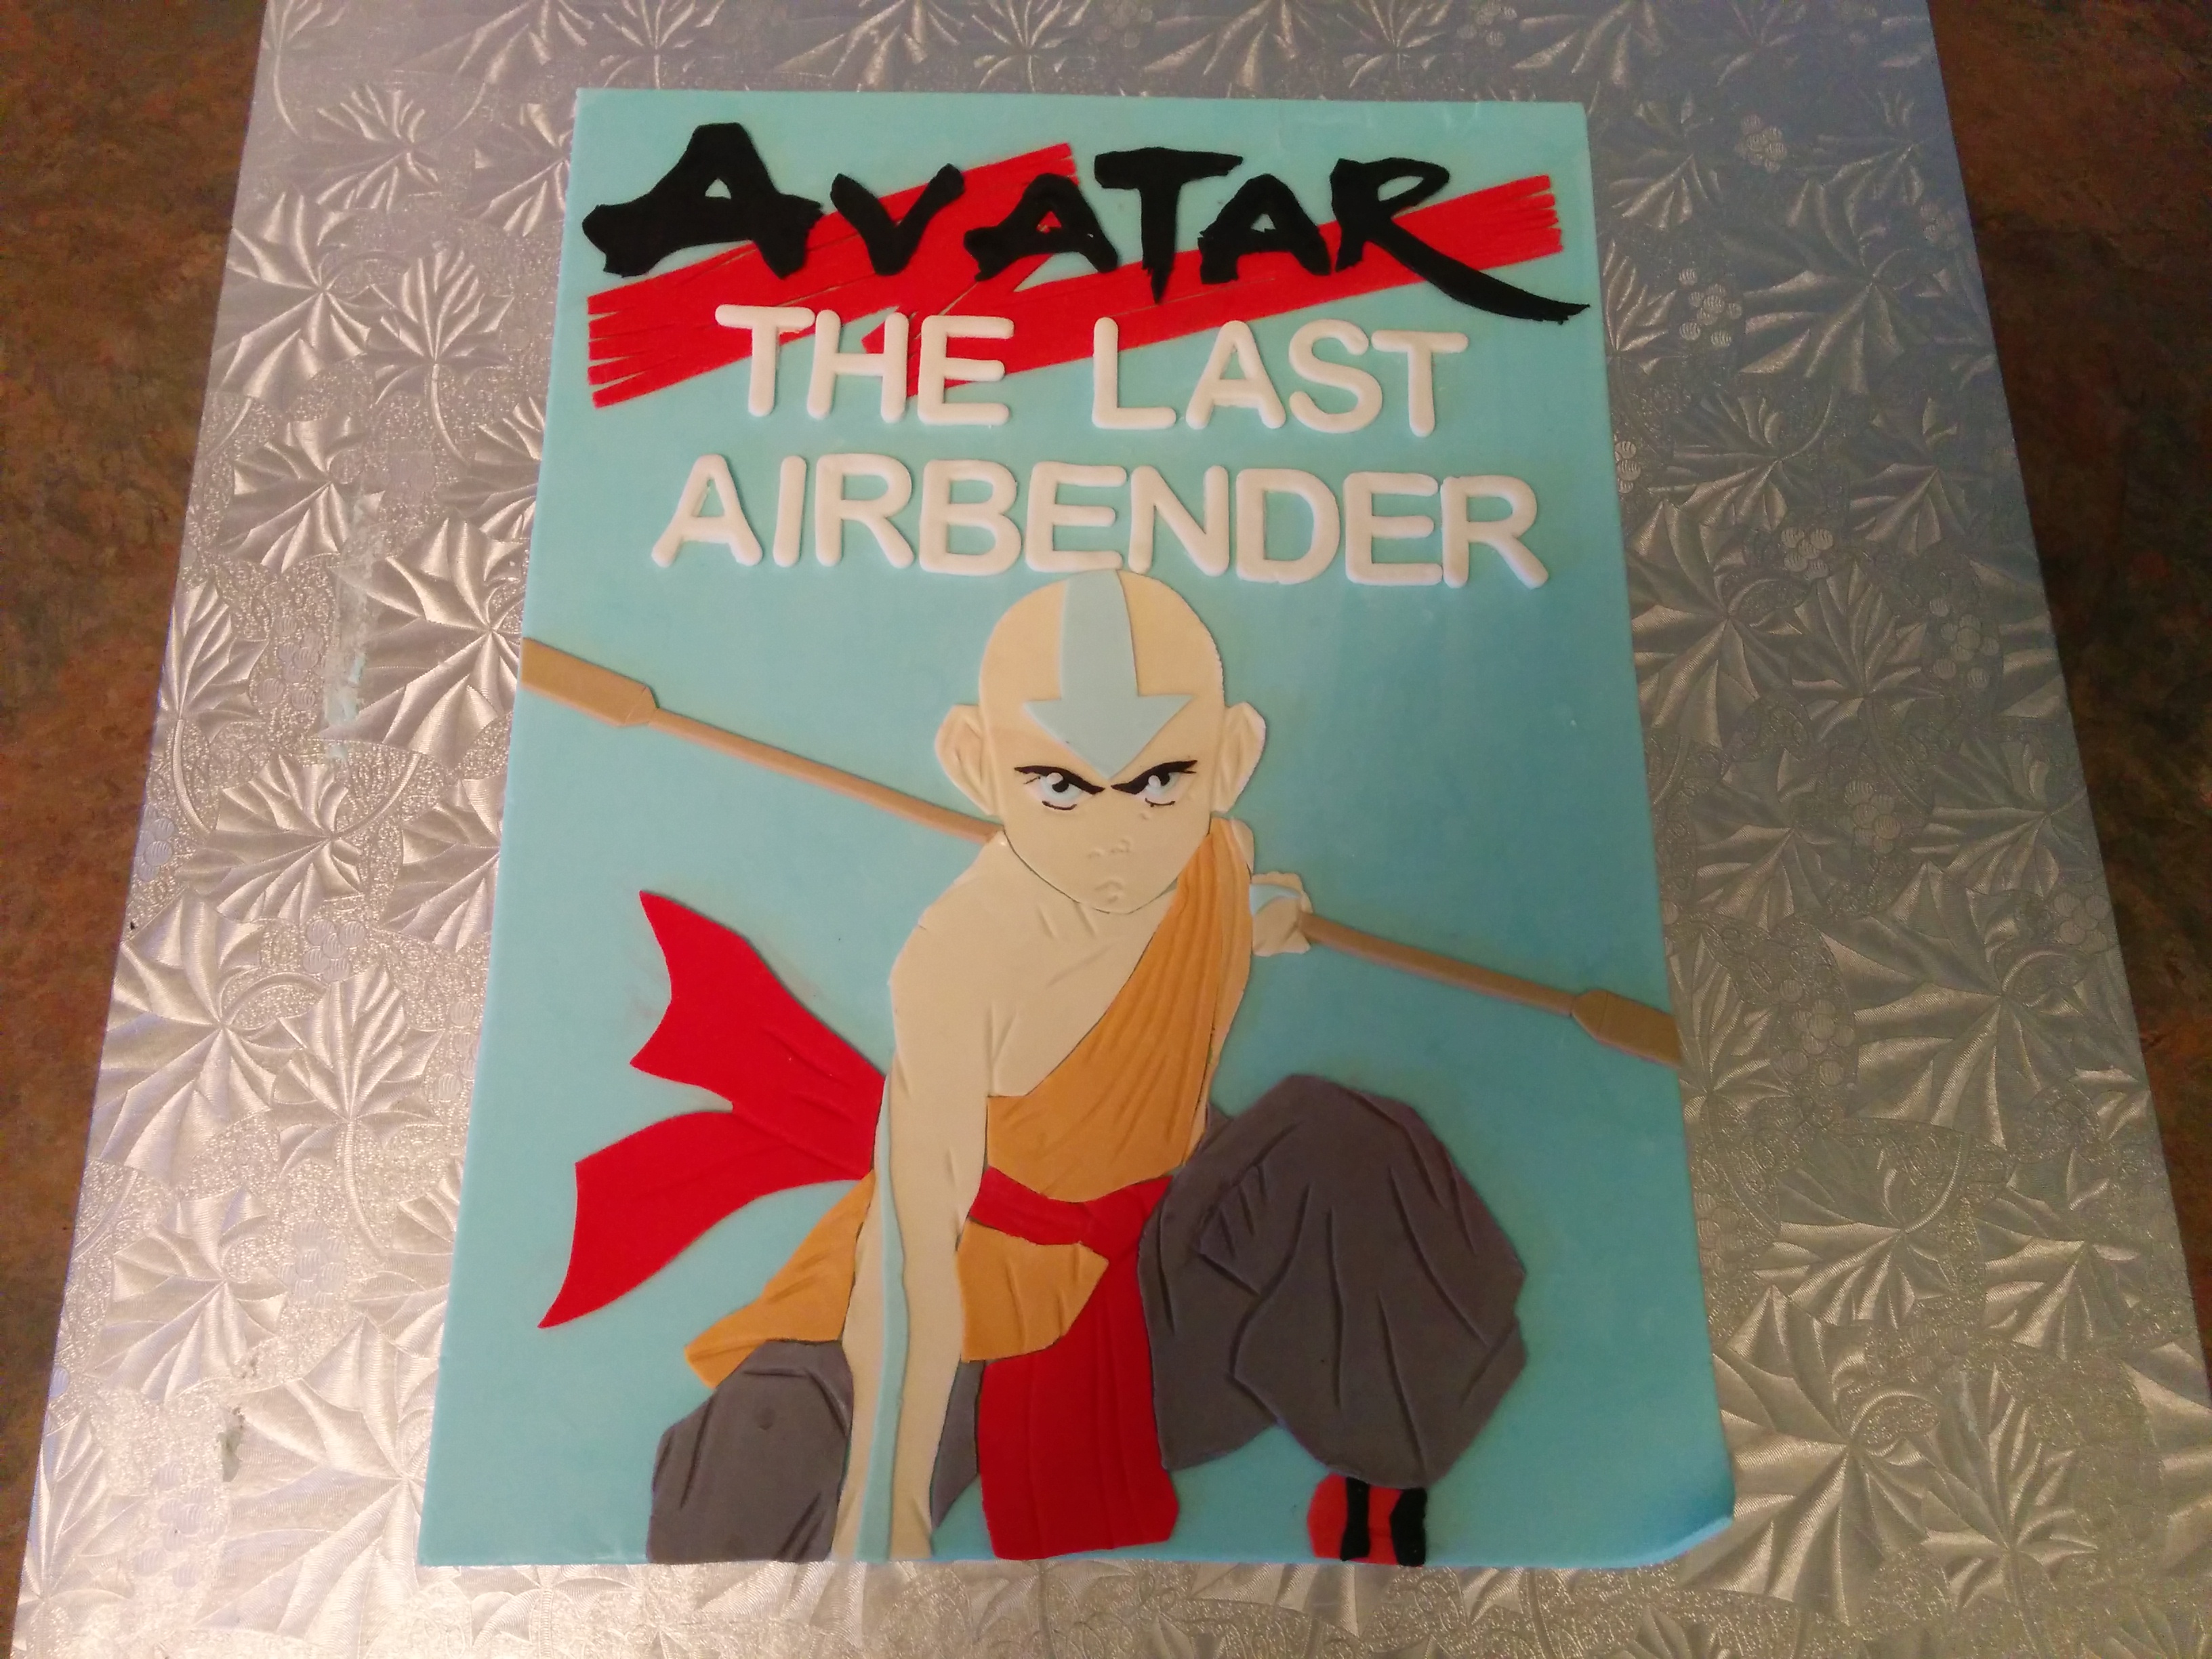
(1) The first think you want to do is make the book cover. I have a tutorial here on how I made the book cover. It should be made at least 24 hours before the cake itself is designed as it needs some time to dry. It could be made up to 3 days in advance. It can serve as a guide for other book cakes you will make in future.
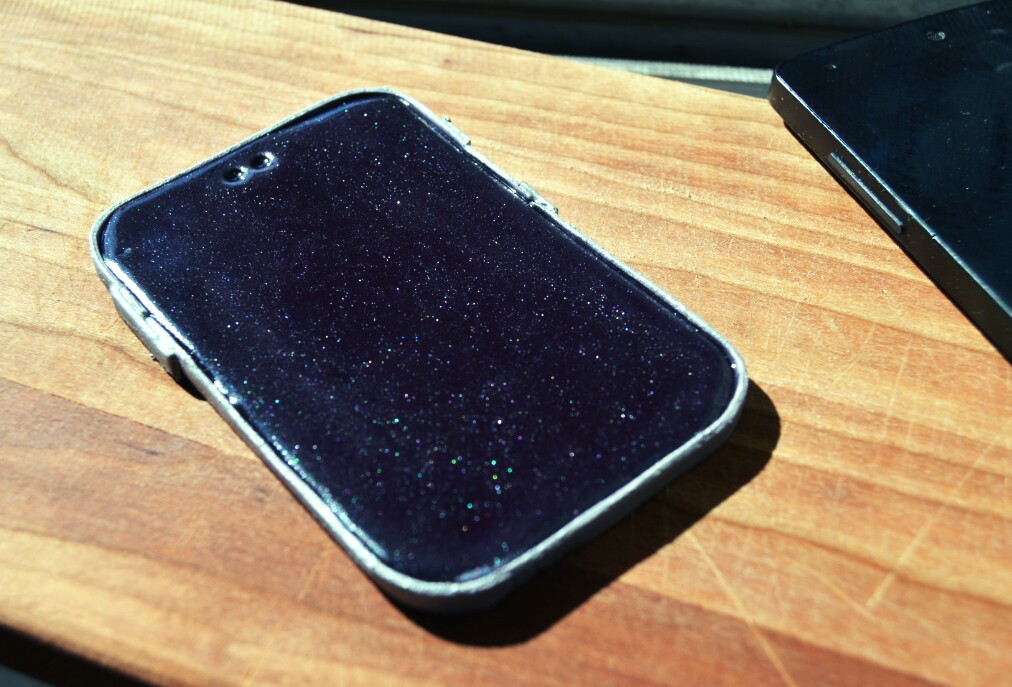
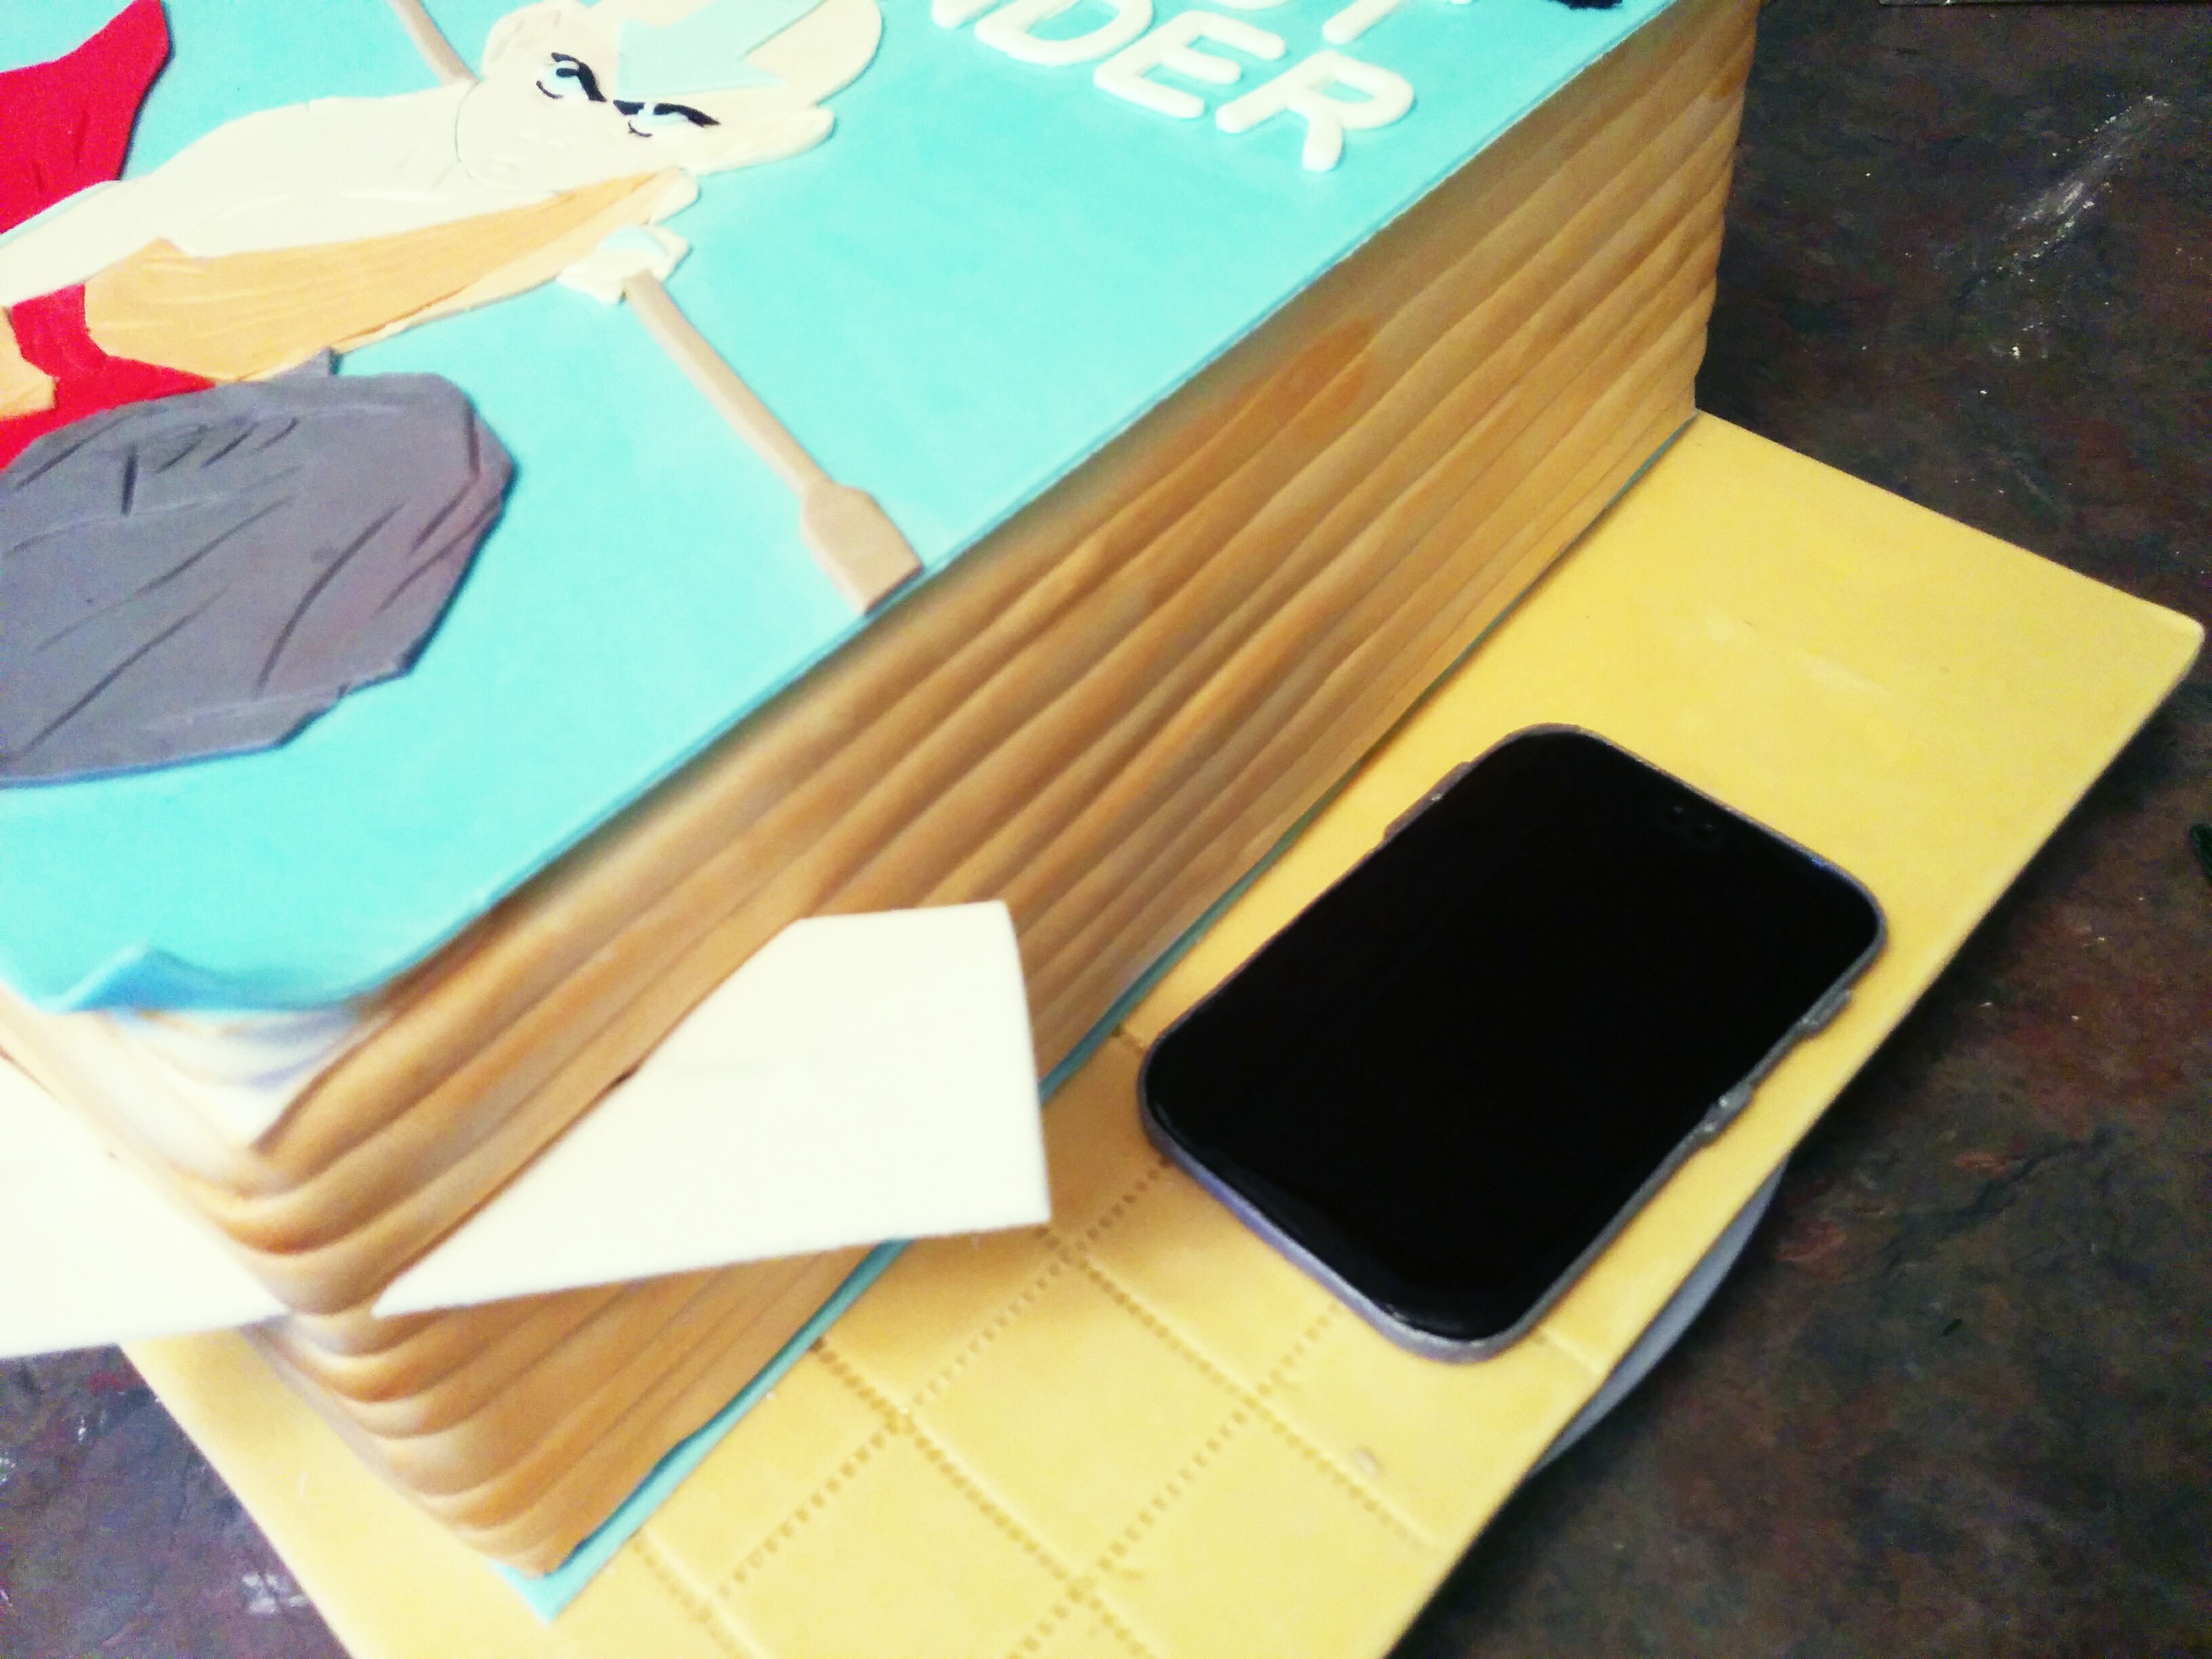
(2) The second thing you wanna do is make the fondant phone. Again, I have a post here on how I made the phone.
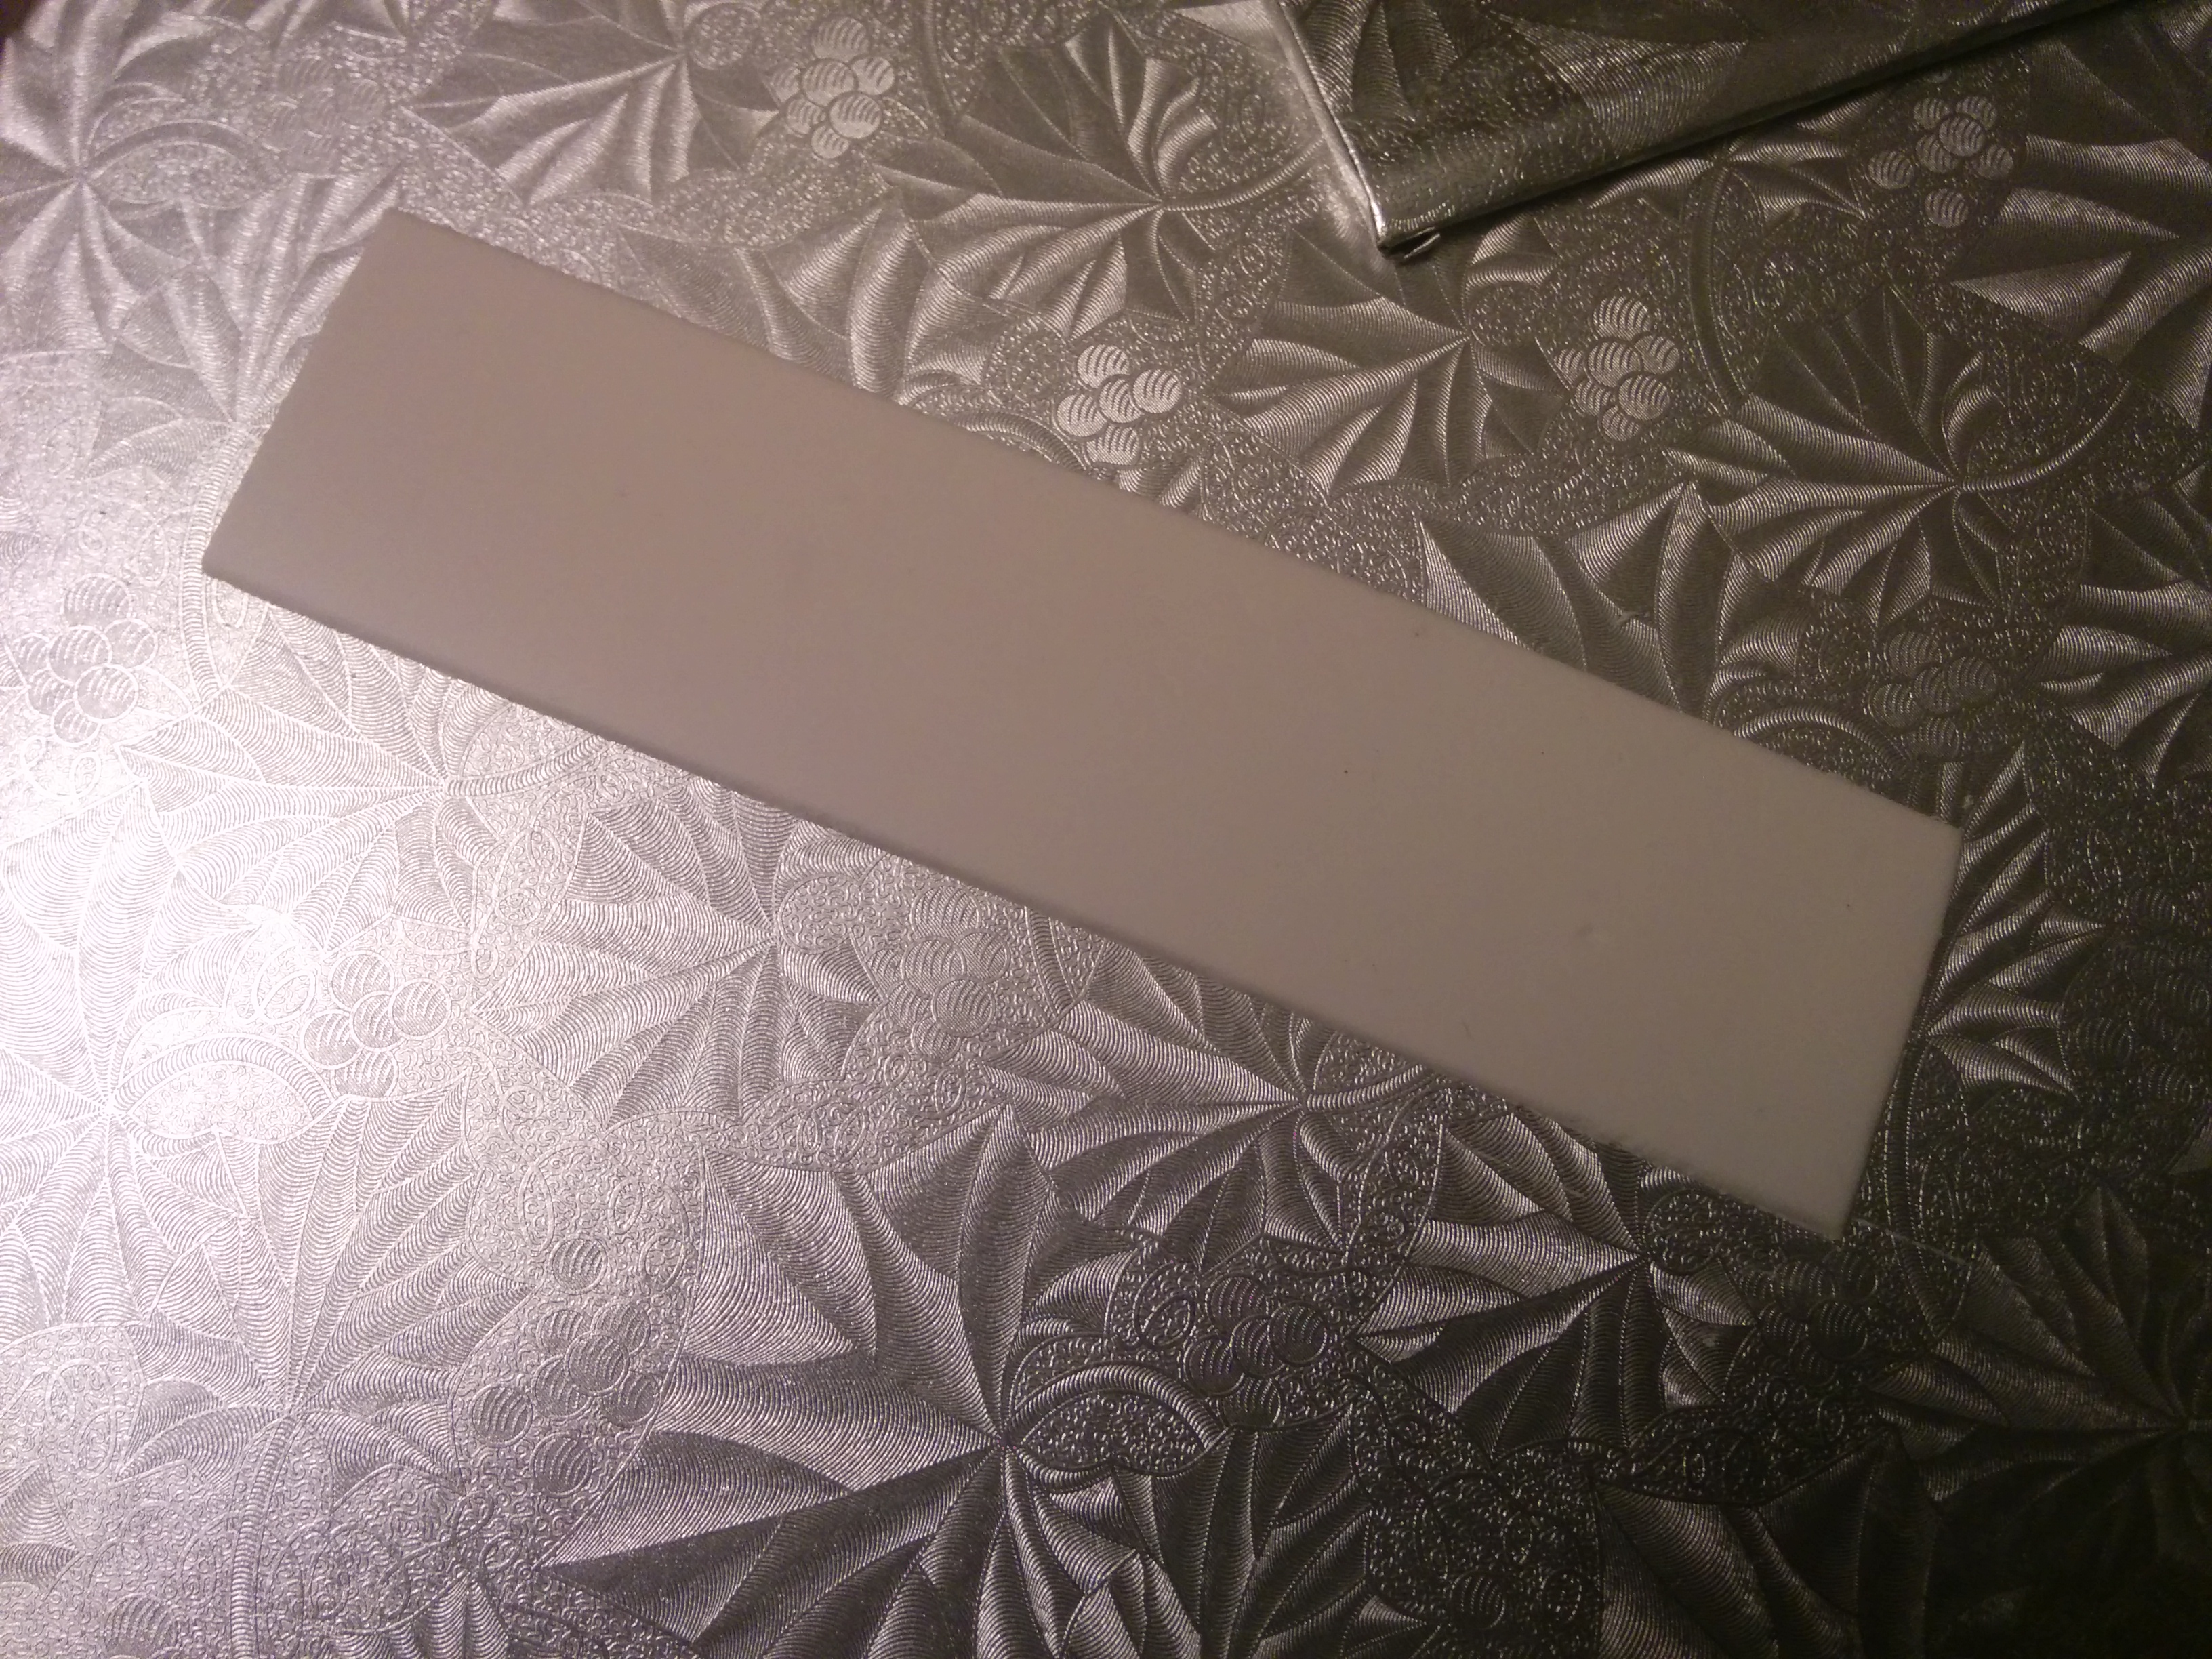
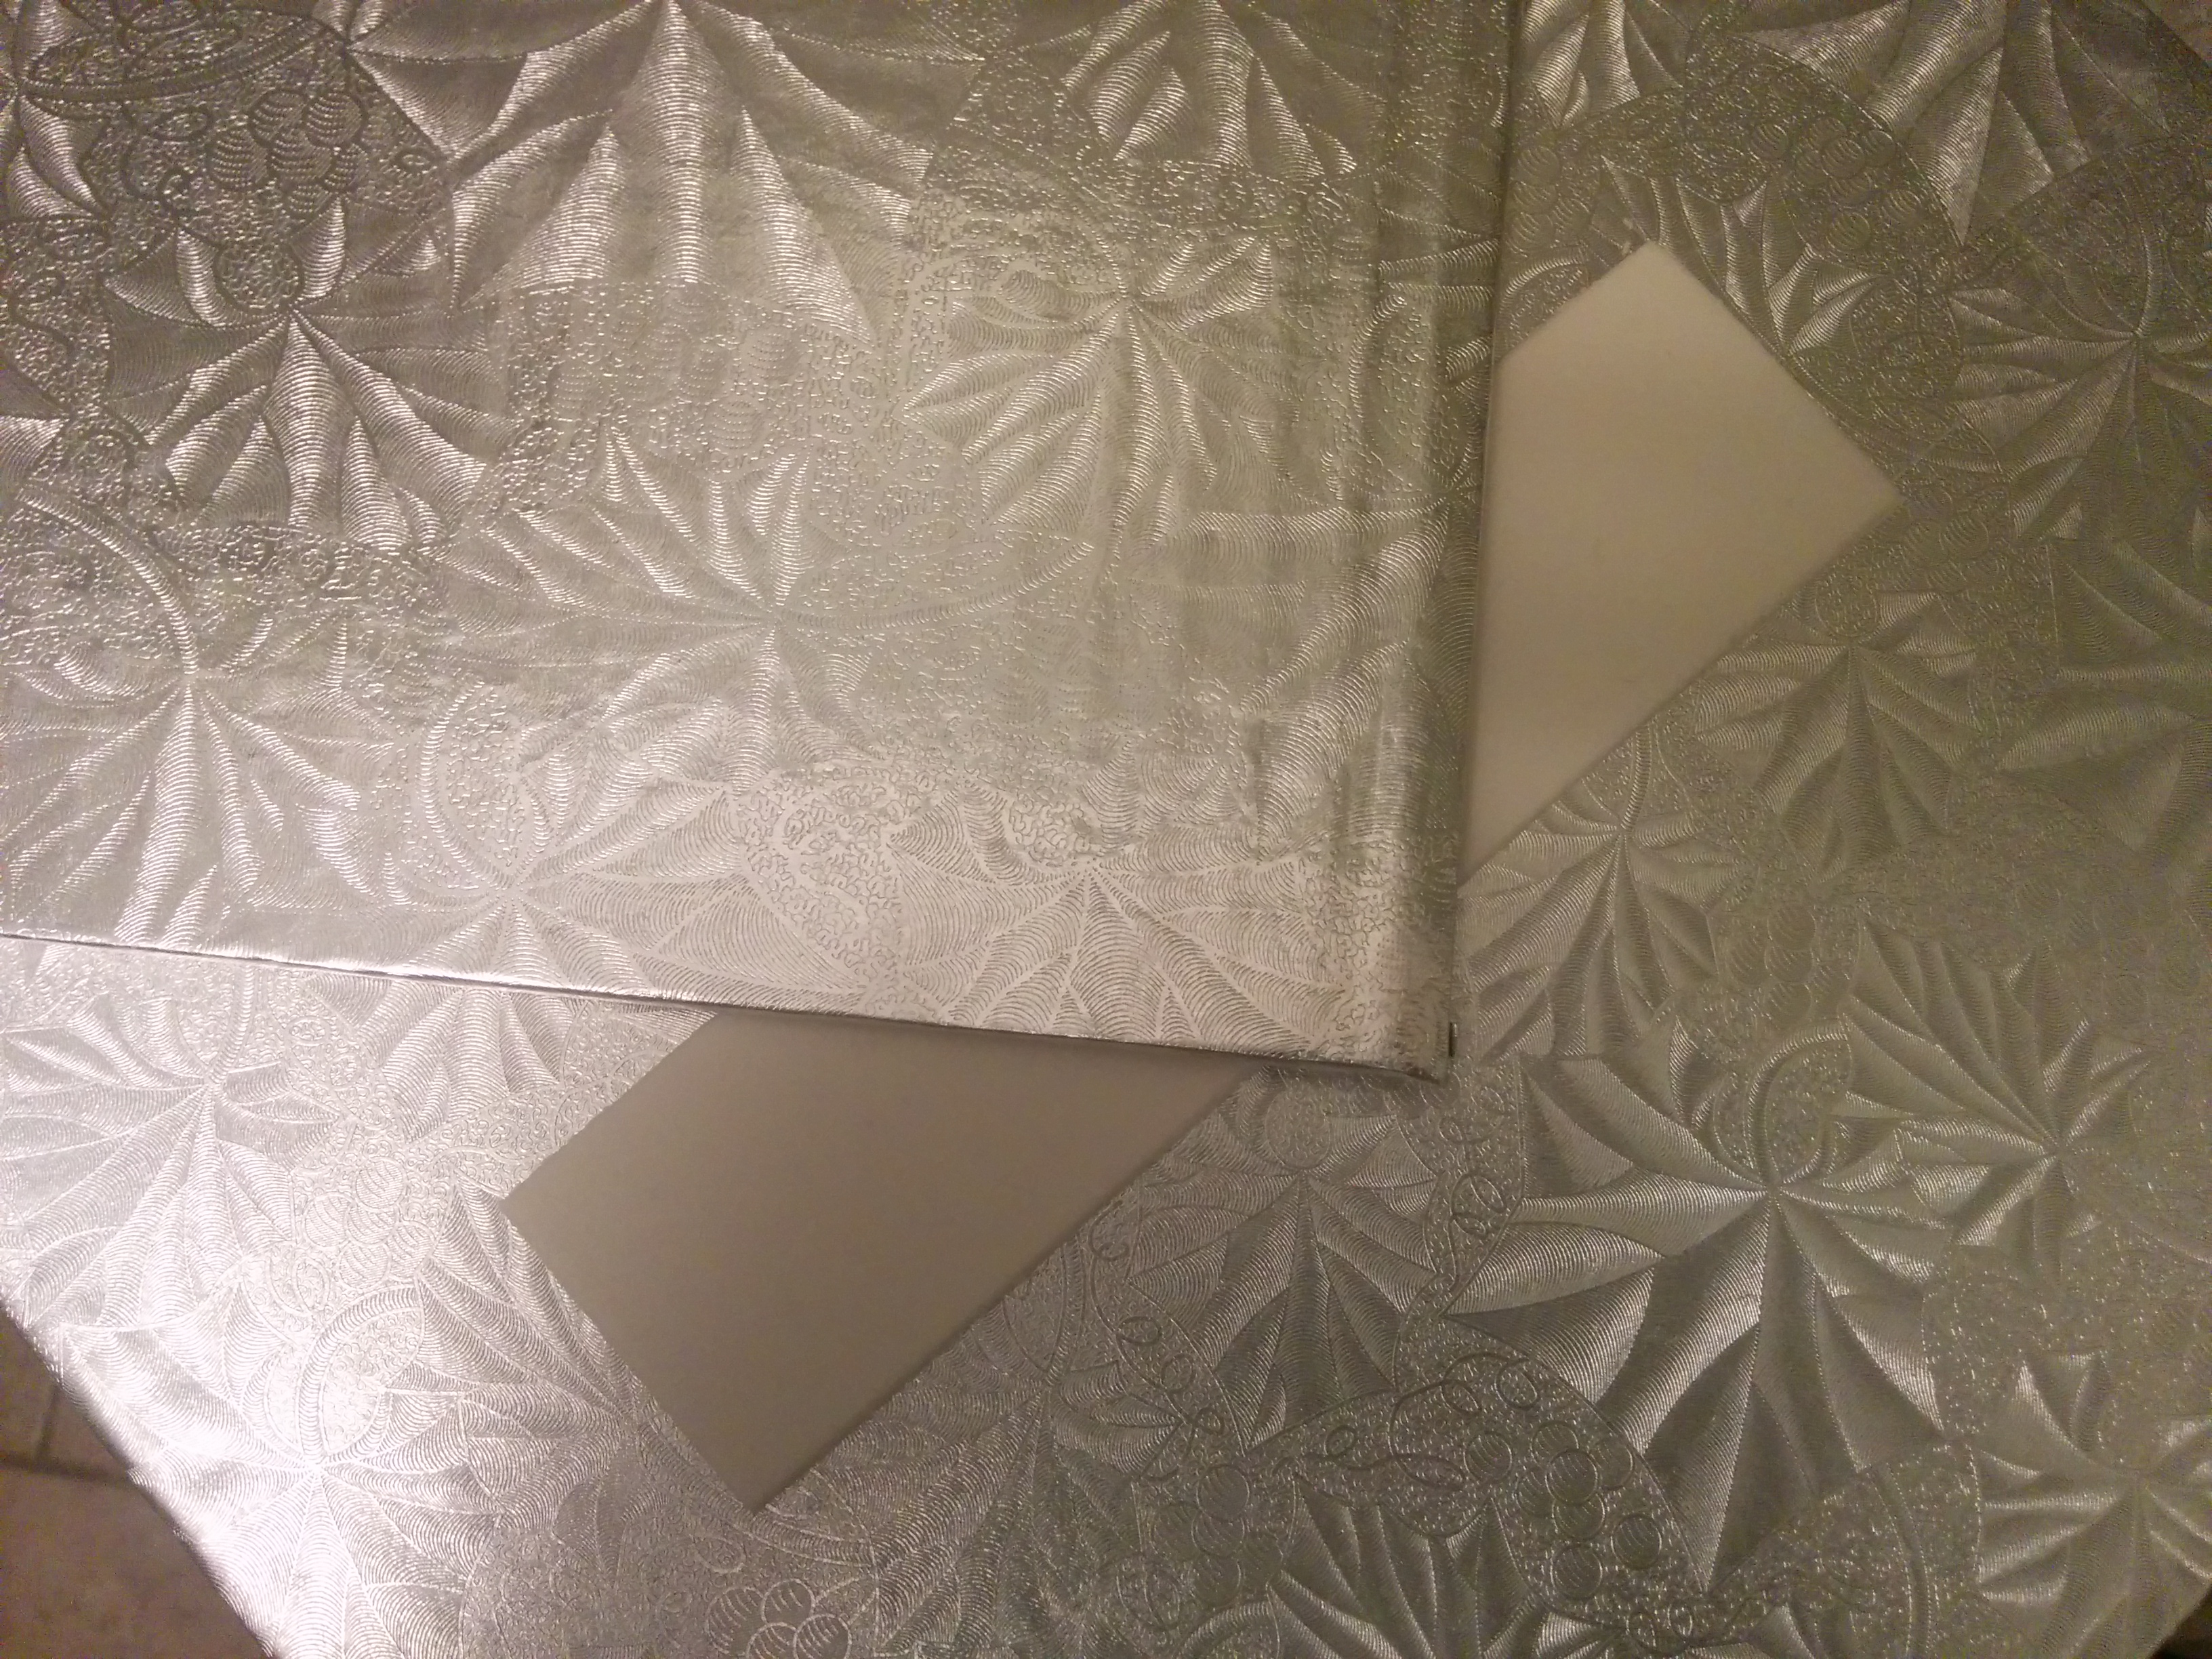
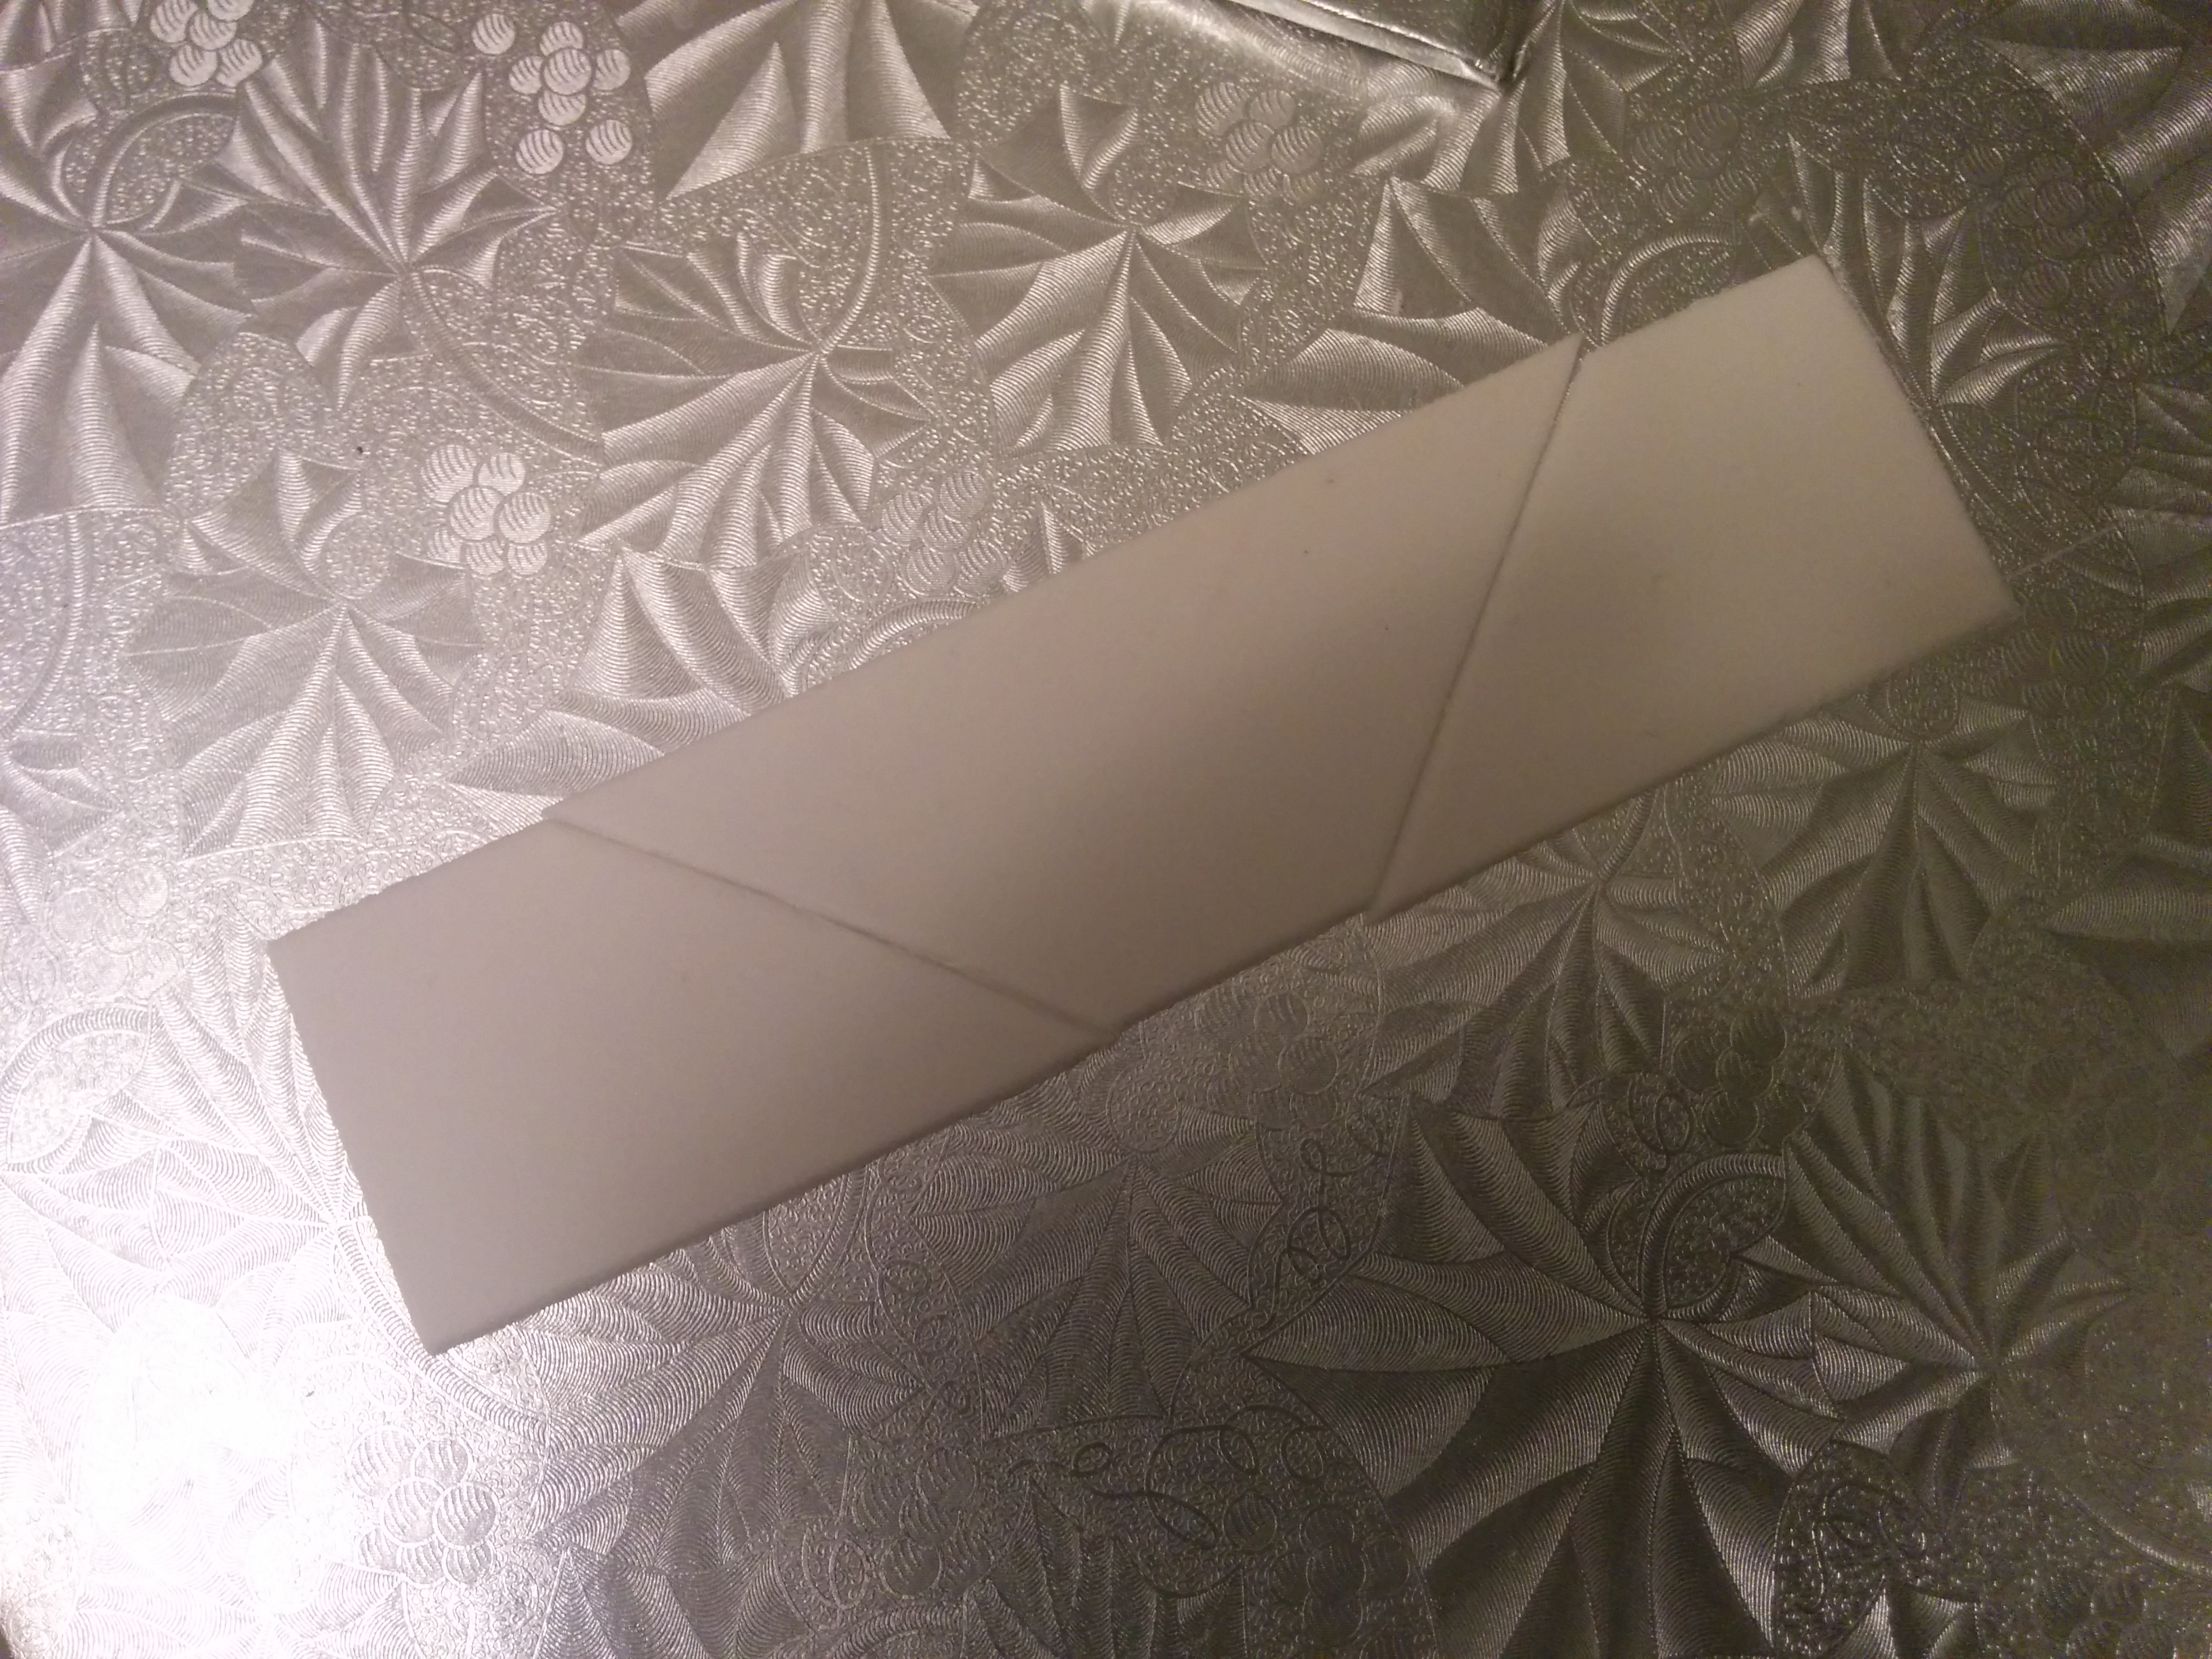
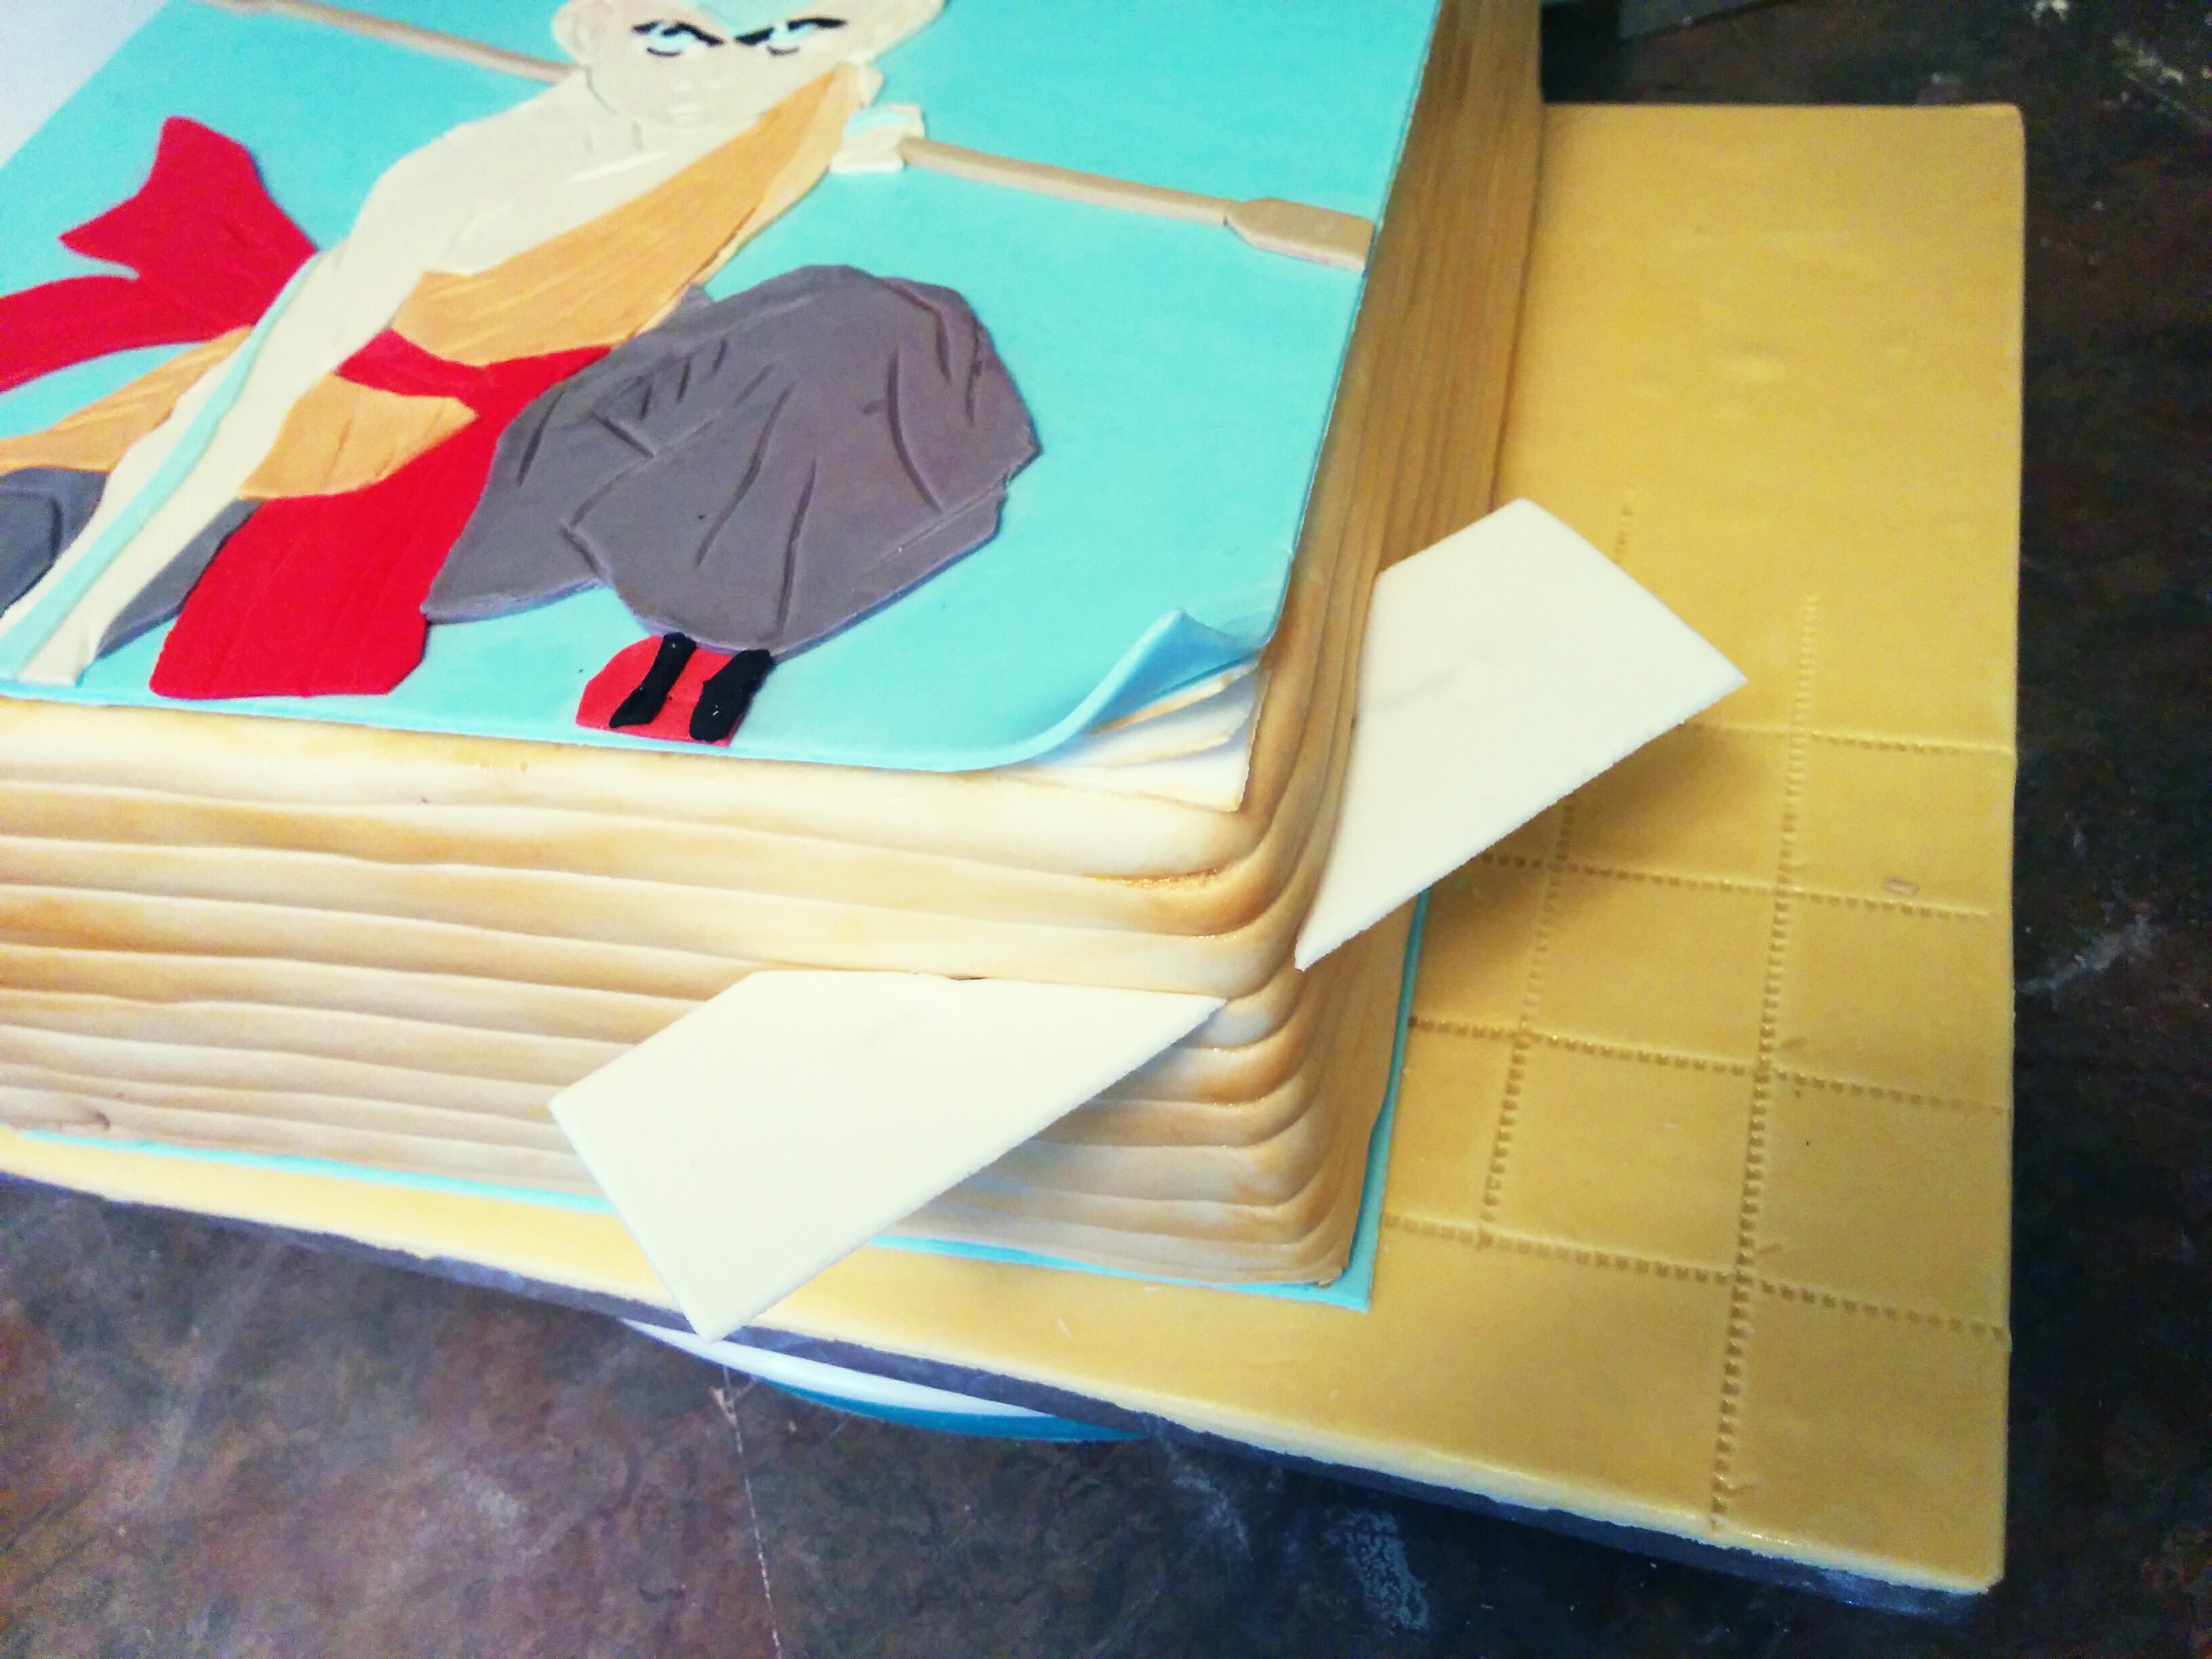
(3) Third, make the book marker. Cut out a strip of white fondant an inch thick. Place a square cake card (Anything with a 90 degree angle) in the middle of the fondant and cut the fondant at those angles. Place floral wires into the cut out portions of the fondant and leave this to dry this way.
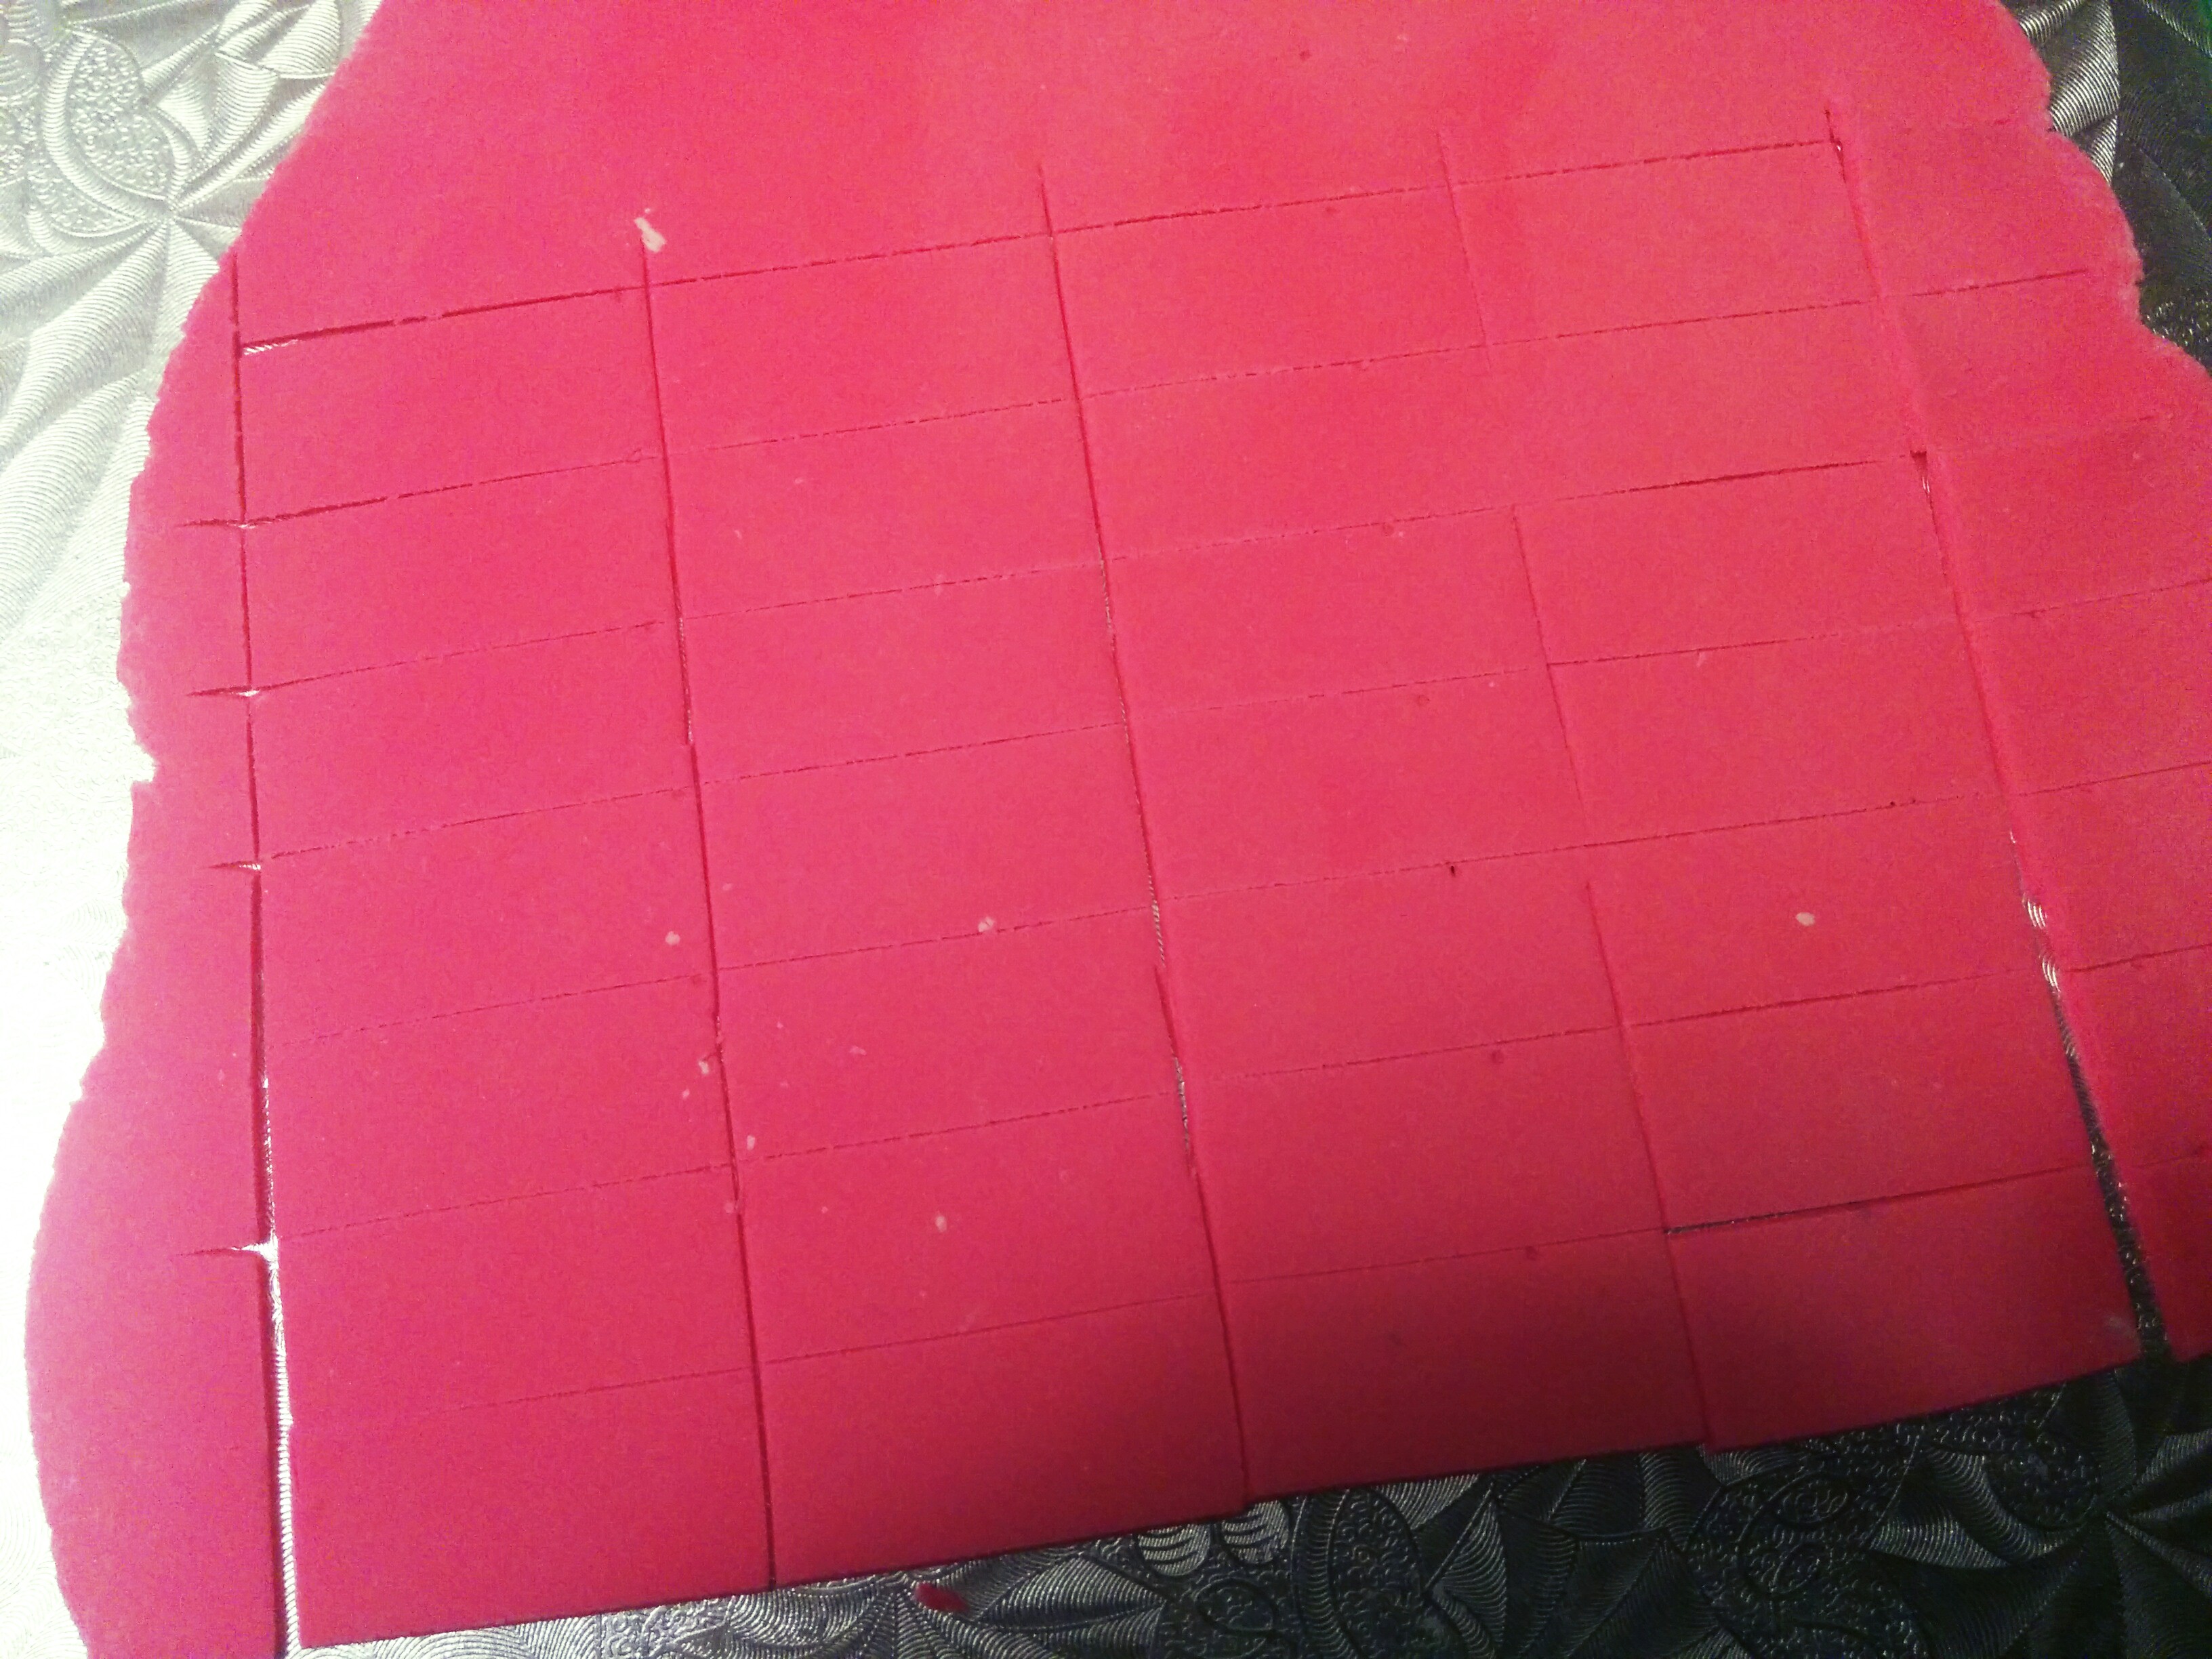
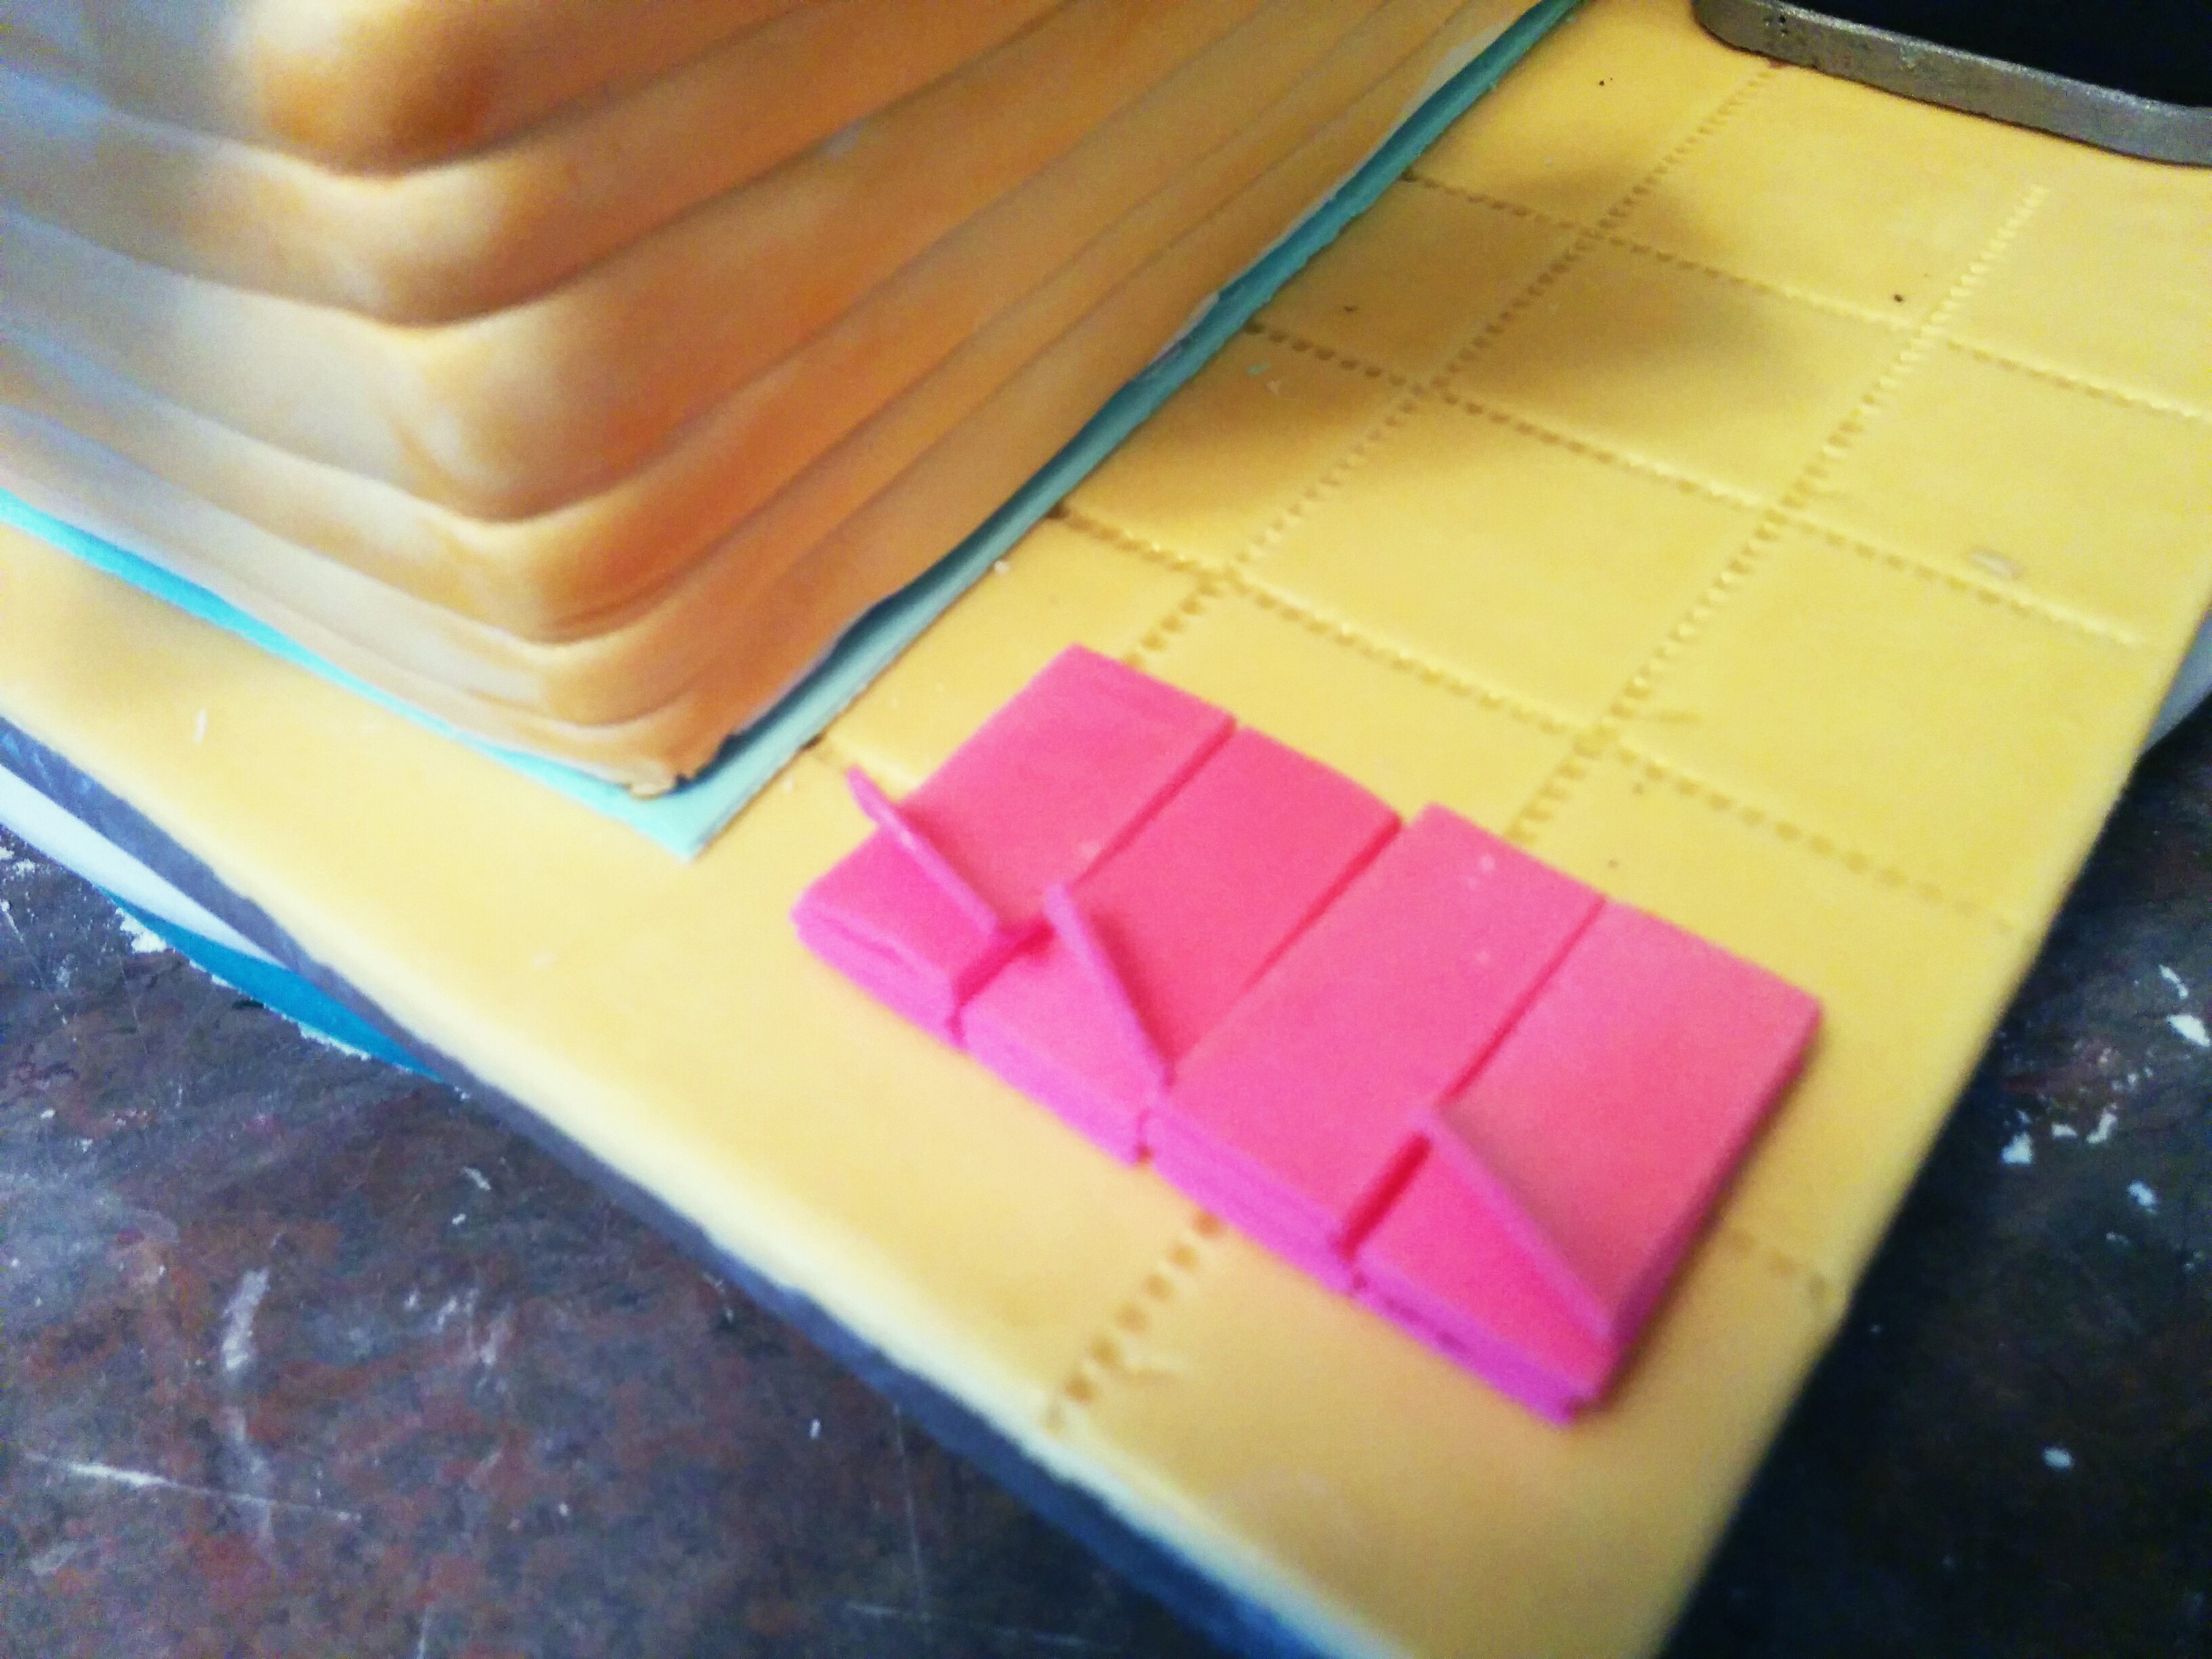
(4) Next, make the page markers. Roll out pink fondant and cut it into rectangles of equal sizes. bend one edge of some of the rectangles and leave them to dry.
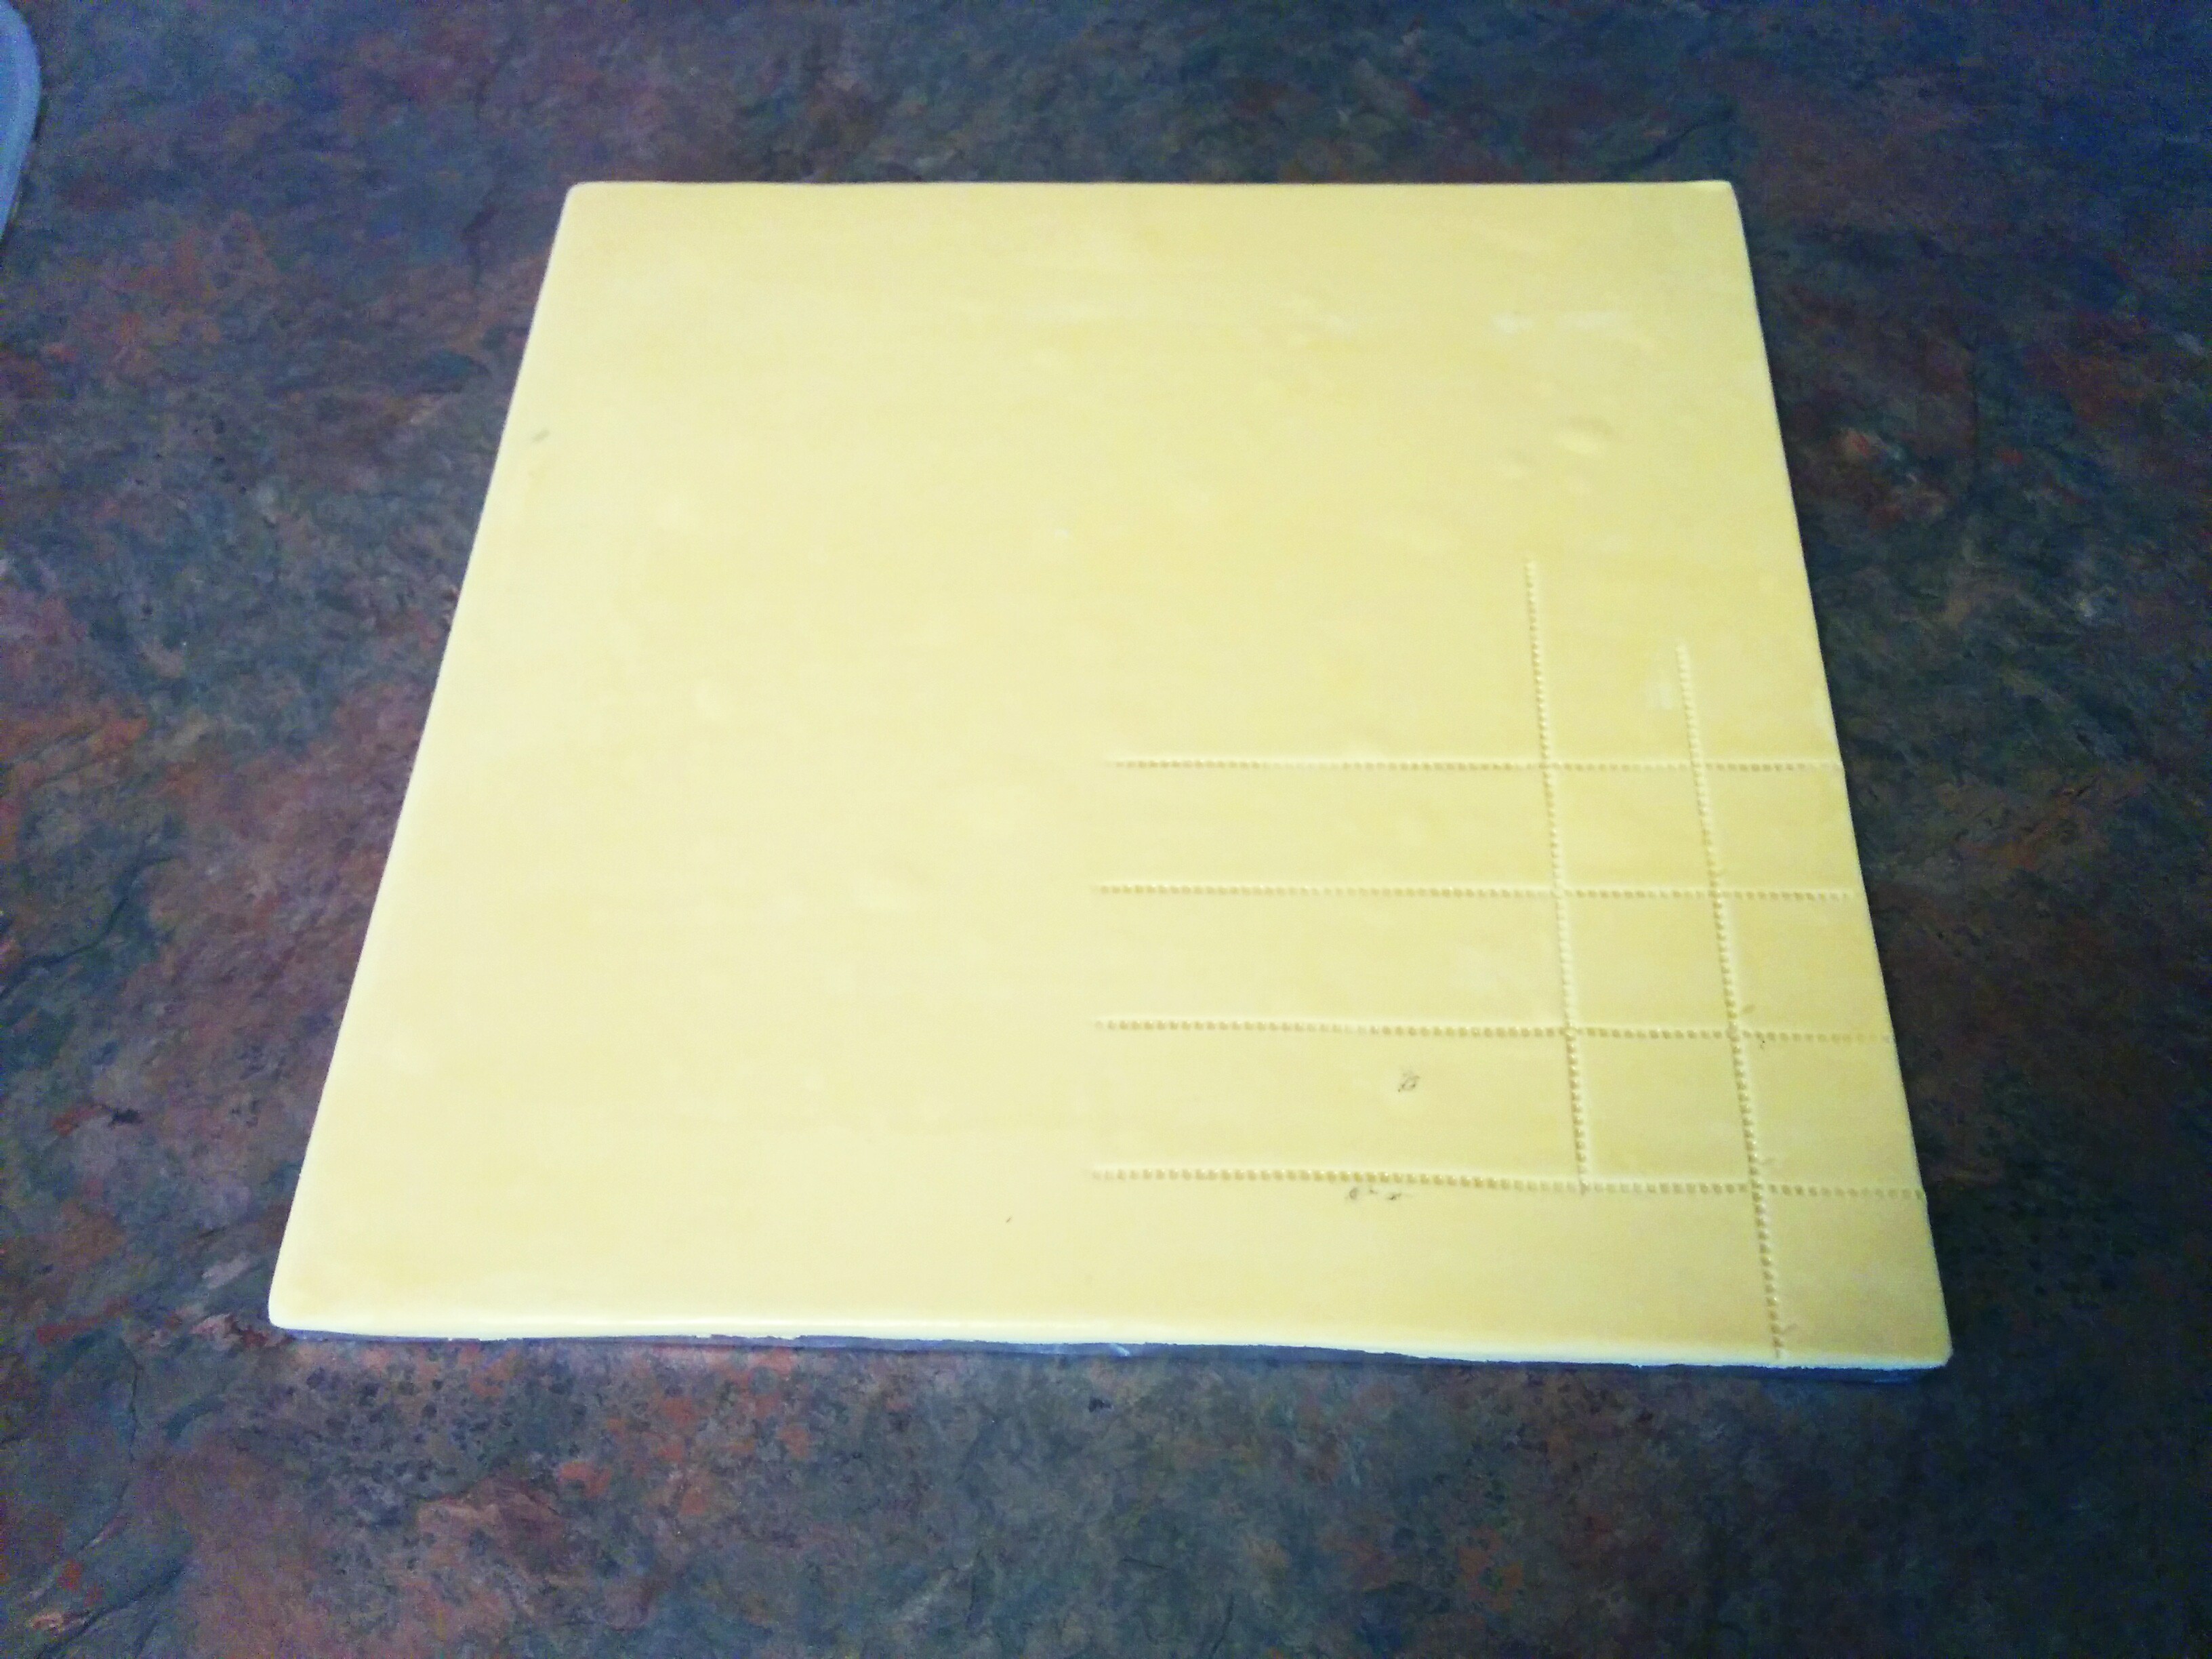
(5) Cover the cake board with fondant. You can see how I cover my cake boards here. To make the board glossy, add a bit of corn syrup to vodka and brush the cake board. Allow the cake board to dry before using.
(6) Place the bottom book cover on the cake board. Secure it with melted white chocolate.
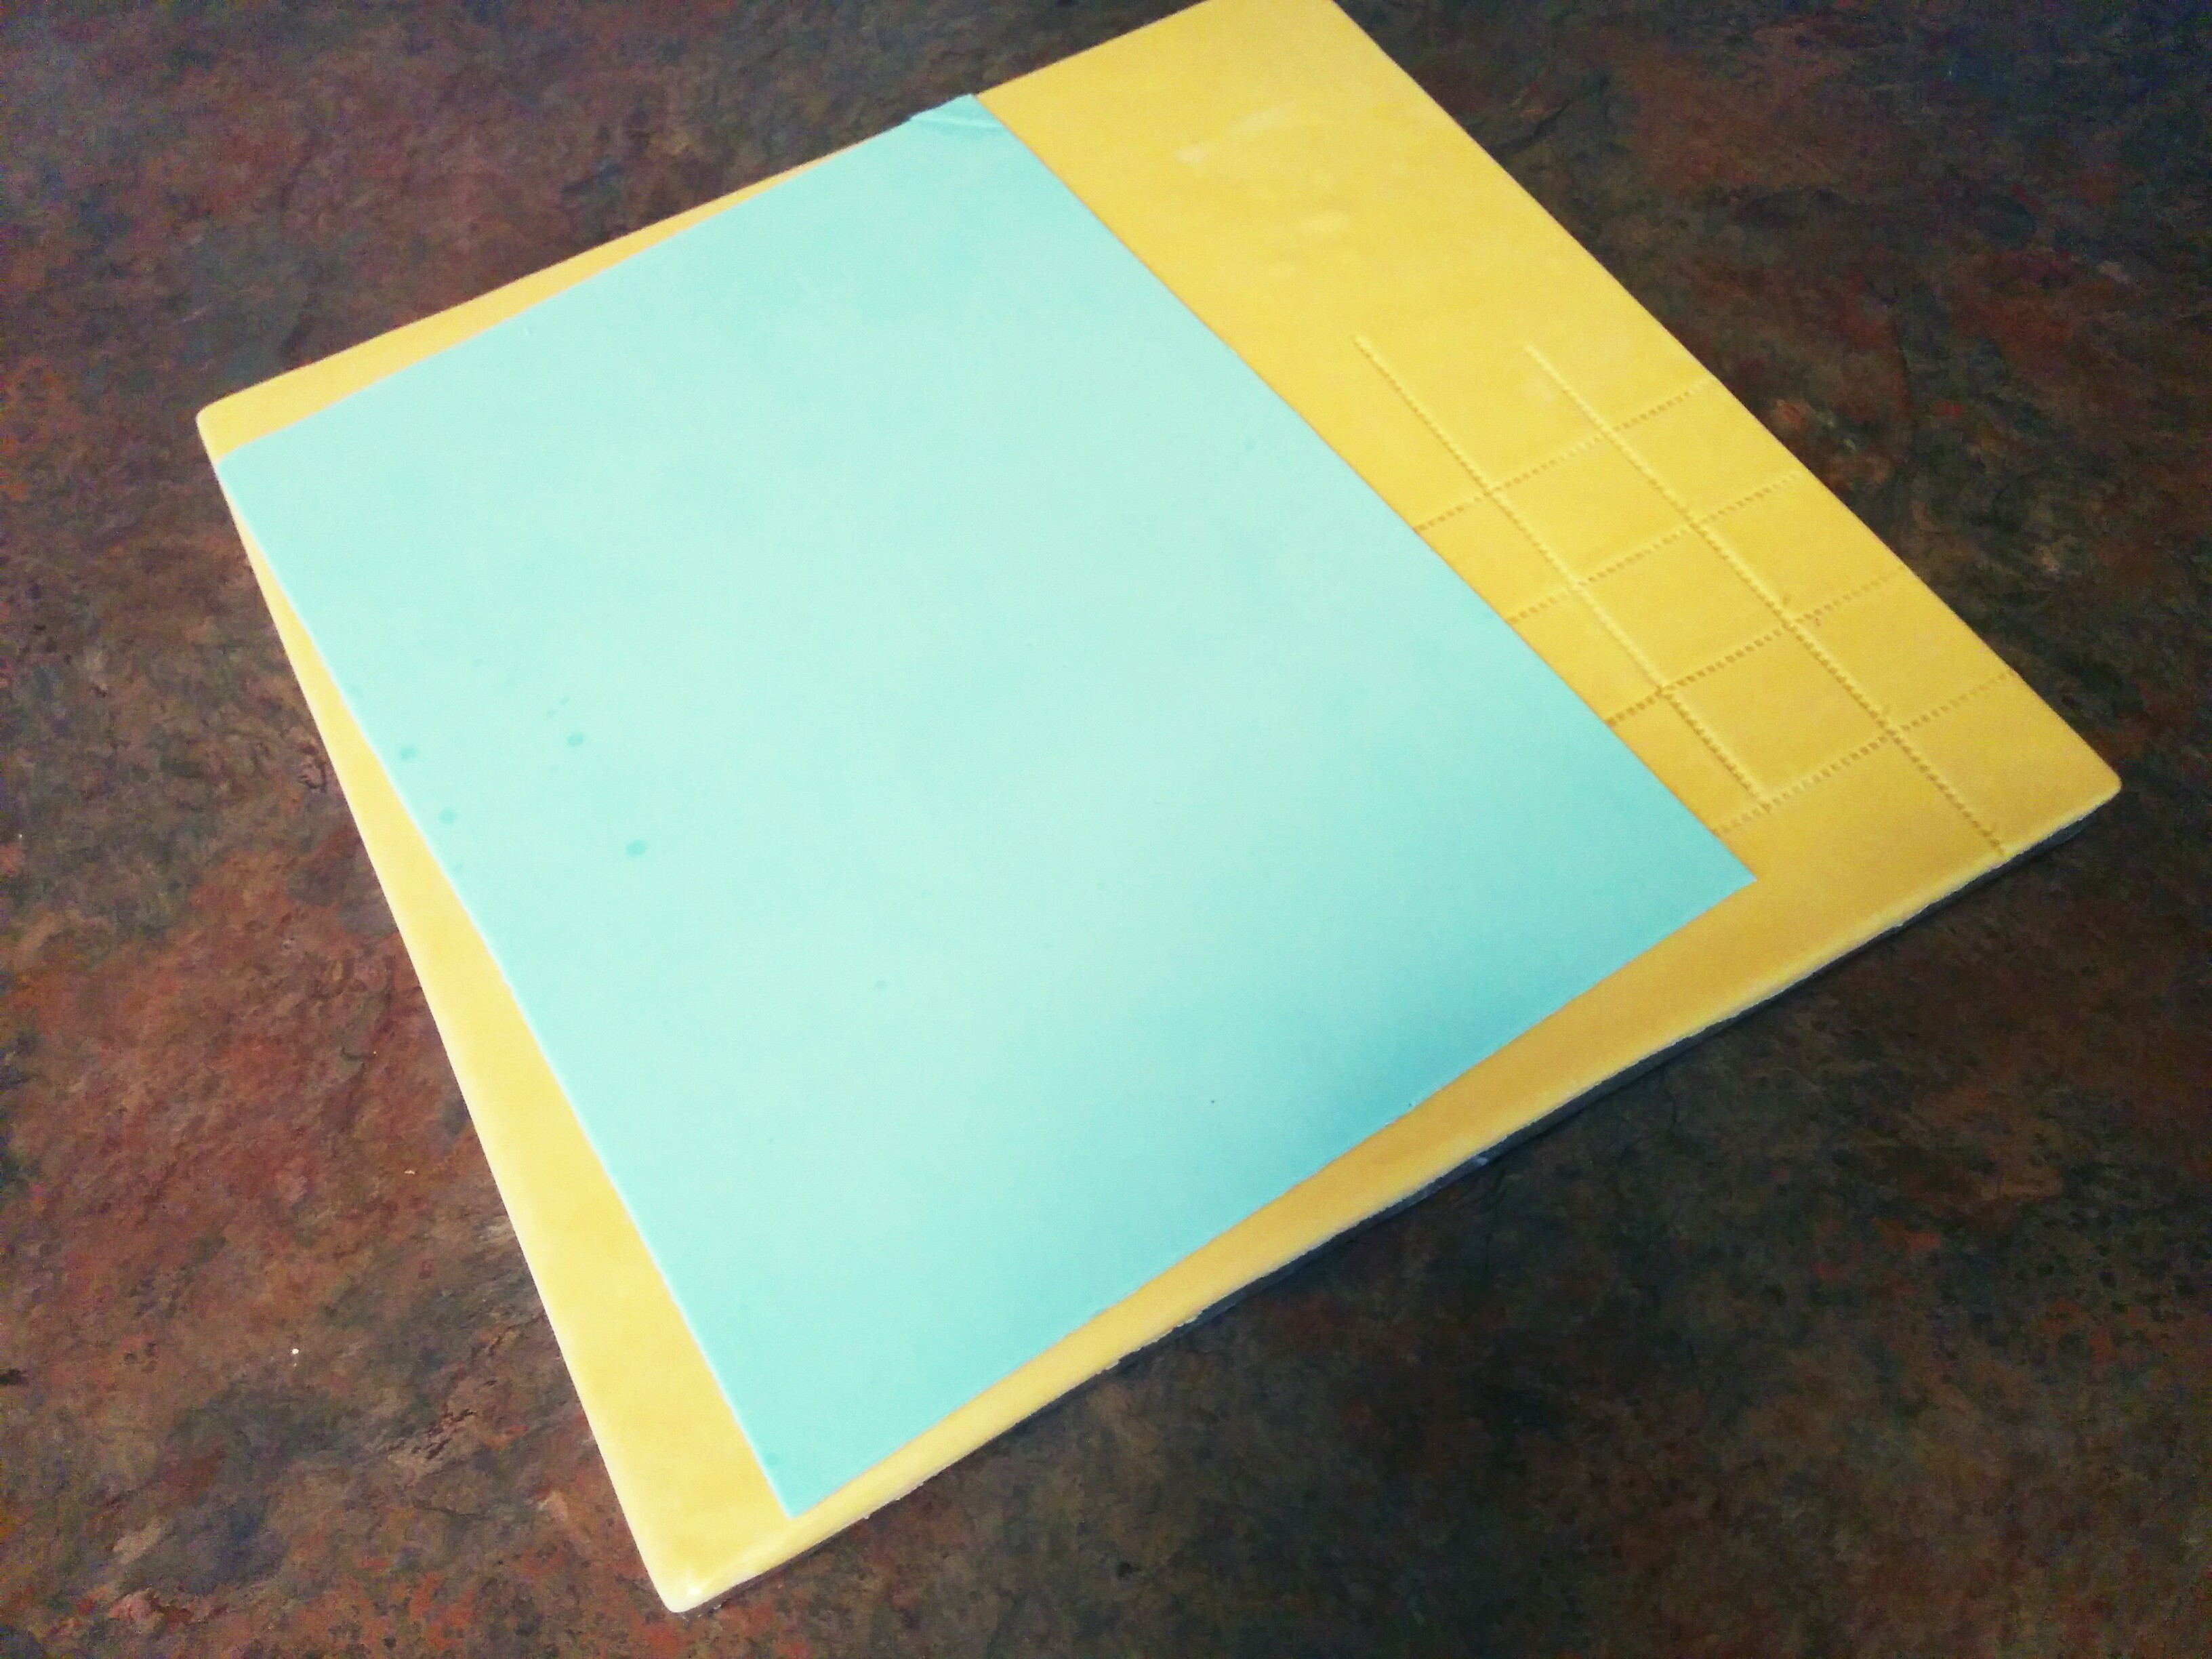
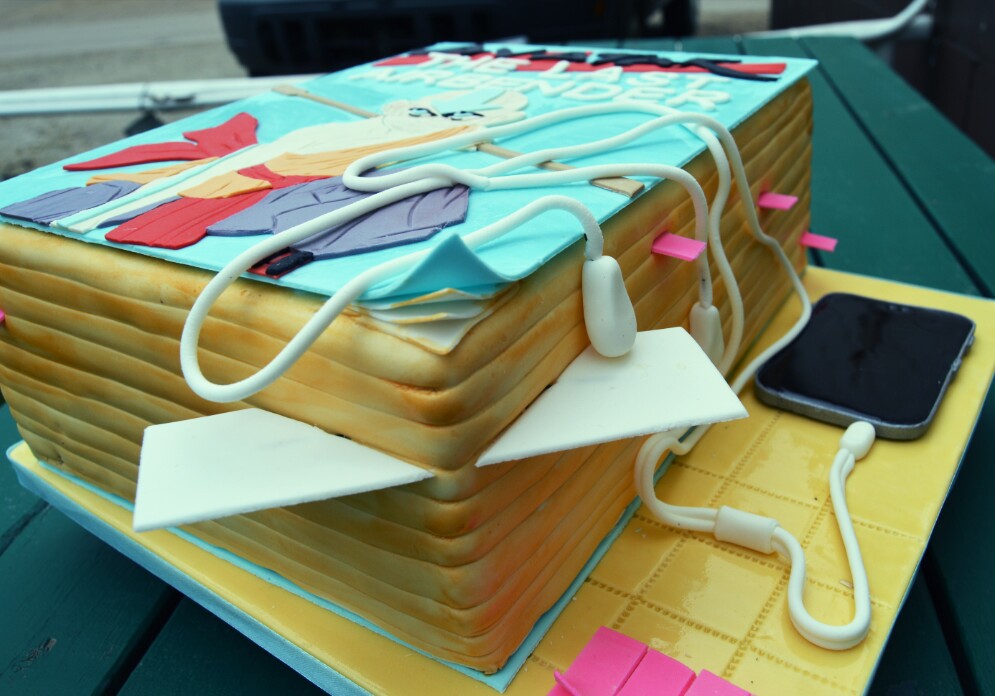
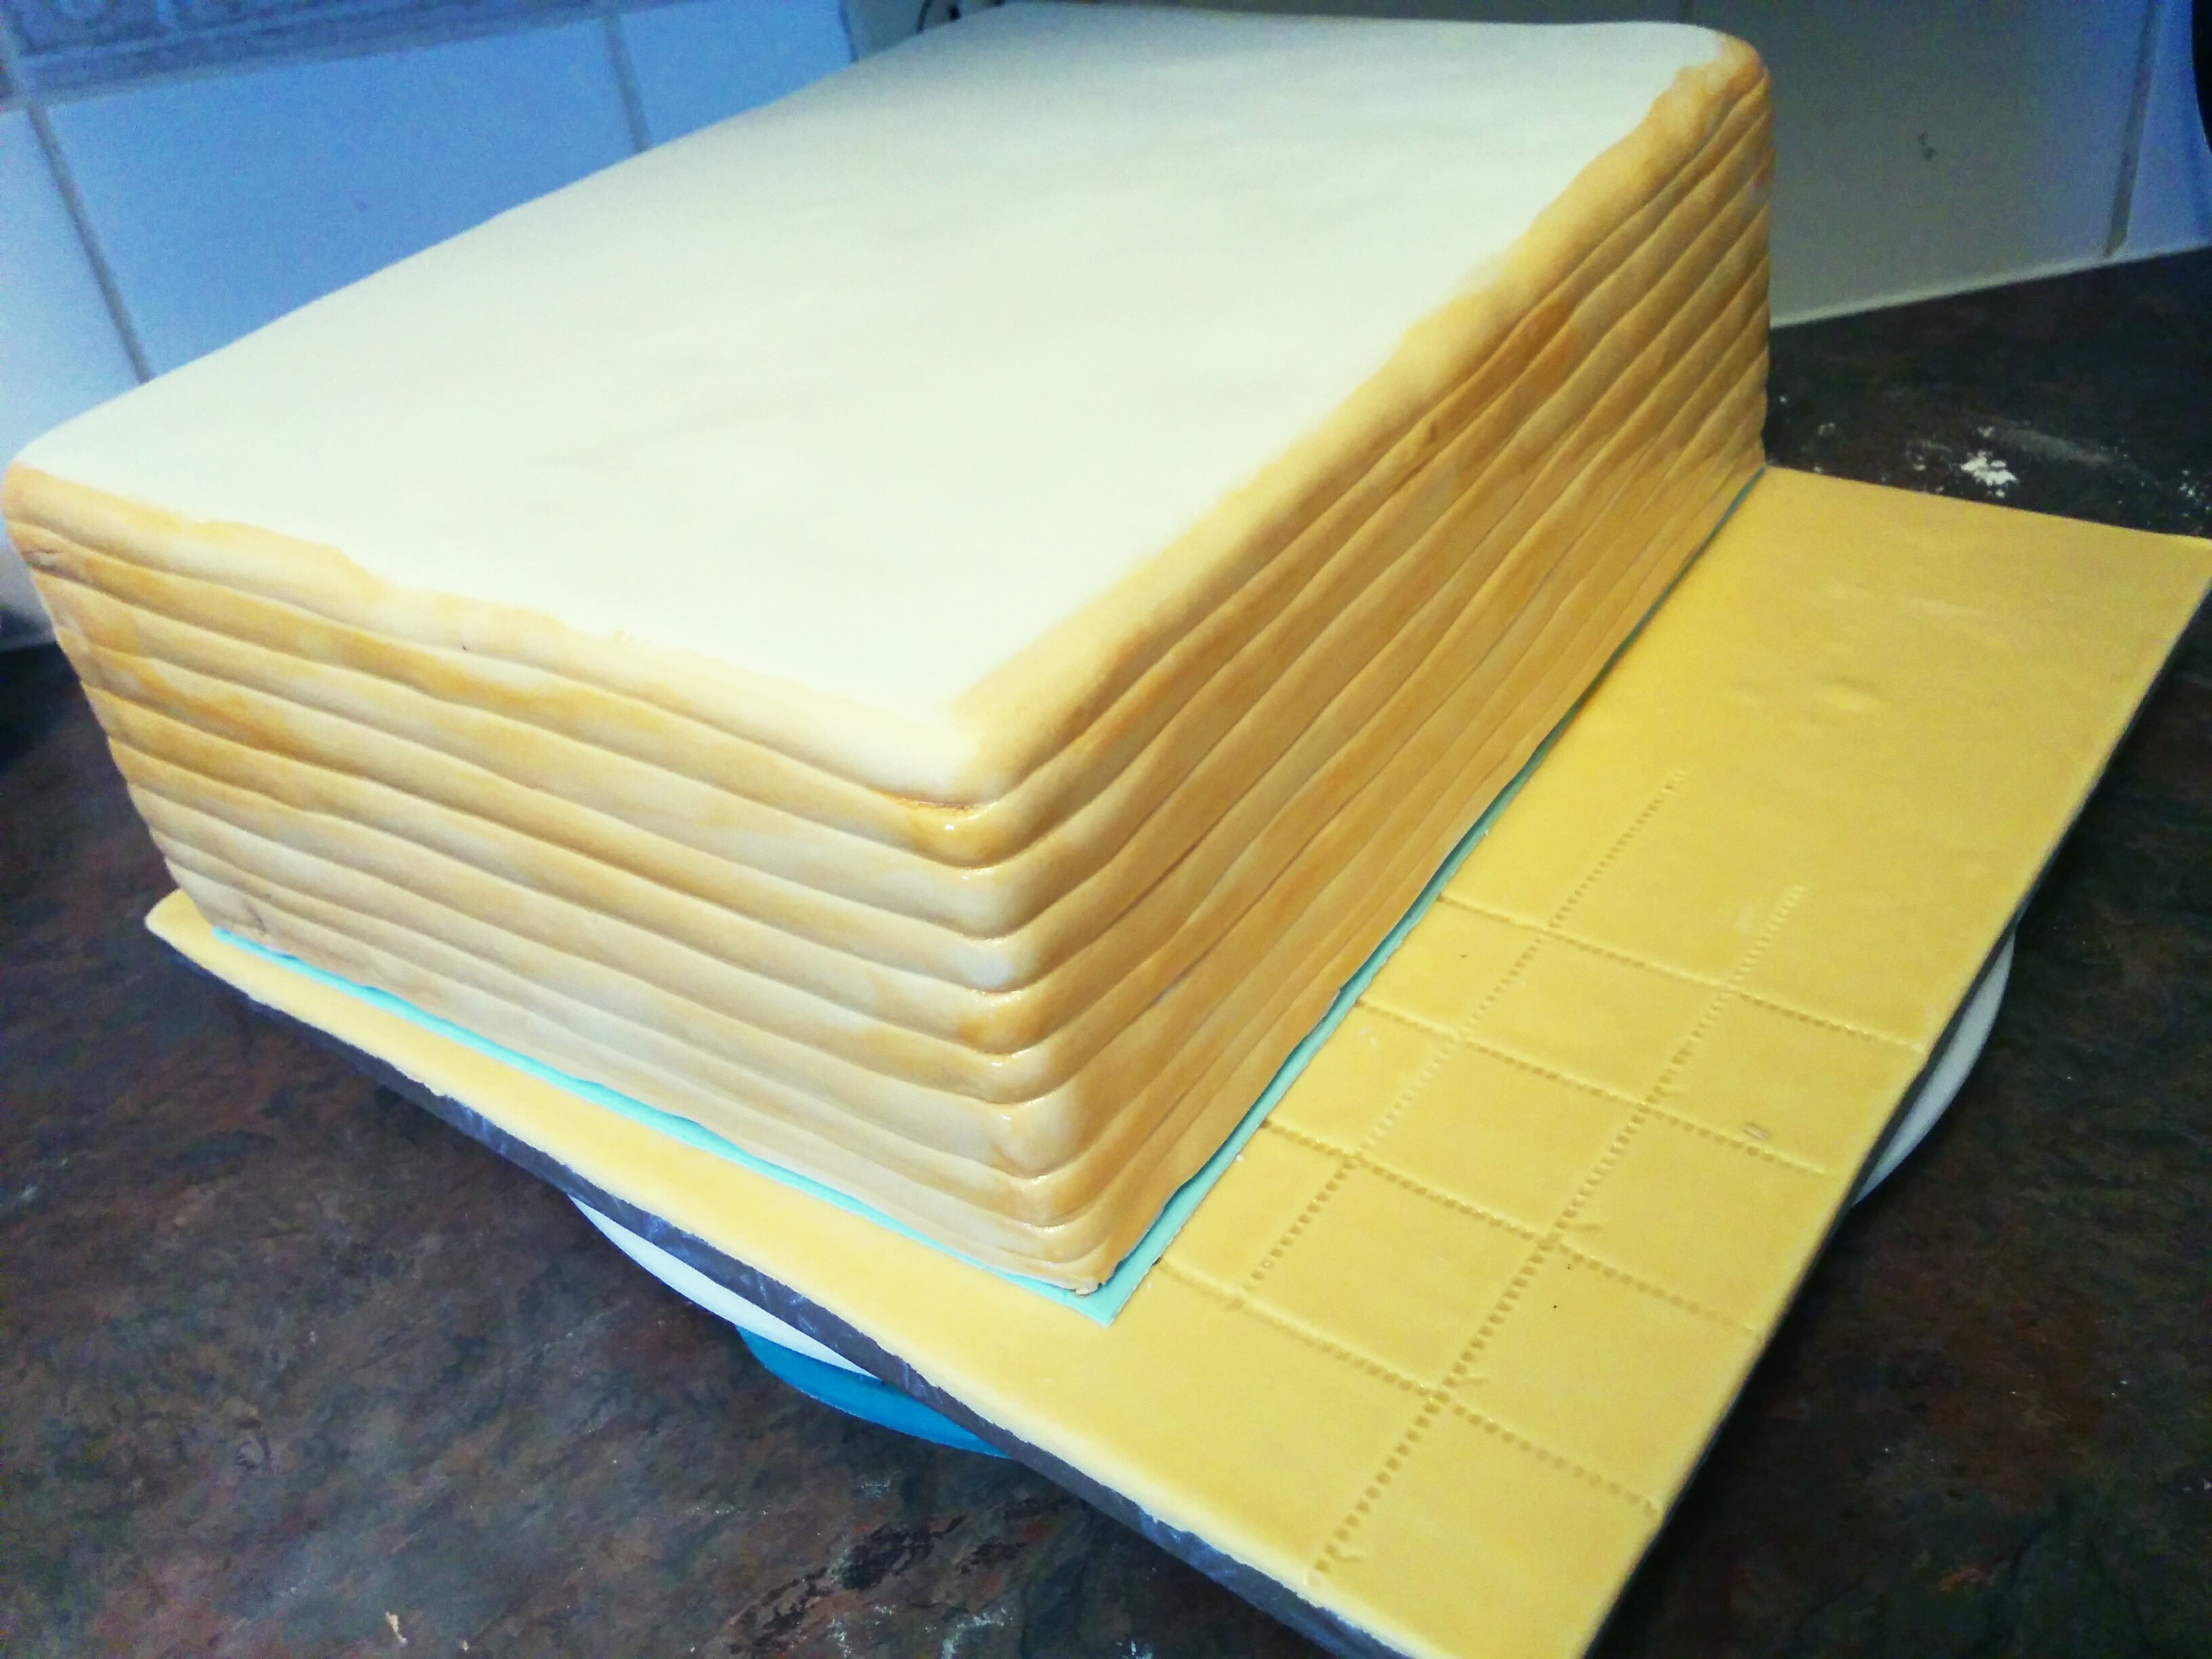
(7) Drape the cake with white fondant and place it on the book cover. The cake here is 8 x 11 inches. The book covers measure 8.5 x 11.5 inches. The book covers are larger than the cake so as to make allowance for the cake frosting and first layer of fondant.
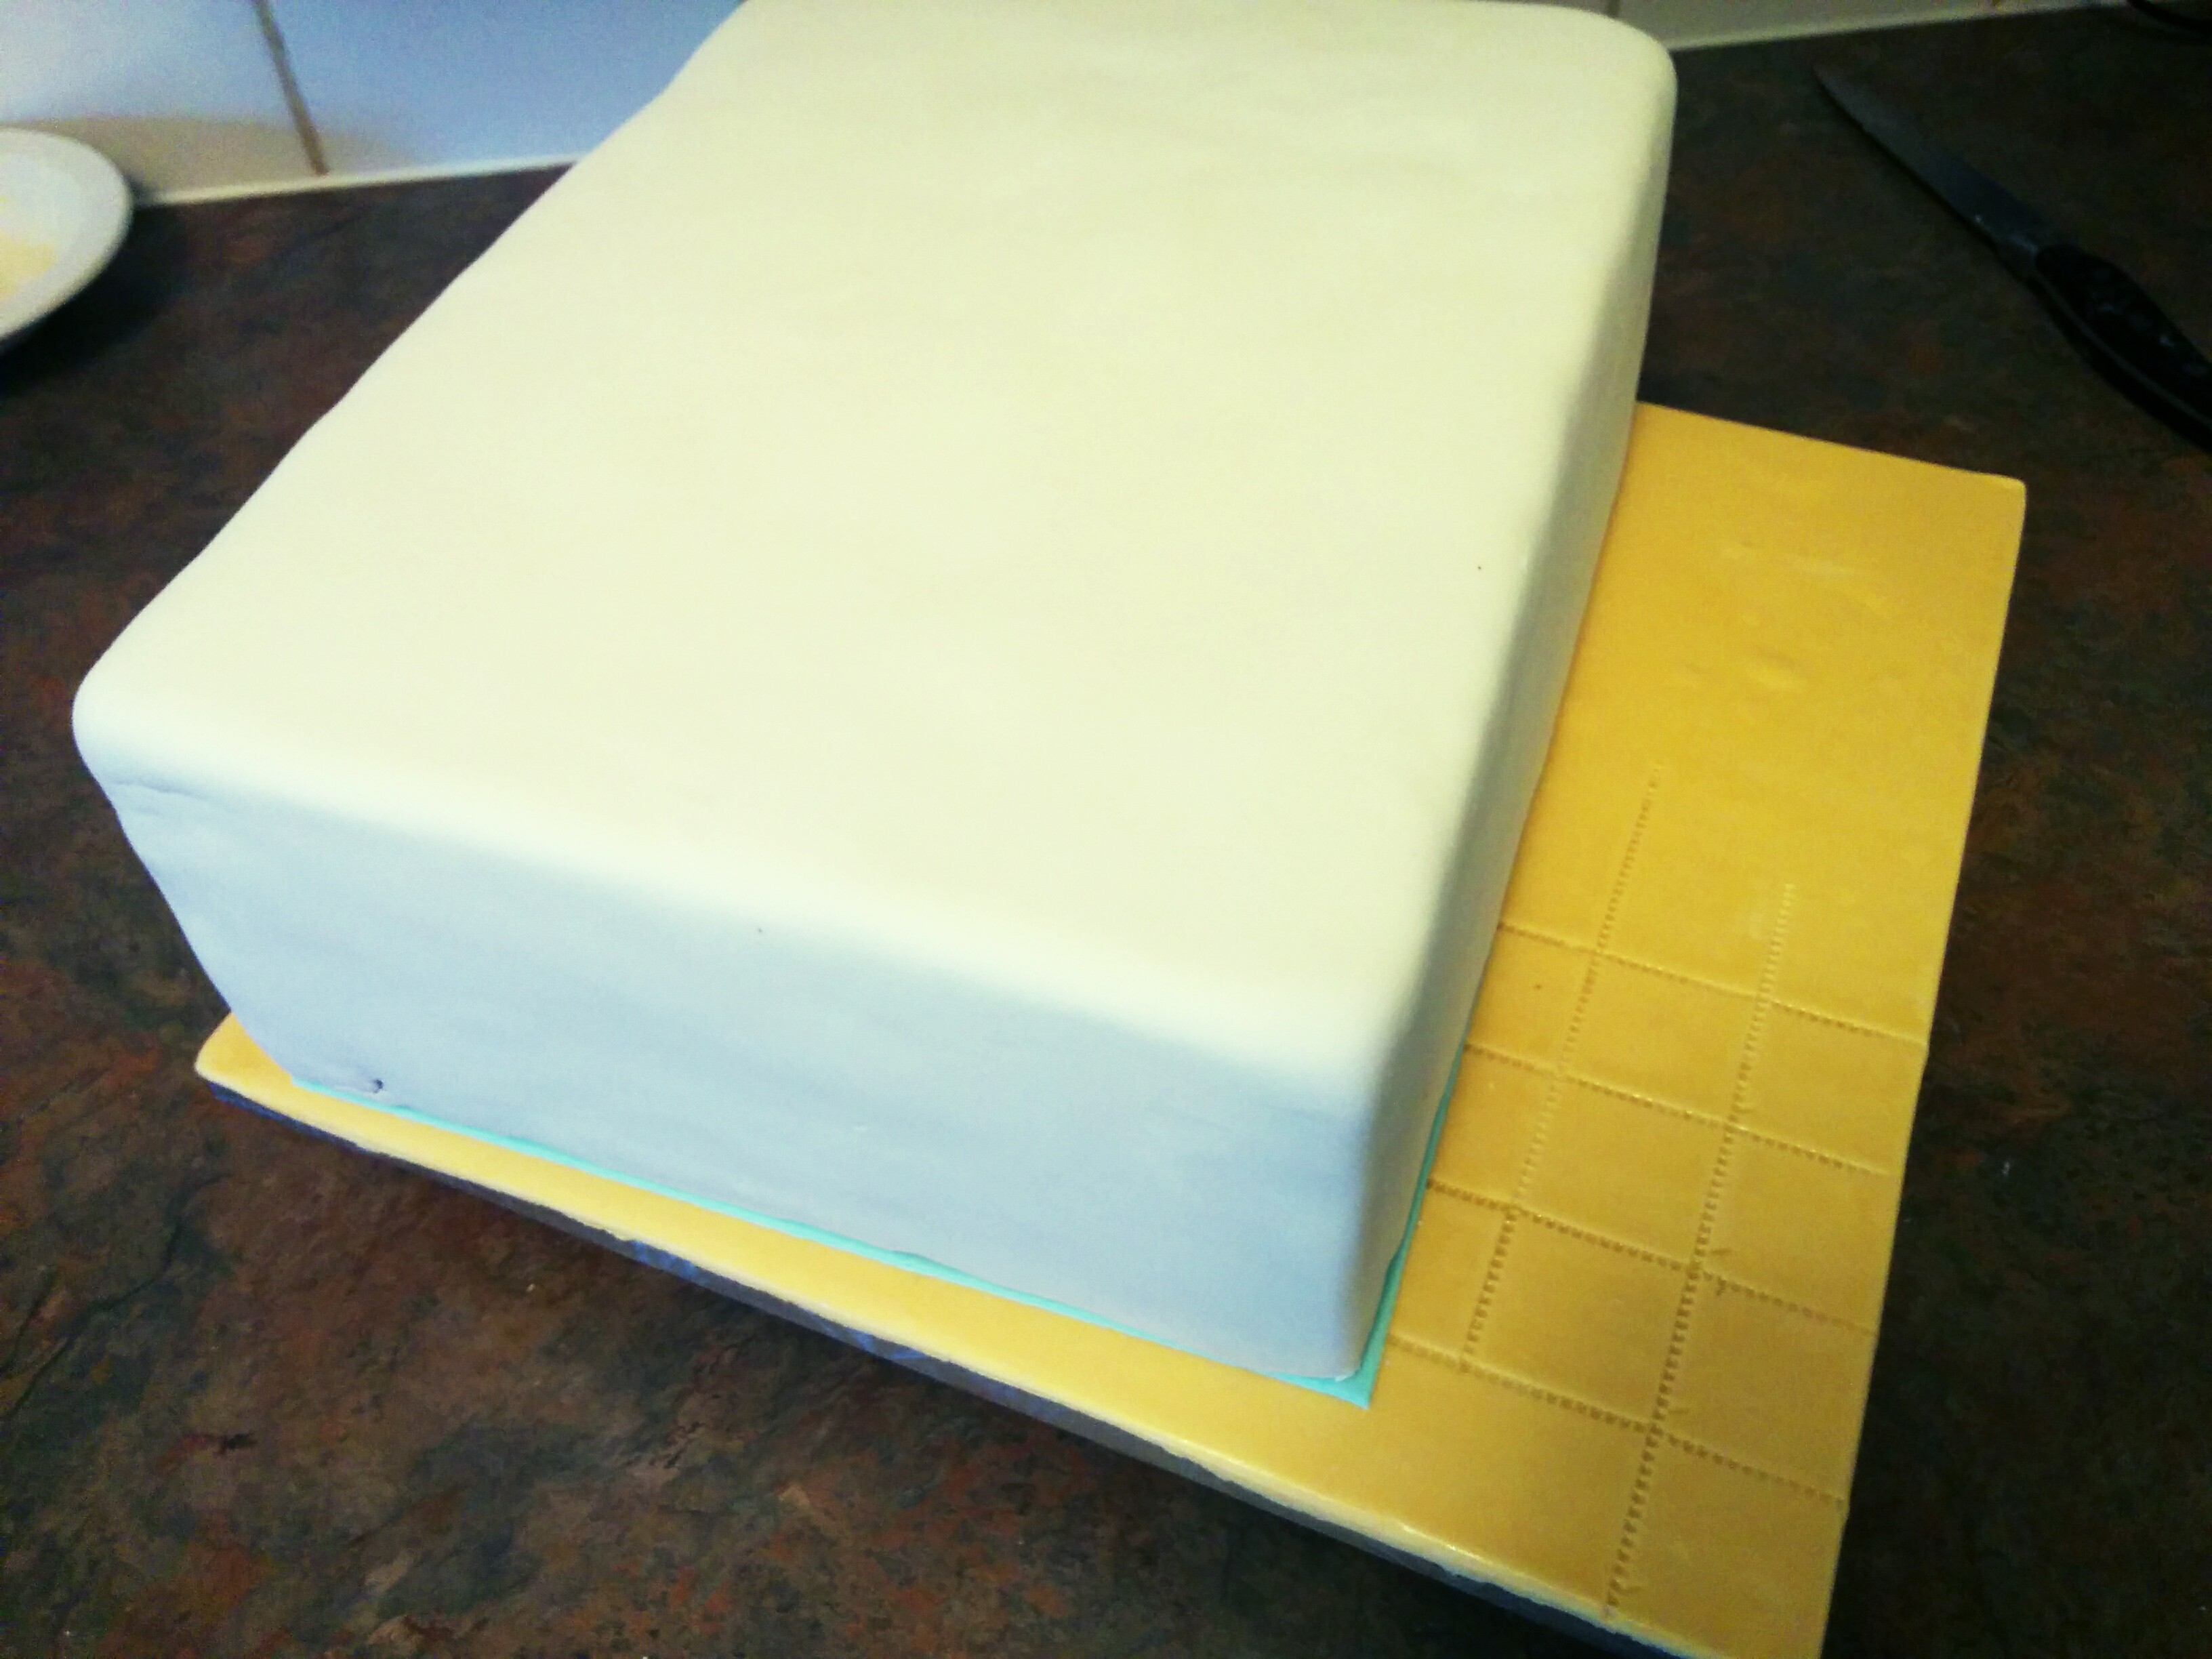
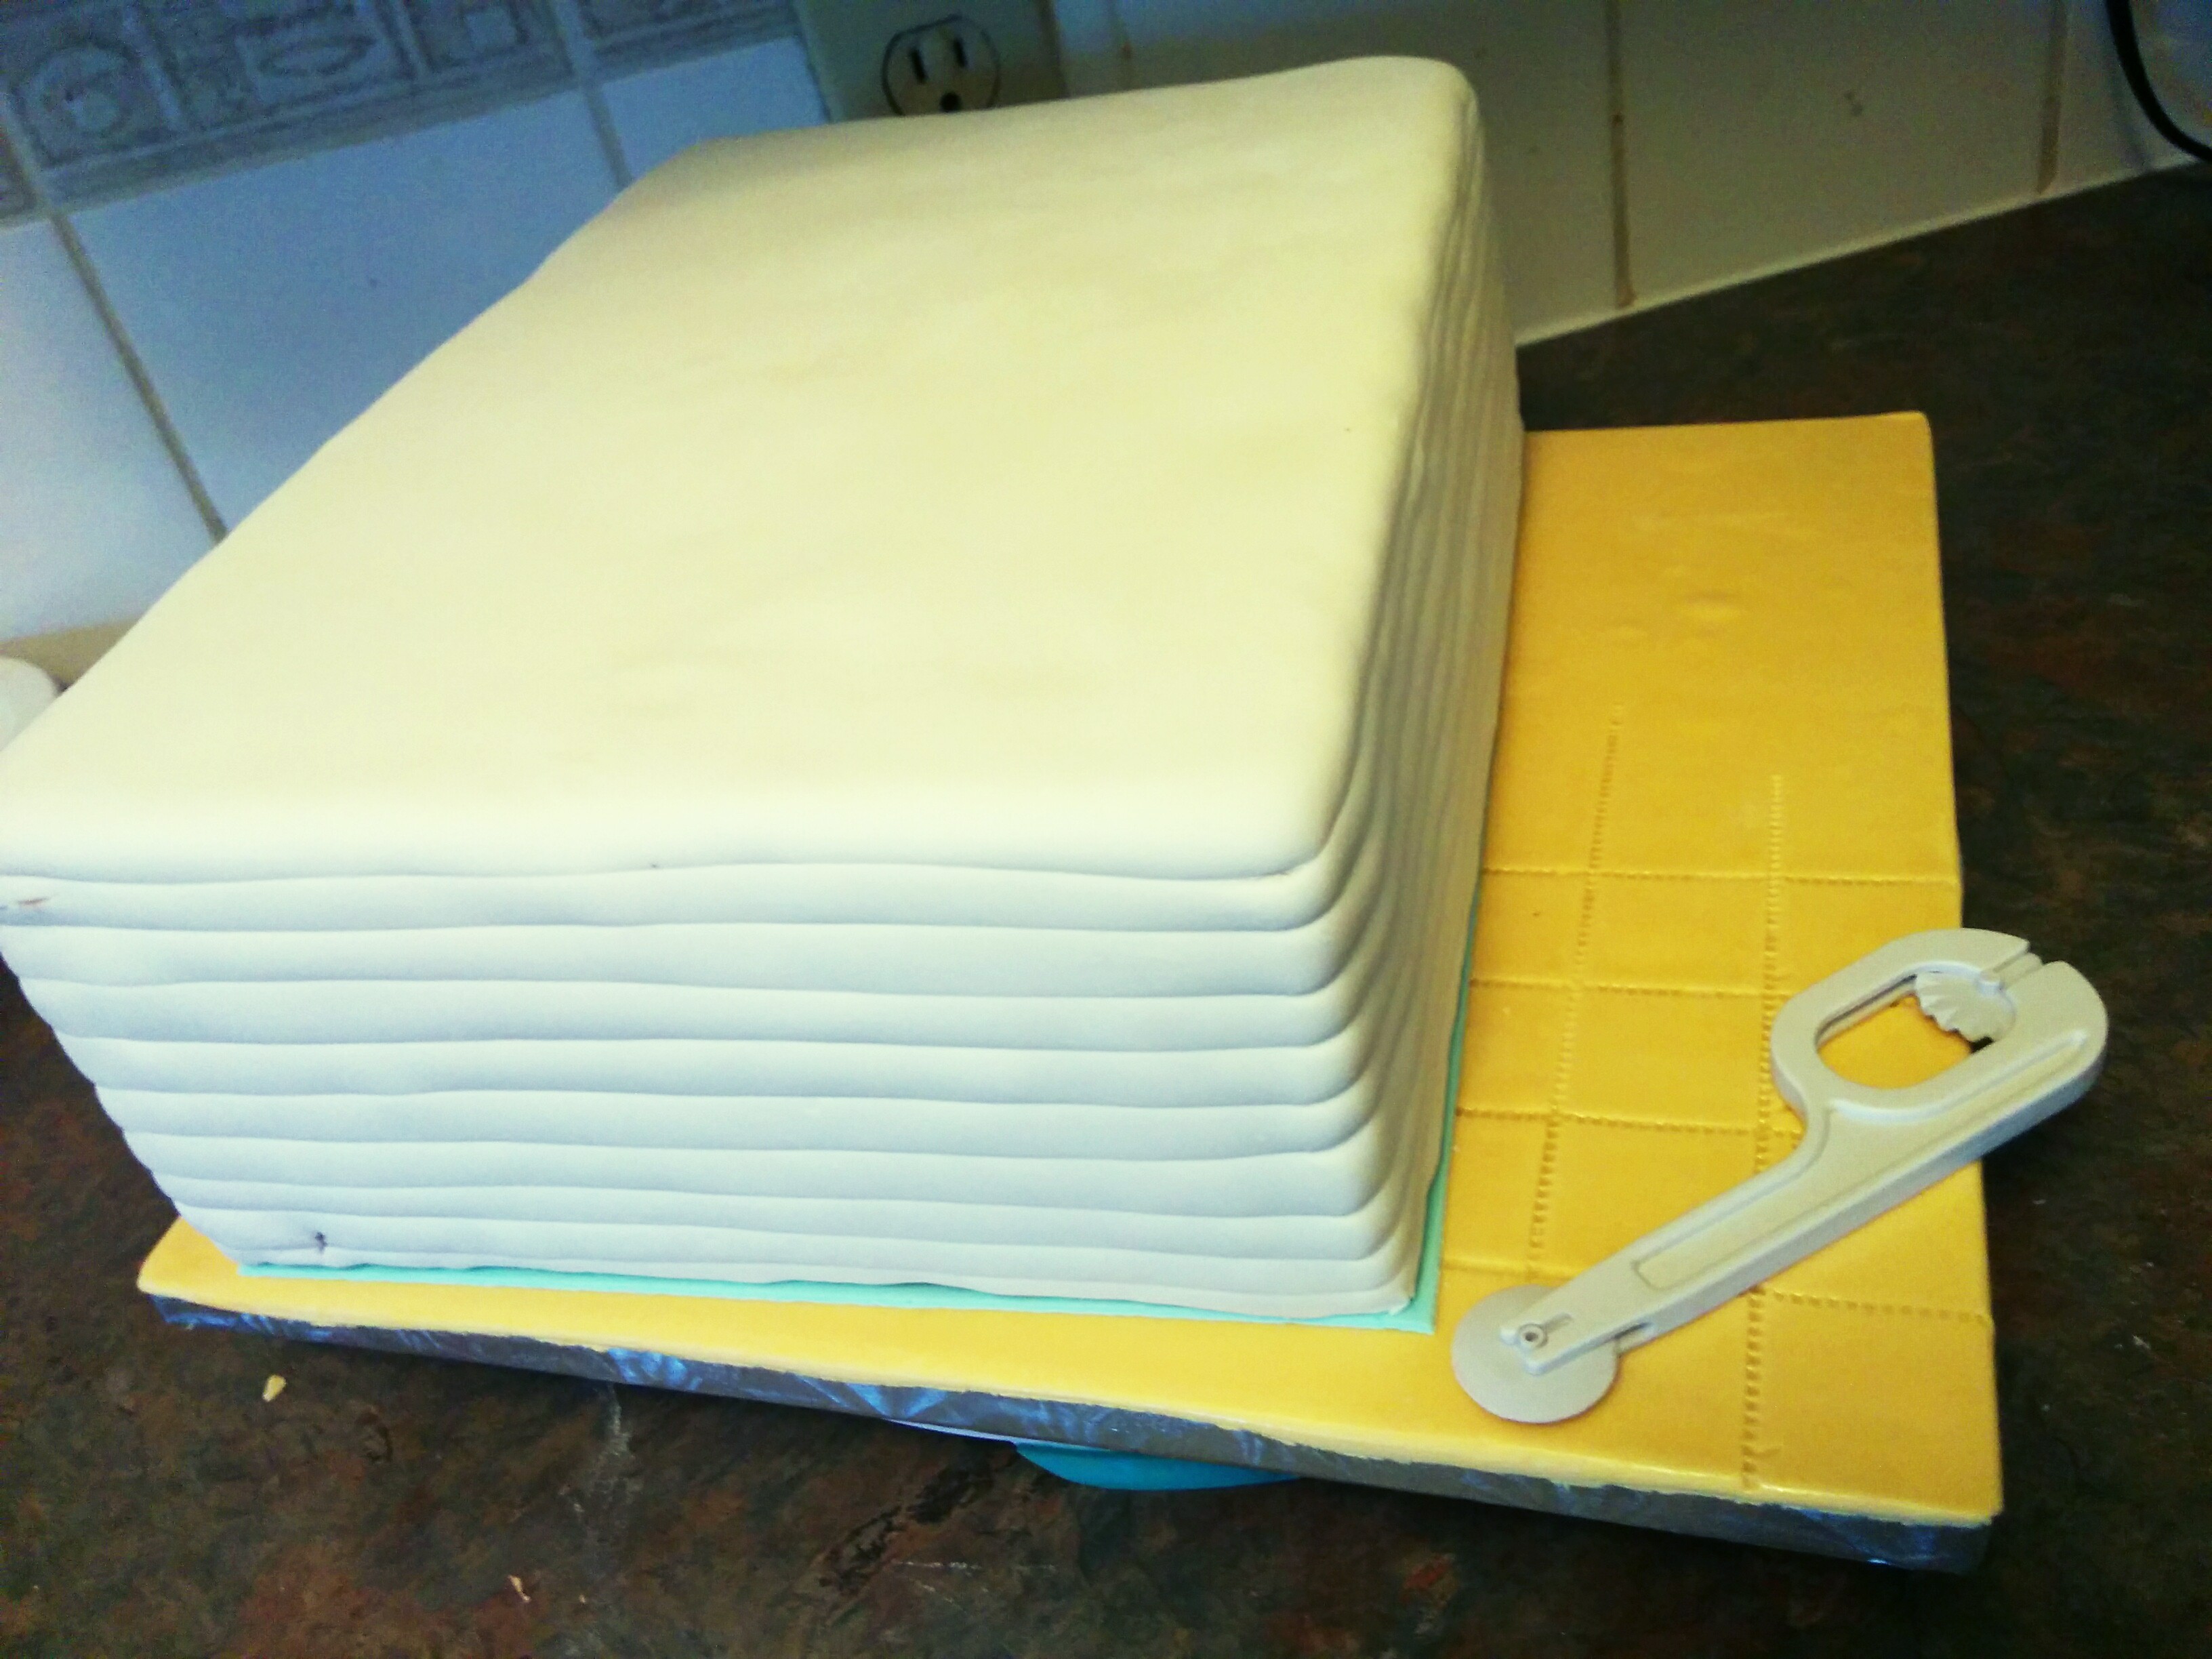
(8) Next, using a fondant wheel or any other engraving tool (table knife?), make lines to represent book leaves on all the sides of the cakes apart from the back. This should be done before the fondant dries out.
(9) Next, mix ivory fondant with vodka (not water please) and brush the sides of the cake. Apart from the back of course.
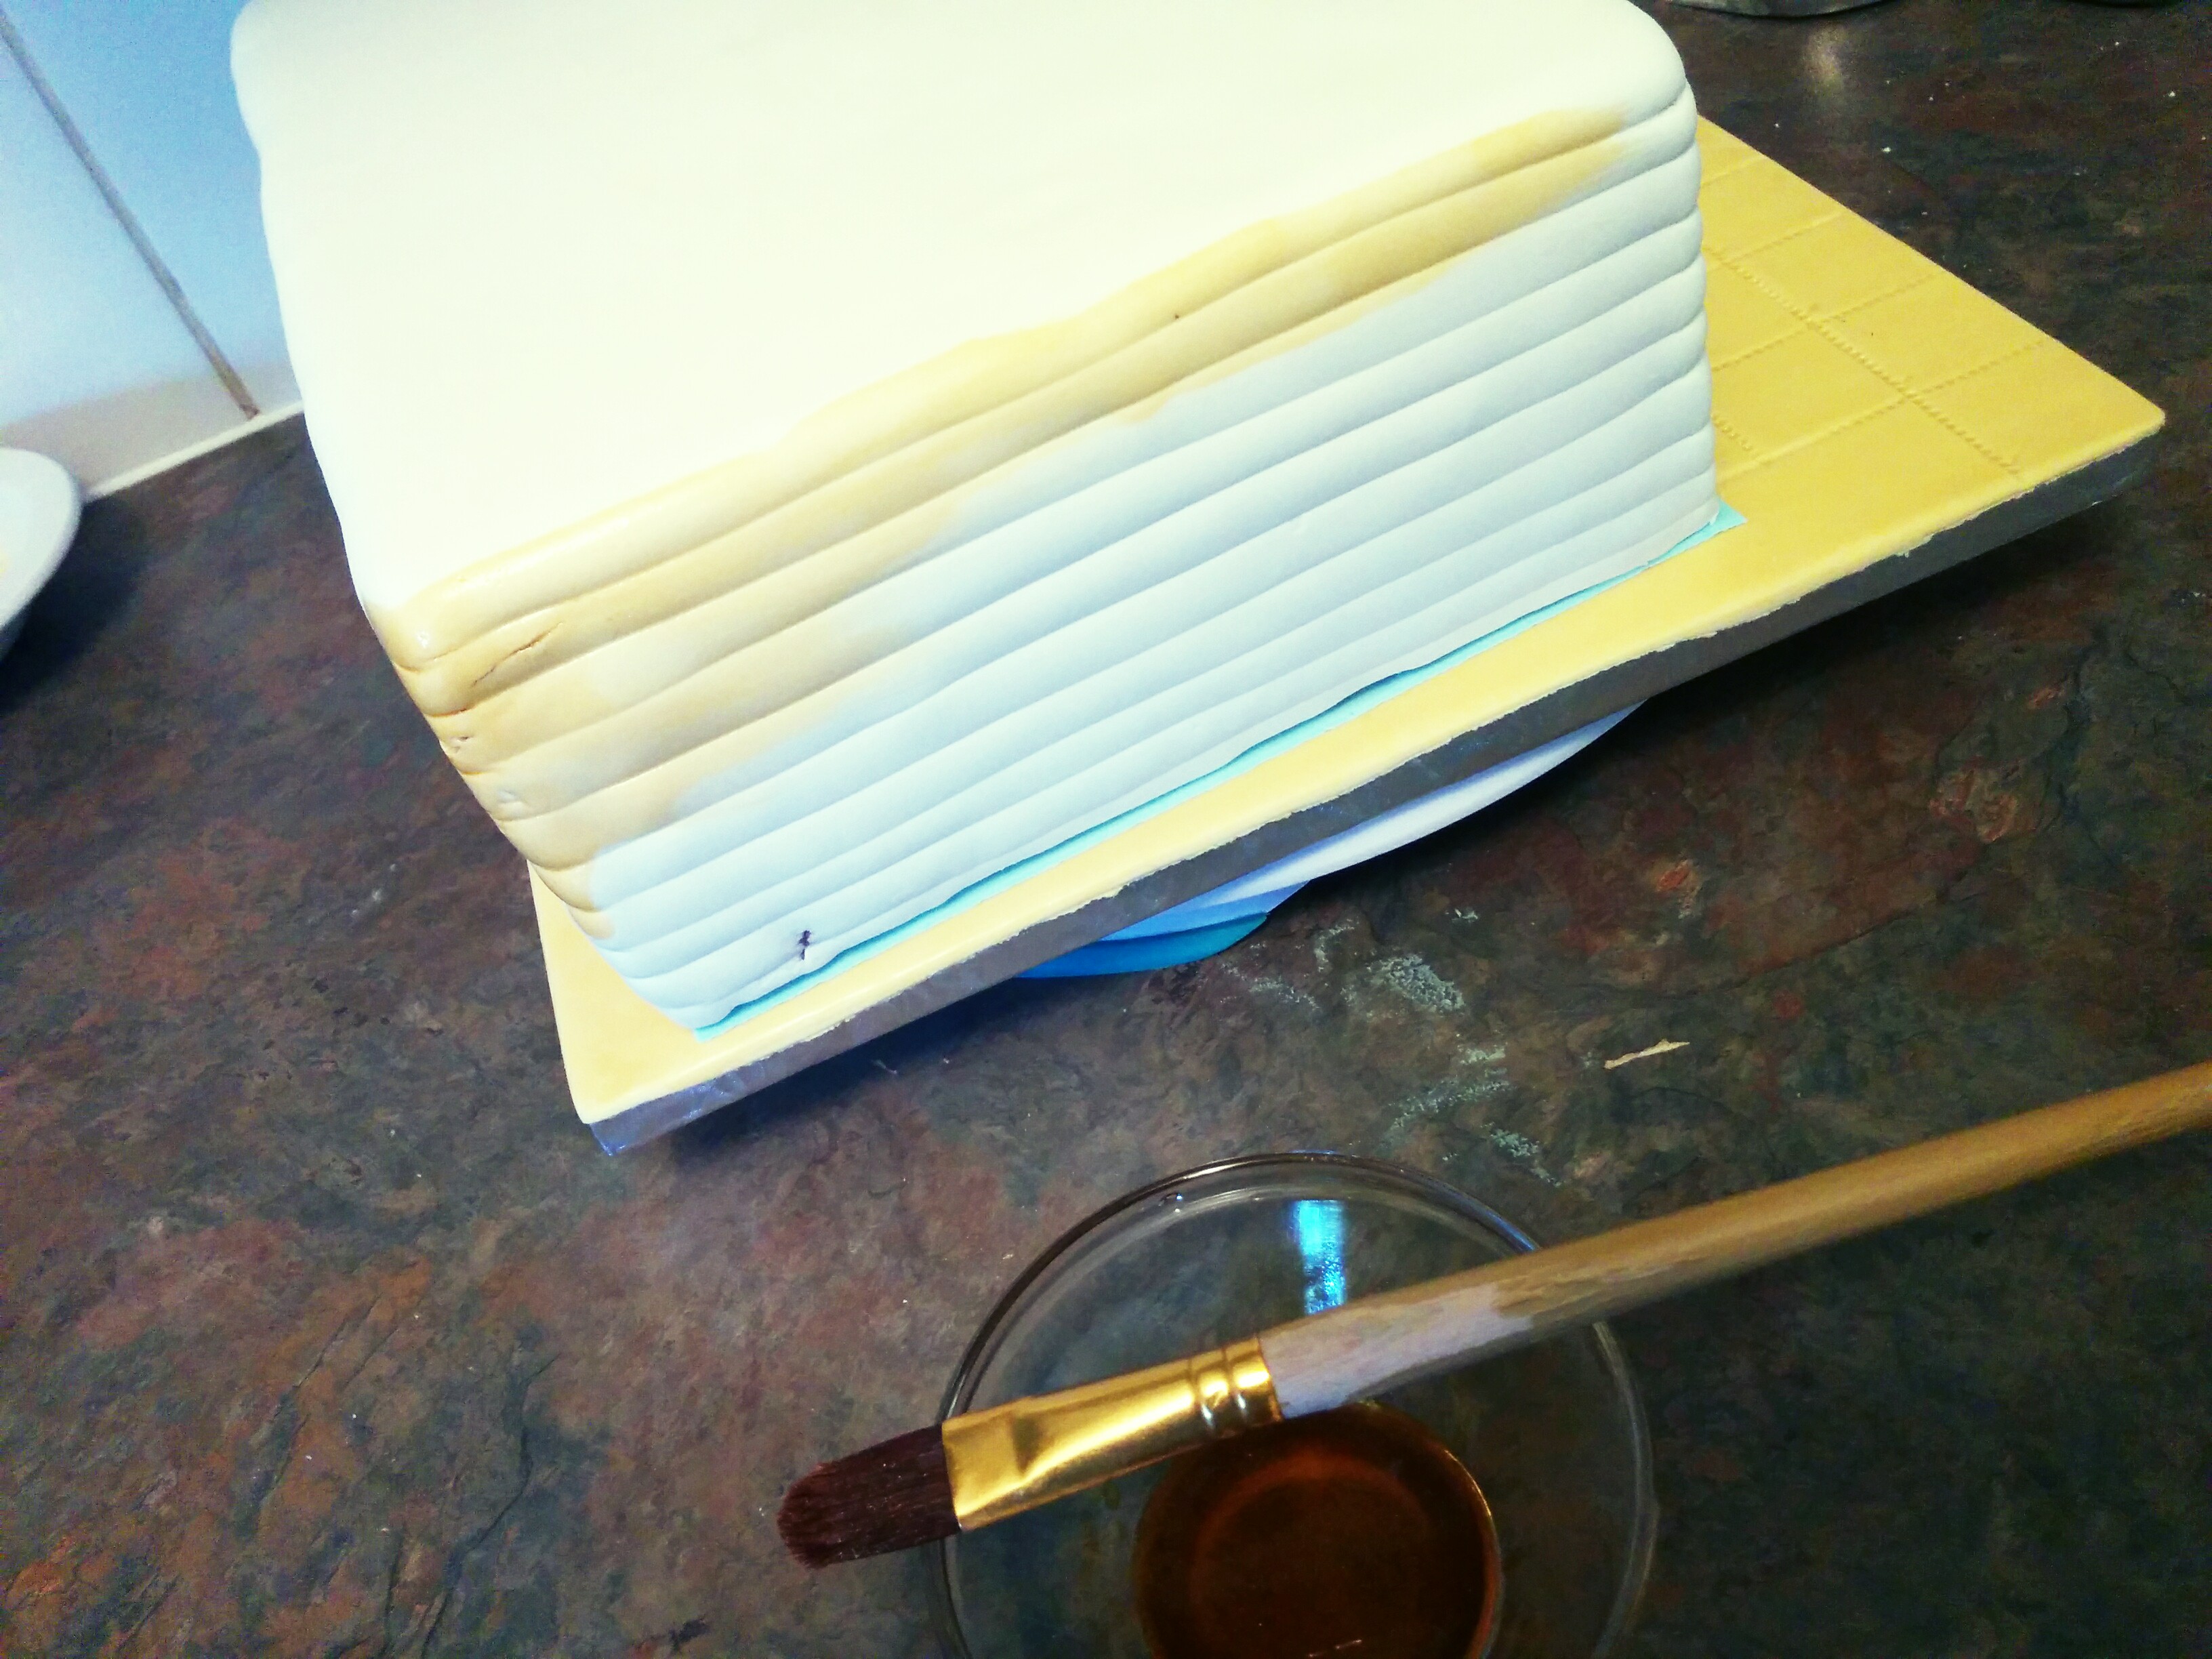
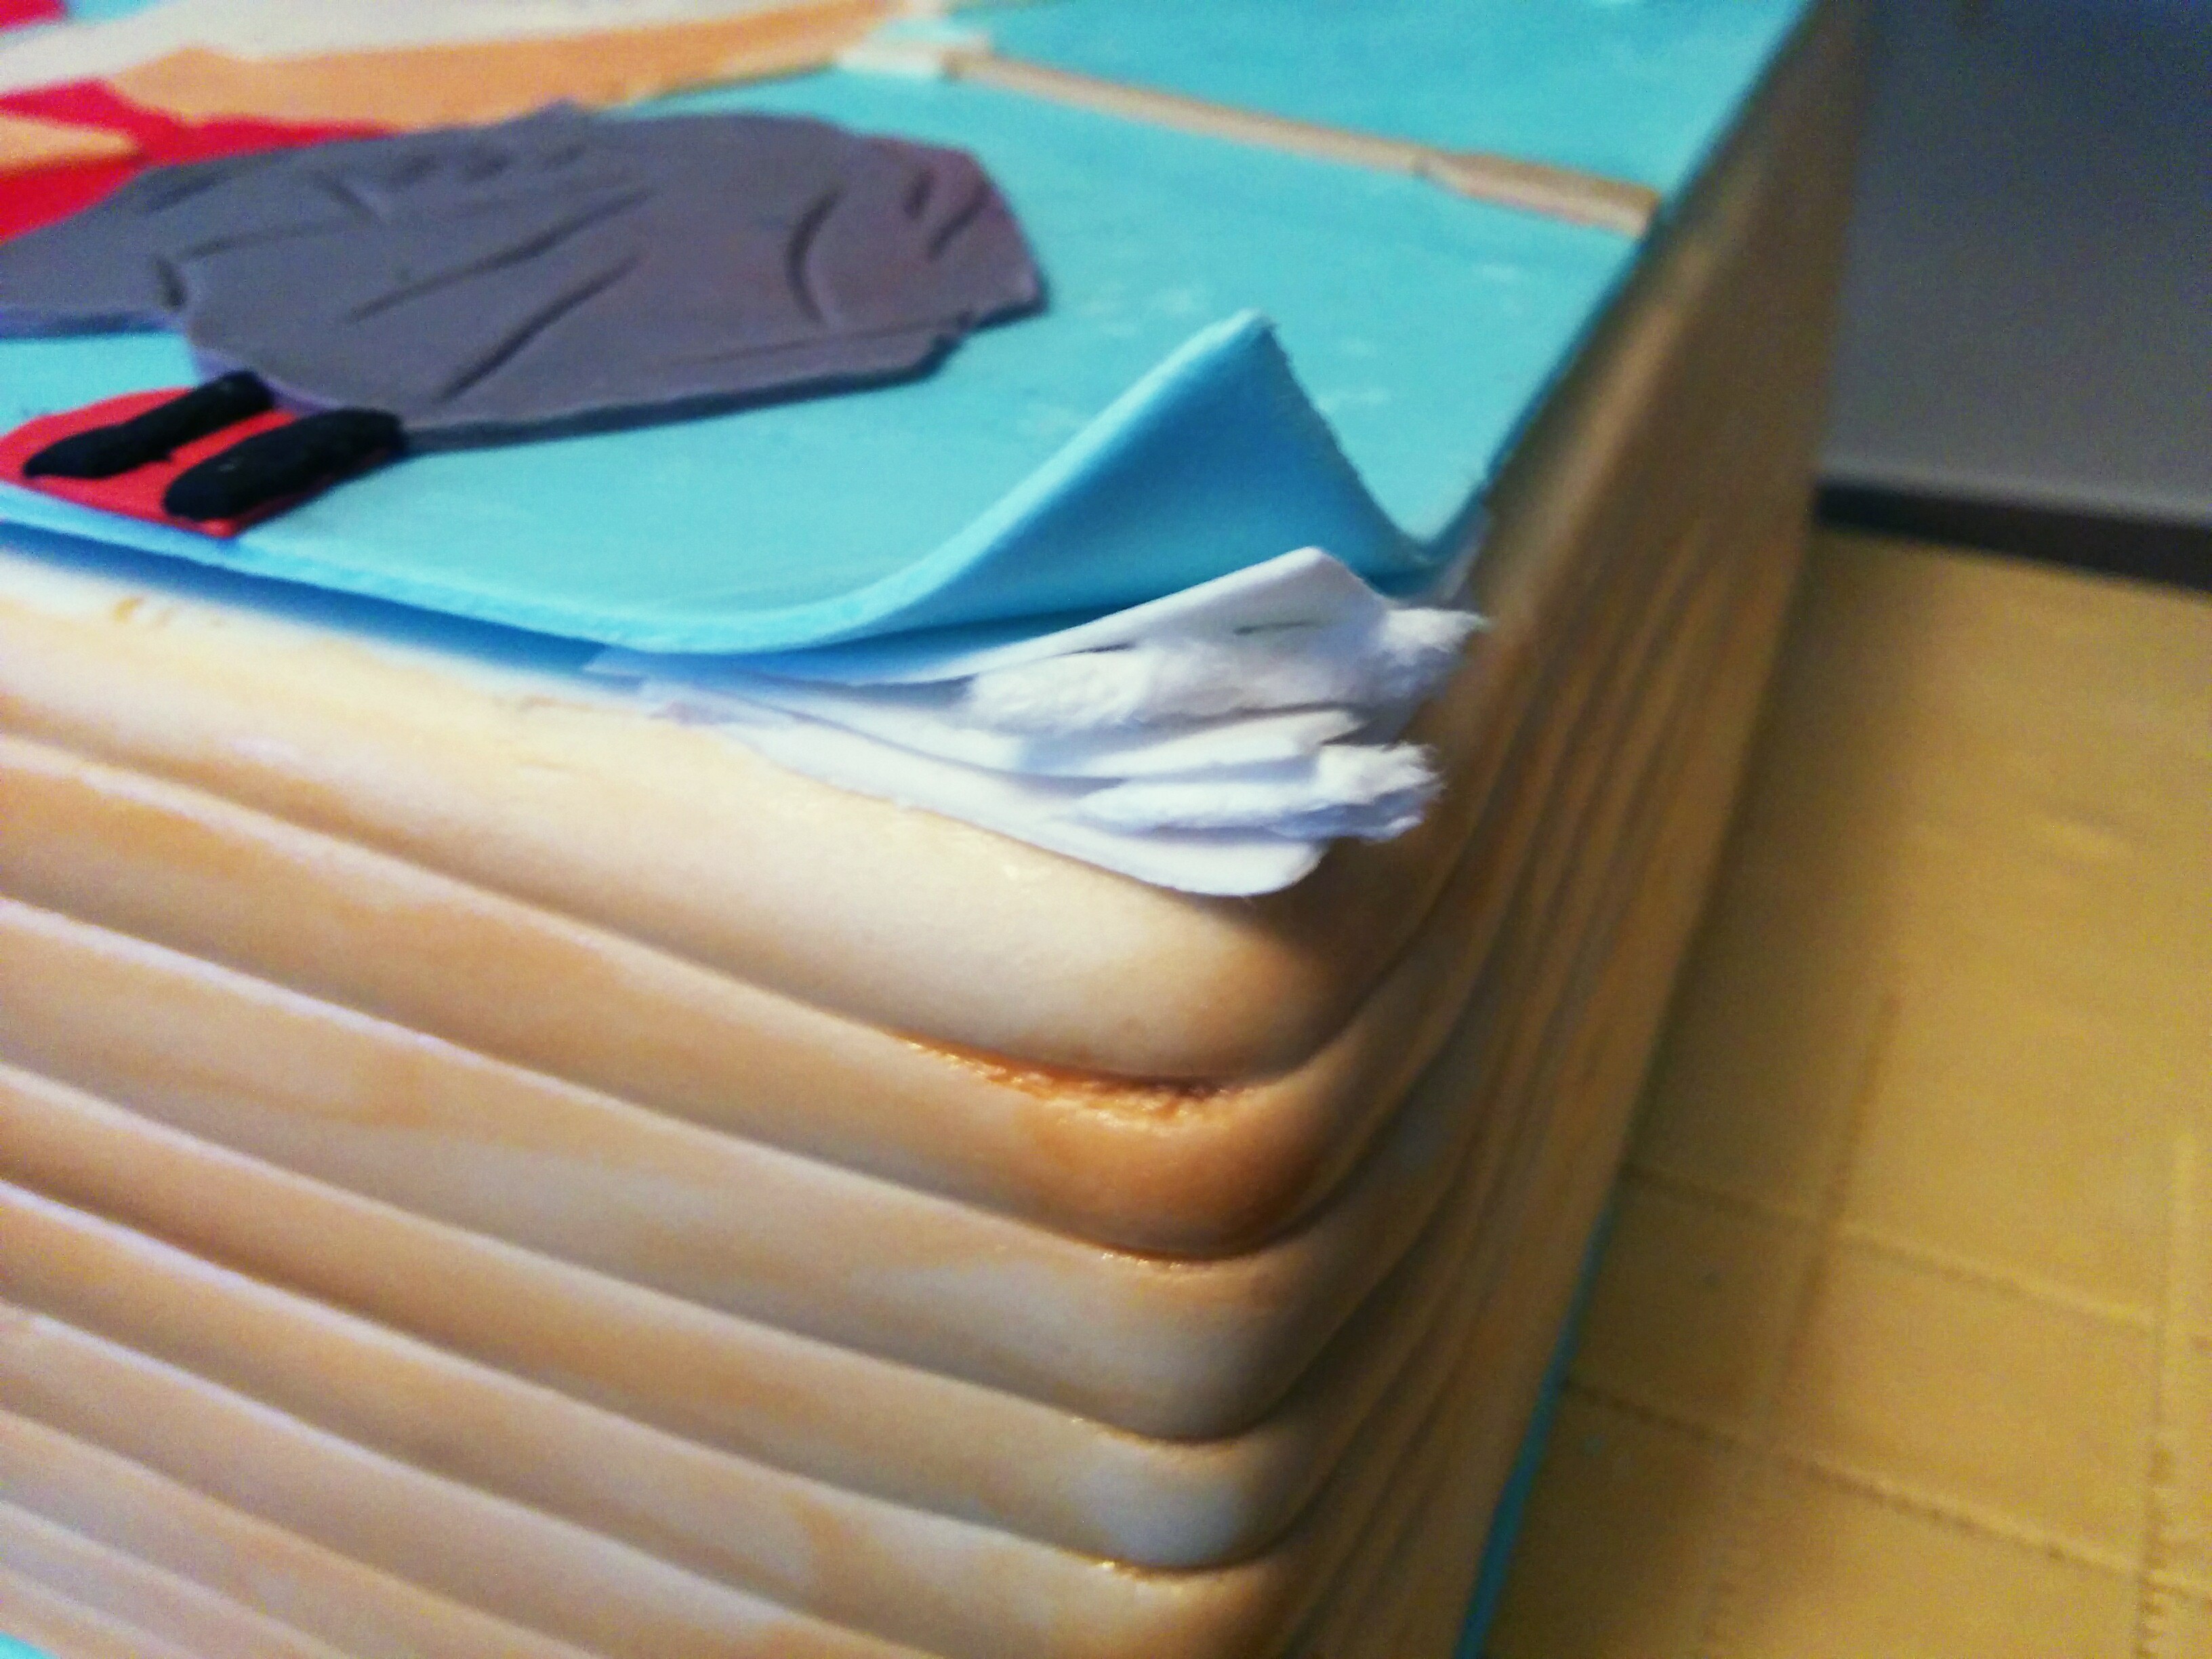
(10) Next, roll out white fondant and cut a few into small squares. Place the fondant squares at the bottom right edge of the cake.

(11) Next place the book cover on top of the cake. You can brush the top of the cake with water or vodka to secure the book cover to the cake.
(12) Roll some paper towel and place in between the small fondant squares. This will help in giving the cake more of a book-like appearance. Leave the paper towels there until the fondant dries.
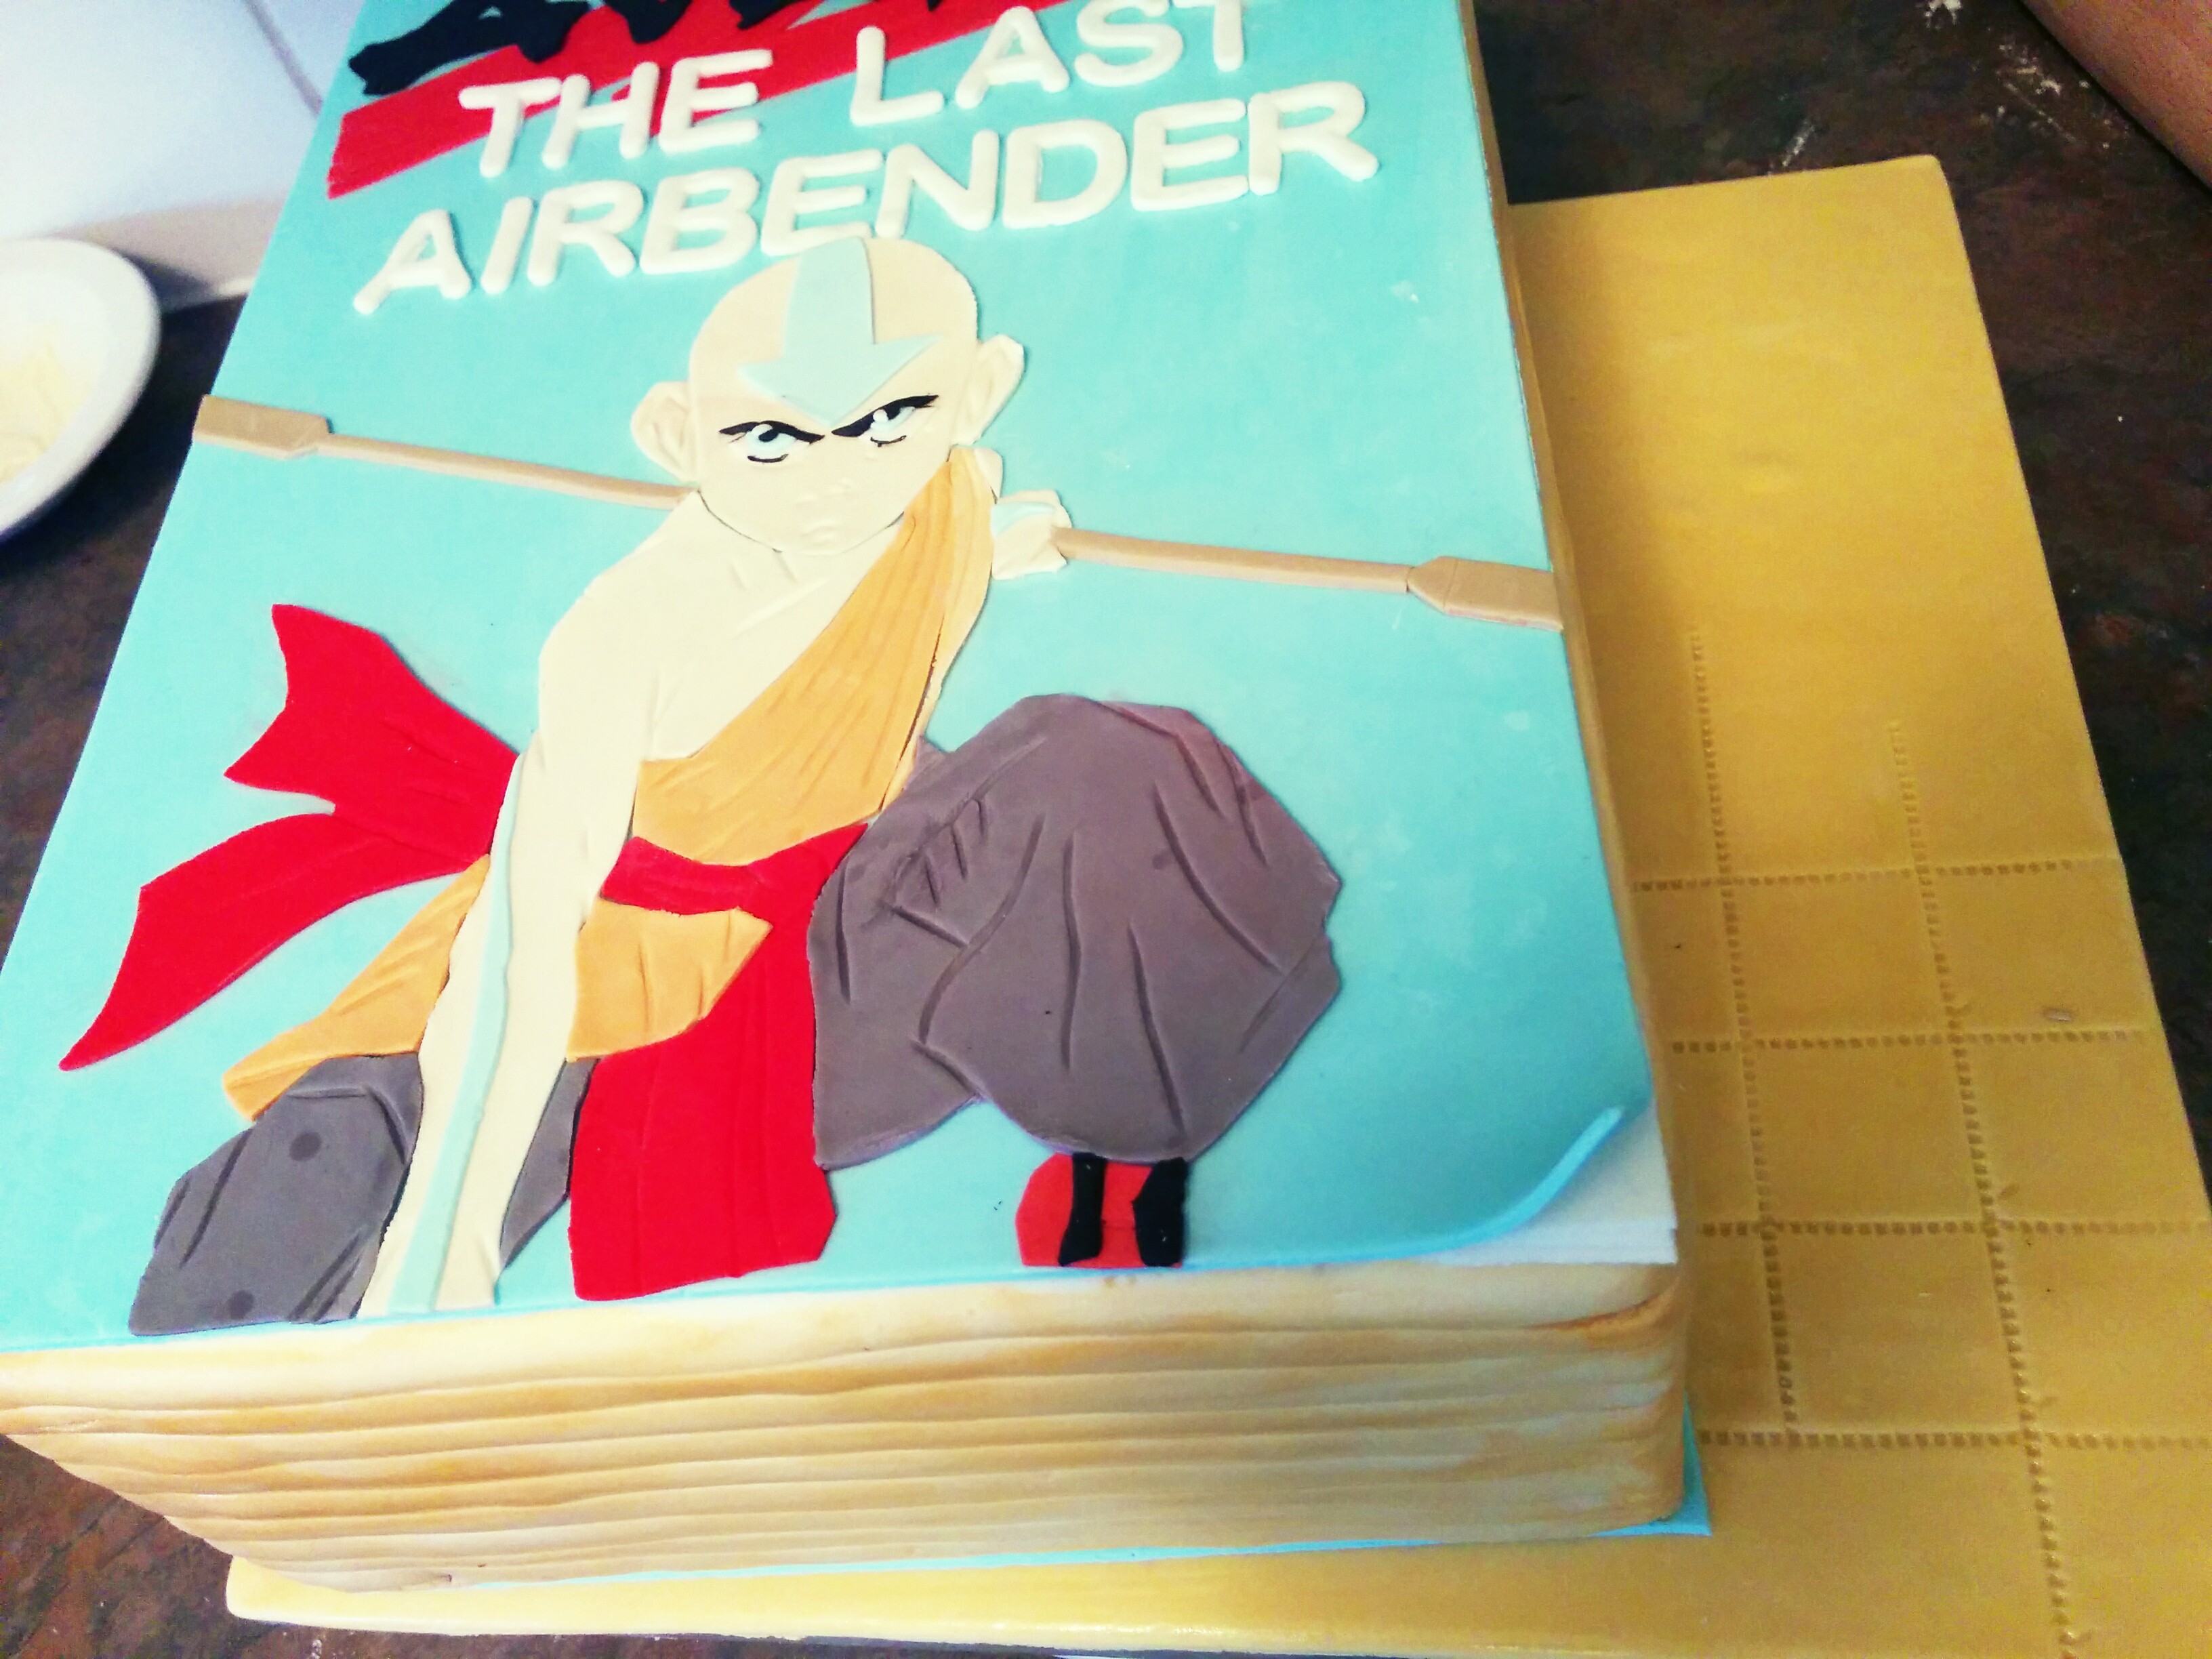
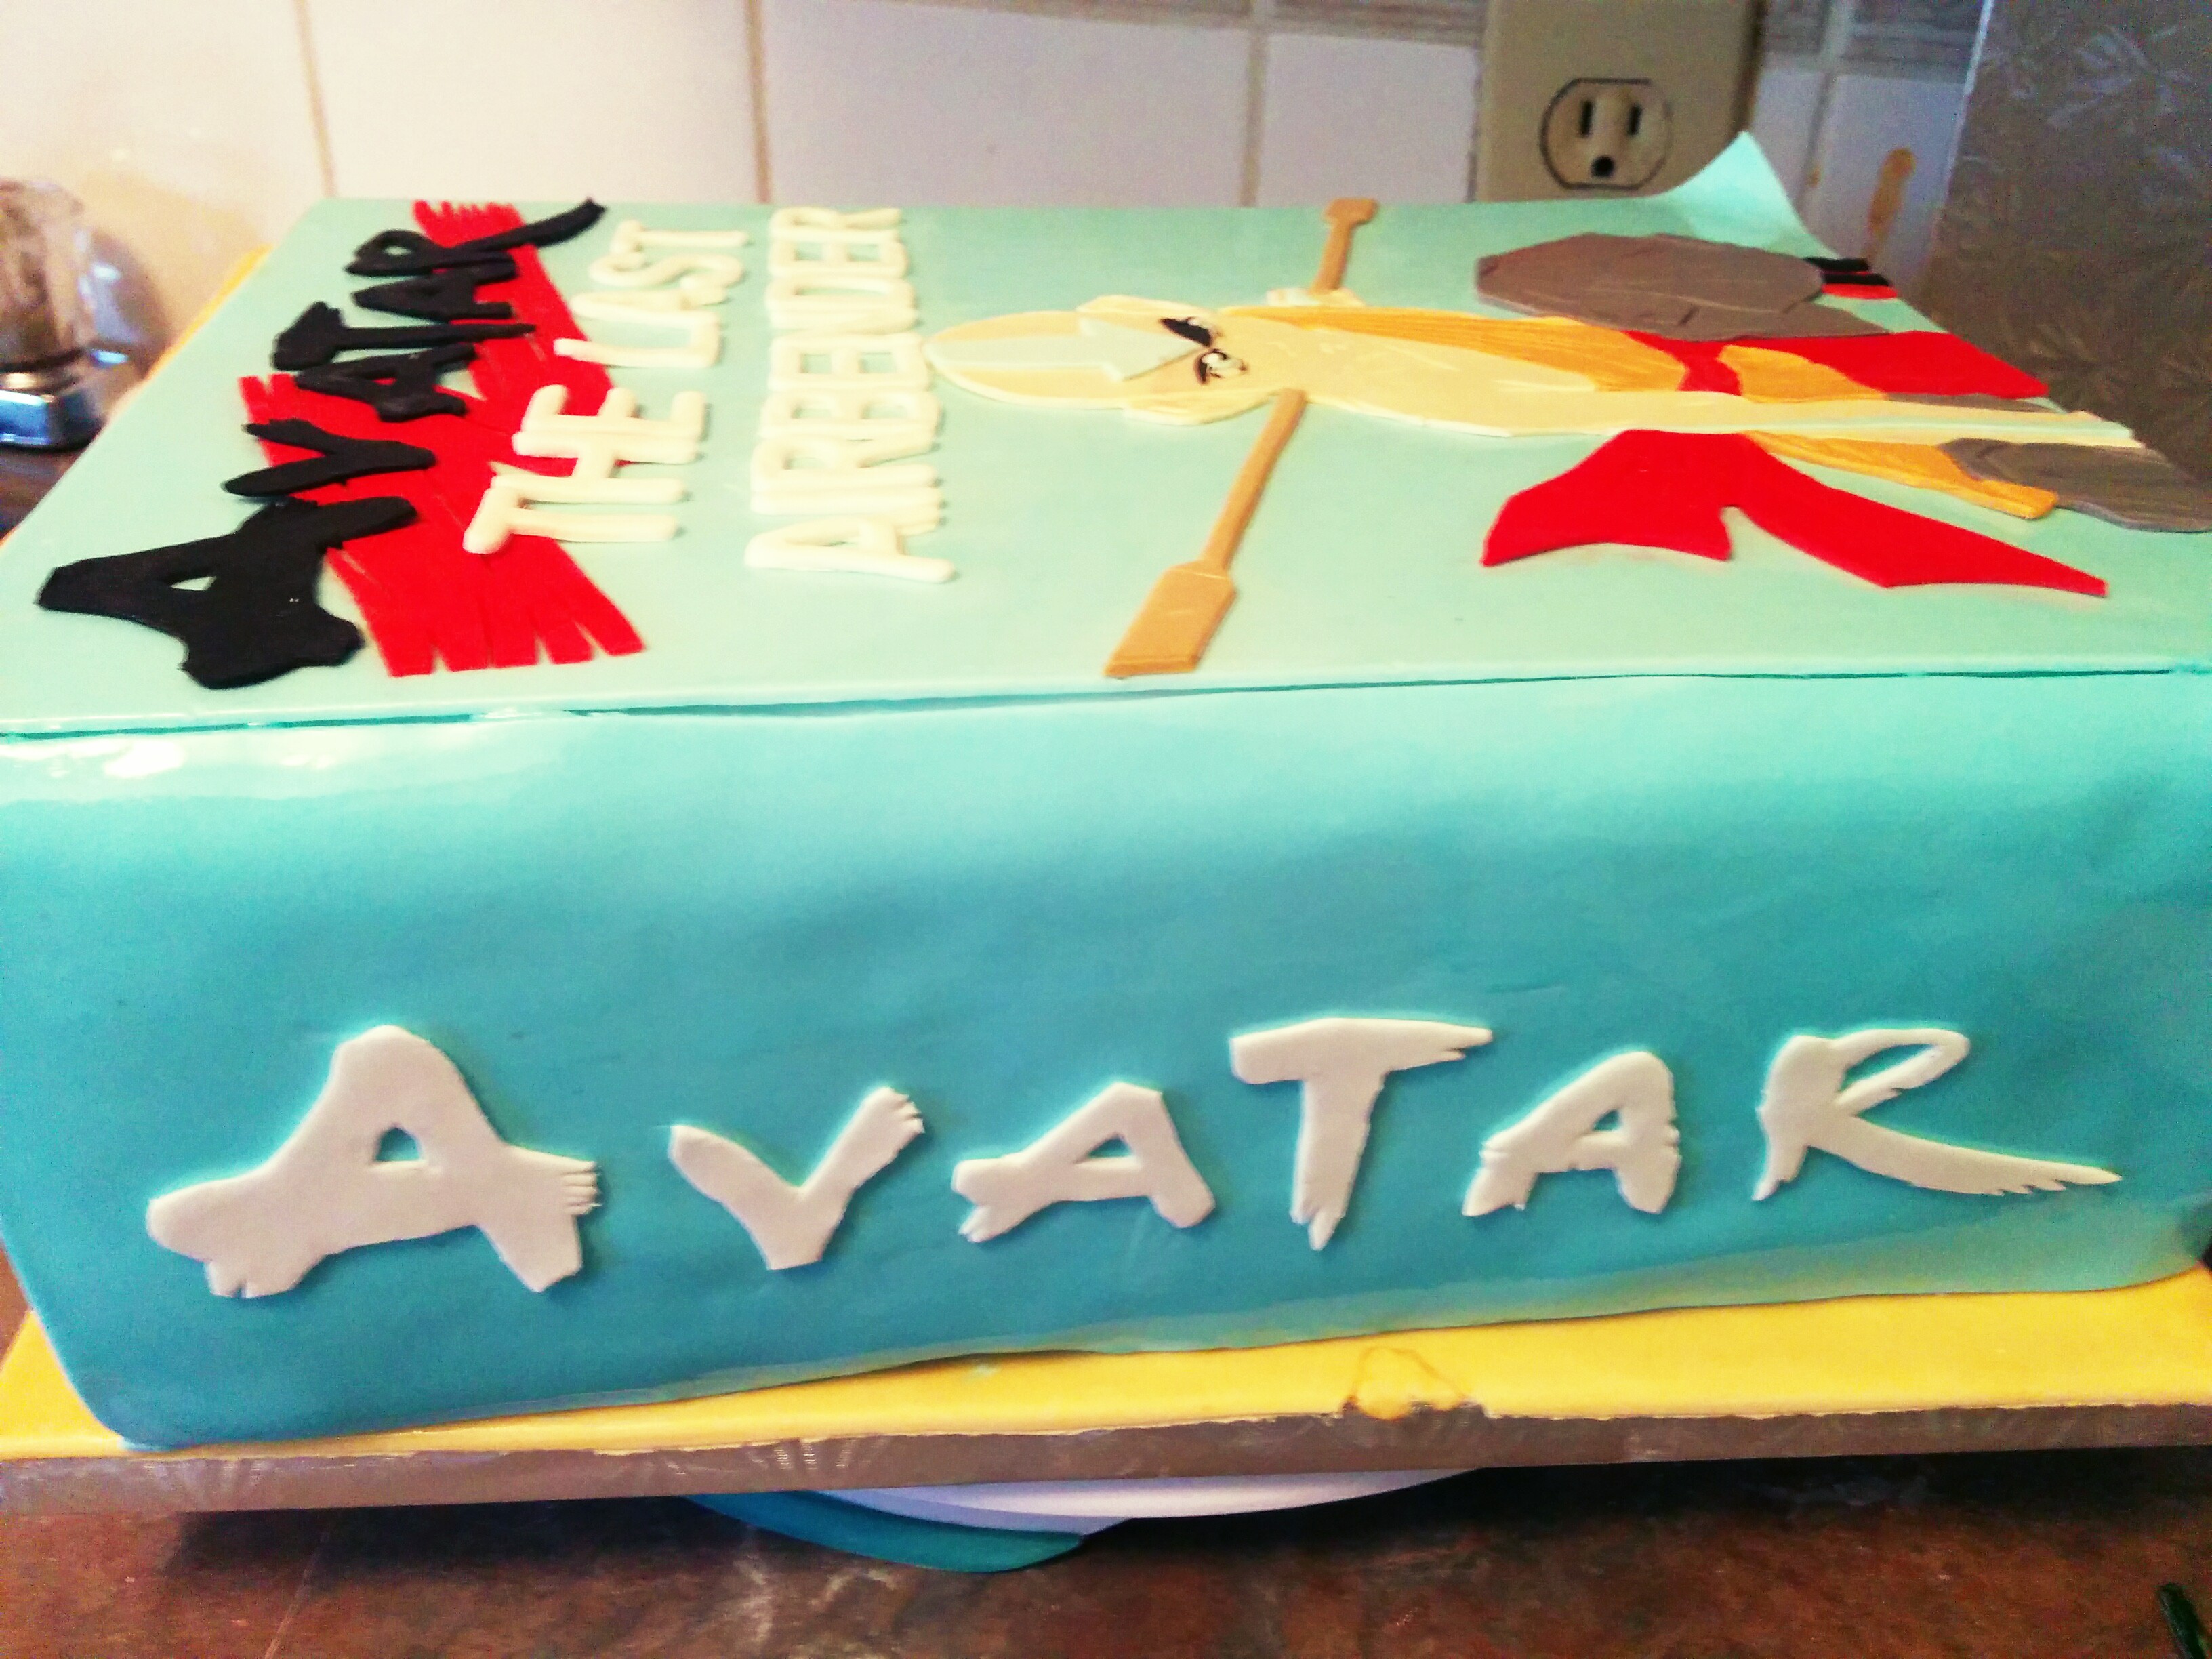
(11) Next, roll out blue fondant the same size as the back of the book and cover the back of the book with it. Brush the back of the book with some vodka. Tip: Save some fondant after making the book covers so the back of the book is the same shade of blue as the covers.
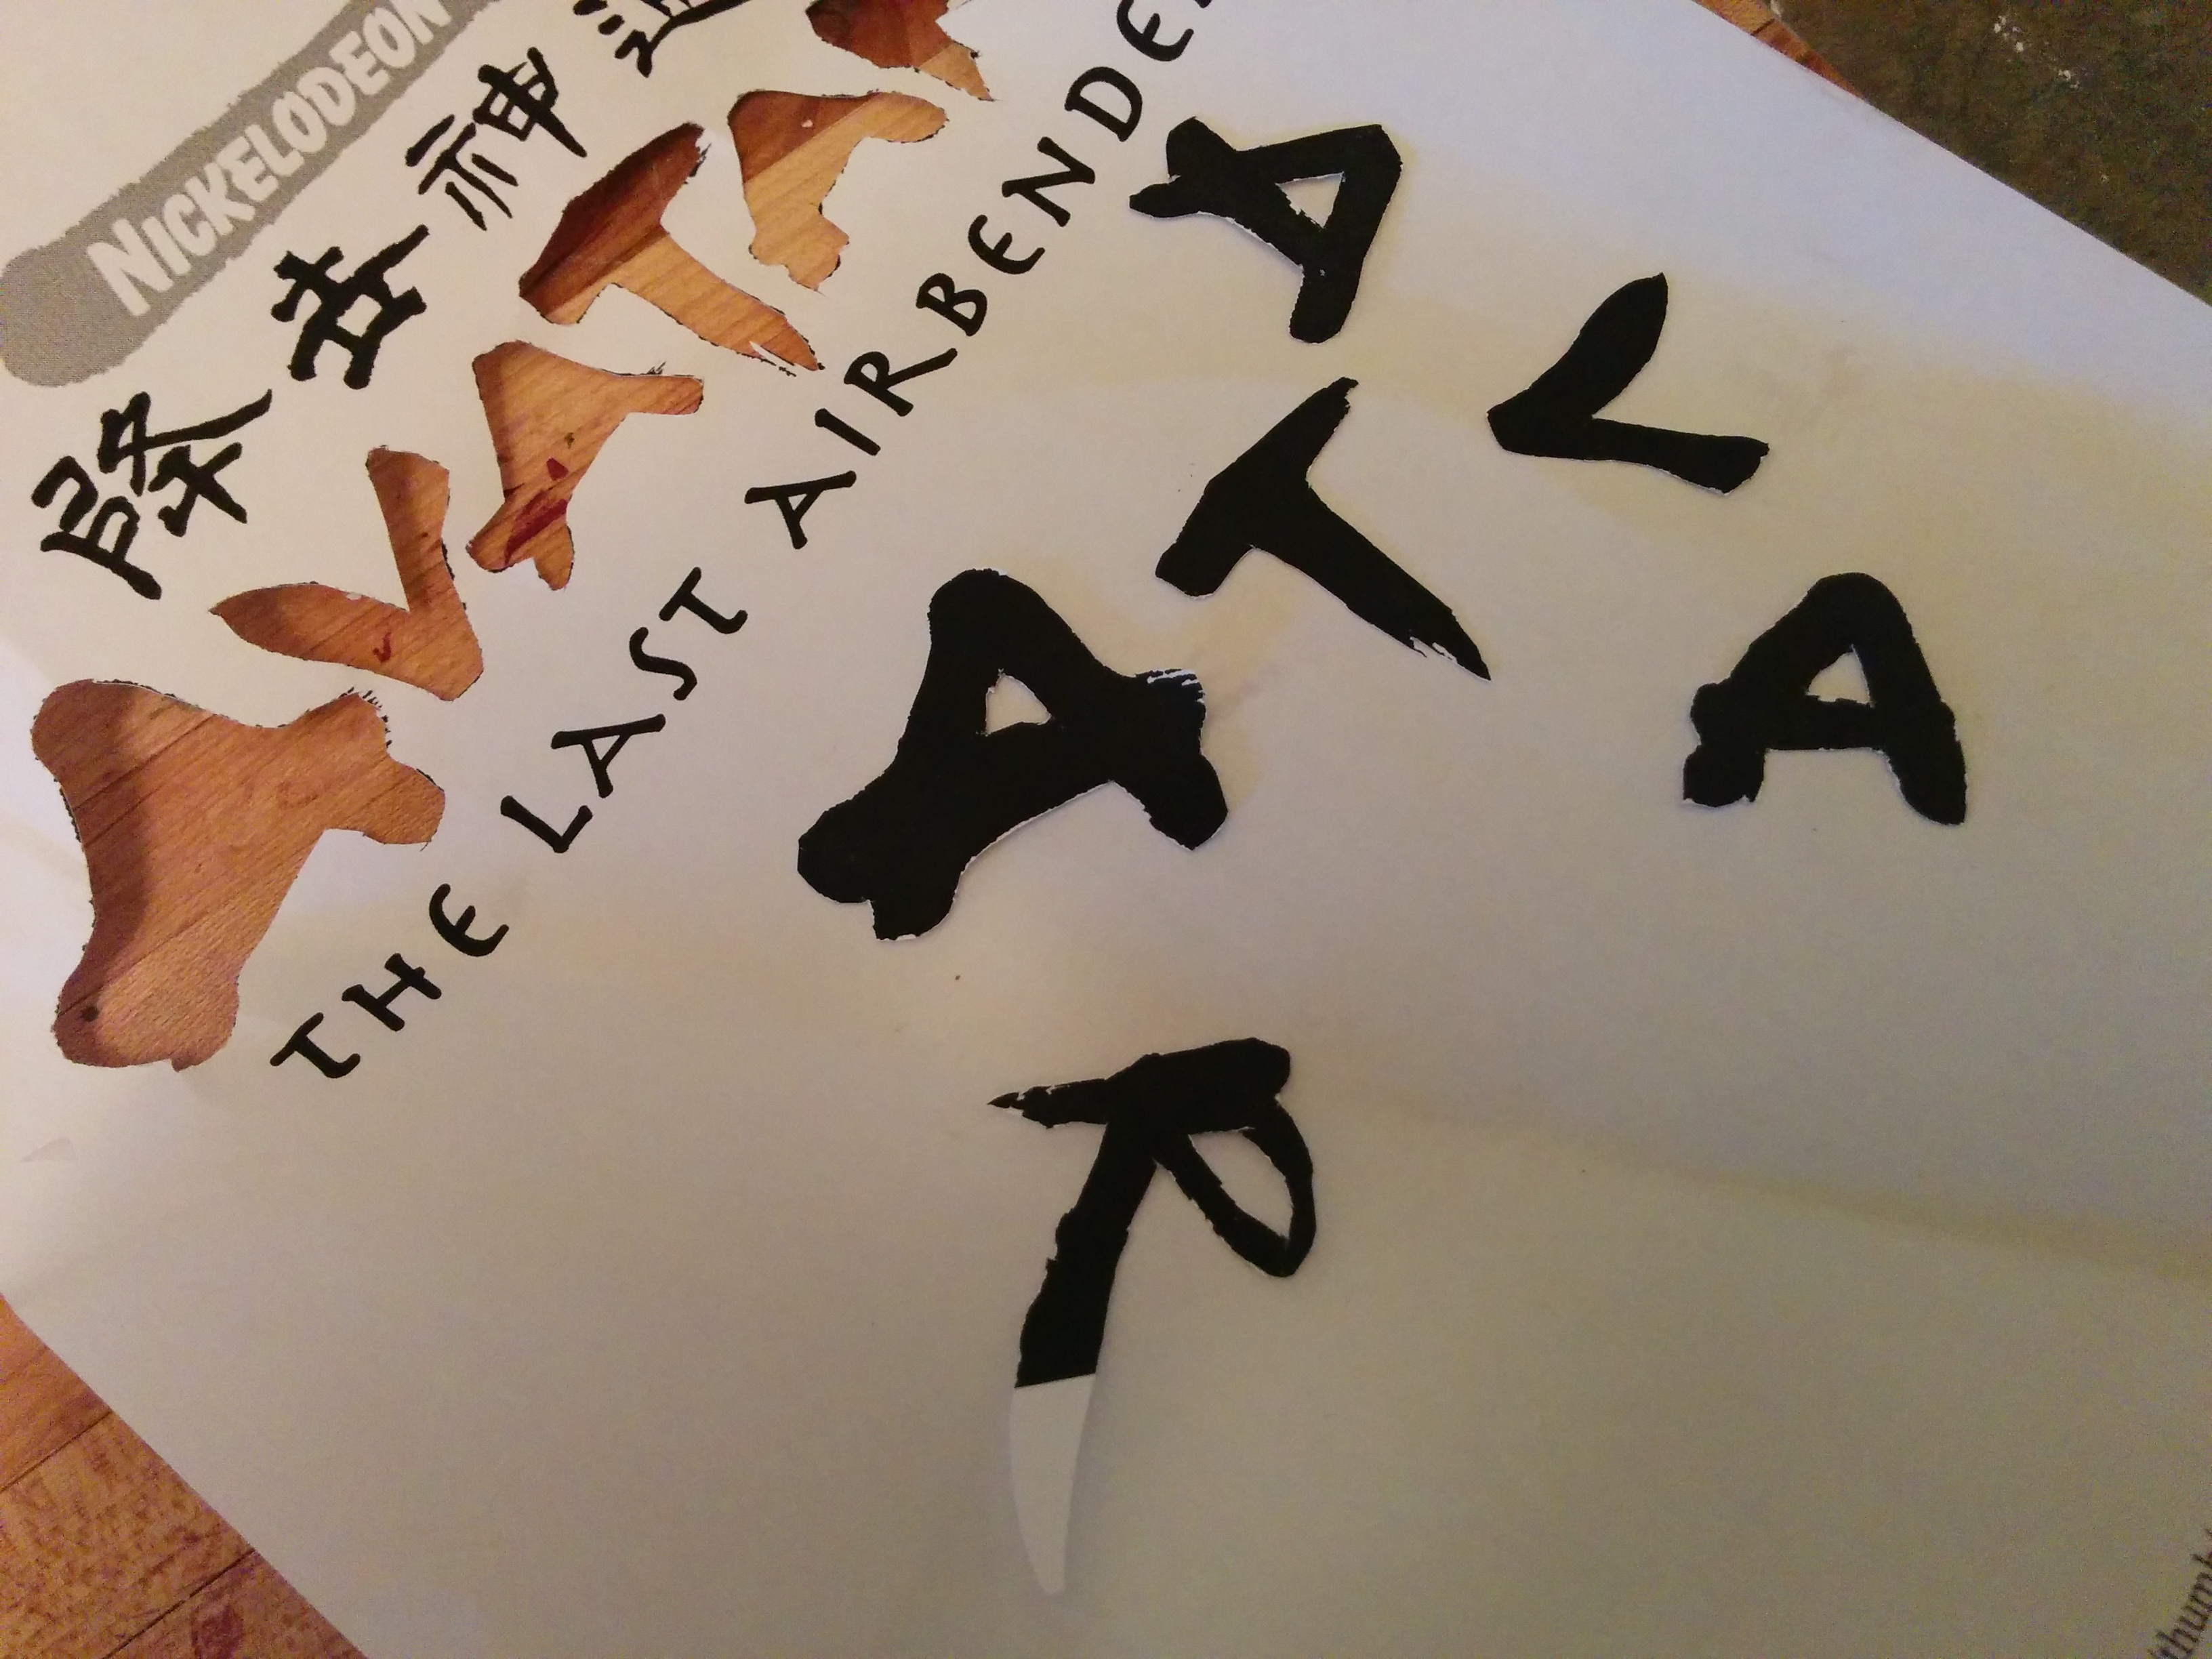
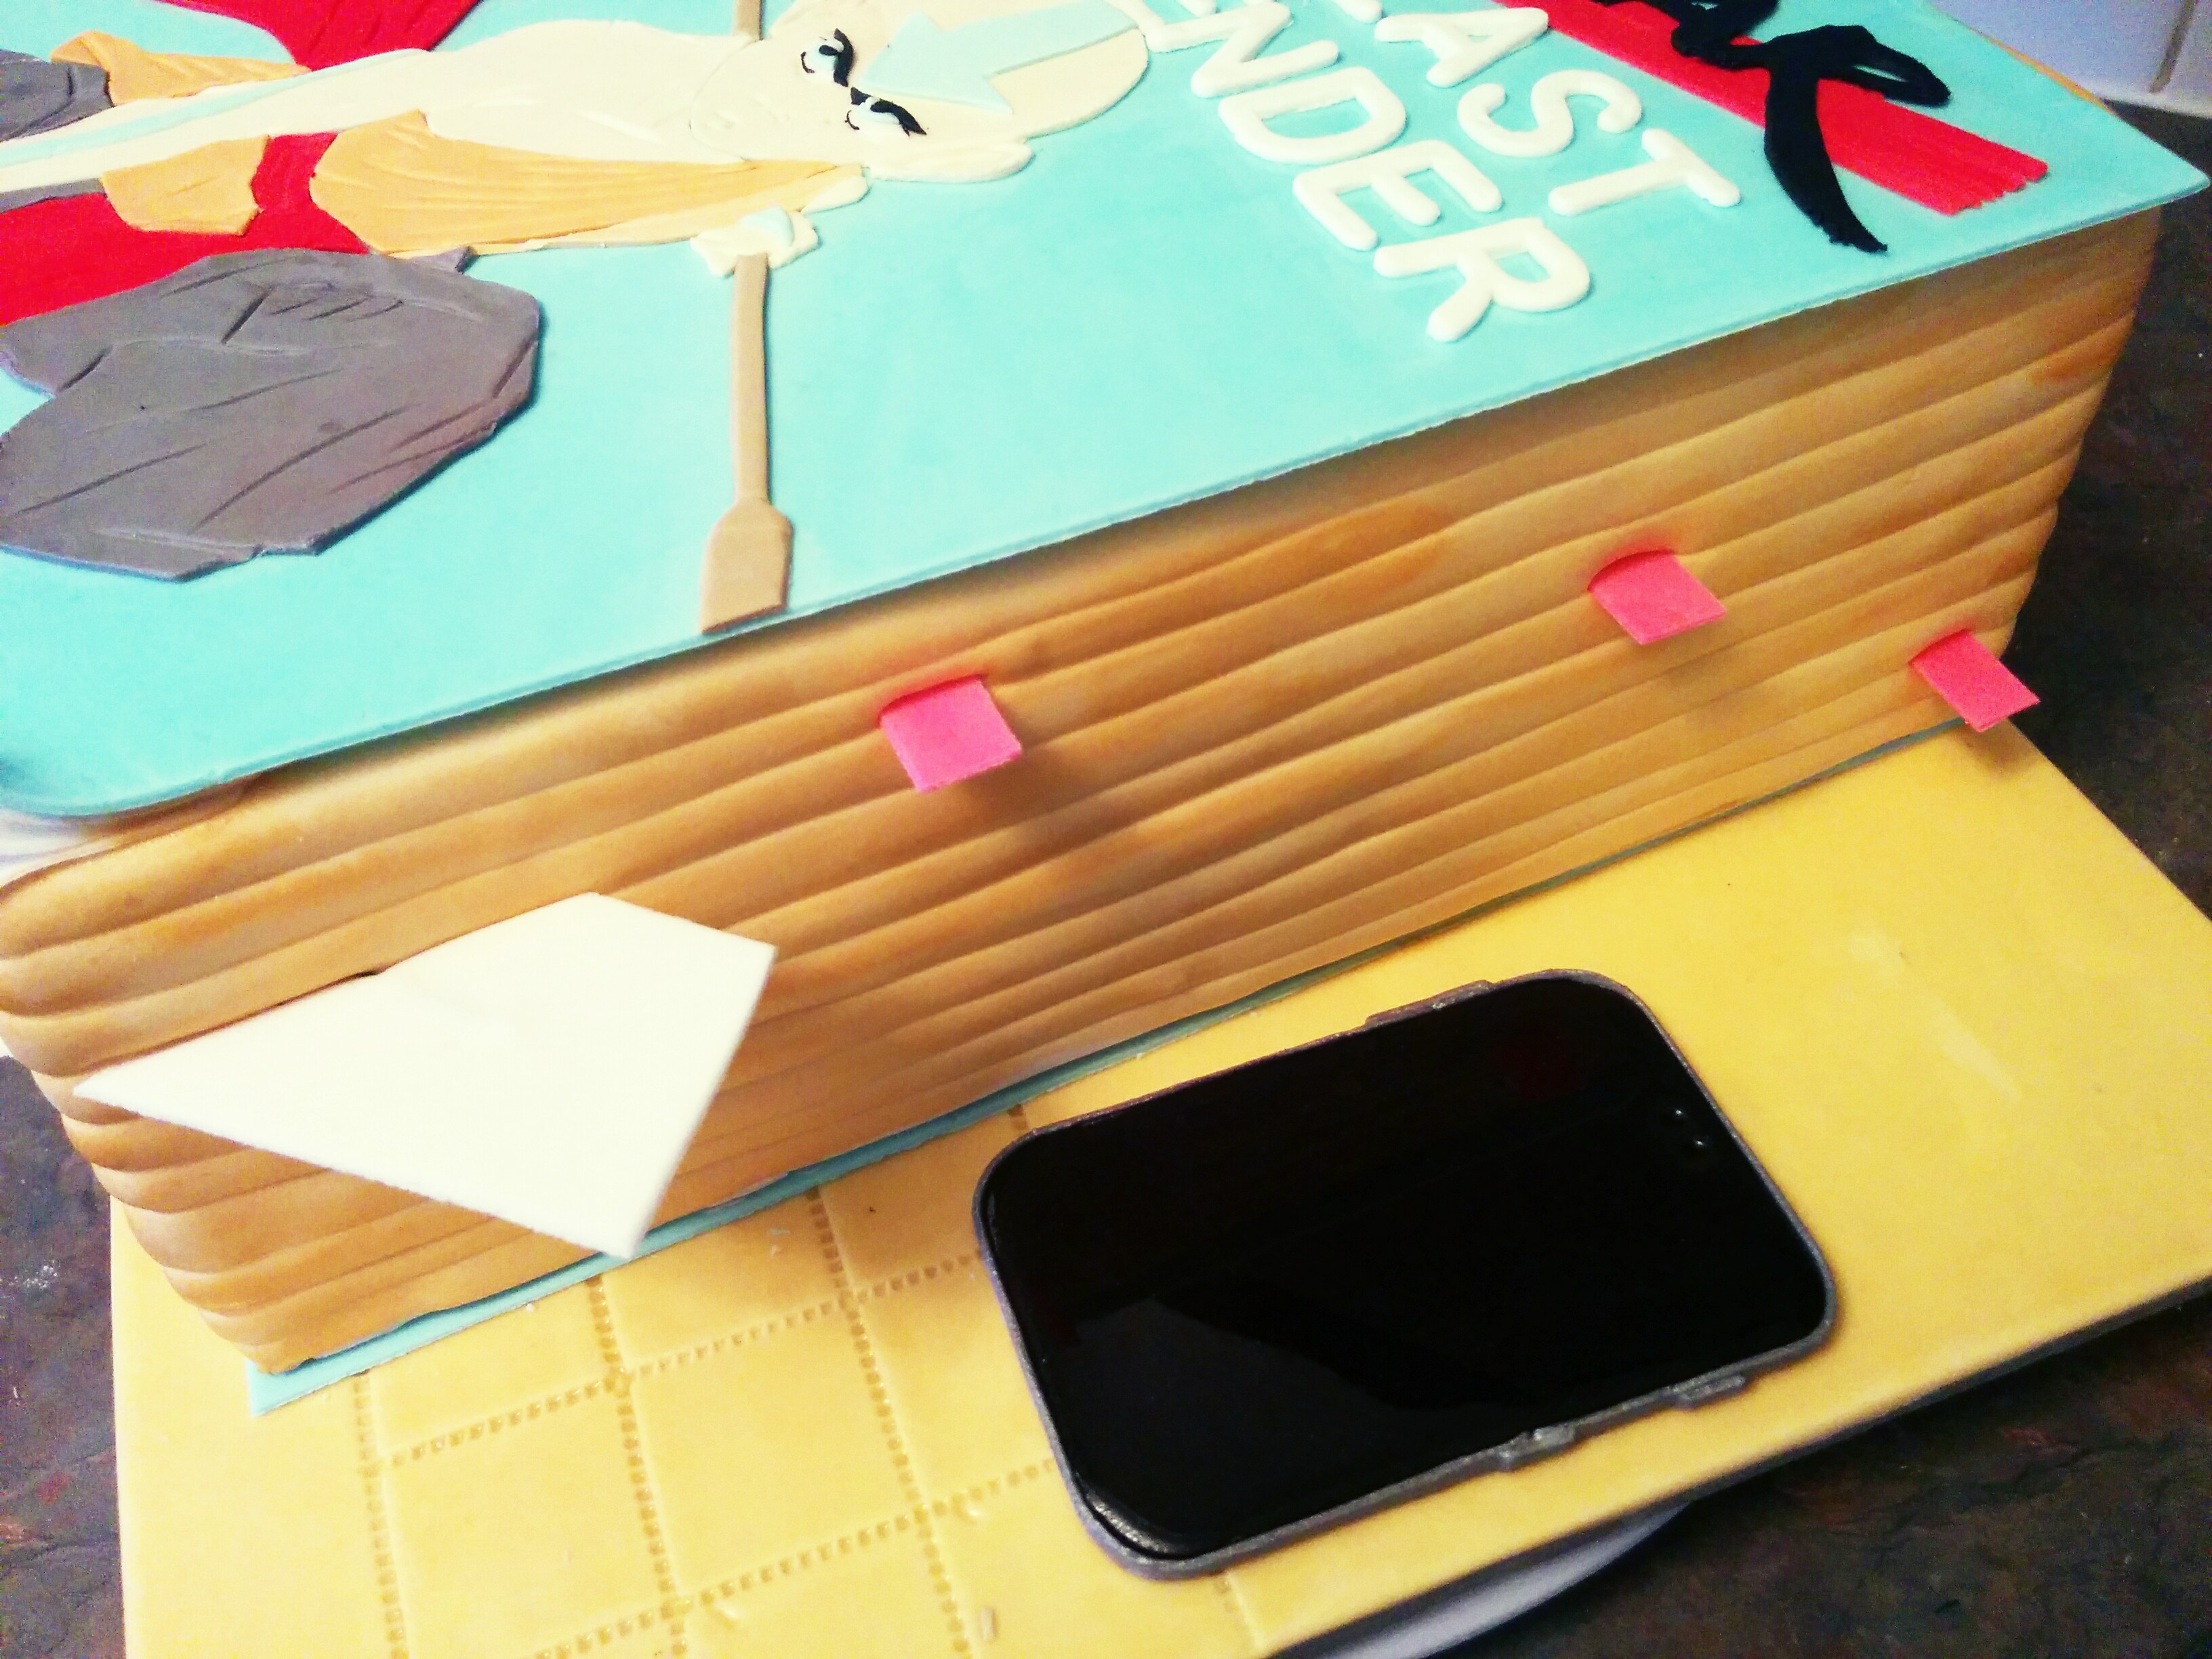
(12) Next, place the word cutouts on the back of the book. These were made when the book covers made and left to dry for easier handling. The name was printed from the web, cut out and used to cut out fondant.
Note: The steps thus far can be used to make the Closed Bible Cake below.
(13) Next, stick the book marker into the cake using the floral wires.
(14) Next, place the phone on the cake board. Use a little bit of melted white chocolate to stick it to the cake board.
(15) Next, stack some of the dried page markers together using water. Place them on the cake board. Stick a few markers into the cake itself. They should be properly dry in order to pierce the fondant covering the cake.
(16) Next, make the earphones for the phone. The ear buds should be shaped and fitted with floral wires. Make the cord using an extruder. If you feel you can roll the cord with your hands, give it a go. Divide the cord into two and stick one end of the cords together using water.
(17) Stick the cord to the phone and drape them over the cake. That’s all there is to it. Happy baking!
Terry Adido is passionate about showing people how easy it is to recreate restaurant quality meals in the comfort of their kitchens. With a style of cooking he refers to as Afro-European Fusion, his meals are influenced greatly by French and Italian Cuisine with a West African twist. If you love good food, you are in for the ride of your life.
Tnks Terry, dis is really interesting. Stay bless
You are welcome Comfort.