
The Making of a Two Tier Princess Cake

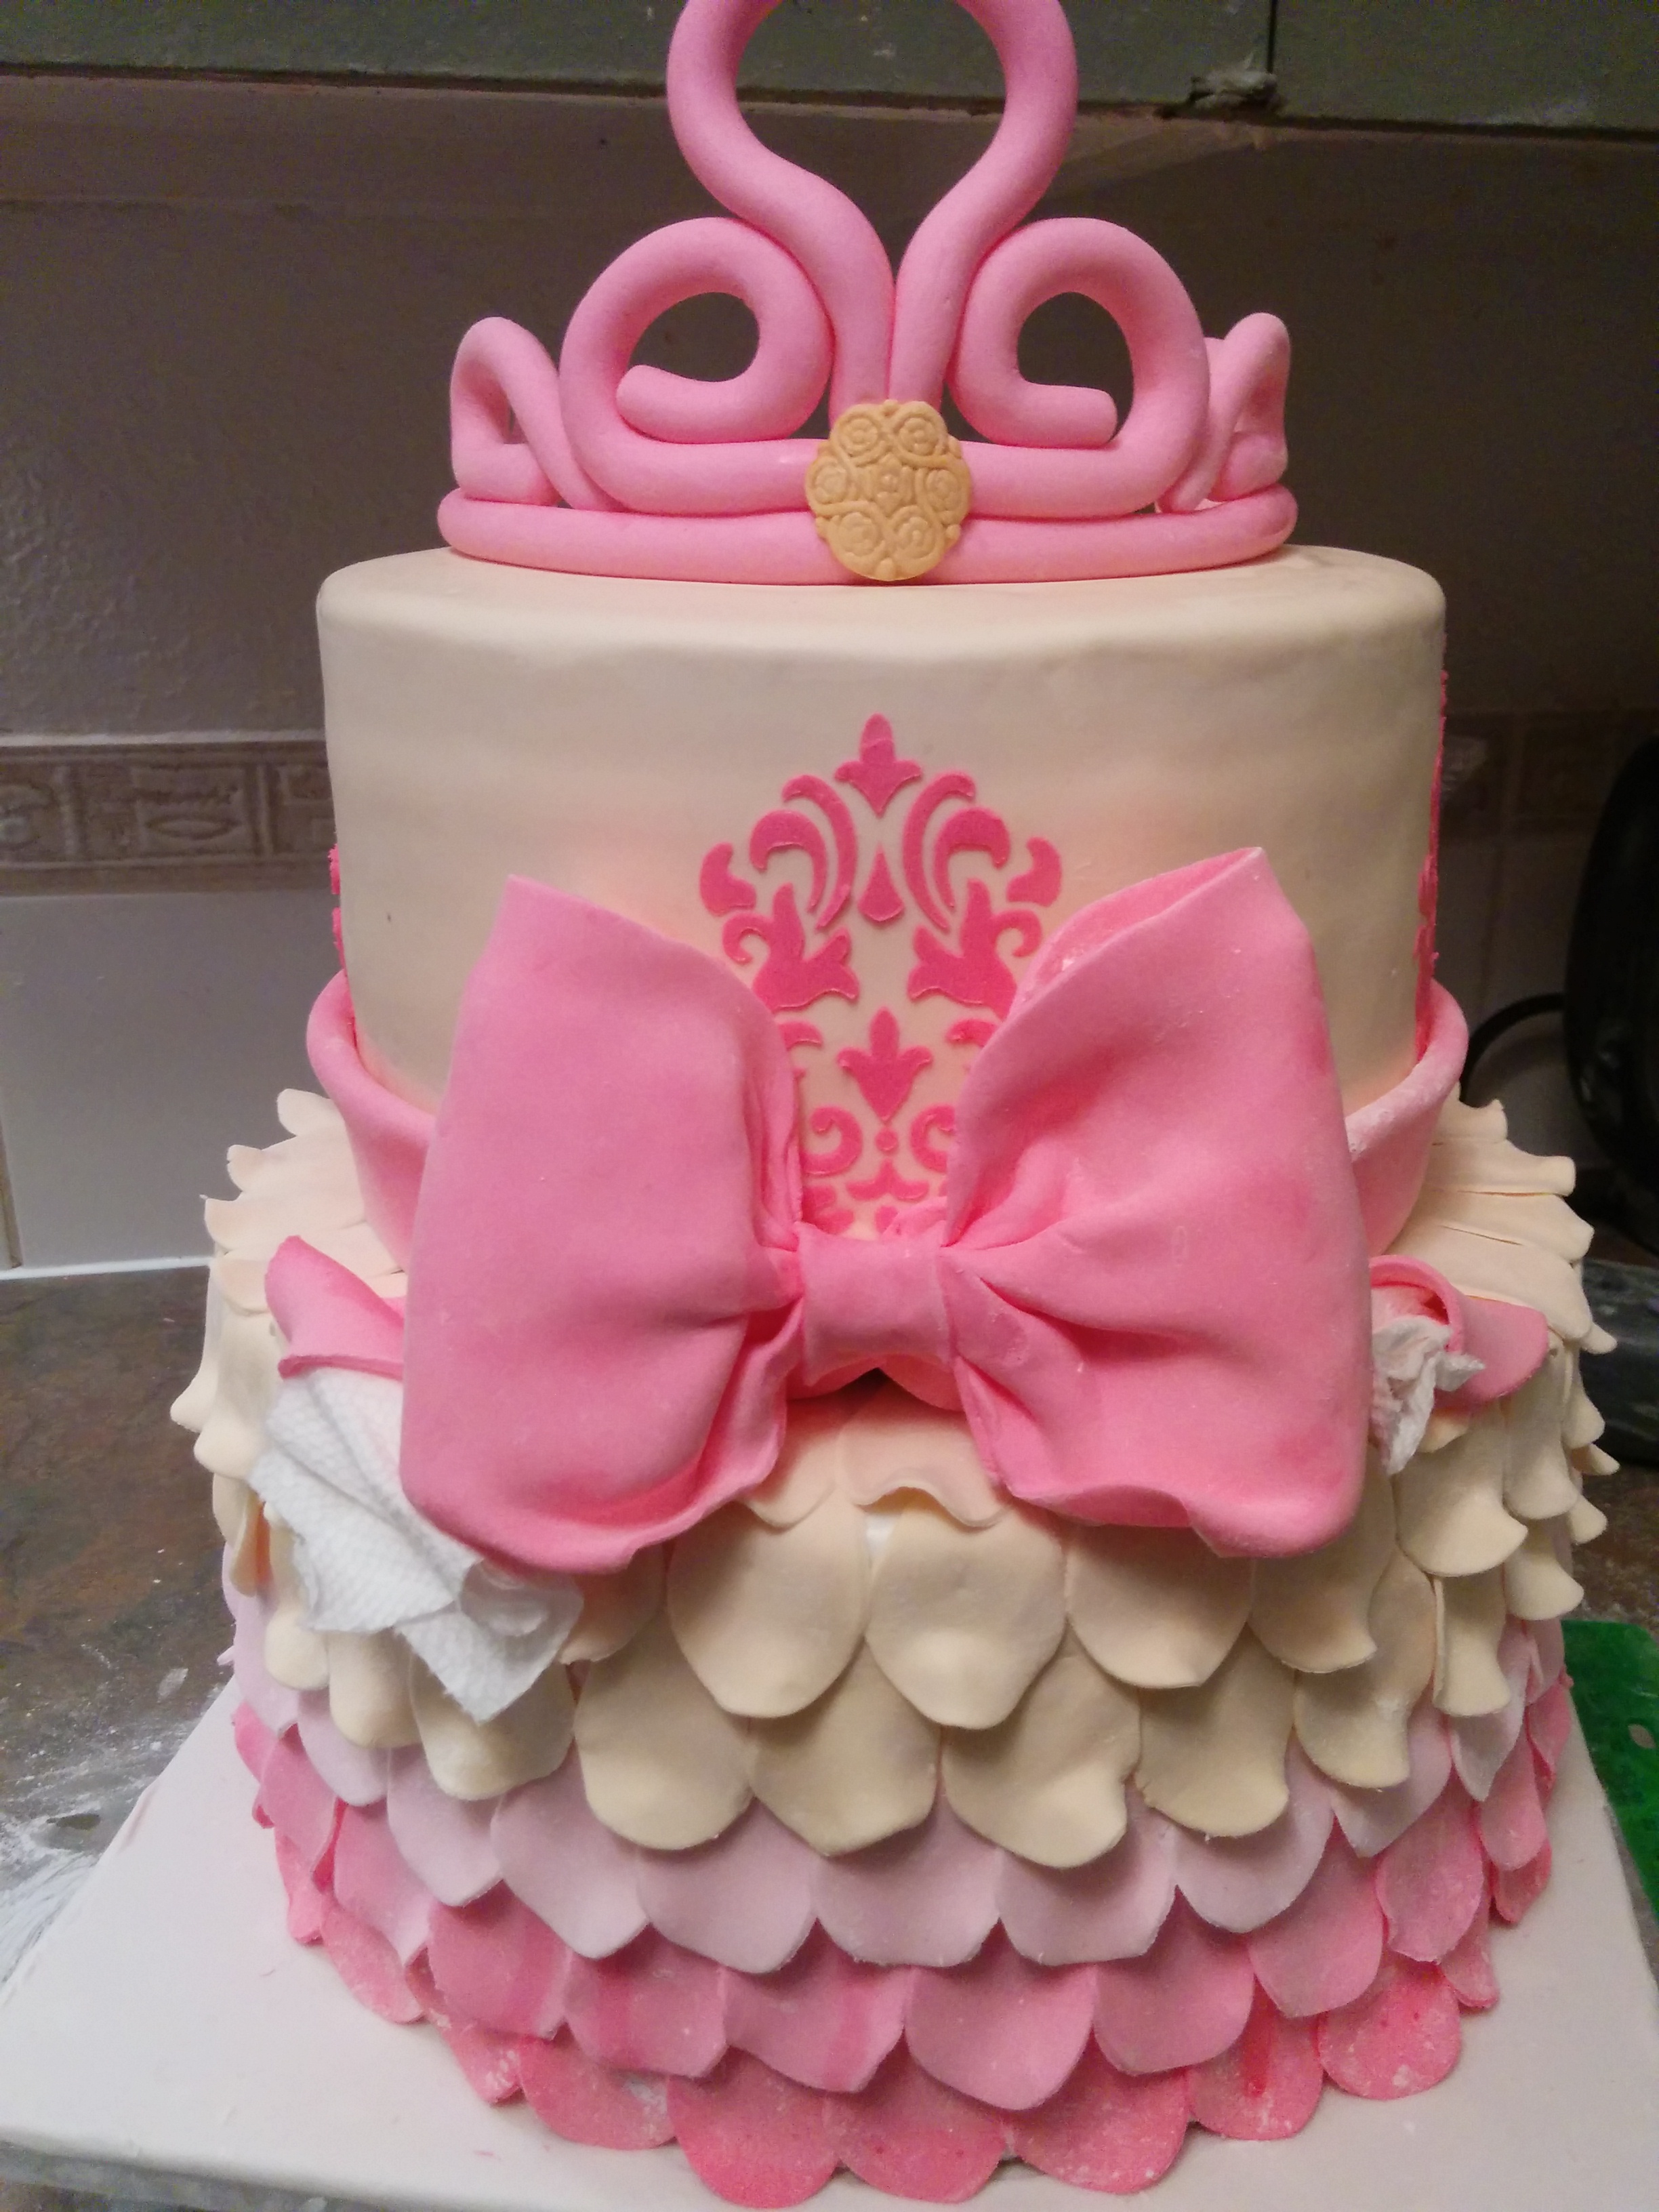
This is a tutorial on how I made this two tier princess cake. This is a very “girly” cake which will be perfect for a birthday celebration. As will be seen below, this cake is not a very difficult cake to make. It however involves a lot of elements which I will take you through. For other views of this cake, click here.
THE PROCESS:
(1) The first step is to cover your cake board with fondant. I have a tutorial here on how to properly cover a cake board with fondant.

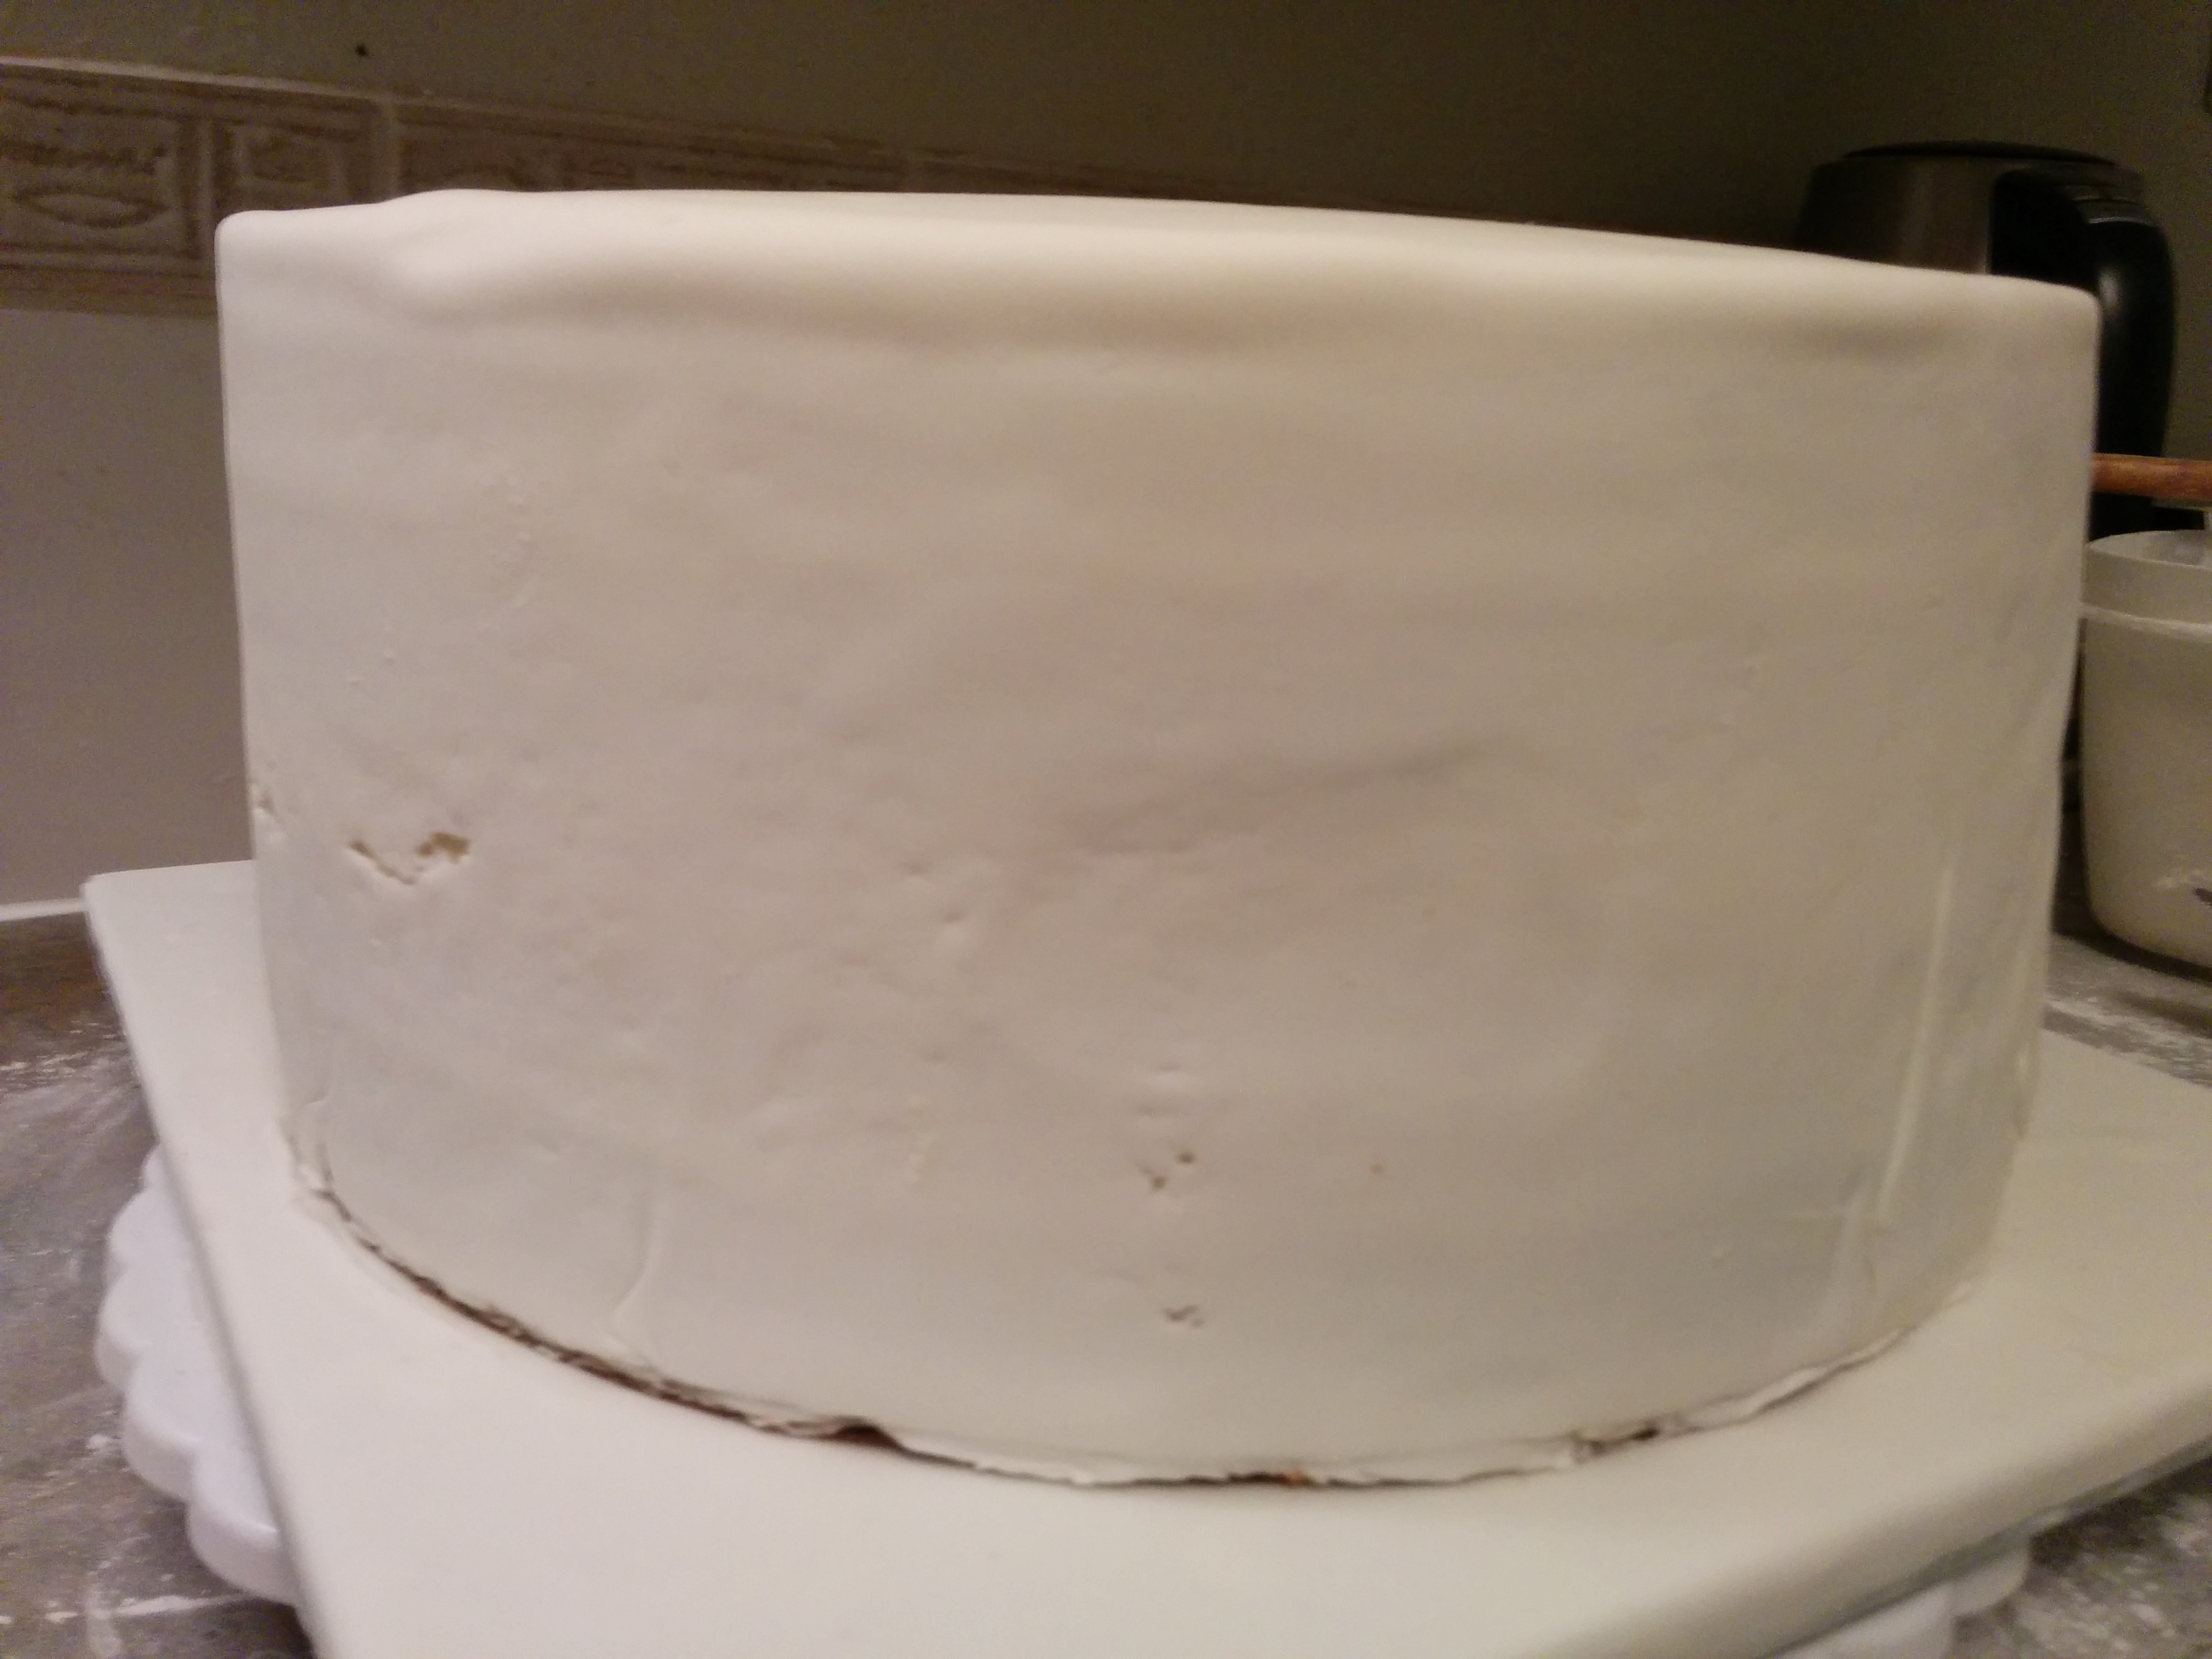
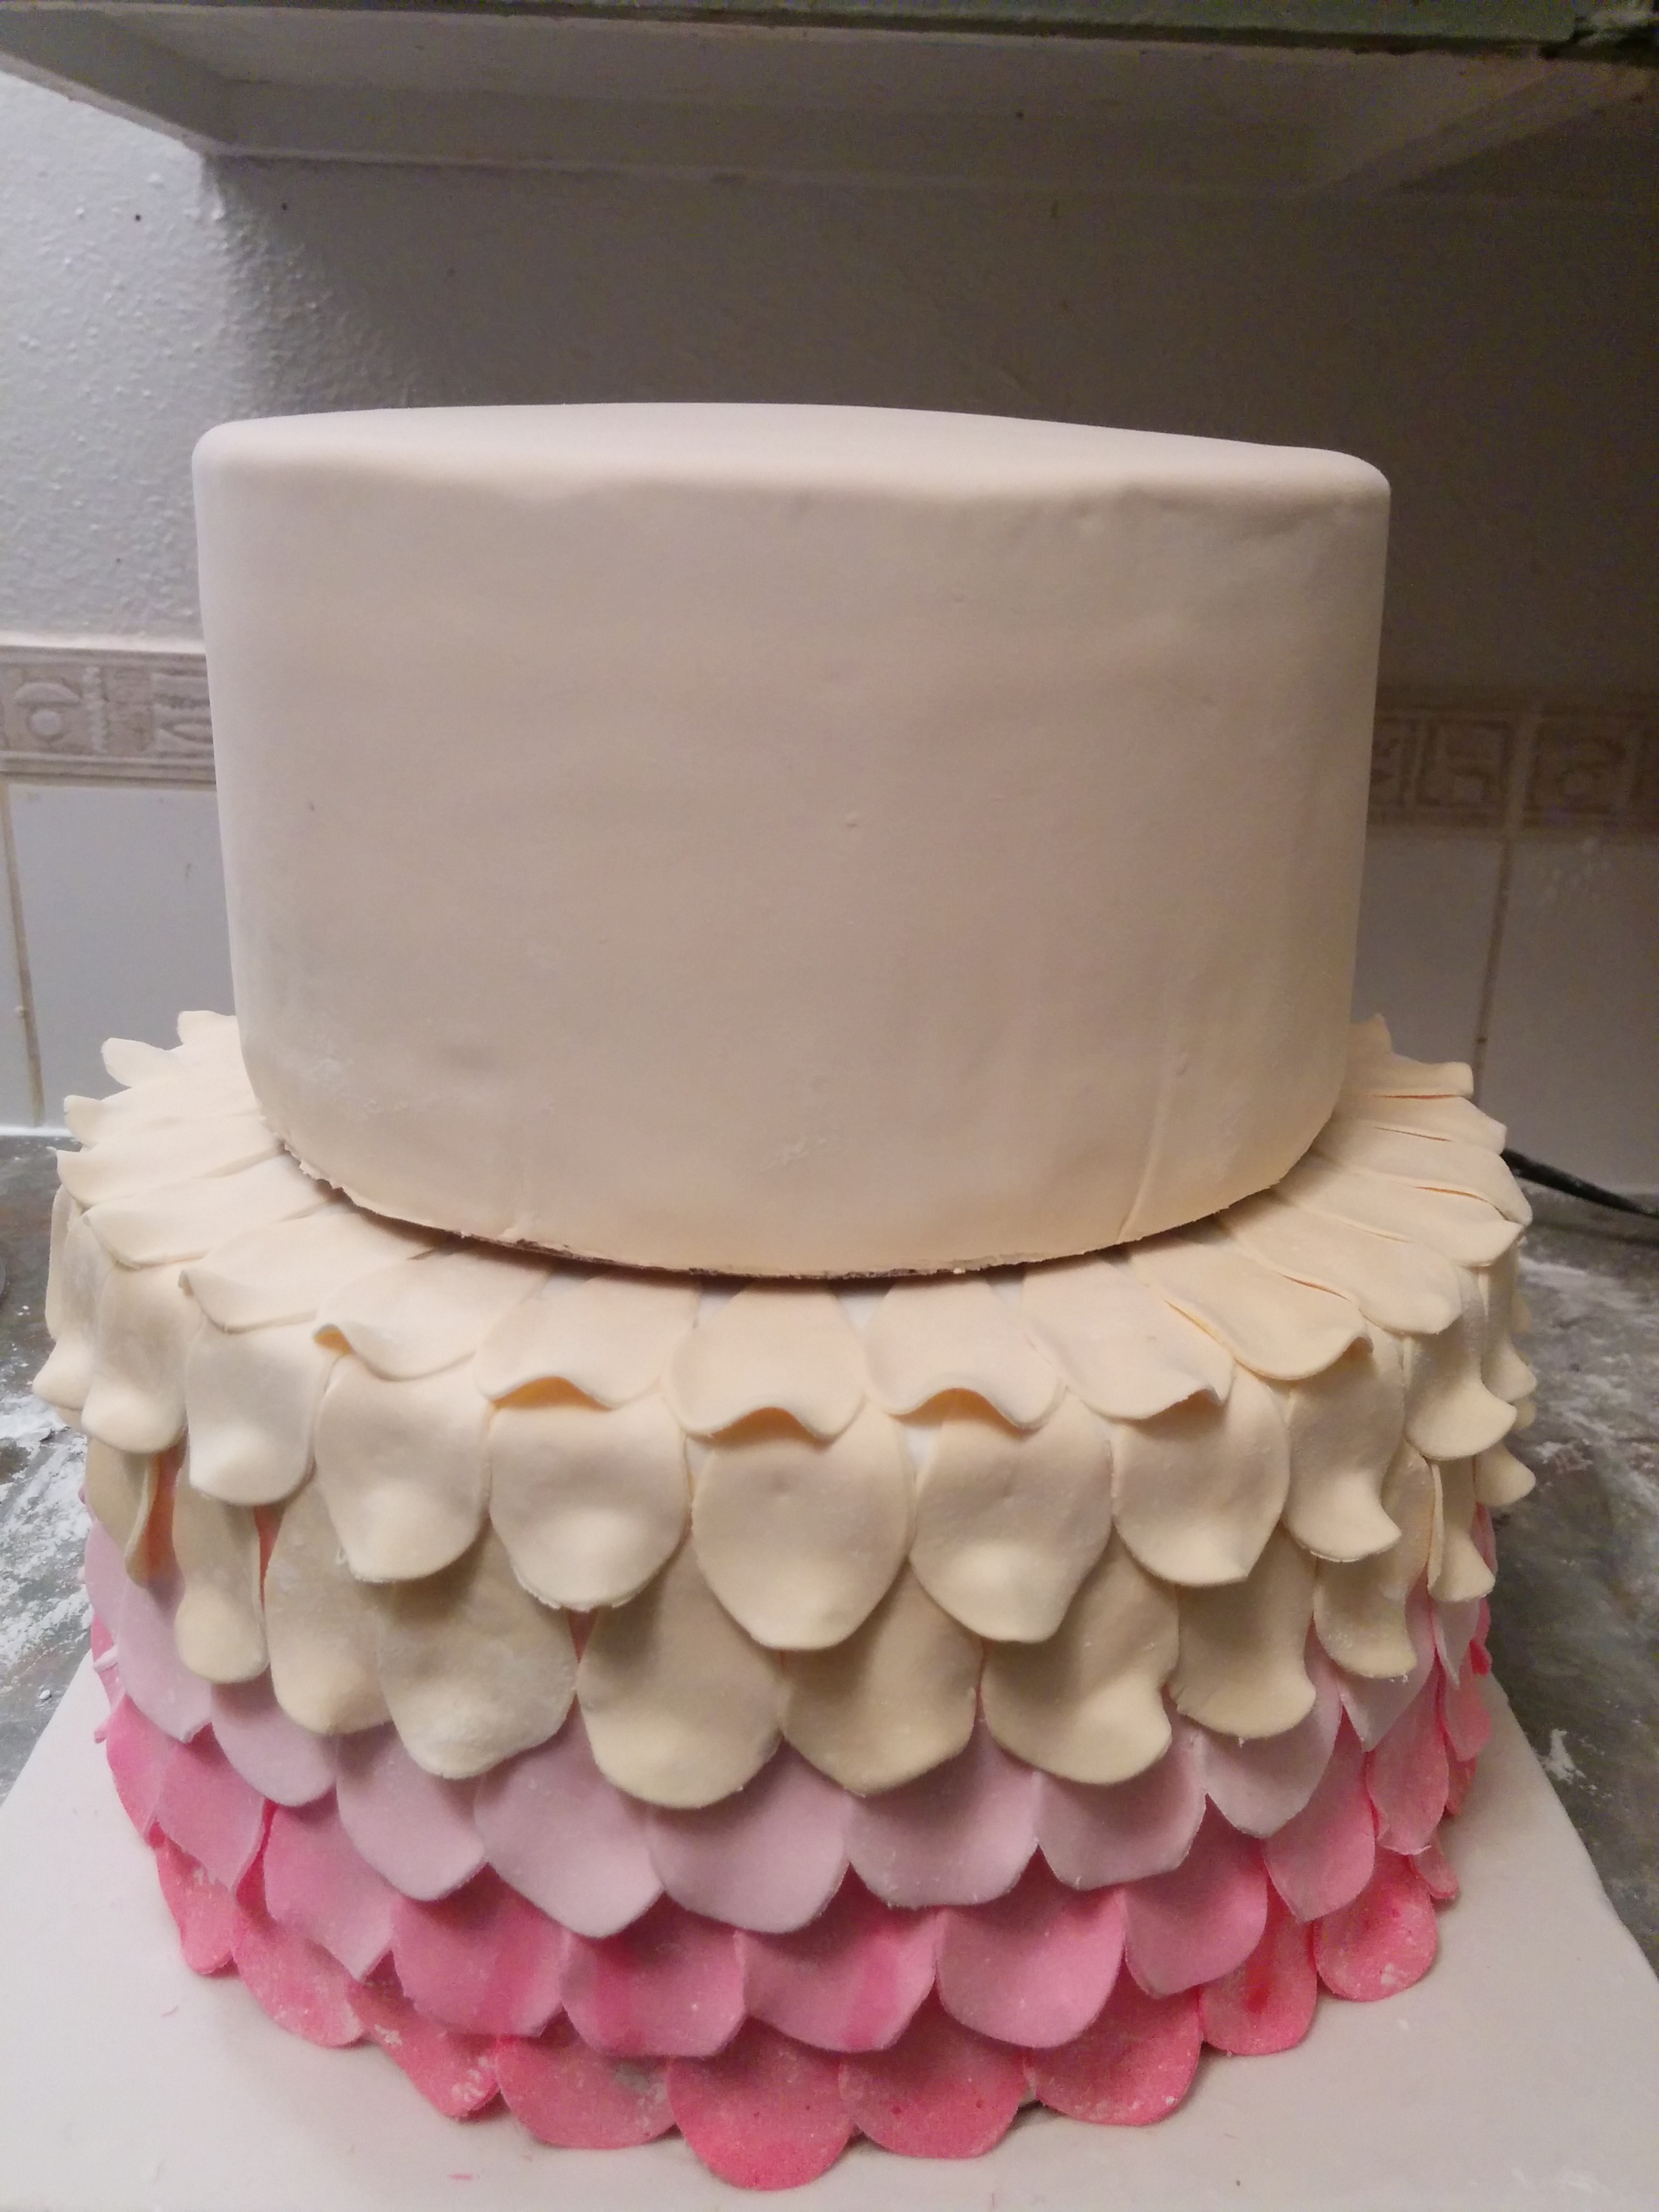
(2) Next, cover both tiers of your cake with fondant. The top tier is 7 inches while the bottom tier is 10 inches in diameter. The color of the top tier is ivory (cream) while the bottom tier is covered with flower petals of different colors. As can be seen in the picture below, I covered the bottom tier with white fondant because the whole of that tier will be covered with petals. You will also notice that the fondant covering the bottom tier is not very smooth. That again is because that tier will later on be covered with petals and so smoothness is not of absolute importance. Having said that, make your fondant covering as smooth as you possibly can. Place the bottom tier on your prepared cake board.
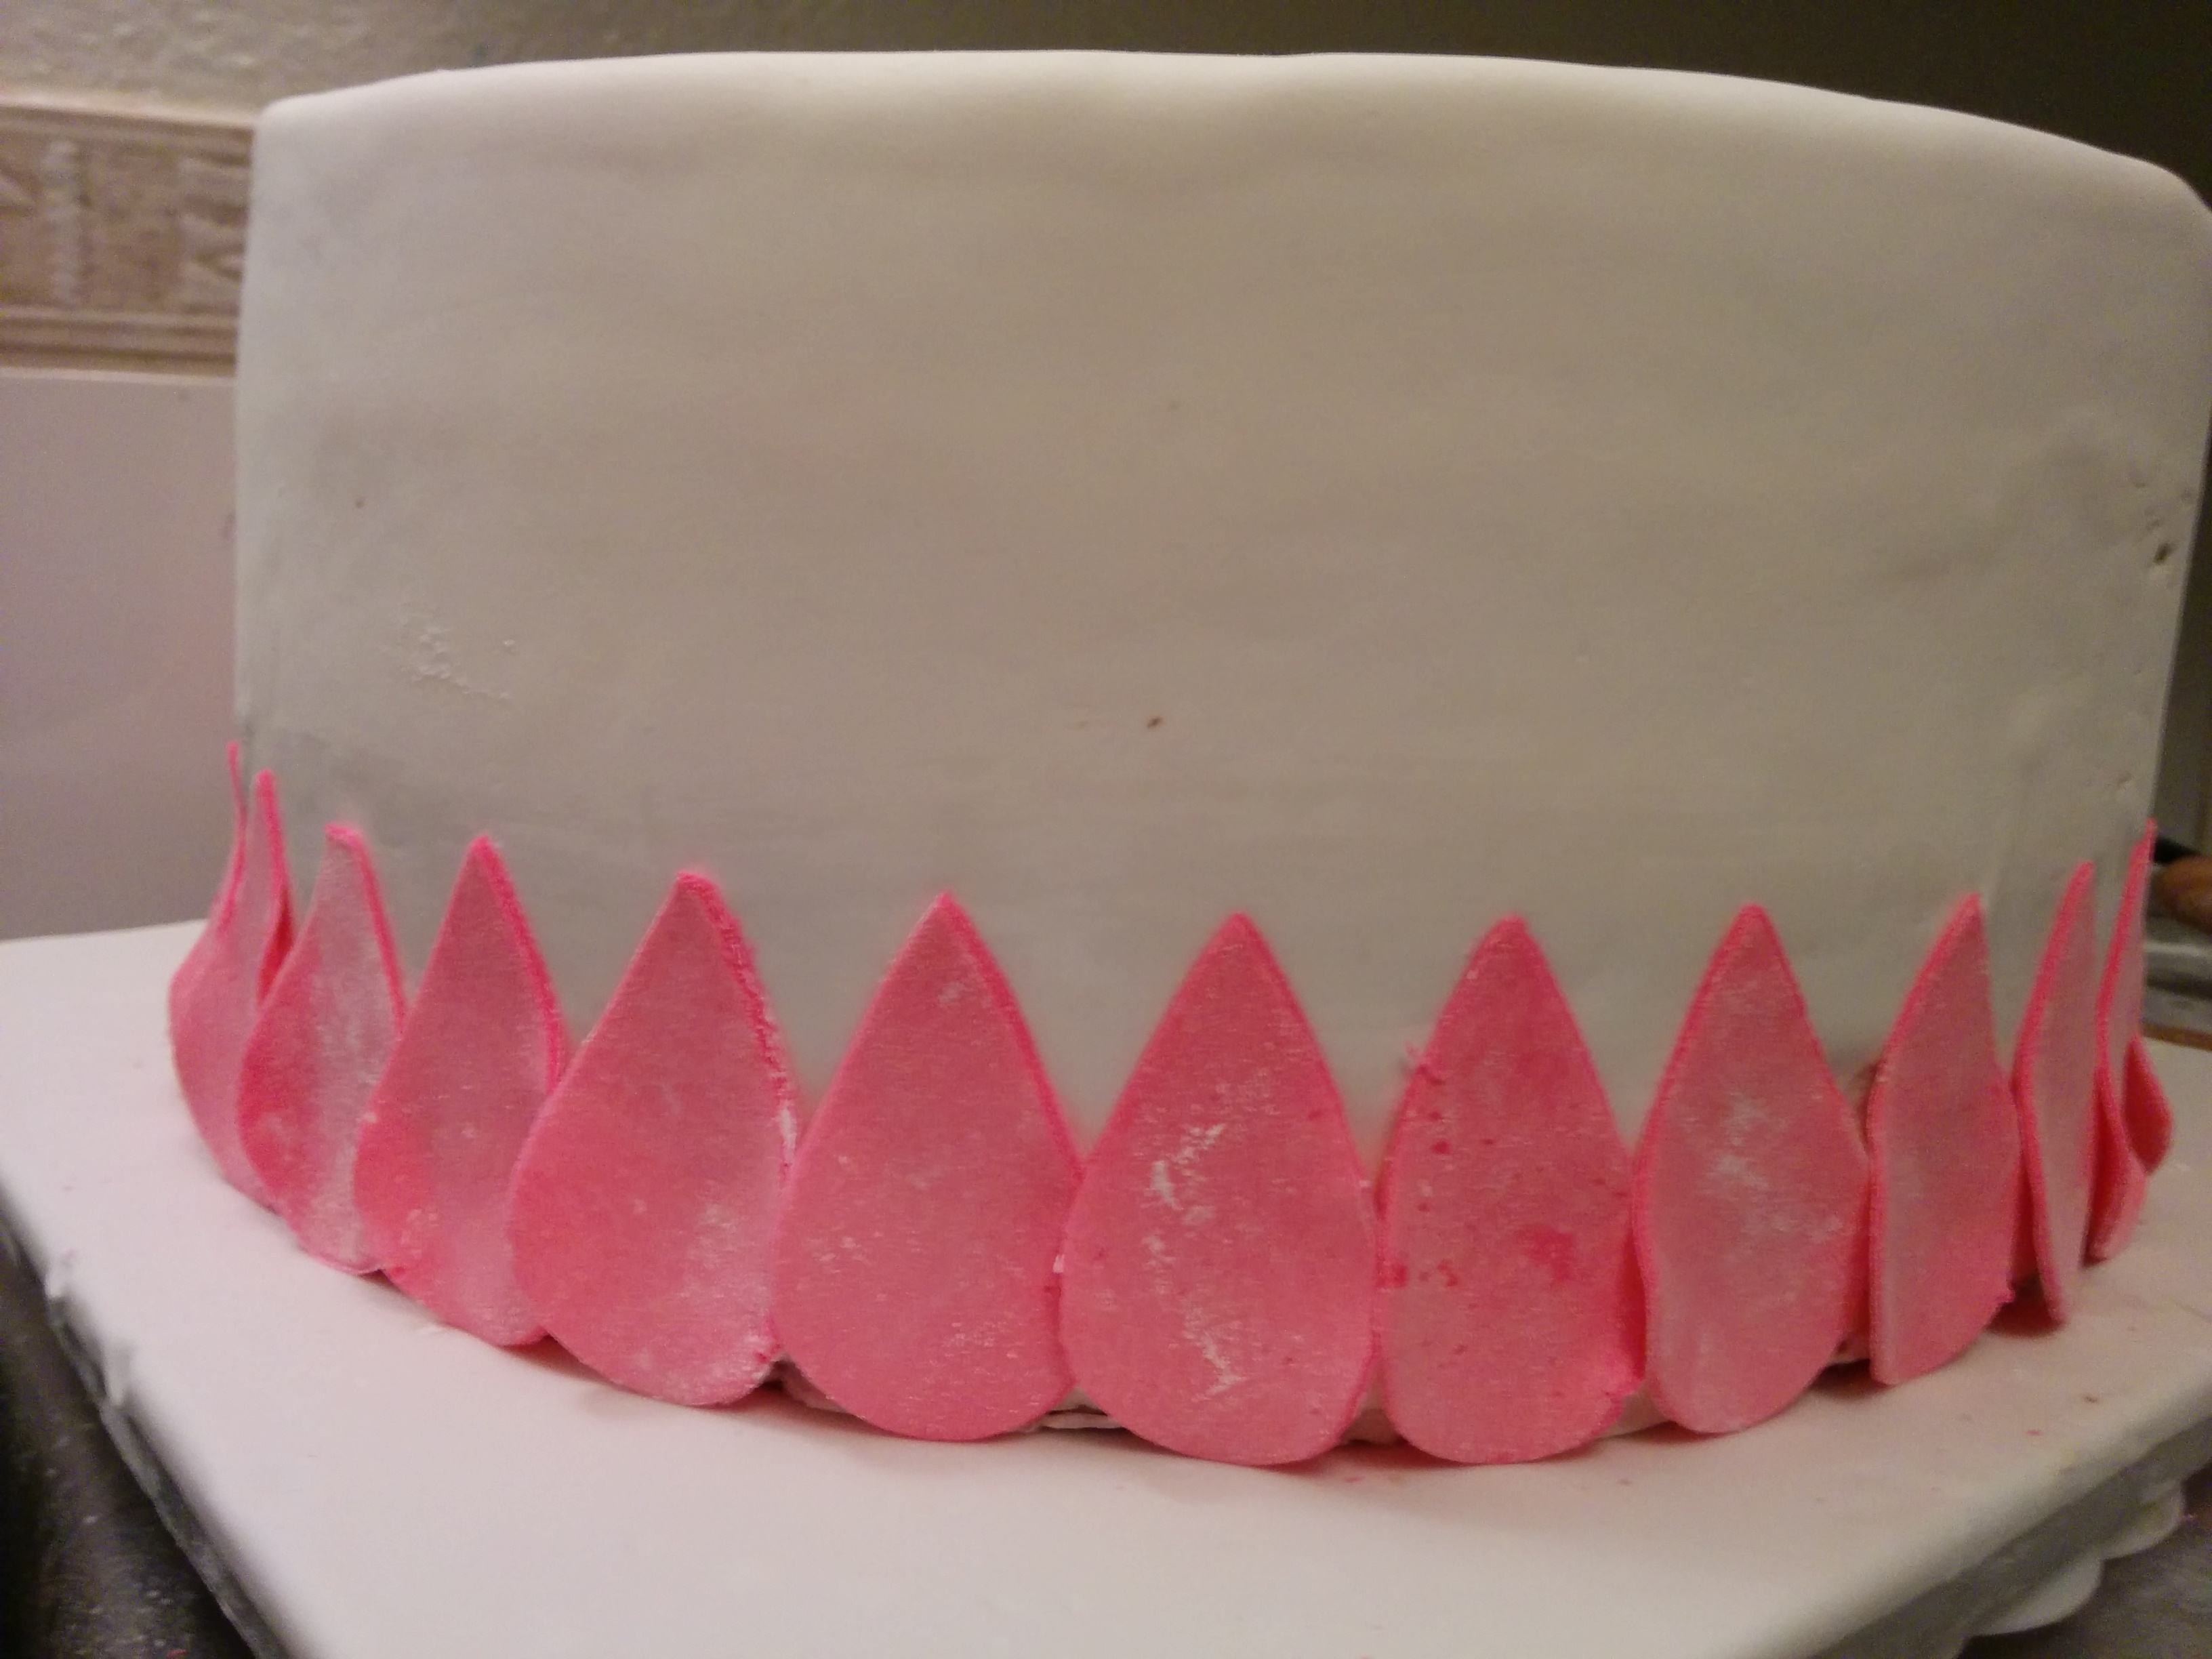
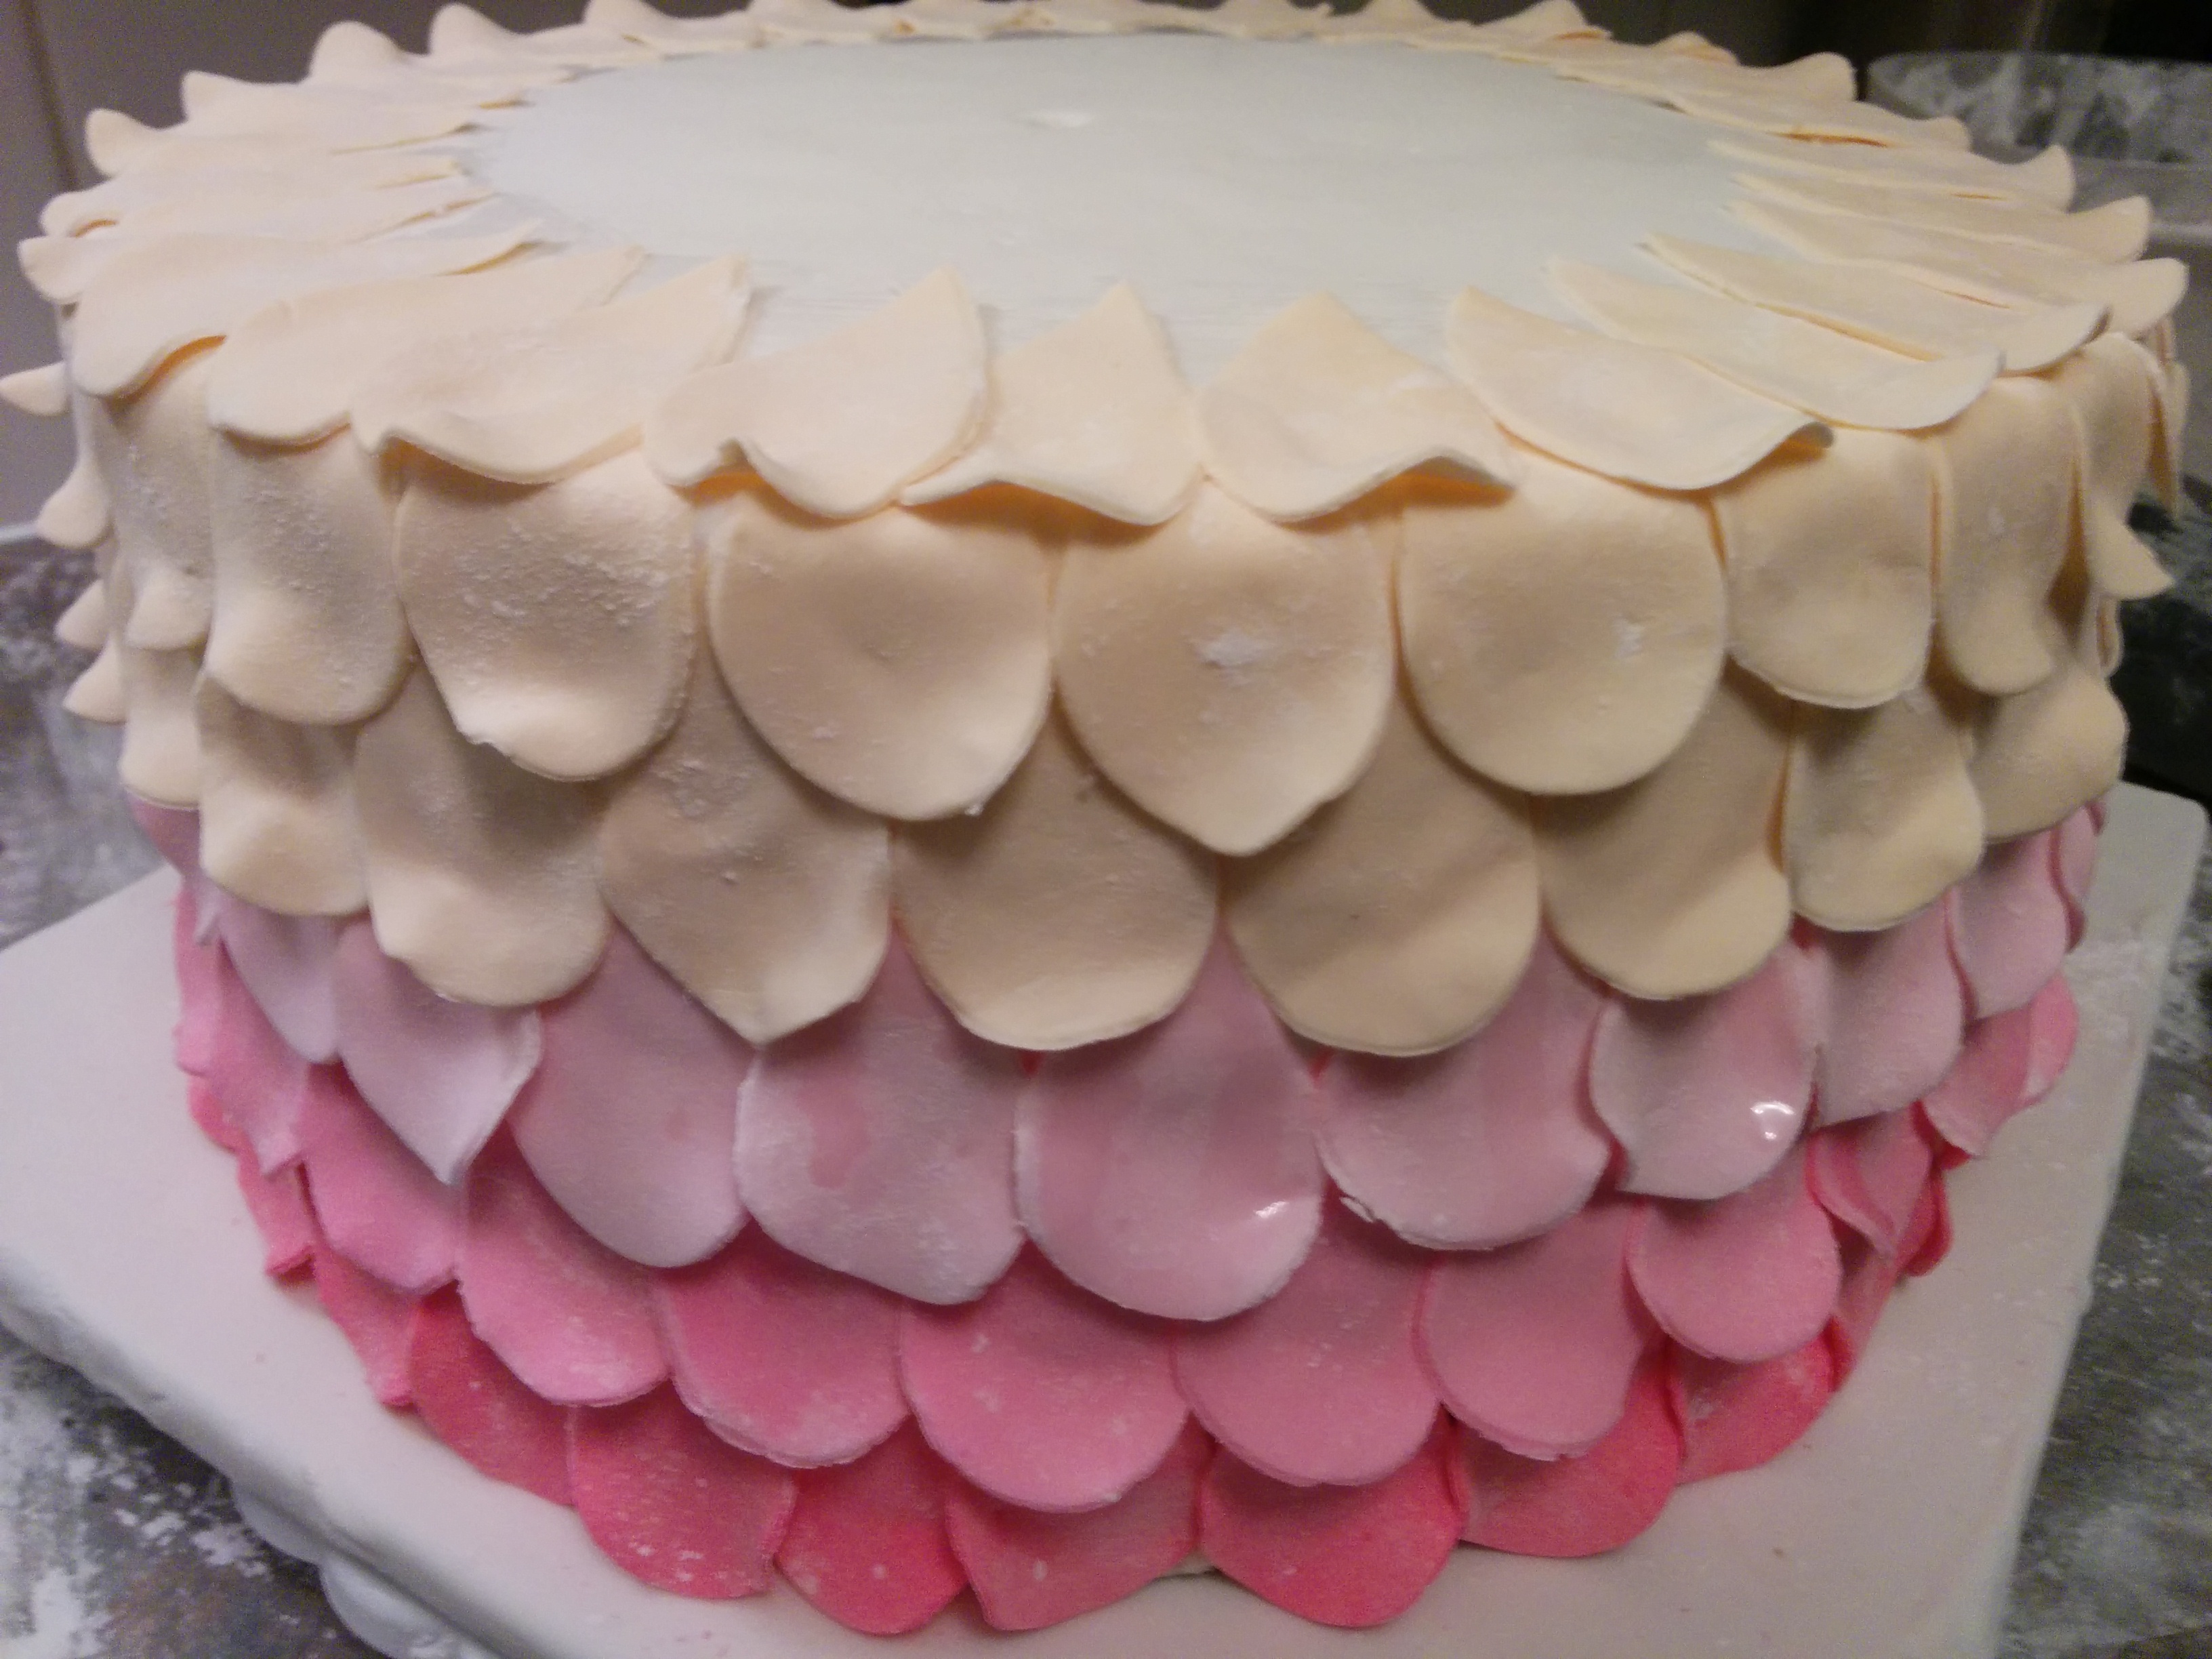
(3) Covering the bottom tier with petals. The bottom tier is covered with 6 rows of fondant flower petals: the first 3 top rows are made of ivory colored petals while the bottom 3 rows are covered with different shades of pink petals. Always start with the bottom row and work your way to the top.
(4) For the bottom pink rows, color your fondant with 3 shades of pink, roll them out, cut out petals using a rose petal cutter and stick them to the cake body with some water. Start with the darkest shade of pink and graduate to the lightest. When starting a new row of petals, be sure to place each petal in the middle of the two petals below it. This way you hide the gaps between the petals.
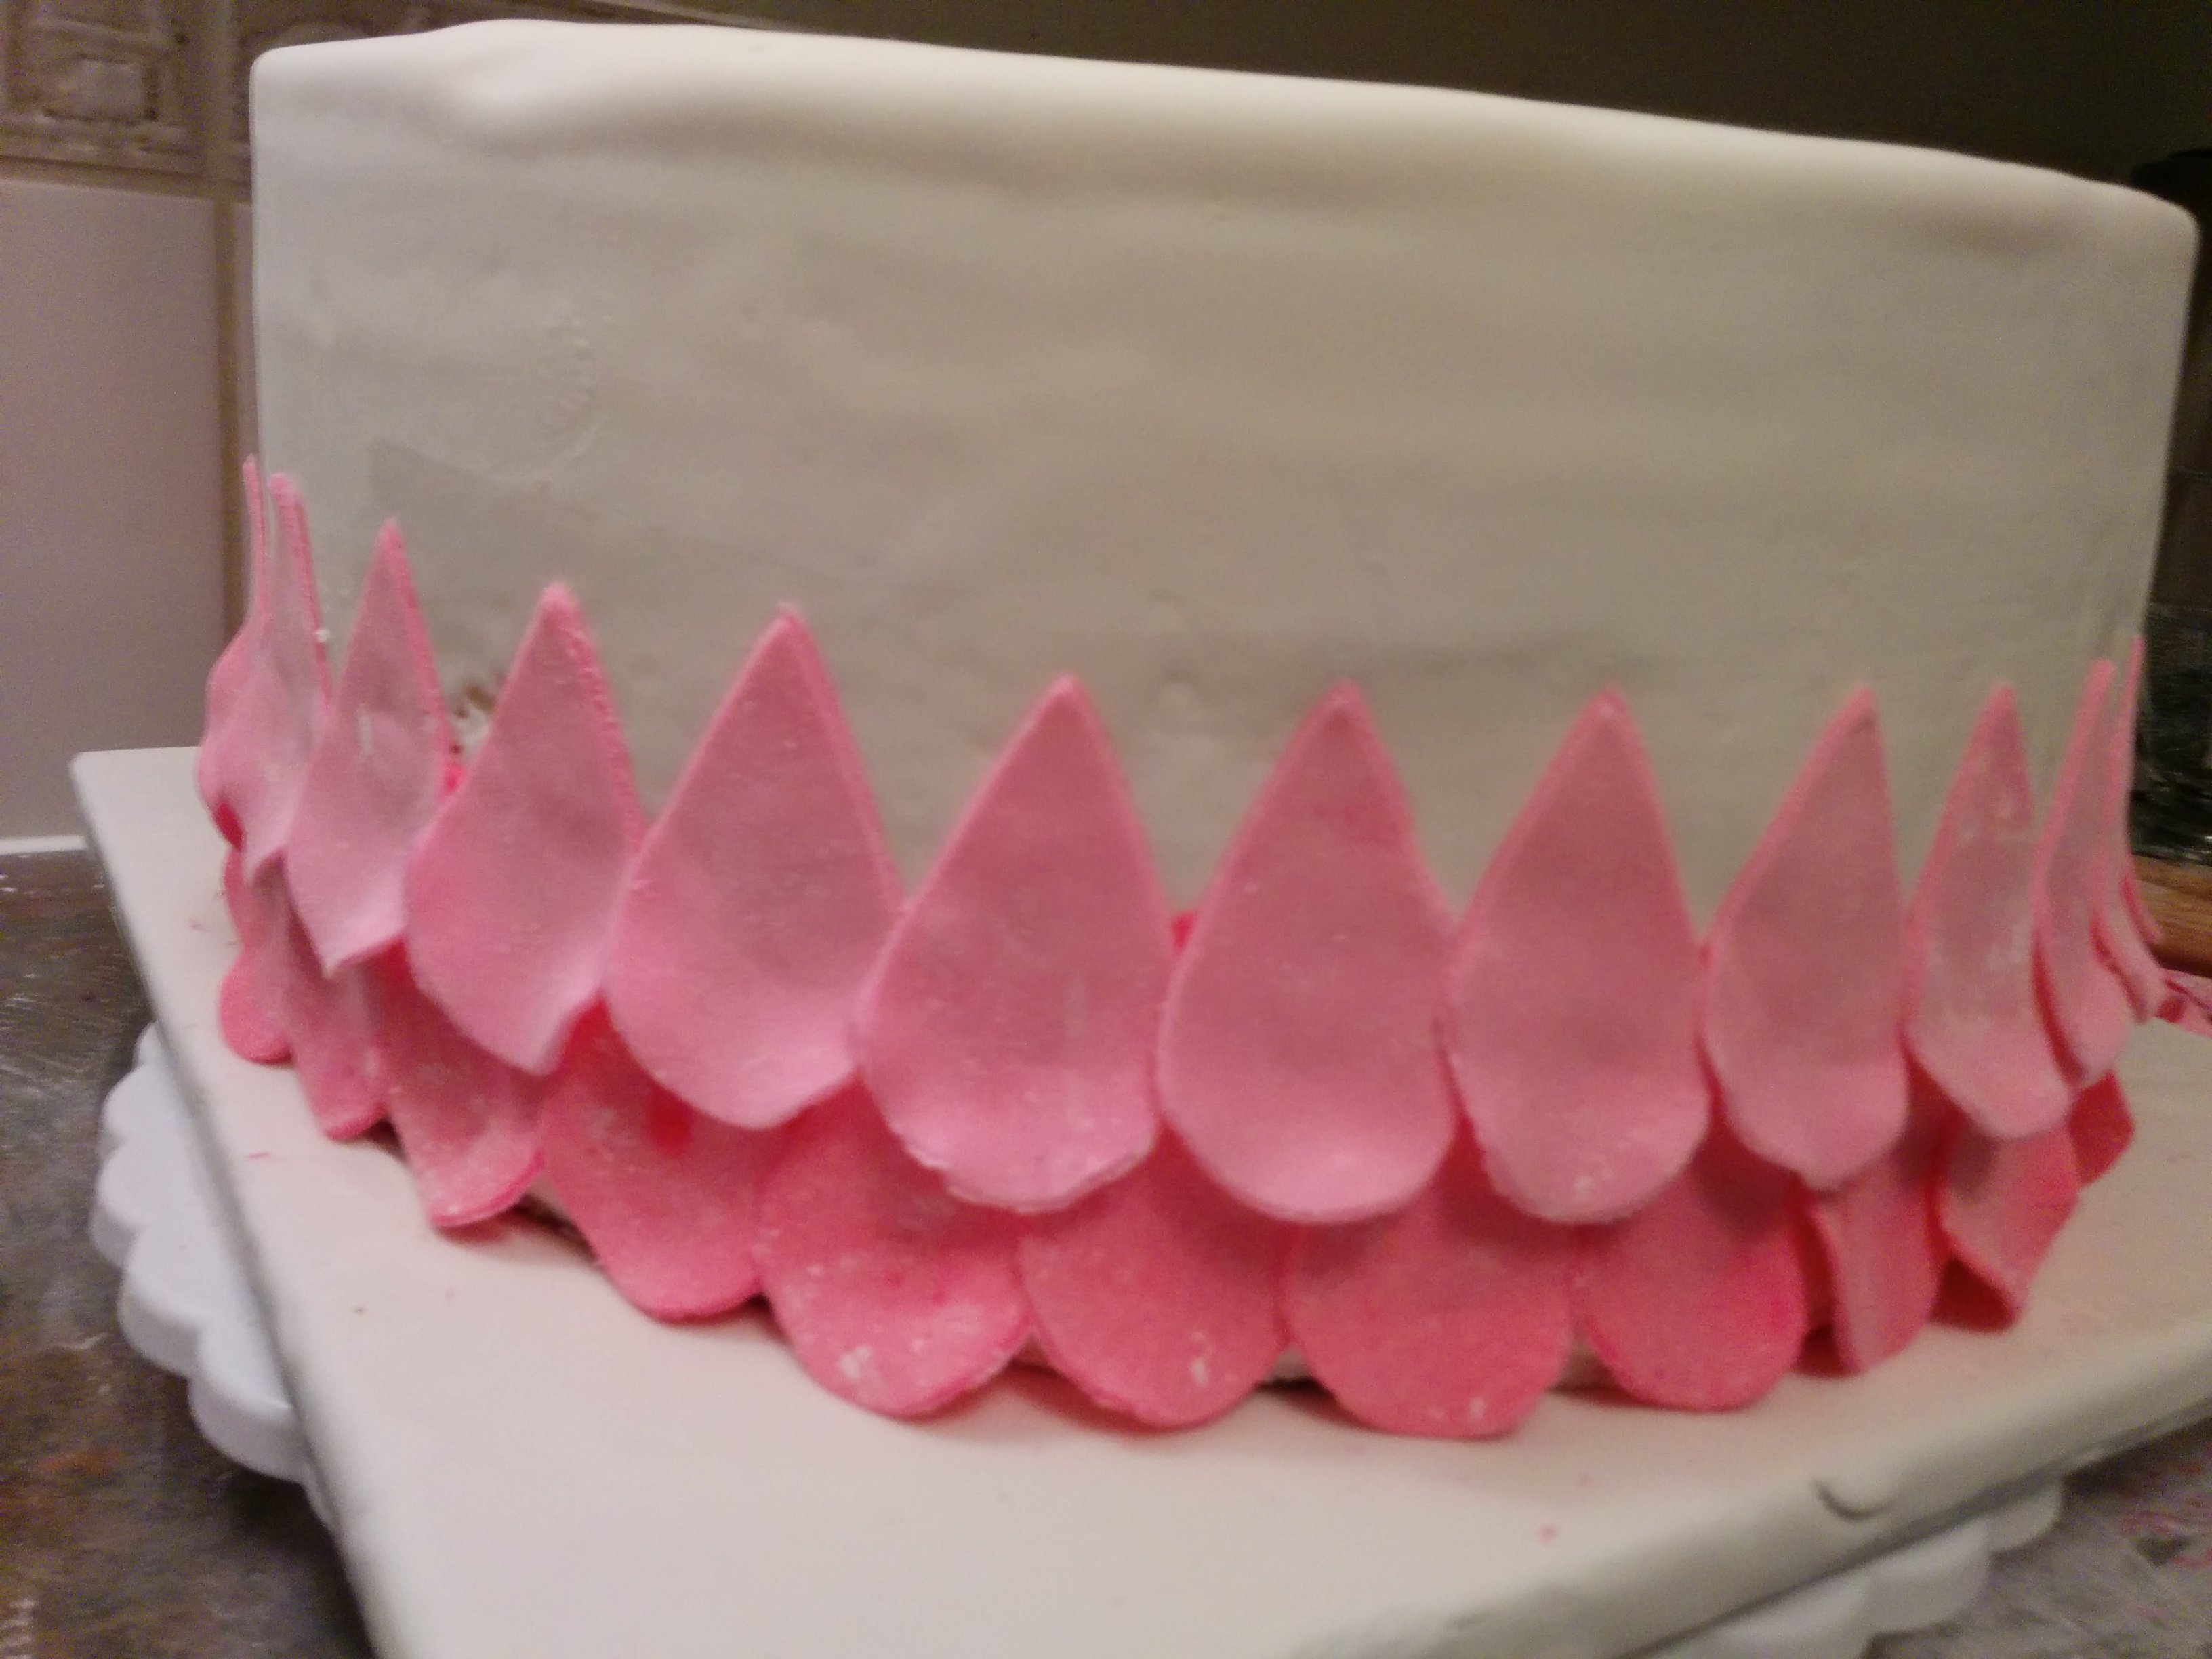
(5) Next, cut out some ivory colored petals and make the top 3 rows of petals. The second row of ivory petals should rest partially on the top of the cake while the topmost row should rest entirely on the top of the cake. After covering the bottom tier with petals, use a toothpick to fluff the petals to give them more body. Remember to roll out your fondant as thinly as possible when making the petals. Do not be too bothered about the icing sugar residue on the petals. That will be brushed off with vodka at the end of the whole process.
(6) Next, place dowels in the bottom tier, apply some melted white chocolate and stack the top tier on top of the bottom tier. You can read more about how to stack cakes here.
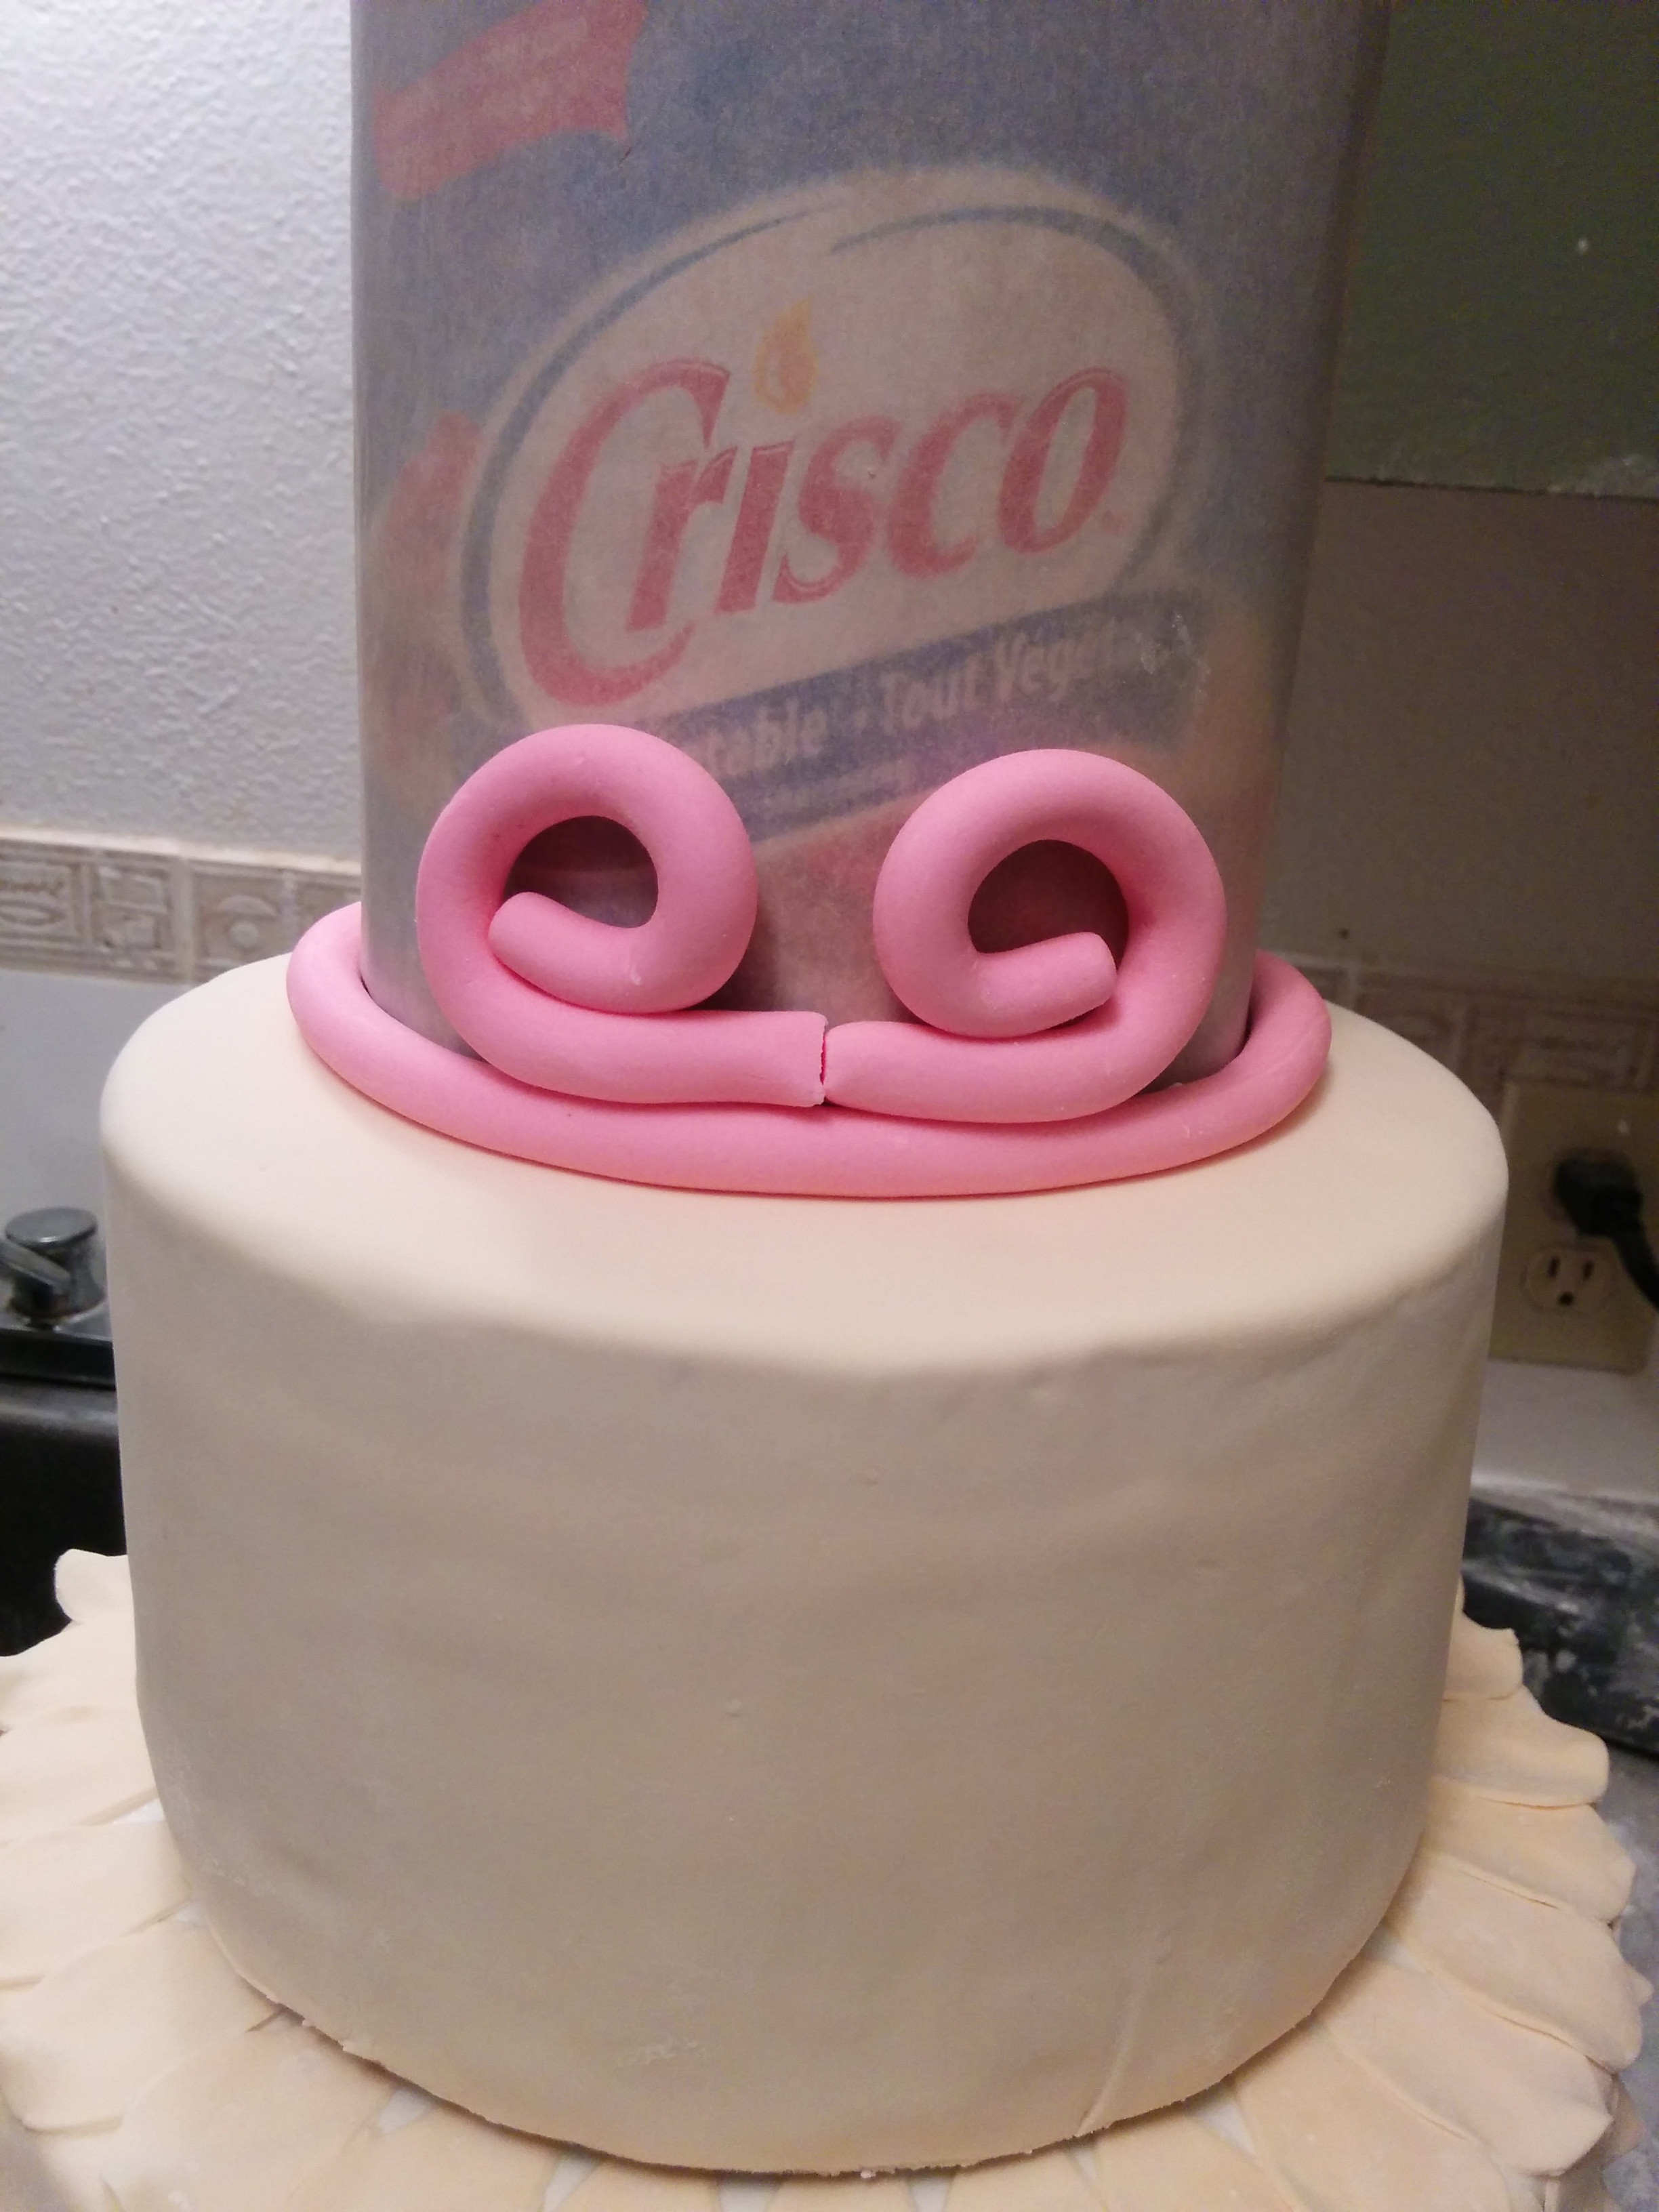
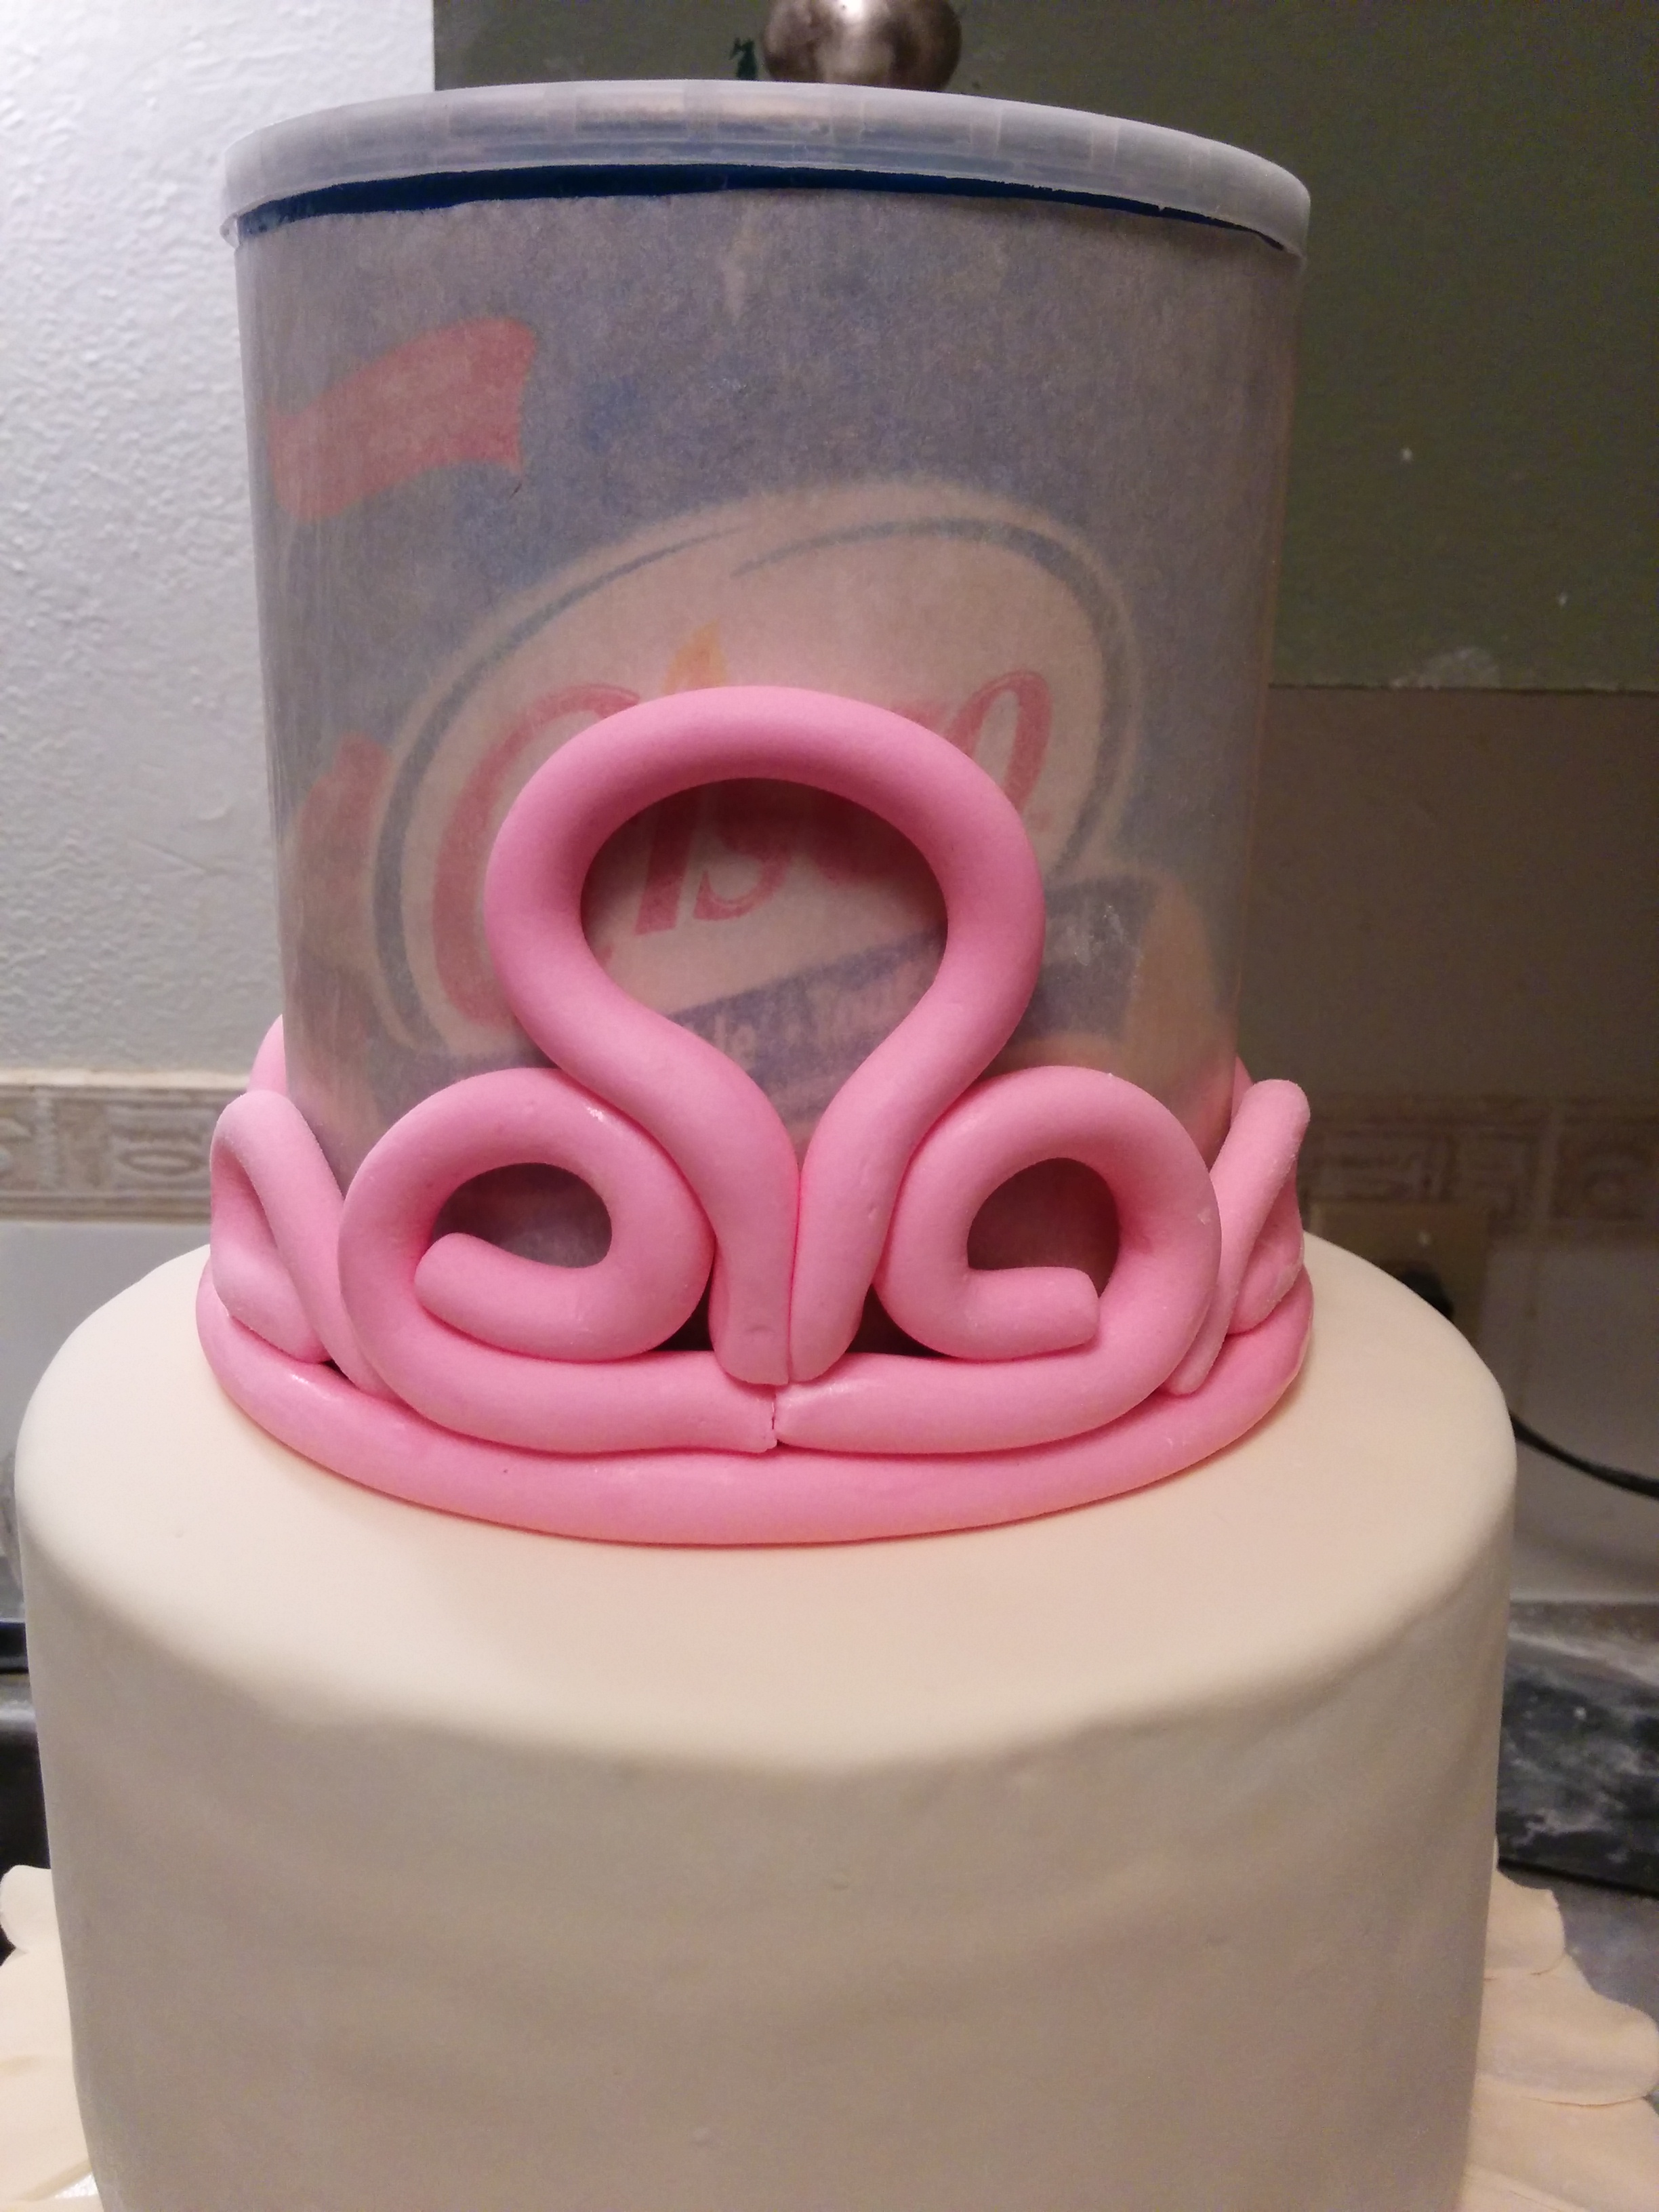
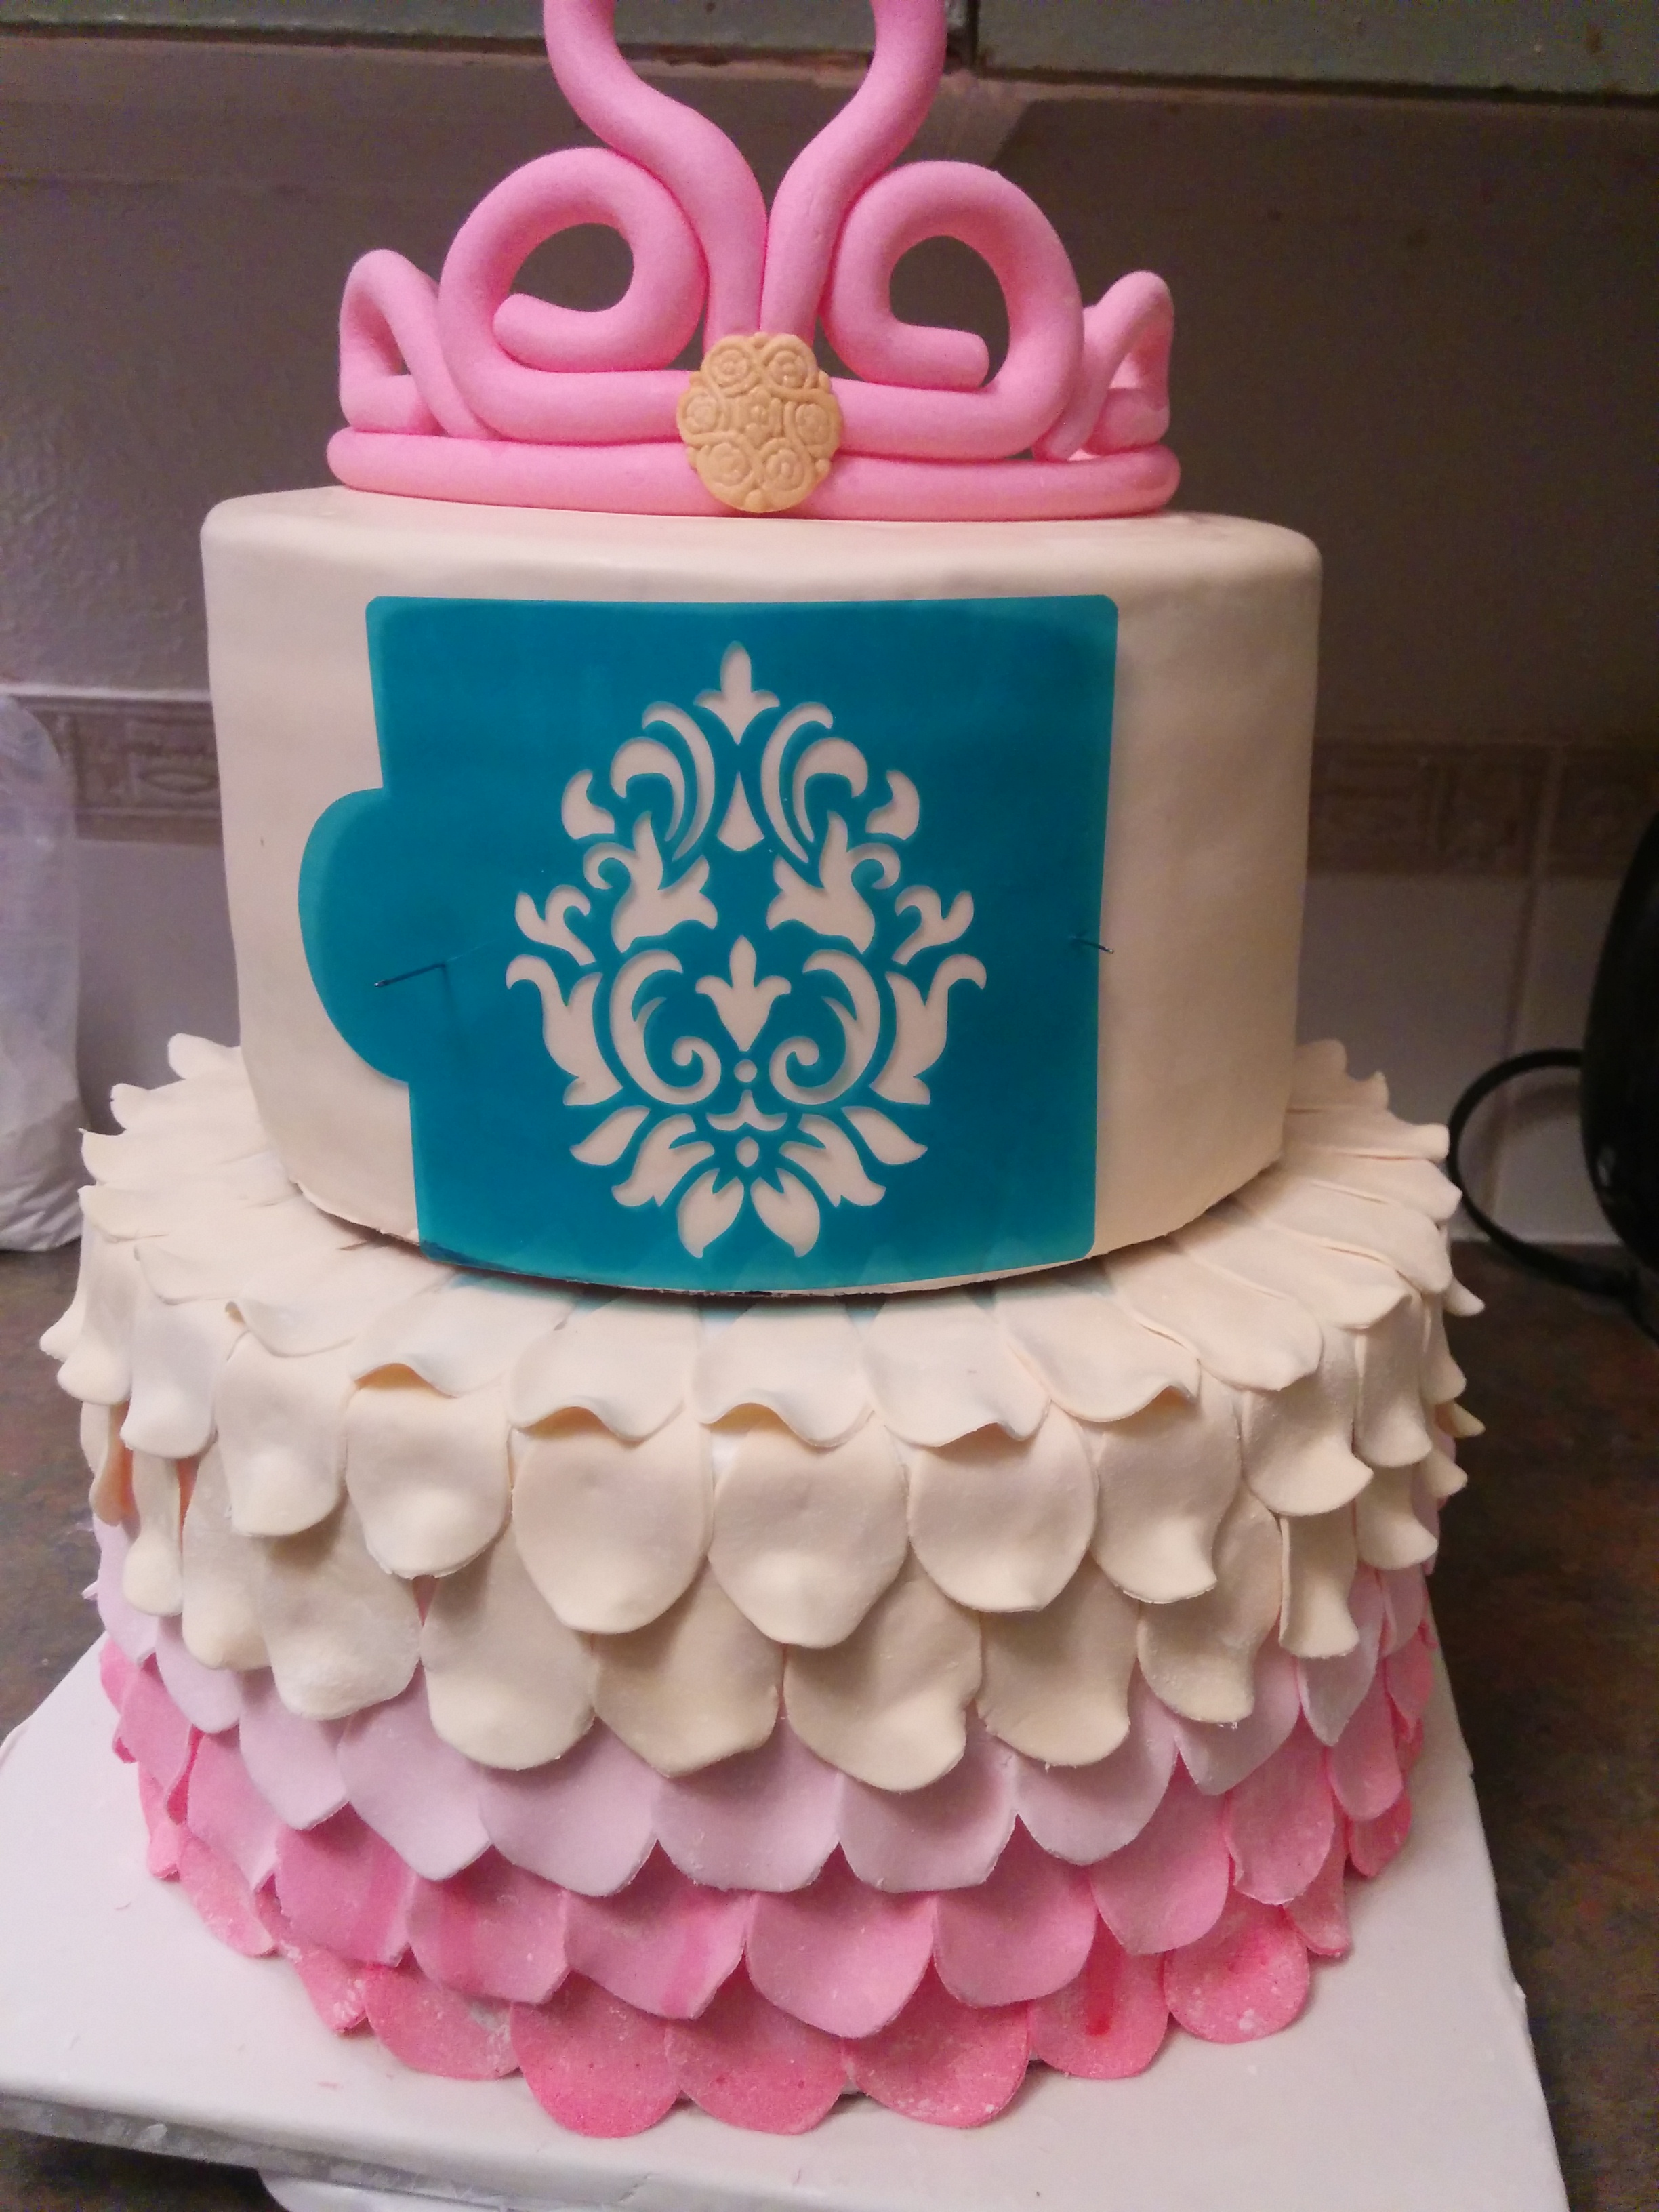
(7) Next, make the pink tiara on top of the cake. I used some leftover pink fondant to do this. Cover the sides and bottom of a 4-5 inch empty round container with parchment paper. The container must be empty and light so it does not make indents on the cake. Place the wrapped container on top of the top tier. Roll out strings of pink fondant using some shortening to make the strings smooth. Build the tiara using the pink fondant strings. There are no rules here so feel free to get creative. I shaped various loops and placed them on the cake using some water to stick them together. The container in the middle of the tiara will support the tiara as it dries. It should take about an hour for the tiara to stand on its own. I finished the front of the tiara with a gold fondant button.
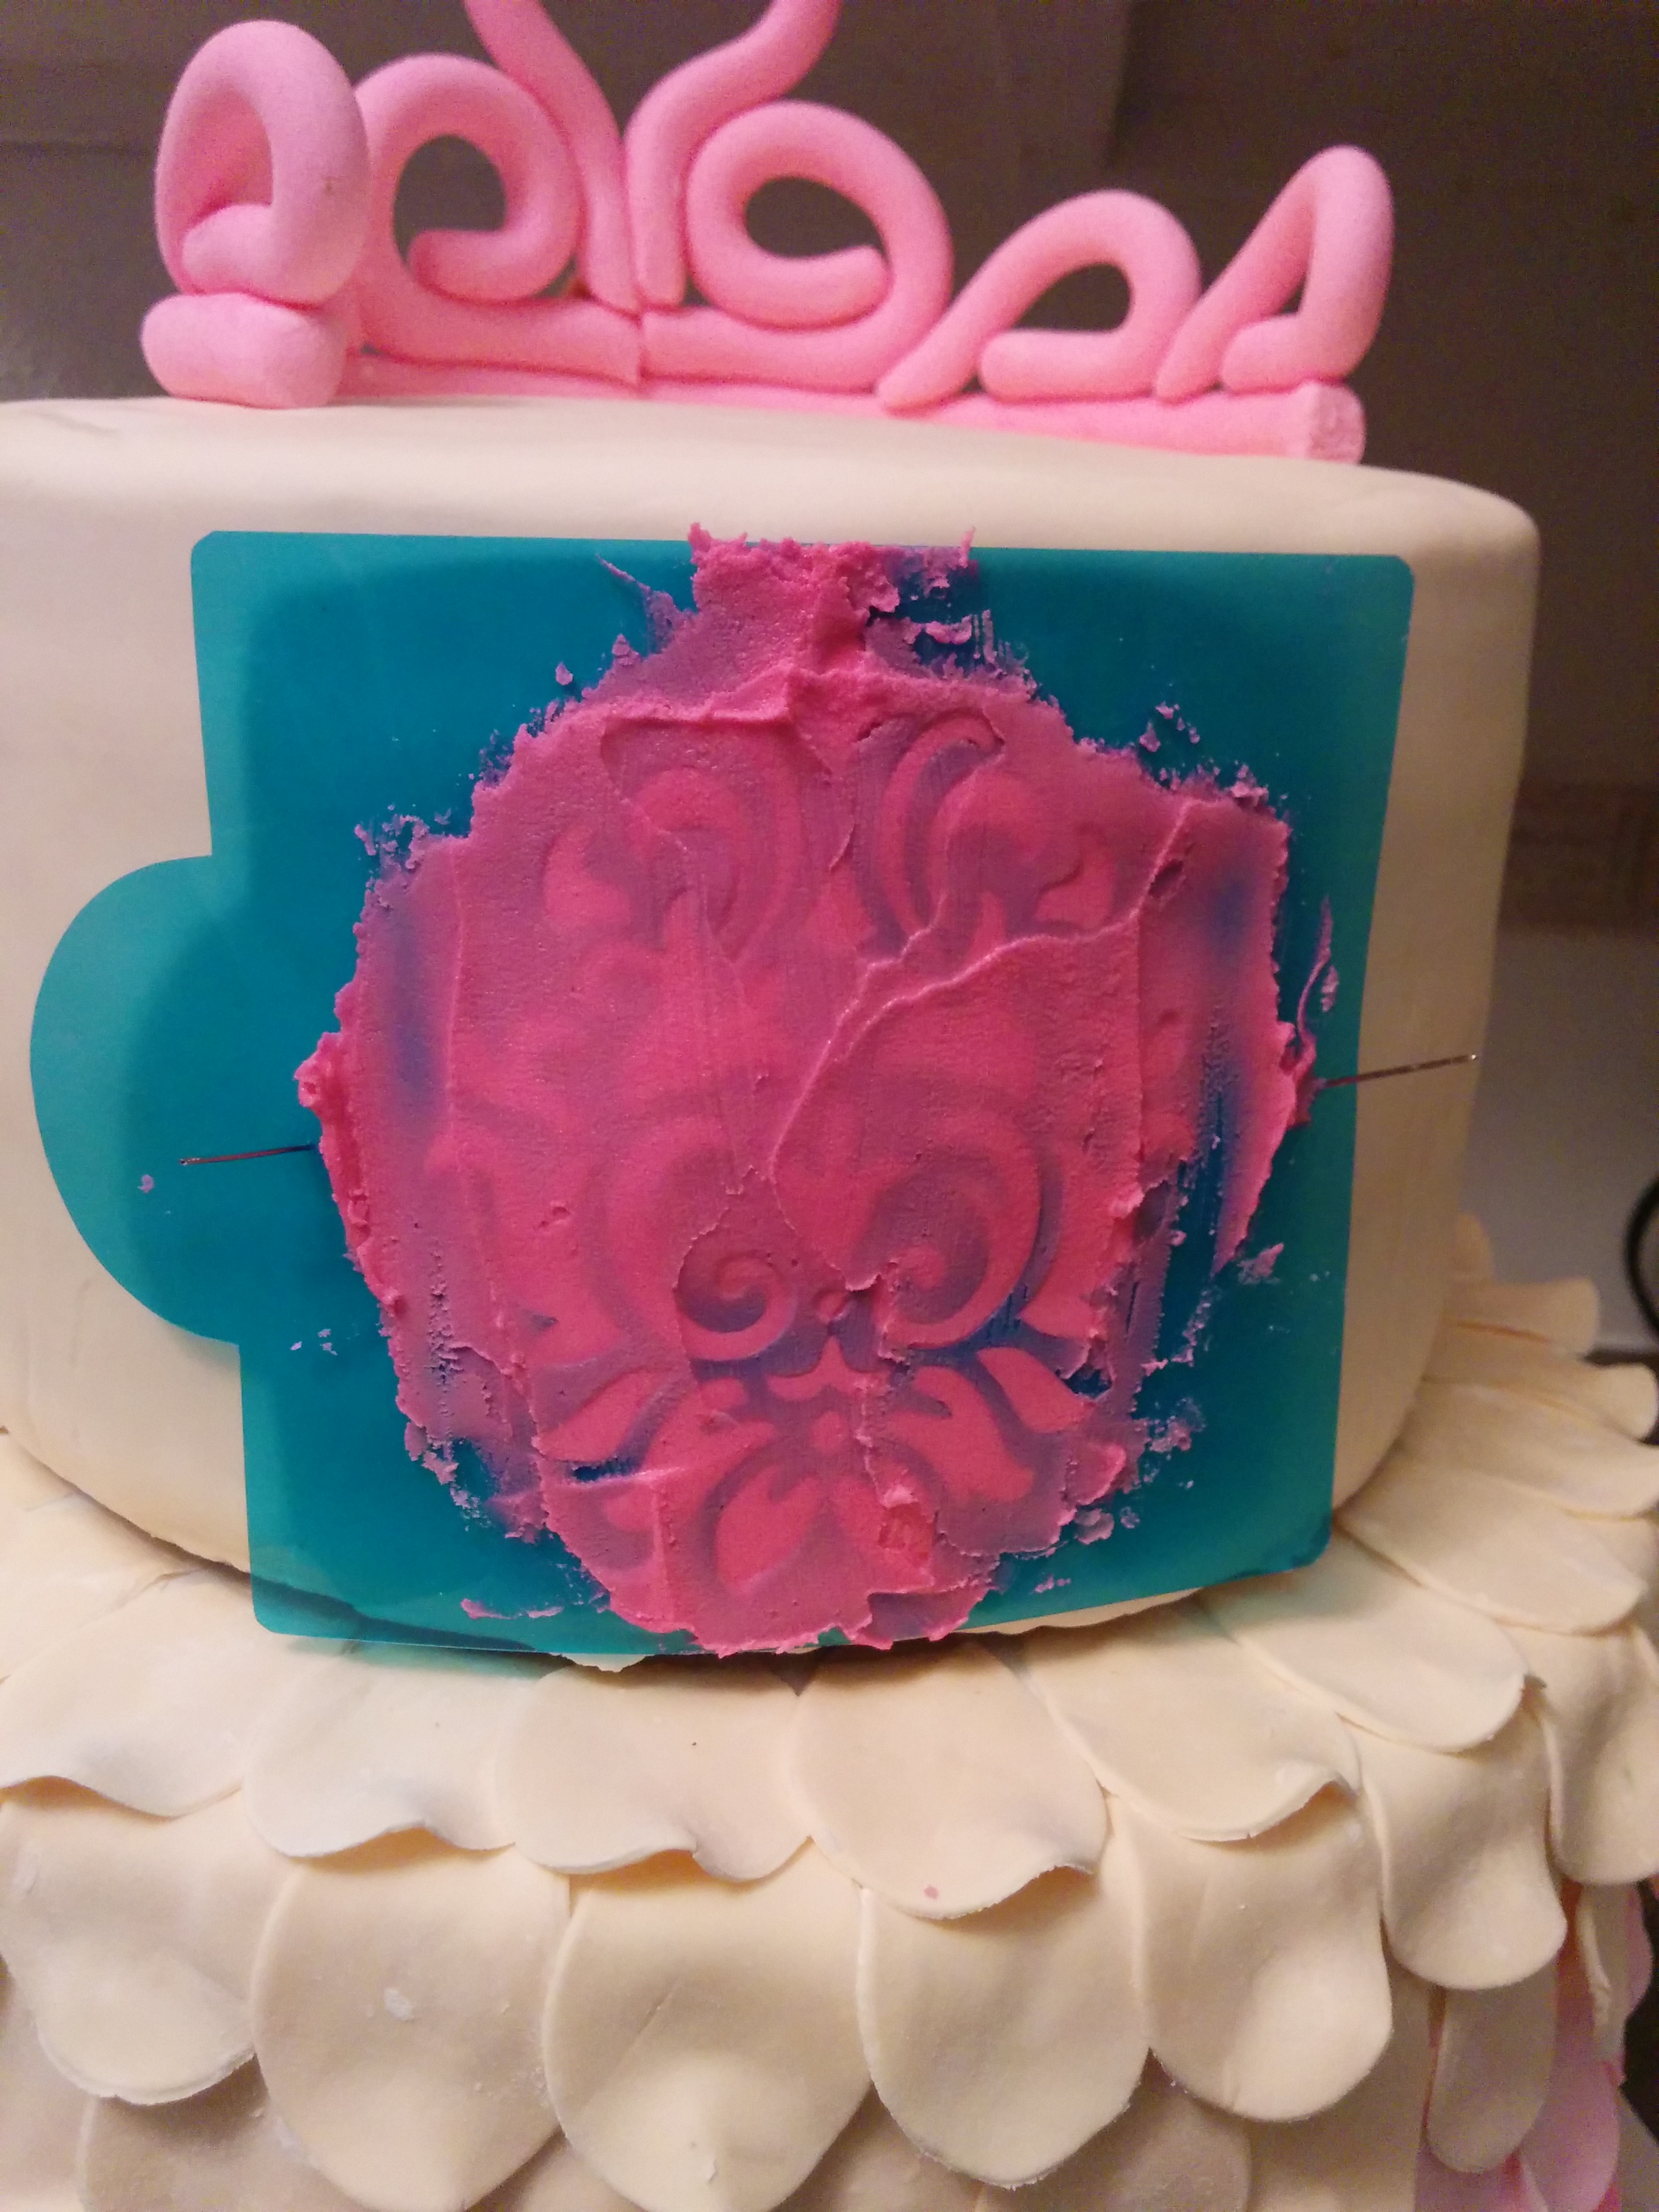
(8) Make the damask prints on the top tier using some pink royal icing. There are 4 damask prints around the the top tier: the front, back and both sides. First brush the top tier with some vodka to remove any icing sugar residue. Do not use water as water will not evaporate quickly. Next, stencil the cake. I have a tutorial here on how to stencil a cake using royal icing. Do check it out so understand this process better.

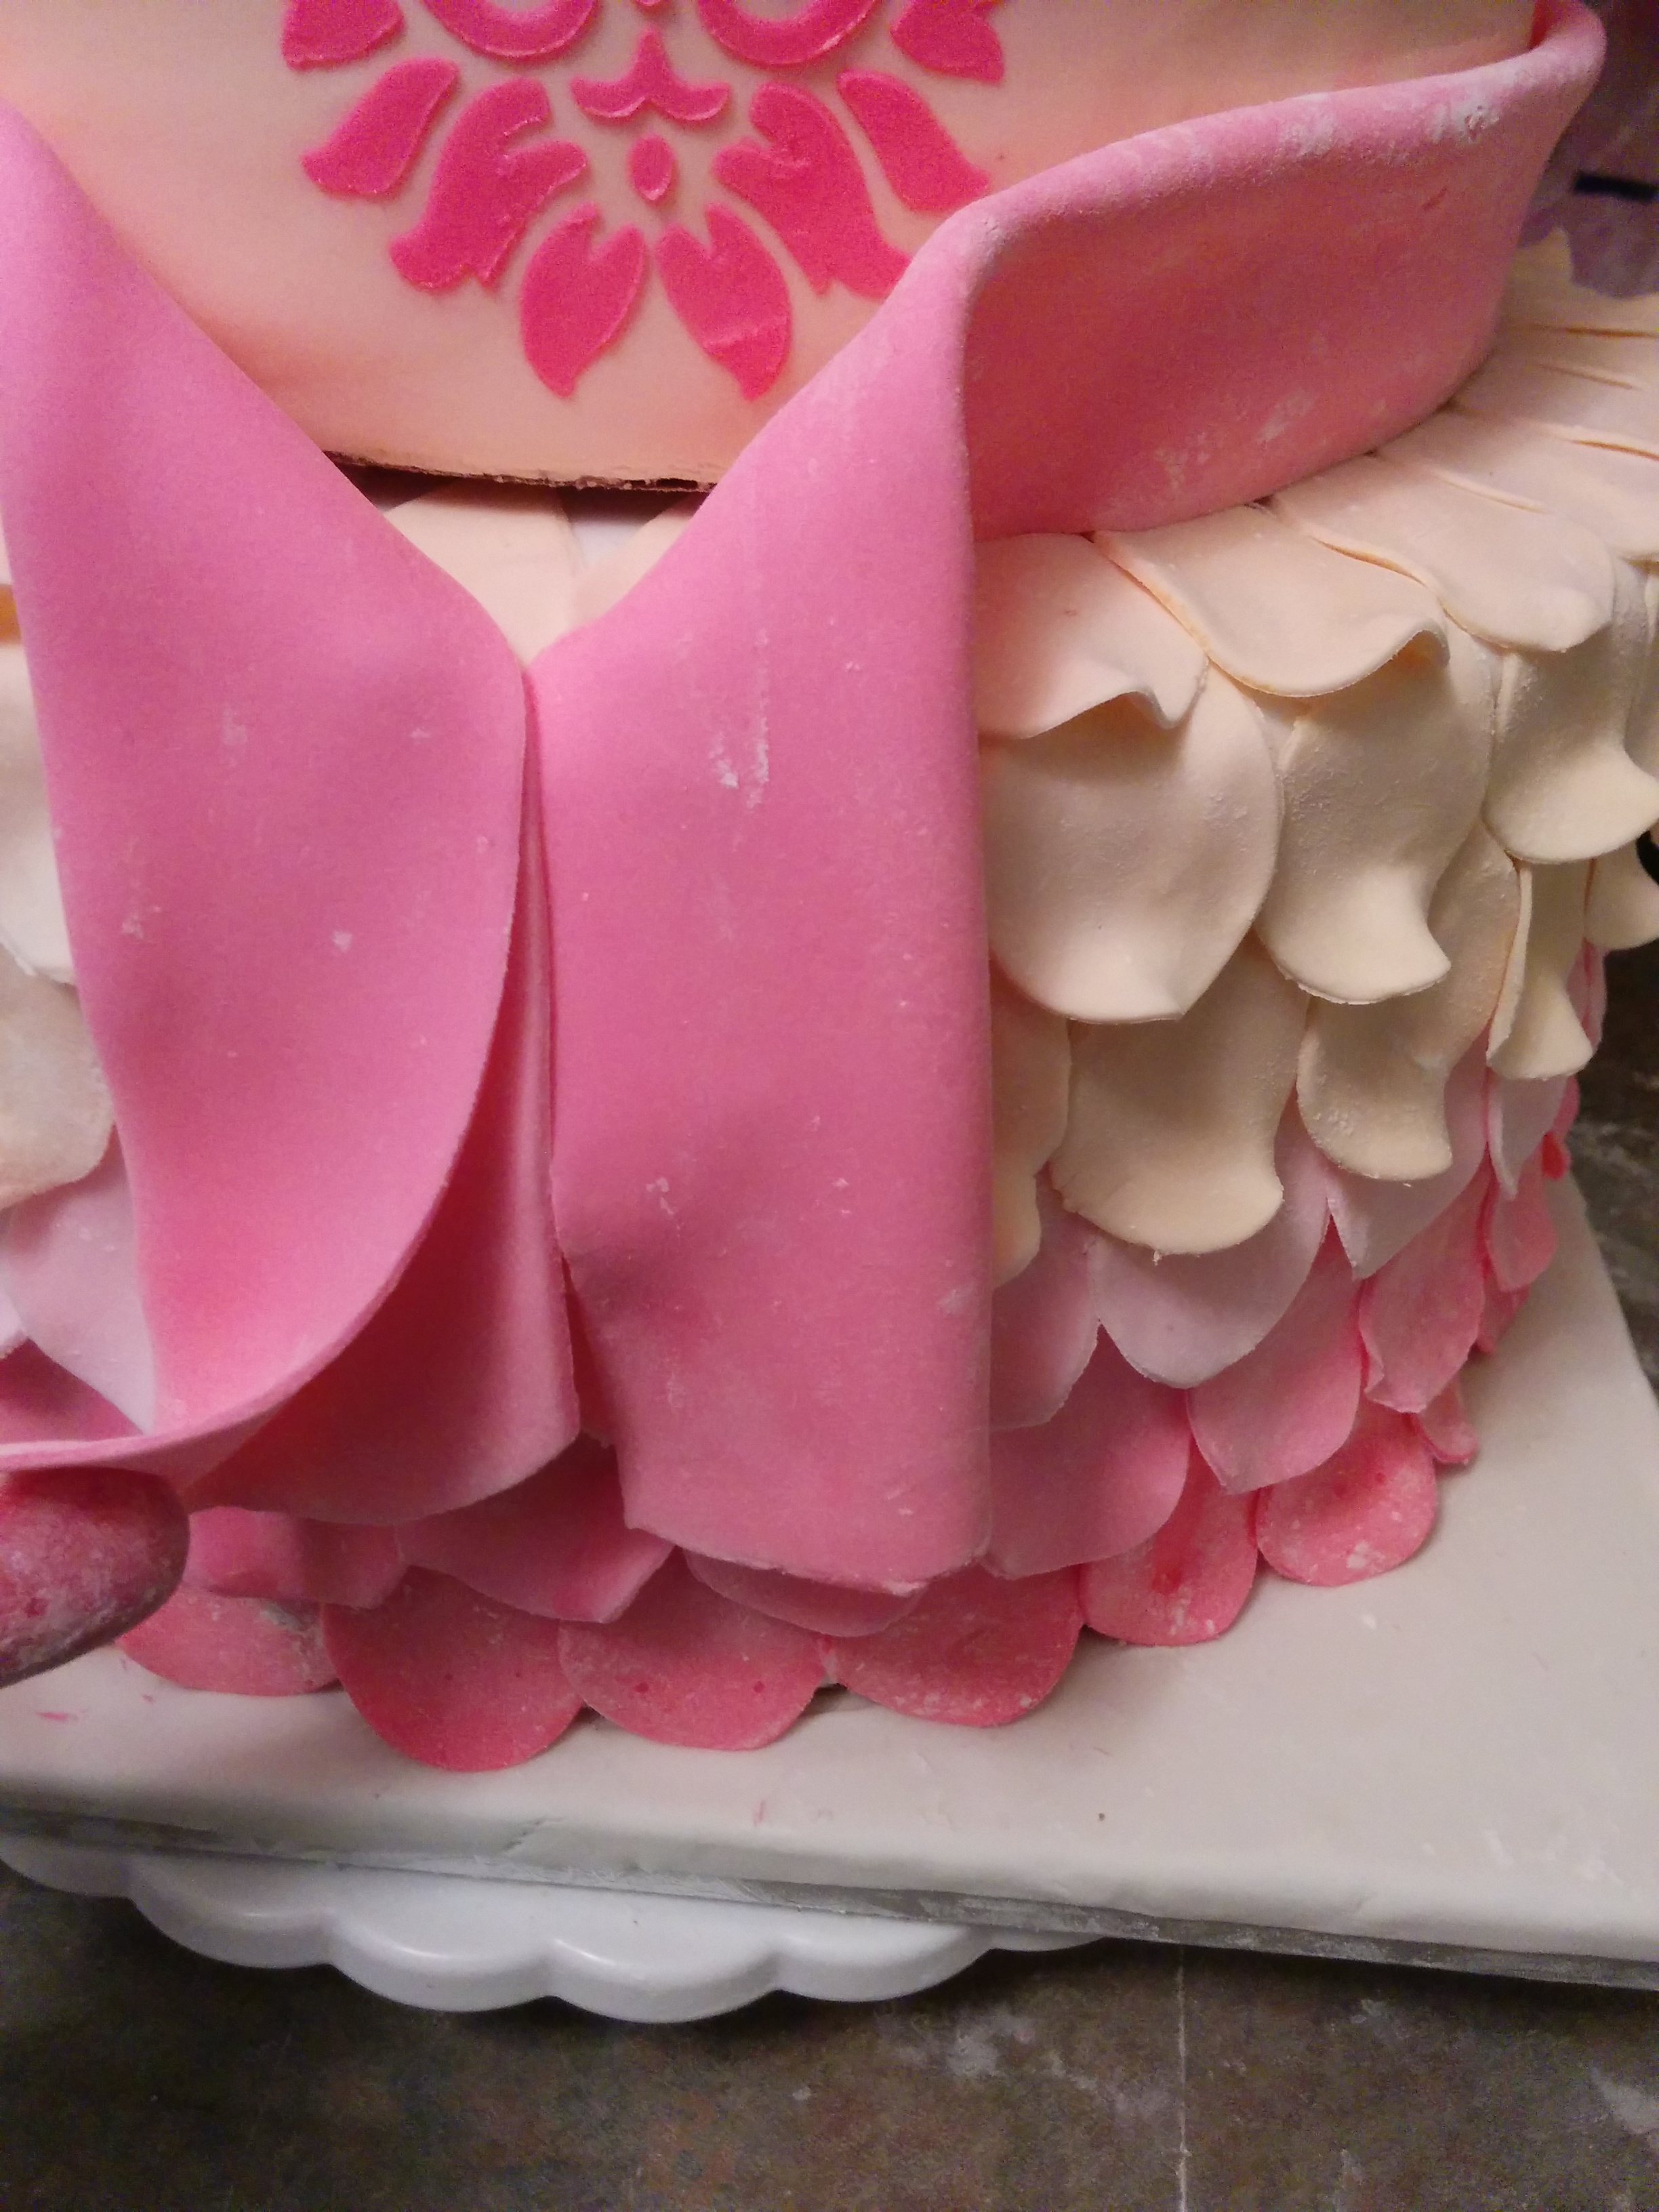
(9) Next, make the ribbon and bow at the base of the top tier. Again, using some leftover pink fondant, make a ribbon that will go around the base of the top tier. Instead of a flat ribbon, I created one with some volume. This can be achieved simply by rolling out a sheet of pink fondant and folding it, being careful not to flatten the fold. Place the ribbon around the cake.
(10) Next, place the bow in front of the ribbon. I have a tutorial here on how to make fondant bows. Do check it out to understand how this bow was made.
(11) Allow the fondant work to dry for about an hour before brushing the cake with some vodka. Start with the lighter colors and progress to the darker colors so you do not stain portions of the cake. Do give this cake design a go!
Terry Adido is passionate about showing people how easy it is to recreate restaurant quality meals in the comfort of their kitchens. With a style of cooking he refers to as Afro-European Fusion, his meals are influenced greatly by French and Italian Cuisine with a West African twist. If you love good food, you are in for the ride of your life.
Thank u terry God bless ur work God bless nig. Pls what is the work of vodka there. Thanks
Thanks Abiola. The vodka is to remove the icing sugar residue and make the cake glossy. Water will soak the fondant. Vodka will evaporate.
in fact it was nice thanx for teaching
Thanks Grace.
Terry nice one. But I don’t know how to bake cake. Pls can u teach me
Thanks. If you check the cakes and sponges page under “everything cakes” you will find lots of cake recipes there.
Please Terry, how many layers of cake do I need to acieve the same height as this cake. My two beautiful daughters shares d same birthday month. 22 and 23 feb to b precise. But they celebrate at d end of d month. I will love to make this cake for them. Thank you
Hi Susan. It all depends on the height of each layer. I used 4 layers per tier here as it is a very big cake. That’s 8 sandwiched layers derived from 4 sponges which were sliced into two. Of course, I multiplied the batter for the bottom tier by 1.5 for each sponge.
Thanks Terry, I will give it a shot and see how it goes.I will keep u posted. You are such a great teacher.
You are welcome Susan.
Beautiful!
Exquisitely beautiful!!
Thanks Julianah.
Hi Terry. i just tried this princess cake and i love it. thou not as perfect as your’s but ive bin gettin a lot of compliments. still coming up and hope to be better than my teacher someday. thank you sooo much for the inspiration. Mafeng…… i reali wish i could show u a picture….
Glad to hear that. You can send me a picture on Facebook. Thanks.
Hey Adido, jst got to know about you today through a friend, Wow!you are a blessing and a good teacher. Will ask my questions soon. Bless you!
Glad to ave you here Gladys.