
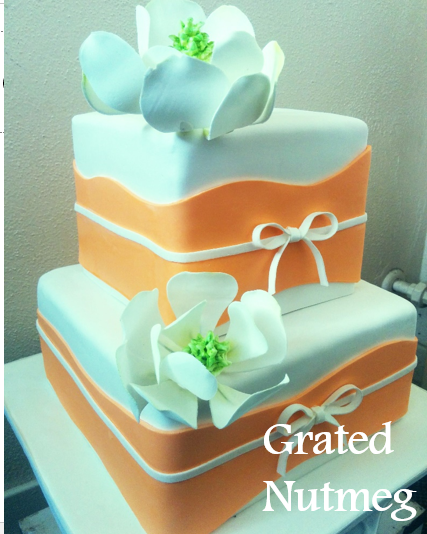
The Making of a Two Tier Wedding Cake with Magnolia Flowers
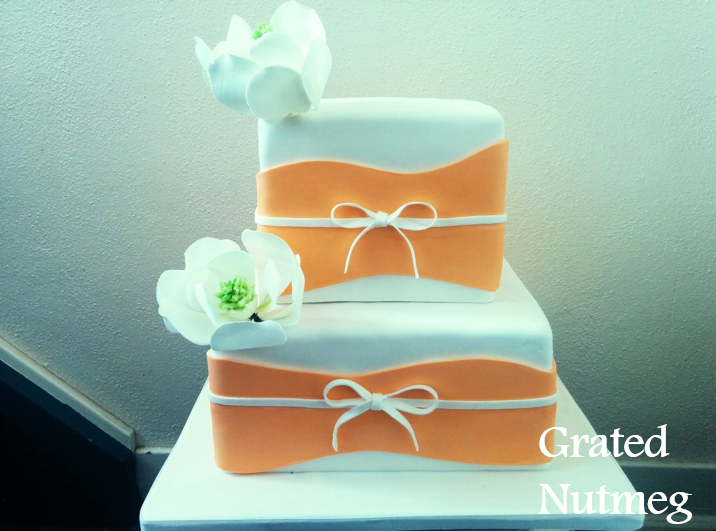
This is a tutorial on how to achieve this cake design. It is a simple cake design with a few hidden technicalities. I will be showing you techniques like how to get a clean base on your cakes without using a boarder. You can read more about this cake here.
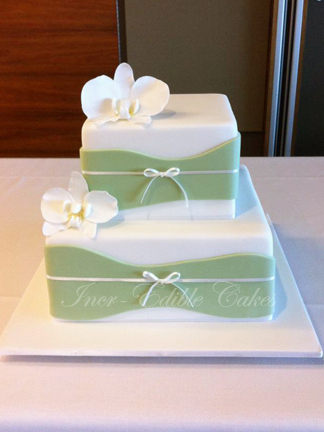
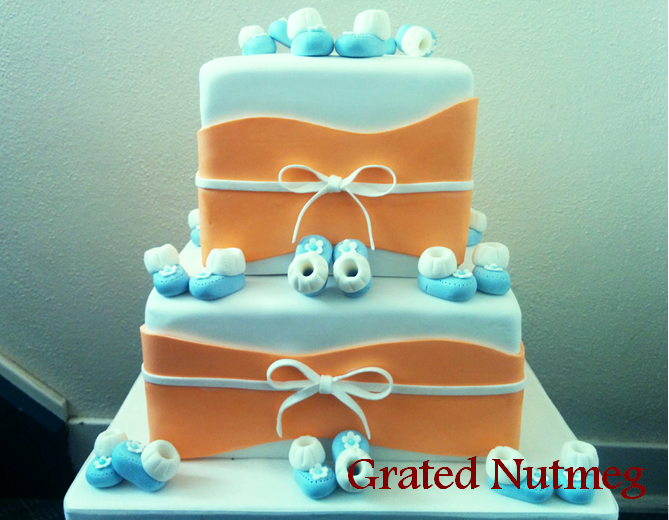
This cake was actually inspired by the cake in the picture below. I was shown this picture and asked to recreate the cake using orange in place of blue for the design.
THE PROCESS:
(1) The fist thing you want to do is make your flowers. I have a tutorial here on how to make simple magnolia flowers. Feel free to use whatever flower you like. The original cake used orchid flowers. The flower however has to be bold.

(2) Make you cakes and frost them. I used a 7 inch square pan for the top tier and a 10 inch square pan for the bottom tier.
(3) Make your cake board and cover it with fondant. You can read up this tutorial on how to cover cake boards with fondant.

(4) Make the thin bows which will be placed in front of both tiers and leave them to dry. These are easy to make and are about 1 cm thick. Simply cut out thin strips of fondant, overlap them to form bows and wrap another strip around the middle of the bow. In the original cake, real ribbons were used. My cake philosophy however is that everything on my cakes must be edible.
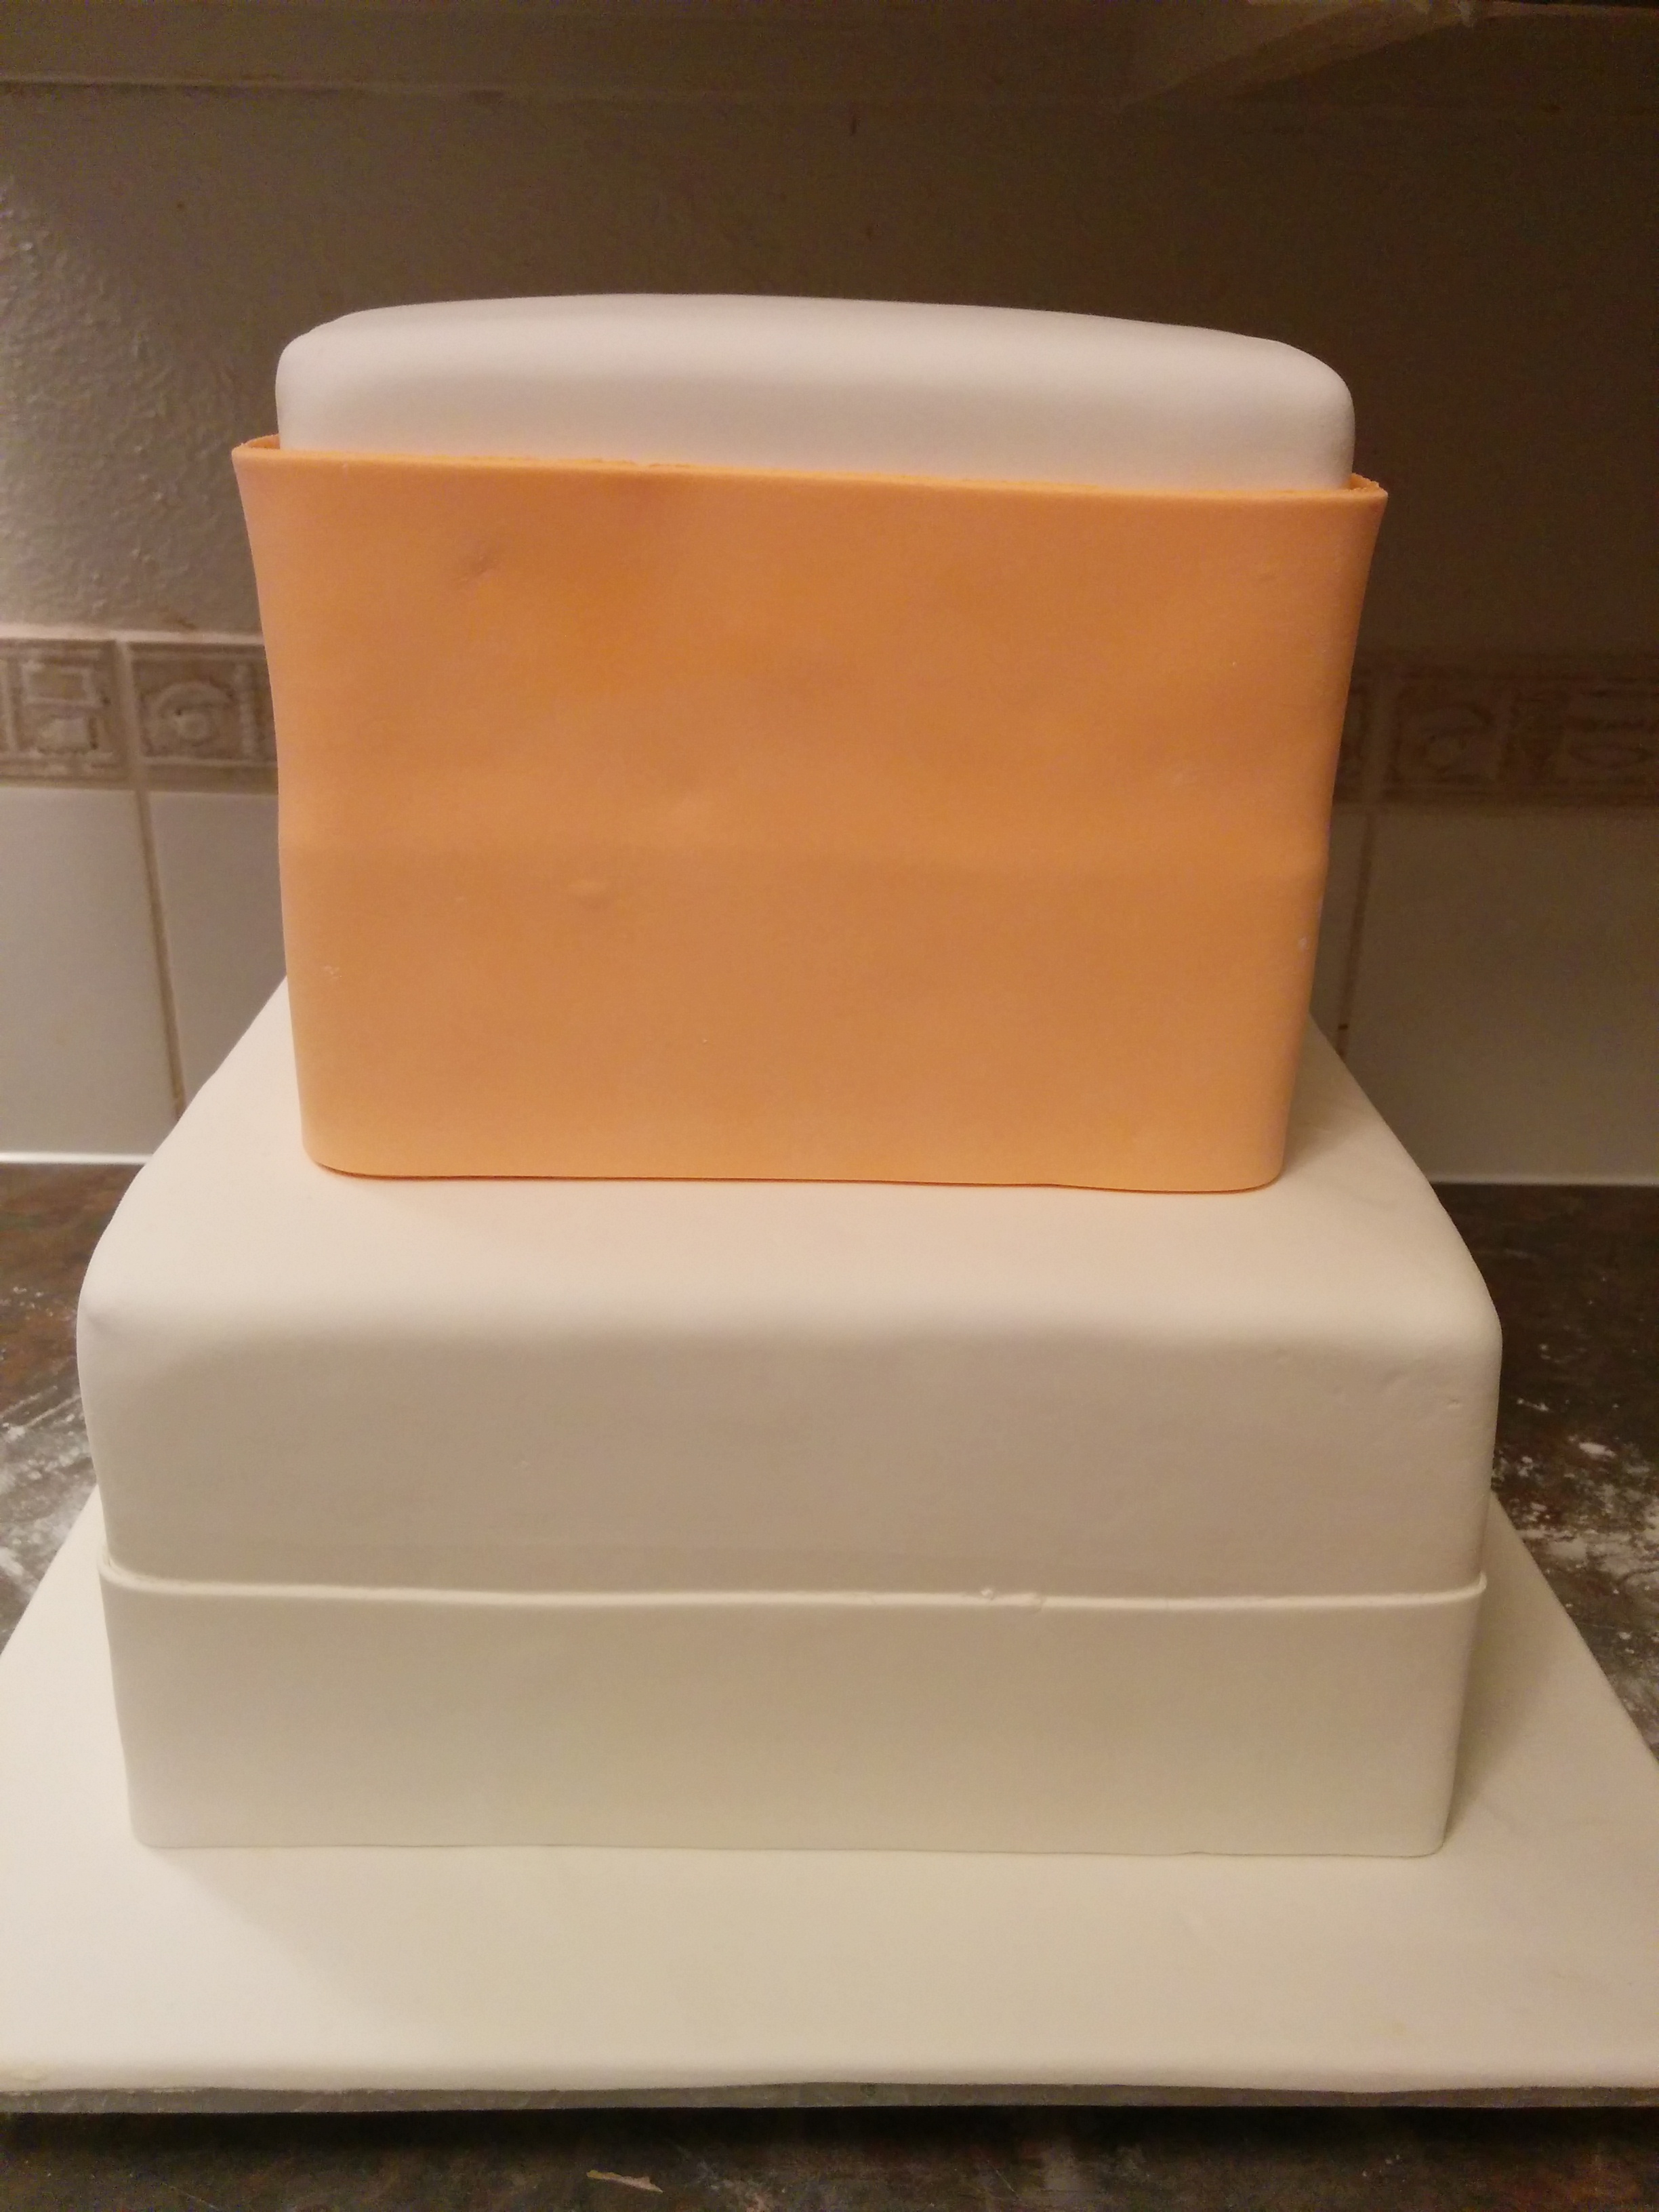
(5) Drape both cake tiers with white fondant. Be most concerned about getting a smooth covering on the top 3rd of the cake tiers (You will understand why soon). Do not be too concerned about the bottom 2/3 of the tiers. Having said that, try to make your fondant layering as smooth as possible.
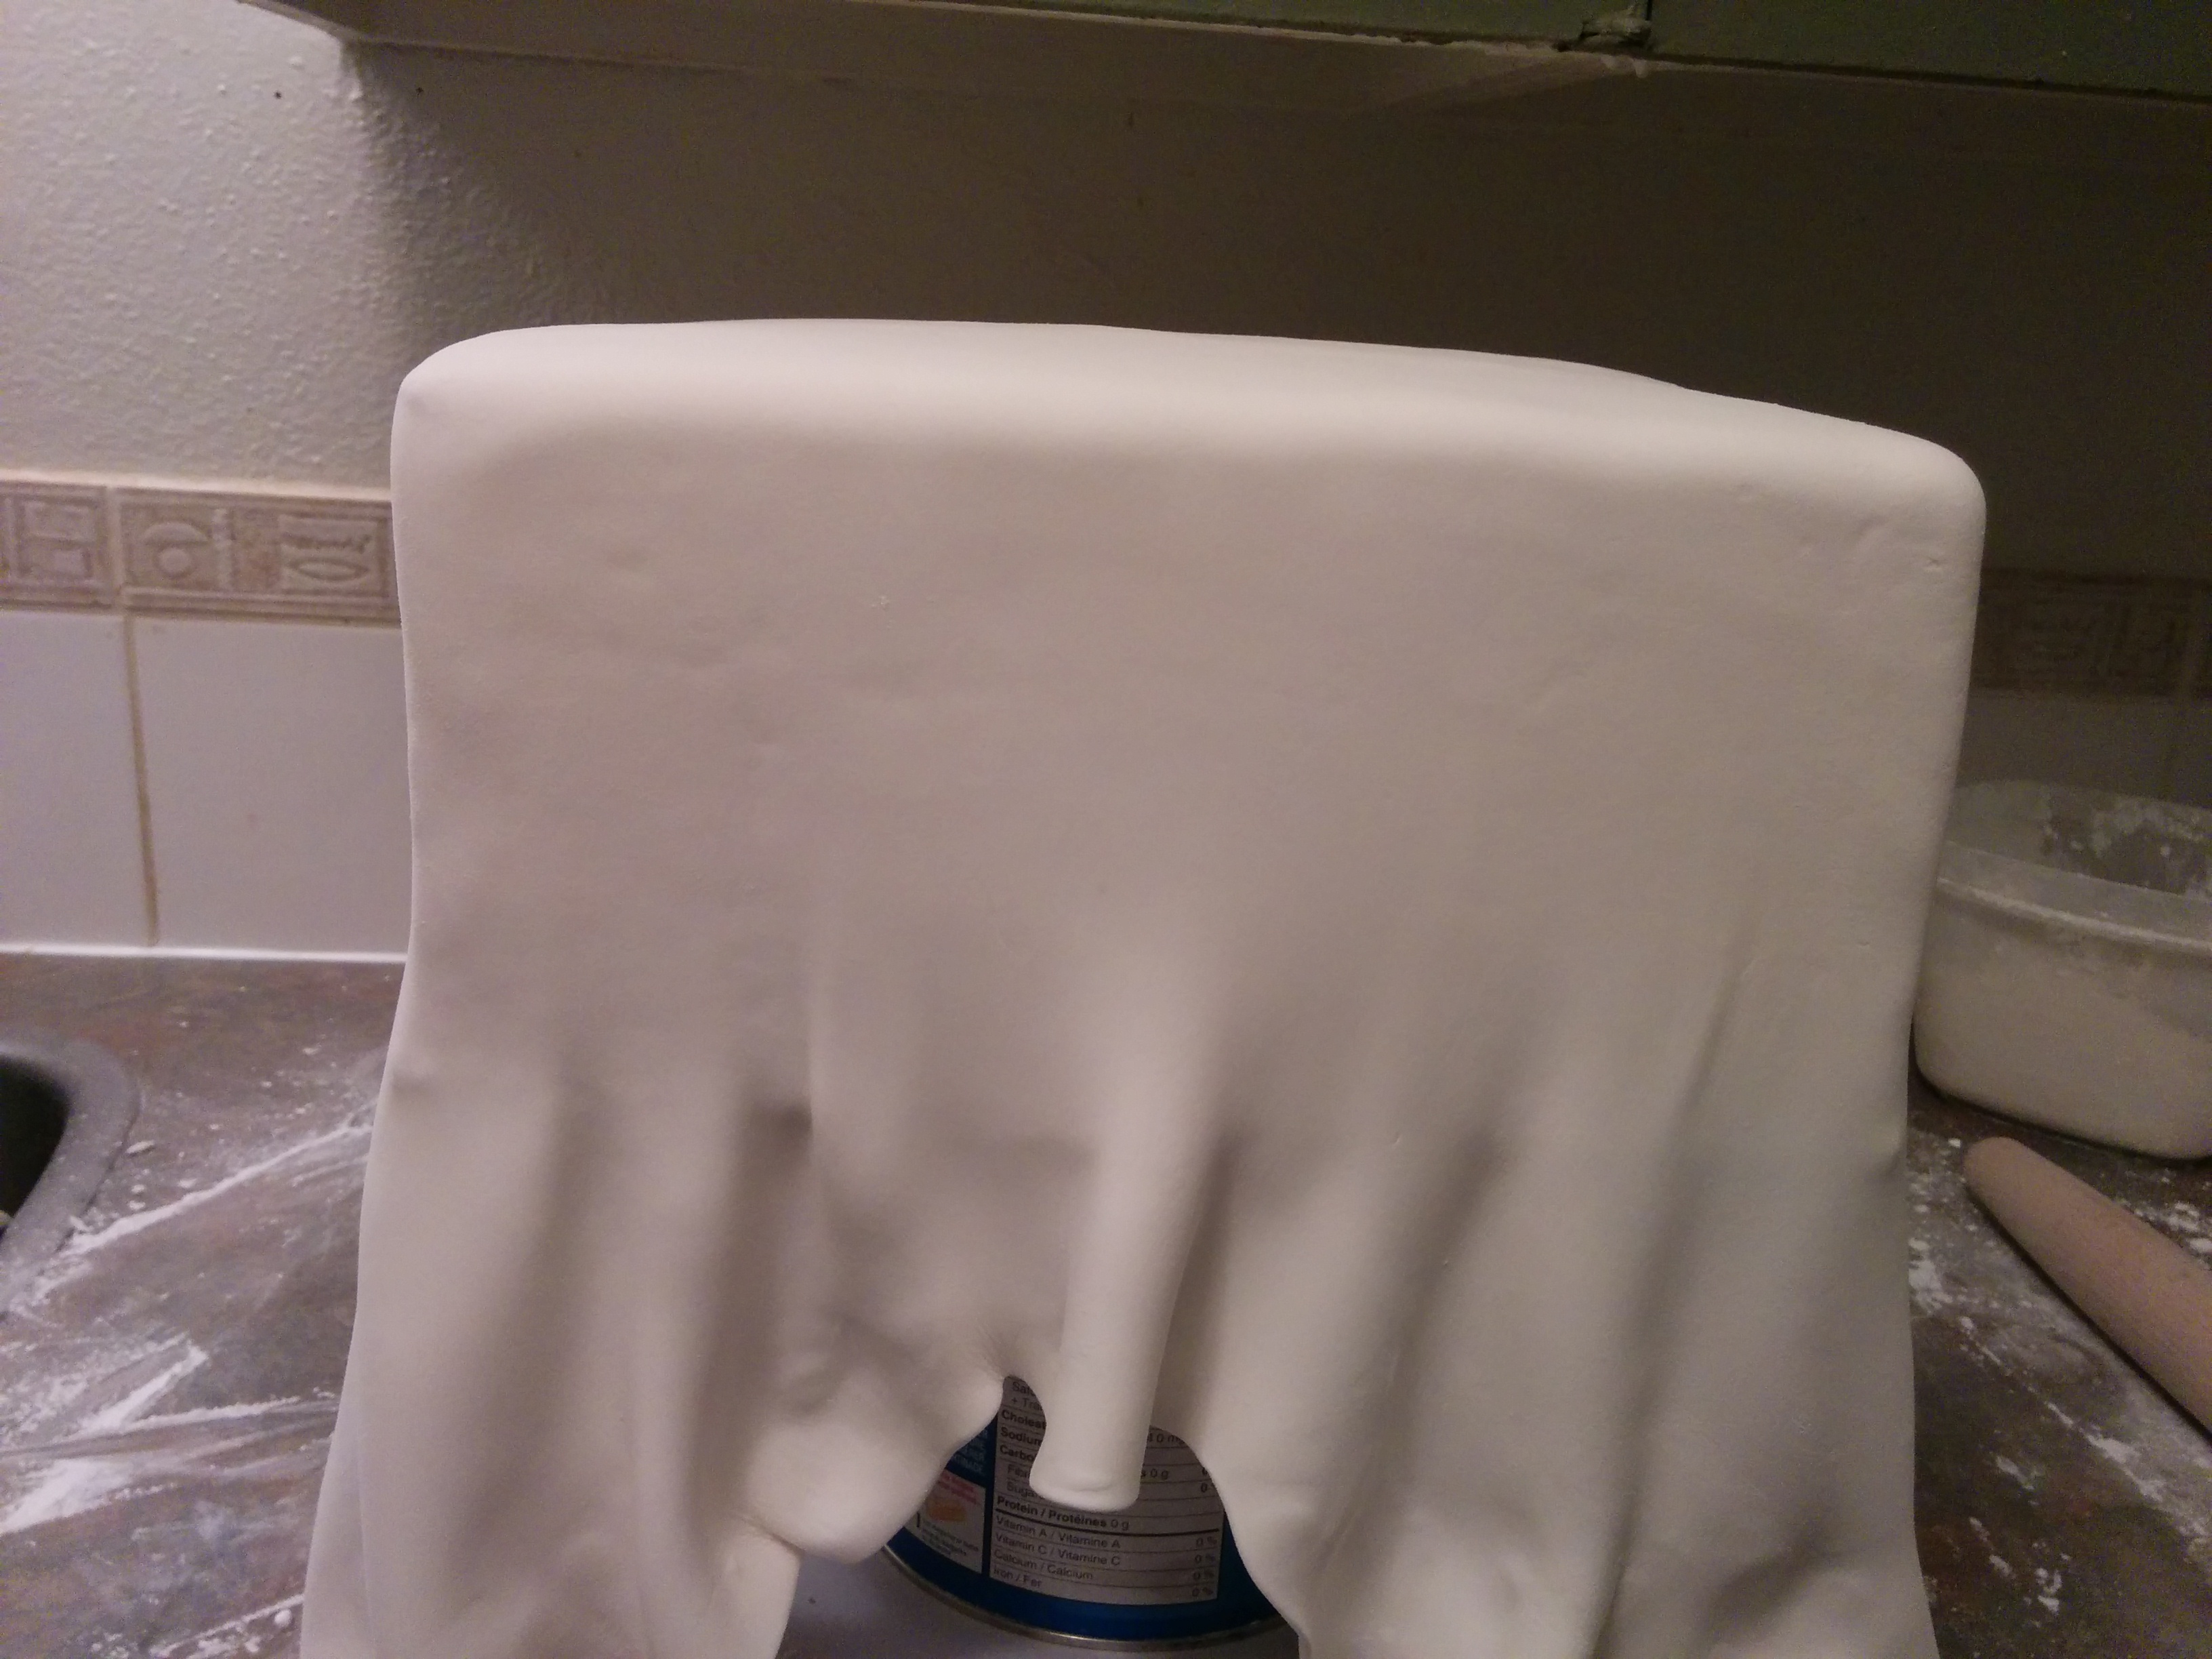
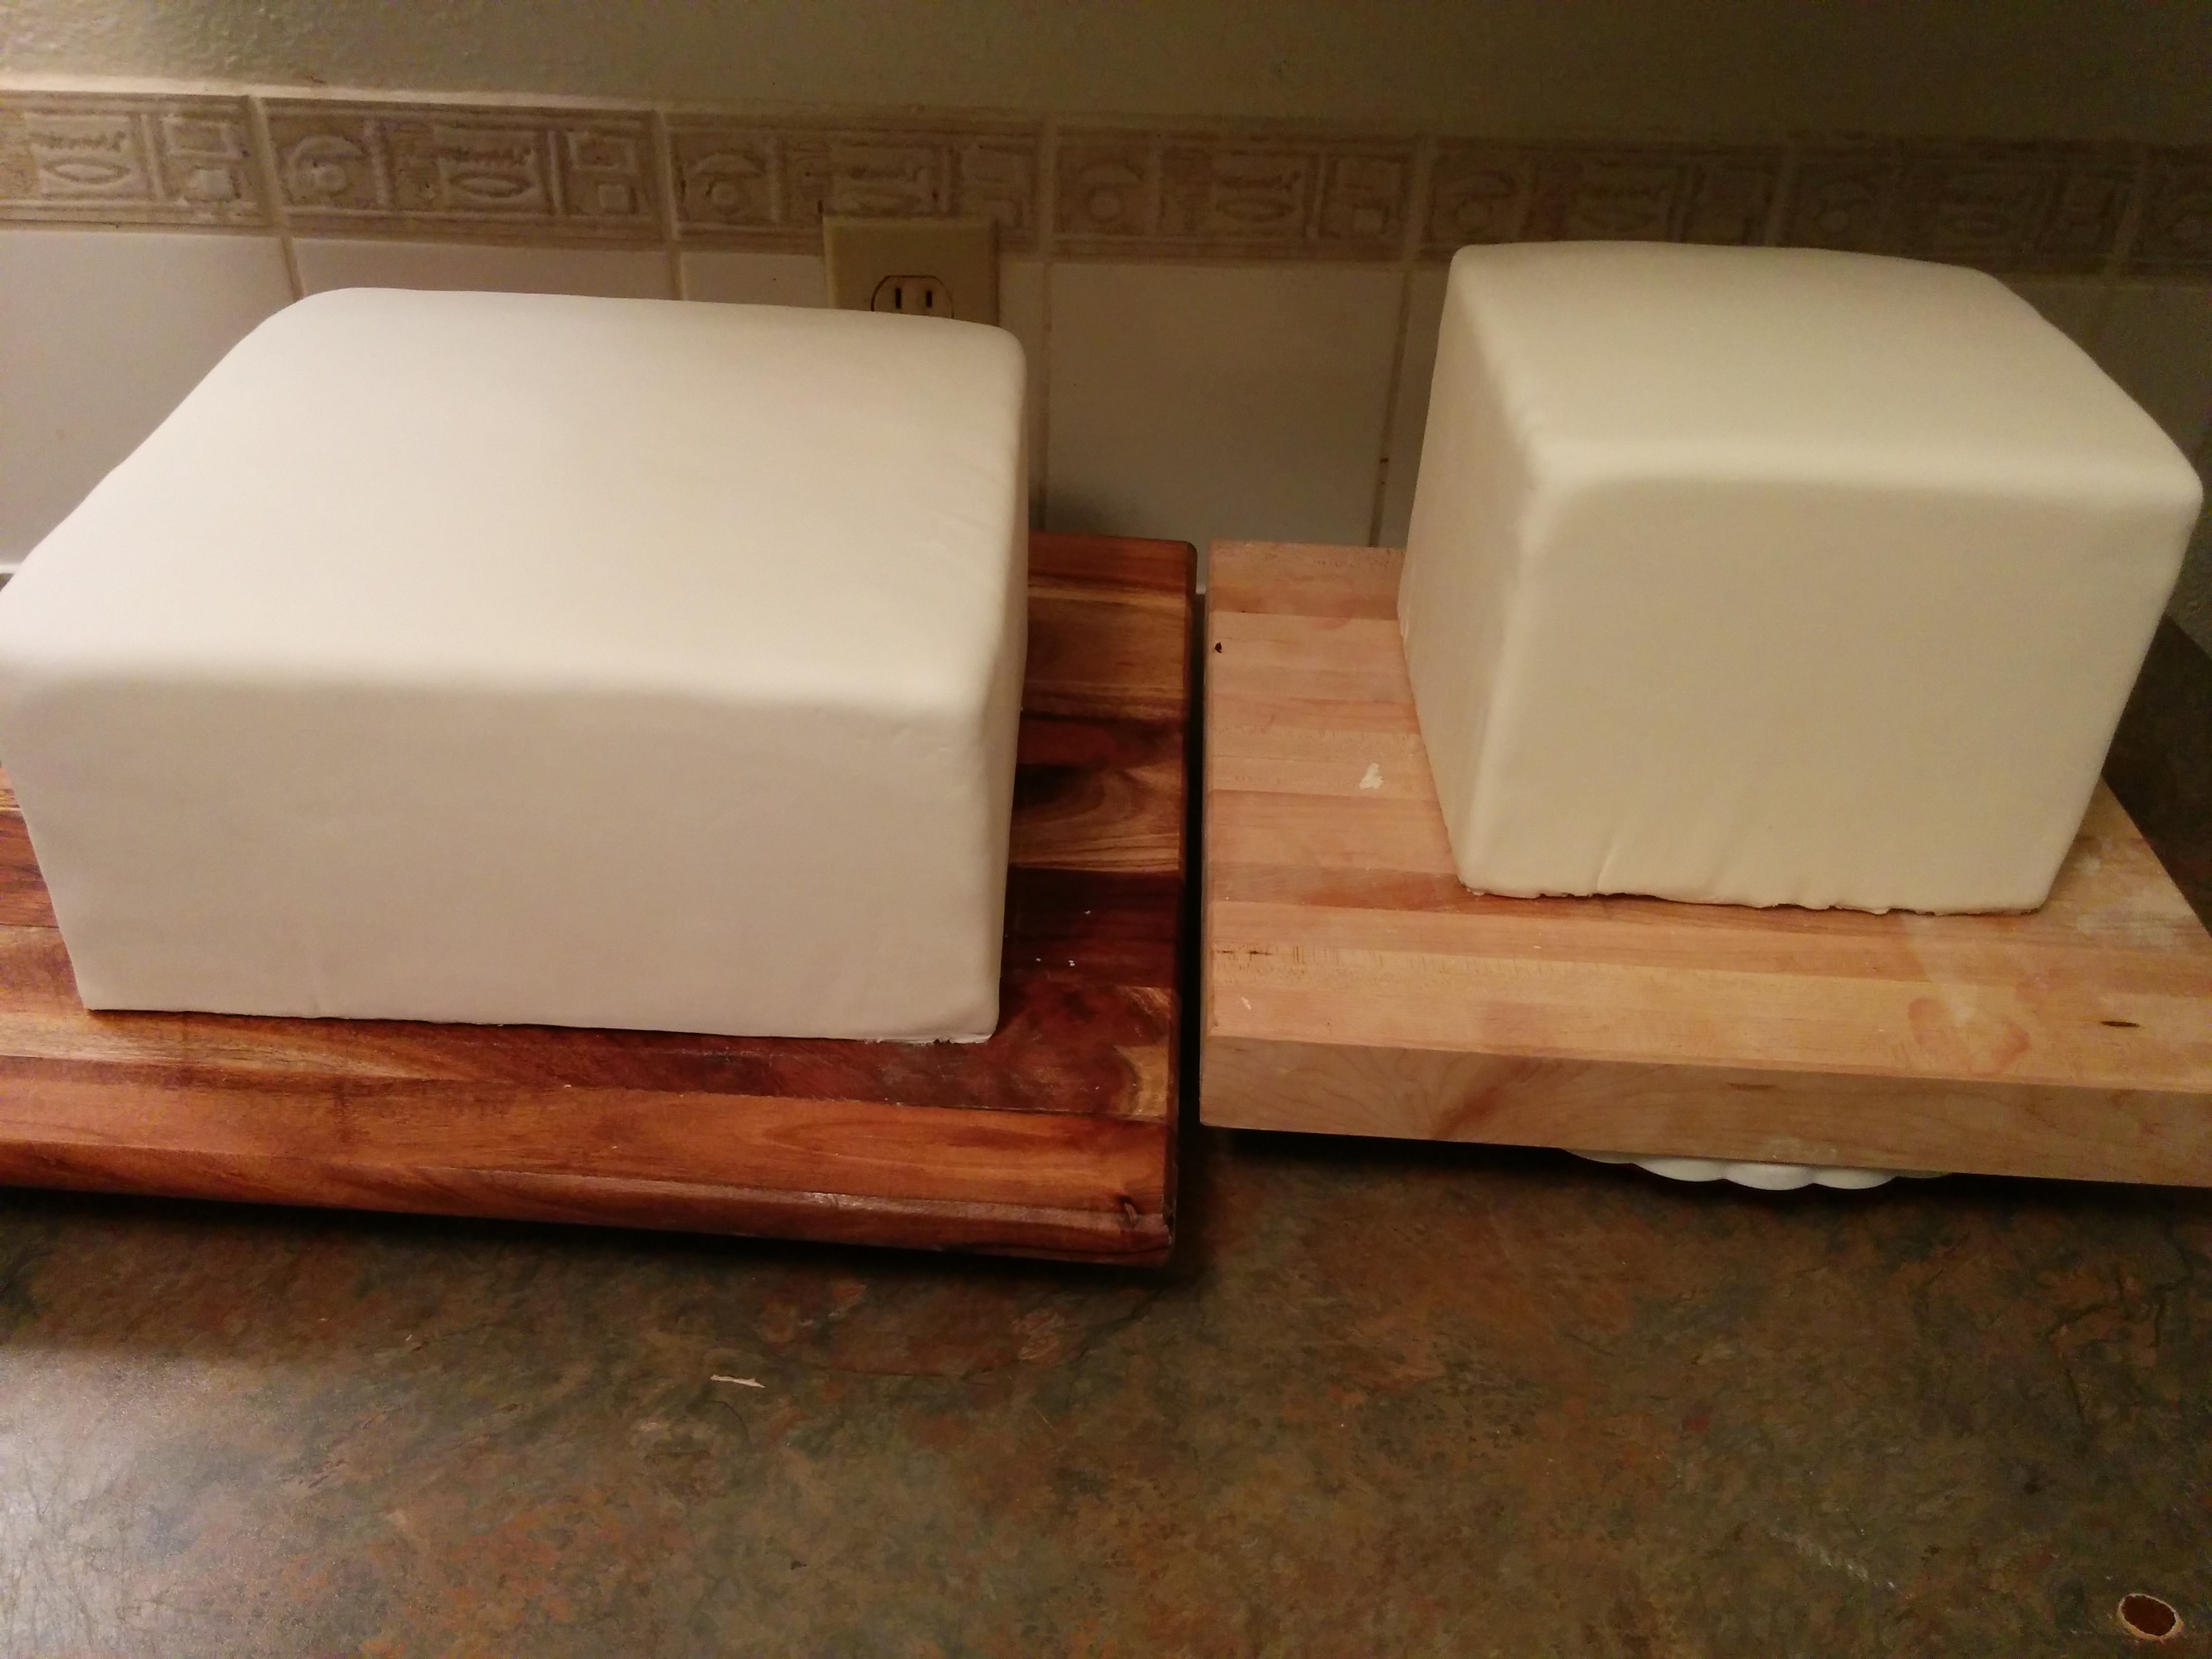
TIP: From the picture above you can see how I drape my cakes with fondant. I place them on an elevated medium and place that medium on a turn table. This allows the fondant to drape down as you pull on it. It prevents folds and elephant ears at the base of the cake.
(6) Spread some melted (white) chocolate on the cake board and place the bottom tier on the cake board.
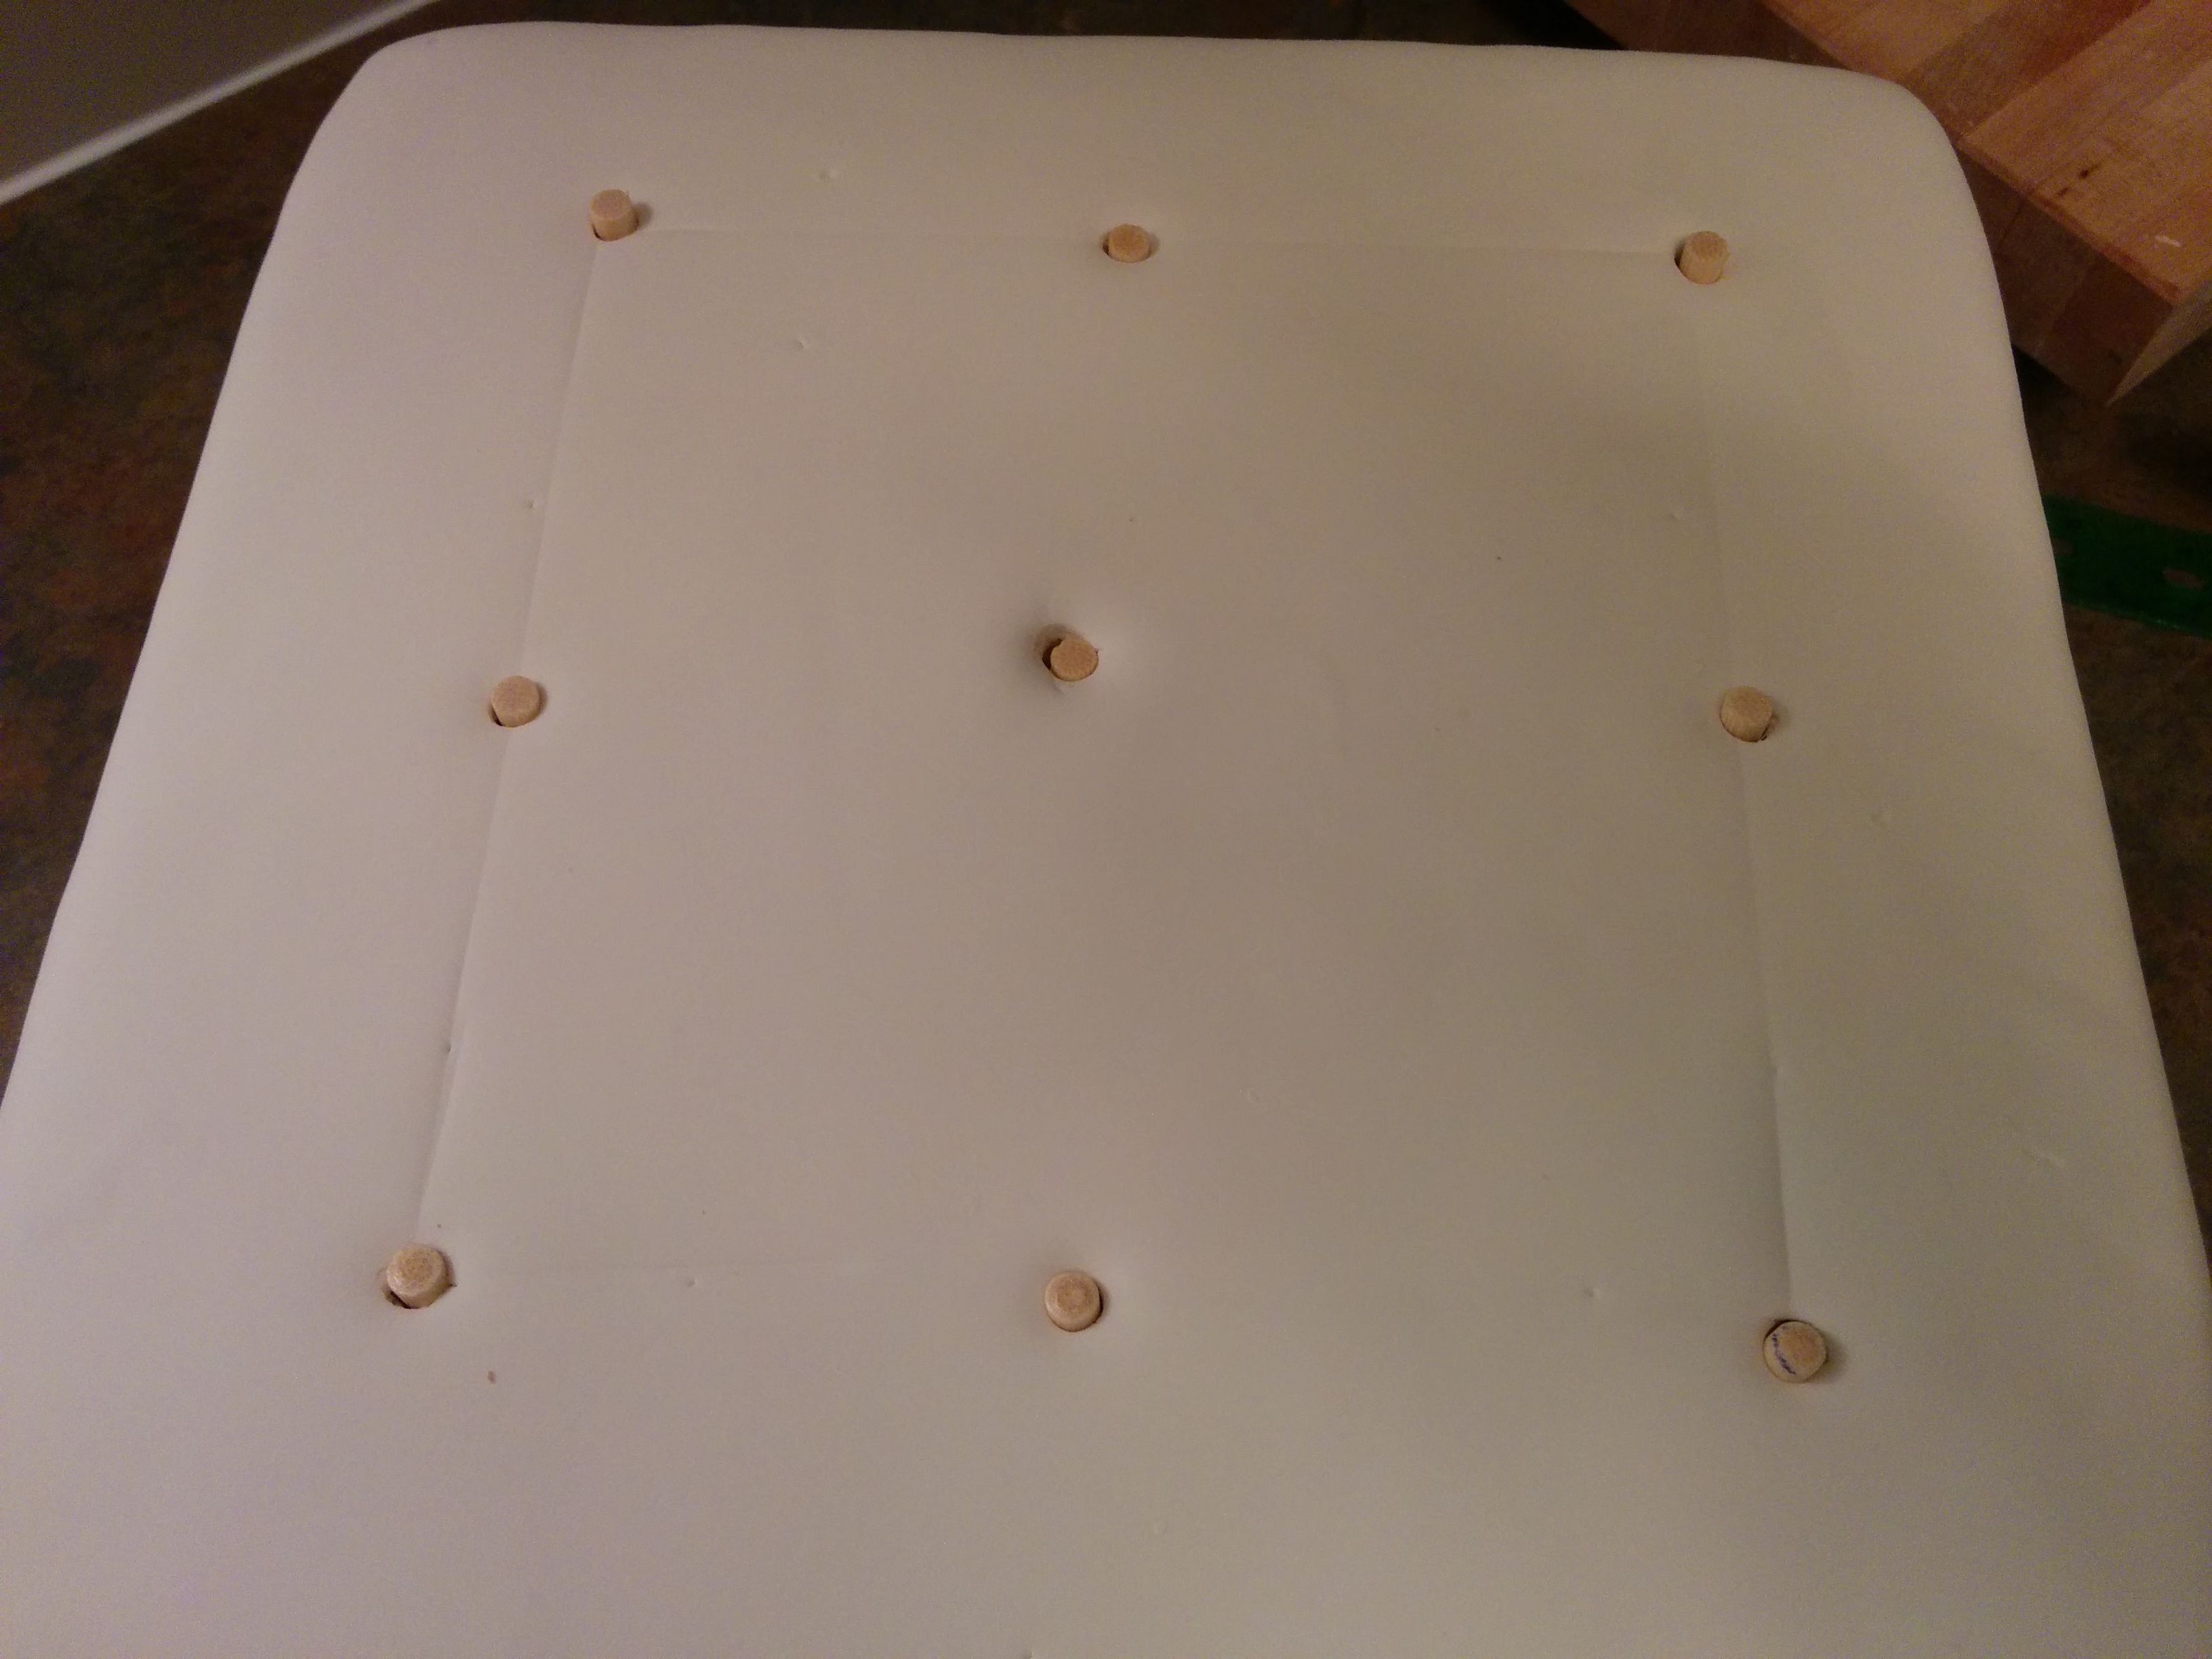
(7) Place dowels in the bottom tier.
(8) Apply some melted (white) chocolate on the bottom tier and place the top tier on it. You can read more about how to stack cakes here.
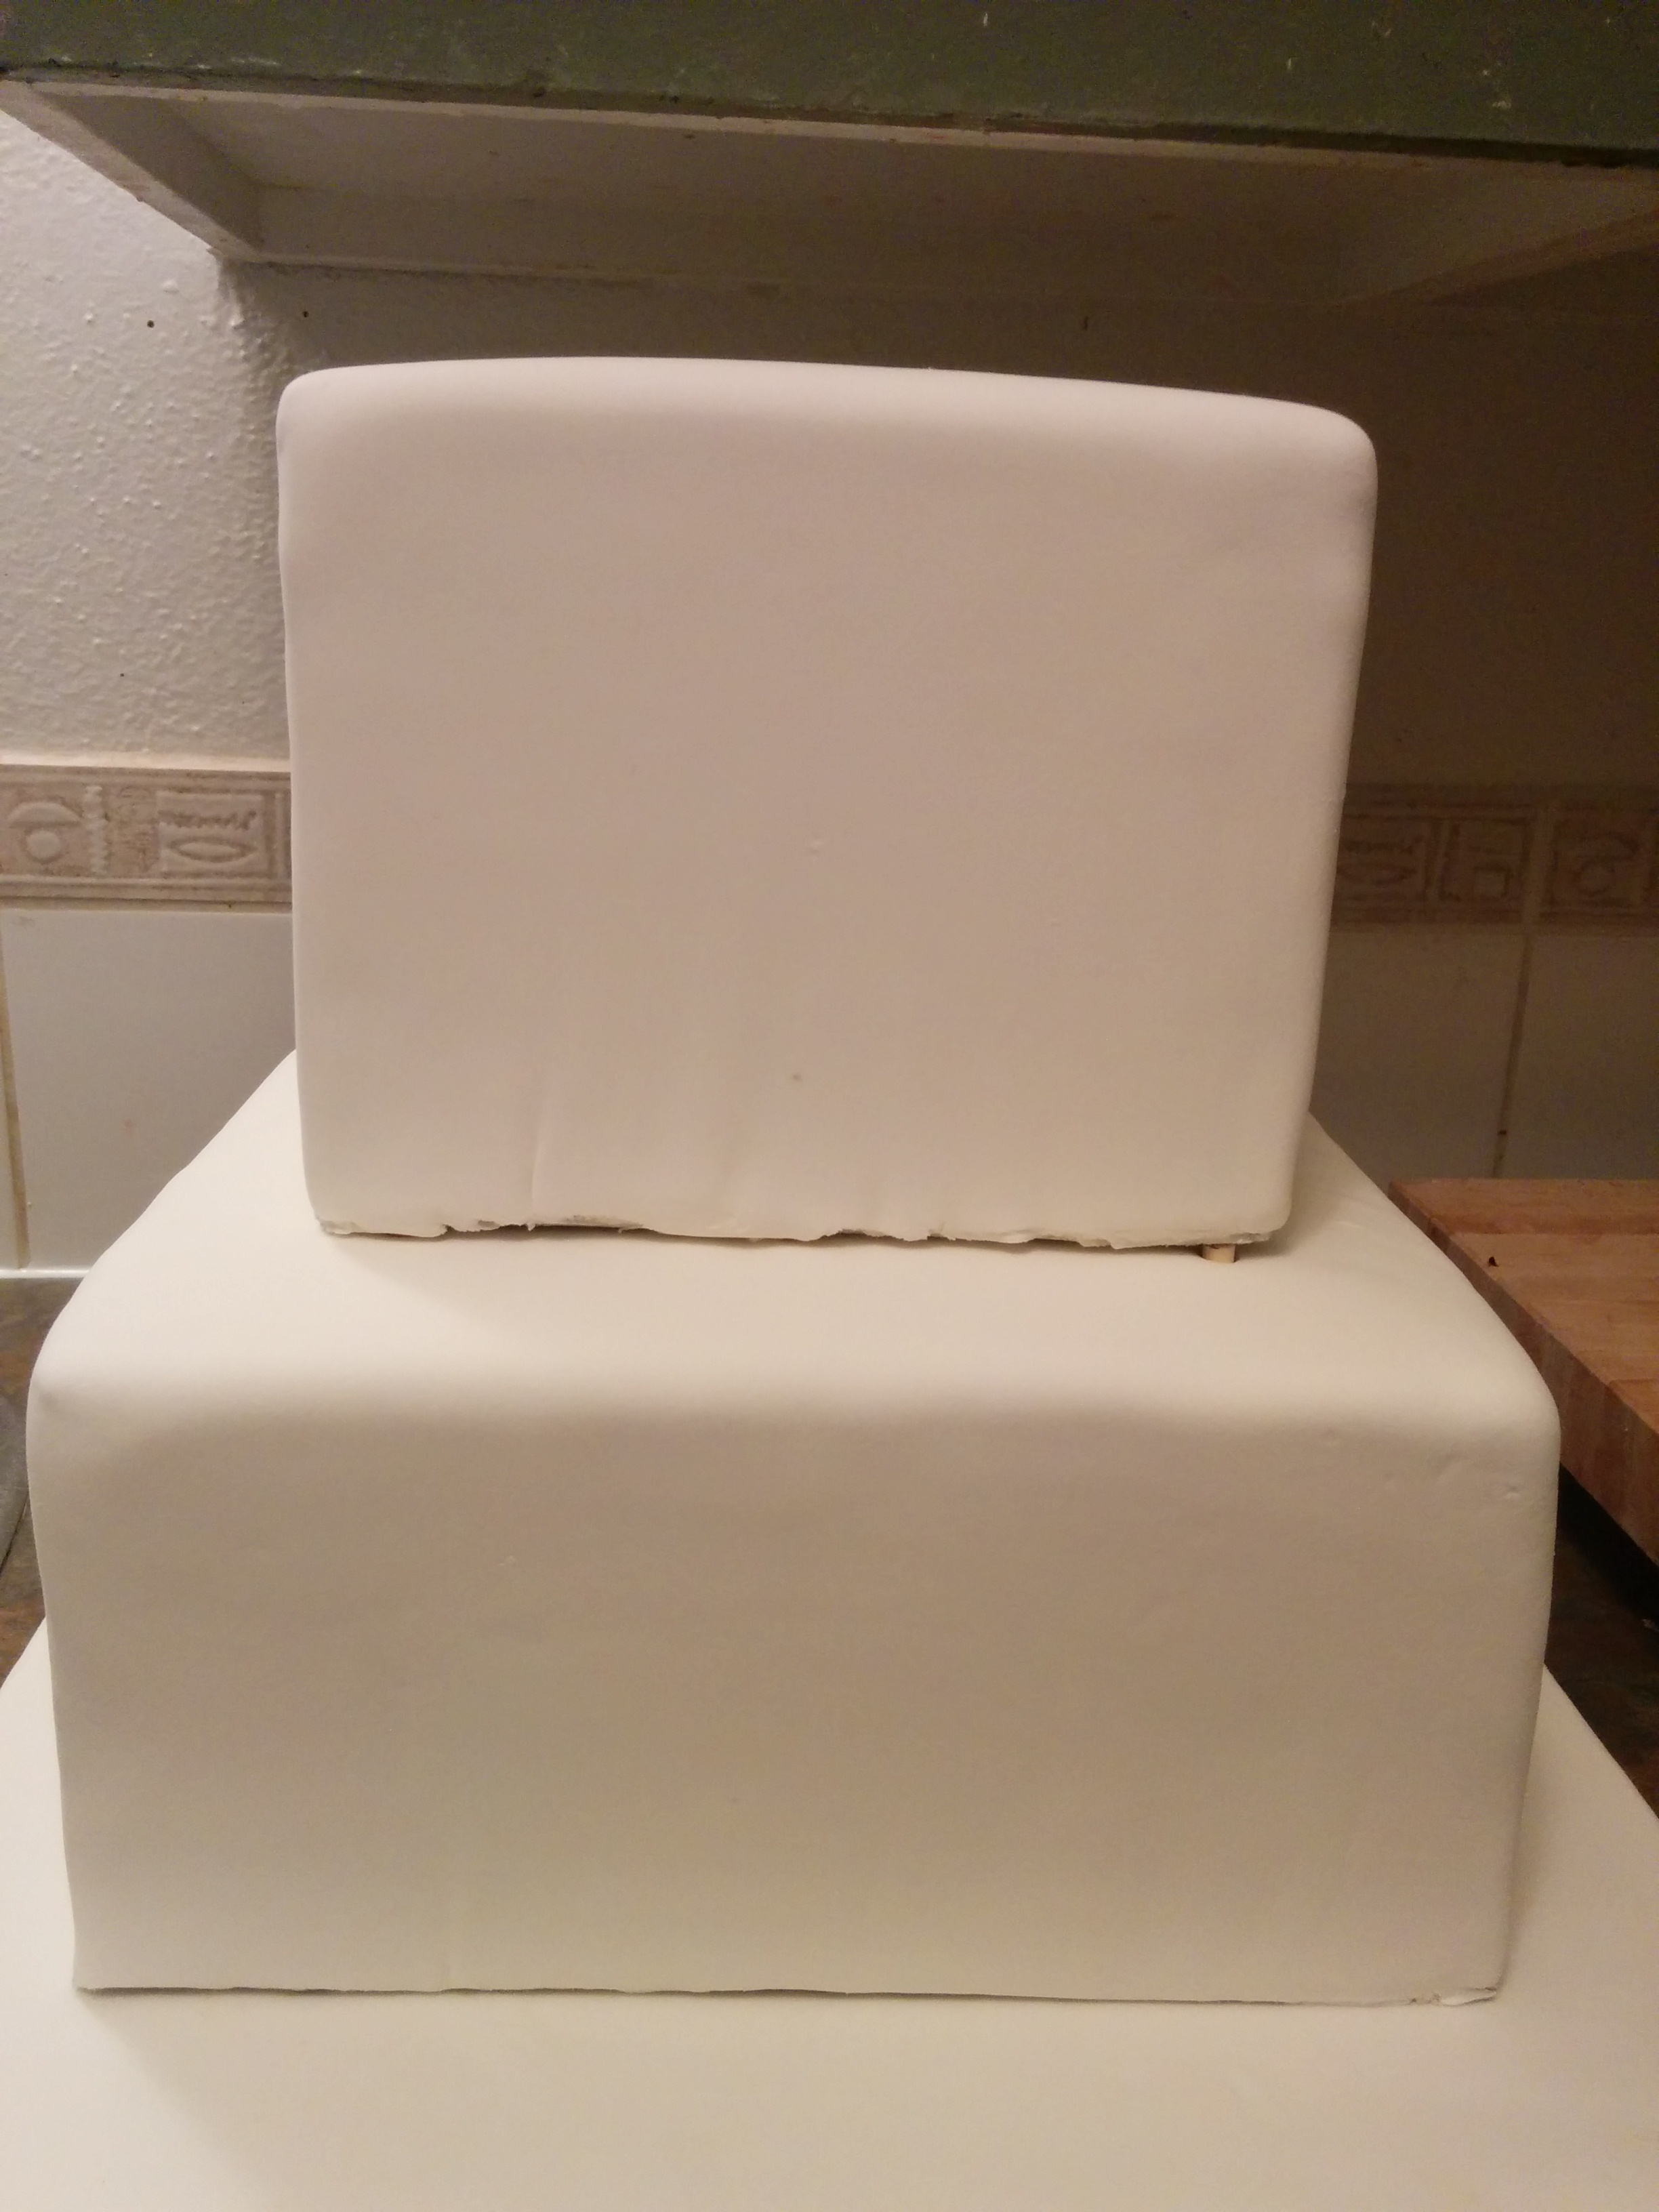
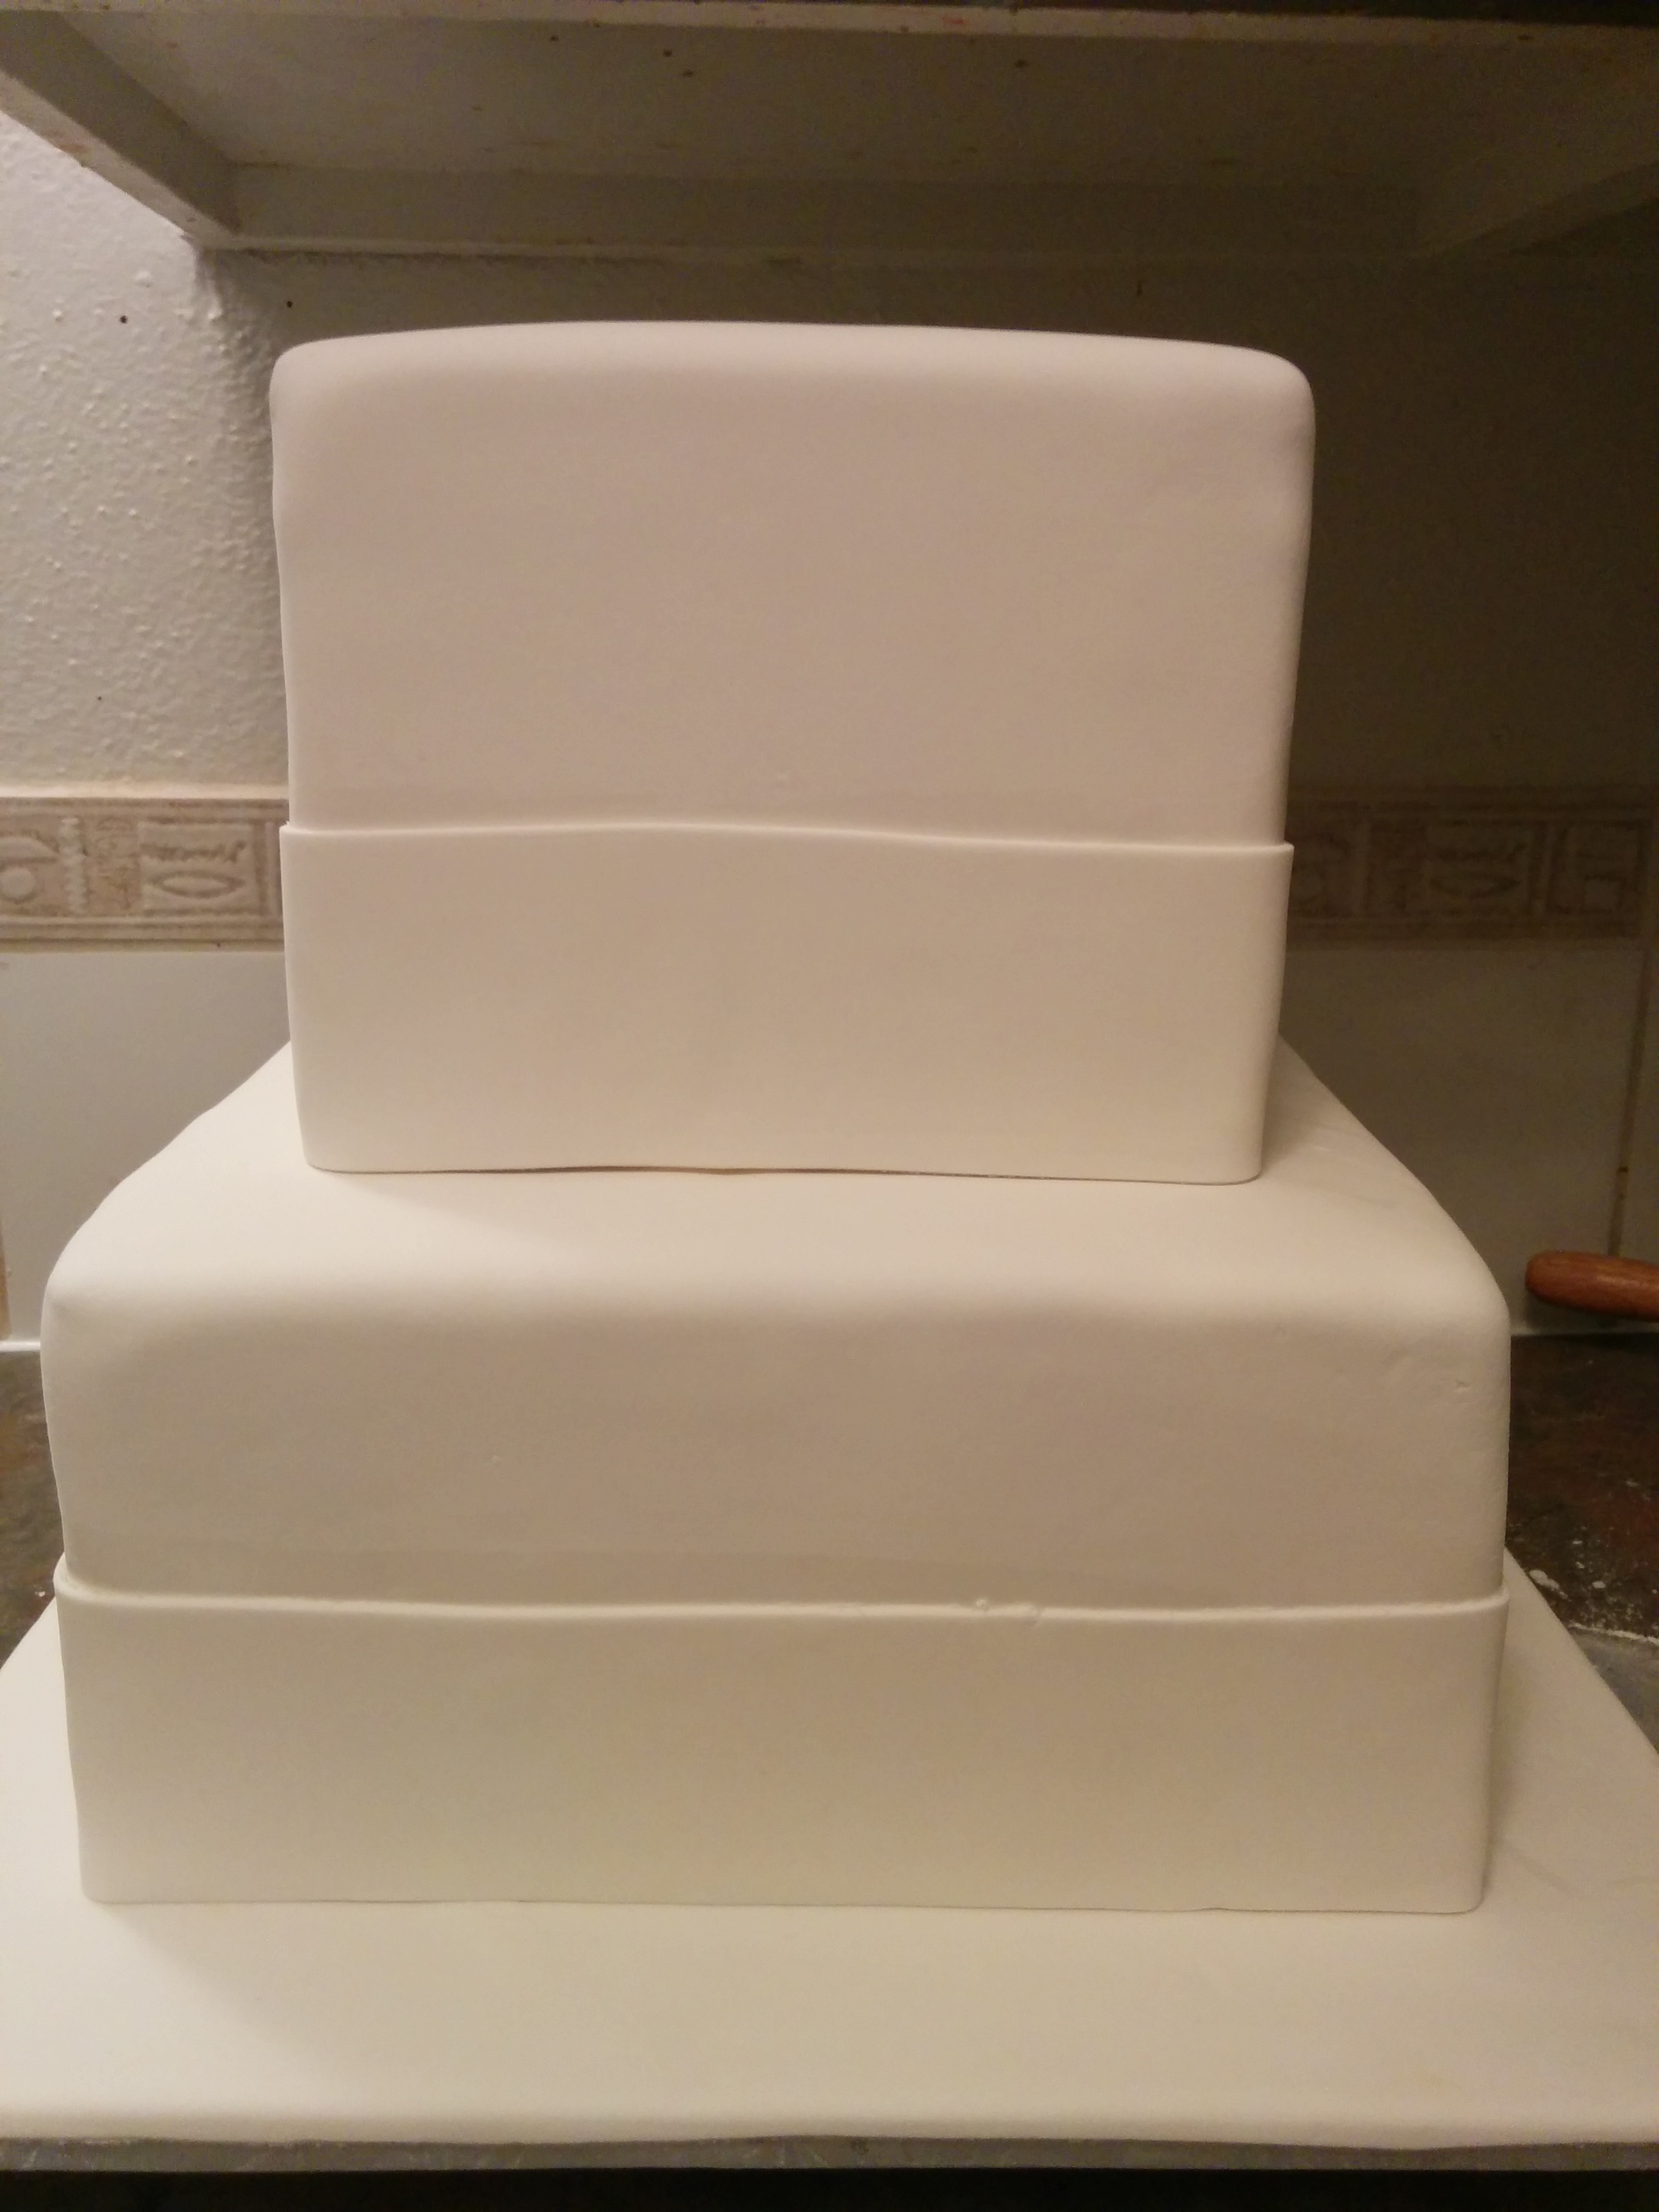
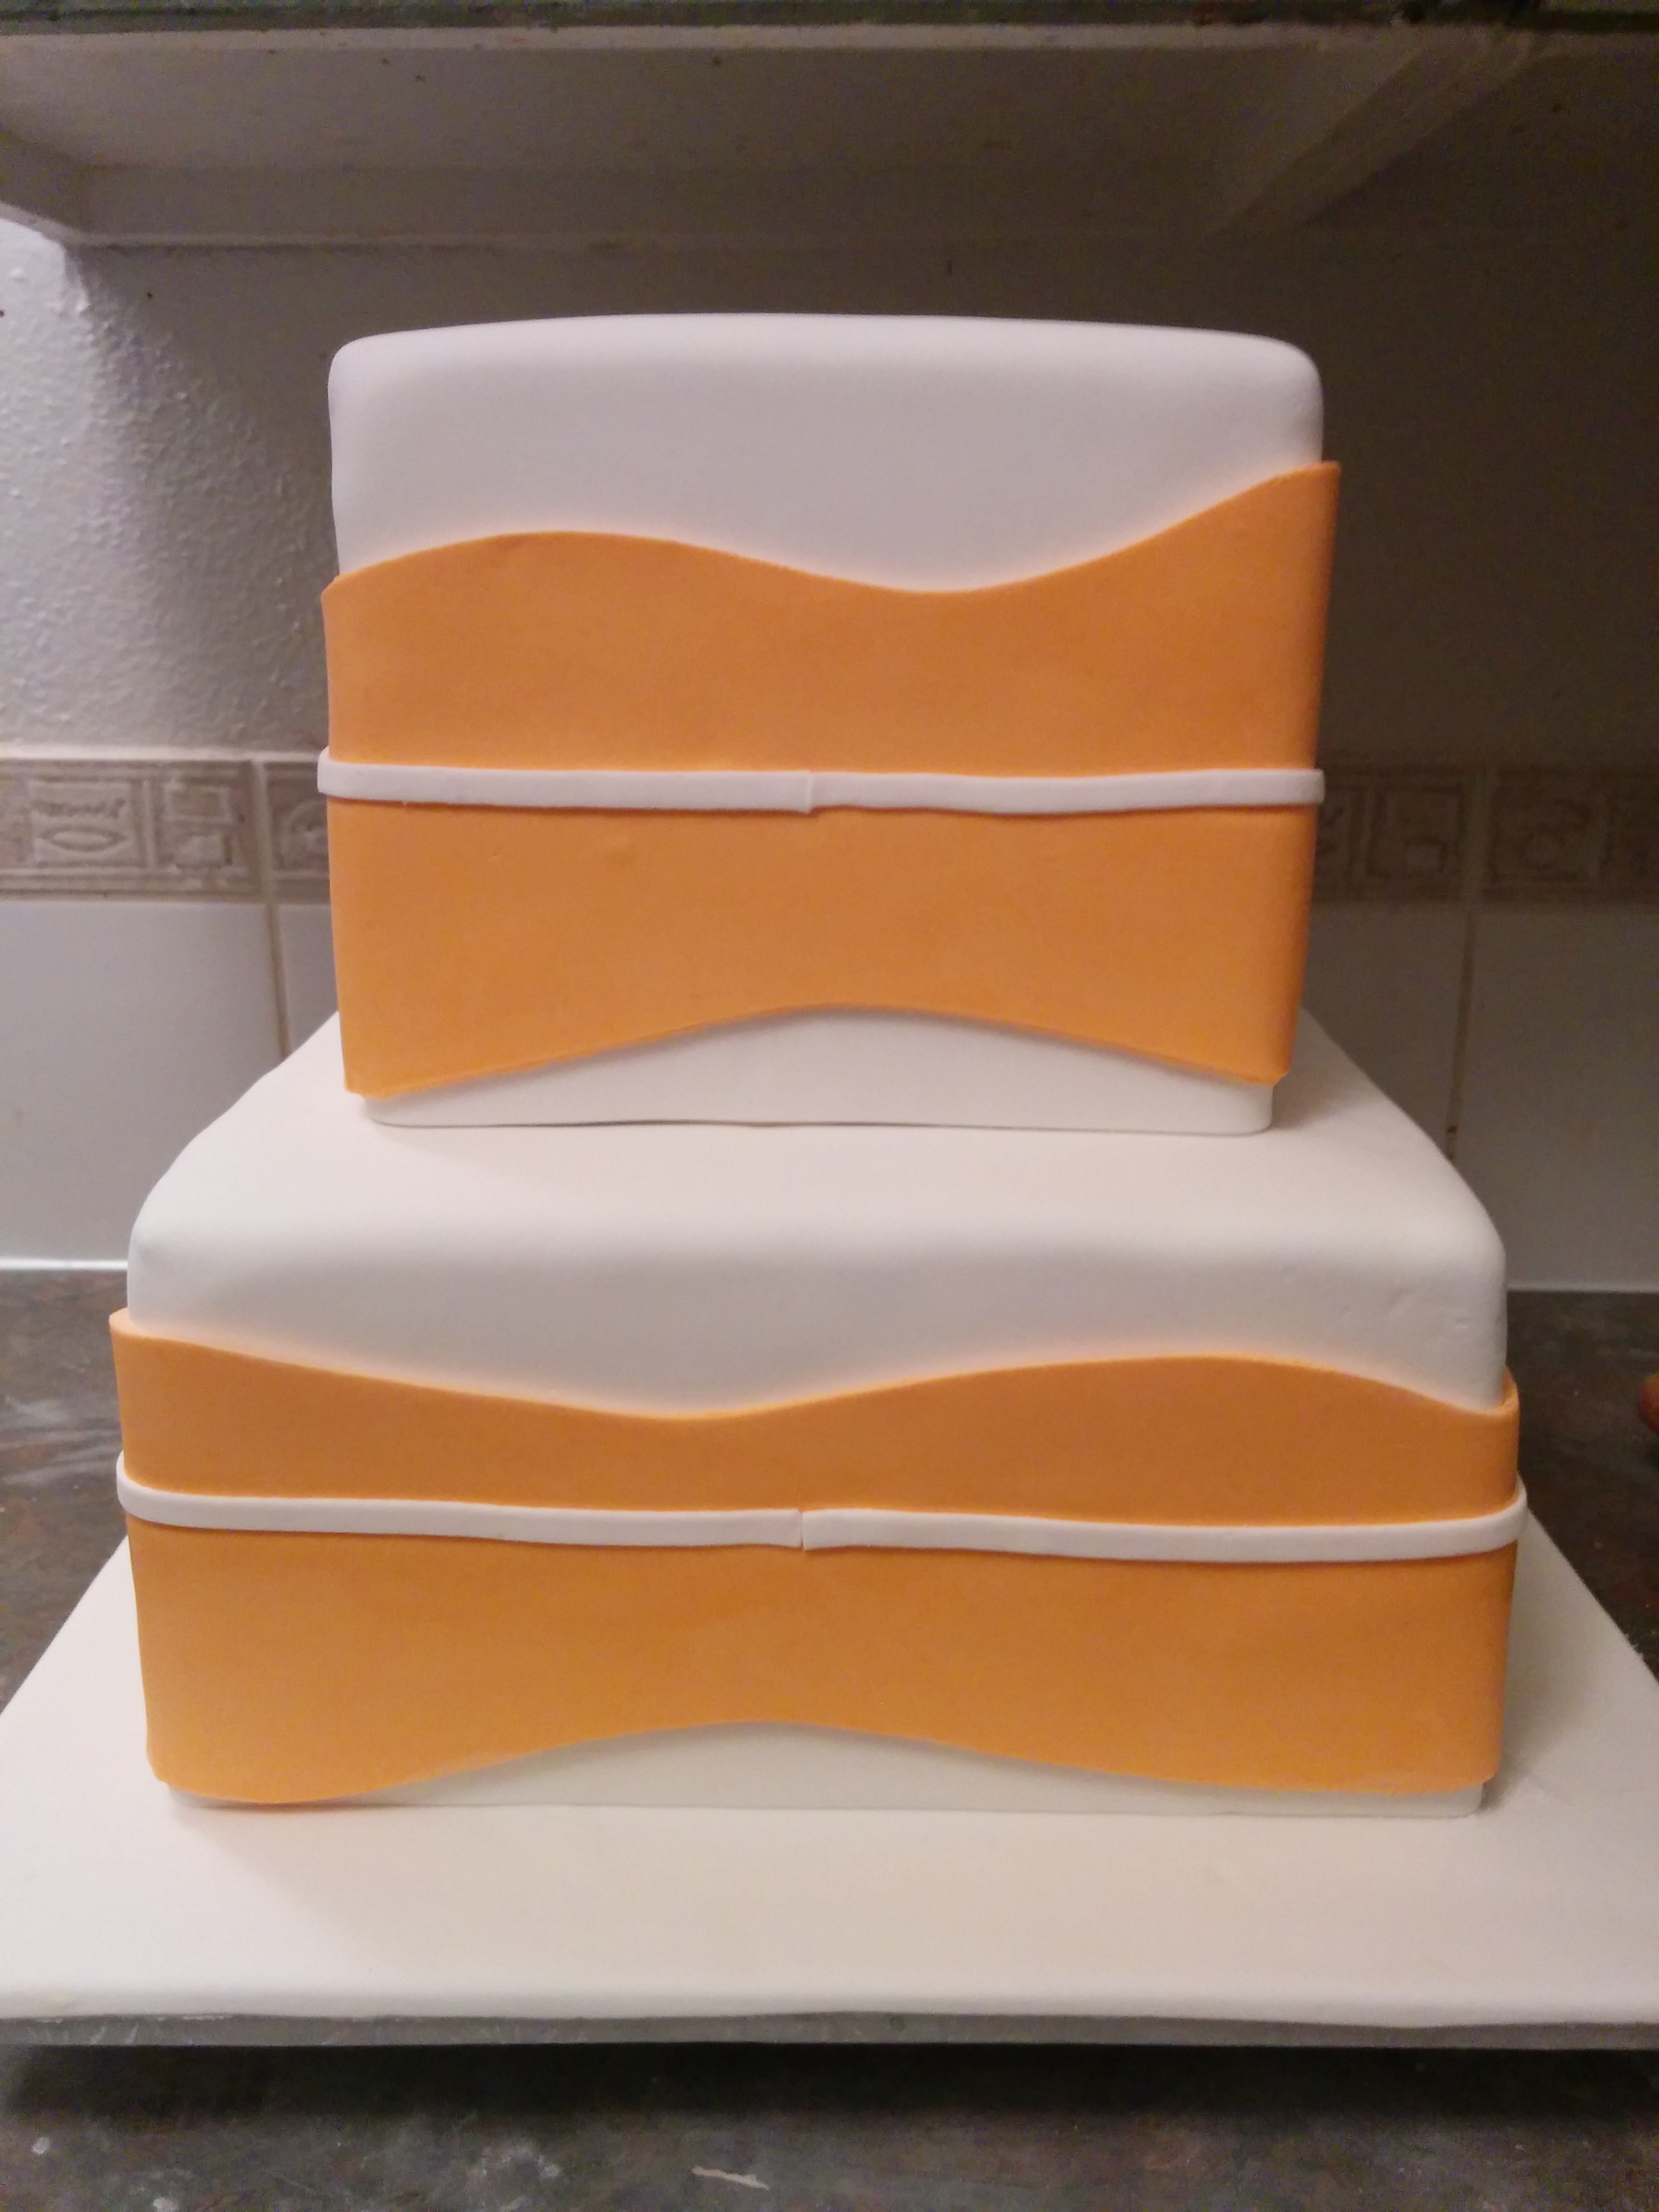
(9) Now, it is time to make the smooth base on the tiers. To do this, roll out a thin strip of white fondant and wrap around the bottom of the tiers making sure it touches the top of the bottom tier and the cake board respectively. The fondant strip should be as thin as possible so as not to create a bump on the cake. It should also be about half the height of the cake. Each of my tiers is about 4.5 inches high so I cut my strips 2.5 inches high. Use water or vodka to stick the strips to the cake.
(10) Next, color your fondant to the color of your choice, roll it out to about the height of the cake tiers and wrap it around the cake tiers. You can work one tier at a time or both tiers at the same time. To wrap the colored fondant, apply some water or vodka only in the middle of the tiers. This will hold the fondant in place, allowing you to cut out the excess fondant. If your strip of fondant does not go all the way round, feel free to add some extra fondant. Always make sure that your seems are at the back of the cake and not in front.
(11) Use a VERY SHARP blade to cut out the pattern you desire. I prefer to use a tiger razor blade for things like this as it gives me clean cuts without pulling on the fondant. There is no method to the pattern you create here. Do not over think it. Just do it in one sweeping motion creating curves, peeks and valleys. Be careful not to cut too deep into the cake. After cutting out your pattern, brush the bottom of the edges with your liquid and stick them to the cake. Brush the colored pattern with some vodka to brighten it. Be careful not to use too much vodka so it does not drip and stain the white portion of the cake.
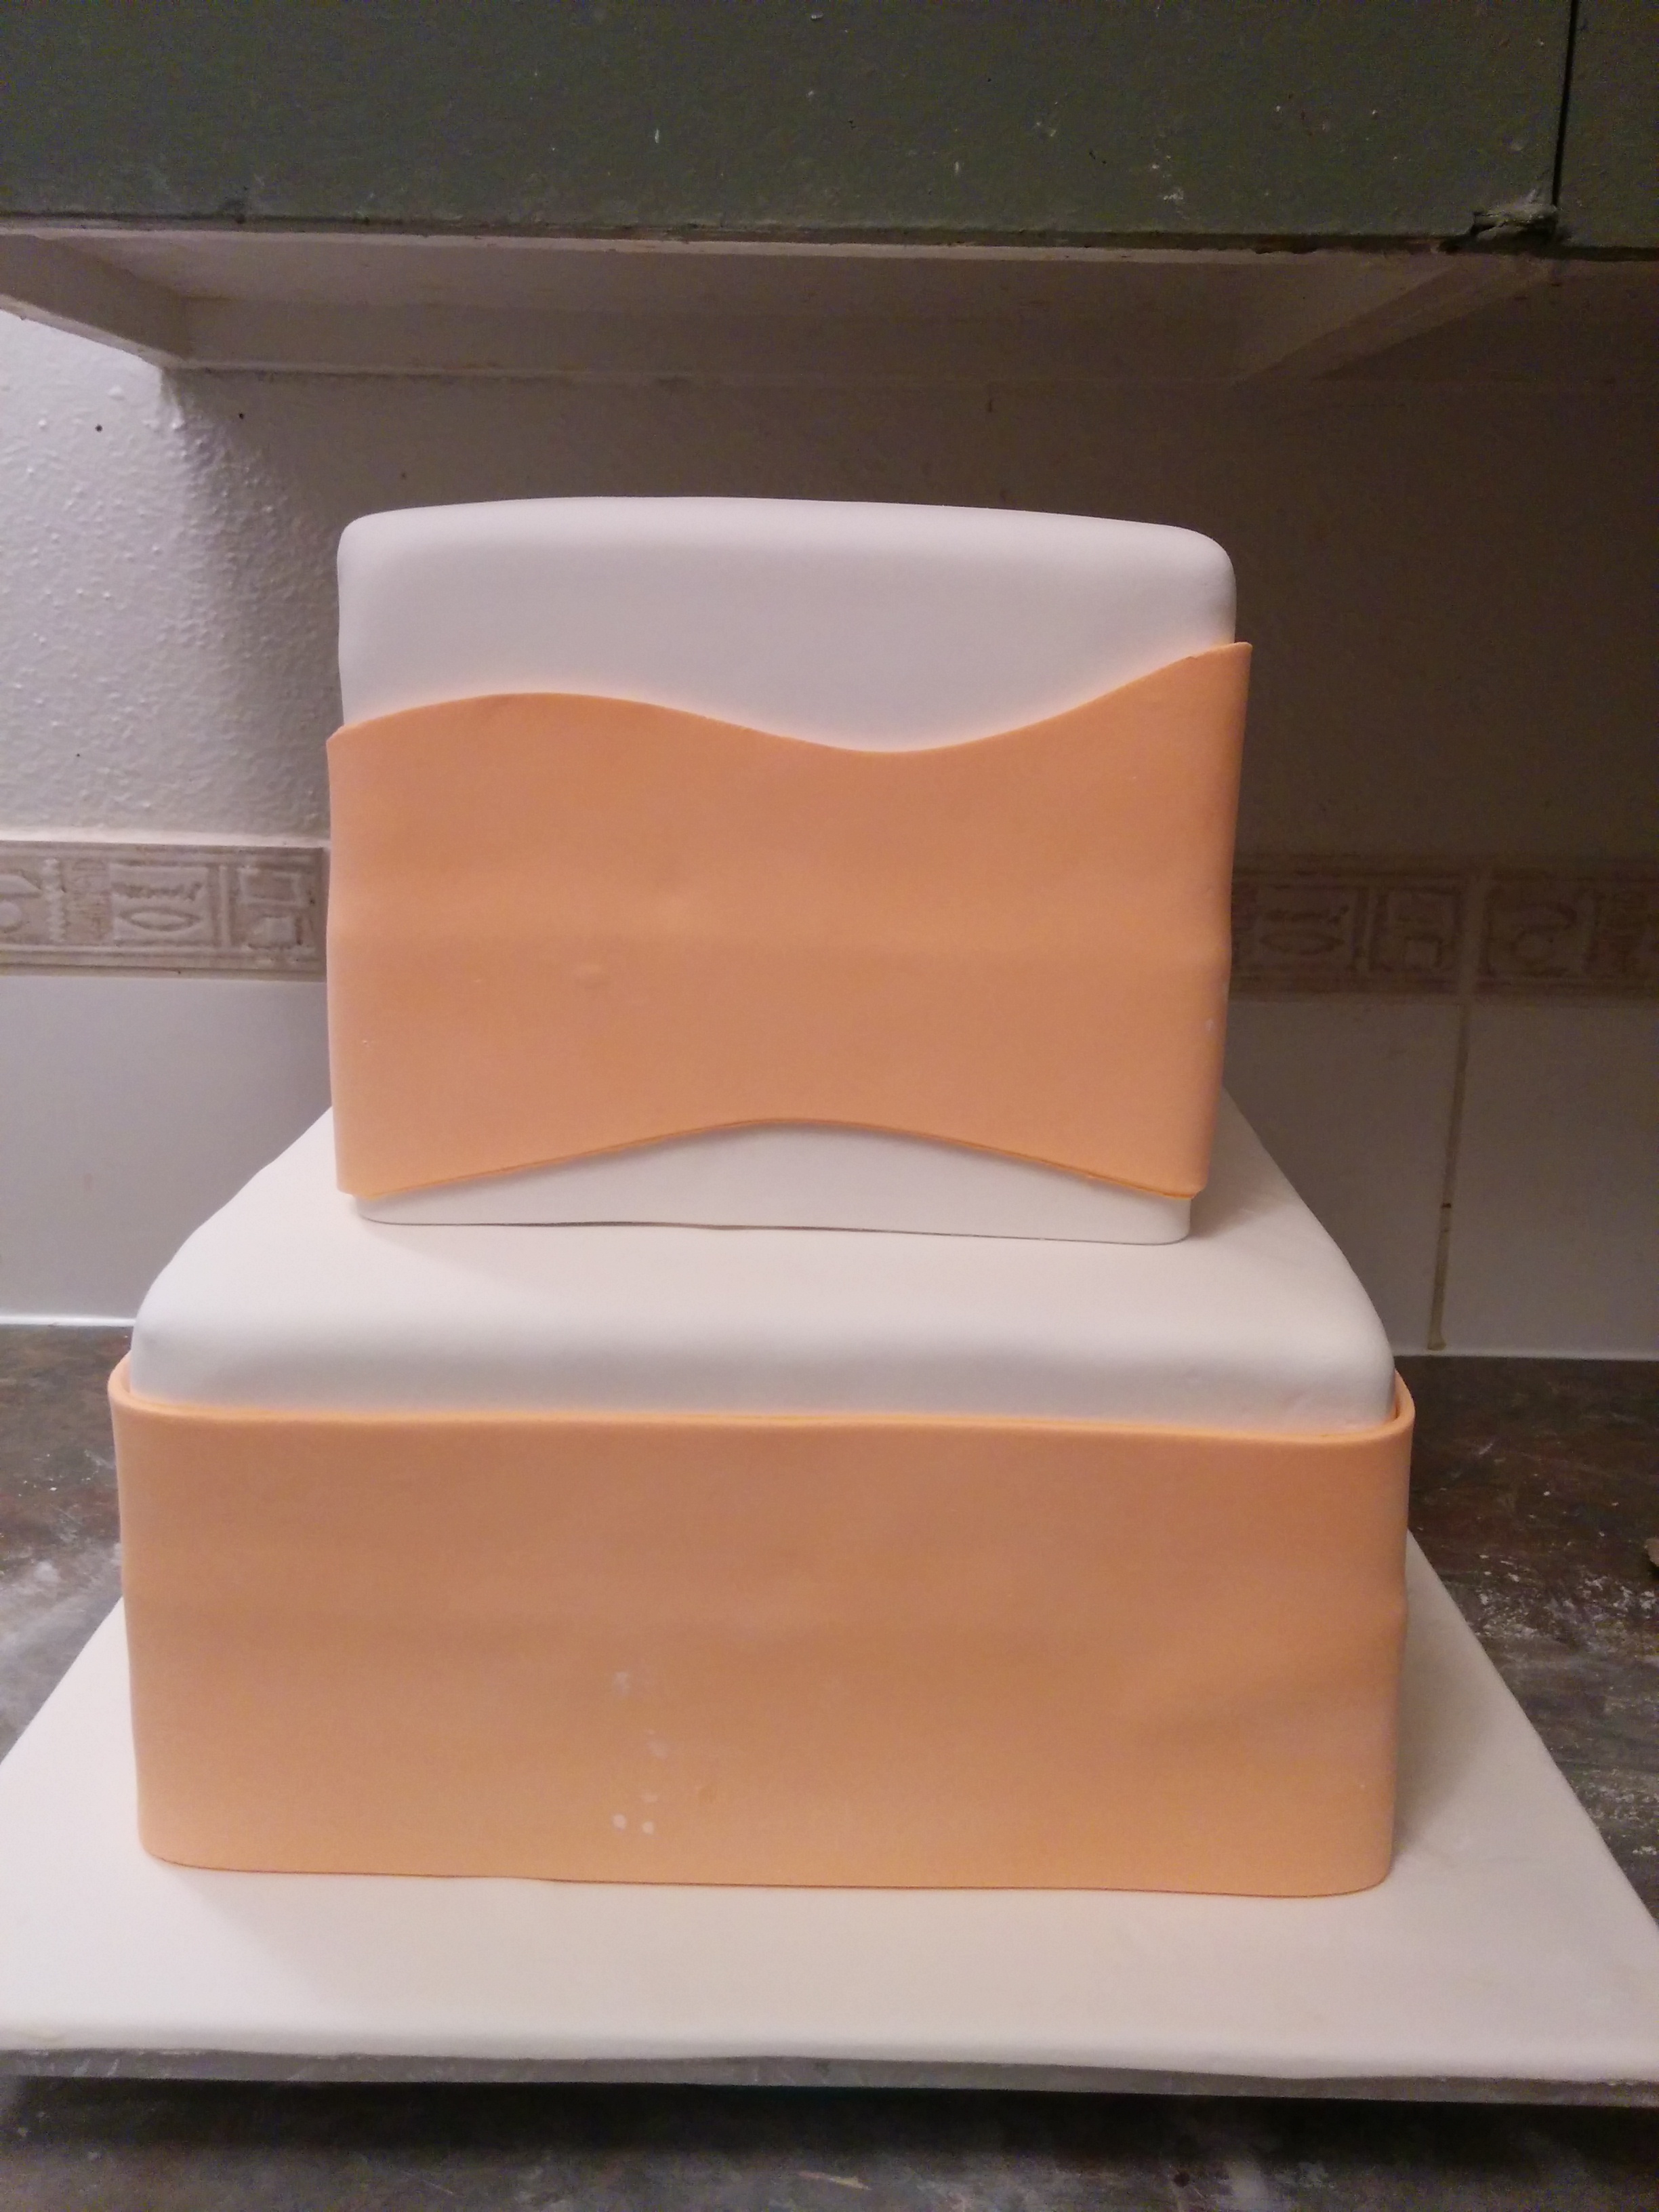


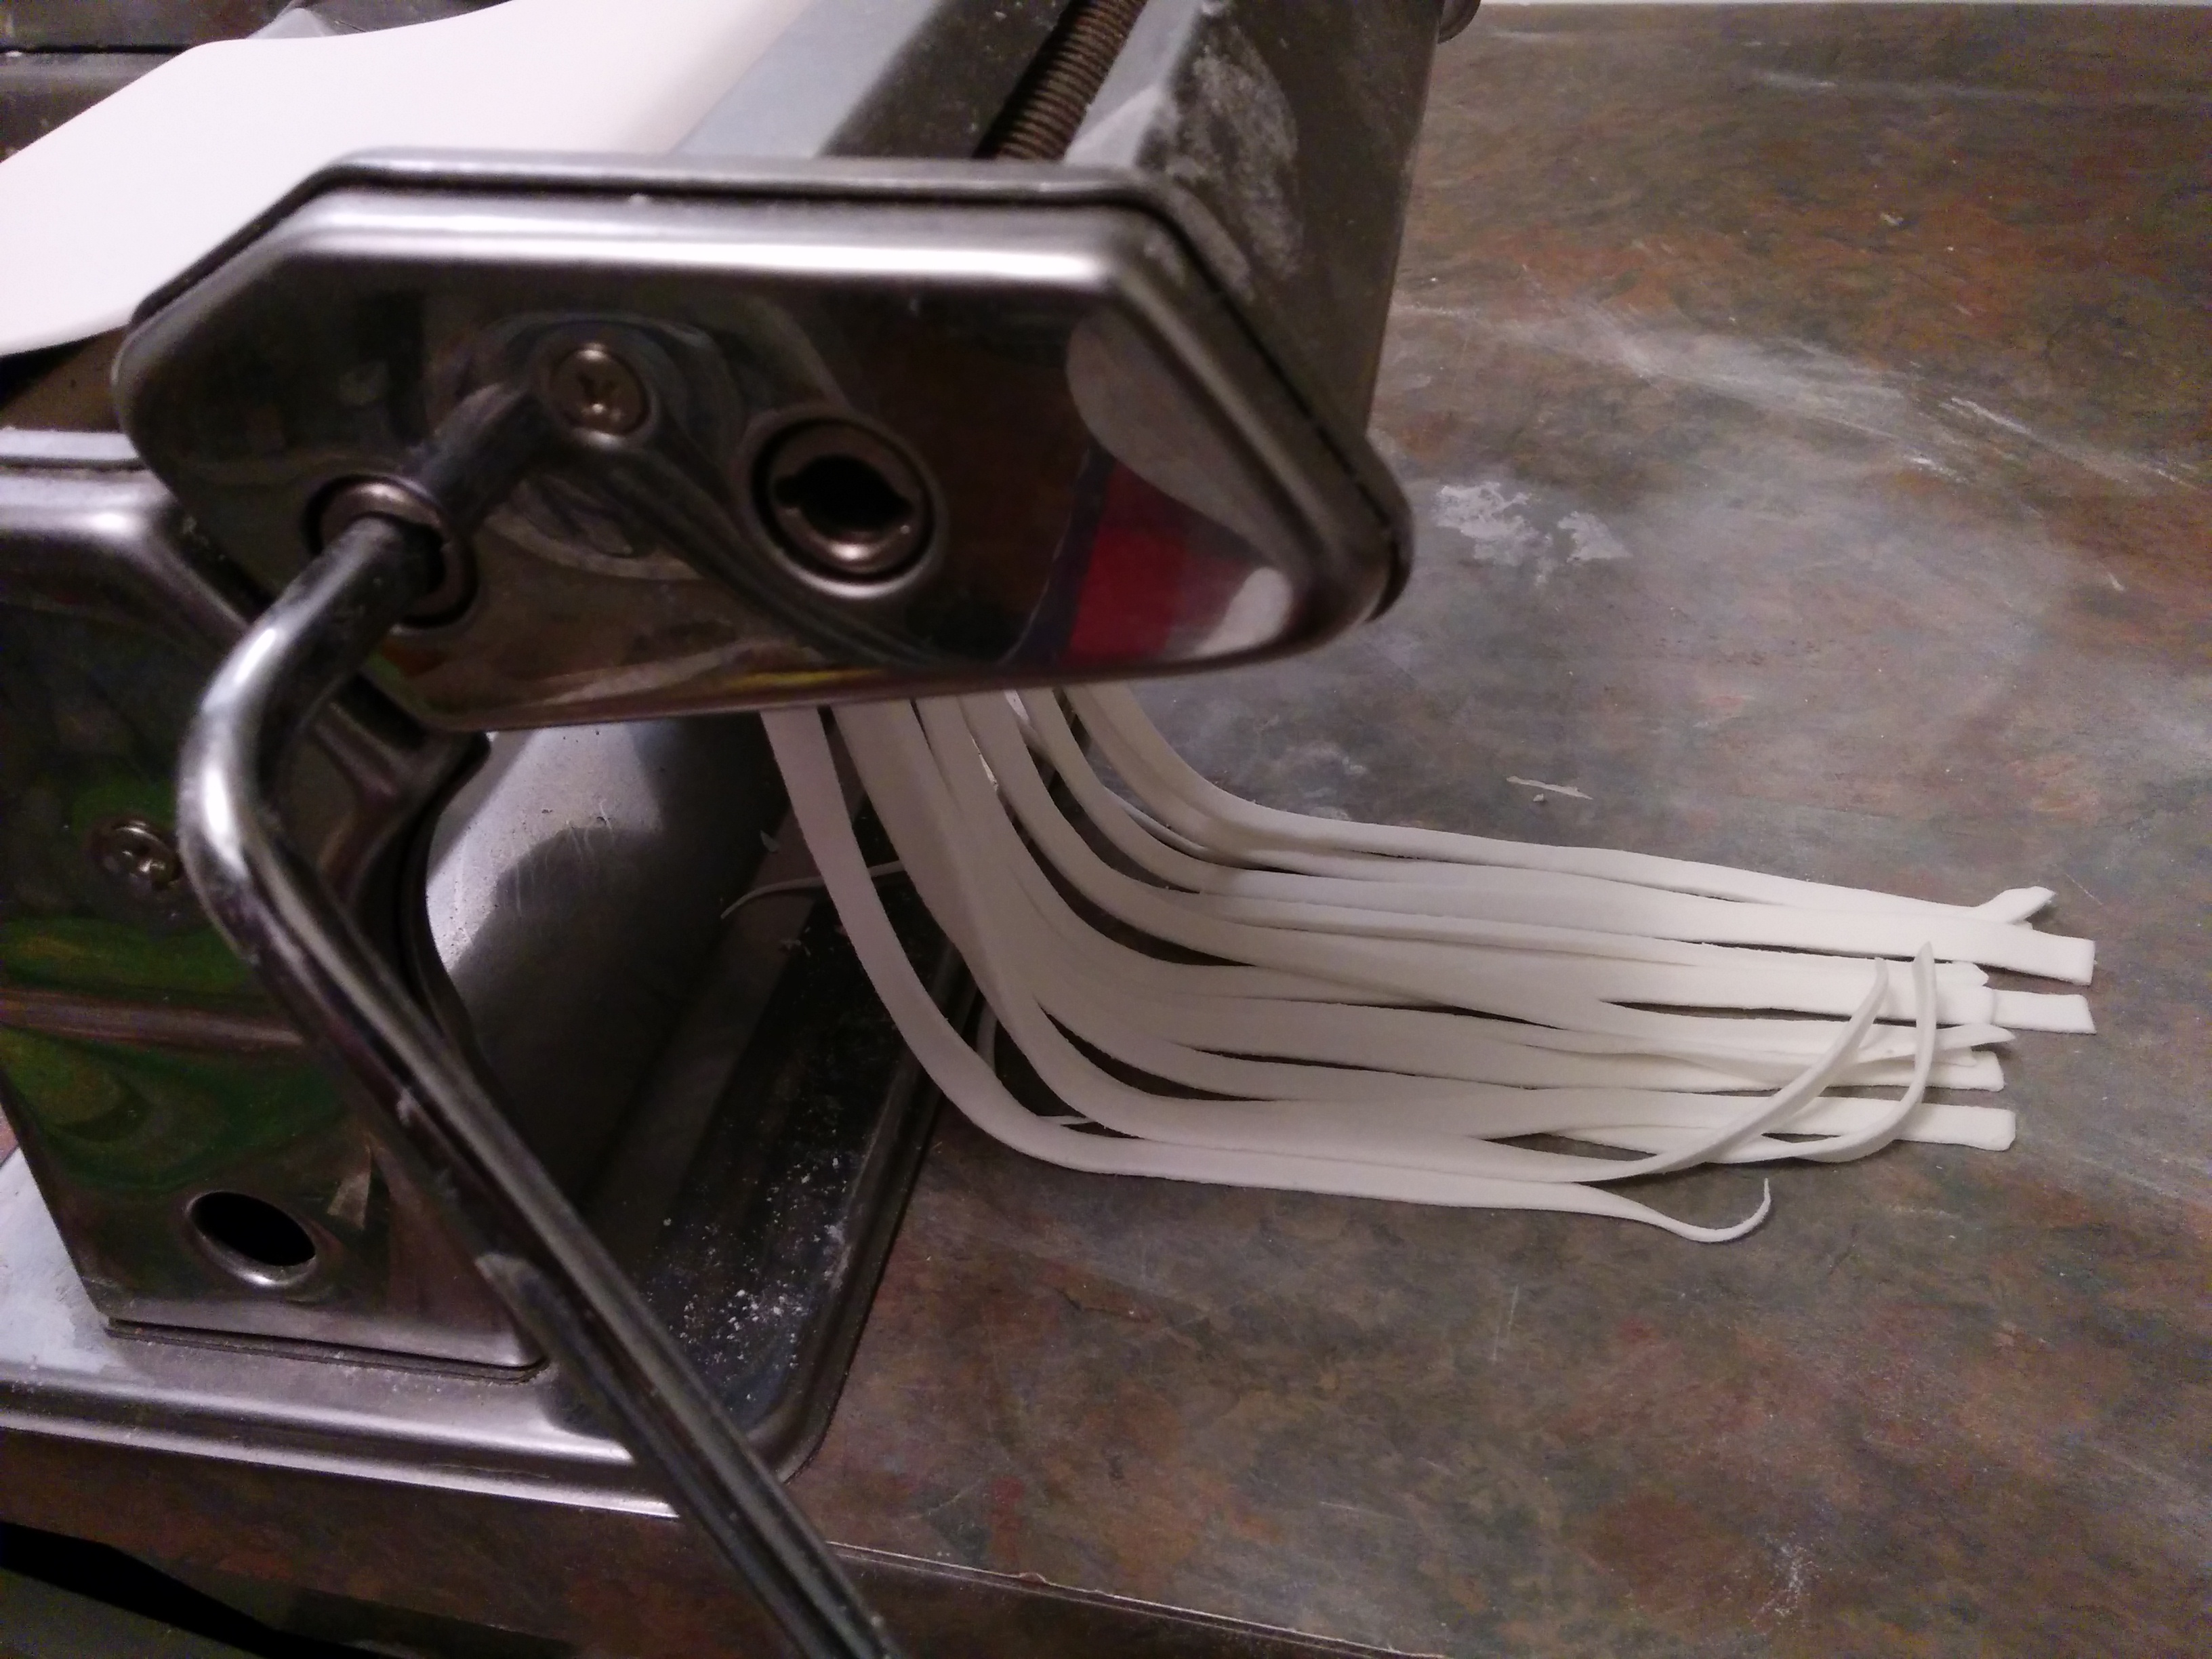
(12) Roll out thin white strips of fondant to create the ribbons in the middle of both tiers. The ribbons should be the same thickness as the bows you created earlier. I used my fettuccine cutter for this. Stick the ribbons on the bump created by the white strip of fondant you placed at the base of each cake. This will hide the bump (Its interesting how most designs on cakes actually serve a functional purpose). Place the bows in front of the cake using some melted chocolate.
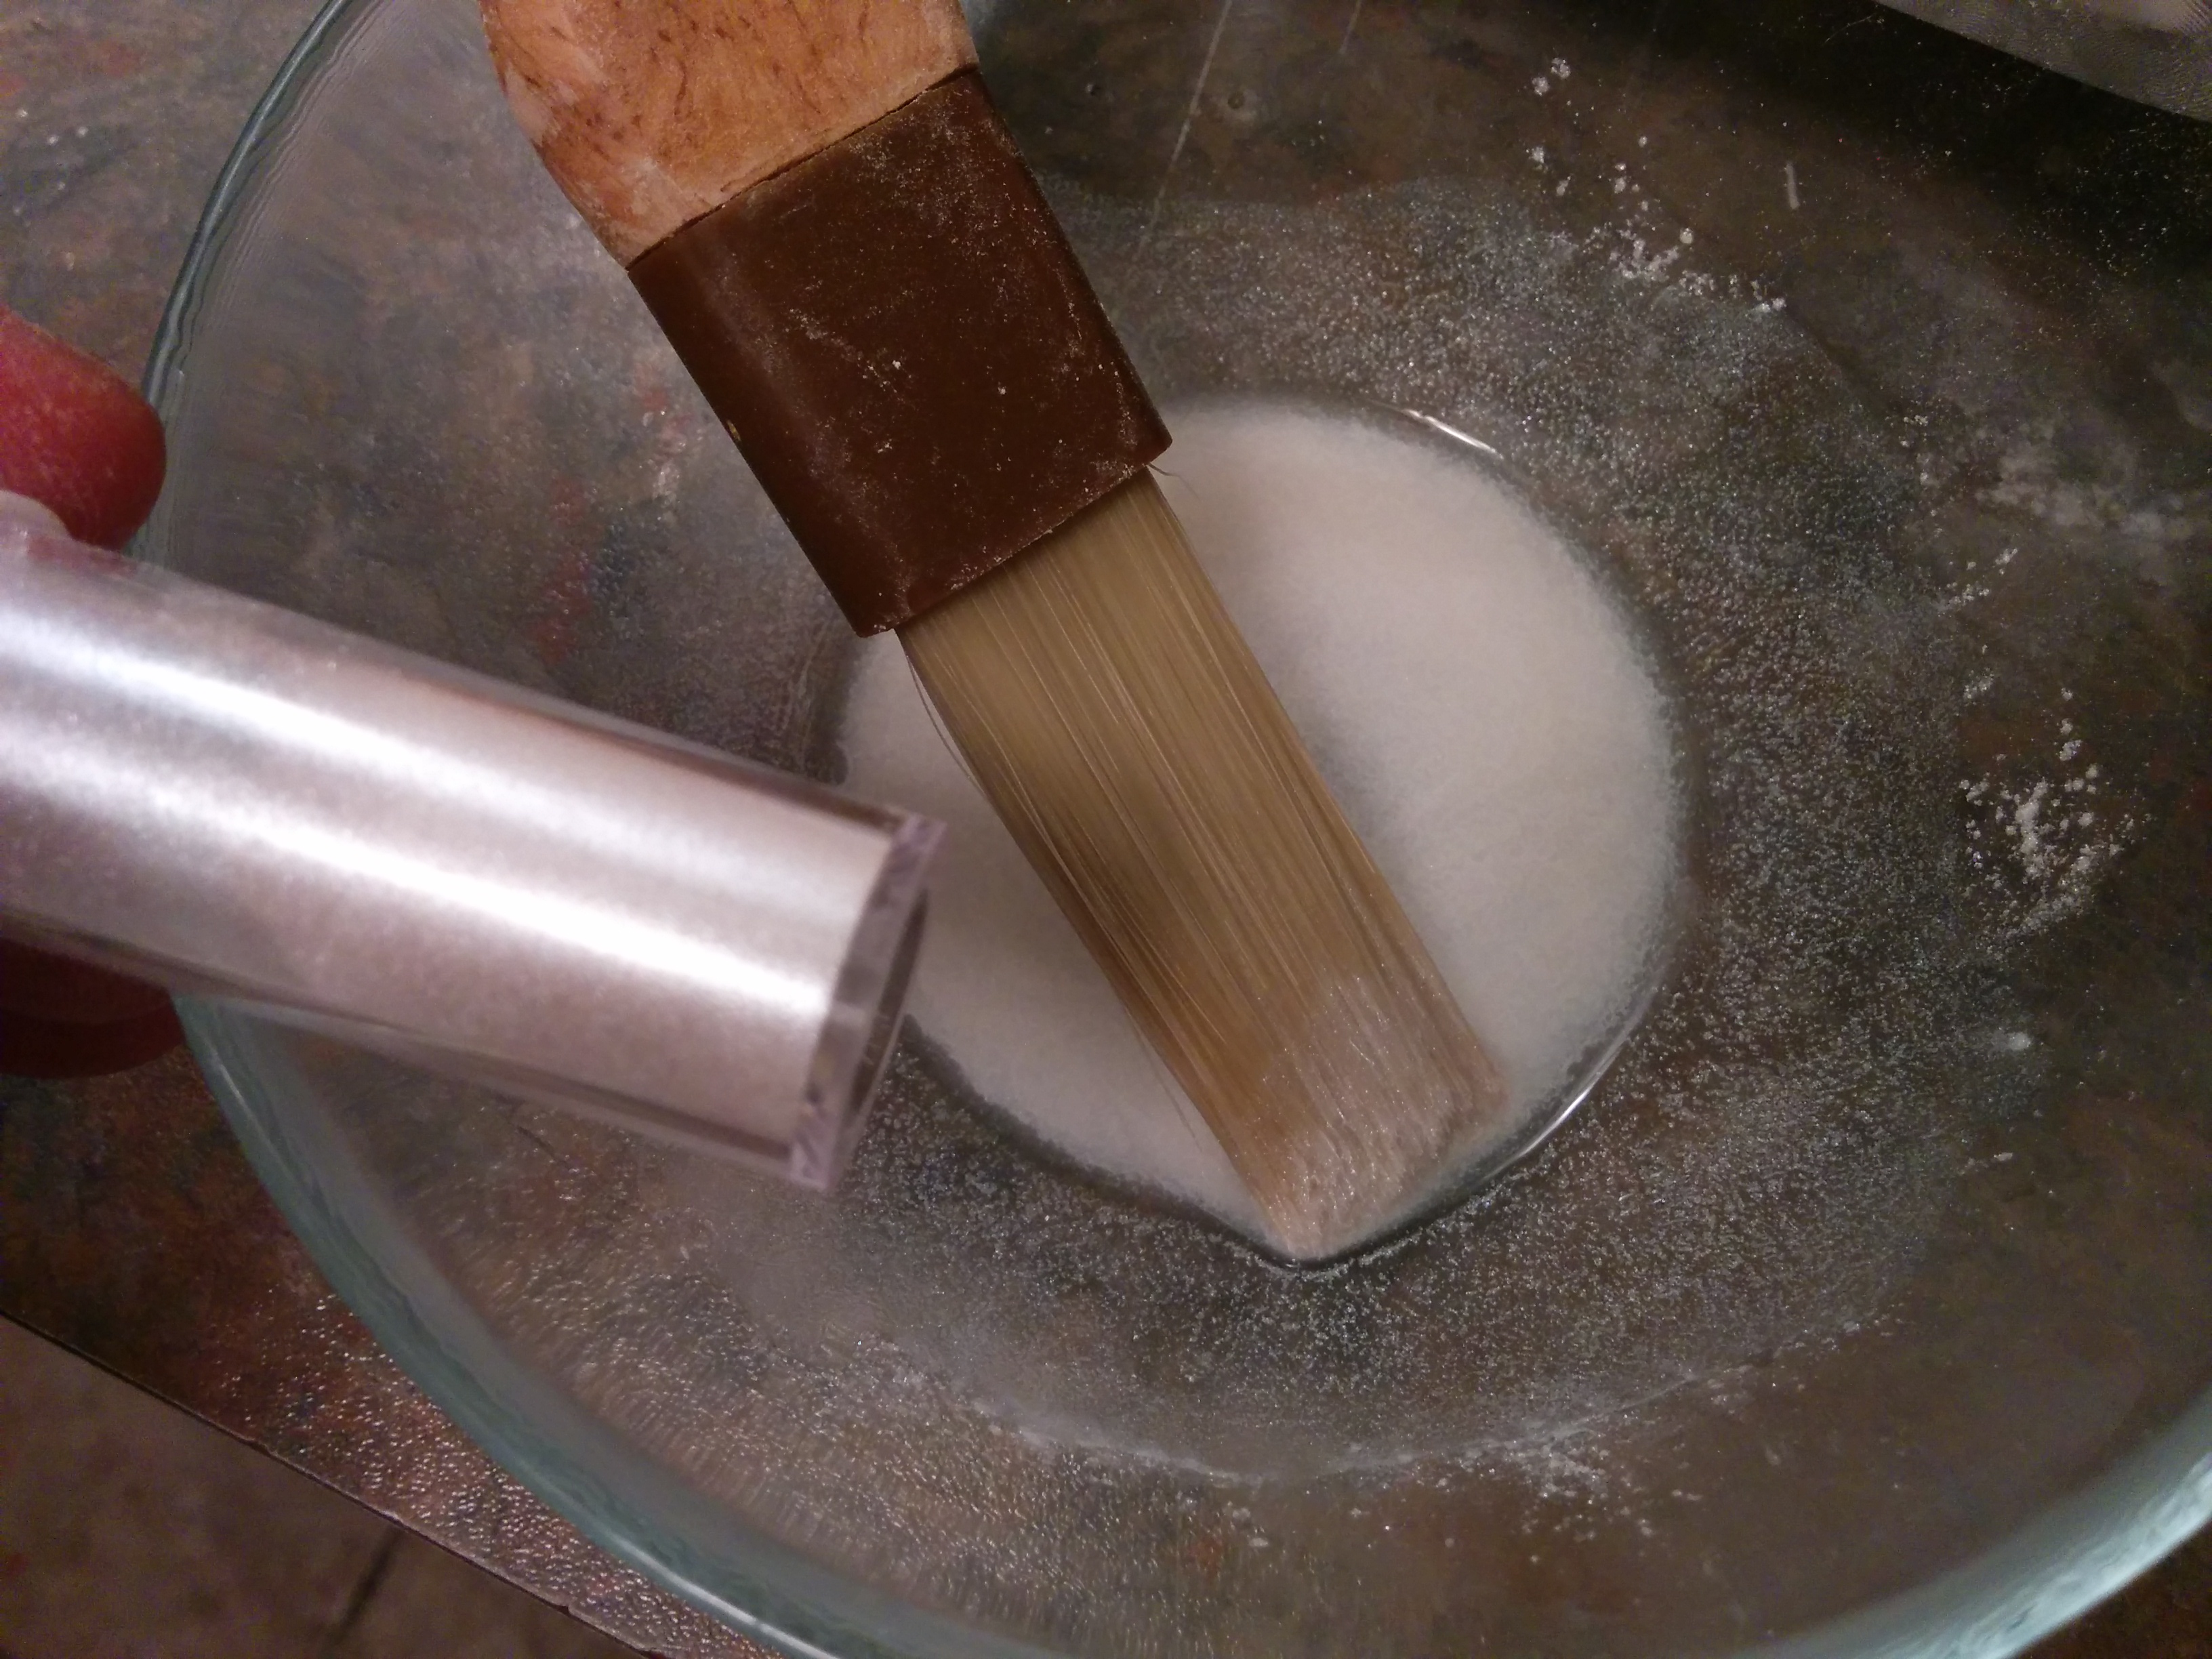
(13) To make the cake glossy, mix some white pearl dust with some vodka and brush the white part of the cake.
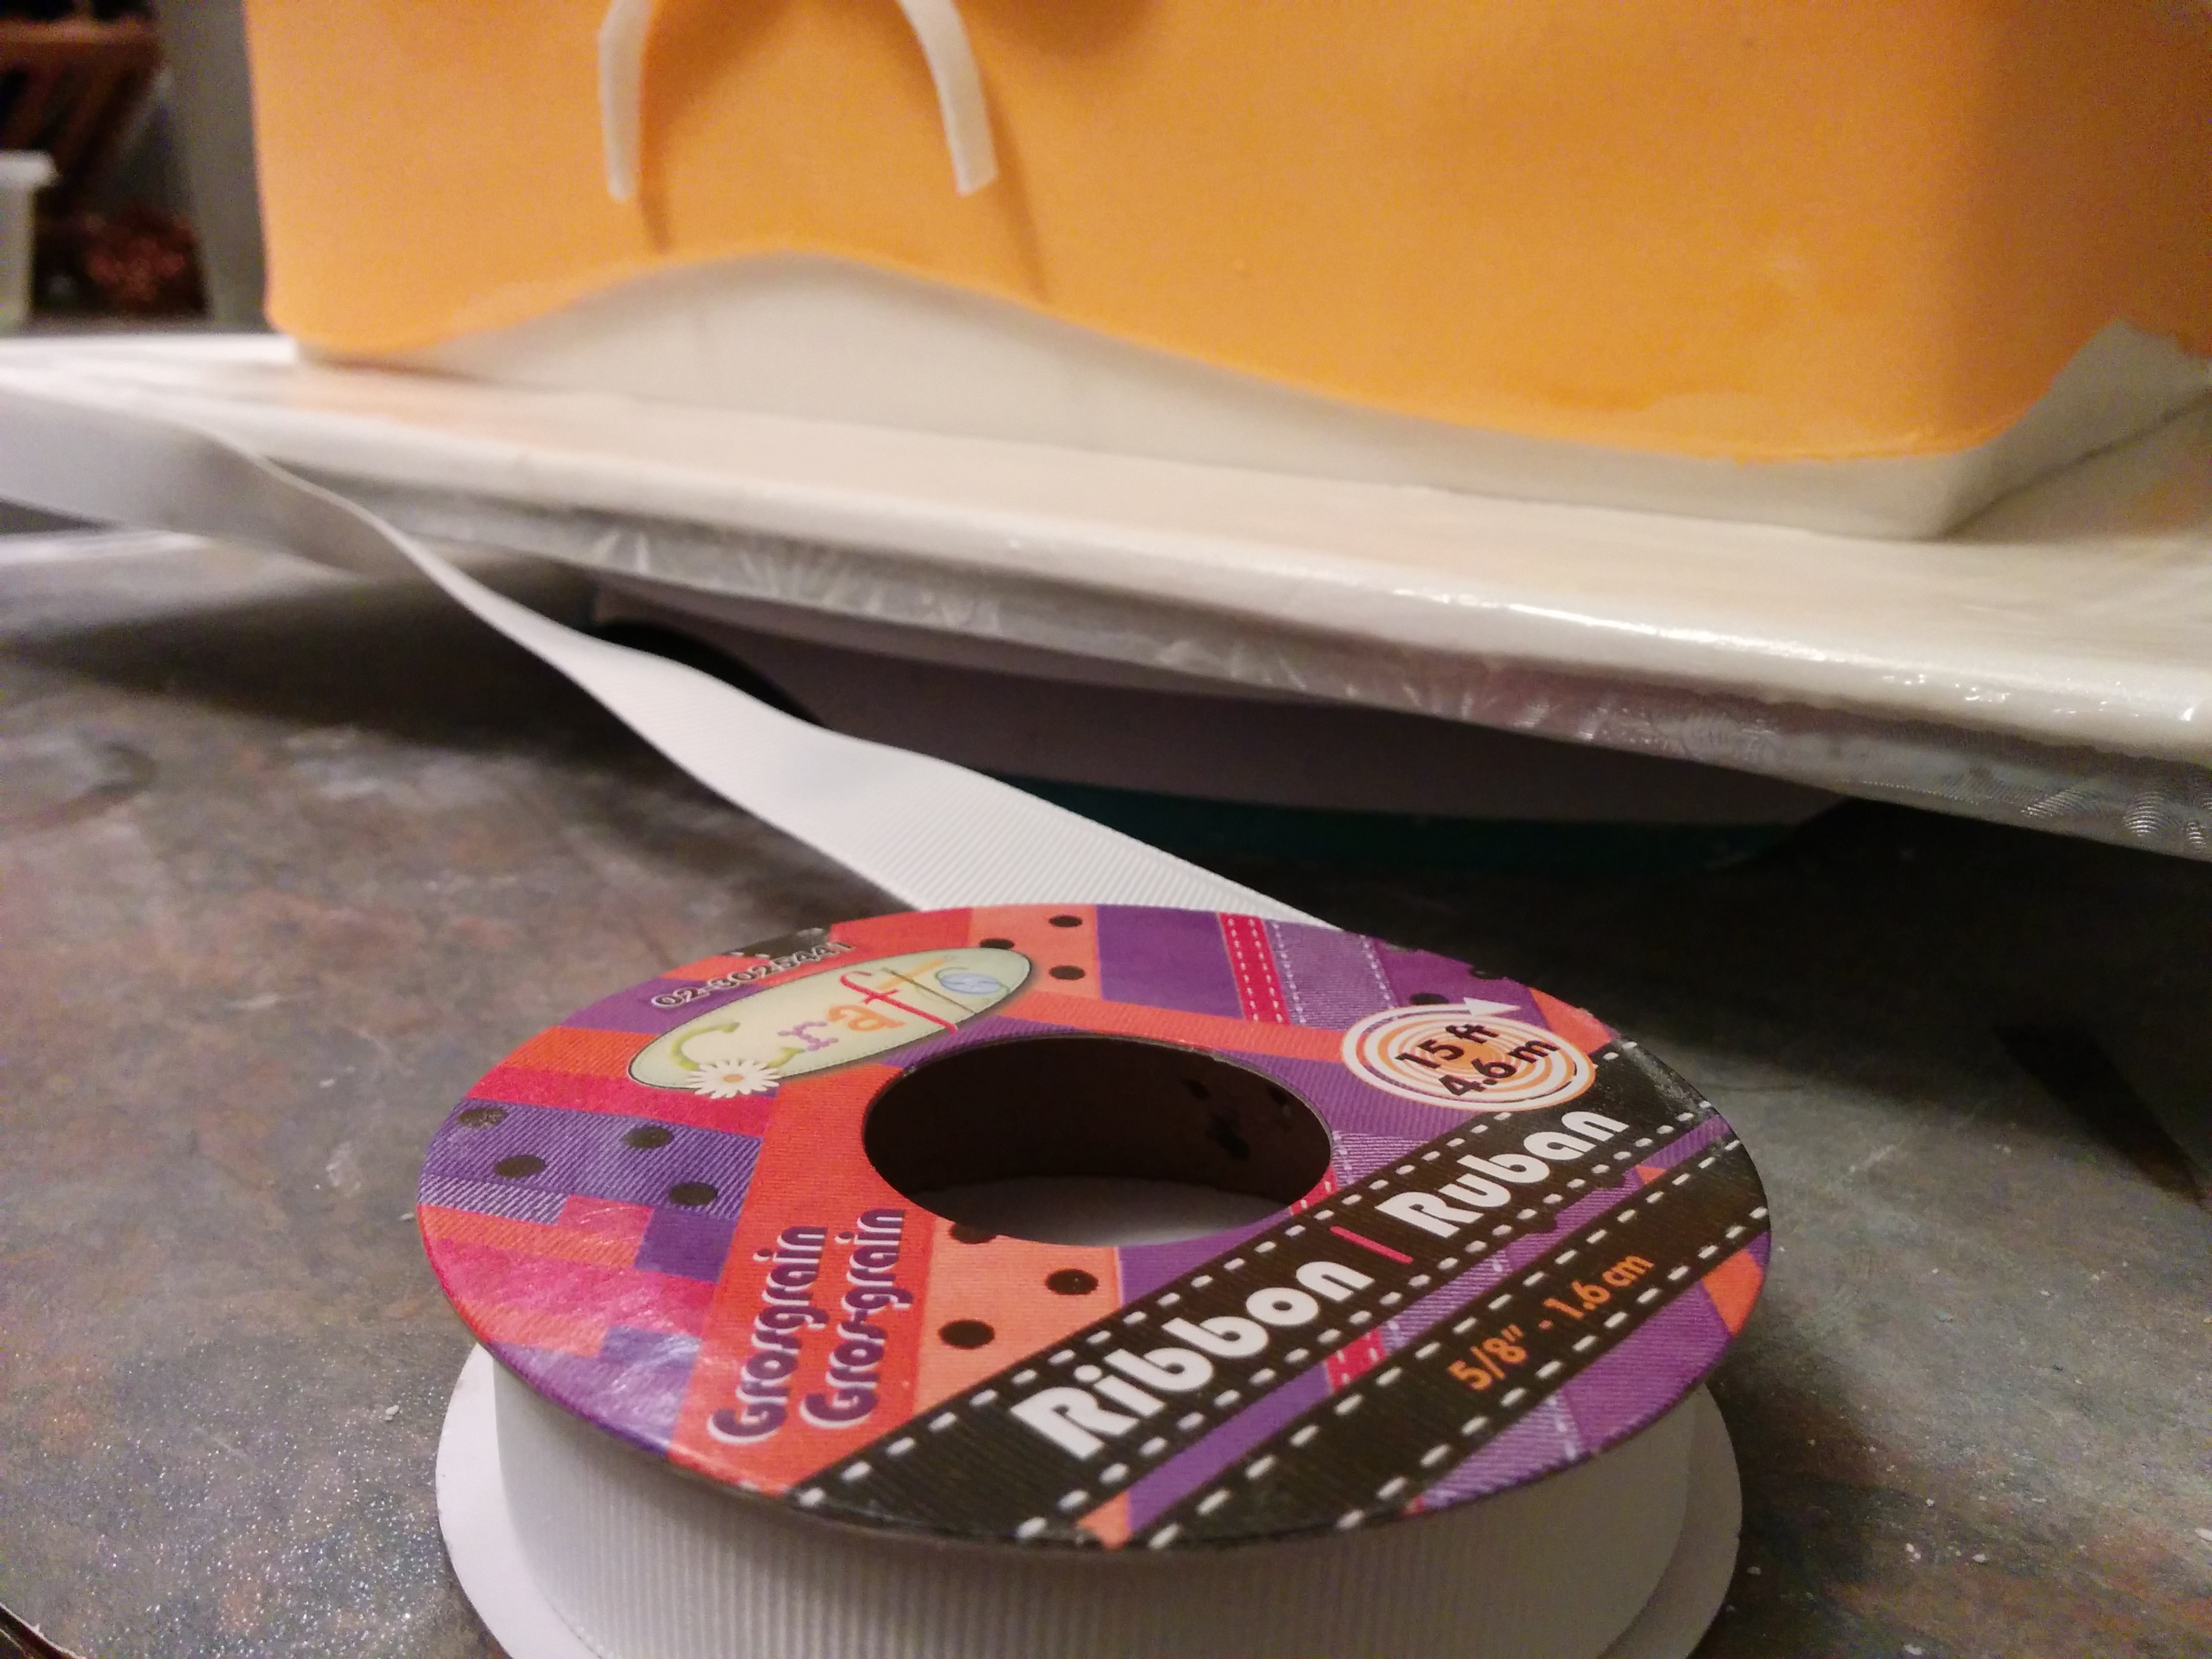
(14) Place the ribbon on the cake board.
(15) Finally place the magnolia flowers on the cake.
(16) I played around with this cake and added baby booties toppers I made for cupcakes. This transformed it to a baby shower cake. Oh what fun!
That’s how its done folks.
Terry Adido is passionate about showing people how easy it is to recreate restaurant quality meals in the comfort of their kitchens. With a style of cooking he refers to as Afro-European Fusion, his meals are influenced greatly by French and Italian Cuisine with a West African twist. If you love good food, you are in for the ride of your life.
Hmmmm!!! wot a nice cake n process…..tnks 4 d enlightenment
The cake is neatly covered. Thanks for showing me.
You are most welcome.
Tnks for sharing such great knowledge with the public. I appreciate
You are welcome Anne
this is really helpful. God bless you Terry
Thanks Lateefah.
I will recreate this cake pretty soon and send it to you… Thanks a million!
Looking forward to it Janet.