
Fondant Teddy Tutorial
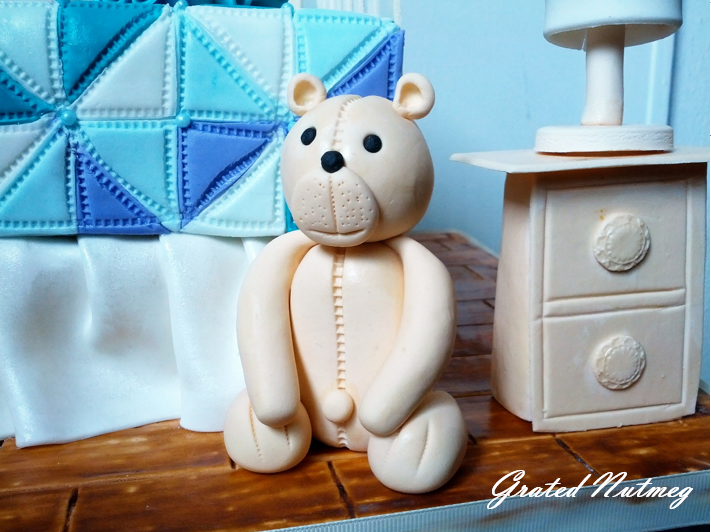
Fondant teddies are a great way of finishing cakes for kids birthdays, baby showers and christenings among other other cakes. Kids just love them. The teddy in the picture above was used in a Baby Shower Cot Cake which can be found here. The good news is that they are easy to make. This is a tutorial for a basic fondant teddy. The knowledge you acquire here can be transferred to make more complex teddies.
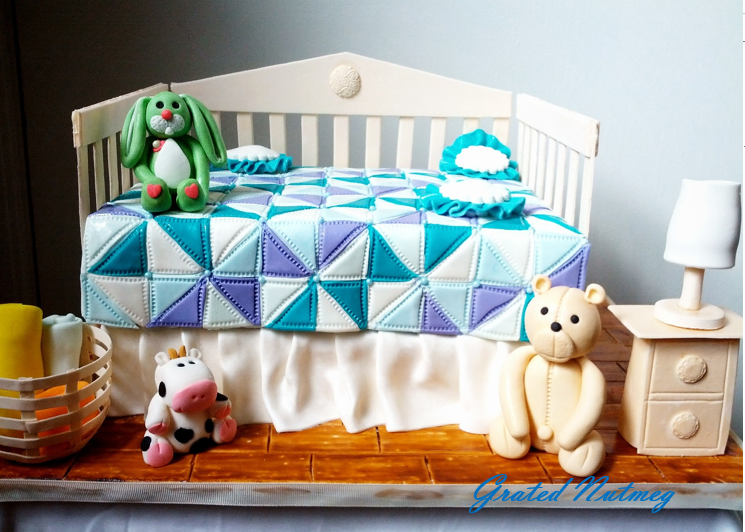
Baby Shower Cot Cake with Fondant Teddy
TOOLS/INGREDIENTS:
(1) Fondant. I have a recipe for an easy marshmallow fondant here.
(2) Water or other gluing agents
(3) A Knife or any other indentation tool
(4) Toothpick
(5) A Stitching Wheel (Optional)
(6) A Paint Brush

Confirmation Cake with Teddies
PROCEDURE:
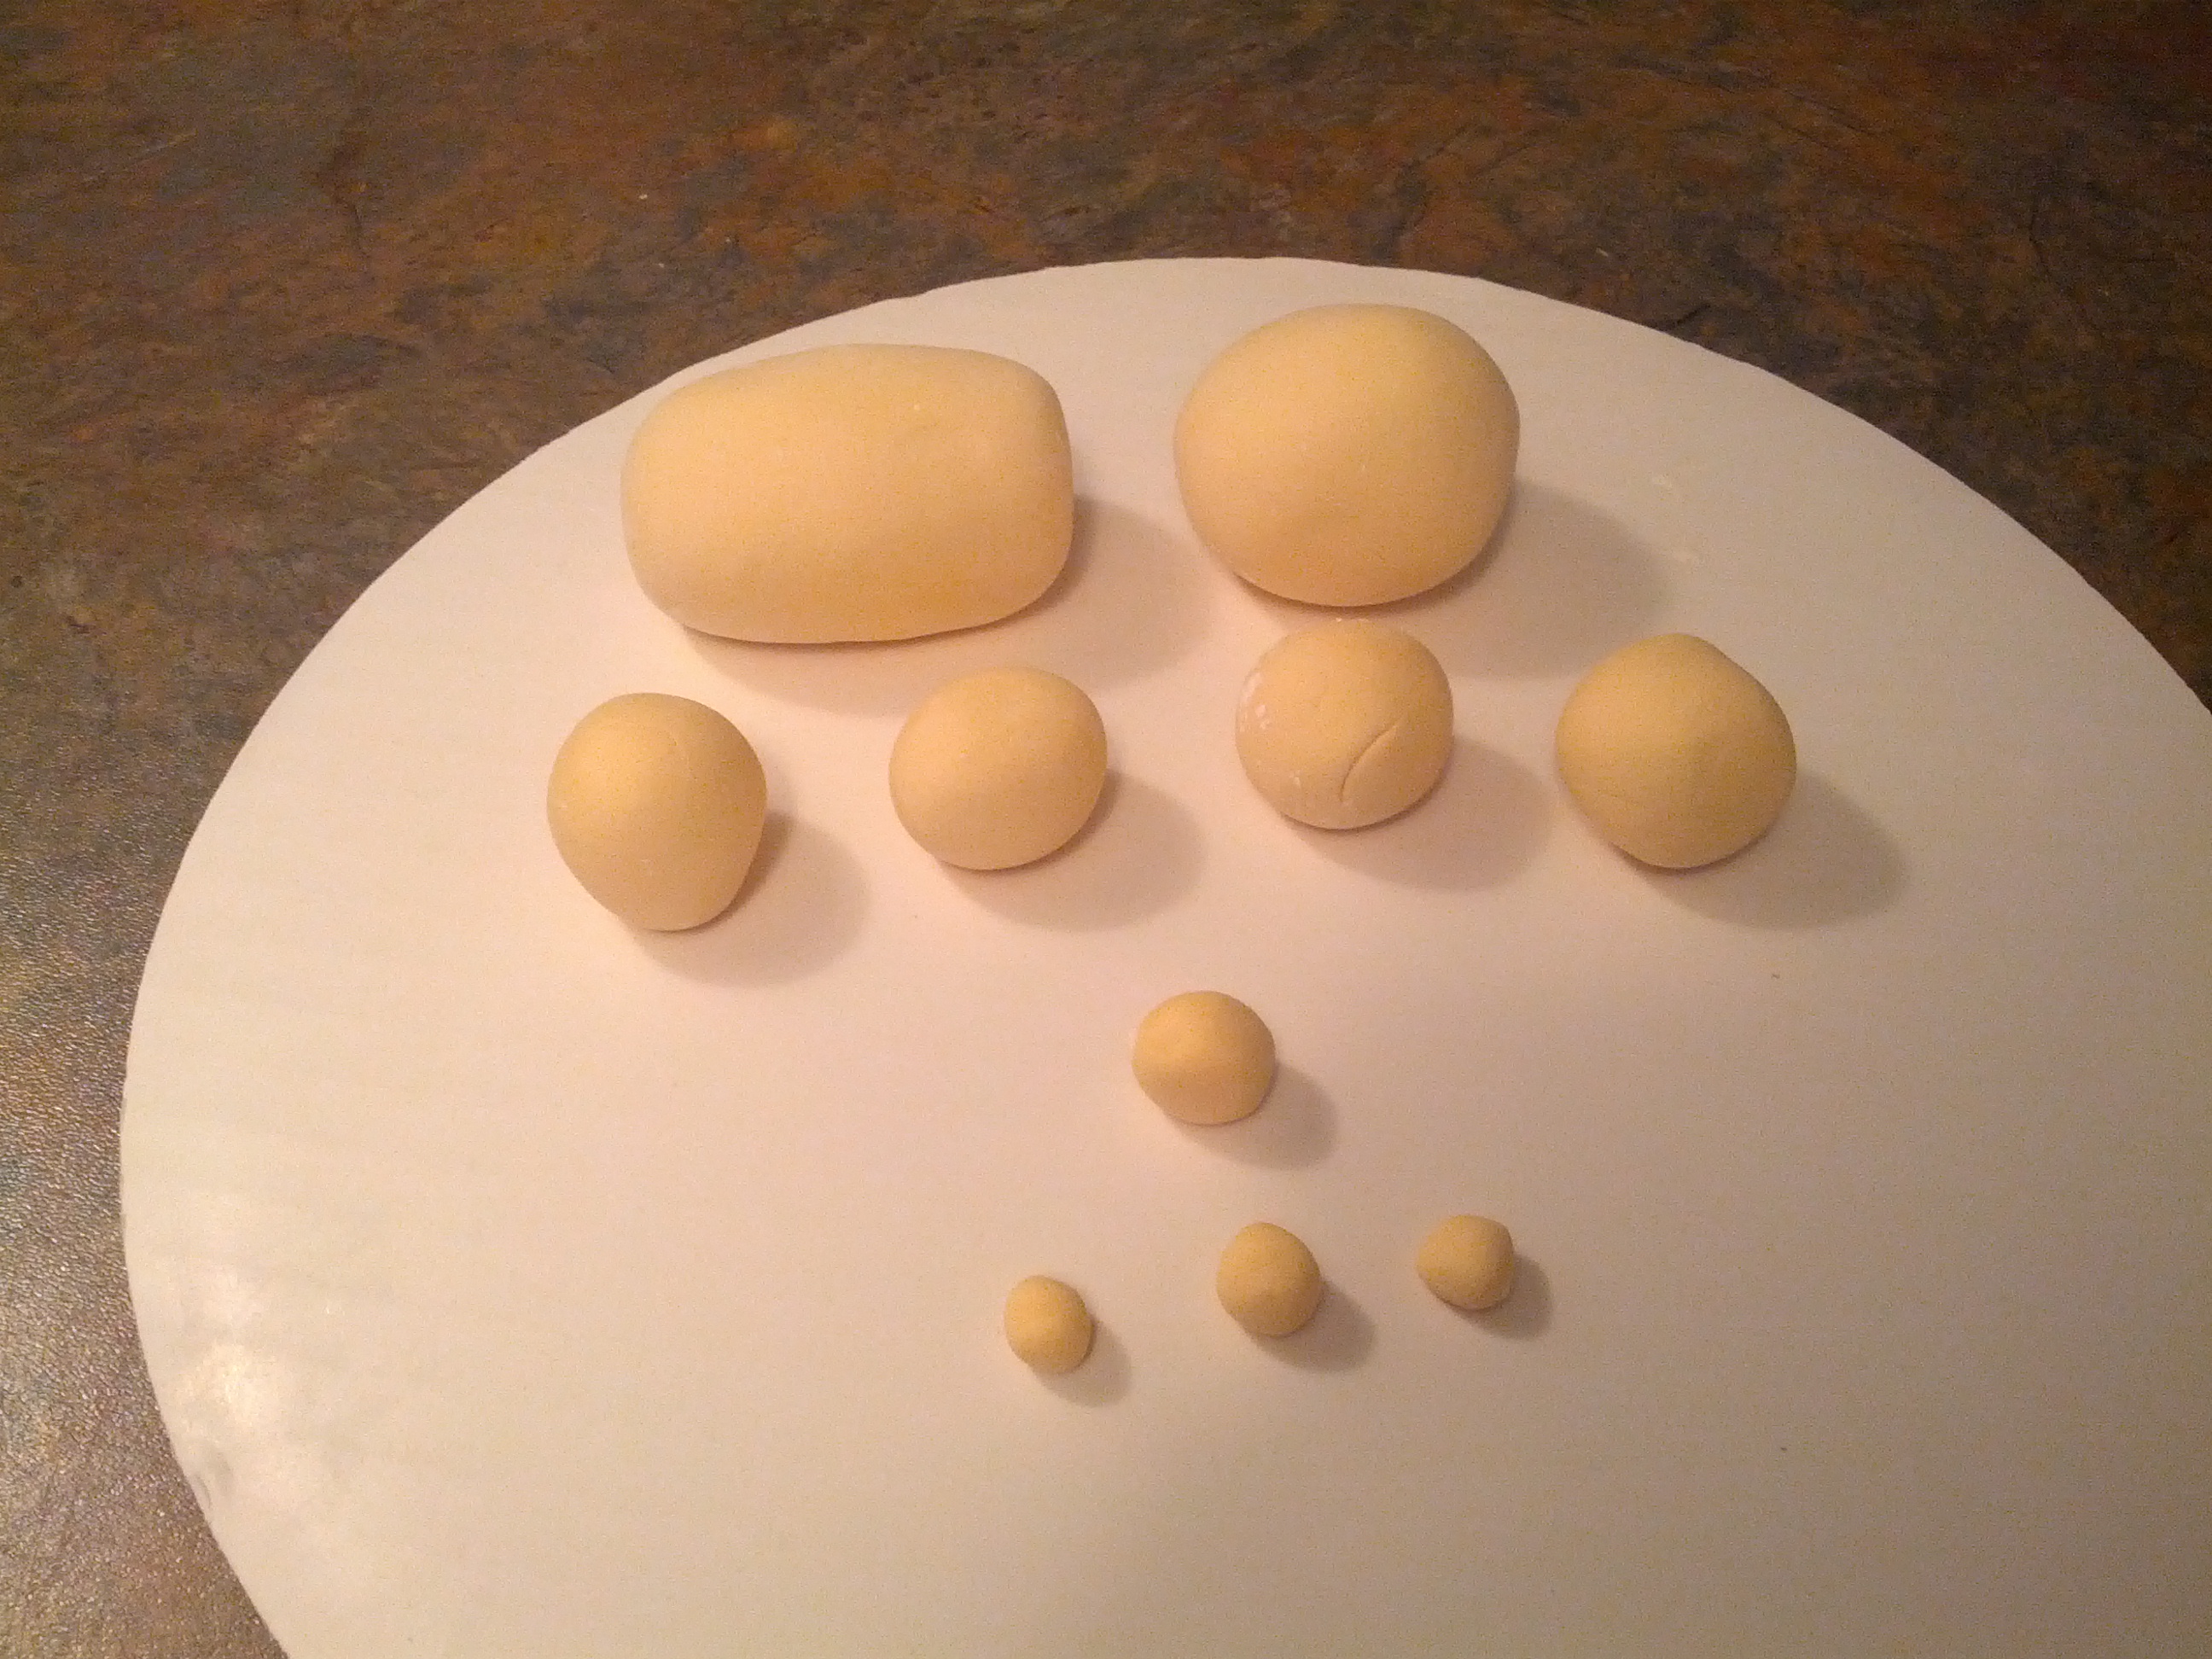
(1) Divide the fondant into 10 pieces. 2 large pieces for the head and body. The body should be bigger than the head. 4 smaller pieces for the limbs and 4 even smaller pieces for the ears, navel and cheeks. You will also need some black fondant for the eyes and nose.
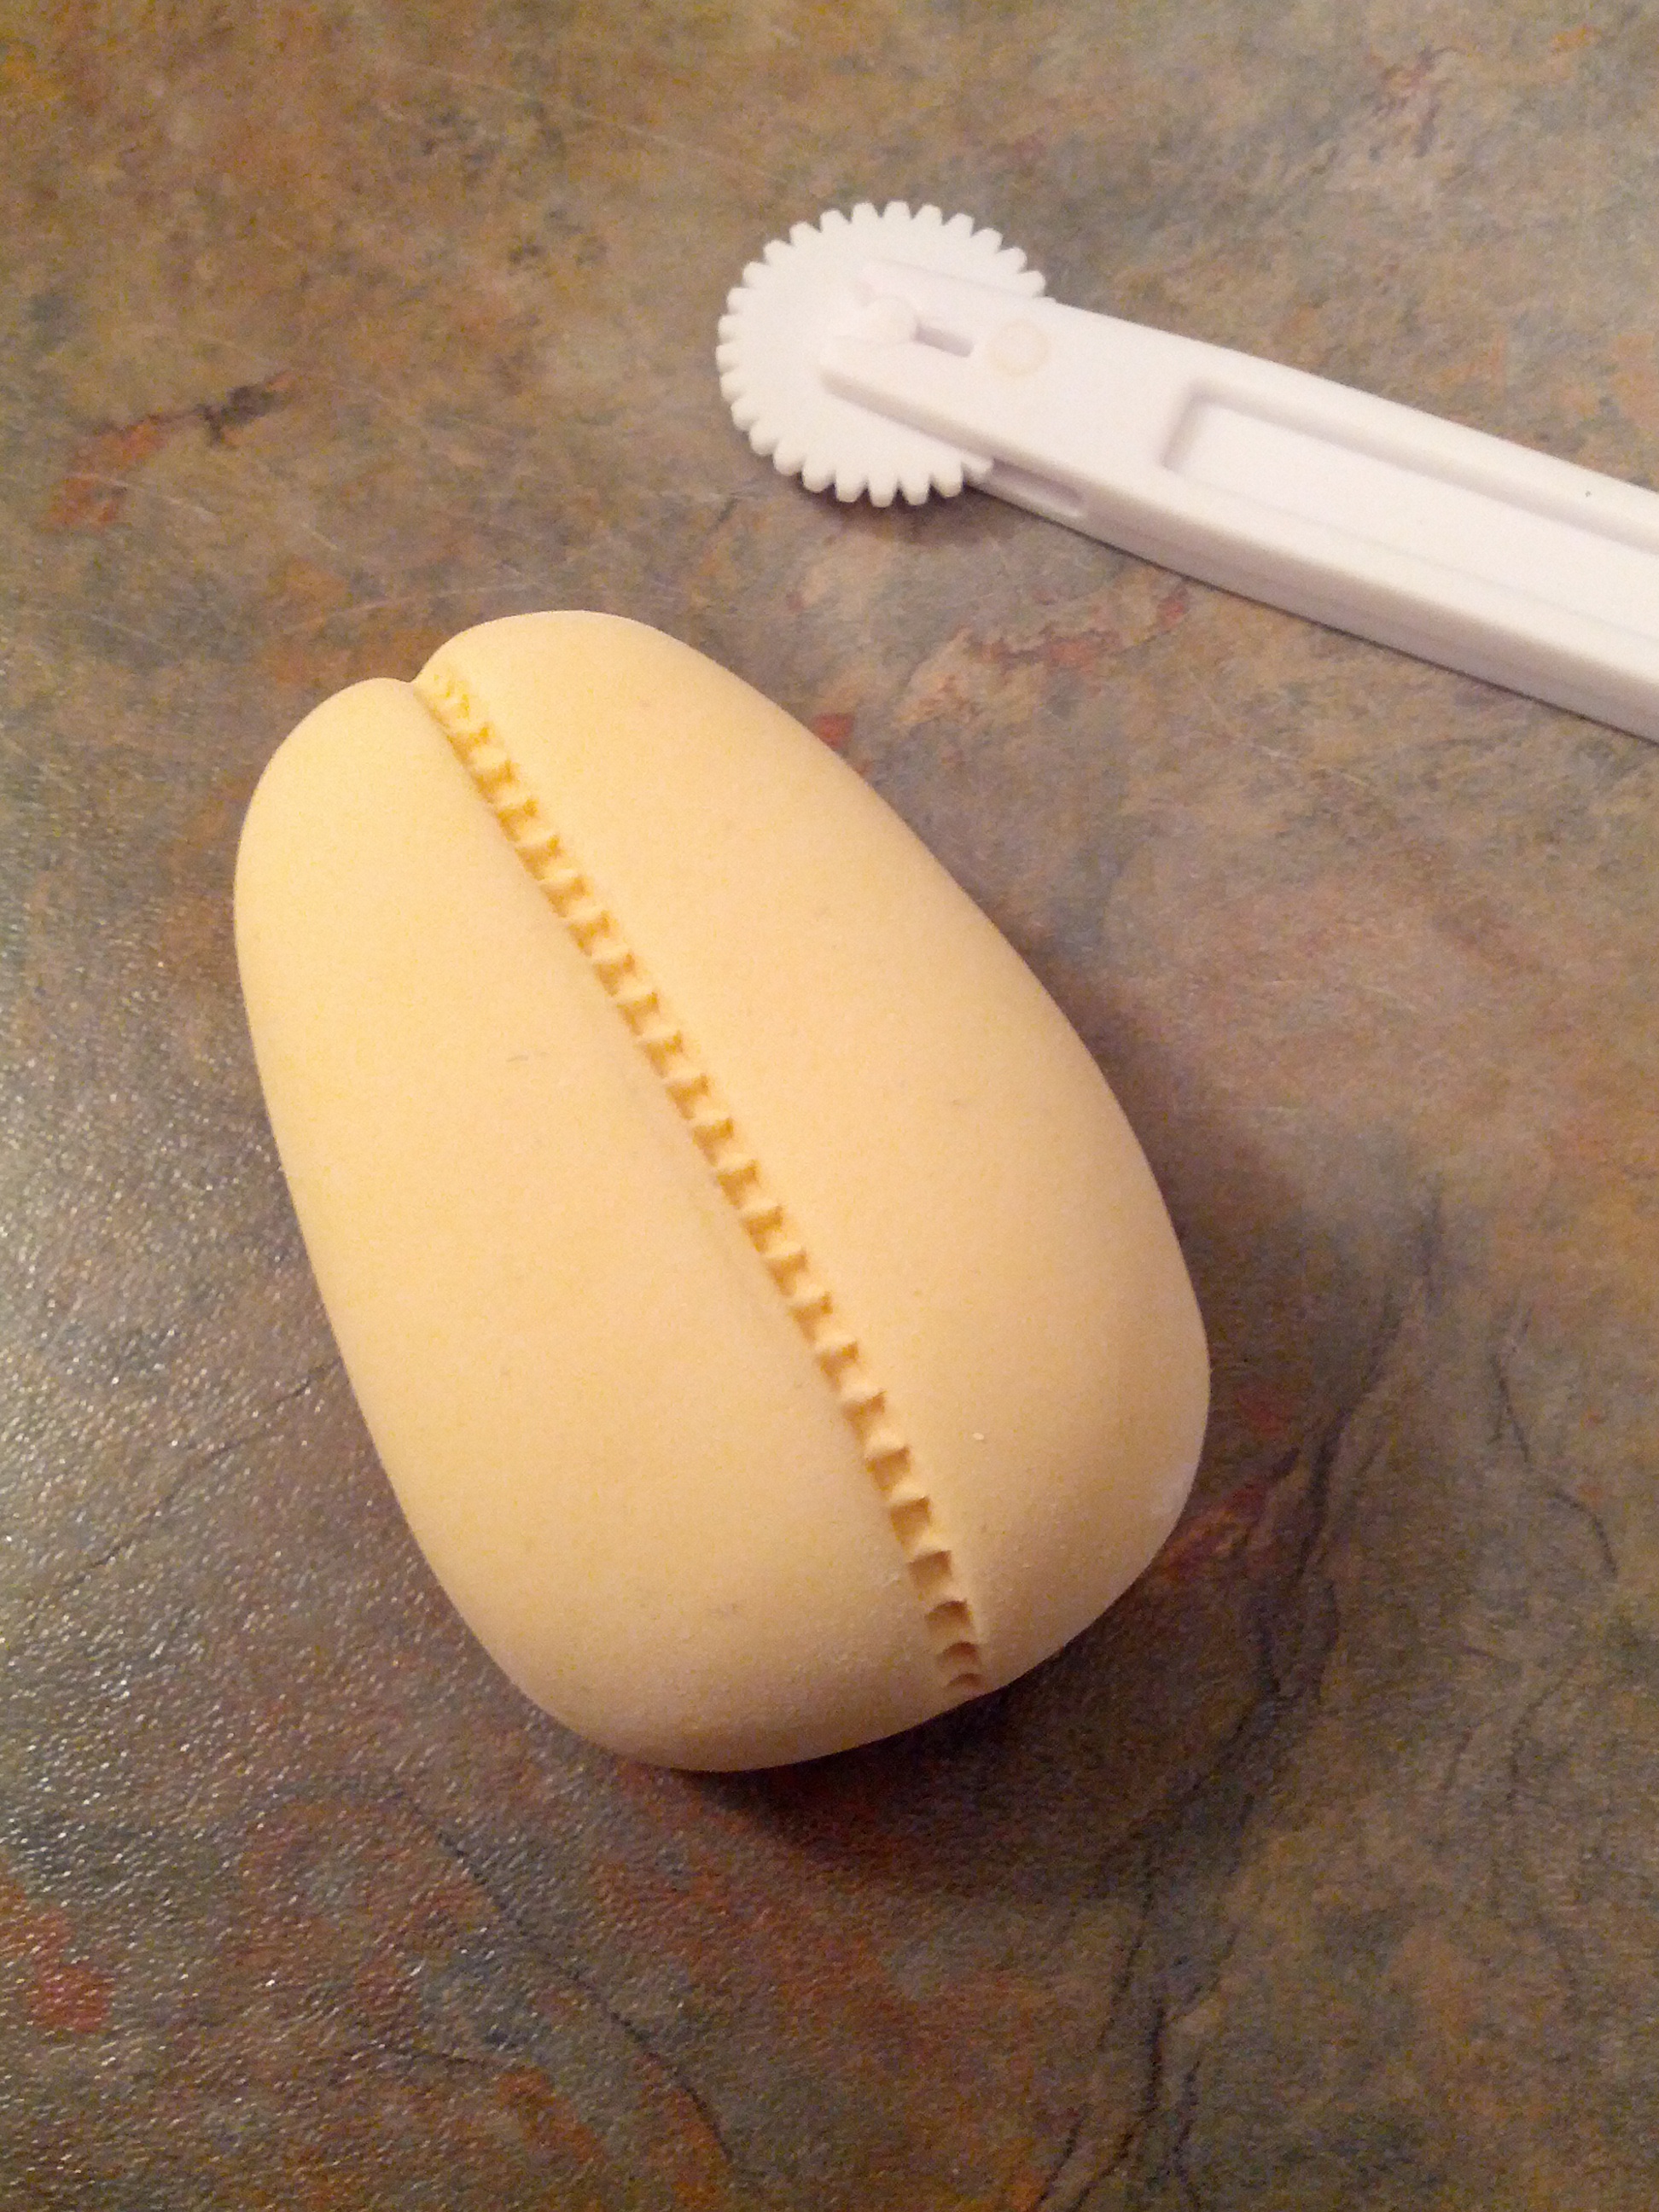
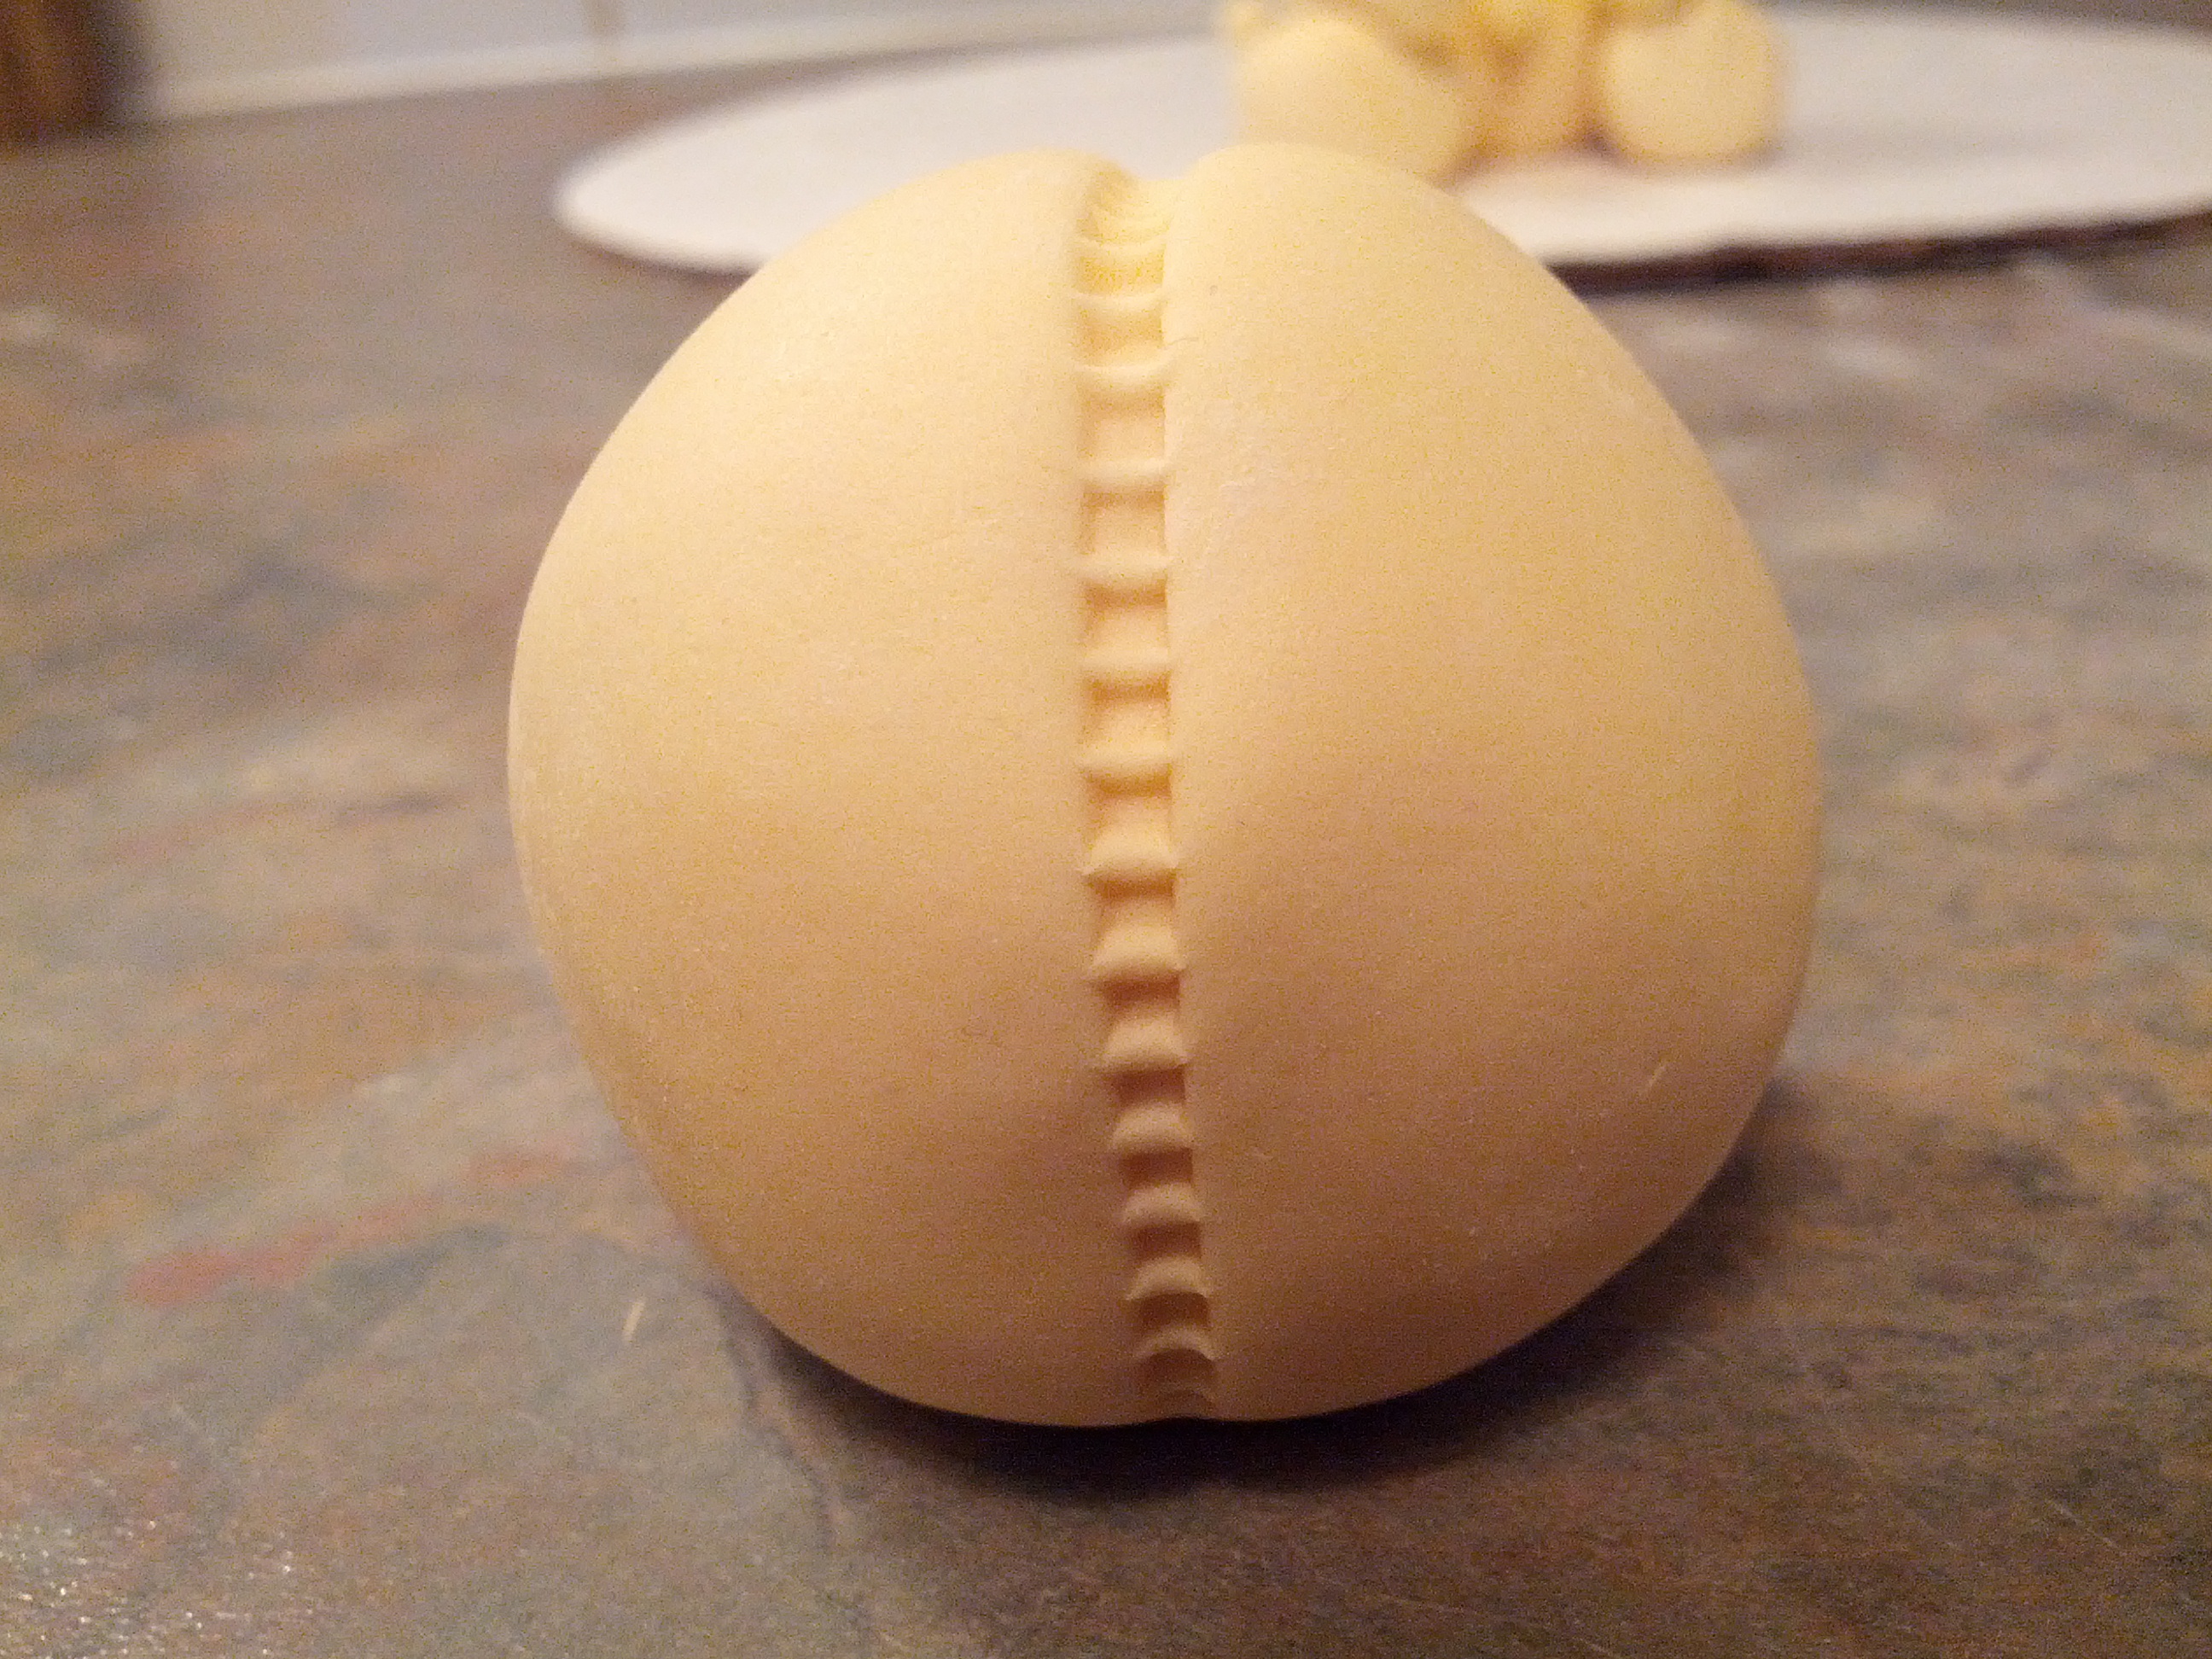
(2) First, make the body. Roll the larger fondant into an egg shape. Make sure that it is smooth. Next, use the stitching wheel and draw a line through the middle of what will become the belly. Finally, make the navel. Take a small piece of fondant, roll it into a ball, use the end of a paint brush to make an indentation in the middle of the ball and stick this to the lower portion of the belly.

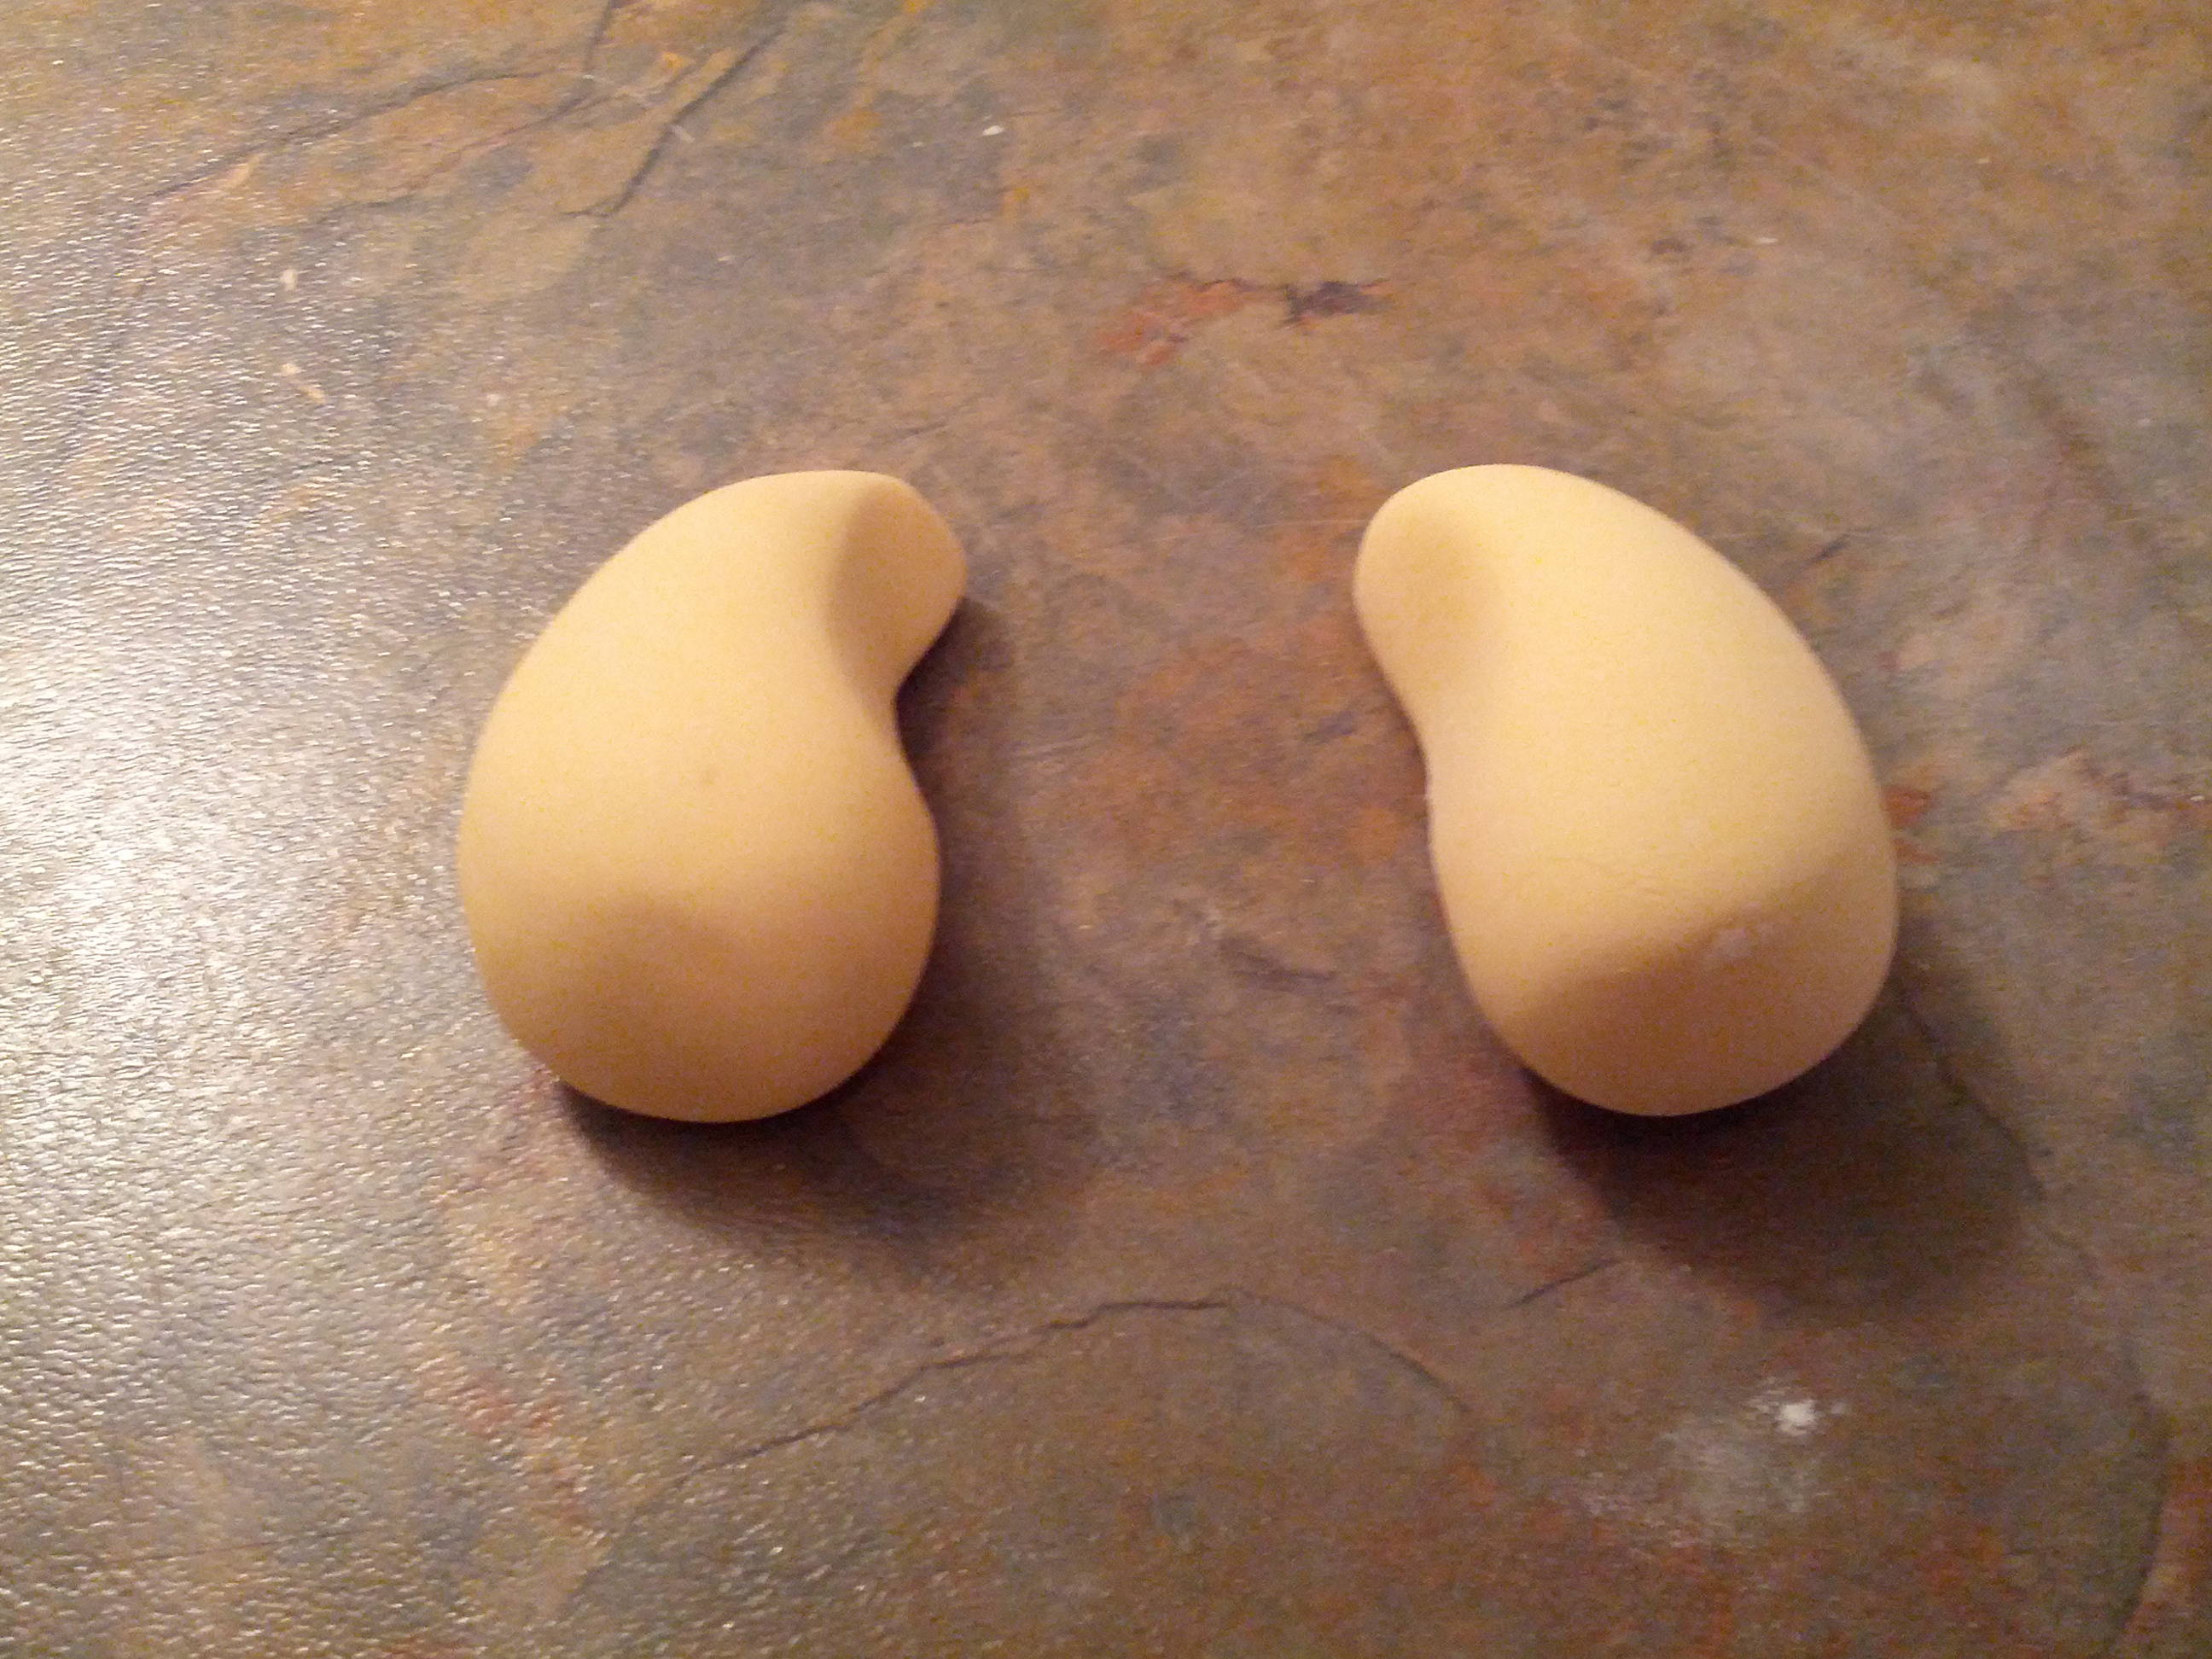
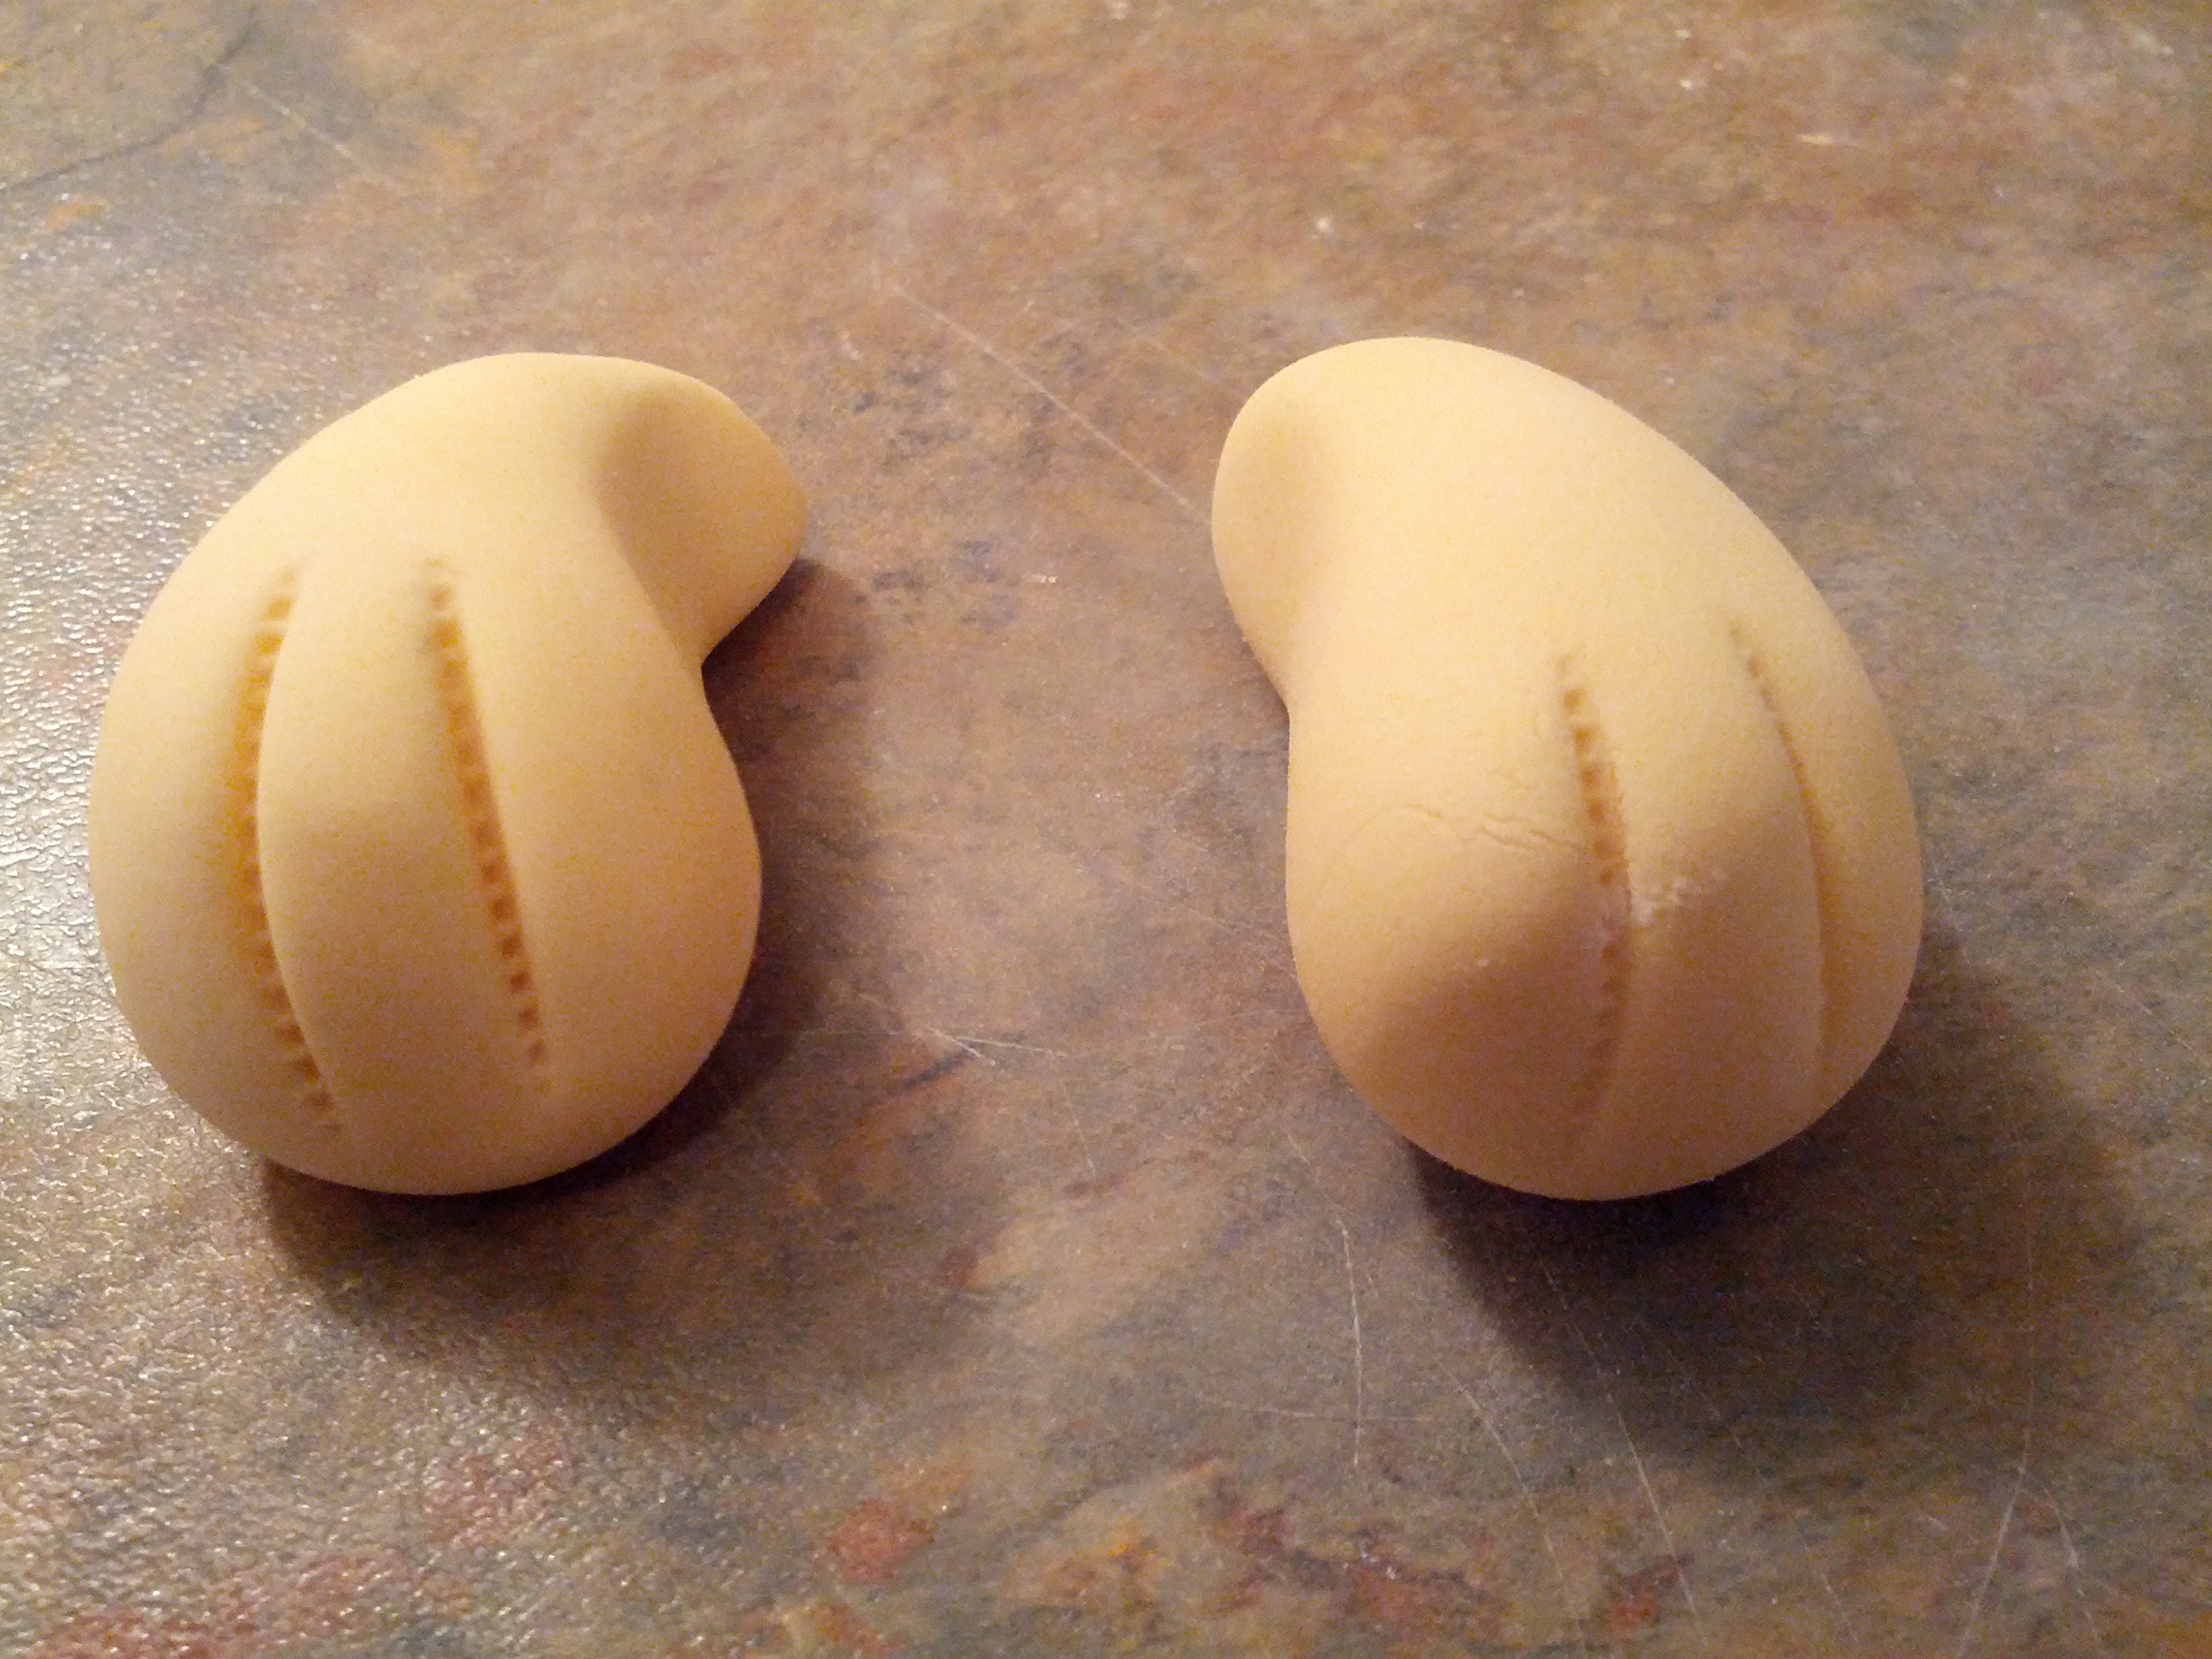
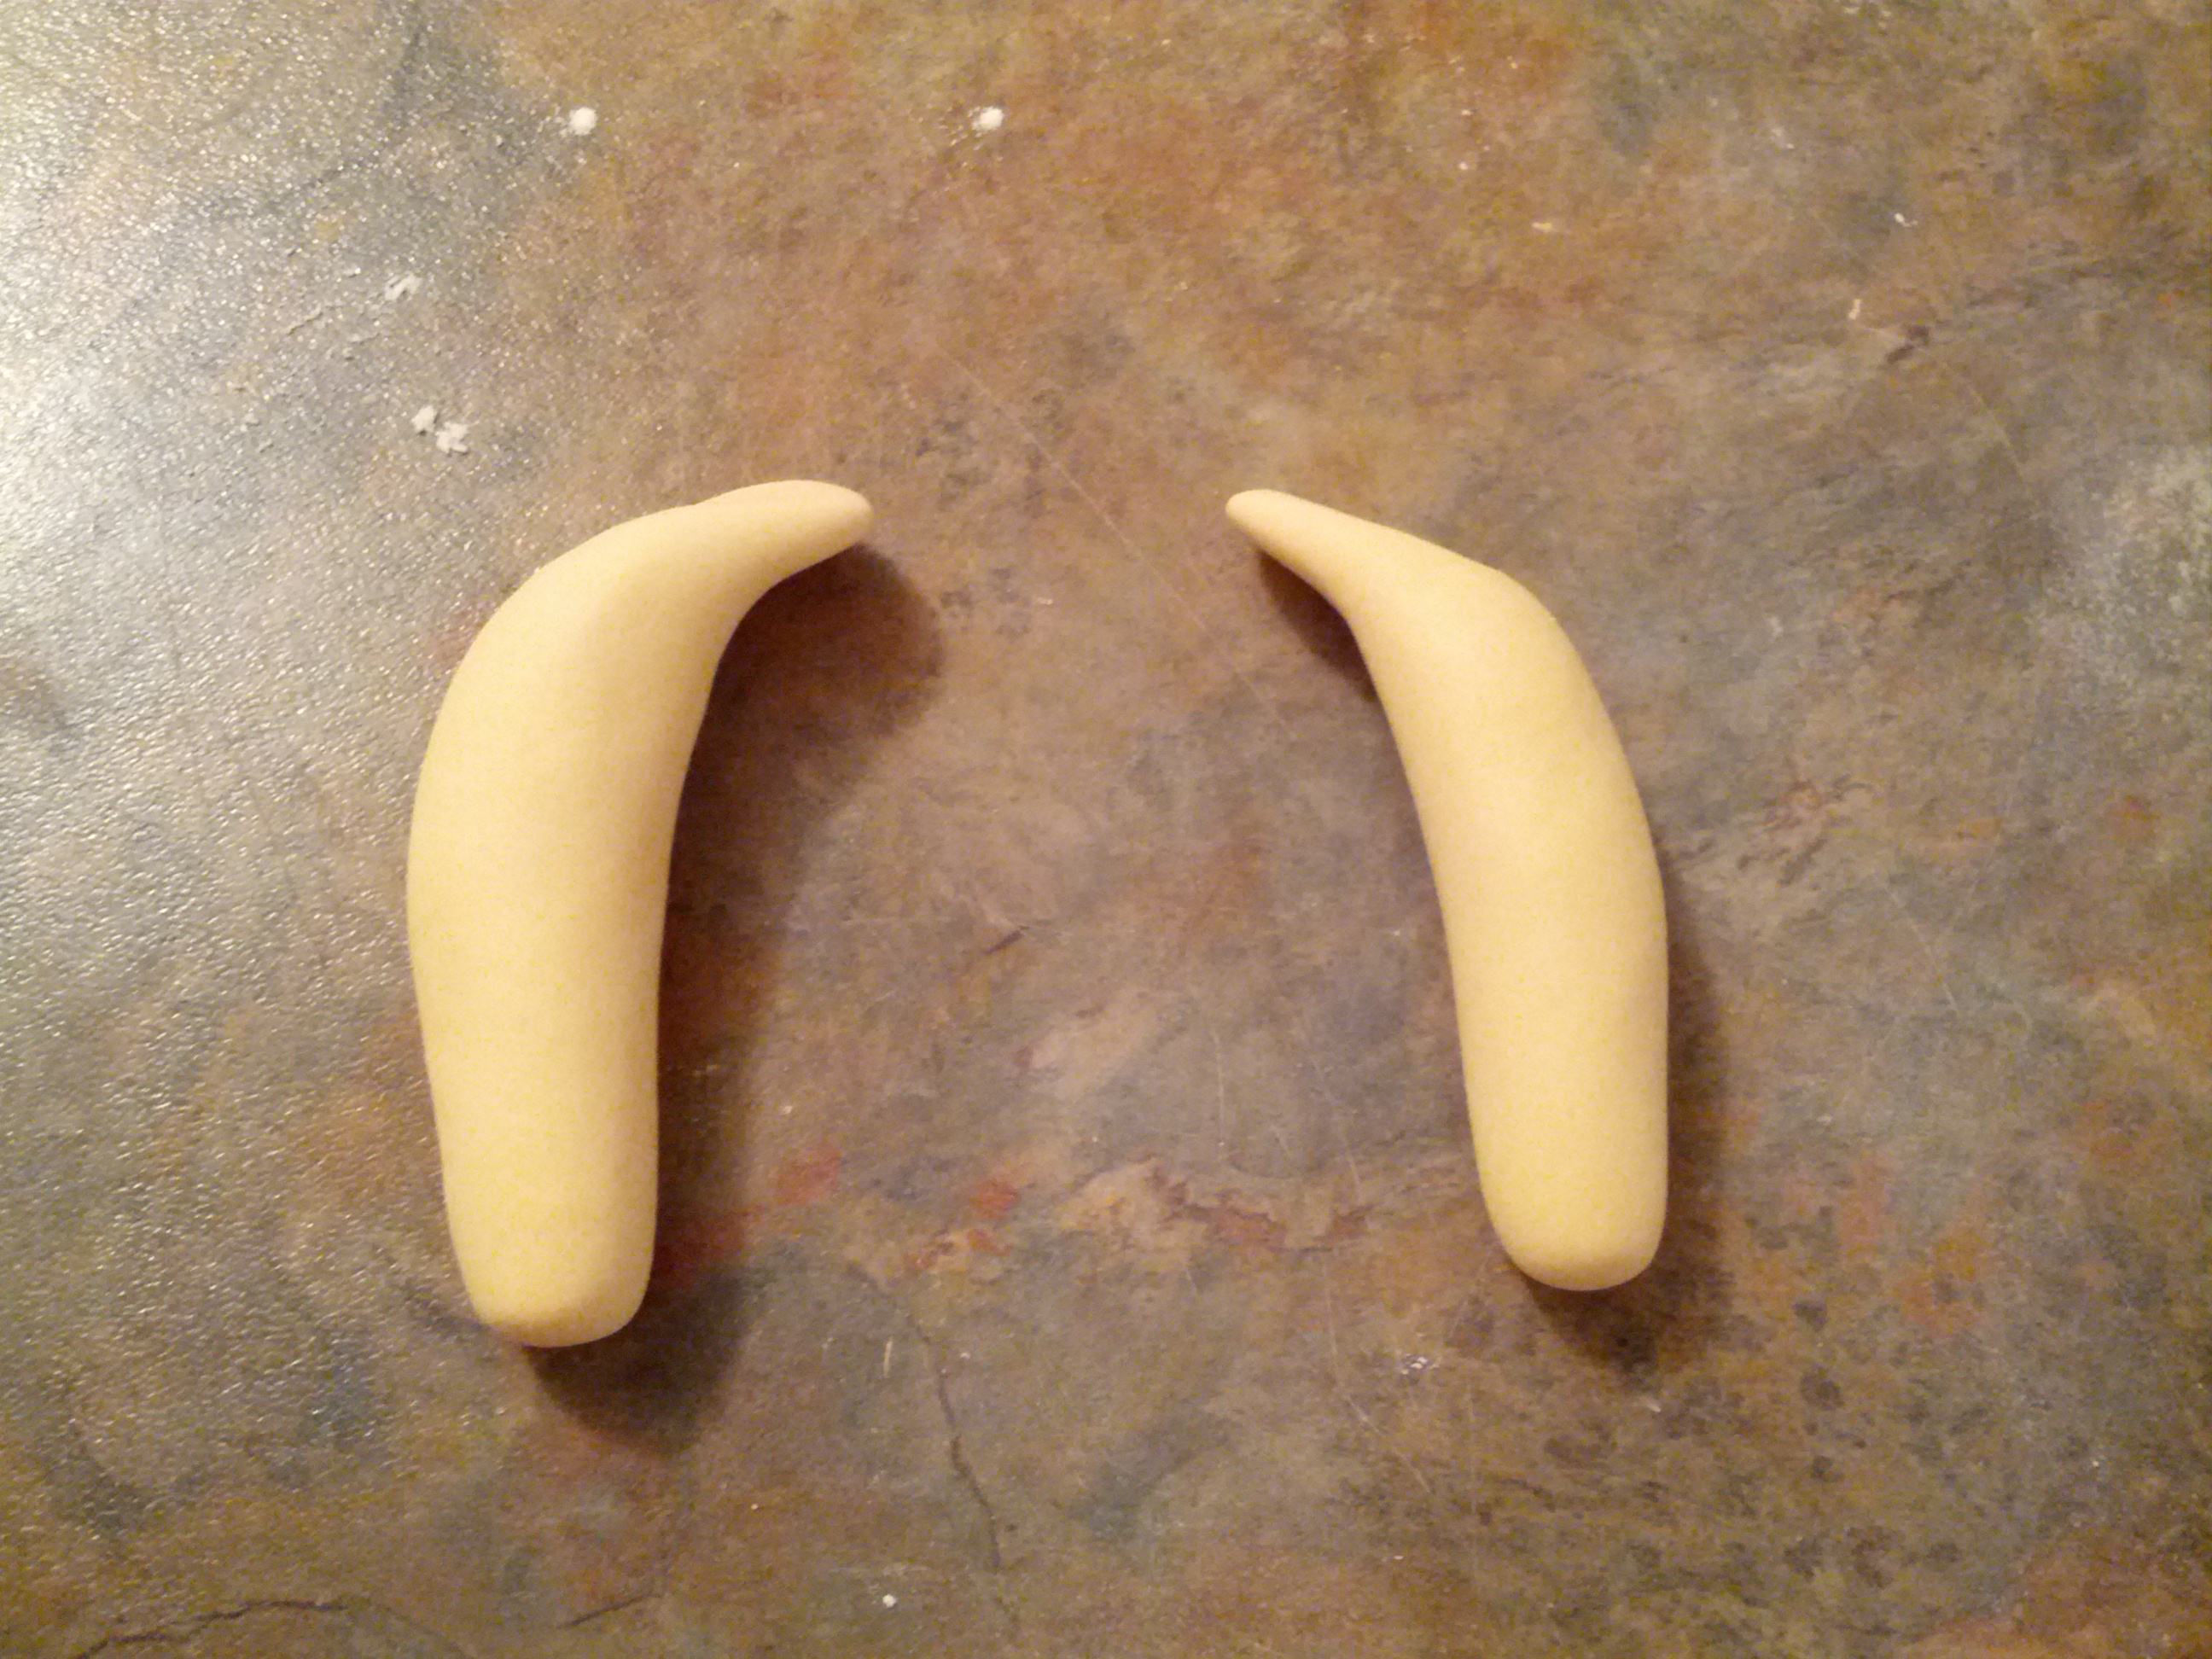
(3) Next, make the fore and hind limbs. For the hind limbs, roll out 2 smaller fondant pieces into spherical shapes. One end should be larger and round while the other end should be flat. At the larger end, use a knife or any indentation tool and make 2 to 3 indentations to create paws. For the fore limbs, roll out the other 2 fondant pieces into logs. Attach both pairs of limbs to the body of the teddy.

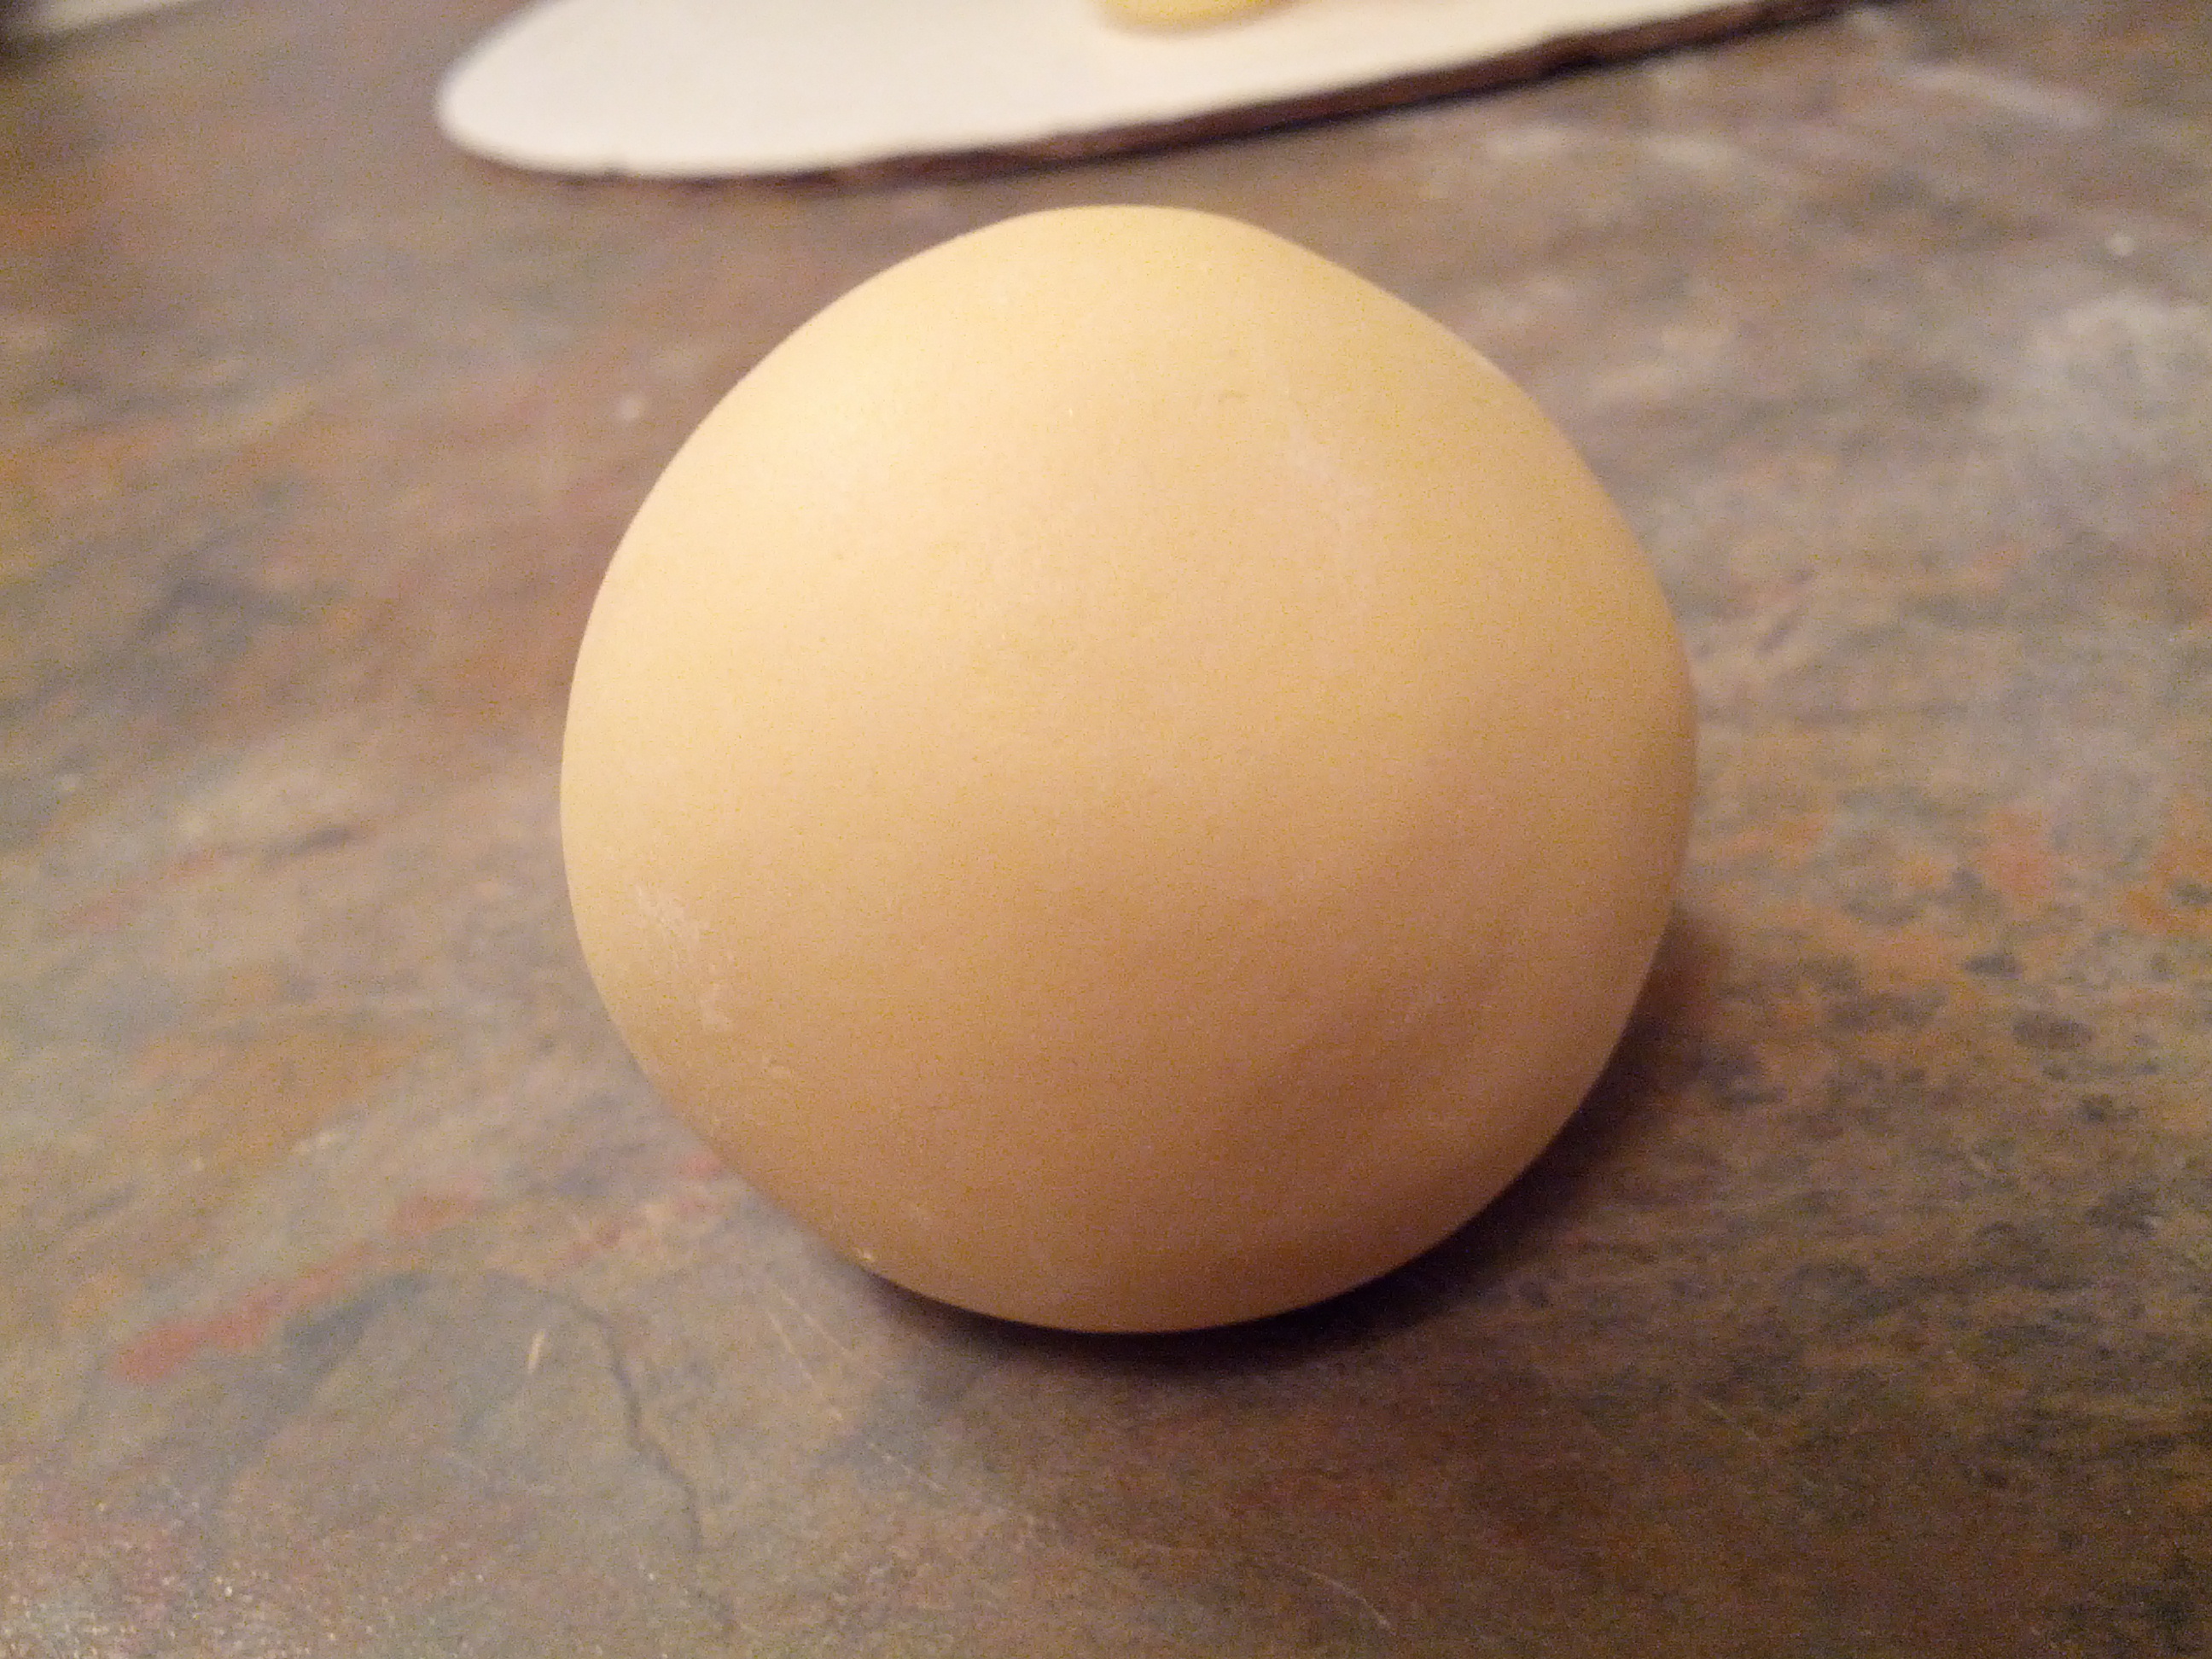
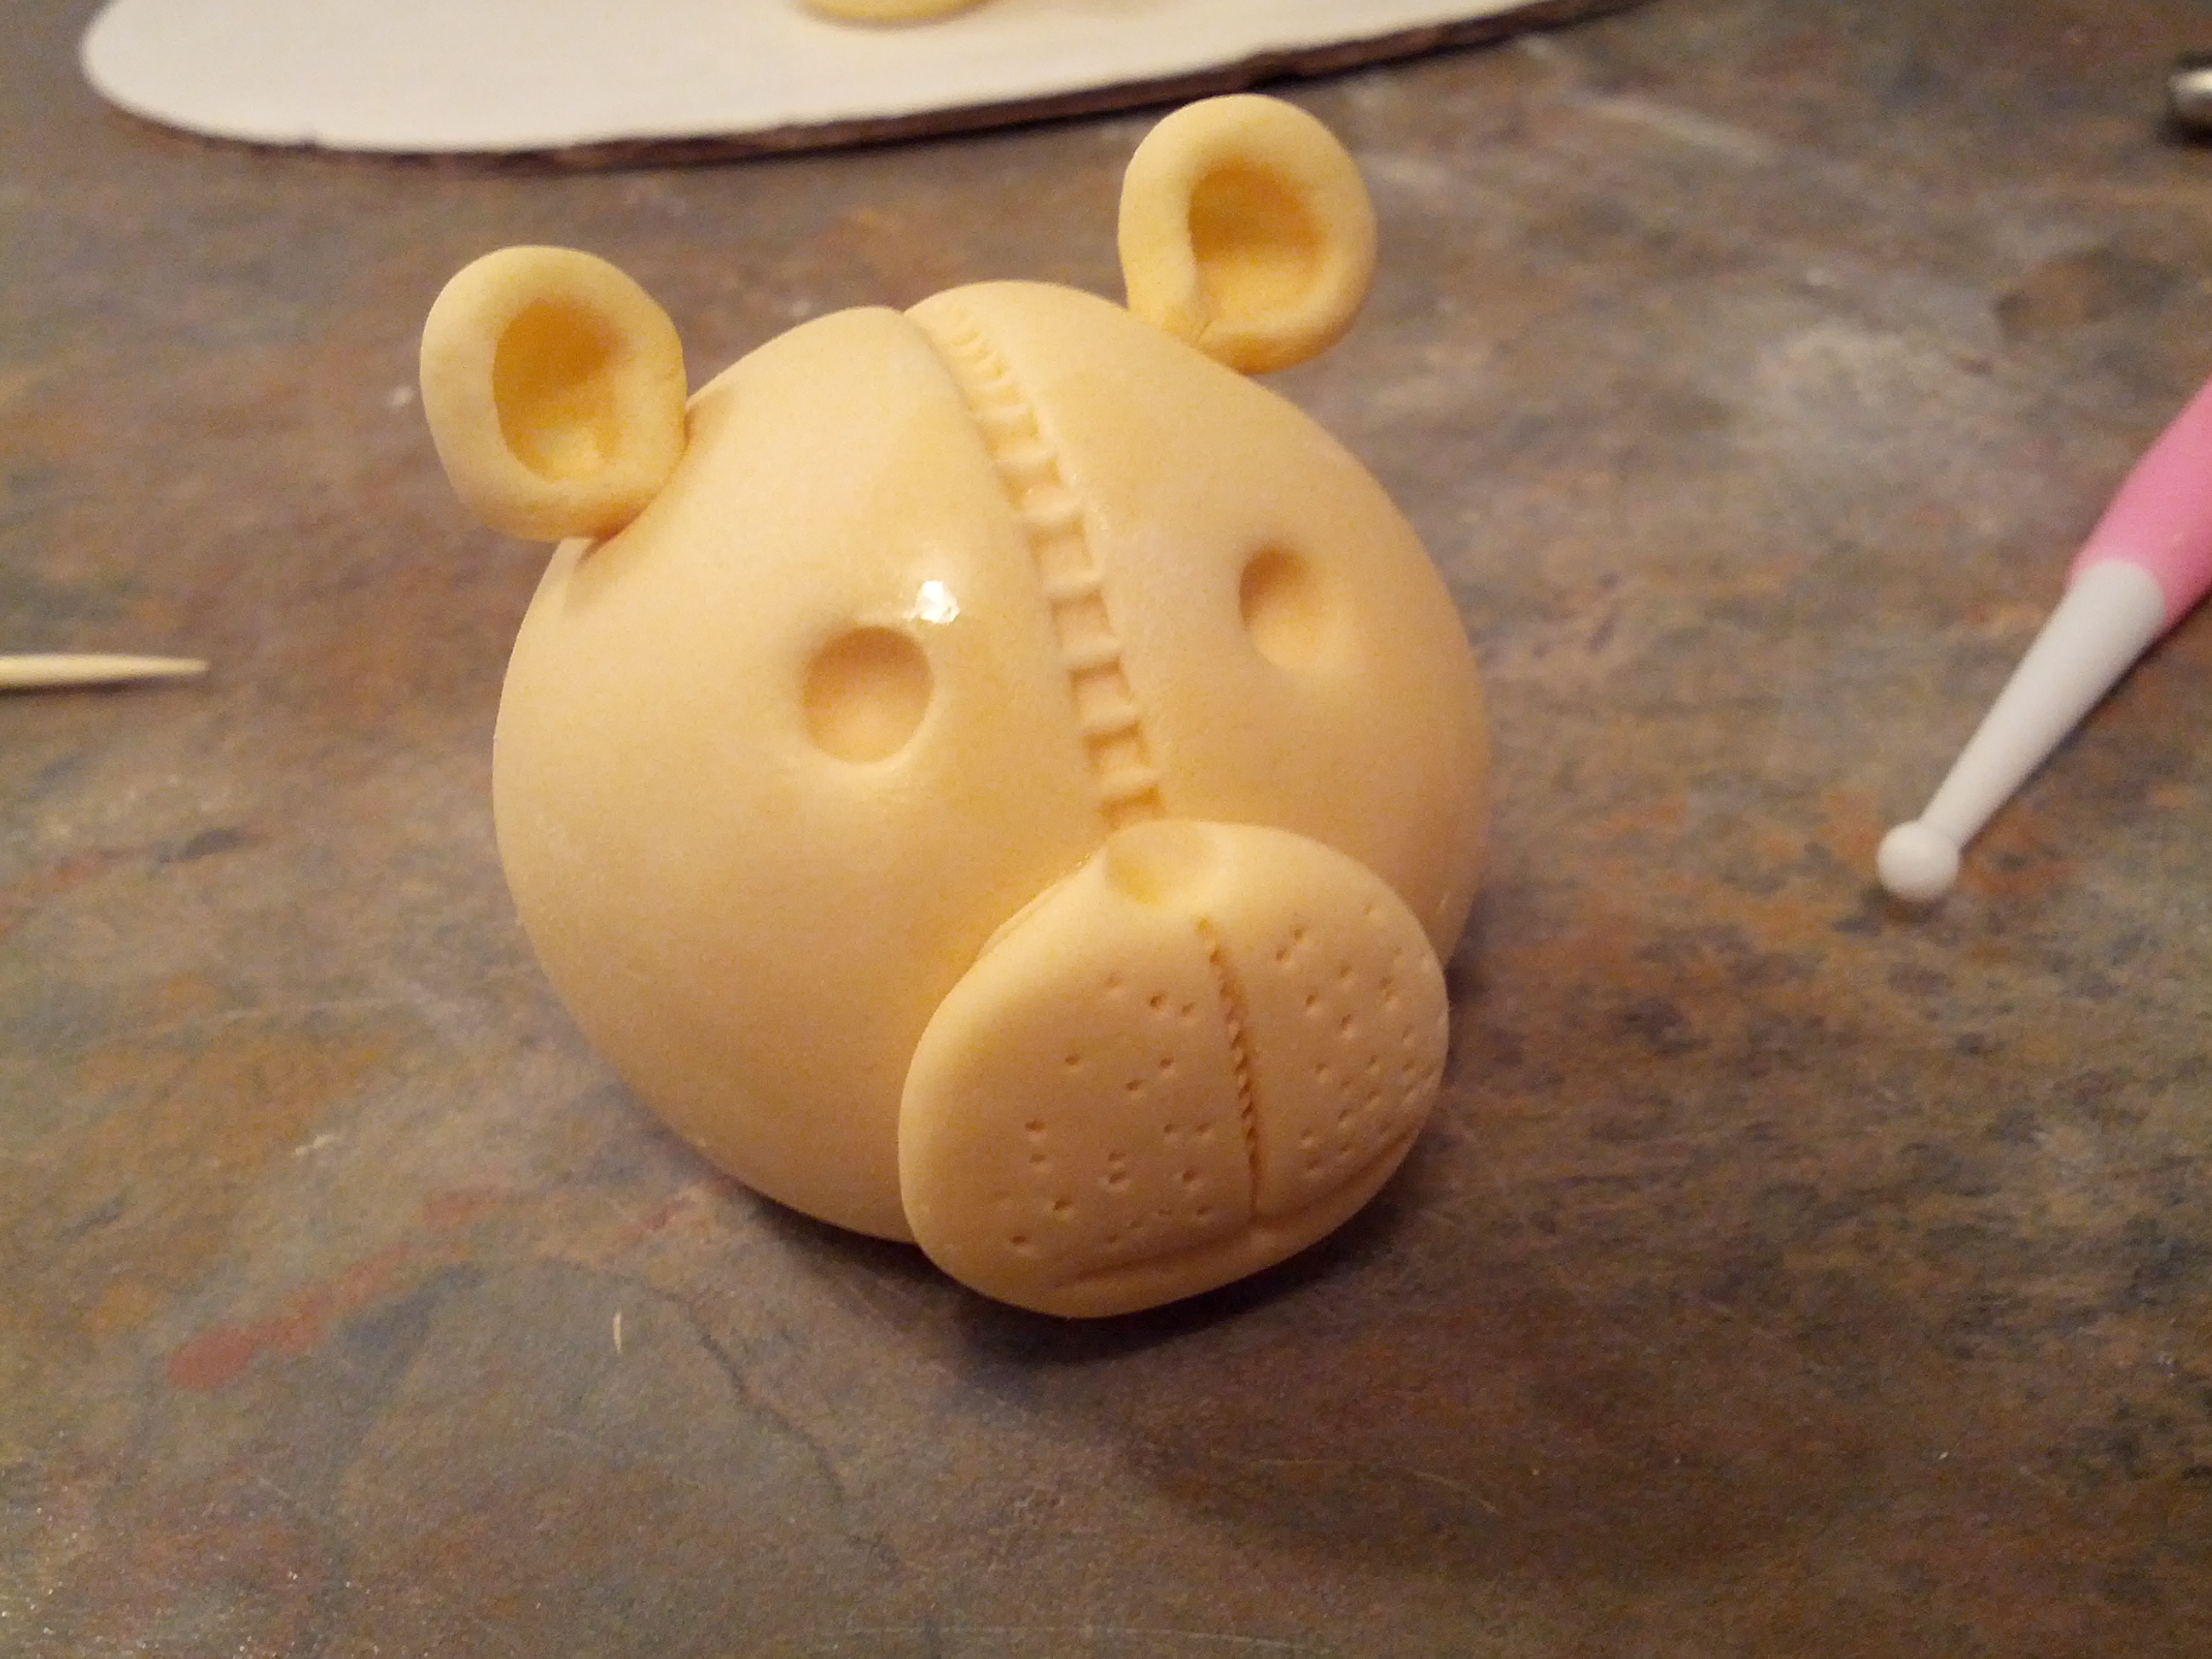
(4) Now that the body is done, make the head and face. Roll out the second large fondant into a smooth ball. Just like you did for the body, use the stitching tool to draw a line in the middle of the face.
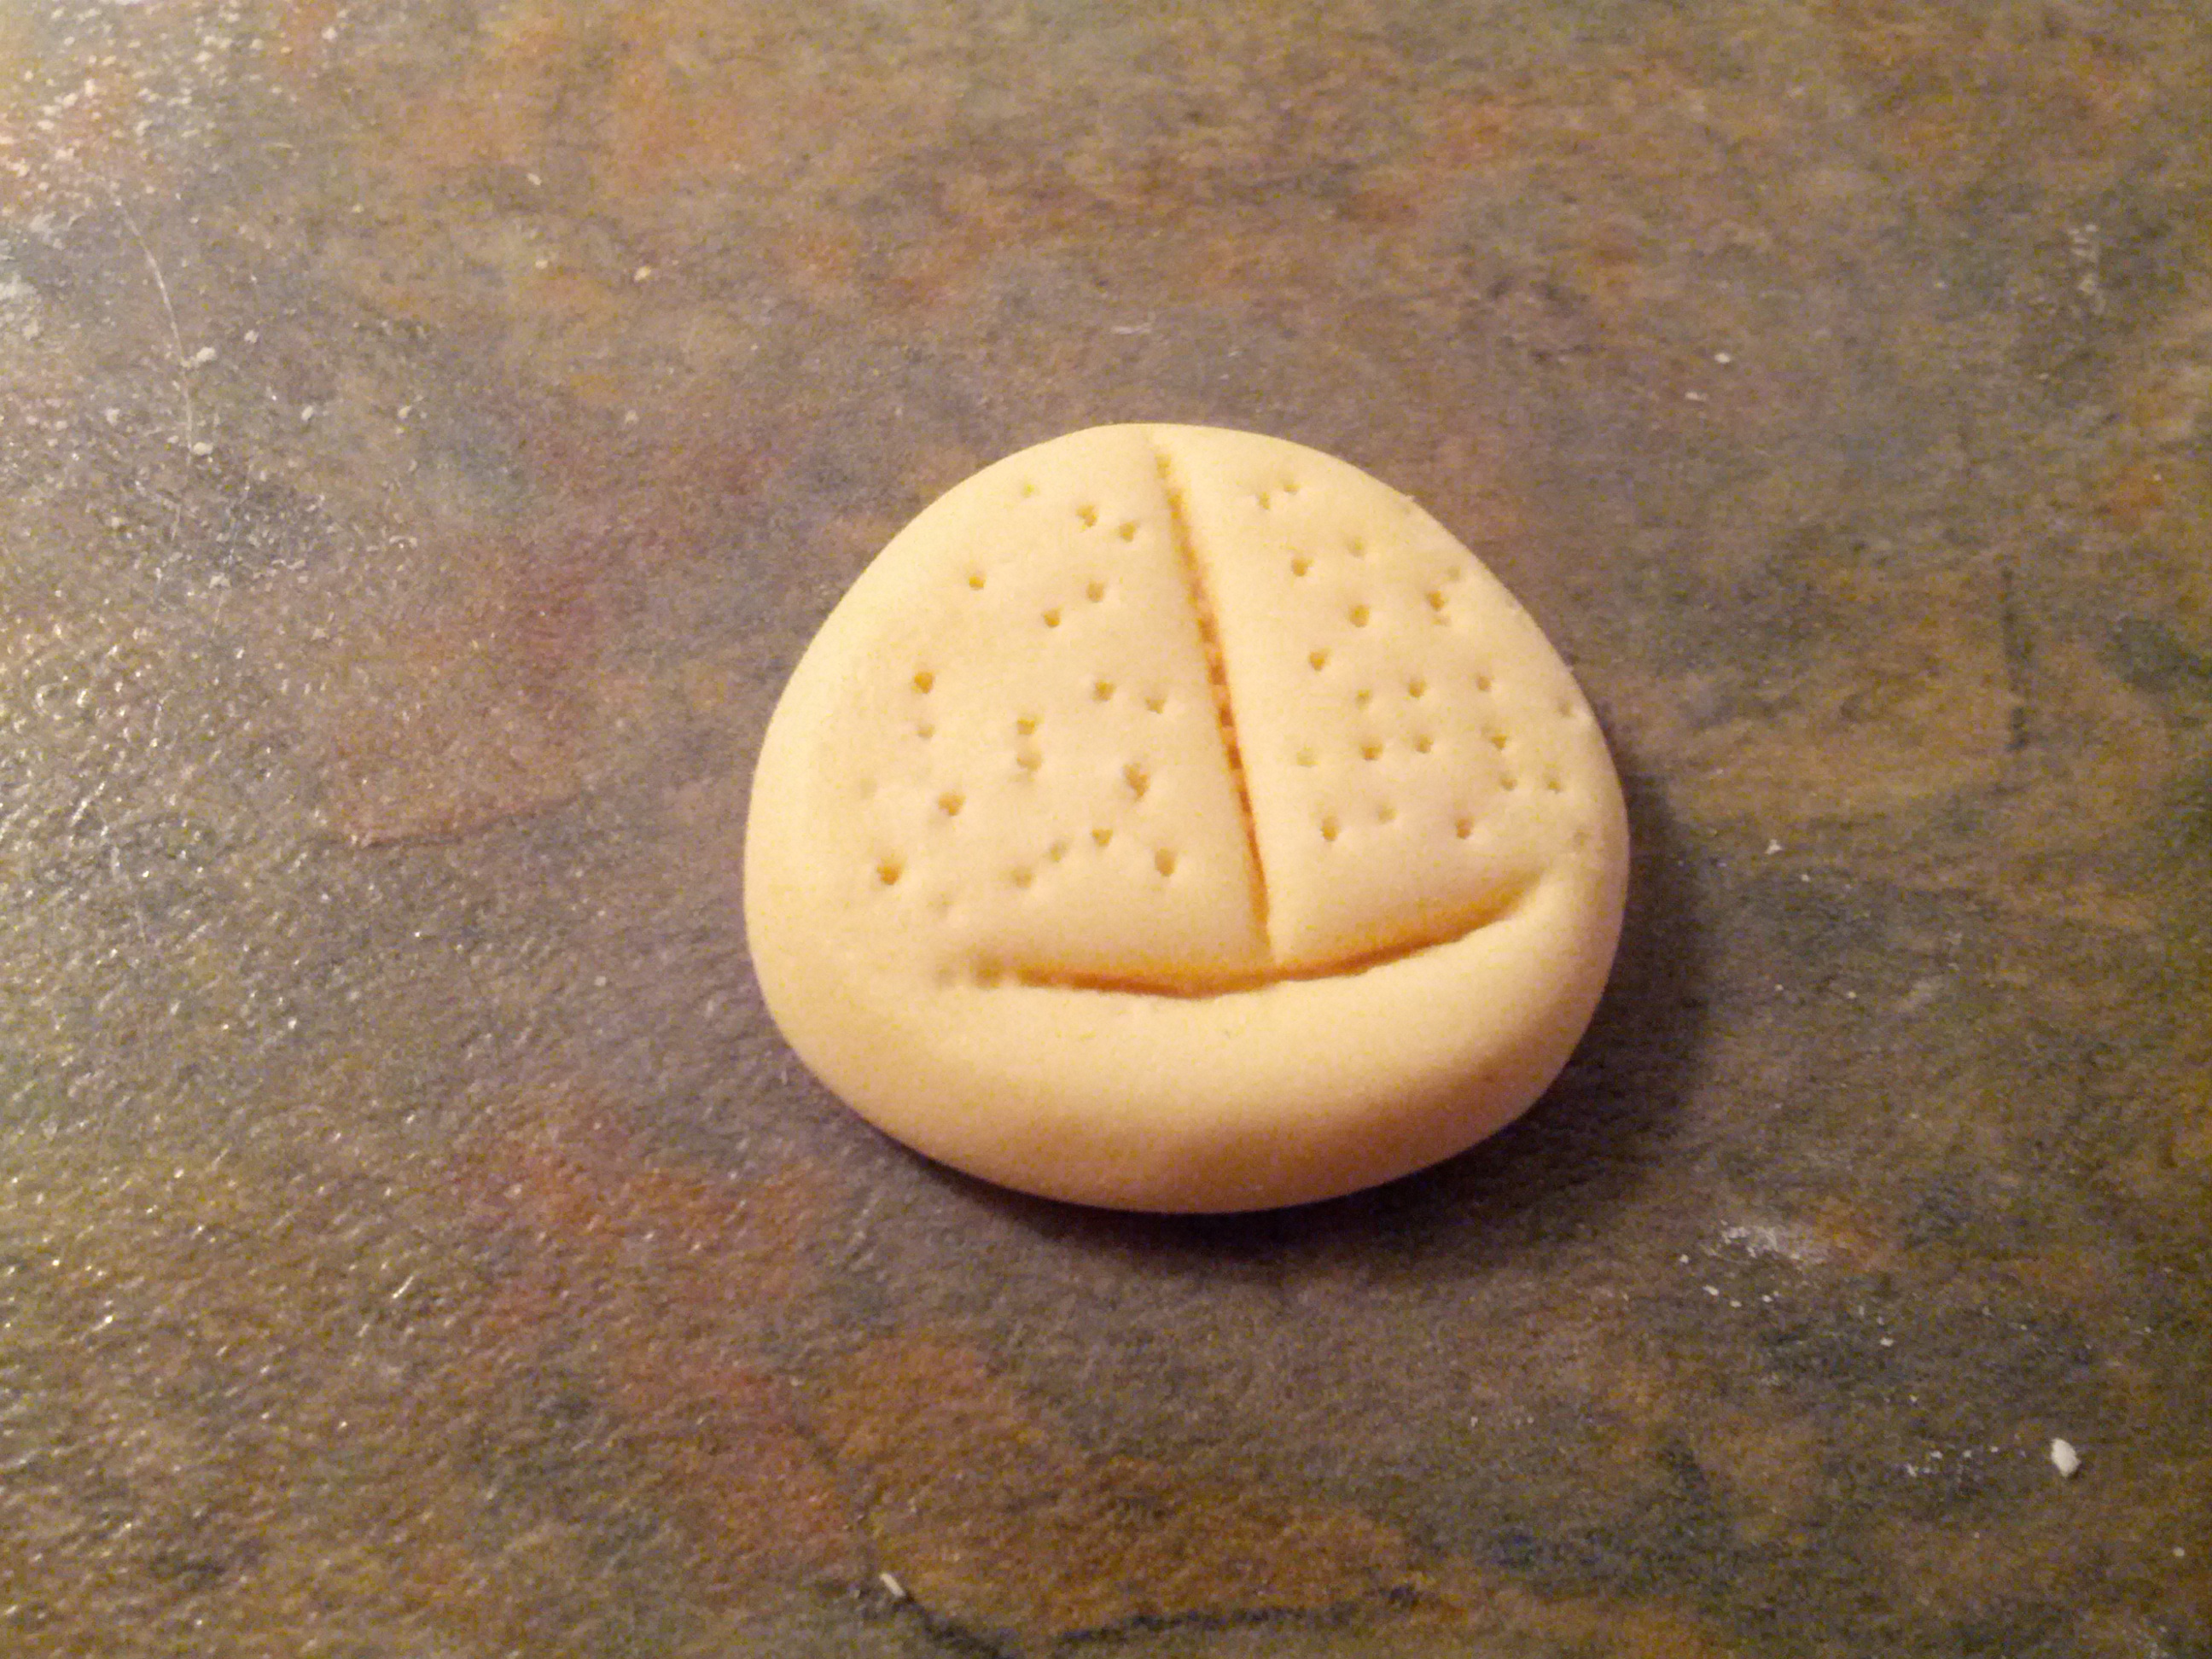
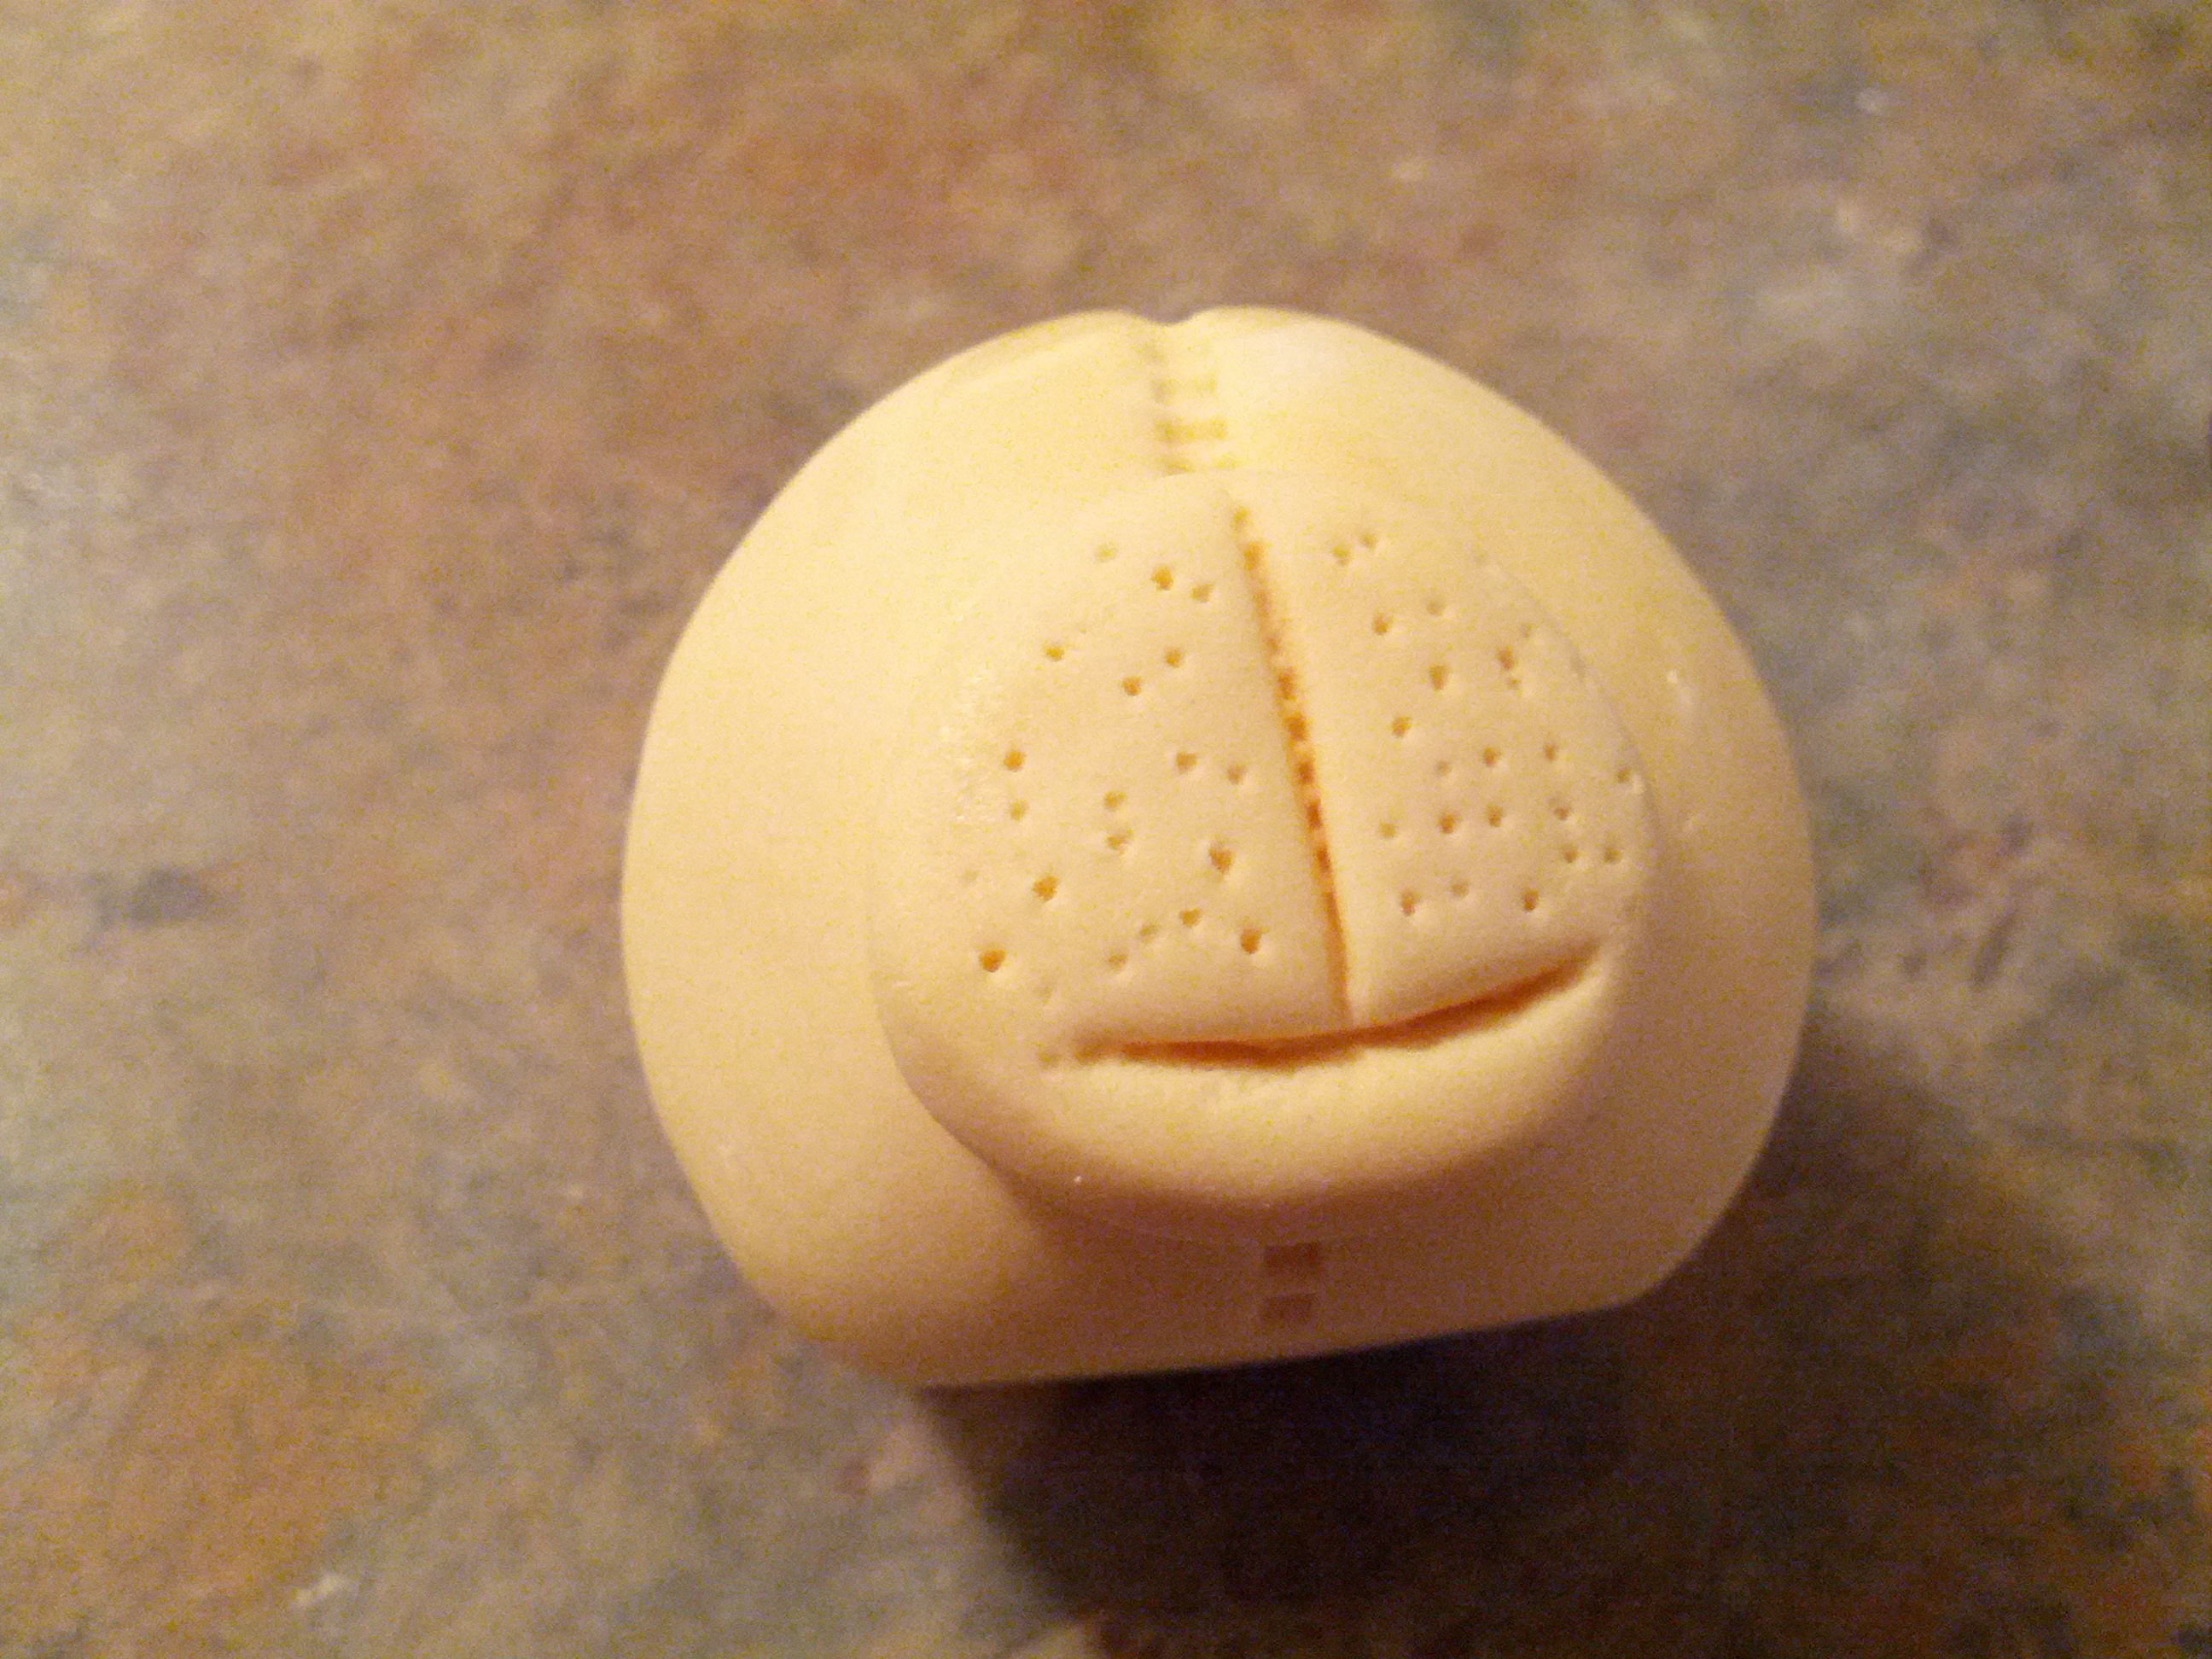
(5) Make the cheeks and mouth. Take a small piece of fondant, shape into a circle. Then flatten it to create a disk. Use a tooth pick to poke holes on it. Finally use a knife or any cutter to divide the disk into two and make the mouth. Stuck this to the bottom of the face.
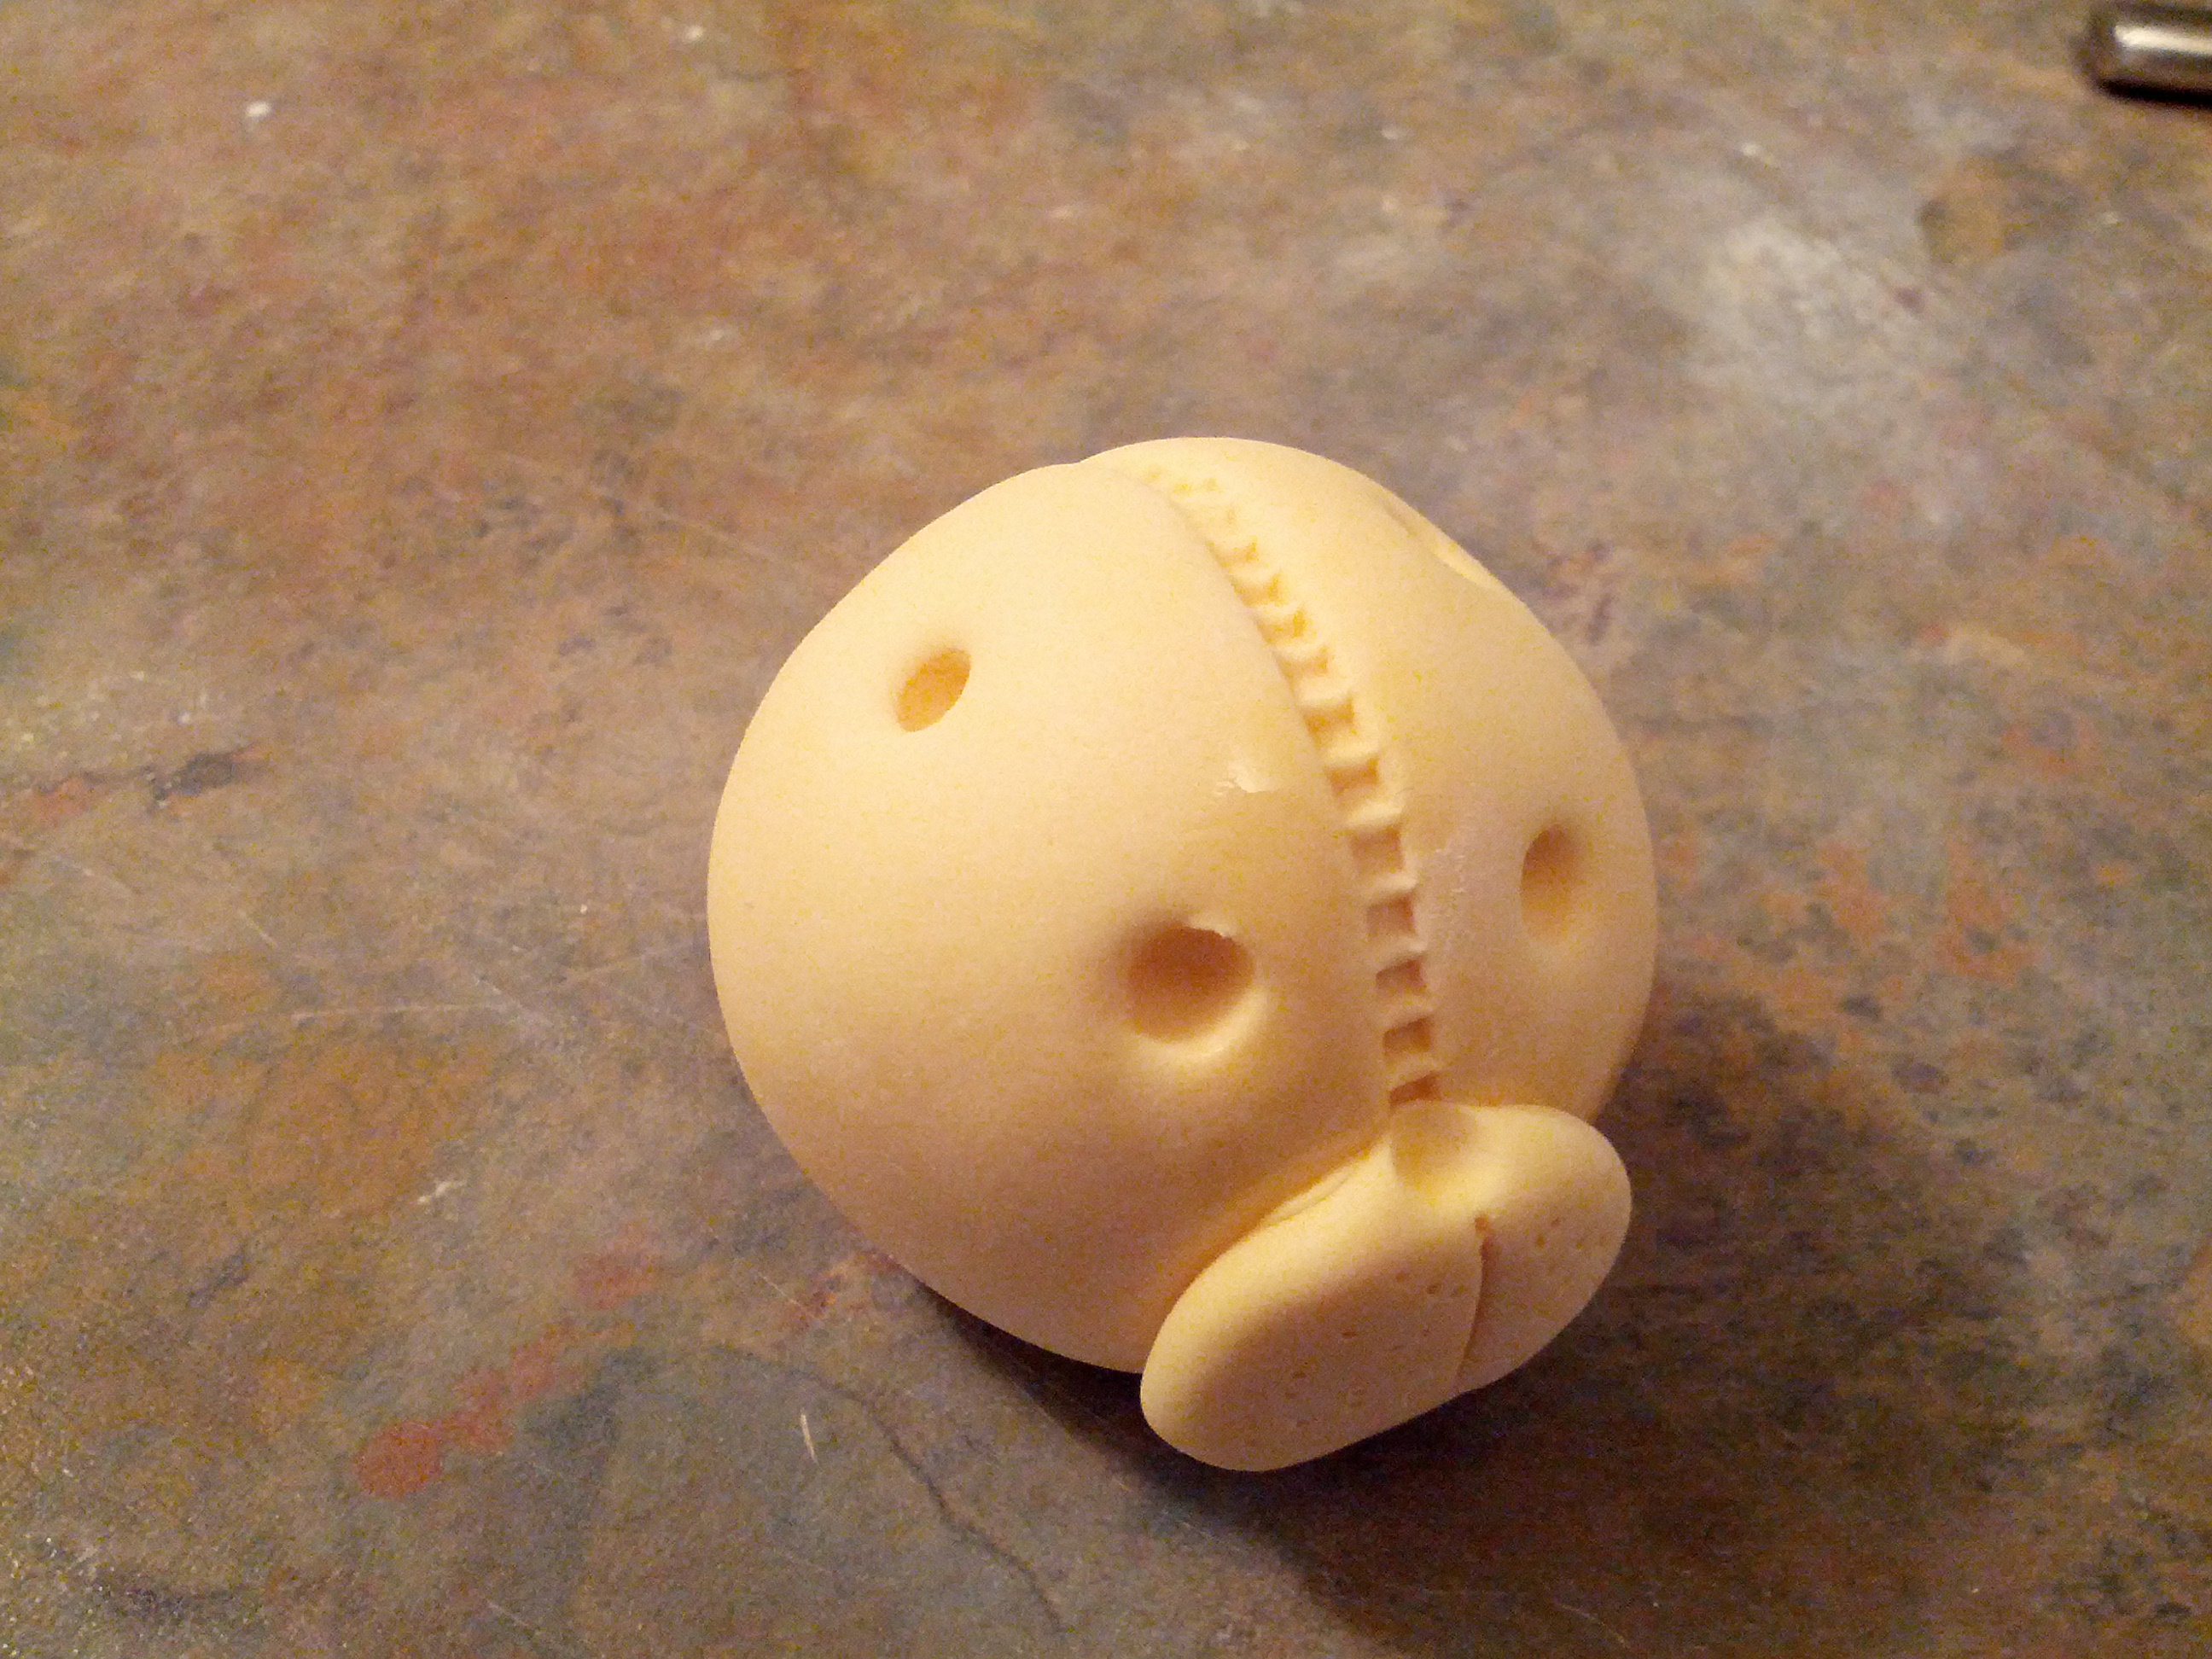
(6) Next, make holes for the eyes, nose and ears. Using the end of a paint brush, make 2 holes in the head, above the cheeks. These will be the eye sockets. For the ears, make two holes on top of the head. For the nose, make a hole on the top part of the cheeks.
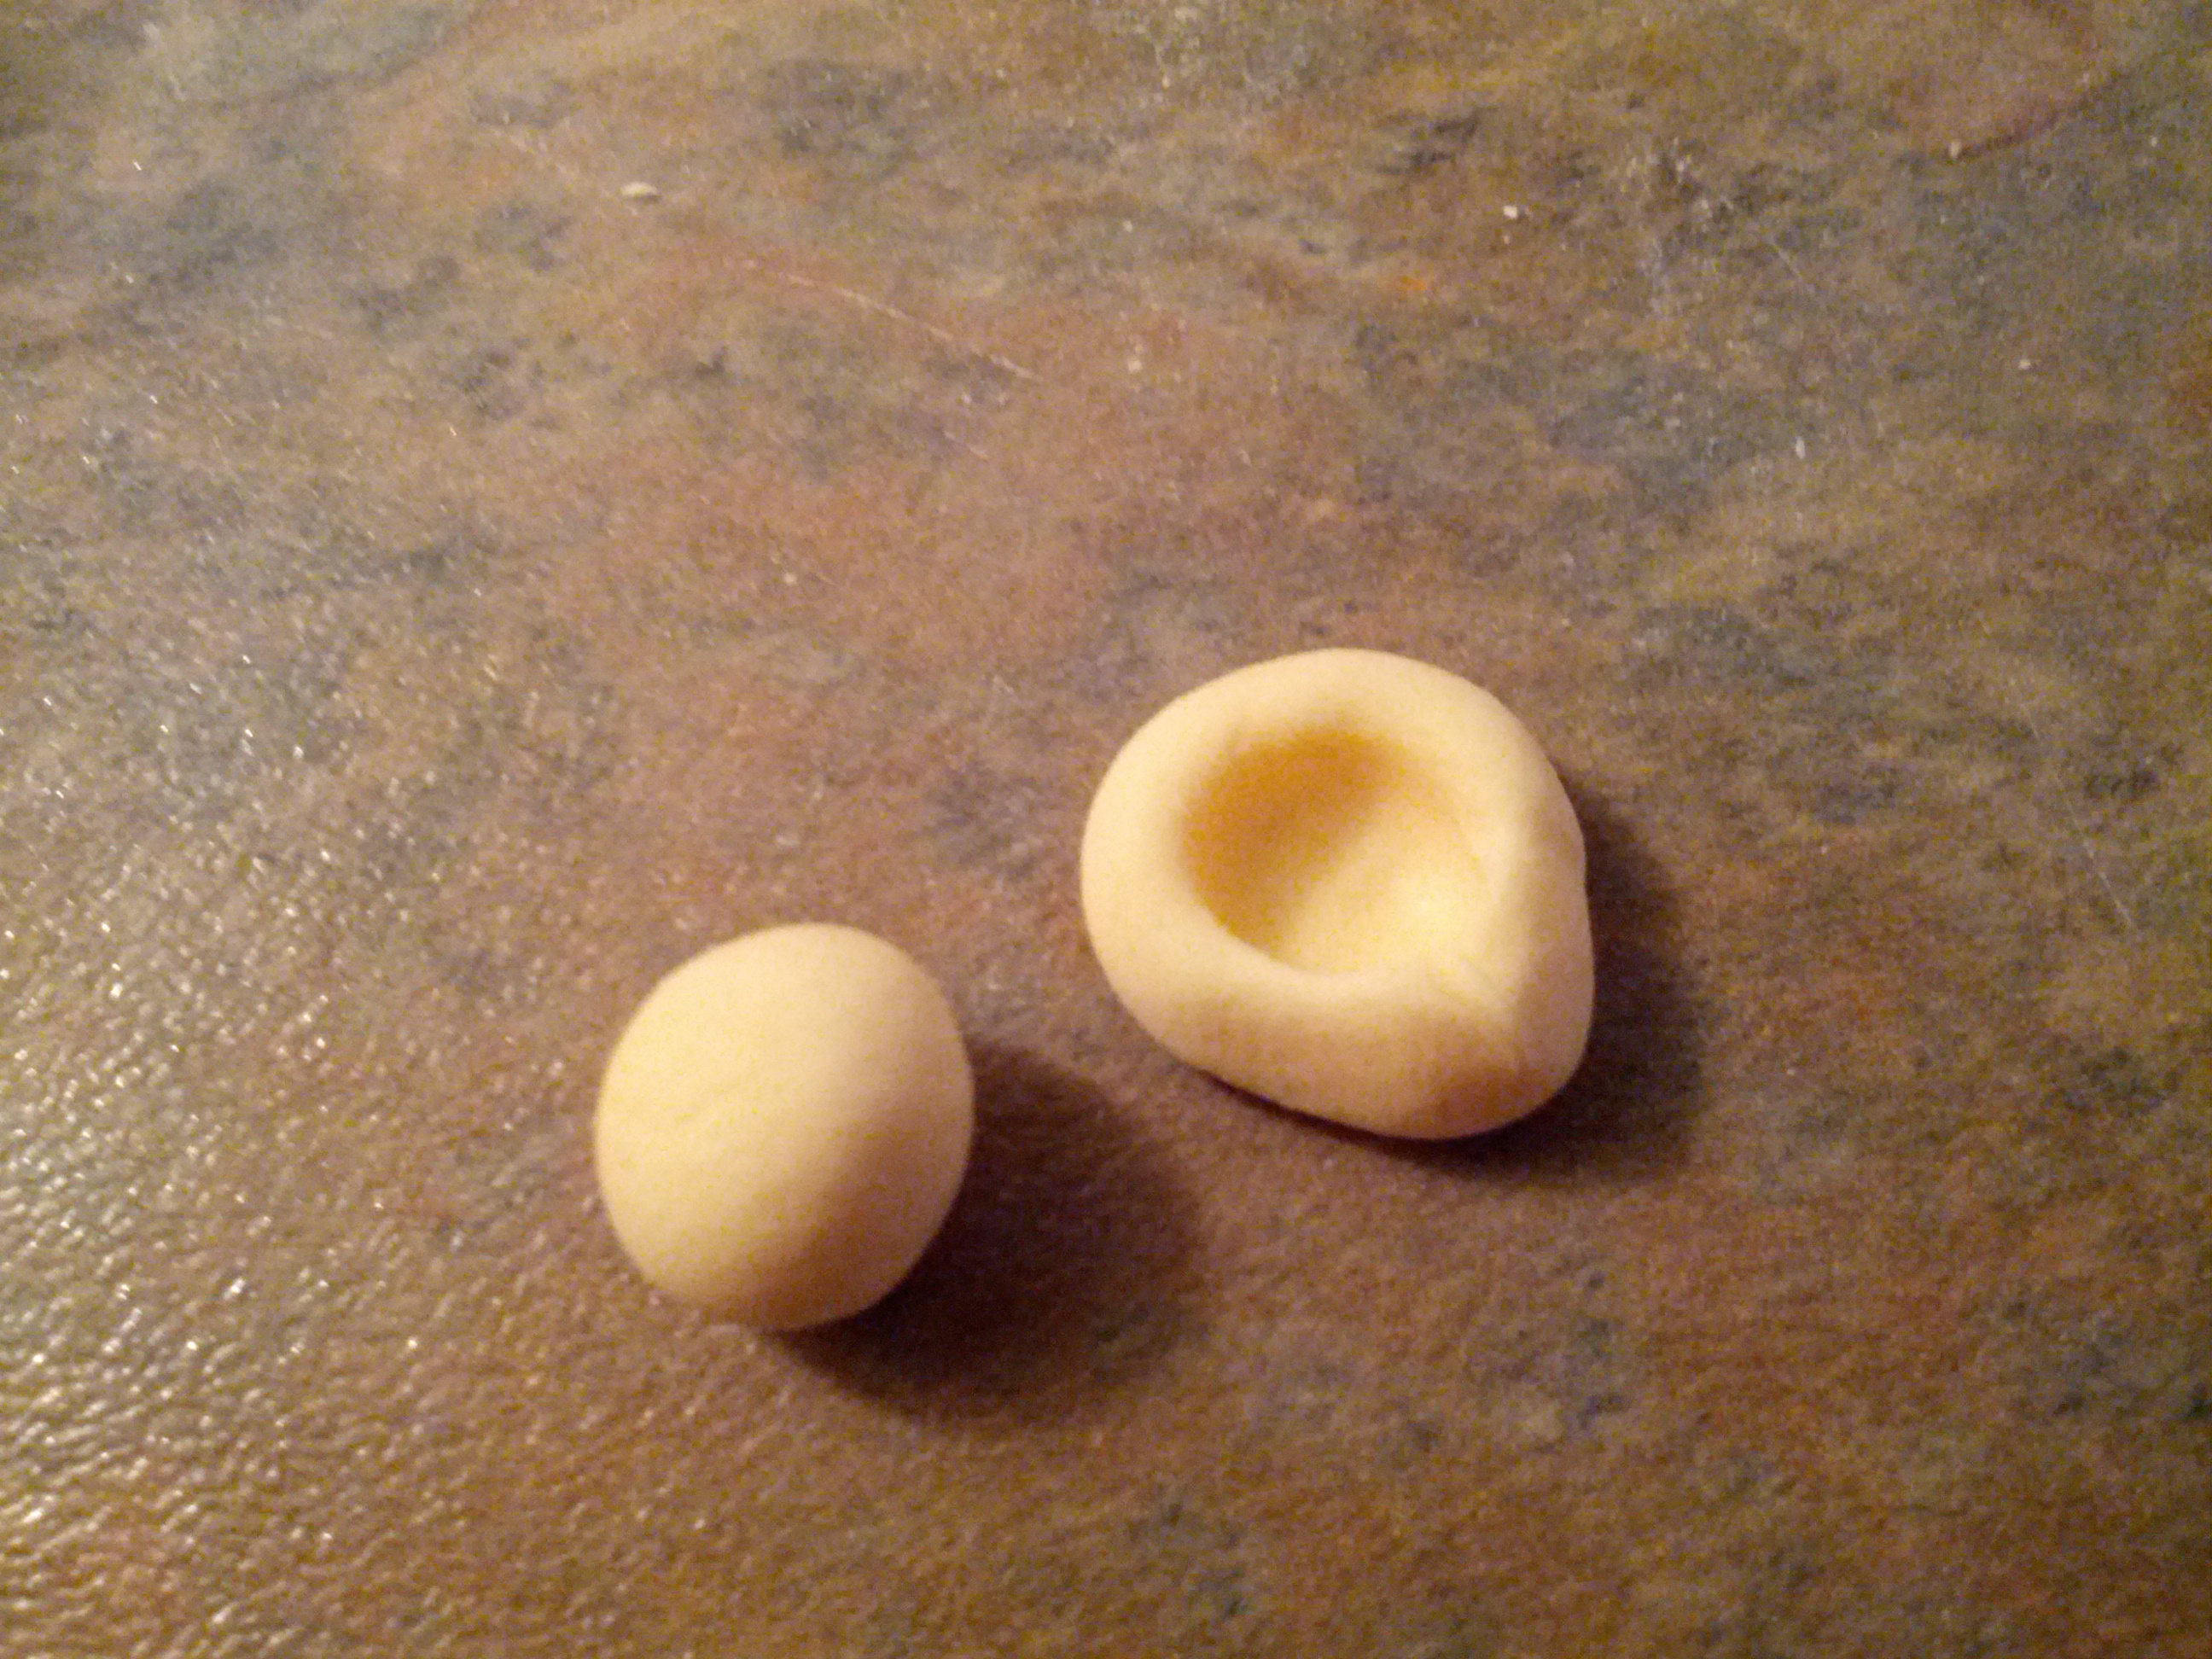
(7) Next, make the ears. Roll out the last two pieces of fondant into balls, use the end of a paint brush to indent the middle of each ball and make one end pointed with your fingers. Poke the pointed part of the ears into the holes you have created for them.
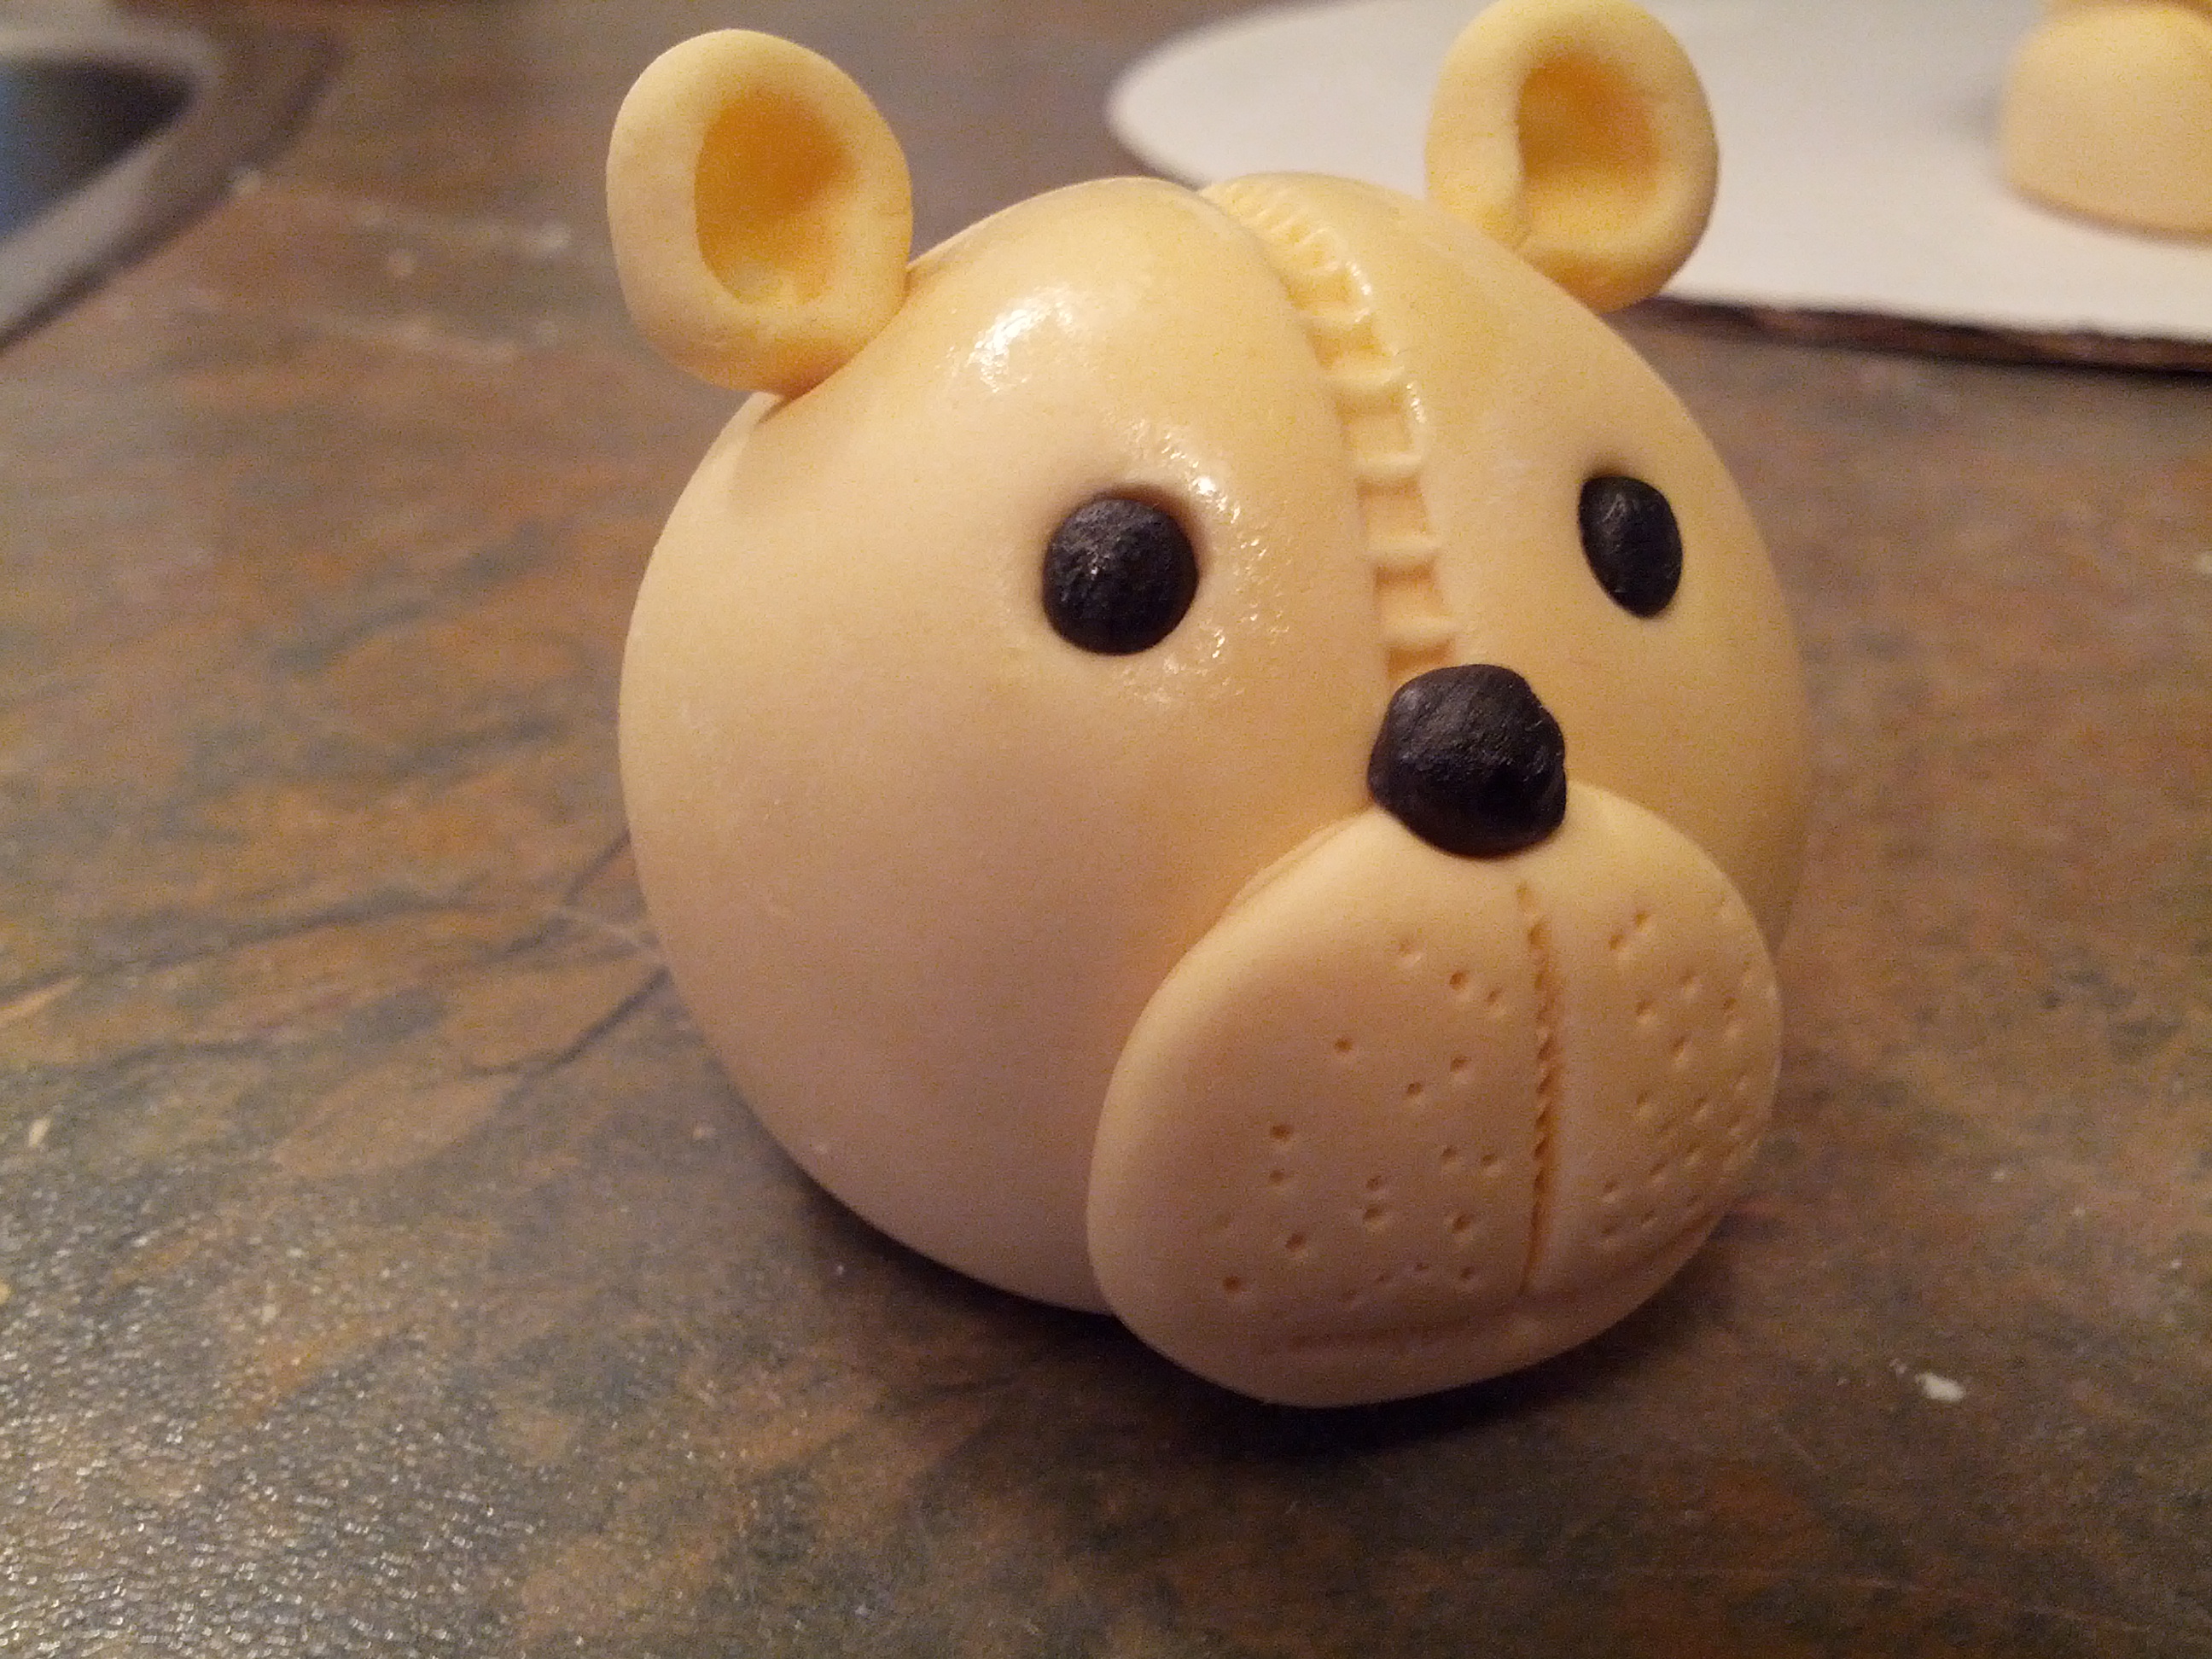
(8) Next, make the eyes and nose. Roll out 3 small pieces of black fondant and place in the eye sockets and hole meant for nose.
(9) Finally attach head to body of teddy.
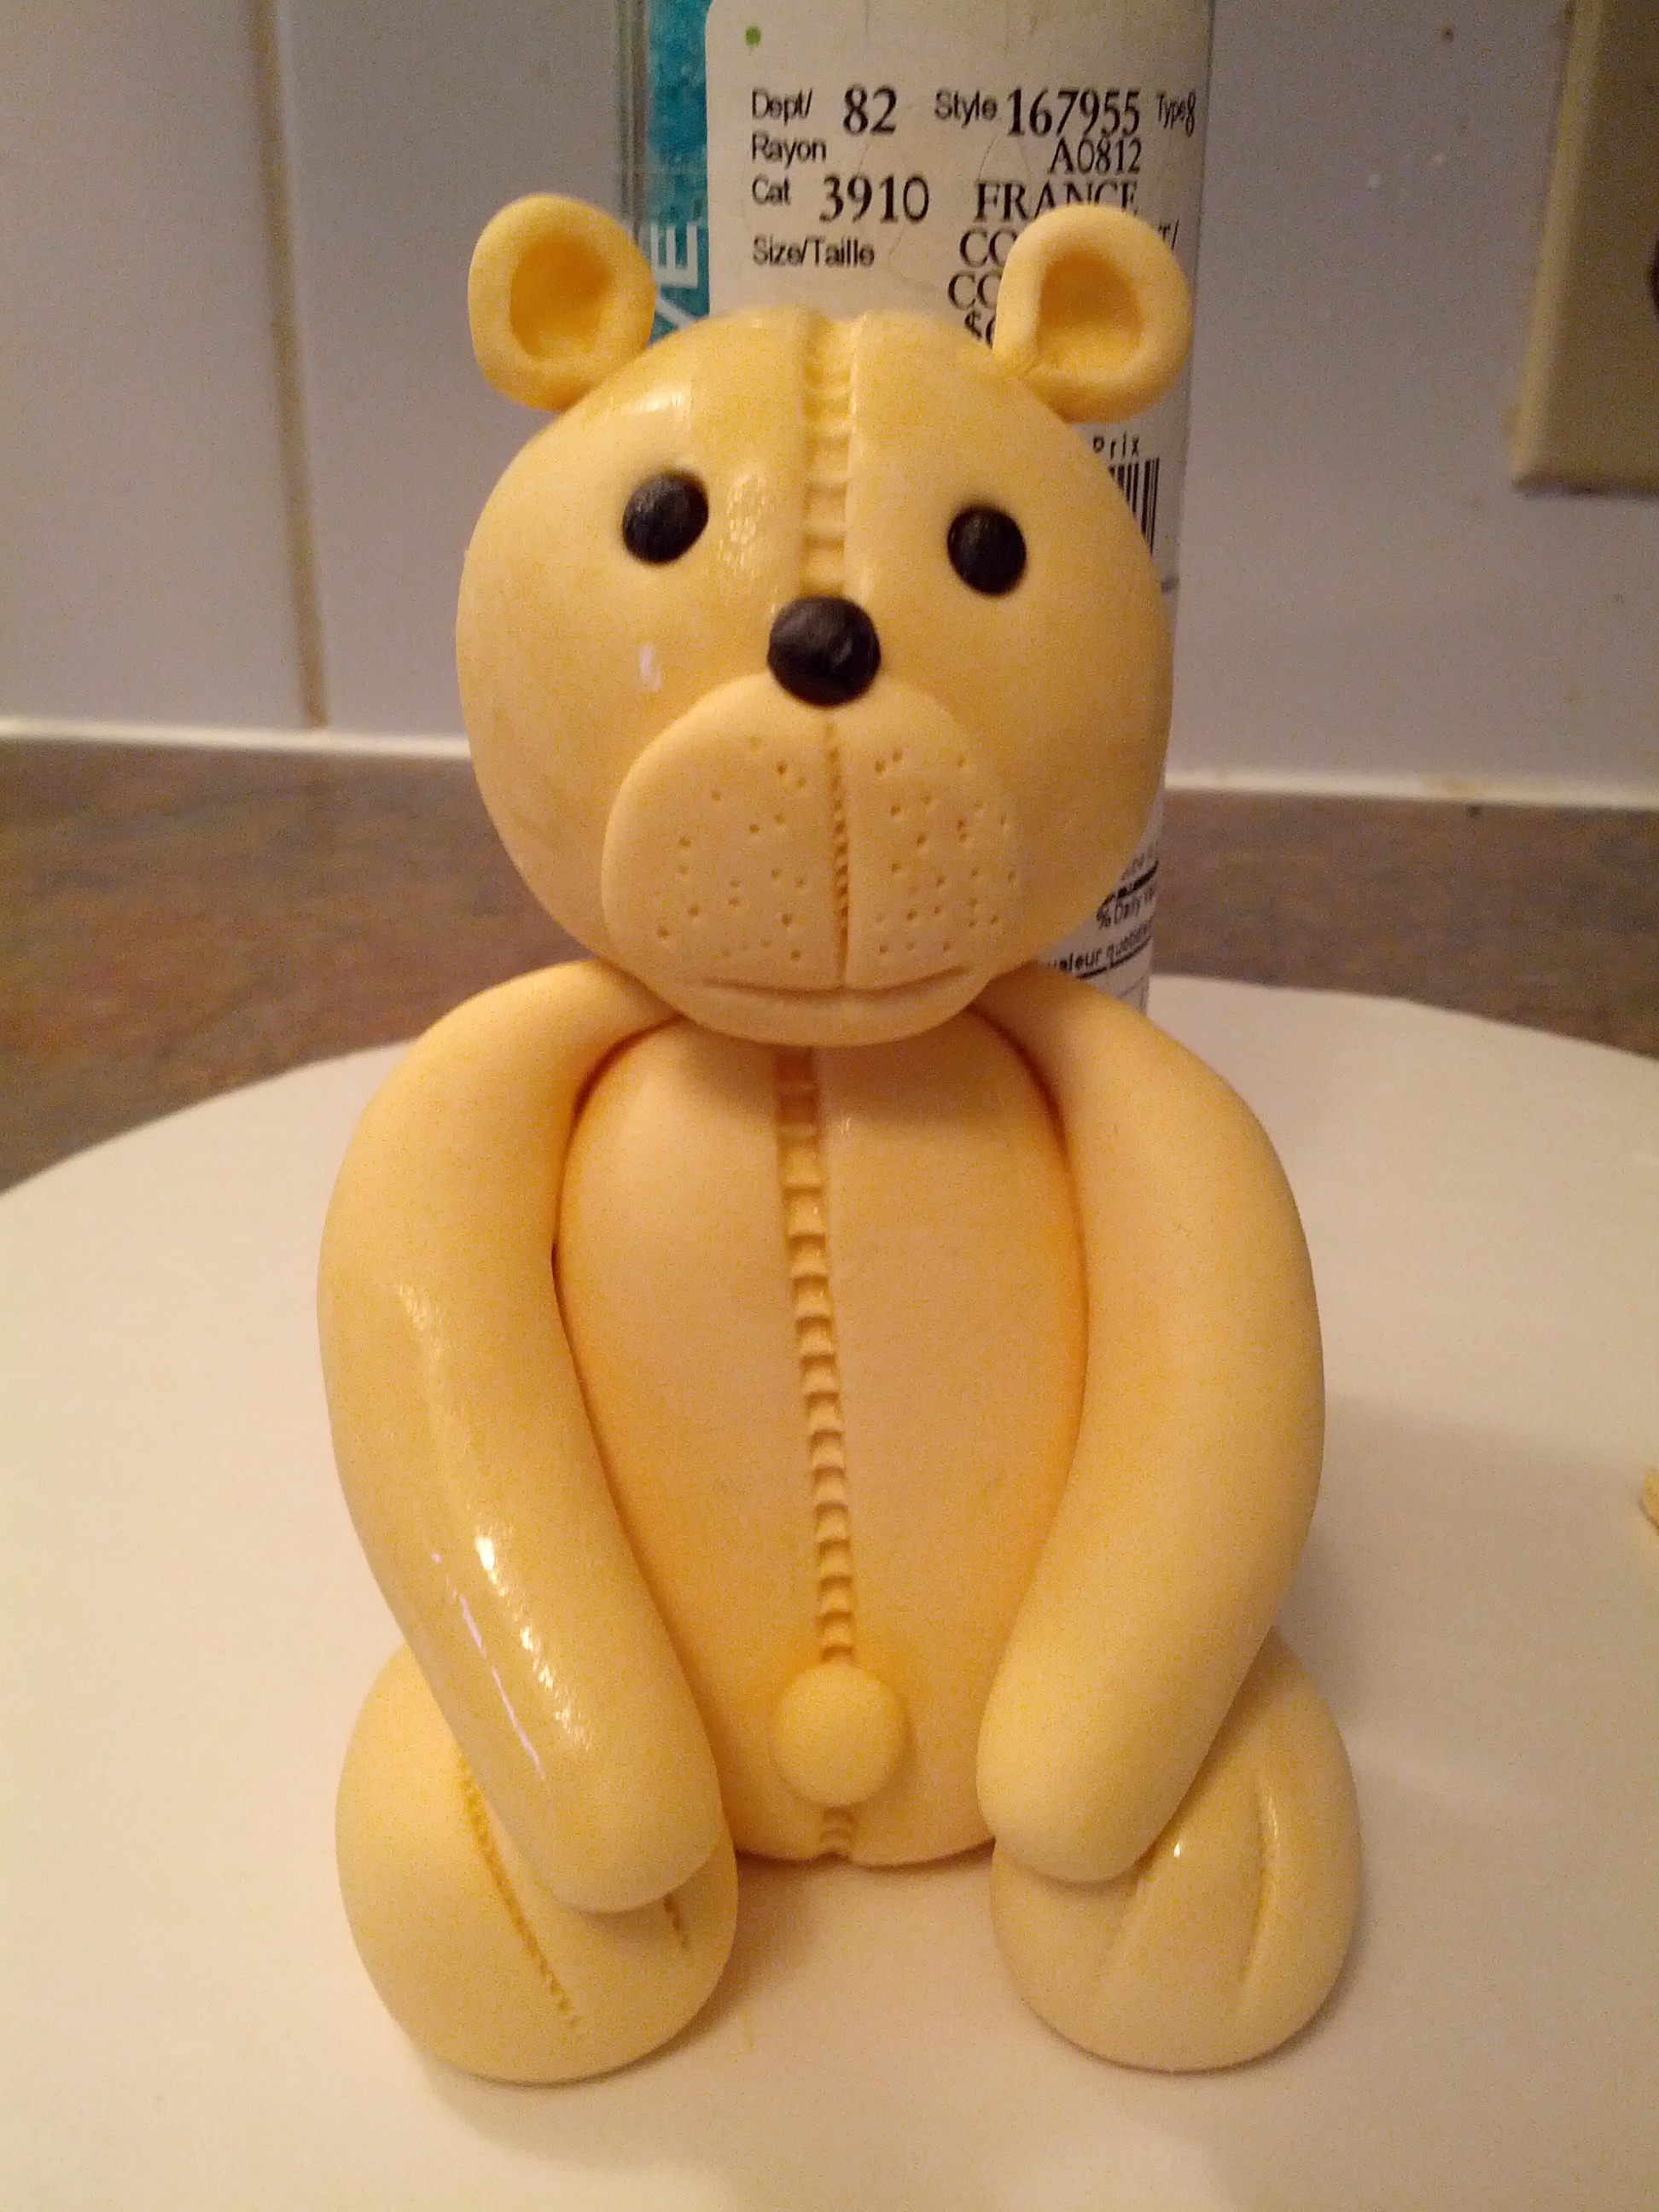
Allow the teddy to dry for some time before using. If it does not stand upright, use anything to support it at the back while it dries. You can finish the teddy by brushing it with some vodka or little water to remove any leftover icing sugar and make it glossy.
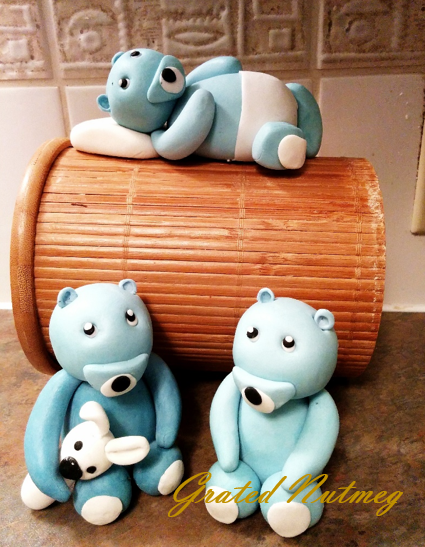
Like I said at the beginning of this tutorial, this is a basic teddy bear. You can use this as a model to try more complicated teddies sitting in various positions like the ones below. Have fun trying this out.
Terry Adido is passionate about showing people how easy it is to recreate restaurant quality meals in the comfort of their kitchens. With a style of cooking he refers to as Afro-European Fusion, his meals are influenced greatly by French and Italian Cuisine with a West African twist. If you love good food, you are in for the ride of your life.
Beautiful. God bless Ÿ̲̣̣̣̥ø̲̣̣̥u̶̲̅. Pls Ħ̀́̀́̀☺ω do I make Foundant icing?
Thanks Patwini. I have a link for marshmallow fondant on this page.
Hey Terry.
Thanks for the lovely tutorials. I will definitely practice it,inorder to perfect my act.
Pls is there any other thing i can use in place of stitching wheel?
Thasnks for the anticipated answer.
Hi Jane. You can leave that out.
Uhmmm.gud,tnx nd God bless u
Thanks Buki.
Good morning terry,thanks for sharing this from your wealth of experience.may God reward you.
Thanks Valentina
Genius!!! that’s what you are…
Thank bola
A job well done.KUDOS!
Thanks Kemi.
ThanksTerry,
You make it look so easy. I’m inspired.
You are welcome Bukola
Pls whats ur facebook name. I need to learn alot from you. Thanks
Hi Pamela. I have a Facebook page called Grated Nutmeg. You should check it out.
Hi Mr Terry. Thanks for showing us how to make a cake and all of the tips .. One again, you are so nice and sweet person in the world. I am so so so so happy to found this blog. Thanks sir. God bless you
Thanks Anh. It was kind of you to drop a sweet note.