
Fondant Judge Wig Tutorial

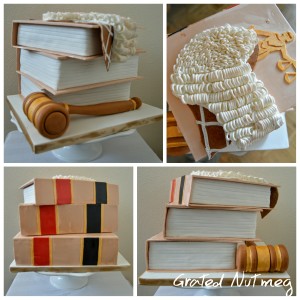
This is a tutorial on how I made the judge wig in the law review cake above. This is a 2D wig with 3D elements. The process is quite straightforward but somewhat time consuming. The same idea can be used to make a lawyer wig. The cake should be decorated before you begin making the wig as the soft wig would be transferred to the top of the cake.
TOOLS:
(1) Wig Sketch/Print Out
(2) Rolling Pin
(3) Fondant Extruder
(4) Sharp Blades
(5) Paint Brushes
(6) Thin Cylindrical Object (Like a small rolling pin or fat pen/pencil wrapped in cling film)
(7) Ruler
EDIBLE COMPONENTS:
(1) Fondant
(2) Water/Vodka
(3) Color Paste
(4) Brown/Ivory Color Dust
PROCEDURE:
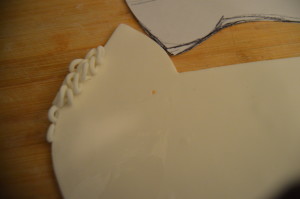
(1) Sketch out the silhouette of a judge wig. You can equally print one off the internet. Cut out the sketch/print to form a stencil.
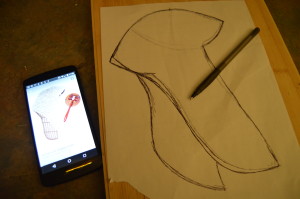
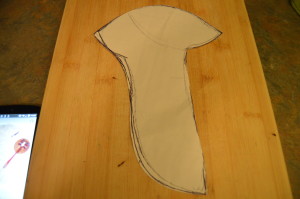
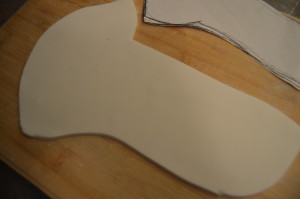
(2) Roll out white fondant and cut out the shape of the wig using the stencil. You can use cream/ivory fondant in place of white.
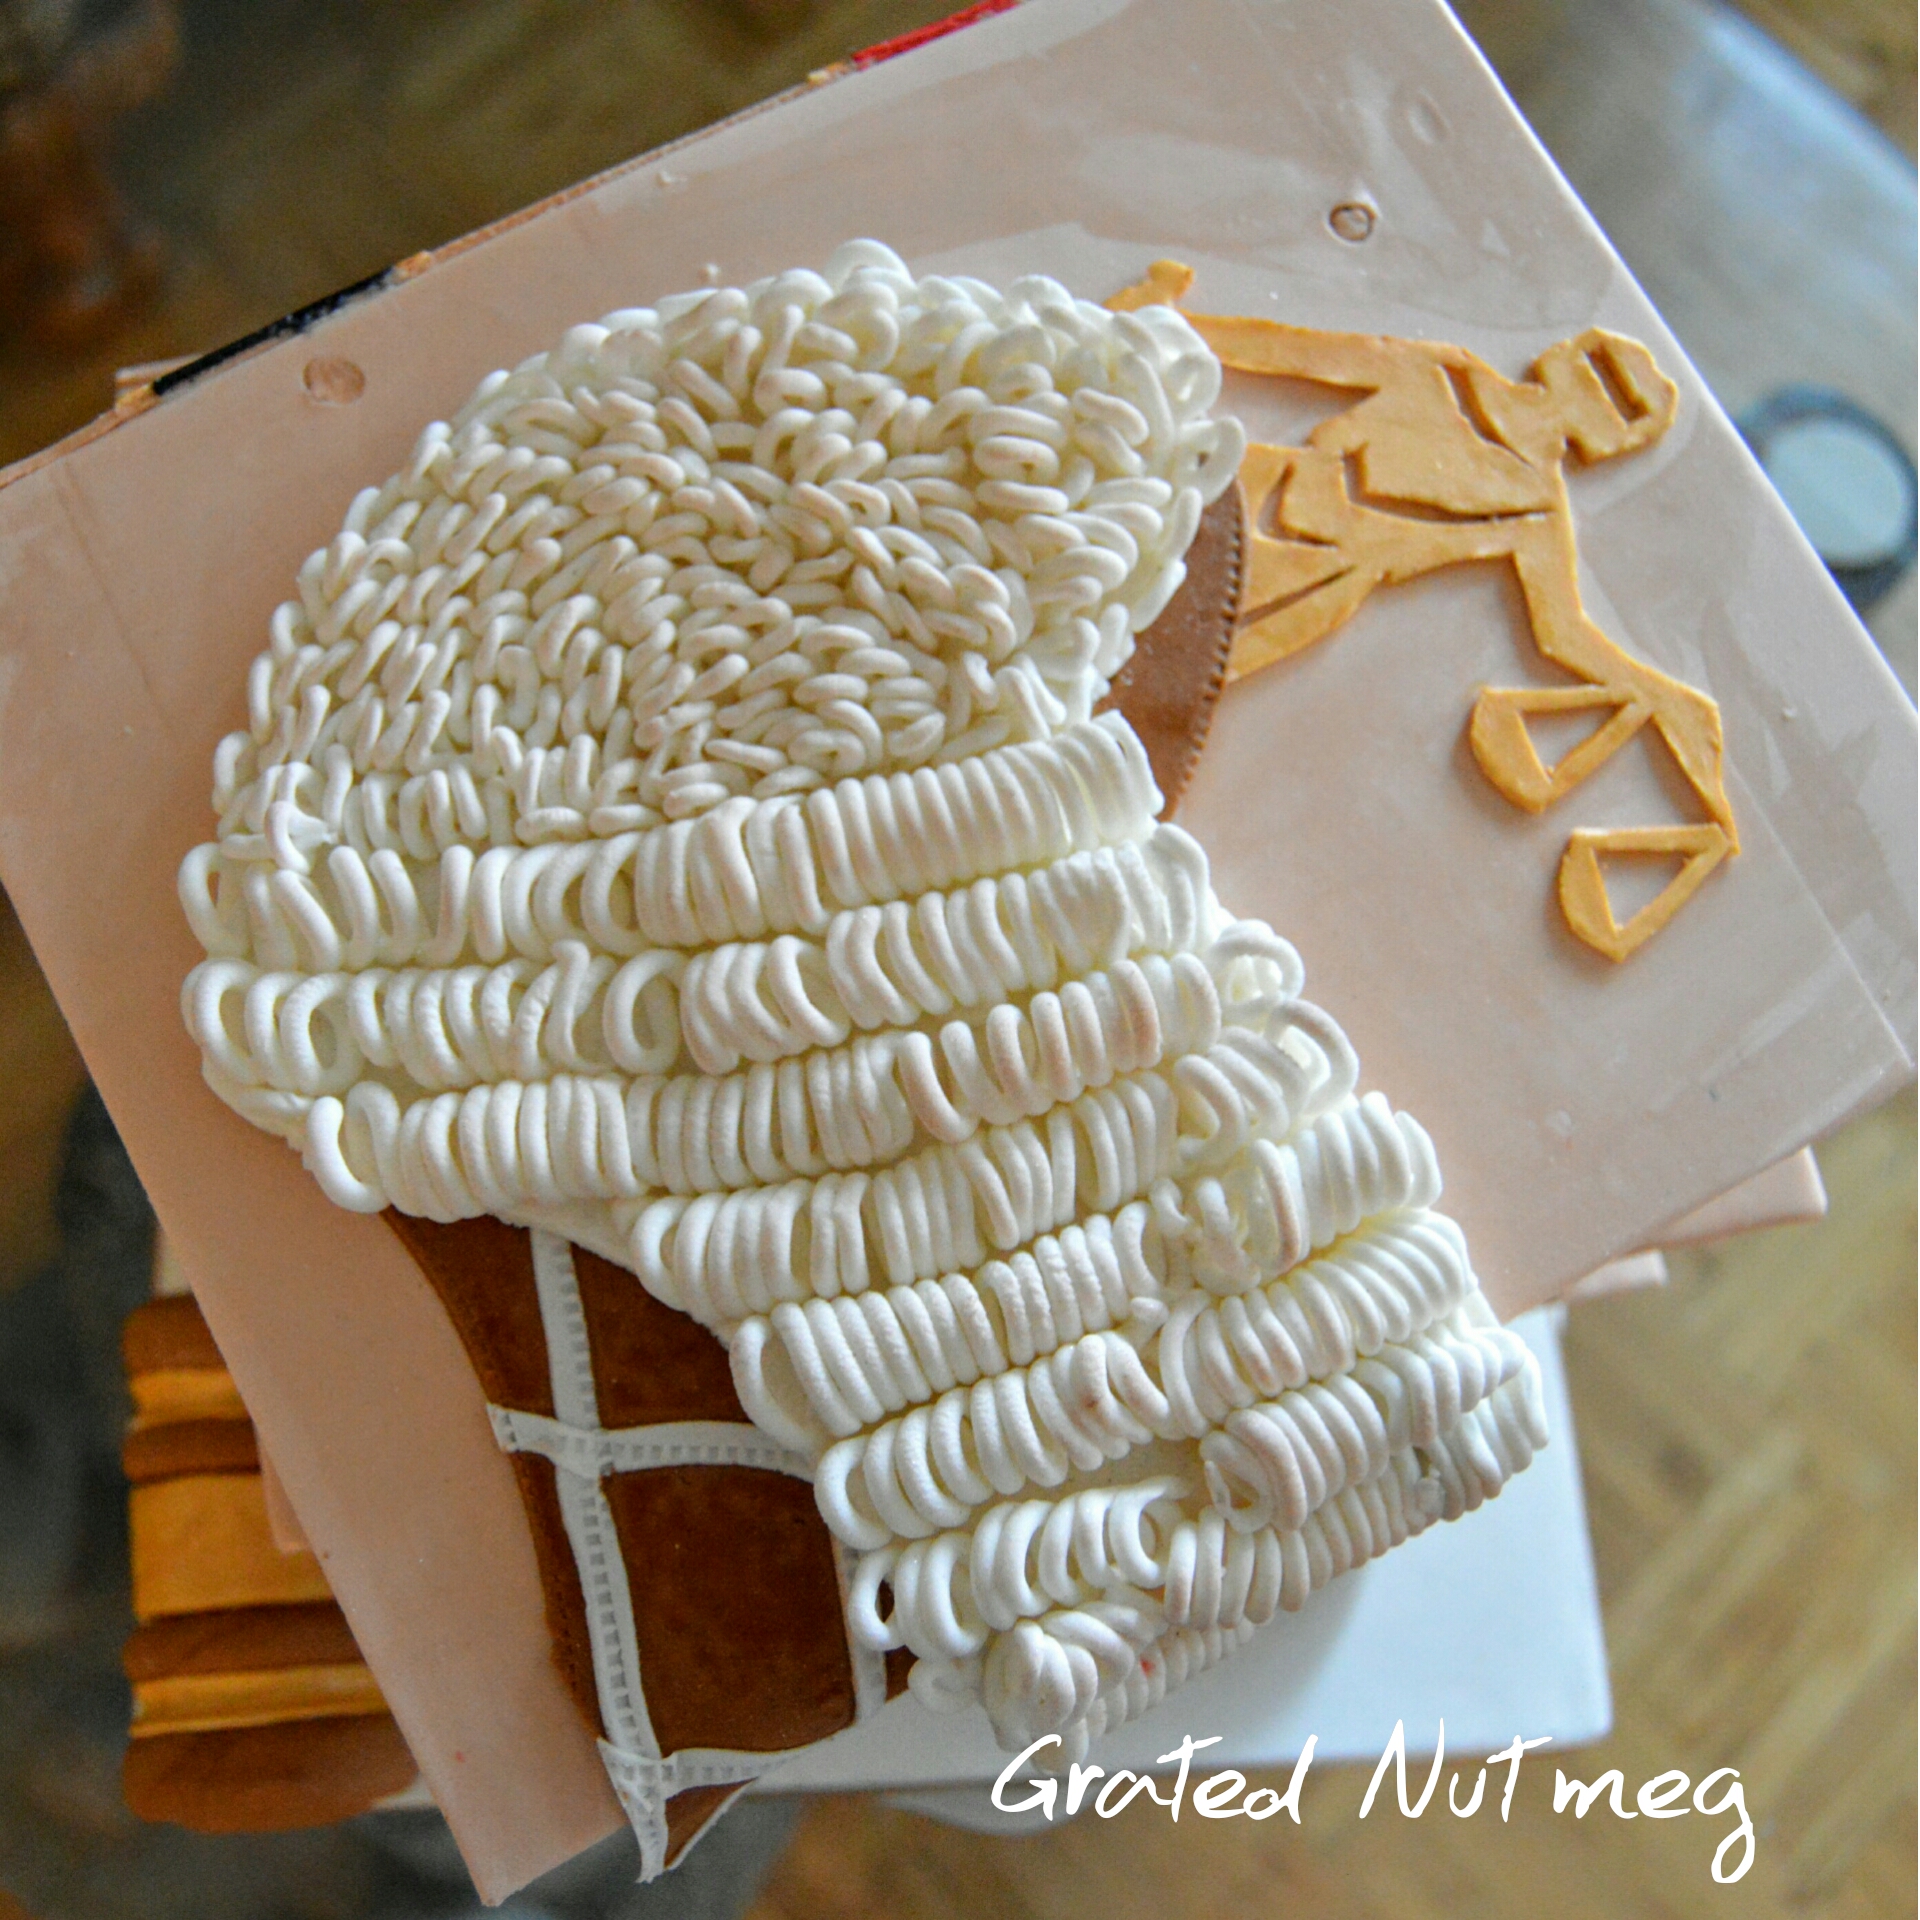
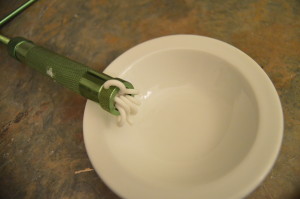
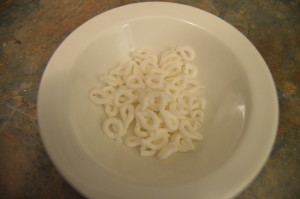
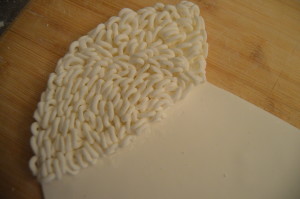
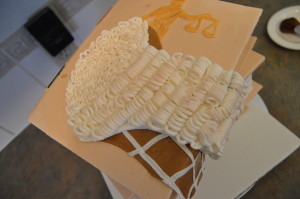
(3) Fill an extruder fitted with a disk with small round openings with fondant and make fondant strings. Cut each string into lengths of about an inch each and form each into a loop. This process is very time consuming. Try to make as many loops as possible before you begin sticking them to the wig.
(4) Brush the top part of the wig with water or vodka and stick the loops to it. Try to stick them as close together as possible. If you run out of loops, make some more and continue sticking.
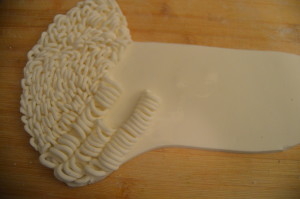
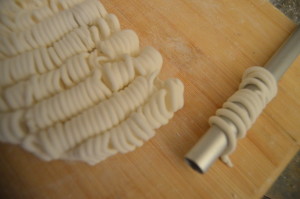
(5) Next, switch the extruder disk to one with a single round opening, fill it with fondant and extrude to form long strings. Wrap the string around a cylindrical tool to form a spiral, brush the bottom part of the wig with water/vodka and stick the spiral to the wig in rows. Do not remove the cylindrical object until you have stuck the spirals to the wig. Keep making spirals until you get to the bottom of the wig.

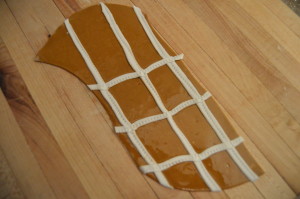
(6) Next, using the template, make the inside of the second half of the wig. Use brown fondant for this. Make thin white fondant strips and stick them horizontally and vertically to the brown fondant so they intersect.
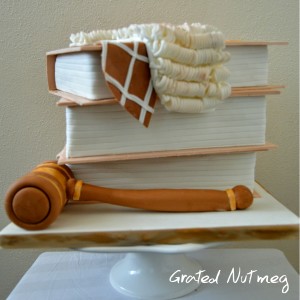
(7) Brush the top of the decorated cake with water and stick the wig to it starting with the bottom half. Parts of the wig can fall to the side of the cake if you so wish.
(8) Finish the look by brushing patches of the wig with brown color dust.
Terry Adido is passionate about showing people how easy it is to recreate restaurant quality meals in the comfort of their kitchens. With a style of cooking he refers to as Afro-European Fusion, his meals are influenced greatly by French and Italian Cuisine with a West African twist. If you love good food, you are in for the ride of your life.
Wao, beautiful! Terry! Thanks so much for this sharing. Am most grateful. Hv been thinking of how dis is made. Thanks once again, keep it up!
You are welcome Uche.
what is used to make the ring like fondant and the twisted fondant used to maked the wig
Its called a fondant or clay extruder.
Thanks for the tutorial.. Stay blessed.
You are welcome Idowu.
This is terrific. thanks mate. i will try it soon.
You are welcome.
Hello Terry. Thanks so much for sharing. Please what can be used in place of an extruder?
You are welcome. I will just roll by hand.
Dis great nd quite encoraging
Glad to hear that.
Wonderful, pls do keep us in touch with any of your creations.
Thanks. You can always subscribe to the website and get notifications on new posts.
Wow this is lovely
Thanks.
God bless you Sir,i appreciate.Ive learnt so much from you.
Thanks Angela.
I love this tutorial. More blessings.
Thanks