
The Making of a Power Rangers Cake

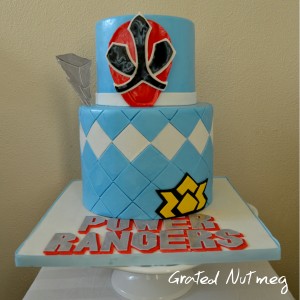
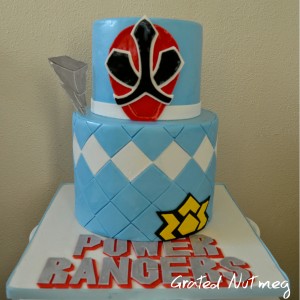
In this tutorial, I will be showing you how I made the power rangers cake above. Though a simple cake to make, it requires a lot of attention to details. It is also a cake which involves precision and neatness. To read more about this cake and get links to the recipes used, click here.
THE PROCESS:
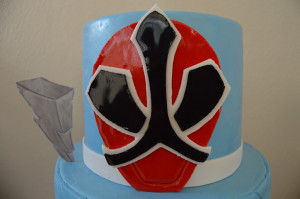
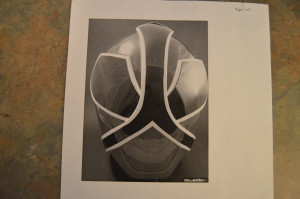
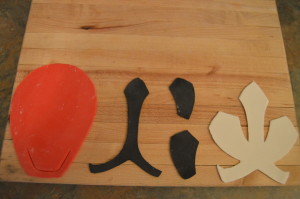
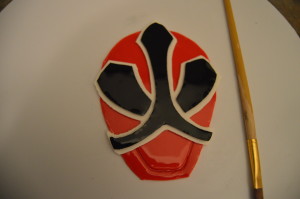
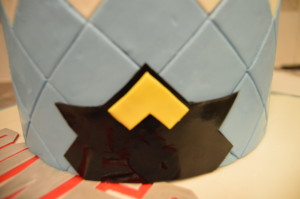
(1) First, make the face. I made this using my method of making 2D fondant toppers (link to full tutorial of method here). Print out a picture of a ranger face from the web; cut out the several parts of the face; roll out fondants with the several colors; cut out the parts of the face; allow each piece to dry; brush the red and black with a 50/50 vodka and corn syrup mixture for gloss; stick the parts together; Leave to dry.
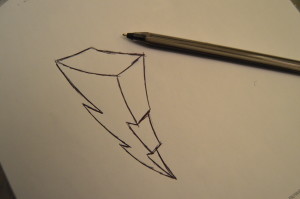
(2) Make the lightening topper by printing out a picture (or drawing one) and using it as a template to cut out fondant. I used grey fondant here and brushed it with a mixture of silver luster dust and vodka. Leave to dry.
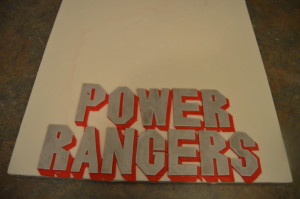
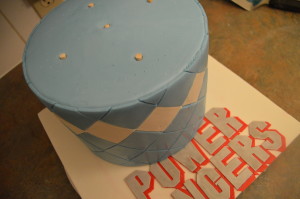
(3) Cover your cake board and place the letters on it. A tutorial on how I make my fondant letters without the use of molds and cutters can be found here
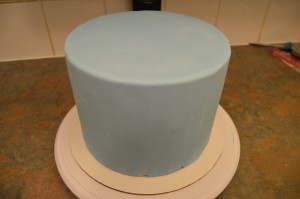
(4) Drape both tiers with blue fondant. Stick the bottom 8 inch tier to the cake board.
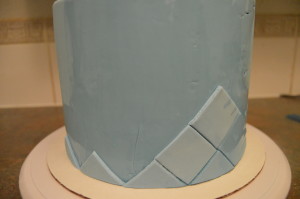
(5) Cut out blue and white fondant squares. Each square has sides measuring 1.5 inches. It is best to roll out your fondant, leave it to air dry for about 30 minutes before cutting out the squares. This will give you straight edges. These squares will be used to form the diamond patterns on the bottom tier. The white along the top of the pattern will be used to replicate the design on the power rangers’ costumes.

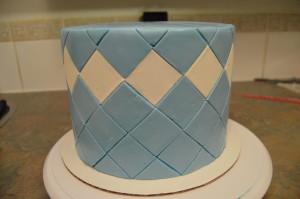
(6) Brush the bottom tier with a bit of water and stick the squares to it. You will need to divide some of the squares into triangles for the base and top of the tier. When you are done, use a fondant smoother to smooth out the surface of the diamond pattern. Brush the tier with vodka for gloss.
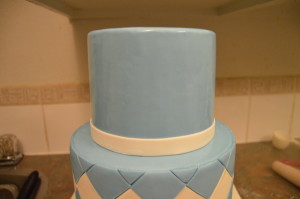
(7) Place dowels in the bottom tier and stack the top tier on it.
(8) Now that you are done with the cake structure, it’s time to stick the toppers and make the emblem at the base of the bottom tier. The lightening topper was inserted into the top of the bottom tier. It has to be very dry for you to be able to achieve this. Alternatively, insert a floral wire into the topper while it is still soft. The emblem was done using yellow and black fondant. Again, a picture can be printed from the web and used as a template for this.
That’ all there is to it. Happy caking!
Terry Adido is passionate about showing people how easy it is to recreate restaurant quality meals in the comfort of their kitchens. With a style of cooking he refers to as Afro-European Fusion, his meals are influenced greatly by French and Italian Cuisine with a West African twist. If you love good food, you are in for the ride of your life.
Nice. I love the red effect under the red in the spelling of power rangers. Thanks terry.
hanks Tega. I’d show you guys how to achieve that soon.
Hello Terry, you are truly the best teacher i’ve come across. You break everything down in simple terms. Thank you for always sharing. God bless you.
Thanks Juliet.
Thanks for the tutorial. Looking forward to the fondant letters tutorial
You are welcome. I’d put that up soon.