
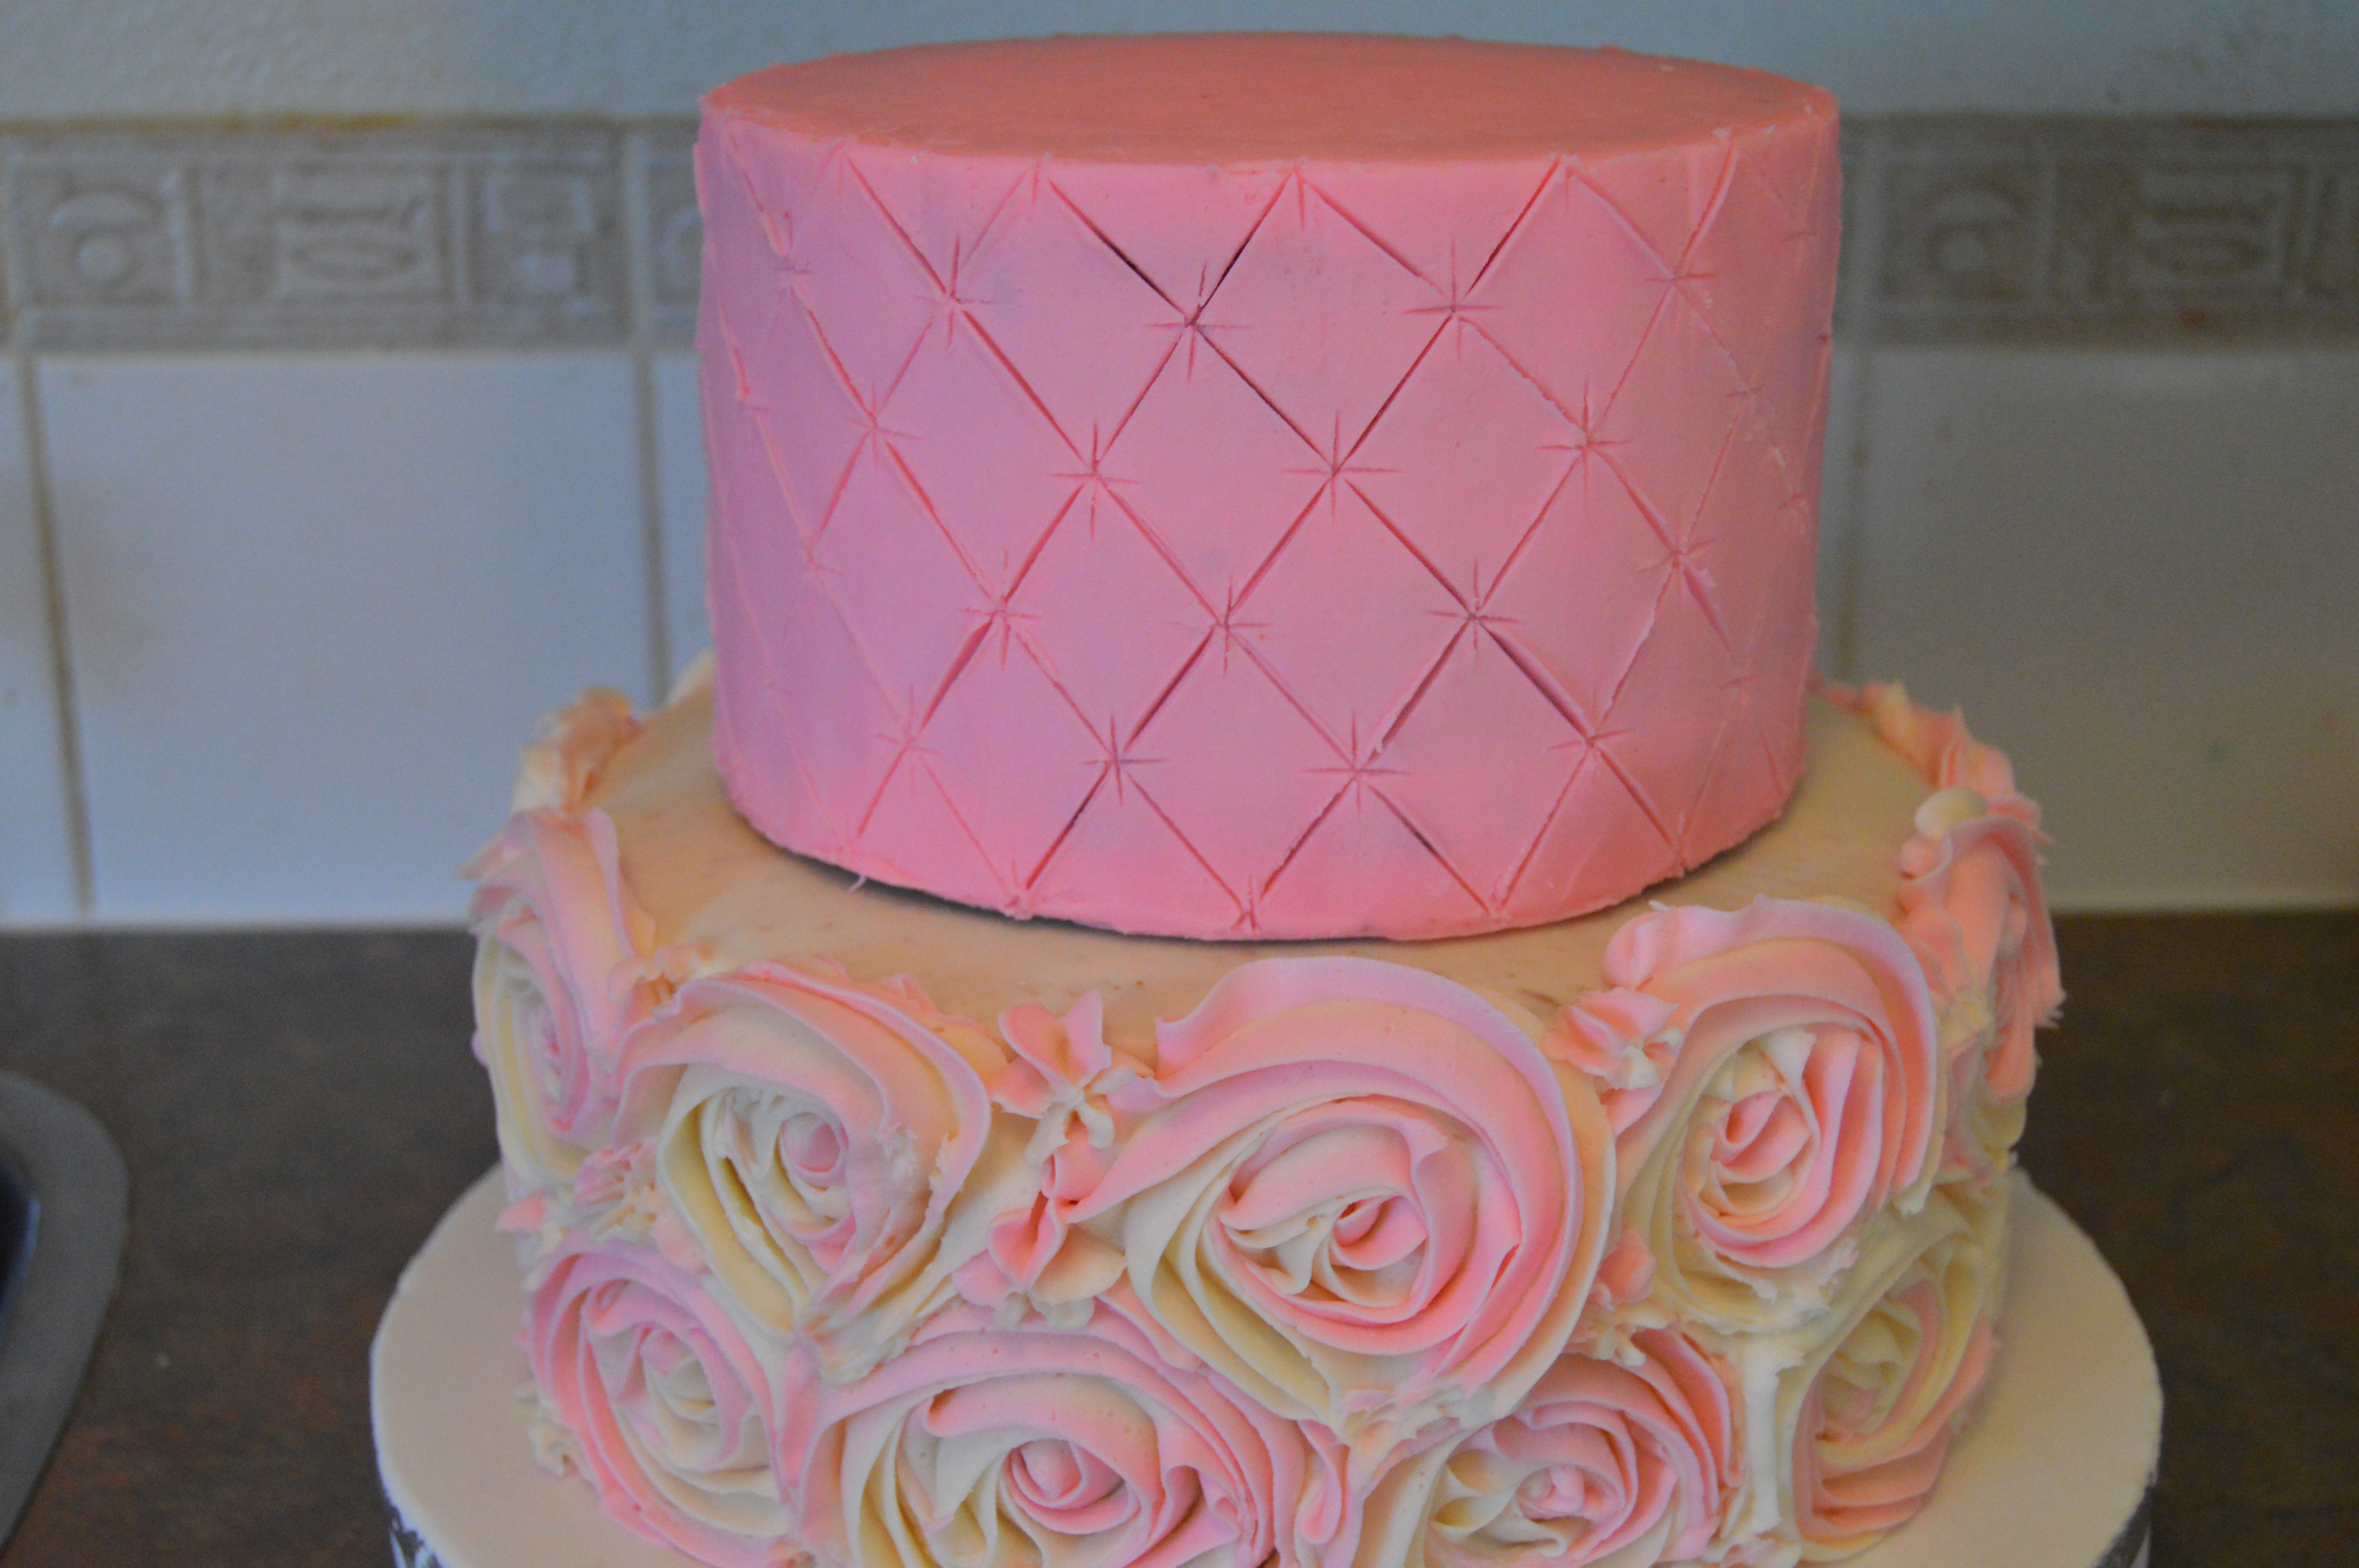
The Making of a Two Tier Buttercream Cake

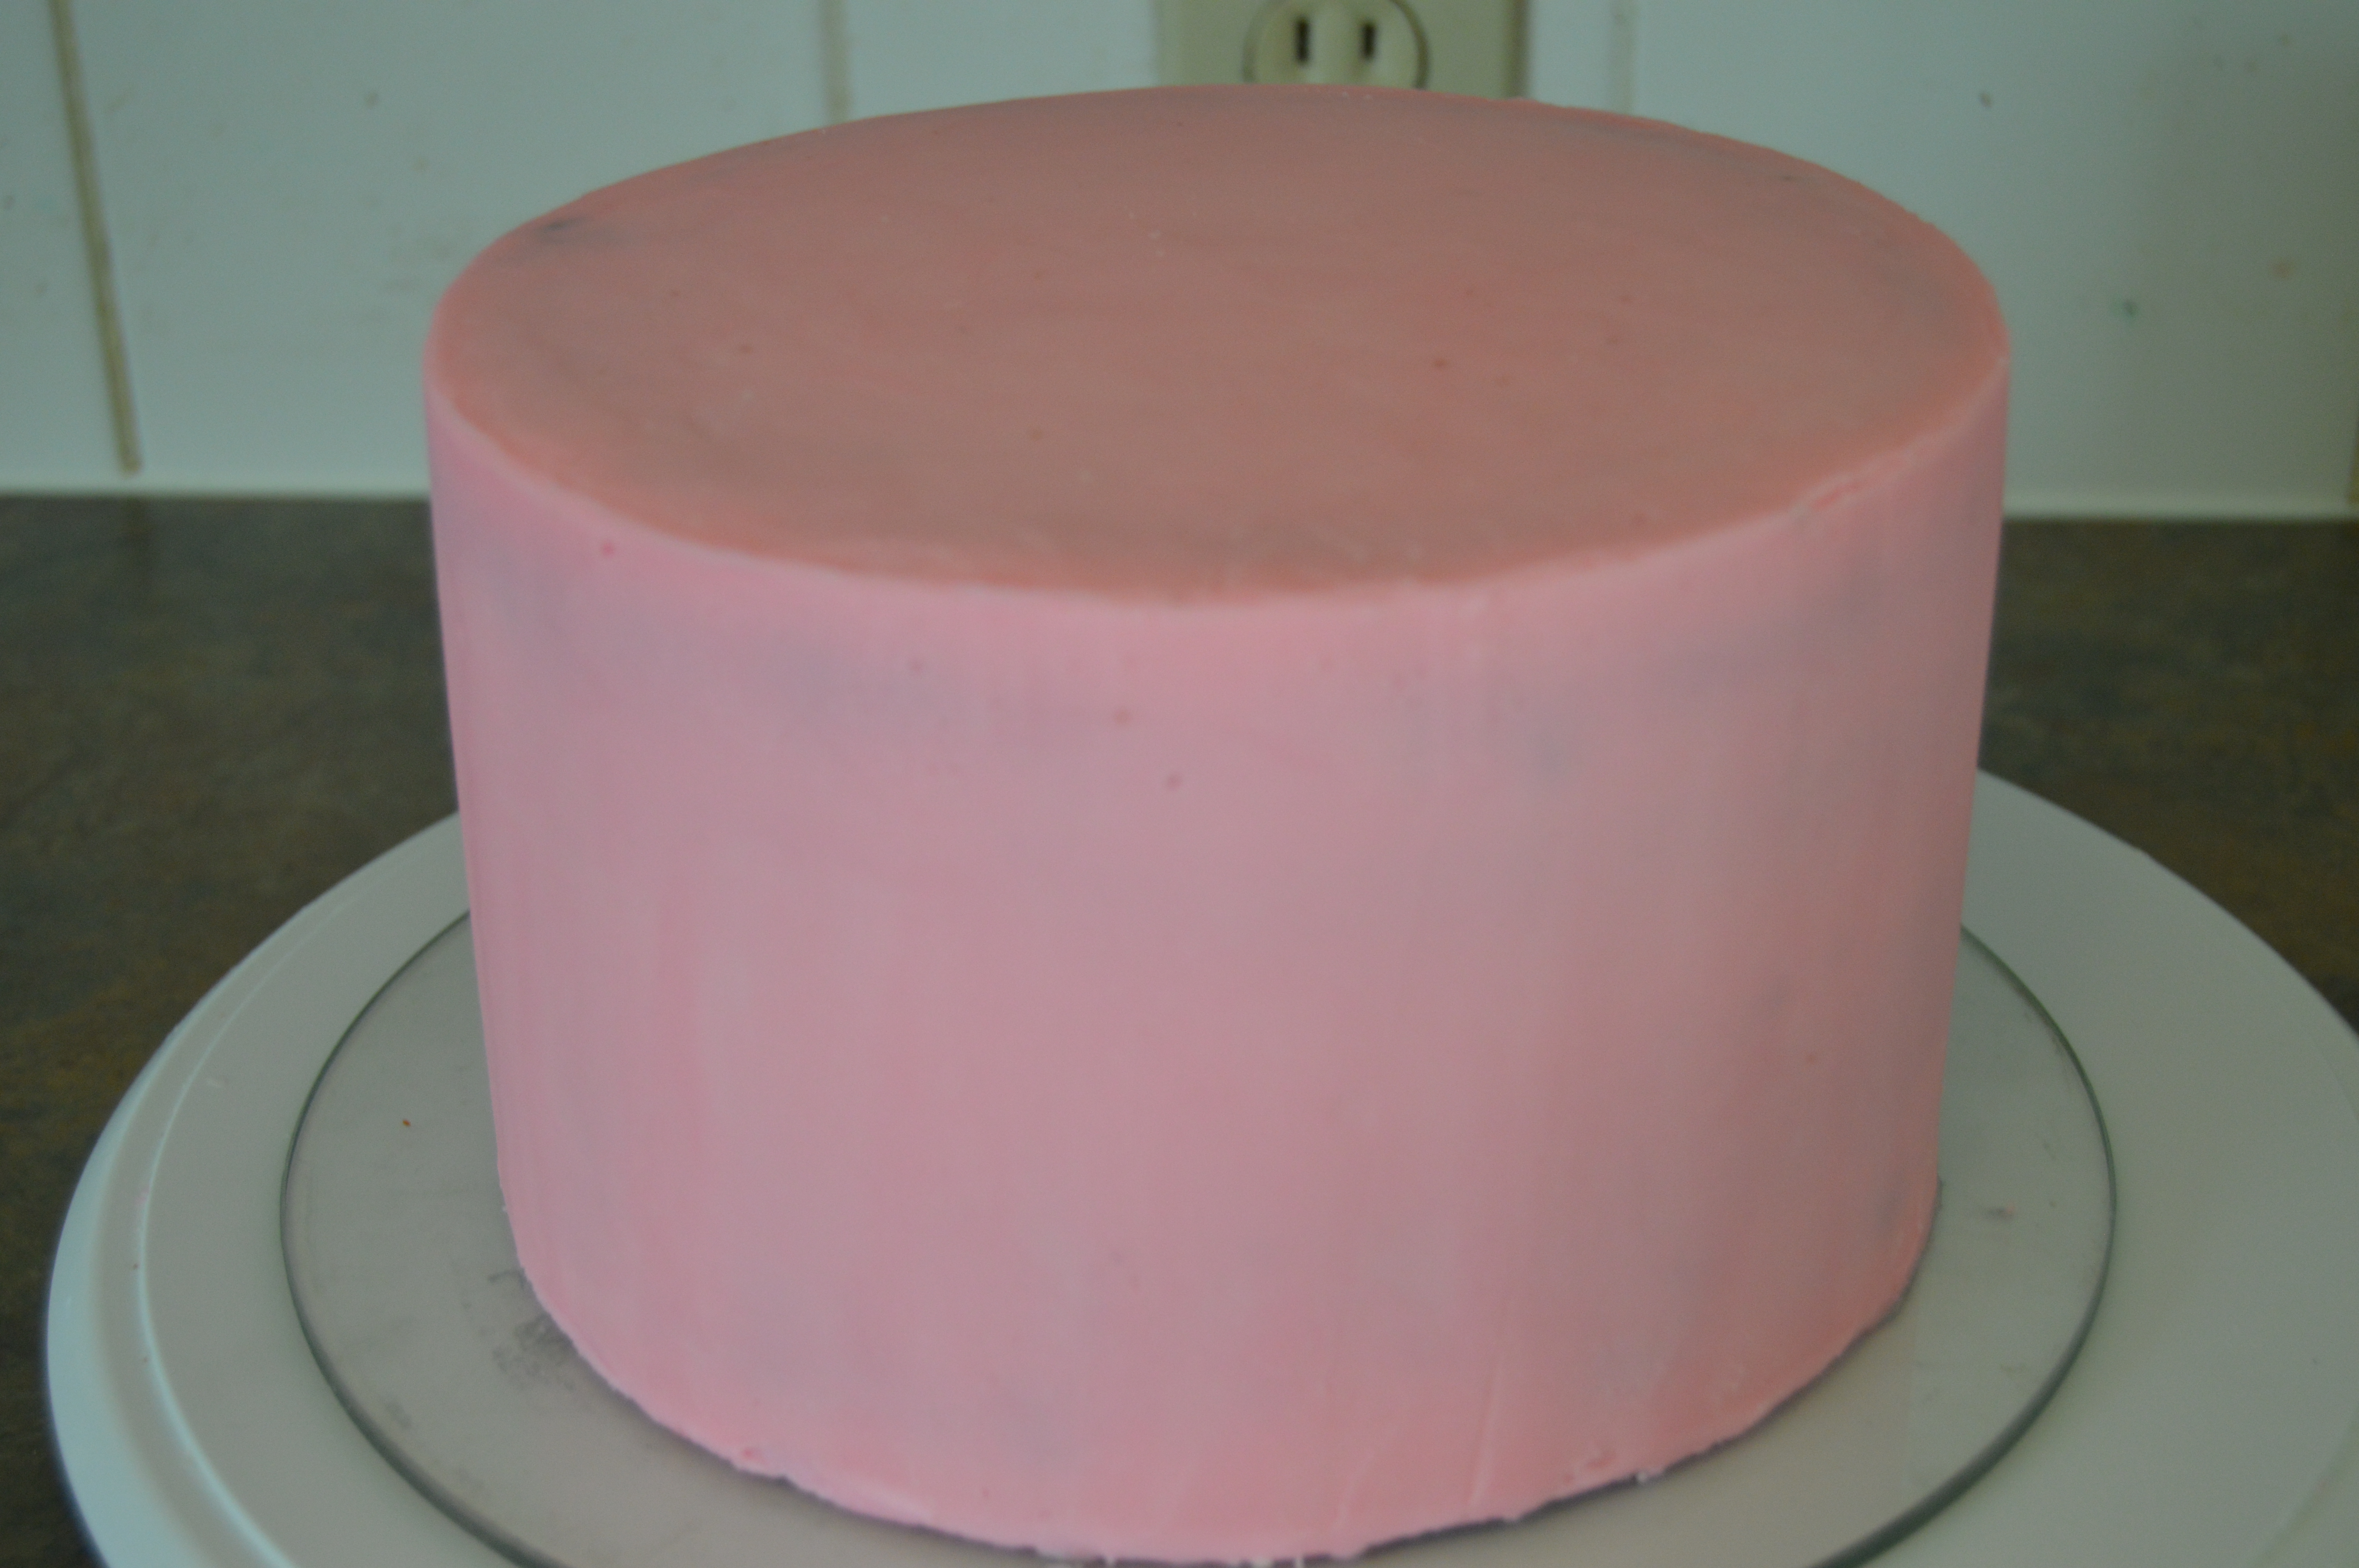
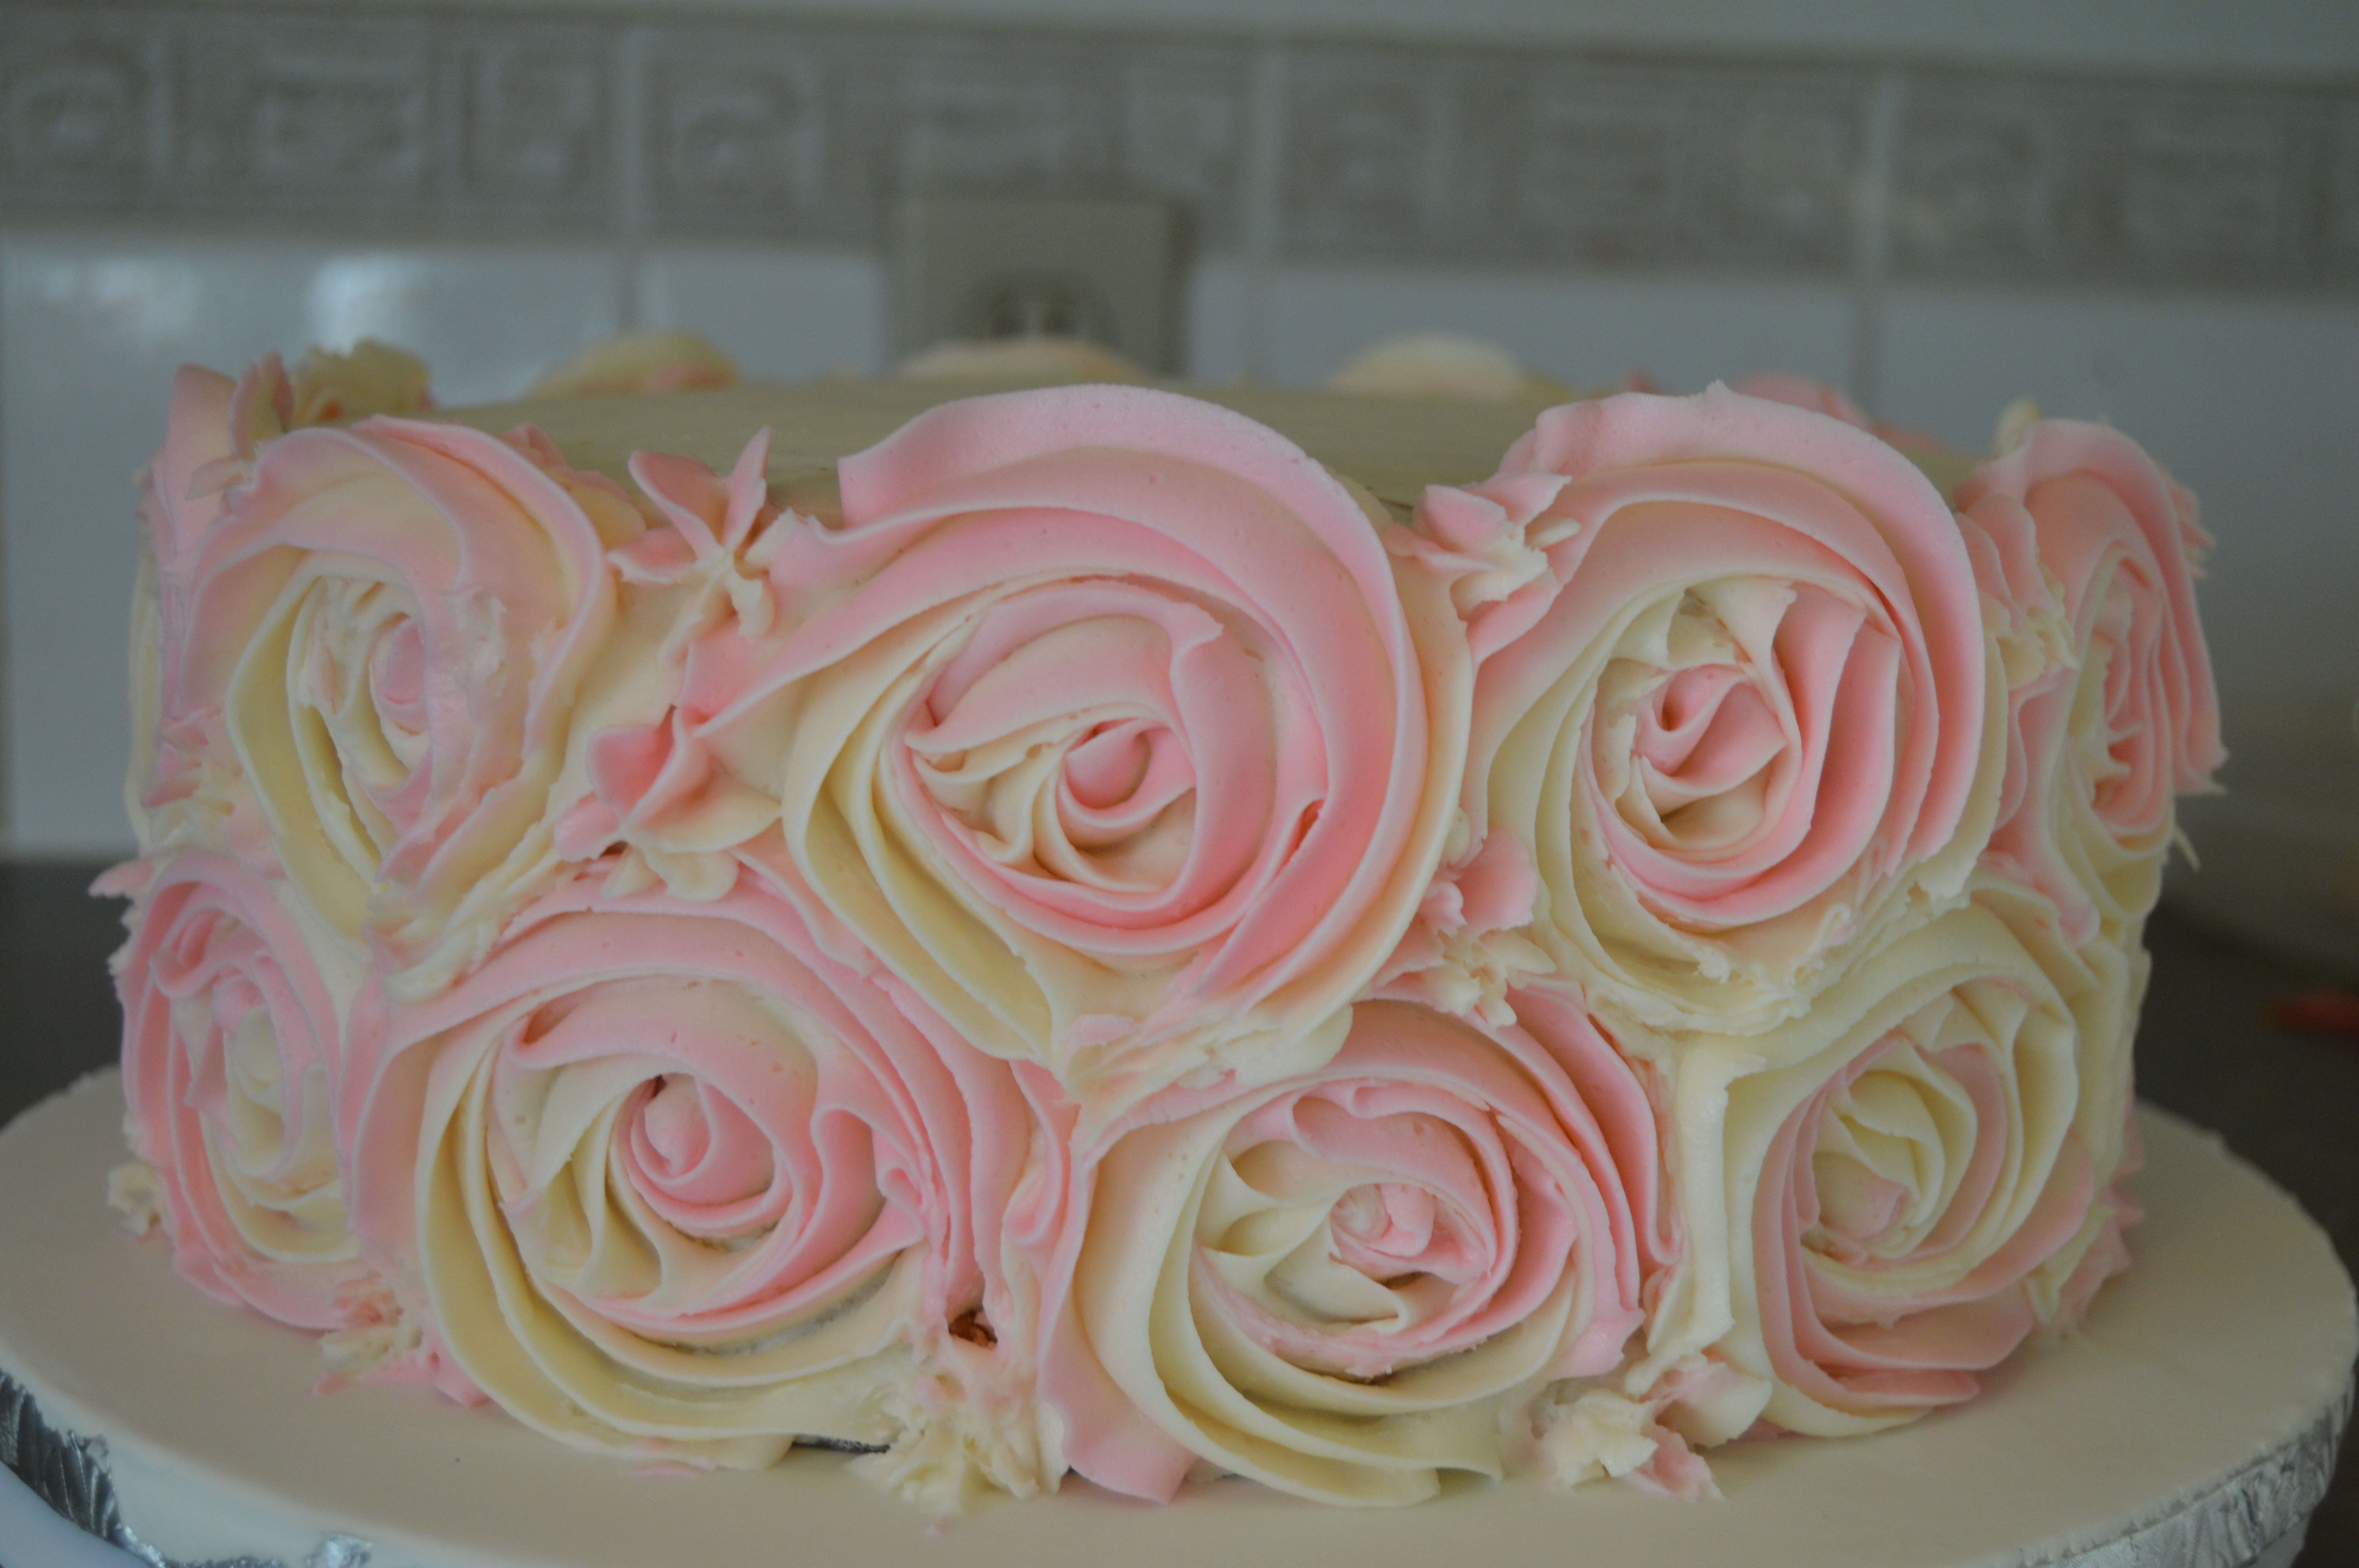
In this post, I will be showing you how I made the two tier buttercream cake above. This cake makes use of a couple of buttercream techniques. These techniques include the quilt pattern and rosette ruffles. Buttercream cakes seem to be making a comeback and the challenge for most bakers is to try to replicate fondant patterns on buttercream cakes. Hopefully this post inspires you to do just that. To see some of my buttercream cakes, click on this link. To get my buttercream recipe, click here.
Note: Your cakes have to be cold while doing most of these designs. You might thus need to return them to the fridge at intervals. This is to keep the designs neat and prevent the buttercream frosting from sticking to your work tools.

THE PROCESS:
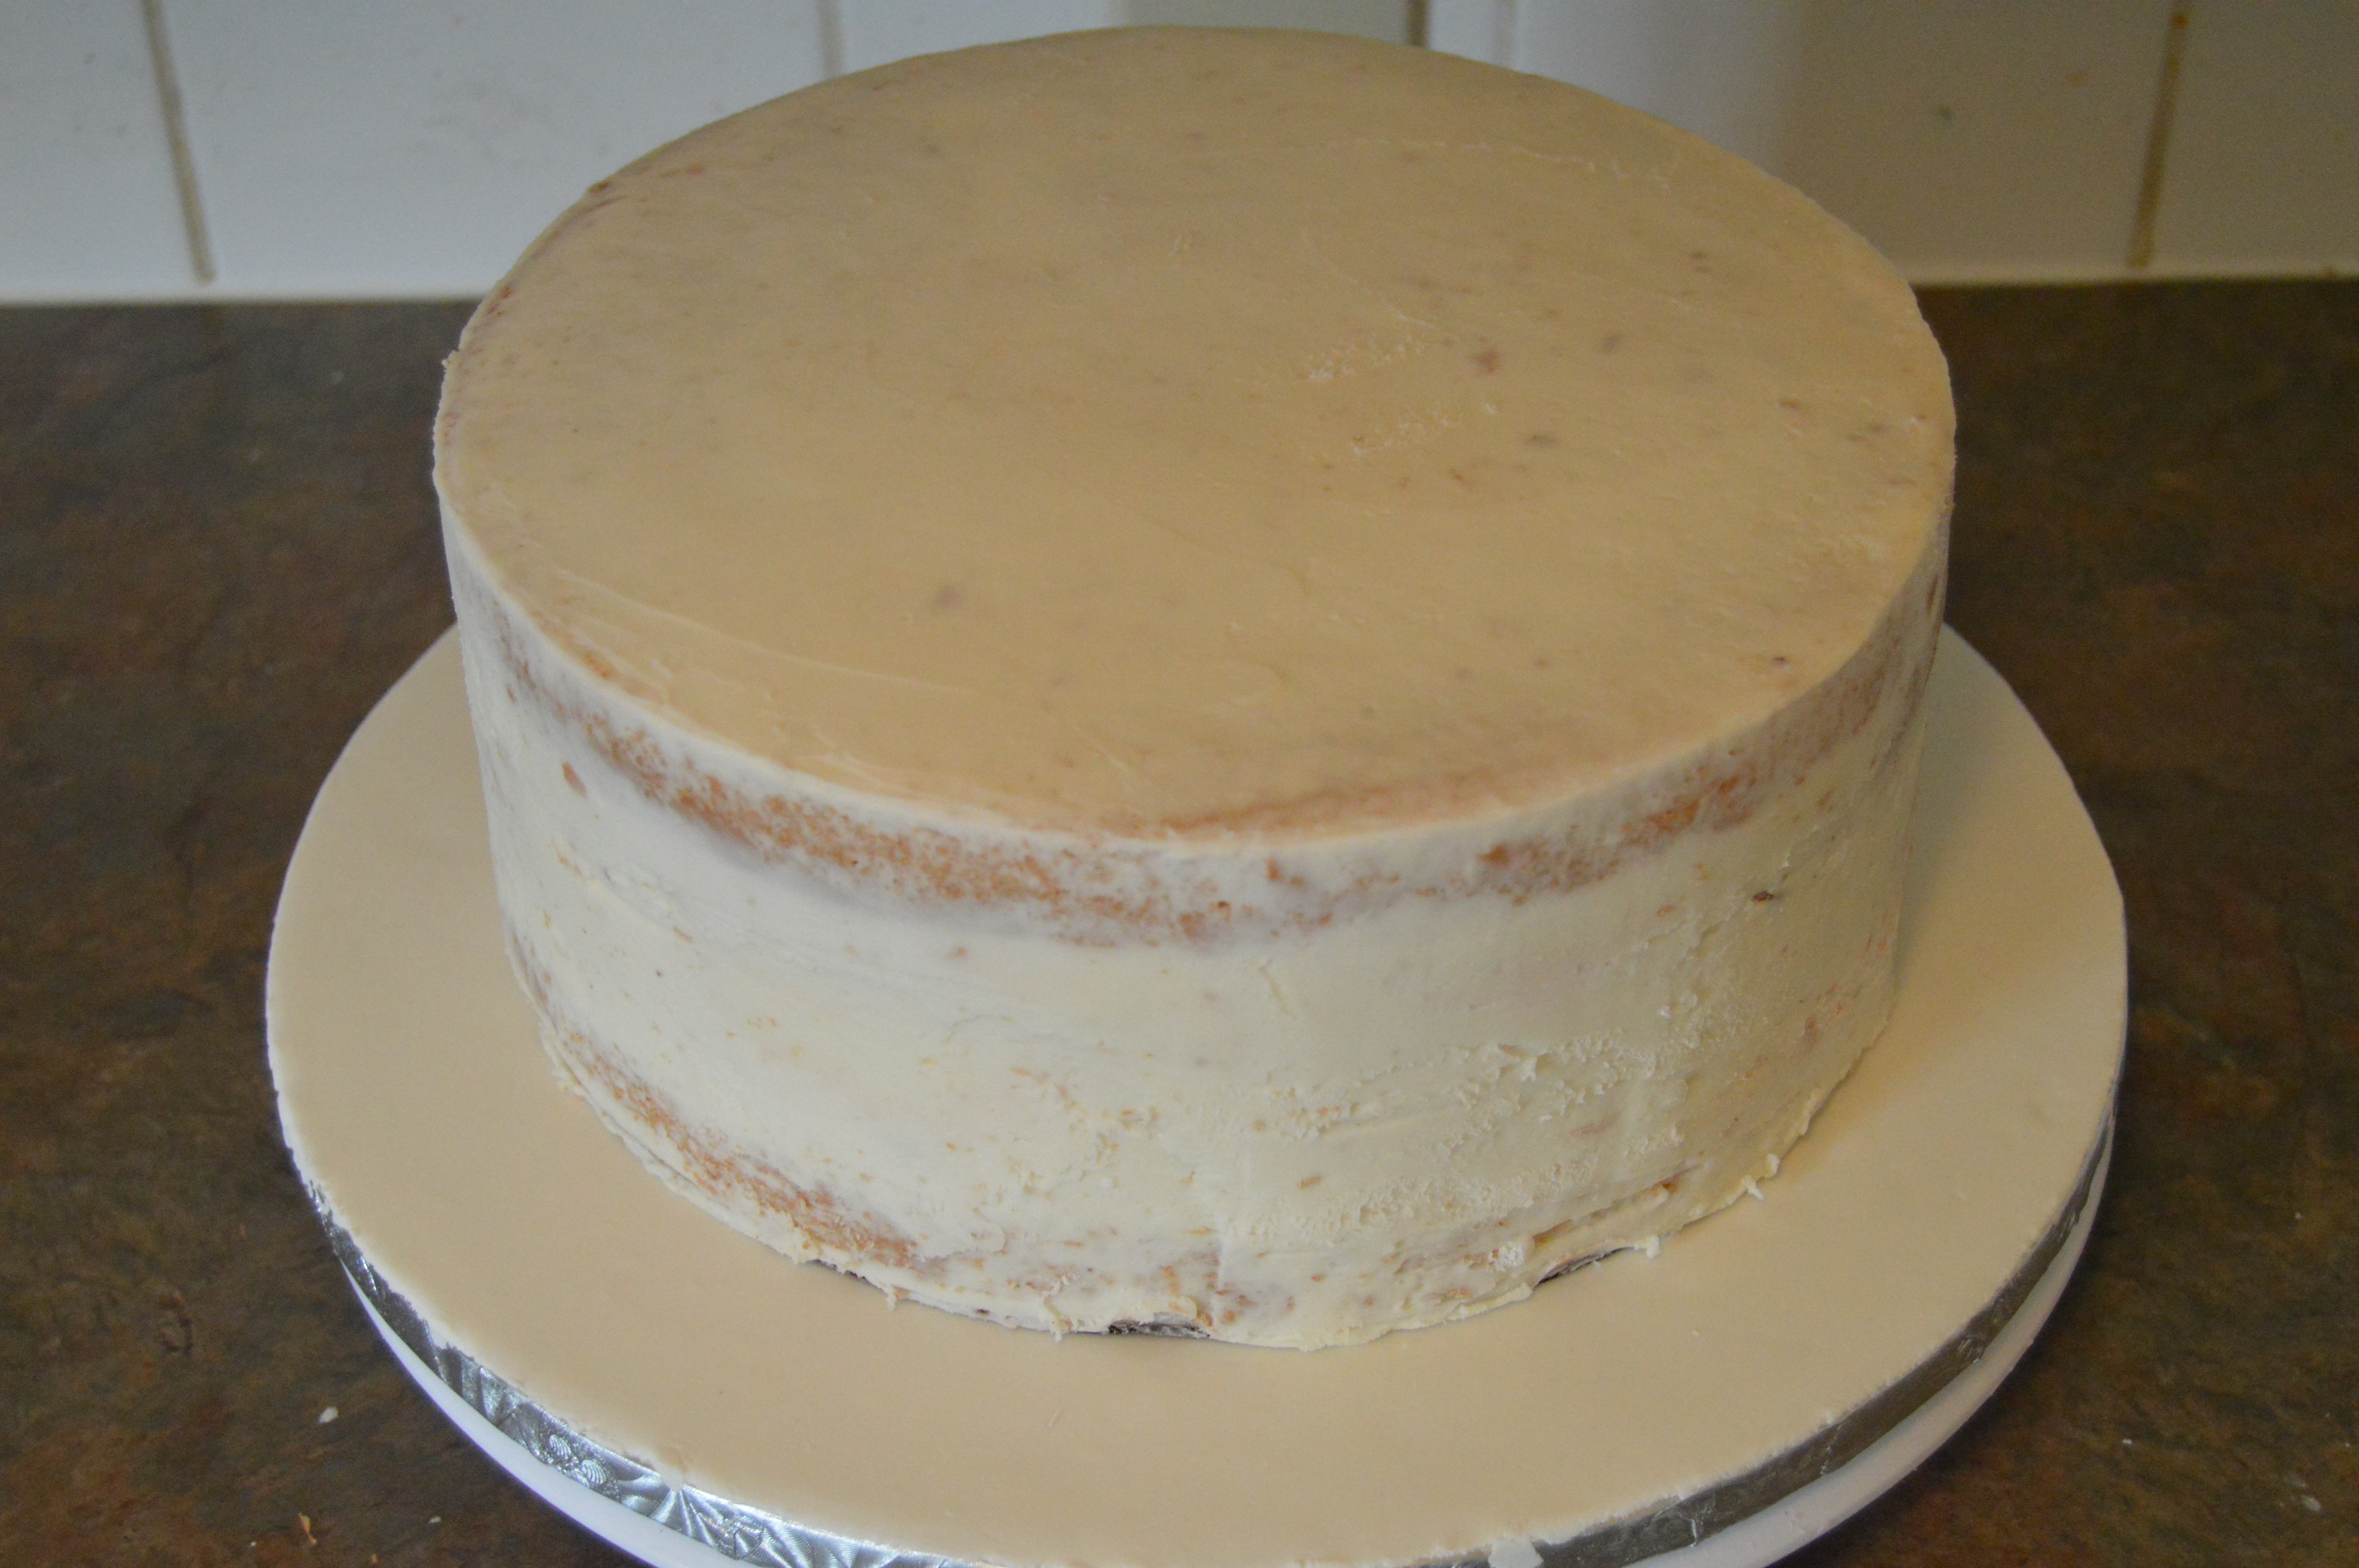
(1) Bake your sponges. Level, fill and frost them. I have a post here on how to level cakes and another post here on how to fill and frost cakes. For the top tier, you will need to go through the various stages of frosting in order to arrive at a smooth finish. For the bottom tier, a crumb coat will be sufficient. Try however to cover the top of the bottom tier properly (something I did not do) as part of it will be exposed.
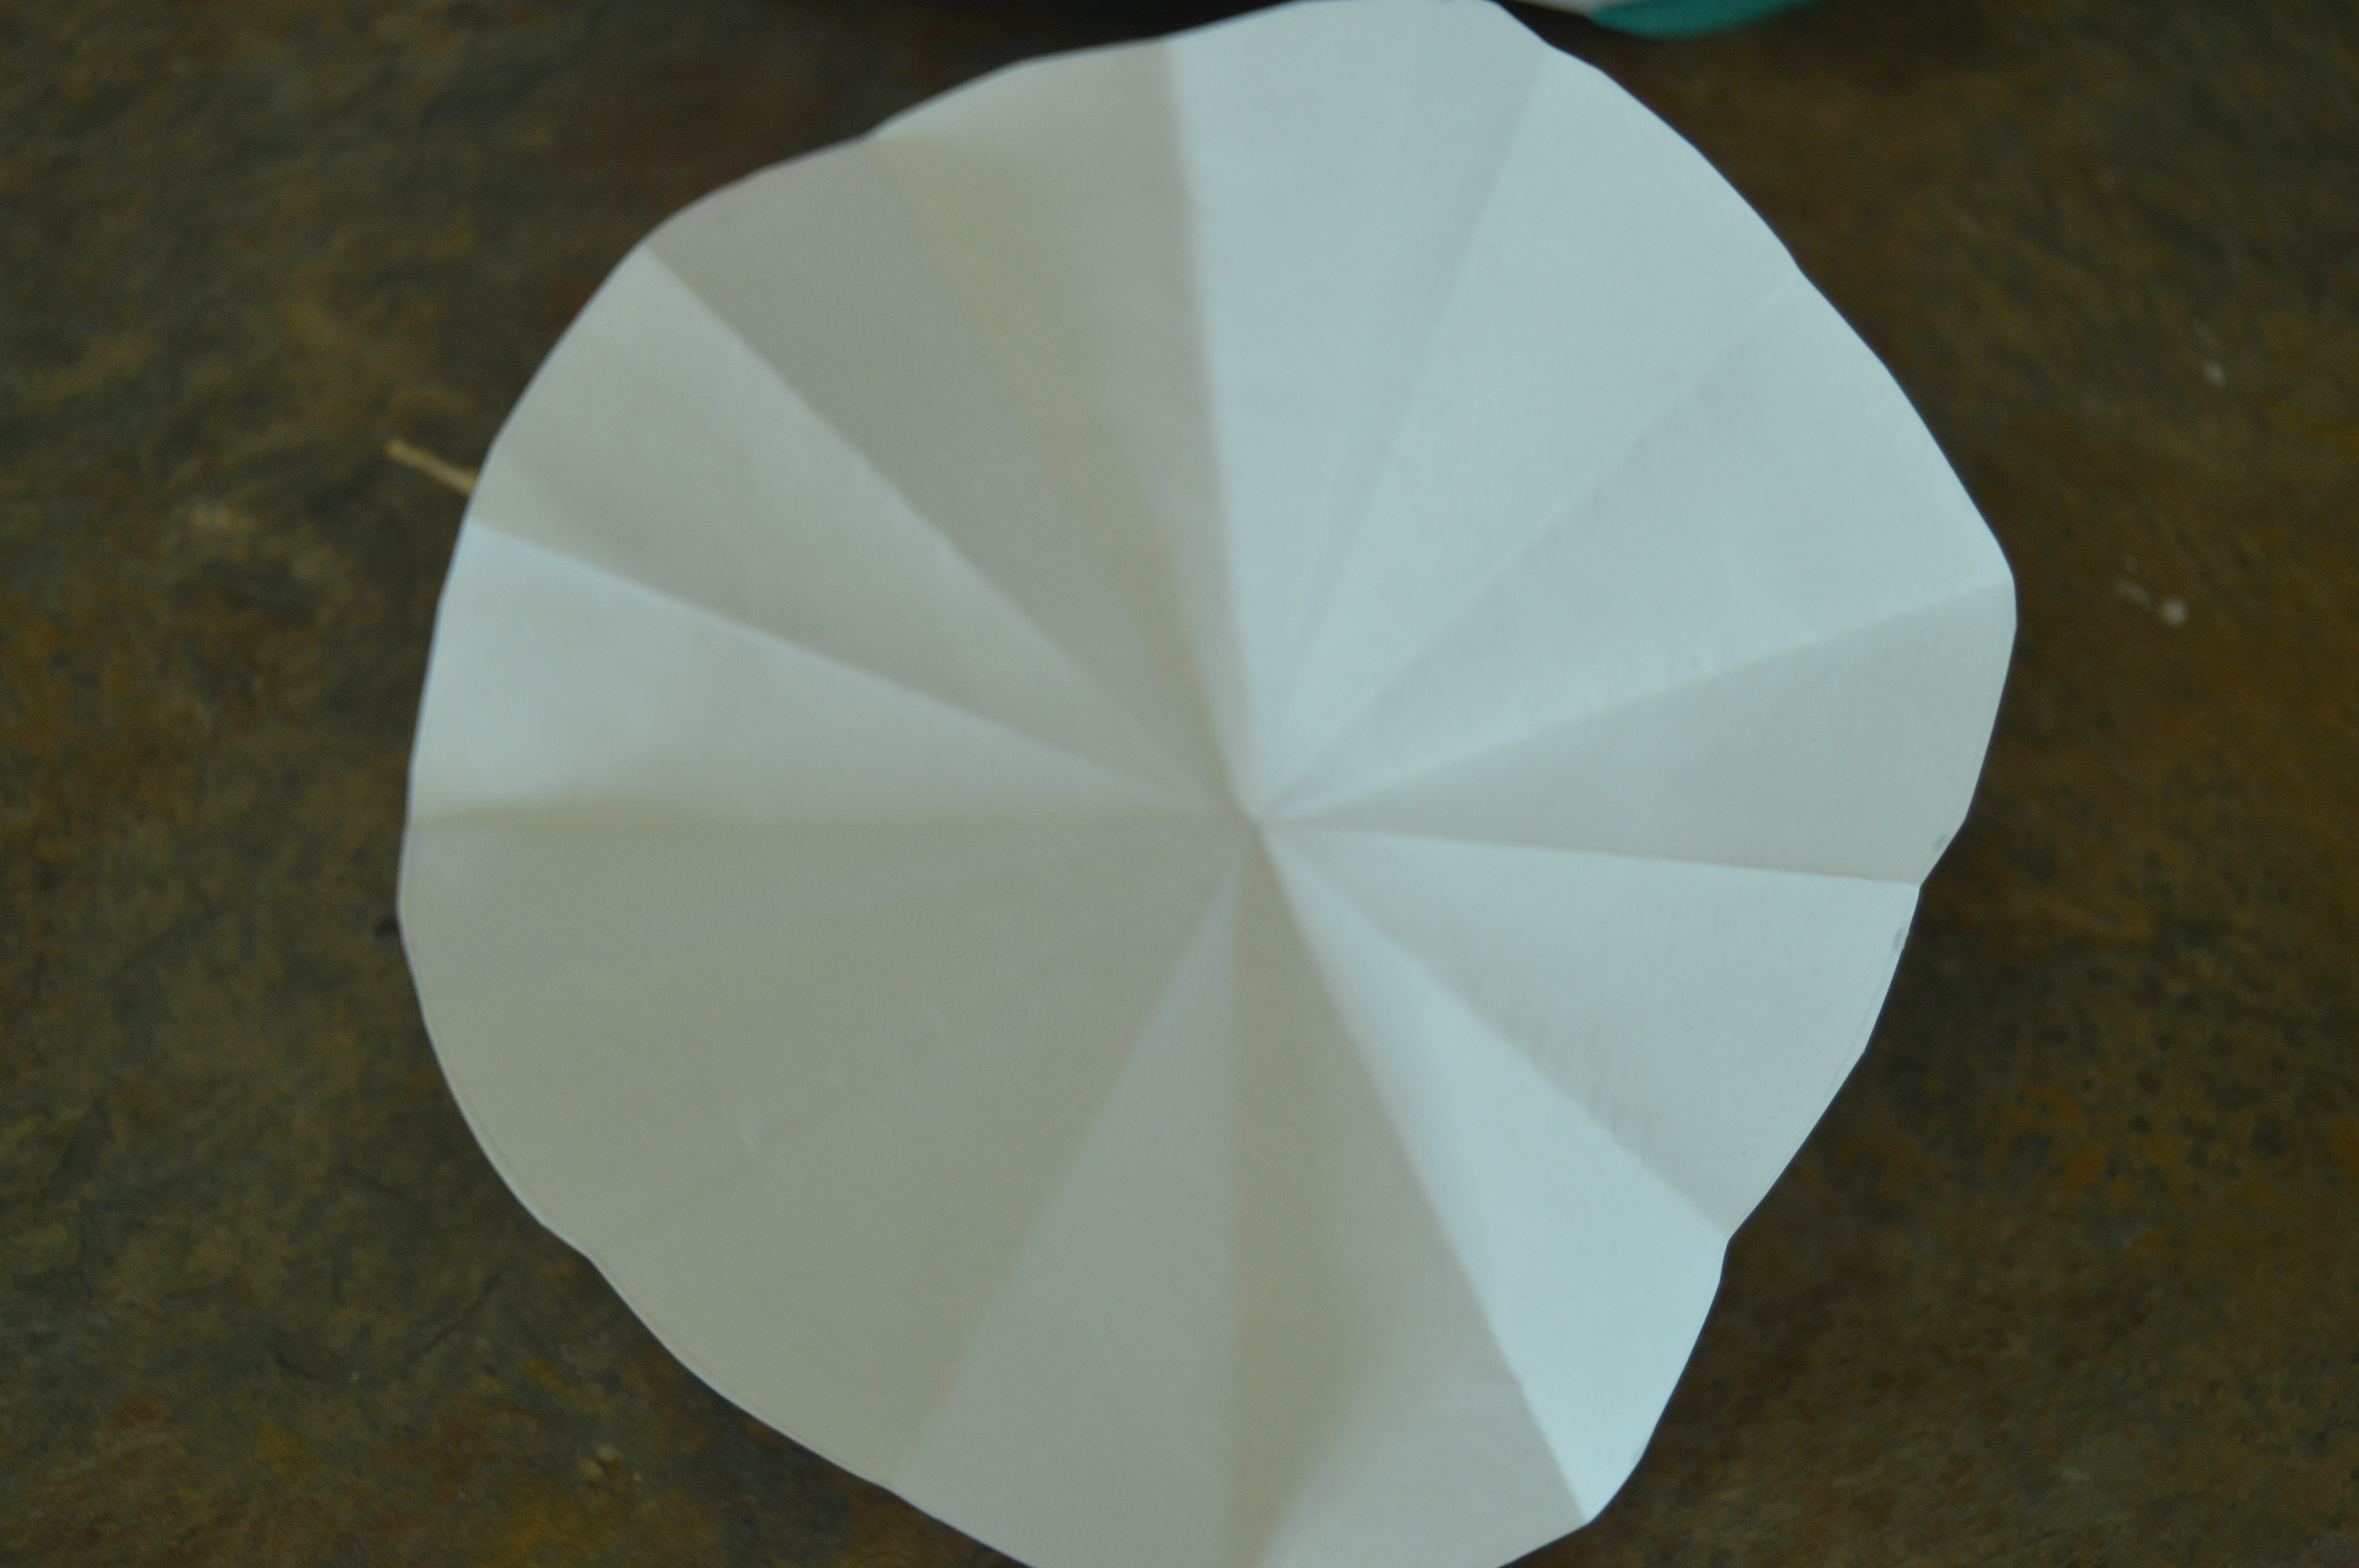
(2) To make the quilt pattern on the top tier:
i. Cut out a paper circle the same size as the top tier. Fold the paper over several times to produce creases and angles.
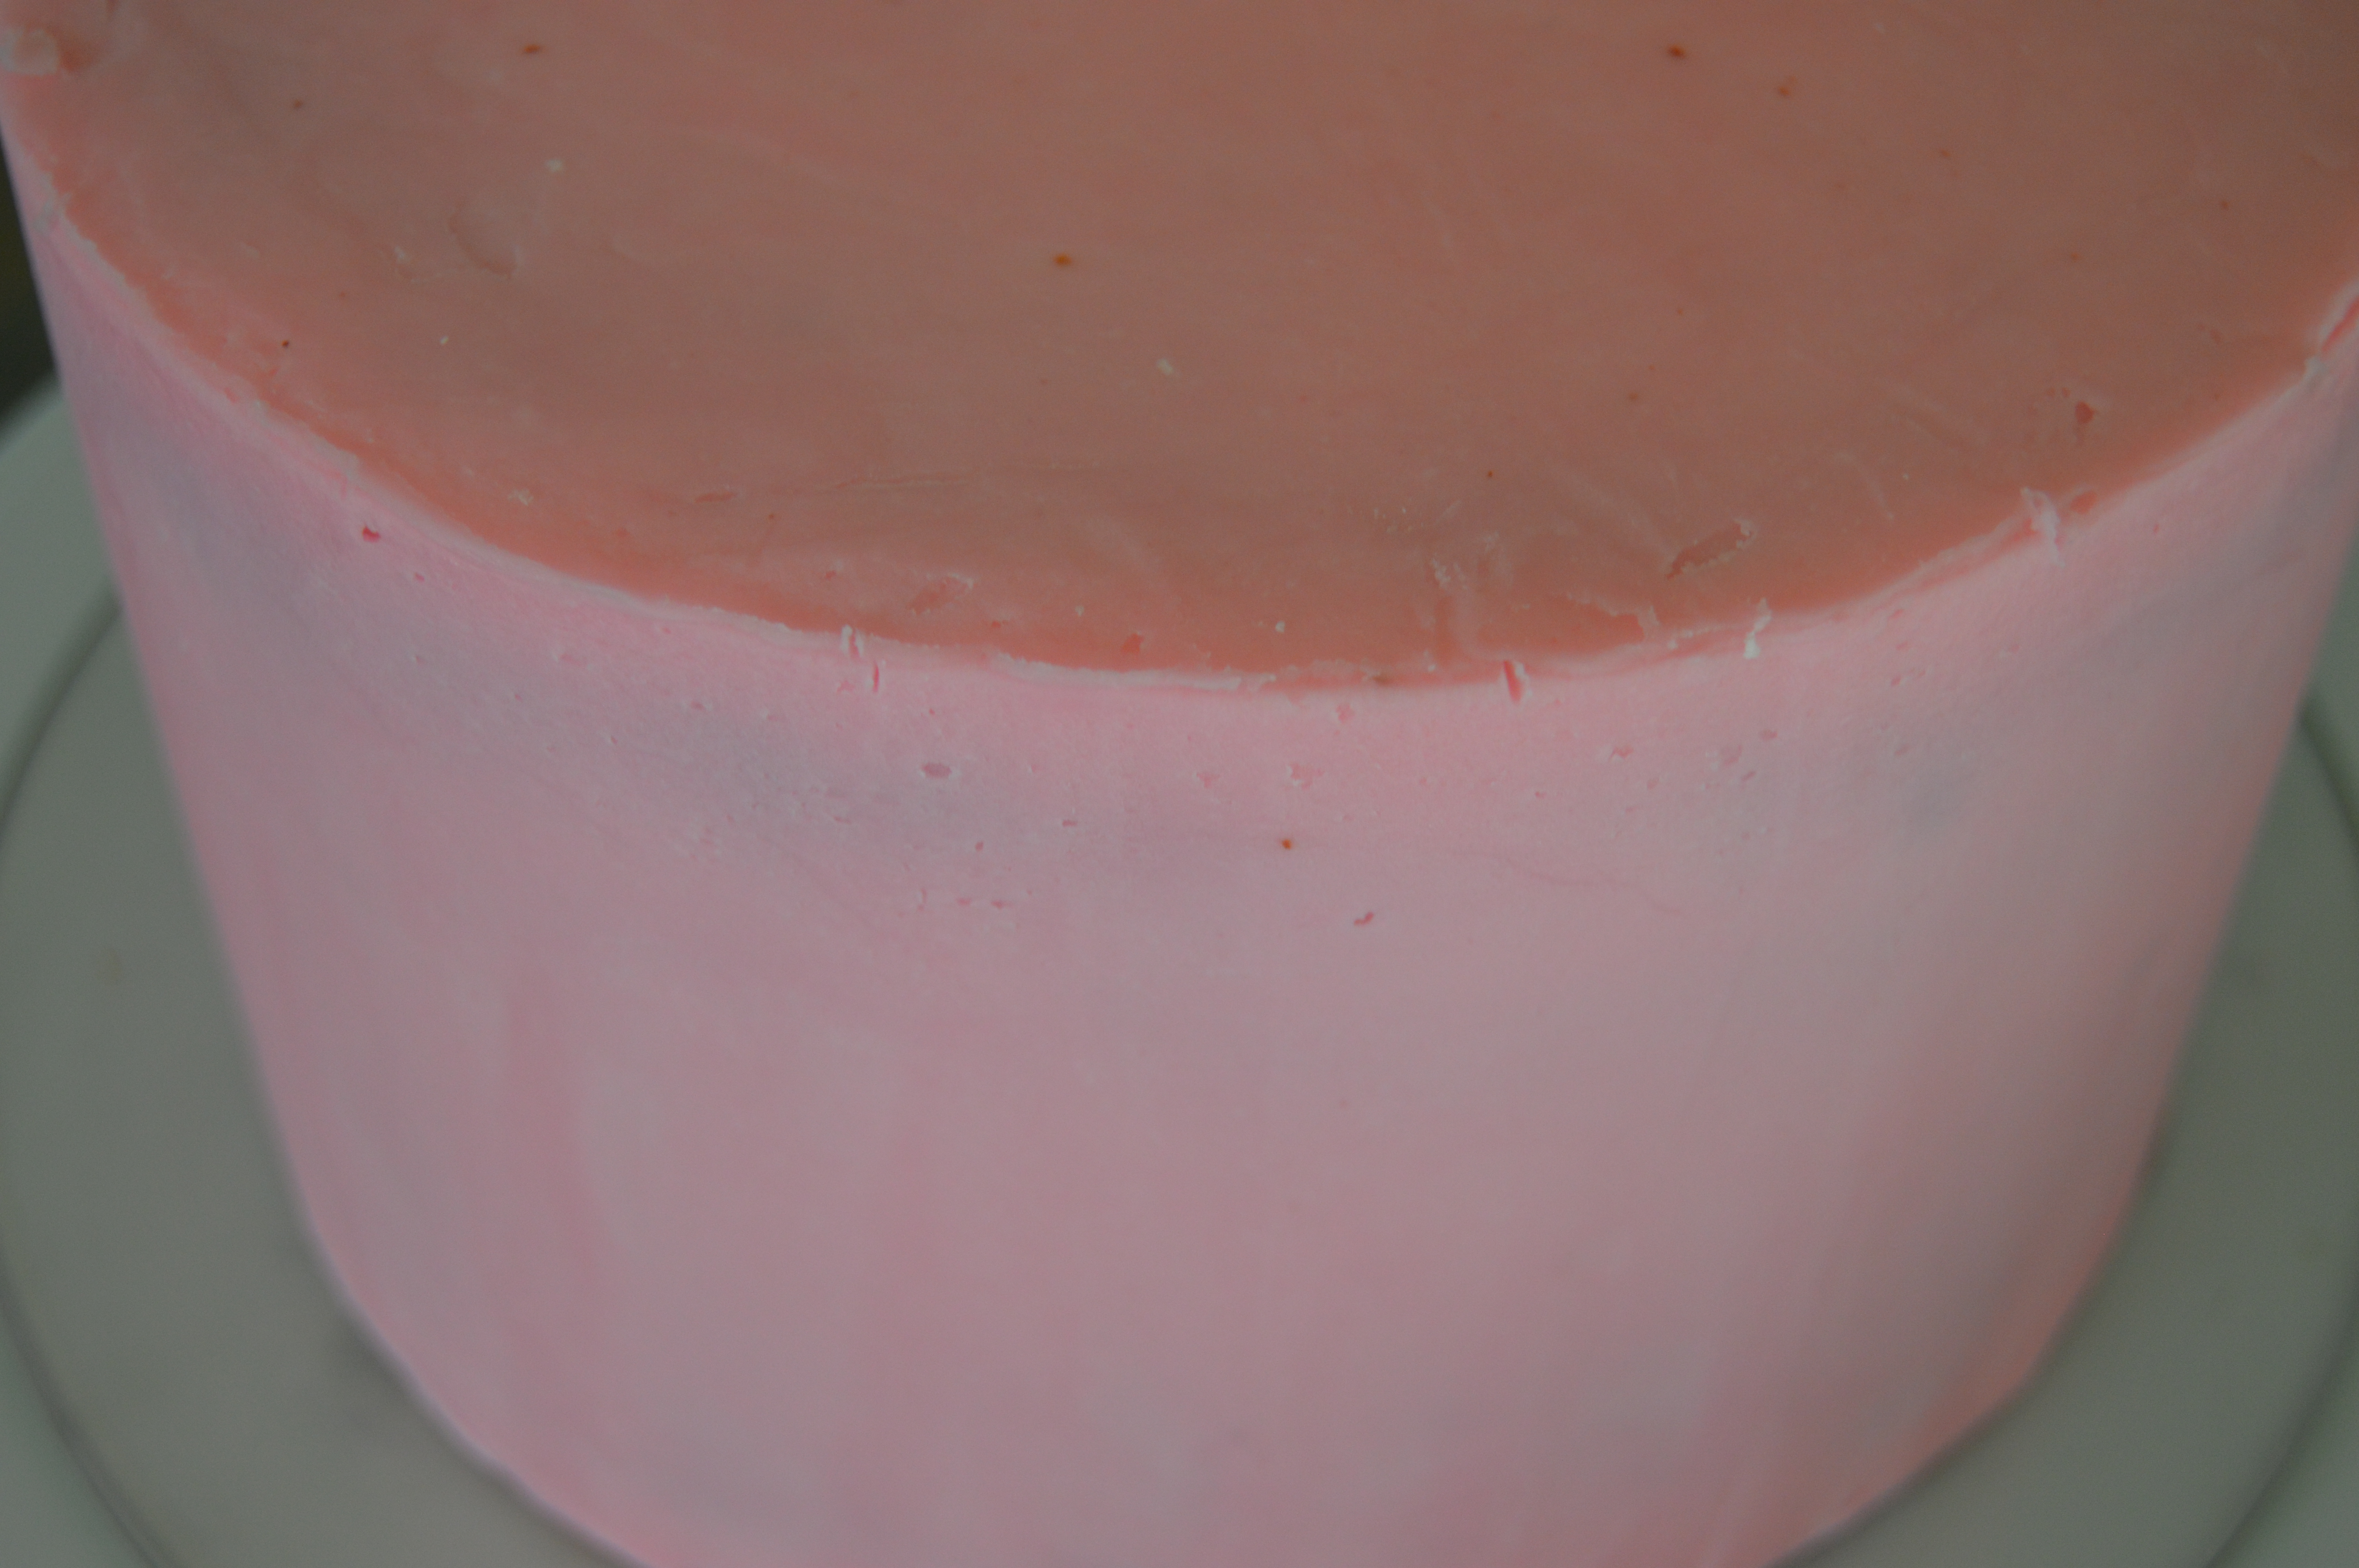
ii. Place the paper on top of the cold and hard buttercream. Using a needle or toothpick, make holes around the top edge of the cake at the same spots as the creases on the paper.
iii. Using a ruler as a guide, make similar holes at the base of the cake directly below the holes at the top edge.
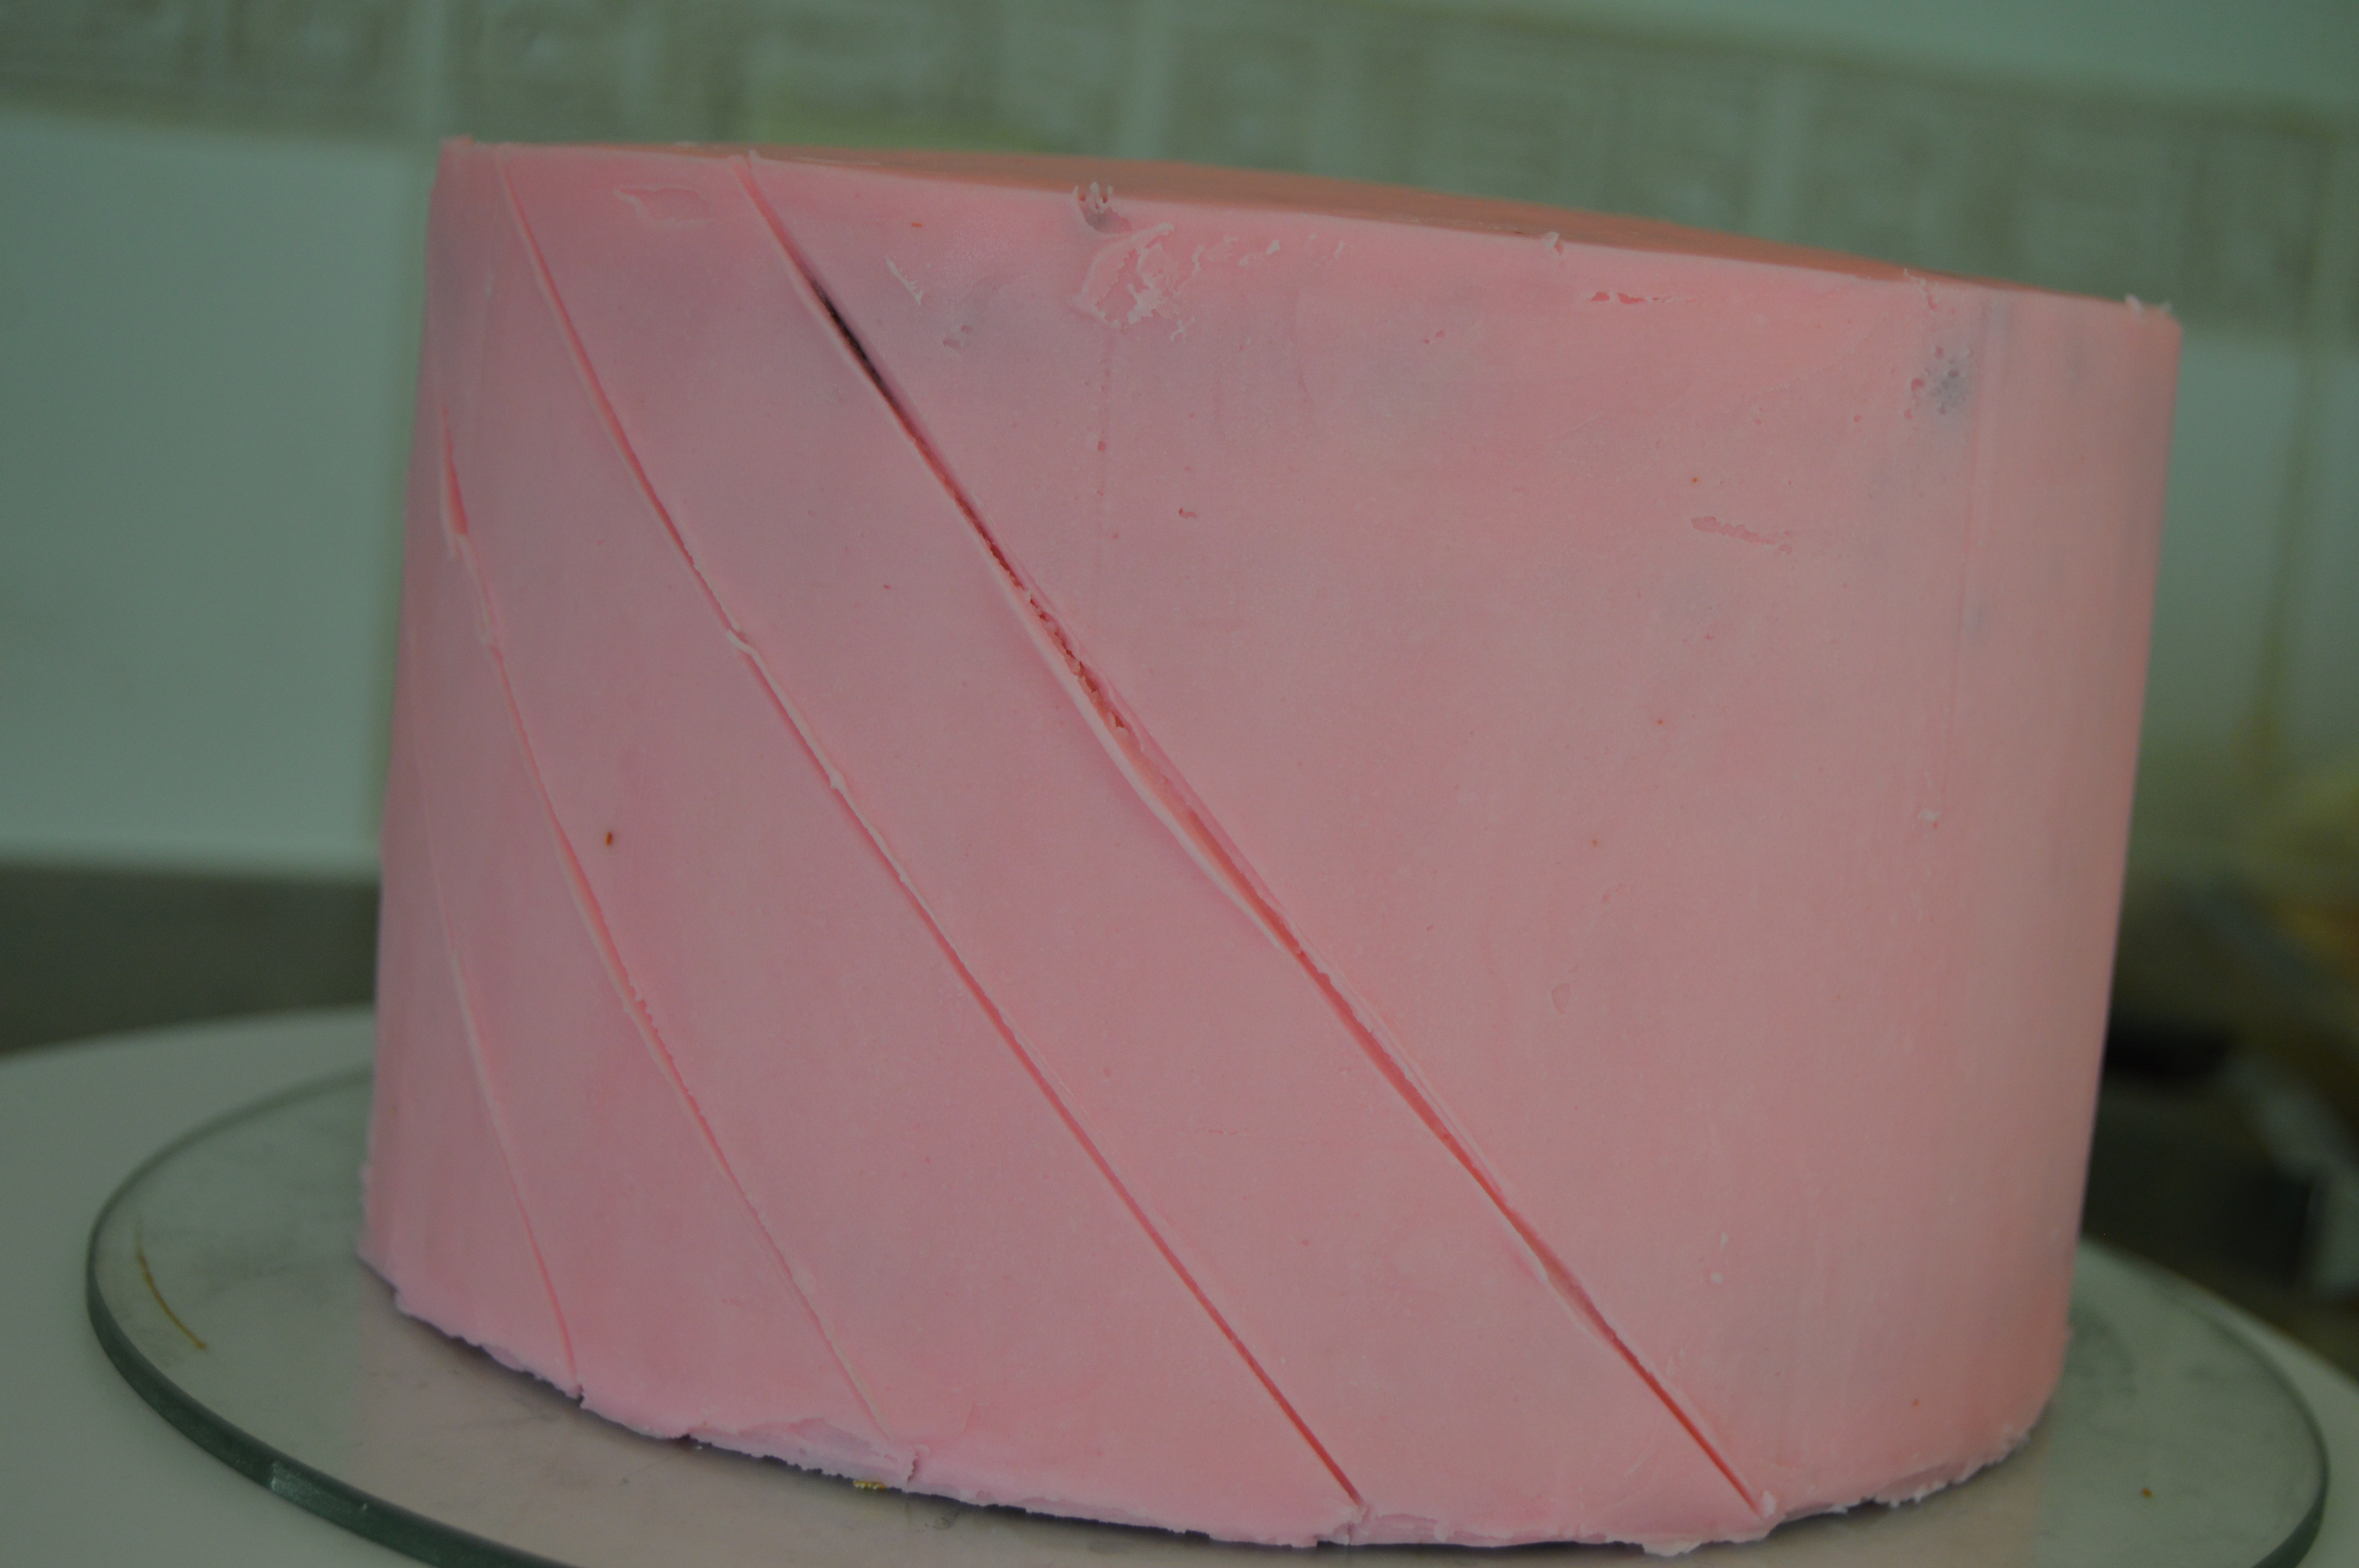
iv. Use a ruler, edge of an icing smoother (what I used) or any other indenting tool to make diagonal lines around the tier connecting the holes at top of the tier with those at the bottom.
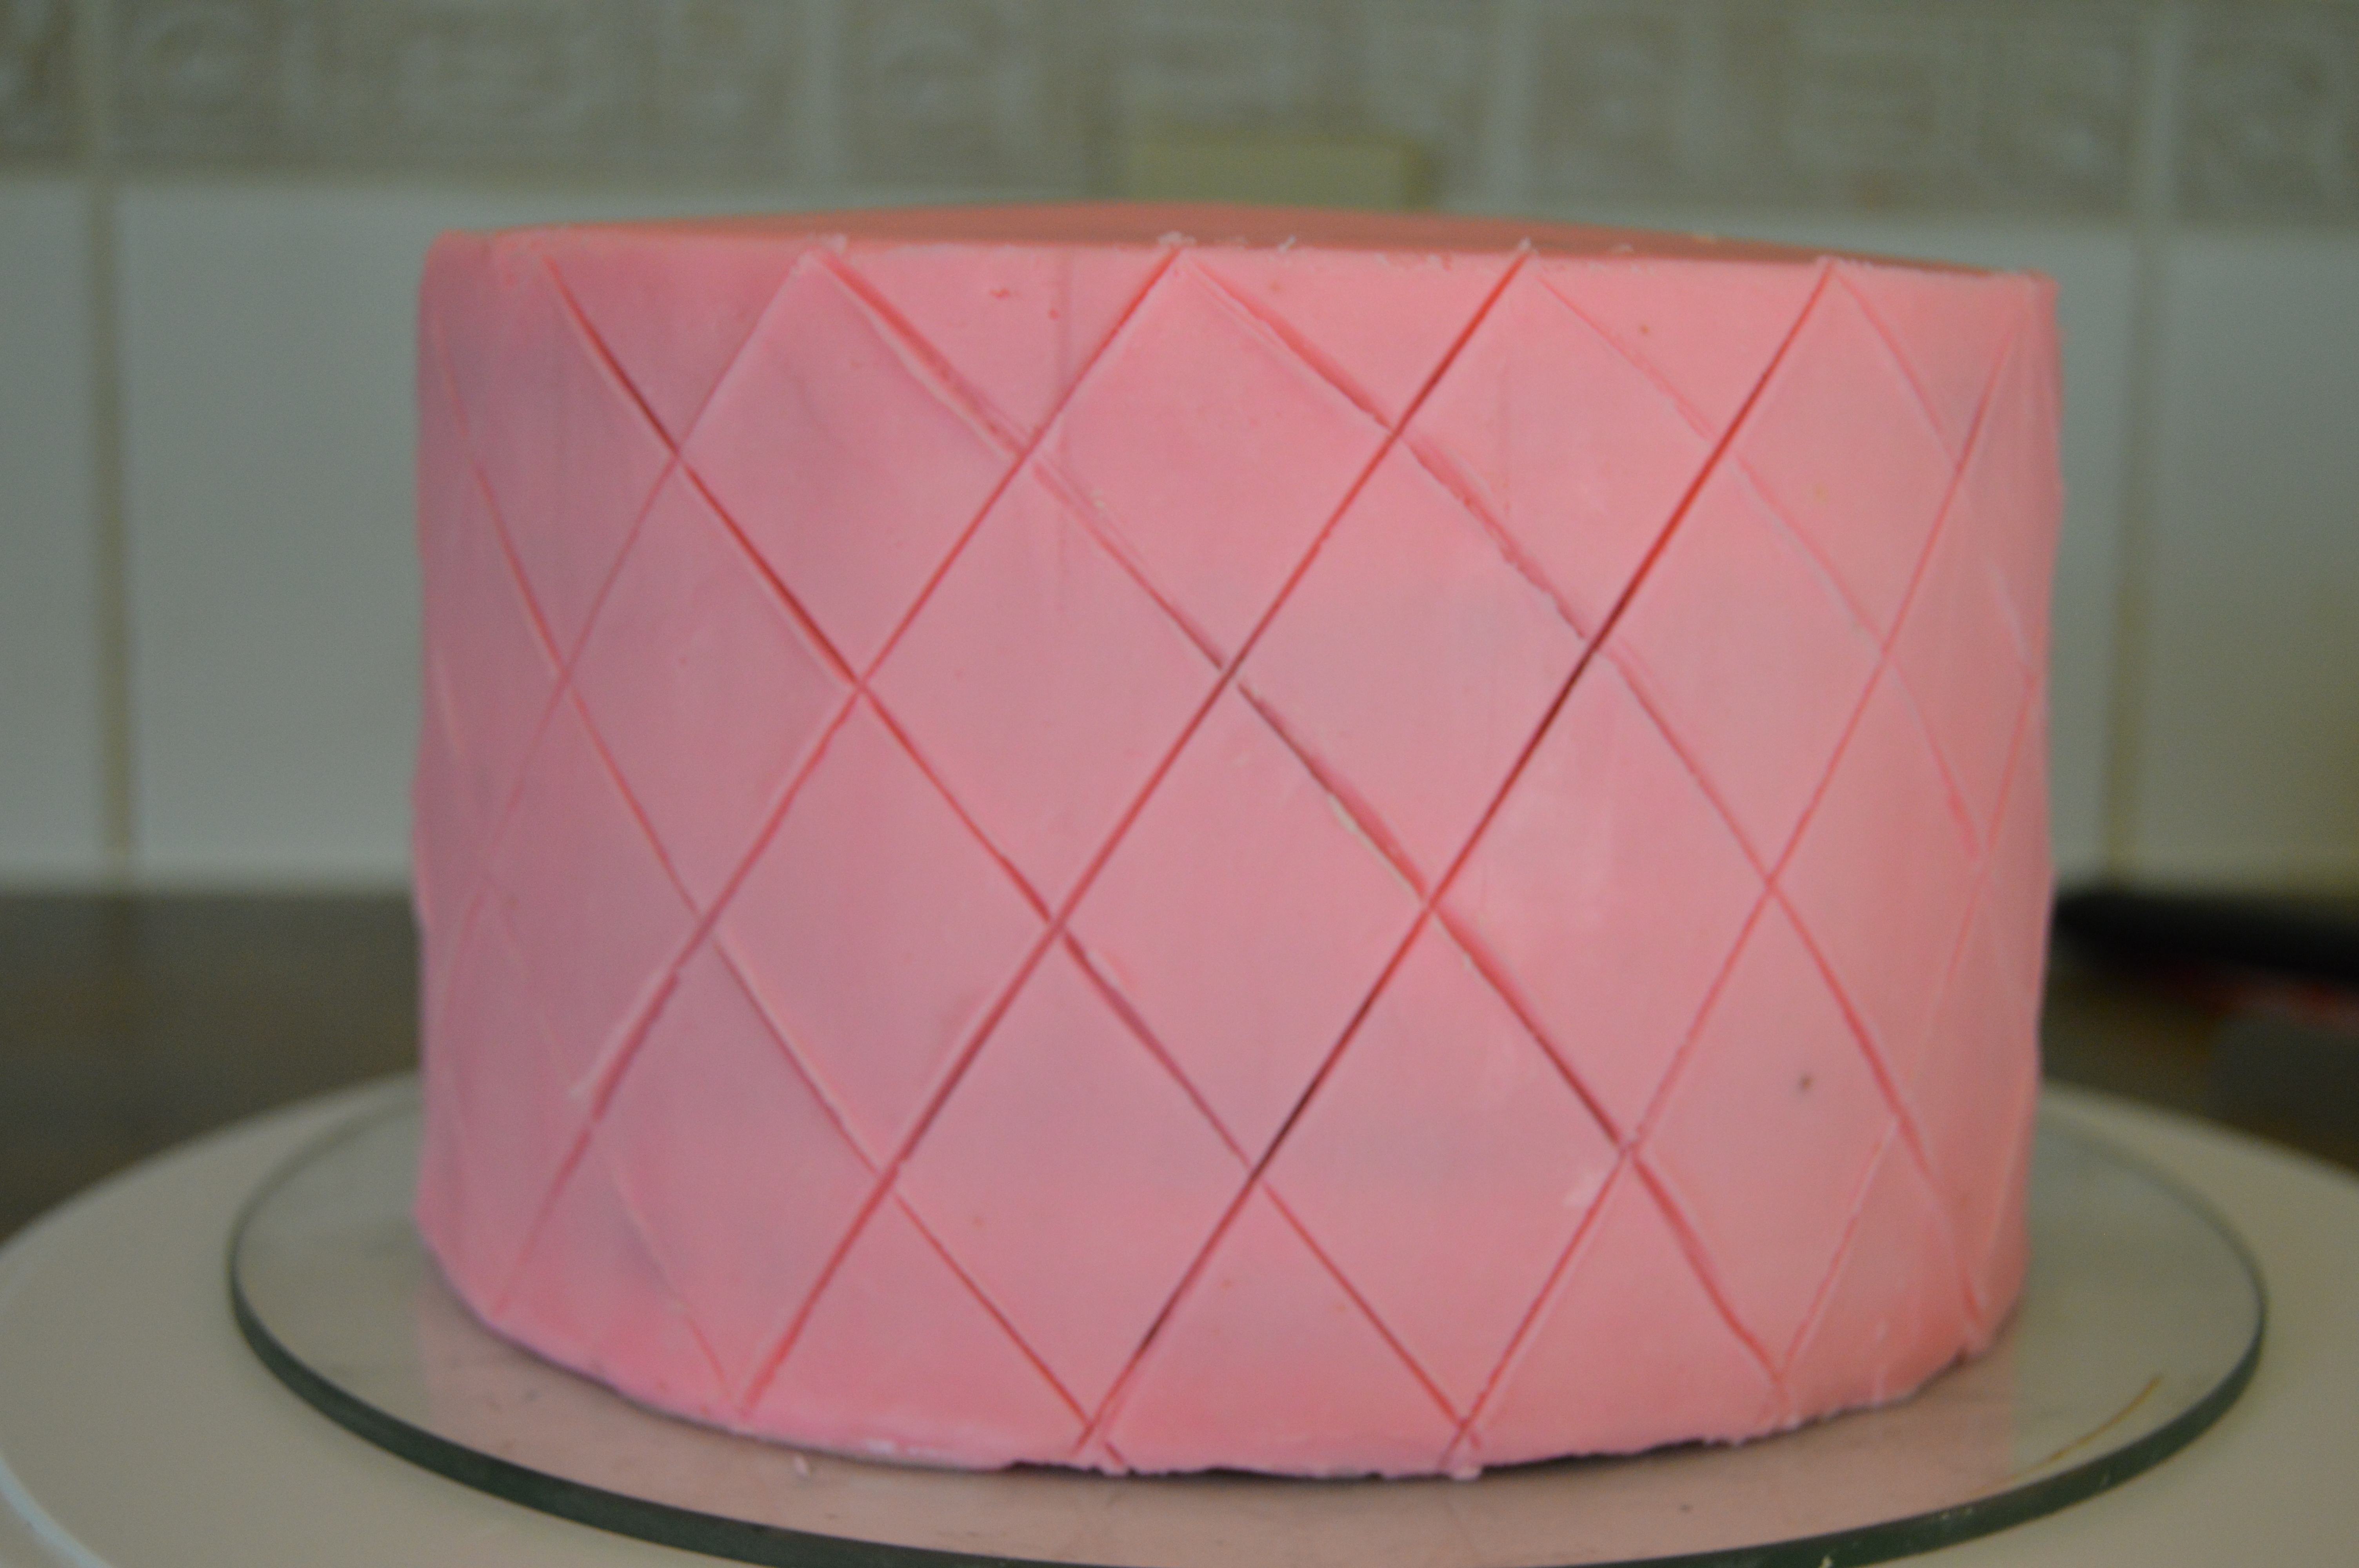
v. Go the opposite direction to create the quilt pattern.
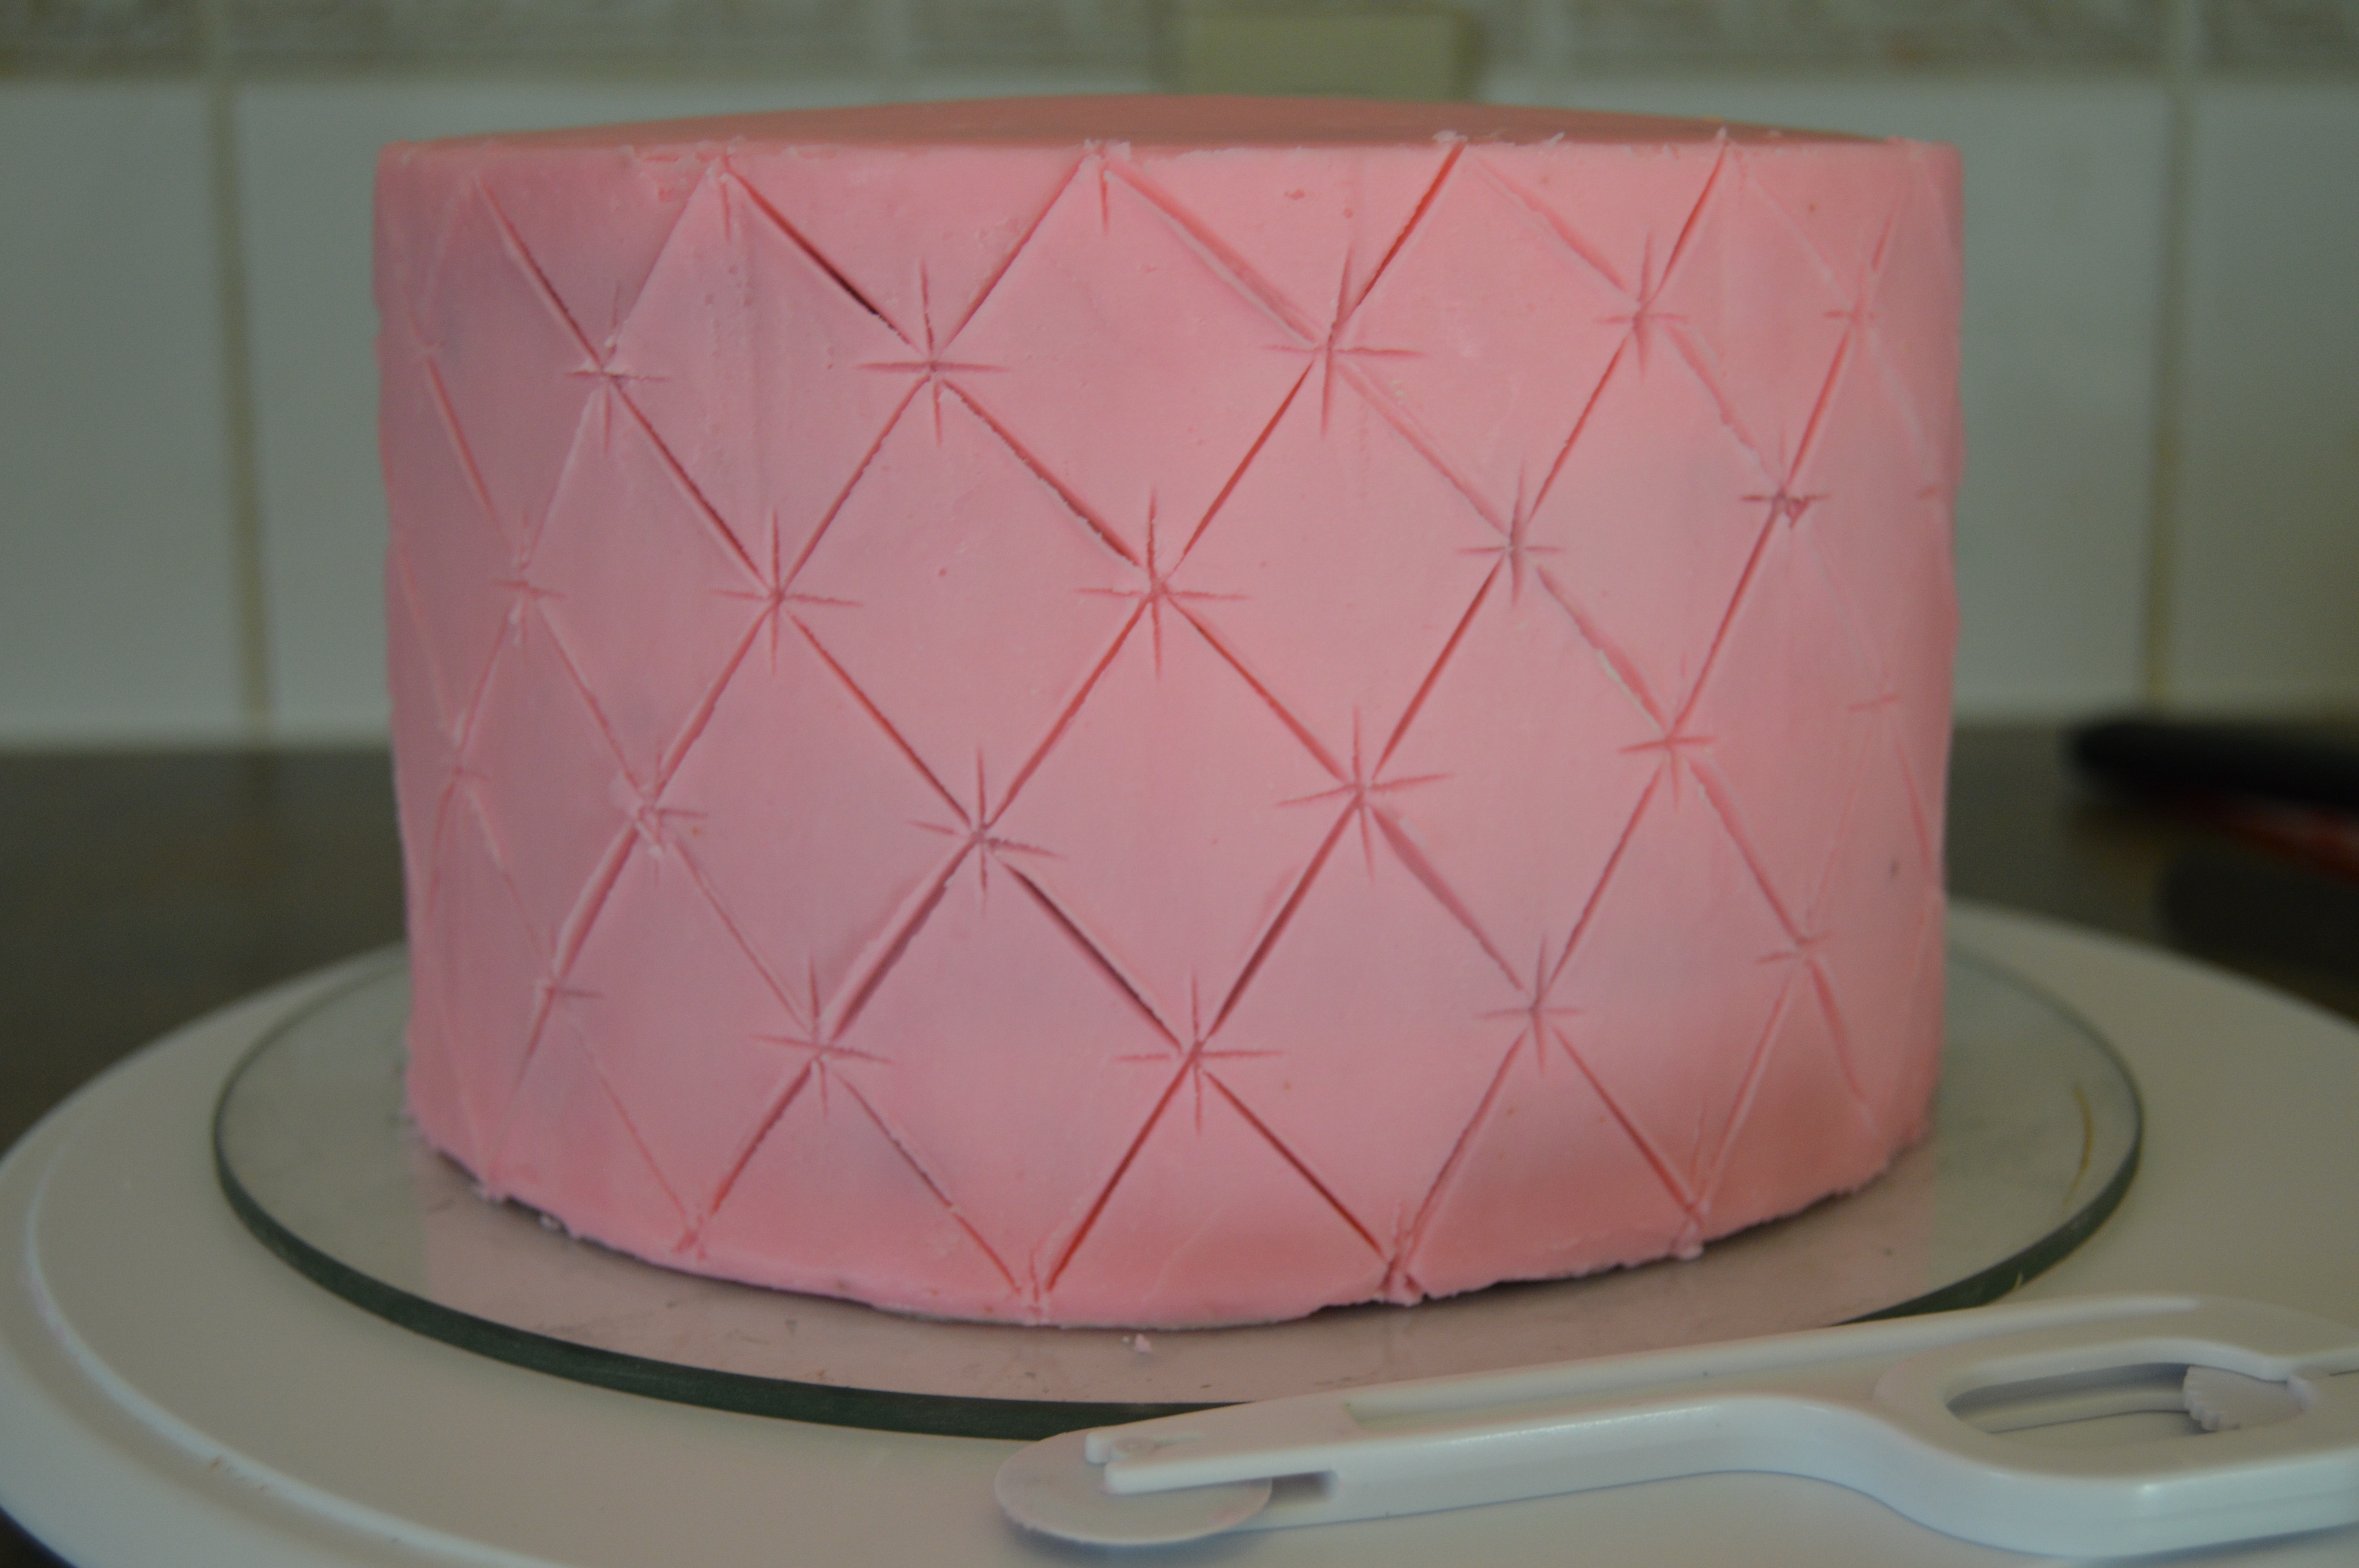
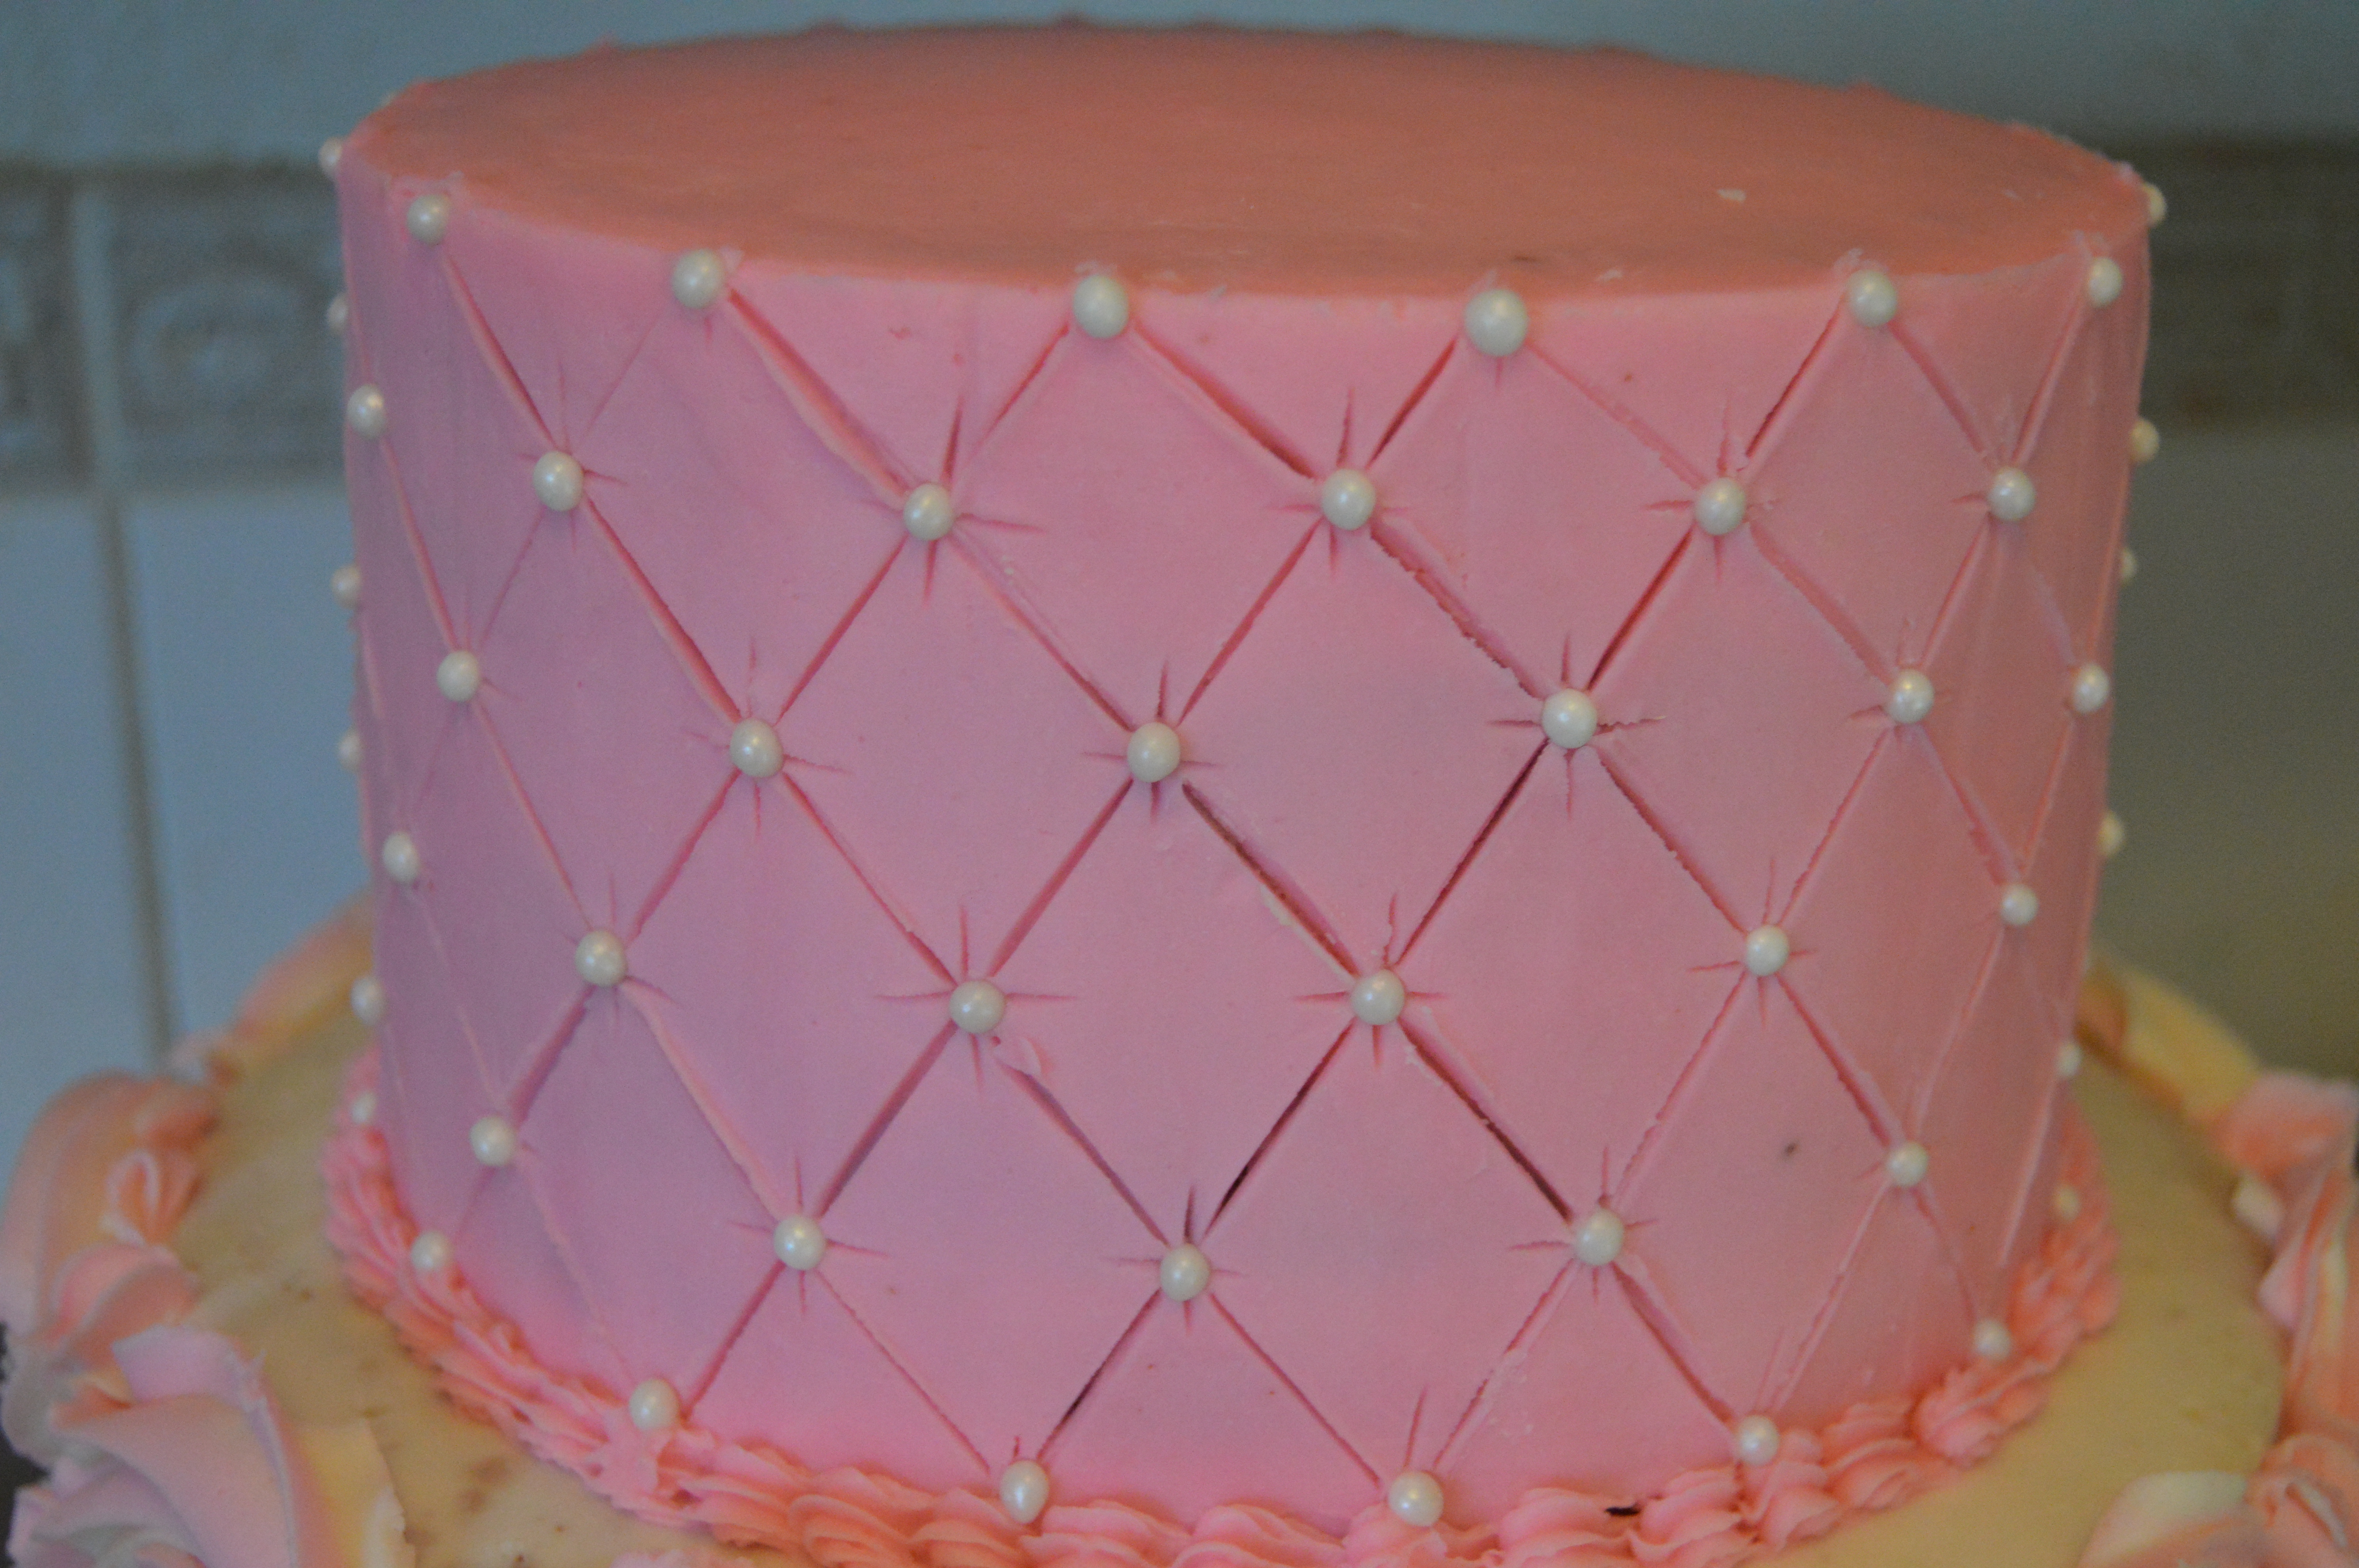
vi. For a more detailed design, use a knife or fondant embosser to make crosses at each angle of the quilt pattern.
vii. Note that the cake must be cold and the buttercream frosting firm in order for you to achieve this.
Note: This technique can also be used on fondant covered cakes. Alternatively, you can use my other quilting technique on fondant covered cakes. Technique found here.
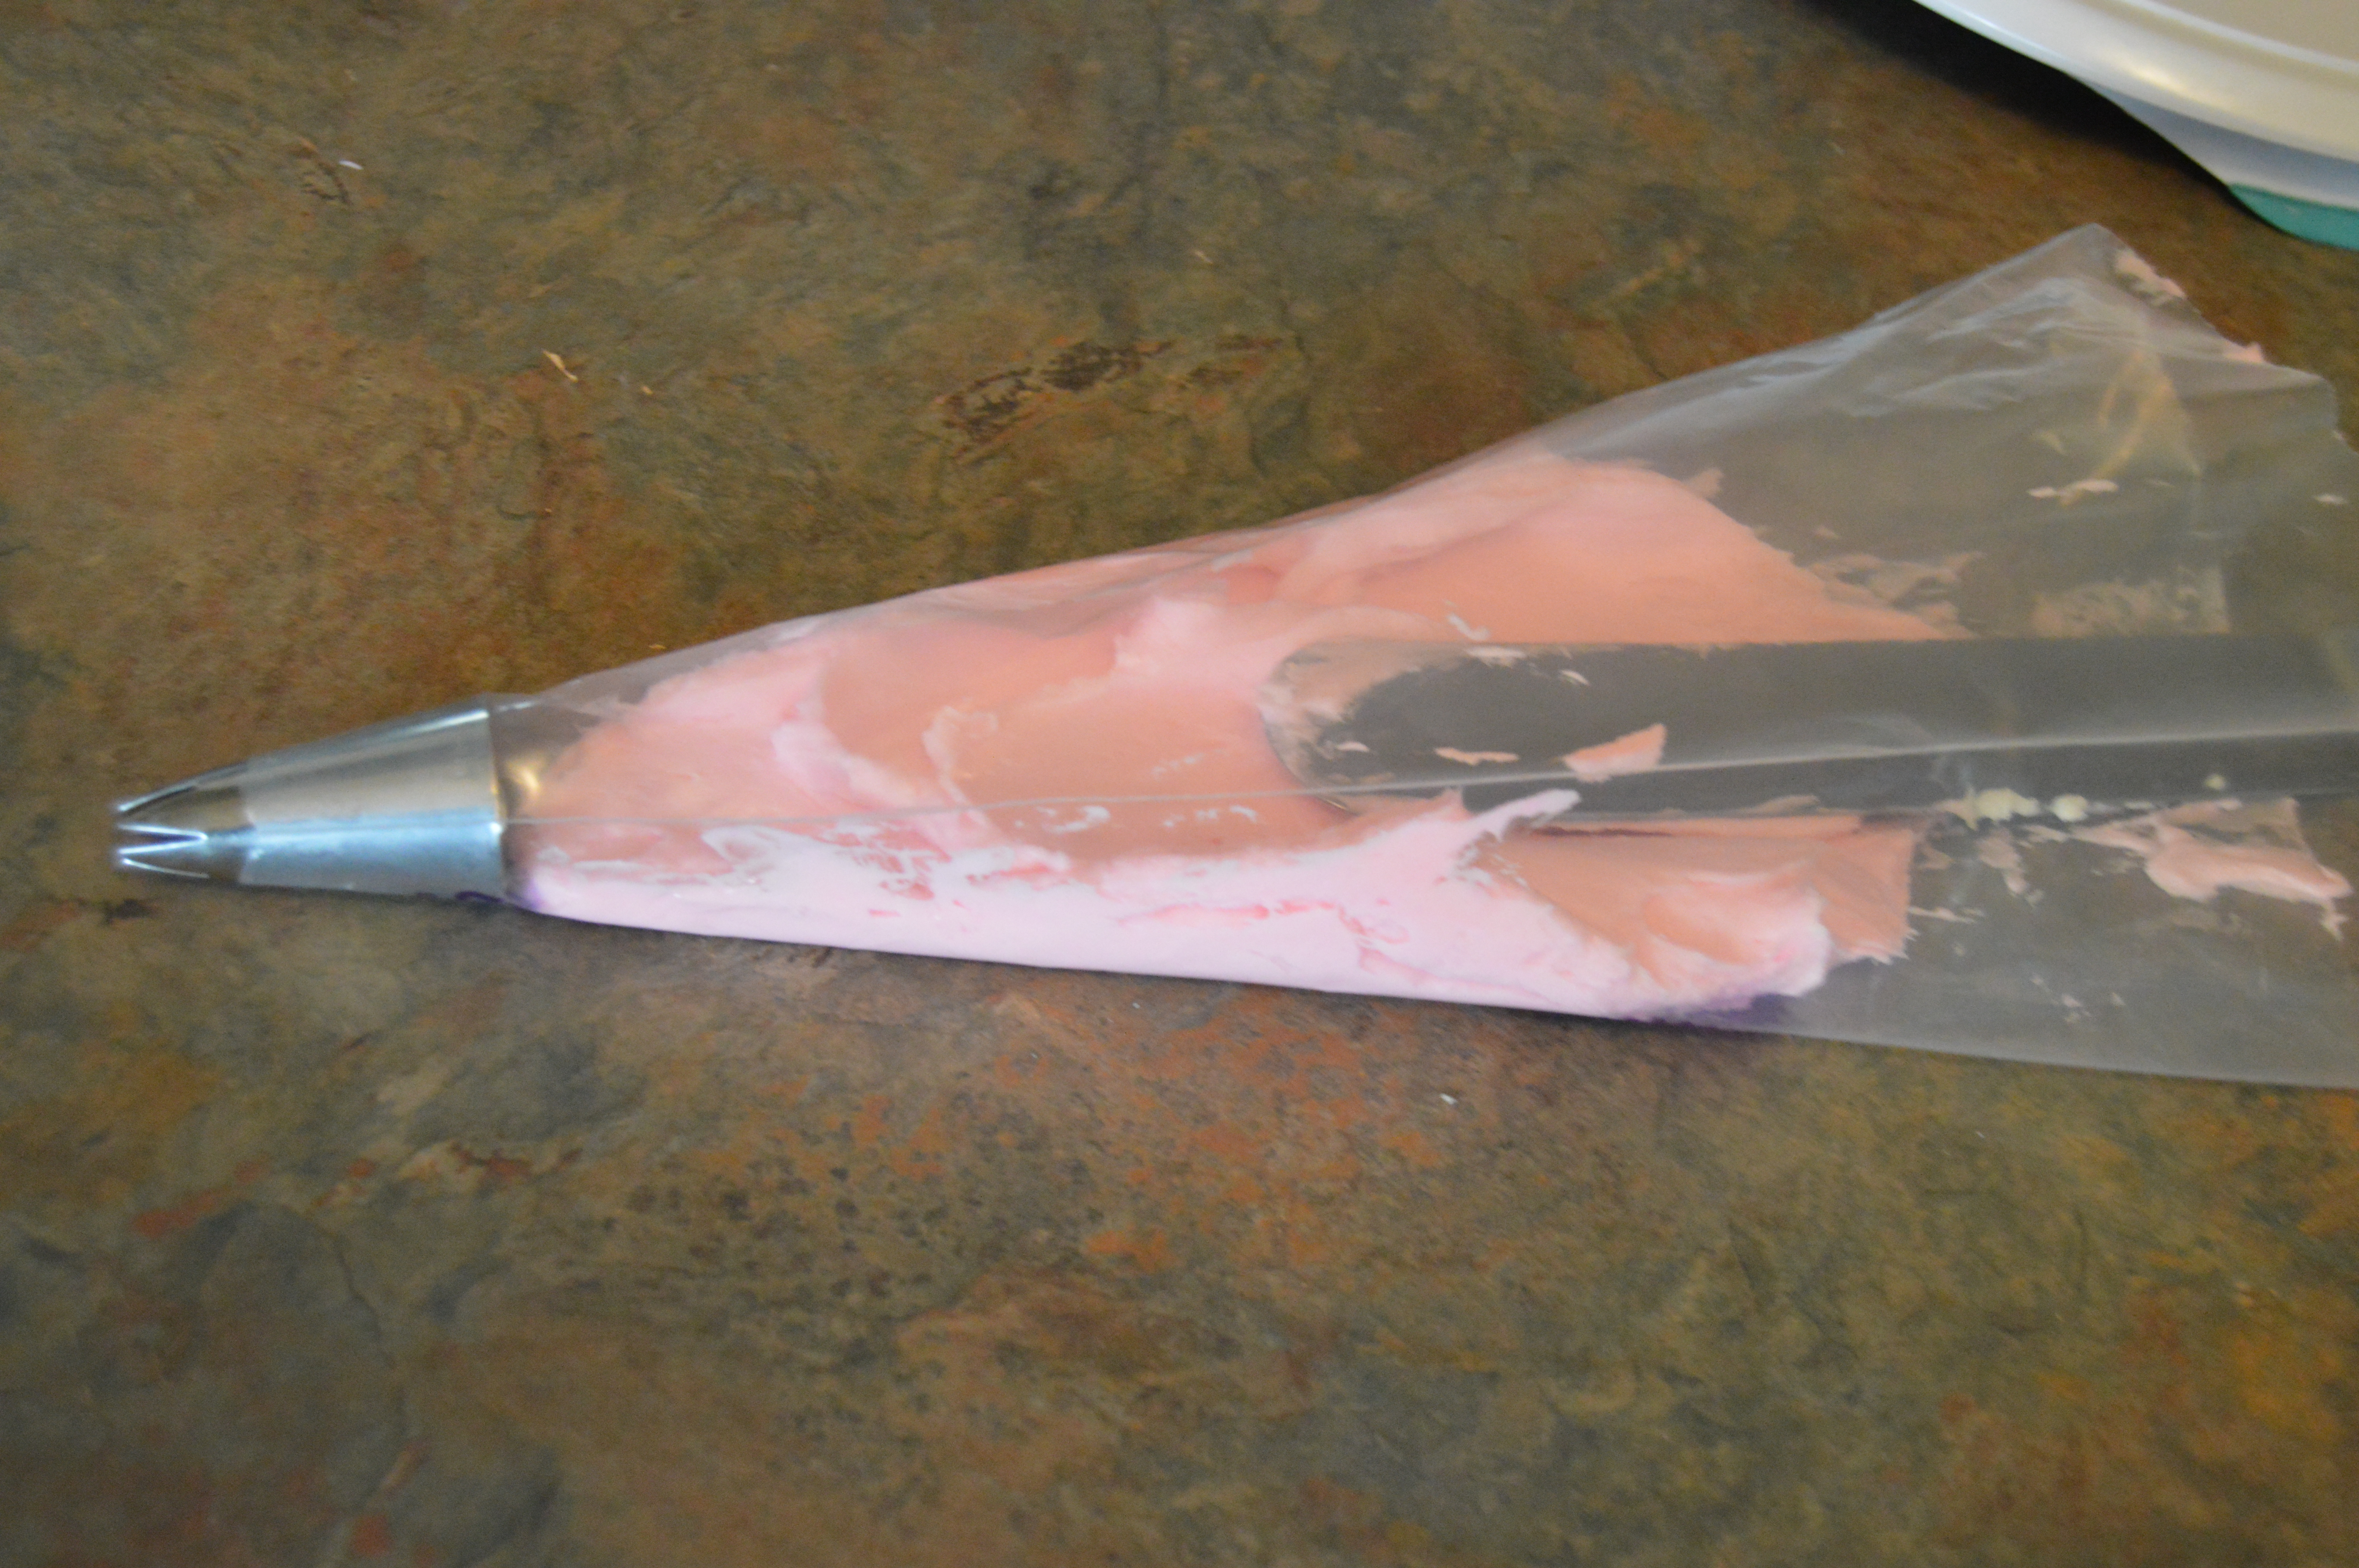
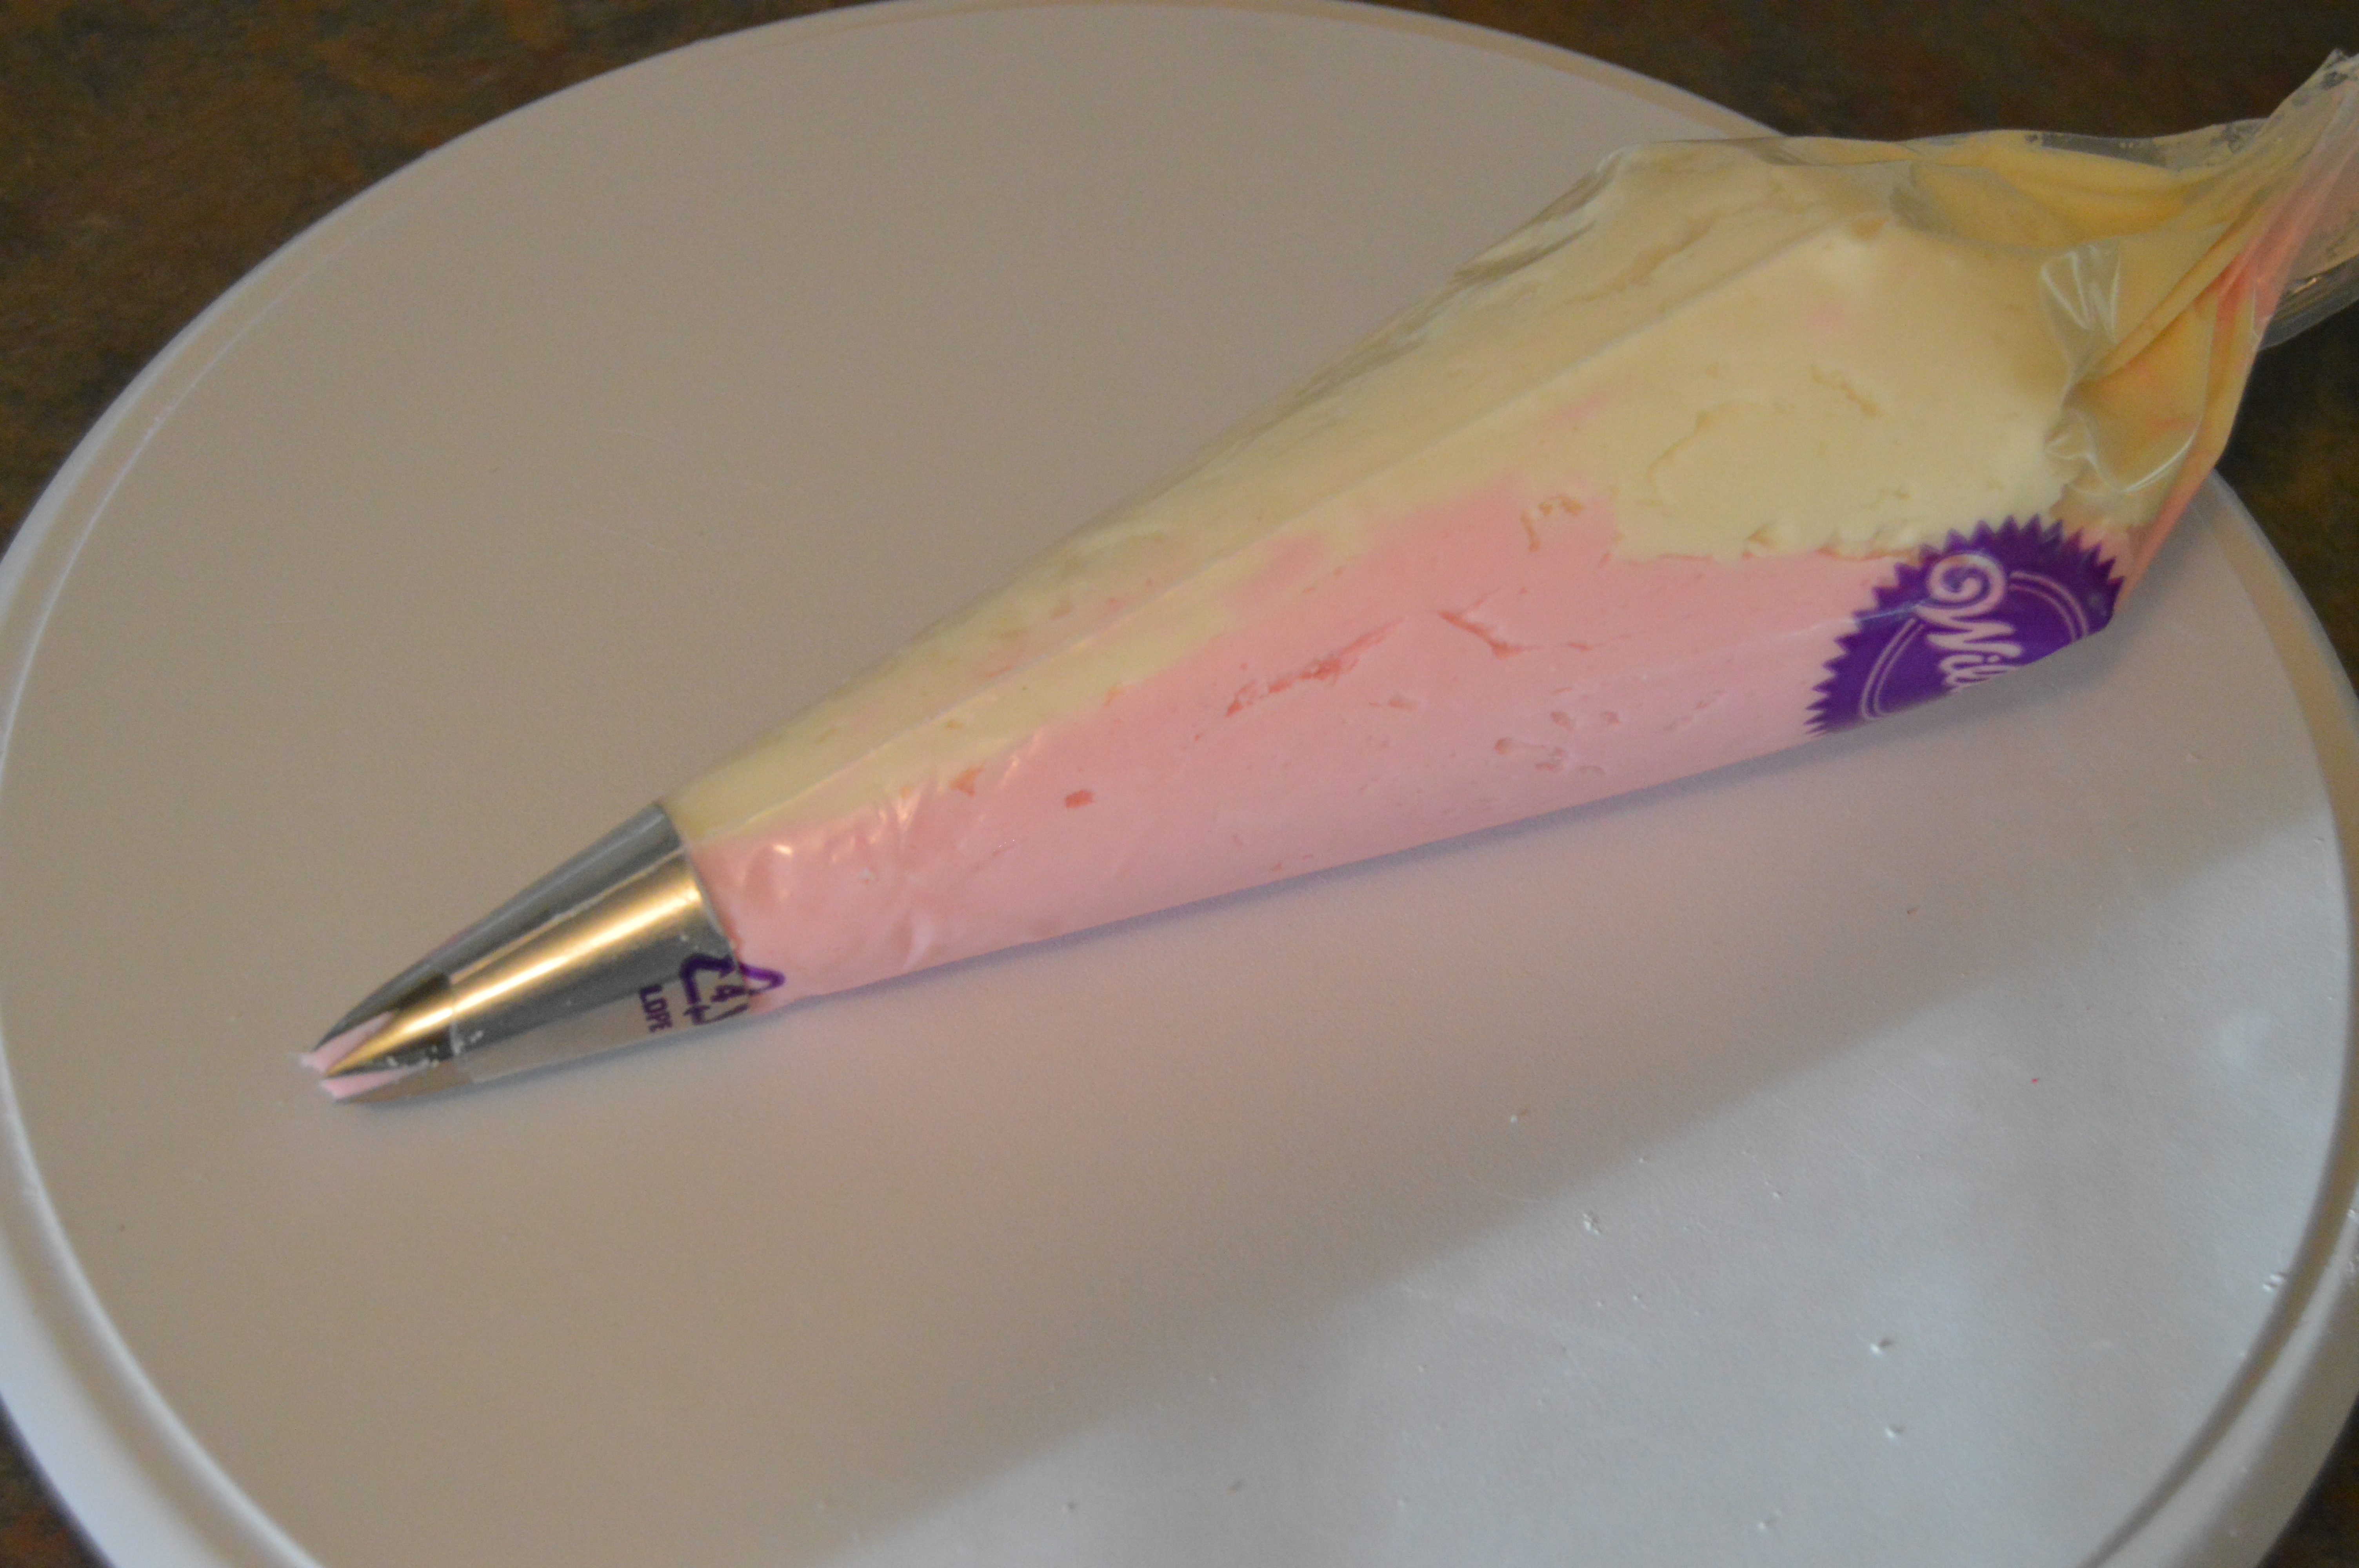
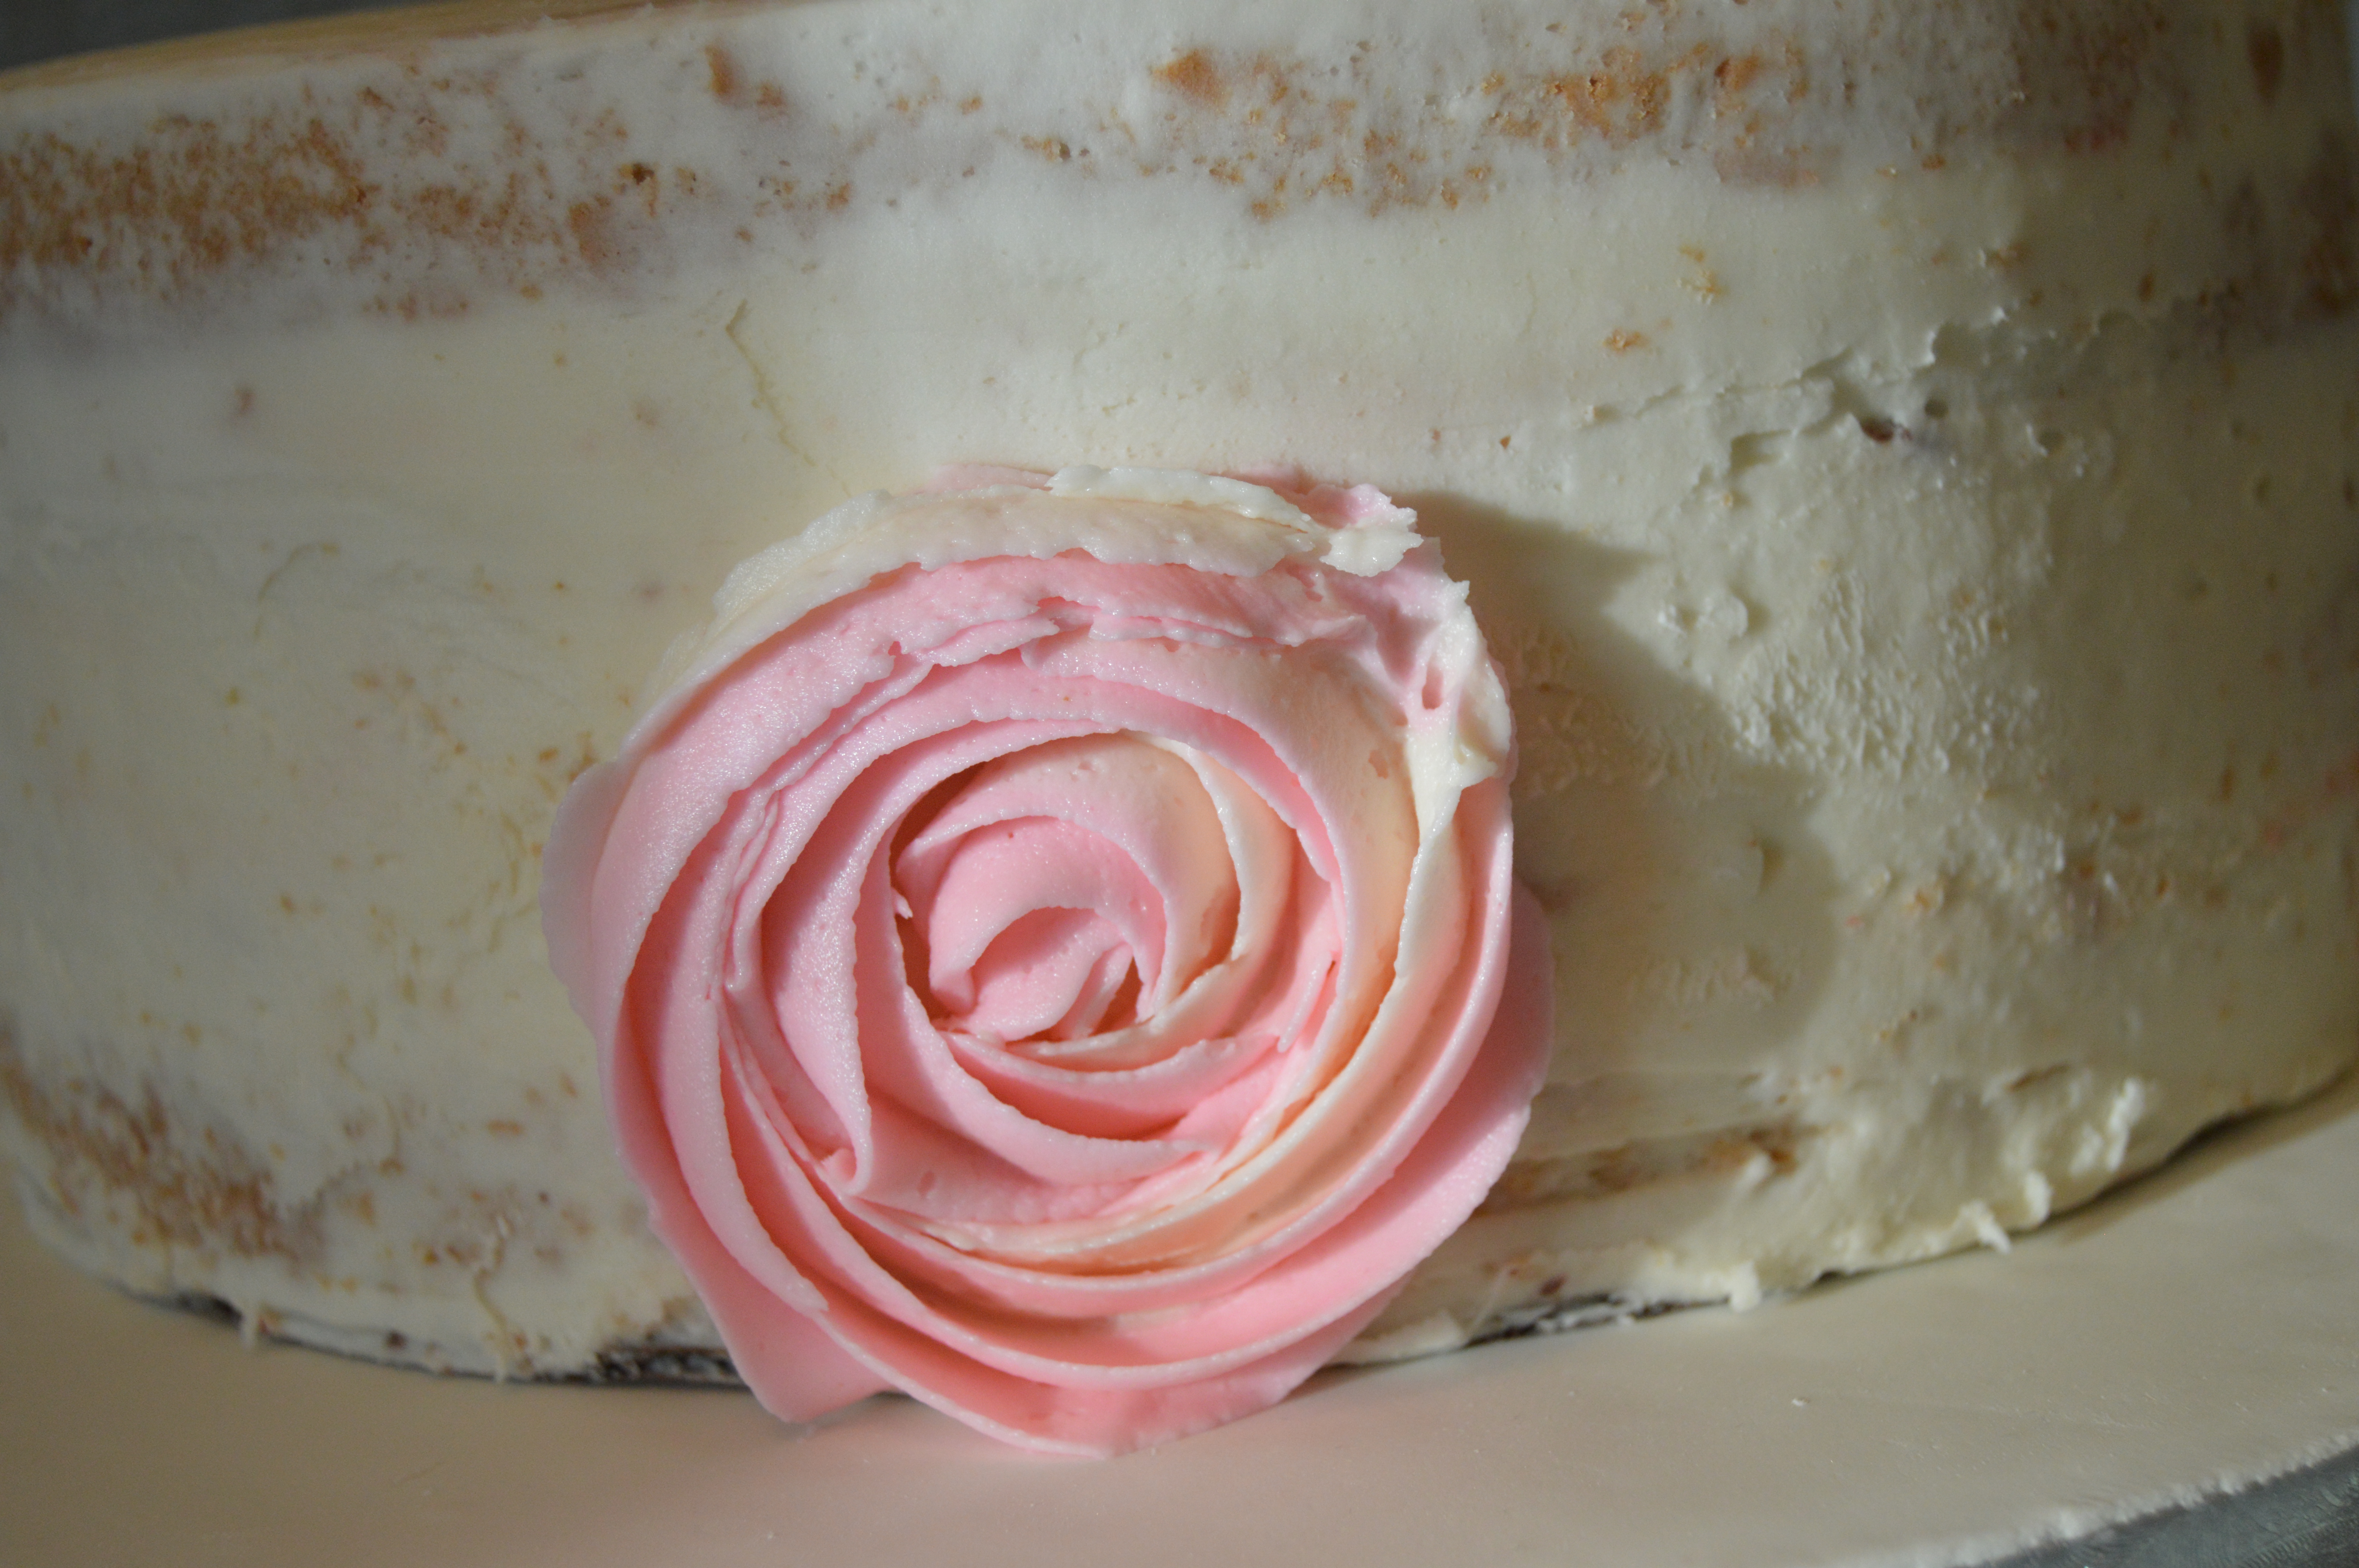
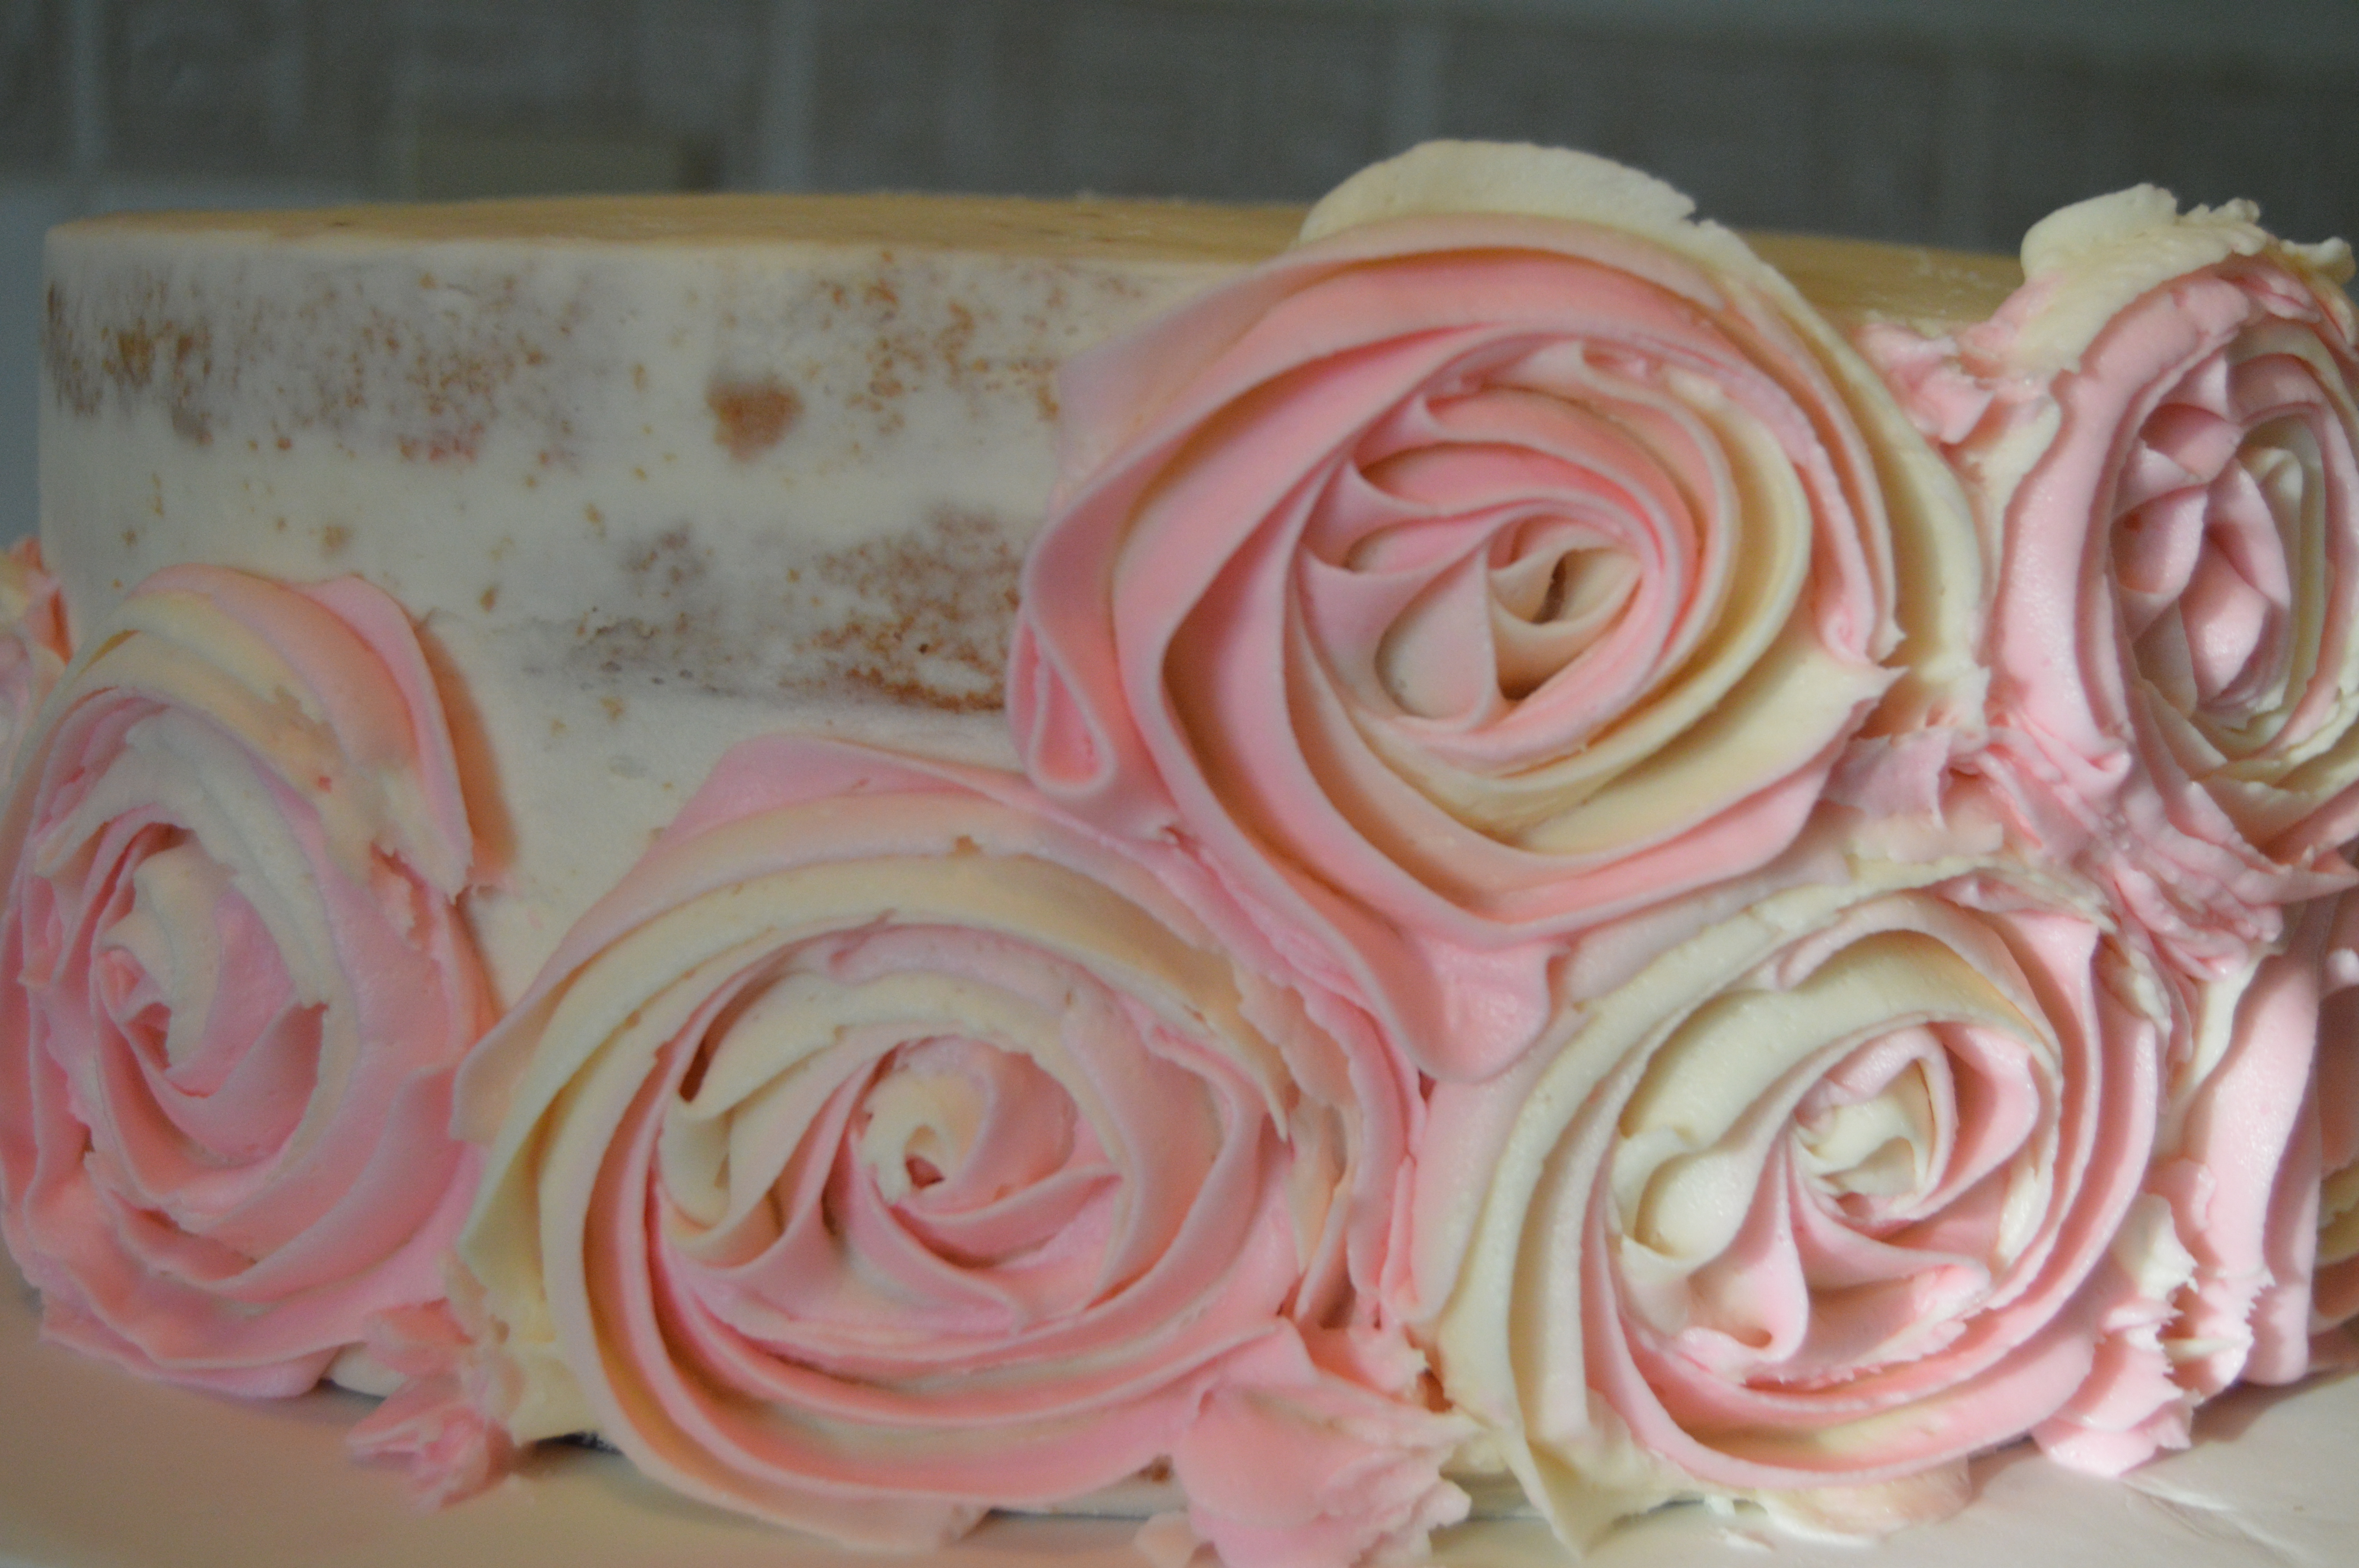
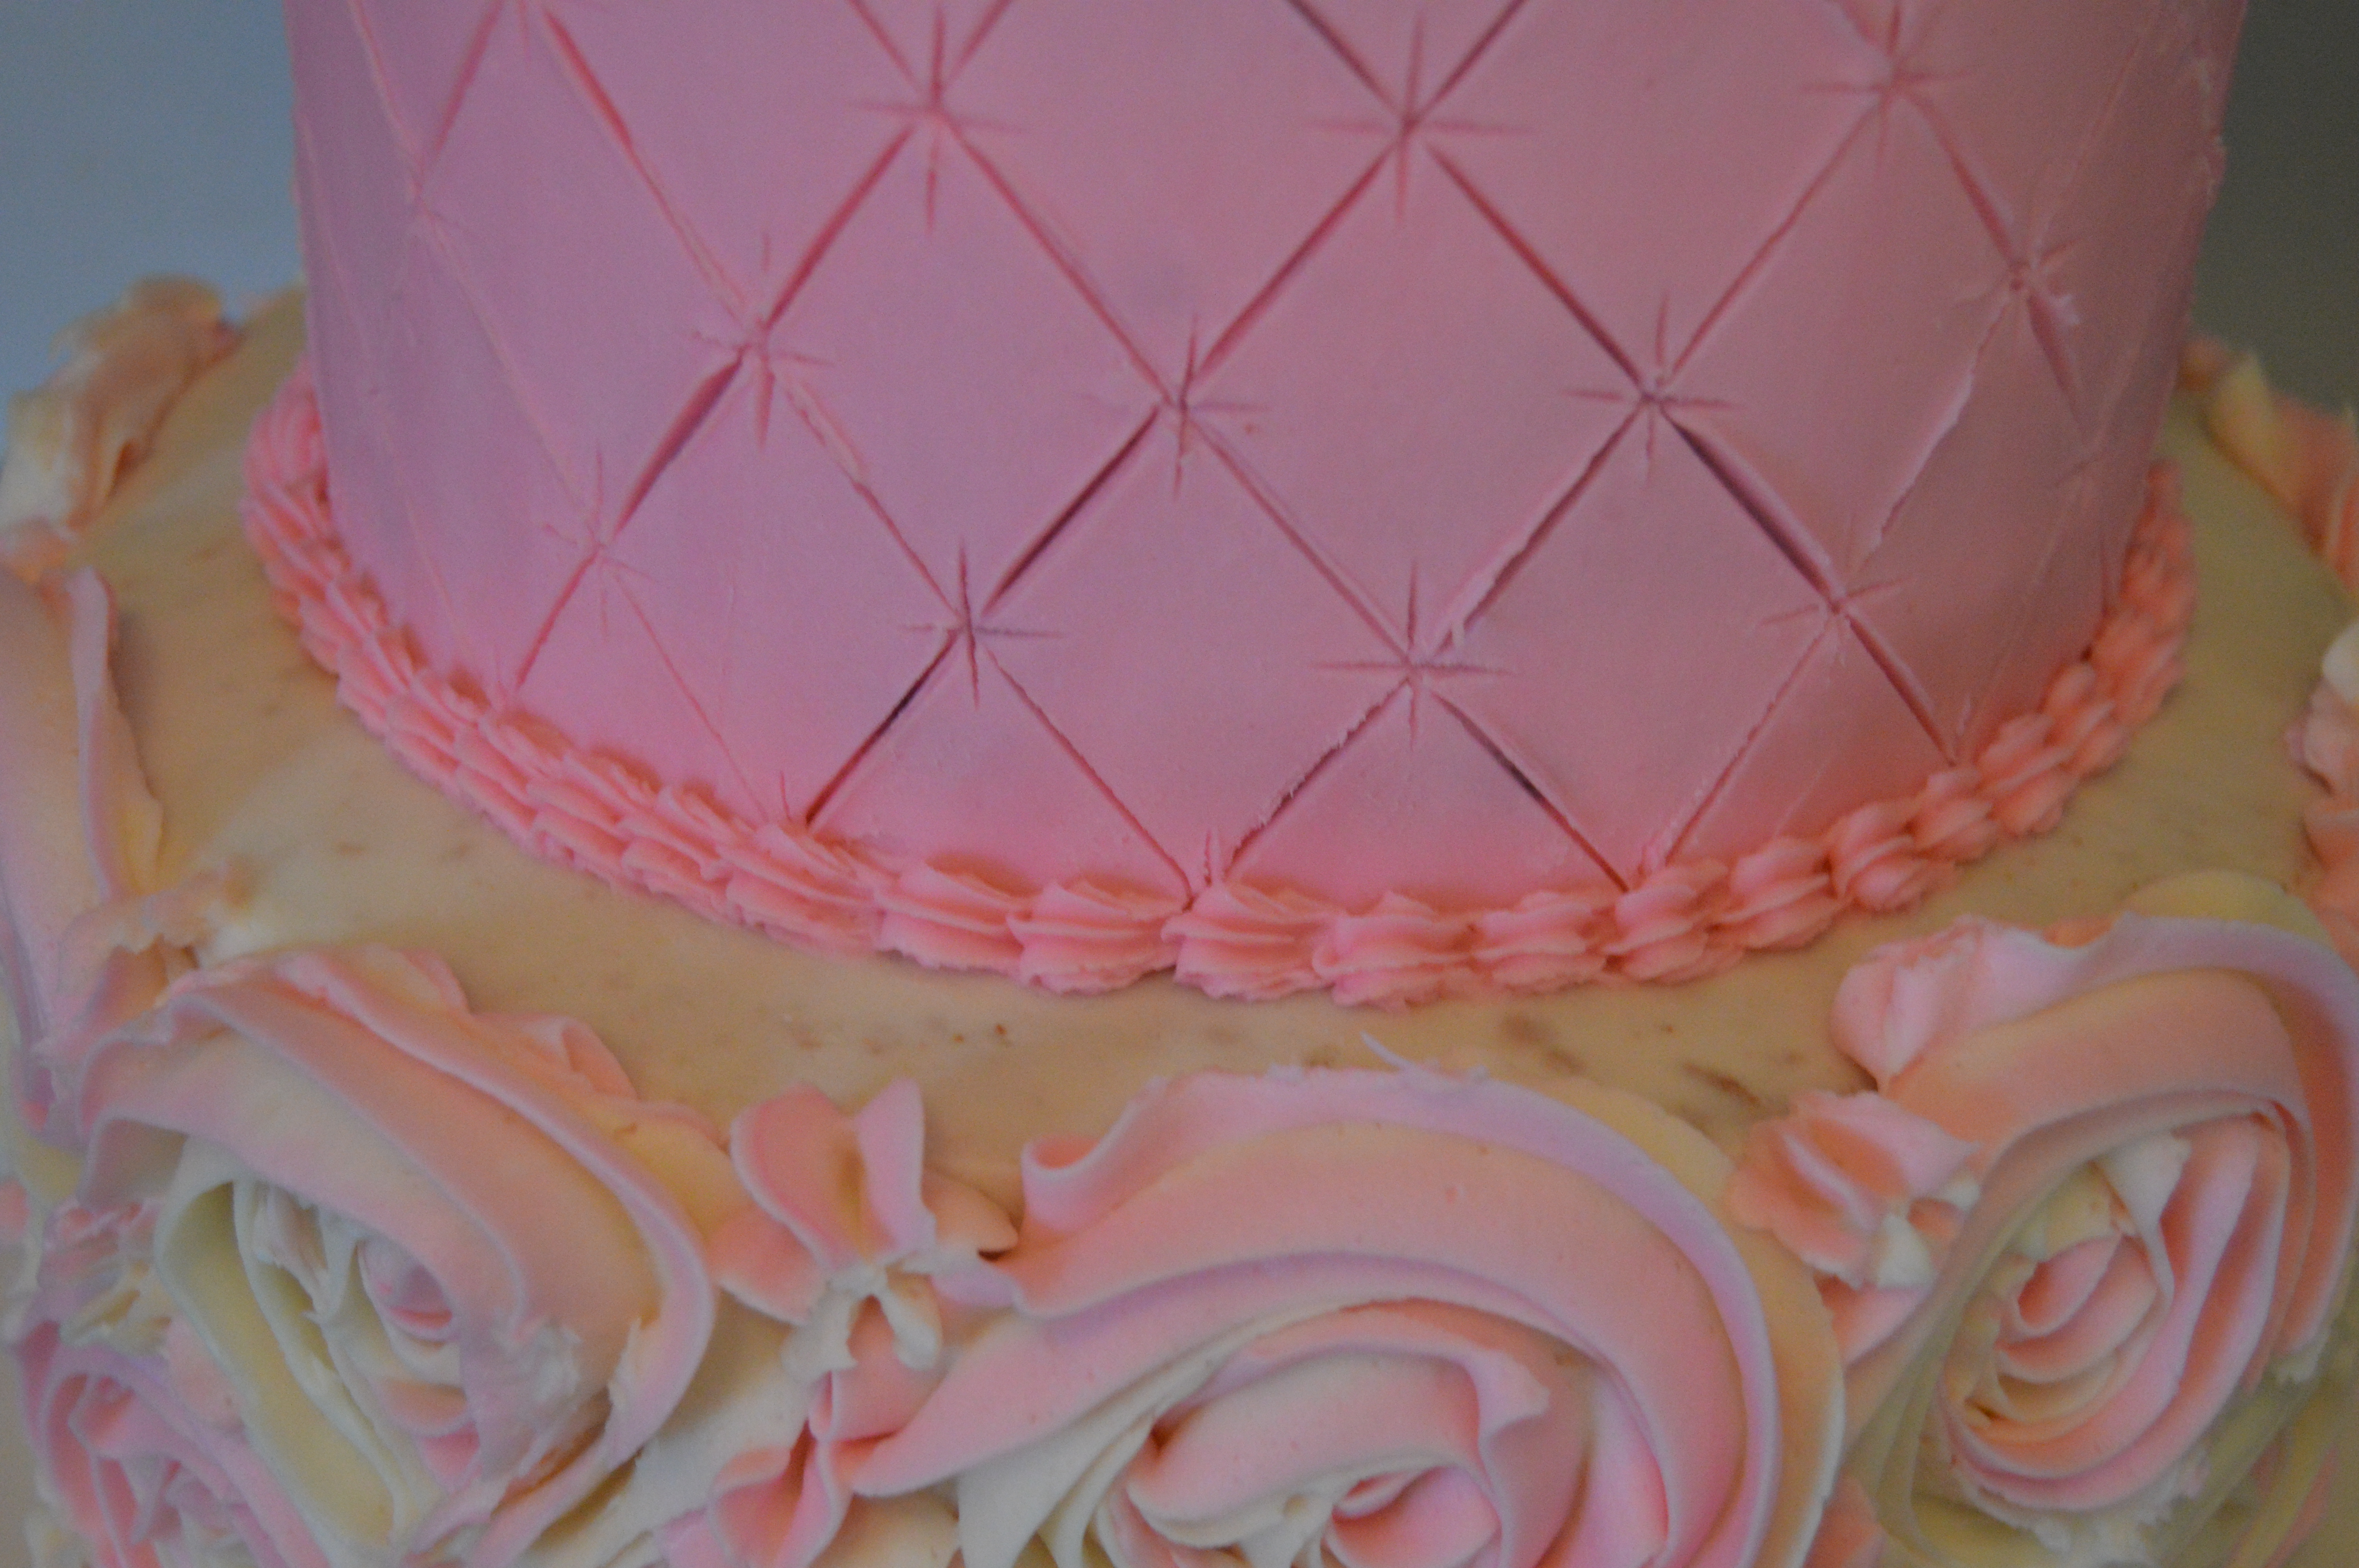
(3) For the bottom tier, using a spatula, fill half of a pipping bag fitted with a Wilton 1M Star pipping tip with pink buttercream frosting. Fill the other half with white buttercream frosting. Make rosettes around the bottom tier filling any exposed space with a squirt of the frosting.
(4) When you are done, place dowels in the bottom tier and stack the top tier on it. Using a small Wilton star tip (I used Wilton Tip #21), make a shell boarder around the base of the top tier.
(5) Finish the look of the cake by placing white sugar pearls on the top tier. I also made a few buttercream rose toppers using Wilton 125 petal tip.
Happy caking!
Terry Adido is passionate about showing people how easy it is to recreate restaurant quality meals in the comfort of their kitchens. With a style of cooking he refers to as Afro-European Fusion, his meals are influenced greatly by French and Italian Cuisine with a West African twist. If you love good food, you are in for the ride of your life.
Hello Terry, thanks for sharing. I love your presentation and mostly importantly the neatness. One disadvantage with butter cream cakes in Nigeria is the weather. But thank God for shortening. Looking forward to idea exchanges.
Thanks Yeah, you will need a good cooling system in order to work well with buttercream.
Great tutorial, thanks my brother. I love the quilting design, you made it so simple.I struggled the first time I tried. Thanks once more.
You are welcome Nolie.
WOW – supremely pretty & dreamy!
Thanks Neyon.
Hello Terry, thanks a lot for sharing. I just stumbled on your site while researching and I must say, i’m here to stay lol. For Nigerian weather I find that margarine holds up better for buttercream. I’m a home baker and that’s what I use. I’m definitely trying this out. Thanks once more
Thanks for your contribution Oyinlola. Glad to have you here.
Hello Terry,
Thanks for sharing ds . Though i am a novice in ds field but i enjoyed the procedures.
Great job,
You are welcome Immaculate.
Hi terry its a great cake and tries this for my first big cake order. Followed all steps and it came out well. The customer loved it. Thank you so much.
Thanks for your feedback. I’m glad it was a success.