
The Making of a Stained Glass Confirmation Cake

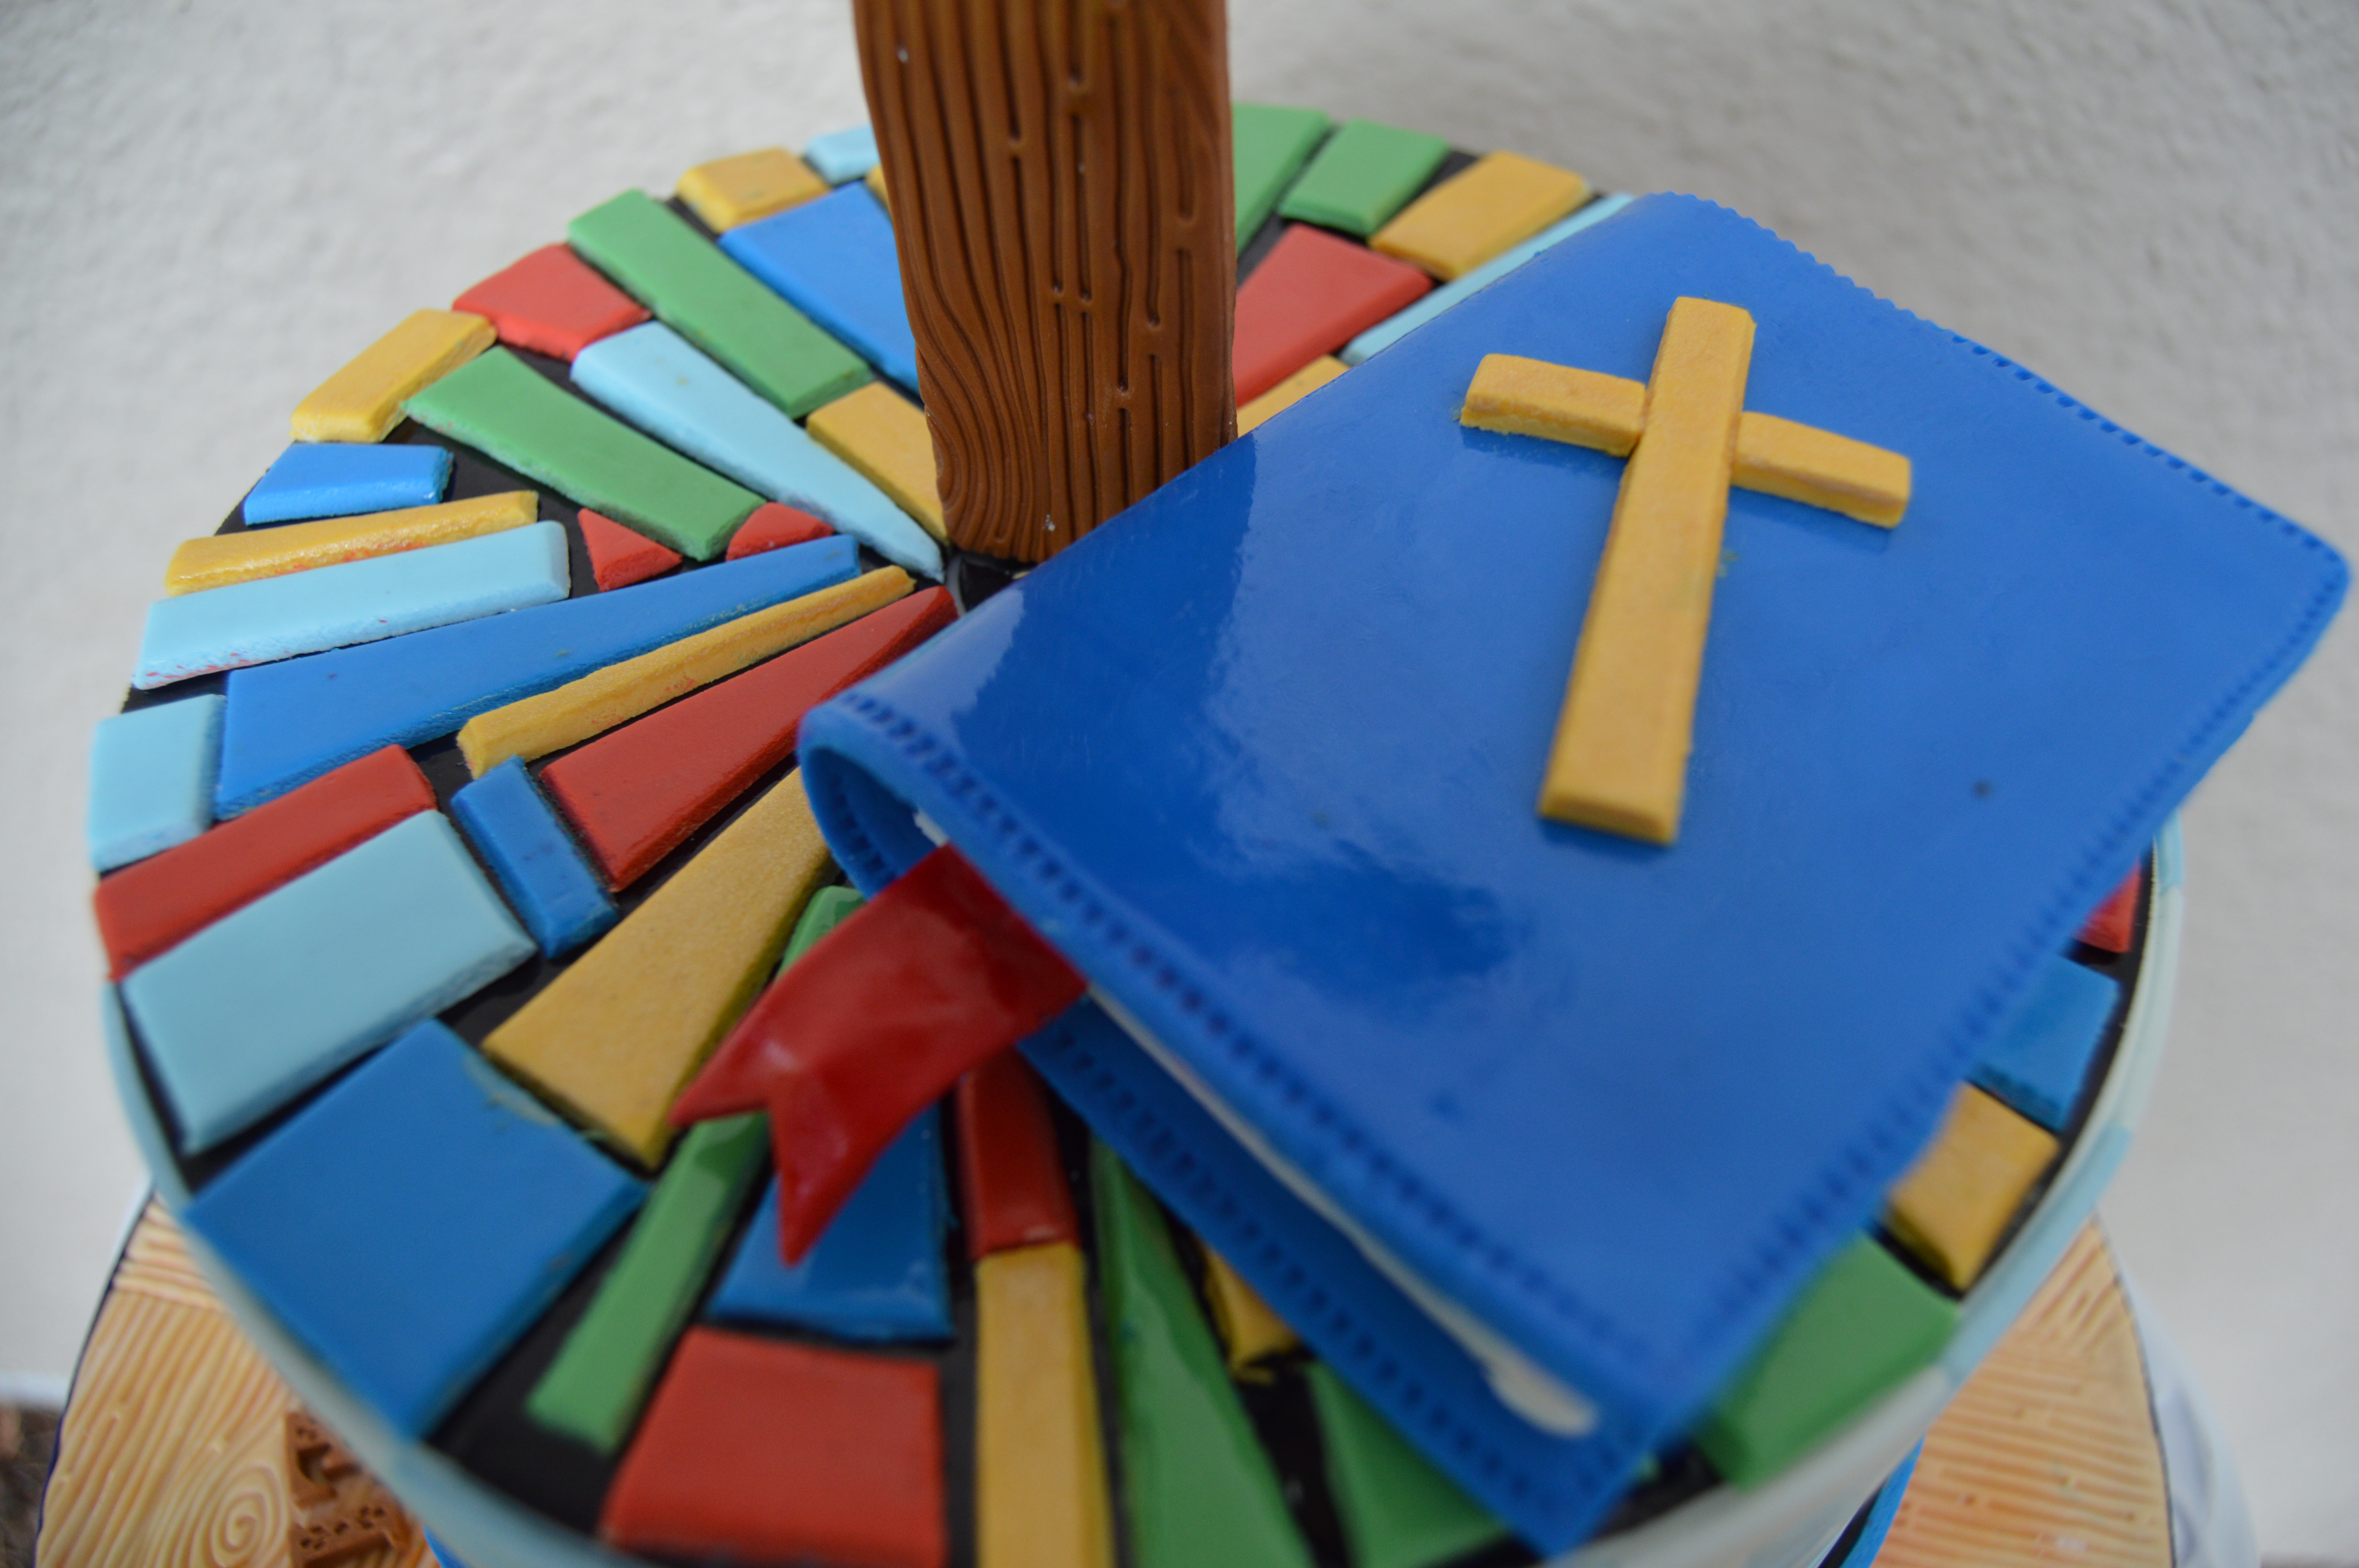
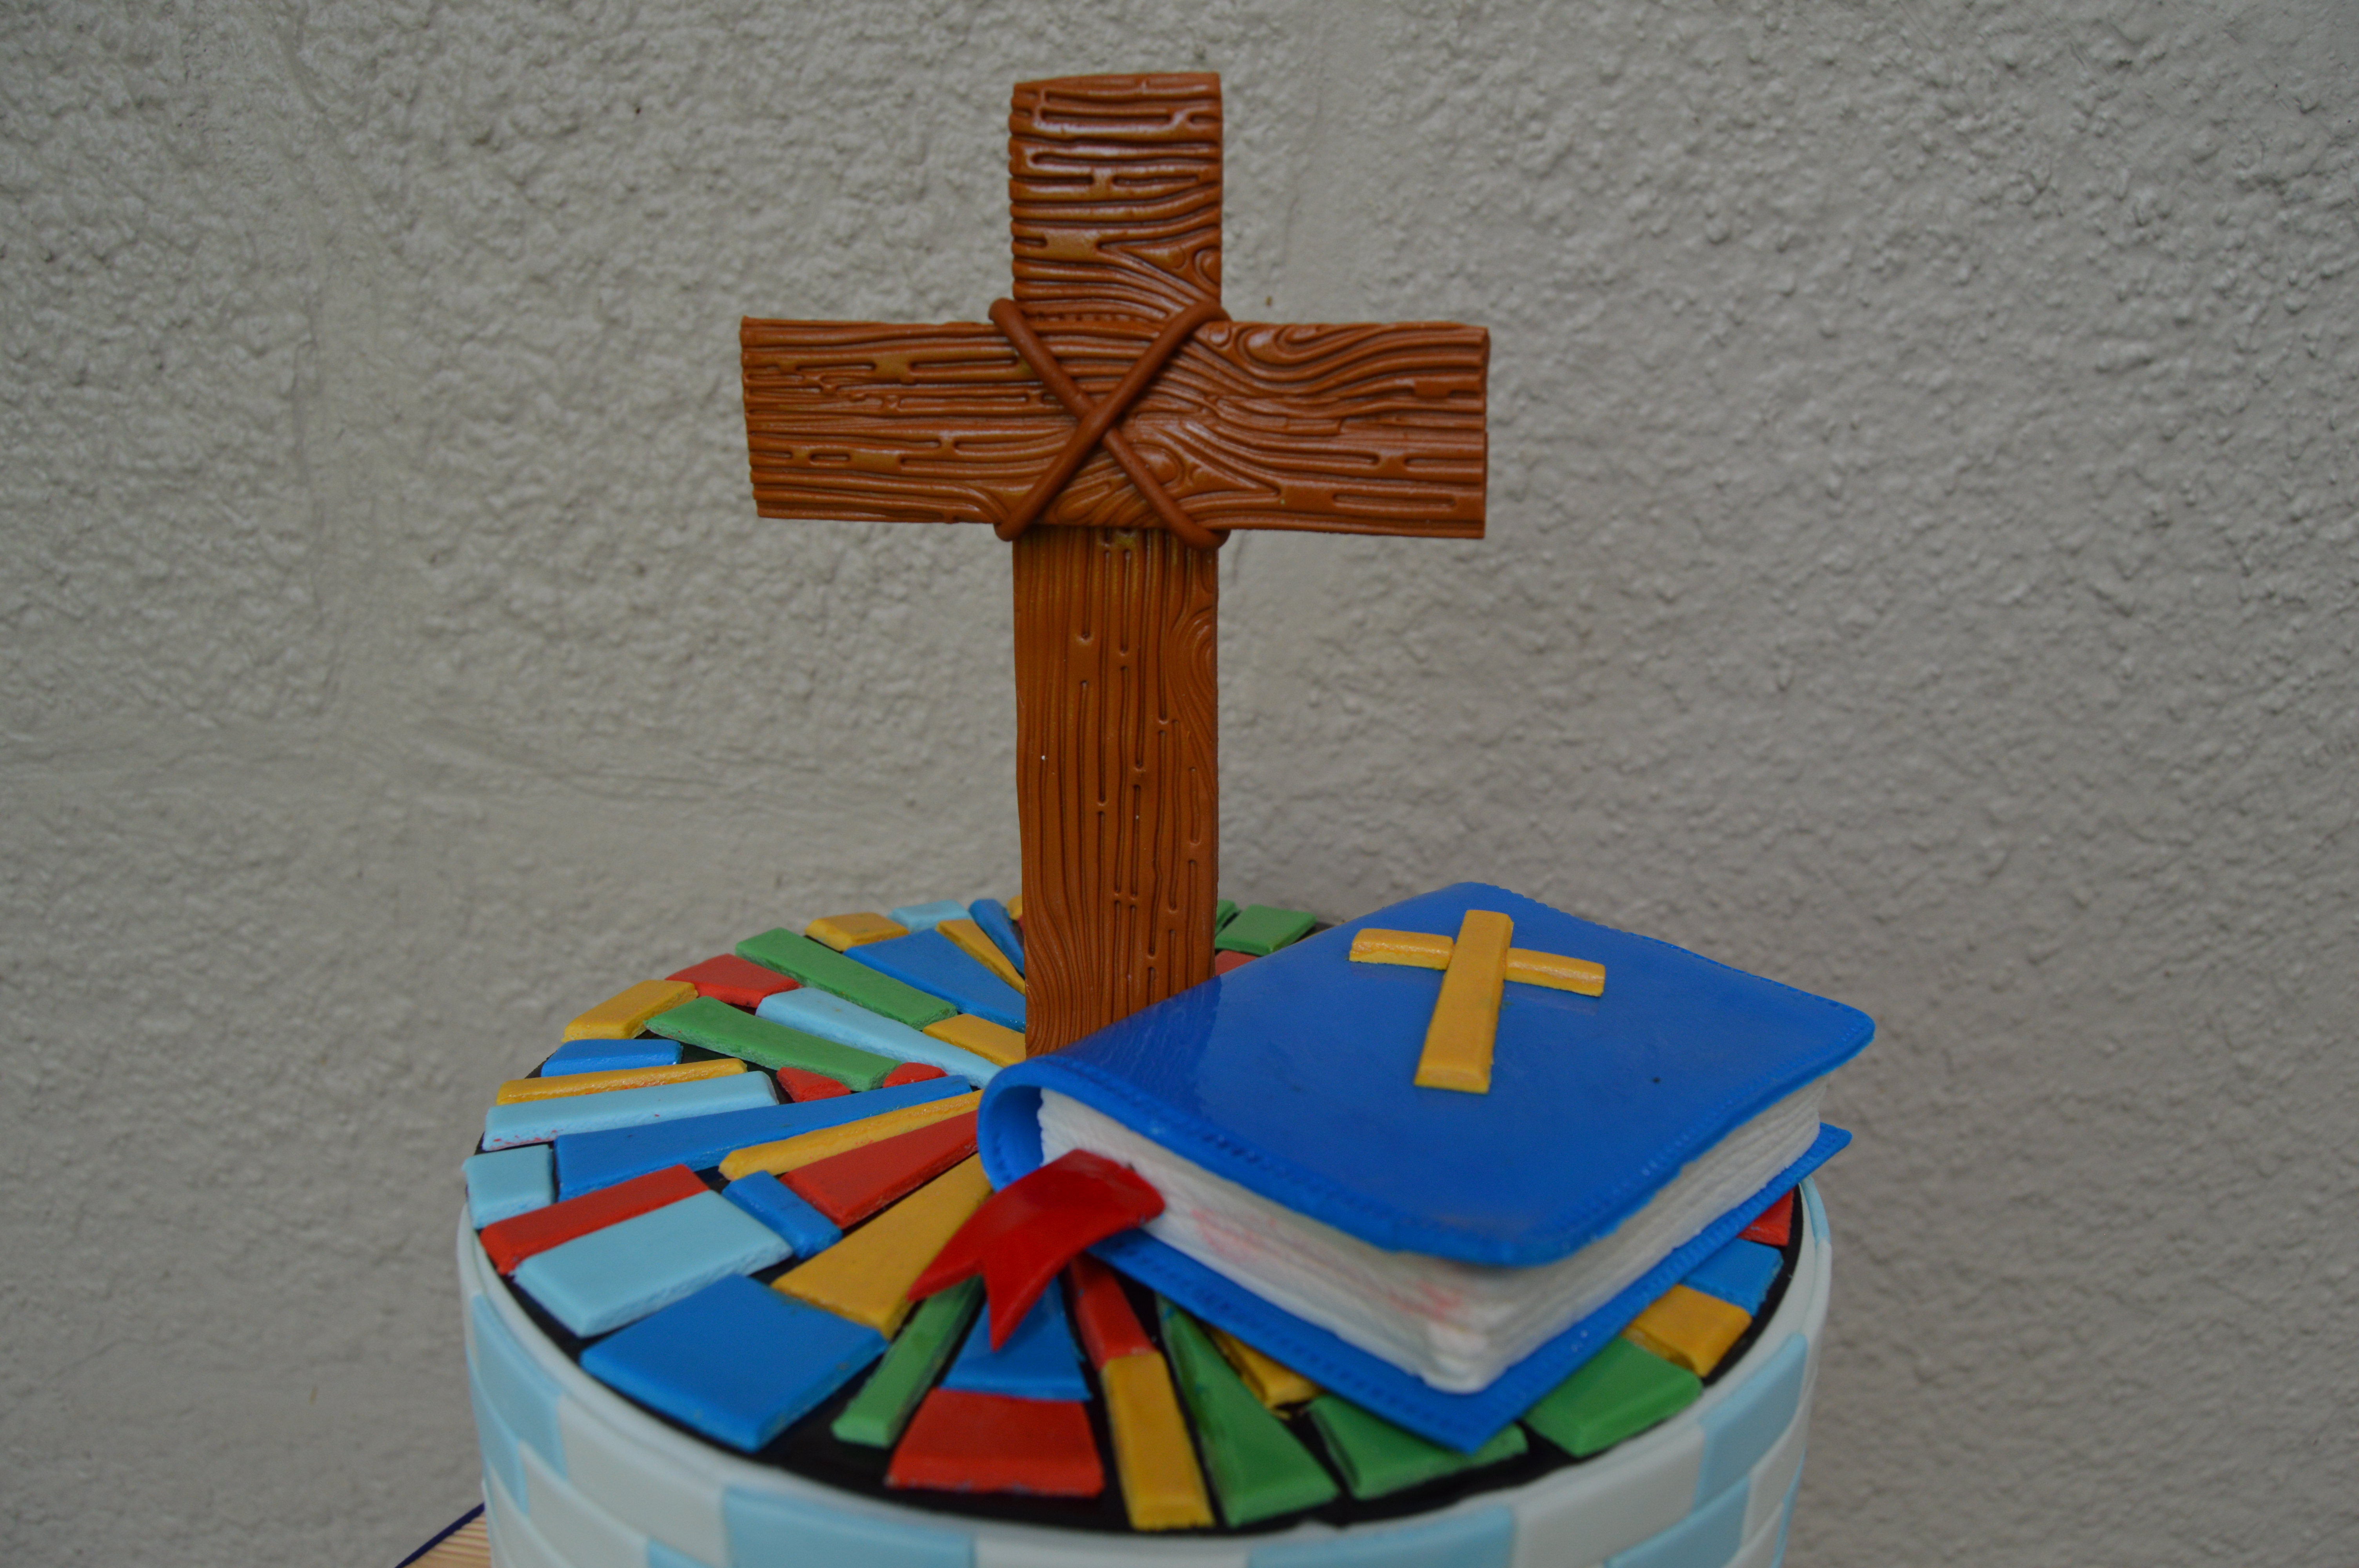
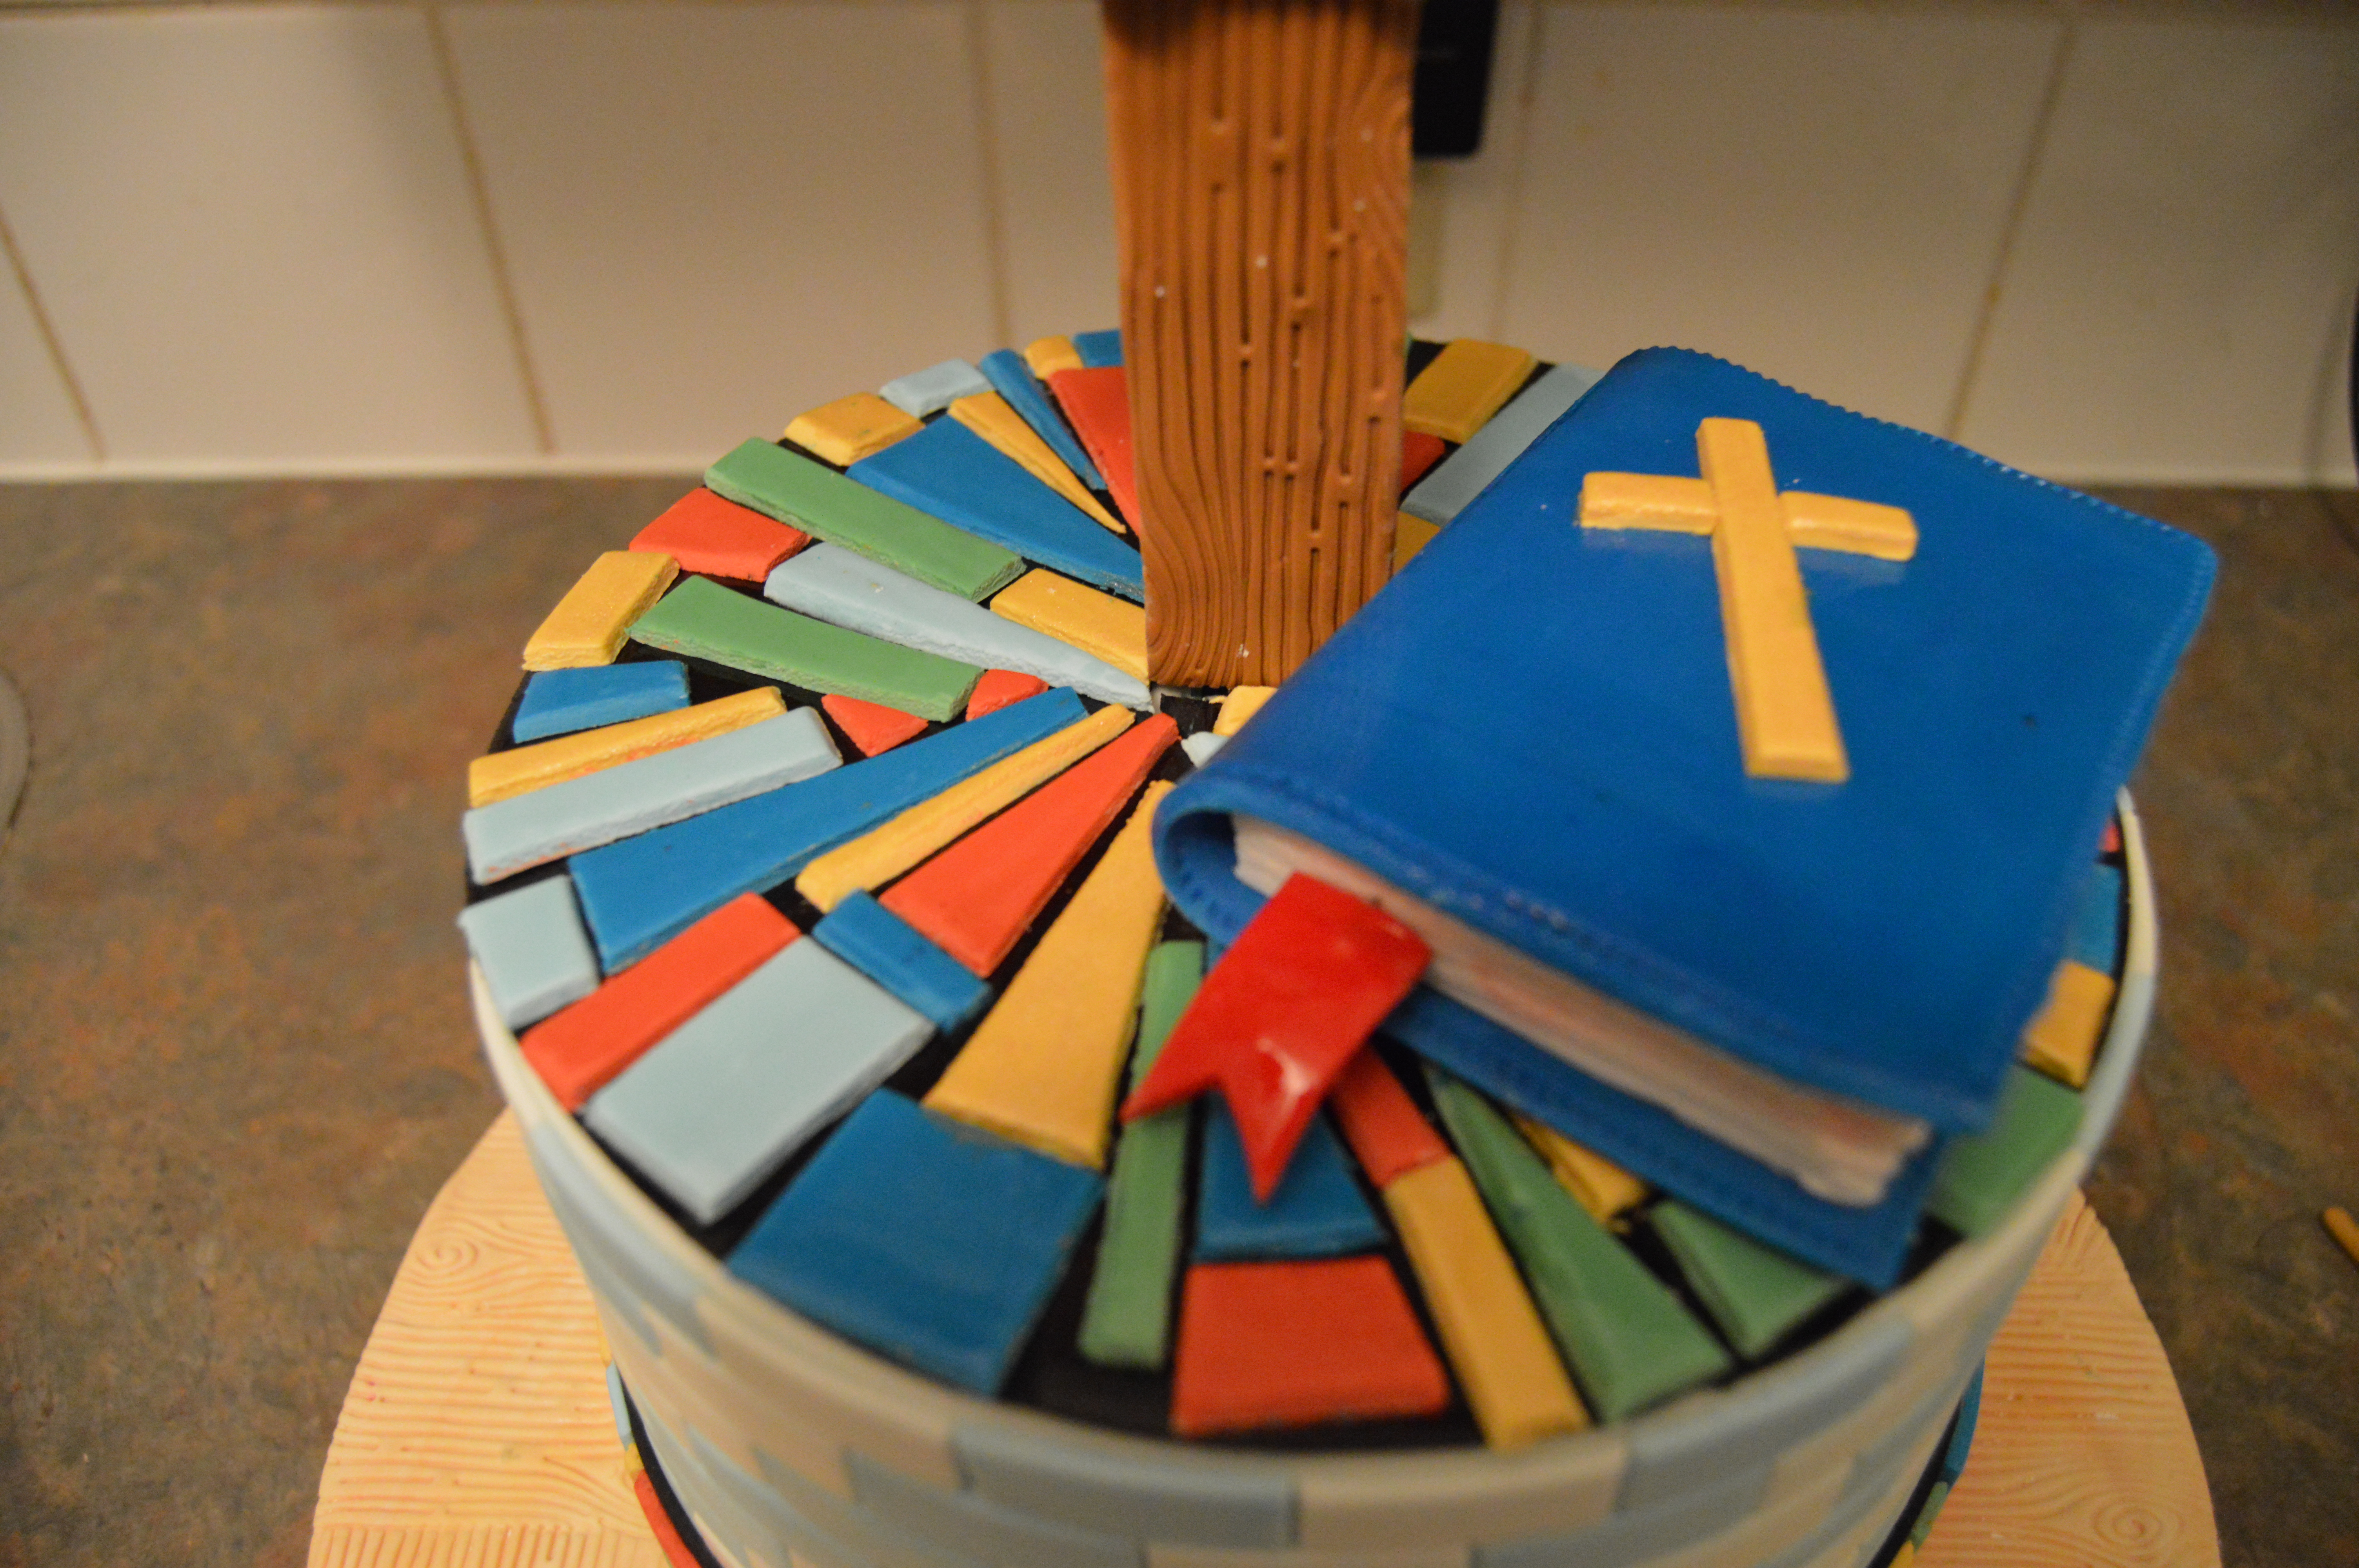
In this tutorial, I will be showing you how I made the stained glass confirmation cake above. This cake features bible and cross toppers which should be made ahead of time and left to dry. During the course of the tutorial, I will be directing you to other posts on the website for tutorials on how to make certain elements of the cake. To read more about this cake and get links to recipes used, click here.
THE PROCESS:
(1) First, make the bible and cross toppers. I have tutorials here on how to make these.
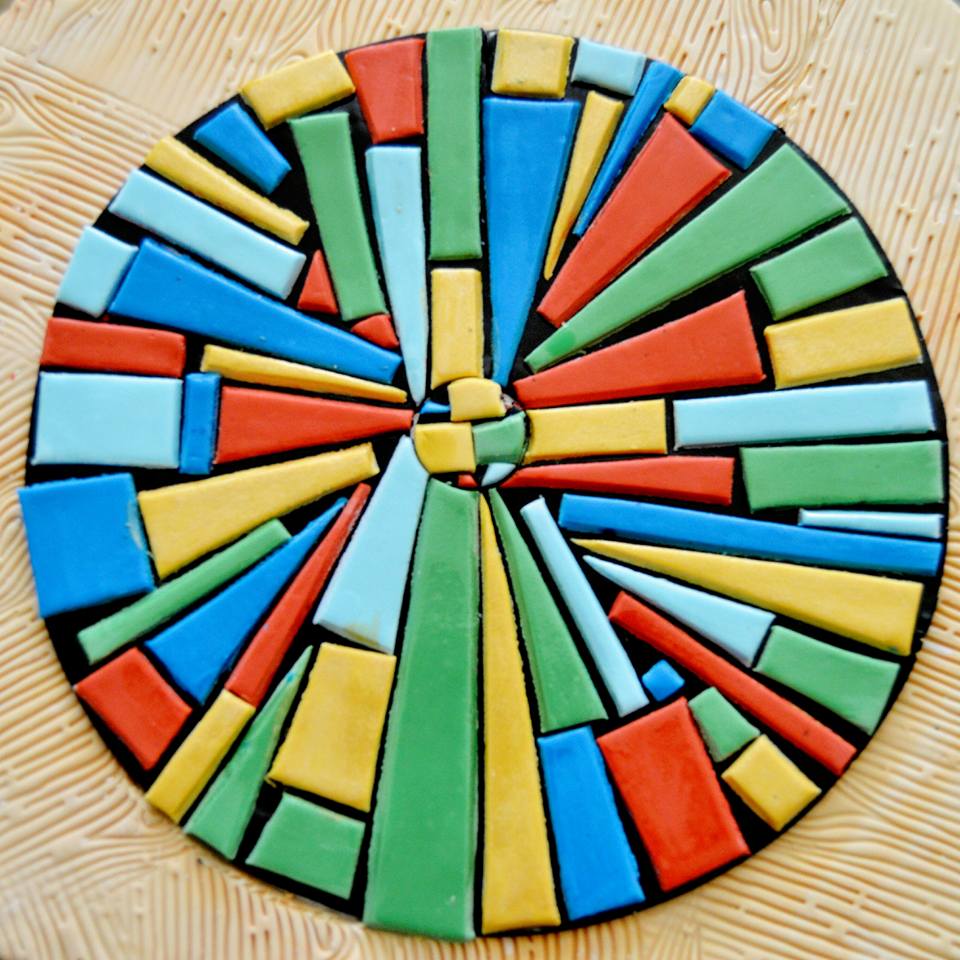
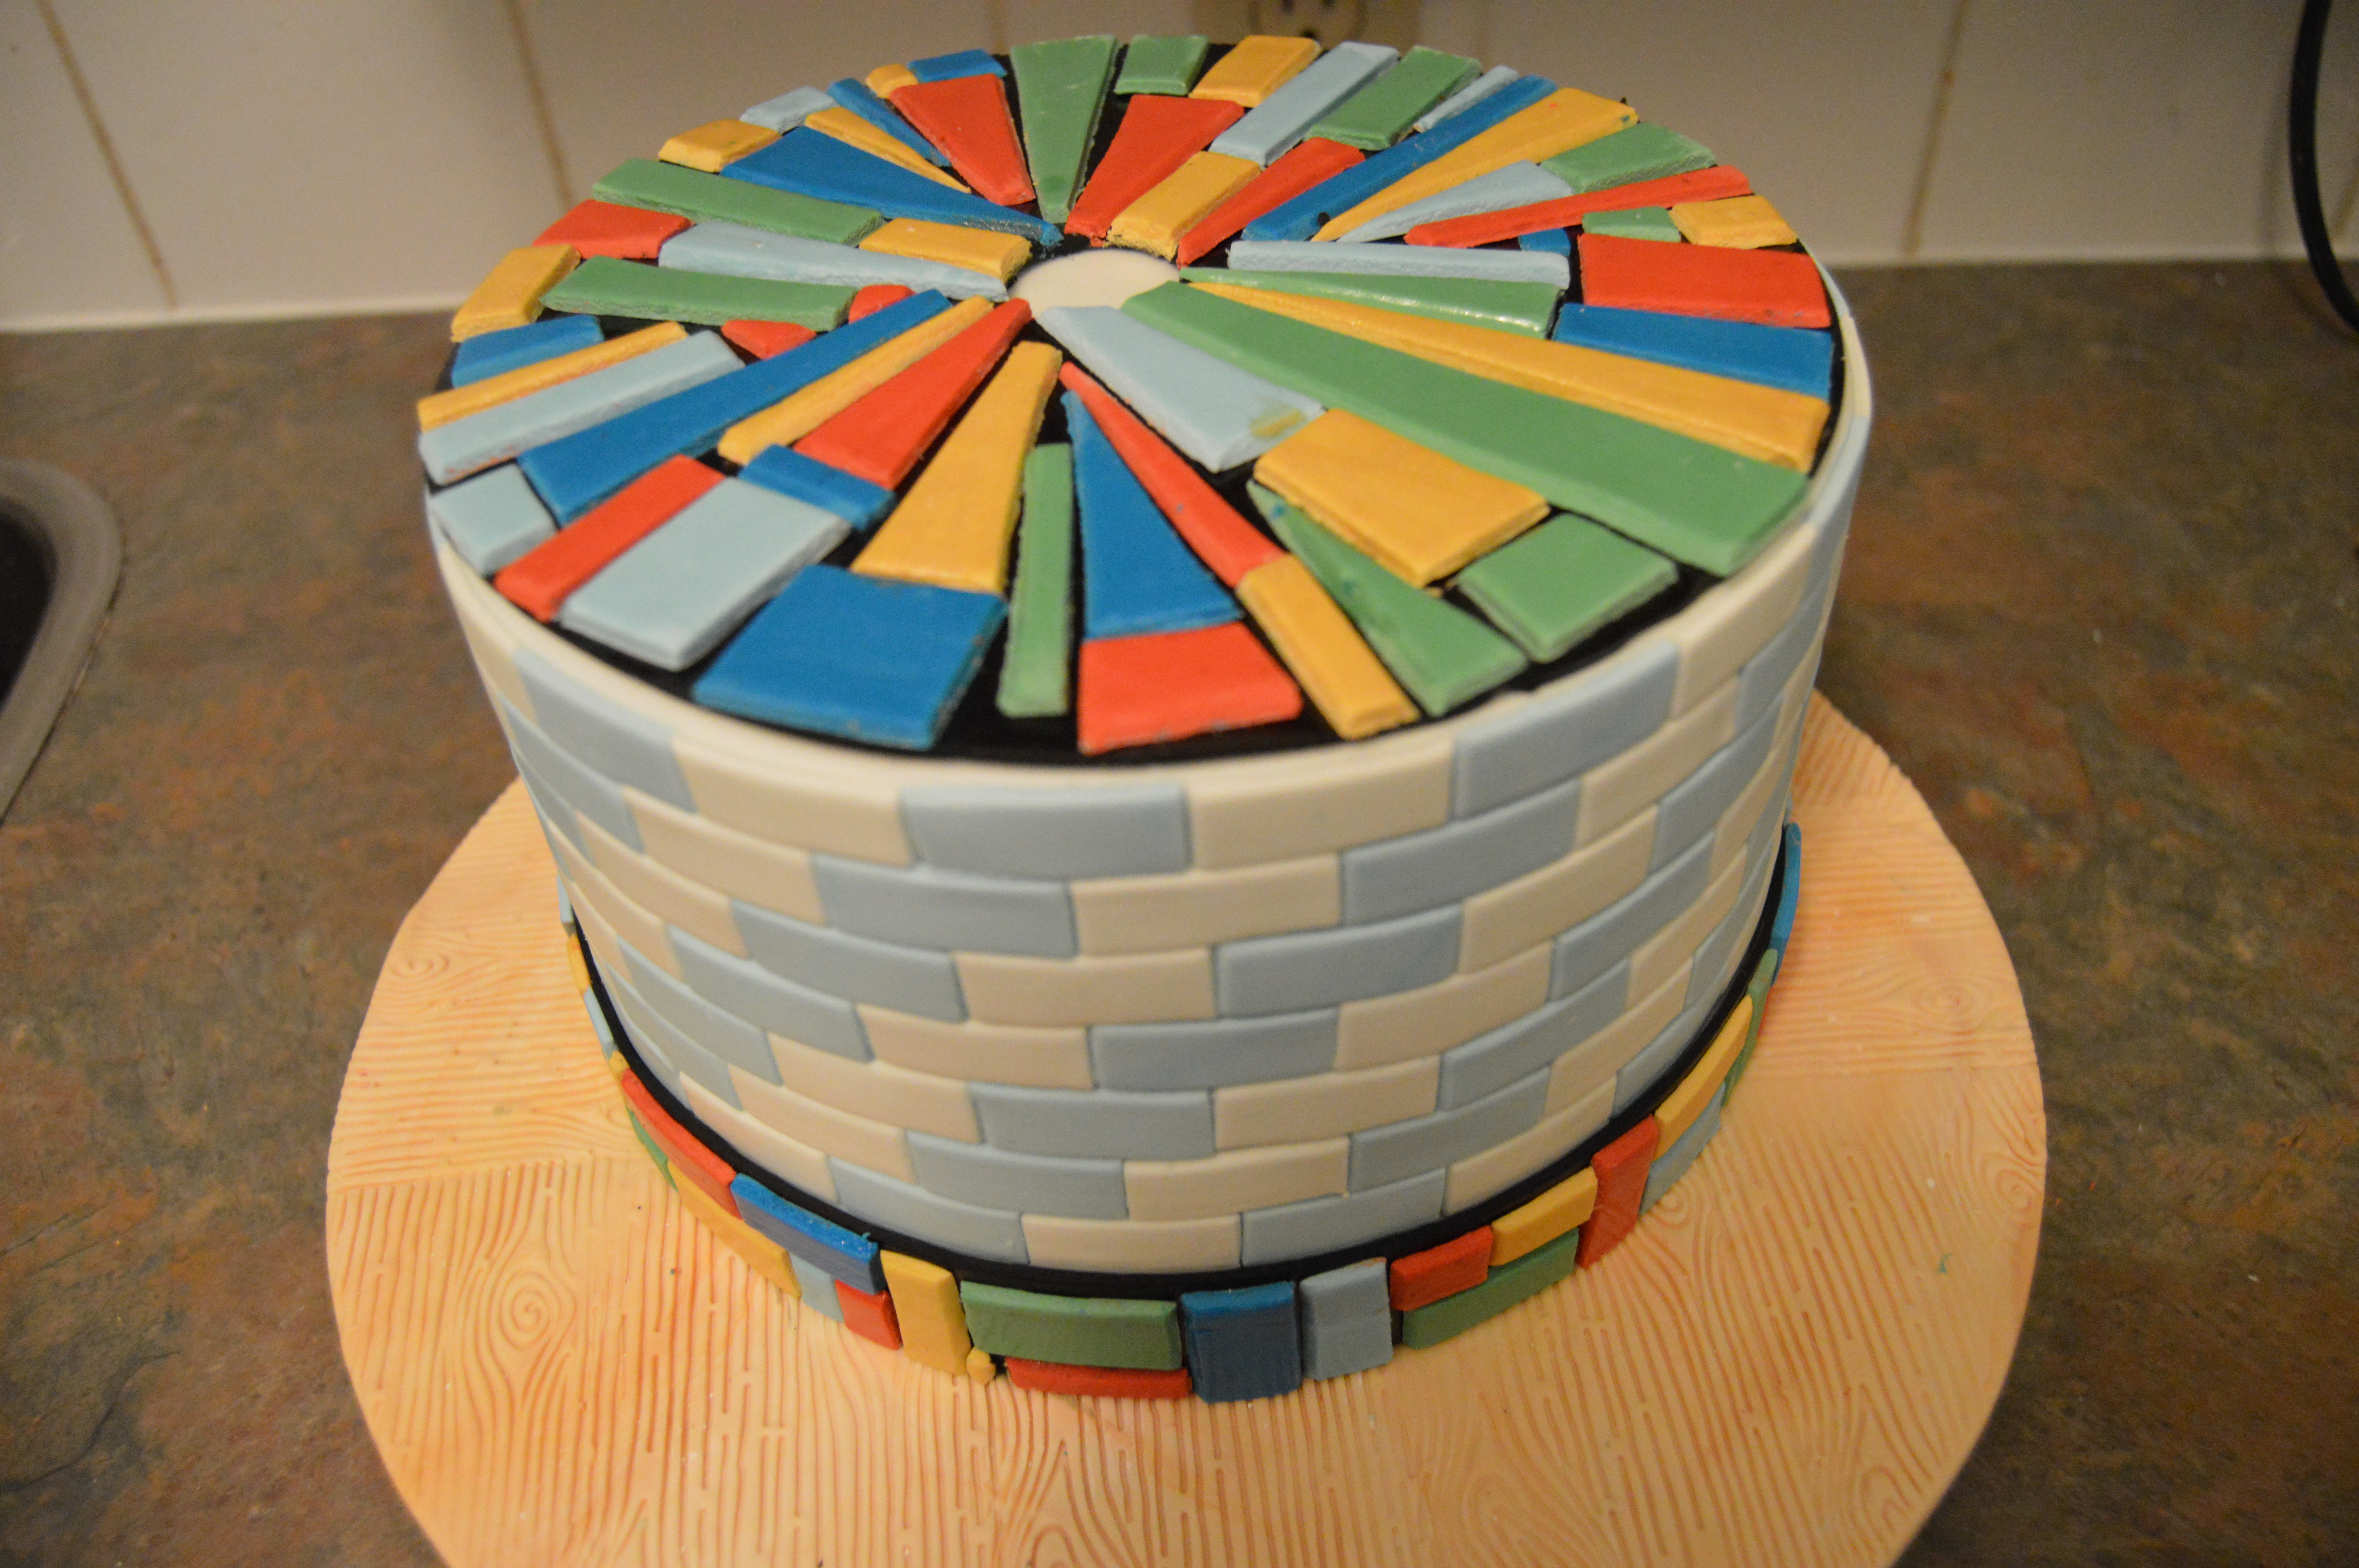
(2) Next, make the stained glass topper. Now, you have an option of making this topper directly on the decorated cake or prior to decorating the cake. Which ever option you choose, this tutorial will guide you.
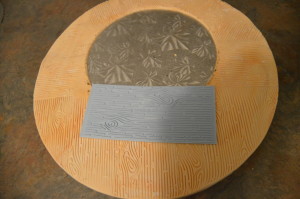
(3) Cover the cake board with ivory fondant and press a wood grain mold into the fondant.
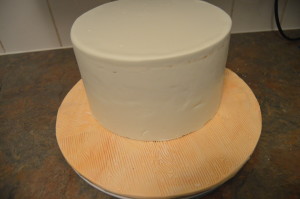
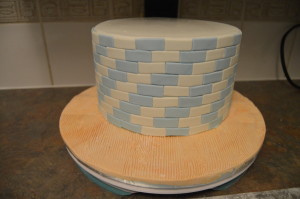
(4) Next, cover the cake with white fondant (Really, any color of fondant would do) and stick it to the cake board. Be sure to leave enough space for the message in front of the cake board.
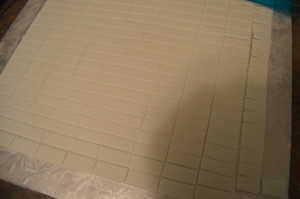
(5) Roll out white and sky blue fondant and cut them into rectangles. It is best to leave the rolled out fondant to dry a bit before cutting out the rectangles. This would give you cleaner and sharper edges. Use a ruler and pizza wheel/x-acto knife when cutting out the rectangles for accuracy. The rectangles sides measure 1 x .5 inches.
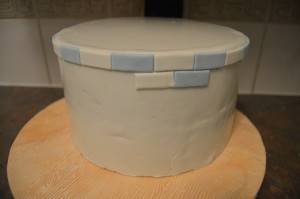
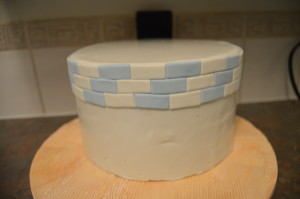
(6) Brush the sides of the cake with a bit of water and stick the rectangles to the cake creating the patterns. Starting from the top of the cake and working your way down, each rectangle should be placed in the middle of the rectangle above it and the colors should be alternated.
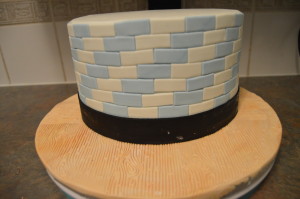
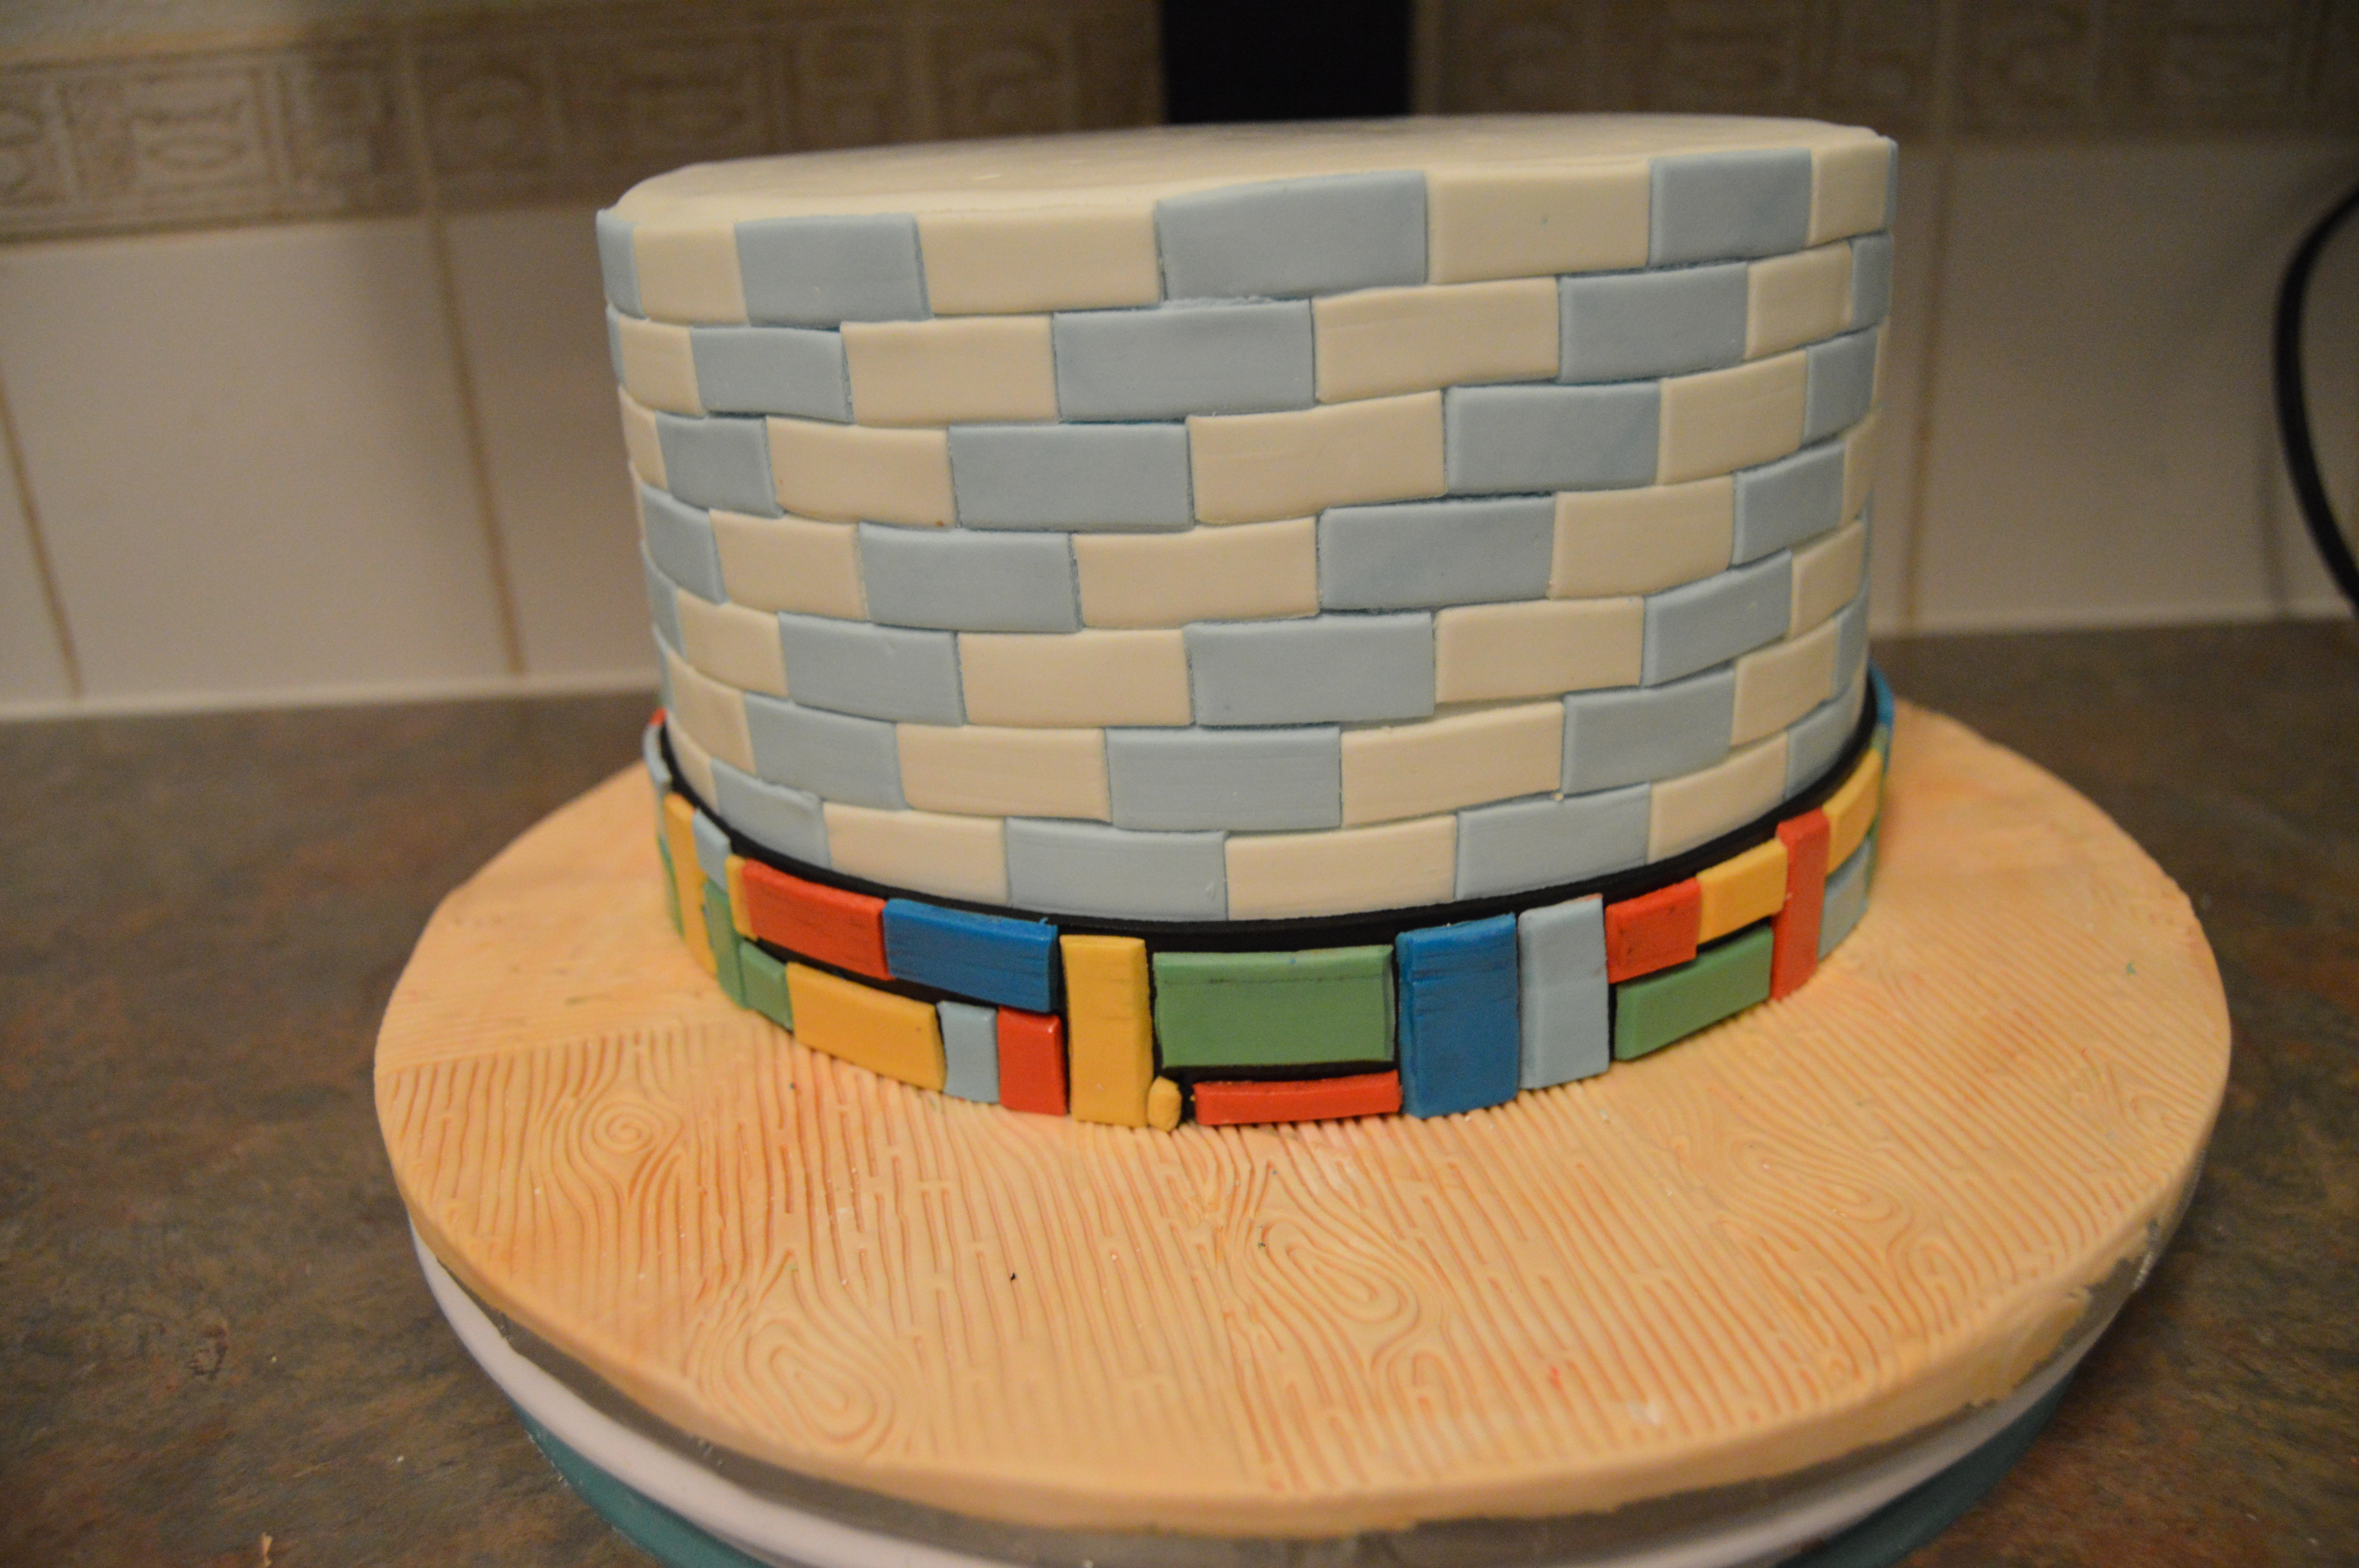
(7) When you are done sticking the rectangles to the cake, cut out a thick strip of black fondant and wrap the base of the cake with it. Create the stained glass effect on the base as directed in the tutorial.
(8) Transfer the stained glass topper to the top of the cake or create it on top of the cake, whichever you prefer.
(9) Place the toppers on the cake.
(10) Finish the cake by writing the message on the cake board. I used a letter mold for the message. That’s all there is to it. Happy caking!
Terry Adido is passionate about showing people how easy it is to recreate restaurant quality meals in the comfort of their kitchens. With a style of cooking he refers to as Afro-European Fusion, his meals are influenced greatly by French and Italian Cuisine with a West African twist. If you love good food, you are in for the ride of your life.
kissssss for u my boss
Kisses right back at you.
please sir can this be used for a church harvest cake?
That would be your choice. But it fits right in.
Thks Terry u’re been a great teacher thks God bless
You are welcome Funmi.
Thks for the tutorial.
You are welcome Funmi.