
The Making of a Nigerian Luggage Cake

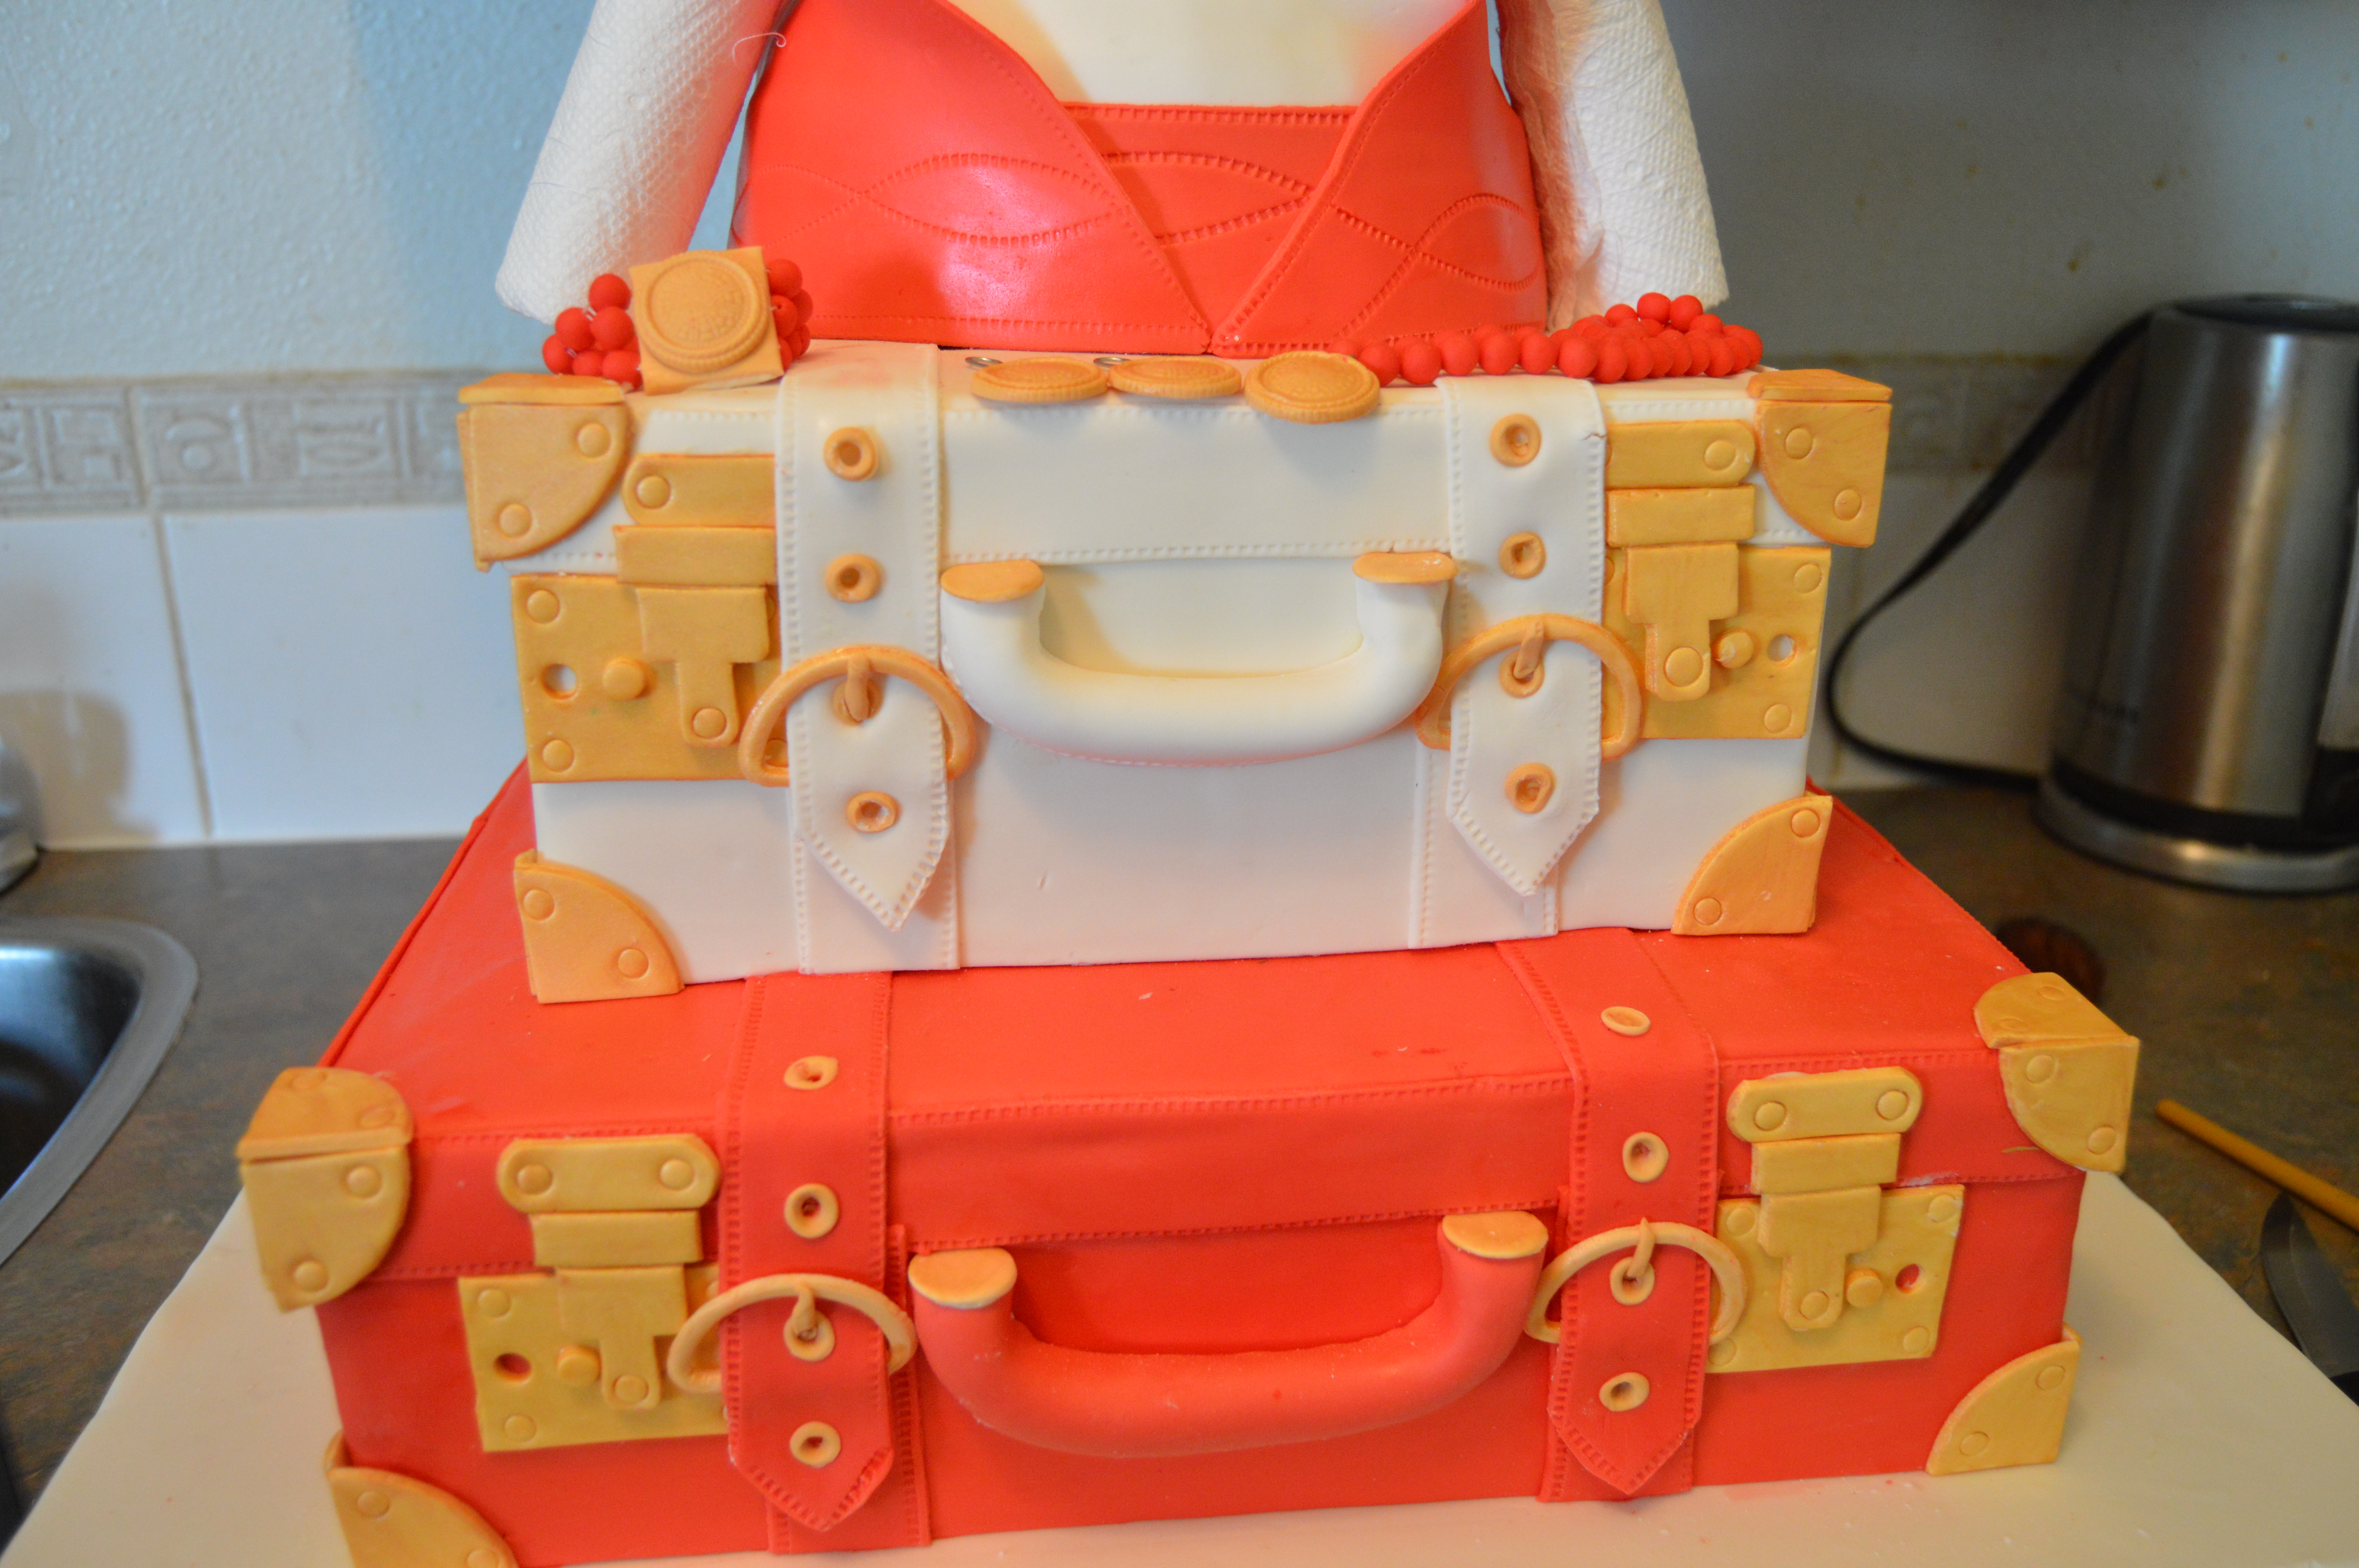
In this tutorial, I will be showing you how I made this three tier luggage cake which is often used during Nigerian traditional wedding ceremonies. This cake features a set of luggage stacked on each other and a fila (hat) on top of the luggage. The cake was made using my method of soft fondant paneling. You can read more about how to panel cakes with fondant here. To read more about this cake, get links to the recipes that were used and see other views of it, click here.
THE PROCESS:
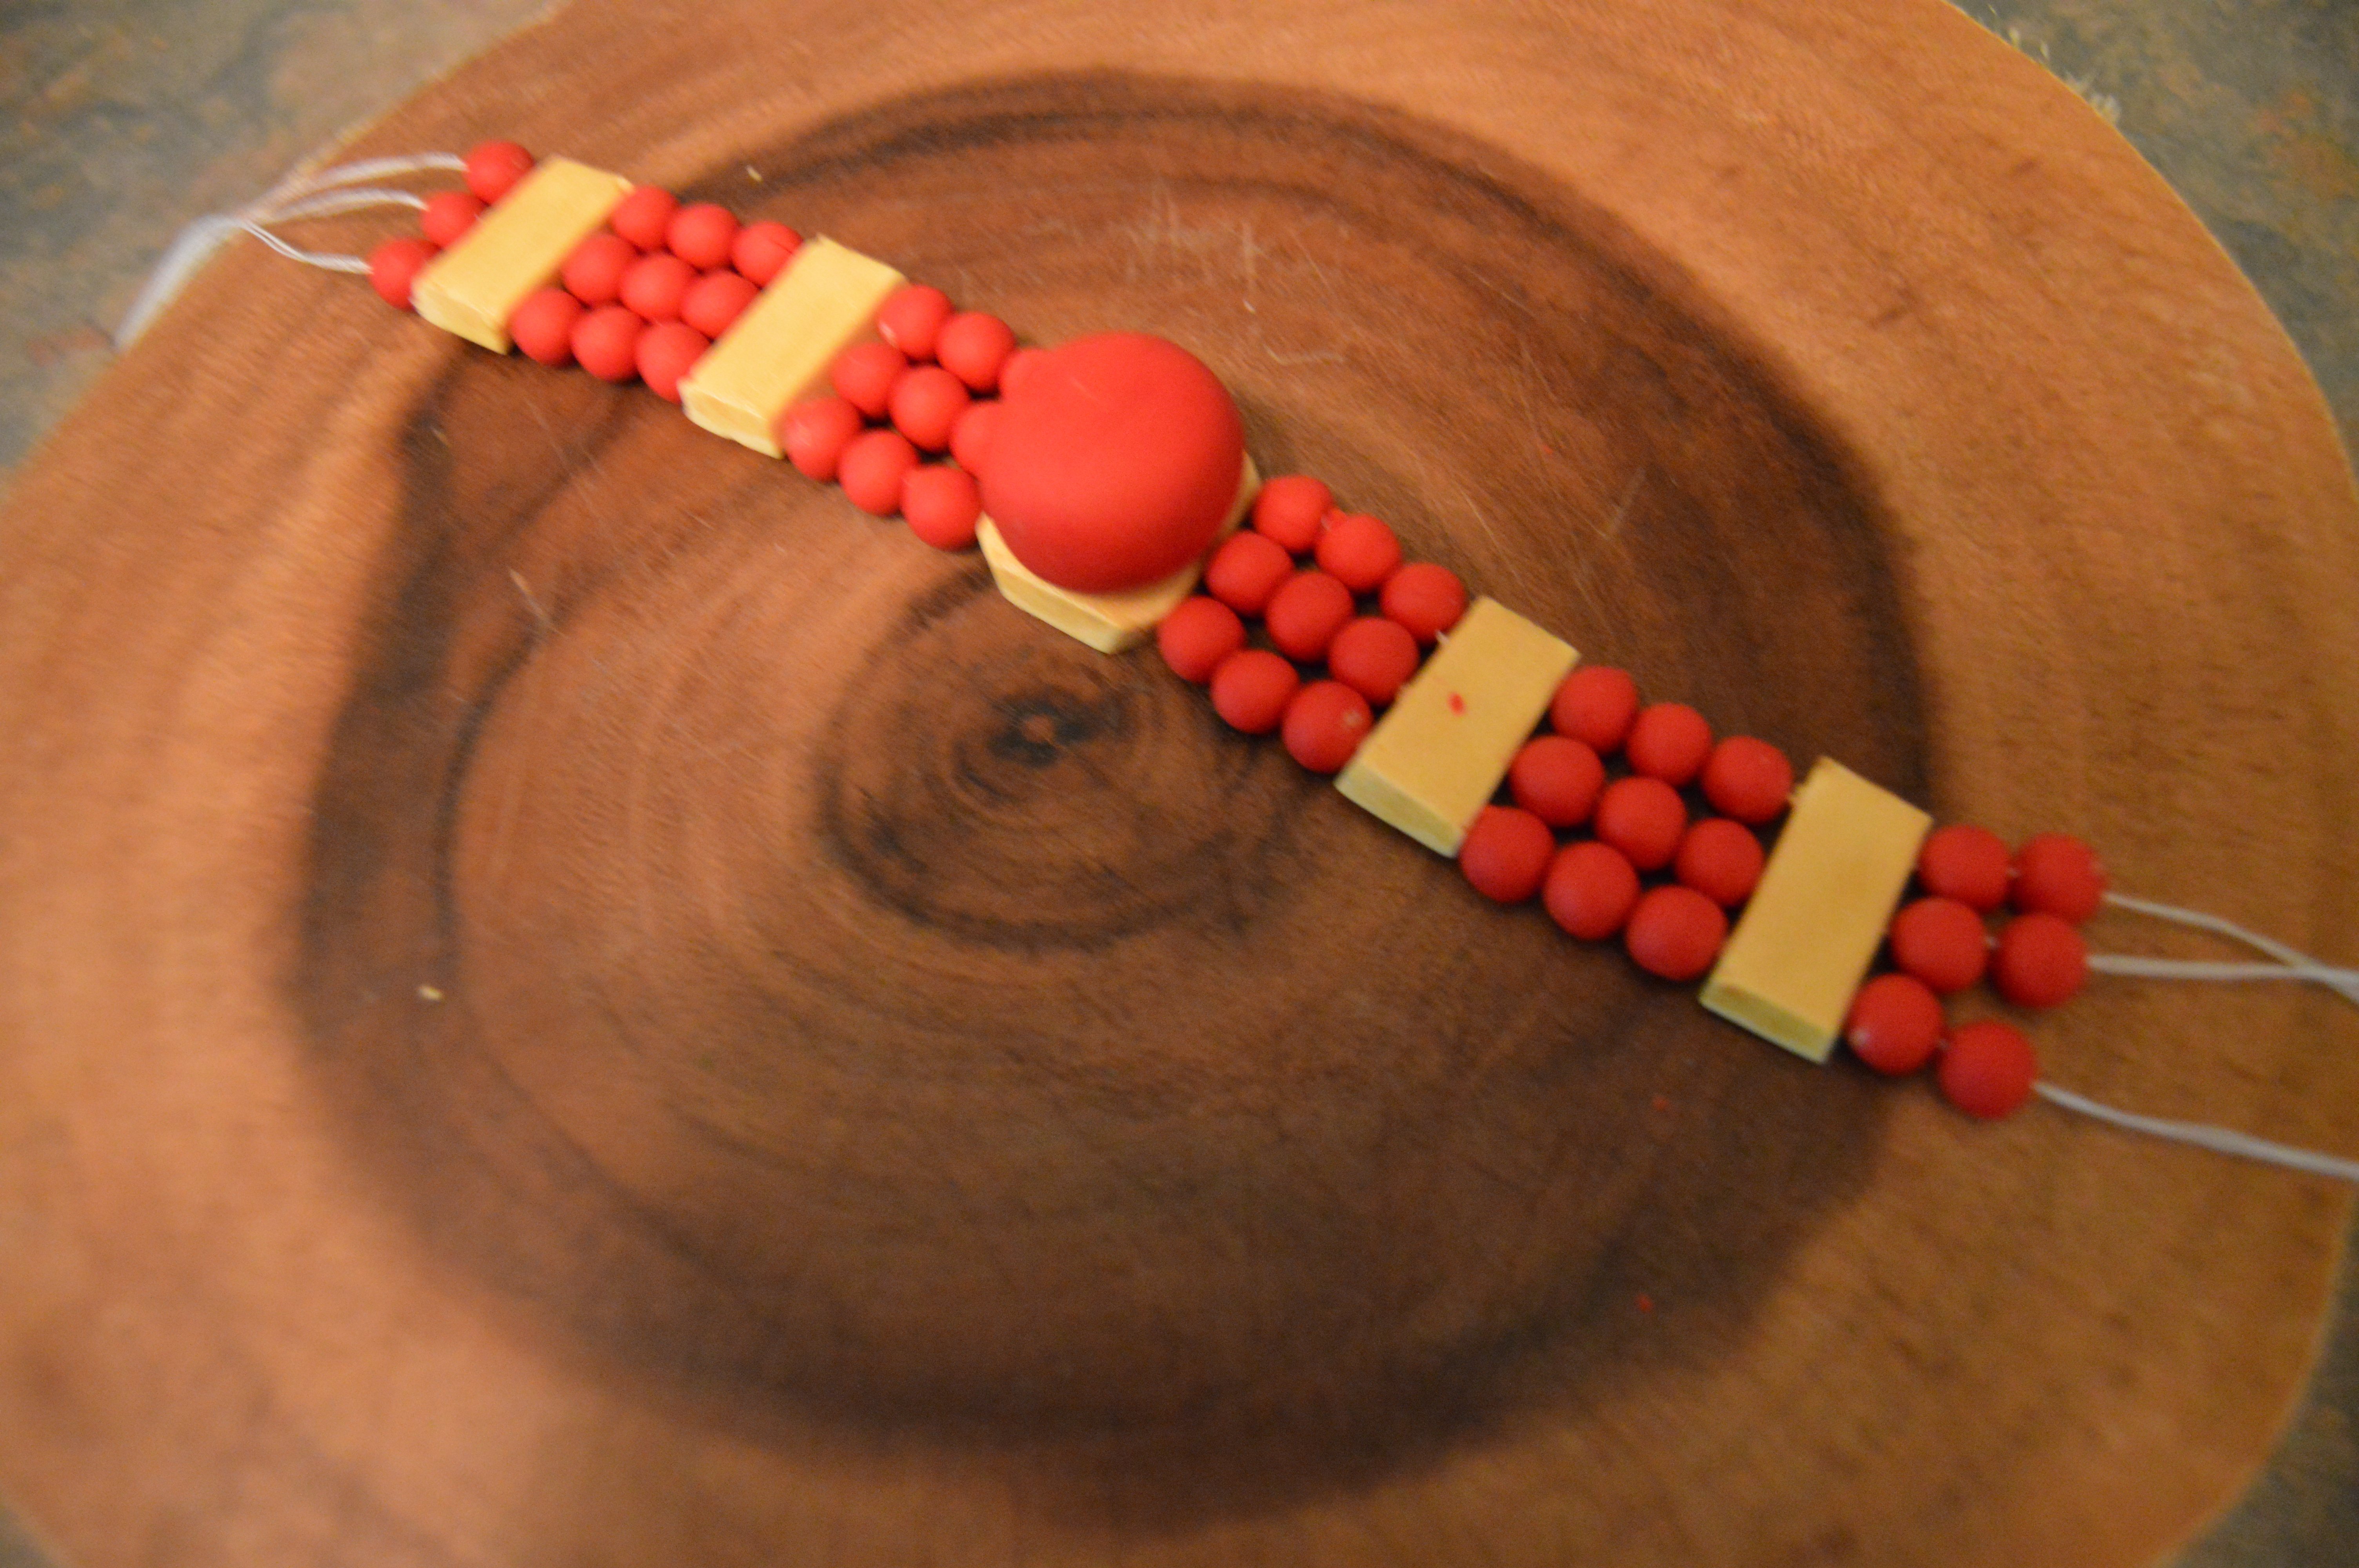
(1) The first thing you need to do is make the beaded necklace and bracelet. I have tutorials here and here on how to make these. They can be made well in advance.
(2) Next, make the luggage handles, locks, buckles and other ornaments. The locks, buckles and ornaments were made using ivory colored fondant. They were brushed with gold luster dust mixed with vodka when dry. Precision and replication is key when making these parts. To help you, take a look at a luggage and try to replicate the details on it.
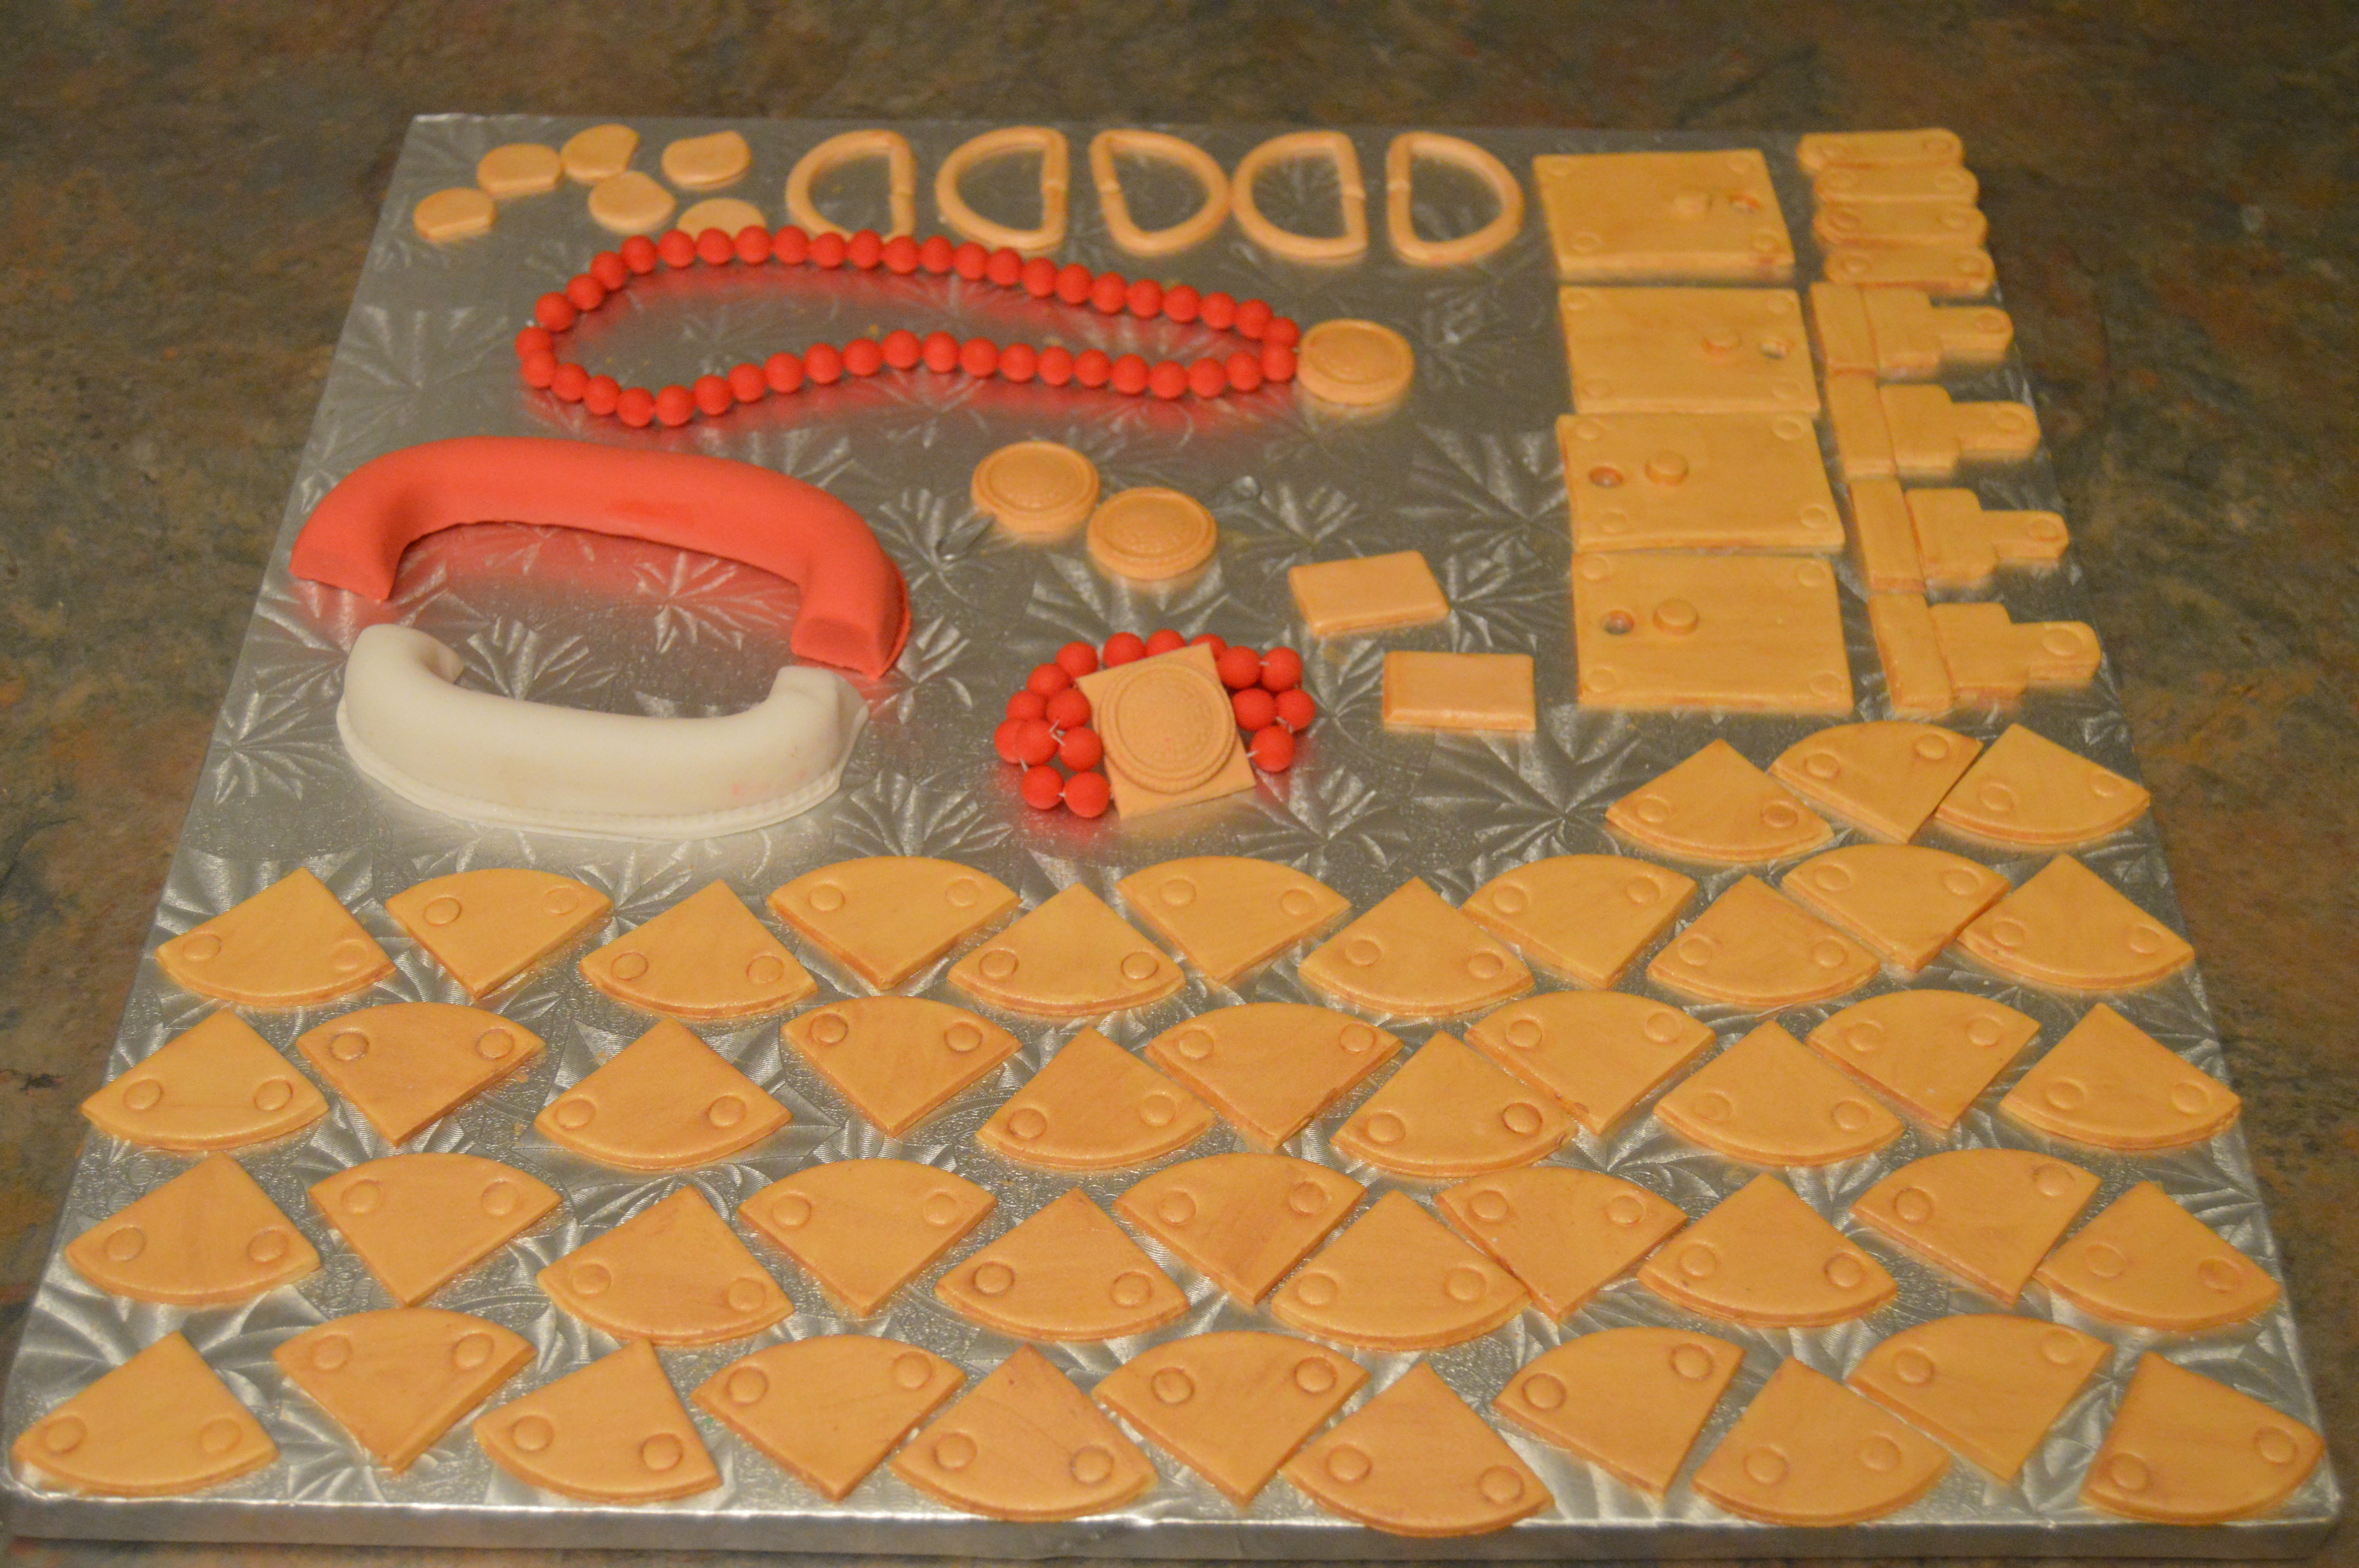
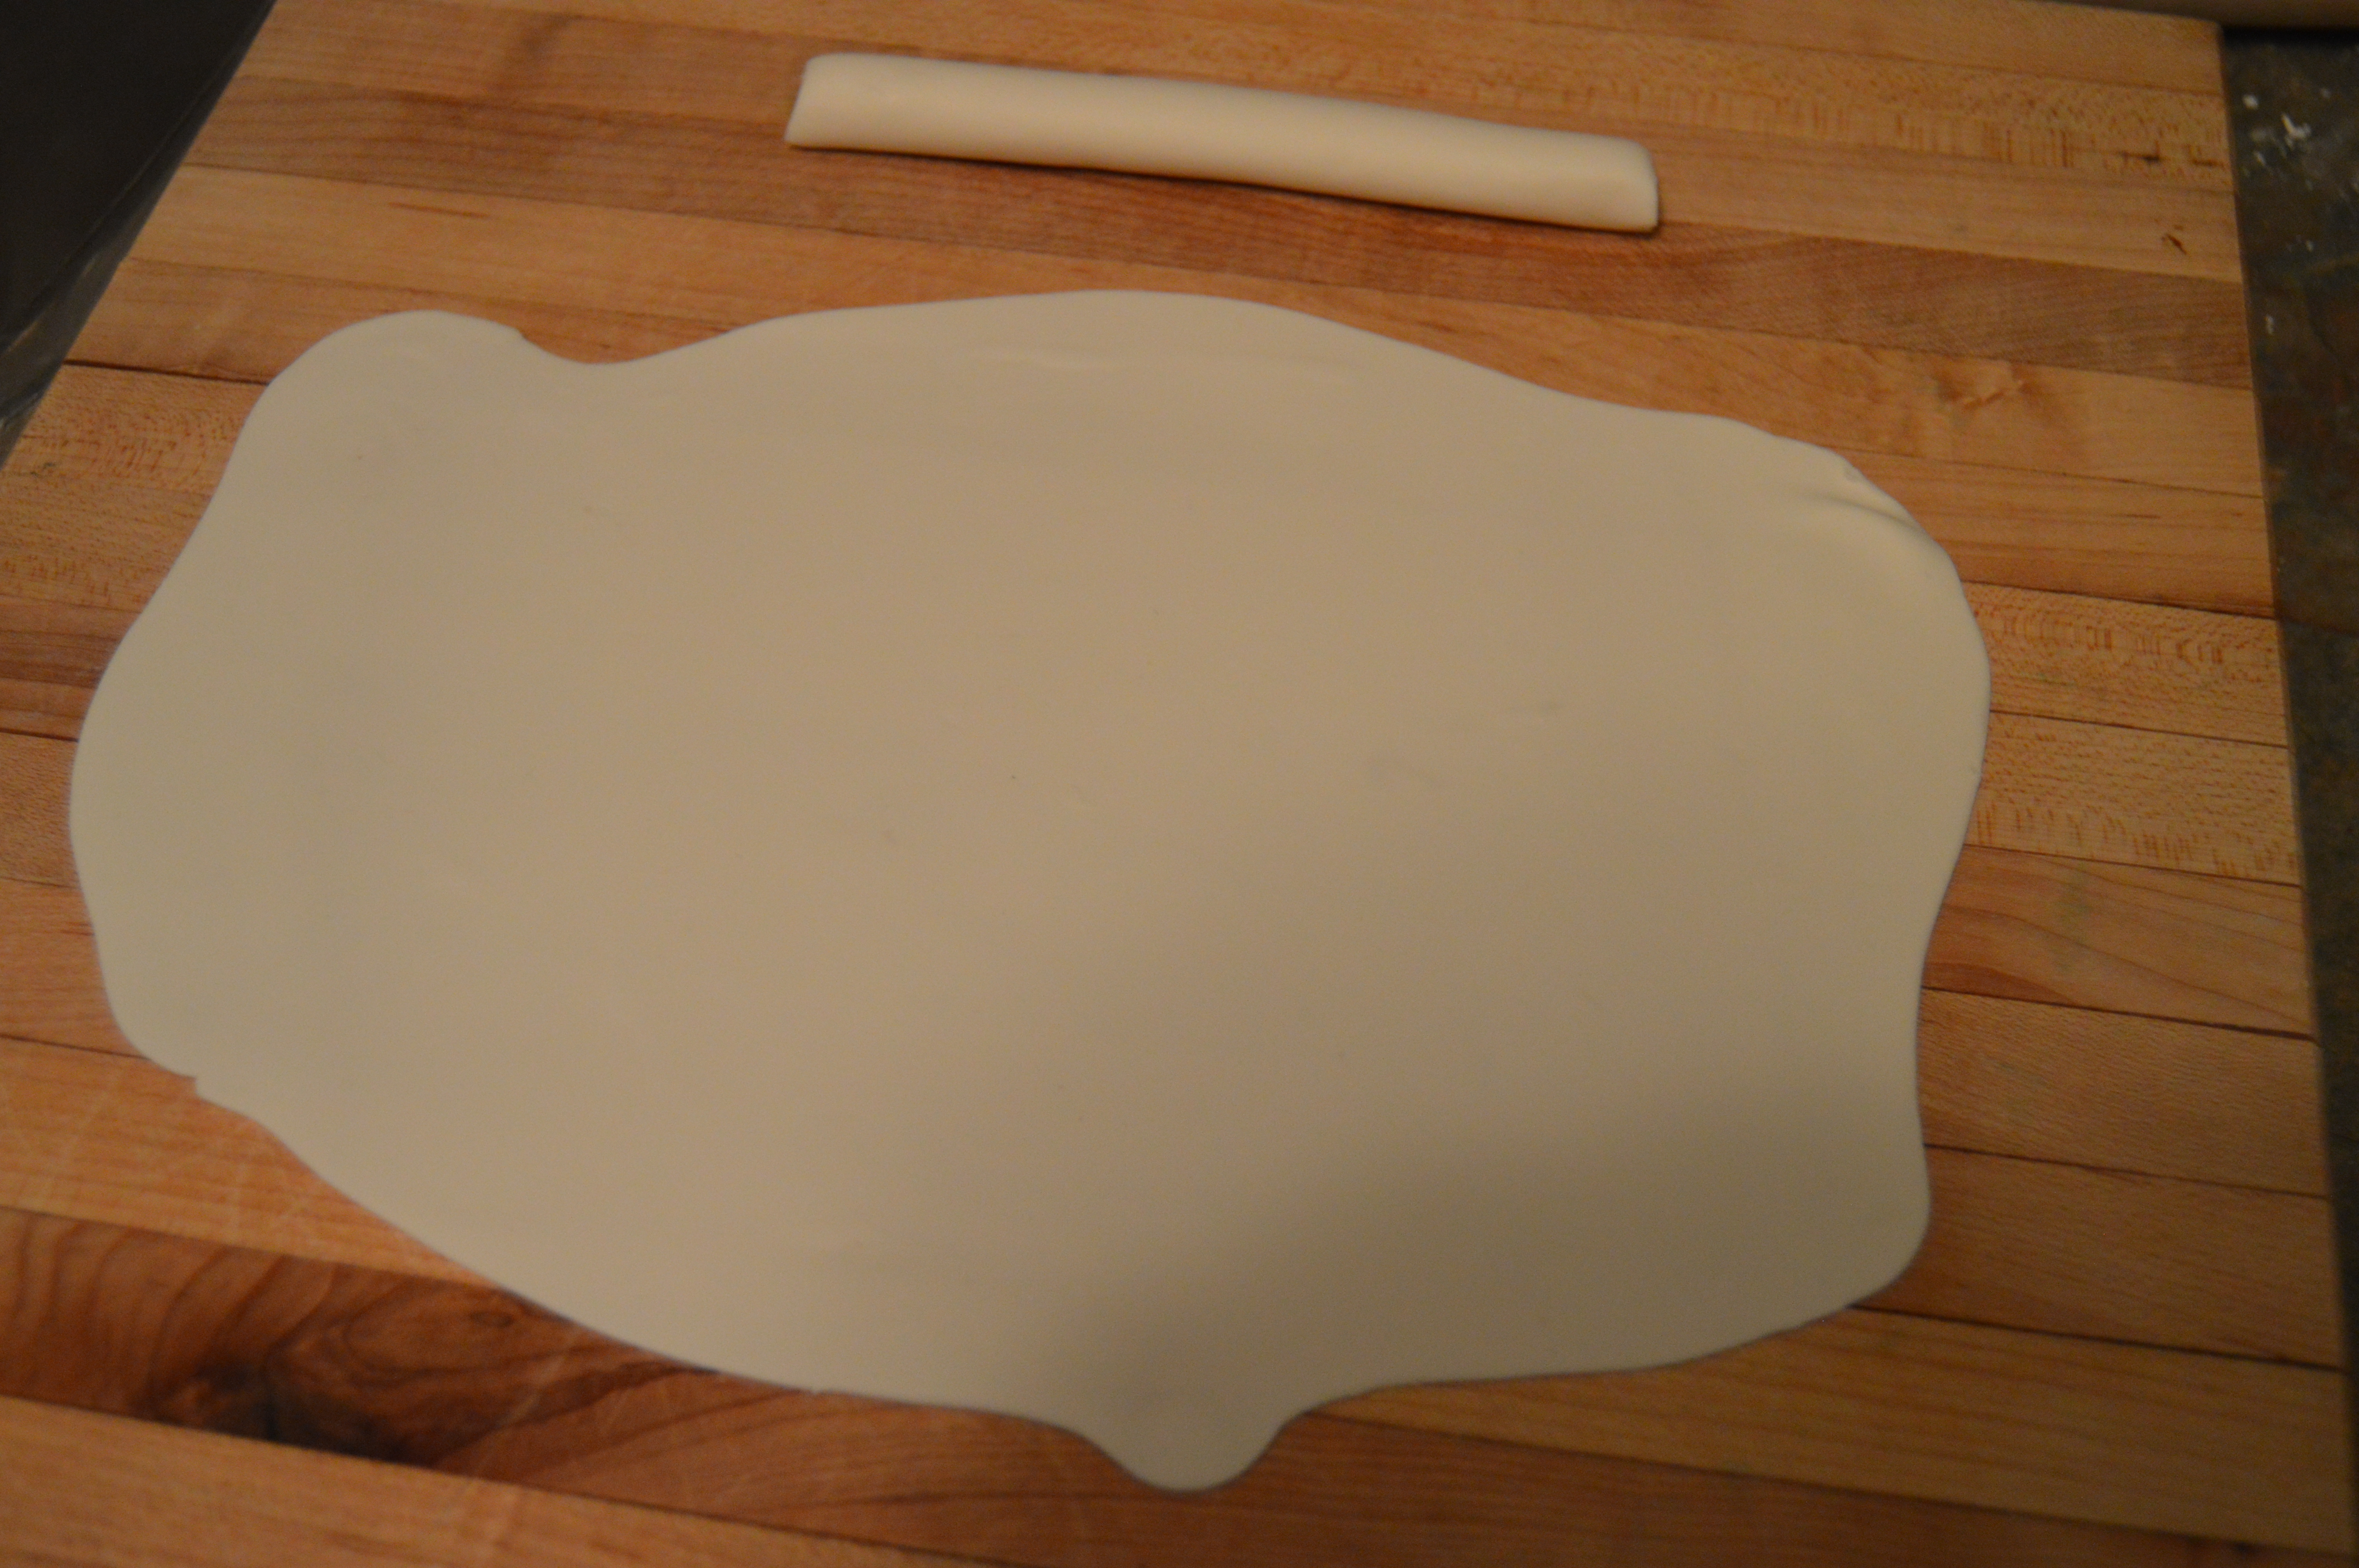
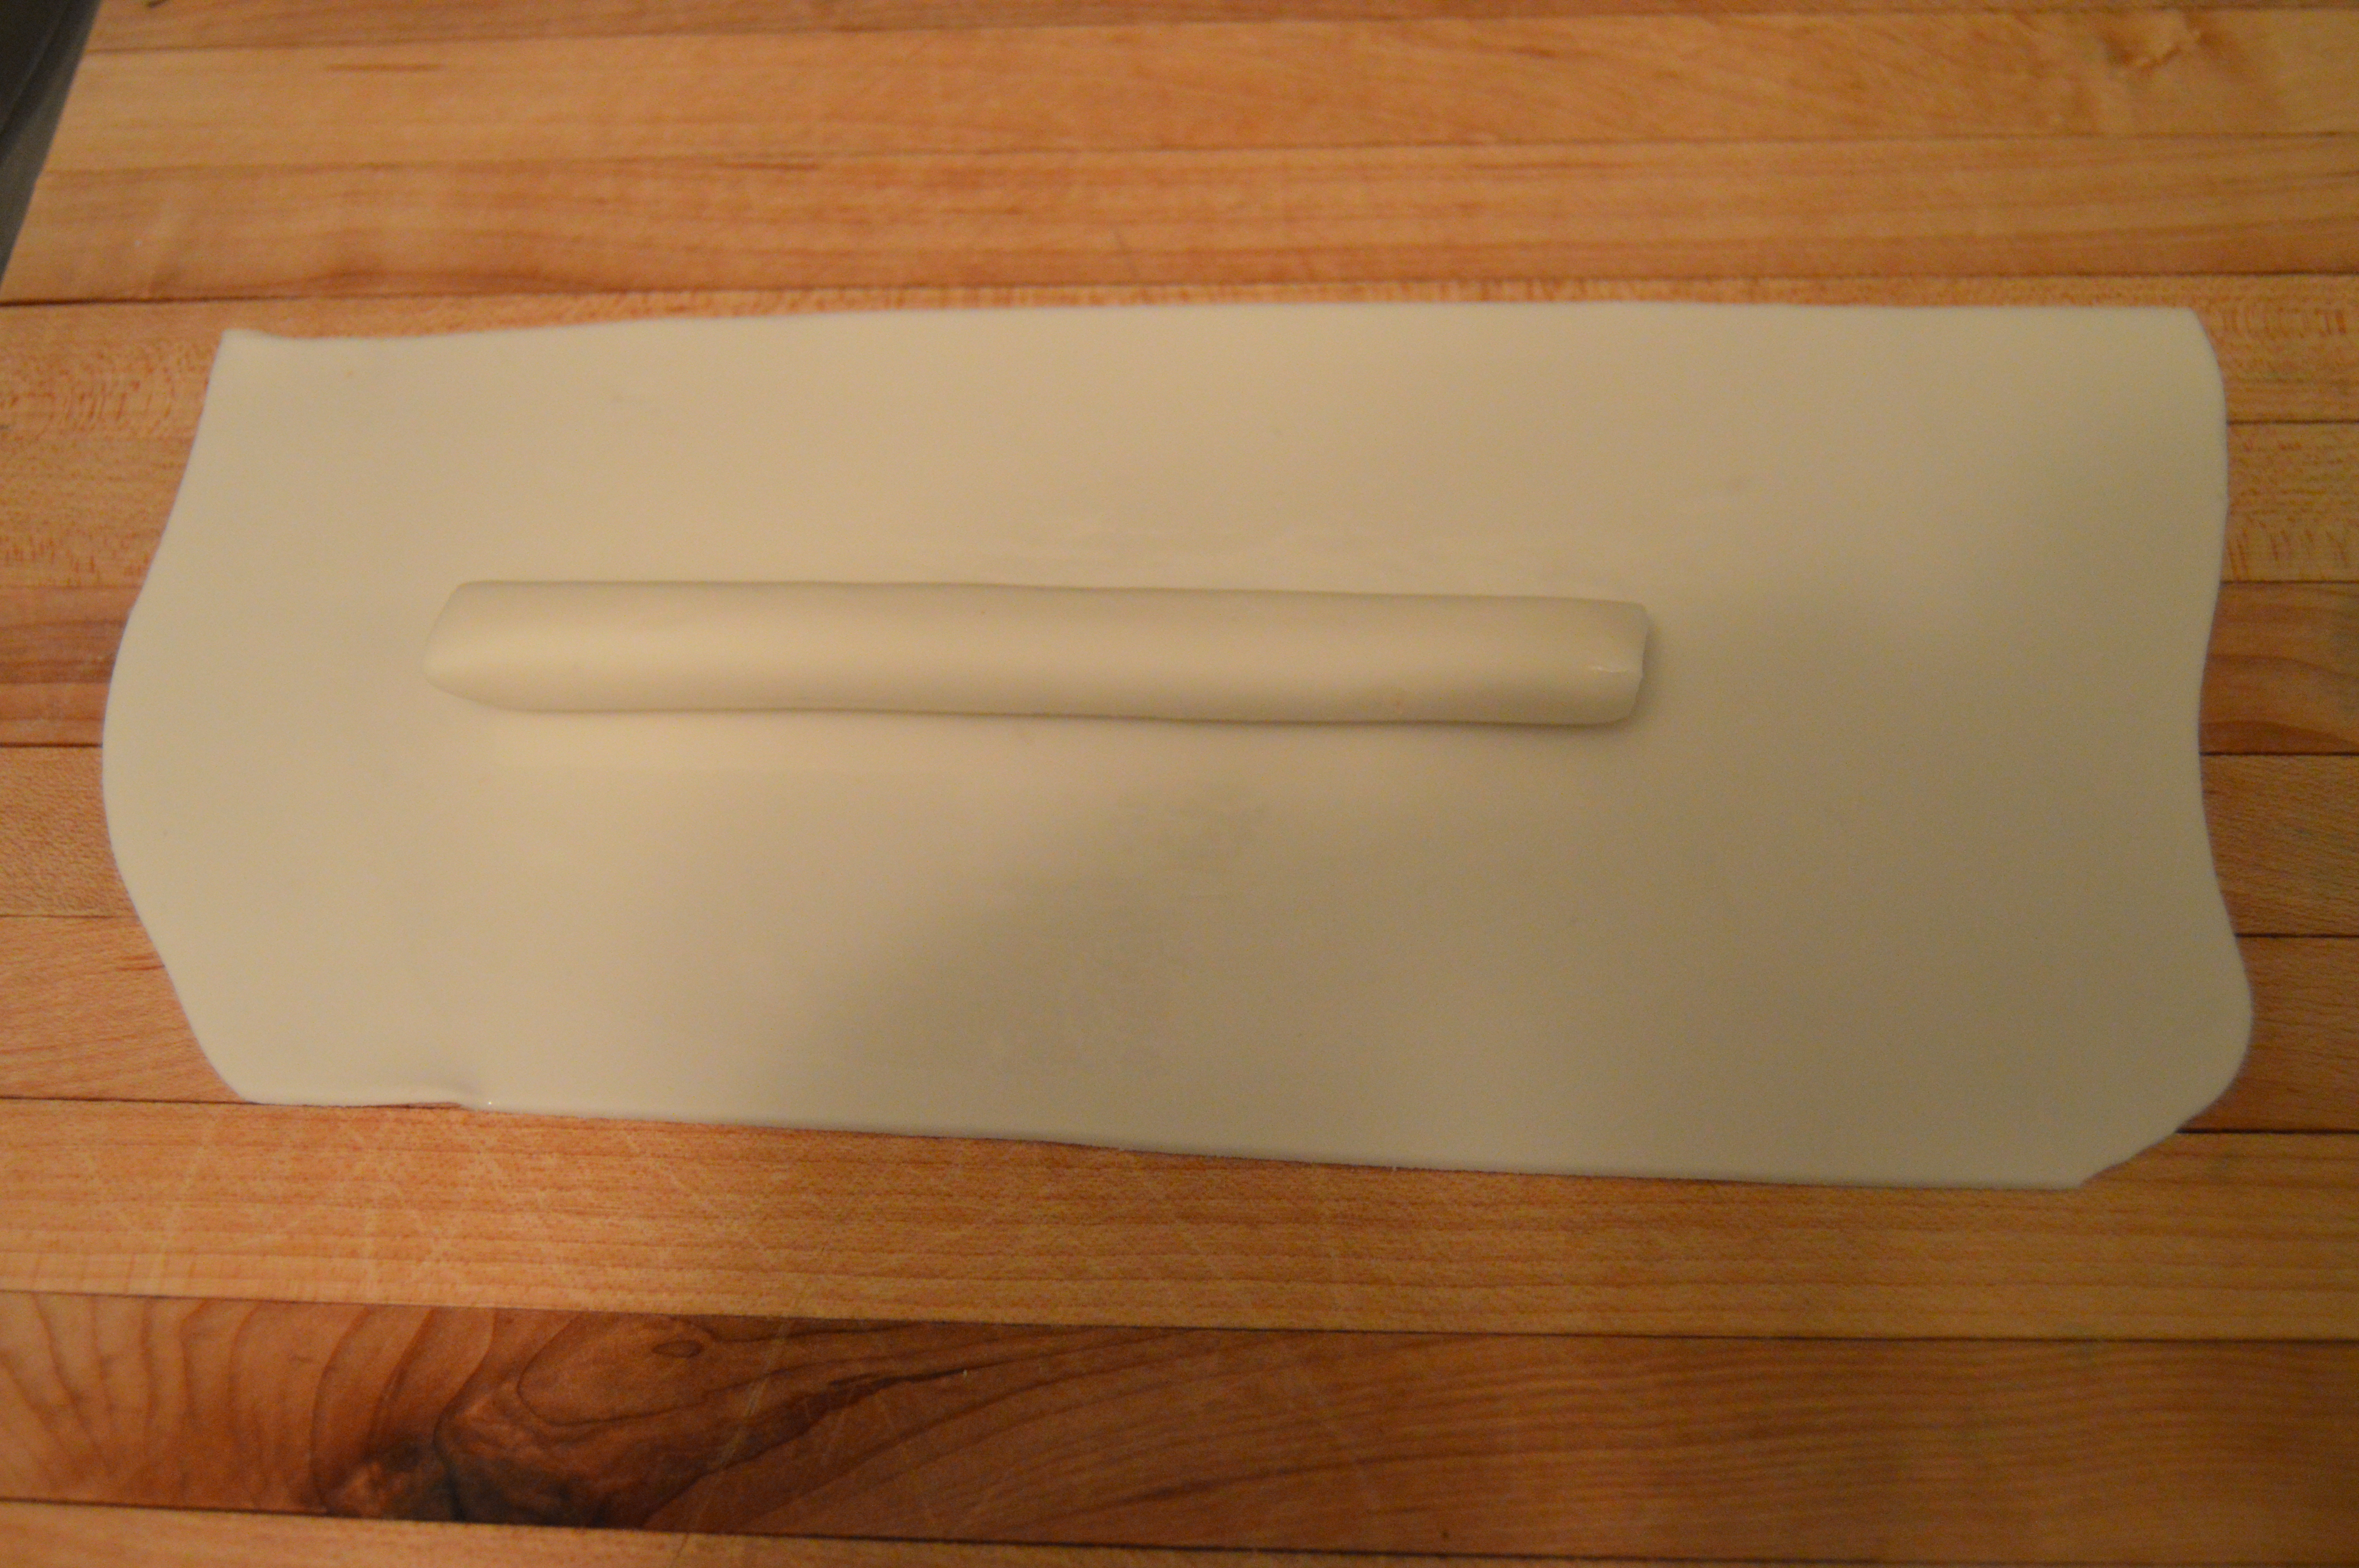
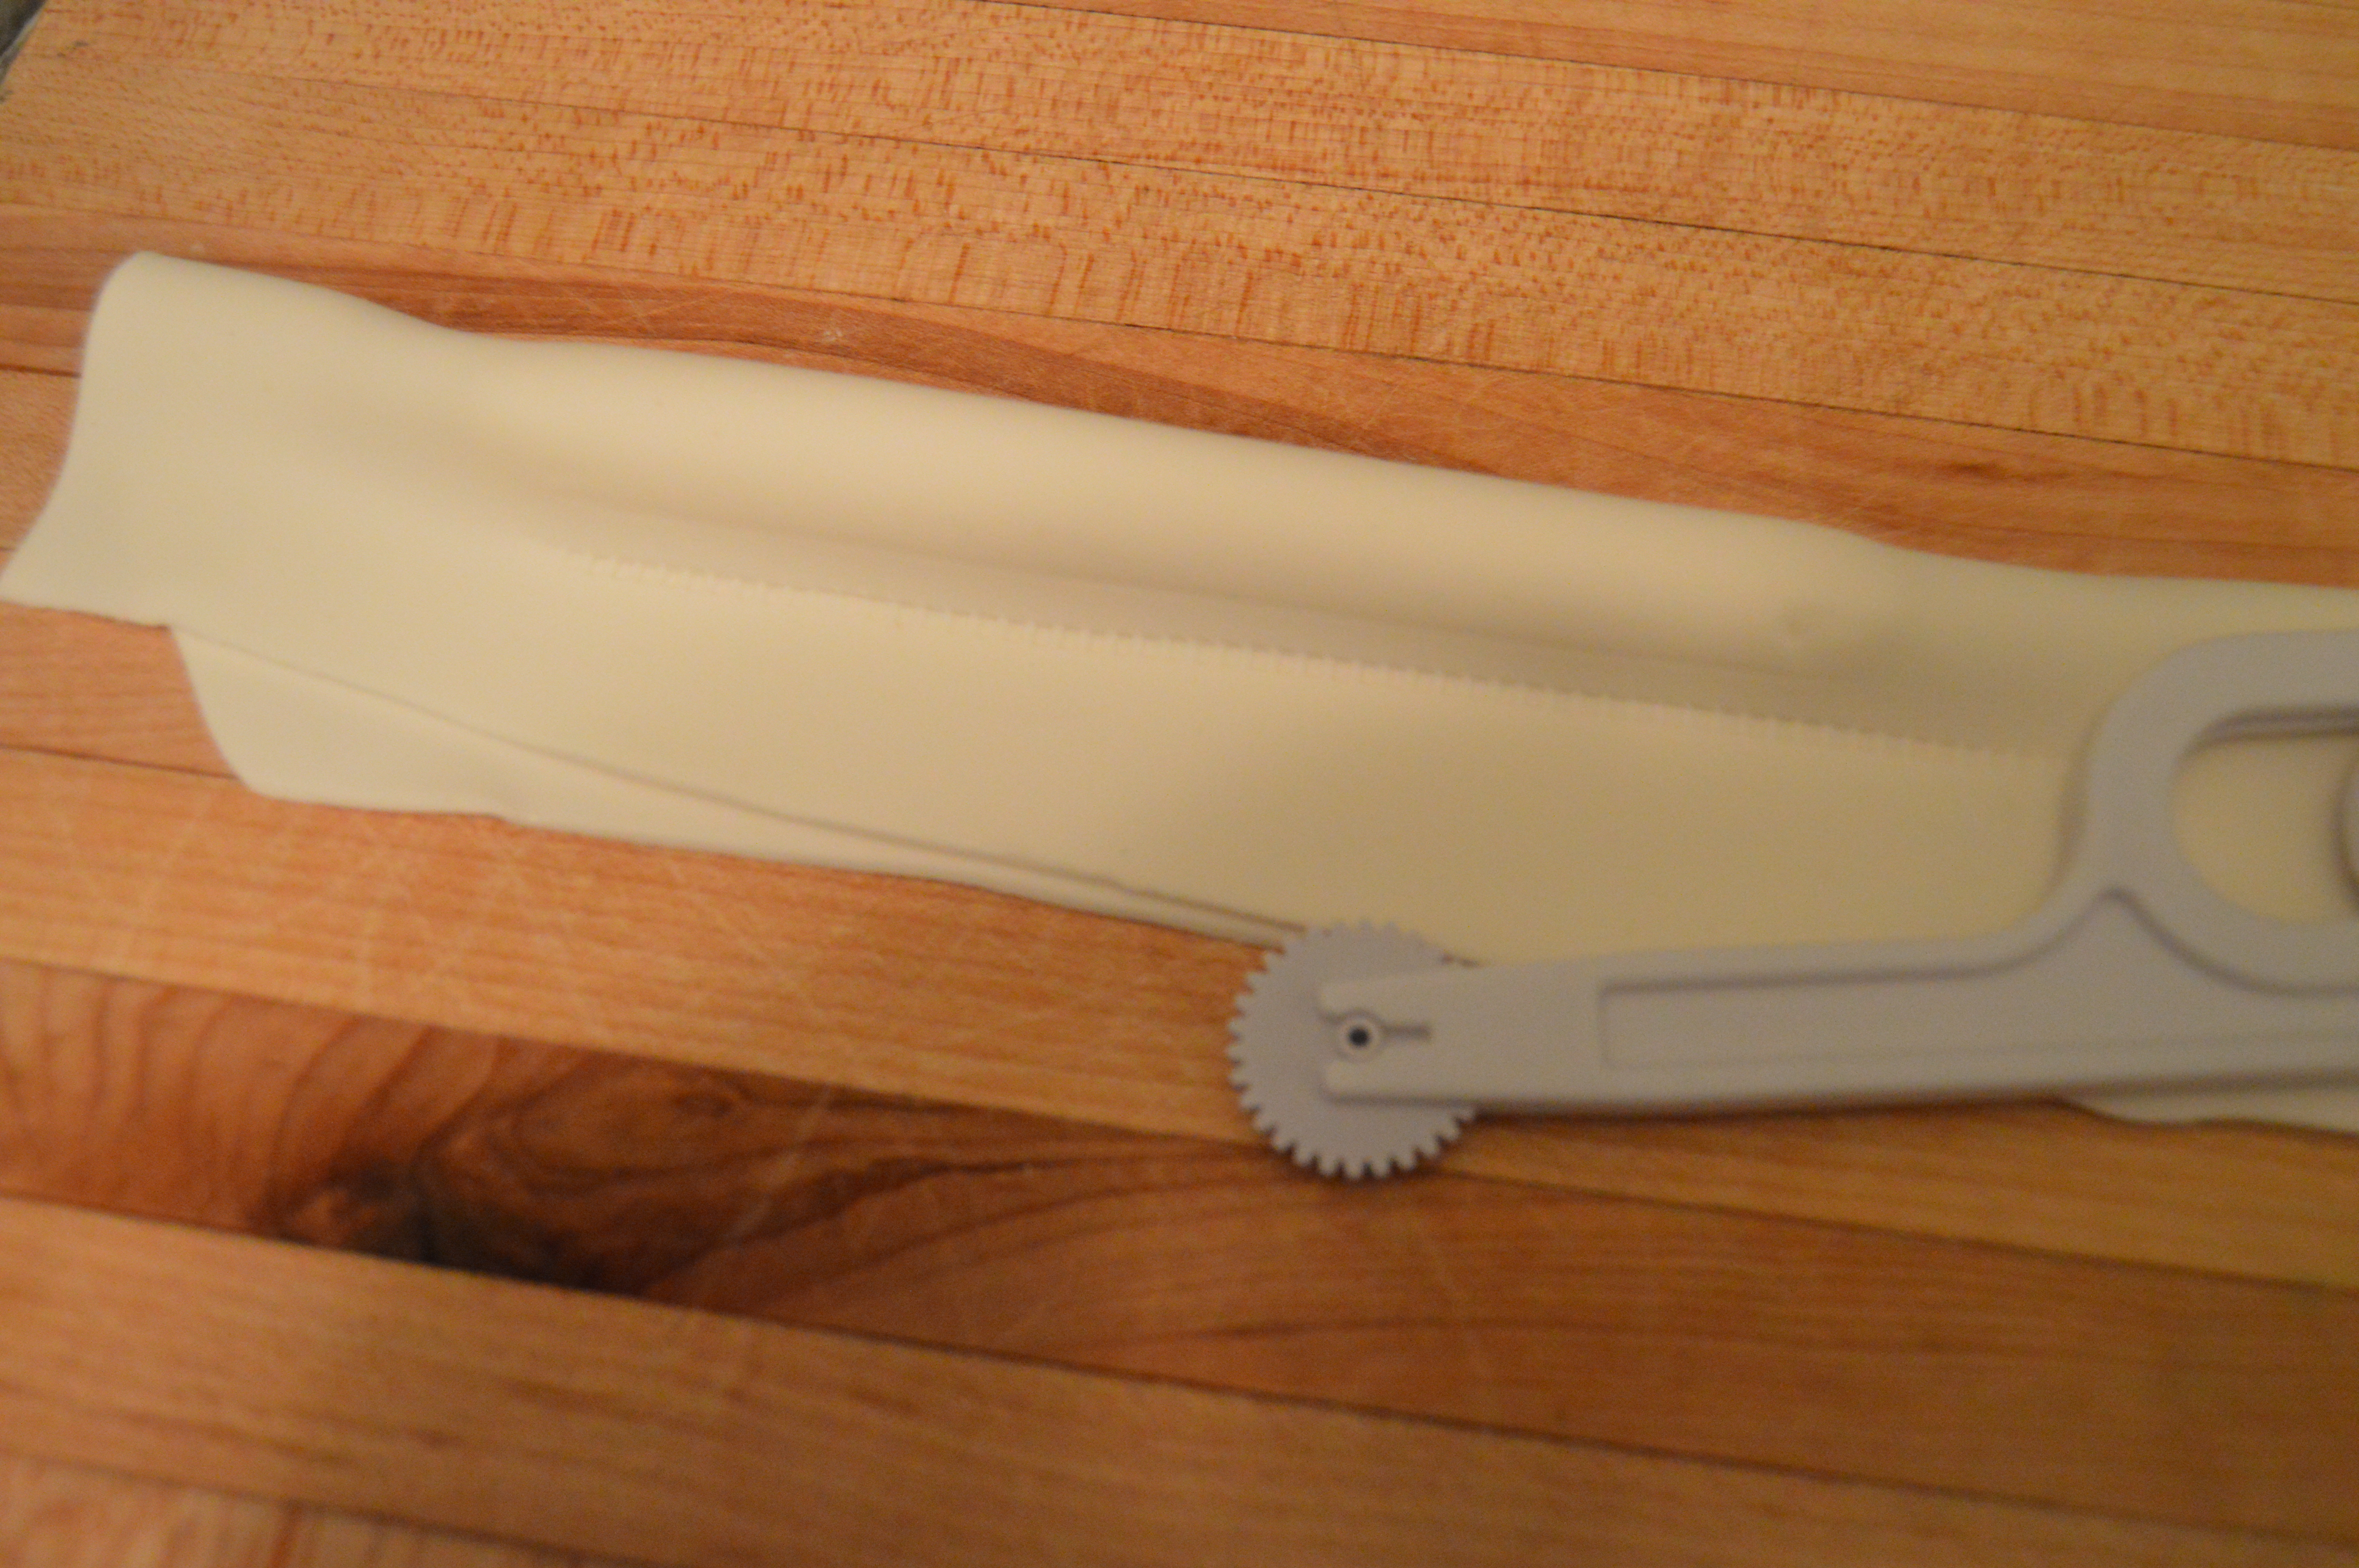
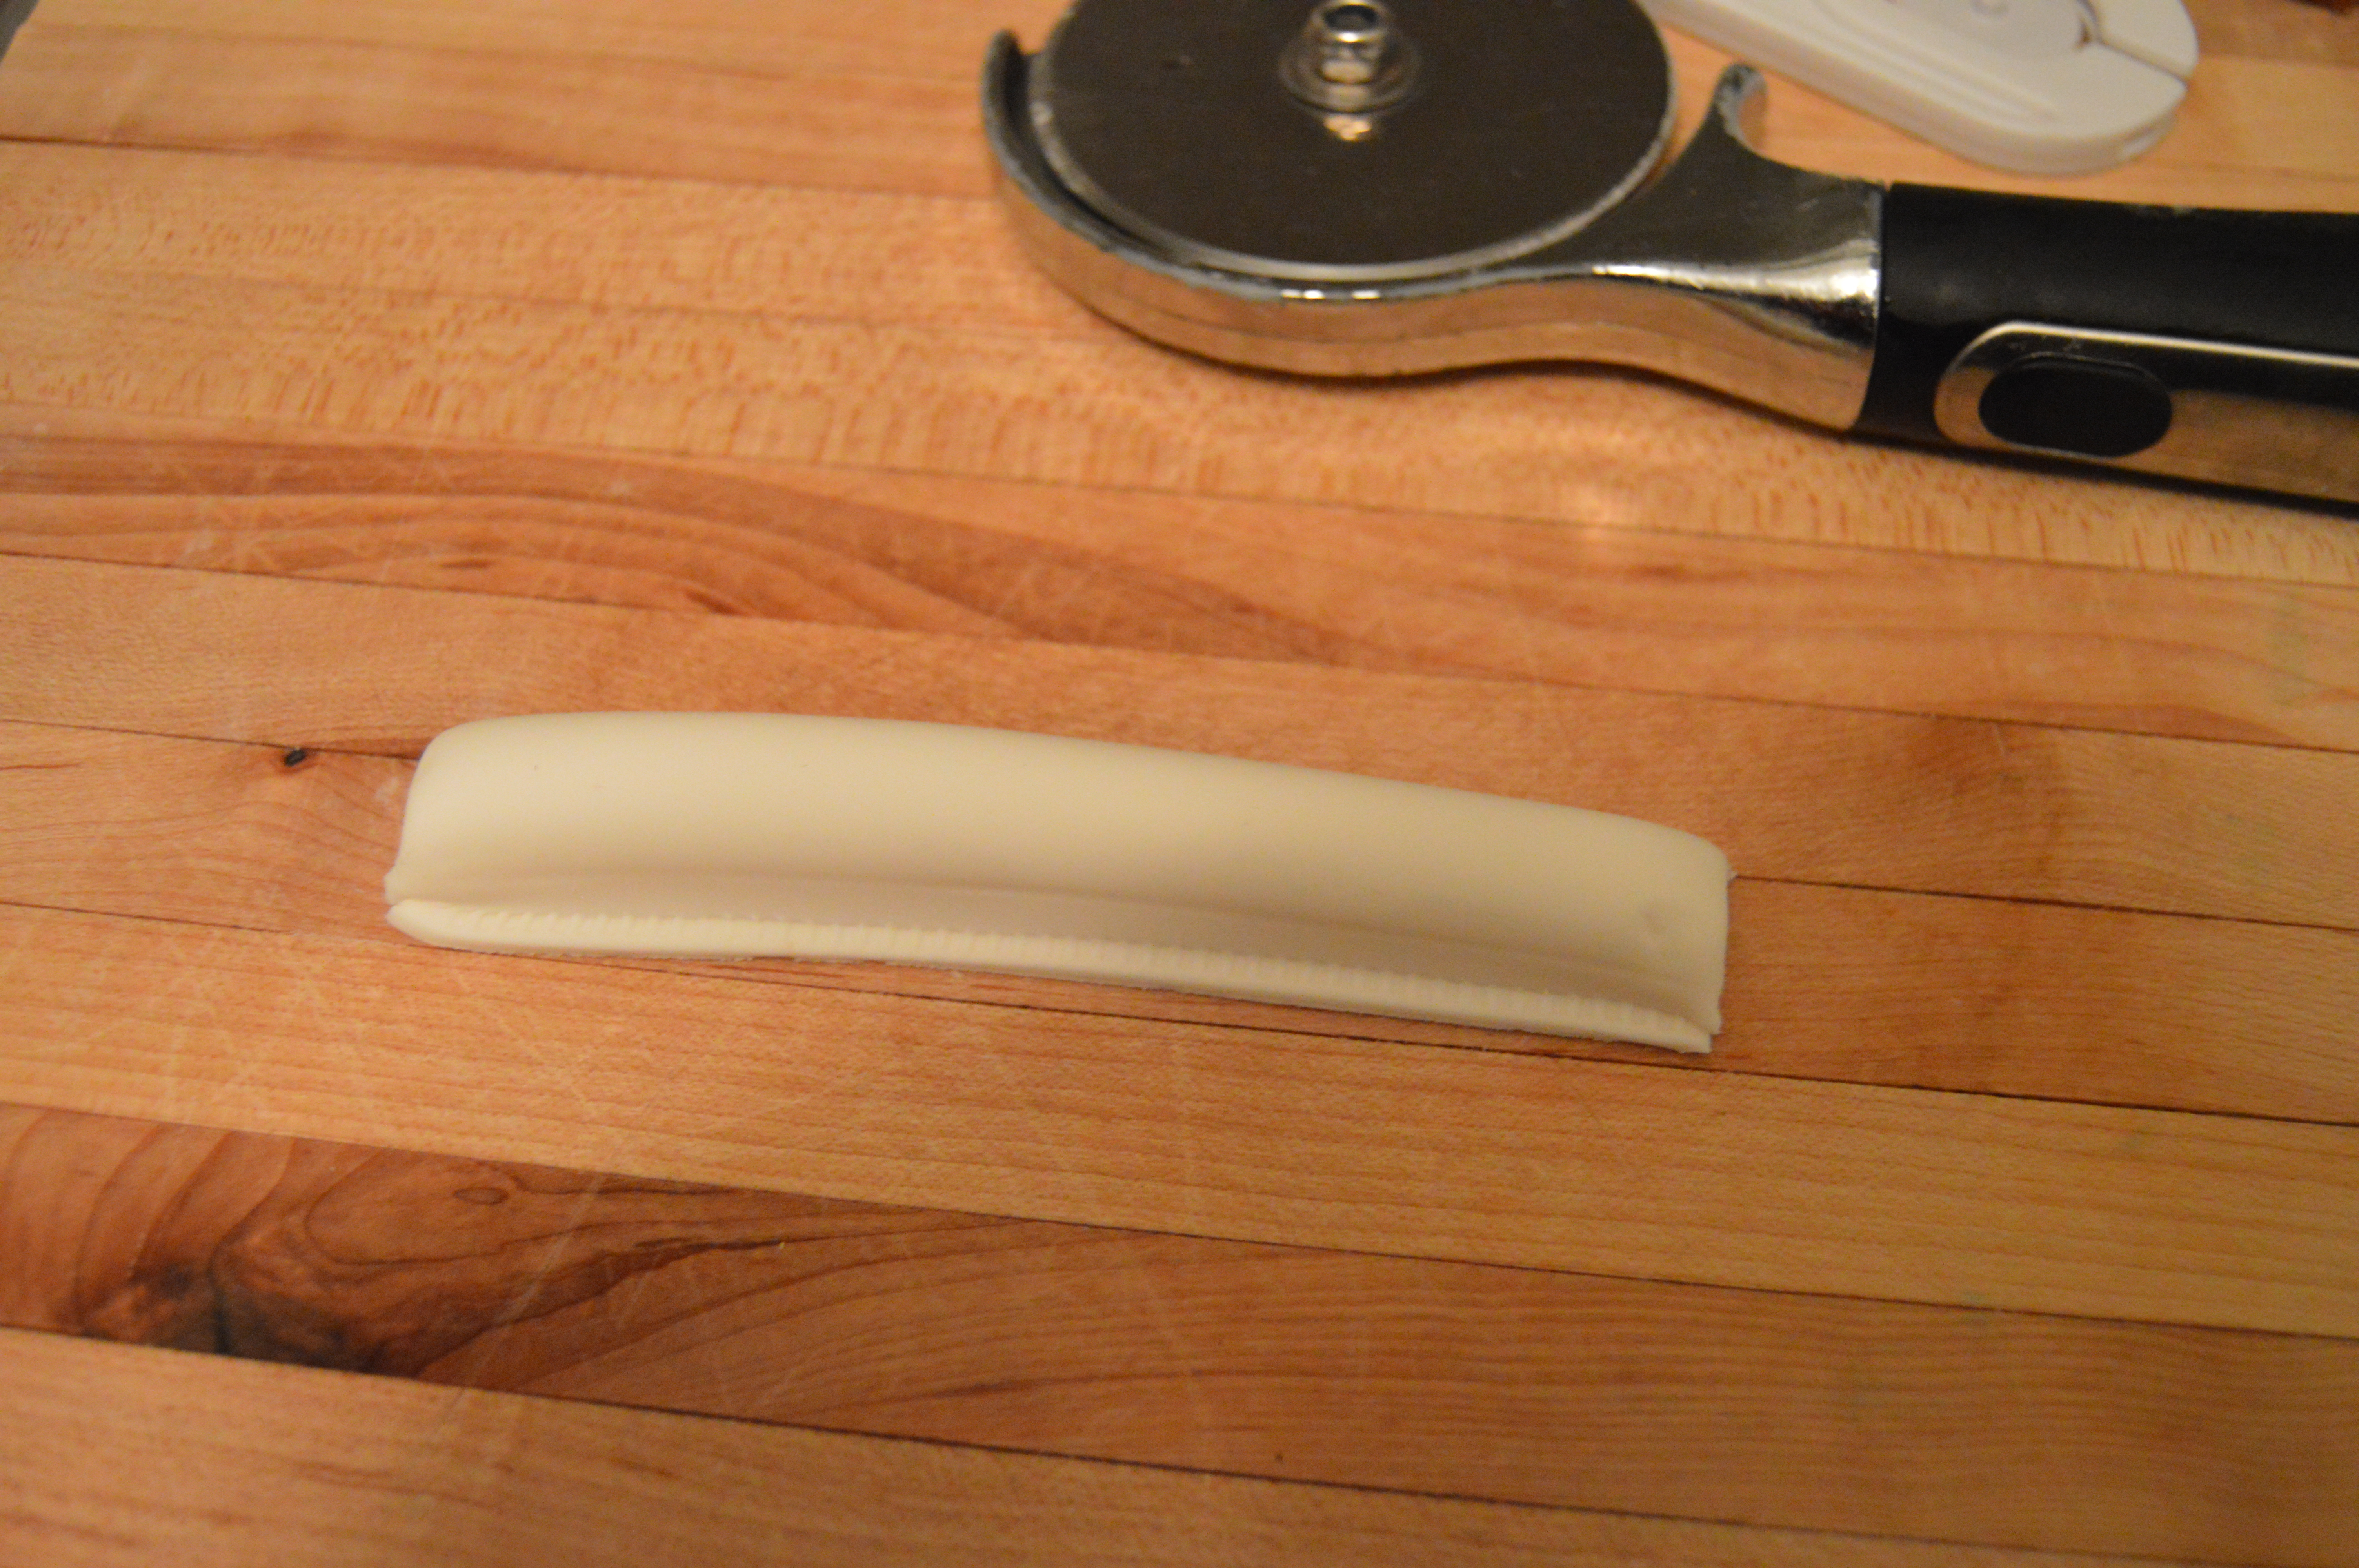
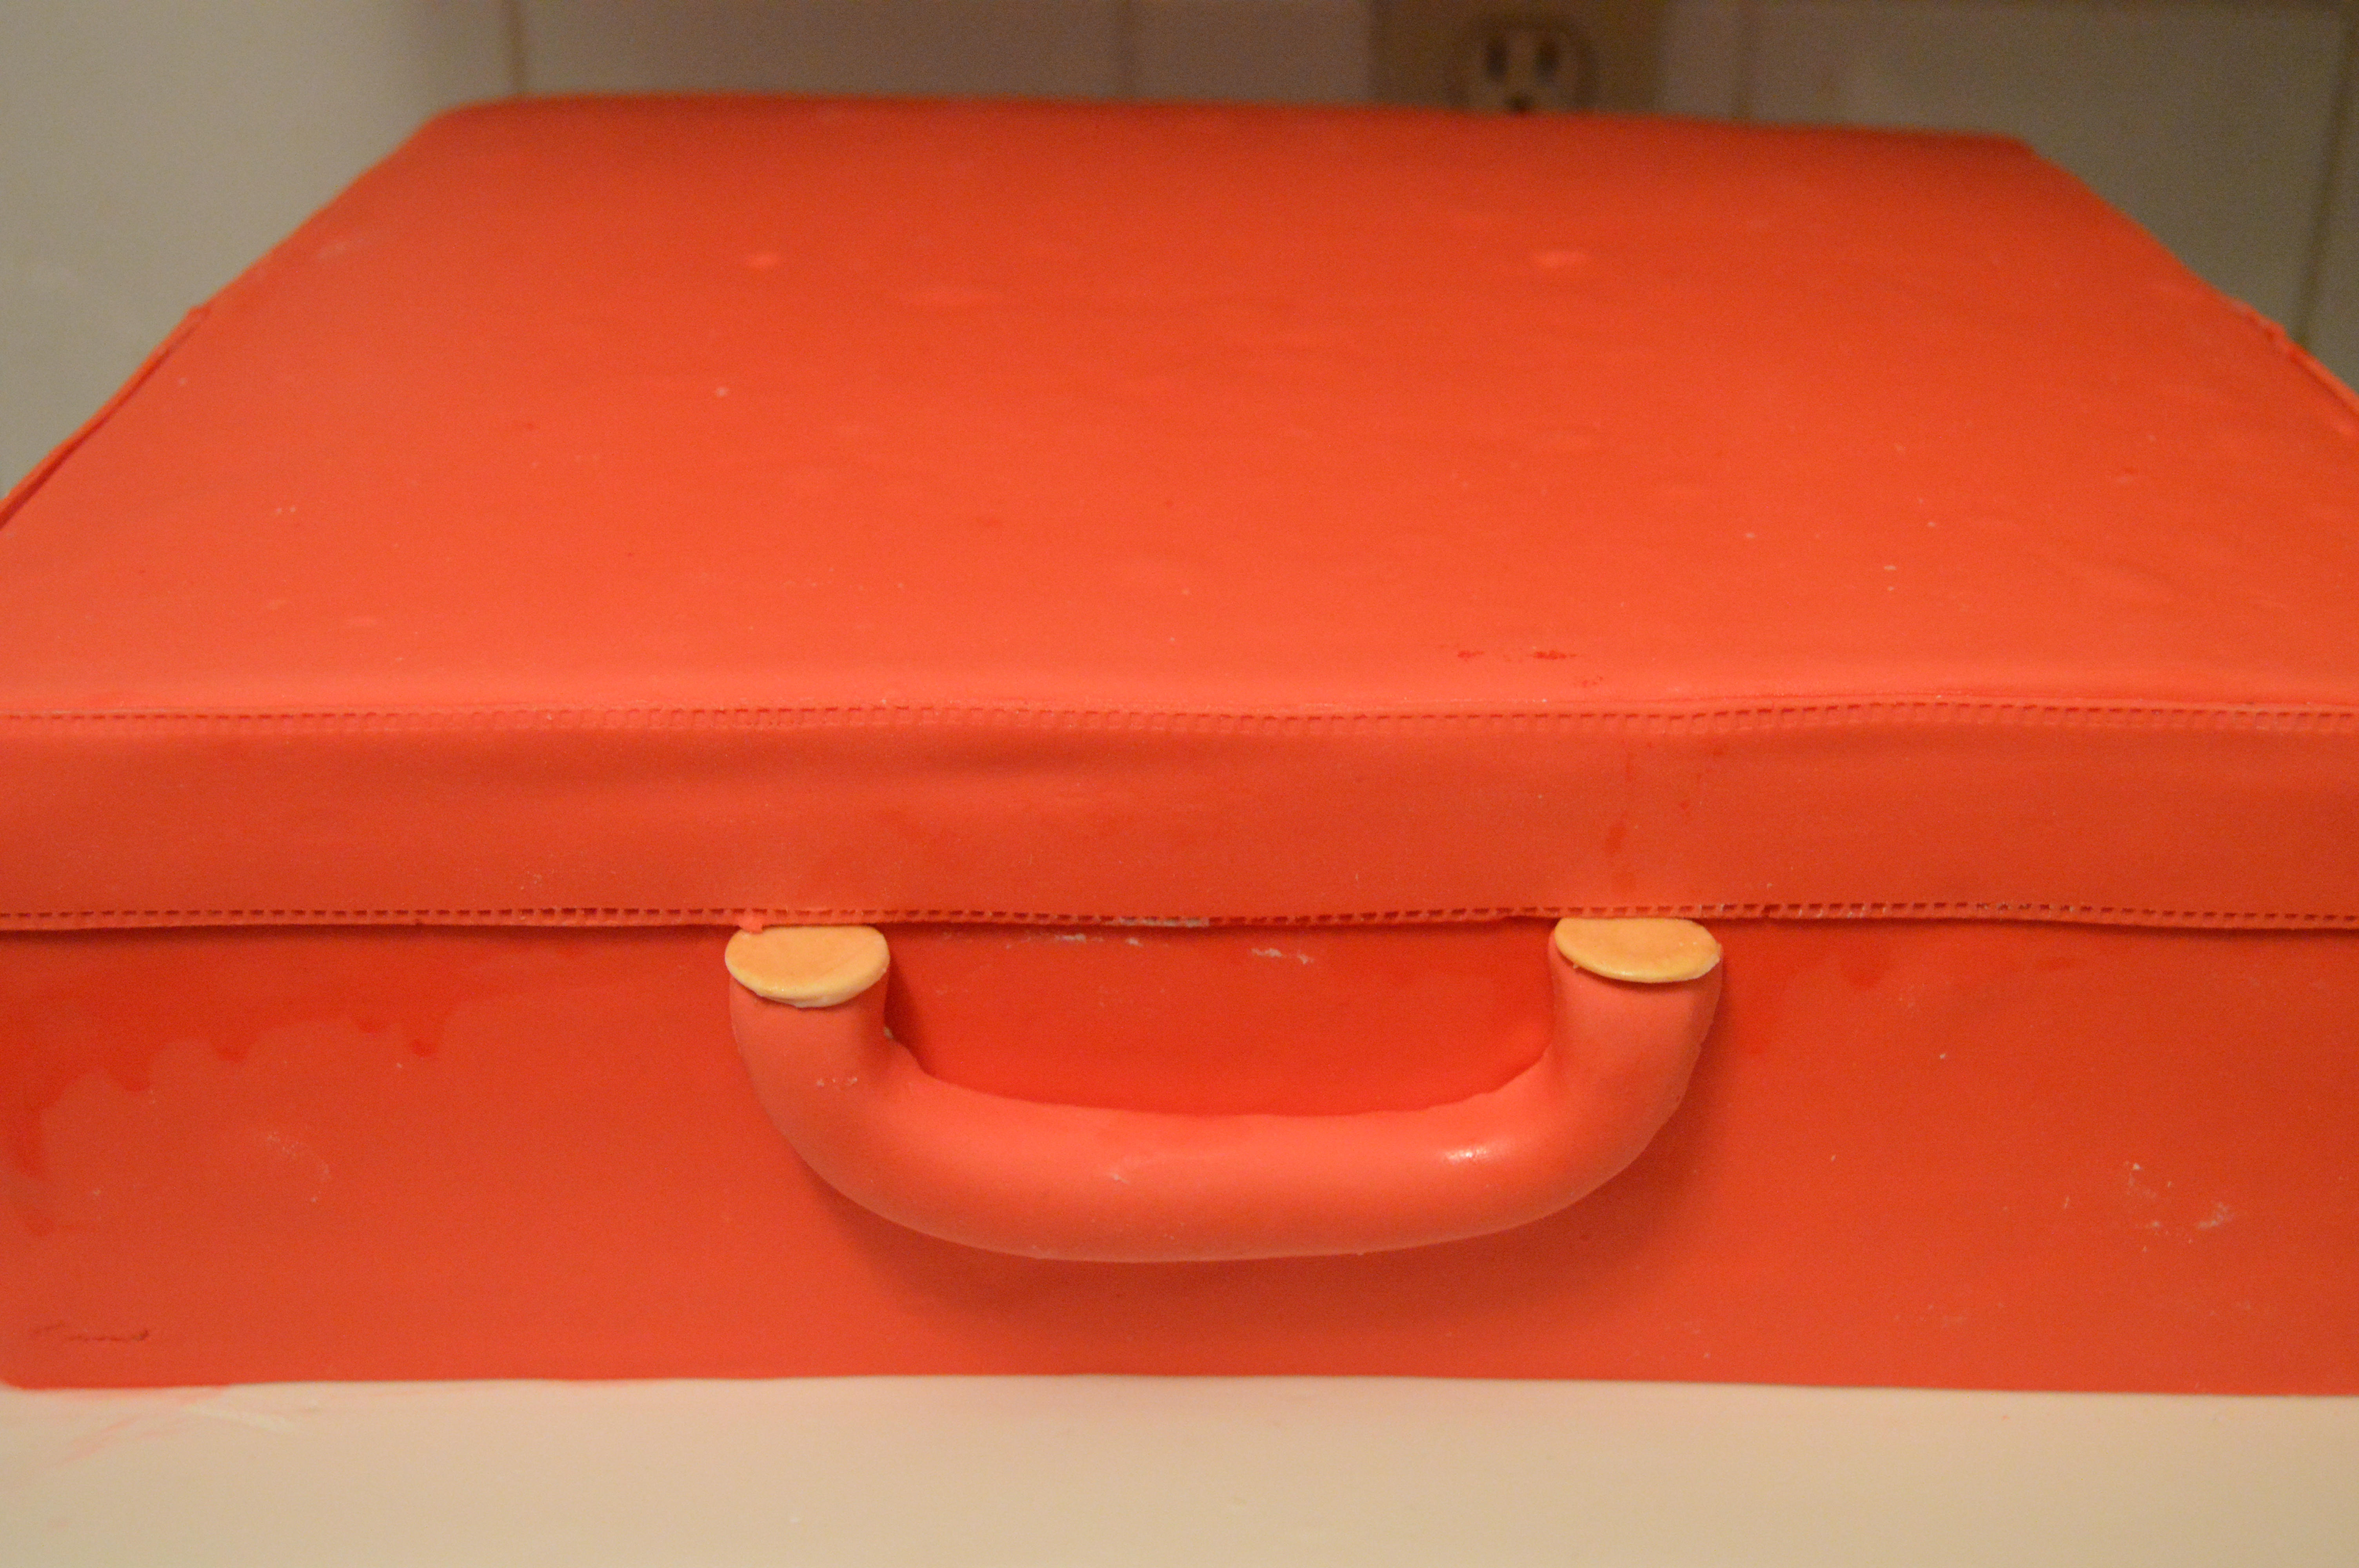
To make the handle, mold fondant into a thin log. Roll out some fondant and wrap the log with the rolled out fondant. Use an embosser to seal the fondant around the log and cut off the excess fondant. Finally bend the ends of the wrapped log to form the handle and dry it.
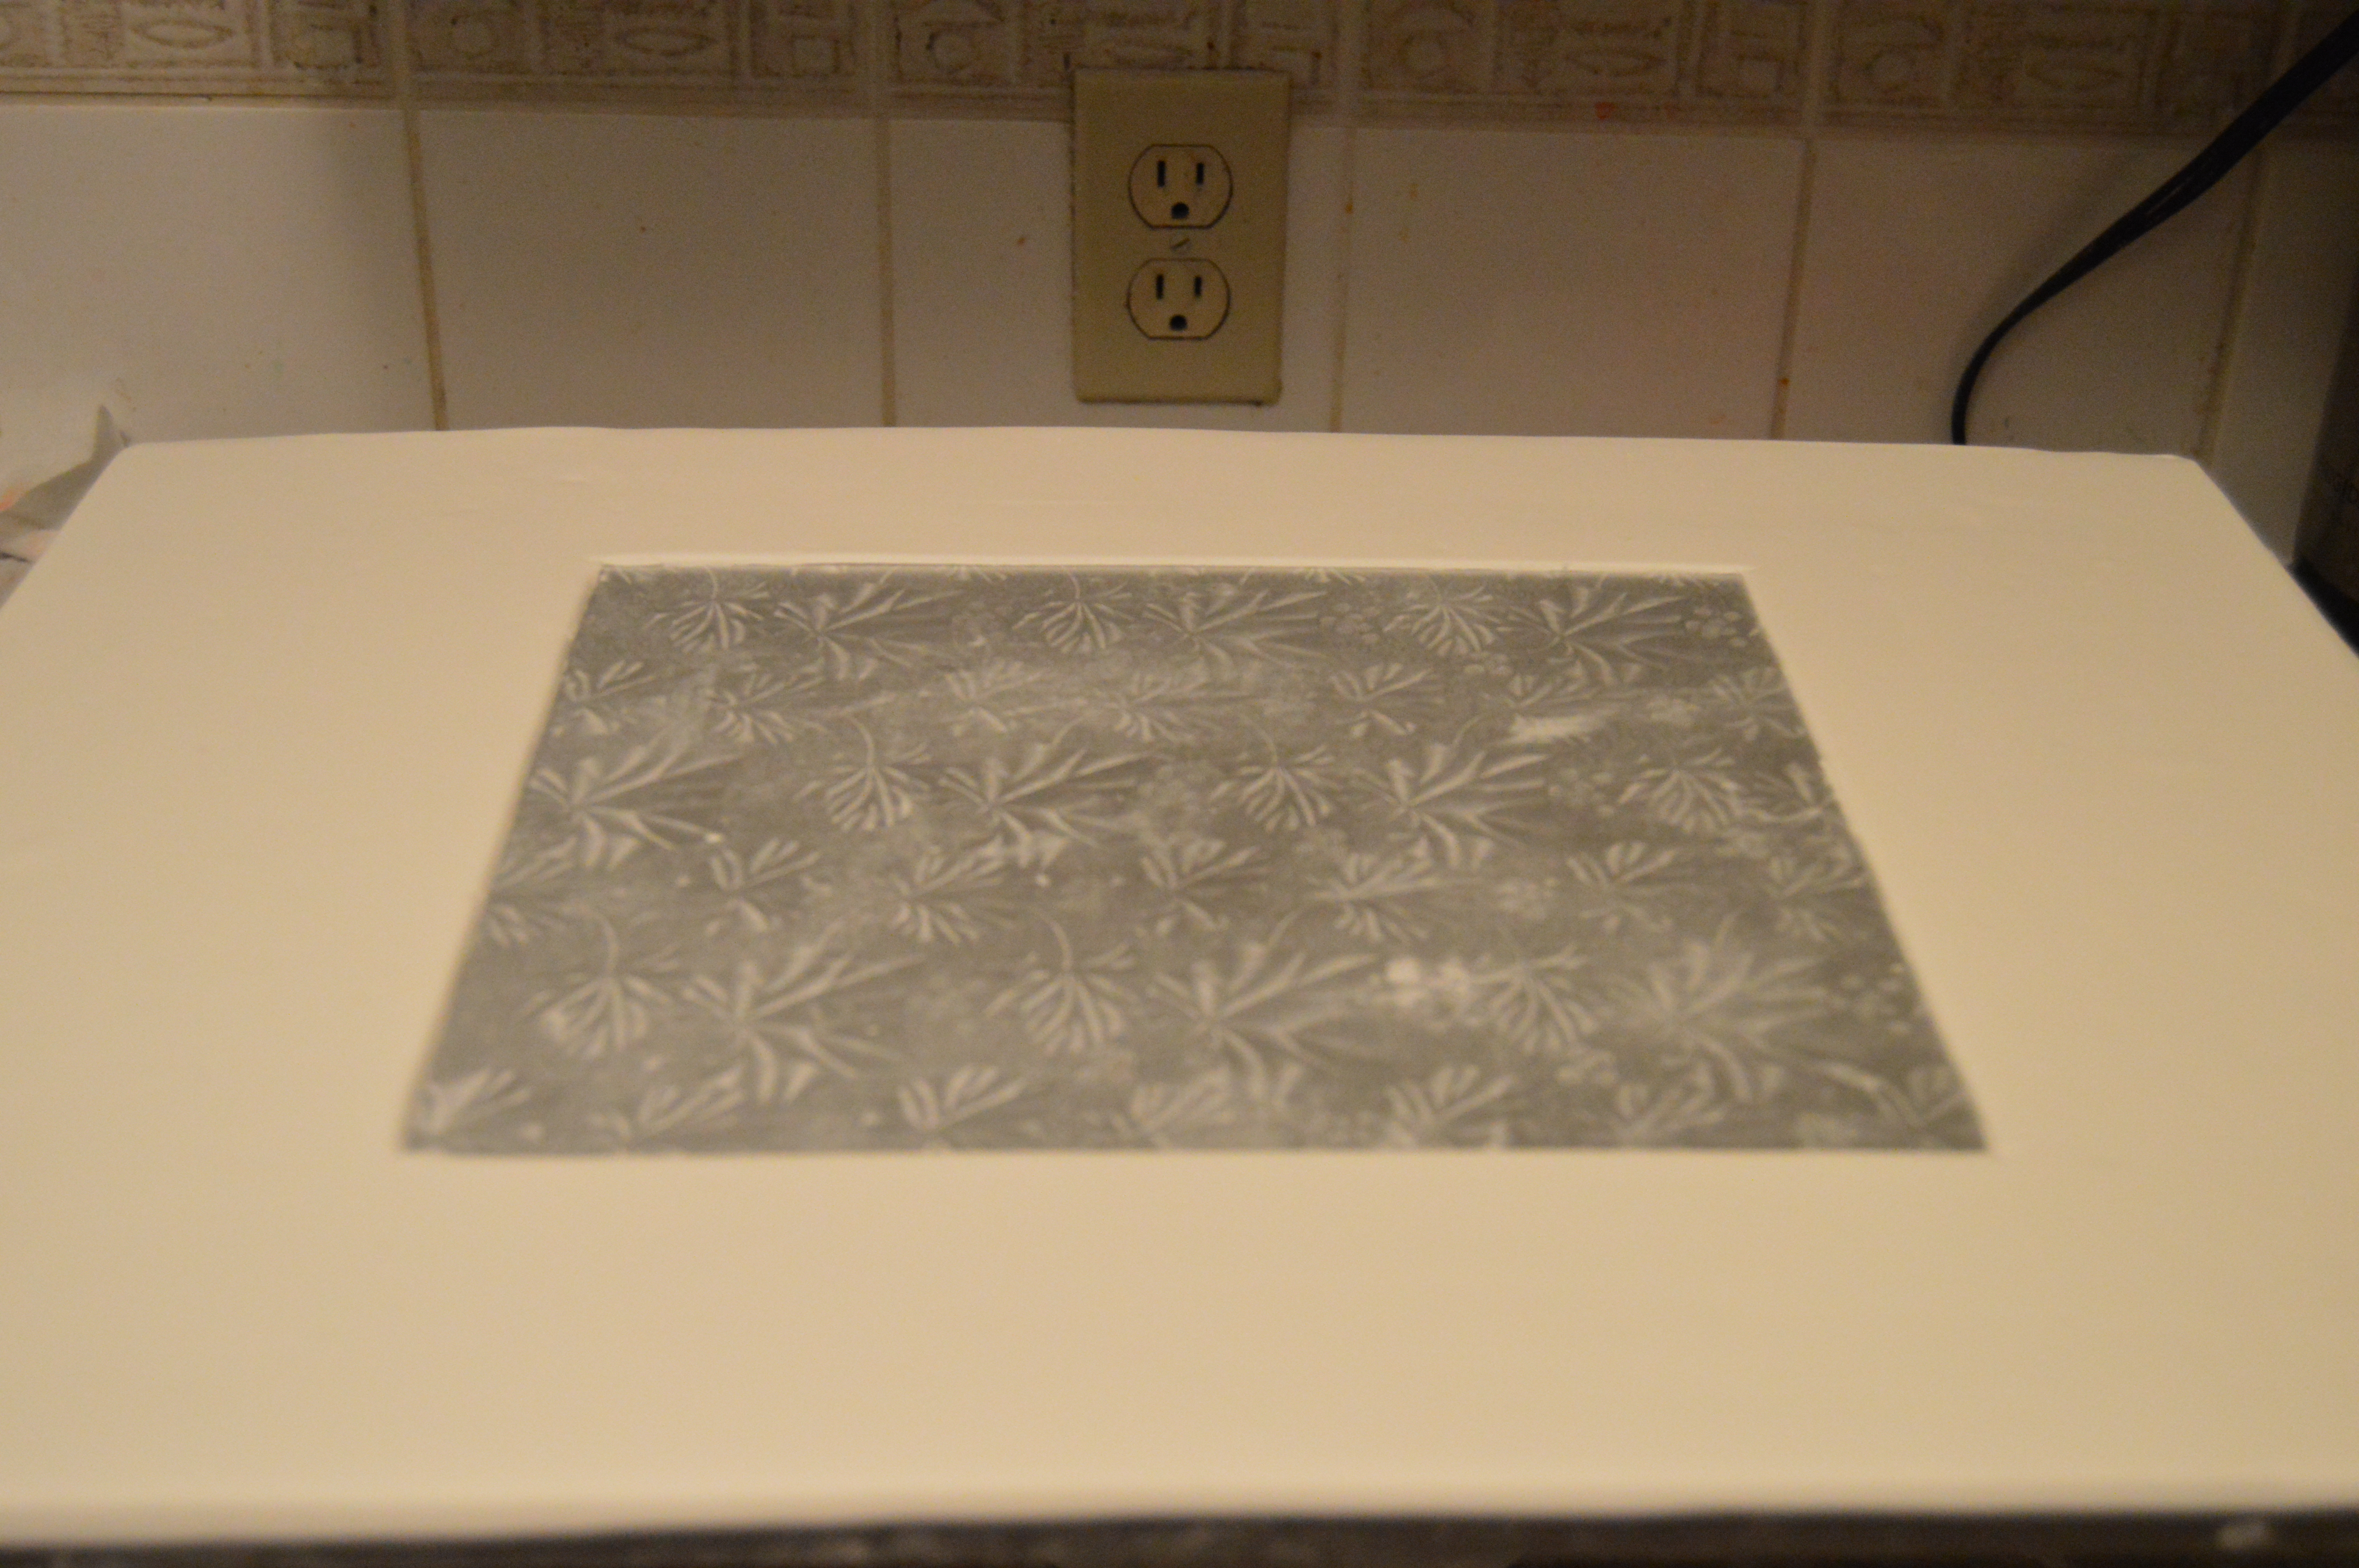
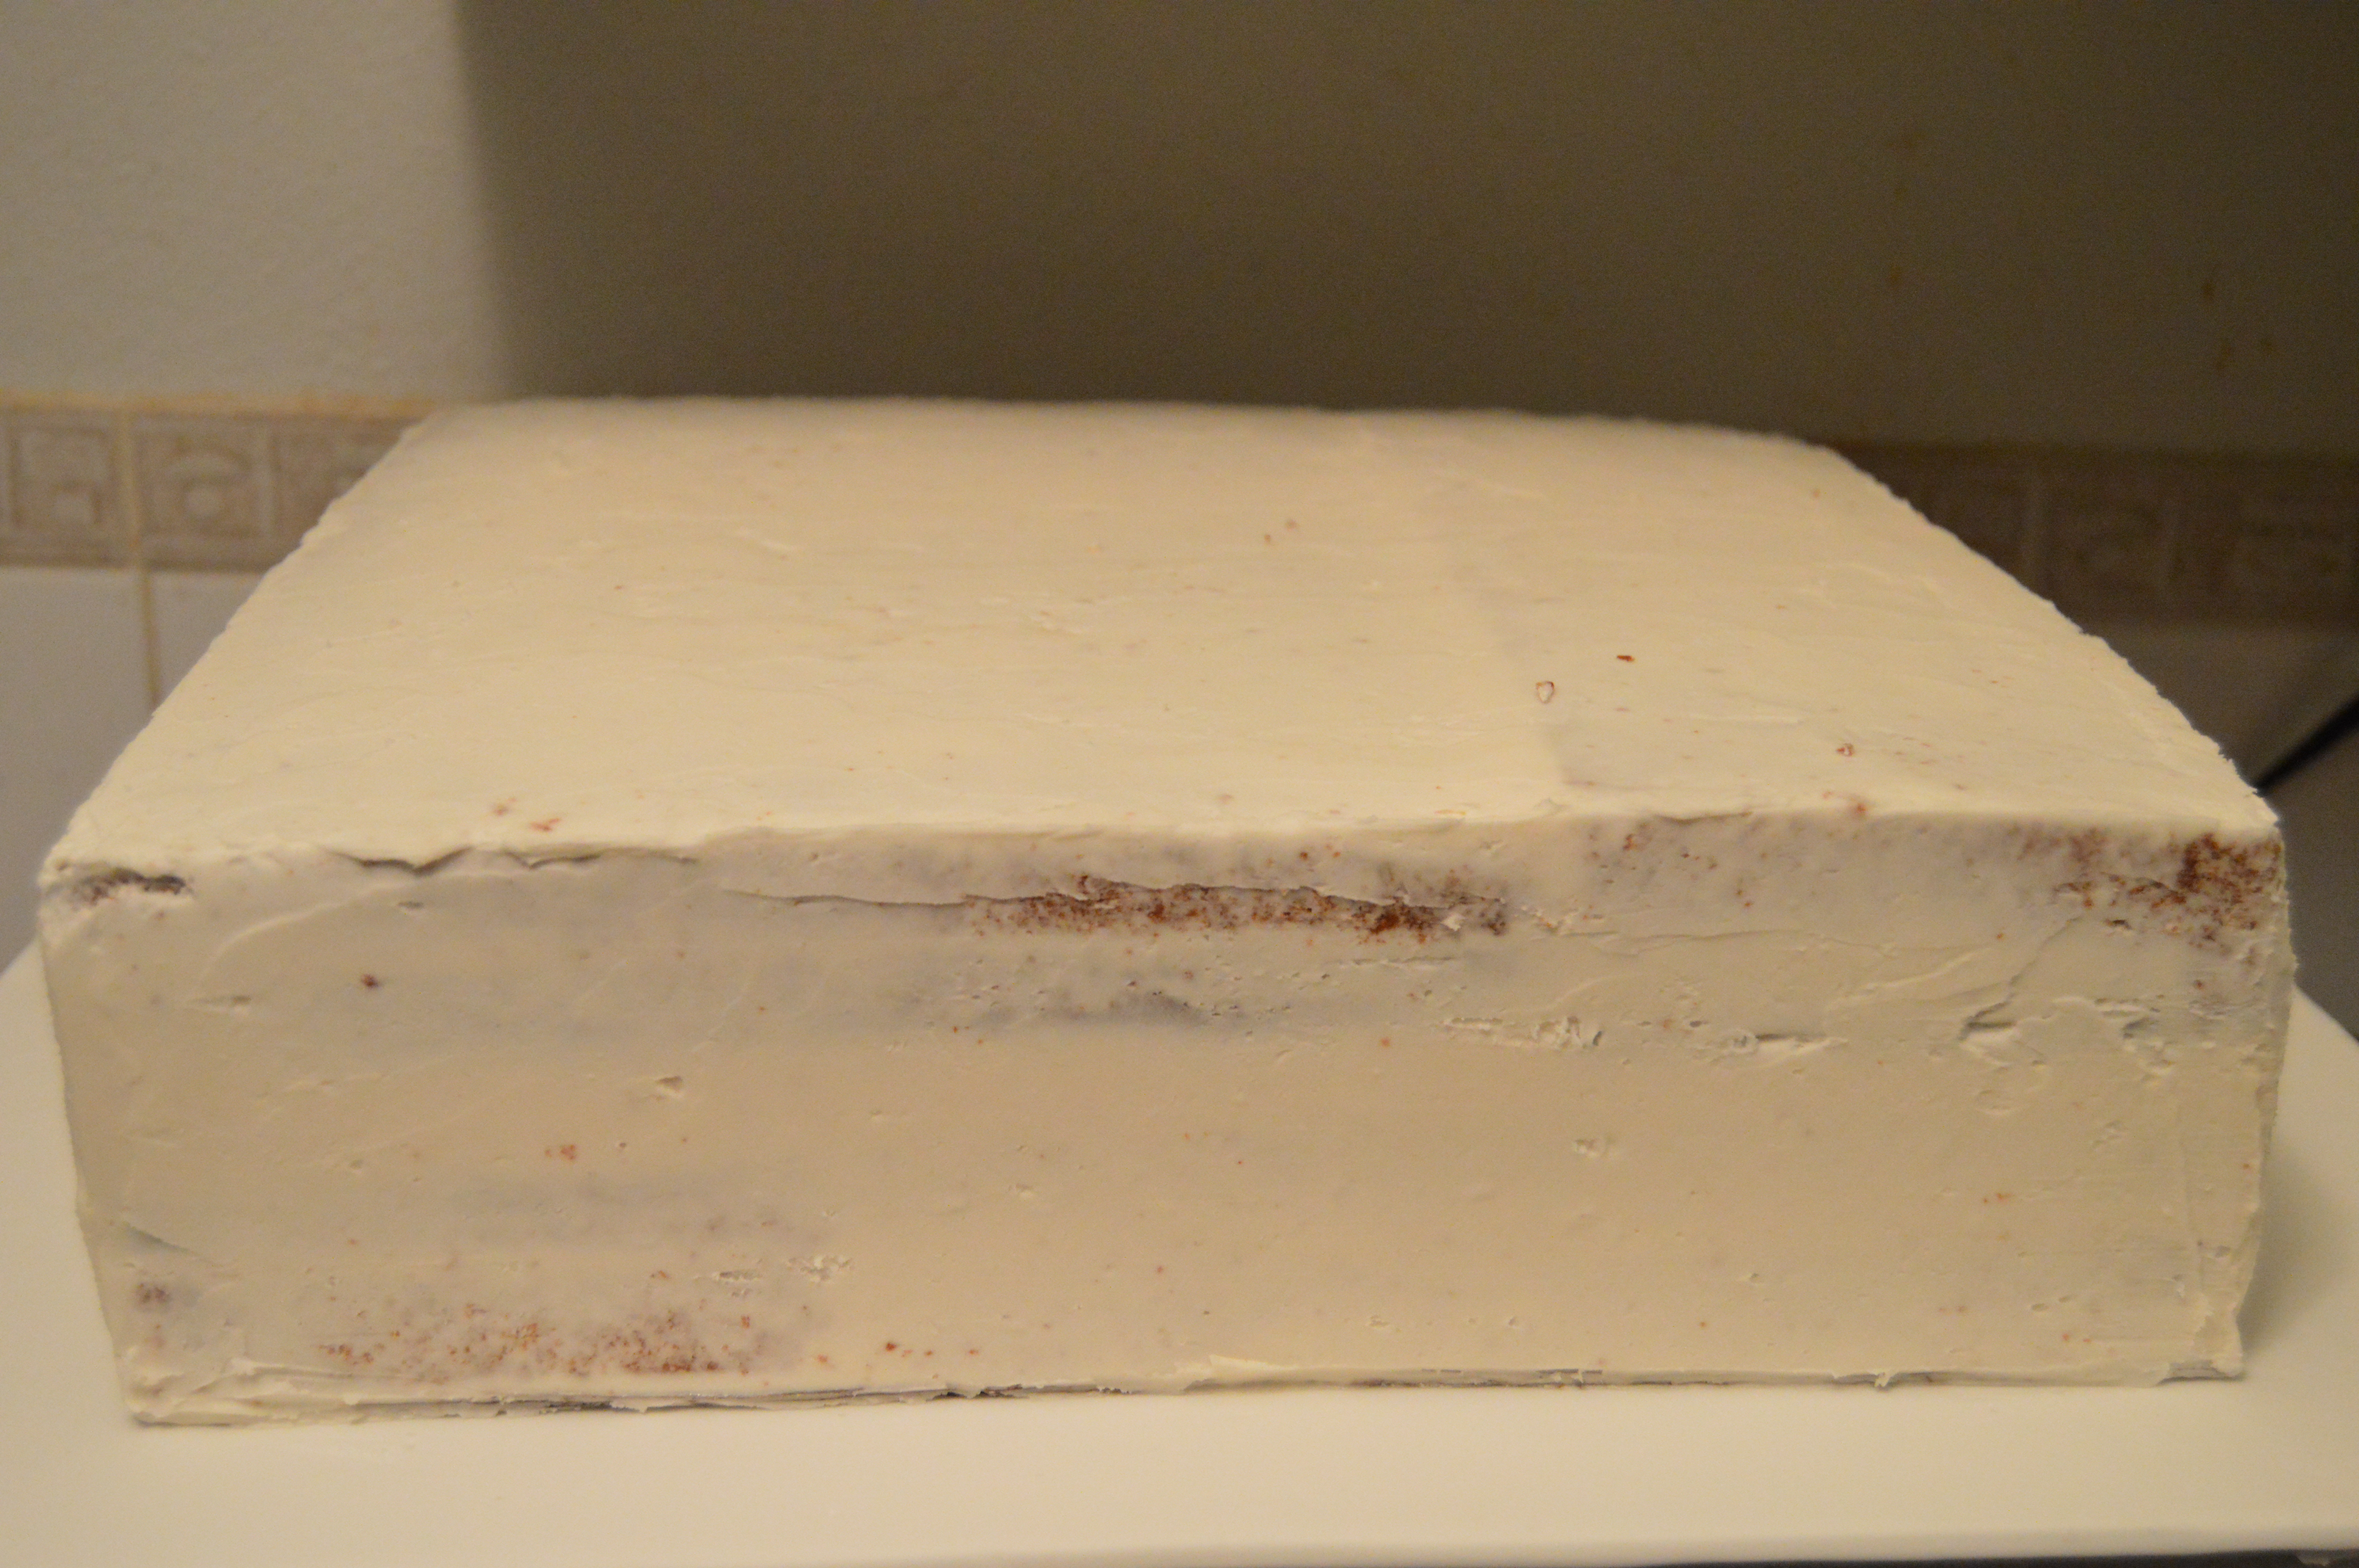
(3) Cover a large cake board with with fondant. Stick the frosted bottom cake layer to the cake board. This bottom layer measured 13 x 15 x 4 inches. The second layer measured 10 x 10 x 4.5 inches.
(4) Roll out pale red fondant and cut it into a rectangle/square the same size as the top of the cake and stick it to the top of the cake.
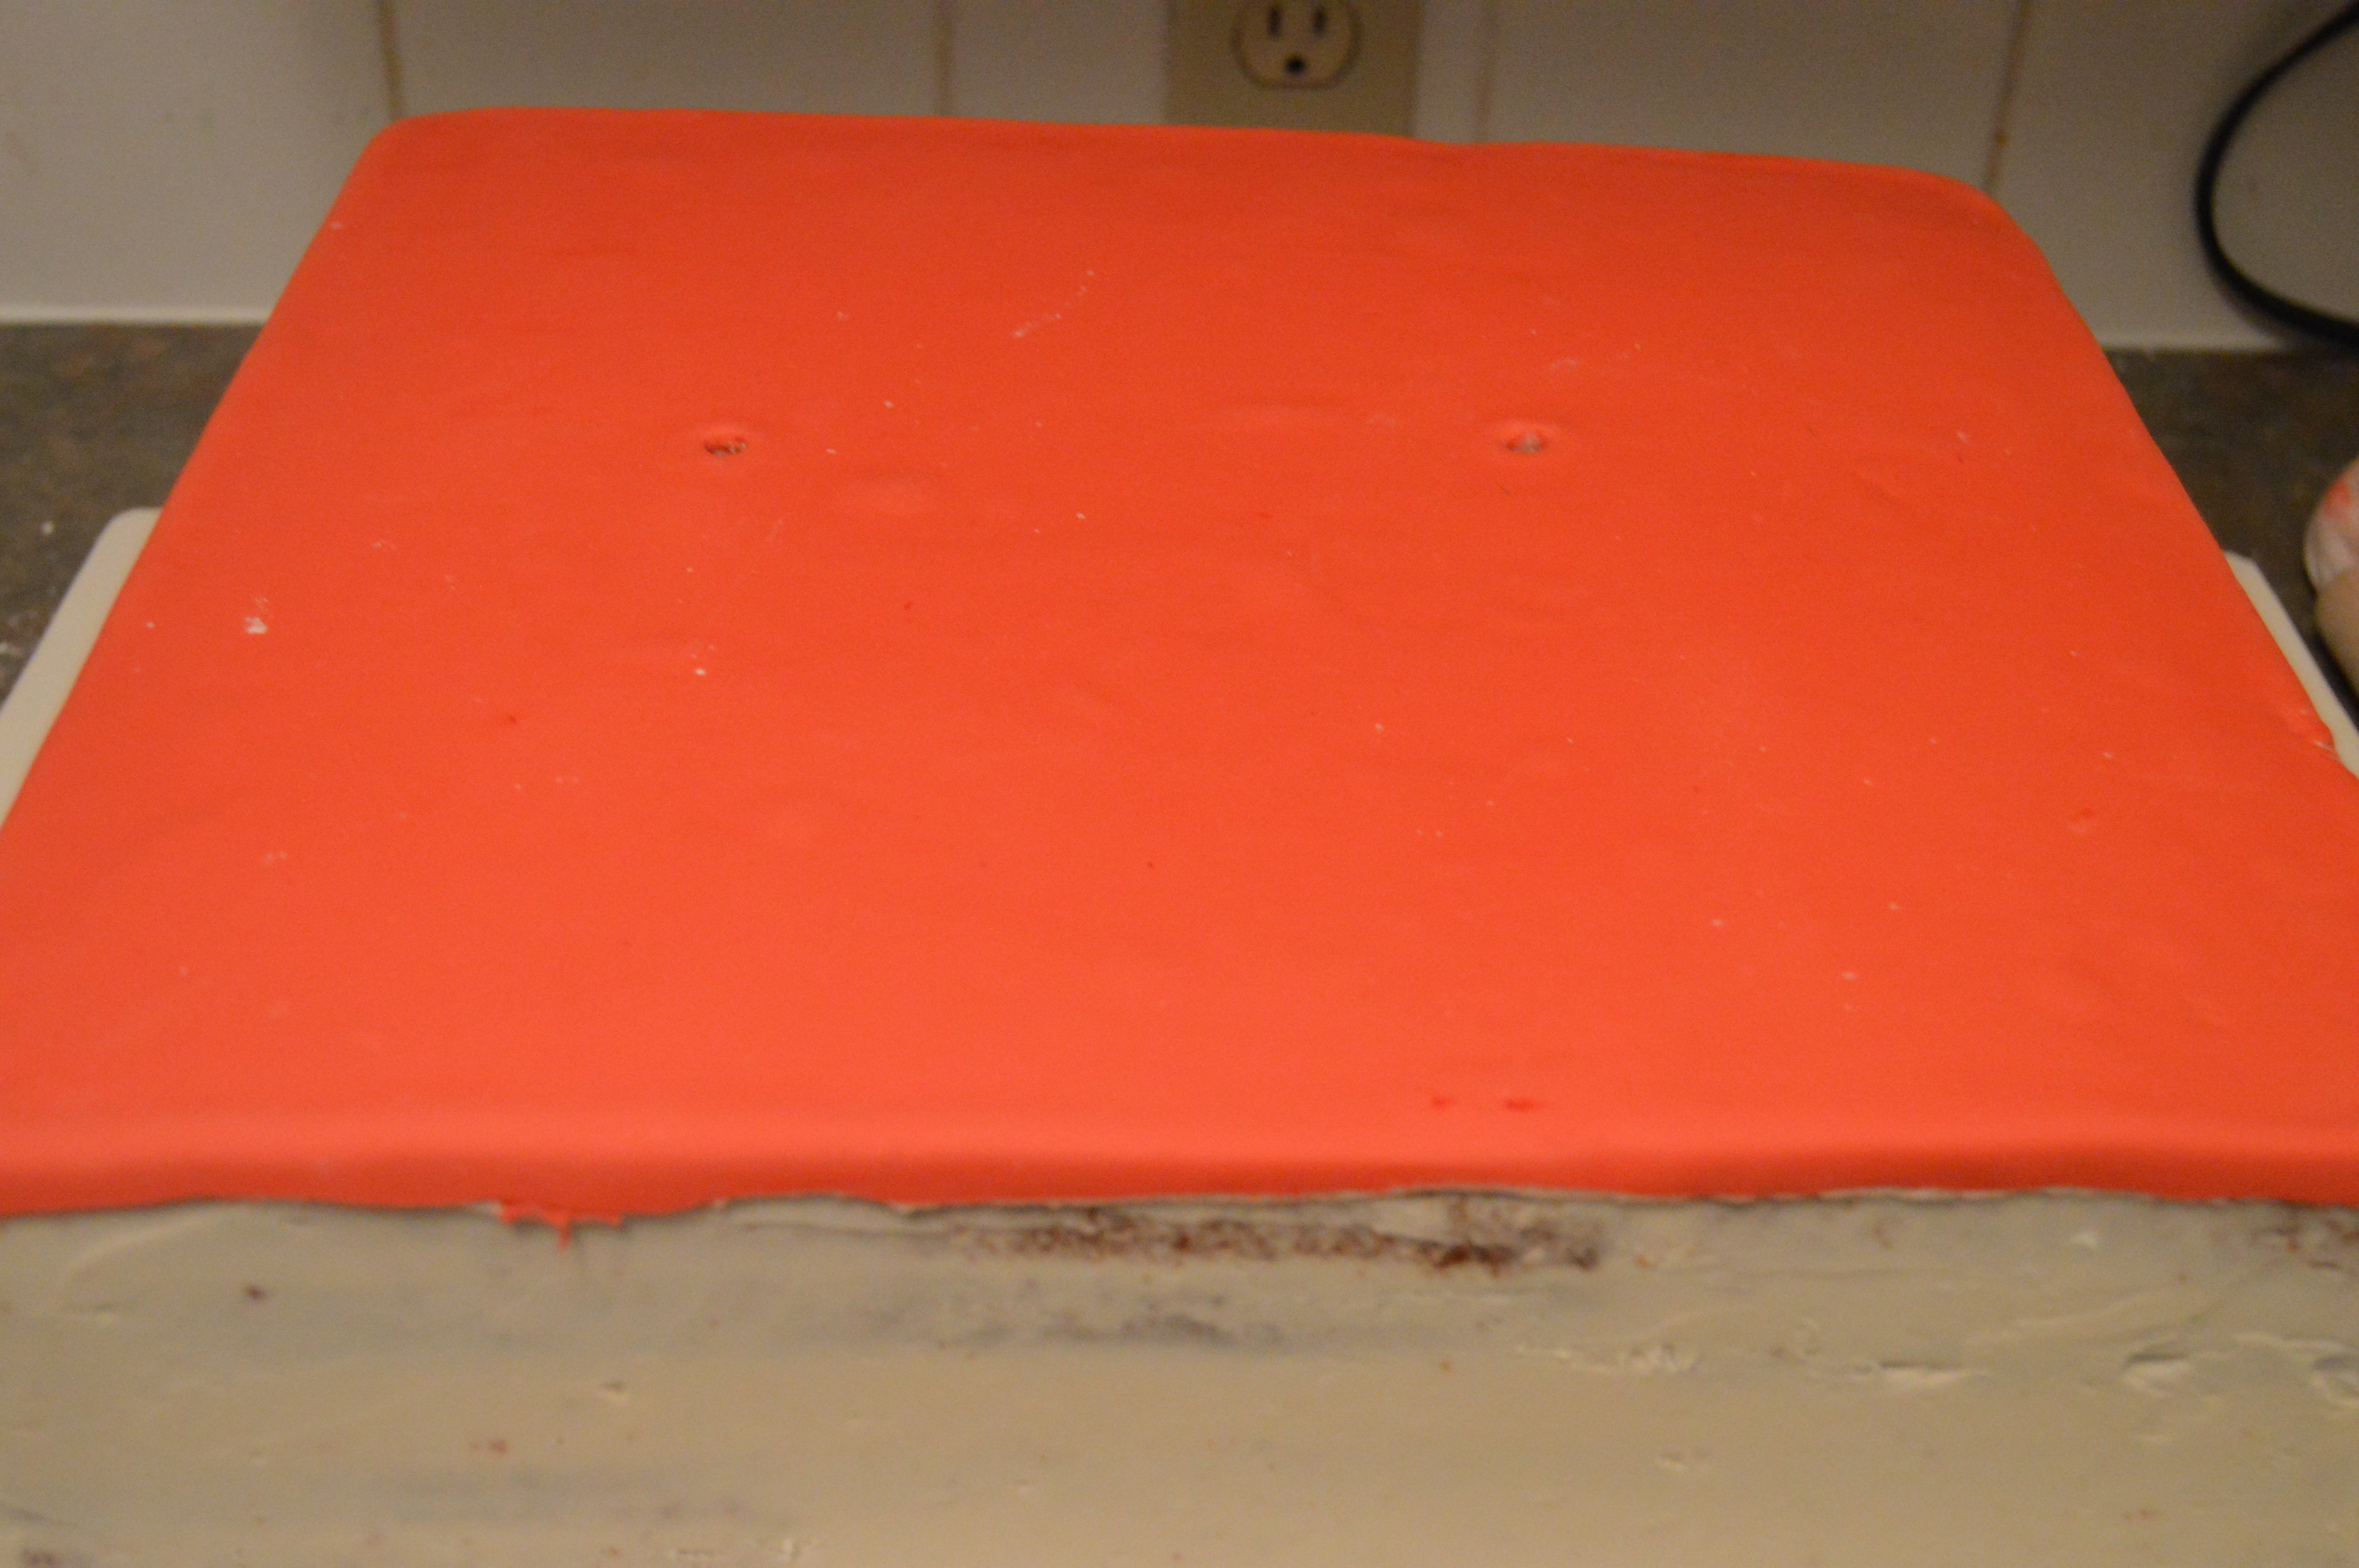
(5) Next, roll out fondant the height of the bottom tier and enough to go round the cake and wrap it around the cake. If the fondant is not long enough to wrap the entire cake, make the seams at the back of the cake. You would notice that the fondant did not get to the top of the cake. This was a judgement error on my part. I however was not disturbed by this as I was going to cover the top with another strip of fondant.
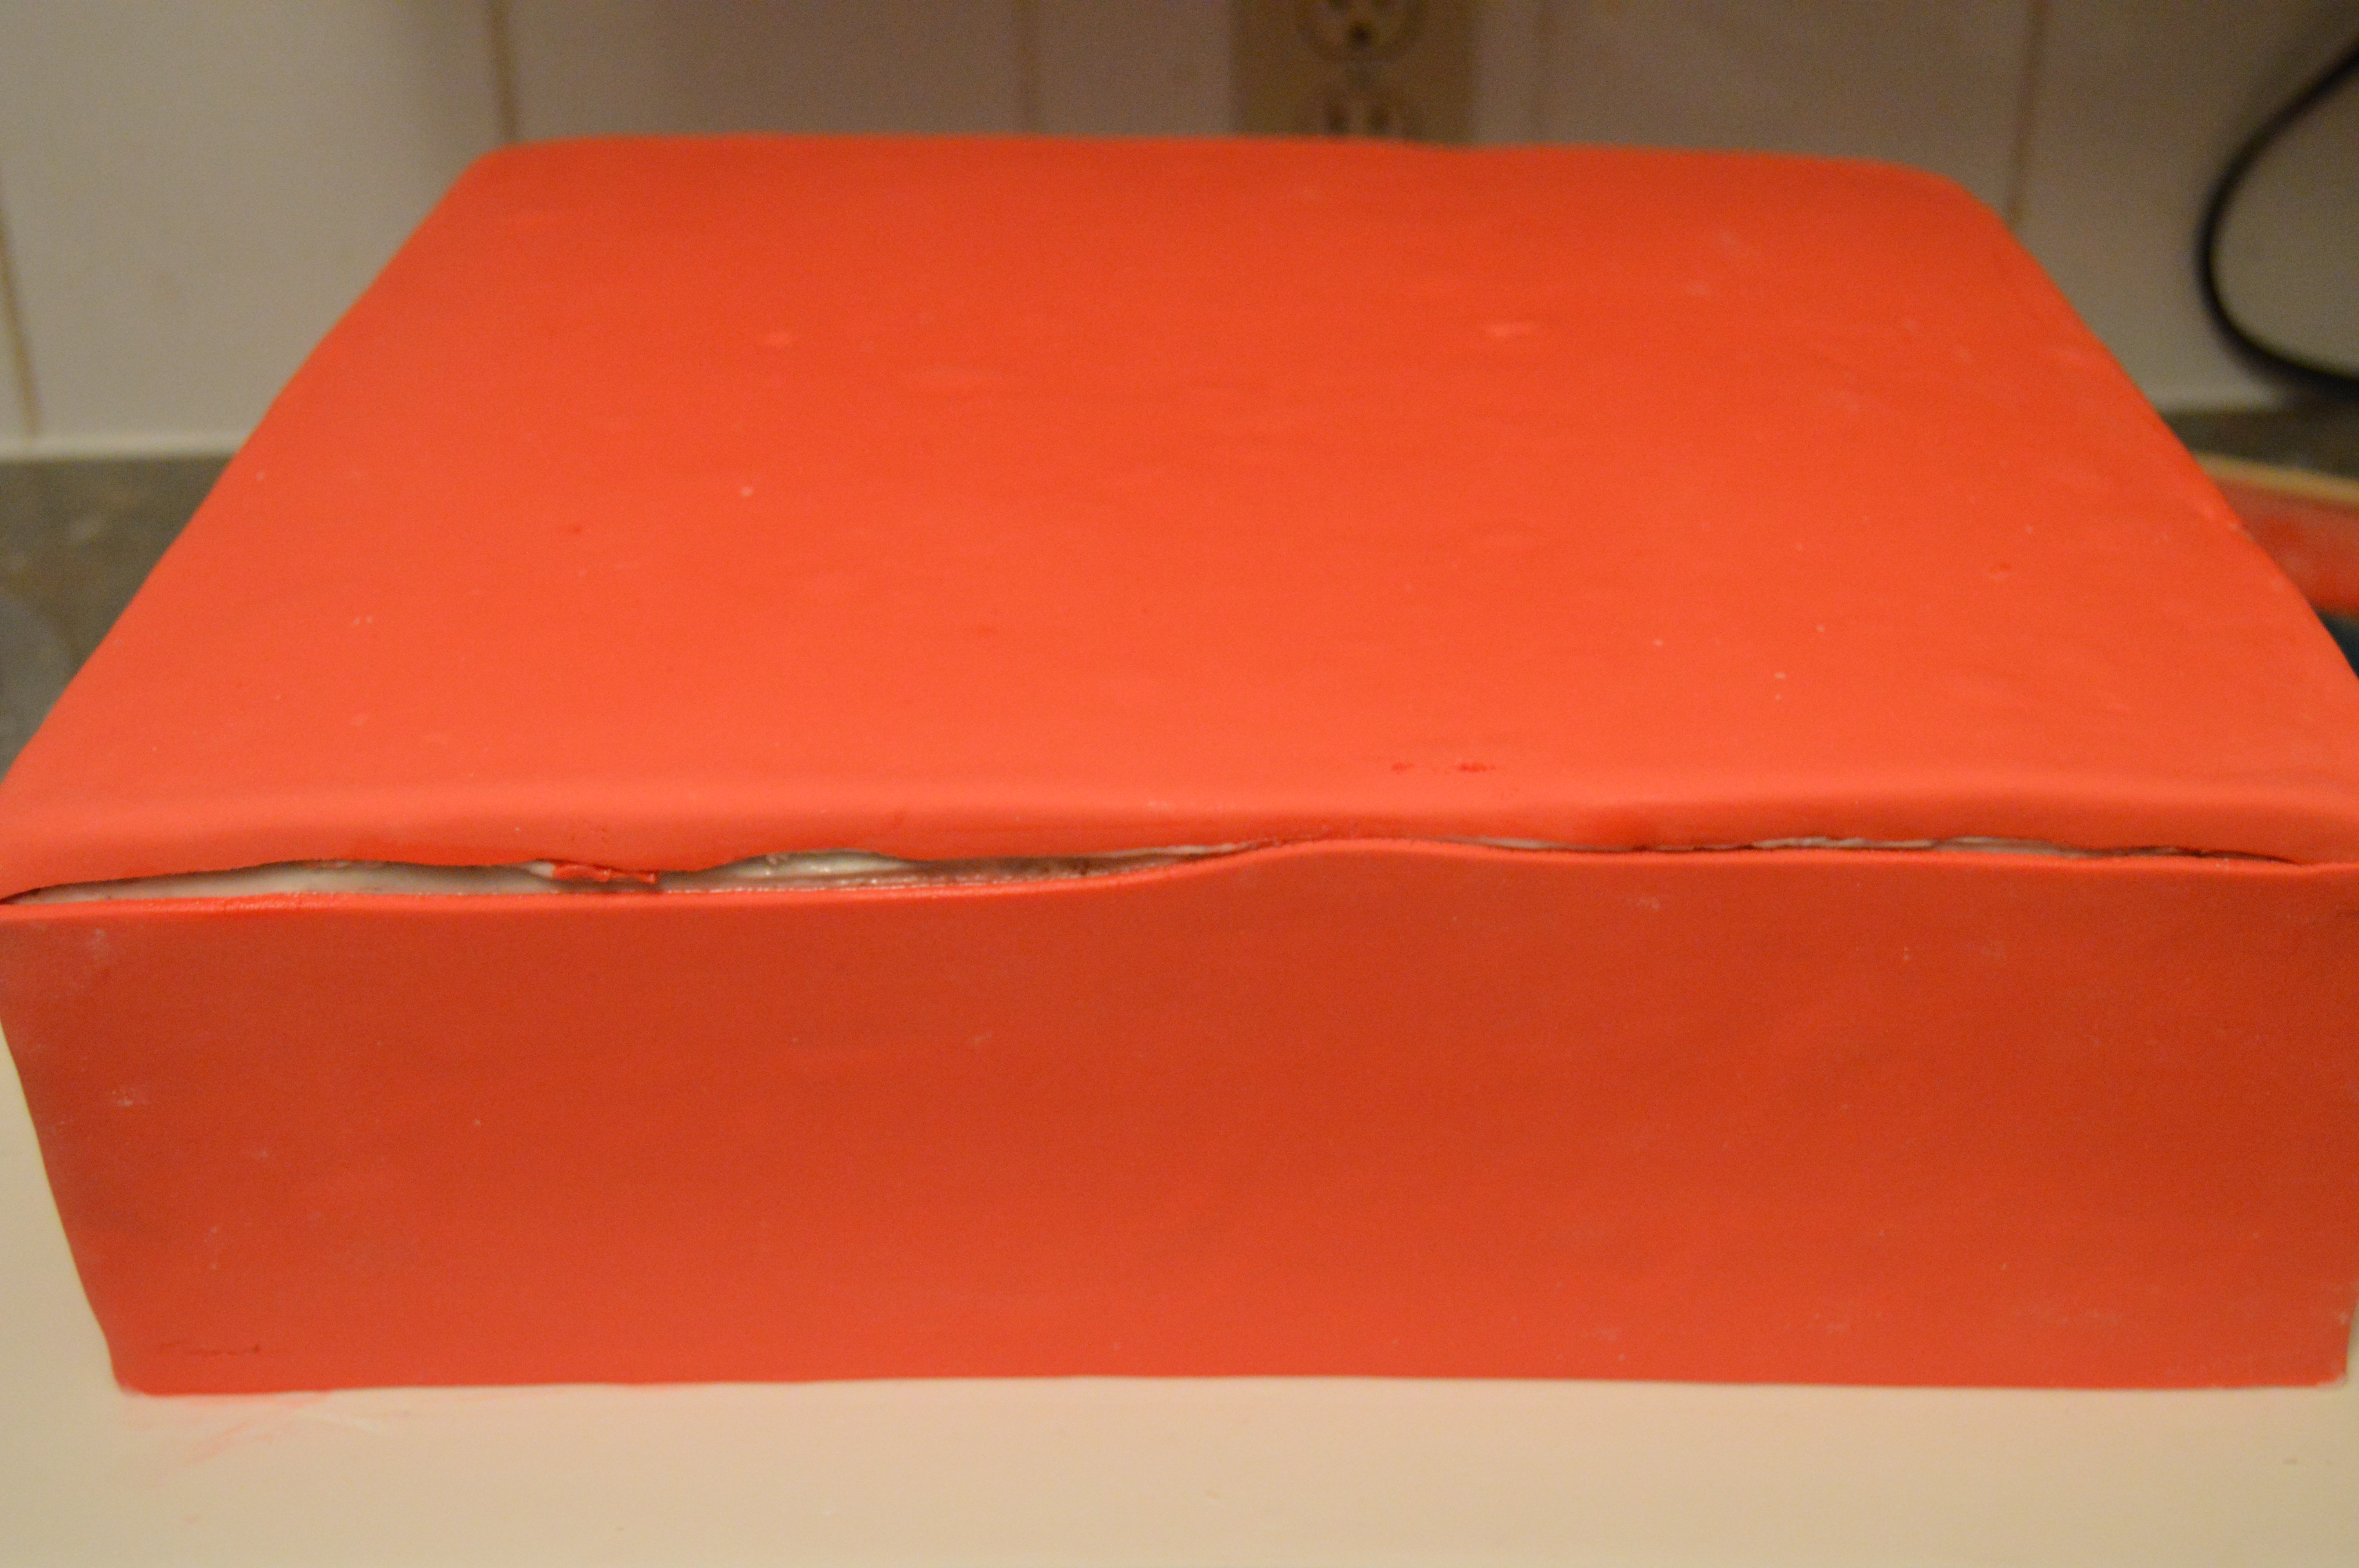
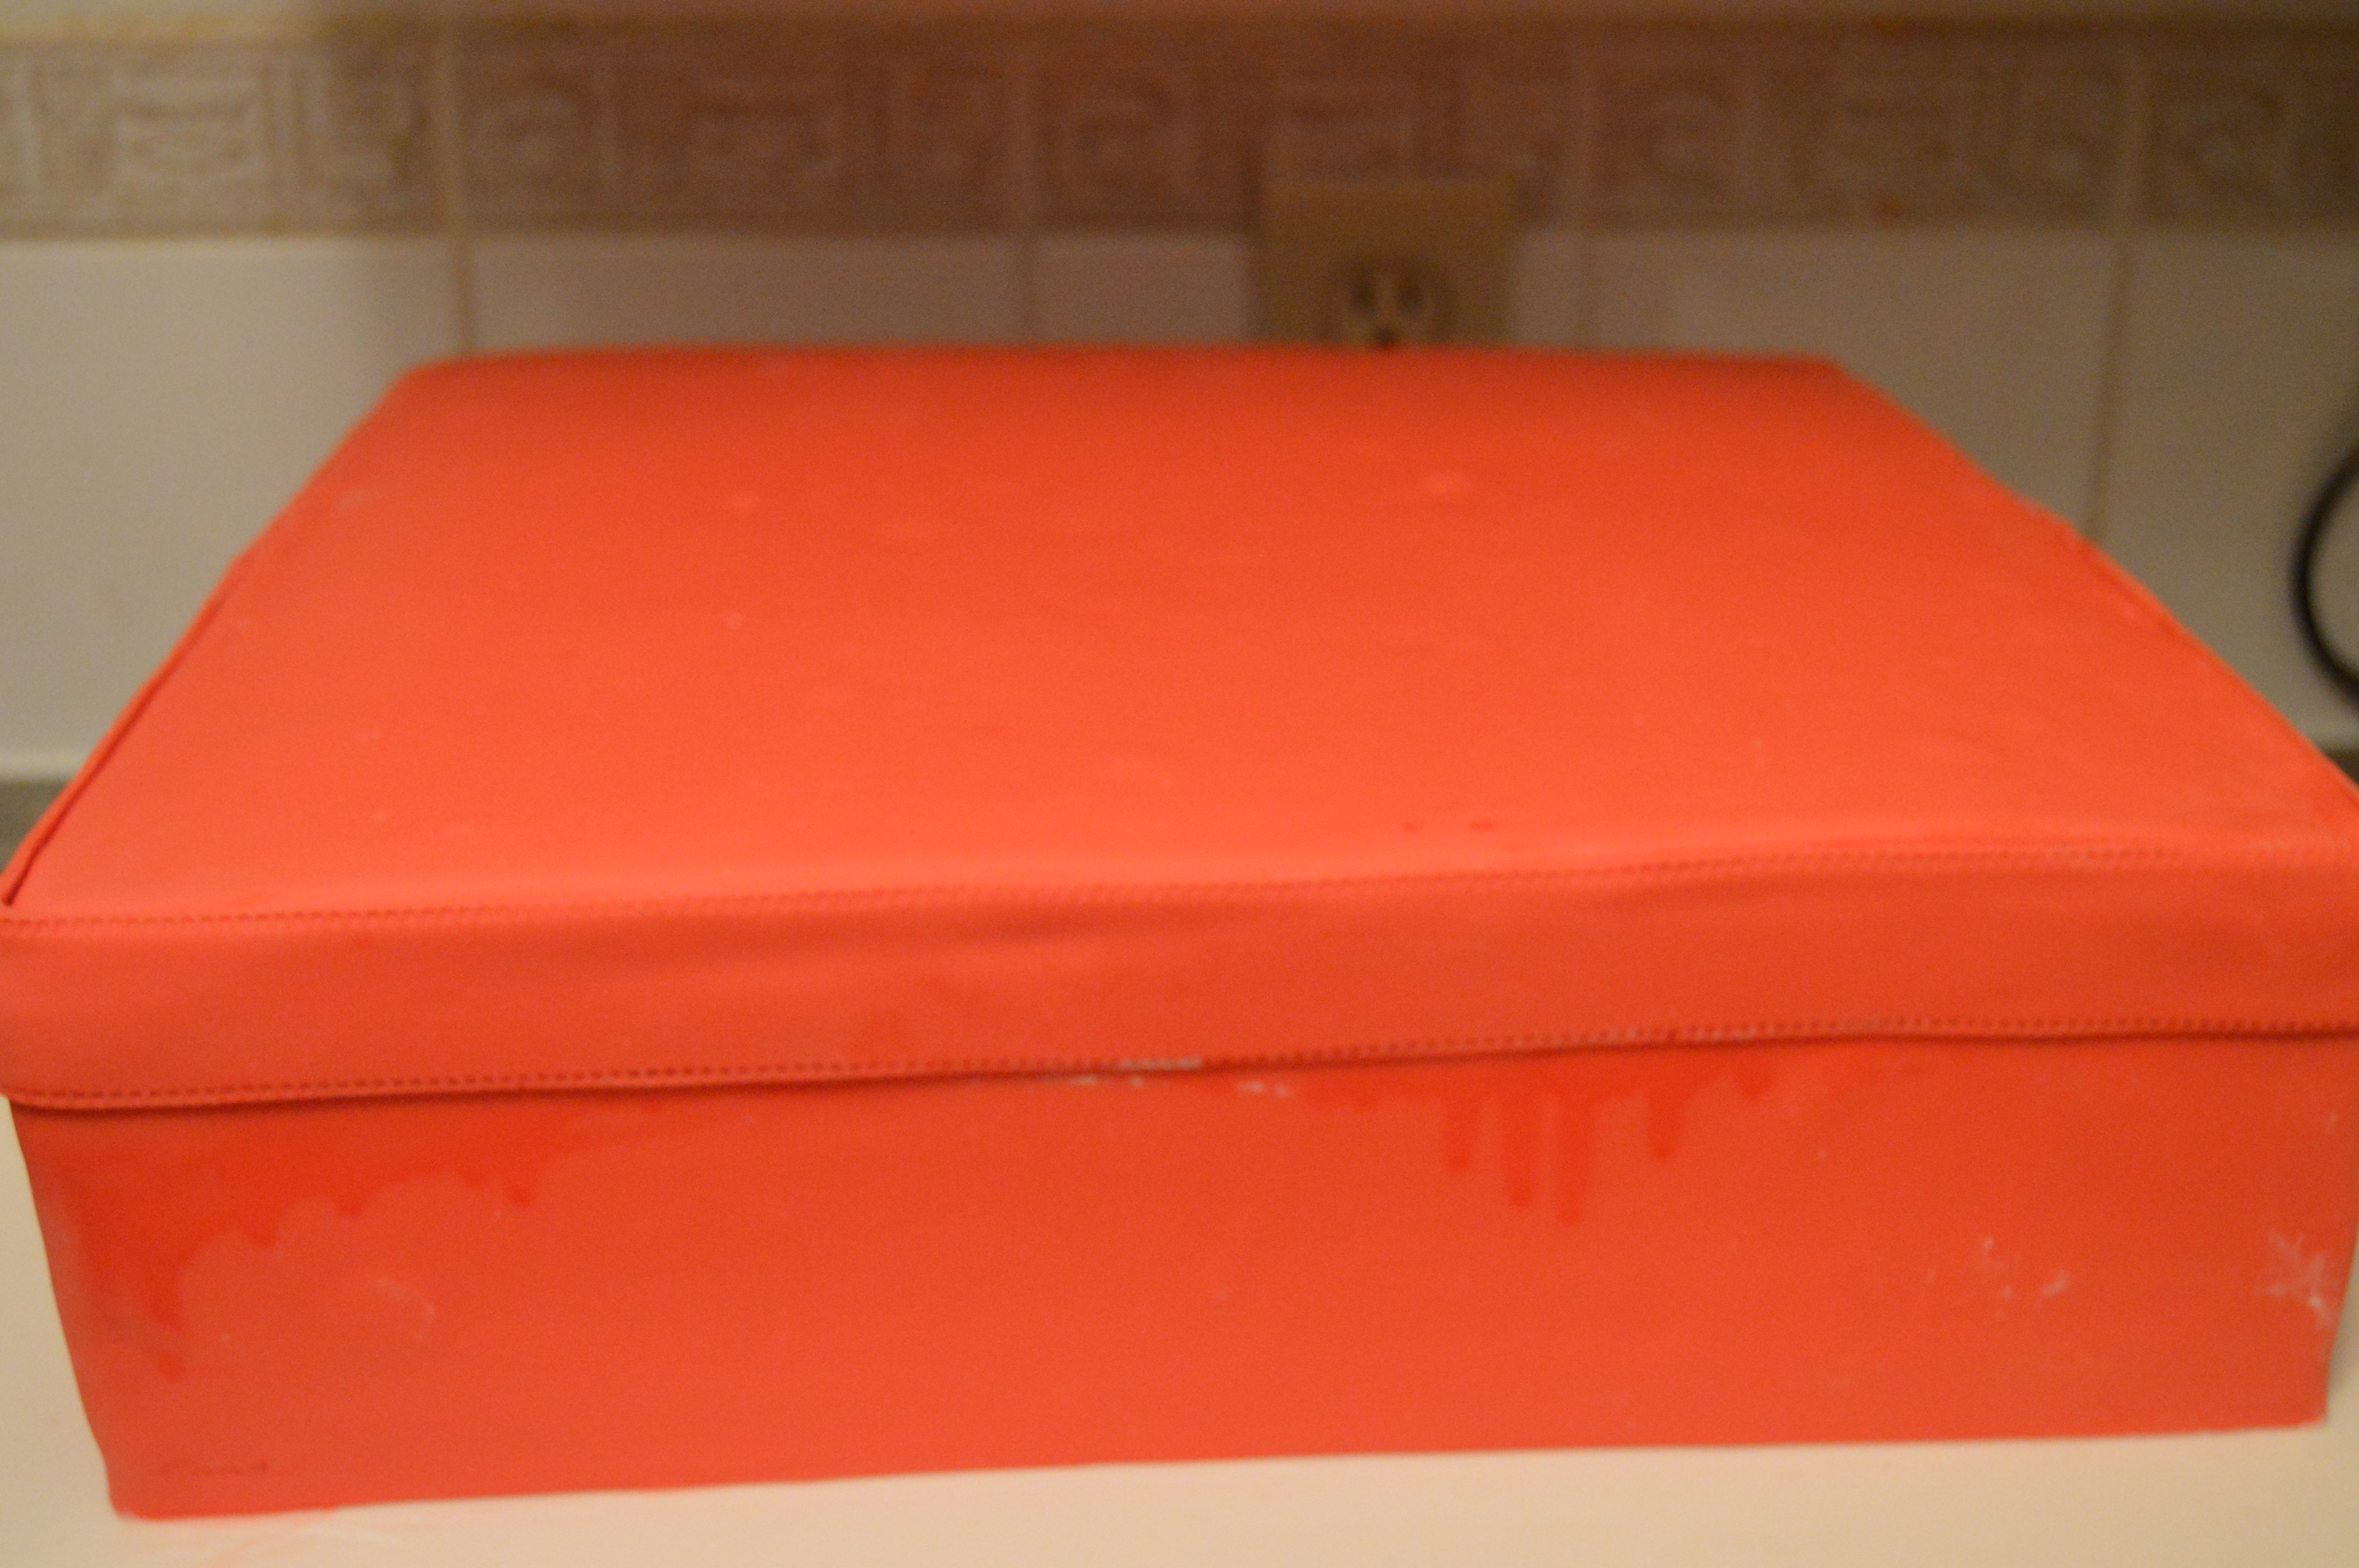
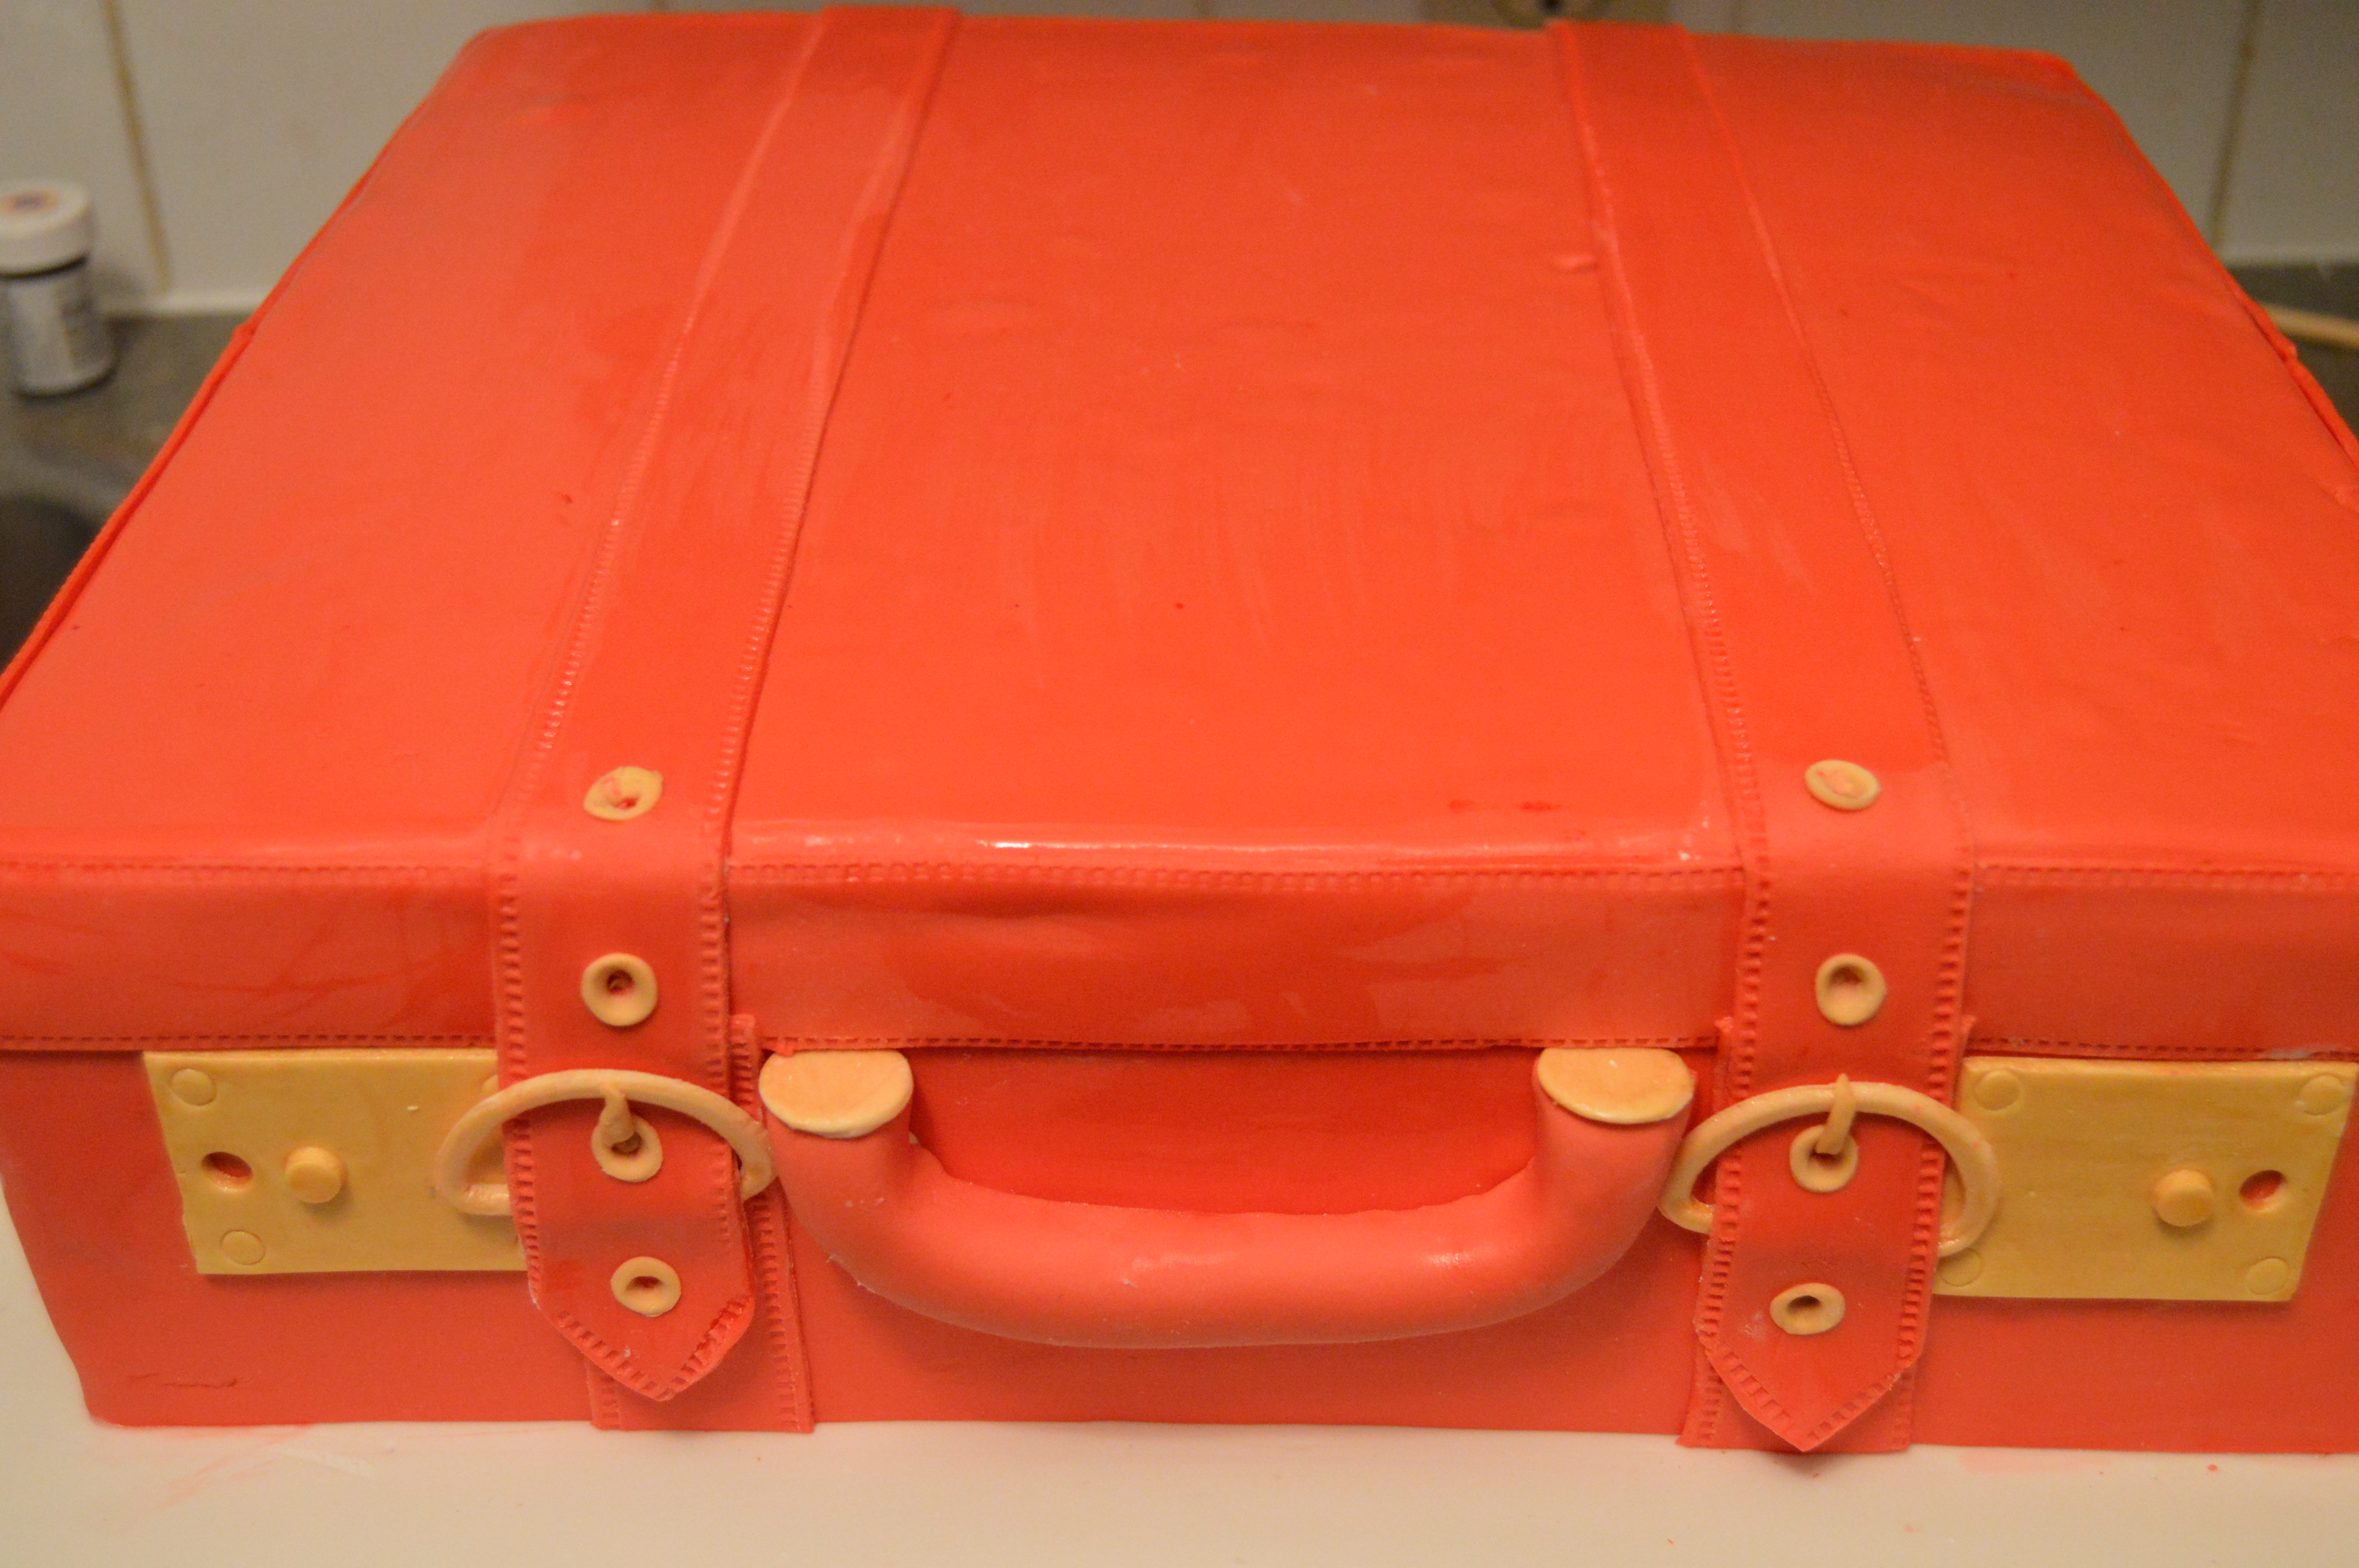
(5) Next, cut out a strip of fondant about 1 inch wide and stitch the edges using an embosser/fondant wheel. Stick this around the top of the cake.
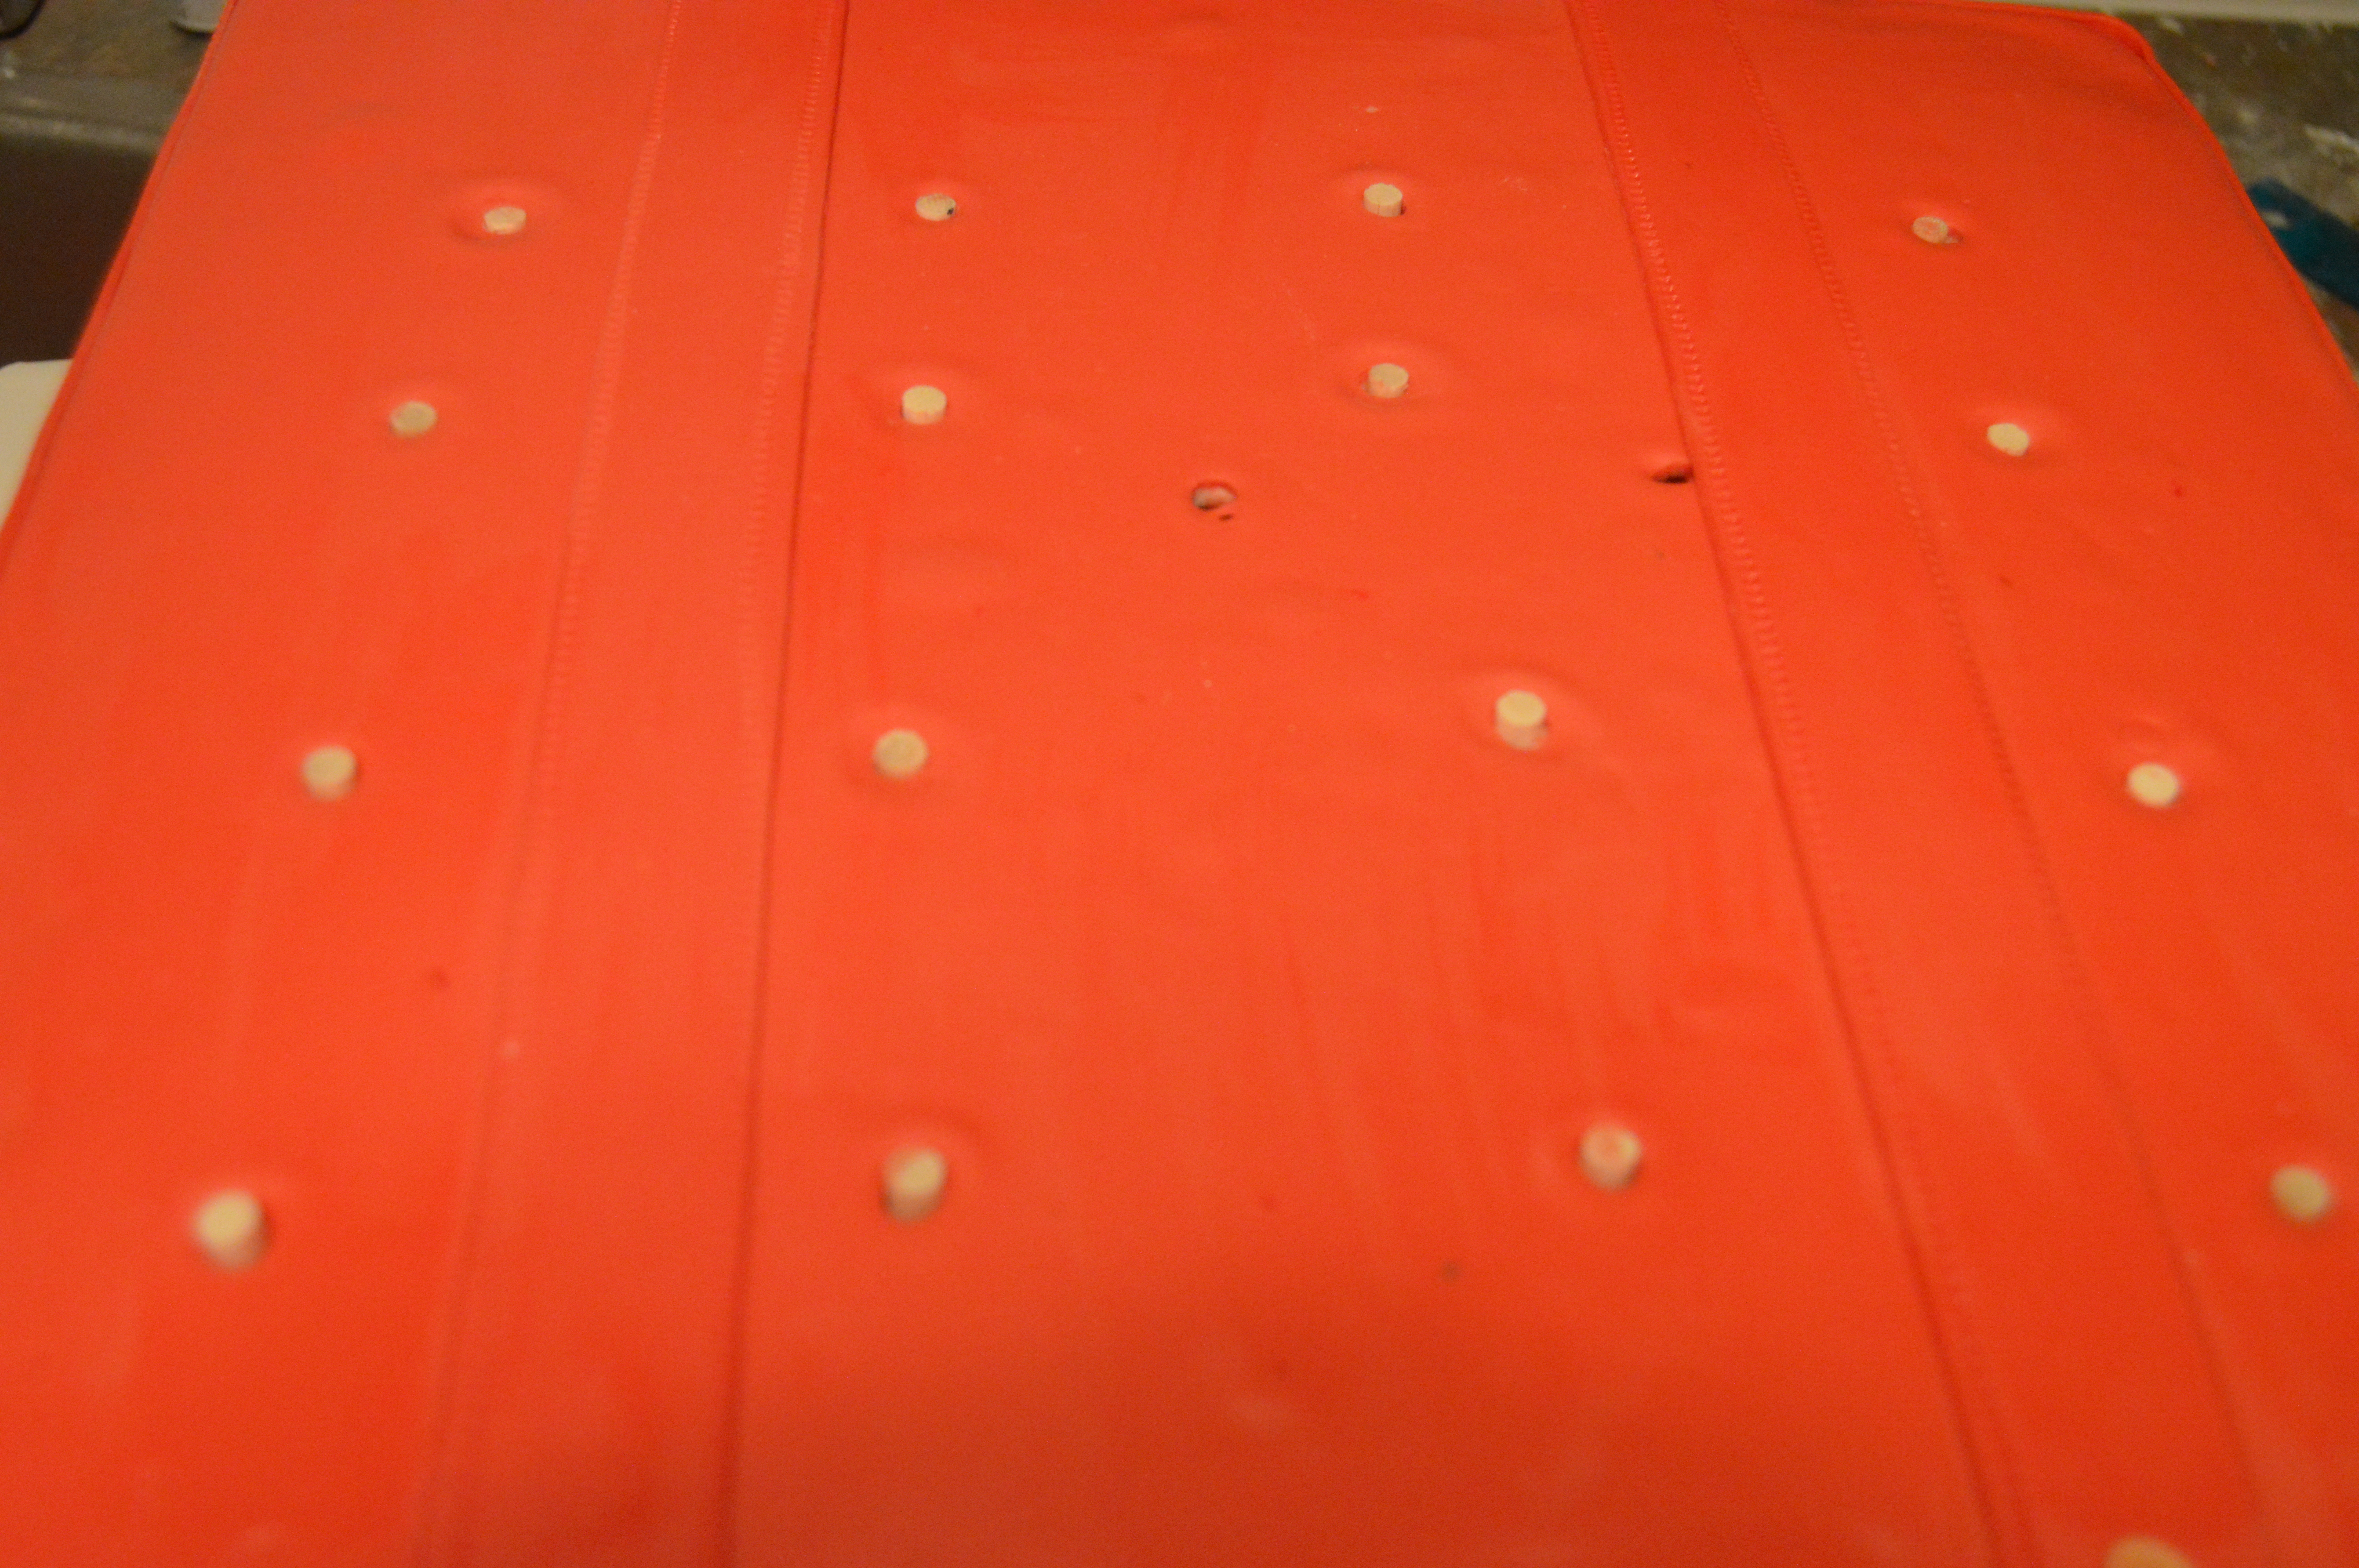
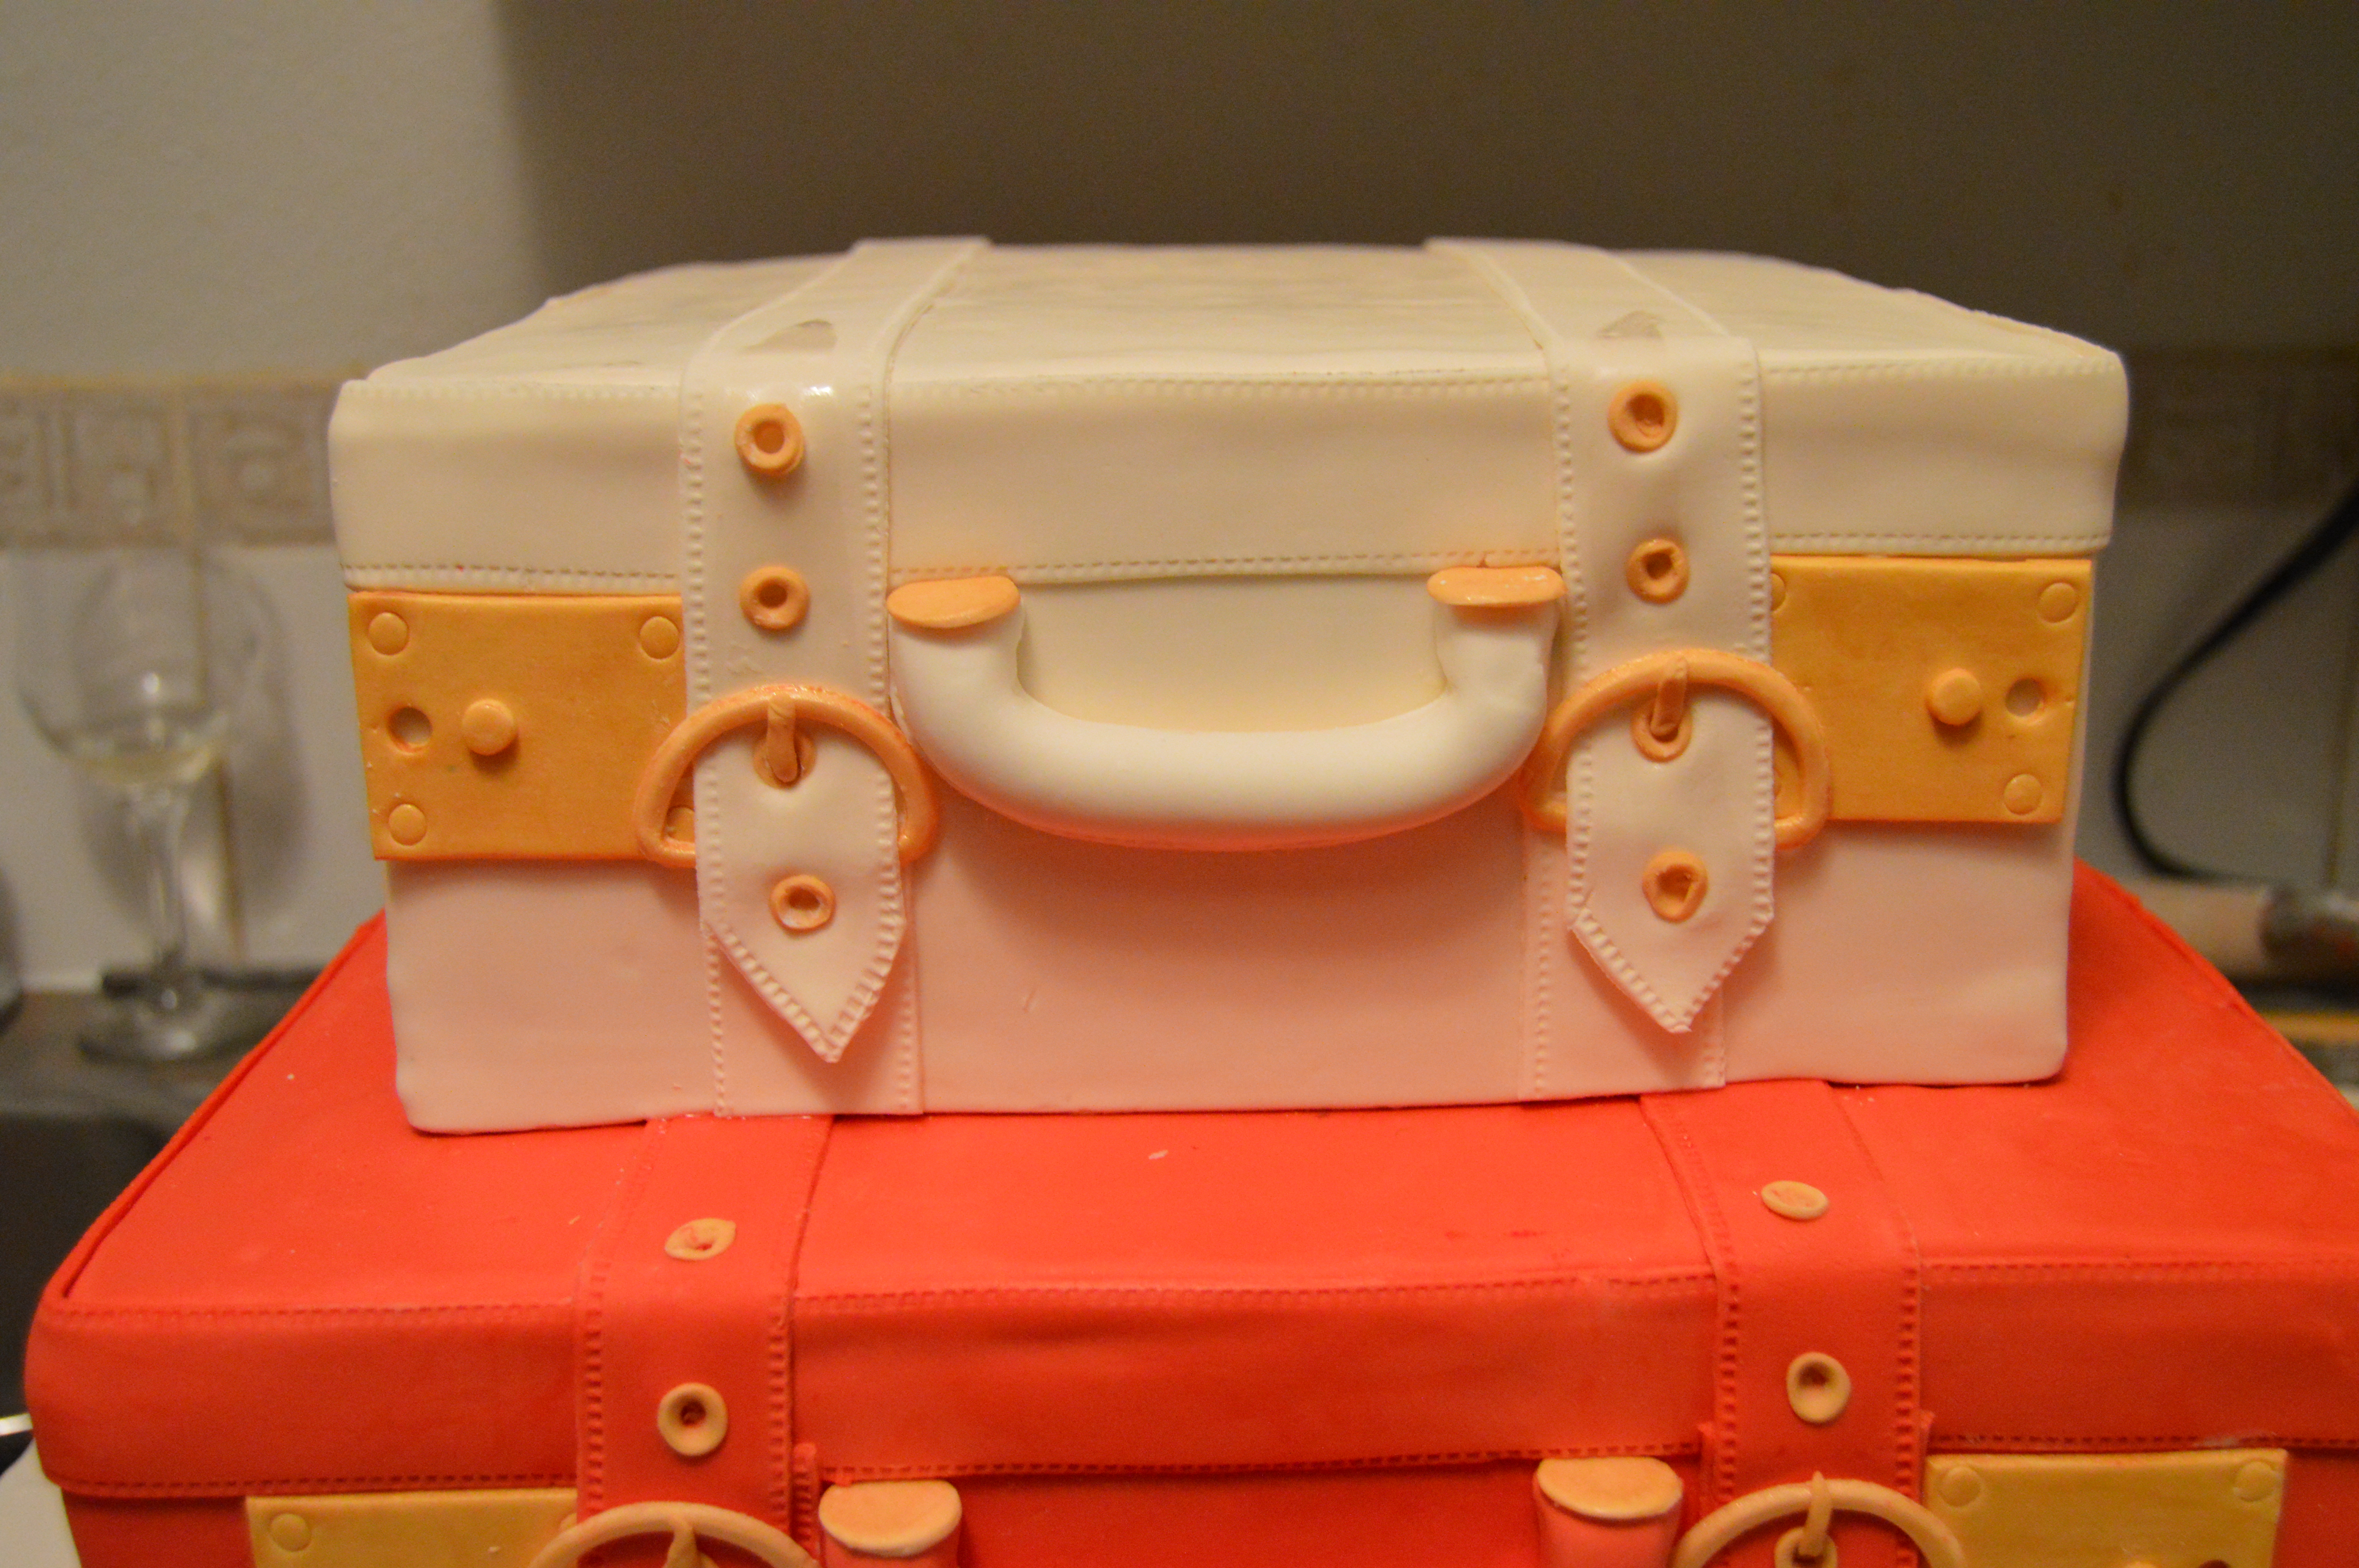
(6) Next, stick the handle, straps, buckles and locks to the cake. The straps were made with the same 1 inch fondant strips used around the top of the cake. The holes on the straps were made by sticking ivory fondant circles on the strap and passing the end of a brush through them.
(7) Next, place dowels in the bottom tier and stack the middle tier on it.
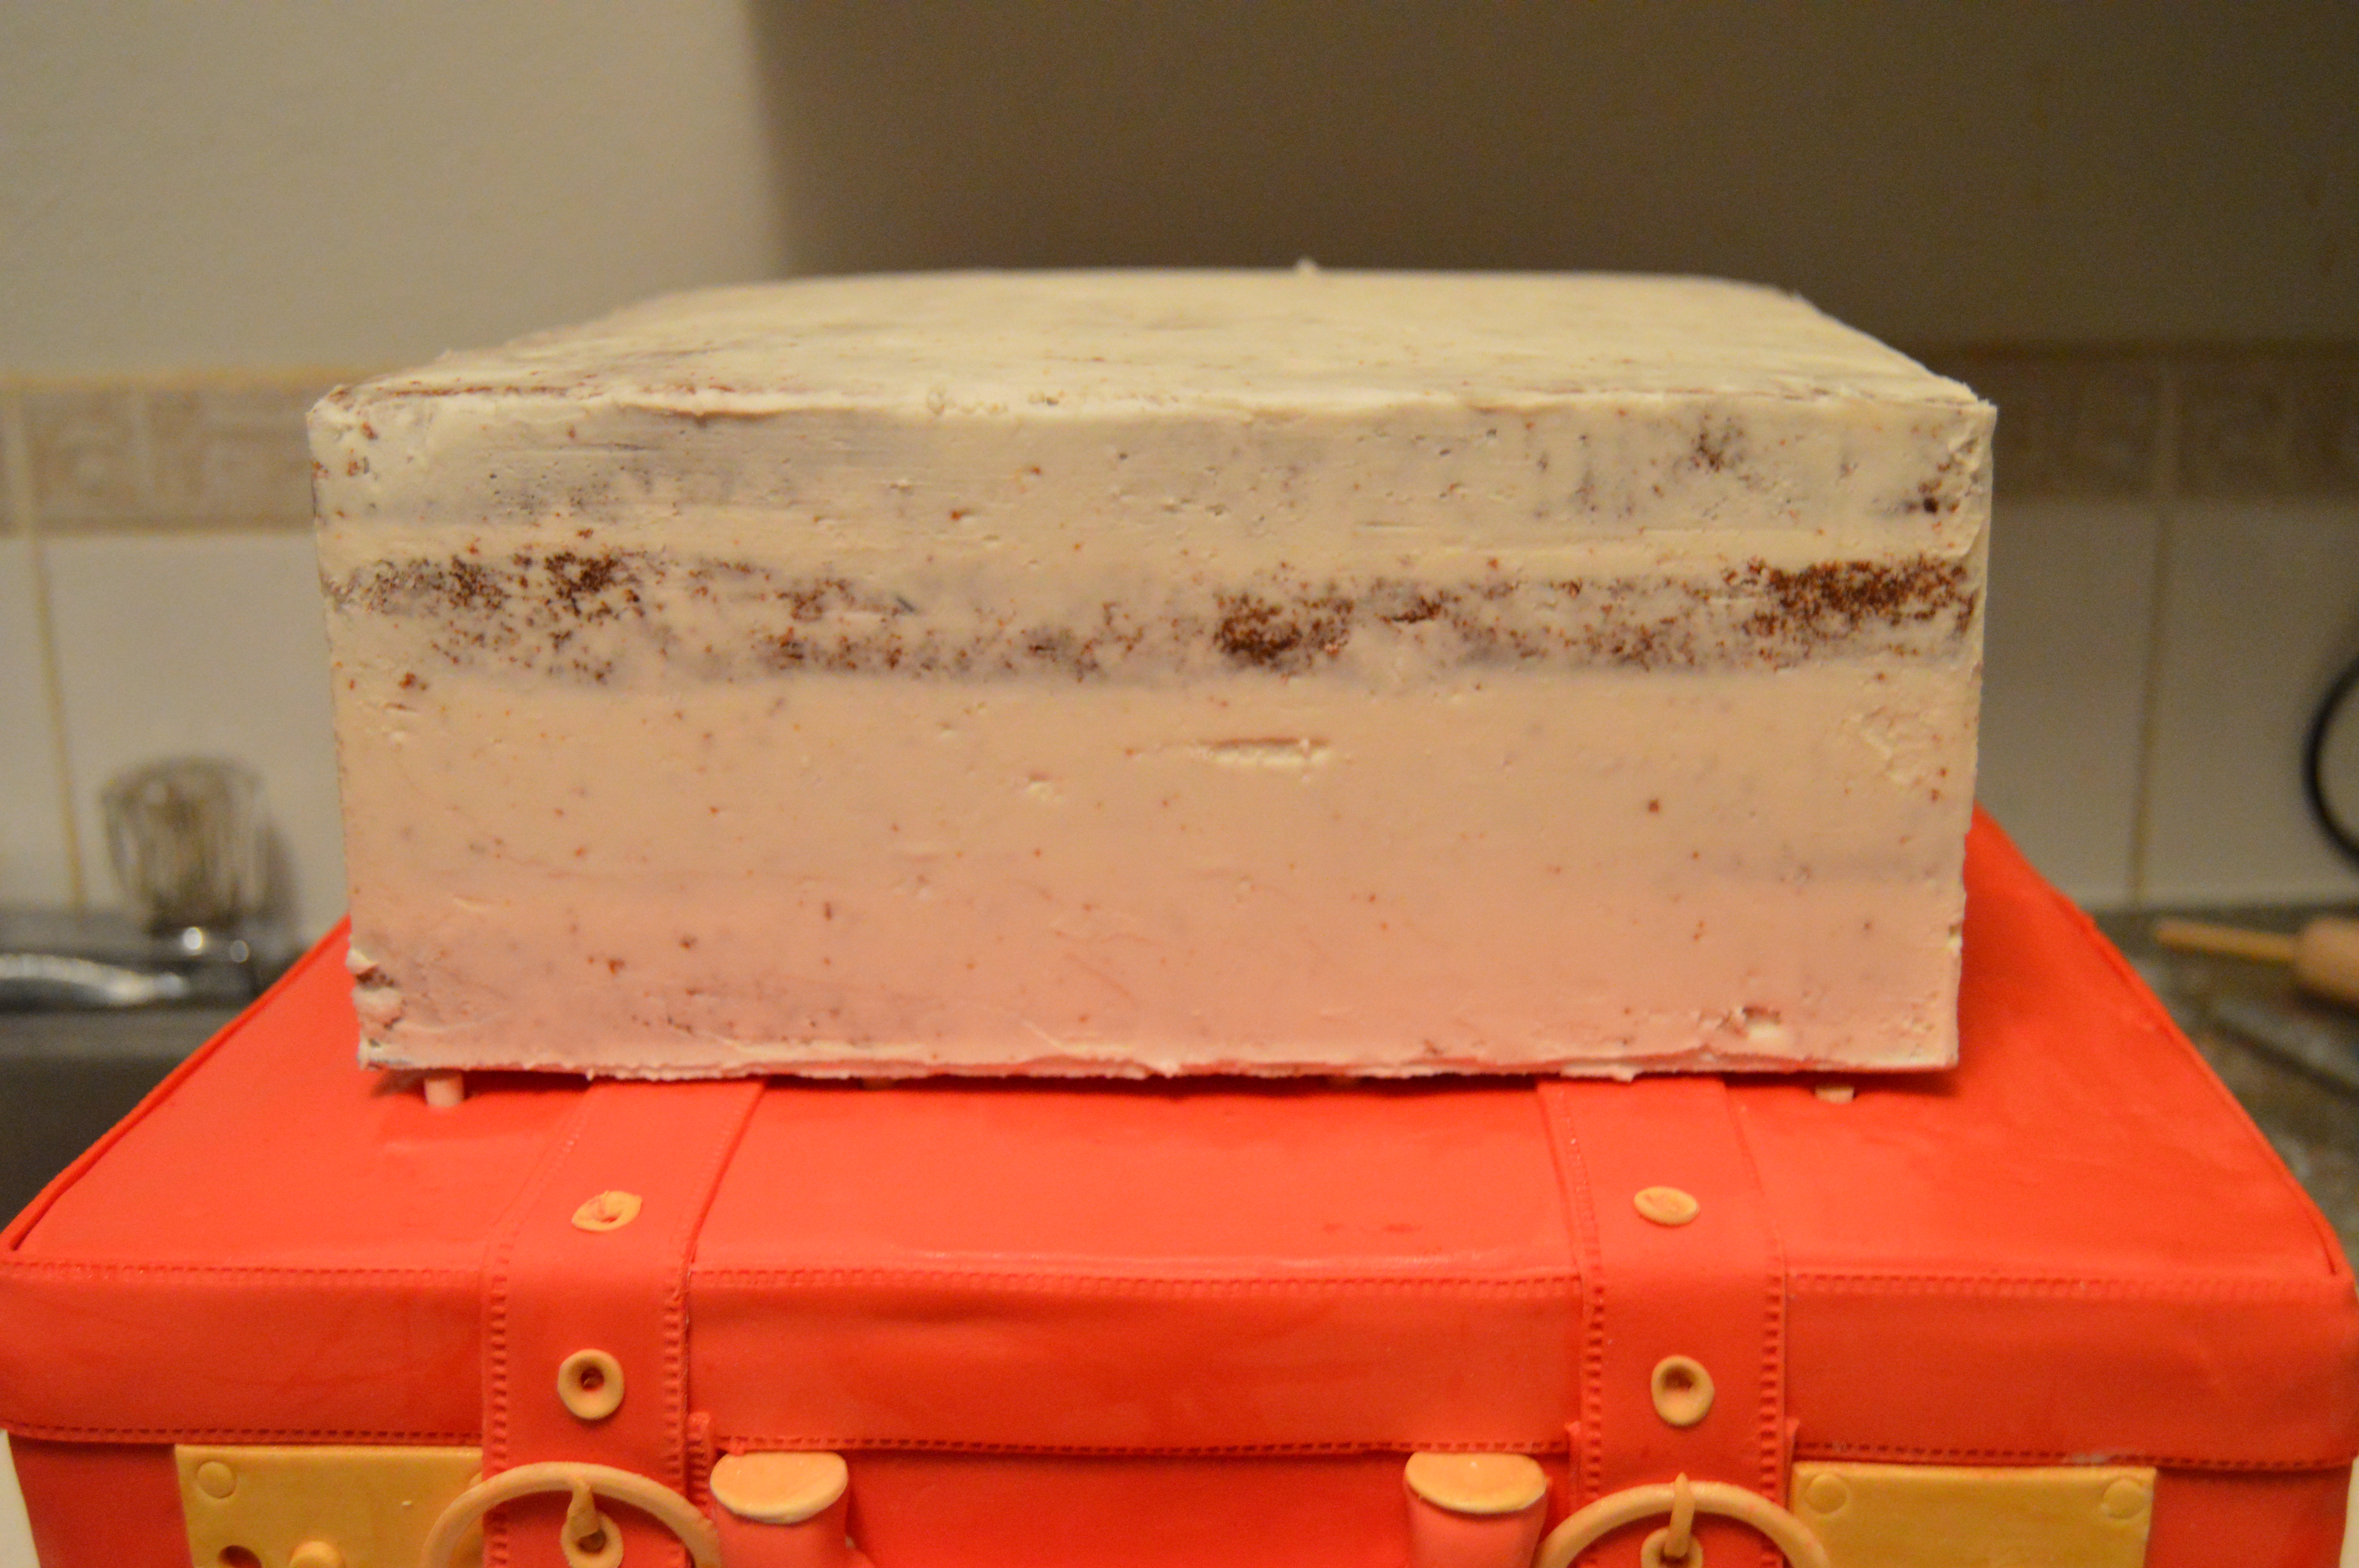
(8) Repeat the same steps on the middle tier as with the bottom tier.
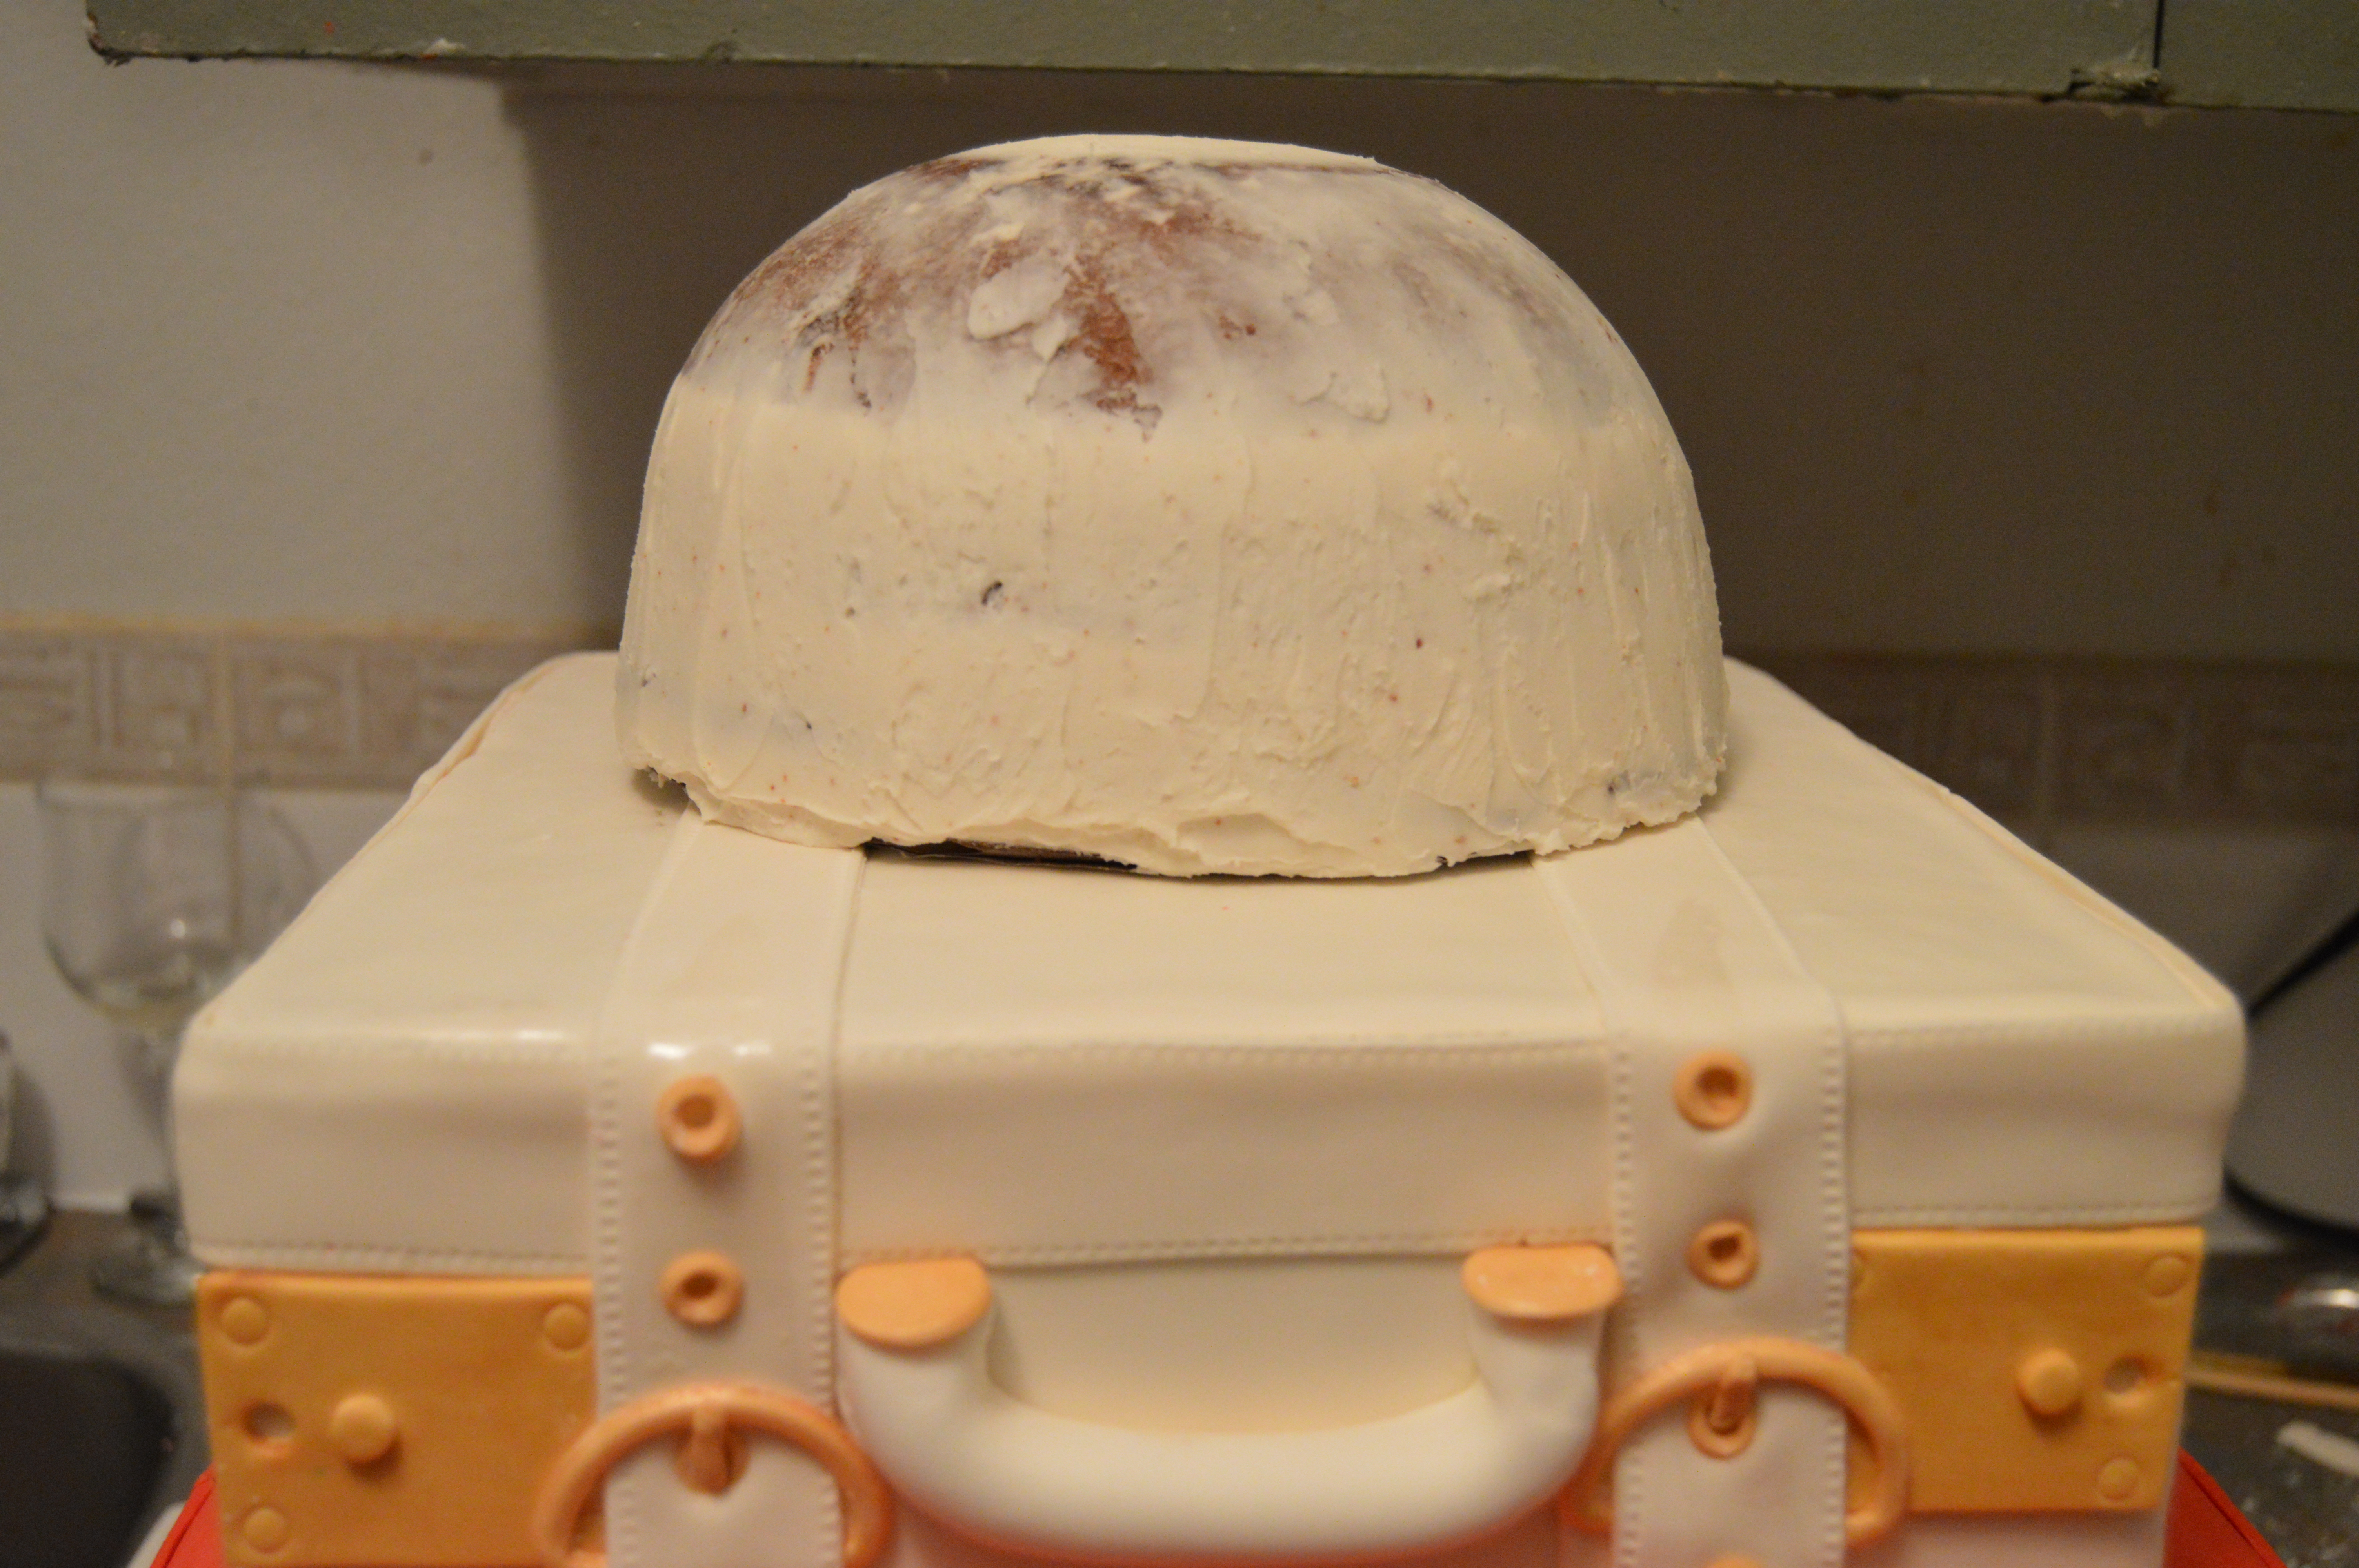
(9) Next, place dowels in the middle tier and stack the top tier on it. The top tier is a cake baked in a glass bowl with a diameter of 7 inches.
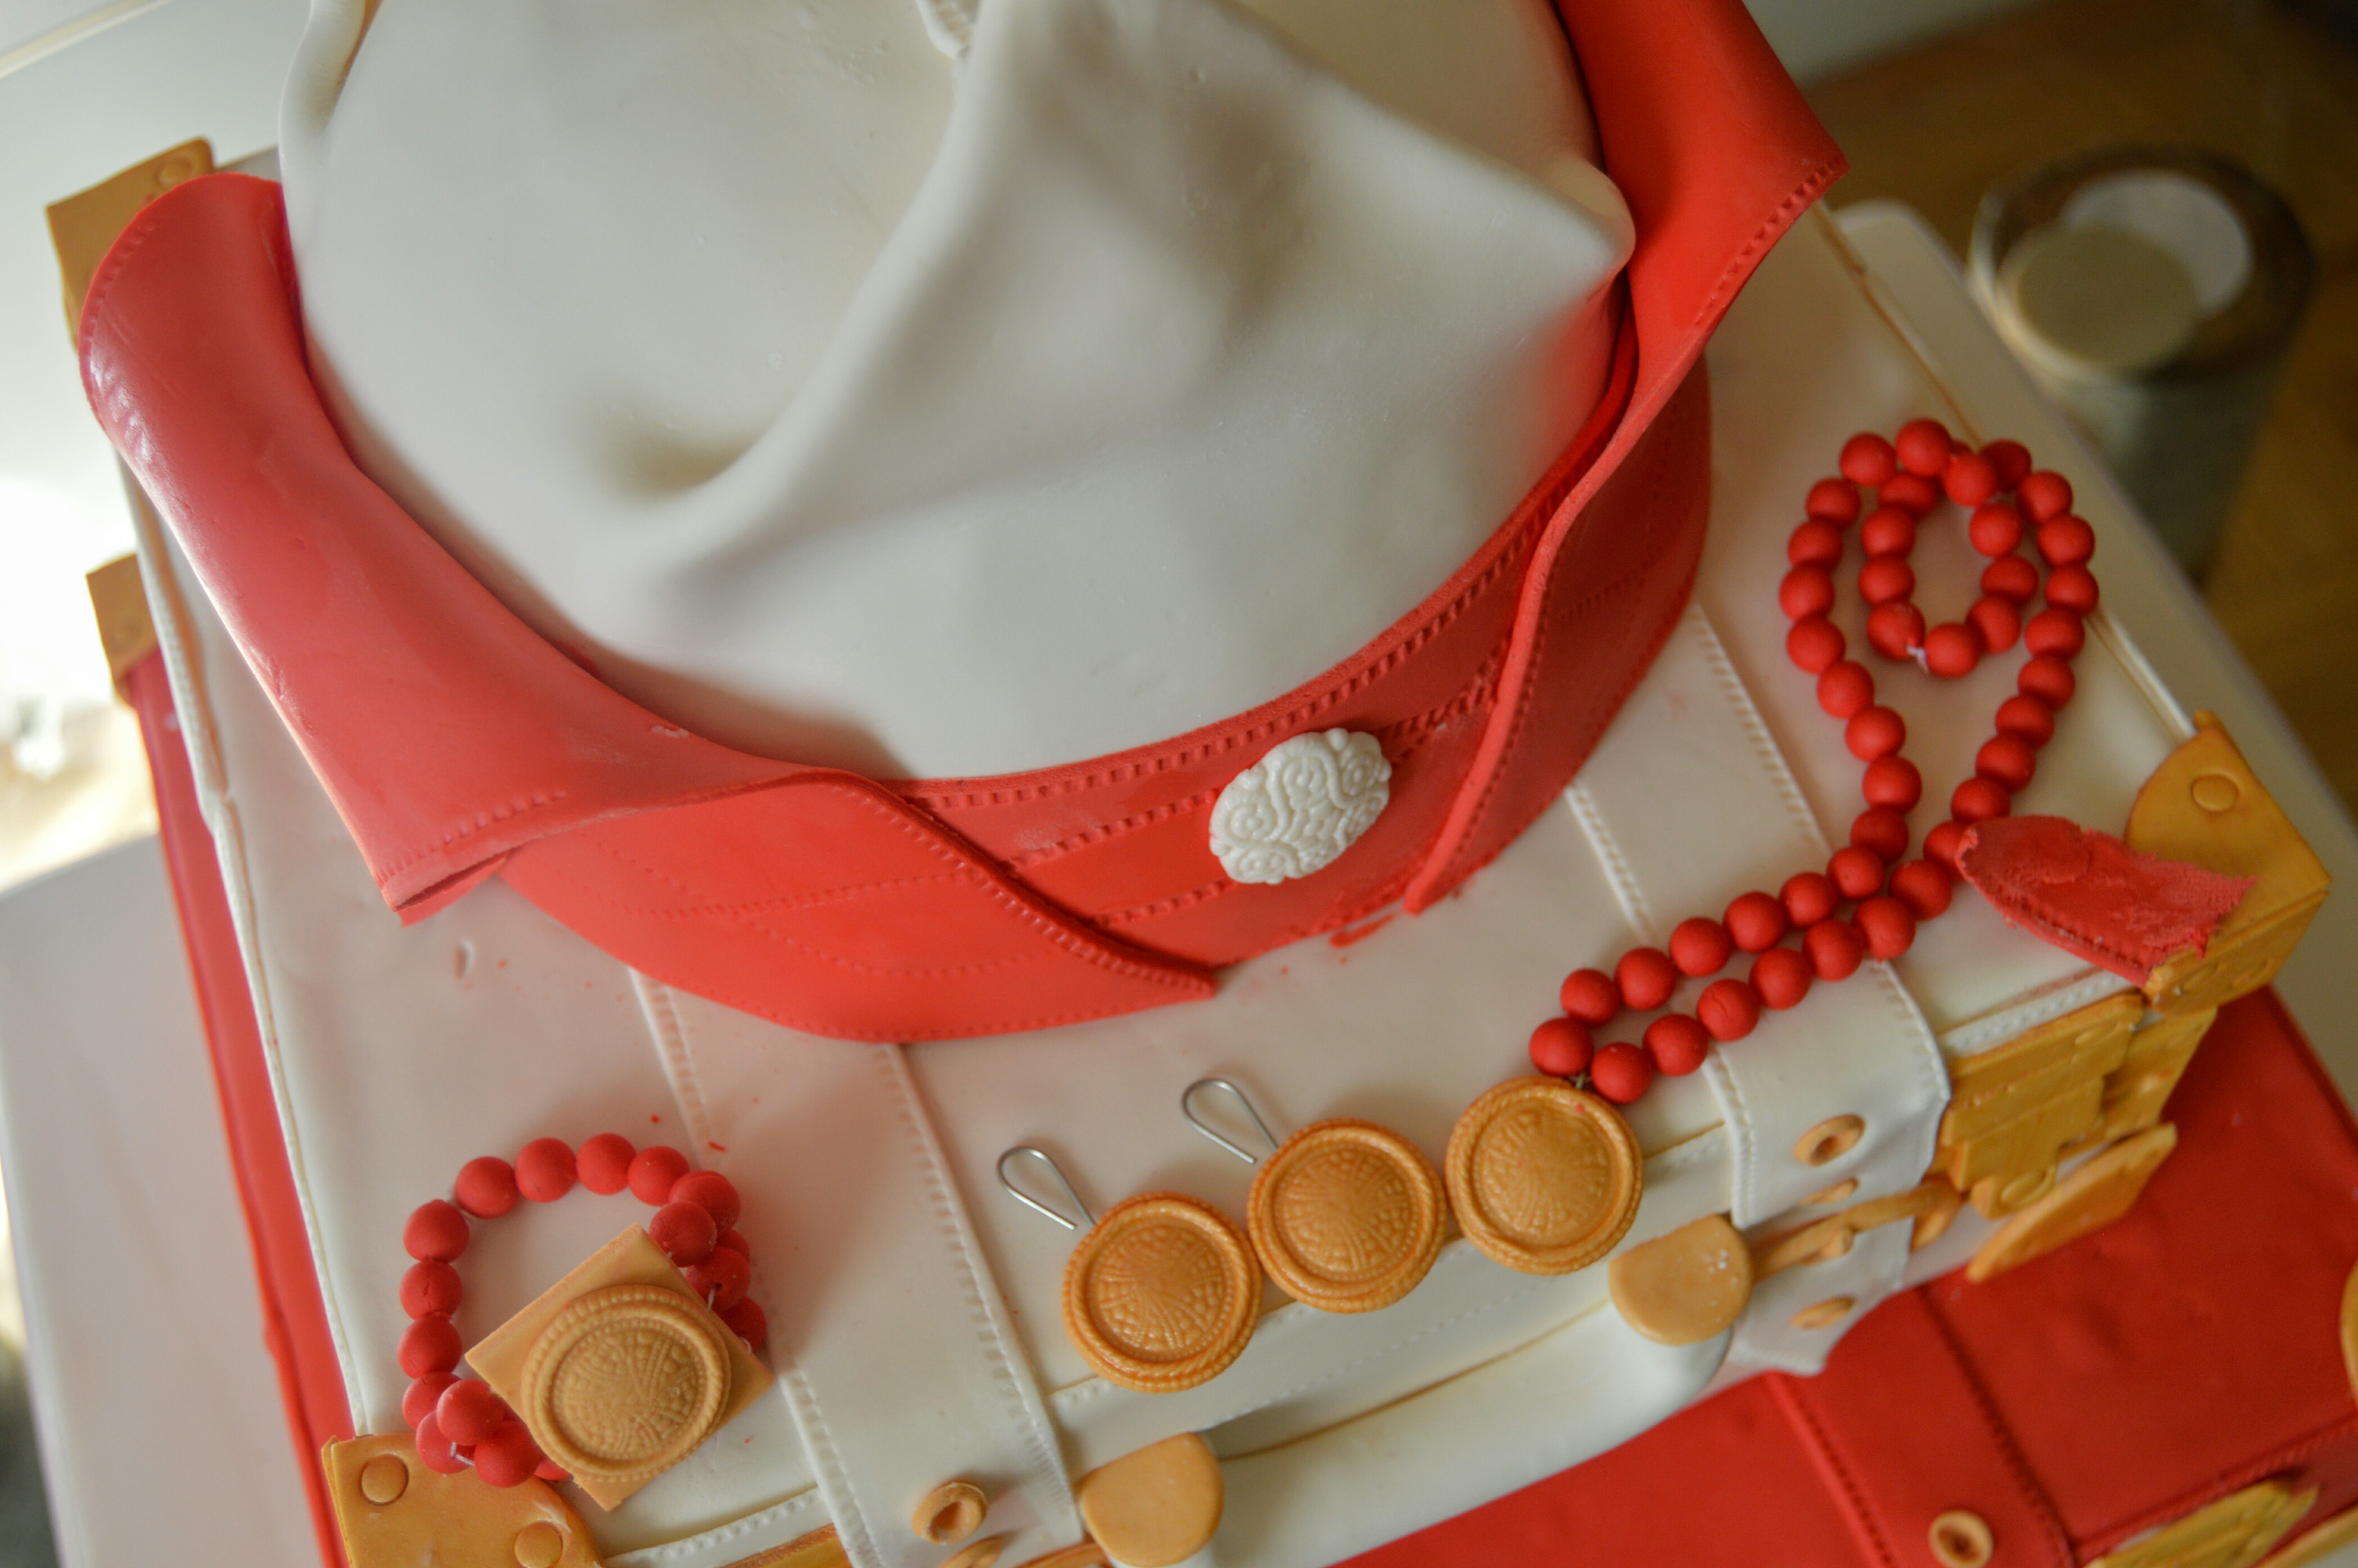
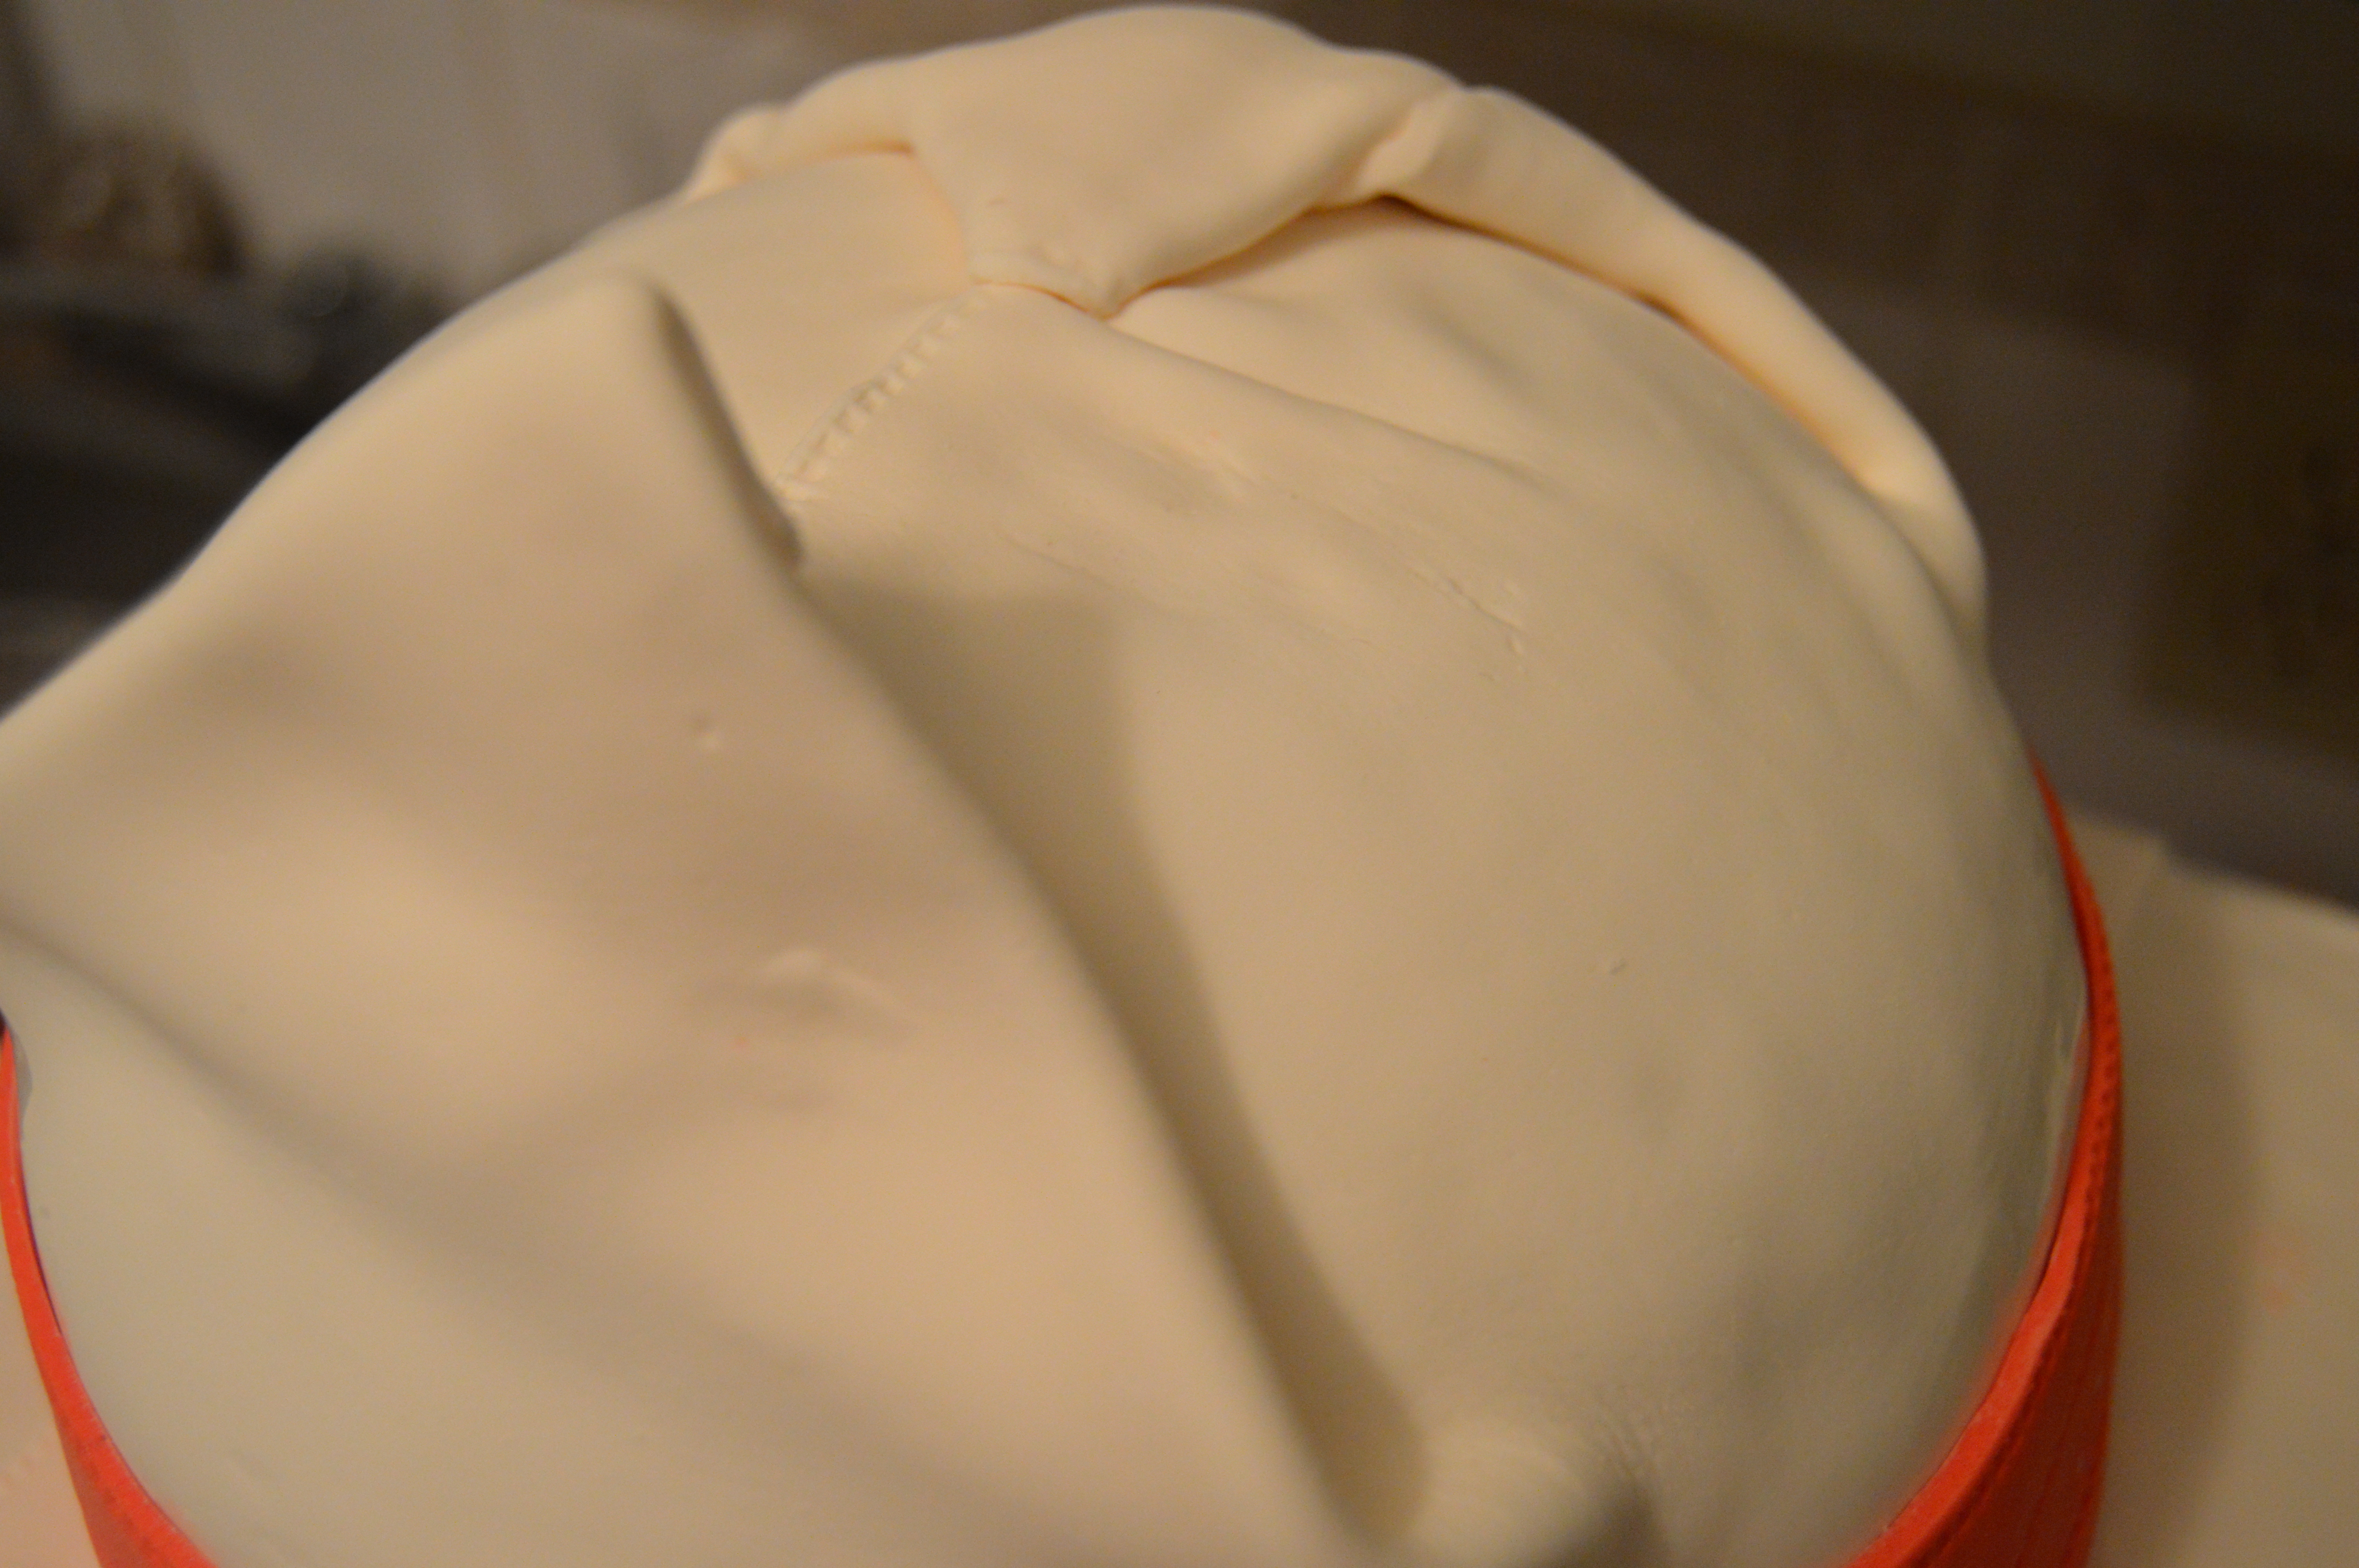
(10) Next, wrap the top tier with a sheet of cream fondant which is higher than the cake. Fold in the middle portion of the fondant and form the front and back into pointed tips. Wrap the base of the cake with a thick strip of pale red fondant with stitched patterns. To make the flaps of the hat, cut out large triangles and stick to both sides of the hat. Use supports underneath the flaps until they dry. I later changed the design of the flaps as the cake was going to travel a long distance and I did not want them to break during the journey.

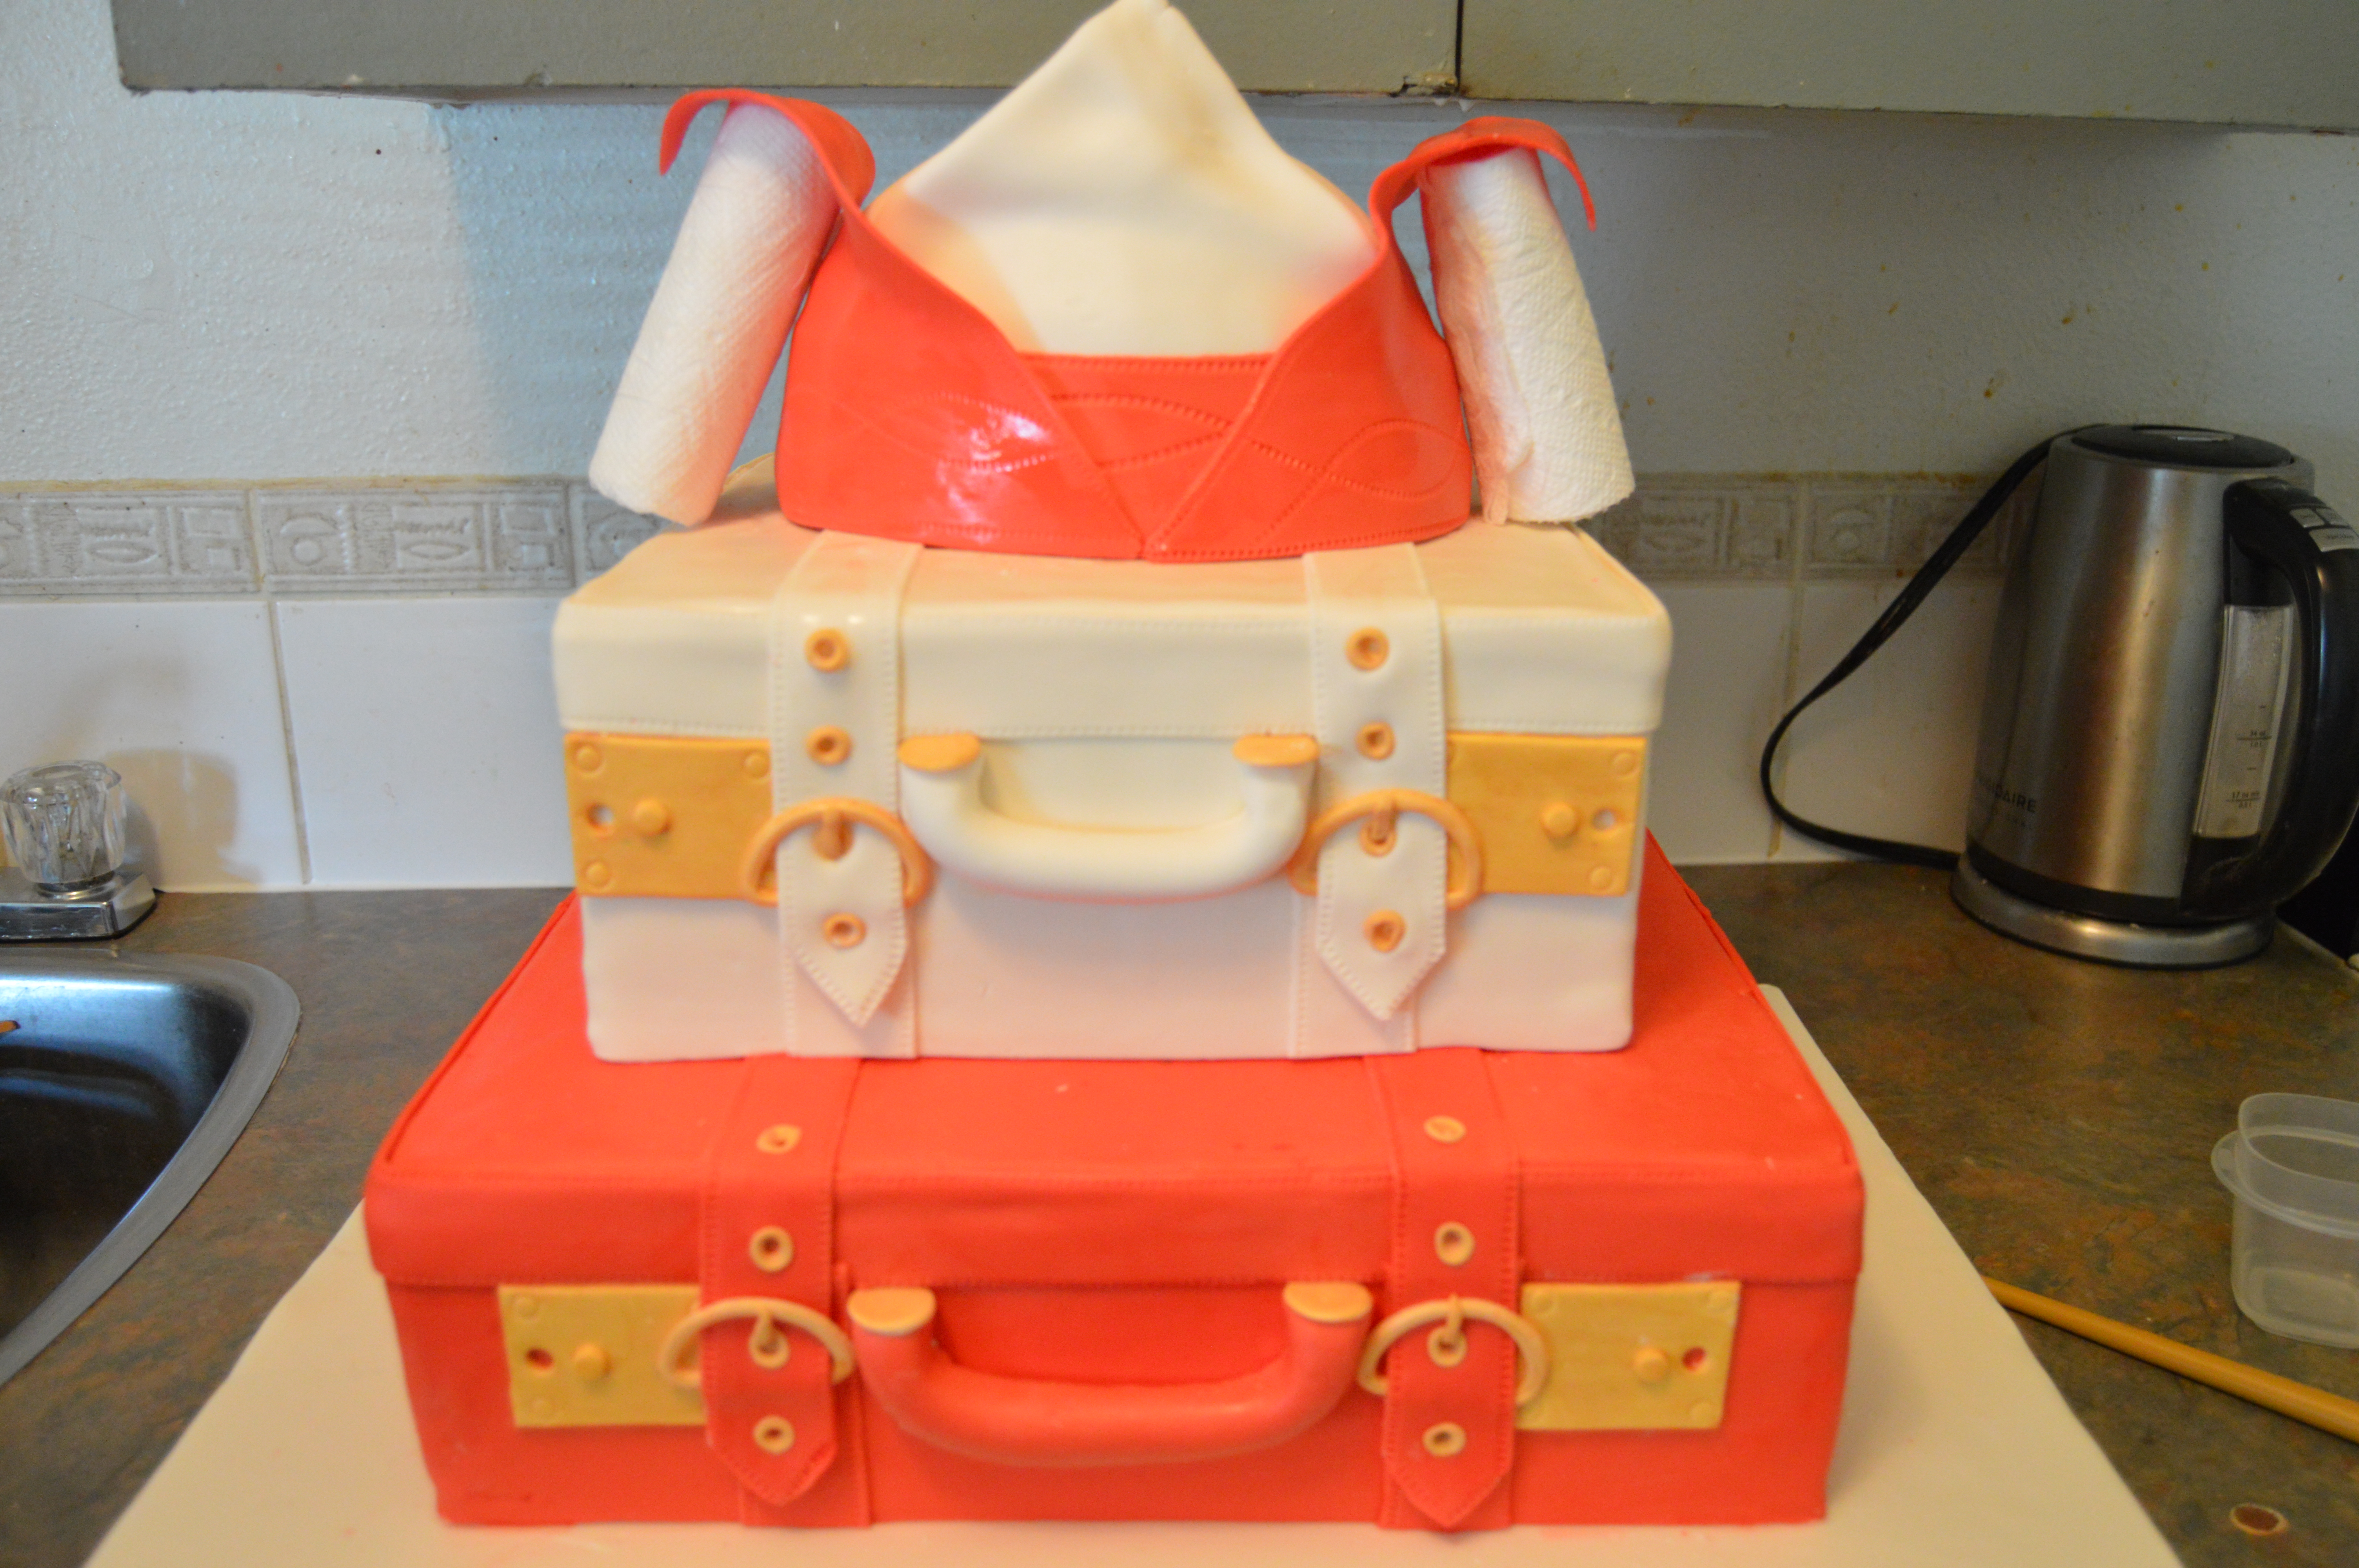
(11) Finish the cake design by sticking all the remaining ornaments on it. Also place the necklace, bracelet and earrings on the cake.
That’s all there is to it. Happy caking!
Terry Adido is passionate about showing people how easy it is to recreate restaurant quality meals in the comfort of their kitchens. With a style of cooking he refers to as Afro-European Fusion, his meals are influenced greatly by French and Italian Cuisine with a West African twist. If you love good food, you are in for the ride of your life.
Very beautiful. You are gifted terry
Thanks Princess.
thanks for sharing. love the detailed tutotial.
Thanks Suzan.
Terry you are the best, thank you sooo much
My pleasure Rukky
Nice! More butter to your fingers! Lolz
Thanks Onyinye.
Thanks for sharing this tutorial may God bless ur hand work terry.
Thanks Atinuke.
Wonderful, I did enjoy the tutorial. Remain
Bless.
I’m glad you did Kay.
Thanks for sharing. The cake looks beautiful.
Thanks Chichi.
Thanks terry. I ll give it a try
You are welcome and you should.
Creativity at its peak keep it up terry
Thanks Omolola.
Terry you are gifted and you have really blessed my life thanks for sharing and God bless you
Thanks Chioma.
wonderful tutorial terry. pls can you do a tutorial on gumpaste fruits?
You are welcome. If I ever have reasons to make them, then yes I will.
Hi Terry, great job as always. please any tutorial on treasure chest/box cake for nigerian weddings? thanks!
Hi. No I have none. This tutorial on jewelry box cakes might help.
Wonderful tutorial,more grease to your elbow .
Thanks Dammy.
Adorable terry thank u so much am so trying this I bake too but without any formal training I just try stuffs I see on the Internet like here… How can I show u wen am done so u can see how ur tutorial helped me
Do give it a go Joy. You can send me pictures on my Facebook page (Grated Nutmeg)
Thanks Terry Weldone
Thanks Vera.
Wow,It’s really easy with this step by step instructions but need to know if you used a cardboard board under the second cake before placing it on the first cake..thanks appreciate if you can reply needs asap.
Yes I did.
Thanks for this tutorials
You are welcome Gift.