
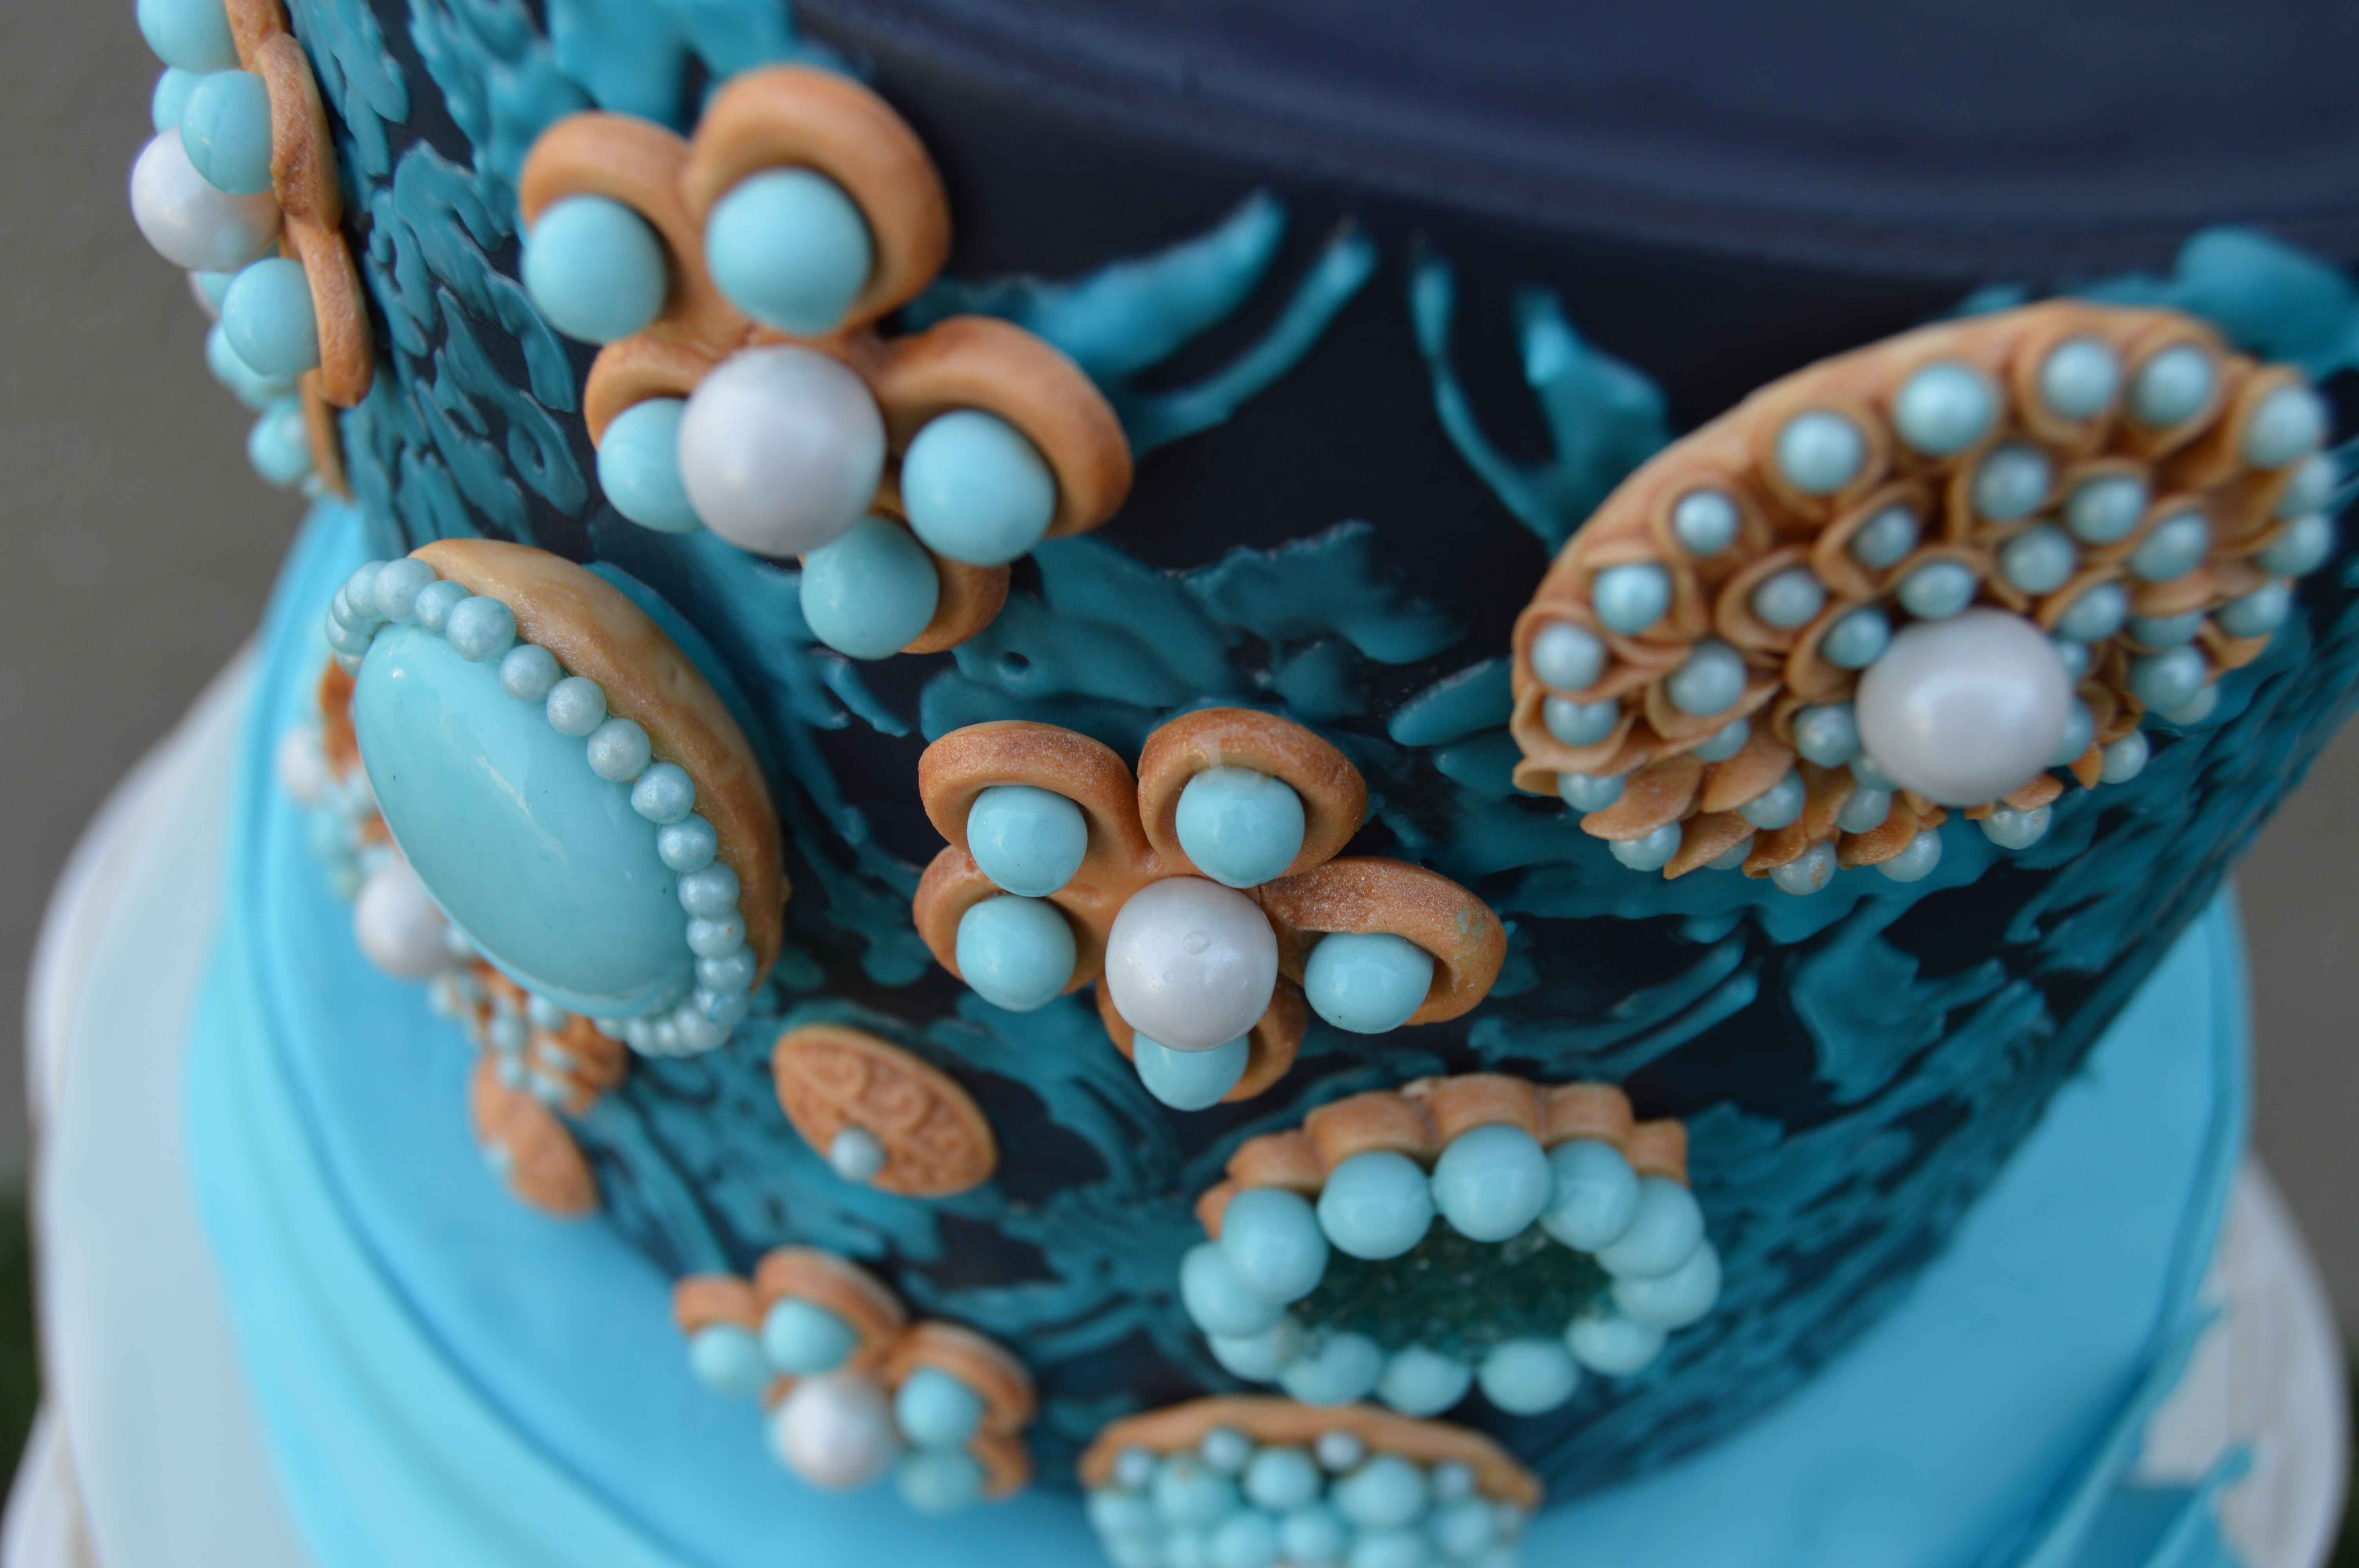
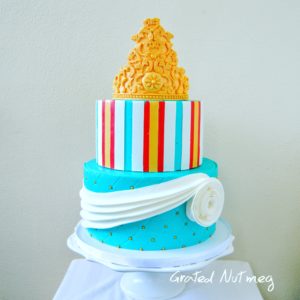
The Making of a Jewelry Encrusted Cake with Extended Swirl Design

In this tutorial, I will be showing you how I made this lovely jewelry encrusted cake with an extended swirl tier. This is a very sophisticated cake which is somewhat tricky to make. Once you are done making the jewelries, the rest is really self-intuitive. I had so much fun making this cake as it was the first time I was trying the extended swirl technique and it came out great. To read more about this cake, see other views of it and see the recipes for the sponges, frosting and fondant, click here.
THE PROCESS:
(1) The first thing you need to do is make the jewelries for the top tier. The jewelries were made majorly with marshmallow fondant and sugar pearls. I have tutorials here, here and here on how to make some of them. They rest were made by sticking large sugar pearls on fondant cut with a petal cutter.

(2) Next, make the rose topper. I have a tutorial here on how I make this type of rose. This rose was made with ivory fondant and brushed with a gold pearl dust and vodka mixture.
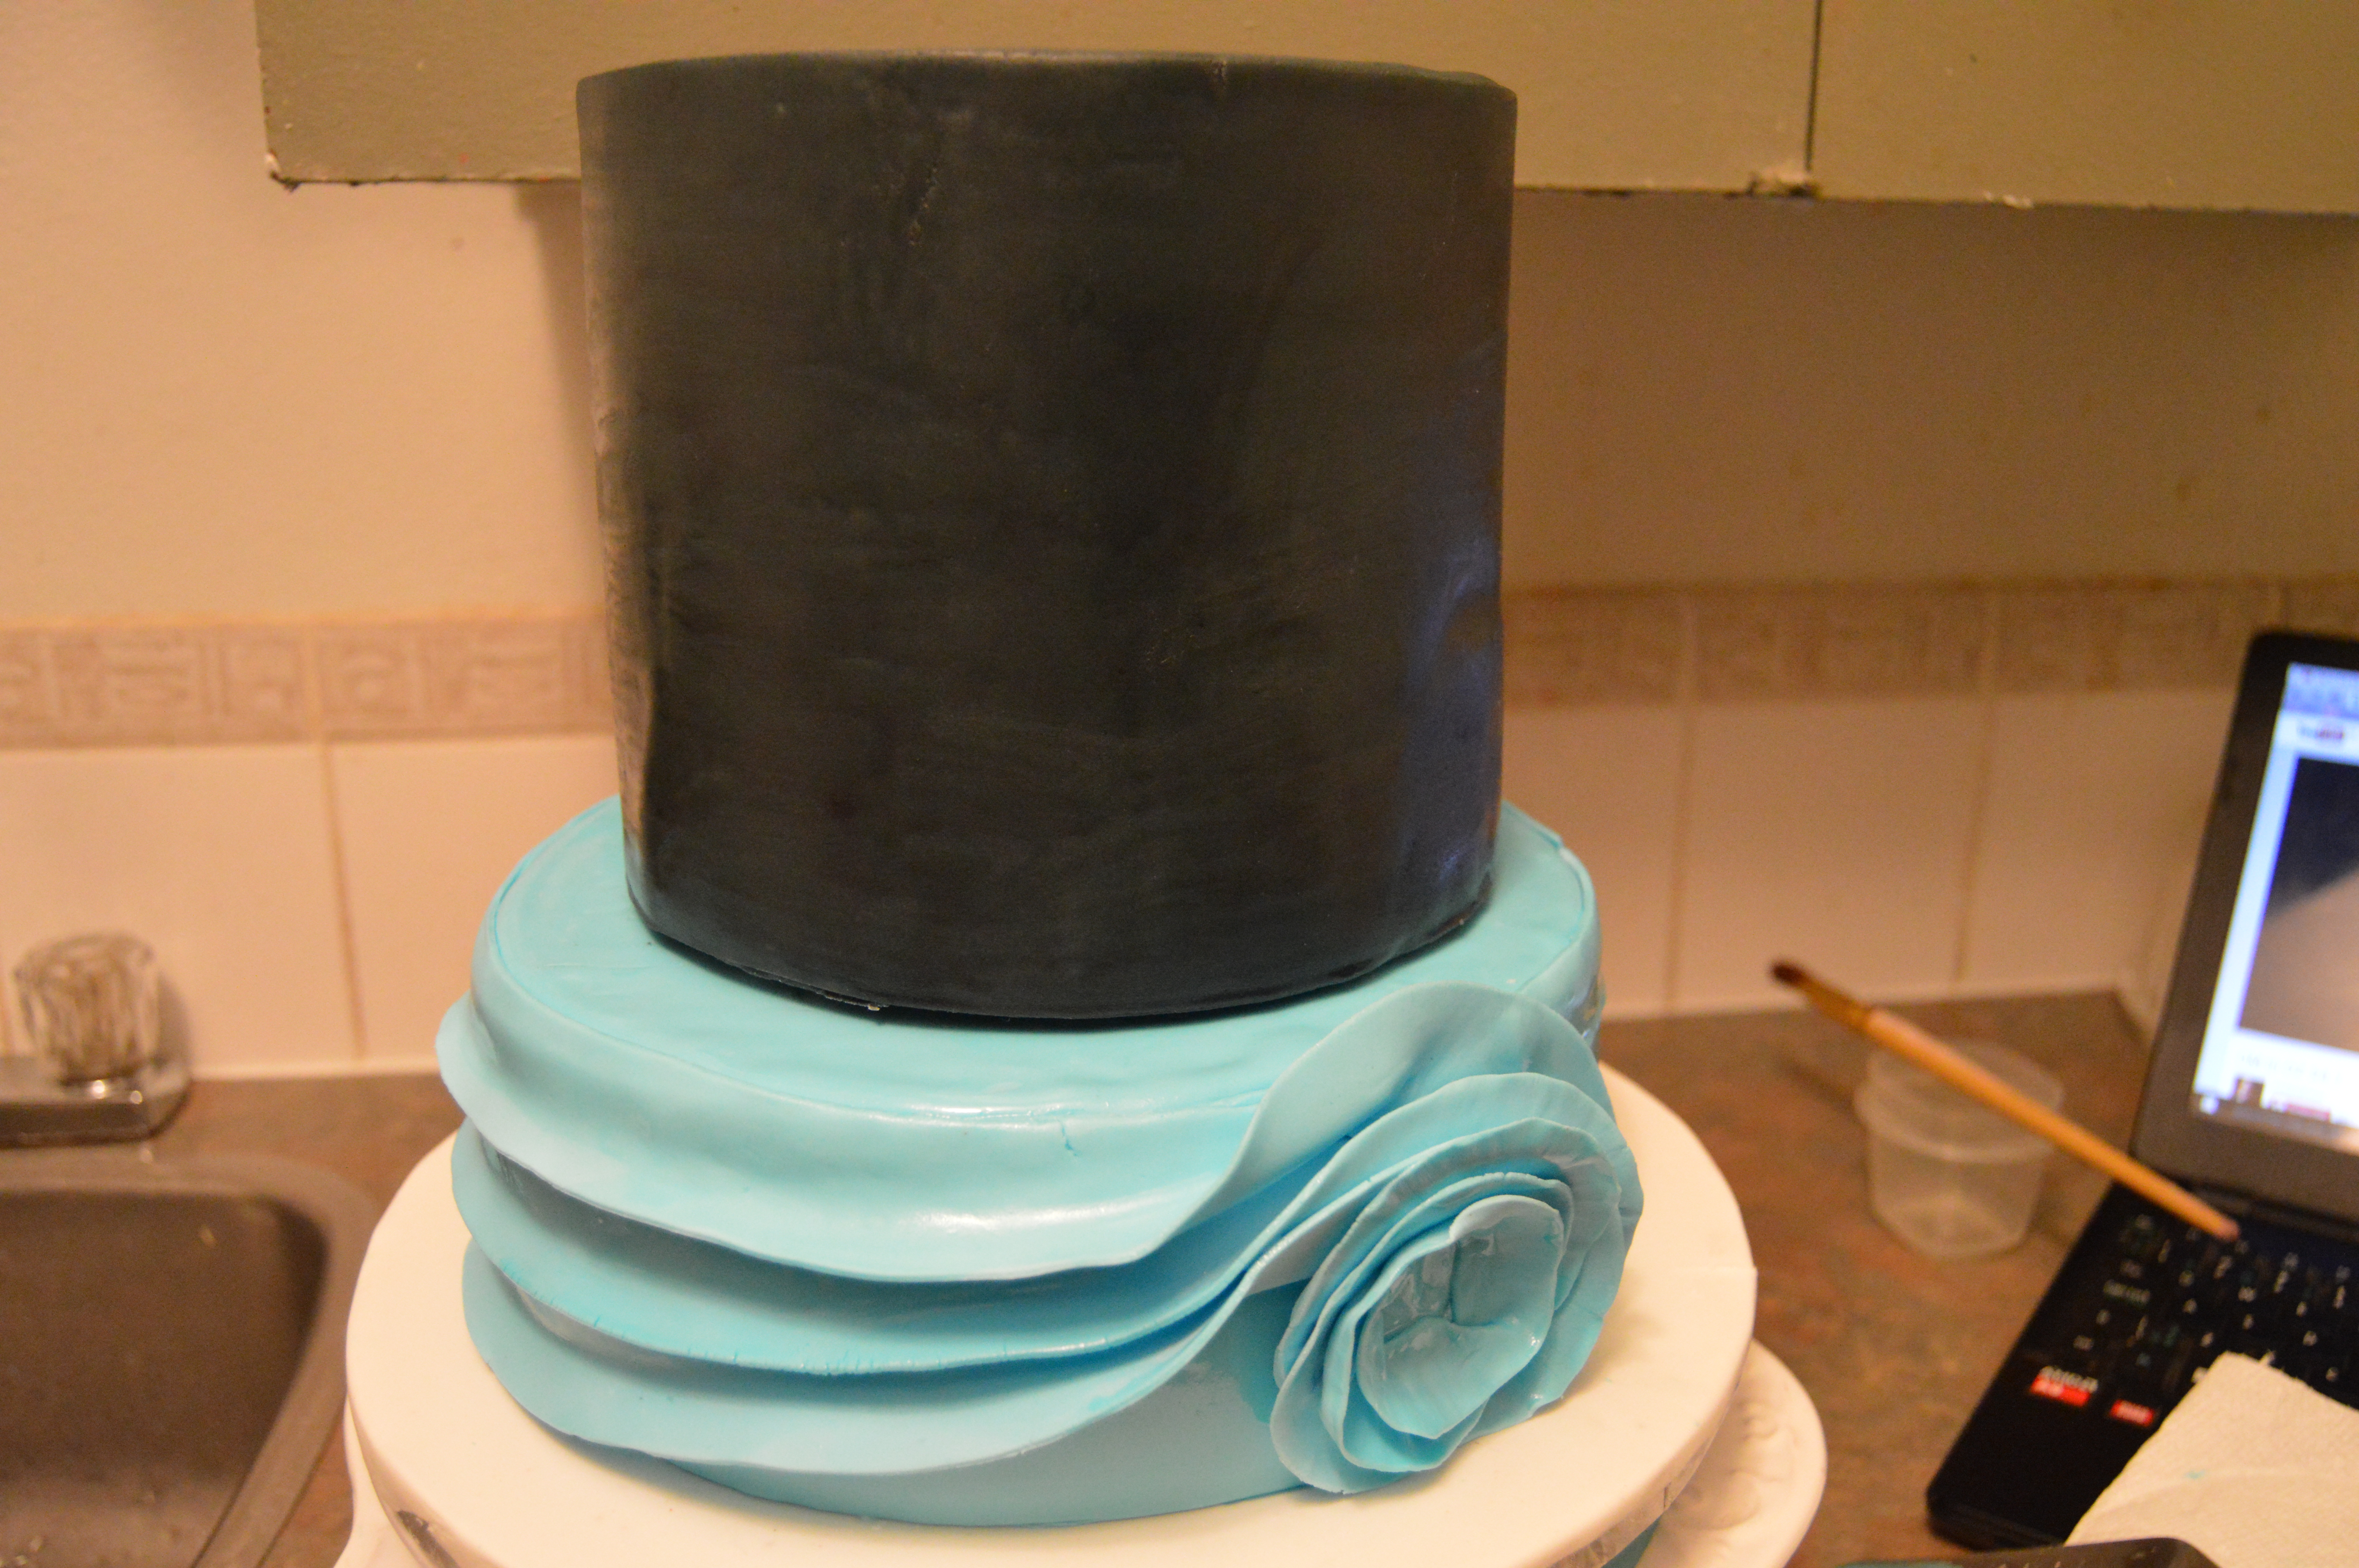
(3) Now to the cake designing. Drape your cake board with white fondant. Drape the bottom tier with sky blue fondant and stick it to the cake board. You would notice that the bottom tier (3 inches) is significantly shorter than the top tier (6 inches). Take this into consideration when making your sponges.
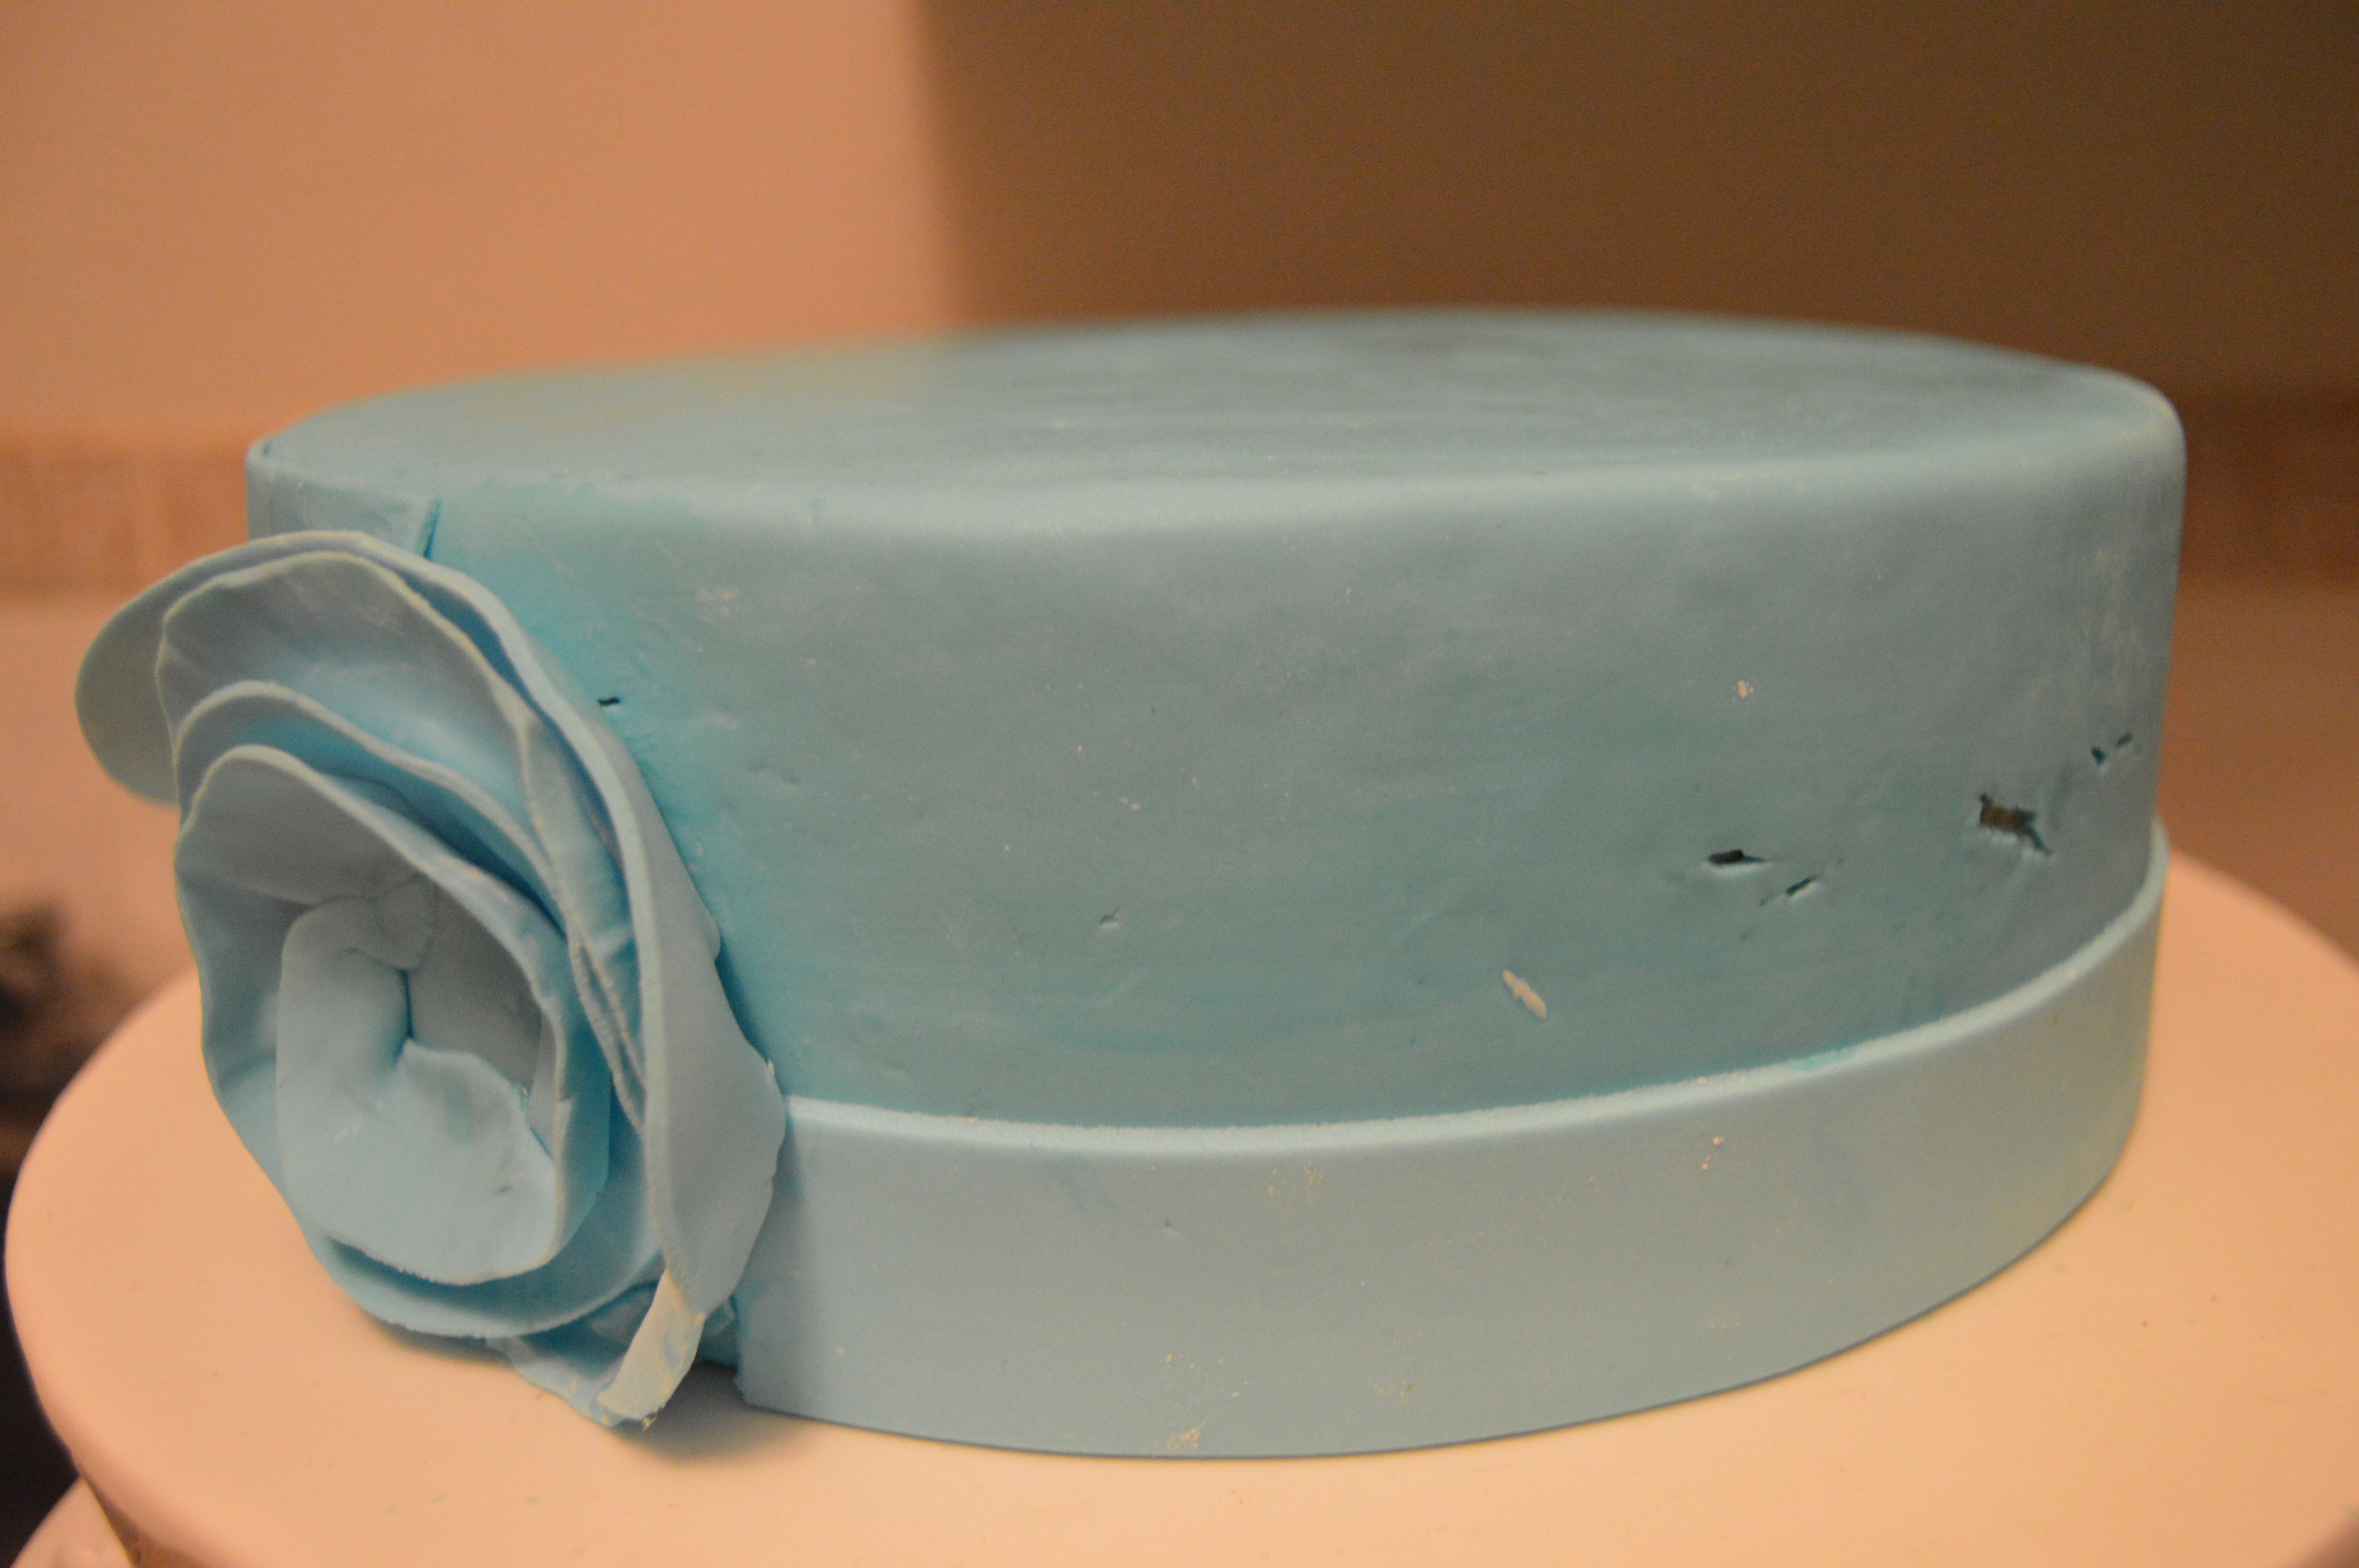
(4) Next, choose where the front of your cake would be, cut out a strip of fondant the same height as the cake and just enough to wrap a third of the cake and stick it to the front. This would provide a clean front for your cake by covering whatever folds, tears or ruffles might be at the base of the cake.
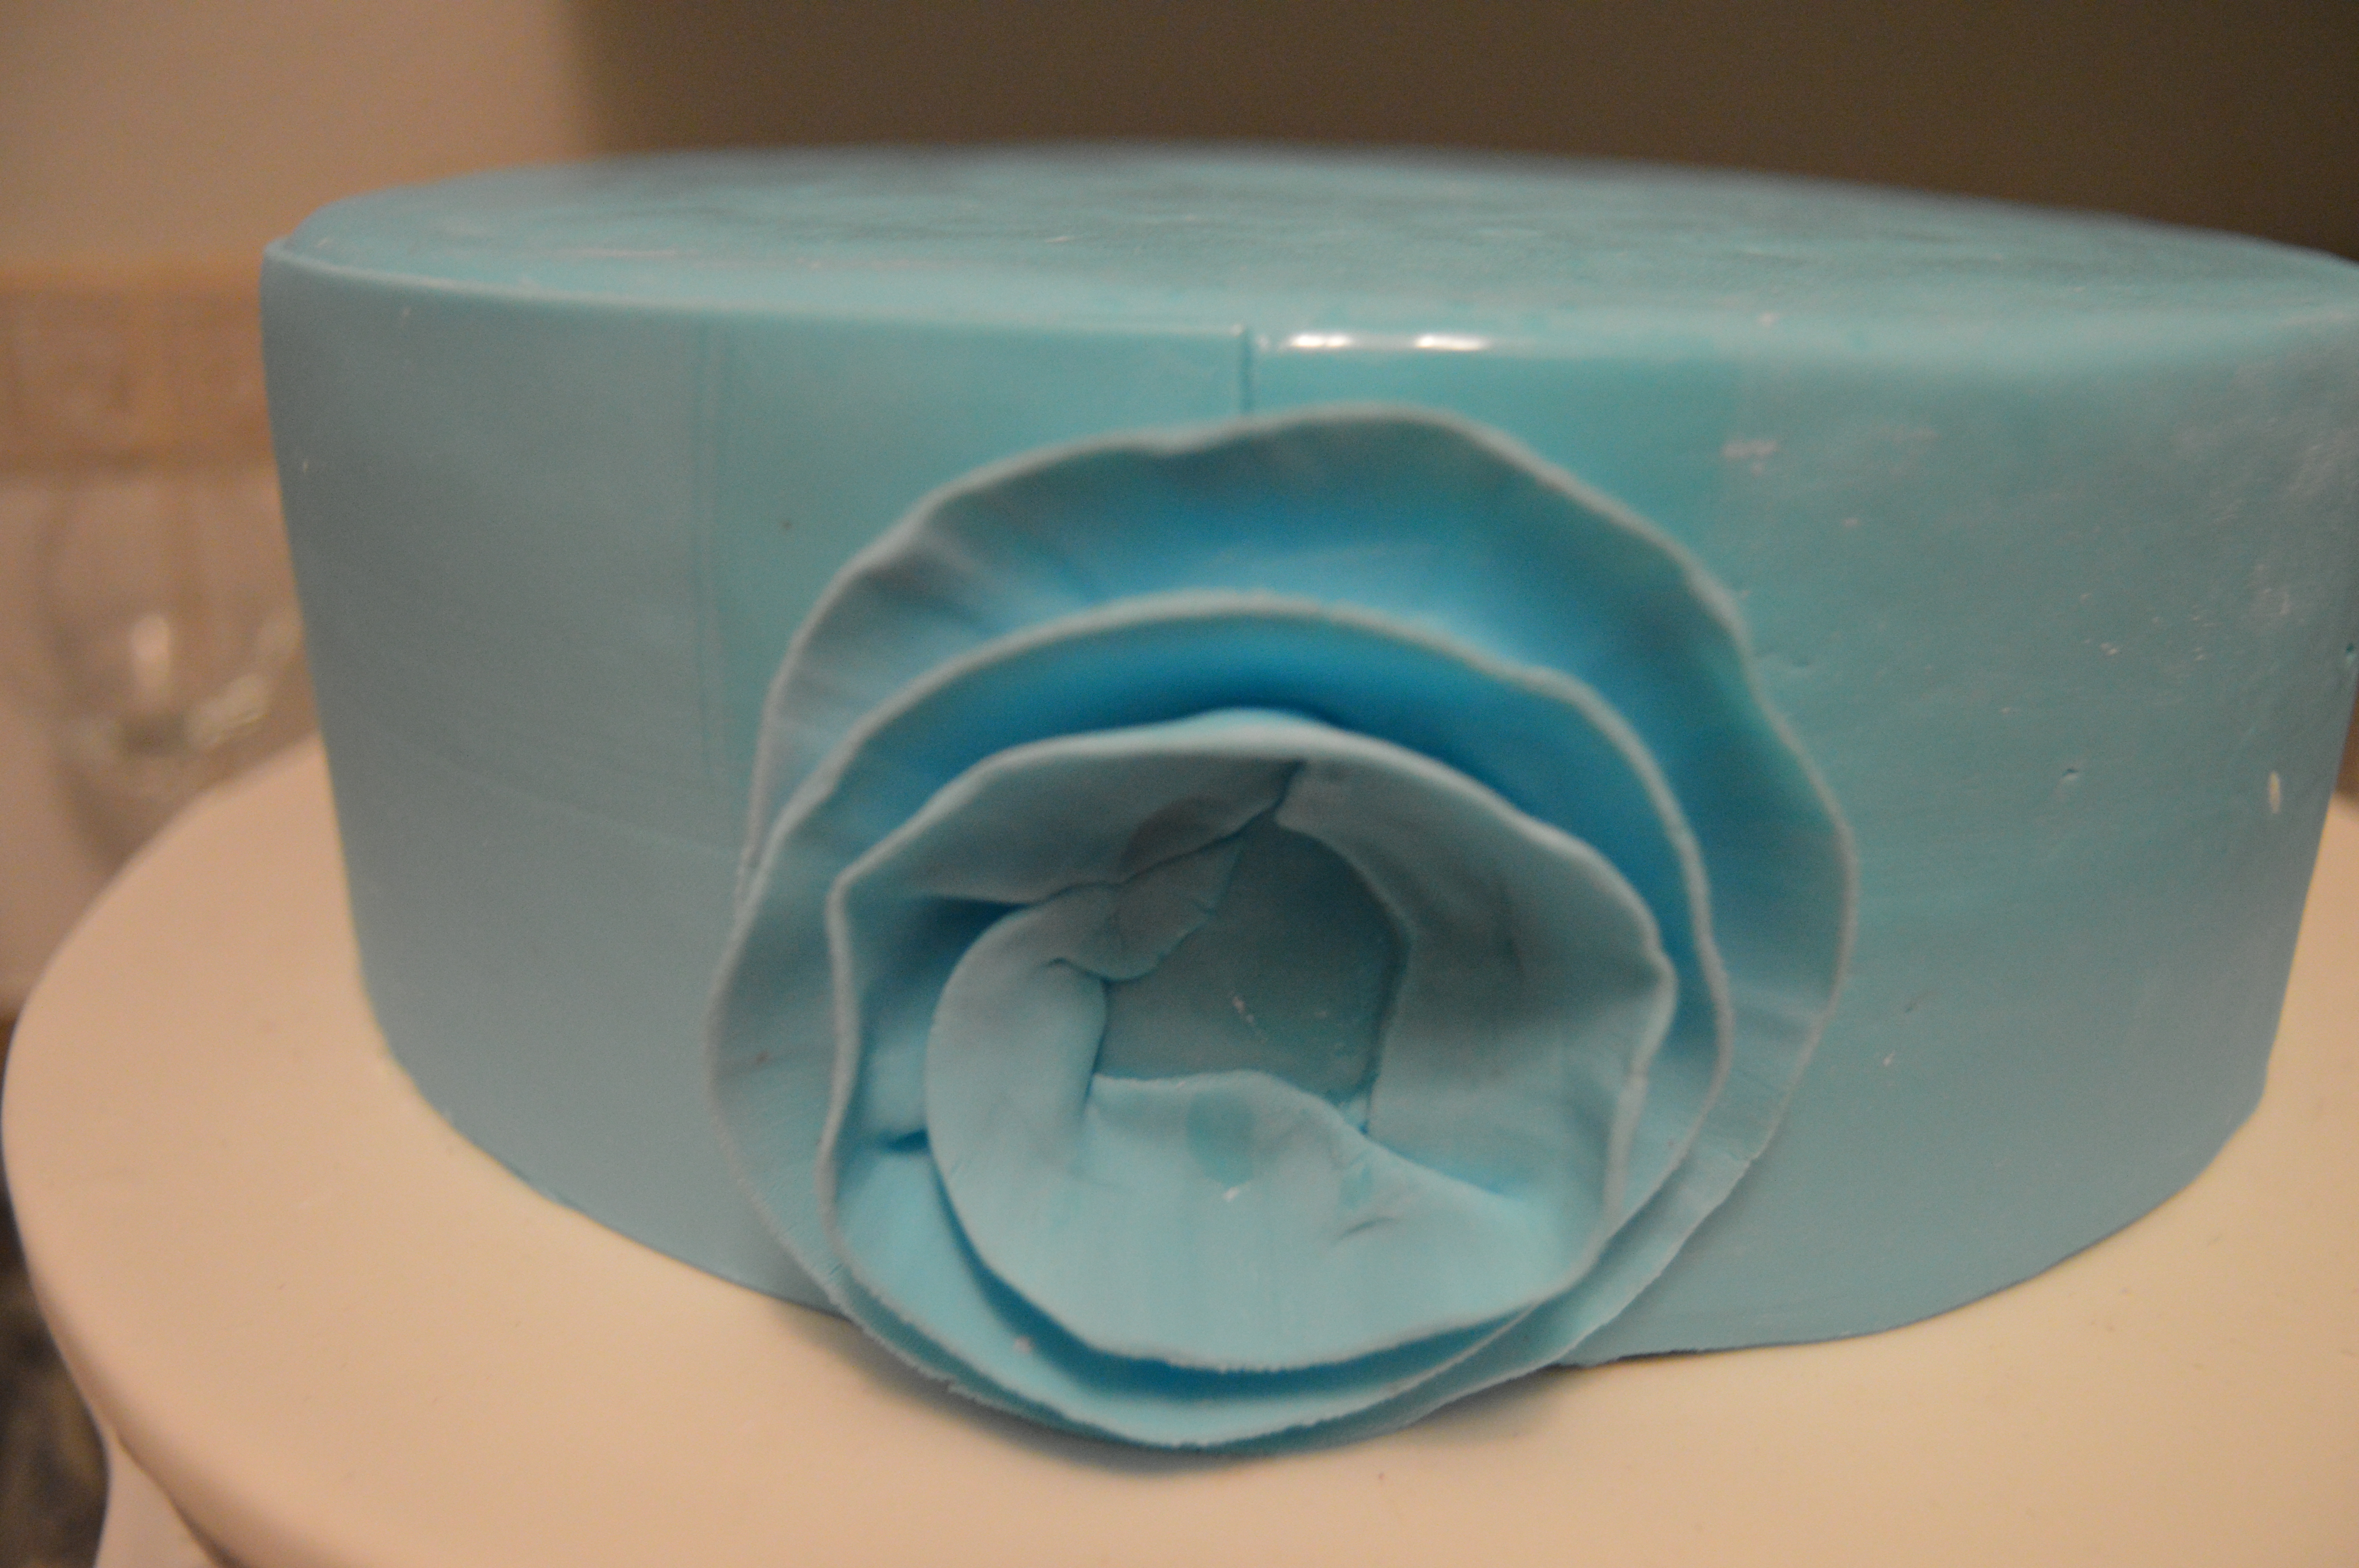
(5) Next, using a 2 inch round cutter, cut out a round piece of fondant. Use a ruler to cut out 1 inch fondant strips and thin out the edges to make ruffles. Starting from the edge of the circle, form a rose on the circle leaving the center bare. Stick the rose to the front right side of the bottom tier and frill out the ruffles for better definition. Stick the rose as close to the base of the cake as possible because you will need some space above the rose for the swirls (easy right?).

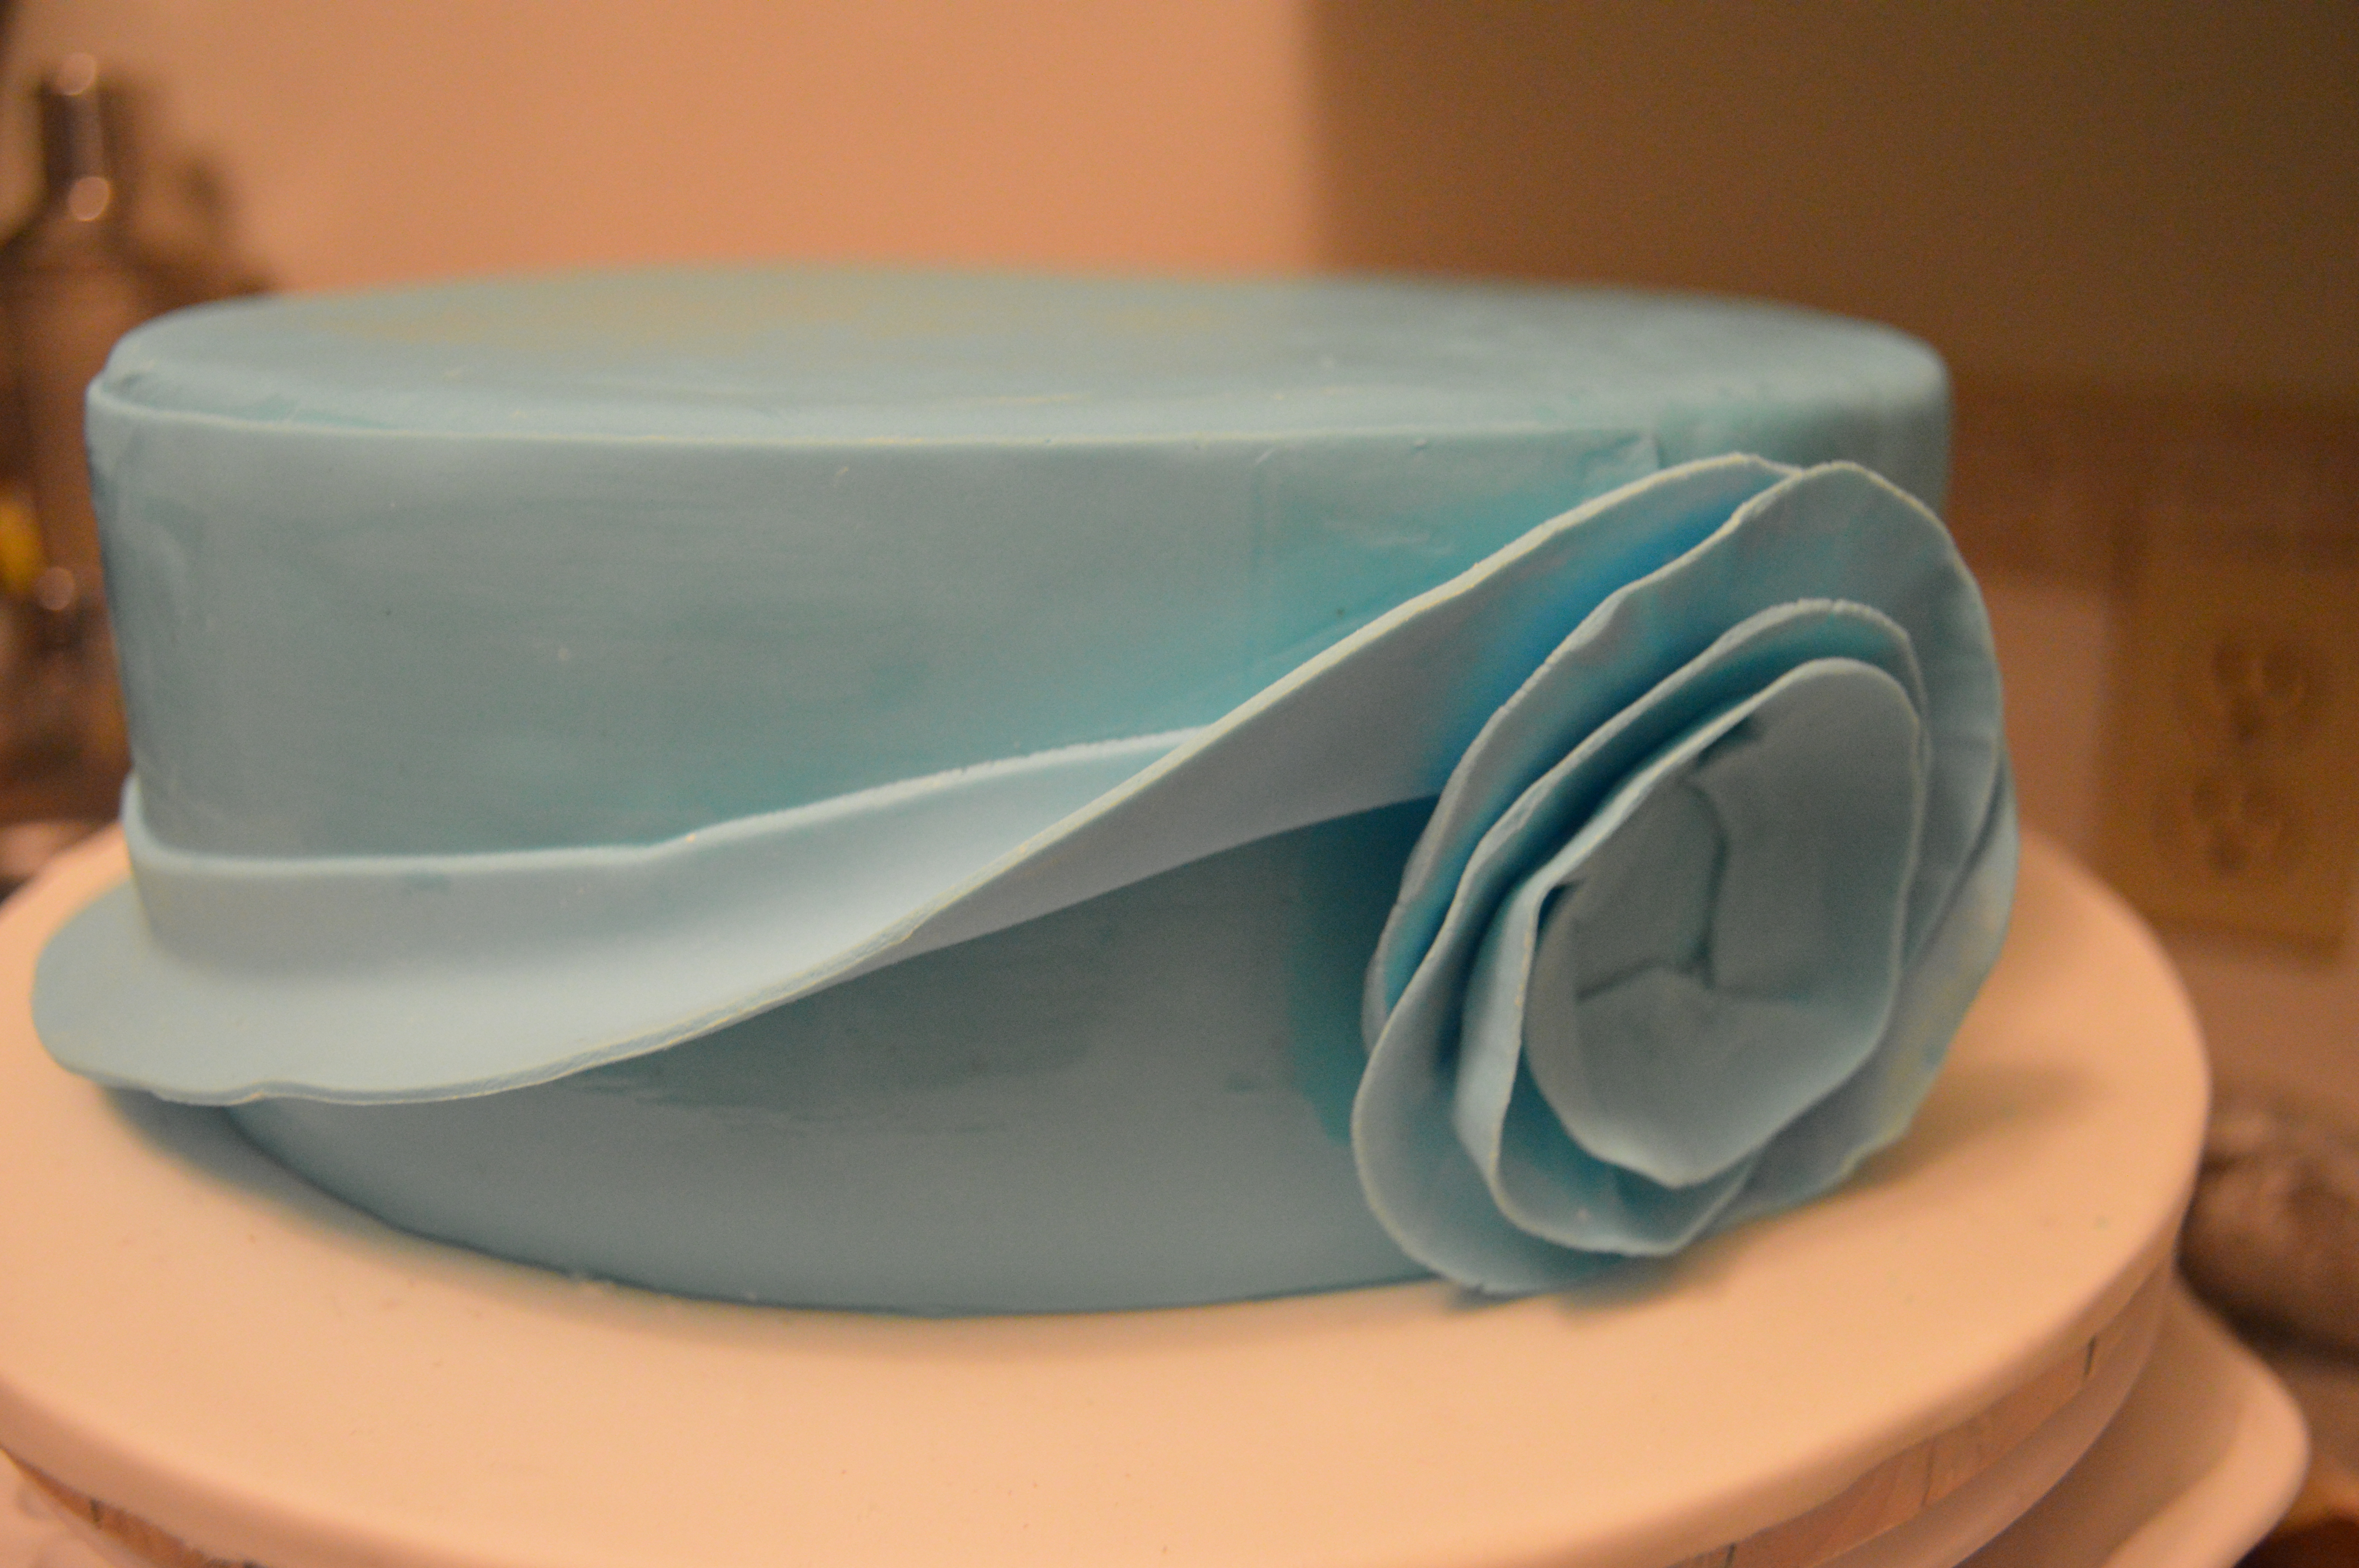
(6) Next, cut out 3 one inch strips of fondant enough to wrap the entire cake. If your fondant strips are not long enough, you can join strips at the back of the cake when wrapping. Thin out an edge of about a forth of the strips. This is the part that would be wrapped around the rose. Brush the cake with a bit of vodka (or water).
Starting from the base of the cake, stick one of the strips behind the right side of the rose and wrap it around the back of the cake. When you get to the front of the cake, begin to elevate the strip until it is high enough to get to the top of the rose. Wrap it around the rose. You will notice that though the strips start out being glued entirely to the cake, as it approaches the front of the cake, it starts to lift until only one edge of the strip is sticking to the cake. Repeat this process with the other two strips always starting from behind the right side of the rose and above the strip before it. I would be the first to admit that this would take some practice but it is doable. I nailed it on my first try without any tutorials.
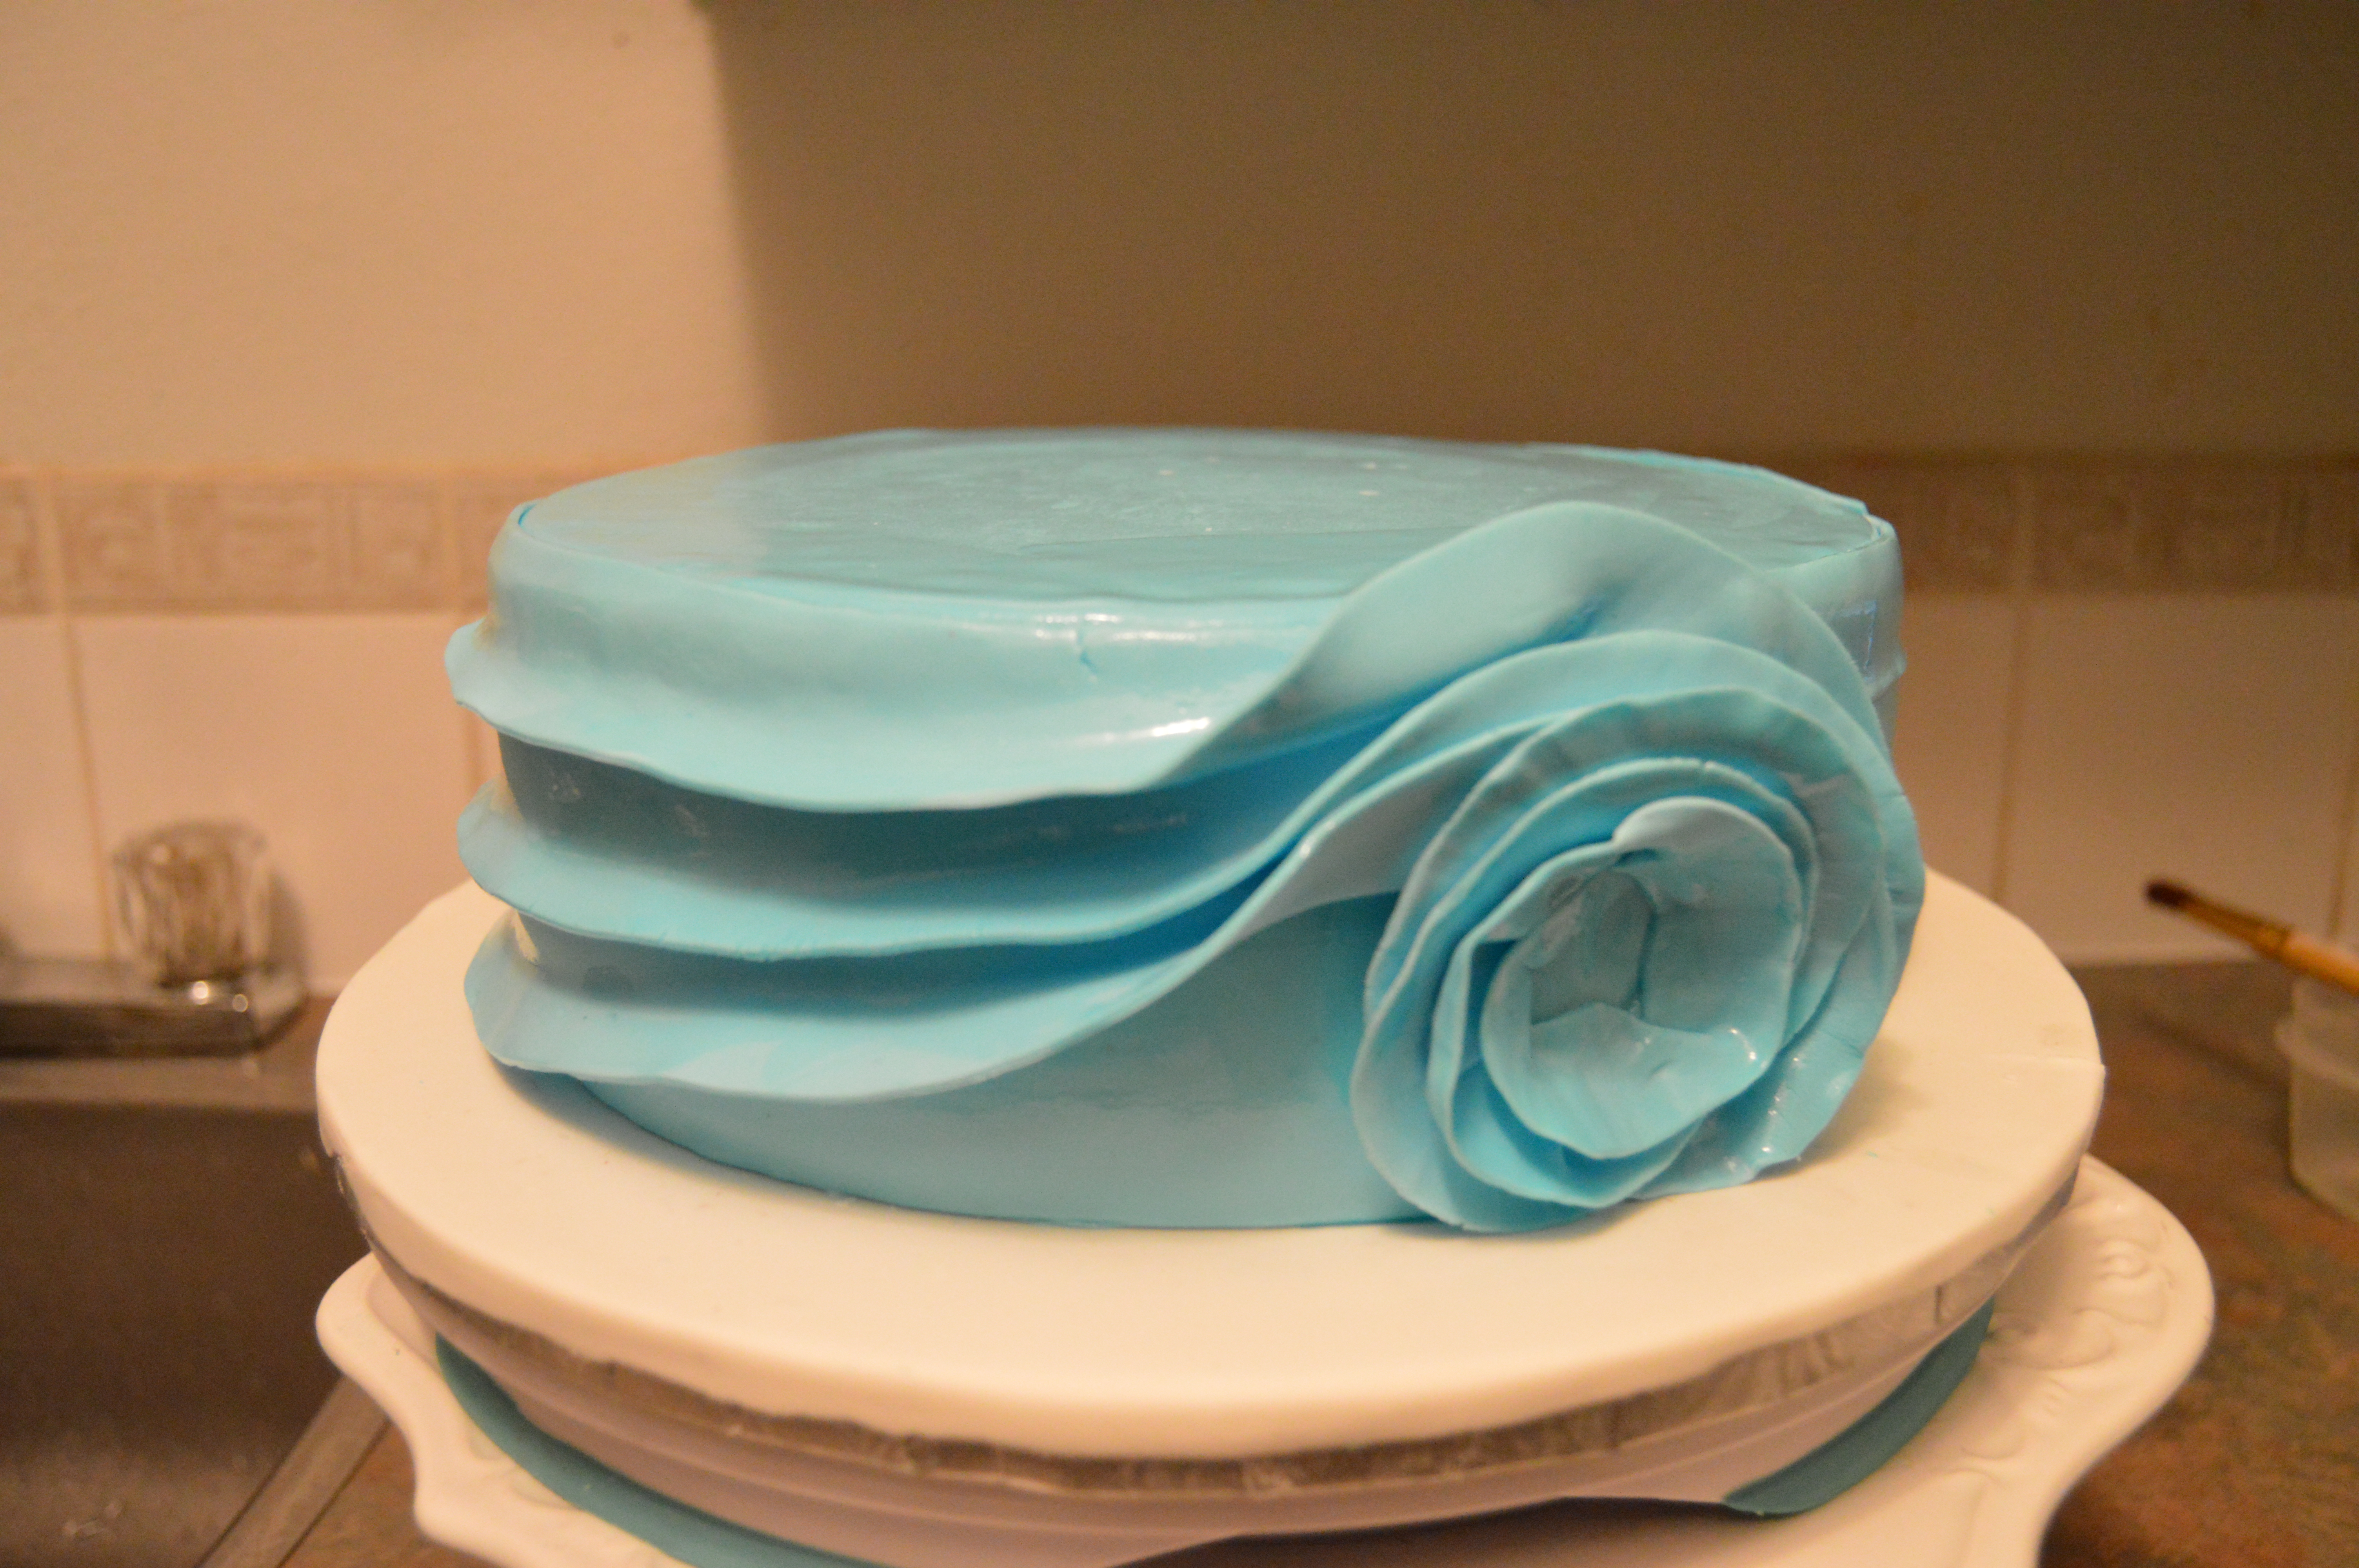
QUICK NOTE: I have another tutorial here on how this extended swirl design was made. Do check it out for more tips.
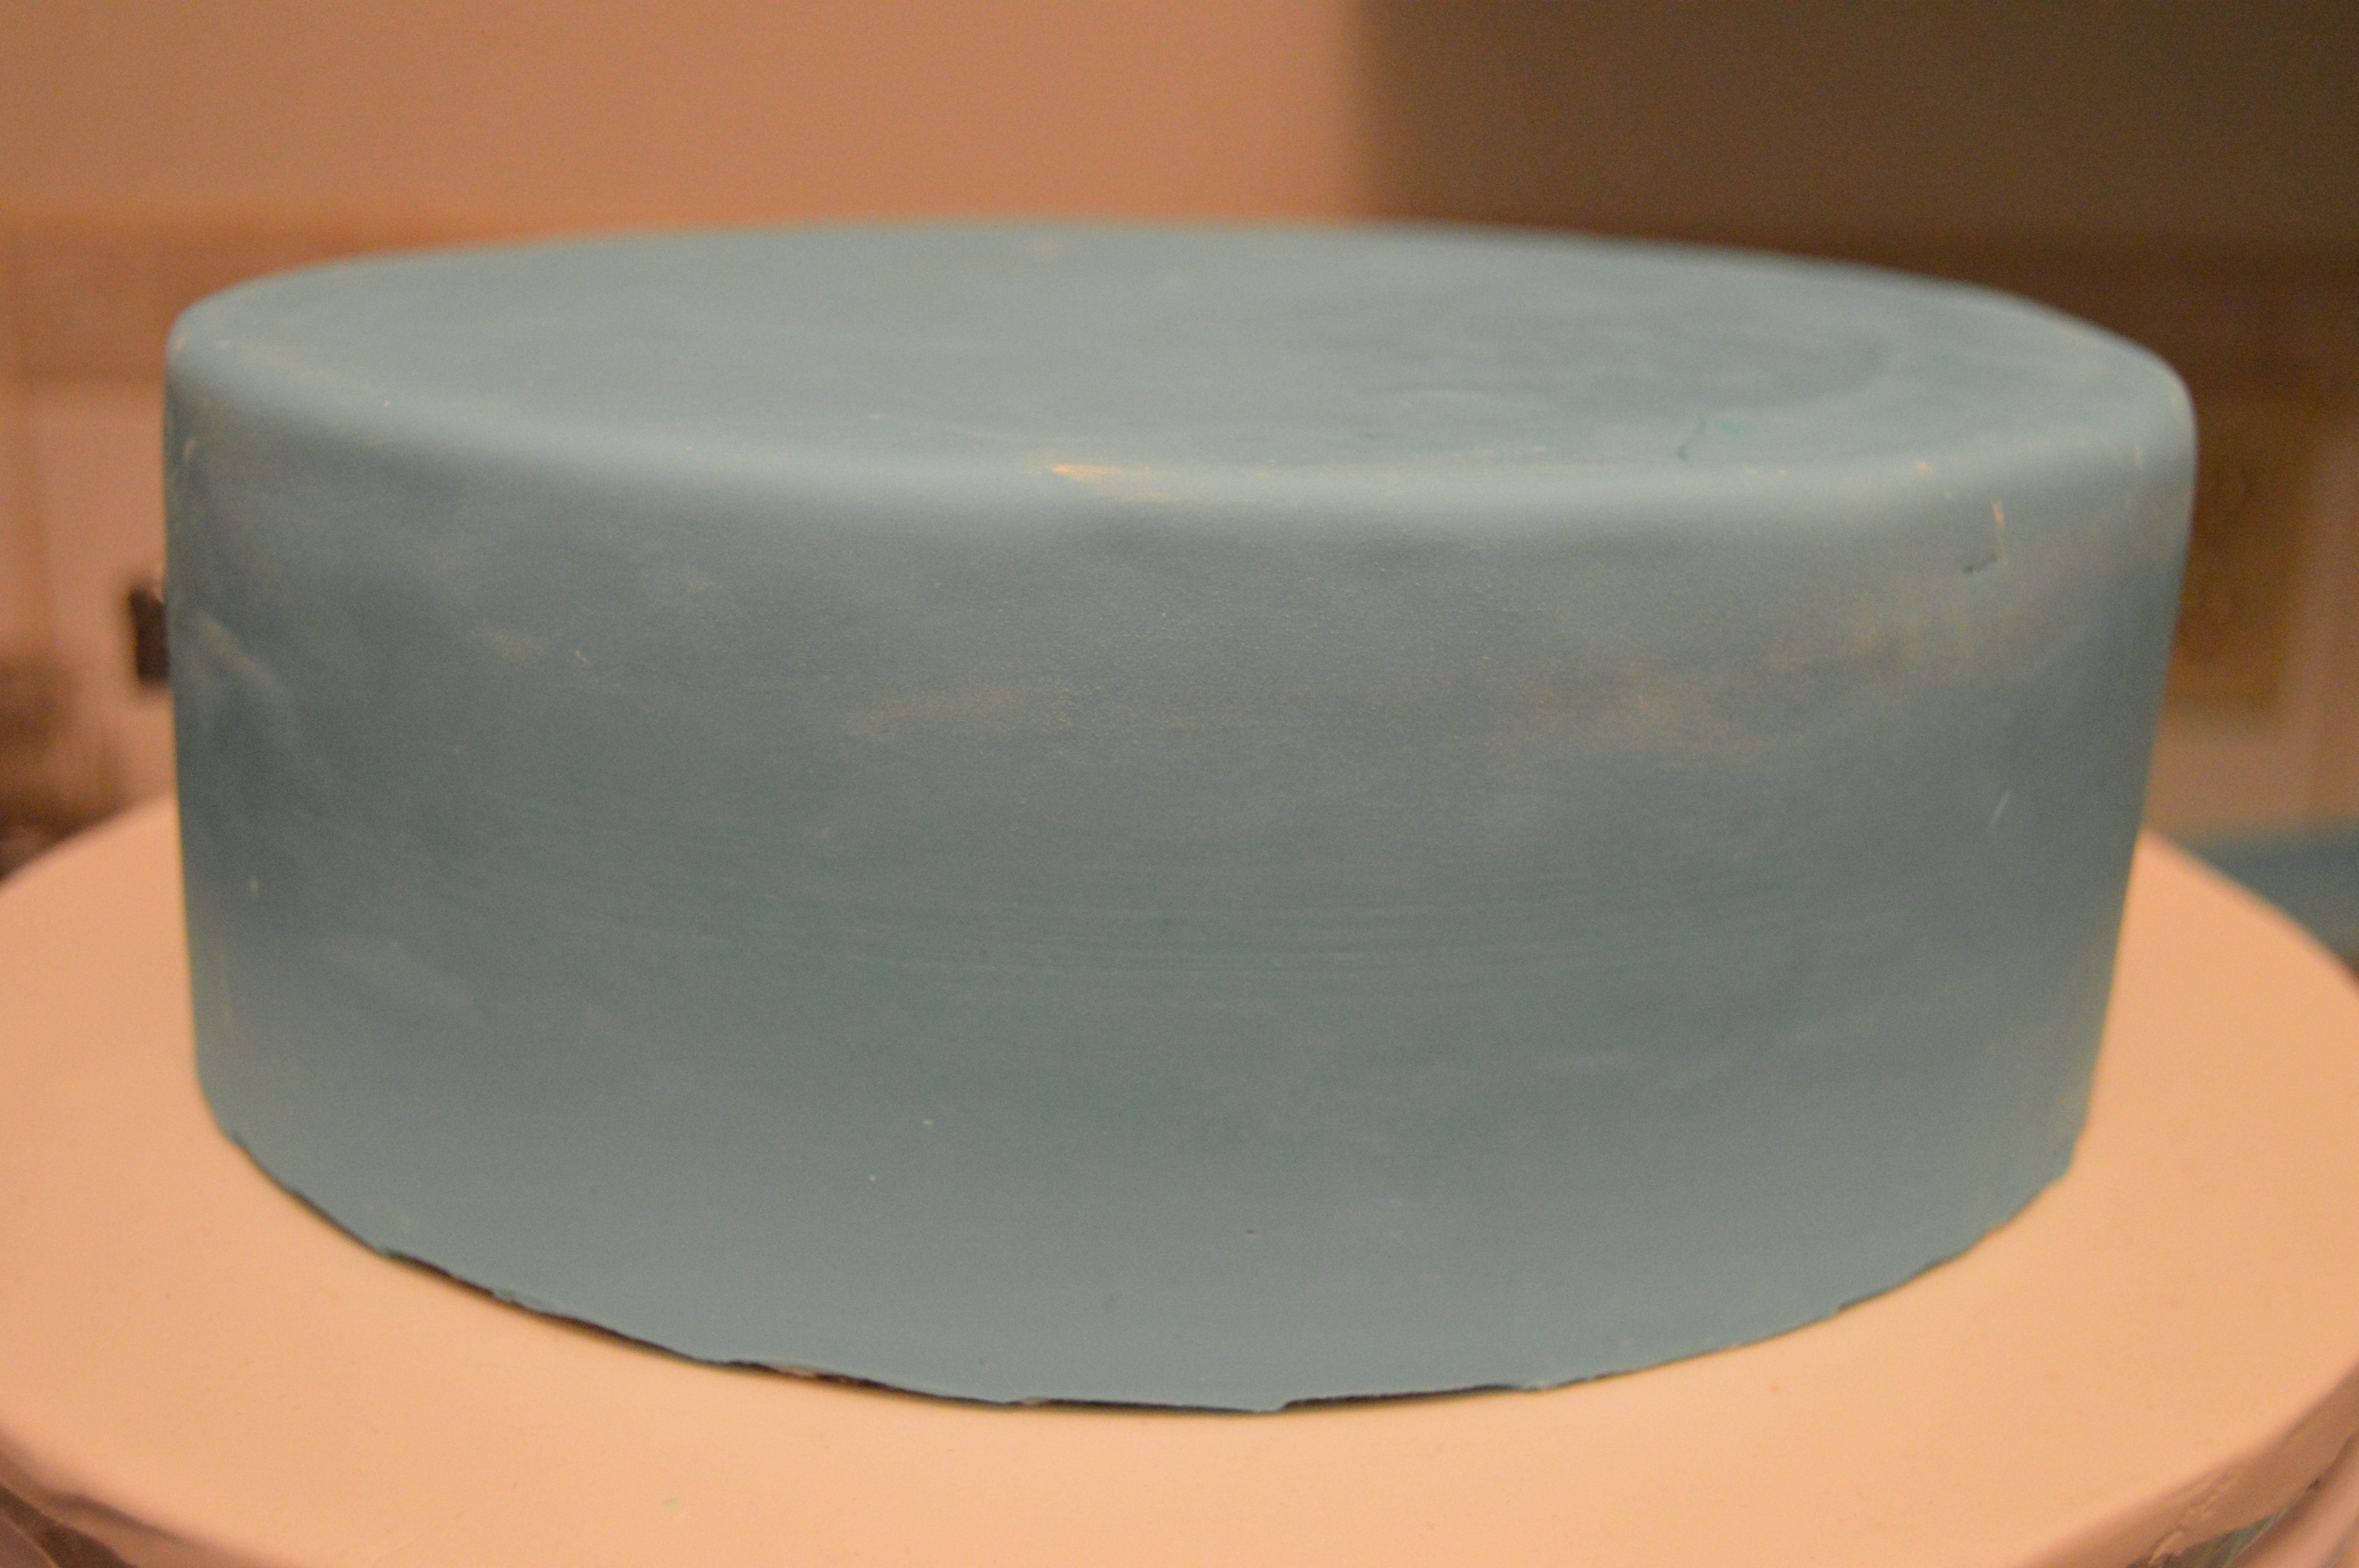
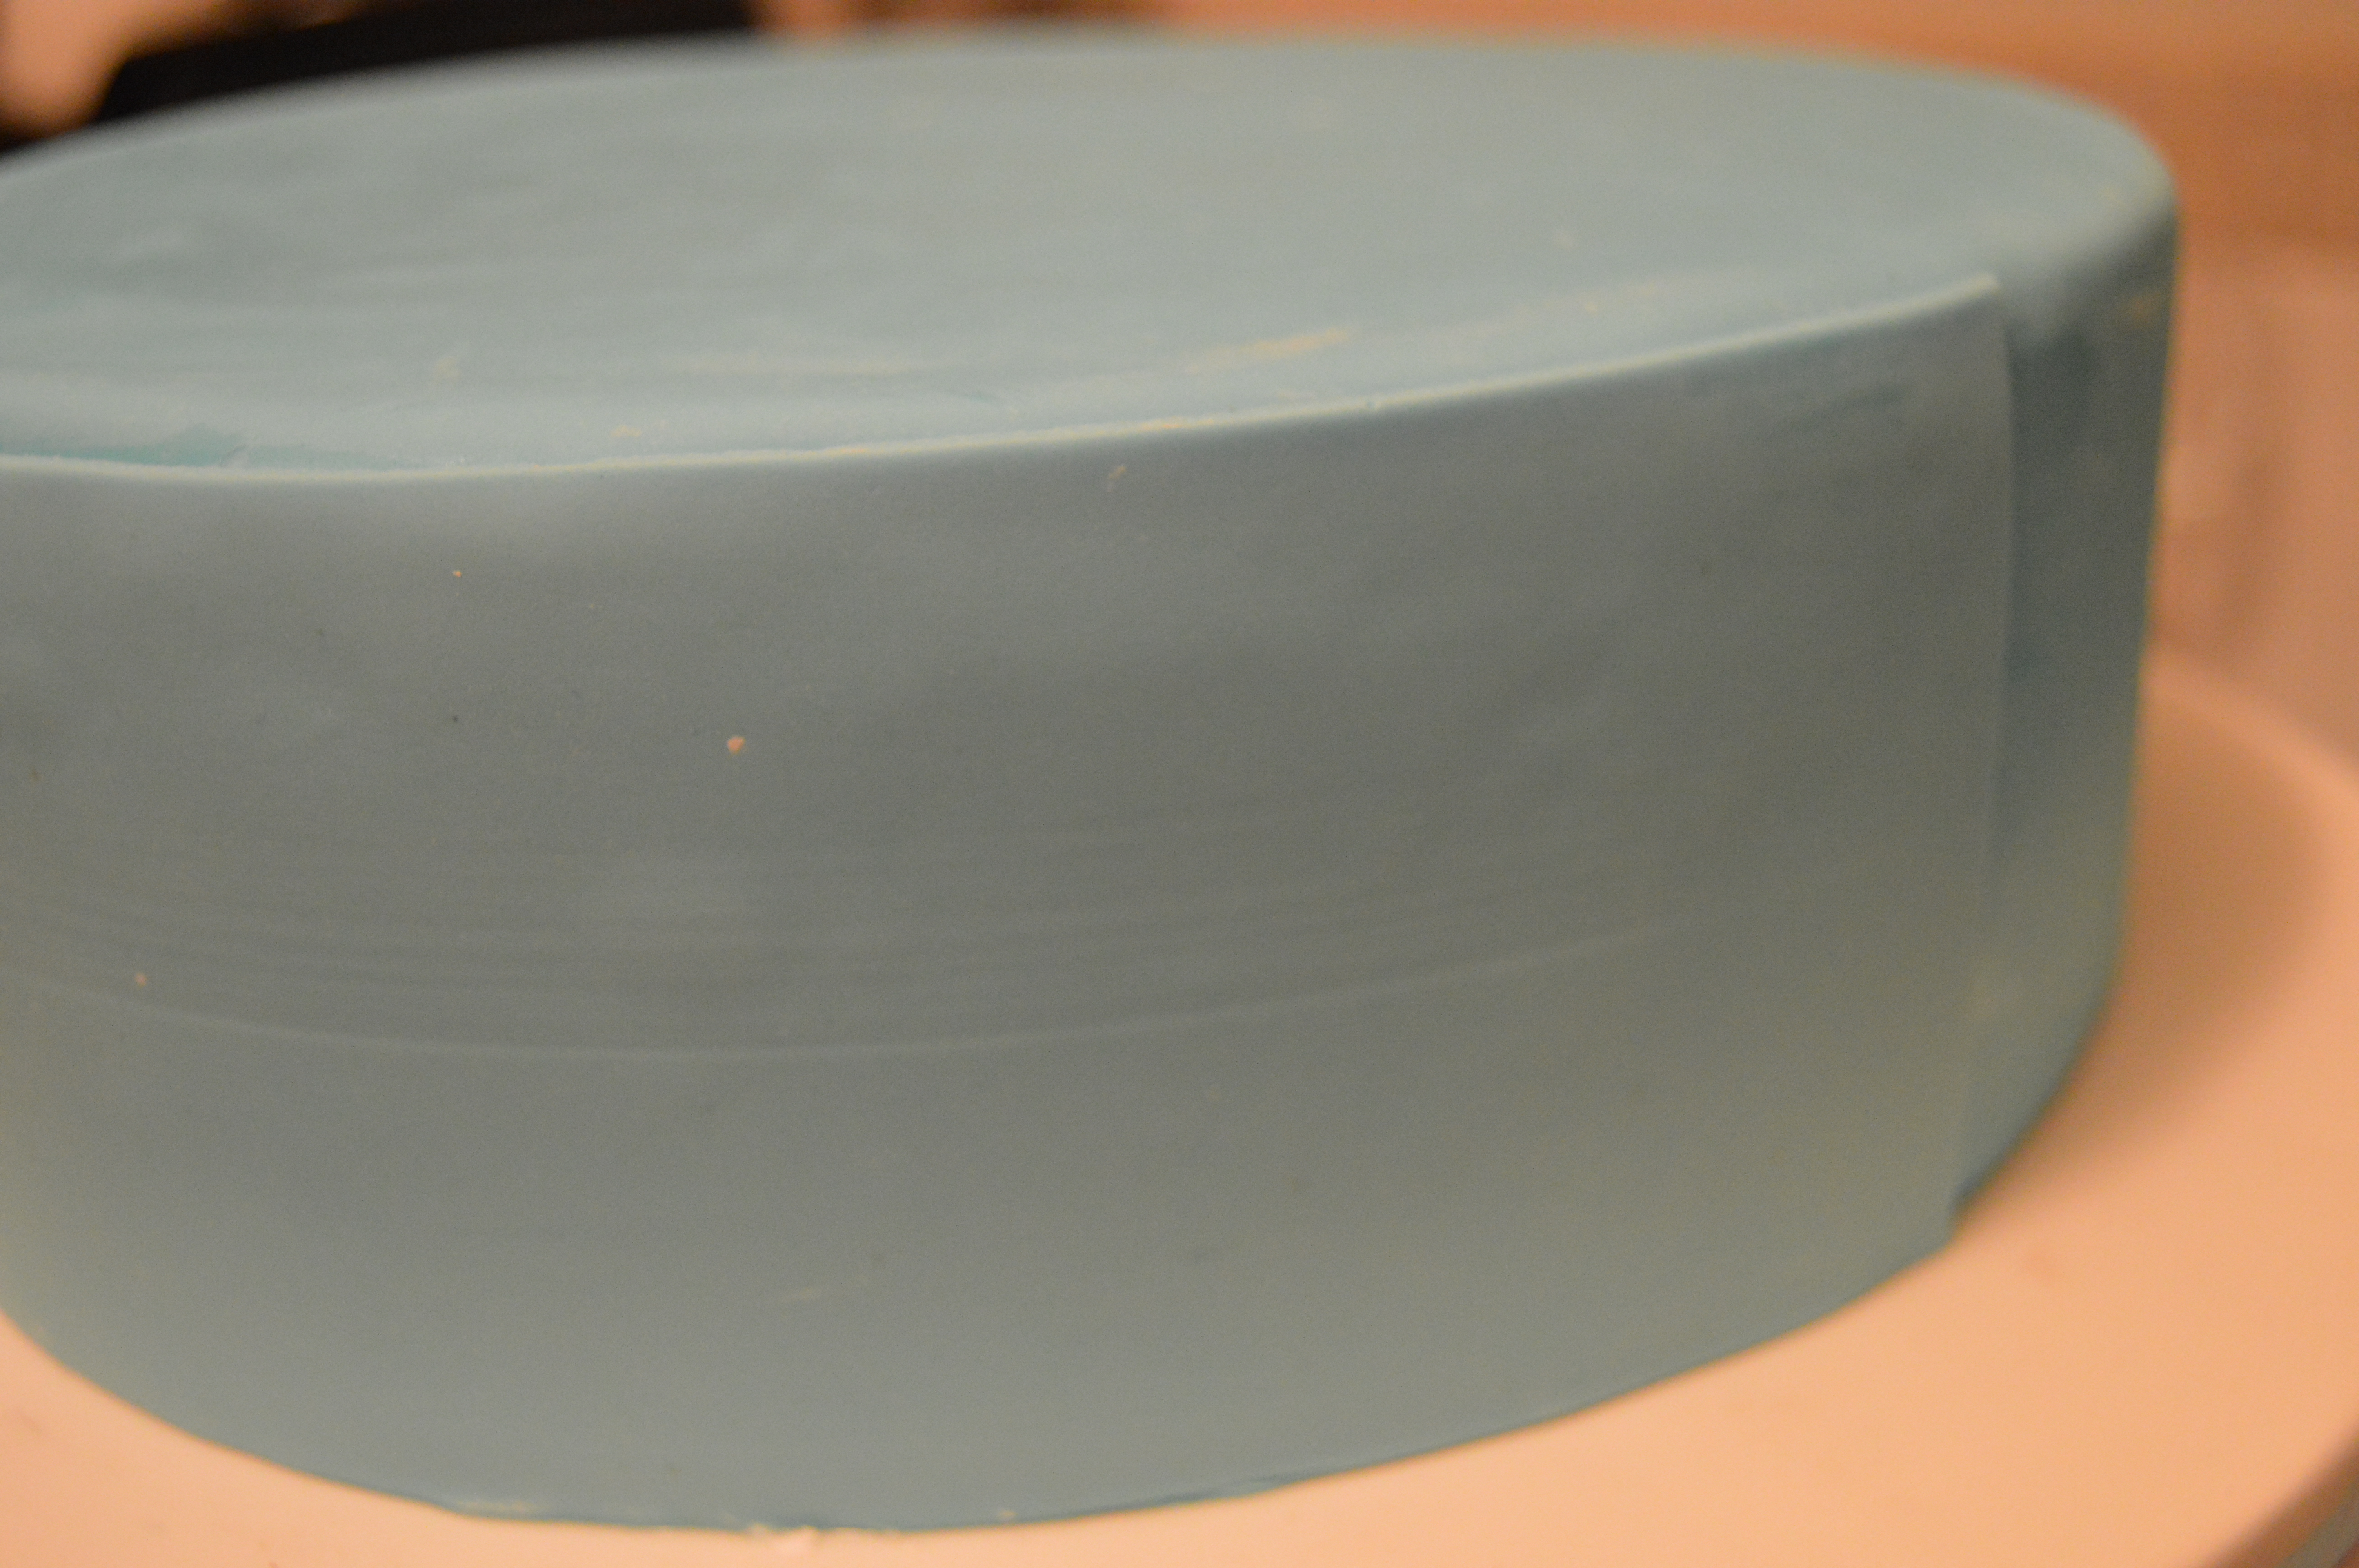
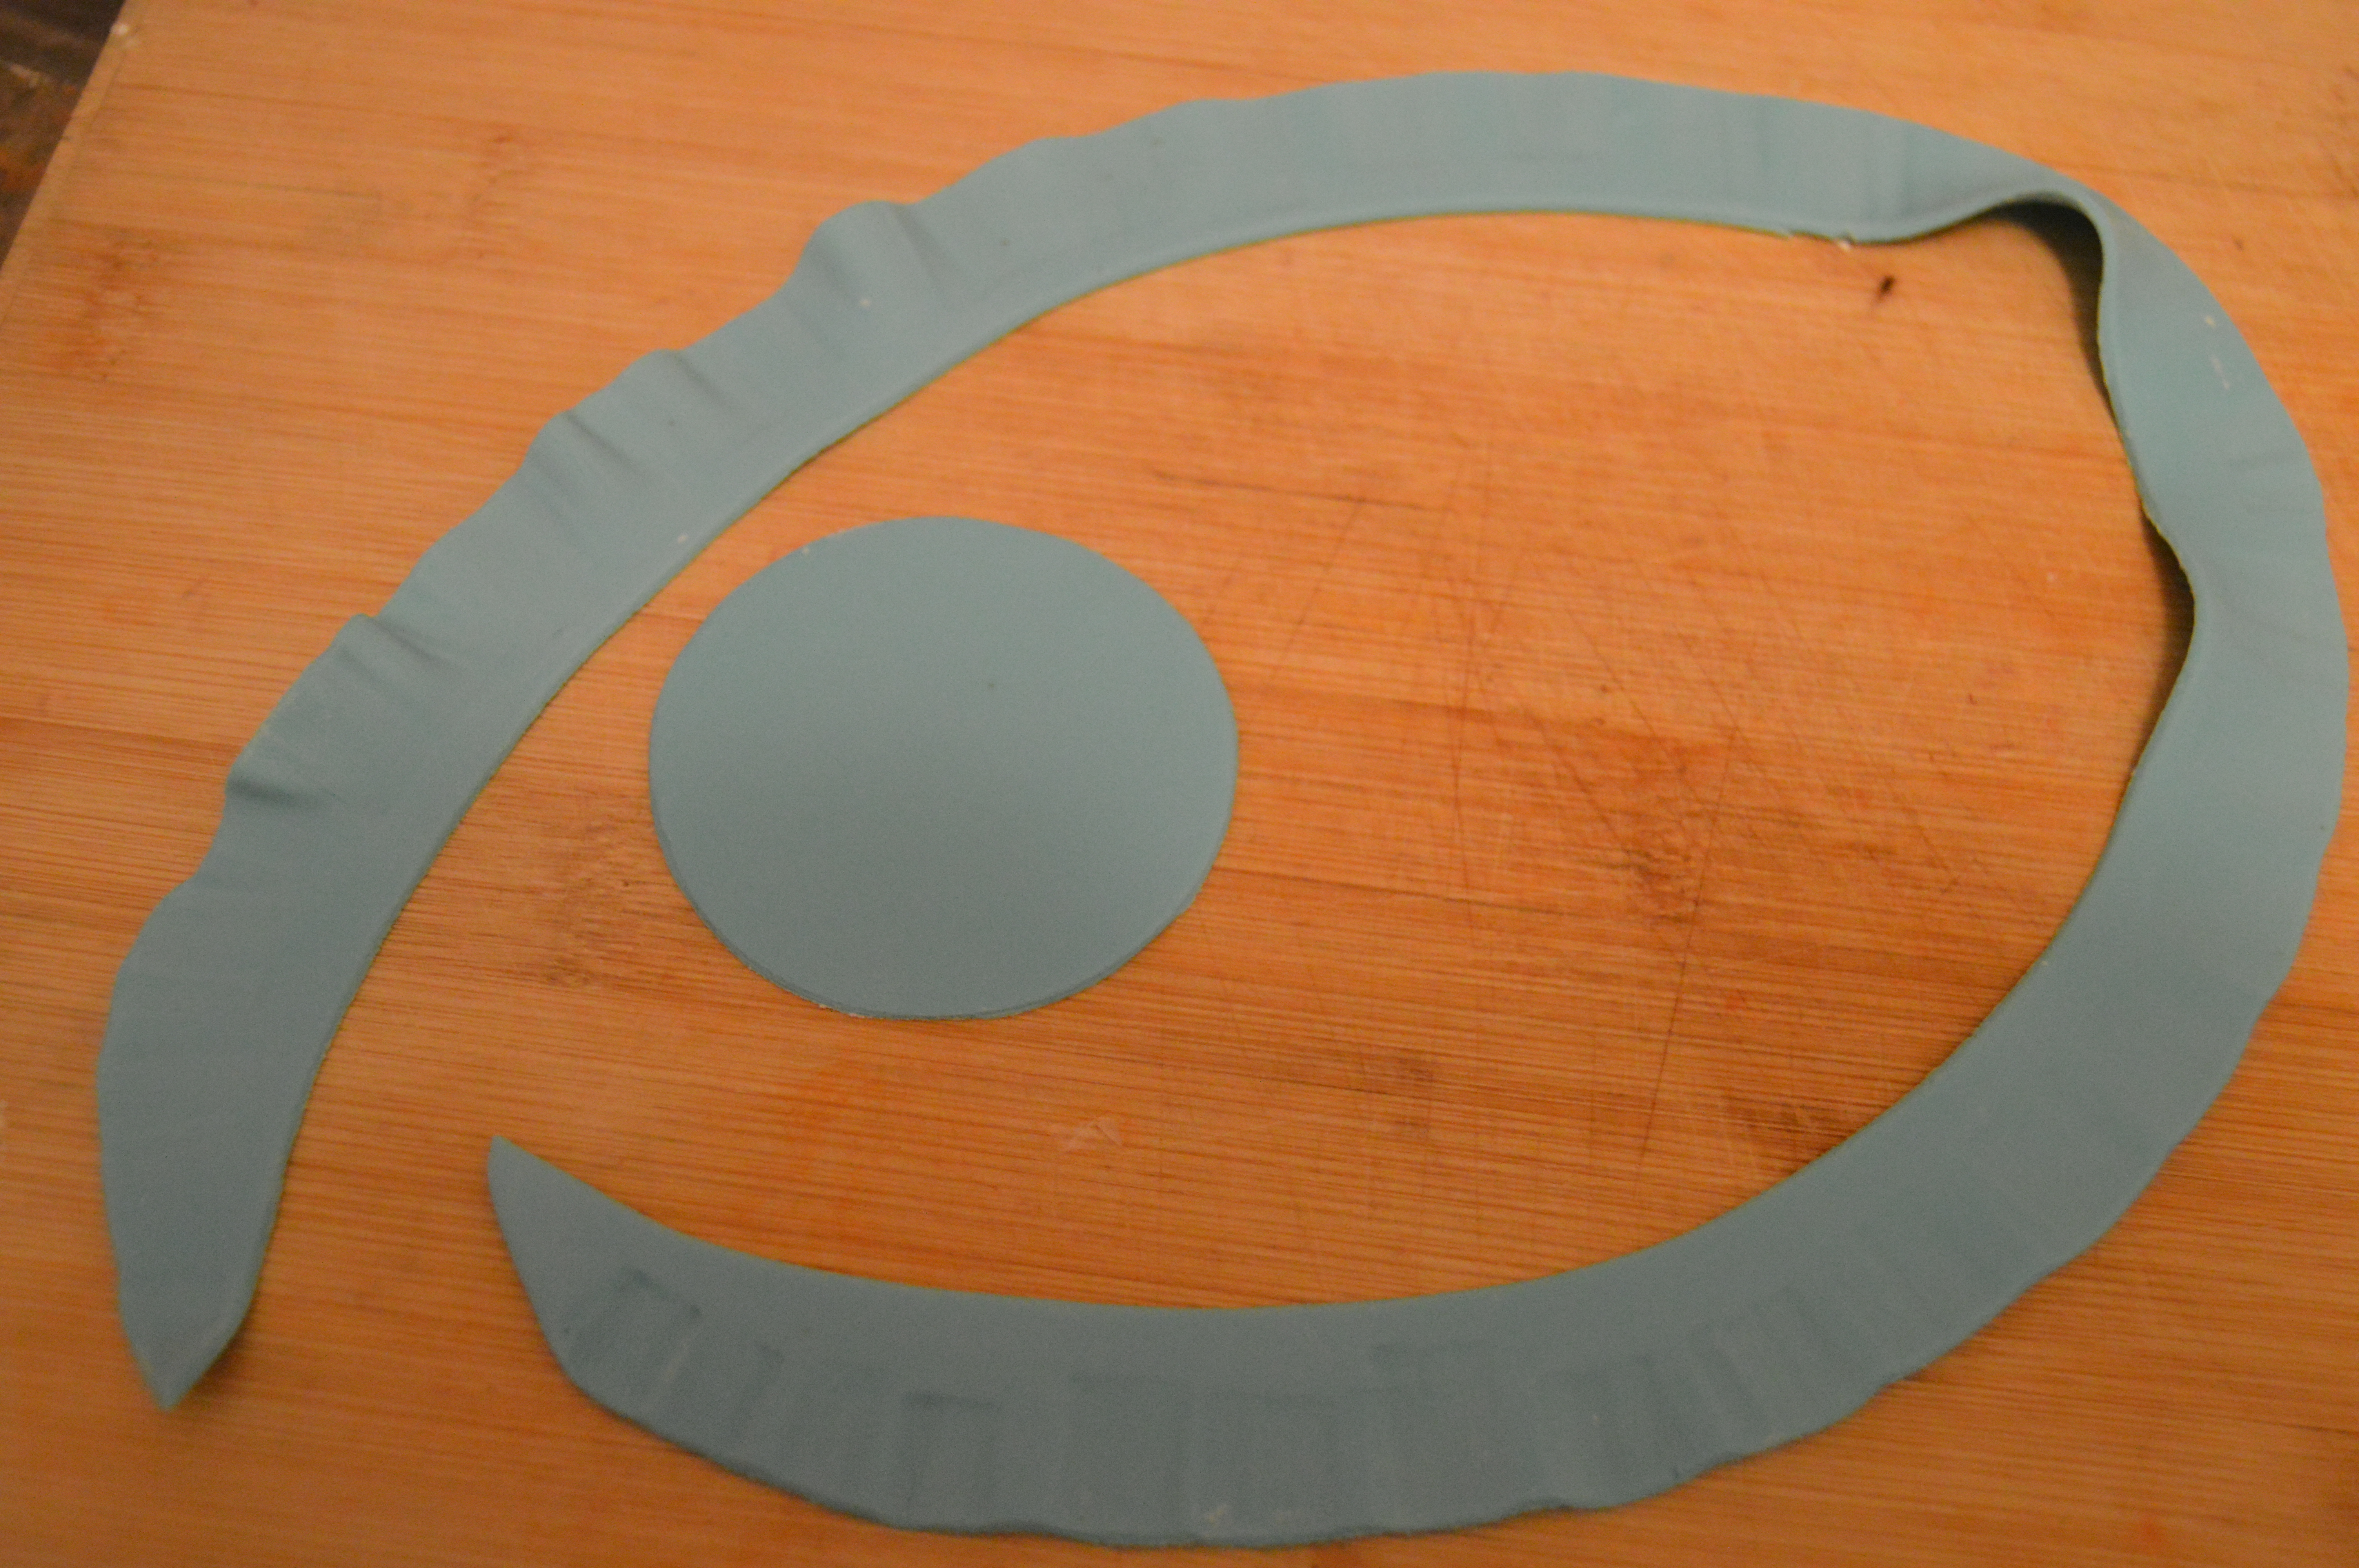
(7) For the top tier, drape it with dark grey fondant (I added some black color paste to my leftover sky blue fondant to arrive at this color). One challenge most bakers have is draping tall cakes. What I did with this tier was to cover the top with a round fondant disk and wrap the sides with the remaining fondant. To seal the seam on top of the cake, I placed a large cake card on top of the cake, flipped the cake over, used a fondant smoother to seal the seam by pulling the fondant towards the top of the cake (now at the bottom), and flipped the cake back right side up. Note that your cake must be cold in order to use this method as soft frosting will not work. Place dowels in the bottom tier and stack the top tier on it.
(8) Next, using sky blue royal icing and a stencil of your choice, stencil the top tier. I would be the first to admit that my stenciling here is a bit messy as my royal icing was too thin, it however added character to the cake. I have a tutorial here on how to properly stencil cakes.
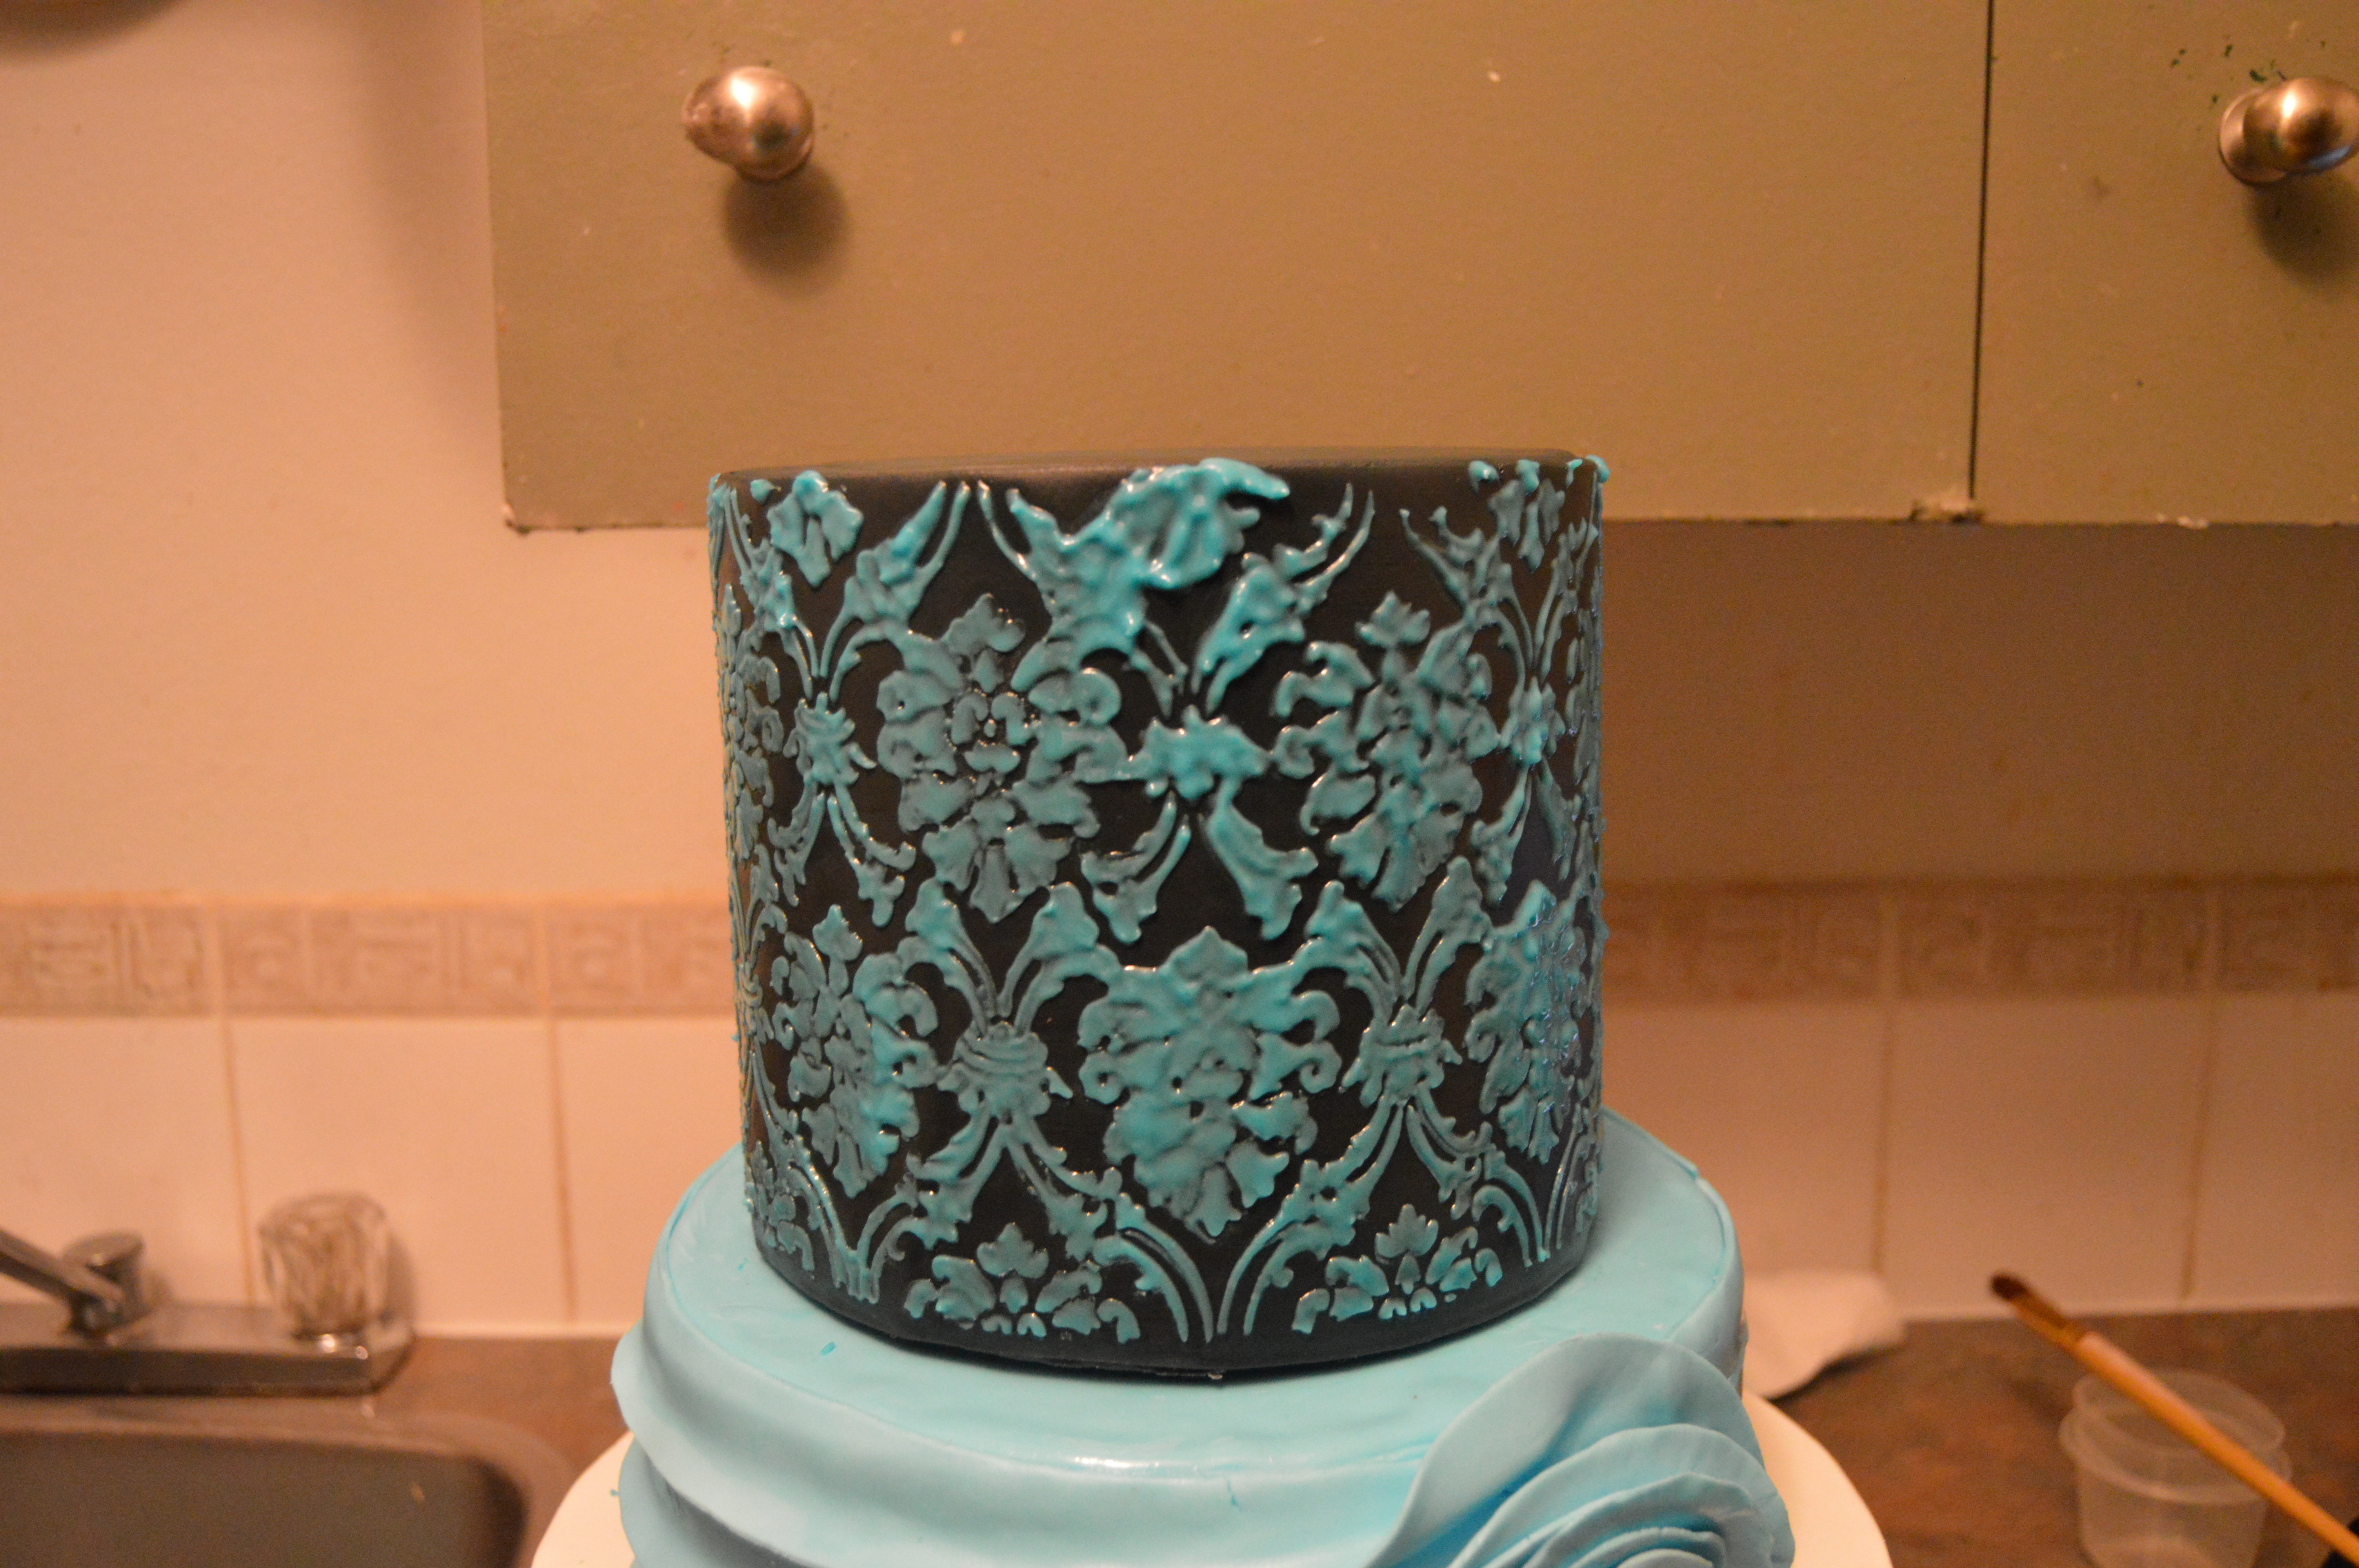
(9) Finish the cake look by sticking jewelries to the top tier and in the middle of the rose and placing the fondant rose on the cake. That’s all there is to it. Happy caking!
Terry Adido is passionate about showing people how easy it is to recreate restaurant quality meals in the comfort of their kitchens. With a style of cooking he refers to as Afro-European Fusion, his meals are influenced greatly by French and Italian Cuisine with a West African twist. If you love good food, you are in for the ride of your life.
This is such a beautiful.
Thanks Onome.
God bless the work of ur hands Terry
Thanks Dupsy.
This is beautiful.
Thanks
God bless u Terry welldone
Thanks Jummy.
Finally!thanks 4 d tutorial
You are welcome Ify.
Wao!this is beautiful Terry, weldone. But pls I don’t get how to place the strips and how it looks like on the other side. Pls kindly expantiate. Thanks alot.
Thanks. I have changed that to “behind the right side.” I hope this makes it clearer.
Thanks for sharing this Terry. Wonderful tutorial….
You are welcome Esther.
It is Be2ful pls will u teach me
Love your fabulous food ideas 🙂 This cake looks precious and majestic, like a midnight treasure
Thanks Neyon.
Hi Terry, I want to understand this technique. Cakes first refrigerator cooled then it crumb coat and kept back in the refrigerator brought out after a couple of mins then covered with fondant. The fondant wouldn’t it sweat? Please correct me if i’m wrong thanks.
The frosted cake should be kept in the fridge until the frosting has hardened. I usually keep it in the fridge for about 24 hours (frost the day before covering wit fondant). No it does not sweat.