
The Making of a Dressed Igbo Woman Cake

In this post, I will be showing you how I made this Dressed Igbo Woman Cake which features a red gele (head tie) and the iconic star wrapper. To read more about this cake, know the sponges that were used and the sizes of the tiers, click here.
PROCEDURE:
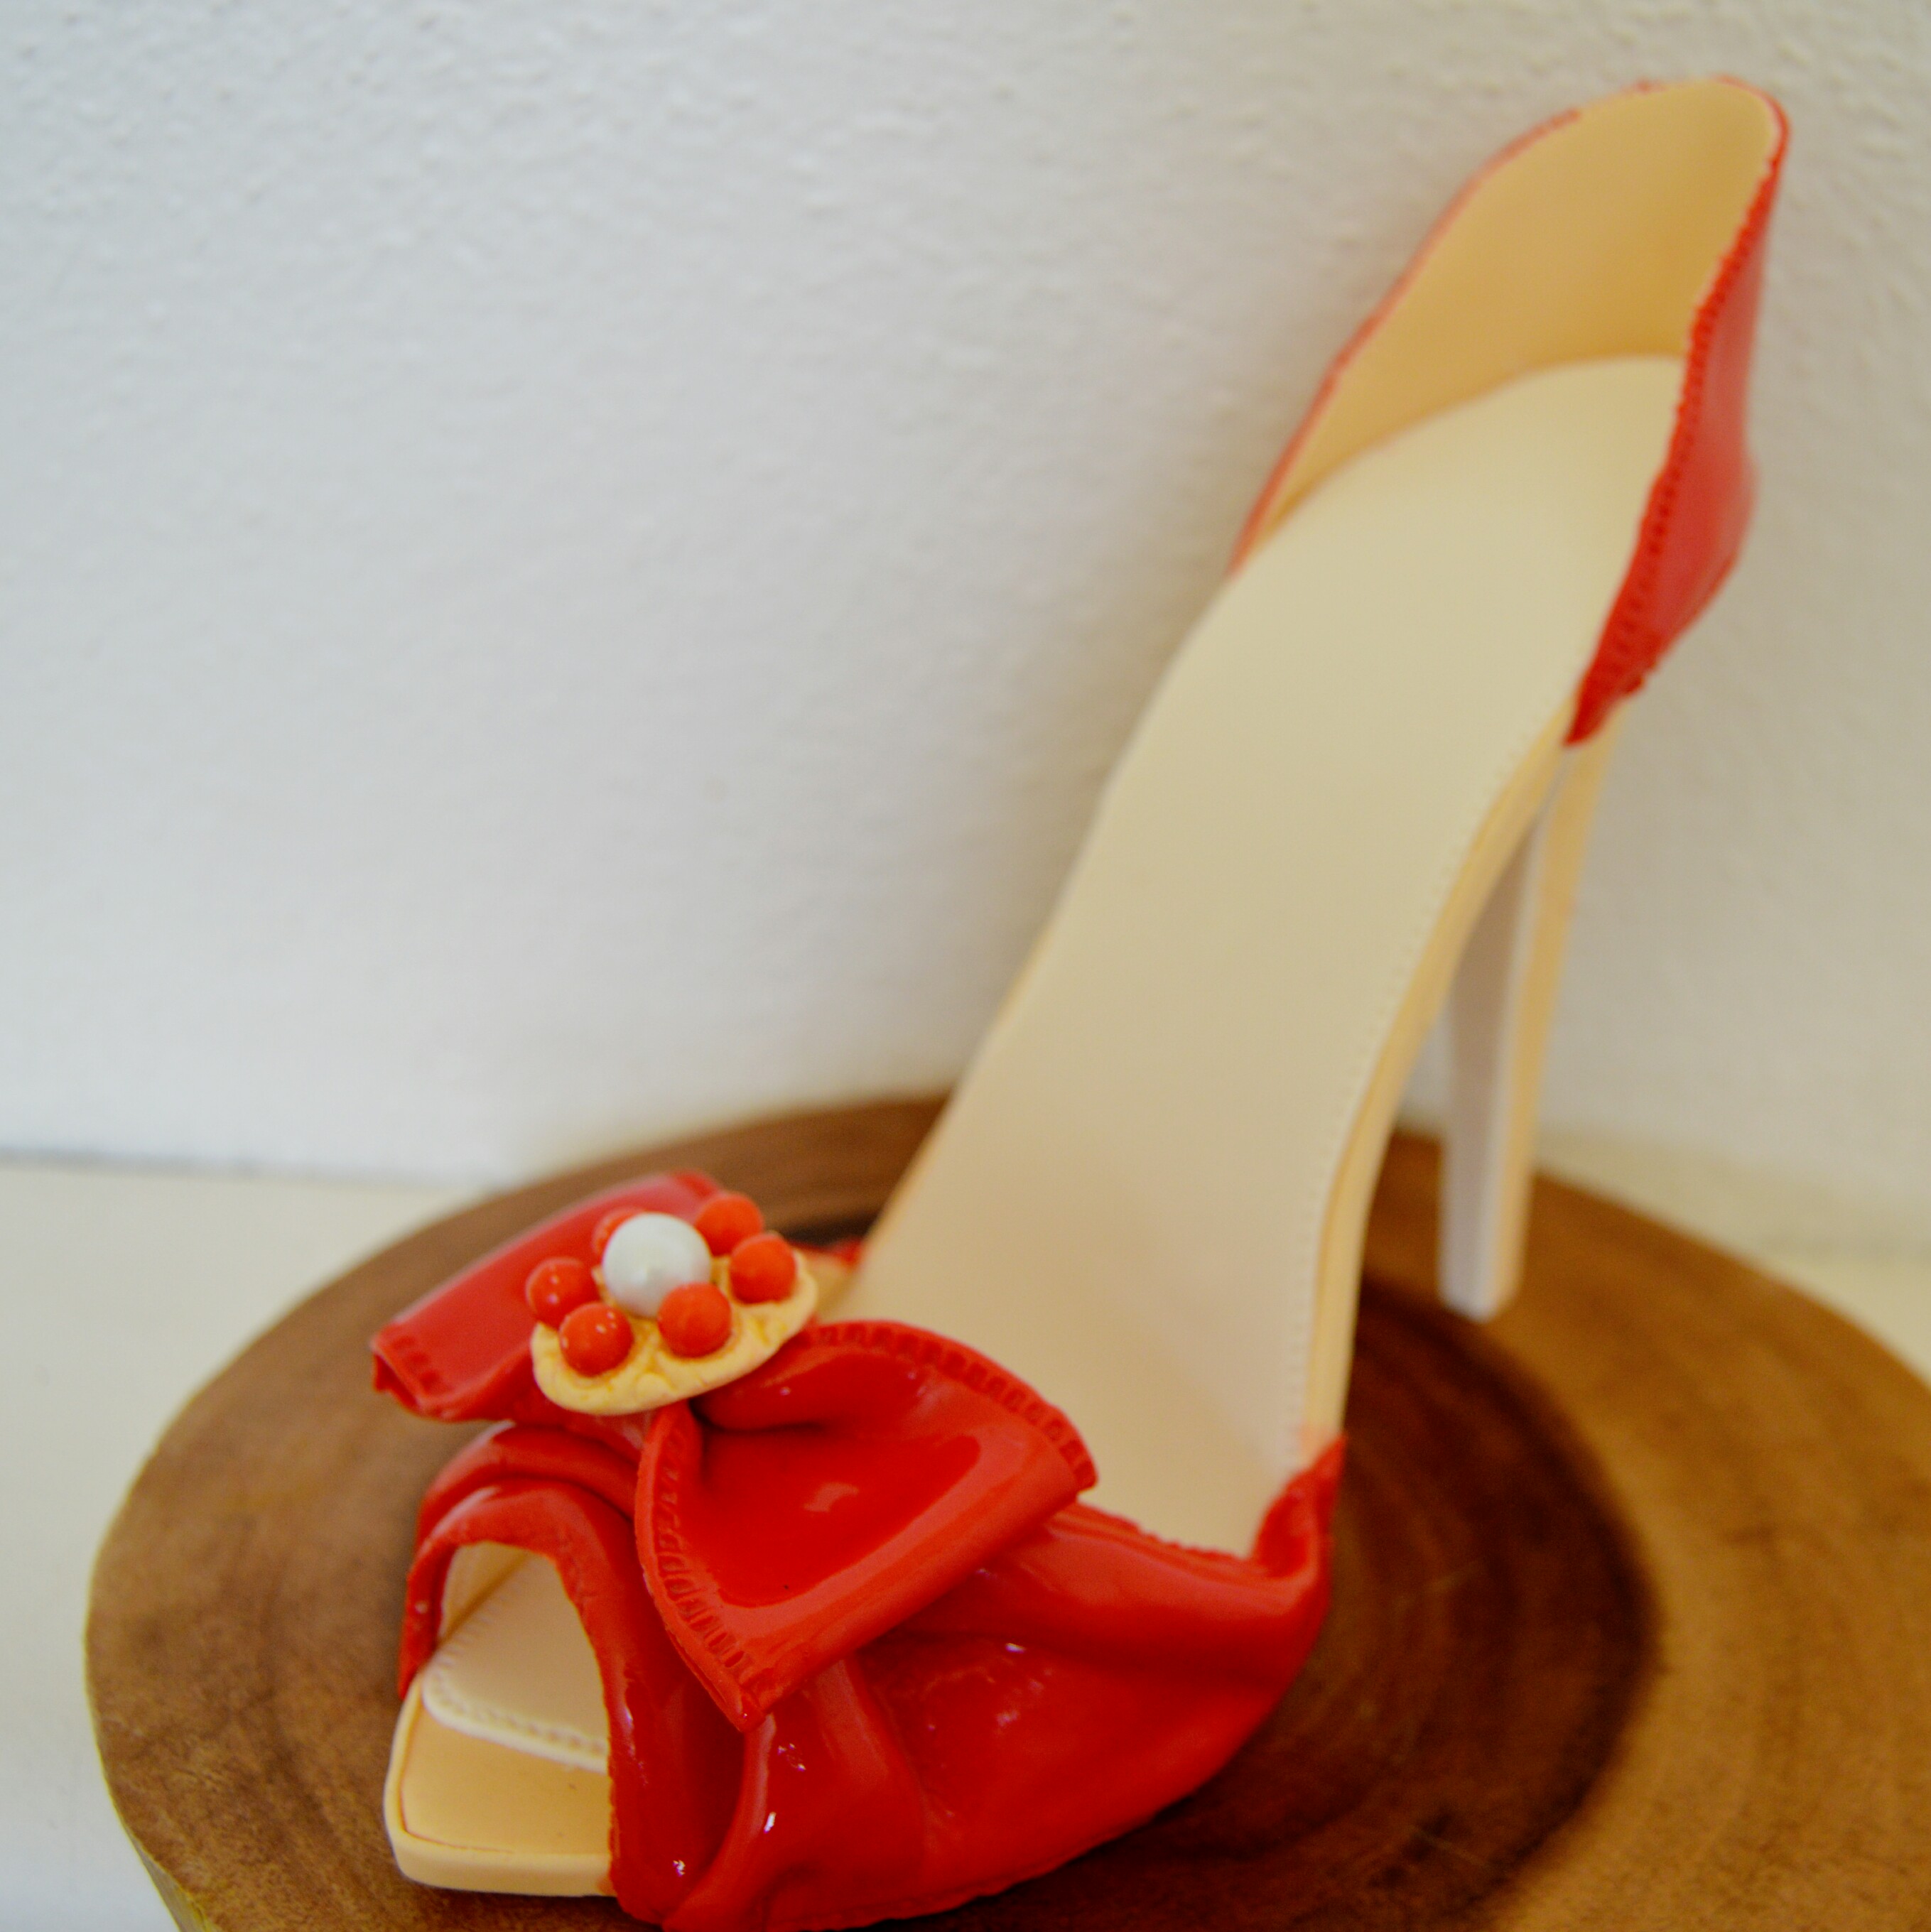
(1) First, some preliminary steps. Make the red shoe. I have a tutorial here on how I make my stilettos.
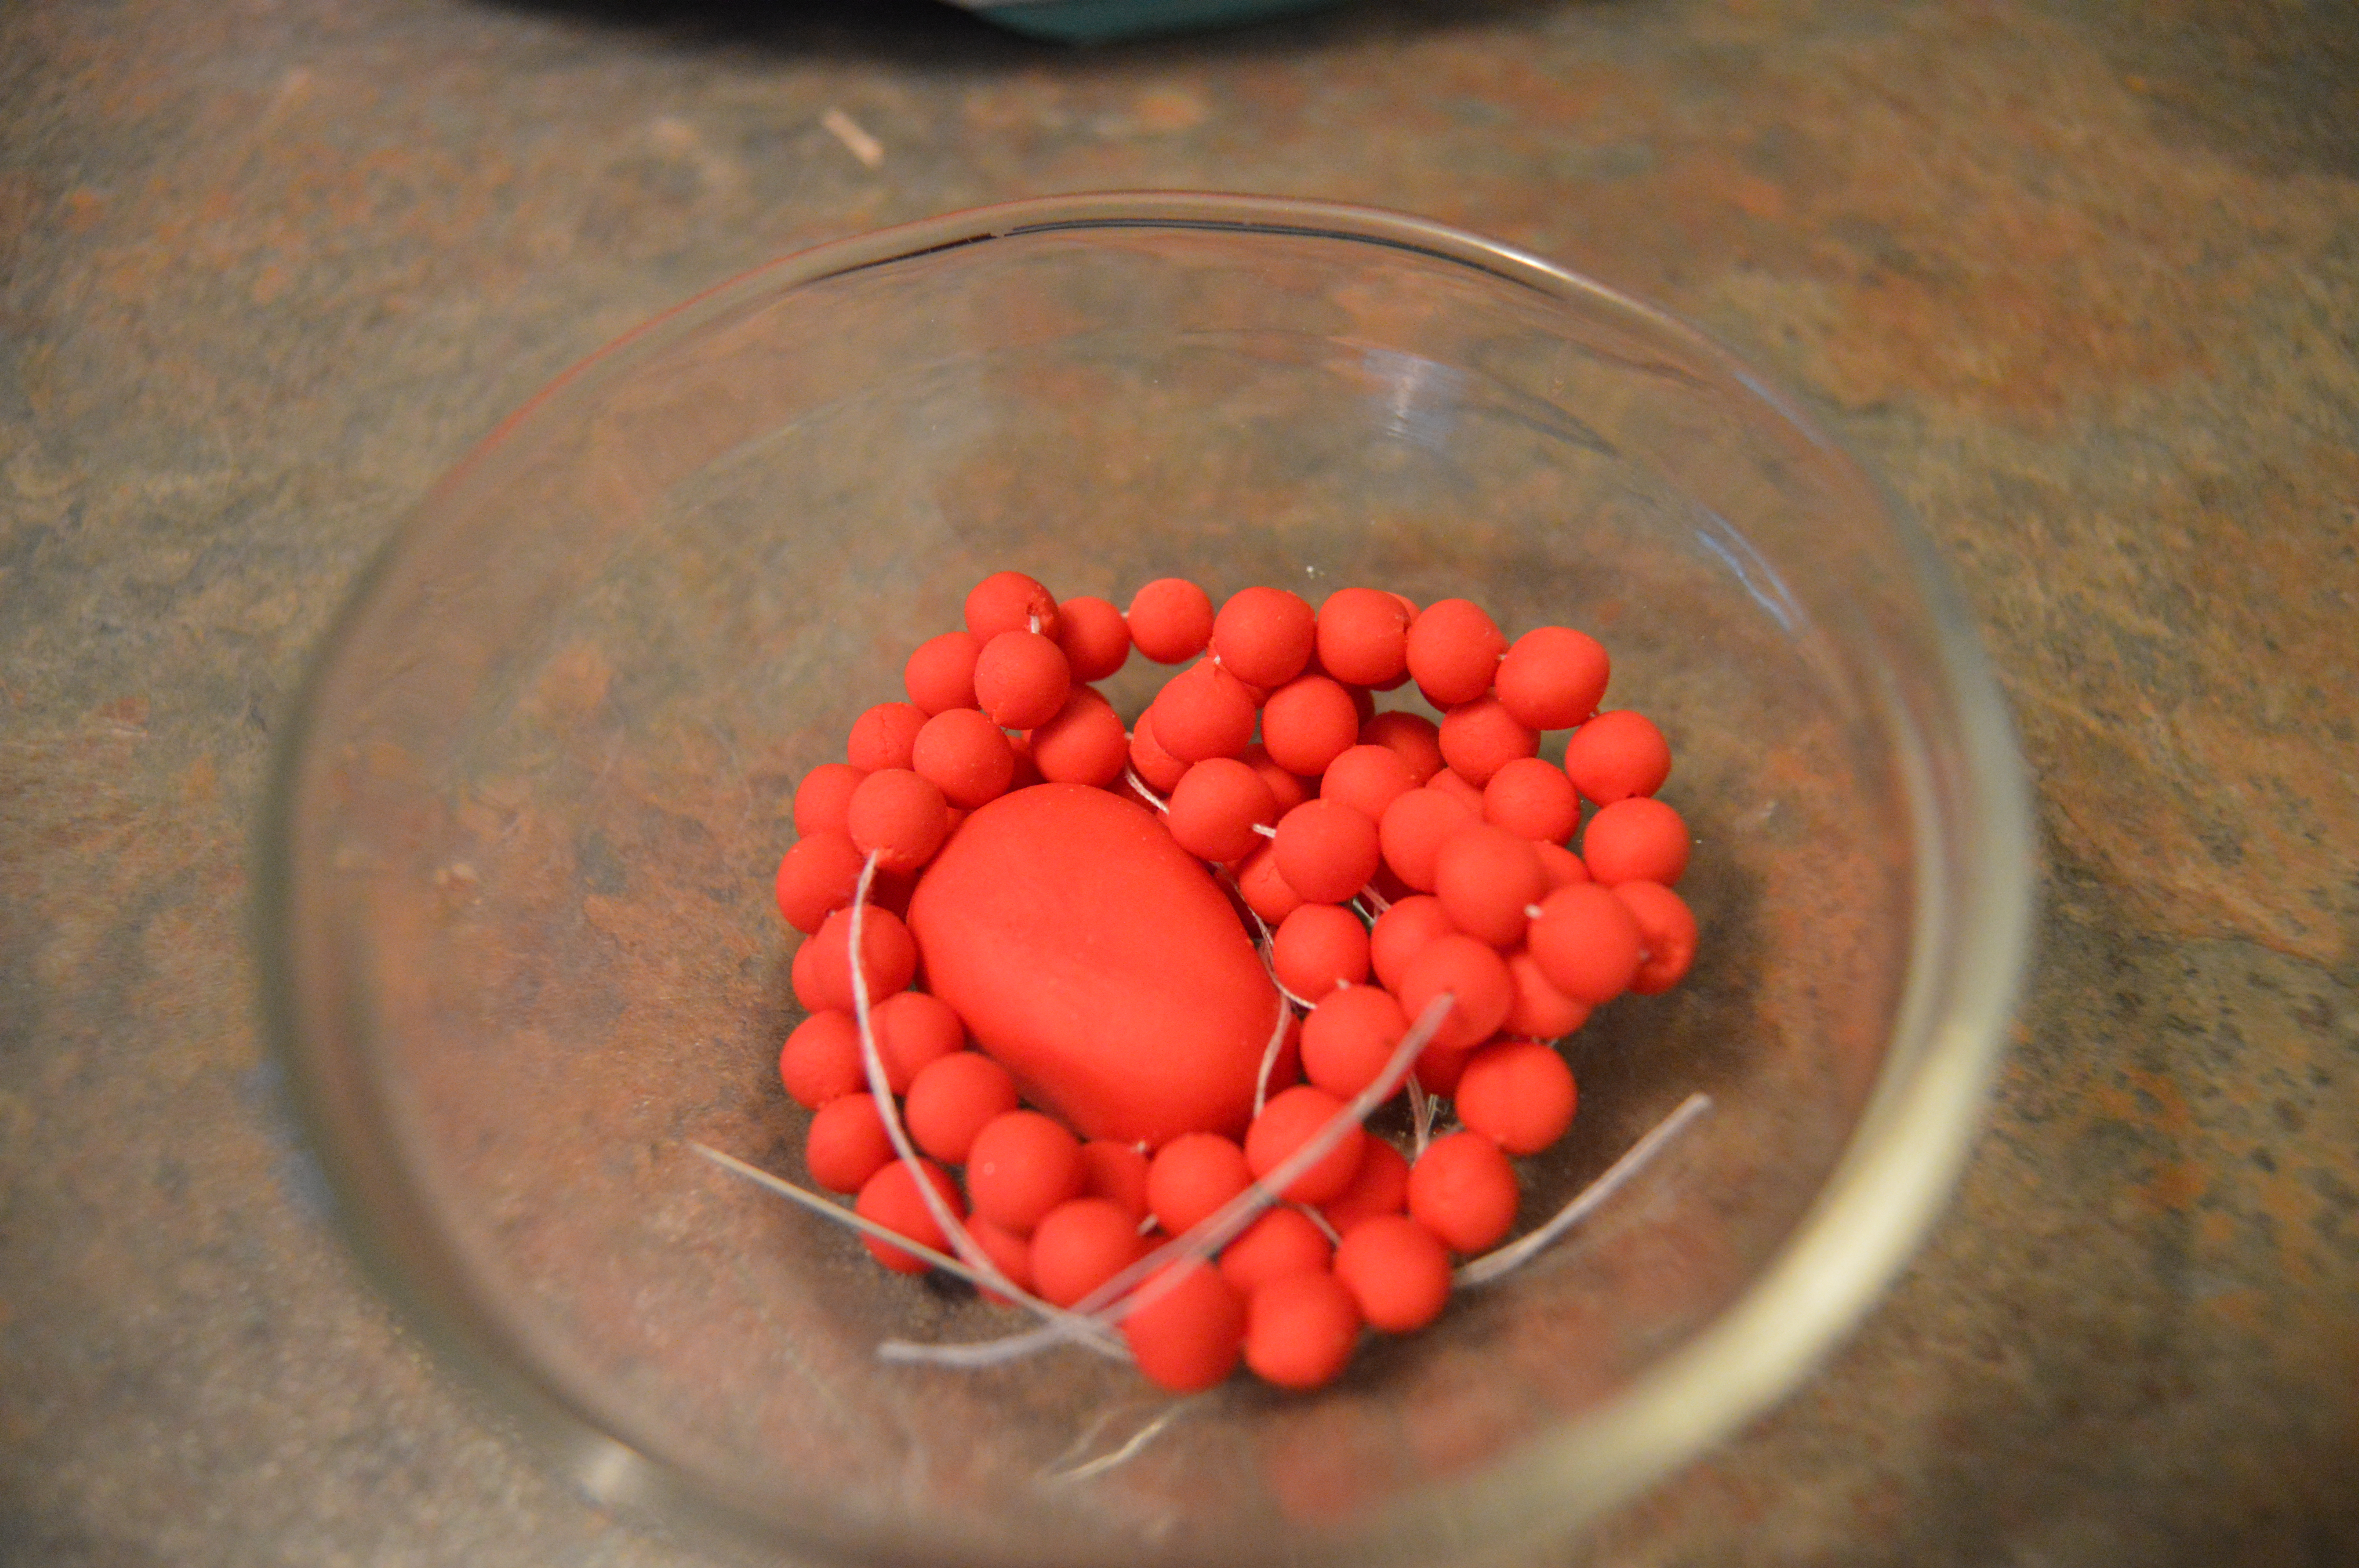
(2) Next, make the necklace and bracelet. I have a tutorial here on how to make the necklace and one here on how to make the bracelet.
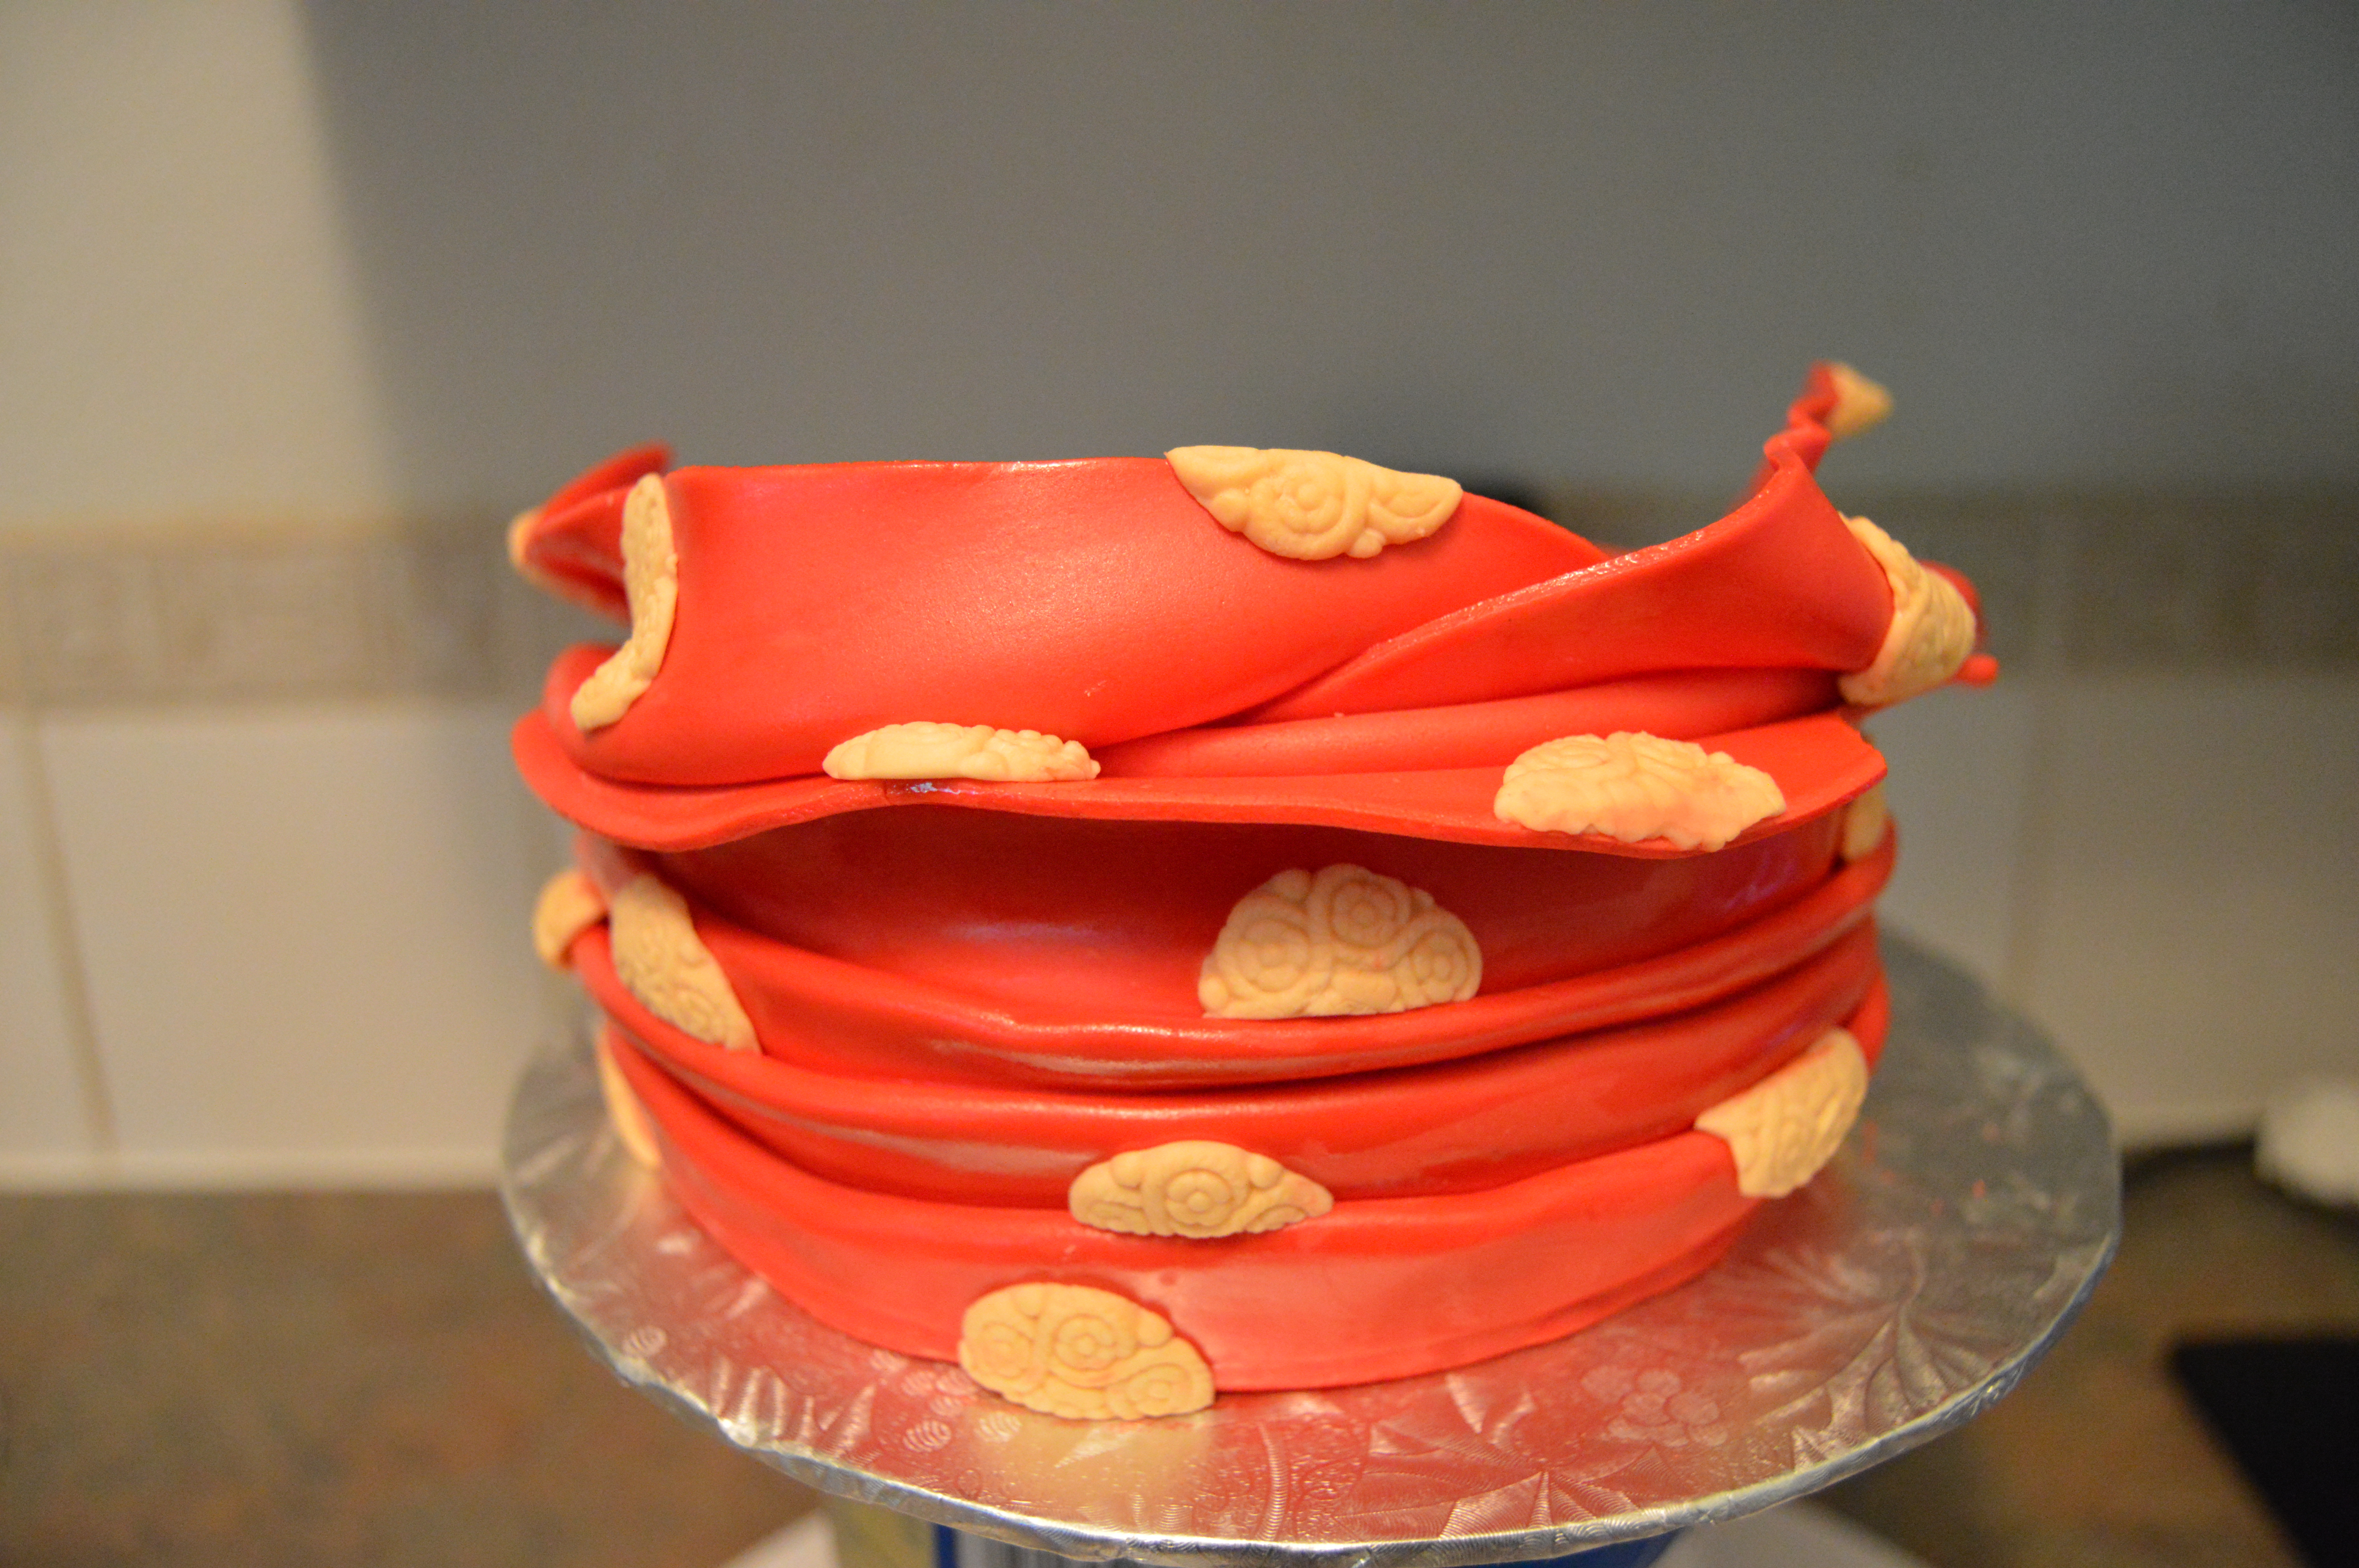
(3) Next, make the gele. I have a tutorial here for that.
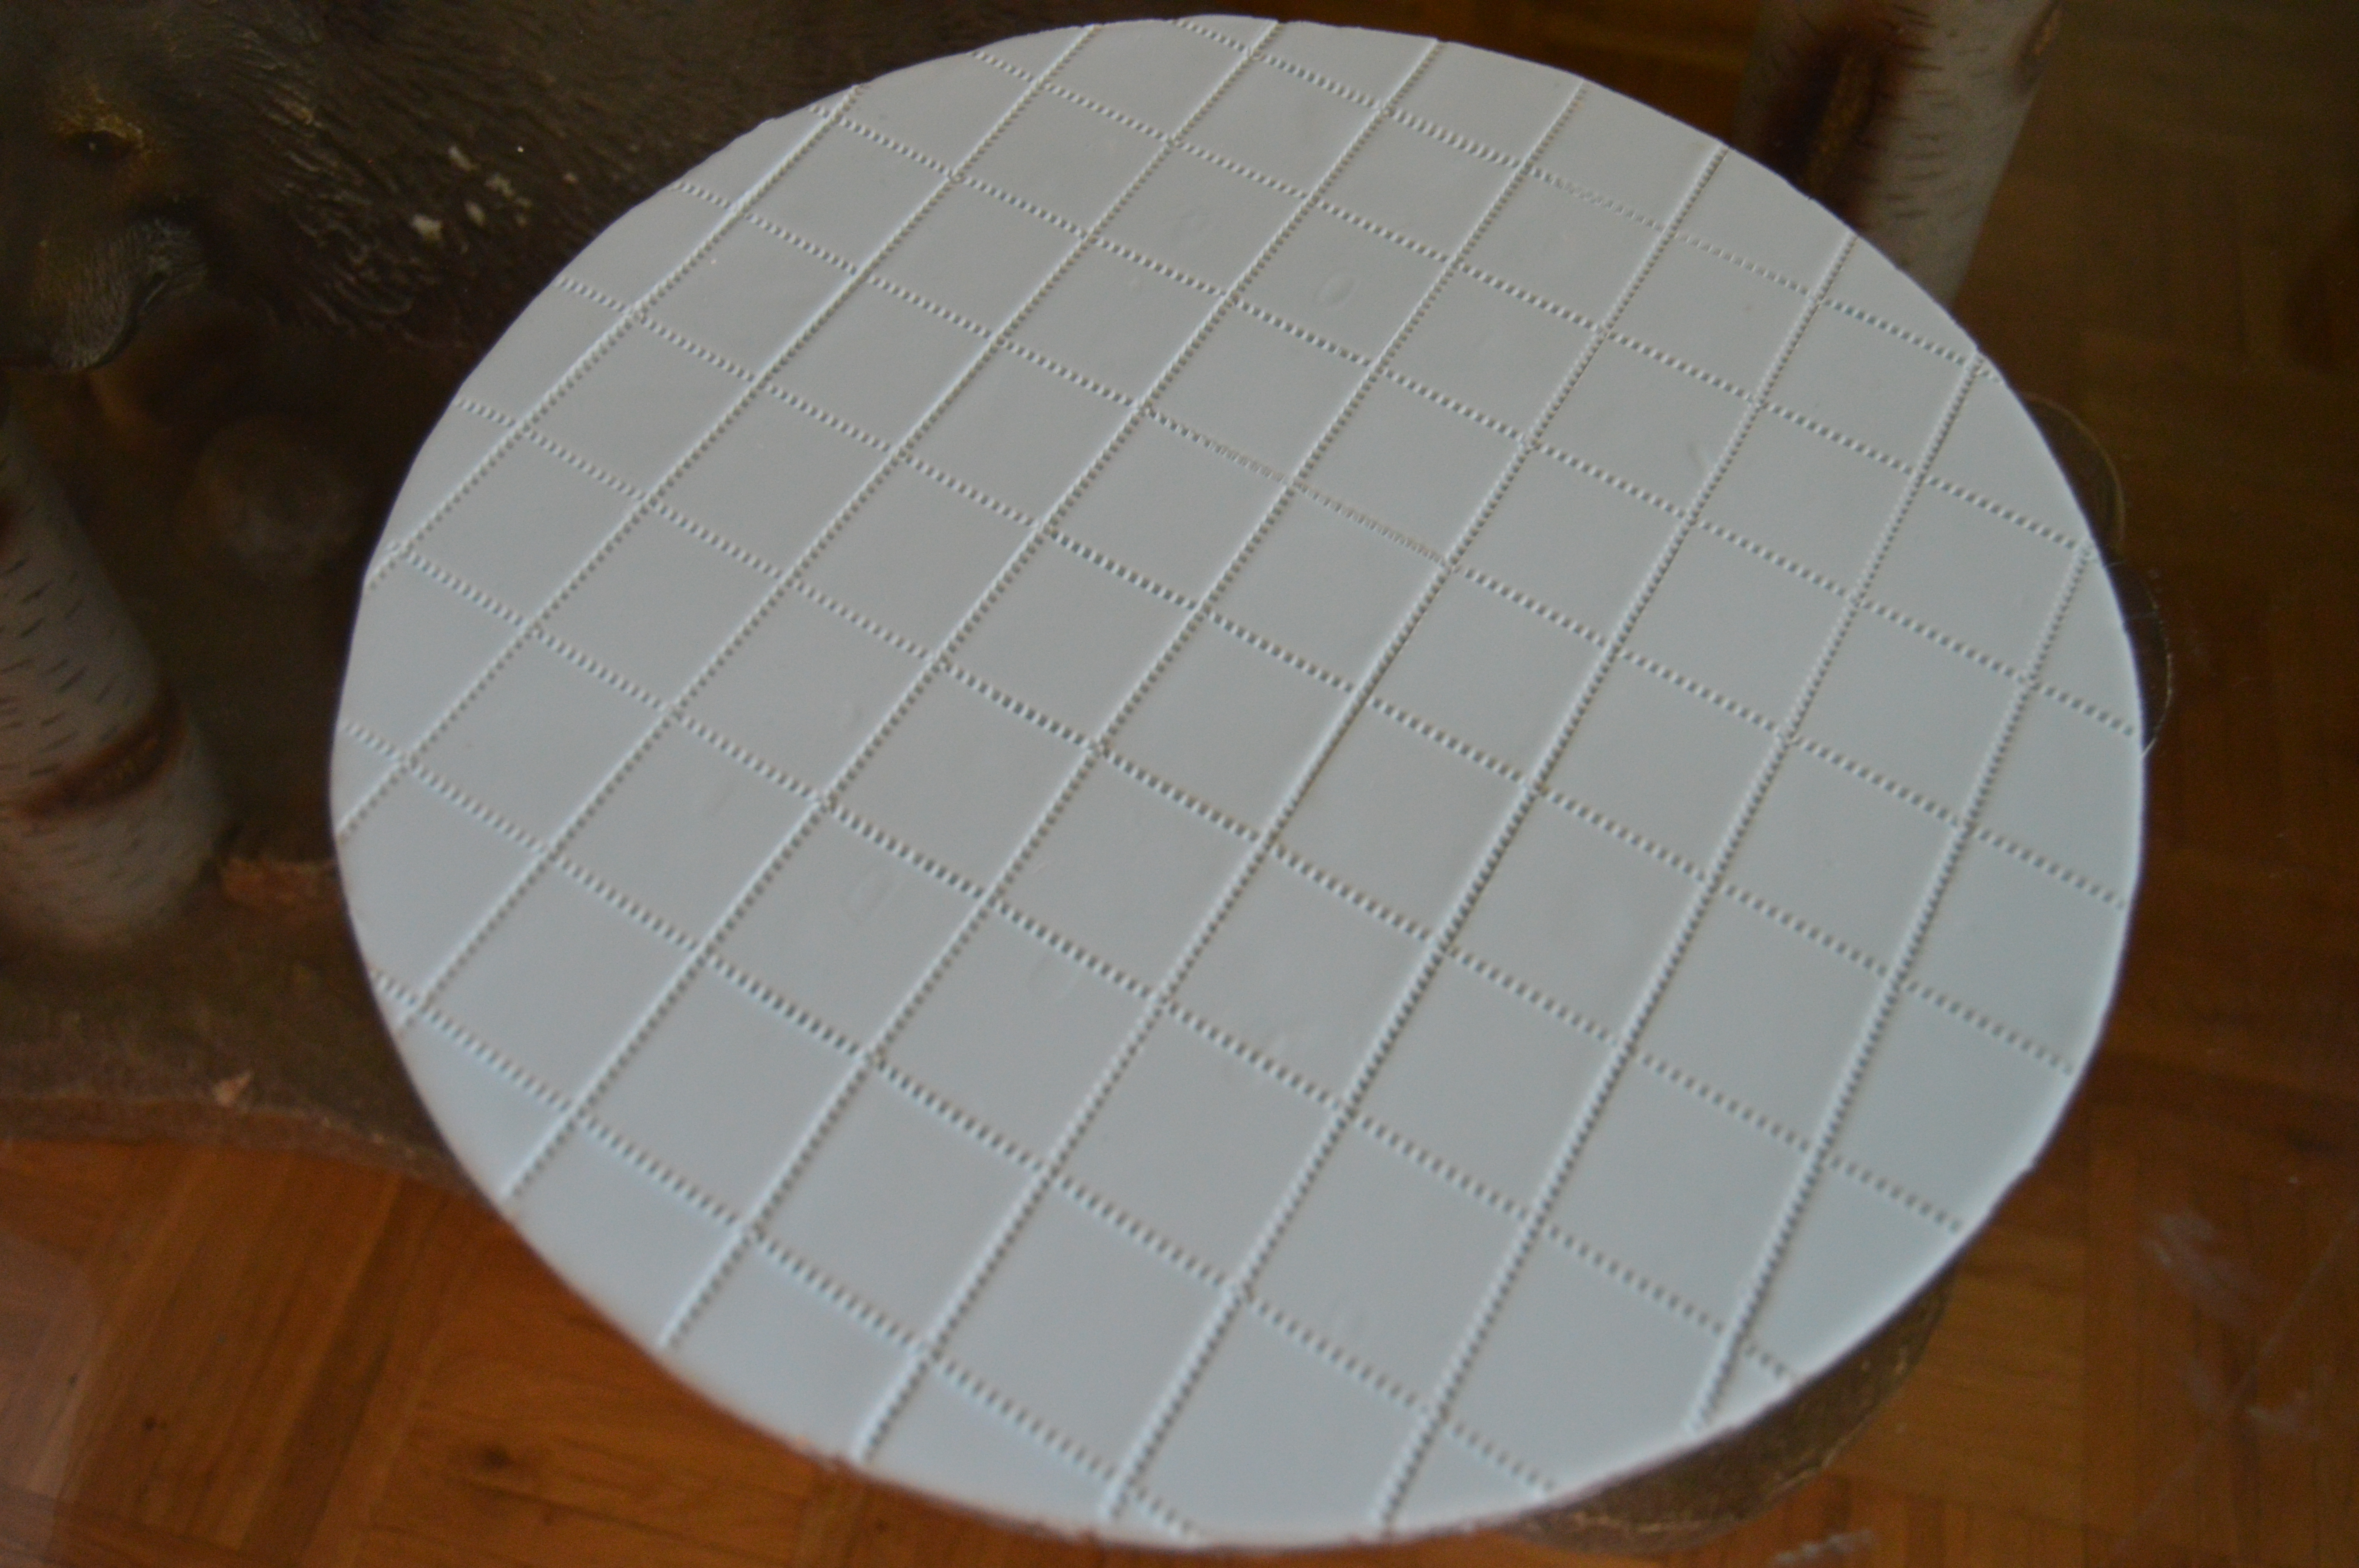
(4) Now, to the cake itself, cover the cake board with fondant. Next, drape the bottom tier with yellow fondant and stick it to the cake board.
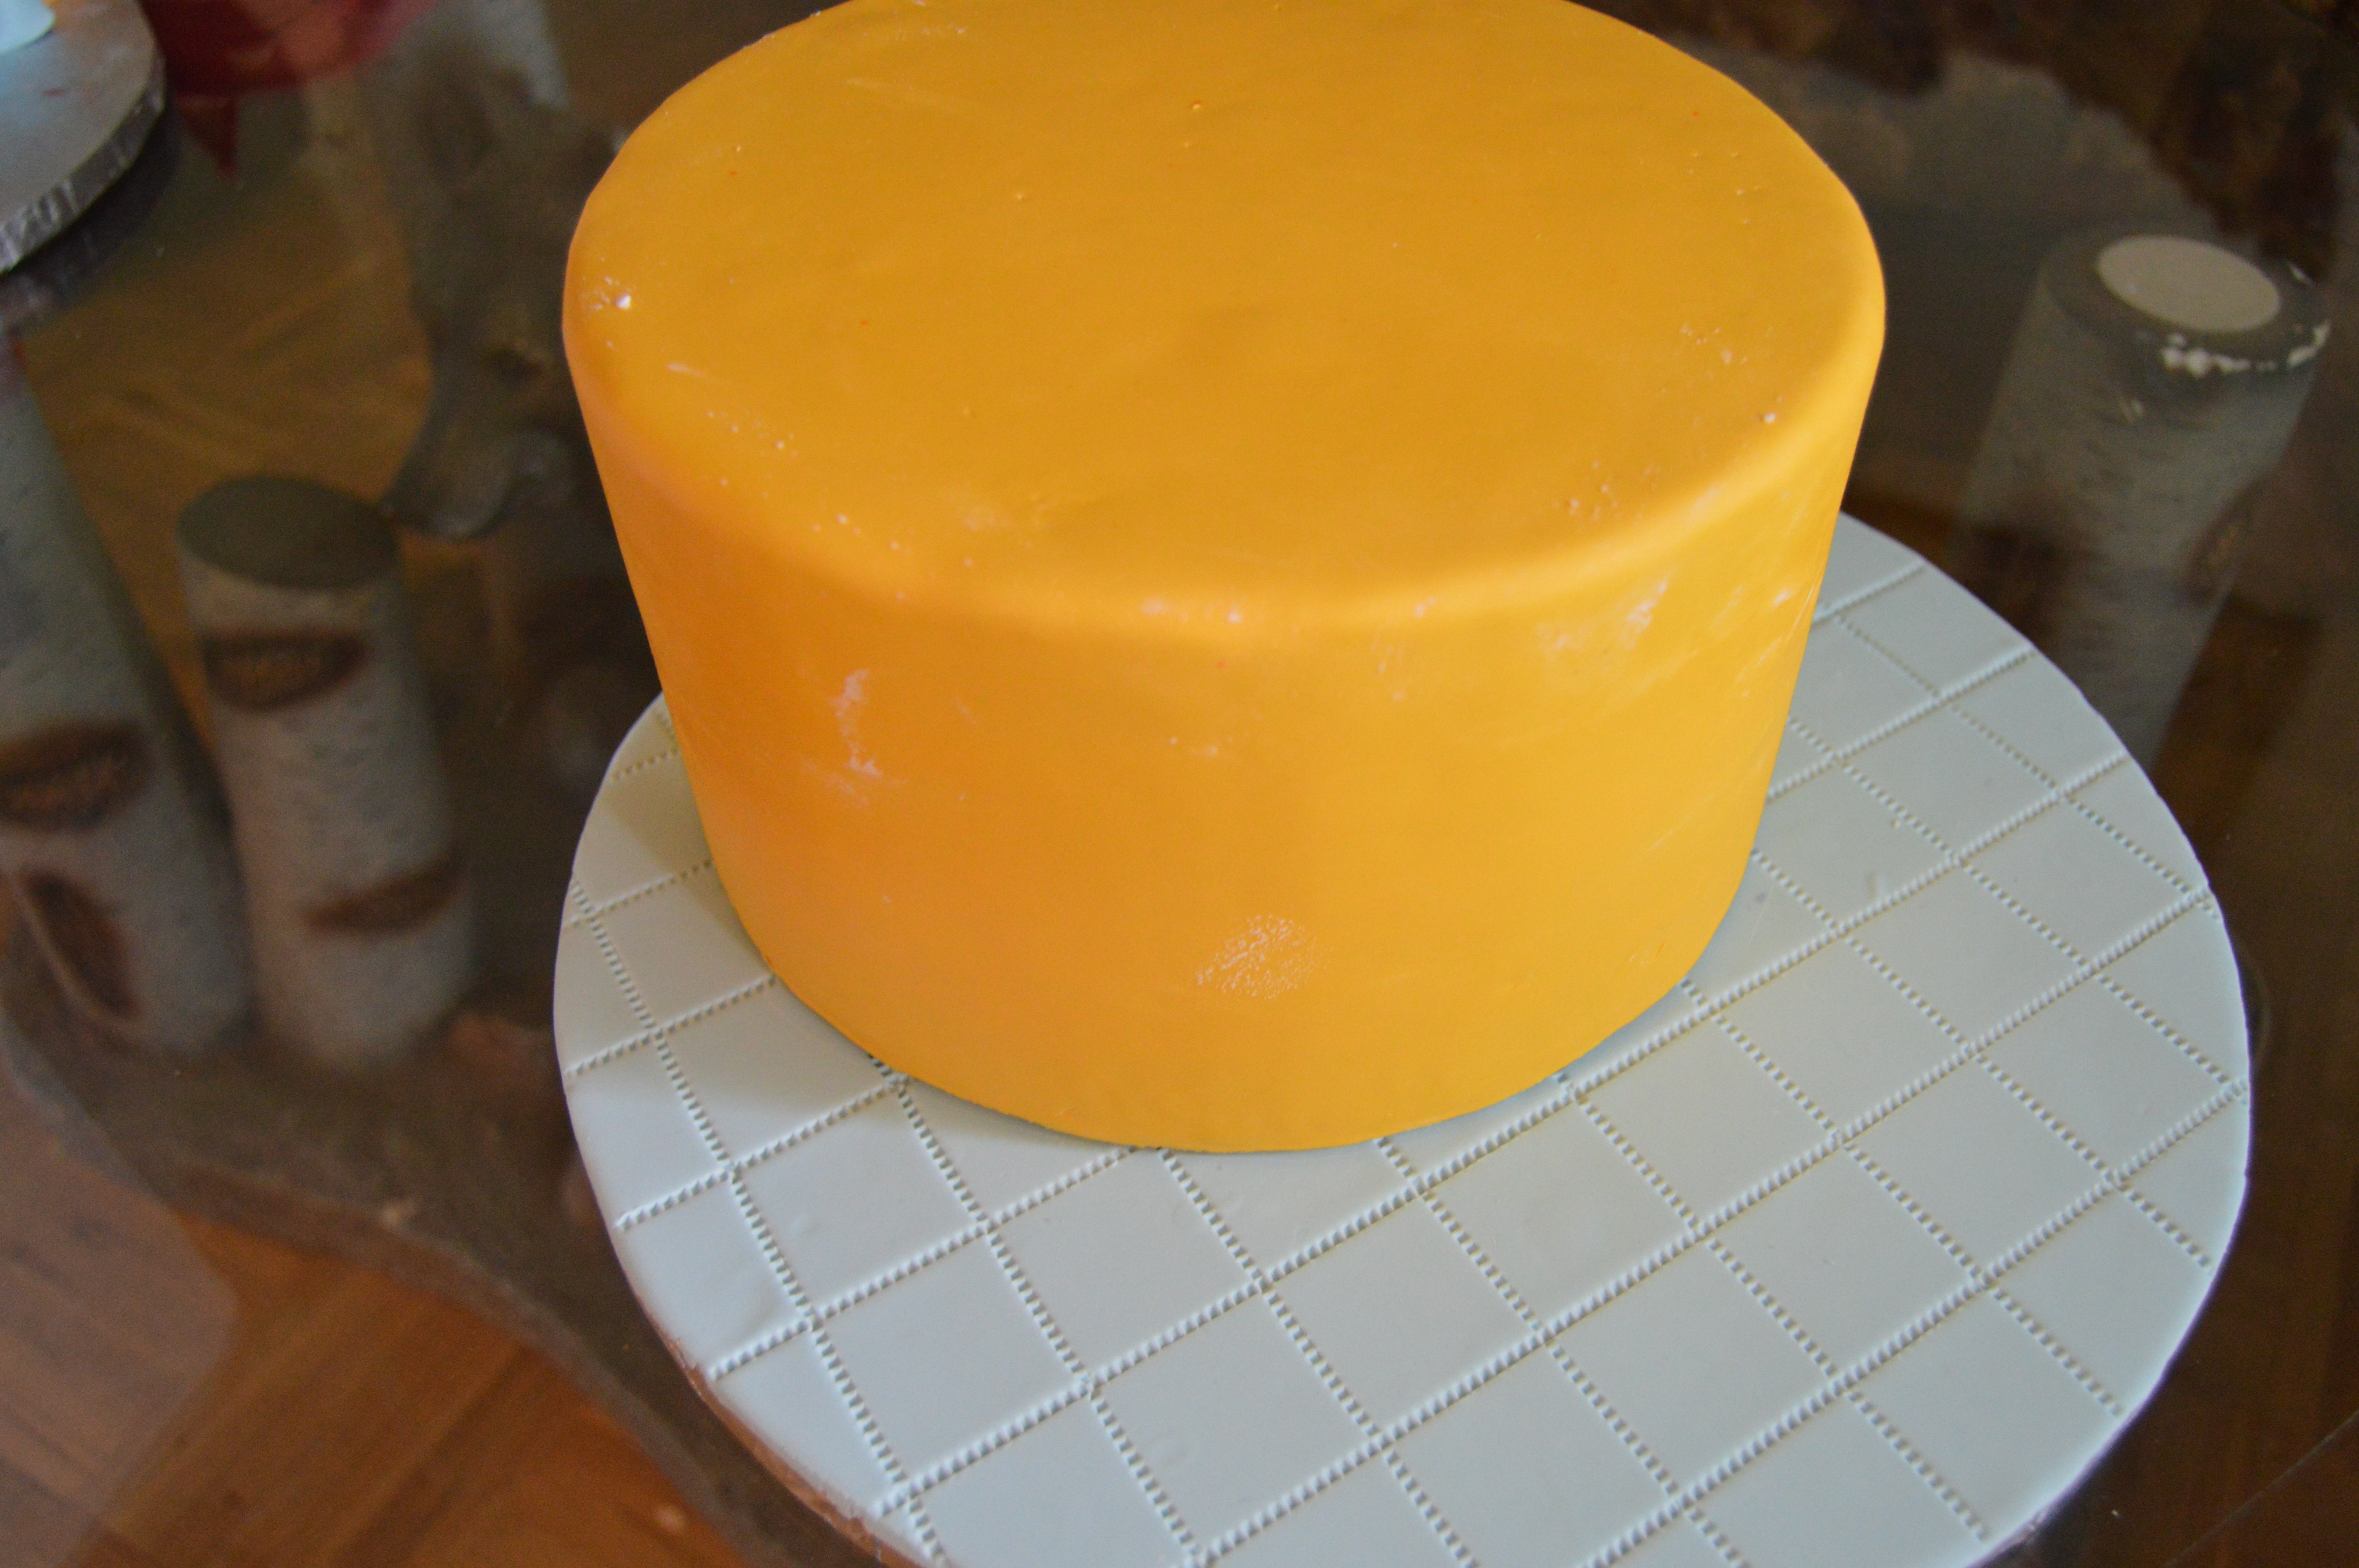
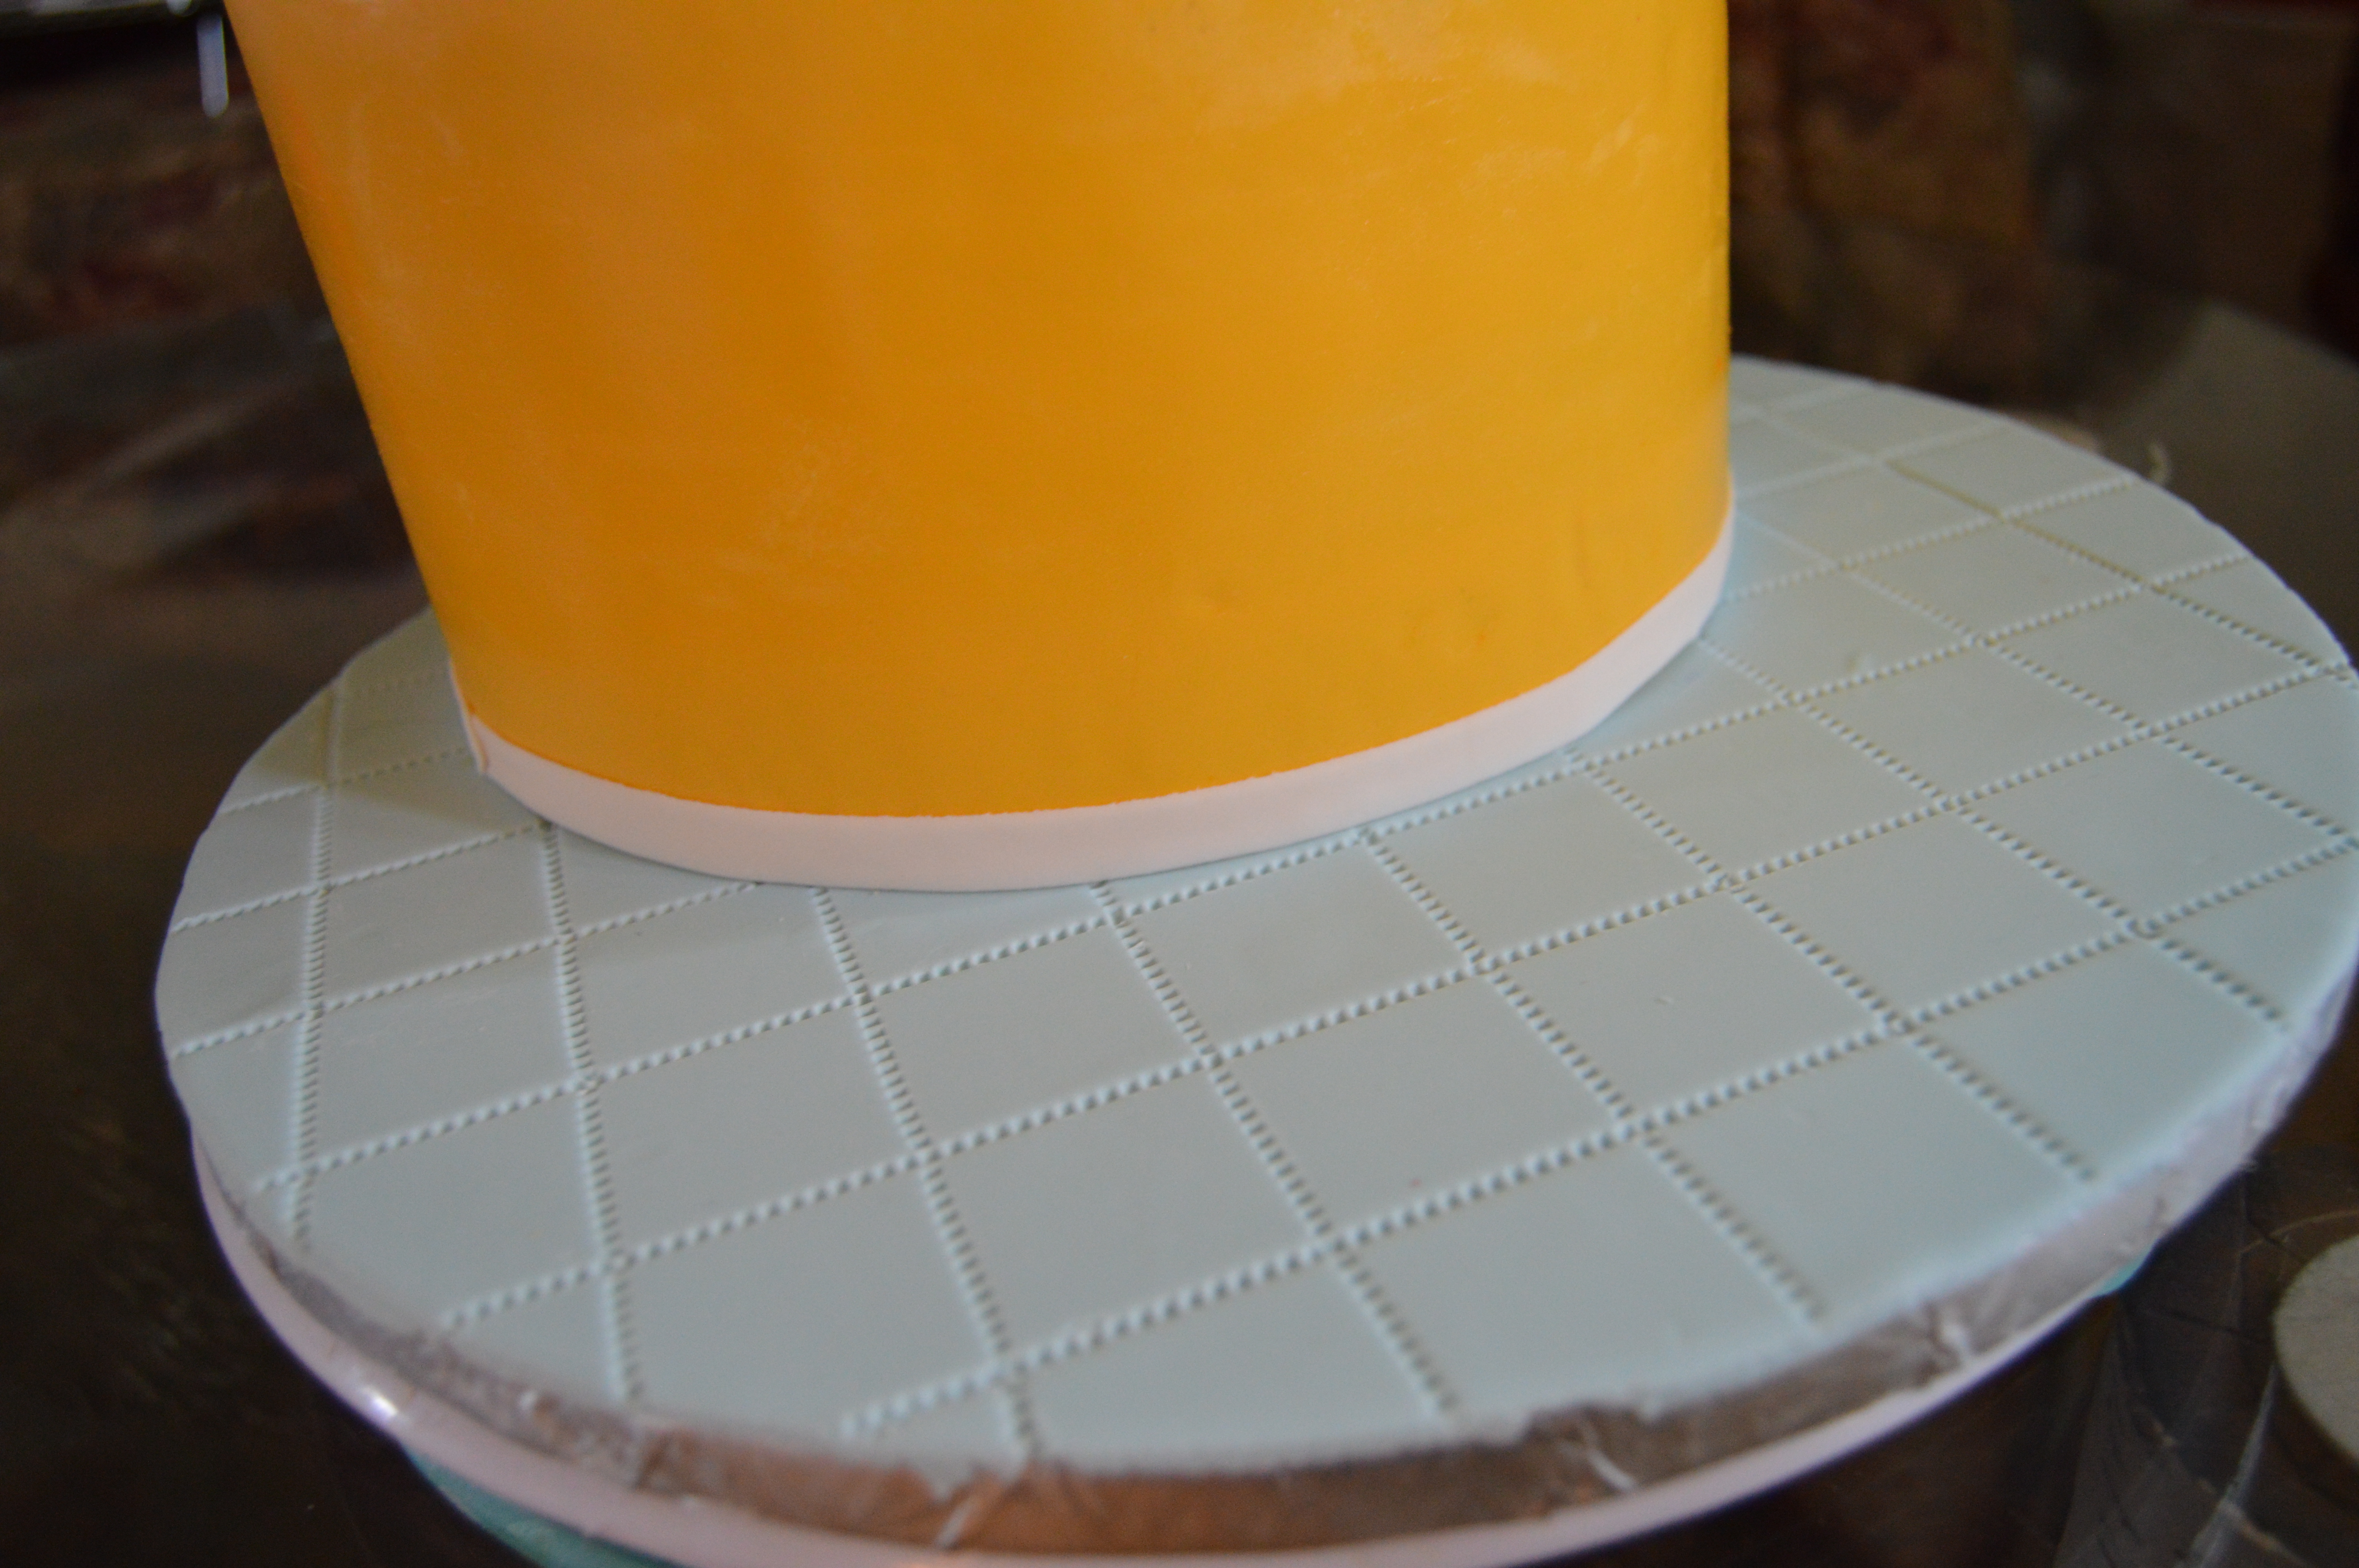
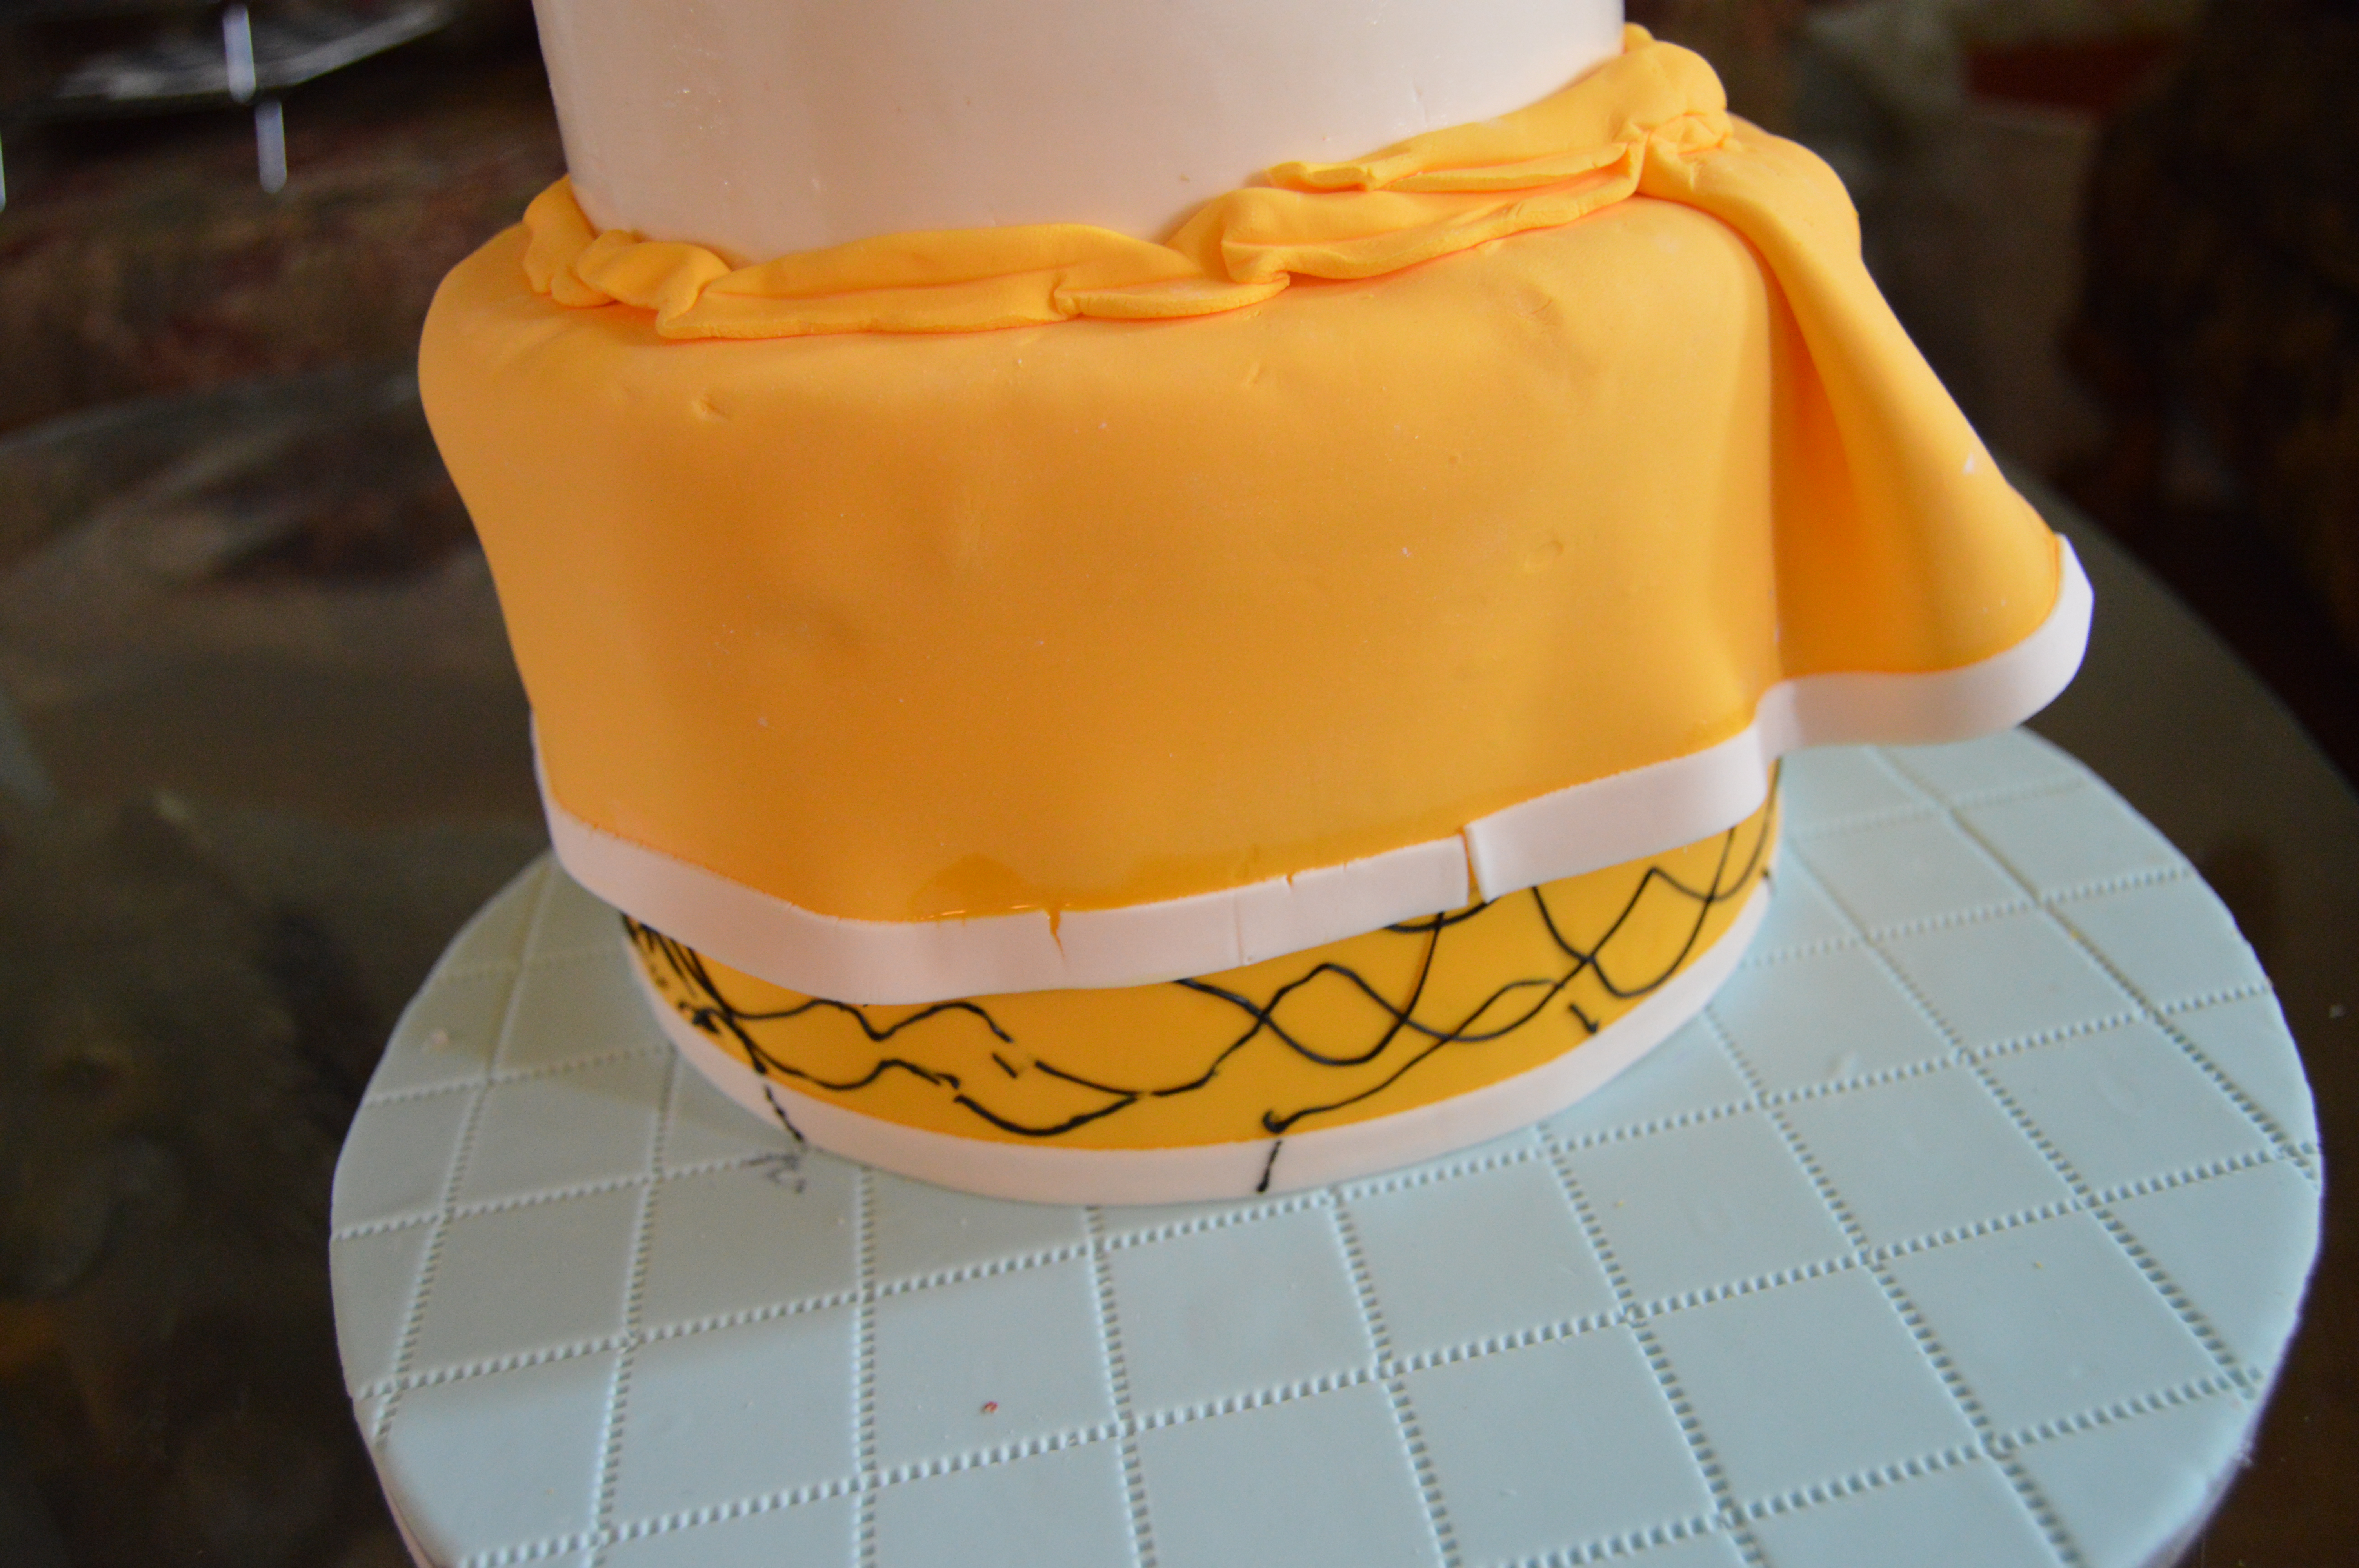
(5) Next, roll out a thin strip of white fondant about 1 cm in height and wrap this around the base of the bottom tier.
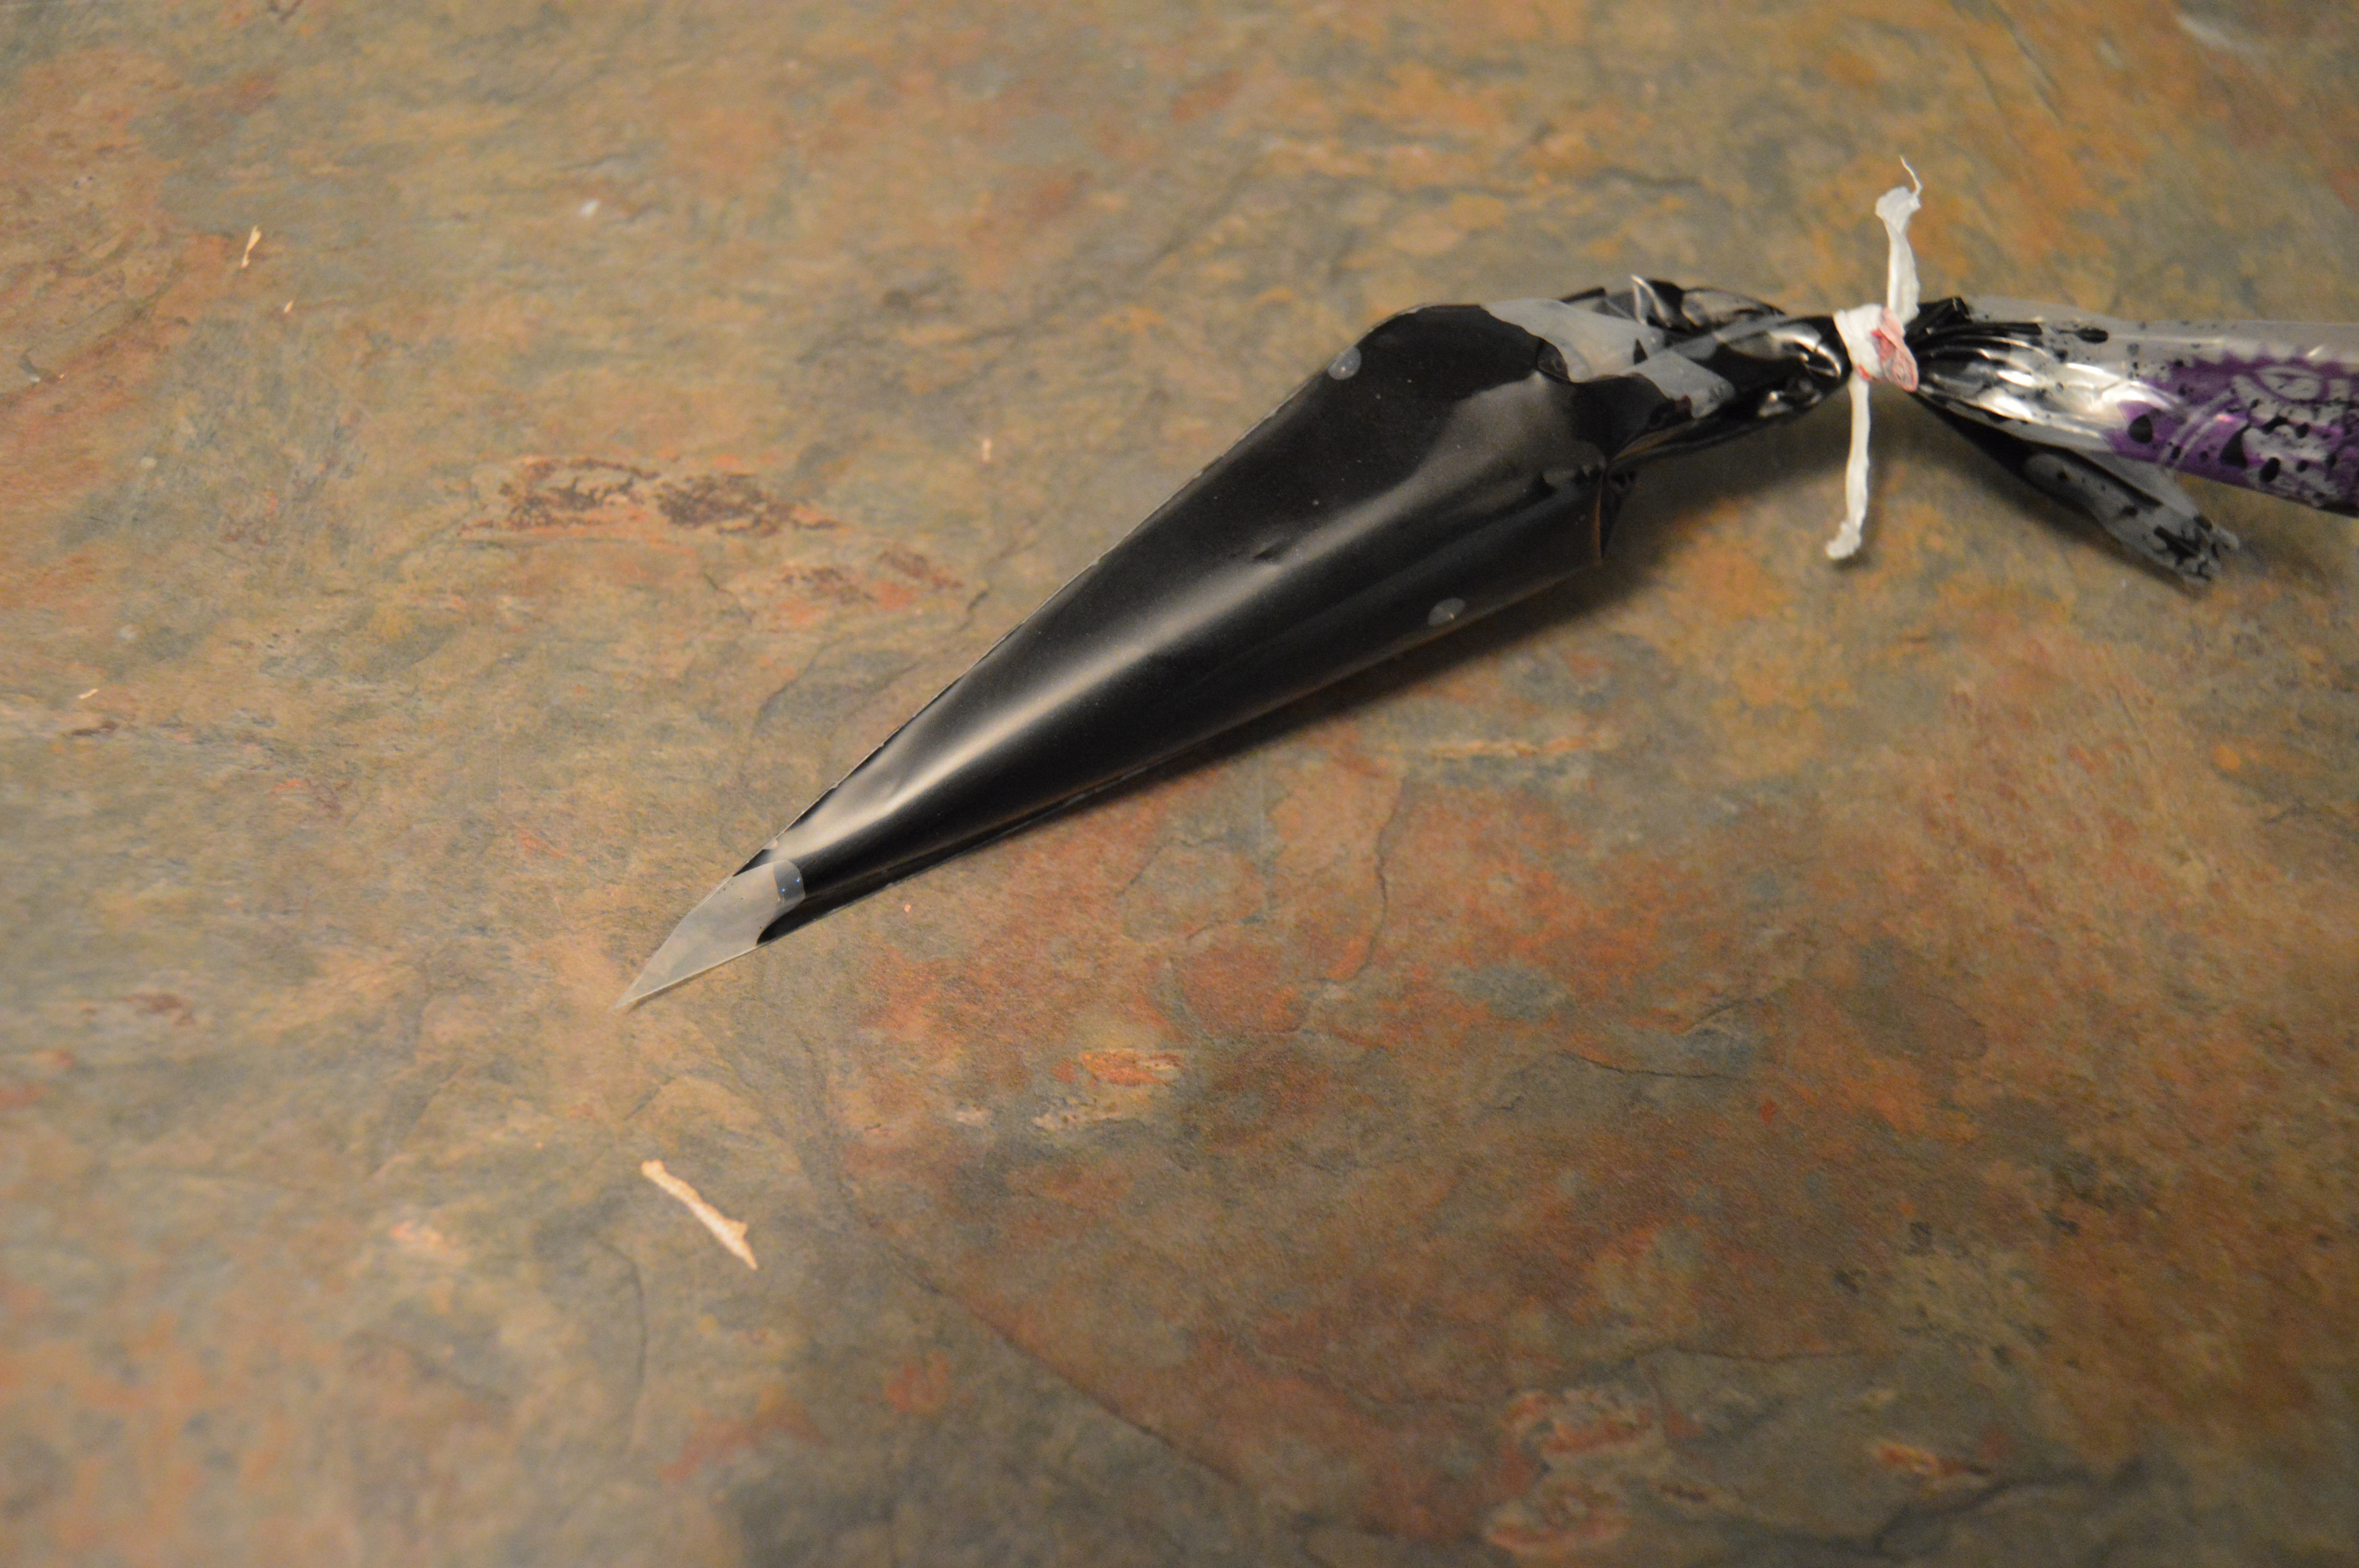
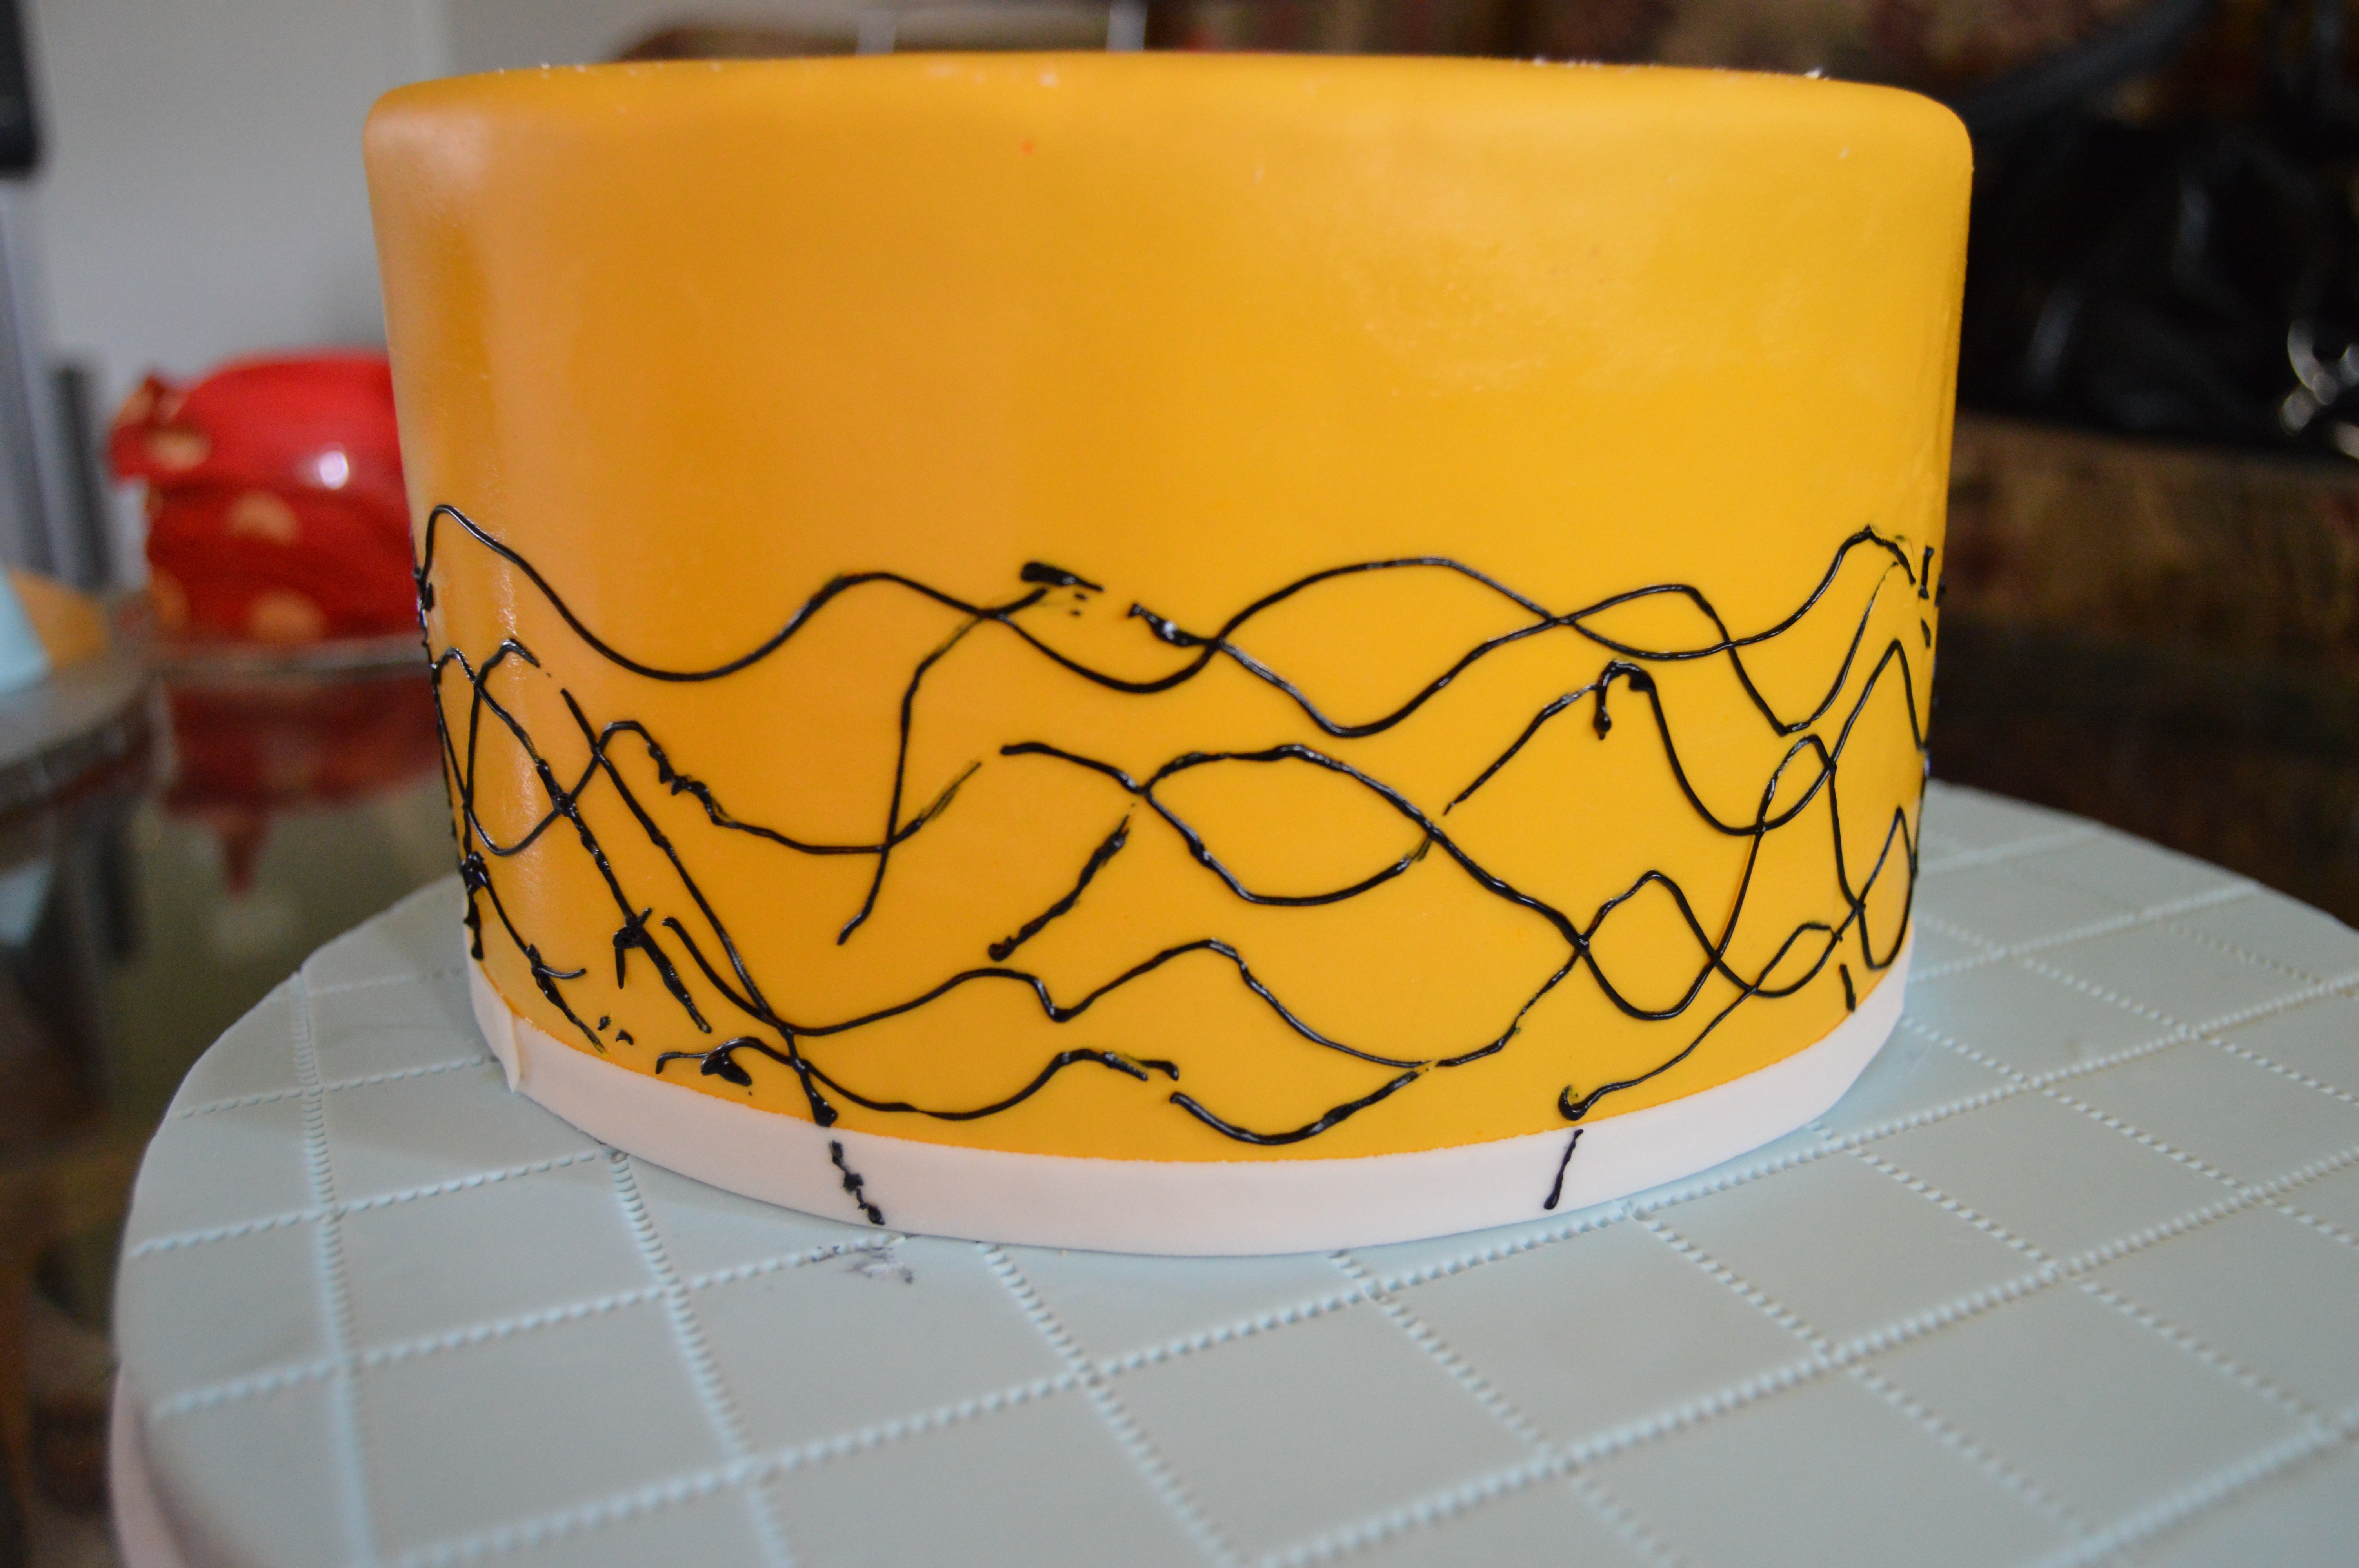
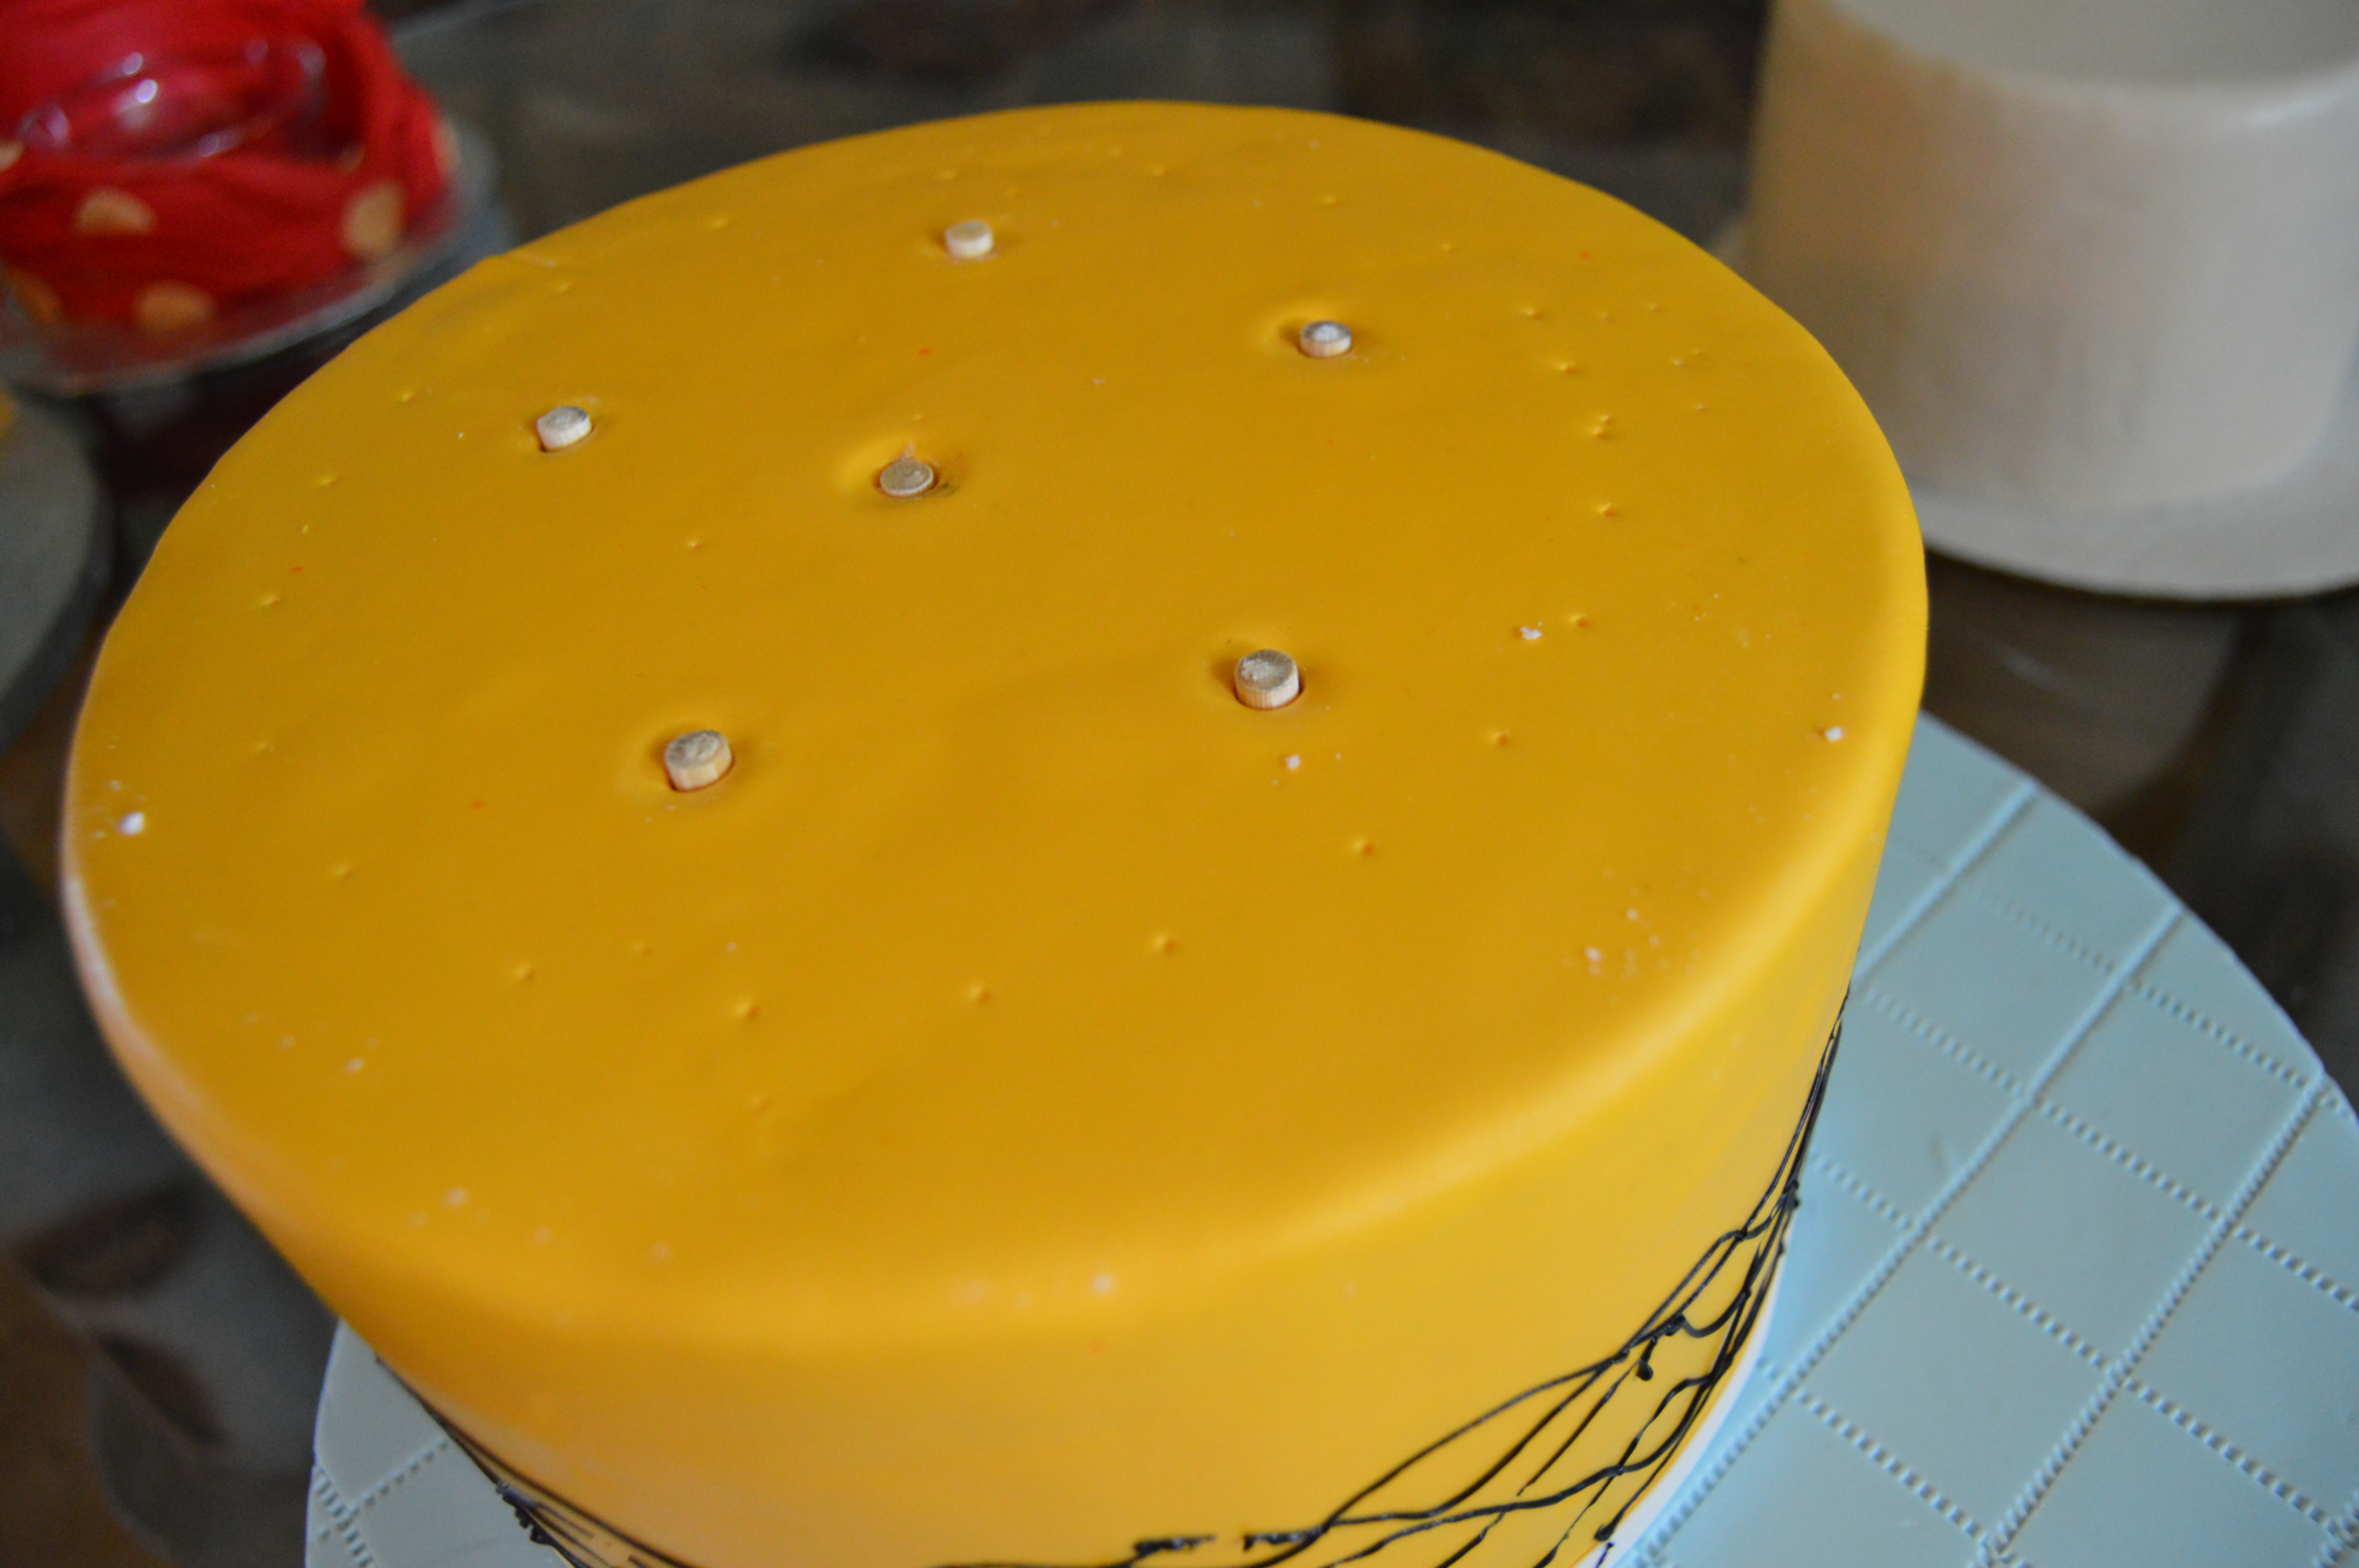
(6) Next, make black royal icing and place it in a pipping bag. I actually just mixed icing sugar with water and added food color. Make a small hole at the tip of the pipping bad and make interlocking wavy lines on the bottom part of the bottom tier.
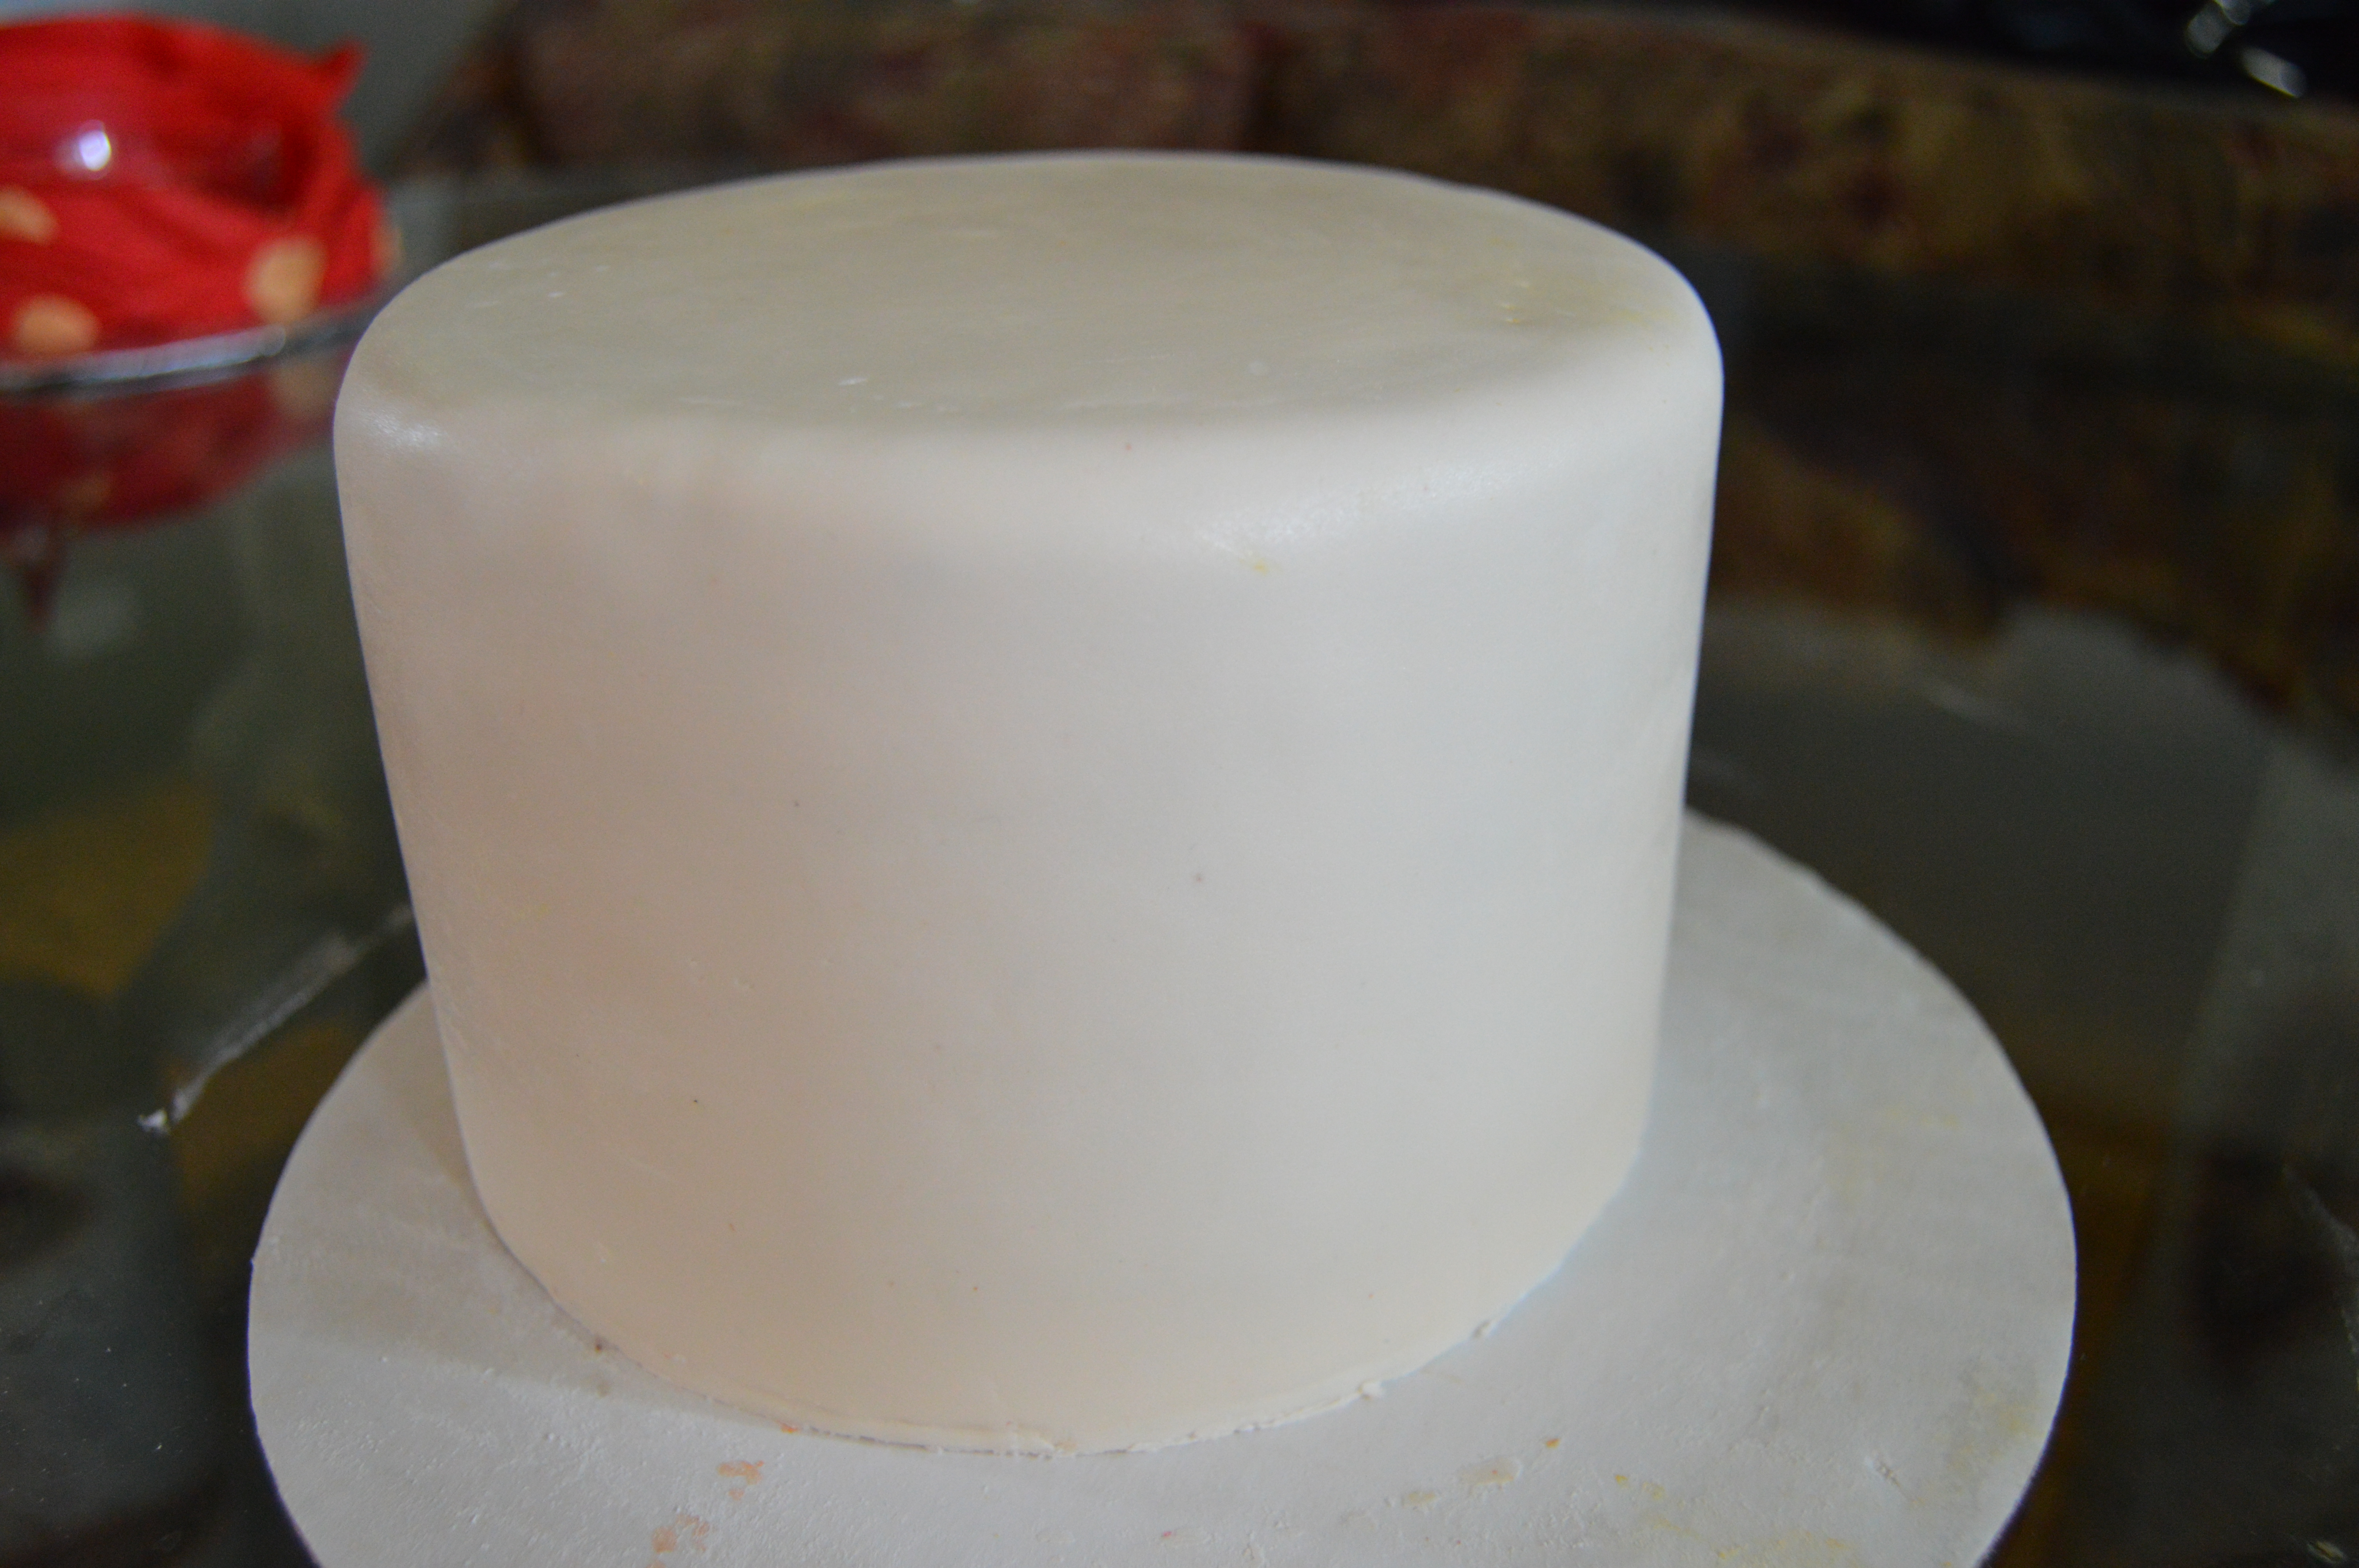
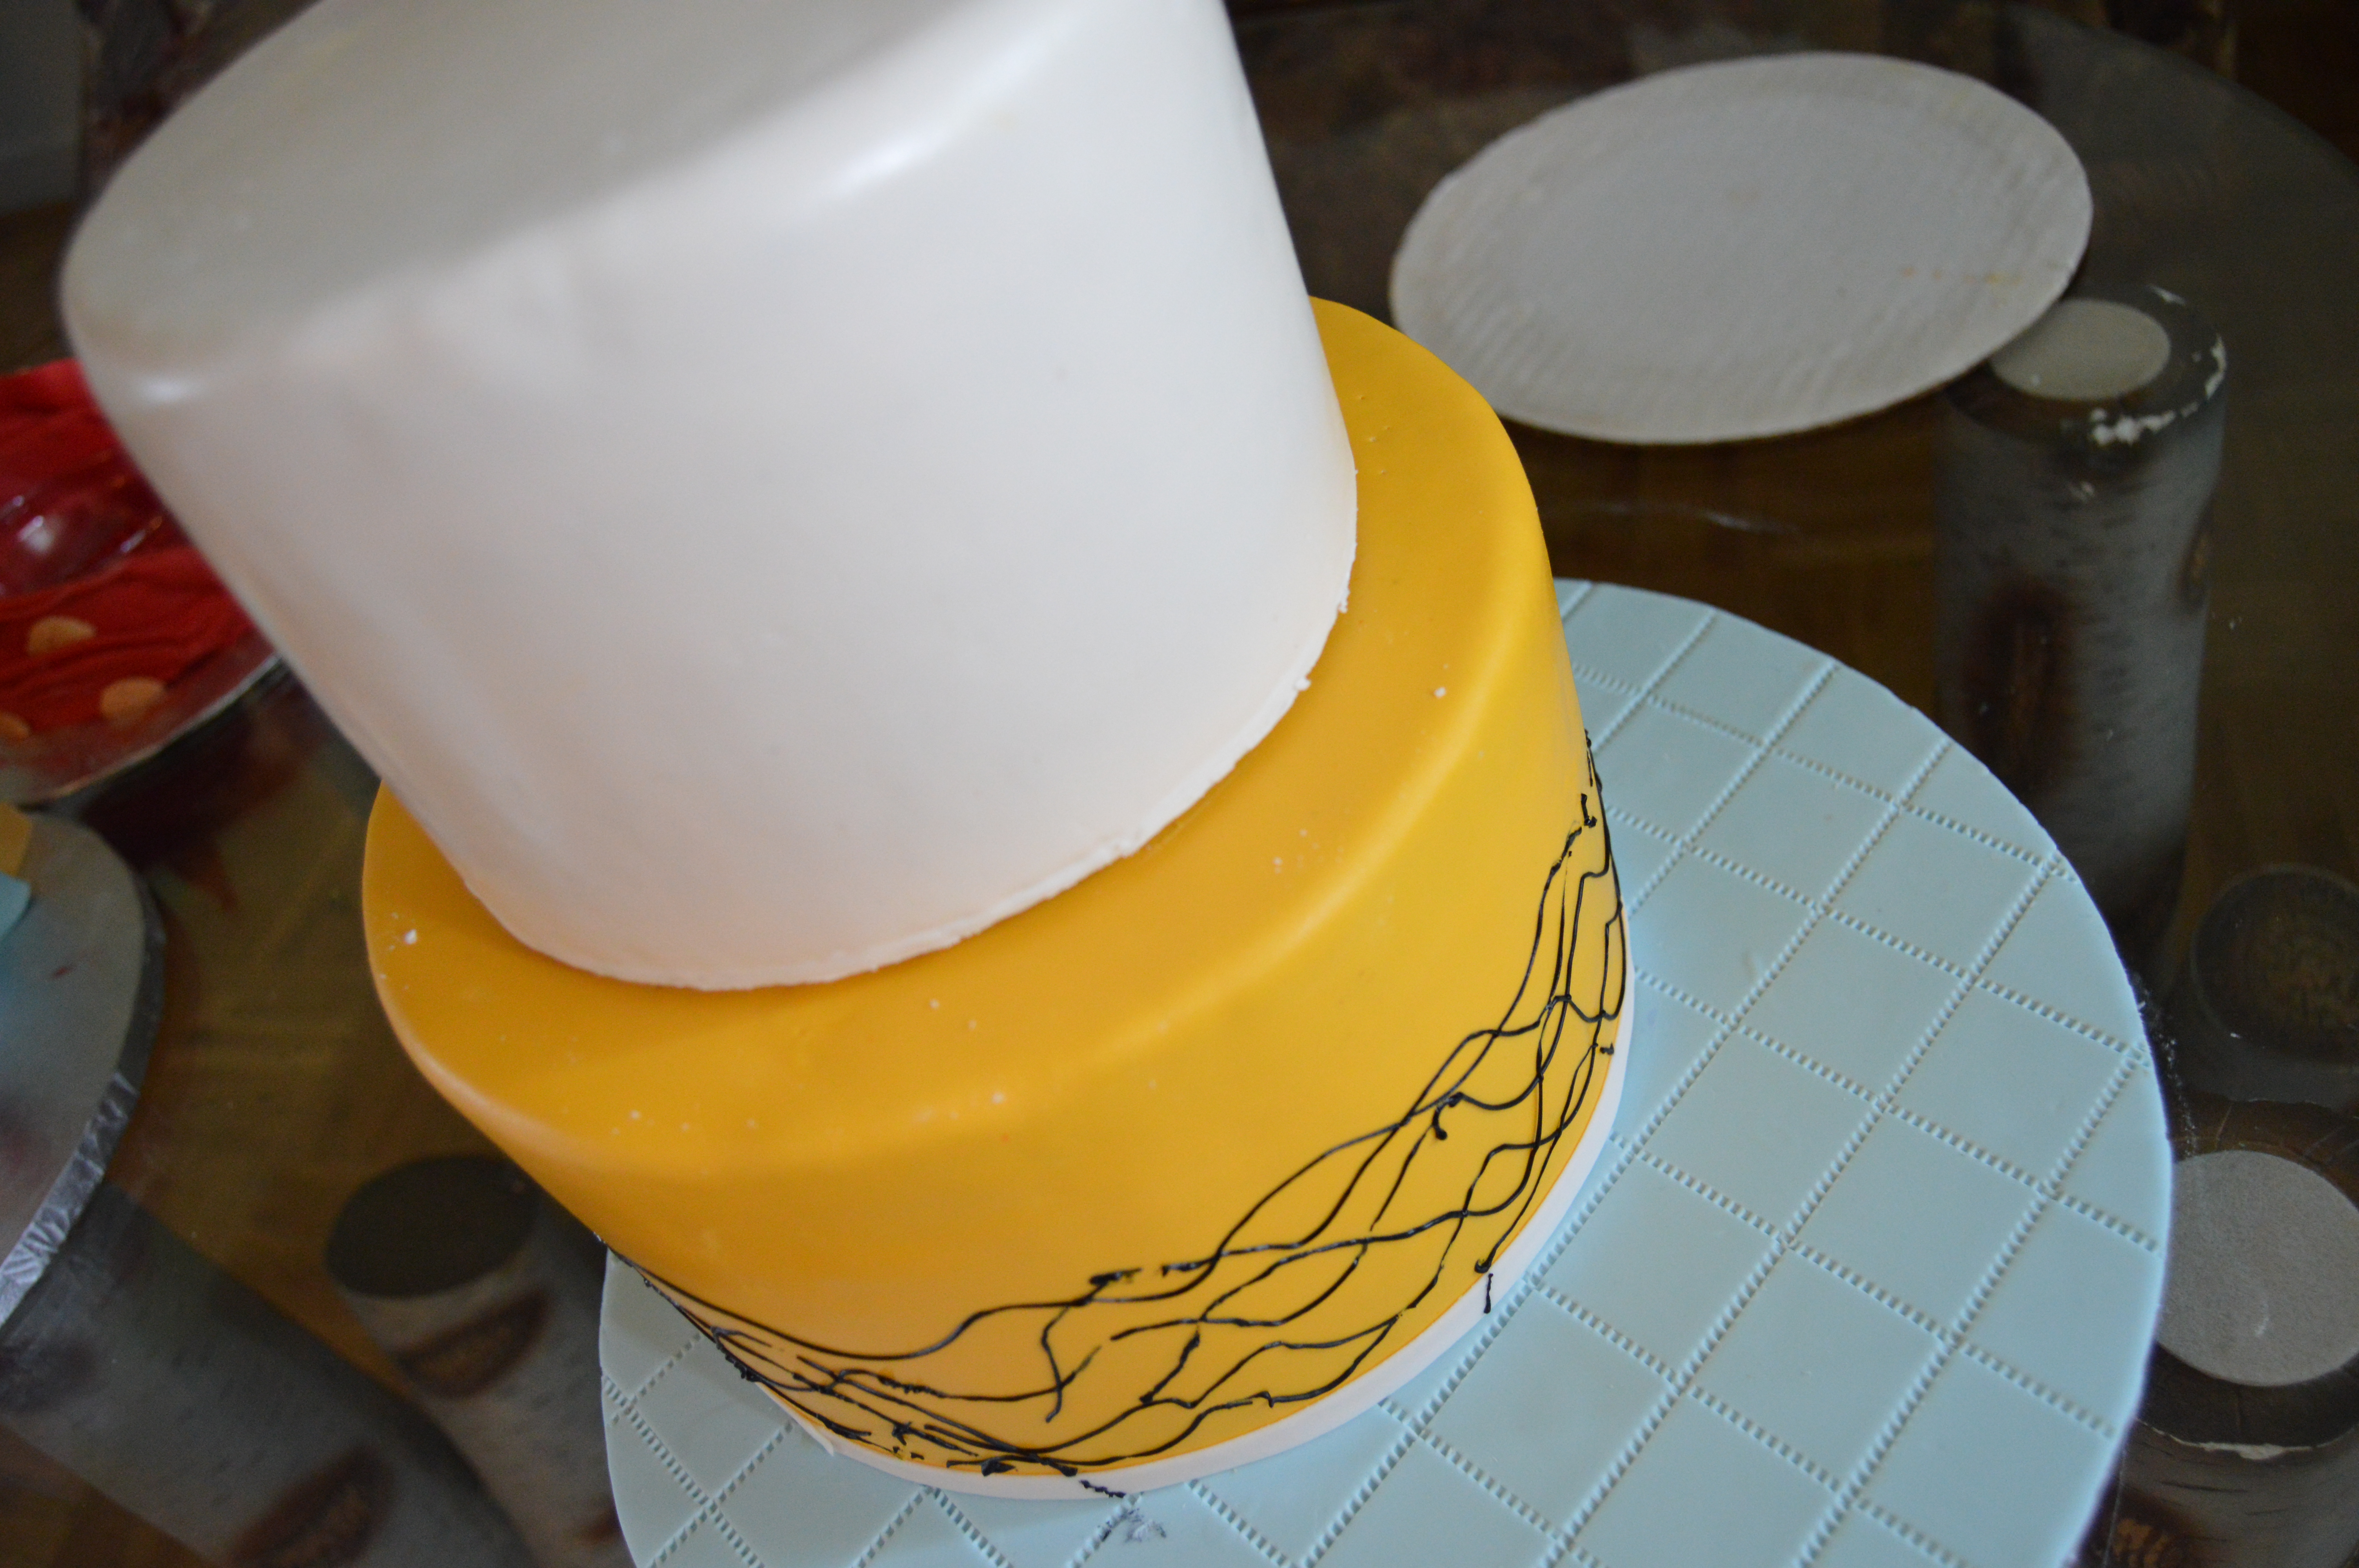
(7) Next, cover the top tier with cream fondant, place dowels in the bottom tier and stack the top tier on it. TIP: I colored my fondant cream after making it, draped the top tier, then colored the leftover fondant yellow and used this for the bottom tier.
(8) Next, roll out some yellow fondant into a rectangle long enough to wrap around the bottom tier. Stick a thin strip of white fondant at the base of the yellow fondant and wrap this around the base of the top tier, creating a knot and cascading folds on one side.
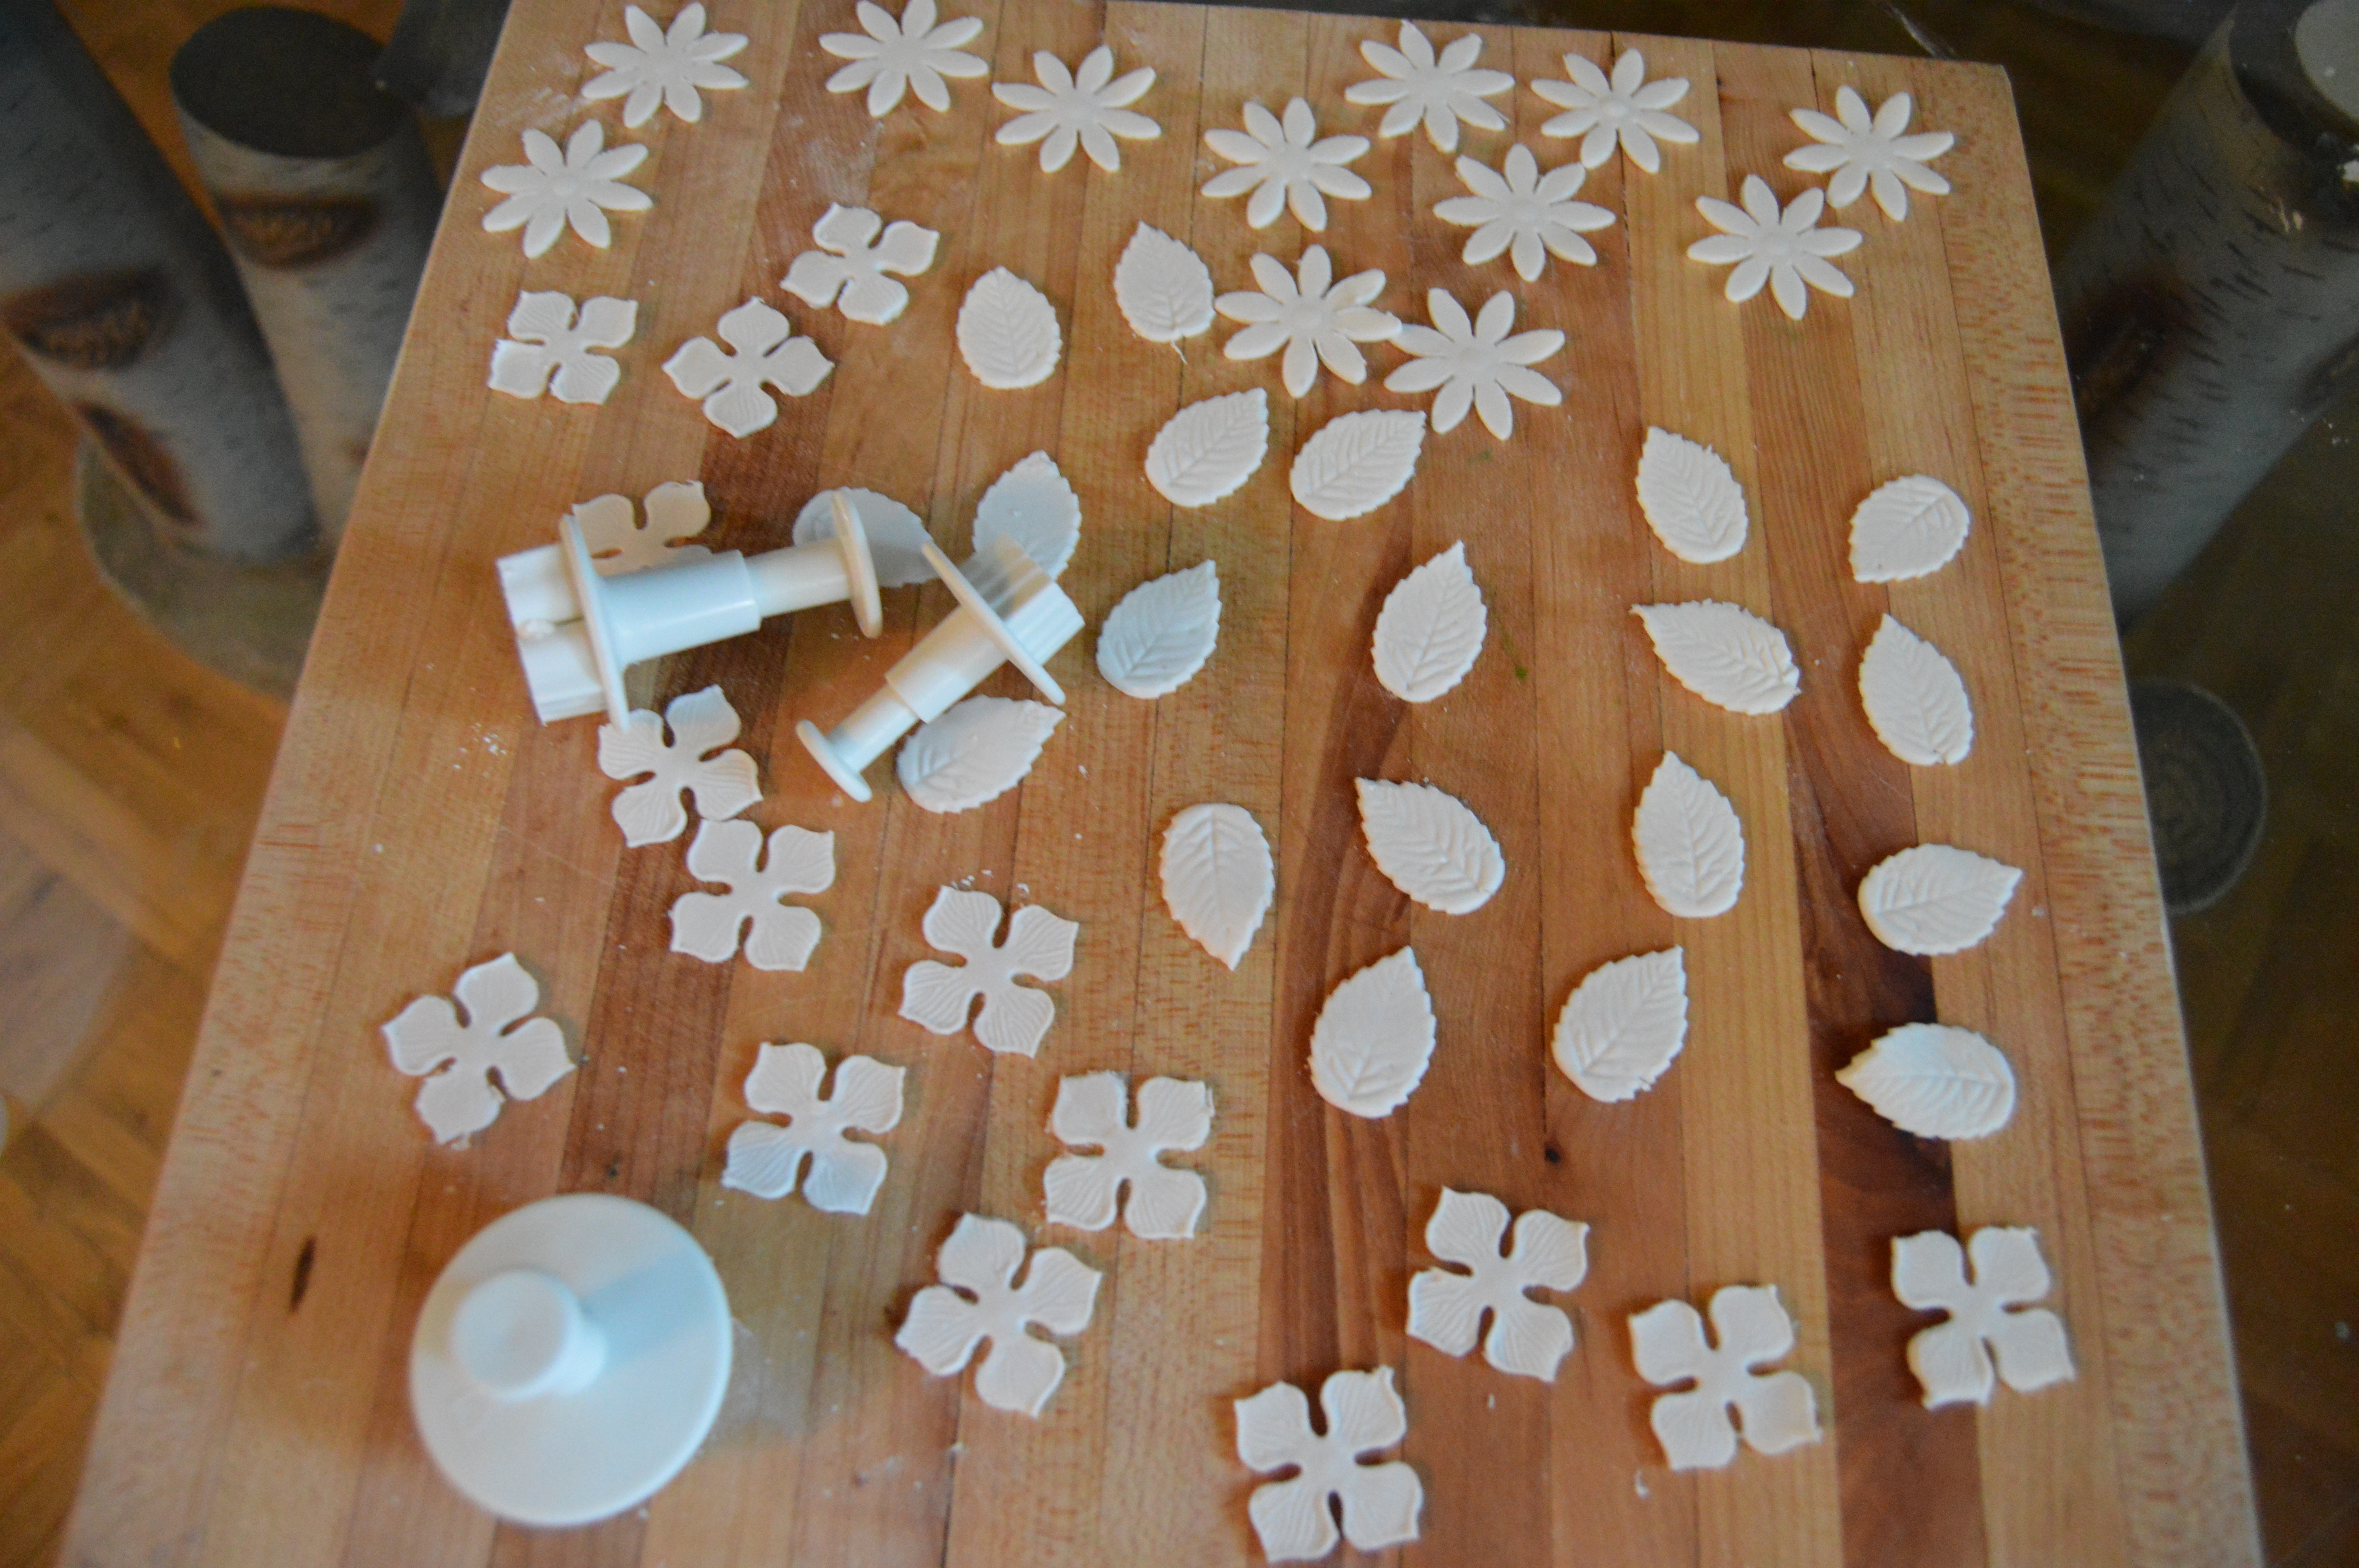
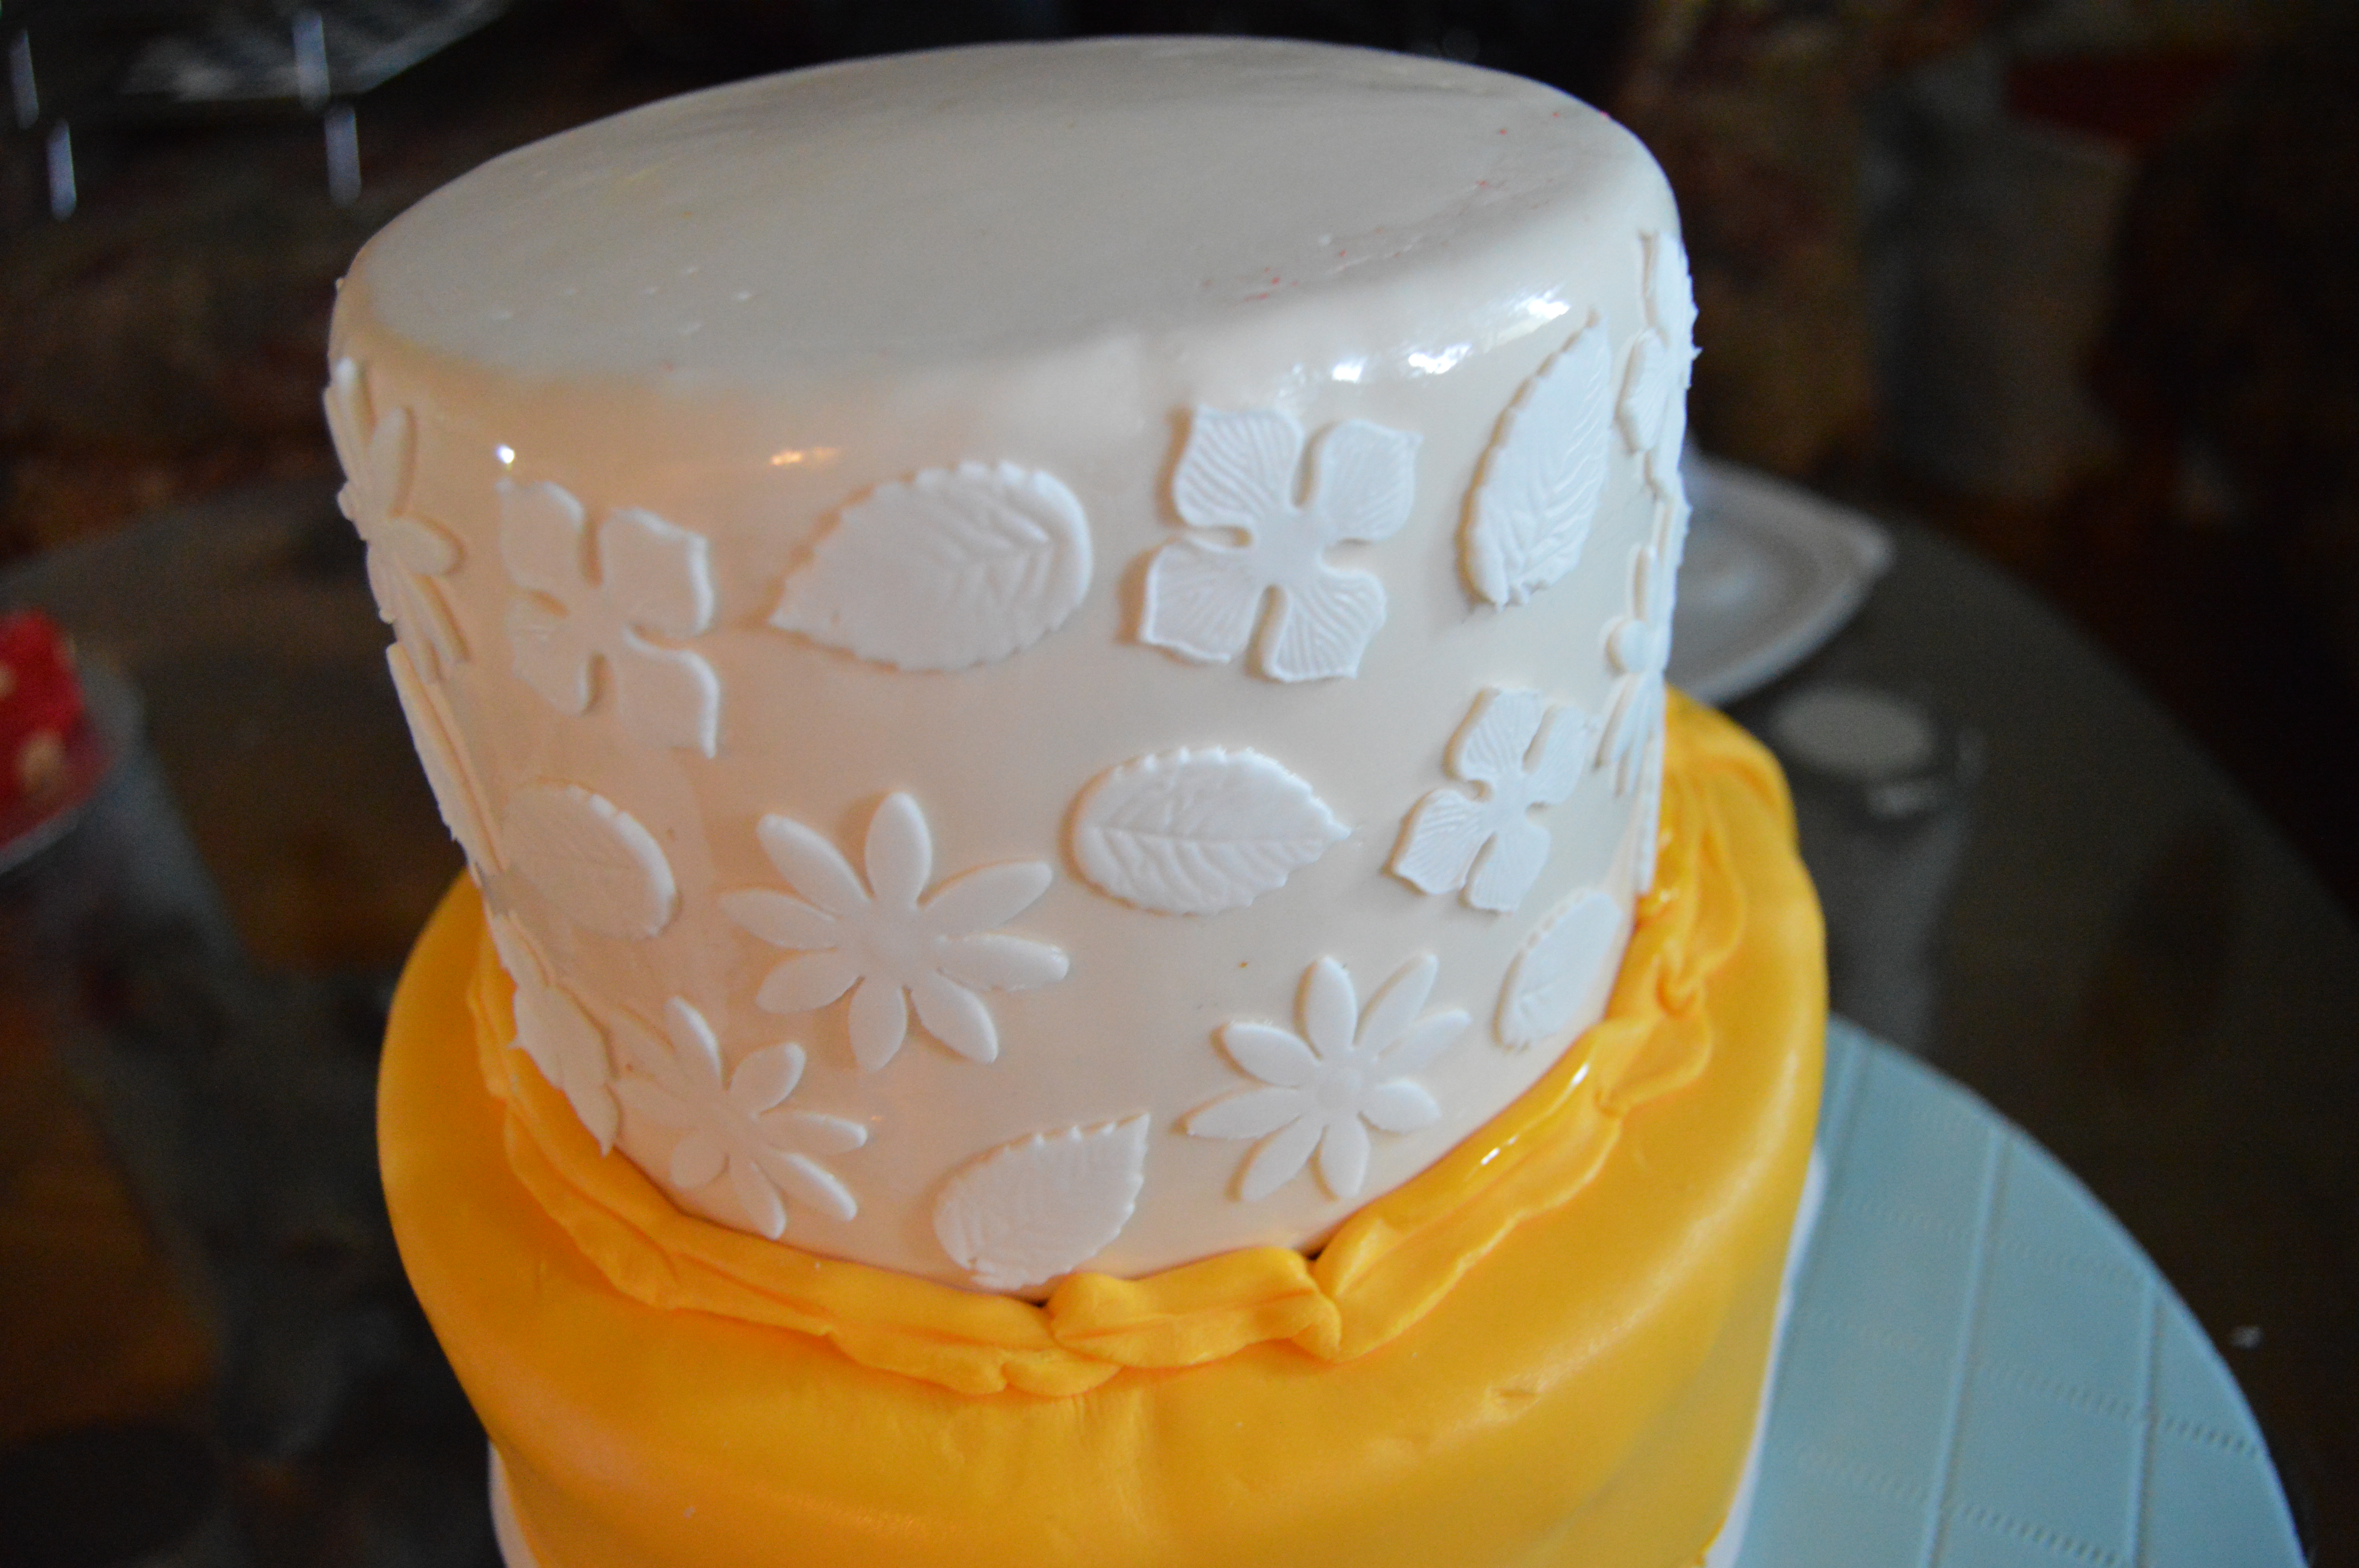
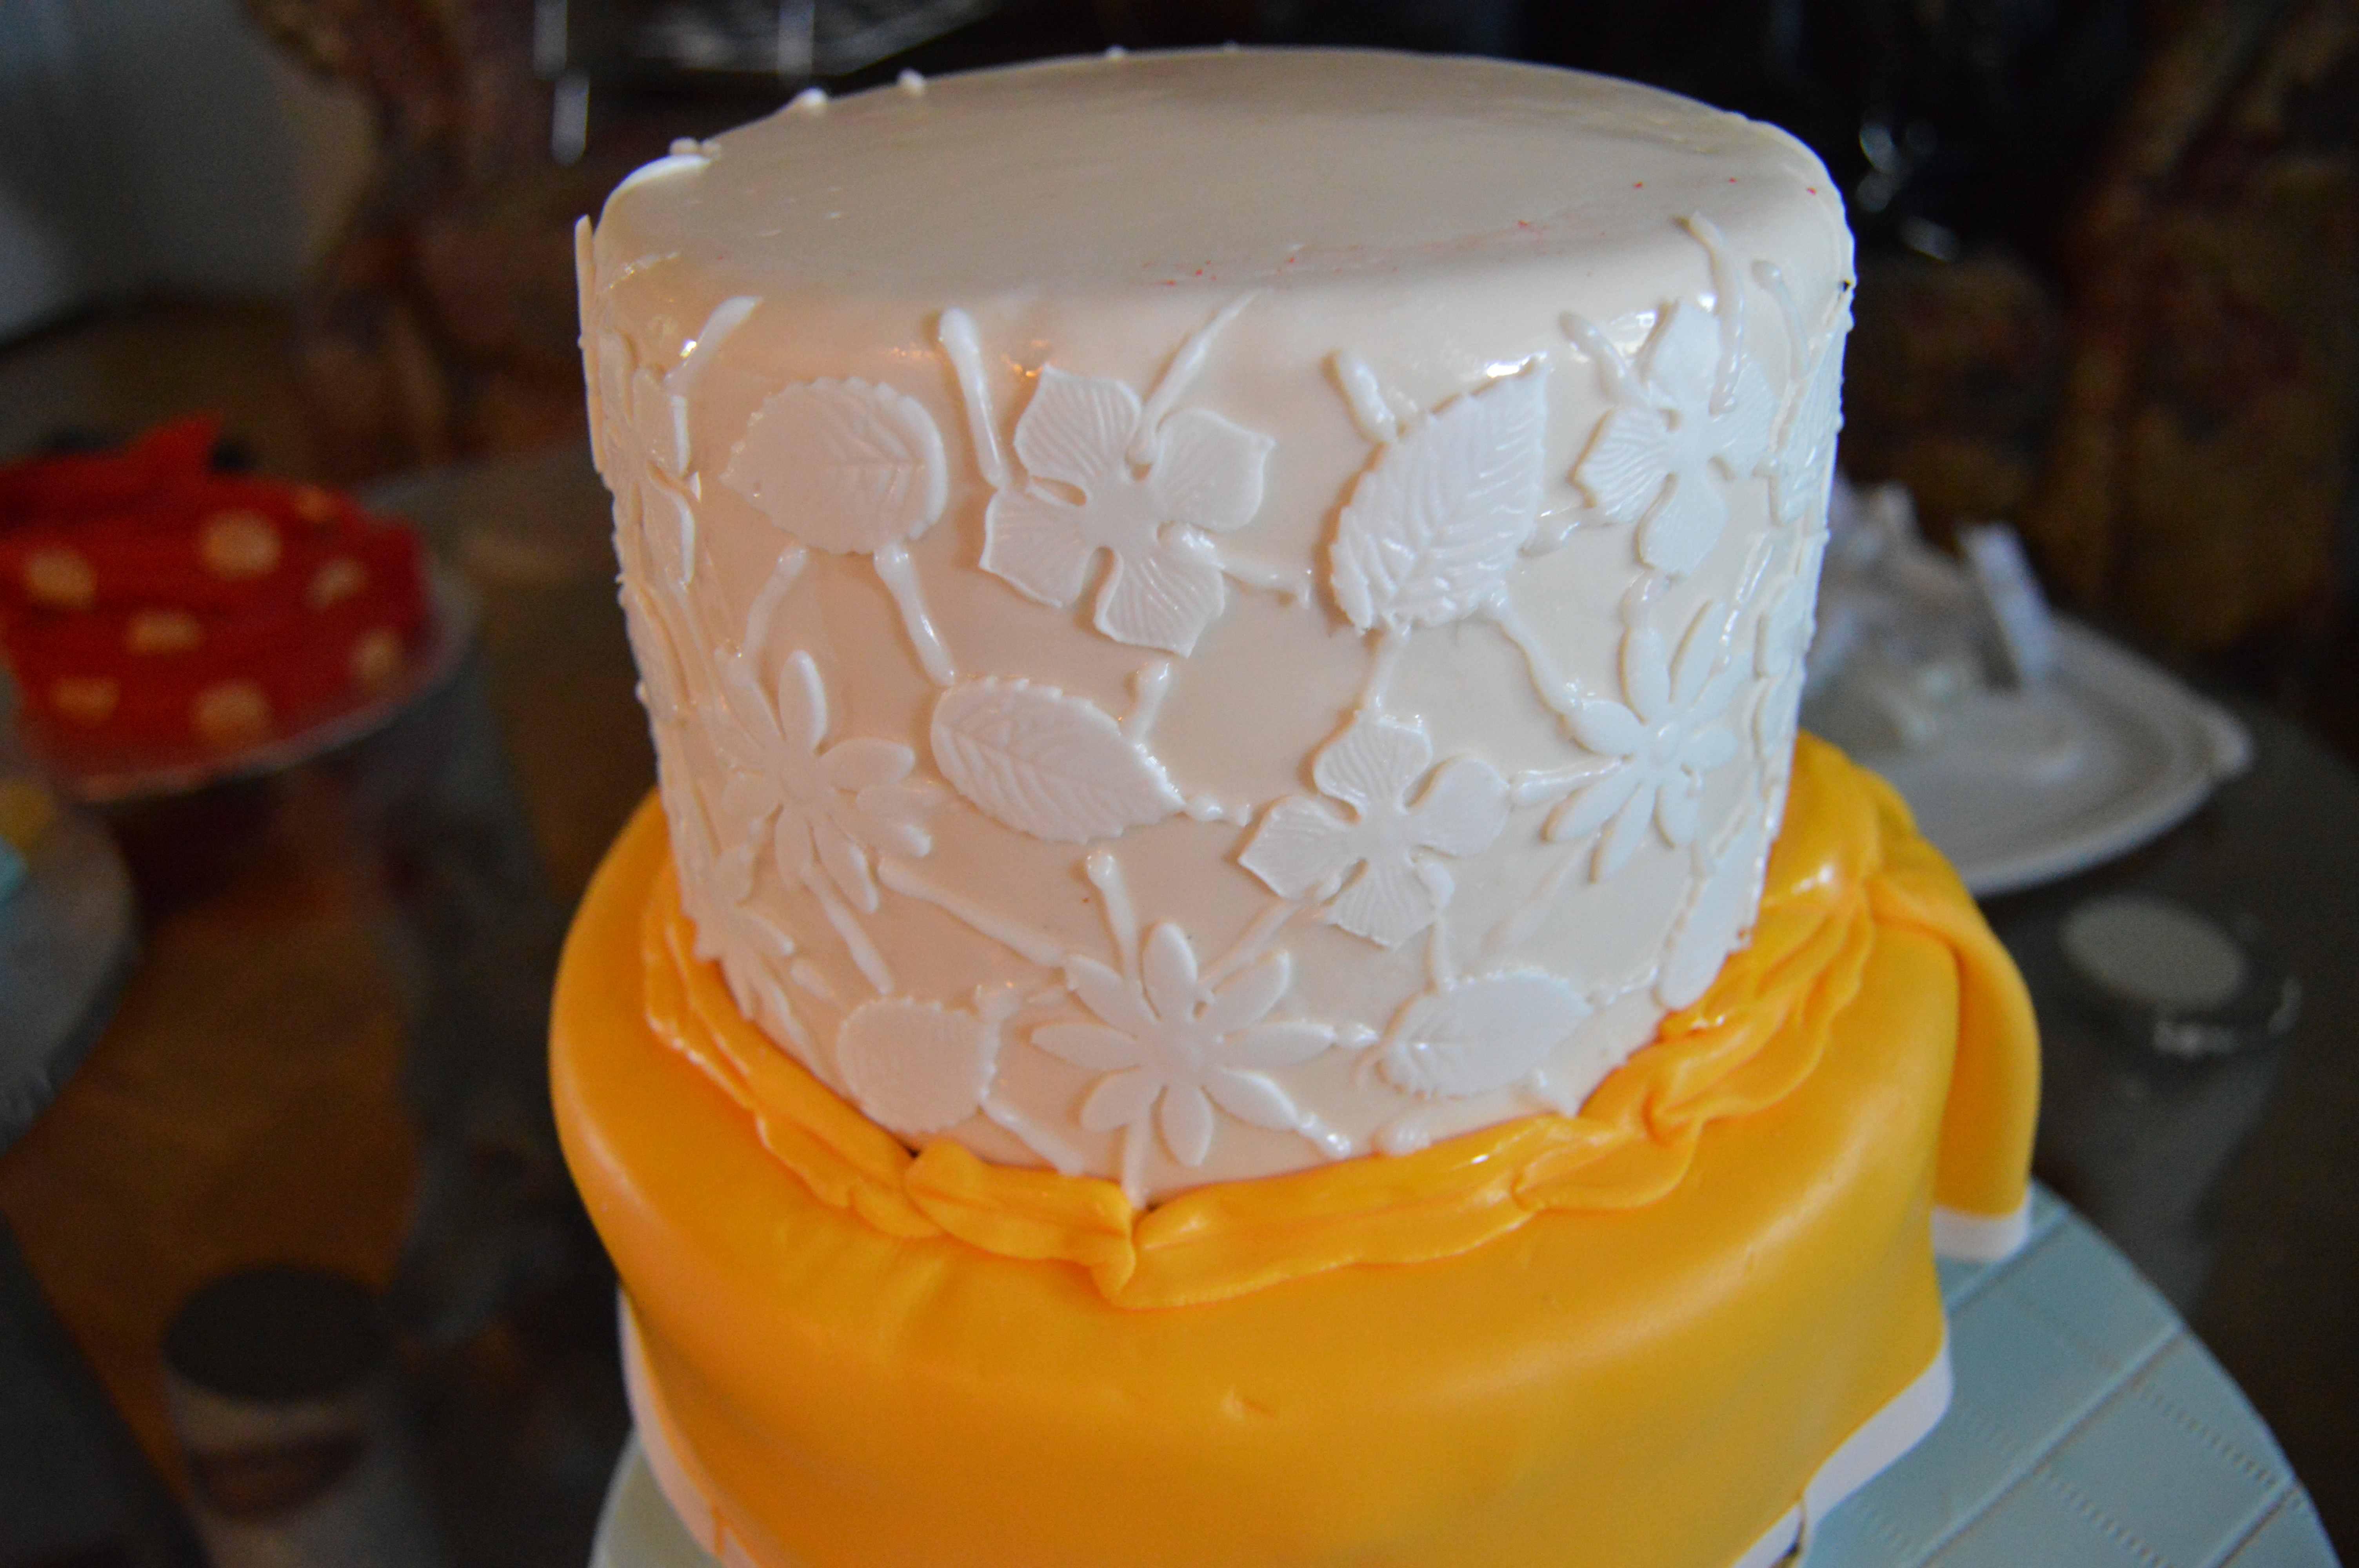
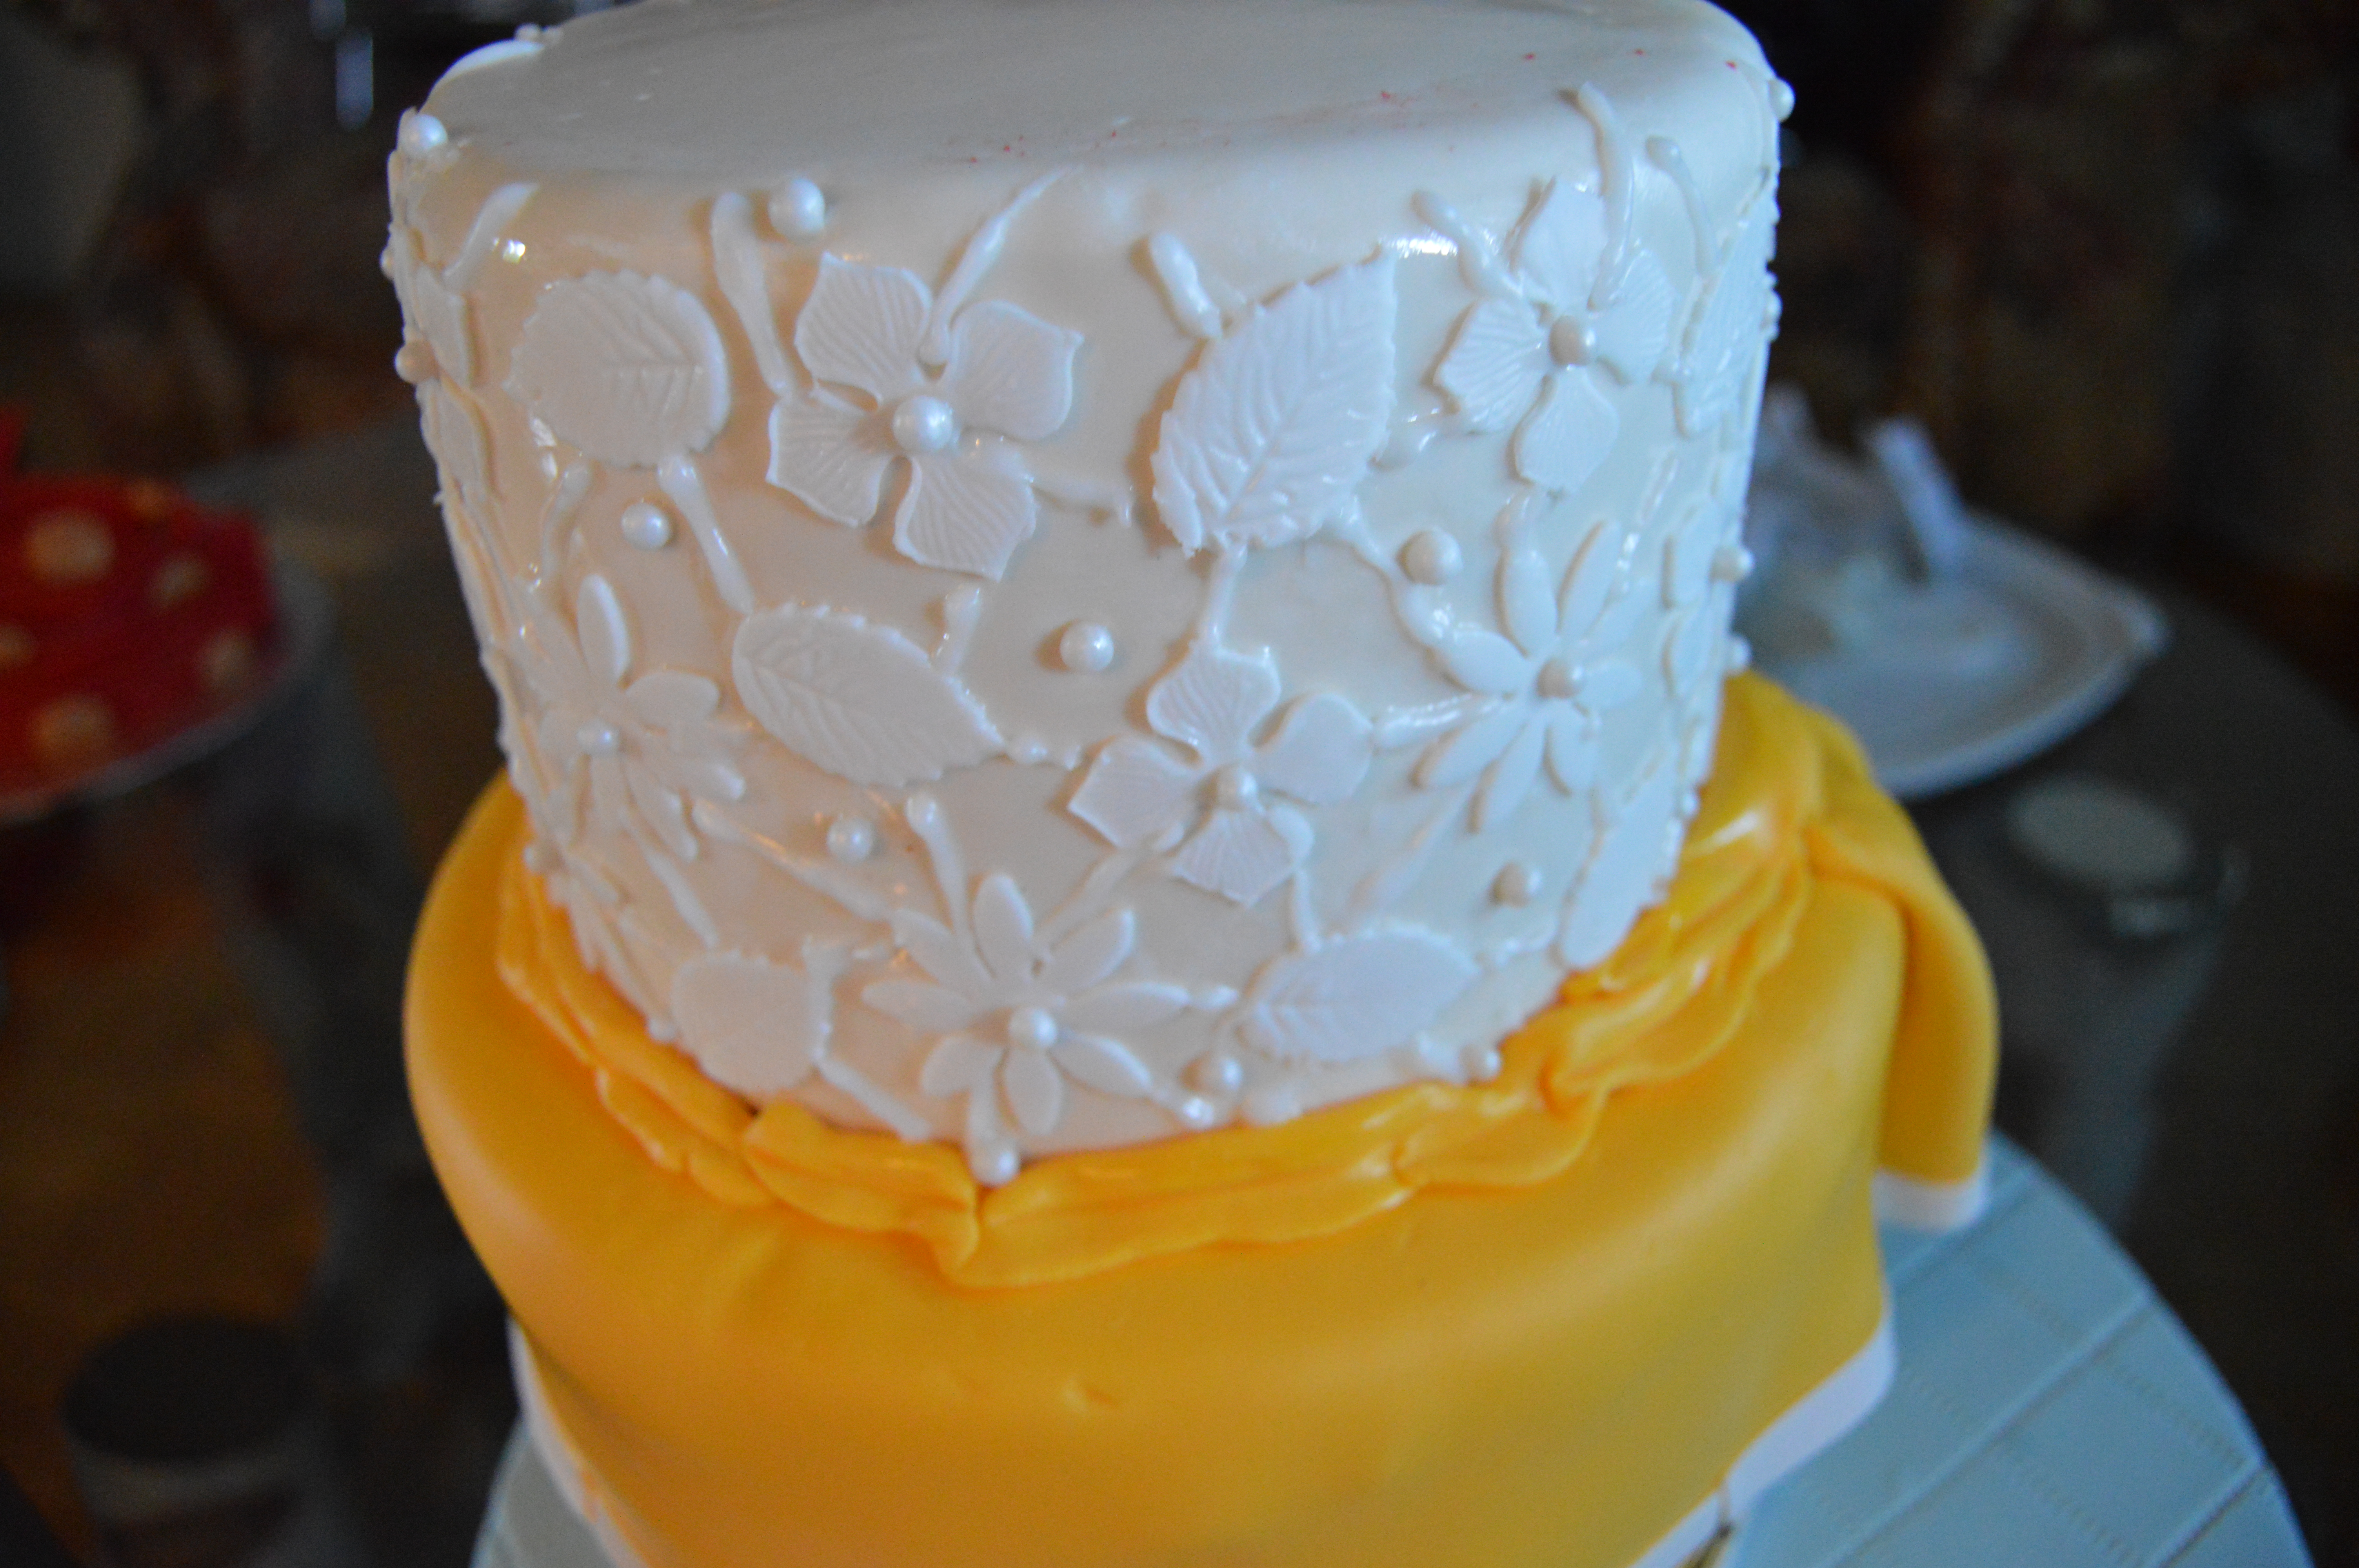
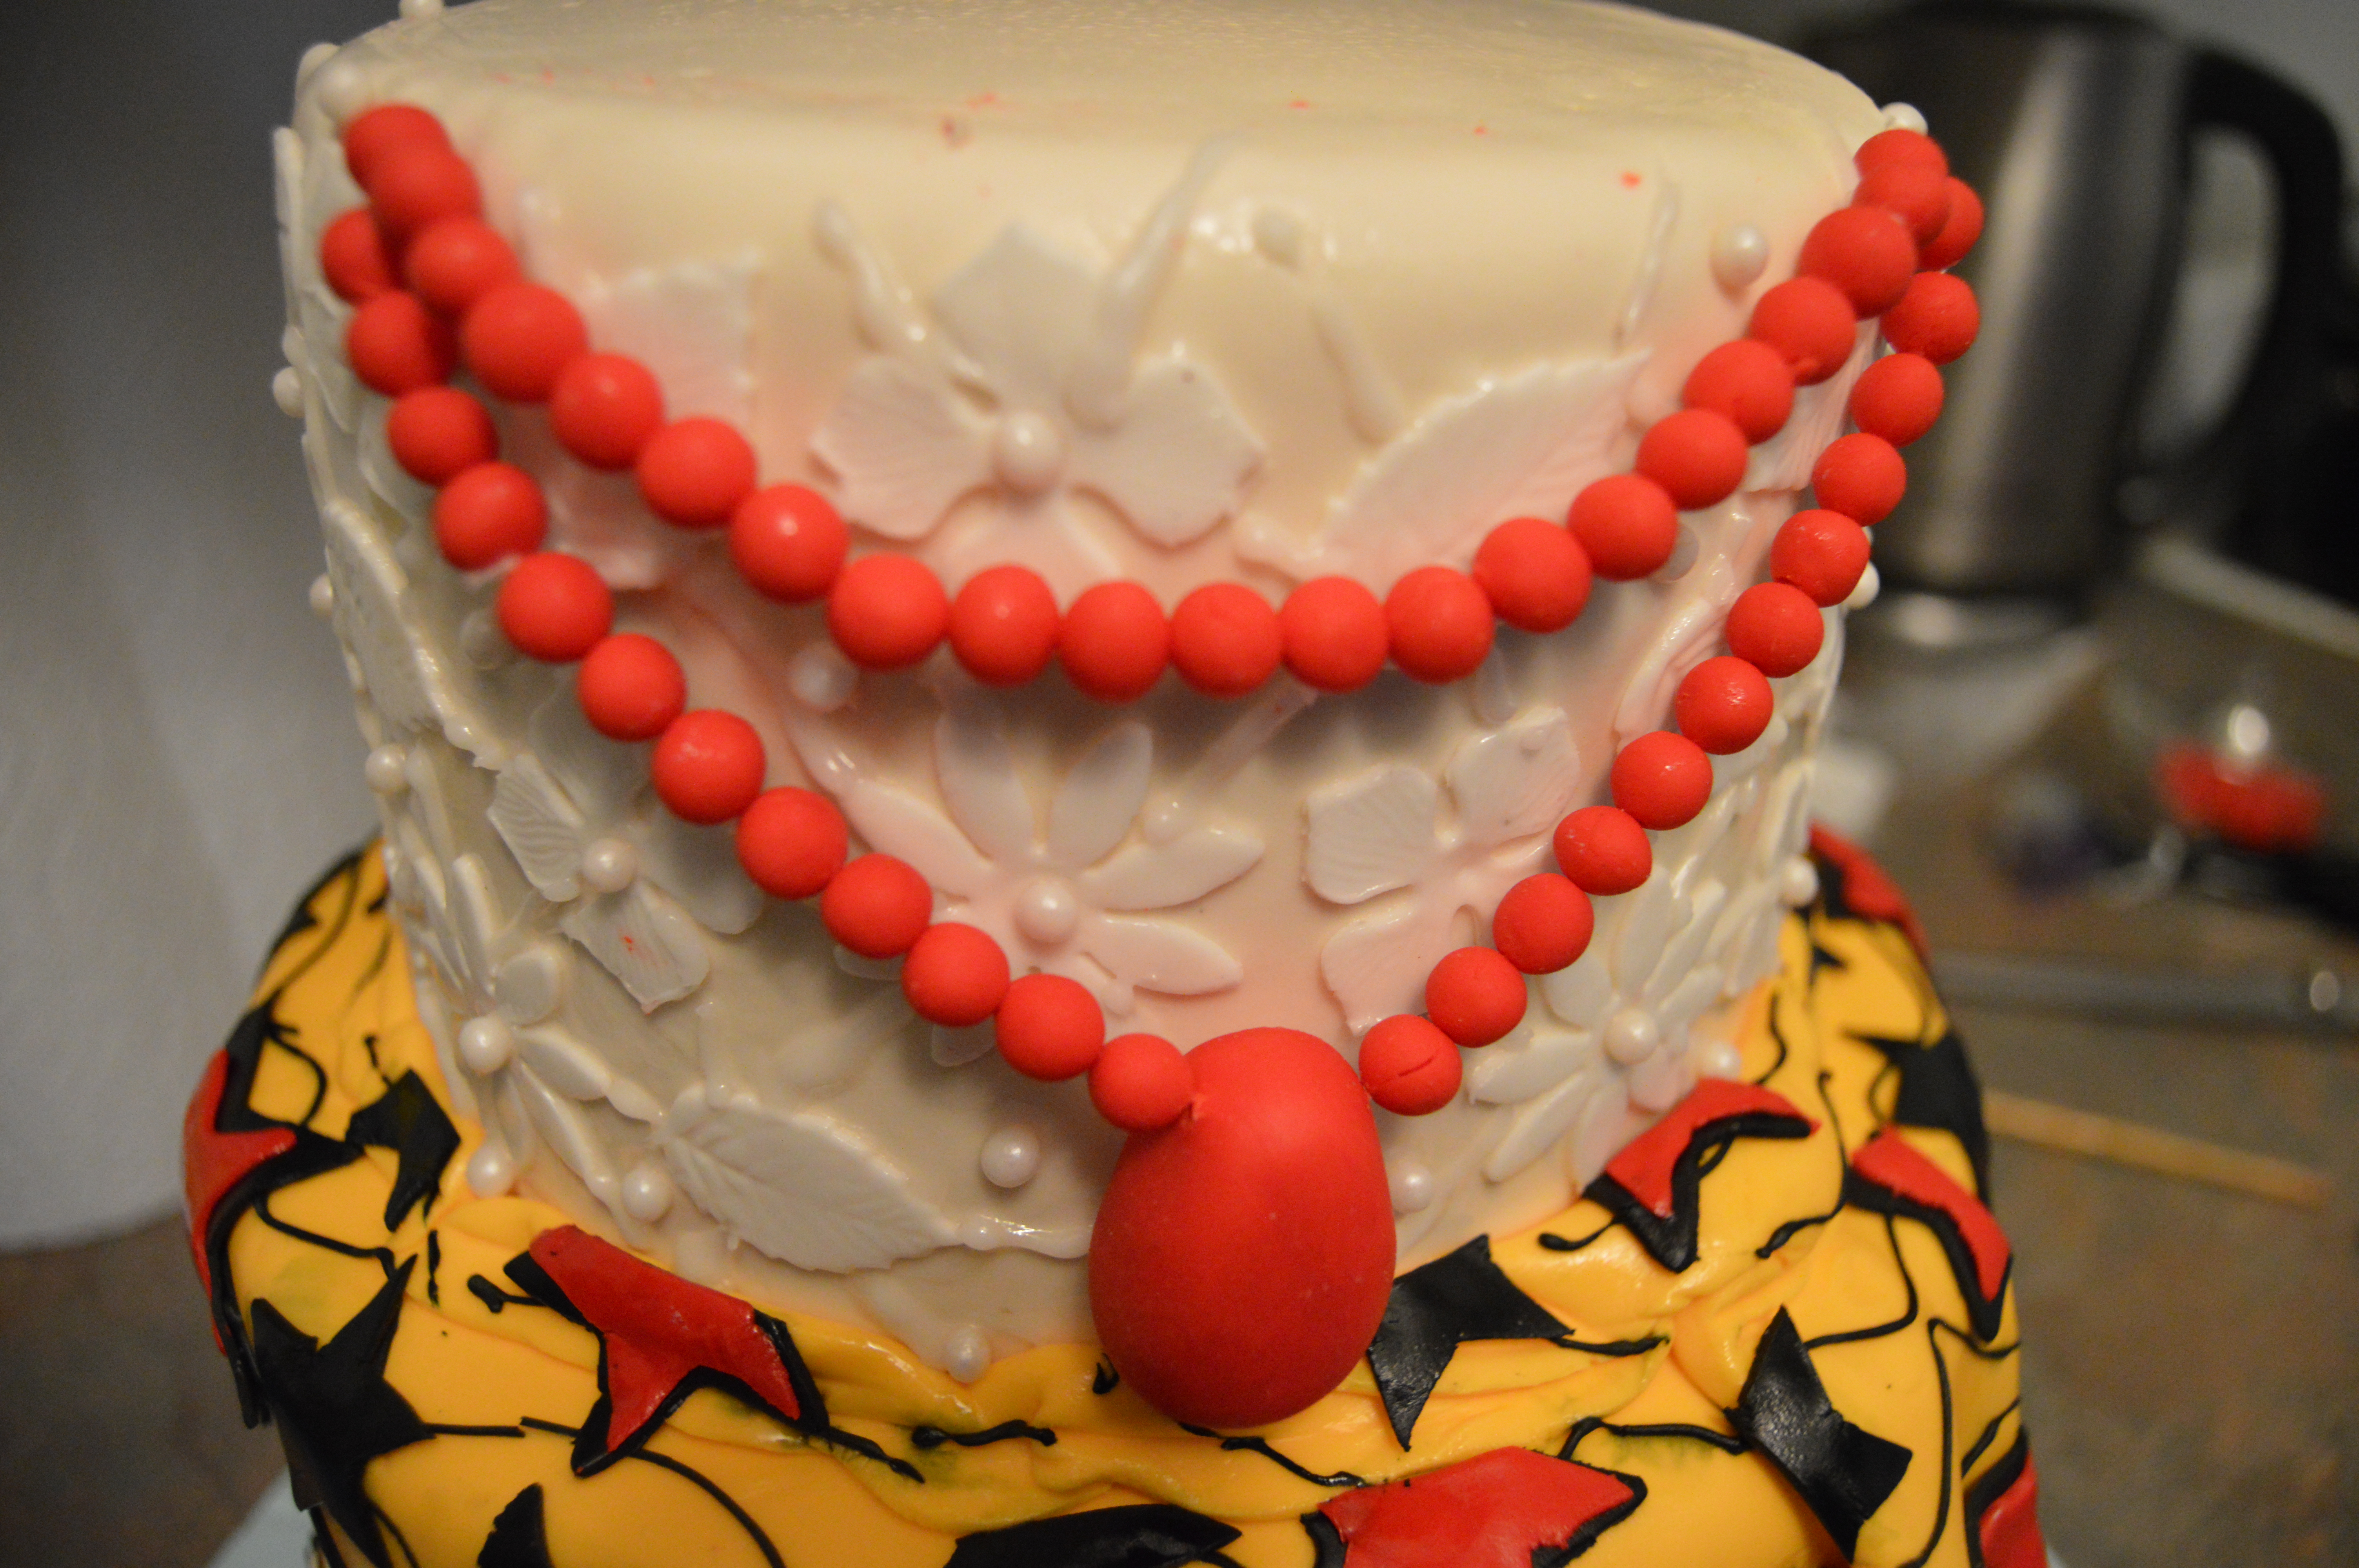
(9) Next, use petal and leaf cutters to cut out white fondant. Stick these to the top tier. Next, make some white “royal icing” and make connecting lines between the white fondant cut outs. Finally place white sugar pearls on the top tier to finish the beaded lace look.
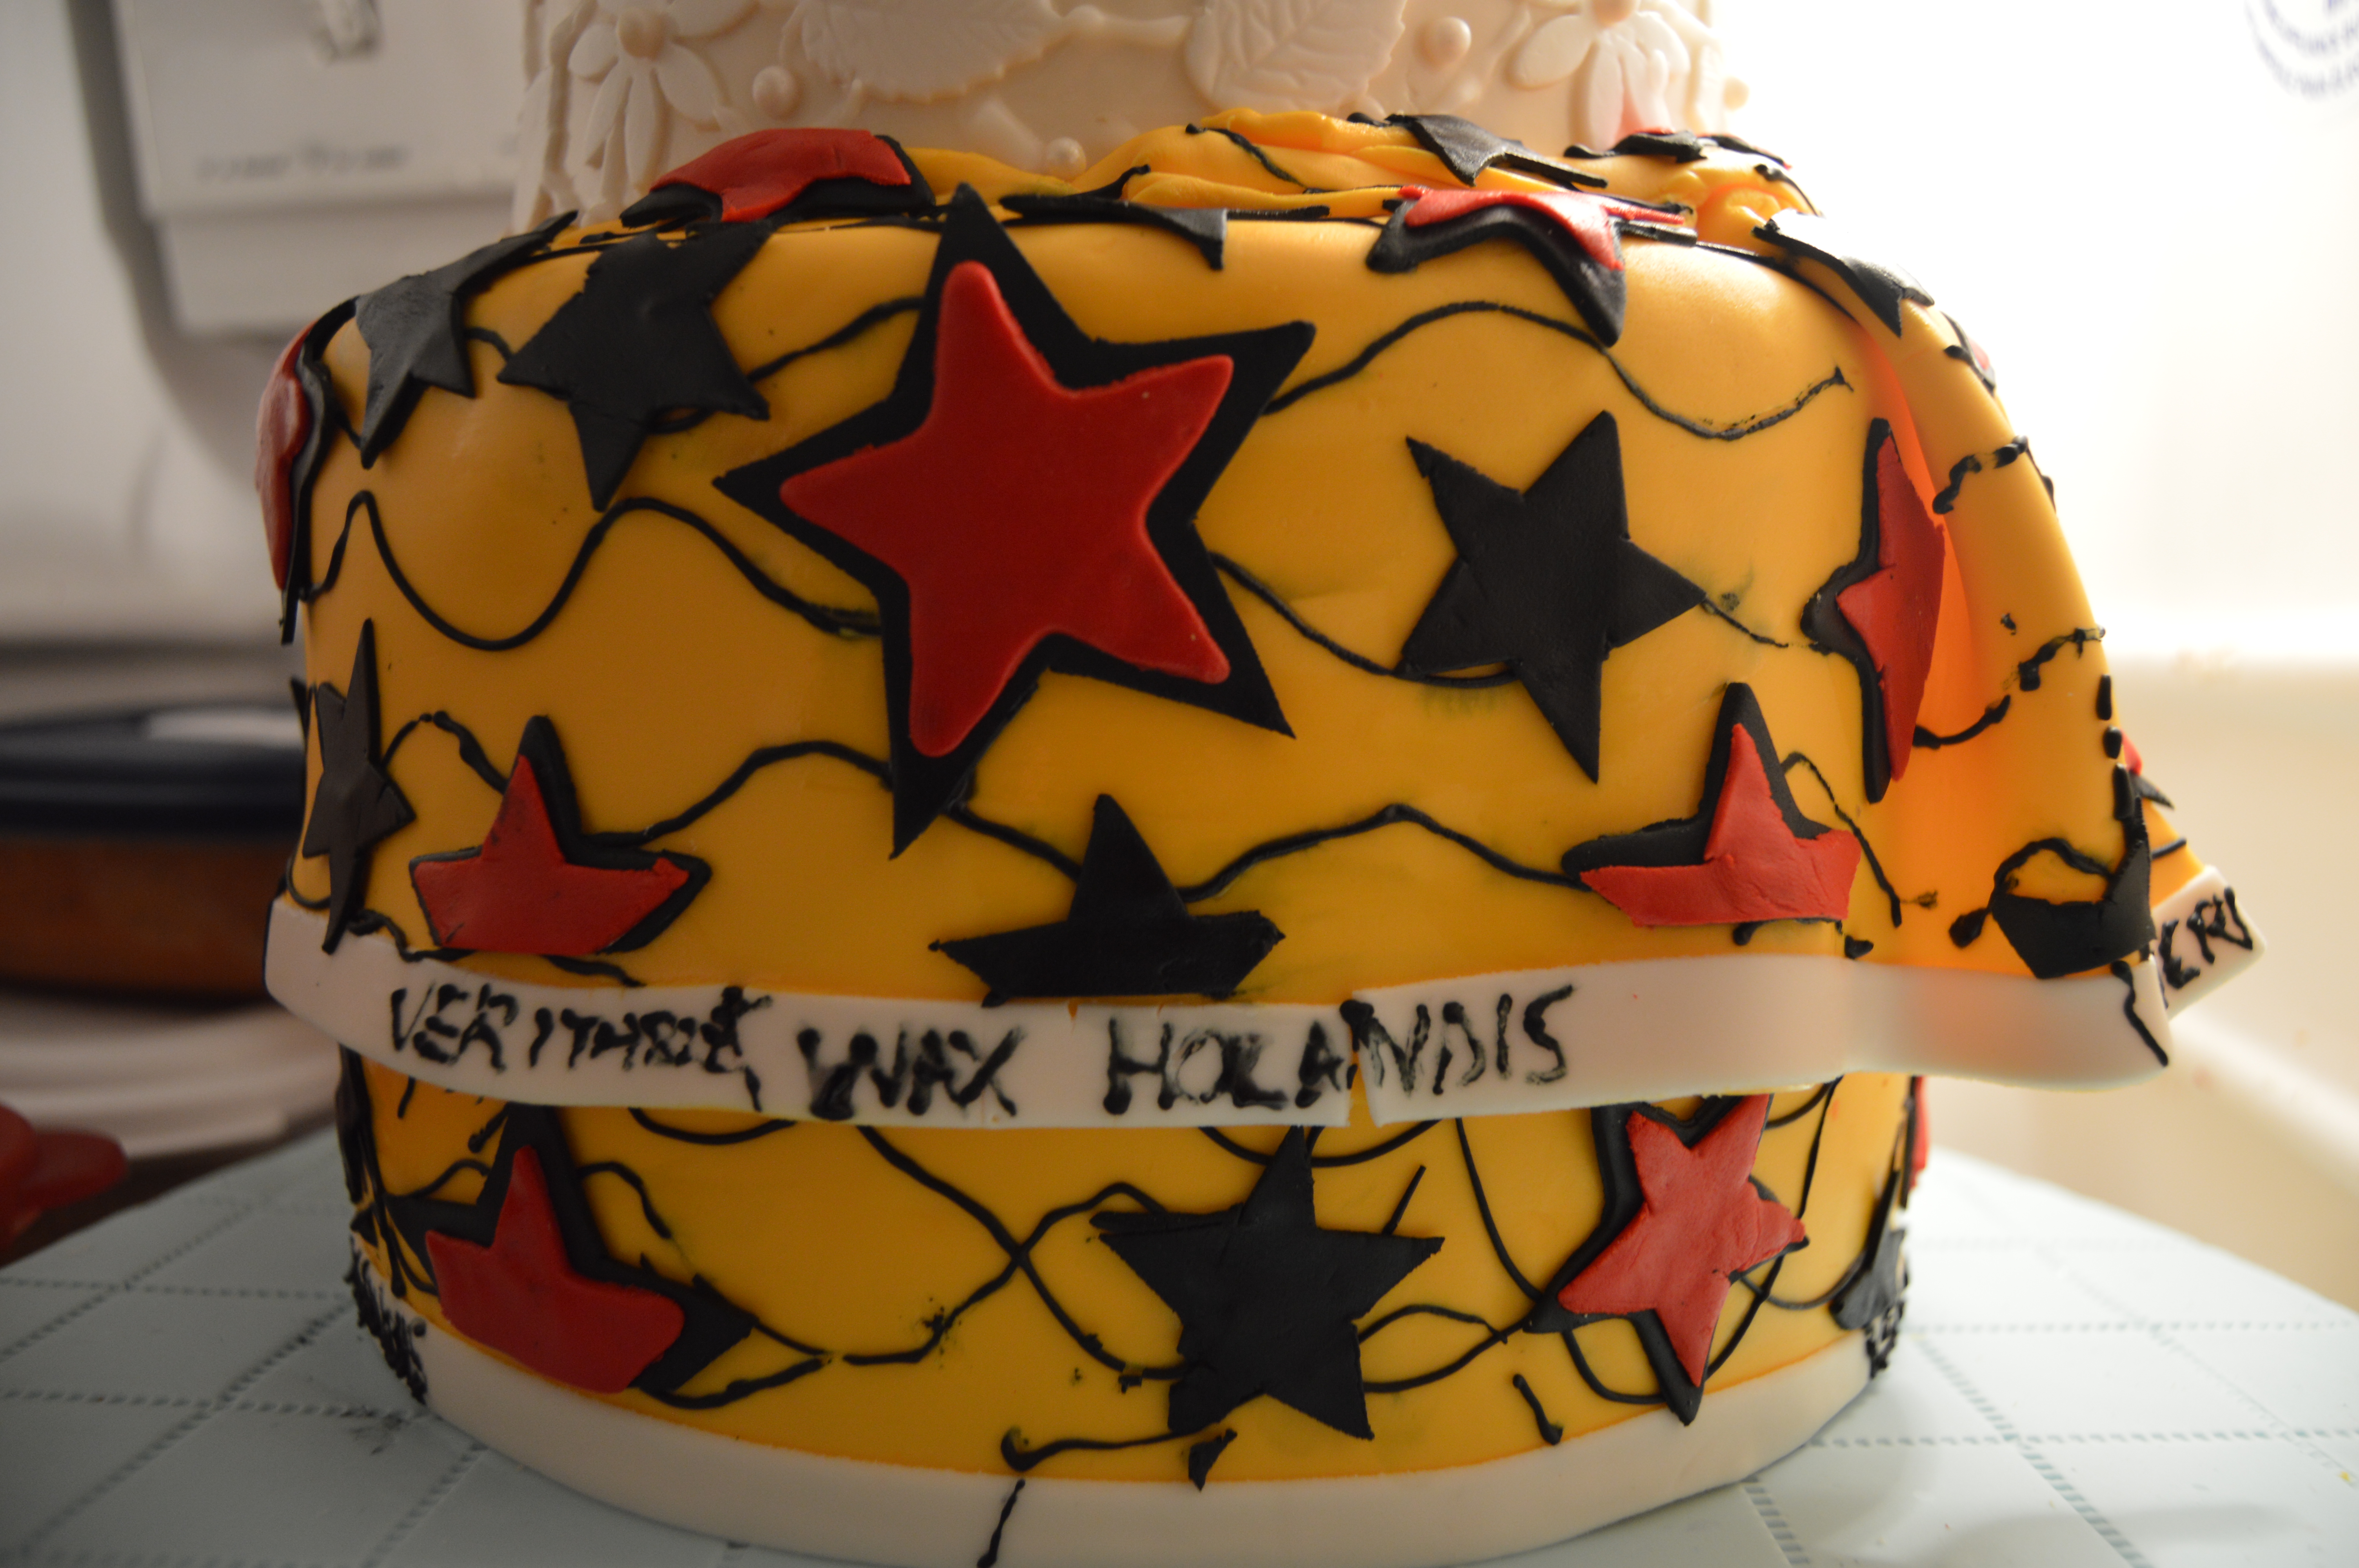
(10) Next, use the black “royal icing” to create the wavy lines on the top wrapper. Use the royal icing to write the name of the wrapper on the thin white strips of fondant at the base of both wrappers.


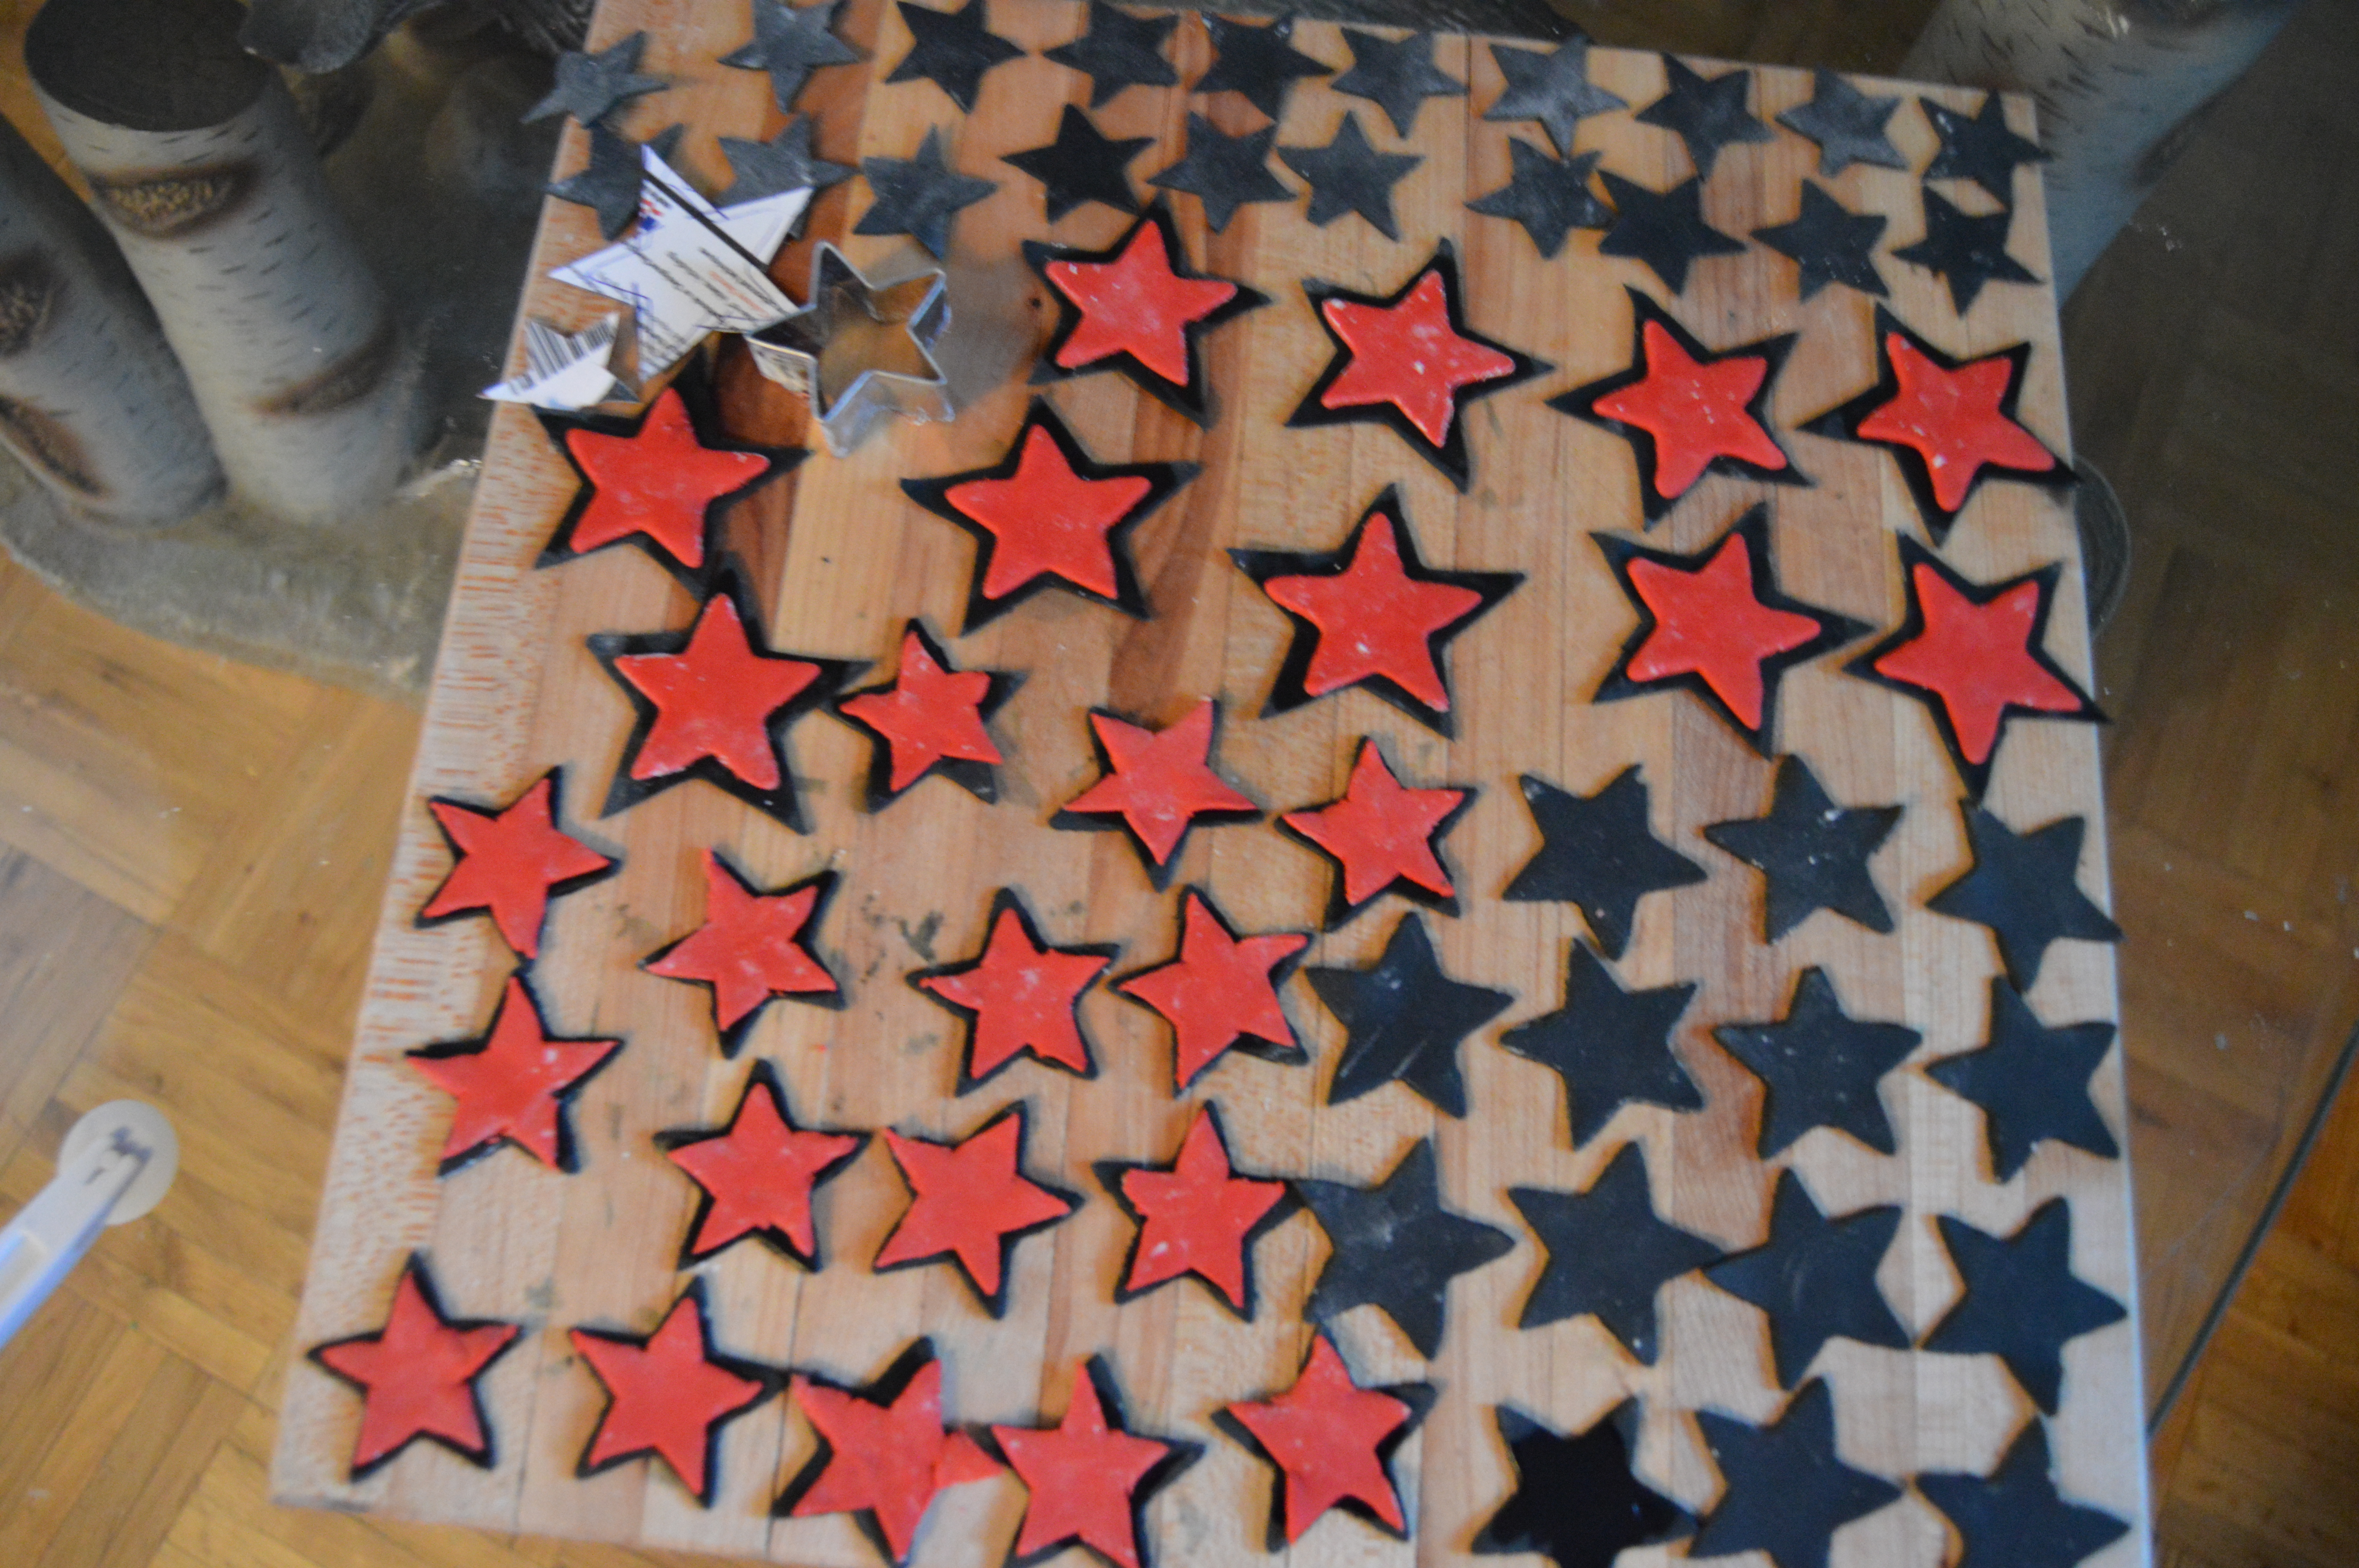
(11) Next, cut out red and black stars in 3 different sizes. Layer some on each other and stick these on the wrappers. As the picture below shows, I had just one star cutter. I used it as a guide to create the two other smaller and larger stars on paper and cut them out to create a template. This template was then used to cut out fondant.
(12) With the cake structure completed, stick all the add ons to it.
That’s all there is to it. Happy Caking!
Terry Adido is passionate about showing people how easy it is to recreate restaurant quality meals in the comfort of their kitchens. With a style of cooking he refers to as Afro-European Fusion, his meals are influenced greatly by French and Italian Cuisine with a West African twist. If you love good food, you are in for the ride of your life.
This is very beautiful. Well done dear.thanks for another detailed tutorial.
You are welcome.
Am speechless sir you have fabulous awesome work. You’re a great motivator to me. Someone just said I should check your site but can’t just stop checking all. Thanks so much Terry for this great job
Thanks Mary.
Thanks for the tutorial. I have been waiting for this. U will grow to the highest level because u don’t hide your ideas n talent like some bakers do especially in Nigeria. I love you. God bless your endeavours
Thanks
Finally! God will keep blessing you Terry more n more beyond wt u imagine. Thnku so much
Thanks.
thanks alot may God continue to increase u in knowledge
Thanks Toyin.
Amazing!
A real beauty to behold.
Kudos Terry…
Thanks Julianah.
I have longed for a tutorial on this. A big THANK YOU for this. Oh,thanks again!
You are welcome Yemi.
Thanks a lot. God will always be with you. You are wonderful
Thanks Ify.
Tanx a milion,god bless u roundabout
Thanks Buki.
Thanks Mr. Terry for been able to share your work. I was able to save some pages and almost got an eye ache by starring at my computer. i admire you efforts and strength and I promise to do my best.
Thanks Genevieve. Glad to have you here.
I just stumbled on you site now and I ve actually been here for hrs,like seriously I’m hooked. You re a blessing and you gat me. God bless you
Thanks Tega. Welcome on board.
Thanks so much Terry for sharing your knowledge.
You are welcome.
This really is a detailed eye opener!! I want to be like you when I grow up!! God bless you.
Thanks. You are welcome.
This is very useful. Thanks a lot Terry!
You are welcome Tolu.
So it was my graduation from catering school and I picked the dressed igbo woman cake with different colours and little modifications here and there. Everyone said twas lovely though tomorrow is the main assessment day. Can’t find an option to share fotos. Would av loved U to see it. Thank U Mr. Terry
That’s great. You can send me a picture on my Facebook Page, Grated Nutmeg. Thanks.
Love your work..thanks for tutorial
Thanks Joy. You are welcome.
Wen ever i want to mk a cake, and am having difficulties i jst type ur name and search for d design, really i have not bn dissapointed. I hv wanted to do dis design sometime ago but all effort fall but with dis tutorial am sure am ready for it.Terry dump up,u re doing a great job.
I am glad to hear that. Thanks for dropping a note.
Very detailed. As in, detailed to the letter. Even a beginner will be able to get it right by just following your tutorial step by step. Job well done.
That’s my aim. Thanks Joy.
Wow!Thanks for another wisdom filled tutorial and cost effective too. Bless you!
You are welcome Felicia.
Sir can i put butter icing(cream) mixed with milk solution and food colour into the piping bag for my designs?
Yes. You can use buttercream frosting.
NIX ONE.THANKS FOR THIS
You are welcome Megann
Terry ur a blessing to many of us God will reward u,u dnt hide ur ideas like many bakers do😍
You are welcome Olivil
Thanks Terry ur tutorial was helpful
I am happy it was.
Bless U Sir,U r a Generous Genius
Thanks Joy.
Waooo thanks alot dearie u re one in a million.
You are welcome Jenny.
Thank u very much. I ‘ve bn looking for hw to get this tutorial. God bless u.
My pleasure Edy.
Tnx boss. Rili grateful sir. Gbu
You are welcome.
OMG. Sir u’re too much
Thanks Tosin.
Tnx terry, I am really grateful for d tutorial. U re a genius. Gbu
Thanks Christy.
Thanks for this post it has answered lots of questions on my mind. Keep up d good job.God bless d work of ur hands,Amen
I;m happy to hear that.
I am very impressed with these tutorials and thank you very much for sharing your knowledge.
You are welcome Kehinde.
Wahoo great work,kudos to you
Thanks Ajayi.
Thanks a lot sir for this Wonderful ideas am blessed! I think with this idea I can do yellow and red opener wrapper for my women rally function in church next month! God bless and keep you for us.
You are welcome Comfort.
Wow!just what i was looking for…so detailed,thanks so much!
You are welcome.
Wow! Thanks so much, just what i was looking for cos i’ve been asked to make something like this, actually the one with opener….and your tutorial is an excellent guide
You are welcome.